 Markus Dieterle
-
More image tests and app preparation
03/01/2016 at 17:53 • 0 commentsJust a short update today...
More image tests
Using both the C270 and the C920, I took James Newton's idea and downloaded some street sign images. I also created another test document with some street names in really big font sizes and two slightly different fonts.
After the usual image conversion using "graphicsmagick" the resulting TIFF images were processed by tesseract-ocr.
Although I tried different image resolutions with the C920, and I also used the original downloaded images along with the photographed versions, most of the OCR conversions failed.
I'll definitely have to do some additional research and testing here. Since I'm already using graphicsmagick for the image format conversion, I can also use this to perform some filtering and image enhancement.
If I can find a nice GUI for graphicsmagick or imagemagick that runs with Debian Linux, I'll try to use that to find a good combination of image processing steps/options that will produce better OCR results. Once a good combination has been found, I can use this through the command line options of one of the tools. If there is no good GUI for both apps, I can switch to Gimp or something similar in order to find a good combination of image processing steps.
I'll also take a closer look at image processing algorithms and see if there probably already is a good solution for this specific problem.
Preparing the program
Apart from the image and OCR tests, I am working on the structure of the main "TextEye" application. Once I'm satisfied with the basic flow, I'll start to convert that into actual code (hopefully starting tomorrow).
Setting up this application and getting it to do what's needed seems easier right now than getting the image preprocessing right. I should be able to get some working result here even if the image processing is still off.
More hardware
I'm currently waiting on some parts I've ordered for this project. Sadly one of the parts - the Pimoroni "pHat DAC" board for the Raspberry Pi - isn't in stock right now, not even in Pimoroni's own web shop, and this stops the rest of the order being send out to me.
I will try to at least get the rest of the parts I don't currently have by placing an additional order. Hopefully this will allow me to focus on the physical side of things later this week or maybe next week.
Once the parts are halfway complete I can go about wiring the prototype, connecting the software to the hardware where necessary, and take some measures to develop a 3D design for an enclosure.
-
More tests, software, learning and dev setup
02/26/2016 at 16:35 • 2 commentsTime to post an update...
So far I've done some additional testing with a different camera, playing around with a few different options for "fswebcam" and looked into the options for GPIO programming on the Pi, as well as getting my feet wet in the "Fritzing" software. More details below...
Testing with the Logitech C920
Since I've been somewhat disappointed with the results I got using the images from the Logitech C270 webcam, I've switched it out for the Logitech C920 that I usually use with my computer. Apart from having the ability to produce images in full HD resolution (1920 by 1080 pixels), it produces better quality images in just about any setting, and is still among the top-rated webcams overall.
So hooked it up to the Pi 2 and used "fswebcam" like before to take a few hand-held shots from my "fox" test print in dark and light conditions. I used the command line options for fswebcam to produce not only dark and light images in two resolutions - 1280 by 720 and 1920 by 1080 - but also to take images with default settings, deinterlace and/or greyscale processing. My hope was that the deinterlacing and/or the greyscale conversion might help to improve the pictures and produce better results with the Tesseract OCR processing.
While the images turned out to be better than with the C270, sharpness, text sizes within the image and lighting still produced too much variation and difficulties with identifying the text. I still ran the images through Tesseract OCR though, but the text I got from that was no better than with the C270 images before.
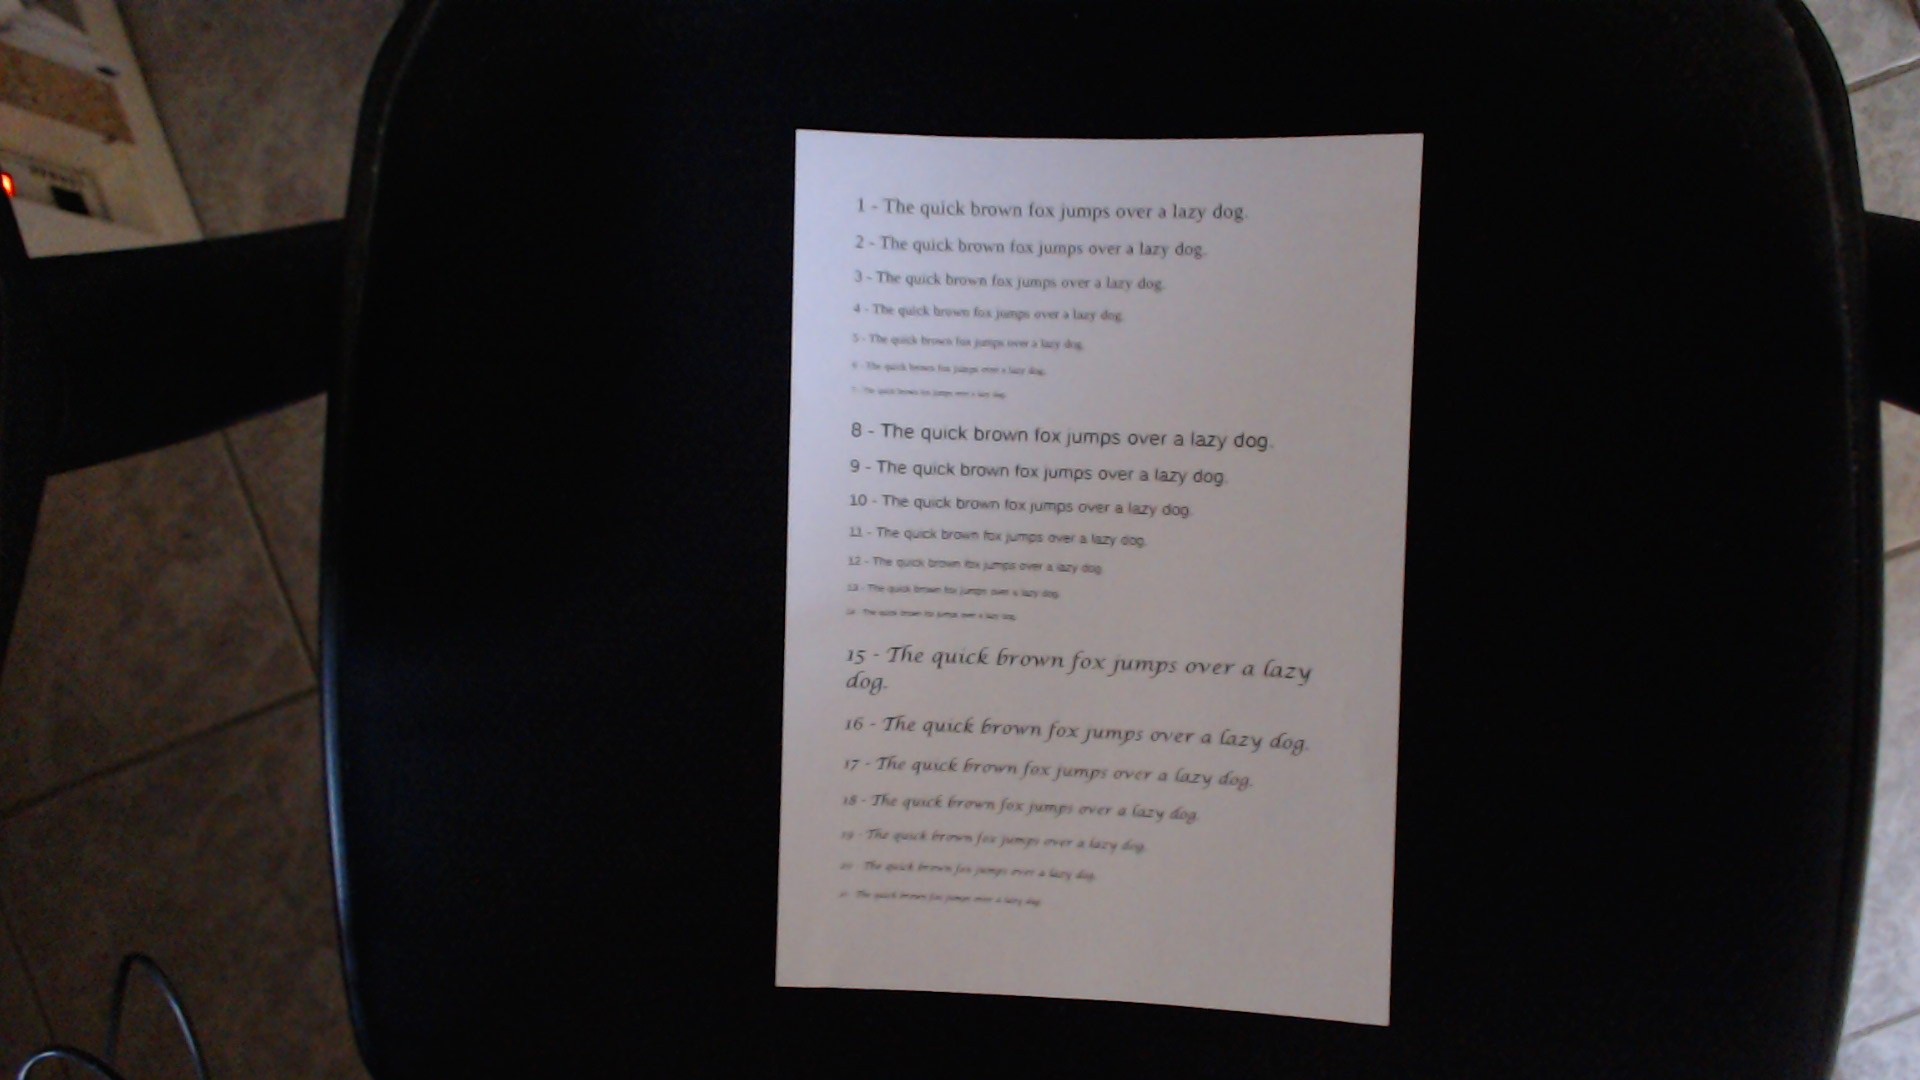
Here is an example:
![]()
To a human eye, at least the lines with the bigger text sizes are readable, but still small and not very sharp. With the smaller text, reading gets extremely difficult.
As tesseract worked pretty well with the scanned images, it is pretty much clear by now that the software (like most any other OCR software I guess) has not been designed and optimised for a mobile usage with such difficult, unsharp images in any way.
The other main problem I see with the webcams, is that I don't have an autofocus option that could be activated before taking a picture. While the C920 has some nice build-in features like automatic low-light correction and face detection, several additional control options need additional software which isn't available for Linux, and there's no autofocus option anyway. It should be a fix-focus lens, and without the additional options that you get on modern digital cameras for photography - like shutter speed, image stabilisation, aperture settings etc. - the images you get from shooting "hand-held" are far from ideal for OCR processing.
The best option would likely be to use a live view image from a normal digital camera, but this is usually not transmitted over the USB port, but through the HDMI port of such cameras, or via a wireless connection to a mobile control app on a phone or tablet.
I'm not yet ready to call it quits, though.
If no other camera or stabilisation option can improve the results significantly, the worst case scenario would be that the project turns into a non-mobile application. Using a camera in a fixed holder, placed in a constant distance over a book, magazine etc., and with ideal, controlled lighting, a lot of the causes for poor image quality can be avoided - which should produce good enough images that the OCR conversion might work properly.
Pi GPIO programming using C/C++
Apart from the additional tests, I did some research about Raspberry Pi GPIO programming as that's needed in order to add the external control buttons for scanning and volume control, and maybe mode switching.
As this is my first project with the Raspberry Pi, I had to do some learning here.
For my purposes - using C/C++ to write the software for integrating the different parts and processes needed in this project - I have decided to use wiringPi. I downloaded and installed the "wiringPi" library and tools into an extra "DevTools" directory on the Pi just following the instructions on the official website.
Since I've already started learning Arduino programming a few months ago, using wiringPi seems pretty straightforward so far. Just choose and set up some pins for digital input, do some physical wiring using pushbuttons and a few resistors, and then initialise and probe the status of the buttons within the program.
Planning out the basic wiring, I'm also taking into account the later addition of the Pimoronic pHat DAC board. I've found a decent overview of the GPIO pins it uses right here, so I can avoid to use those pins for the control buttons.
Forward into Fritzing
In order to plan and document this project a little more, I've started installing and using the "Fritzing" software (or rather learning how to use it). I've downloaded the additional library from Adafruit and used that to add a few things from my prototyping setup, but some parts are still missing for a complete diagram - like a (generic) USB webcam or a Pi hat template for the DAC board.
I definitely need some more training with this in order to get really comfortable here, and maybe add some new custom parts as well.
I think it's worth the effort as the results I've seen so far on other projects are really useful and definitely improve the documentation and make it easier for other people to re-create the projects for themselves.
Exploring an alternative development environment
On a side note, I've also dabbled with a new development environment for this project.
Since I chose to use the "light" version of Raspbian for this project, I can't use a nice IDE or graphical editor for development directly on the Pi. And since I'm not very comfortable with using "nano" on the Pi for each bit of coding, I prefer to write the code on my iMac and transfer it to the Pi using FileZilla or similar options.
If I use a code editor like "Atom" on the Mac under OS X, I can easily set up FileZilla to directly open it for any source code files transferred from the Pi. Compiling and linking have to be done on the Pi, which is ok as I can open a serial or SSH connection to the Pi at the same time as the FTP/SFTP connection through FileZilla.
I could speed up the coding a little by having the same tools and libraries installed as on the Pi. However, that's a little tricky under OS X, even though the OS is a microkernel-based Linux variation at its core.
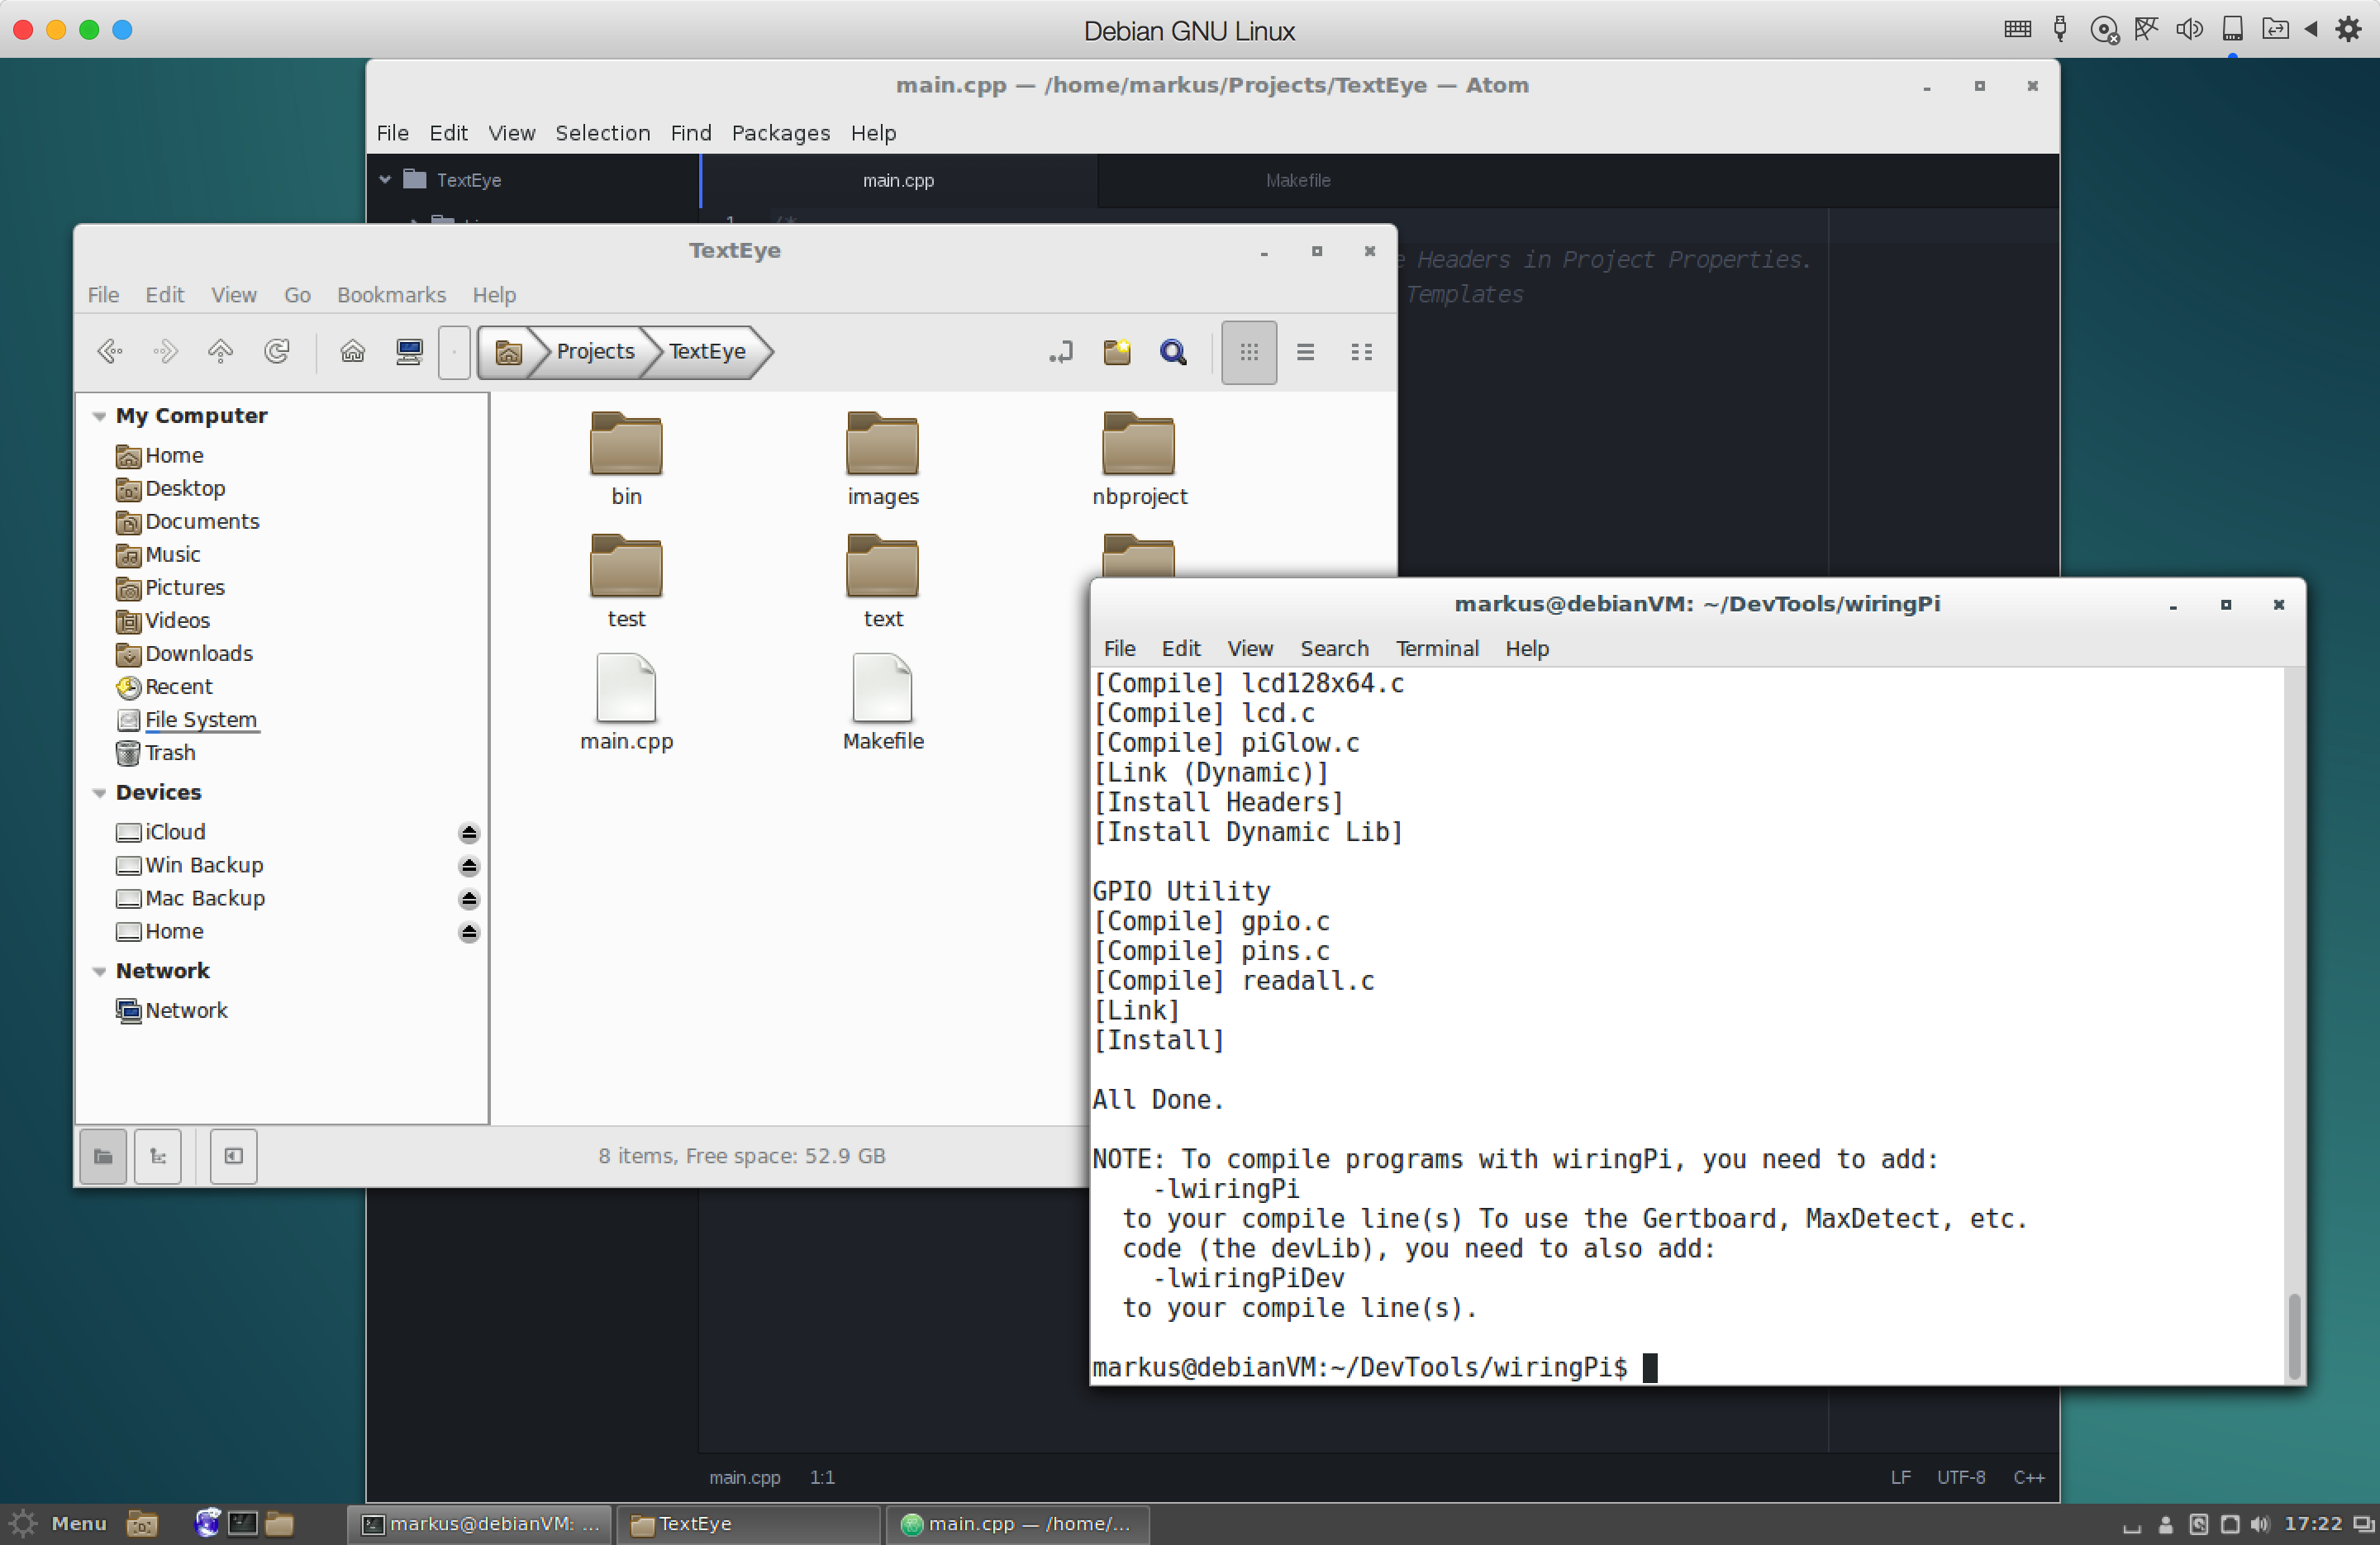
So I've fired up Parallels Desktop - a virtualisation solution I've been licensing and using for quite a while now - and started up my virtual machine with Debian Linux, as the Pi's Raspbian operating system is (for the most part) based on Debian. If you need something similar, you can easily use VirtualBox for free - it doesn't offer the same level of integration with MacOS X or the same kind of graphics acceleration, but works well enough for normal desktop usage - and it's open source software.
Using Debian Linux, I was able to install all of the software packages that I installed on the Raspberry Pi before: fswebcam, sane, graphicsmagick, tesseract-ocr, festival, git and wiringPi.
![]()
In addition to that, I also installed the Atom editor as well as the Netbeans IDE (and additional Java SDK) for a nice little open source development environment.
While I don't have a cross-compiler for the Pi CPU, this setup should be able to compile the C/C++ code using the wiringPi library properly (including make via makefile) before I upload it to the Pi itself.
I will also try to install wiringPi on the Mac under Mac OS X though and see if that works as well. If it doesn't, Debian should do the trick.
This should speed up the development process a little as the Pi itself is not as fast as the 64bit Debian Linux VM on the Mac.
So far so good...
-
Quick design sketch and basic operation
02/22/2016 at 13:10 • 0 commentsToday I'm just adding to the components list and drew up a quick sketch which shows the basic design for the device that I currently have in mind.
TextEye mobile design
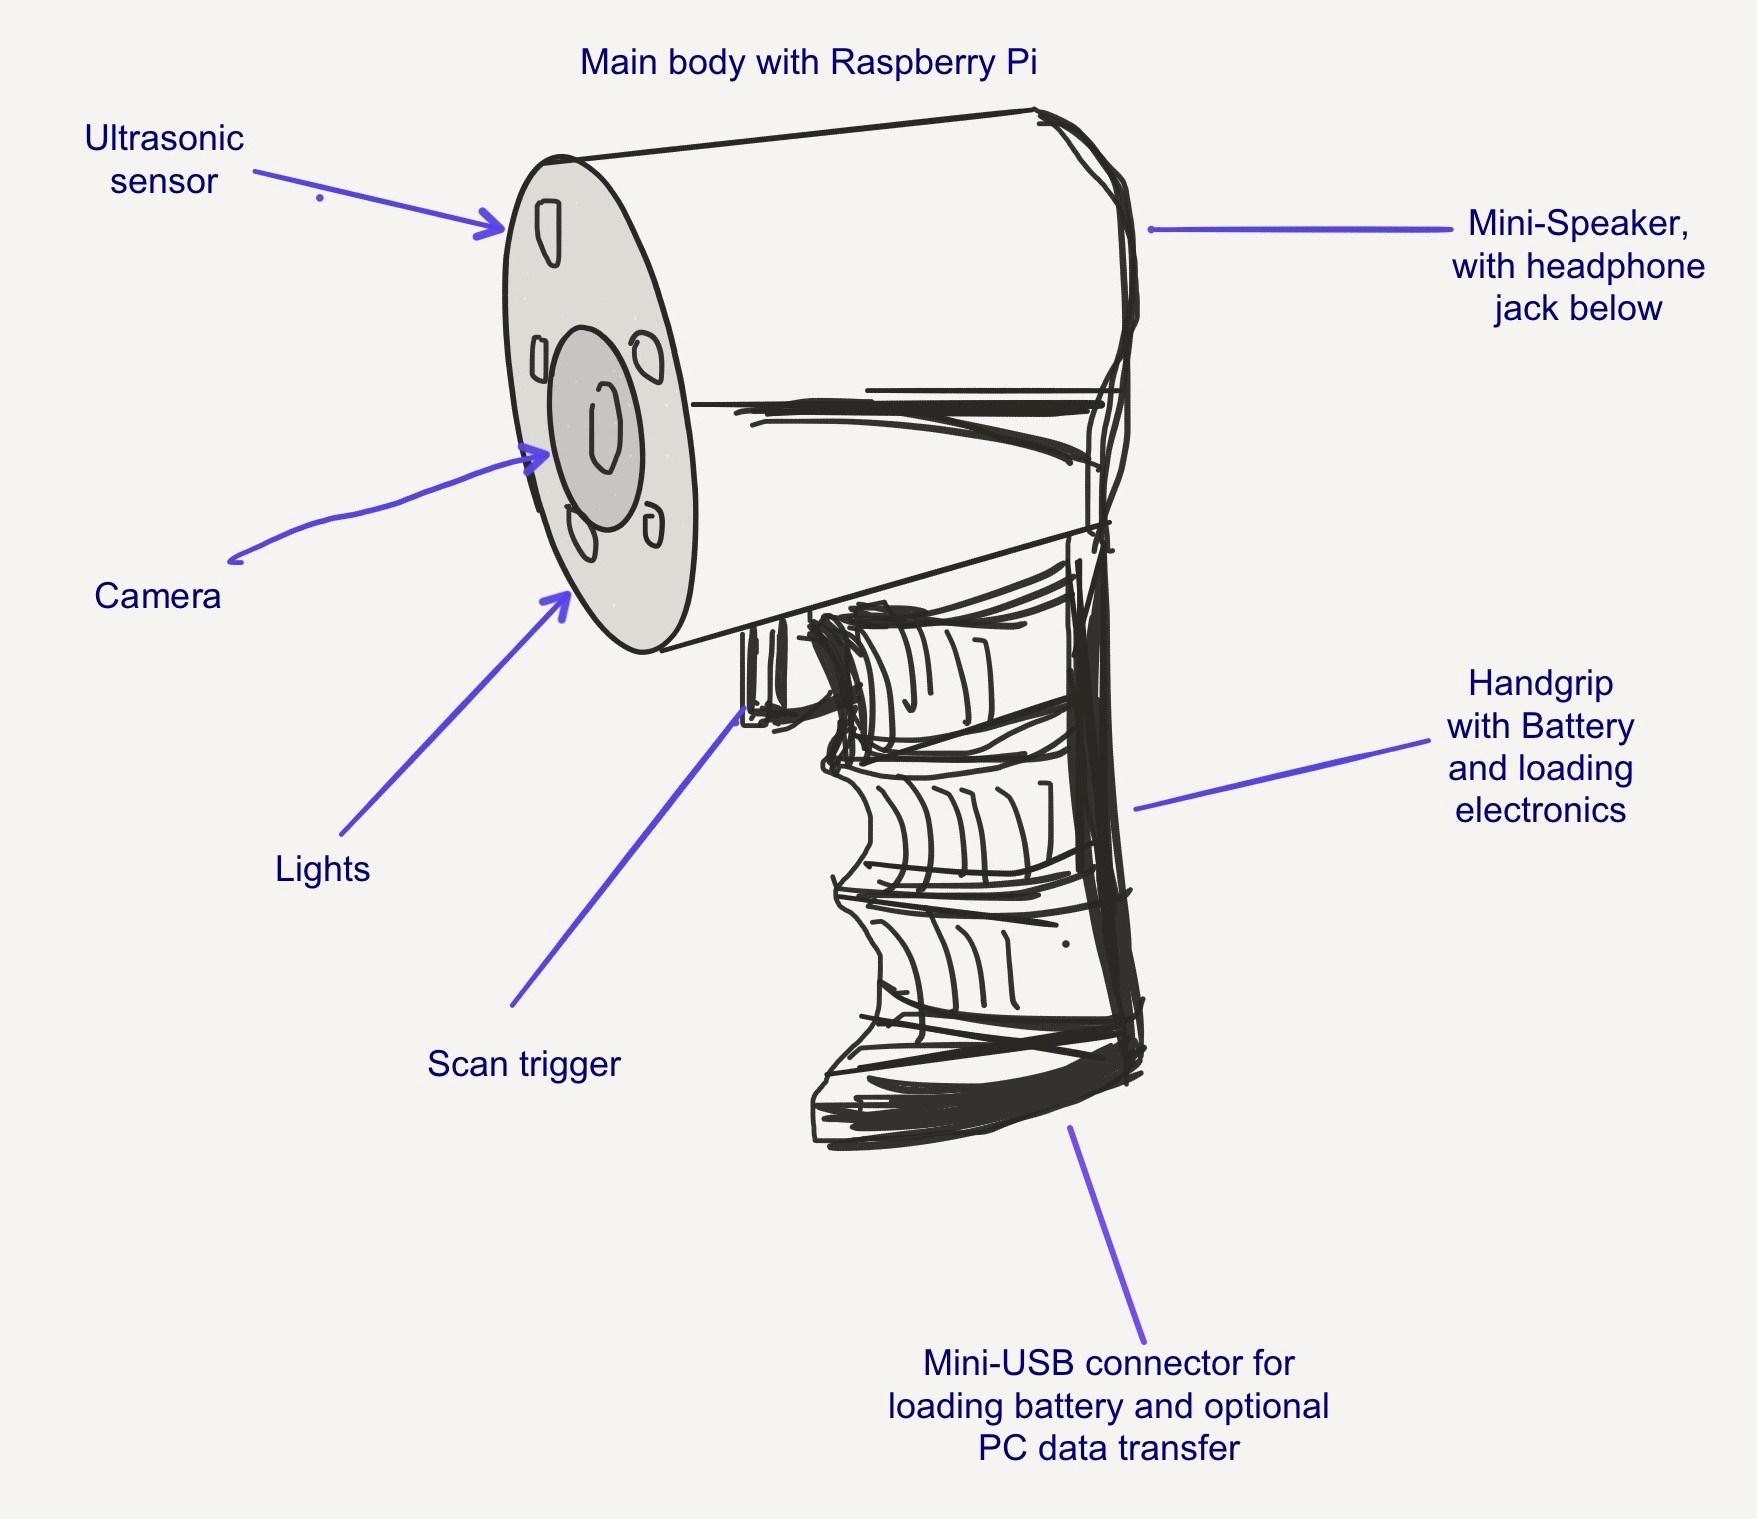
The basic idea is to put everything into a handheld design that looks similar to current mini-infrared cameras or those big magnifying glass/light combinations you might have seen elsewhere. Details may change, and the final design might be smaller when using a Pi Zero, but for now it looks roughly like this:
![]()
If it's possible, I might put the Pi and the audio board into the handgrip, but that's an option for now.
The front side has the camera, an optional ultrasonic sensor and optional LED lights in it.
The back side - which can't be seen in this sketch - holds the mini loudspeaker and the headphone jack, as well as the two pushbuttons for volume control. It will also (likely) hold a slide or flip switch to switch the device on and off.
The Raspberry Pi and optional audio board will either go into the top part between the camera and the speaker, or into the handgrip if space permits.
The handgrip - which should be more straight than a standard pistol grip, but similarly ergonomic - holds the scan trigger, with the battery and loading electronics with USB connection inside.
An adjustable wrist wrap could be added to the underside of the hand grip.
Basic mode of operation
While additional functionality can be added later, my idea at the moment is to have a two-step operation:
- Pull the trigger and hold it to measure the distance to an object with the ultrasonic sensor. The audio feedback should tell you when the camera is in a good range for taking pictures.
- Once the range is good, let go of the trigger and pull it again, this time without holding it. This temporarily switches on the LED lights and then takes a picture and starts the image processing and conversion process. When that is finished, the text is read out, with the audio coming through the headphone jack or the speaker.
If the trigger is not pulled a second time during a short waiting period (e.g. 5 to 10 seconds), the scan is aborted and the device goes back to waiting for another trigger pull to start measuring the distance again.
As long as no other operating mode is selected (via additional mode buttons or a mode select rotary encoder), the device waits for the trigger pull and runs through the main waiting/processing loop until the on/off-switch is set to the "off" position. If that happens, a proper shutdown is initiated.
The different states and state changes during operation should have short audio infos connected to them. This can be realised quite easily by using the already installed "festival" text-to-speech software and the integrated audio hardware.
-
TextEye: Testing, more software and basic app flow
02/21/2016 at 15:01 • 1 commentI've not written a log the last two days, but I've been working on the project nevertheless. The results a little mixed so far.
I also created additional project directories with subdirectories on both the Raspberry Pi and my computer.
With regard to the aim of the project, I've come up with the (temporary) project name "TextEye" as the final device should act as an electronic eye just for text. So my main project directory is now named accordingly.
Test early, test often
After having installed the most important software components, I've started with testing, following the engineering and programming mantra of "test early, test often". Once the tests of the individual components produce reliable results, integrating these into a custom application with the same parameters etc. should also produce good results for the integrated solution.
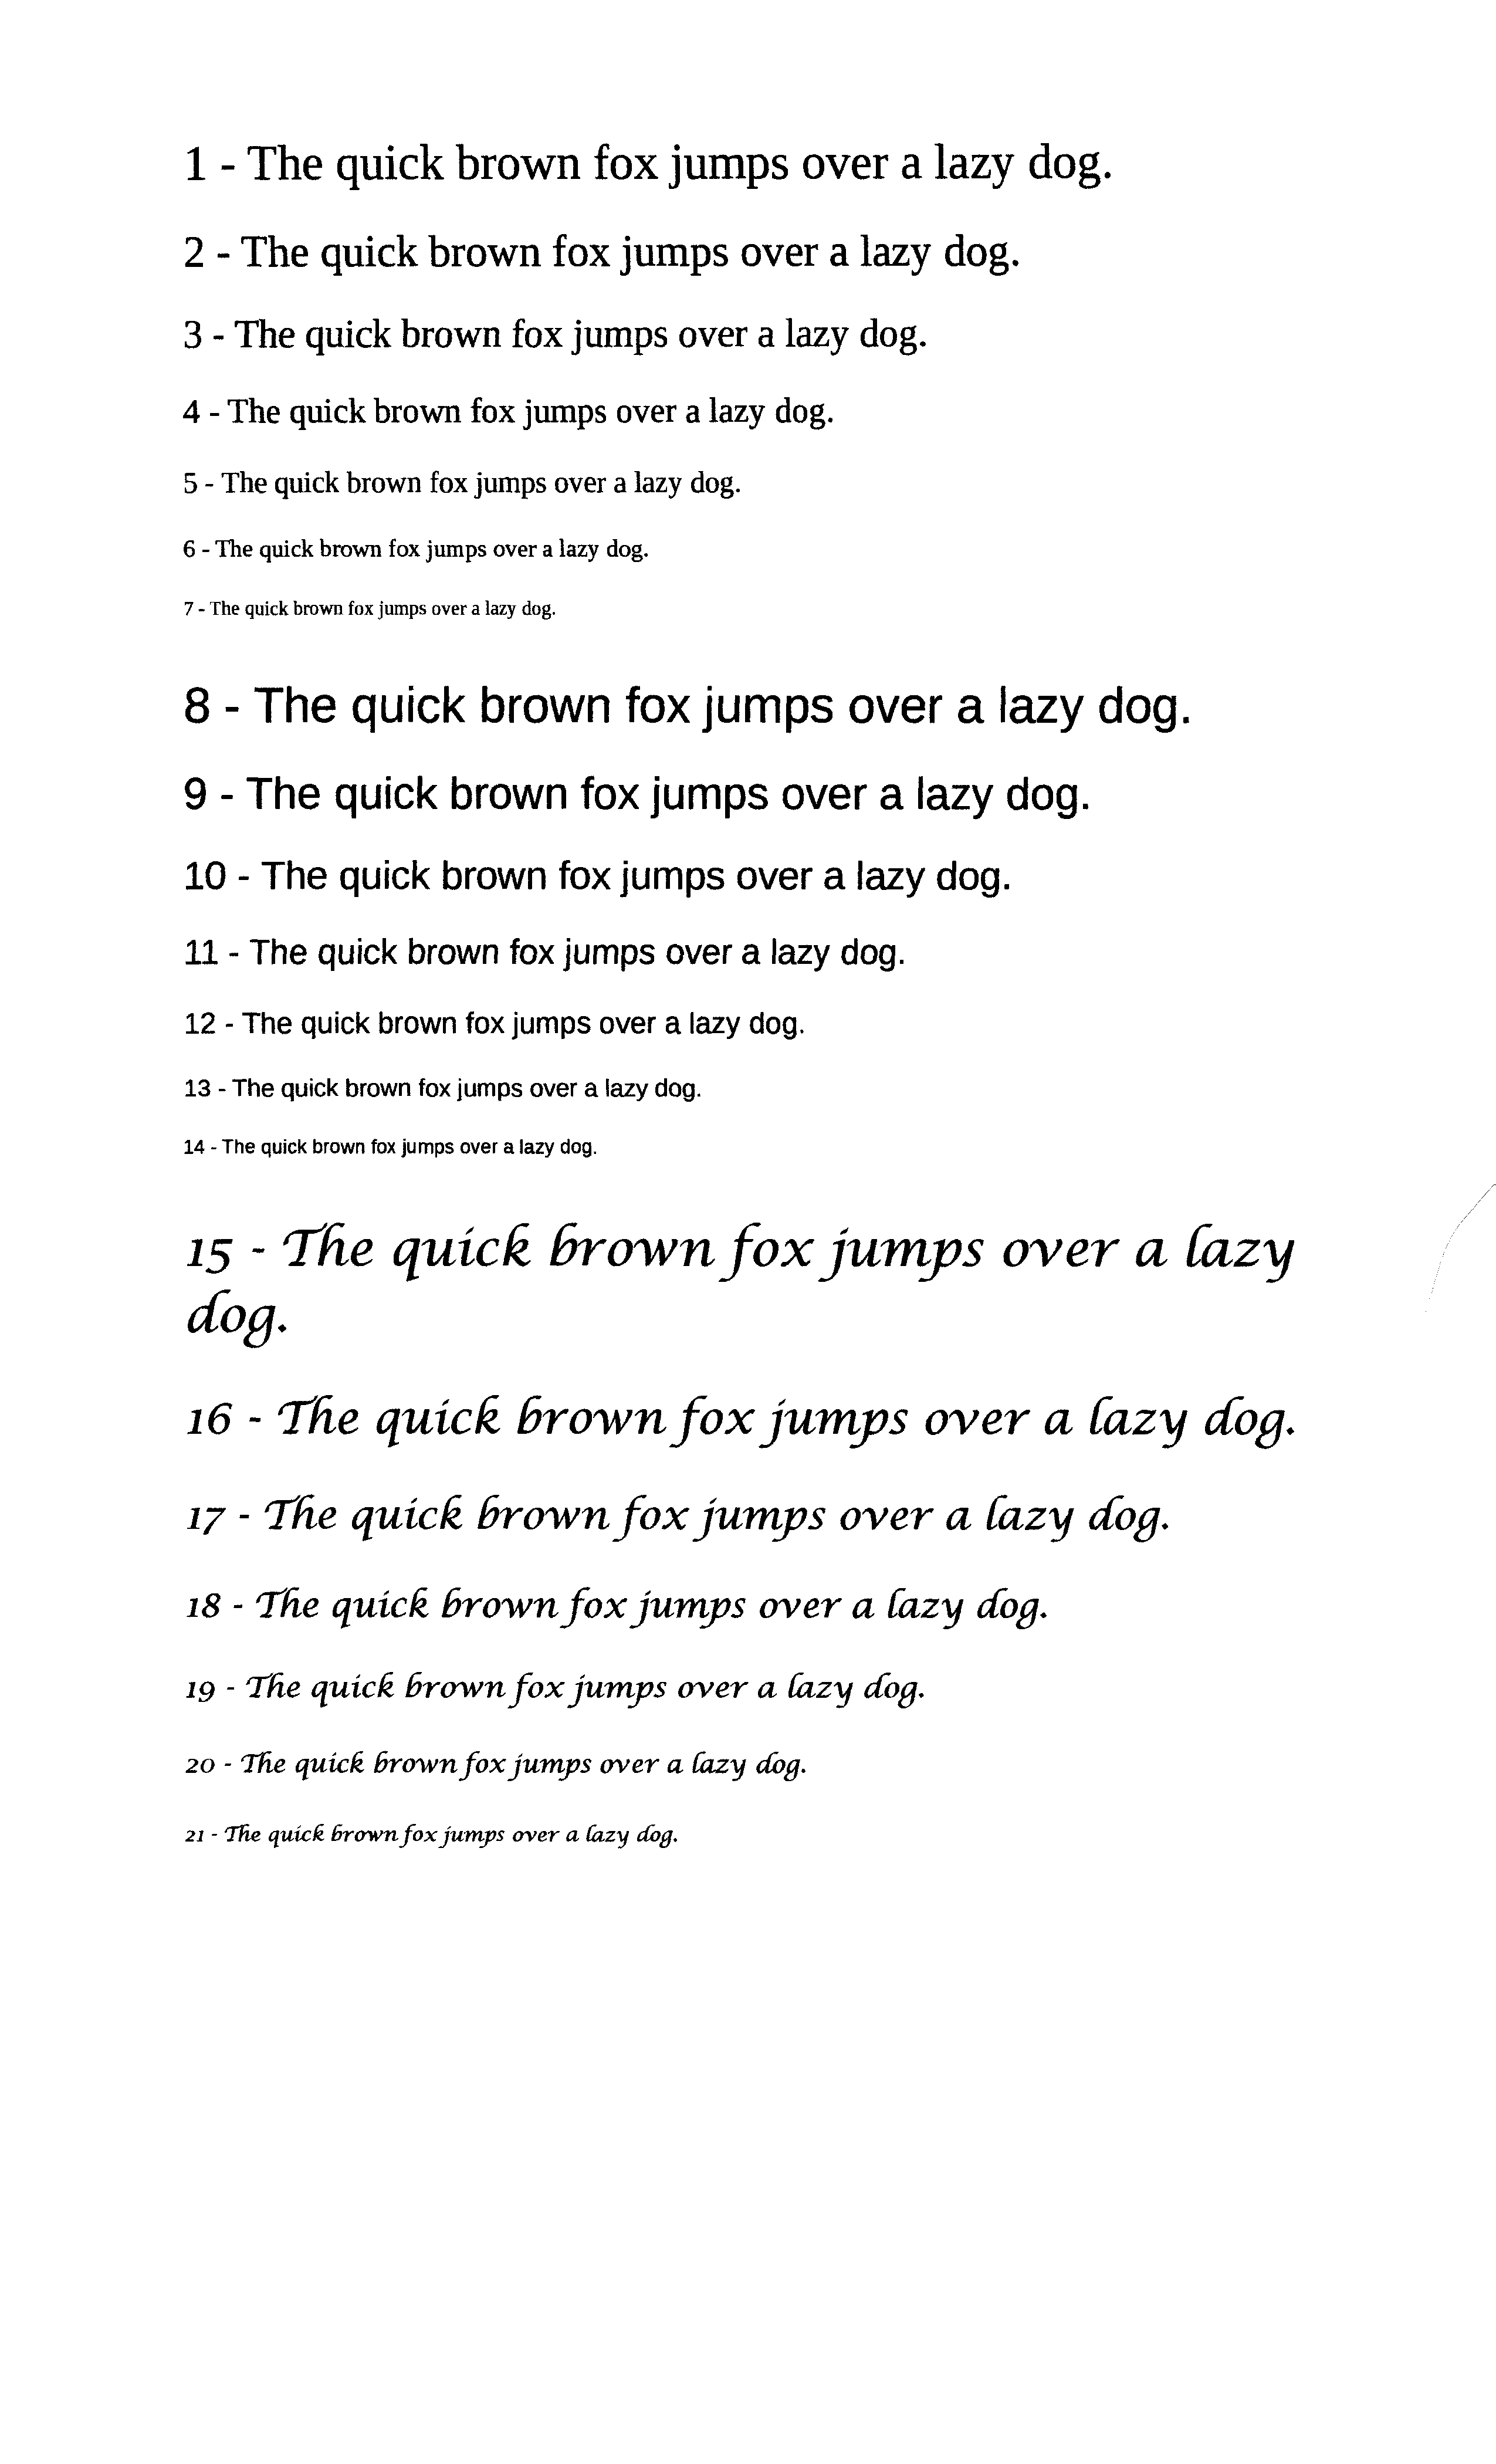
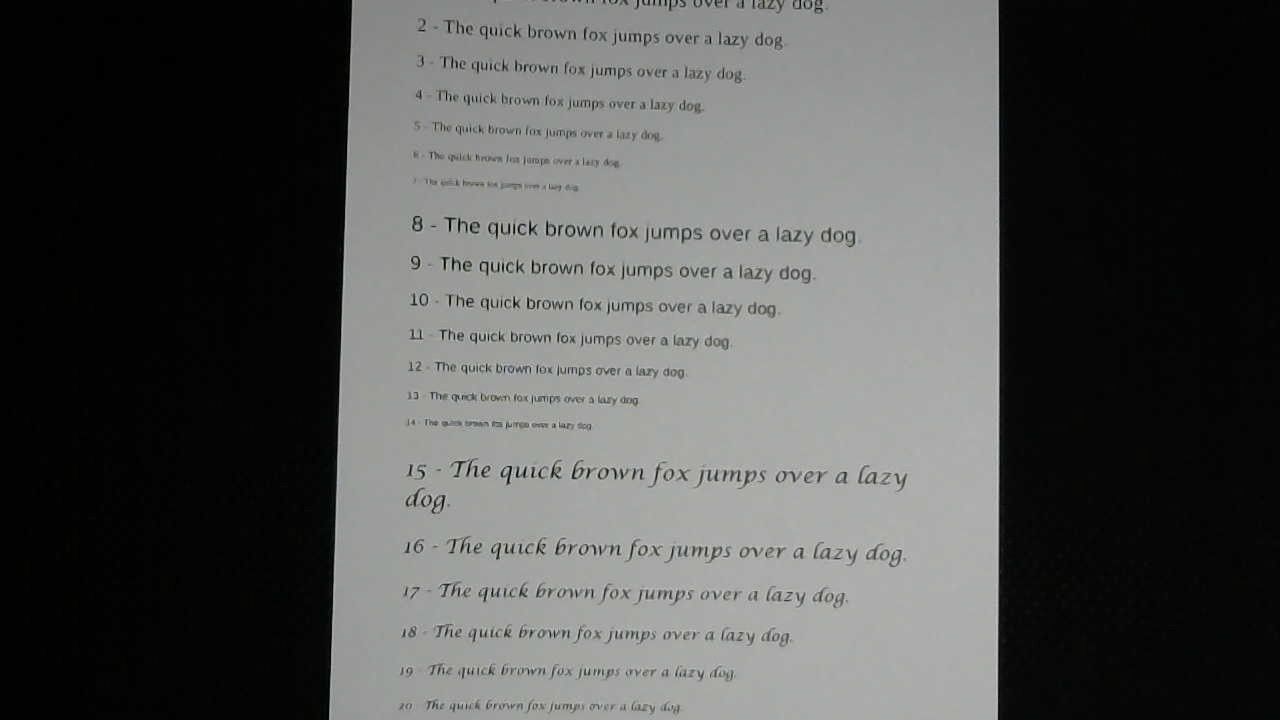
For testing the tesseract OCR, I've fired up LibreOffice to produce a nice little test file. This just contains a few variations of the test sentence "The quick brown fox jumps over a lazy dog.". This sentence is typically used in a lot of applications in order to show off how different fonts look as it uses every letter in the latin alphabet. Using three different fonts (Liberation Serif, Liberation Sans and Lucida Calligraphy) I copied the sentence several times, put numbers in front of each line of text and set the font size from 20 point to 8 point in 2 point steps for each font. The result looks like this:
![]()
I saved the document as an ODF file, a plain text and PDF before printing it out with my inkjet printer/scanner (Epson Stylus Office BX935FWD). The printed document was then scanned in again and turned into two TIFF image files, using 300 dpi and 72 dpi resolutions. Since the resulting images had the text turned on its side, I used the MacOS preview application to open and rotate them so the text would show up in the proper direction, and exported the rotated images again. Before that I also created JPG images from the same scans, but I discovered that the tesseract OCR software needed TIFF files as input, so I changed that.
The test documents and images were then copied to the Raspberry Pi via FileZilla.
After that, I used the printout of my test document in combination with "fswebcam" on the Pi to produce some additional images for testing. I took some photos with the C270 at about 40 to 50 centimetres distance, both with and without additional lighting, and at different angles.
I had to install some additional software for better ocr and additional image conversion and preprocessing (more on that below).
Using the command
tesseract <tiff-file> <output-file> -l eng
for the TIFF files I ran the OCR processing using the English language. The output files are simple text files (as long as you don't specify a different format using the tesseract command line parameters).
Finally, I put a pair of in-ear-headphones into the headphone jack of the Raspberry Pi and used
festival --tts <output-file>
for the usable output files (starting with the original text file from my document I produced via export in LibreOffice) in order to test out the text-to-speech audio output.
Additional software
As it turned out, I needed to install additional software, both to improve the OCR and to convert the JPG or PNG output that "fswebcam" can provide to TIFF files which are needed by tesseract OCR. For the conversion, both "graphicsmagick" and "imagemagick" were installed, although the first package probably would have been sufficient.
After installing graphics magic via
sudo apt-get install graphicsmagick
I also installed additional packages because the initial tesseract runs produced disastrous results. Following the writeup from Mathis here, I went on to install the following additional packages via "apt-get install":
- sane
- sane-utils
- imagemagick
- unpaper
- (tesseract-ocr)
- (tesseract-ocr-eng)
Ok, the last two were already installed during my previous efforts, but I just copied the list from the page and pasted that into the command line, and it didn't hurt since apt-get also checks which packages are already installed.
While some of these packages are mainly aimed at using the tesseract OCR software with local image scanners, they are probably not needed in this project, but they add some additional options for image processing - which is a good thing, as the default images from fswebcam don't have the best quality, at least not coming from the C270 camera (this project would definitely be improved by using a better camera and camera optics).
Test results
After the installation of the additional software packages, tesseract produced a pretty useful output for the conversion of the original, scanned and rotated 300 dpi image:
"1 — The quick brown fox jumps over a lazy dog.
2 - The quick brown fox jumps over a lazy dog.
3 - The quick brown fox jumps over a lazy dog.
4 - The quick brown fox jumps over a lazy dog.
5 - The quick brown fox jumps over a lazy dog.
6 - The quick brown fox jumps over a lazy dog.
7 - The quick brown fox jumps over a lazy dog.
8 - The quick brown fox jumps over a lazy dog.
9 - The quick brown fox jumps over a lazy dog.
10 - The quick brown fox jumps over a lazy dog.
11 — The quick brown fox jumps over a lazy dog.
12 - The quick brown fox jumps over a lazy dog.
13 - The quick brown fox jumps over a lazy dog.
14 - The quick brown fox jumps over a lazy dog.
15 - The quick hrown fox jumps over a [azy
dog.
16 - The quick hrownfoxjumps over a [azy dog.
17 - The quick Brown fox jumps over a [azy Jog.
18 - The quick Brown fox jumys over a [azy dog.
19 - The quick hrown fox jumys over a [azy dog.
20 - ’Jhe quick hrown fox jumps over a fizzy cwg.
21 - The quick Ermvnfoxjumys over a fizzy (dig."
With a 300dpi resolution and the standard serif and sans-serif fonts, the different font sizes don't produce any problem for the OCR. However, the more handwriting-like Lucida Calligraphy font is definitely problematic, even at 20 point size. The final 10 and 8 point sizes produce a lot of error and render the text unusable.
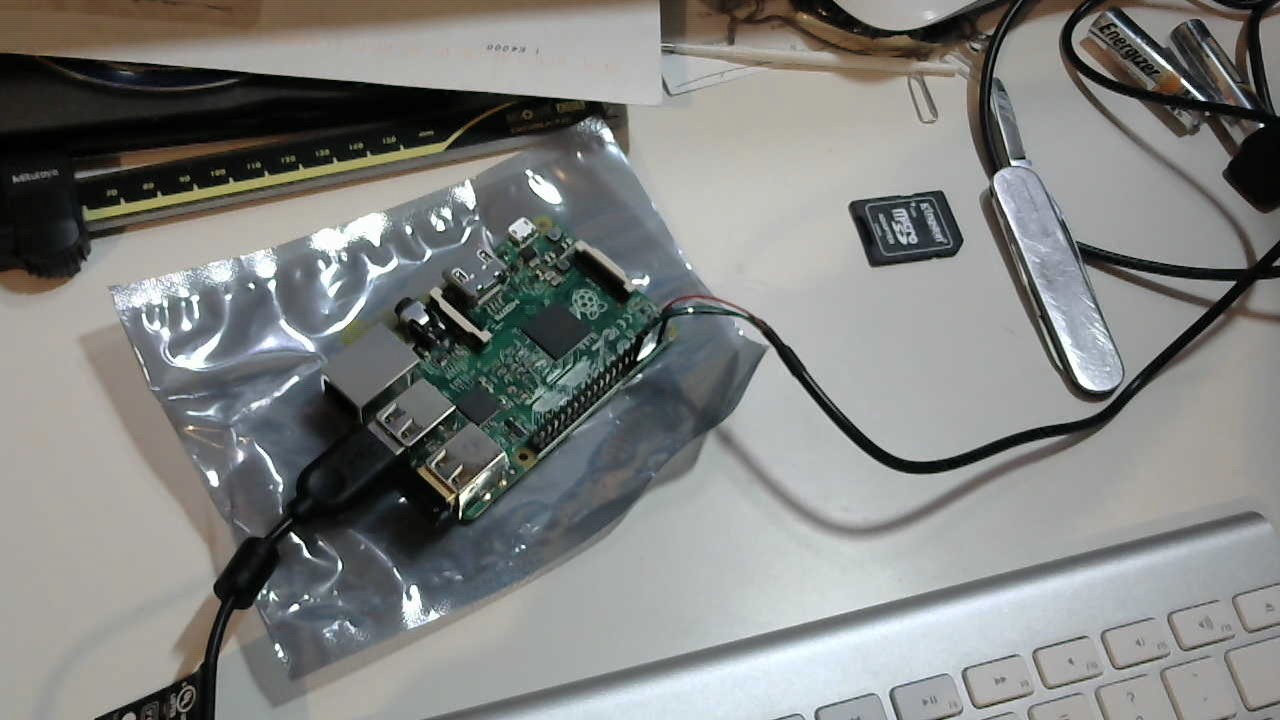
Using the TIFF-converted camera images from fswebcam, the results a far from usable though. The image which comes closest to the scanned images is one that I took pointing the camera at the text so that the text is mostly horizontal, using an additional handheld light:
![]()
Even using a higher resolution and the dithering option for fswebcam, the resulting PNG image doesn't look particularly good. For this and the additional images I used
gm convert <png-image> <tiff-image>
in order to convert the images from PNG to TIFF format. The nice thing here is that graphicsmagick (gm) only needs the files with the right suffixes (".png" for PNG files and ".tiff" or ".tif" for the TIFF files) in order to convert one format into the other with the "convert" command.
The TIFF files were then converted to text files using tesseract (see above). In the above example, without additional image preprocessing, the OCR result looked like this:
"vmu an:
J Hm mm mm.” m “.mp- mm 4 lw «1w
|
Inmwuumm my WW. ‘ m m ‘ w.
1 m wan” “w W.‘
n
m “nth hu‘
8 r The (]IIICk Inown lm Hum), u m 1' um mu]
9 Hw mm k hmwu 1m “mu, y H w m w
m IMP(hkaIJhrwnlun‘Hml/
u nqu x,m‘,.n.‘.h.w m
‘ m “m m m
h The quuk Mun n /n\ nun/w .mA 7m -,
do”
A“ J/Ir‘quhh'l'runu[.H ,mm mm. ‘:H ‘ y‘;
.,- 7m WMHHHMAWW , y w
n m. ,umw M, w”, ‘ ‘ H
‘w ,4”, ‘H"
While some traces of the original text shine through in a few places, this is pretty much unusable. The other images produced even worse results.
Lessons learned:
- I need to invest additional time in learning about the different options for converting and preprocessing the camera images in a way that produces better results. Obviously, overall image quality has to be improved, and the images need to be changed into "flat" black-and-white TIFF images, with better contrast etc.
- The camera should probably be switched out for a better one. Ideally, a bigger CCD chip like the ones in photo cameras (even standard "point-and-shoot" cameras) in combination with a sharper, and more light gathering lens should be used. Or a much better webcam...
- The OCR processing takes quite a while, especially for high resolution images. That means we get to wait quite a bit for the text output (and final text-to-speech audio output), which isn't ideal. And that's even with the Pi 2 I'm currently using for the tests - it will be even longer with the A+ or the Zero.
At least the text-to-speech output works really well:
Using the festival software with the previously installed voice, I used
festival --tts fox_test.txt
to let the software speak out the text from the file i produced by exporting it straight out of LibreOffice (in simple "txt" format). That worked really well, the line numbers were read correctly, and the text came out easily understandable.
So once the image quality can be improved using better camera optics and/or image preprocessing, we should get a usable device.
Basic flow of the planned application
While the image processing definitely needs additional investigation and testing, the flow of the application which integrates all of the parts and provides the planned functionality for the device won't be much affected by that. The overall flow should look like this:
- Wait for a press of the "scan" button.
- Take an image from the camera with "fswebcam".
- Pre-process the image to improve it (using graphicsmagick, imagemagick or additional tools).
- Convert the image to TIFF format.
- Use "tesseract" to OCR-process the TIFF image and produce a plain text output file.
- Use "festival" to read out the text file to the user.
- Go back to step 1.
Since I'm planning to use C/C++ for the main application, I can use the "system" function to call the different command-line programs from within the program for fast prototyping. Later on, the related C/C++ libraries from the software packages might be used instead in order to optimise the process and speed.
Stay tuned... :)
-
Day Two: New Dev Hardware and Camera Tests
02/17/2016 at 20:00 • 0 commentsJust a quick update today:
New development hardware
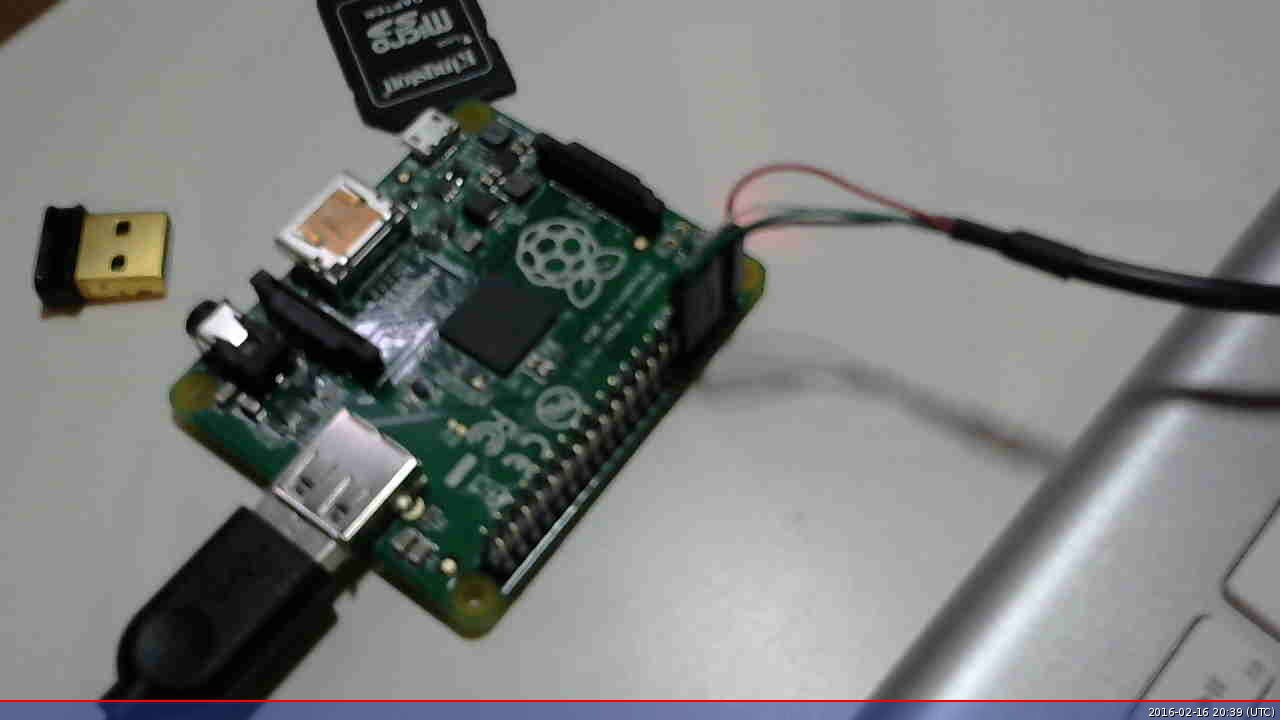
In order to avoid having to regularly switch between the webcam and the WiFi adapter, I've decided to switch out the Raspberry Pi Model A+ for a Pi 2 Model B. This way, I can keep the webcam and the WiFi dongle plugged into the Pi, slightly speeding up the development process.
Once the application that should connect all the different software parts together is up and running, I can go back to the A+ to see if it also works with its fewer resources.
Webcam tests
Taking a few additional test images with the new hardware setup, and configuring FileZilla to open the image preview for JPG and PNG files, I was a little disappointed with the images. The compression seemed to be much too severe, resulting in pretty blurry images even when the camera was placed on the desk.
A quick change to my Logitech C920 webcam, the resulting image was bigger and had a much better quality and sharpness using the same parameters for the "fswebcam" program.
Switching back to the C270, I tried out a few different settings. So far the best option seems to use the "--deinterlace" option when taking the snapshots. Without this, the test image looks like this:
![]()
I also tried creating a PNG image instead of a JPG image in order to reduce the artifacts, but the result looked pretty similar.
However, using "fswebcam -r 1280x720 --no-banner --deinterlace image_1280x720_C270_deinterlaced.jpg" clearly improved the image:
![]()
The result looks slightly less sharp, but much better overall. It seems like a good option for taking images from texts.
Compared to the images I took with the C920, this isn't quite on the same level of quality, but it should be enough for now. The C920 would definitely be my preferred choice for a high quality build.
So not much for today, but with the improvements in hardware and image quality still a little progress...
-
Day One: Additional software
02/16/2016 at 19:05 • 0 commentsSoftware installation
In order to start this project properly I'm installing the additional needed software packages on the Pi that weren't already included in the Raspbian Light image:
- basic webcam software
- the Tesseract OCR packages (base package and additional language package)
- the Festival text-to-speech package
- development tools
Installing USB webcam software
In order to be able to use the OCR software, we need additional software which can grab images from a USB-connected webcam. For this I followed the instructions from the raspberry.org website: https://www.raspberrypi.org/documentation/usage/webcams/
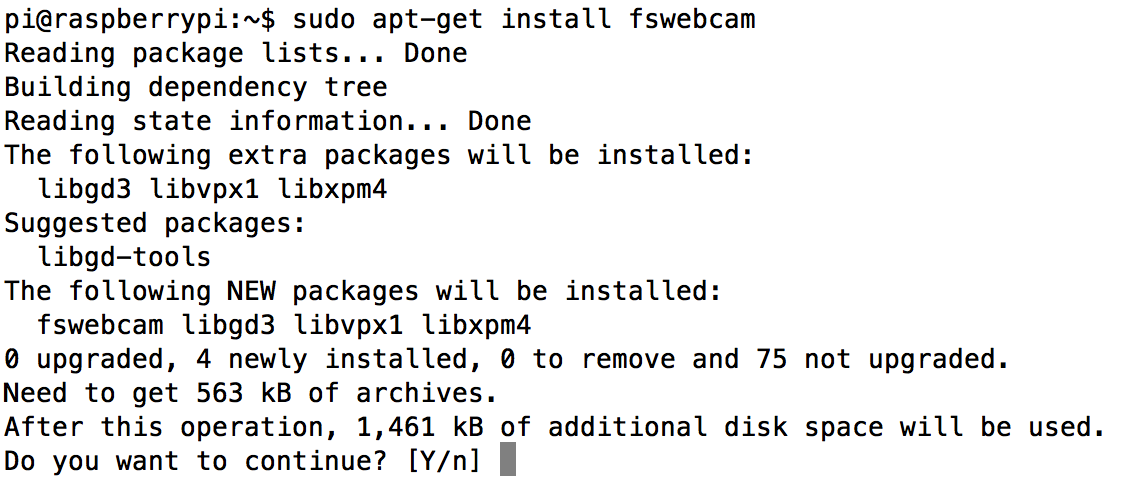
Using the command
sudo apt-get install fswebcam
installing the necessary software package is easy enough:
![]()
Installing the Tesseract OCR software
The repositories for the Tesseract OCR software can be accessed through the project page on GitHub: https://github.com/tesseract-ocr
Apart from the base software additional language-specific training data is needed. With the desktop versions you can get training tools which allow the software to improve character recognition by training it with different images, using different fonts etc. For the "headless" usage with the Pi in this project, I just use already available training data.
After another "sudo apt-get update" (just for safety), the Tesseract software for optical character recognition and the additional packages it depends on can be installed pretty easily with the commands I found on the raspberry.org website:
sudo apt-get install tesseract-ocr
sudo apt-get install tesseract-ocr-eng![]()
Actually I didn't have to use the second command as it turned out because the language pack for English ("eng") was automatically installed with the "tesseract-oct" base package.
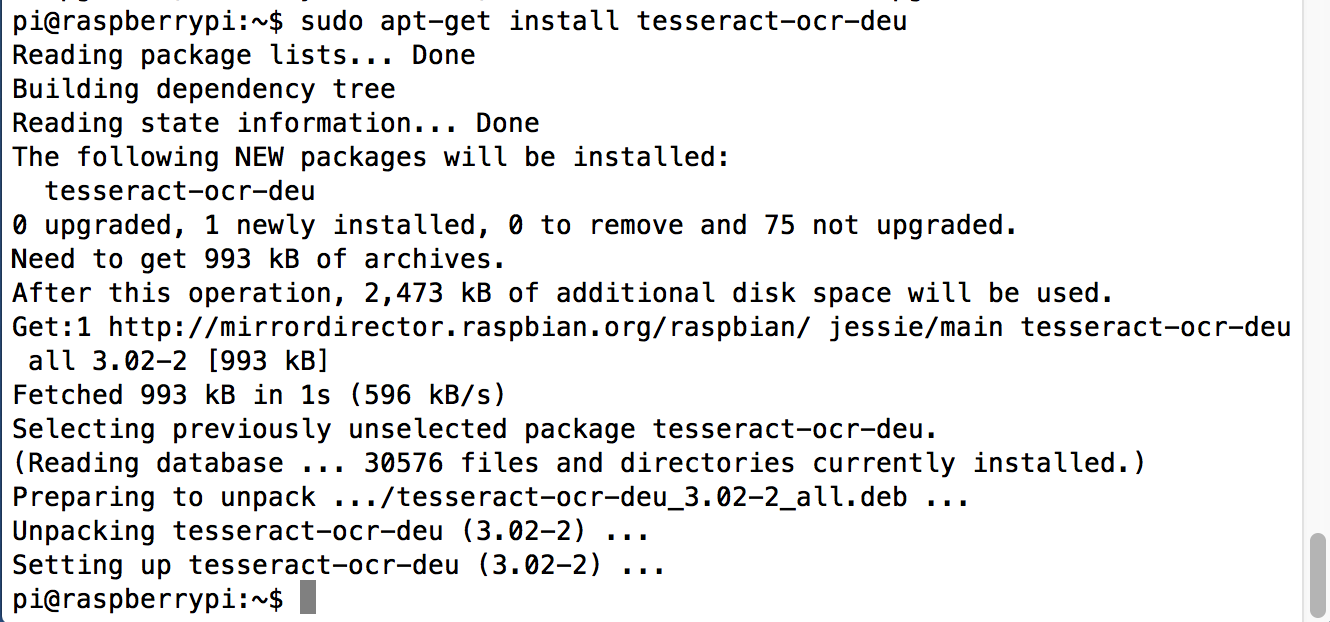
However, being from Germany and also thinking about support for further languages, I tried to add the language support for German (language code "deu" for "Deutsch") using "sudo apt-get install tesseract-oct-deu":
You can find additional default training data for different languages in the Tesseract "langdata" repository on GitHub. The language abbreviations follow the official language codes from ISO 639 standard that you can find here: http://loc.gov/standards/iso639-2/php/code_list.php![]()
That should cover the OCR software part.
Installing the Festival text-to-speech software
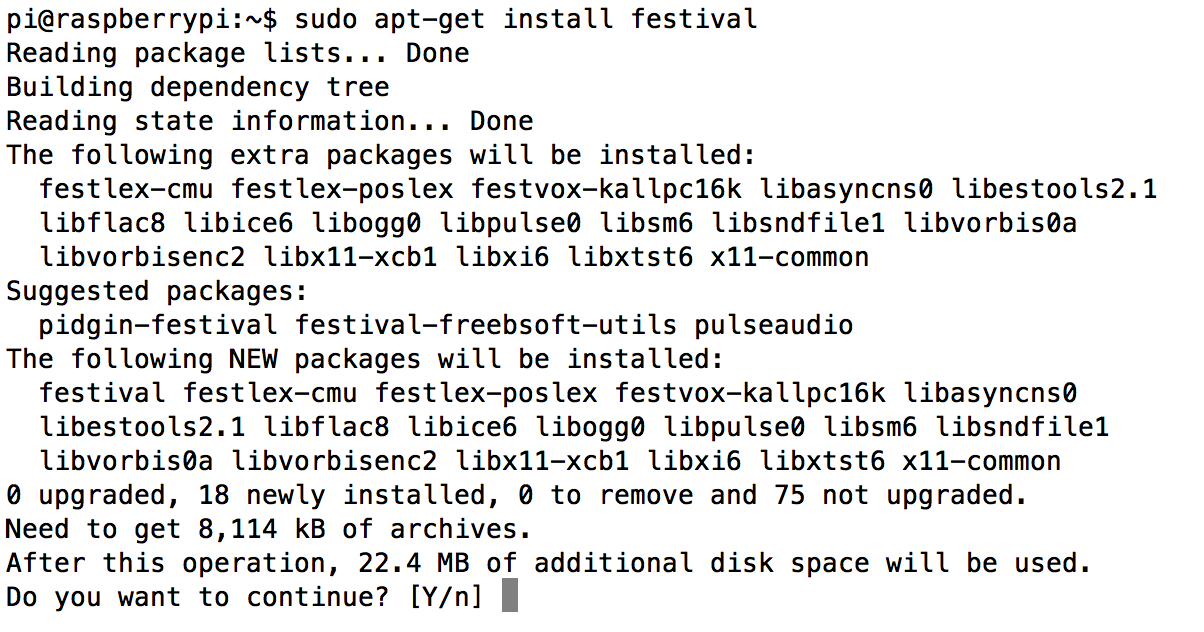
Following the tutorial on the Adafruit learning system, the installation of the "Festival" text-to-speech software is equally easy:
sudo apt-get install festival
While the "Flite" software also seems to be a good option, I'm trying out the Festival software first. I think this may be the better option regarding development of a custom application for this project later on.![]()
Just for fun, I also added the 16K-sampled British voice by entering "sudo apt-get install festvox-rablpc16k".
Checking the development software
As I'm planning to compile any new software that's going to be developed as part of this project, I checked the installation of gcc and gdb by simply entering appropriate installation commands:
sudo apt-get install gcc
sudo apt-get install gdb
Both packages were already installed as part of the basic Raspbian installation and did not need to be updated (thanks to the update I initially performed).
Right now I'm planning to use C/C++ for programming, so that should be everything I need. Depending on the progress Python maybe an additional option for later on.
Setting up FileZilla for file transfer
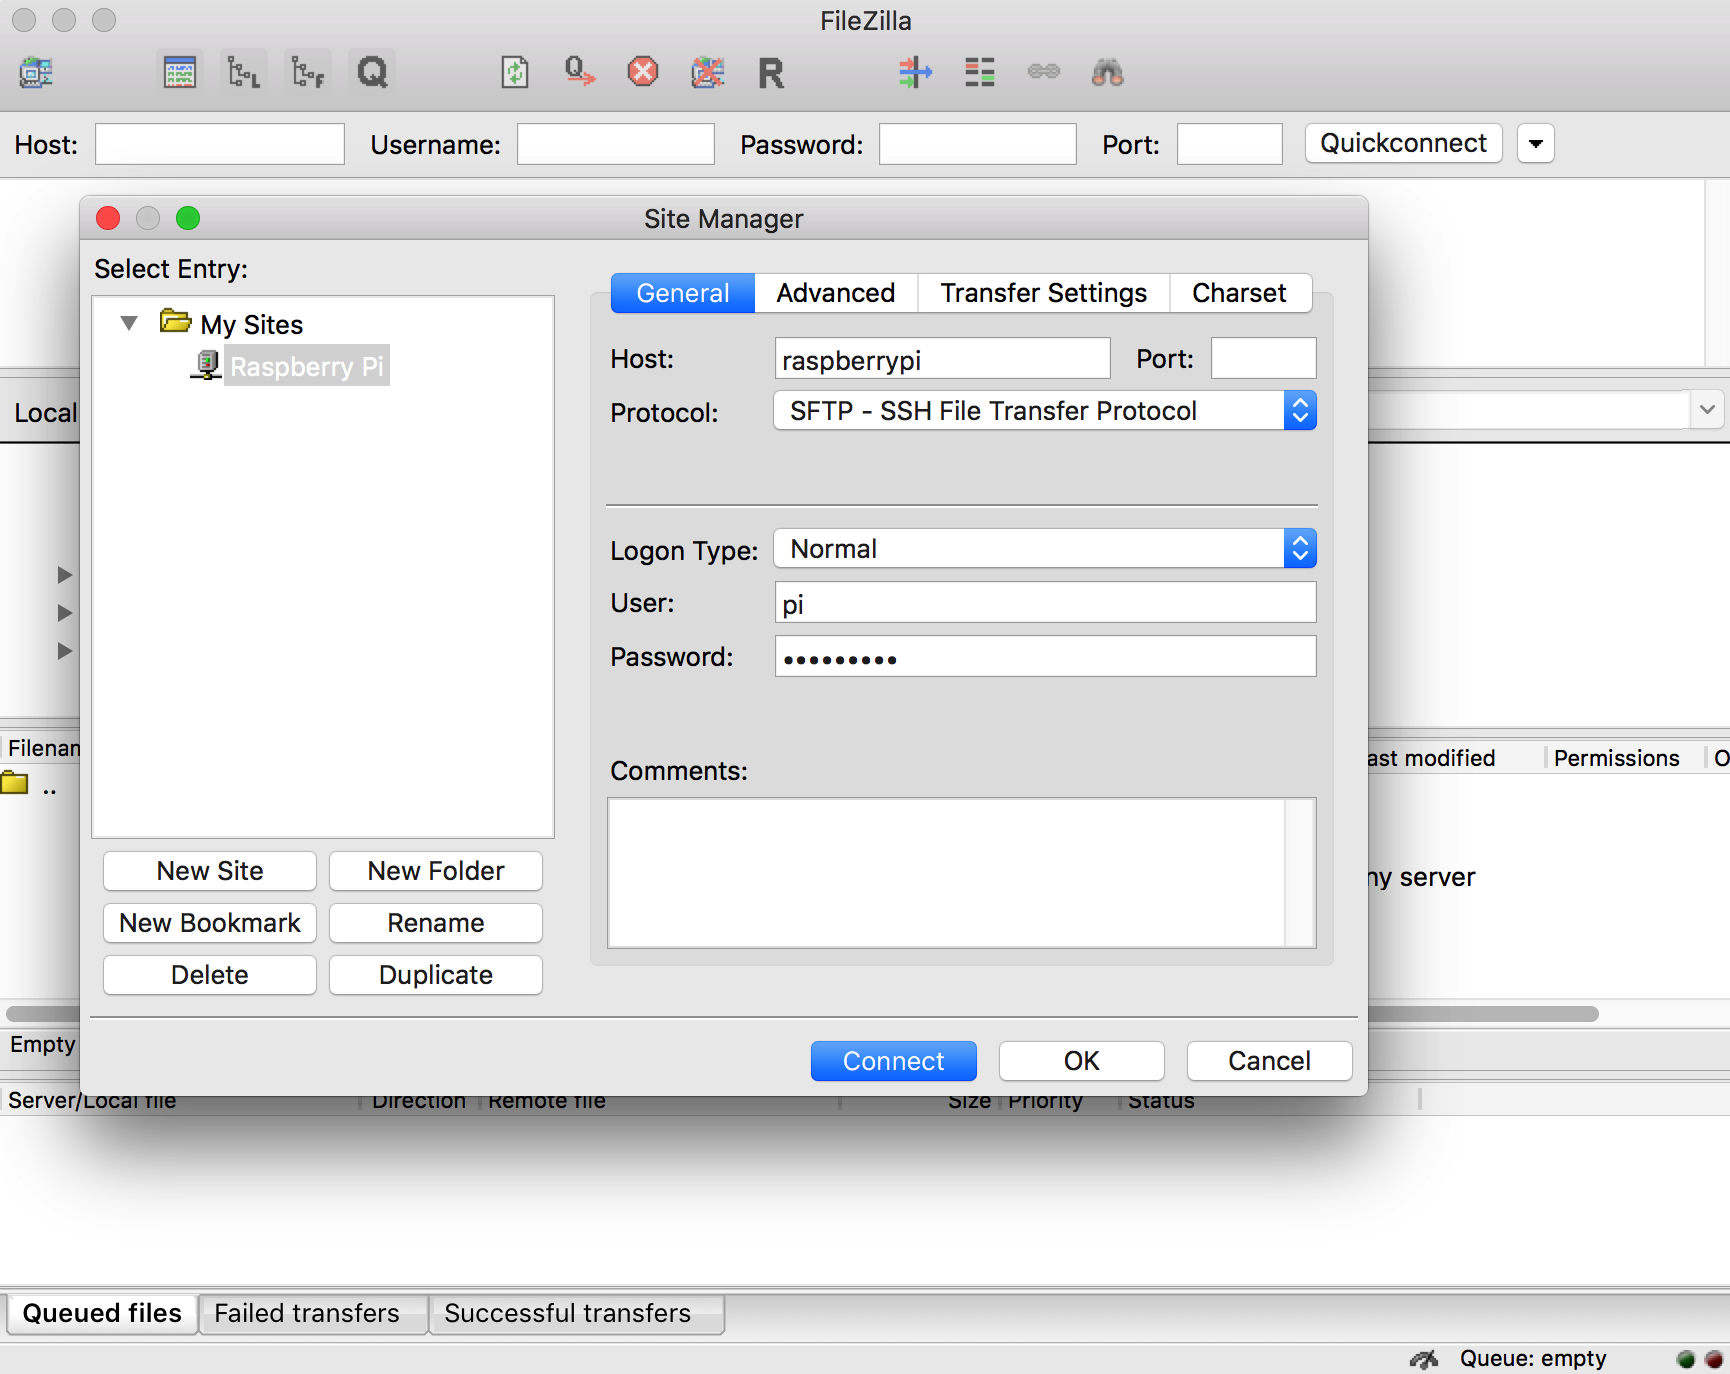
For easier file editing during software development and file transfer of test images, I fired up FileZilla on my iMac (get it from the official FileZilla open source project page if you don't have it already) and set up an SSH file transfer connection to the Pi (which is still connected through the USB-TTL serial cable):
I simply chose "Raspberry Pi" as site name. Using "raspberrypi" as host name, all that's needed here is selecting the SFTP (SSH file transfer) protocol instead of the default FTP protocol. Then just use the "normal" logon type and enter the user and password for the Pi - in this case just the default "pi" user.![]()
Initial tests
With the necessary software in place, it's time to do some initial testing.
Webcam and file transfer test
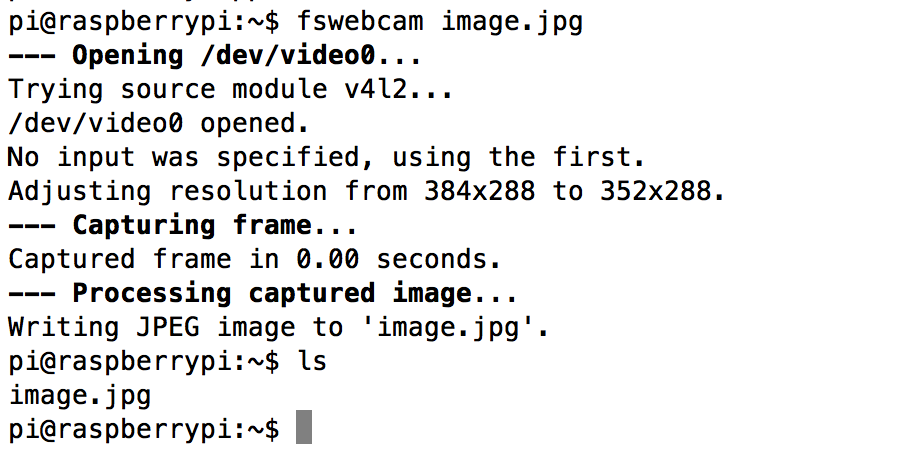
In order to test the webcam, I unplugged the WiFi USB dongle from the single USB port on the Raspberry Pi A+ and plugged in the USB webcam instead. Just to be on the safe side, I then rebooted the Pi. Using the "fswebcam" software, I took a quick picture with the command
fswebcam image.jpg
The file "image.jpg" was created as expected. In order to have a look at the image, I opened up FileZilla (see above) and opened the connection to the Pi .![]()
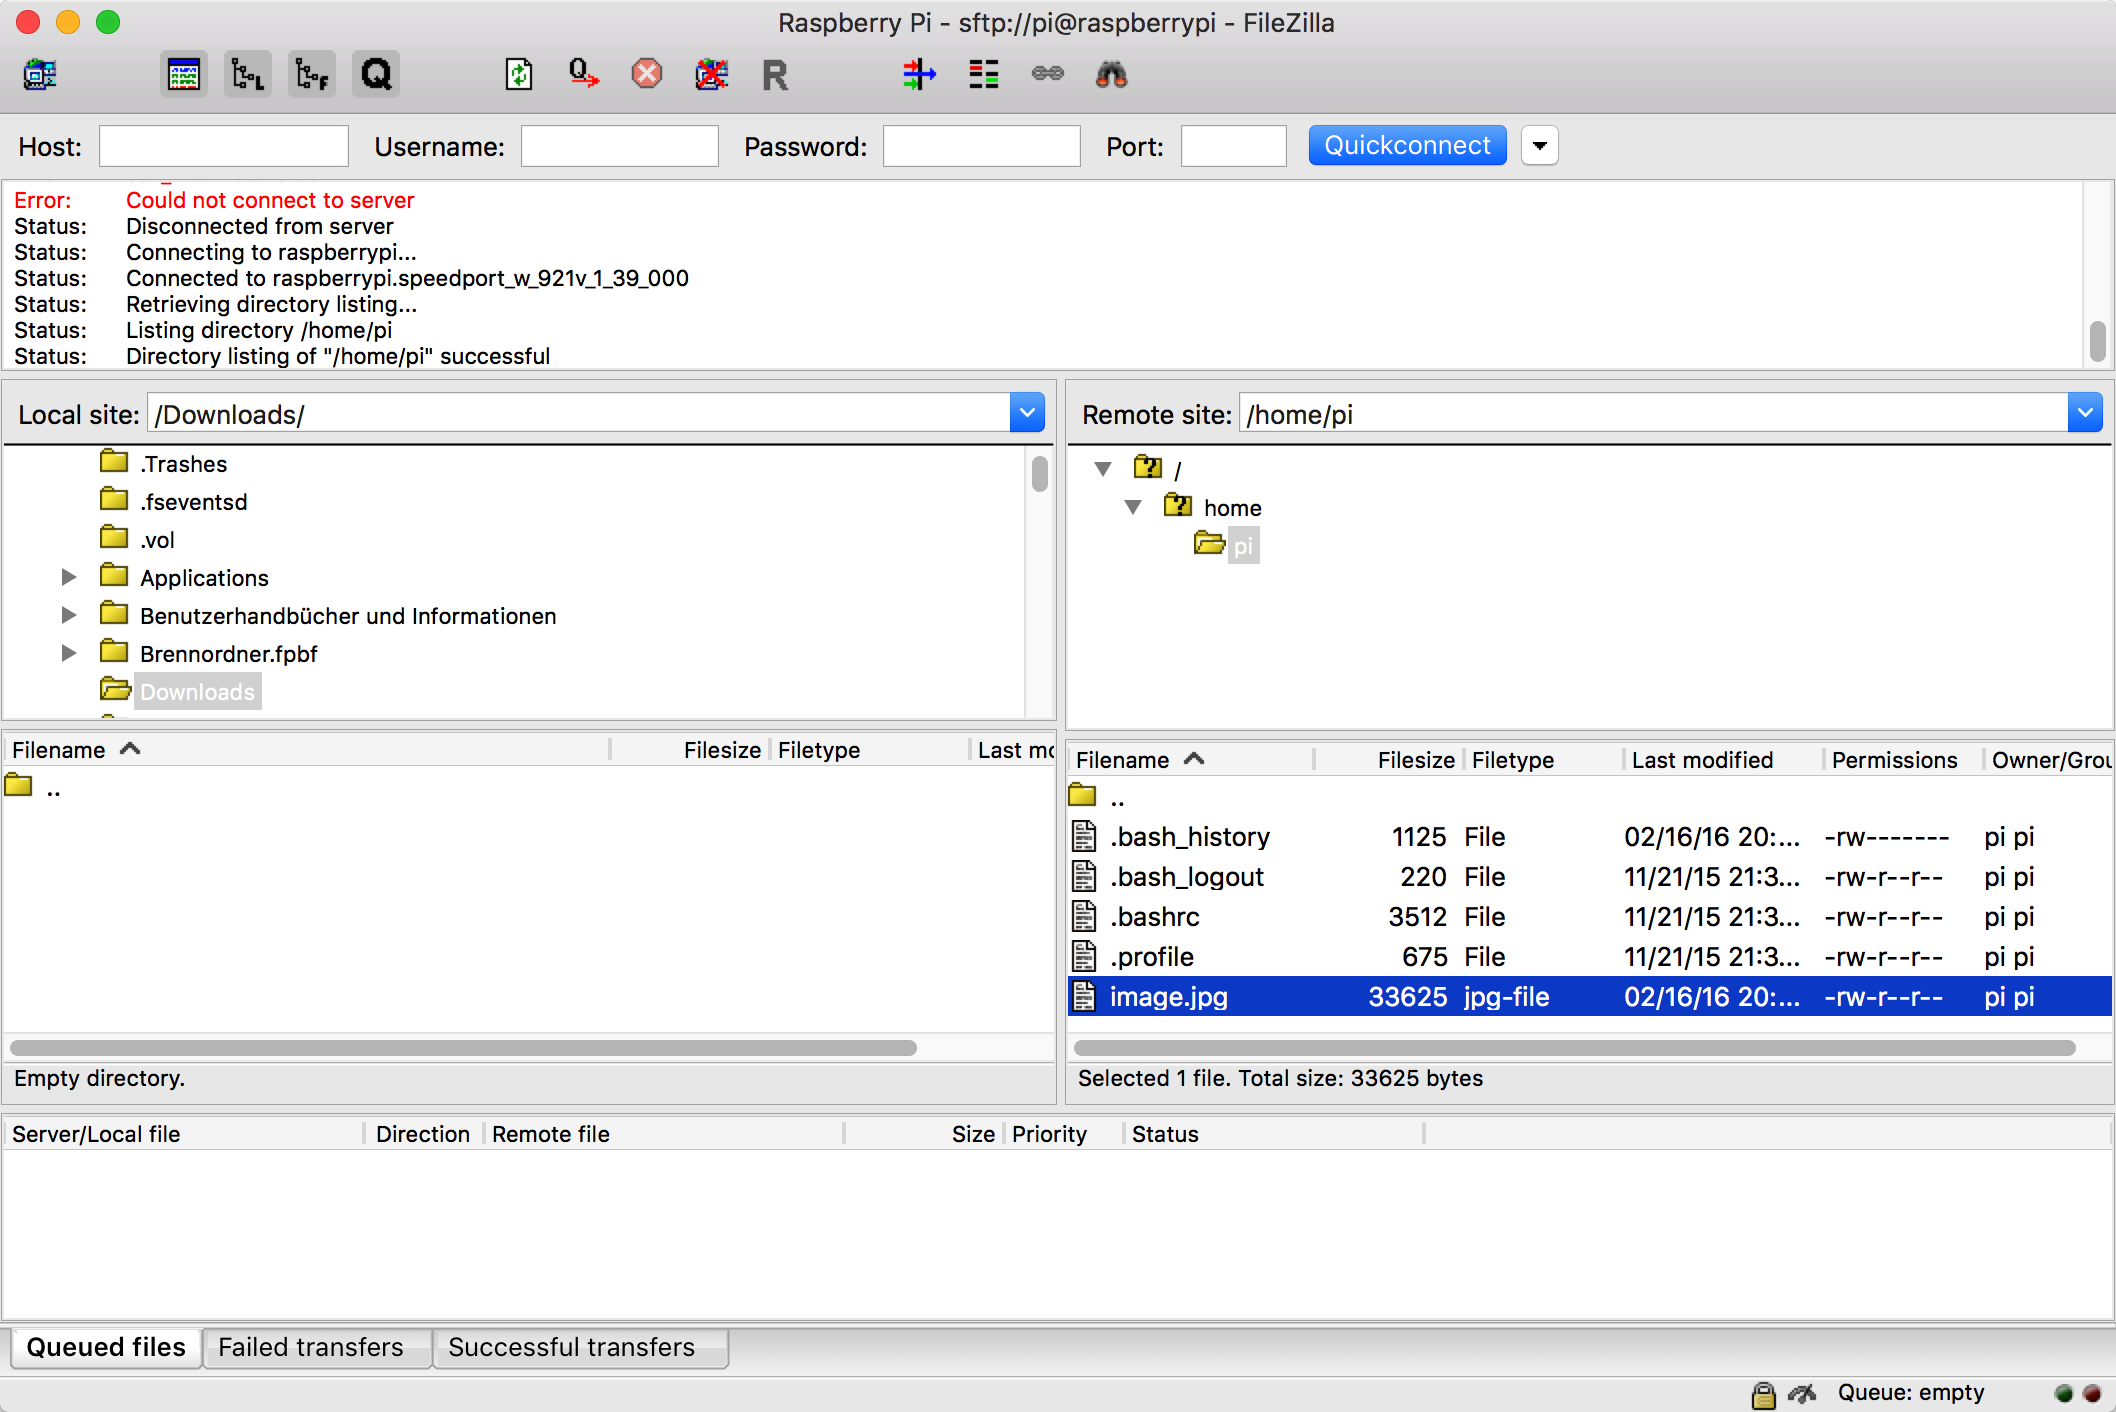
The connection does not work with the USB-TTL serial cable alone, so I needed to unplug the USB webcam and switch back to the WiFi dongle. After the connection was established, I could see the image file in the file browser:
I transferred the file to the iMac and checked it. Due to the default low resolution settings for the camera image, it doesn't look impressive, but it's good enough for a first test:![]()
Just to see what might be possible, I went back to the Pi, reconnected the webcam and took a picture with a higher resolution by entering![]()
fswebcam --resolution 1280x720 image2.jpg
The result looks like this:
![]() Obviously I need to test the webcam a little more and try to find out what the minimal distance to the target has to be and which parameters and values "fswebcam" needs in order to produce pictures with a higher quality. Also, the embedded information on the bottom has to be suppressed as we don't need the date and time here (and it would be confusing as additional speech output at the end).
Obviously I need to test the webcam a little more and try to find out what the minimal distance to the target has to be and which parameters and values "fswebcam" needs in order to produce pictures with a higher quality. Also, the embedded information on the bottom has to be suppressed as we don't need the date and time here (and it would be confusing as additional speech output at the end). As it's already getting a little late now, I won't test the speech output now. I will try to test this tomorrow.
-
Day Zero: Preparations
02/15/2016 at 18:47 • 0 commentsBefore starting into the project properly, some preparations need to be done first.
Step 1: Getting the minimum development hardware
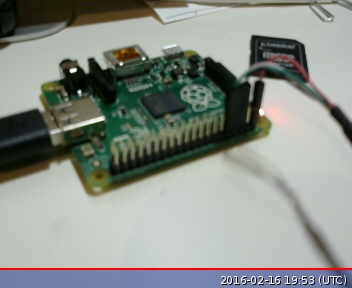
I already did this last week by purchasing a Raspberry Pi model A+, a USB webcam (I chose the Logitech C270 here), an additional micro SD card with adapter, a thin speaker with wires and a USB to TTY serial cable. I already had the optional power supply for the Pi as I got this earlier for my Pi 2.
As the project continues, I'll likely add some additional components like the powerboost breakout board from Adafruit, a rechargeable battery, a Pimoroni phatDAC expansion board and a few other components. But for the moment, this setup seems like a good start.
Step 2: Installing the operating system
As this application does not need a graphical interface (at least not in the initial version), I chose Raspbian Jessie Light as my Pi operating system of choice and downloaded it straight from the Raspberry Pi Org website: https://www.raspberrypi.org/downloads/raspbian/
Following the installation guide I went on to create an SD card with the operating system. So far so good.
Step 4: Installing the drivers for the USB to TTL cable
My current private development system is a nice Apple iMac. Following the Adafruit learning guide for connecting to the Raspberry Pi using the USB to TTL cable I went over to the Prolific website and downloaded the latest driver package for MacOS X 10.11.
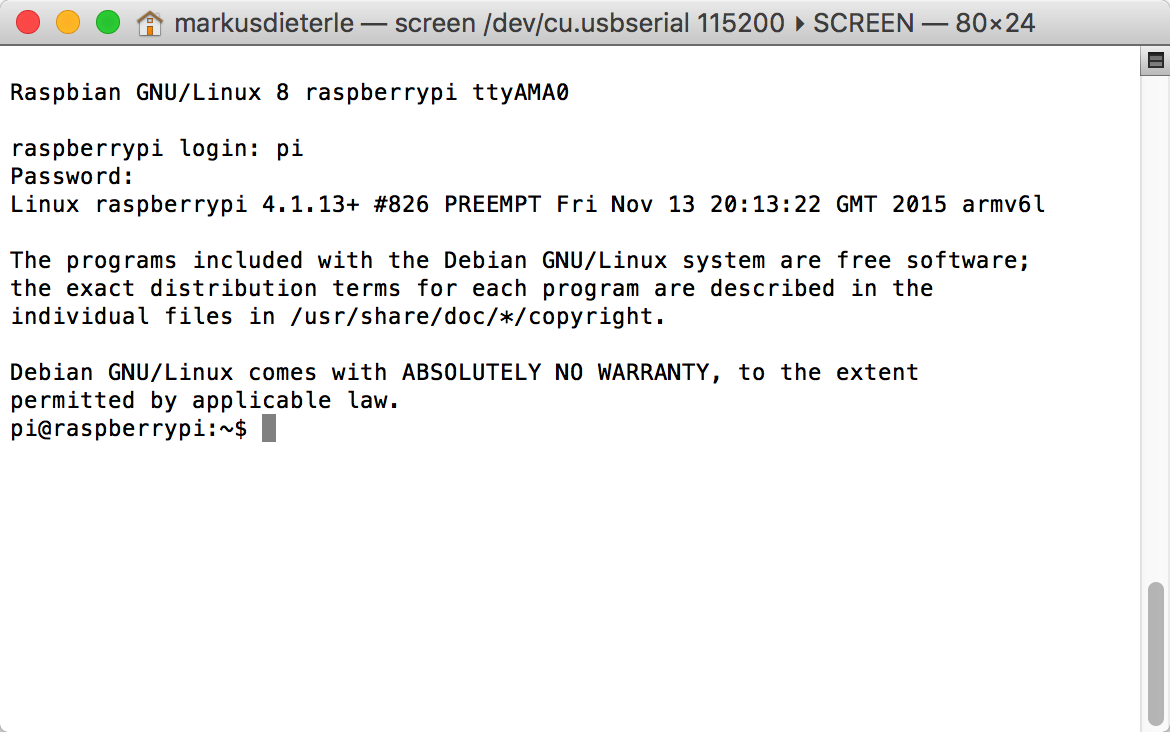
After installation and reboot, I connected the USB to TTL cable to my USB hub and the Pi A+. Using the standard terminal application and the screen command, I checked out the Pi:
![]()
Raspi-config did not start automatically because I accidentally rebooted the Pi when I reconnected the USB-TTL cable. So I had to use "sudo raspi-config" in order to finish the initial setup.
Step 5: WiFi configuration
For the installation of the additional software components, I'm going to temporarily pop in a small wireless USB adapter into the USB connector of the Pi A+ and configure that to connect to my home network. There's a nice tutorial for the WiFi setup on the Raspberry Pi Org website: https://www.raspberrypi.org/documentation/configuration/wireless/wireless-cli.mdFollowing the instructions and testing after rebooting the Pi, I found that this was not yet enough. So I went back to the Adafruit learning system and looked up the guide for the WiFi network configuration using the command line: https://learn.adafruit.com/adafruits-raspberry-pi-lesson-3-network-setup/setting-up-wifi-with-occidentalis
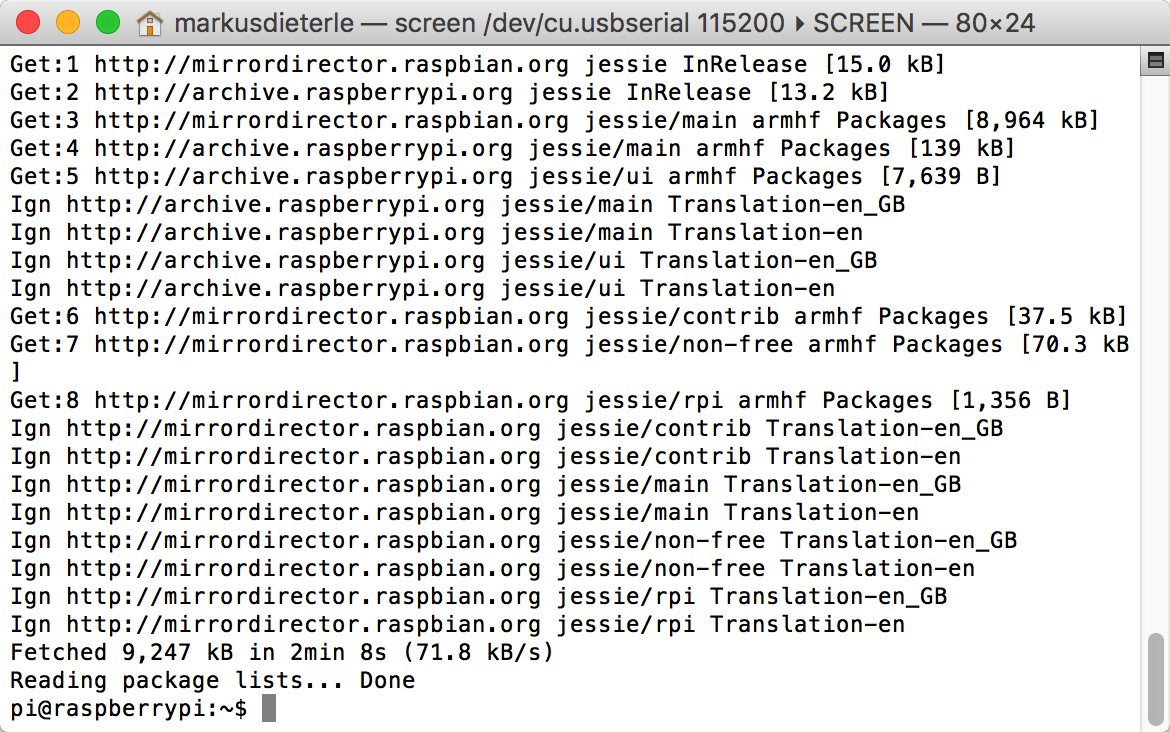
As I'm using a network with hidden SSD, the configuration was a little trickier but with the added info here I finally was able to connect to the network. Using "sudo apt-get update" was the final test for the network connection:
![]() Now that the update works over the wireless network, everything is ready for the installation of the additional software for the camera, OCR and text to speech.
Now that the update works over the wireless network, everything is ready for the installation of the additional software for the camera, OCR and text to speech.
TextEye: Raspberry Pi (Zero) Mobile Textreader
A mobile text scanner/reader for people with severe visual impairments


 Now that the update works over the wireless network, everything is ready for the installation of the additional software for the camera, OCR and text to speech.