-
1Step 1
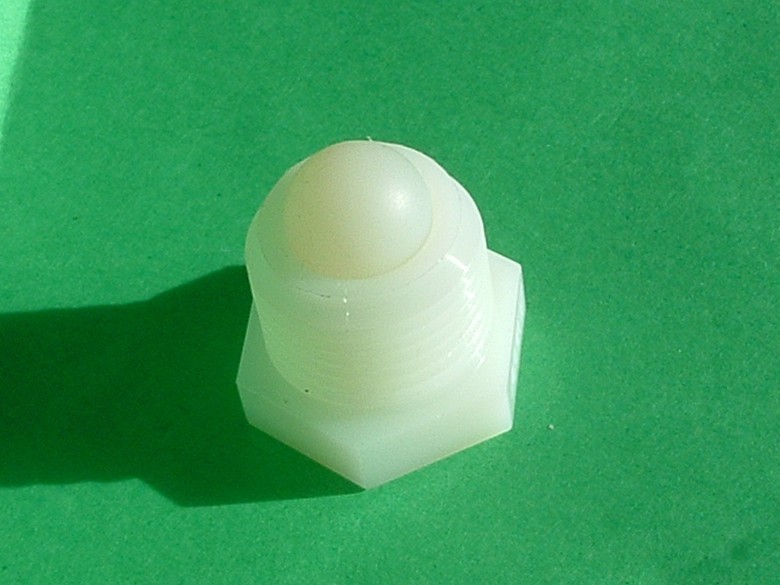
1/2" nylon ball-bearing that I drilled and tapped a 6-32 thread into 3/8" deep.
These ball-bearings came from a wonderful place. Here is the link to the site.
http://myworld.ebay.ca/toolsupply/
This nylon plug made an excellent holder and allowed the drill hole to be centred.
-
2Step 2
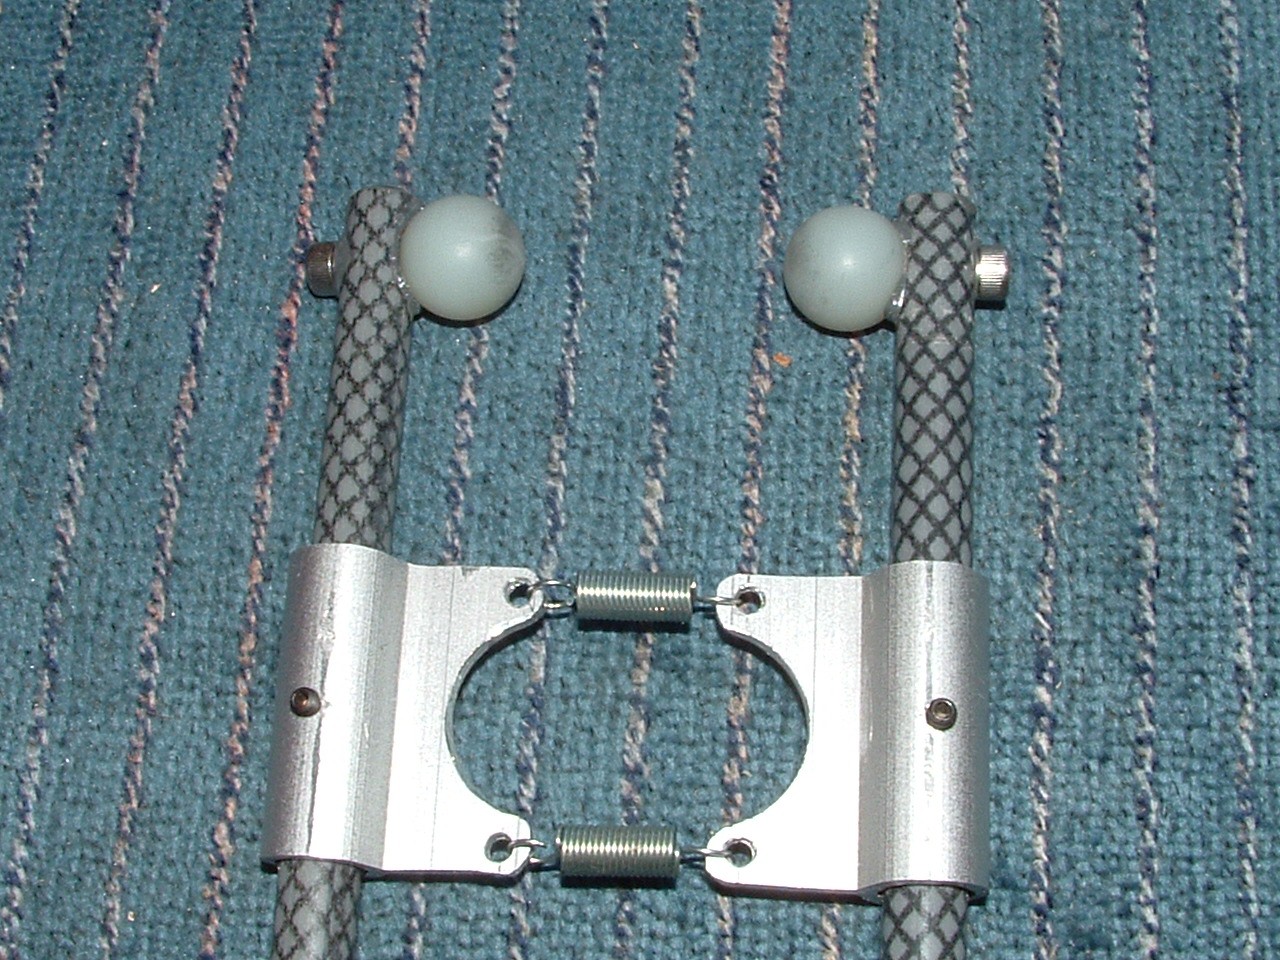
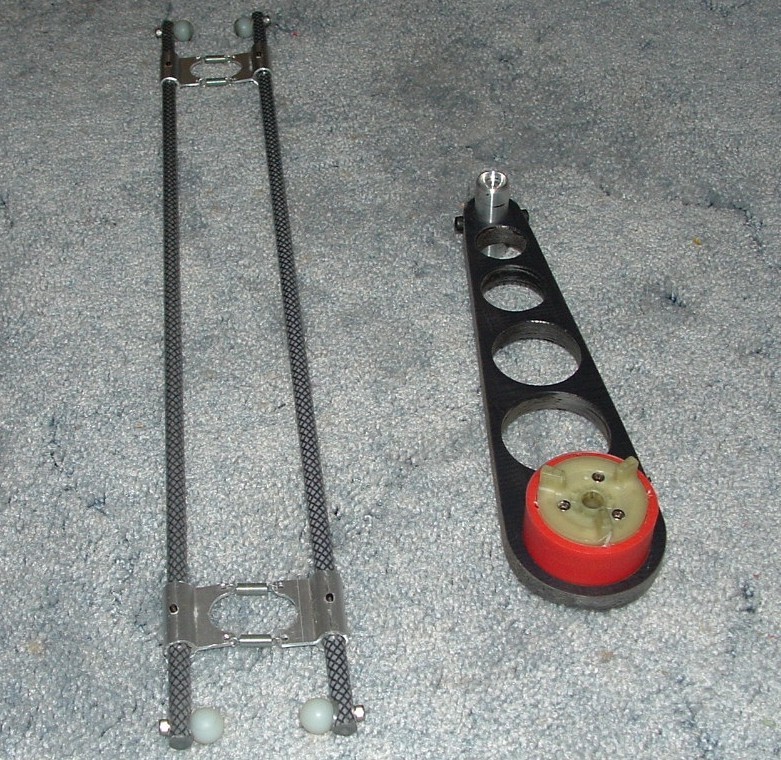
With a round chainsaw file I cut a grove into the nylon ball. Then using J-B weld and the 6-32 screw I attached the ball-bearing to the Fibreglass shafts. The spring mounts were attached by 4- 4-40 set screws 1/2" in length. The set screws touch, this locked them in place.
-
3Step 3
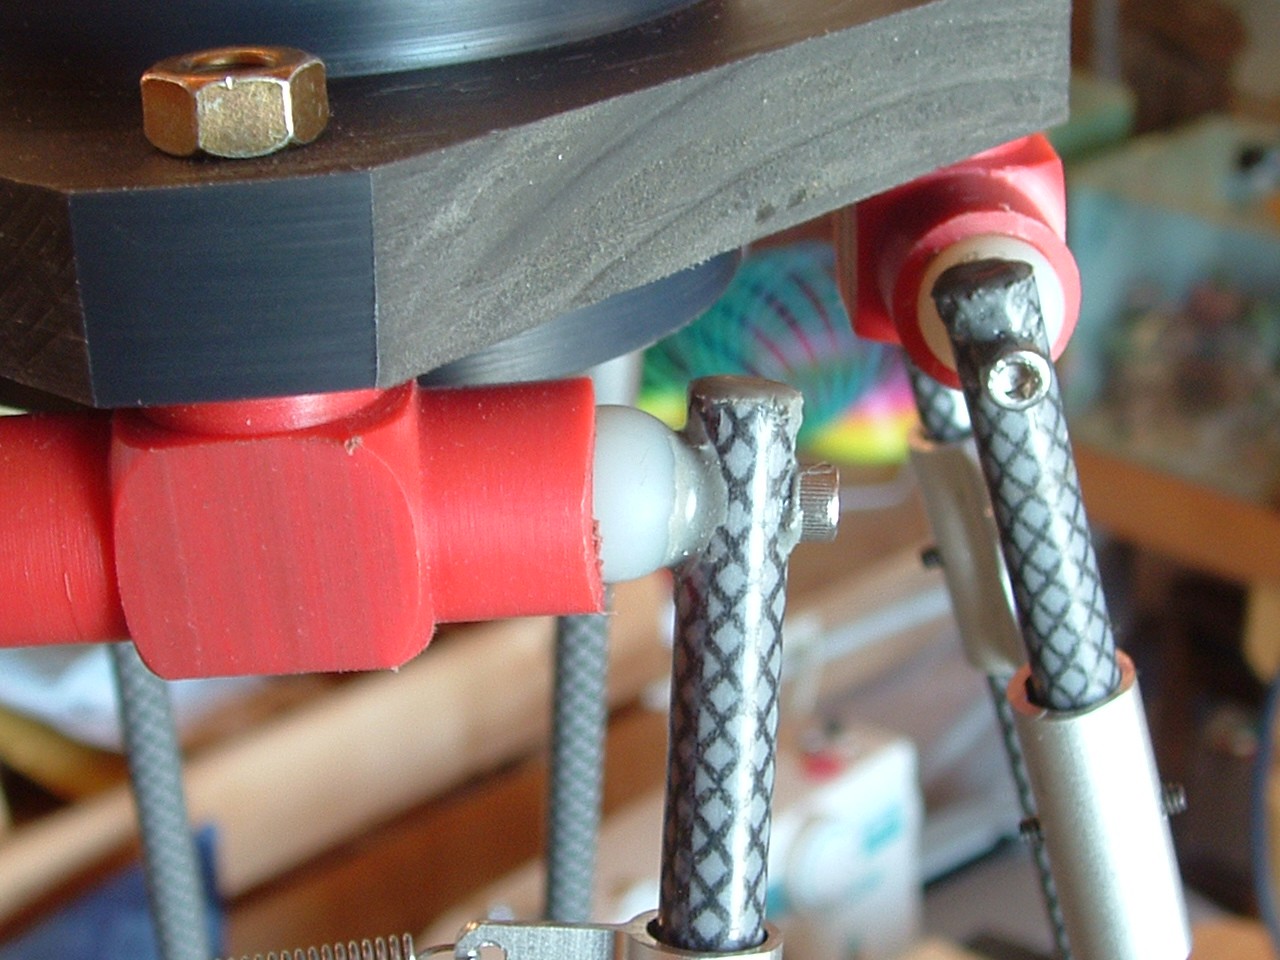
The end effector socket mounted.
The elbow joint mounted.
-
4Step 4
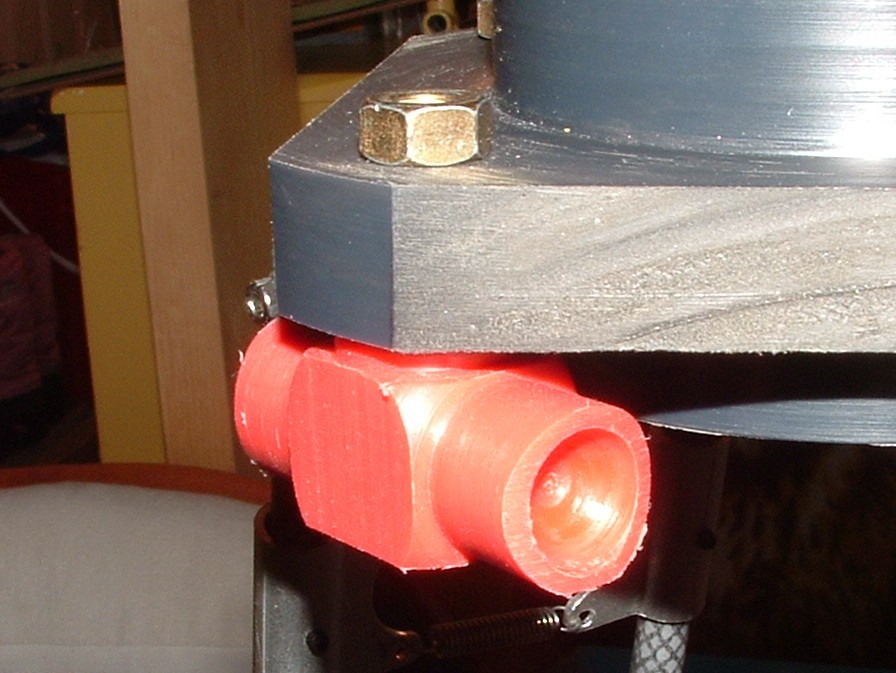
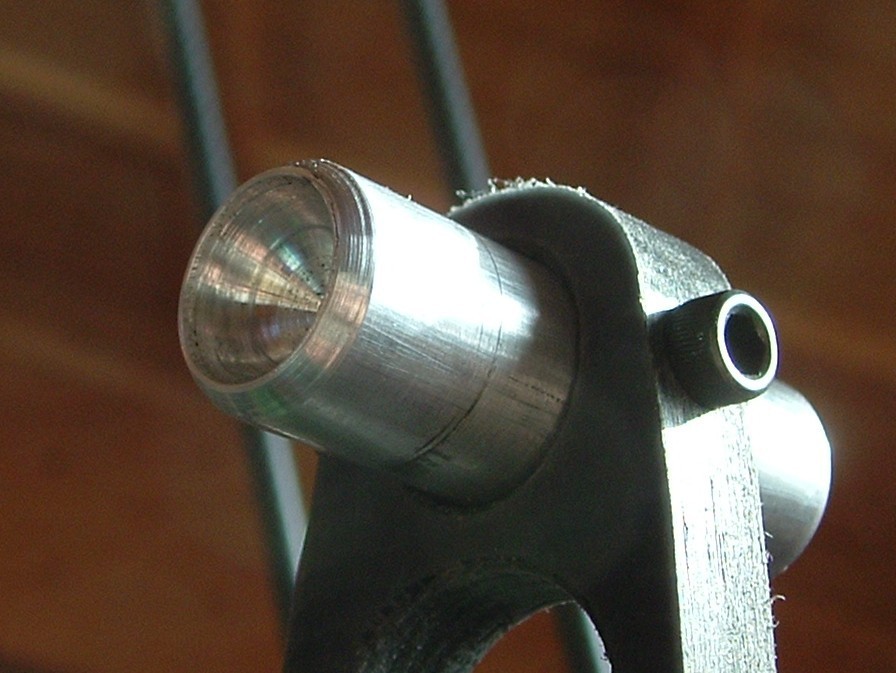
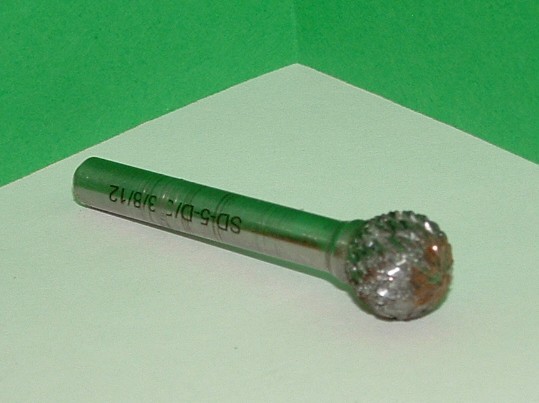
I pre drilled the sockets with a 7/16 drill bit - then finished the hole with this precision 1/2" carbide ball cutter.
-
5Step 5
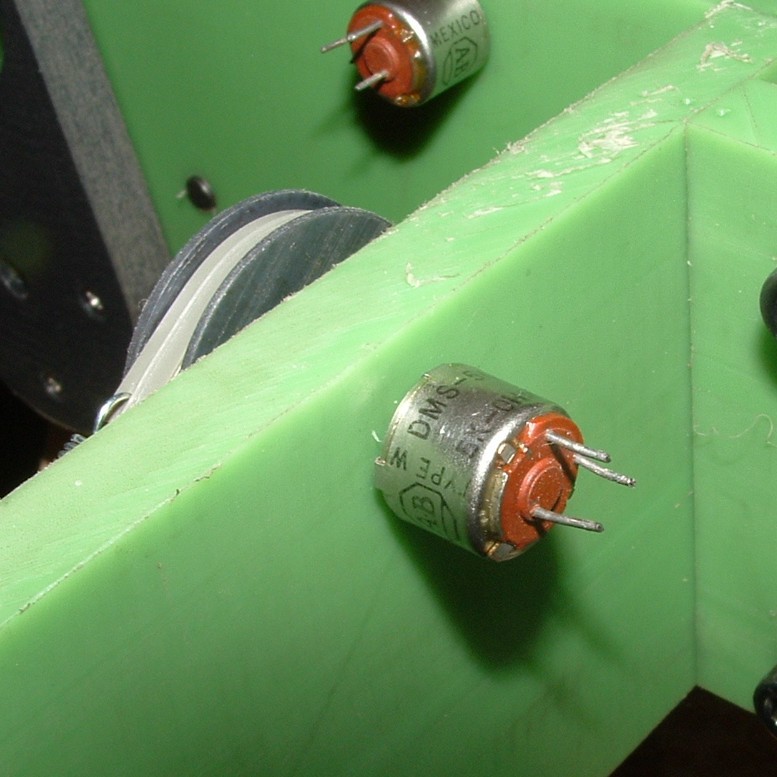
The 5K pots will be read by a 16 bit a-d converter. There will also be end stop micro-switch protection on the shoulders.
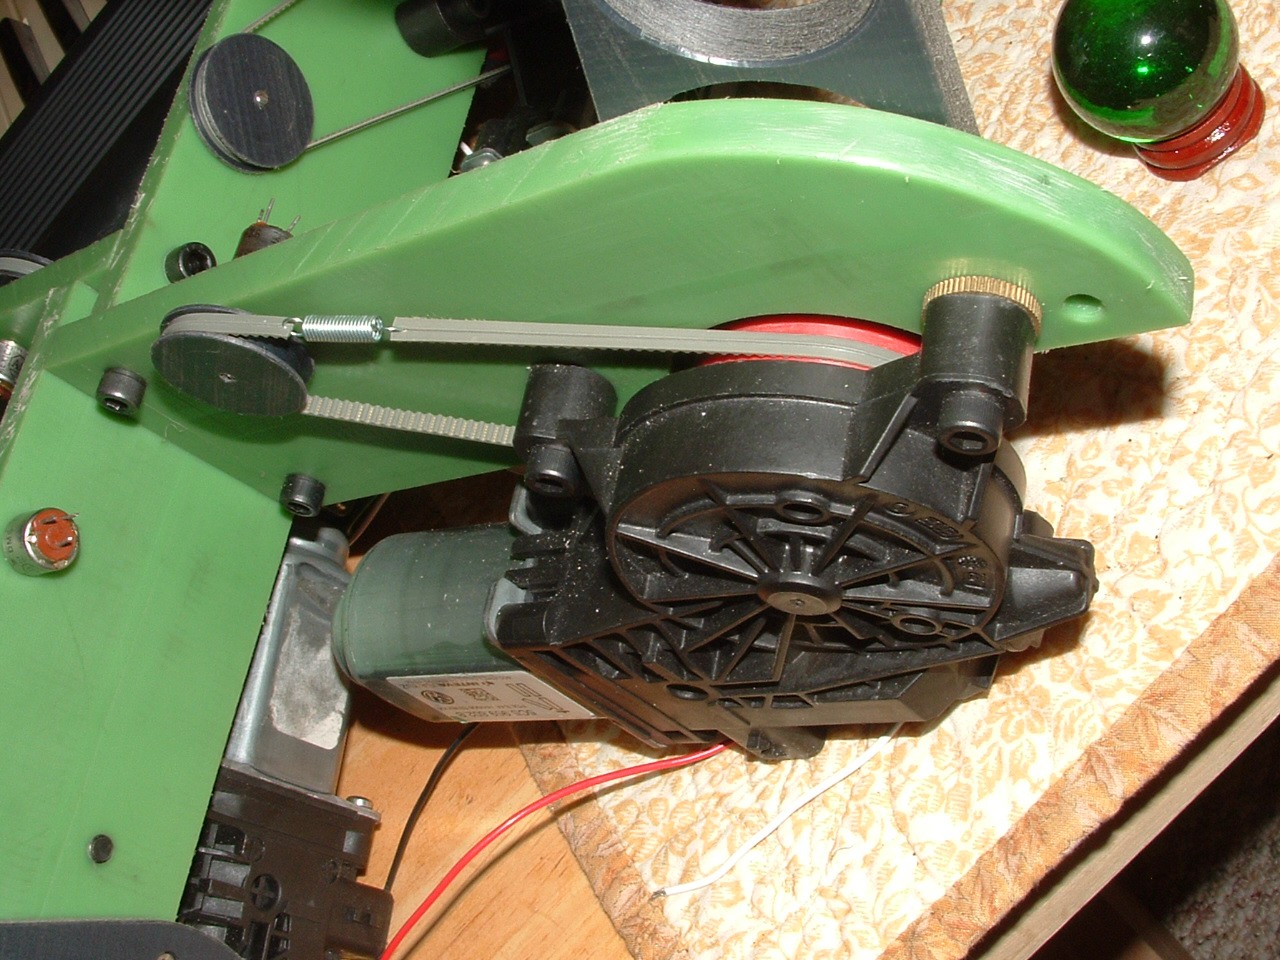
Shoulder positions are read by these 5K potentiometers connected by the spring loaded belts.
The pulleys give me a (2 to 1) resolution increase.
-
6Step 6
The four shoulder were cut and bolted together then using circle cutters I fashioned the holes. This was done to reduce the over all weight .
 Joseph Lavoie

Discussions
Become a Hackaday.io Member
Create an account to leave a comment. Already have an account? Log In.