-
1Step 1
Prepare raspbian OS
We recommend to uninstall useless apps for a dedicated point of sale:
sudo apt-get update
sudo apt-get remove scratch wolfram-engine dillo netsurf-gtk sonic-pi minecraft-pi
sudo apt-get autoremove
sudo apt-get clean
sudo reboot
That will give you an extra .6 Gb space, great for smallers SDs.
-
2Step 2
Disable shell and kernel messages on the serial connection
The serial port on the Raspberry Pi’s GPIO header is normally configured for console cable use,
will output a Console from your Pi that, with a suitable Serial cable, you can use to control your Pi via the command-line.
But now we want to use this port for the thermal printer instead, so we’ll need to disable this default behavior.
sudo raspi-config
Advanced options
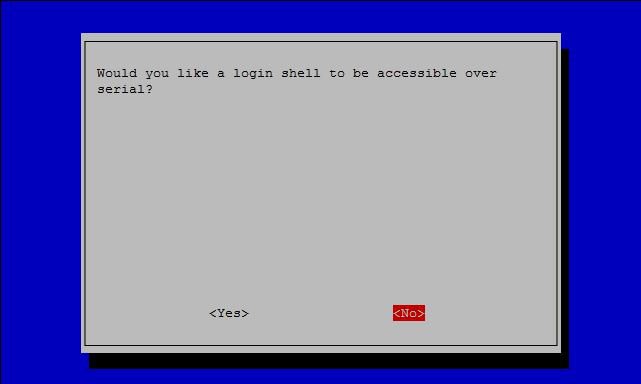
Serial / Enable/Disable shell and kernel messages on the serial connection
Would you like a login shell to be accessible over │
│ serial? NO
-
3Step 3
ENCLOSURE, CONECCTIONS & HARDWARE
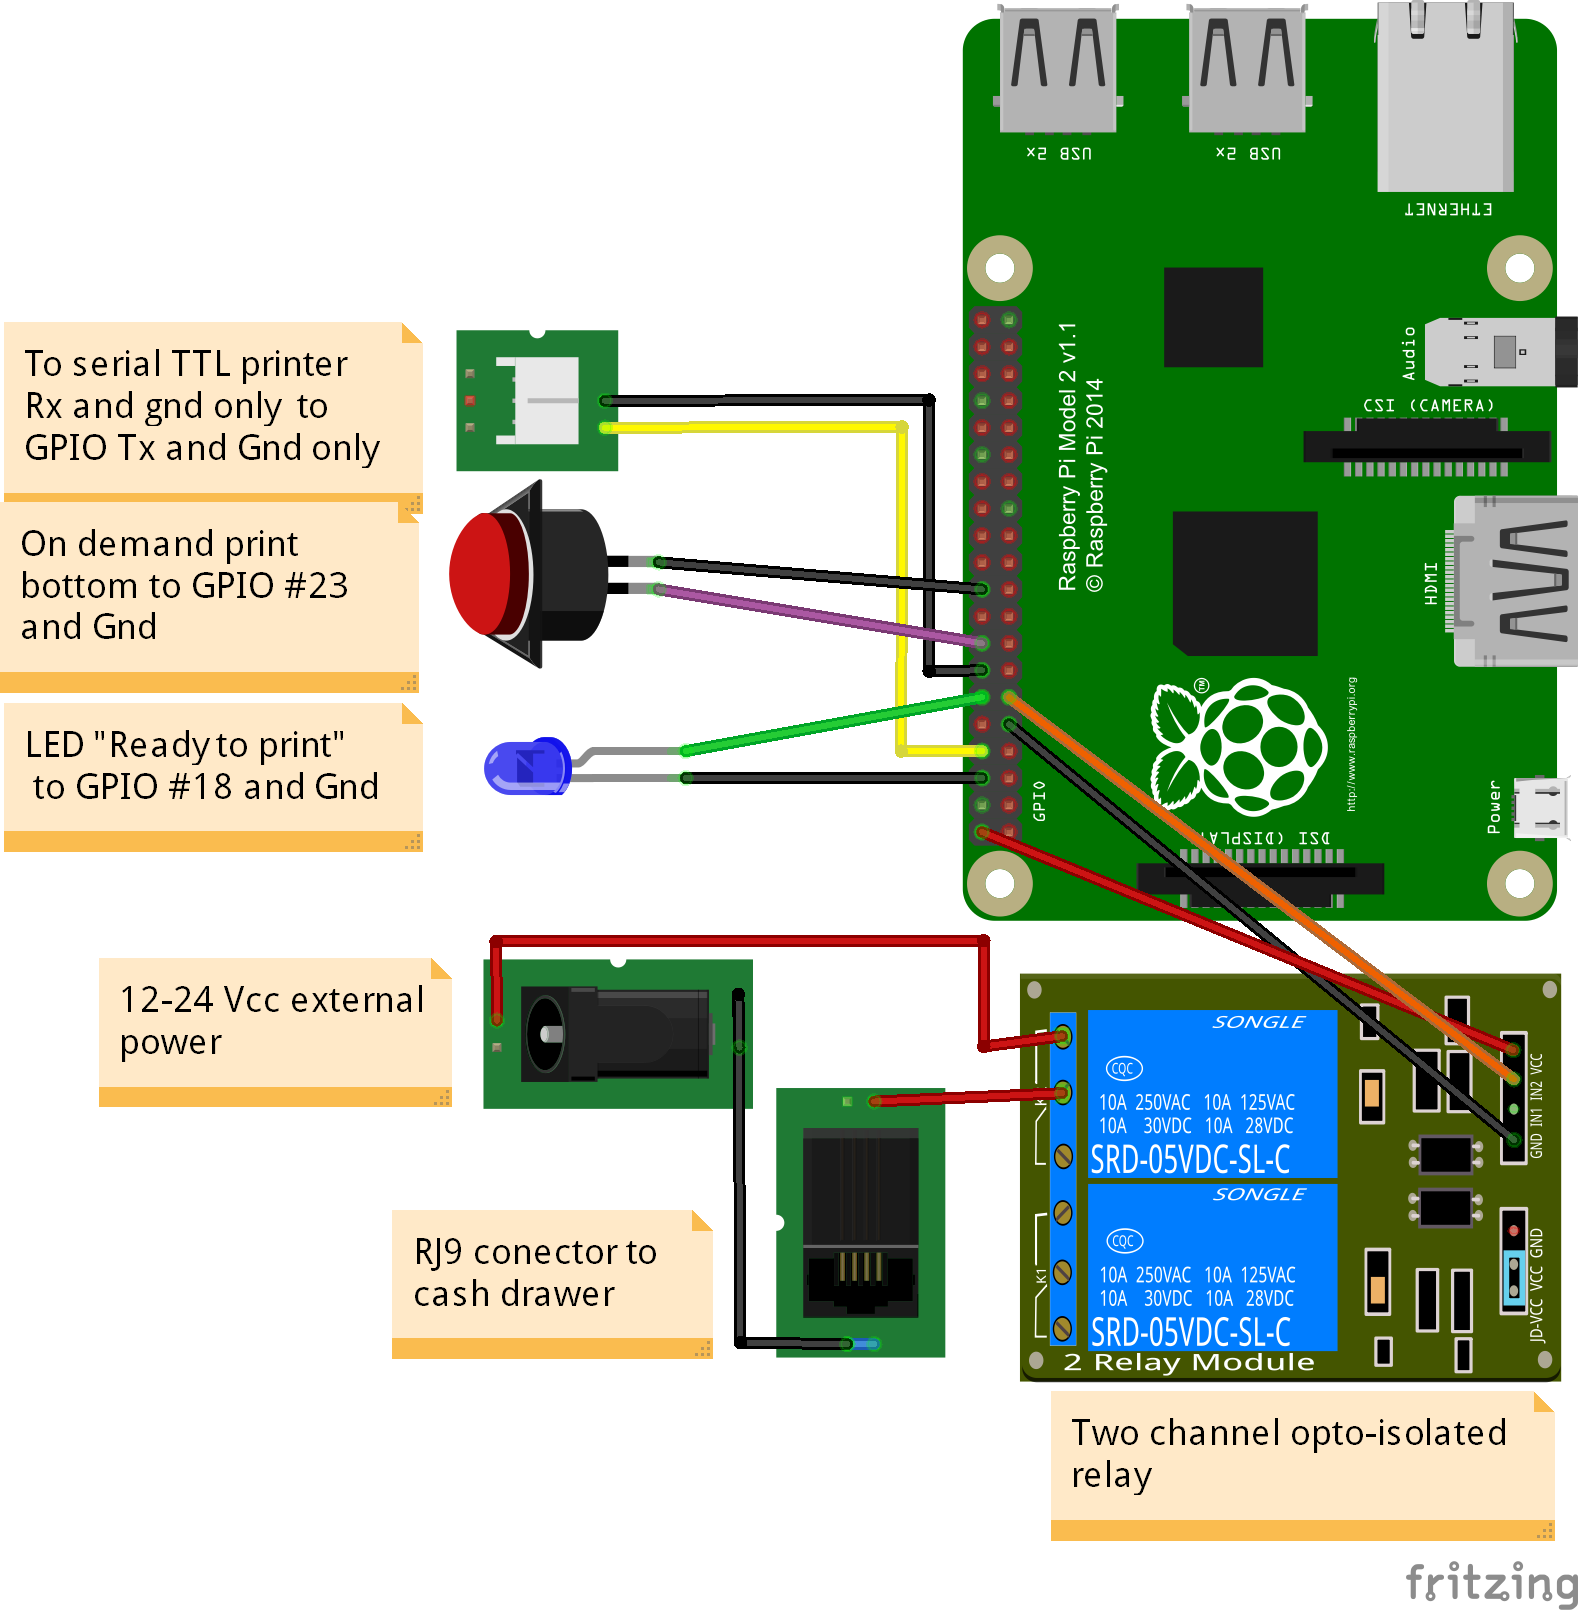
This diagram shows the Raspberry pi 2, GPIO wirings are exactly the same on all Pi's, please prototype this connections before try the enclosure, it will help you to understand the basic functions and try the app first.
Jump to Step 4 for software install instructions.
![]()
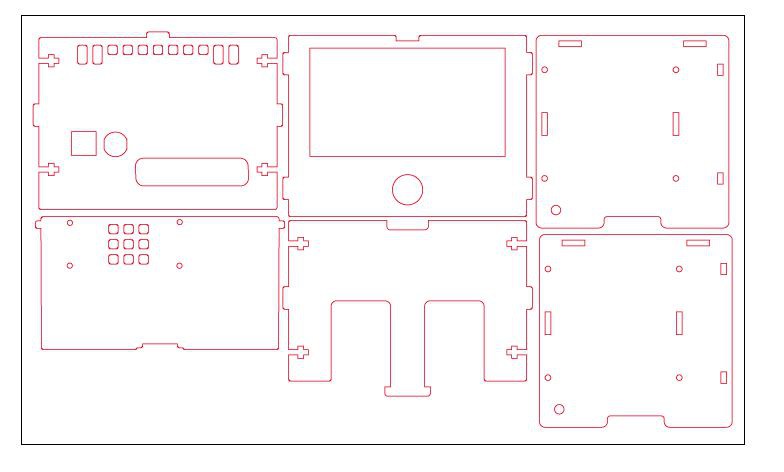
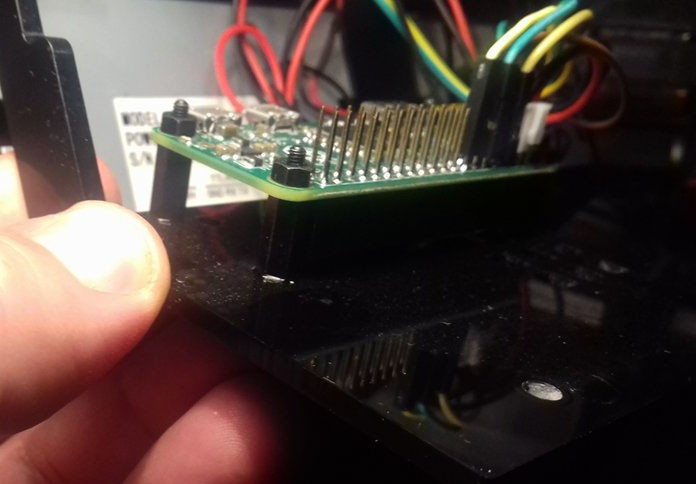
You can download the enclosure at thingiverse: http://www.thingiverse.com/thing:1359766Assembly and connections are almost the same as the “Internet of Things Printer for Raspberry Pi” tutorial from adafruit, but with an opening to reach USB/HDMI ports and use the Raspberry pi zero instead classic model mounted on 2 sets of Brass M2.5 Standoffs for Pi HATs available from adafruit. No need for the T-Cobbler Breakout neither. You can follow the adafruit tutorial for more details.
ABOUT cash drawer and the external relay.The raspberry pi gpio output cannot open a cash drawer directly, it is needed 12-24 DCV, you must use a opto-isolated relay conected to the Physical pin 11.
This image shows connection using jumper wires, soldering is better.
![]() WARNING!!!: Never conect the side printer Tx pin to Rx GPIO on the pi, the Tx wire is only used for rare cases where the printer returns data to the computer. It’s left unconnected because the printer works at 5 Volts and the Raspberry Pi at 3.3 Volts connecting directly to the Rx pin could permanently damage the Raspberry Pi! (The other direction is safe as-is.).
WARNING!!!: Never conect the side printer Tx pin to Rx GPIO on the pi, the Tx wire is only used for rare cases where the printer returns data to the computer. It’s left unconnected because the printer works at 5 Volts and the Raspberry Pi at 3.3 Volts connecting directly to the Rx pin could permanently damage the Raspberry Pi! (The other direction is safe as-is.).Serial Data Cable Rx TO Physical pin 8 It's also commonly known as "Serial TX" ttyAMA0. Serial Data Cable Tx Serial GND from serial printer to any gpio GND could use Physical pin 6,9, 14.
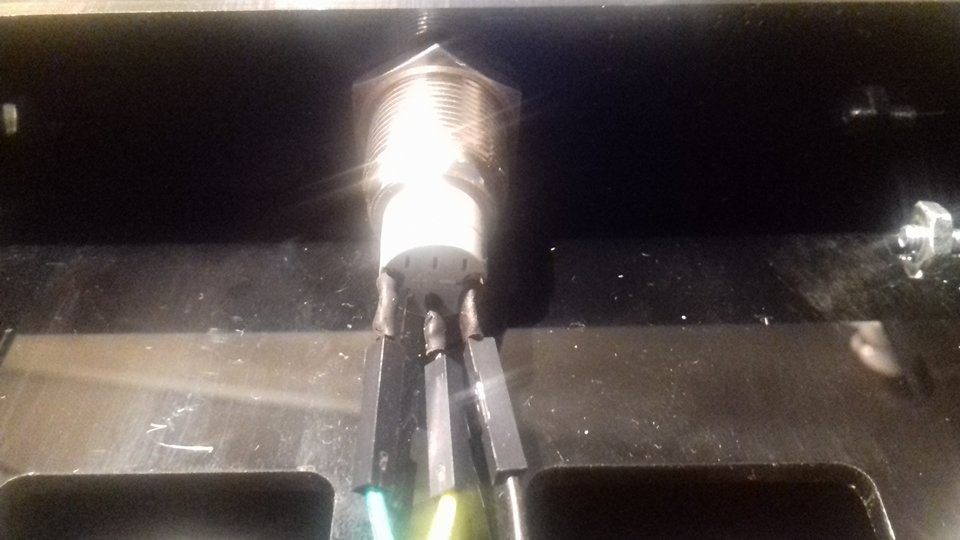
-----Push buttom and LED.
Push bottom N.O. to Physical pin 16 switch to GND.
LED+ Physical pin 12 LED- TO any GND available.
![]()
-
4Step 4
To compile and install:
Make sure everything is up to date:
sudo apt-get update
Now that everything is up to date, we can install the needed kde4 packages (kdelibs4, kdebase4, kdepimlibs4) and all of his
dependencies (qt4...):
sudo apt-get install kdebase-runtime libqt4-dev
Once you have KDE, and QT4 installed, we can install mysql:
sudo apt-get install mysql-client mysql-server
Now we need to install everything else that’s needed for the compile:
sudo apt-get install build-essential g++ cmake gettext libqt4-sql-mysql kdelibs5-dev
The next step is to download the source:
cd ~
git clone https://github.com/hiramvillarreal/iotpos
Move into the newly created directory, create a 'build' directory inside and move into it:
cd iotpos
mkdir build
cd build
Inside build directory run CMake with your path to KDE4:
cmake .. -DCMAKE_INSTALL_PREFIX=`kde4-config --prefix`
Run make to compile iotpos. This took about an hour on the Pi Zero, A, A+, B and B+, took 15 minutes on the new Pi2:
make
Note: On a Raspberry Pi 2/3, the -j4 flag splits the work between all four cores, speeding up compilation significantly: make -j4
After the compile is finished, you will need to install everything:
sudo make install
OPTIONAL:copy the iotposrc file to your local .kde/share/config directory:
cp ~/iotpos/src/iotposrc /home/USER/.kde/share/config/ #Replace USER with your username: pi.
After installation, you need to create a database and user on mysql, to do this:
cd ~/iotpos/database_resources
cat iotpos_mysql.sql | mysql -u root -p
To restore a database with preloaded products and examples:
mysql -u root -p iotposdb < iotposdb.sql
To start using the point of sale, type:
iotpos
* The default and only user and password is (without quotation marks):
username: "admin"
password: "linux"
To start using the administration module, type:
iotstock
For an easy first time use, all securyty settings are disabled.
Icon apps are found at ~/iotpos/src and ~/iotpos/iotstock/src you can copy and paste them on the desktop.
By default, IotPOS and IotStock have security disabled, this to let you configure database settings in case you have installed the database server at a different computer.
-
5Step 5
* These libraries are required by the thermal printer library and example programs:
sudo apt-get install python-serial python-imaging python-unidecode
* Test the printer with:
cd ~/py-thermal-printer-master
sudo python printer.py
-
6Step 6
Allow to send notifications and reports by e-mails from the Raspberry Pi.
Install SSMTP and mail utilitites:
sudo apt-get install ssmtp
sudo apt-get install mailutils
Edit the SSMTP configuration file:
sudo nano /etc/ssmtp/ssmtp.conf
root=postmaster
mailhub=smtp.gmail.com:587
hostname=raspberrypi
AuthUser=YourGMailUserName@gmail.com
AuthPass=YourGMailPassword
UseSTARTTLS=YES
Be sure to specify the correct GMail user name and password here, otherwise you will get authentication errors.If the host name of your Raspberry Pi is different from “raspberrypi”, specify your actual host name here instead.
Set the permissions of the SSMTP configuration file:
sudo chmod 774 /etc/ssmtp/ssmtp.conf
Edit the script:
nano ~/iotpos/scripts/corteMail.sh
replace -your_mail@gmail.com- with your gmail account.
IotPOS a Point of Sale for Raspberry Pi
Build your own DIY Point of Sale using a Raspberry Pi ZERO/a+/b/b+/2 with a mini thermal receipt printer and IoT funtions.
 Hiram Villarreal
Discussions
Become a Hackaday.io Member
Create an account to leave a comment. Already have an account? Log In.