 Blackfire_tx
-
11Step 11
Back view of the controls. Note the double sided tape (optional).
![]()
-
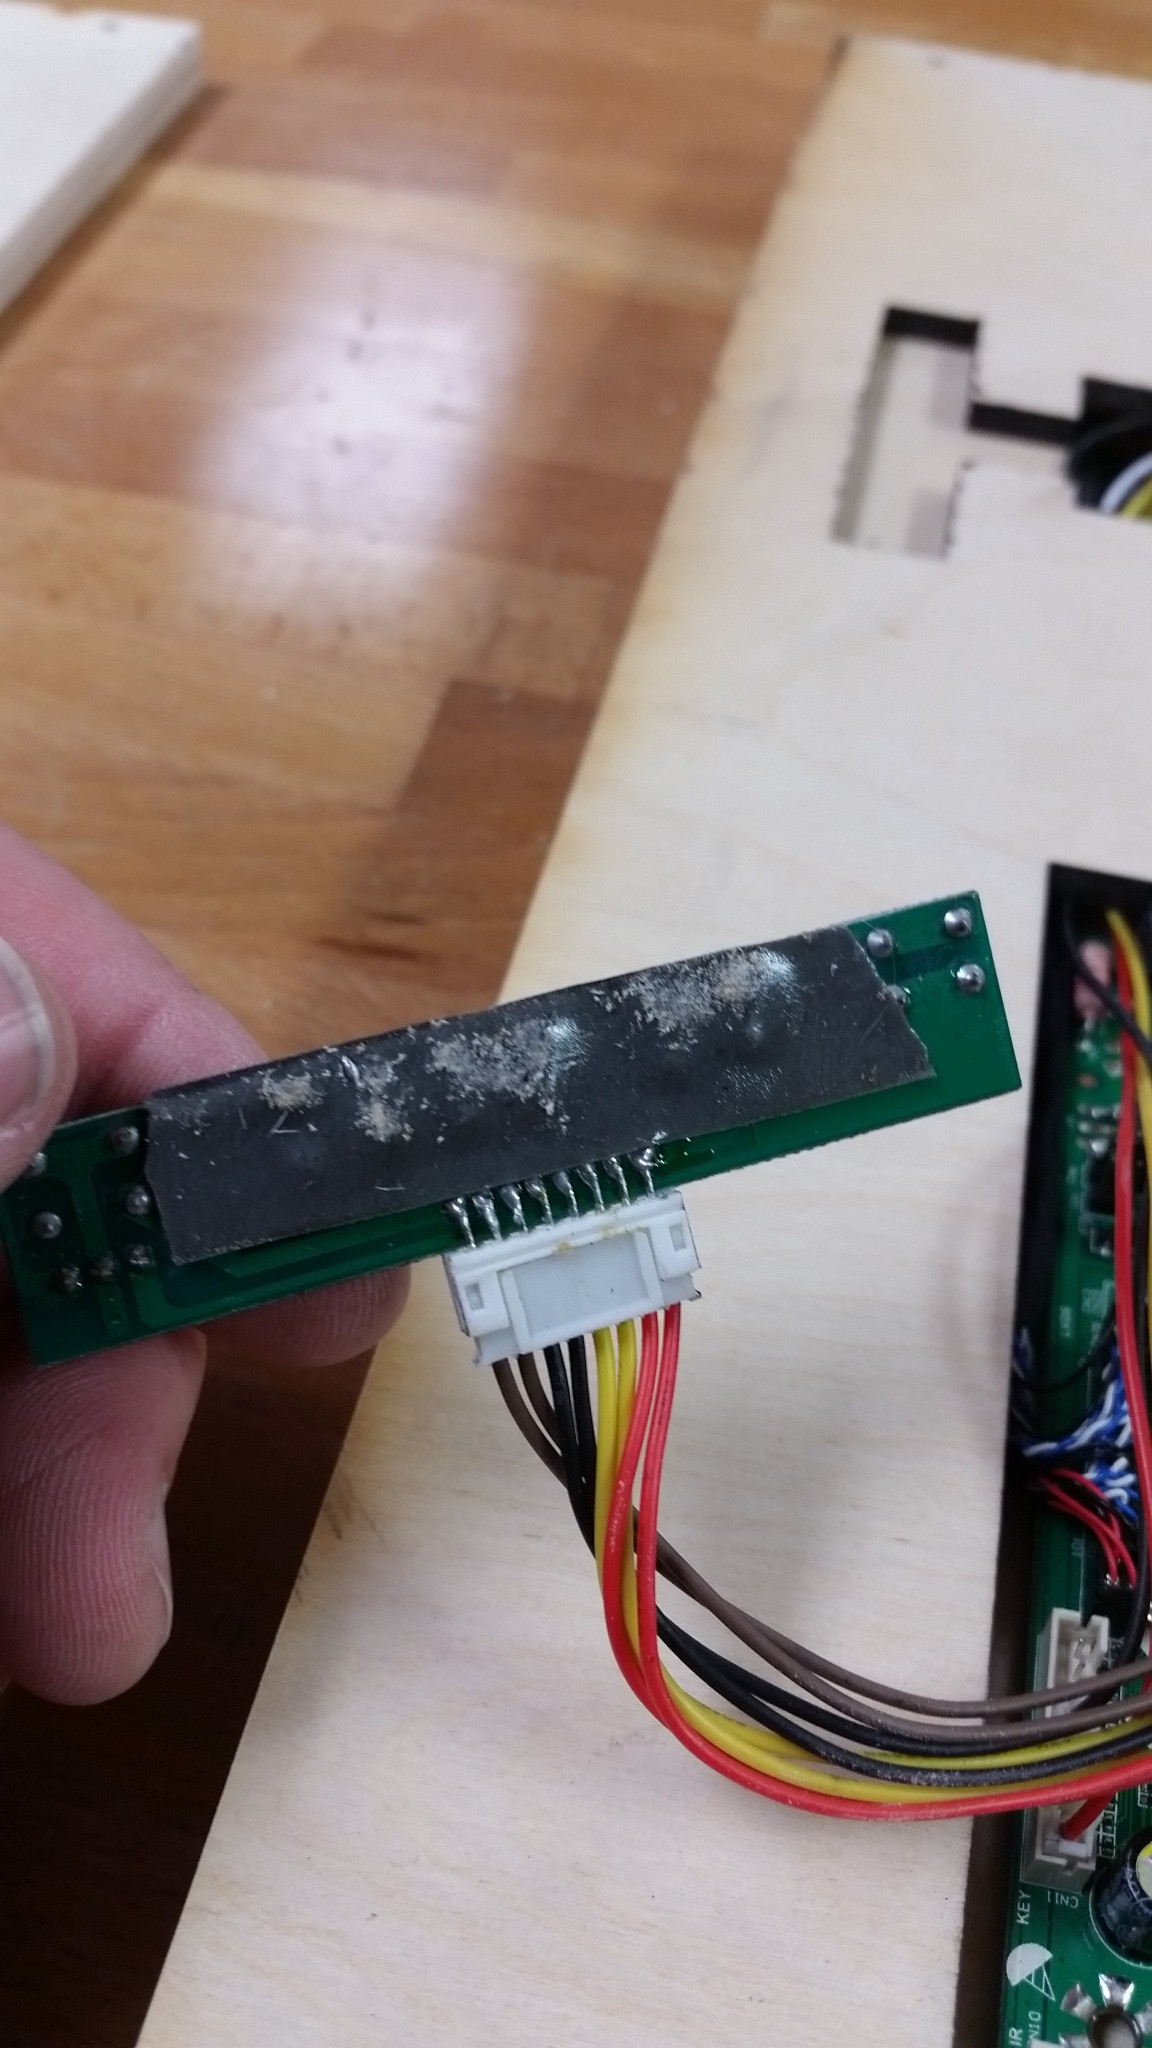
12Step 12
Wires attached.
![]()
-
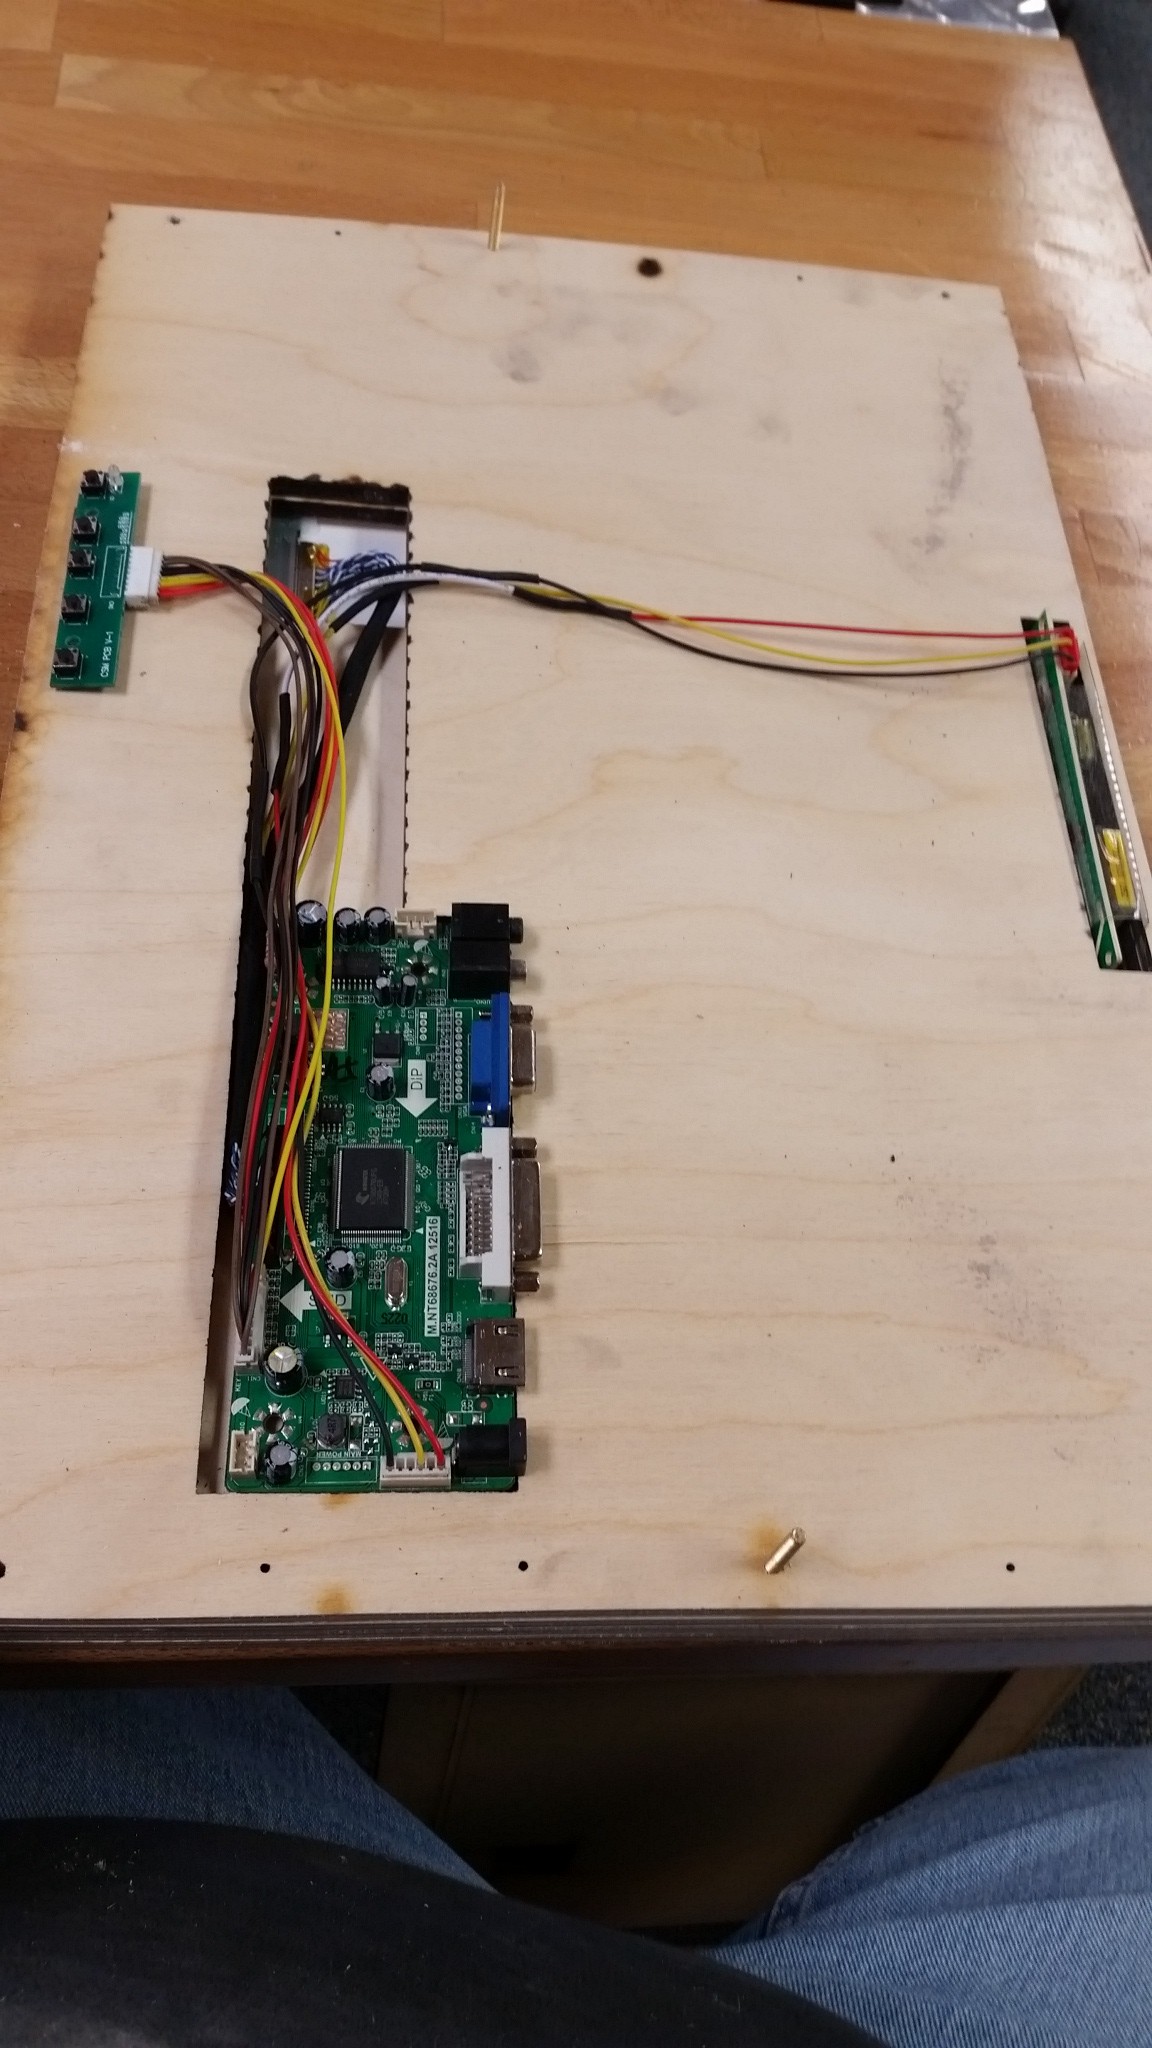
13Step 13
Routing the wires can be tricky, BUT it looks -so- good once done.
![]()
-
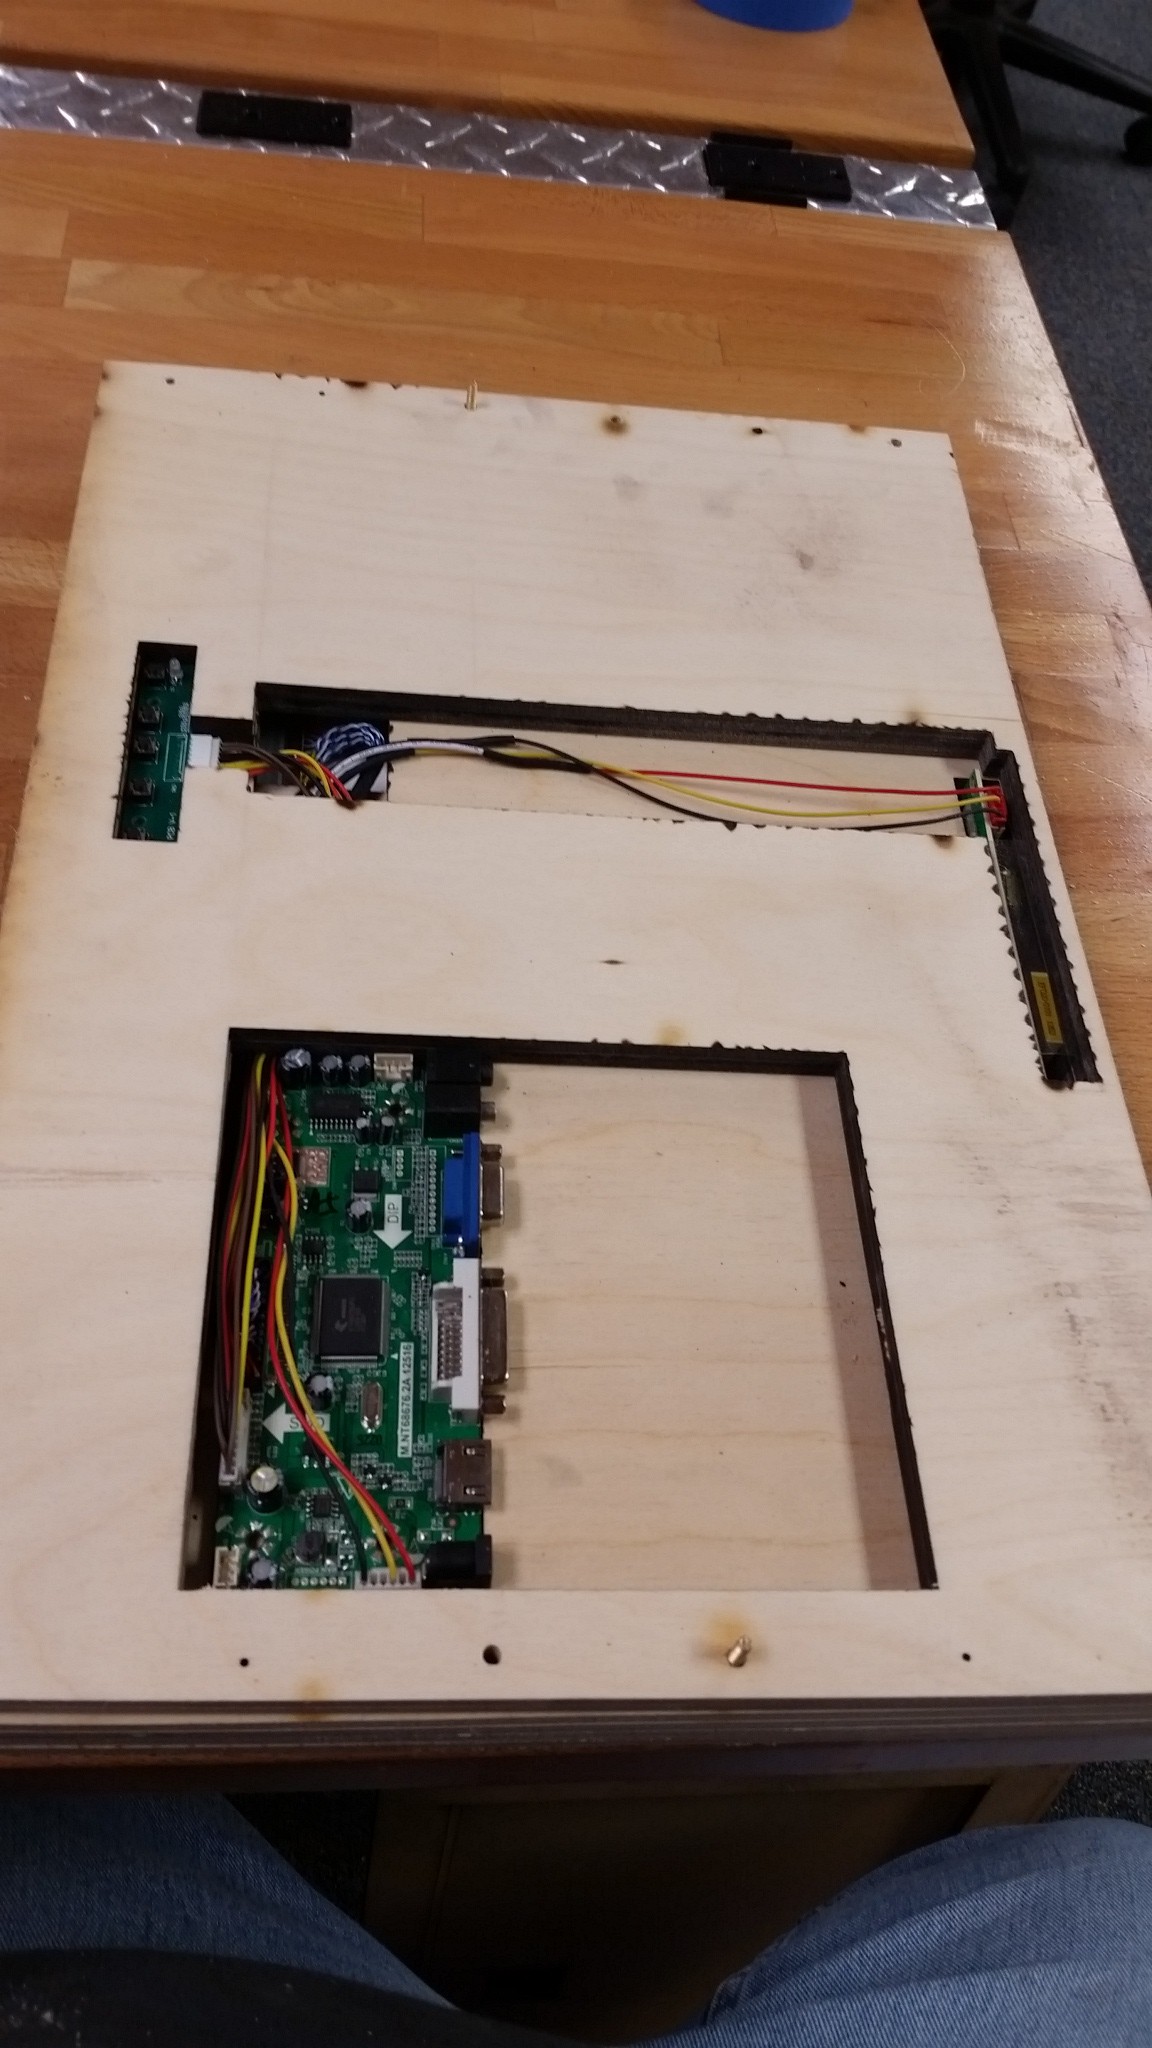
14Step 14
Another layer. Note: this layer is the same as before.
![]()
-
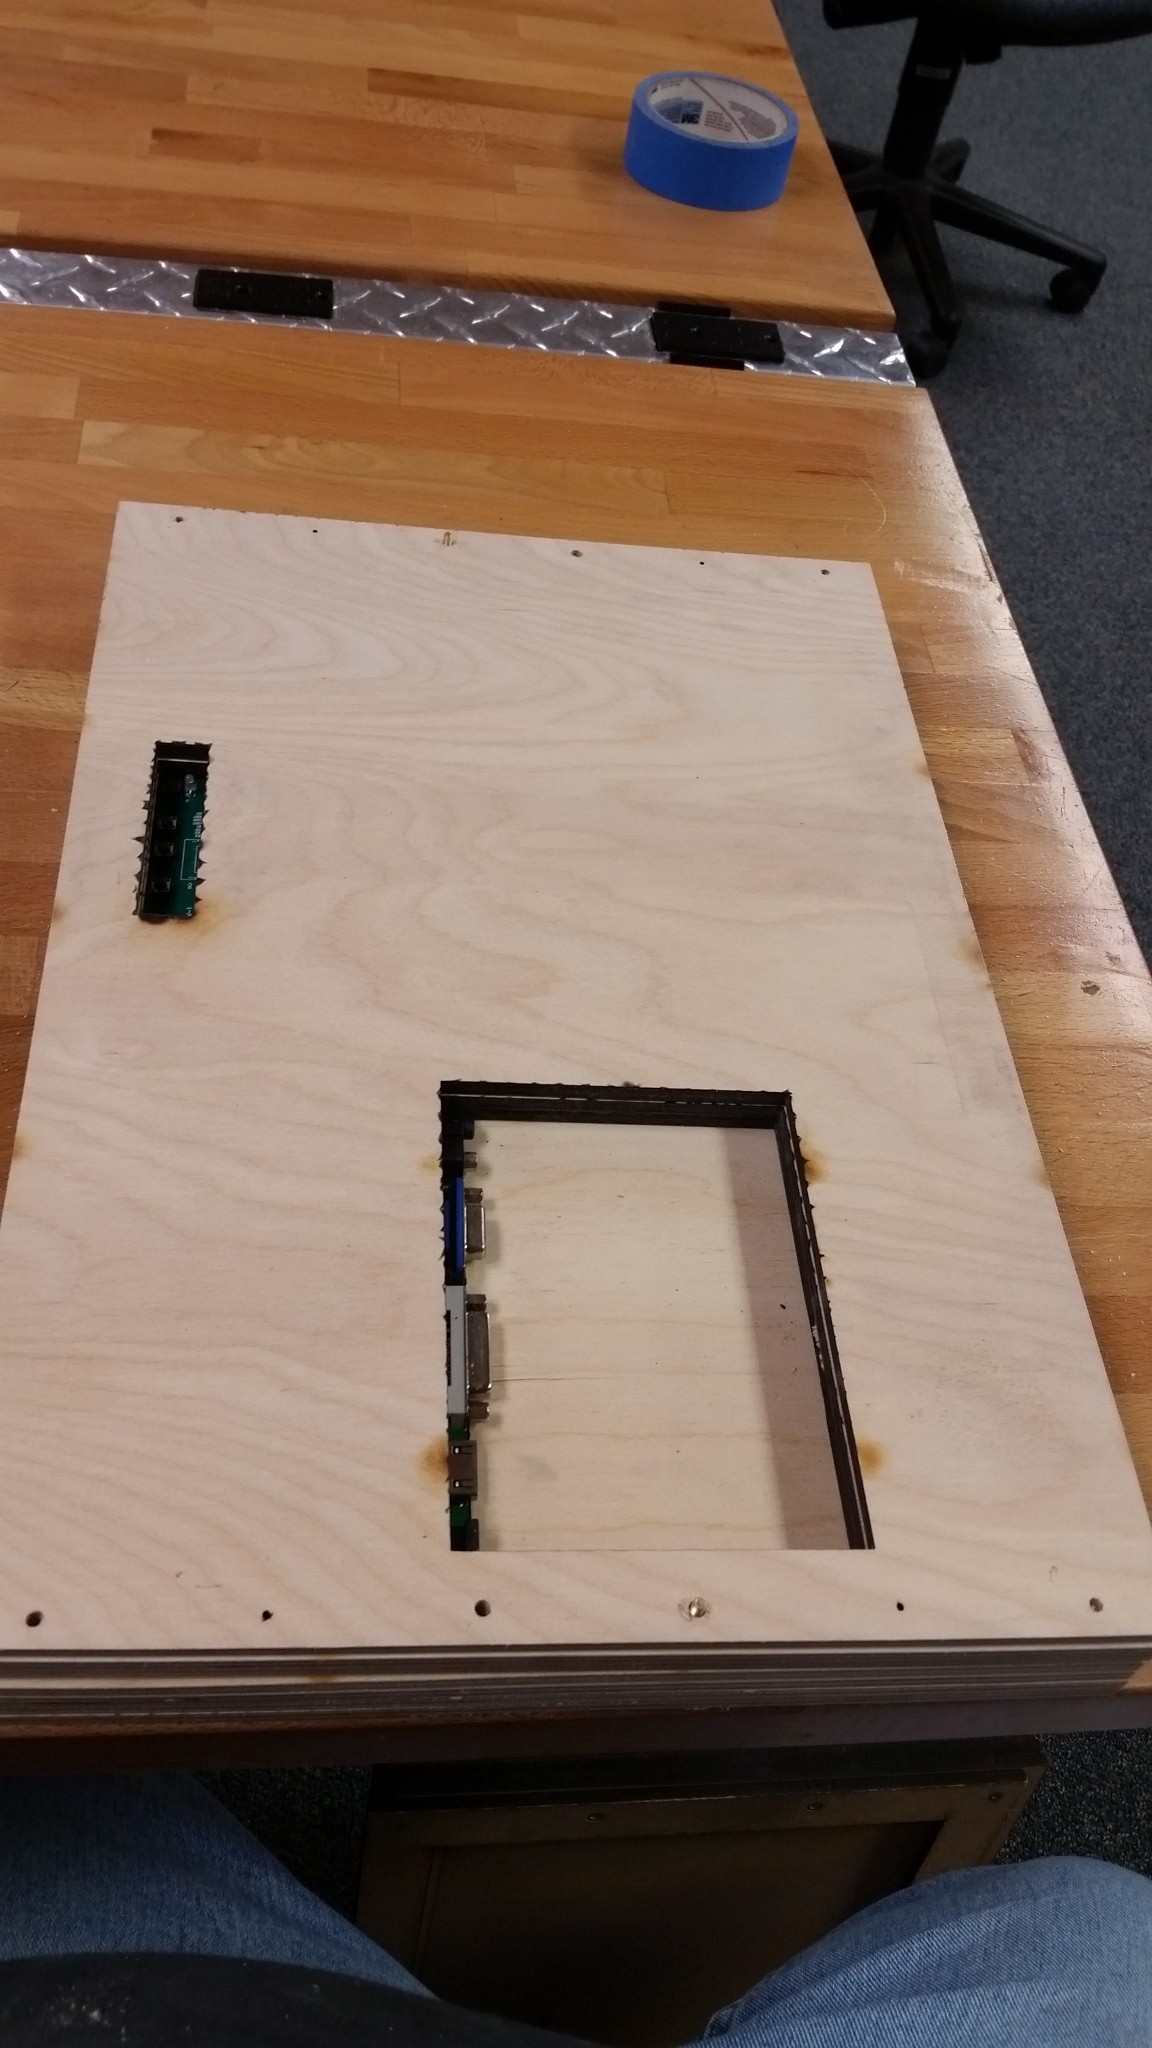
15Step 15
Lastly is the back cover for the controller and other electronics.
![]()
-
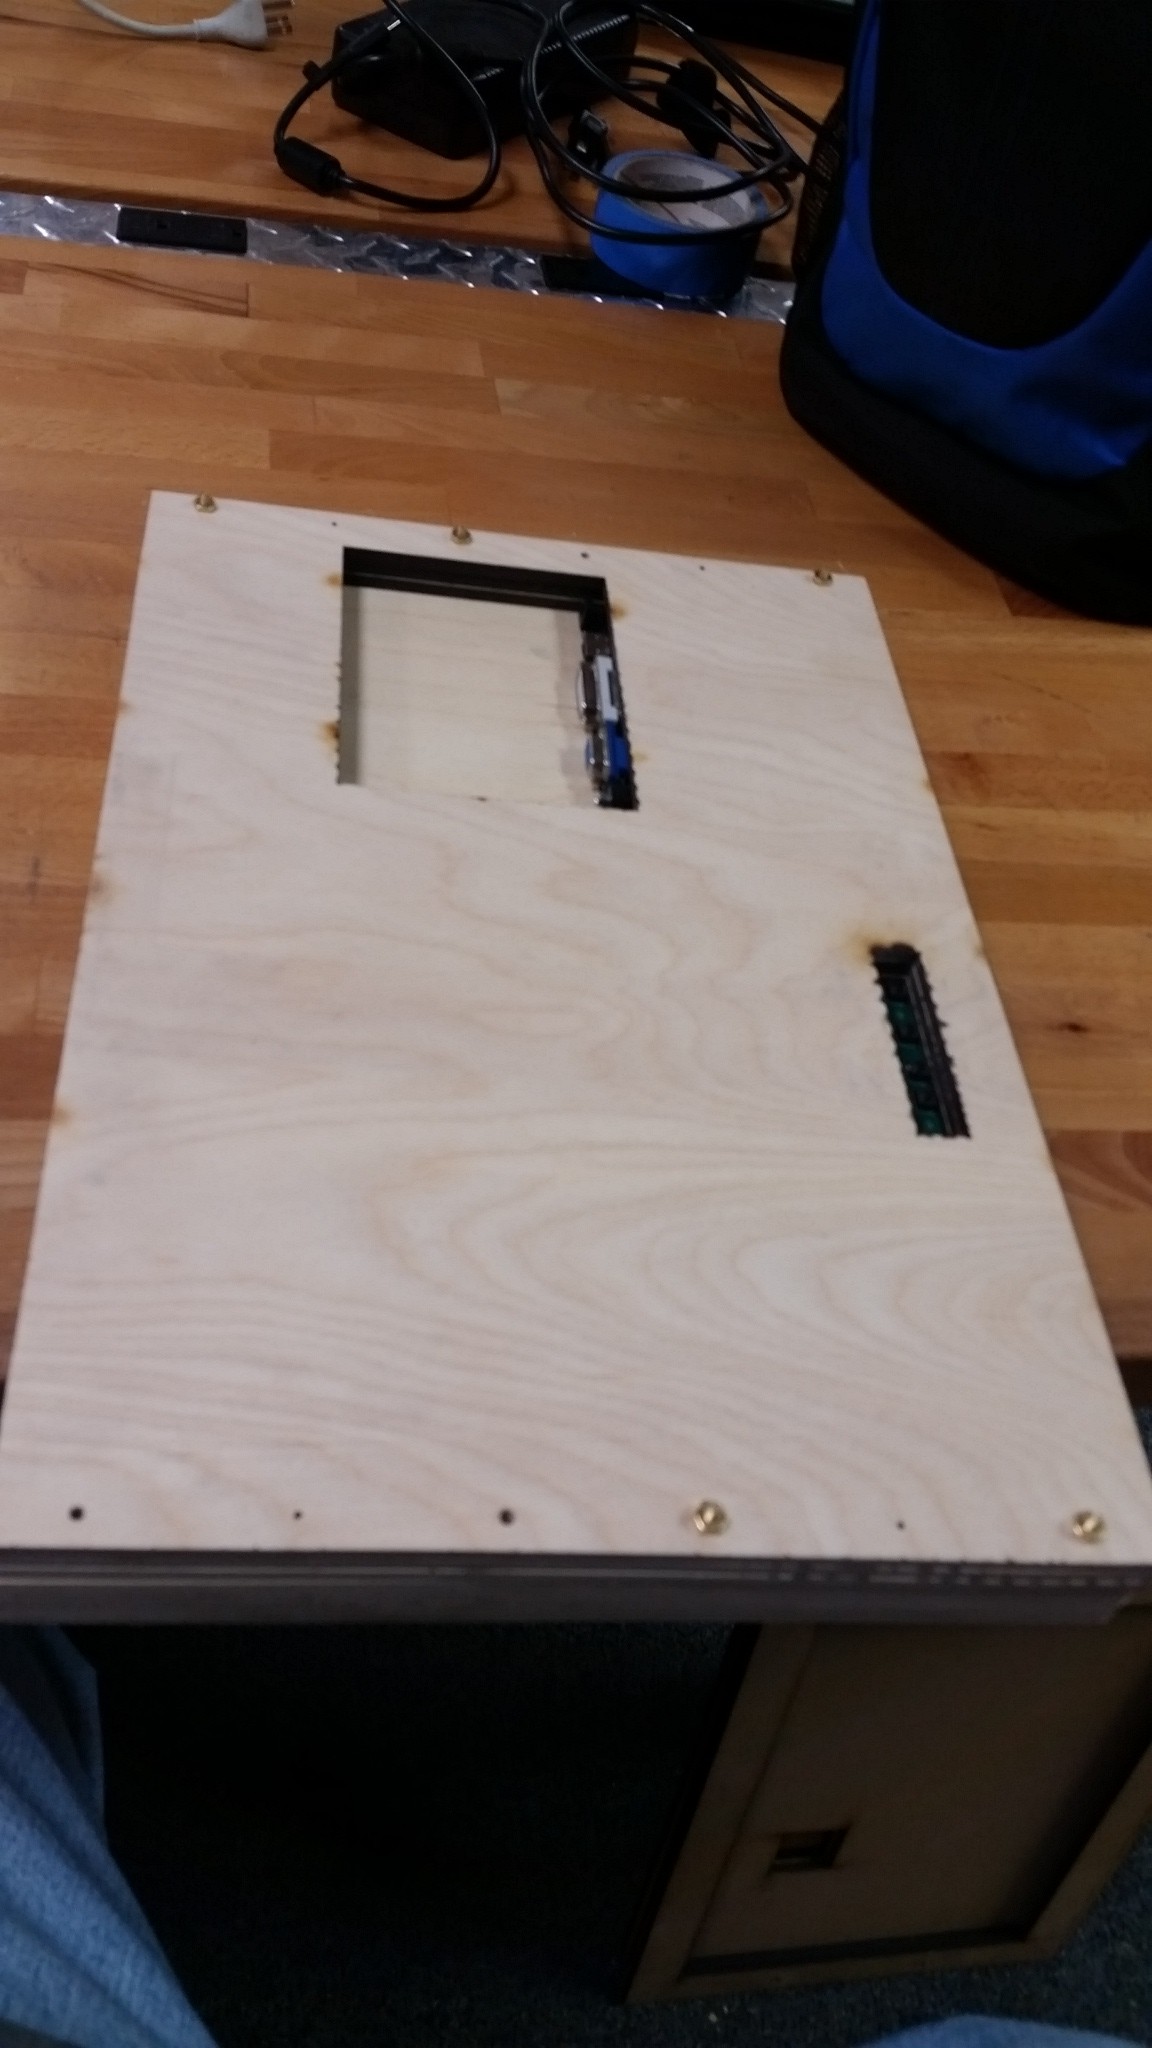
16Step 16
Put your nuts into place...
![]()
-
17Step 17
... and DONE.
![]()
-
18Step 18
Add what finishing touches you want... BUT that is for you to decide.
Possibilities for extras include:
VESA adaptorStand
Mounts for a pipe frame for more monitors
Hinges for a 2nd monitor so that it can be portable
(Use your imagination.)
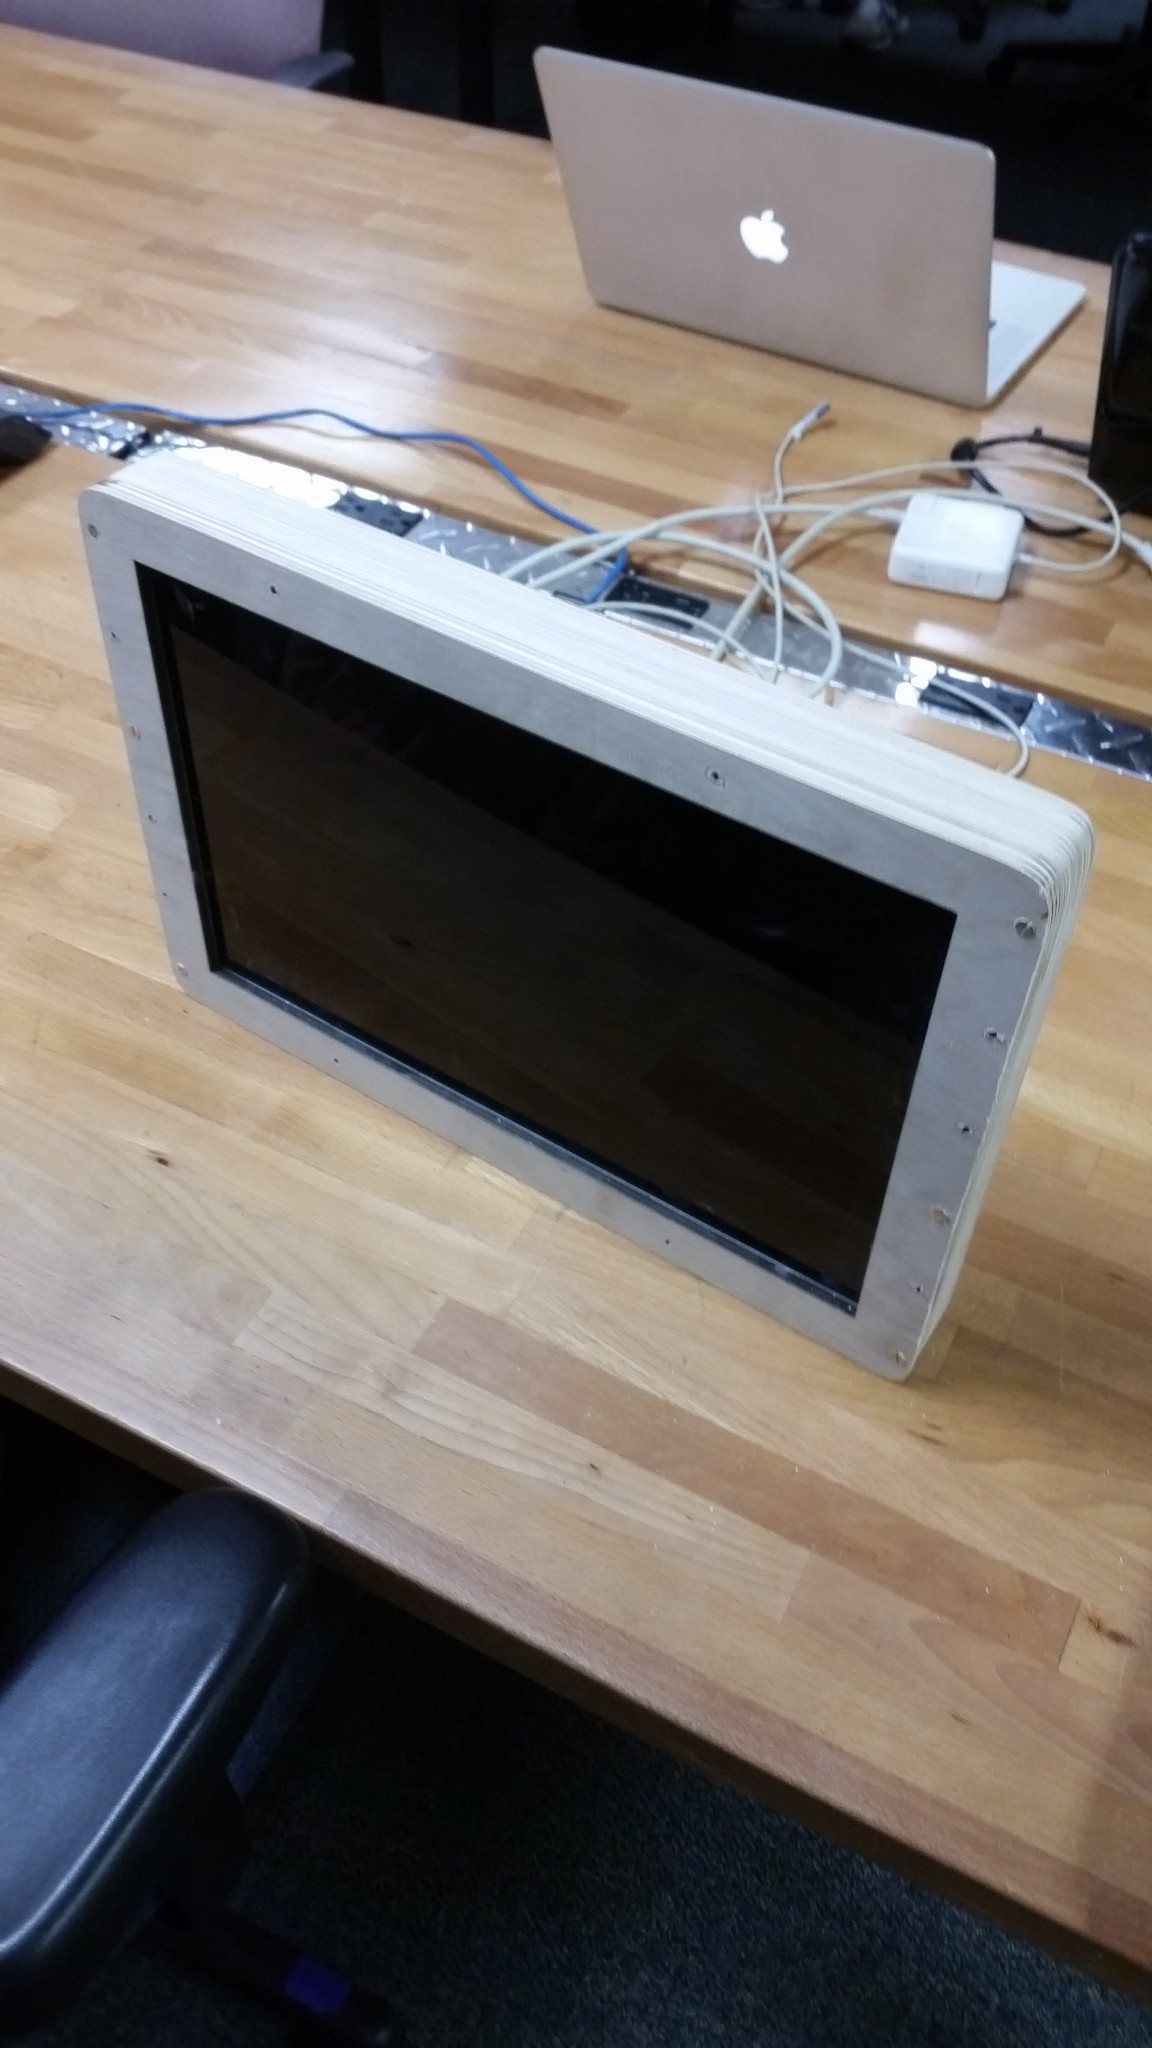
17" Upcycled Monitor
17" monitor made with a laptop display, controller, and laser cut parts.

Discussions
Become a Hackaday.io Member
Create an account to leave a comment. Already have an account? Log In.