-
Aluminum Test
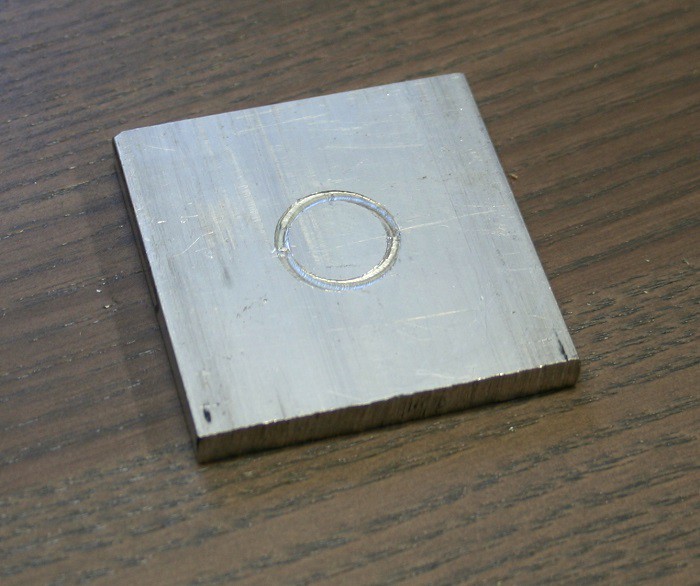
07/31/2014 at 14:07 • 0 commentsI haven't had a lot of time to work on this, but yesterday while I was doing something else I put a piece of 1/4" aluminum on it to see what happens. I wasn't expecting it to work, I assumed it wasn't rigid enough to actually mill the aluminum, but it worked surprisingly well.
I used a 1/16" end mill in a 0.3mm depth cut. It didn't plunge perfectly at the start, there is a small ramp down at the start of the cut to the full cut depth, it looks like it got to the full depth after about 10 degrees around the circle. This is probably due to a combination of the zip tie mounting on the Dremel and give in the linear rod/bearing setup. It also doesn't help that the Dremel is still not vertical, it leans forward a little bit, I need to get some shims in behind the Dremel at the bottom and then adjust the cad drawings for the Dremel mount.
![]()
I am hoping to get more time over the next week or two to work on this. The next step when I get a couple hours is to try milling new end stop boards. That should let me see if anything goes wrong when I run it through all the steps from milling the traces, to drilling the holes, to milling the outline of the board. I will record that process and post the video when it's done.
-
First Sucessful PCB Milling
07/12/2014 at 01:37 • 0 comments![]()
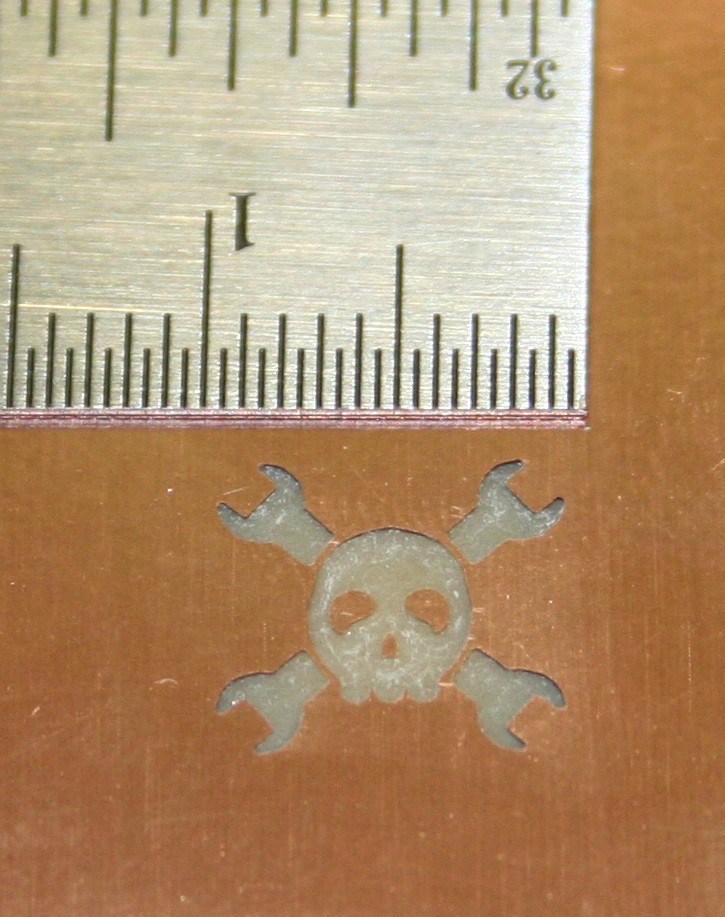
The end mills came in today, they work much better than the other cutters I had, this was cut using a 0.011" 4 flute end mill. Once the engraving bits come in I'll do a comparison between them to see if there is a significant difference. The end mills are quite a bit more expensive than the engraving bits, the end mills I got were $6 a piece on sale from $23 and the engraving bits can often be had for under $1 a piece.
I didn't get a great deal of time to work on this project in the last couple days, but I made some progress on the GRBL electronics to replace the RAMPS board. I am aiming to build a "shield" for the RaspberryPi that will have an ATMEGA328 and 3 stepper drivers on it and plug into the gpio header. The atmega and RaspPI will communicate over the serial port on the gpio and I will hook a couple of the gpio pins to the atmega for feedback and so the RaspPI can program the atmega. I believe I have all of the components in the schematic and the layout is probably about 90% done.
-
First PCB Milling Attempts
07/09/2014 at 22:22 • 0 comments![]()
I made the first attempts at milling a PCB, I generated the G code with the pcbgcode ULP for Eagle. I also experimented with pcb2gcode program as well but it produced gcode that pronterface didn't seem to agree with. I will look into it more once I switch over to GRBL and see if it understands the compact gcode pcb2gcode appears to produce.
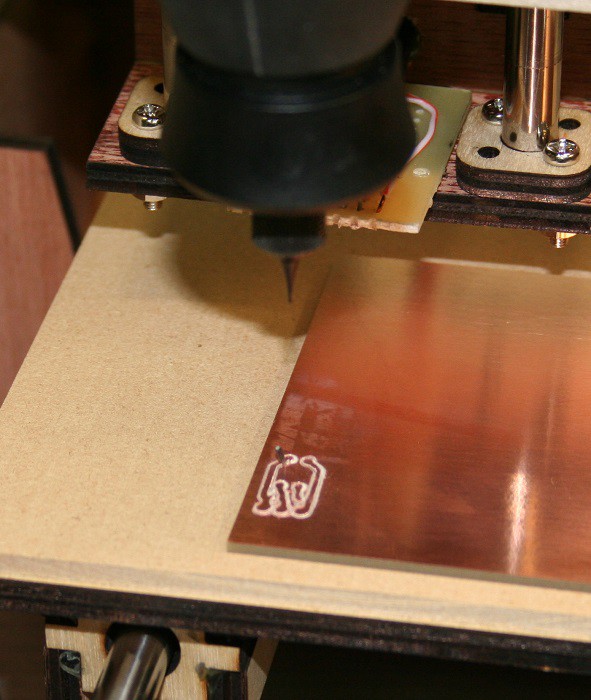
The first cut, pictured above, nearly worked, it got through 2 passes of the isolation milling, out of 4 then the bit broke. I was using a cheap cutter I had in a kit that was an elongated ball cutter with a pointed tip, it broke just behind the ball at the narrowest point in the shaft.
I tried twice more with diamond abrasive bits, which were the only other bits I had with small tips, they failed to remove copper and mostly just pushed it around.
Overall the mill seems to behave, the movements were good, it didn't drift during multiple passes. I just need to work out the appropriate cutting depth and cutters. I have a few 0.010in end mills on order that should arrive in a couple days, and a set of triangular engraving bits that will likely arrive in a week or so.
Until the new cutters arrive I will continue working on refining the cad models, and investigating the various tool chains. I am also going to start doing schematics and board design for the final electronics and probably start laser cutting updated parts for the second prototype as I finish the cad updates. I am planning to produce build instructions while I assemble the second prototype, which I should get through over the next couple weeks.
-
Dremel Mounted and First Cuts
07/06/2014 at 21:55 • 0 comments![]()
I finished the first iteration of the Dremel mount (added to GitHub), while doing that I found a couple more changes to the Z carriage that I want to make. The Z Carriage needs to be about 6mm taller, it doesn't currently clear the Z stepper motor, so the dremel mount needed spacers. I also want to make the outside bearing mount pieces protrude out from the carriage so they can act as alignment tabs for tool mounts as well.
Currently the tool is attached by wire tires, but I am going to make a bolt on bracket to hold the tool once I fix the Z carriage and tool mount. The tool doesn't sit perfectly vertical I didn't get the curves on the mount quite right, the bottom standoff needs to be a few mm smaller diameter than the top two.
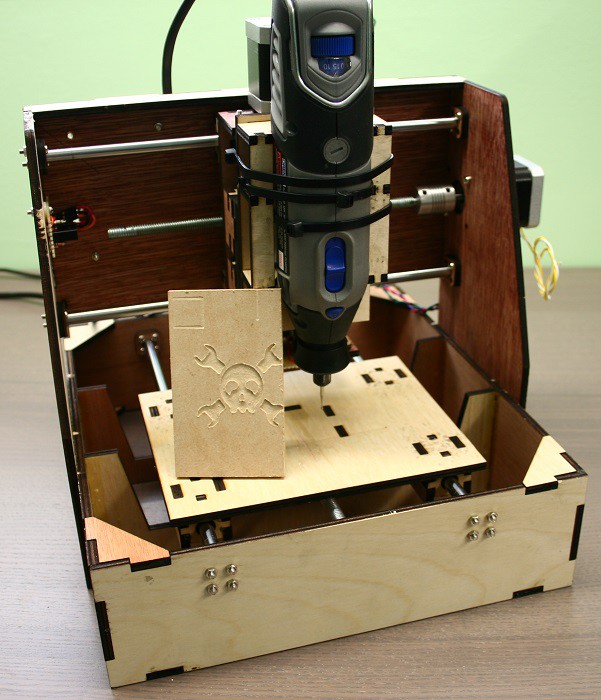
Once I got the tool mounted and did some more basic movement tests to ensure the added weight didn't cause problems. I double sided taped a piece of 1/4" hard board to the bed and did some test cuts, the line and the box on the top of the piece were the first and second cuts. They were both cut with manually entered gcode, after they were successful I started trying to find a reasonable tool chain to generate milling gcode. I ended up with CamBam which isn't free but has a reasonable trial option. HeeksCam looks promising and is open source but isn't obvious how to use it.
I didn't get the origin coordinates quite right in the g code file for the logo, it ended up missing the piece by a little bit, but it came out better than expected for a first real cut. It was cut with a ~1.5mm diameter end mill I had for the dremel. It was a deeper cut than I was trying for ended up cutting a little over 1mm deep in one pass but the machine seemed to handle it fairly well. The logo is about 5cm square.
I don't have any PCB material currently, I'm going to pick some up tomorrow and try that out. Unfortunately I don't have any engraving bits for my dremel currently. I'll see if I can find any in local stores, but I'll probably end up using a diamond bit and see how that goes.
The next major hurdle will be getting the software chain sorted out and getting a web interface up and running on it.
-
Completed X,Y and Z
07/05/2014 at 13:23 • 0 comments
I finished assembling the Z carriage, I had to reduce the flange on the anti backlash nut for the Z axis to fit the space in the carriage. Mounted a temporary end stop for the Z axis, it limits the travel a little bit but it will work until I can mill smaller PCBs to make the proper end stops.![]()
I got the wiring hooked up for all three axis to the temporary RAMPS board, currently all three axis are running in full step mode so they take 3600 steps to move the carriages an inch on the 5/16-18 threaded rod I'm using for lead screws. The highest speed I can currently run them at is about 125mm/min, I suspect with some lubricant and a bit more tuning I can get it a bit higher but in the end the best way to get higher speed if needed will be to switch to a higher pitch lead screw.
All three axis now work, I haven't yet done accuracy testing on the other two axis. I'm currently using Marlin firmware and Pronterface to do the movement testing. I'm hoping that I can get a couple good circuit boards out of this setup so I can mill the final PCB to run GRBL with this machine.
My next step is to design and build the Dremel mount and attach it to the Z carriage.
-
X and Y Mechanics Completed, Partial Z
07/03/2014 at 00:35 • 2 comments![]()
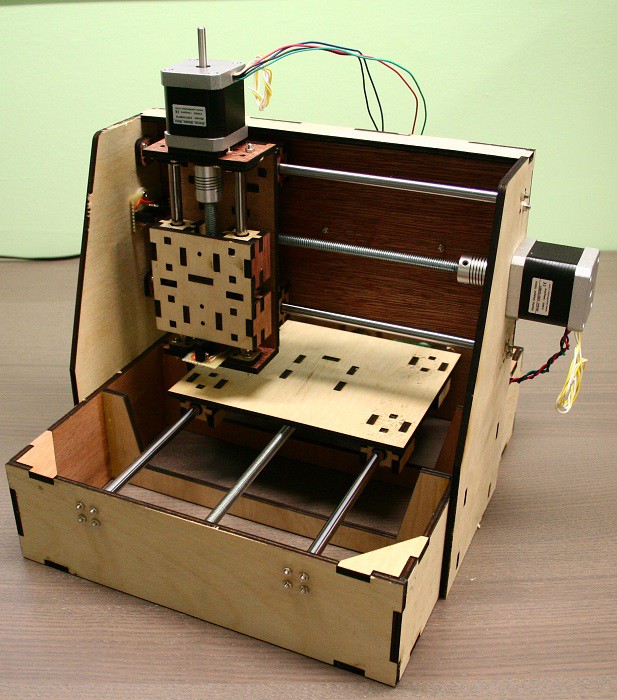
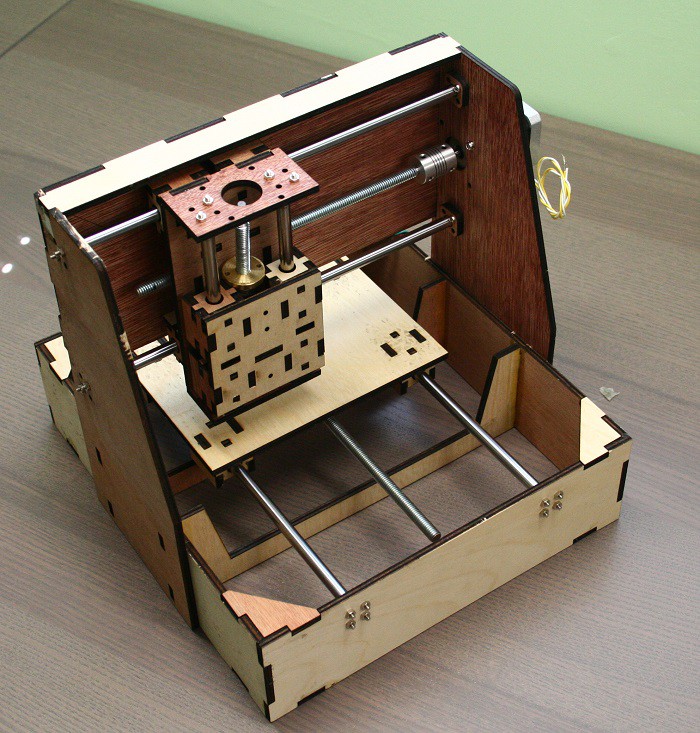
I finished cutting most of the wooden parts and assembled them, I cut all of the linear rod and the remaining threaded rod. Most of mechanical assembly is complete. I put together an end stop based on the DarwinOptoEndstop for the X axis and hooked up a spare RAMPS board I had and did some basic motion testing. I tested the X Axis against a dial indicator to see how it performed, initial tests put the error at around 1 thou over the inch travel of the dial indicator.
I found a problem with the bearing mounts, they aren't quite tall enough and the platforms collide with the linear rod supports by about half a millimeter, this reduces the travel of the table by about 10mm. I will have to extend the bearing mounts in the next version. The Z carriage was also very tight and I may make it slightly wider in the next version. With it built this far I am also fairly sure the gantry mounts are too far forward to get the full cutting area once I get the Dremel mounted, so in the next version I'll move it back some to extend the cutting area. The last major design piece to do is create the Dremel mount.
I've also posted the current CAD drawings to GitHub, I have not fixed the issues above and I suspect as I finish the first prototype I'll find other problems. The drawings were done in Geomagic Design, but there is an exported DXF in the repository that is used to create the files to cut on the laser cutter. I use Inkscape to split the DXF into 300x200mm plates for the laser cutter. Currently I am generating plates as needed for parts that I've made changes to, once I get a finalized design I'll post the final plates I used.
-
Base Partially Assembled
05/03/2014 at 13:32 • 0 comments![]()
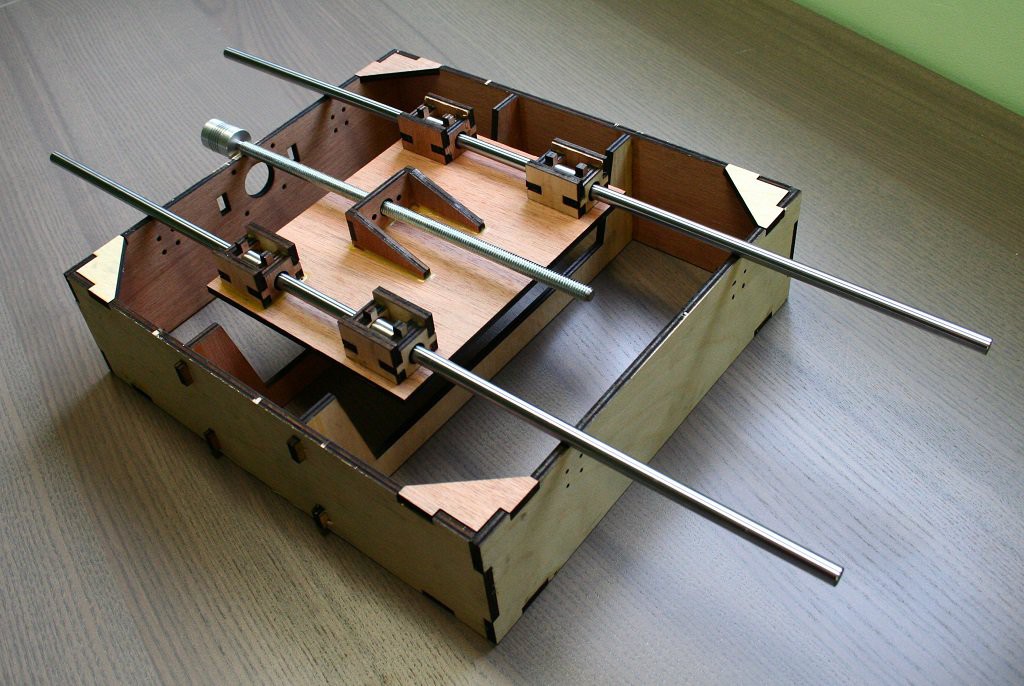
I cut the parts for the base and the main table and glued them together, as well as reduced the end of the threaded rod to fit into the flexible coupler. The next steps are to cut the linear rods to length, make an anti-backlash nut, mount the first stepper and get some basic electronics going to drive it. Then I can test the quality of the movement on the base table and see if any design revisions need to be made.
 Wudagem