-
Prepping for Assembly
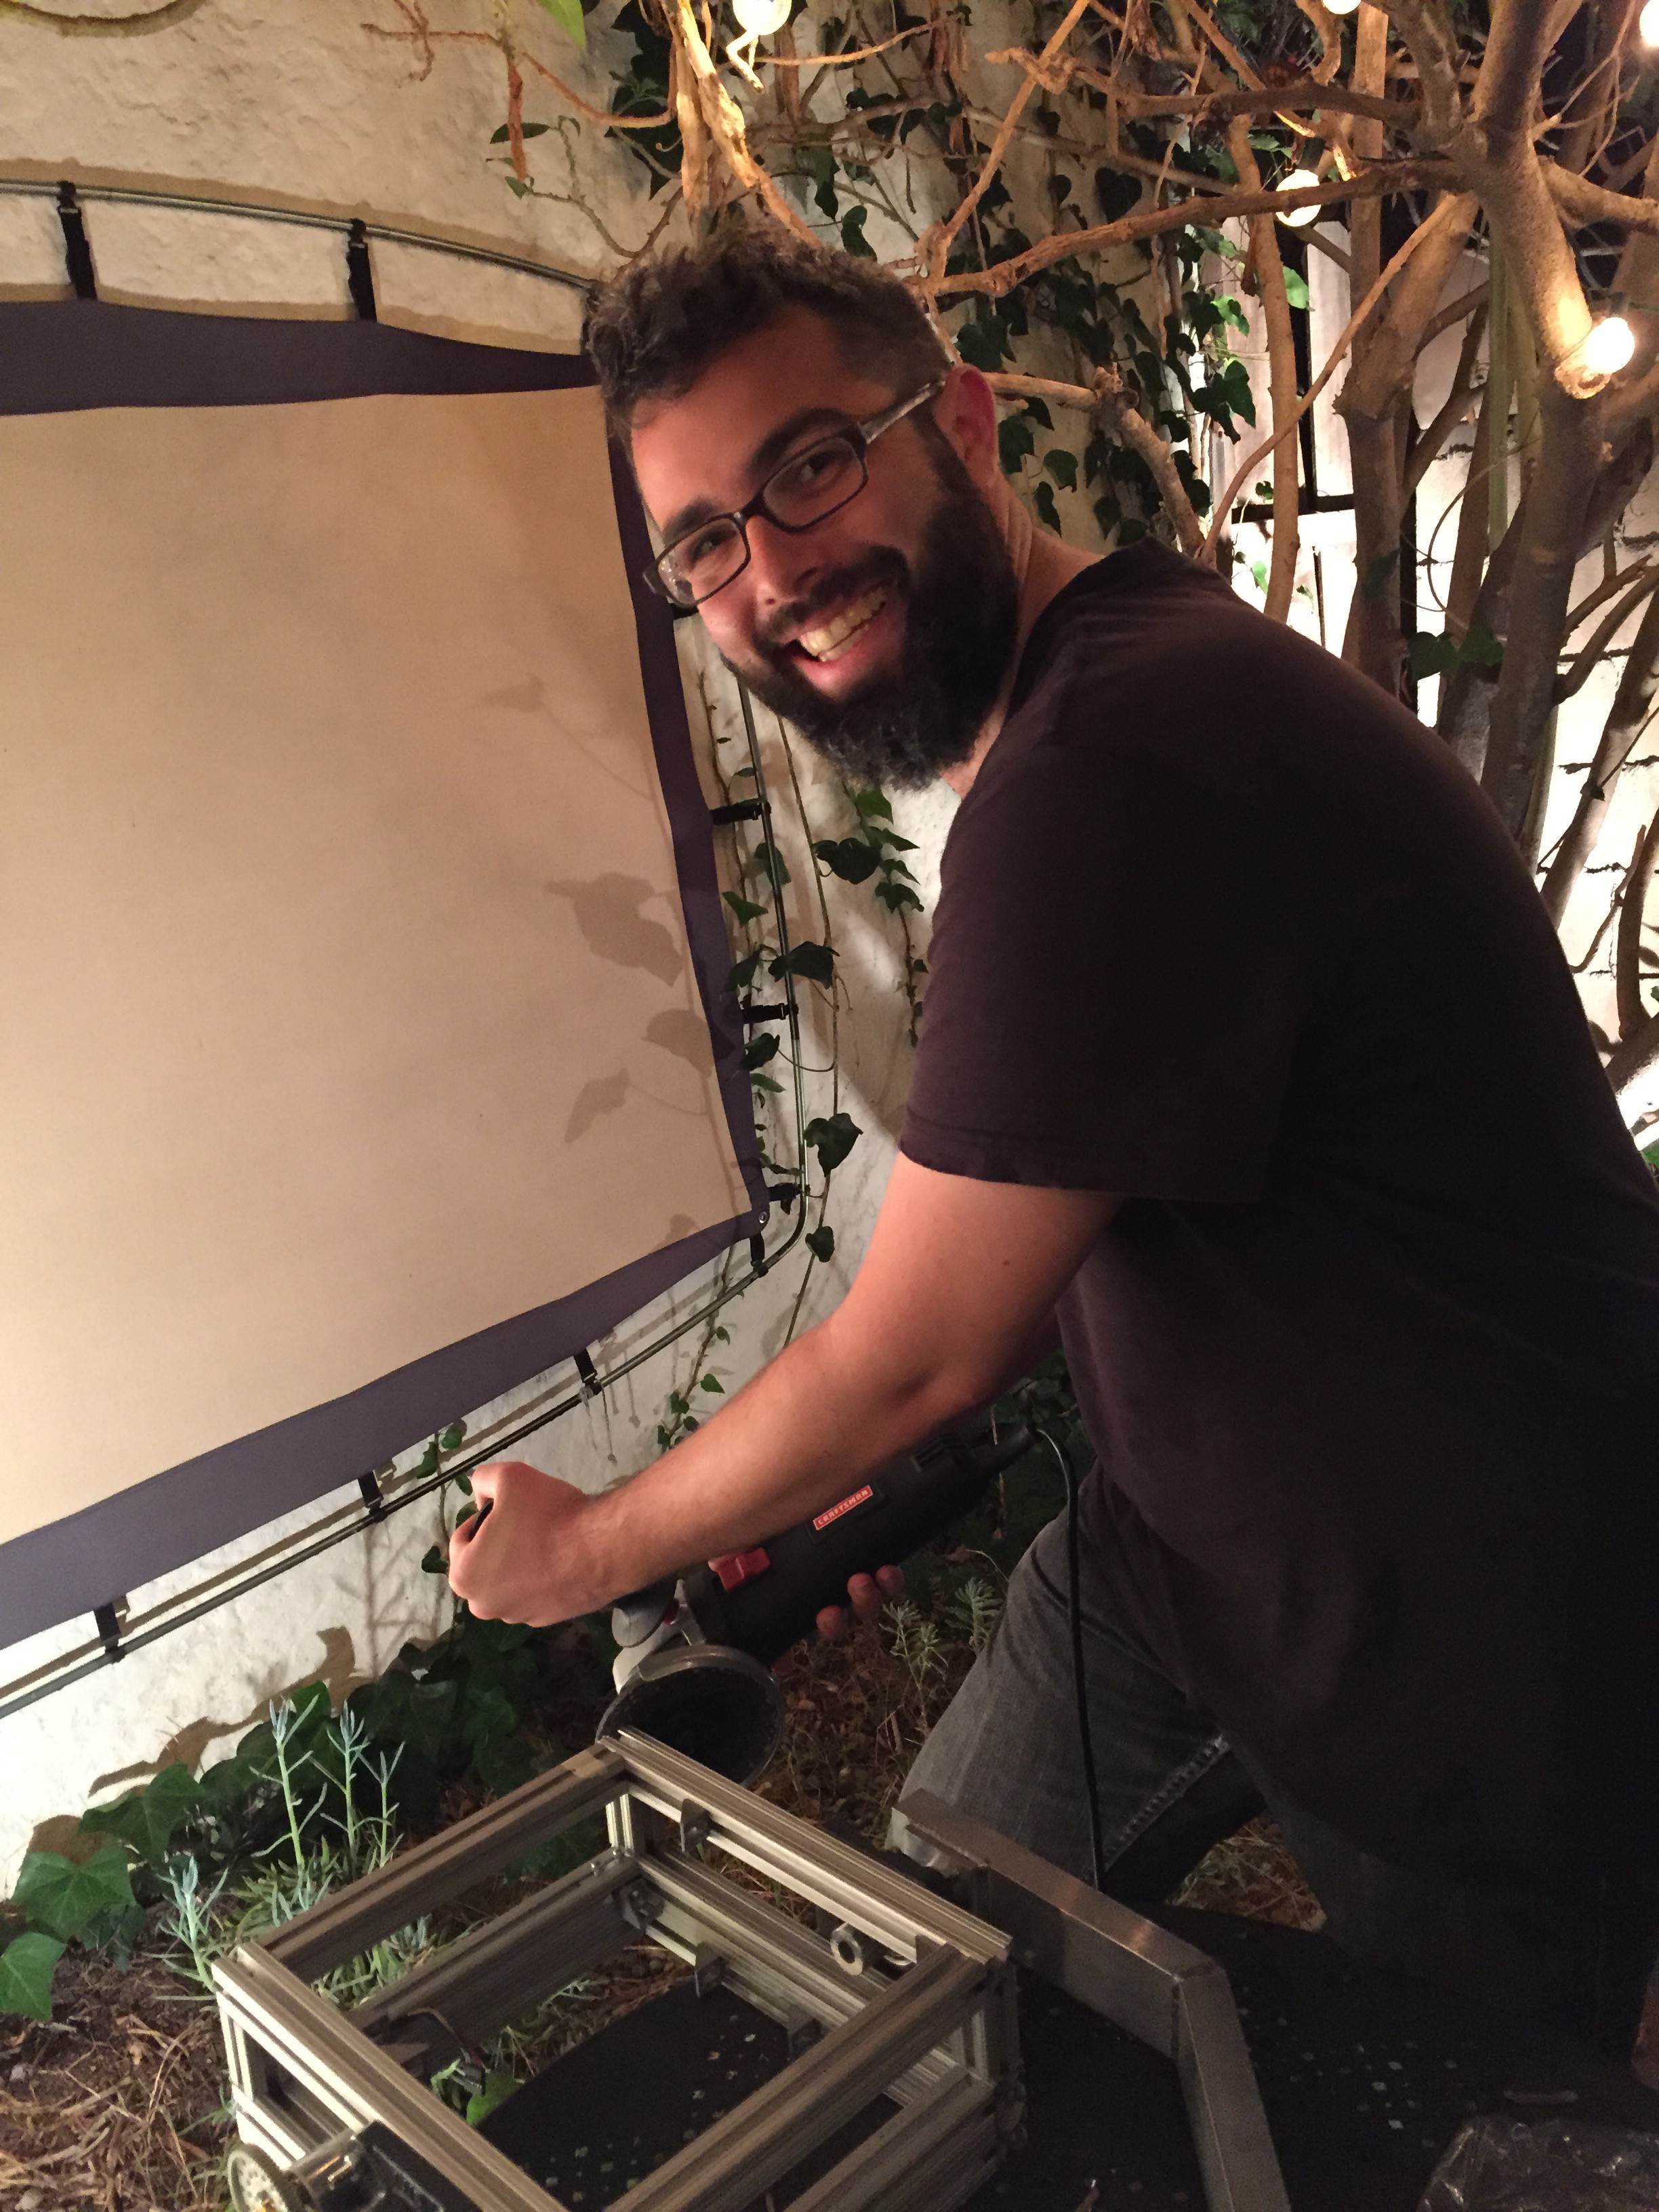
09/12/2016 at 19:17 • 0 commentsIt's the final stretch of the residency, and my main focus now is starting to assembly these new Scopes. There's a lot of milling, sawing, drilling and mounting in the month ahead.
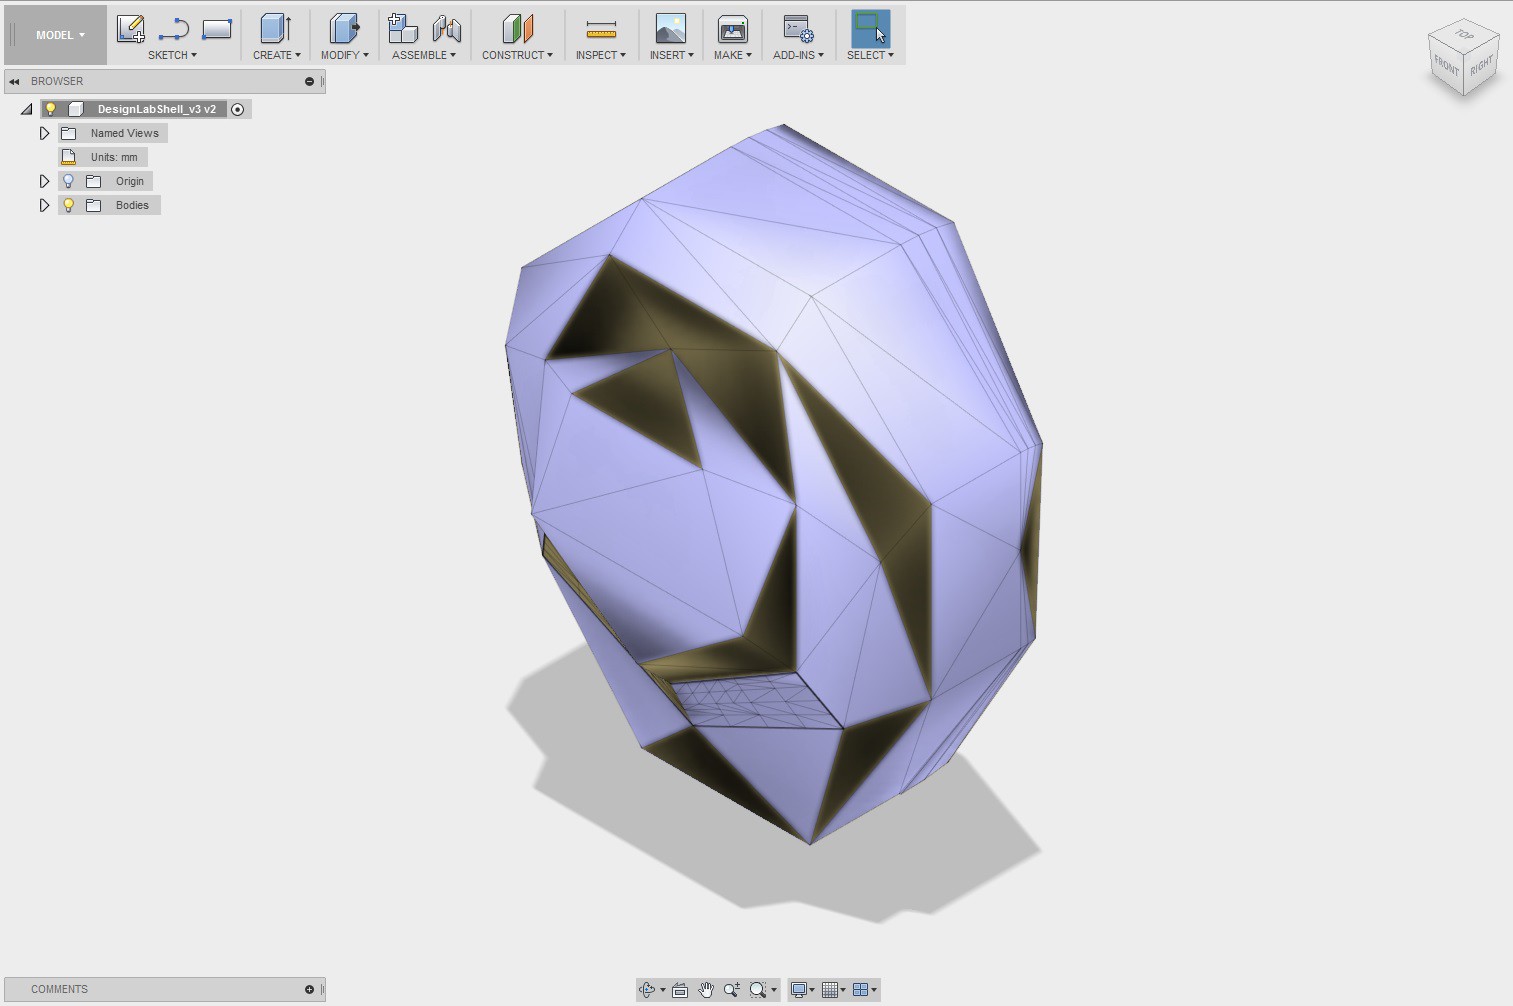
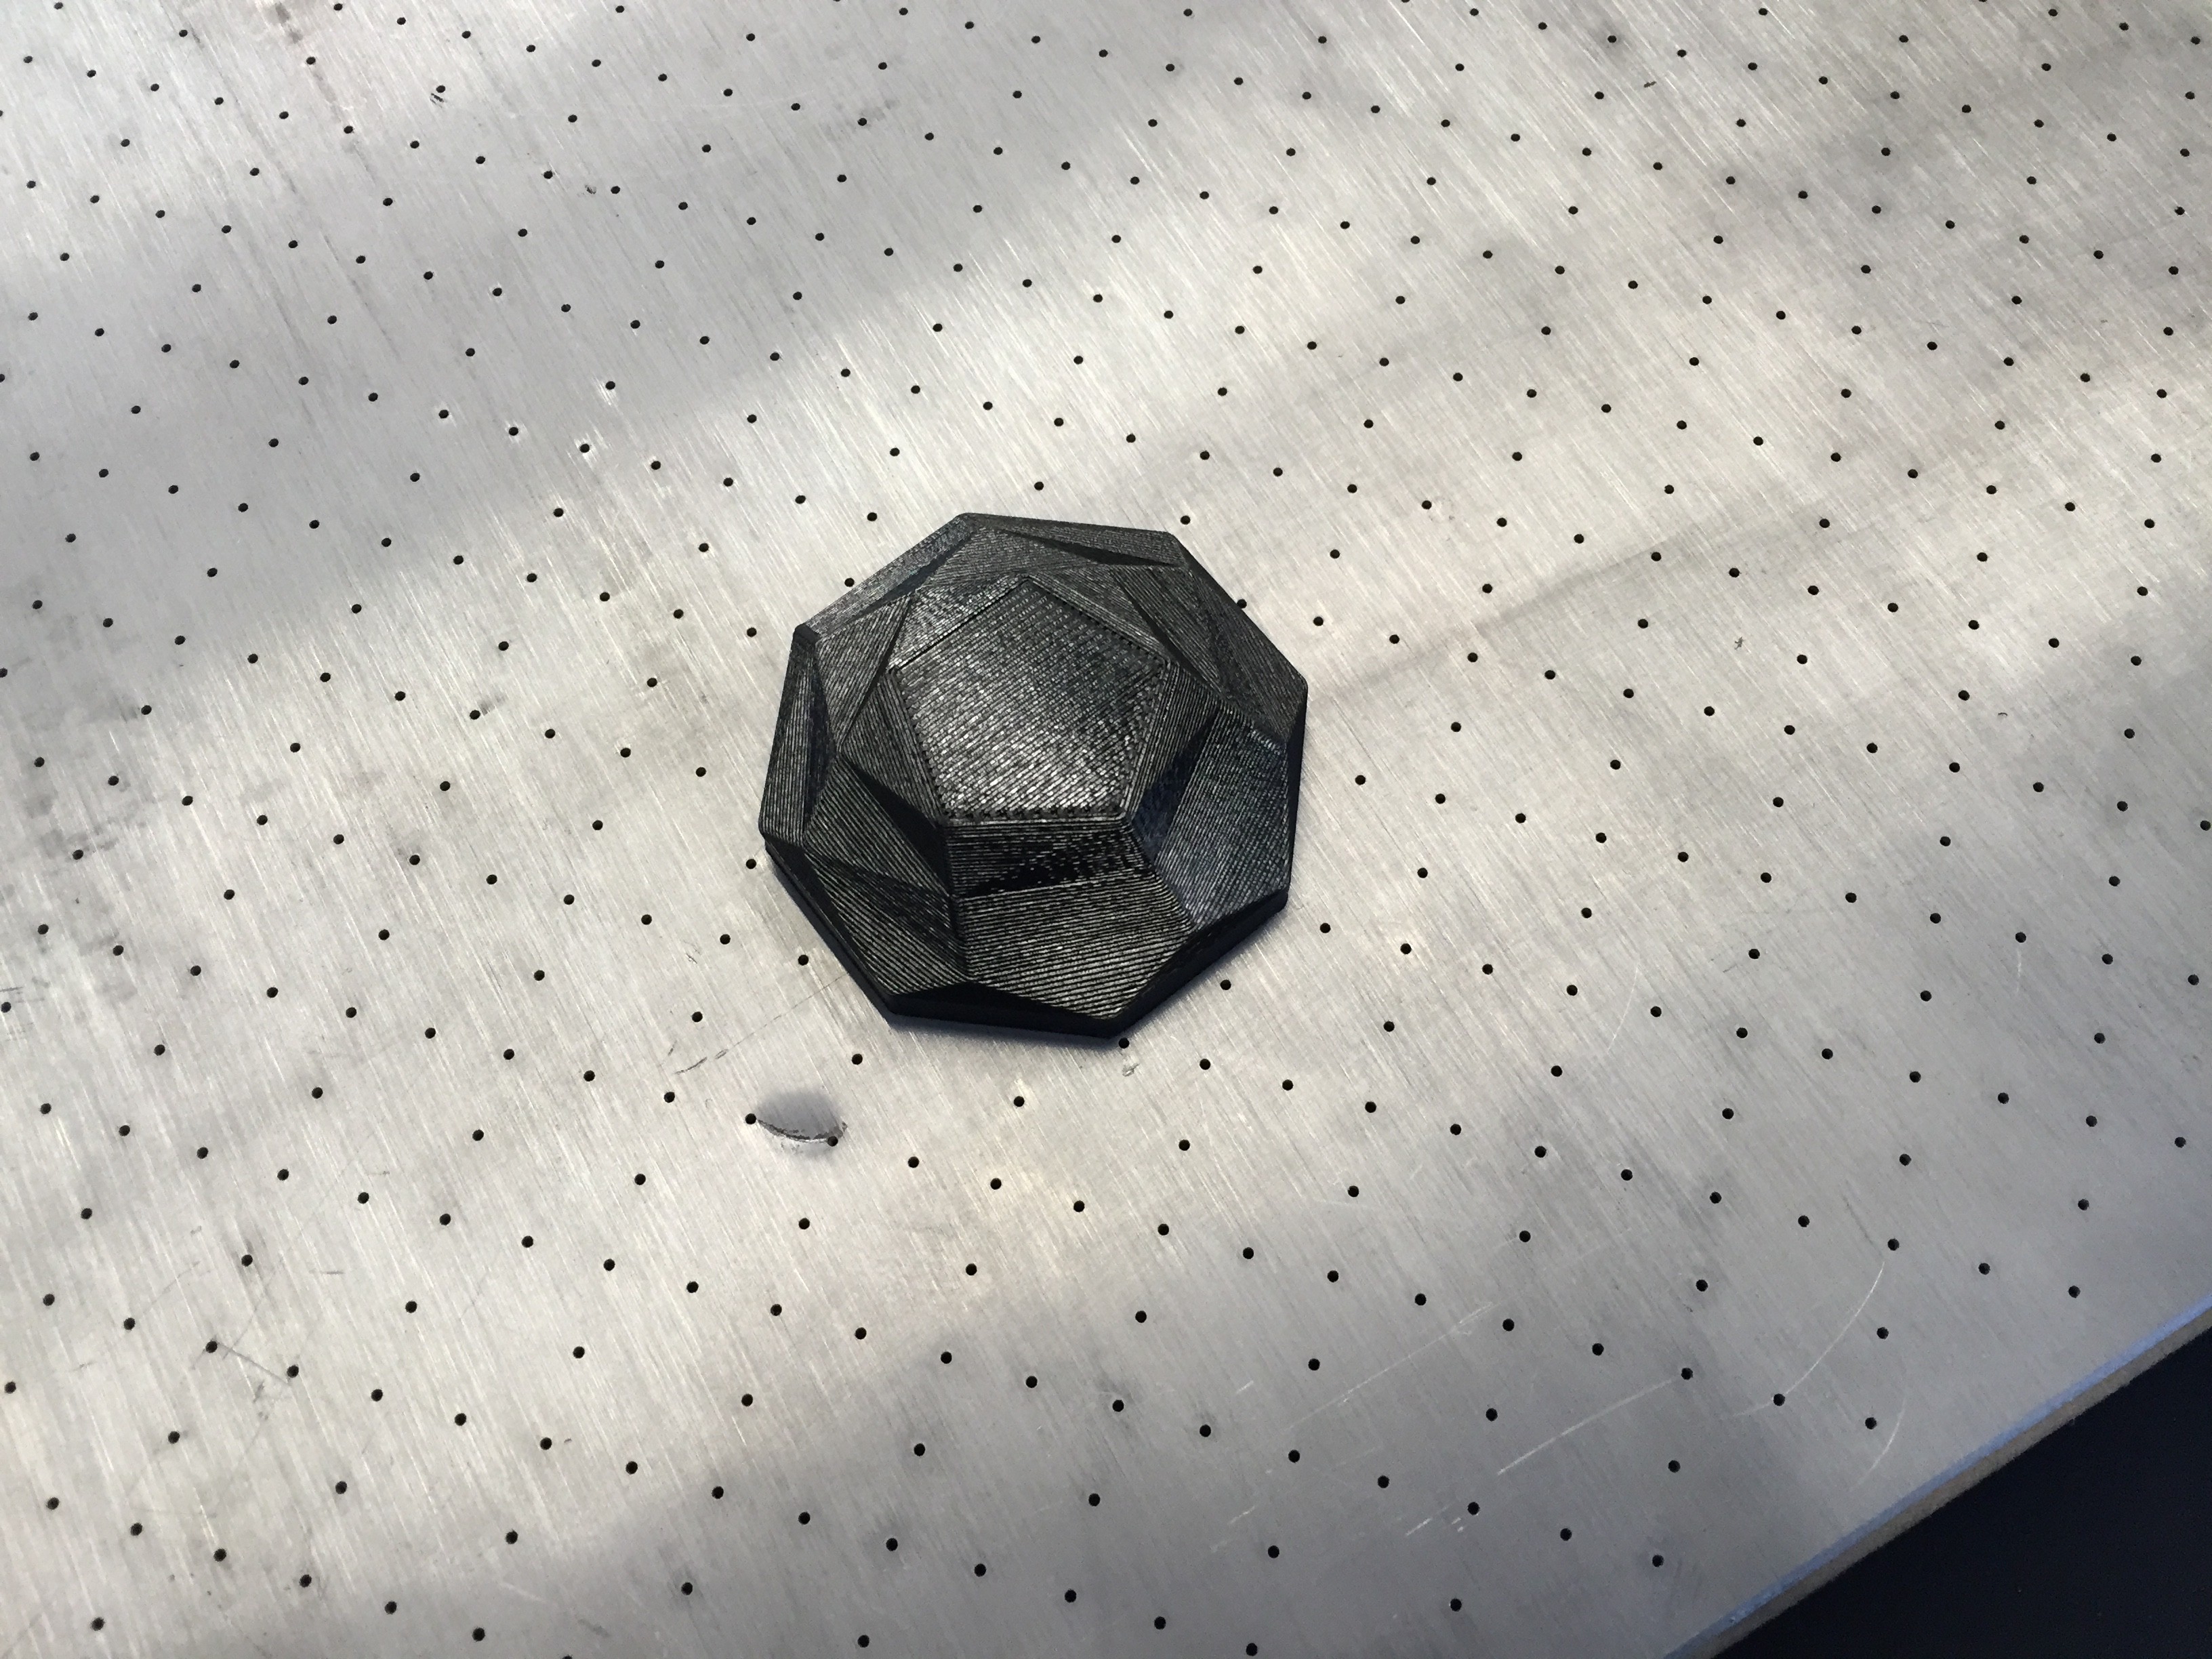
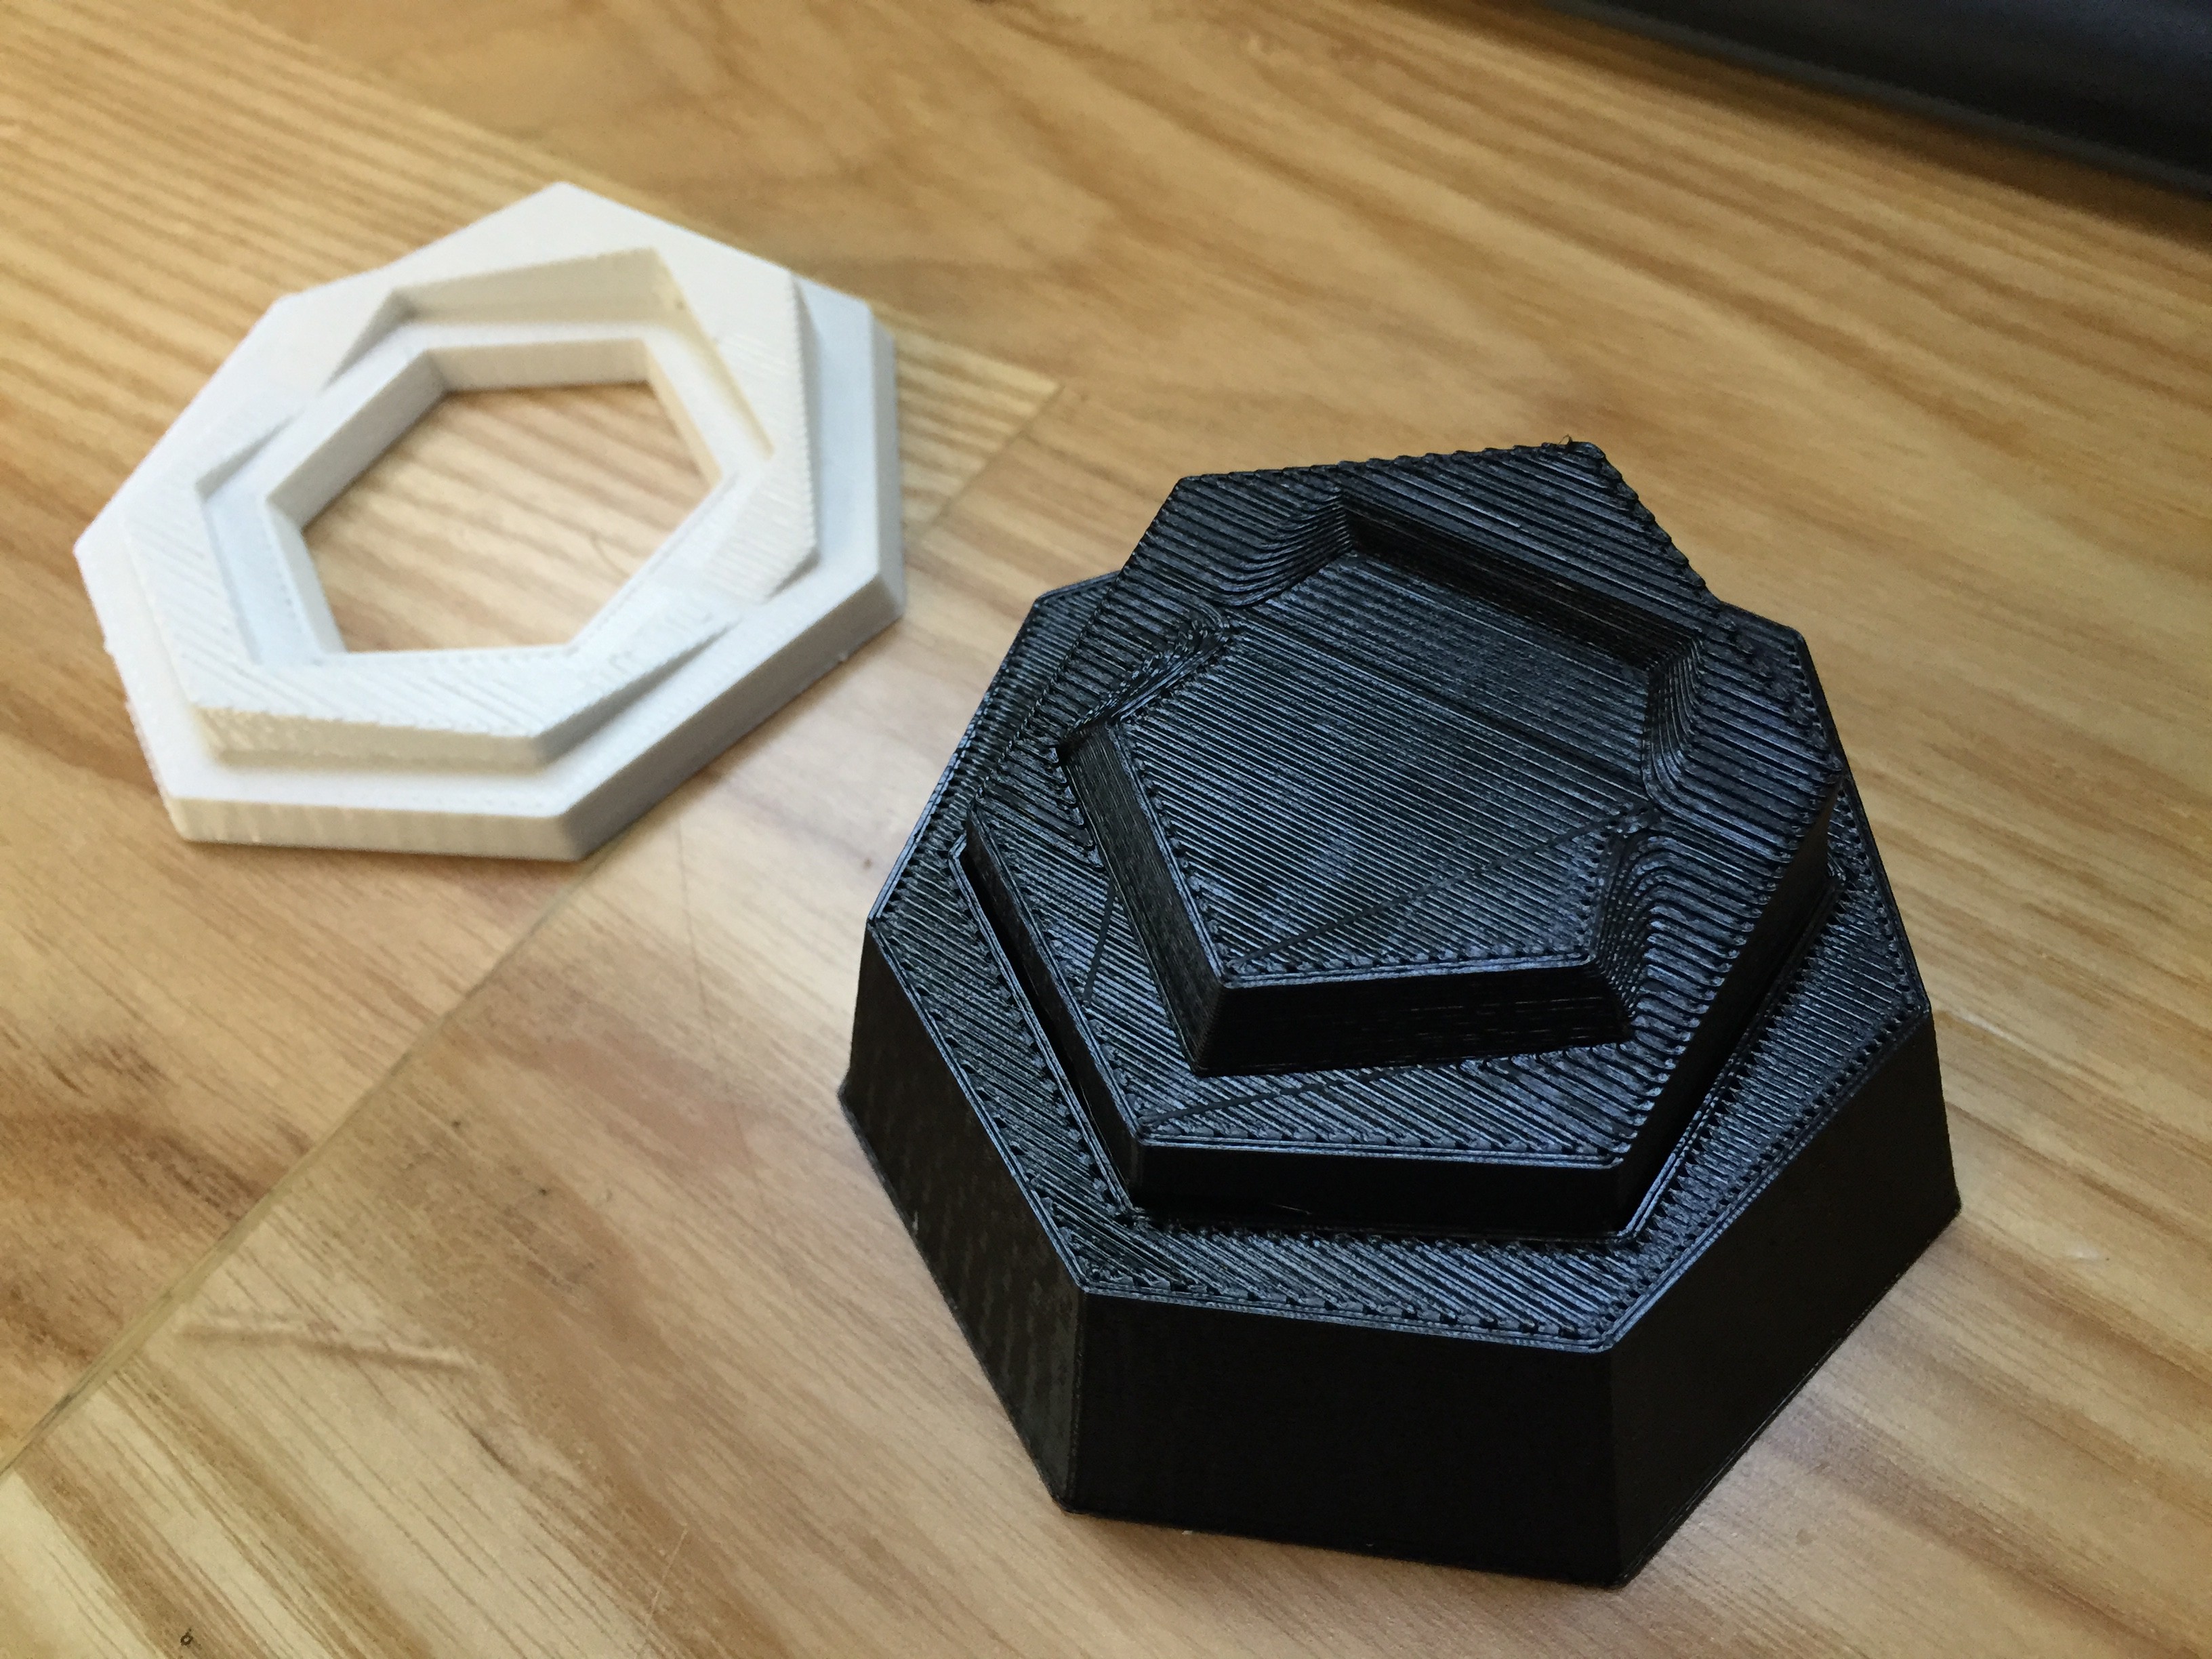
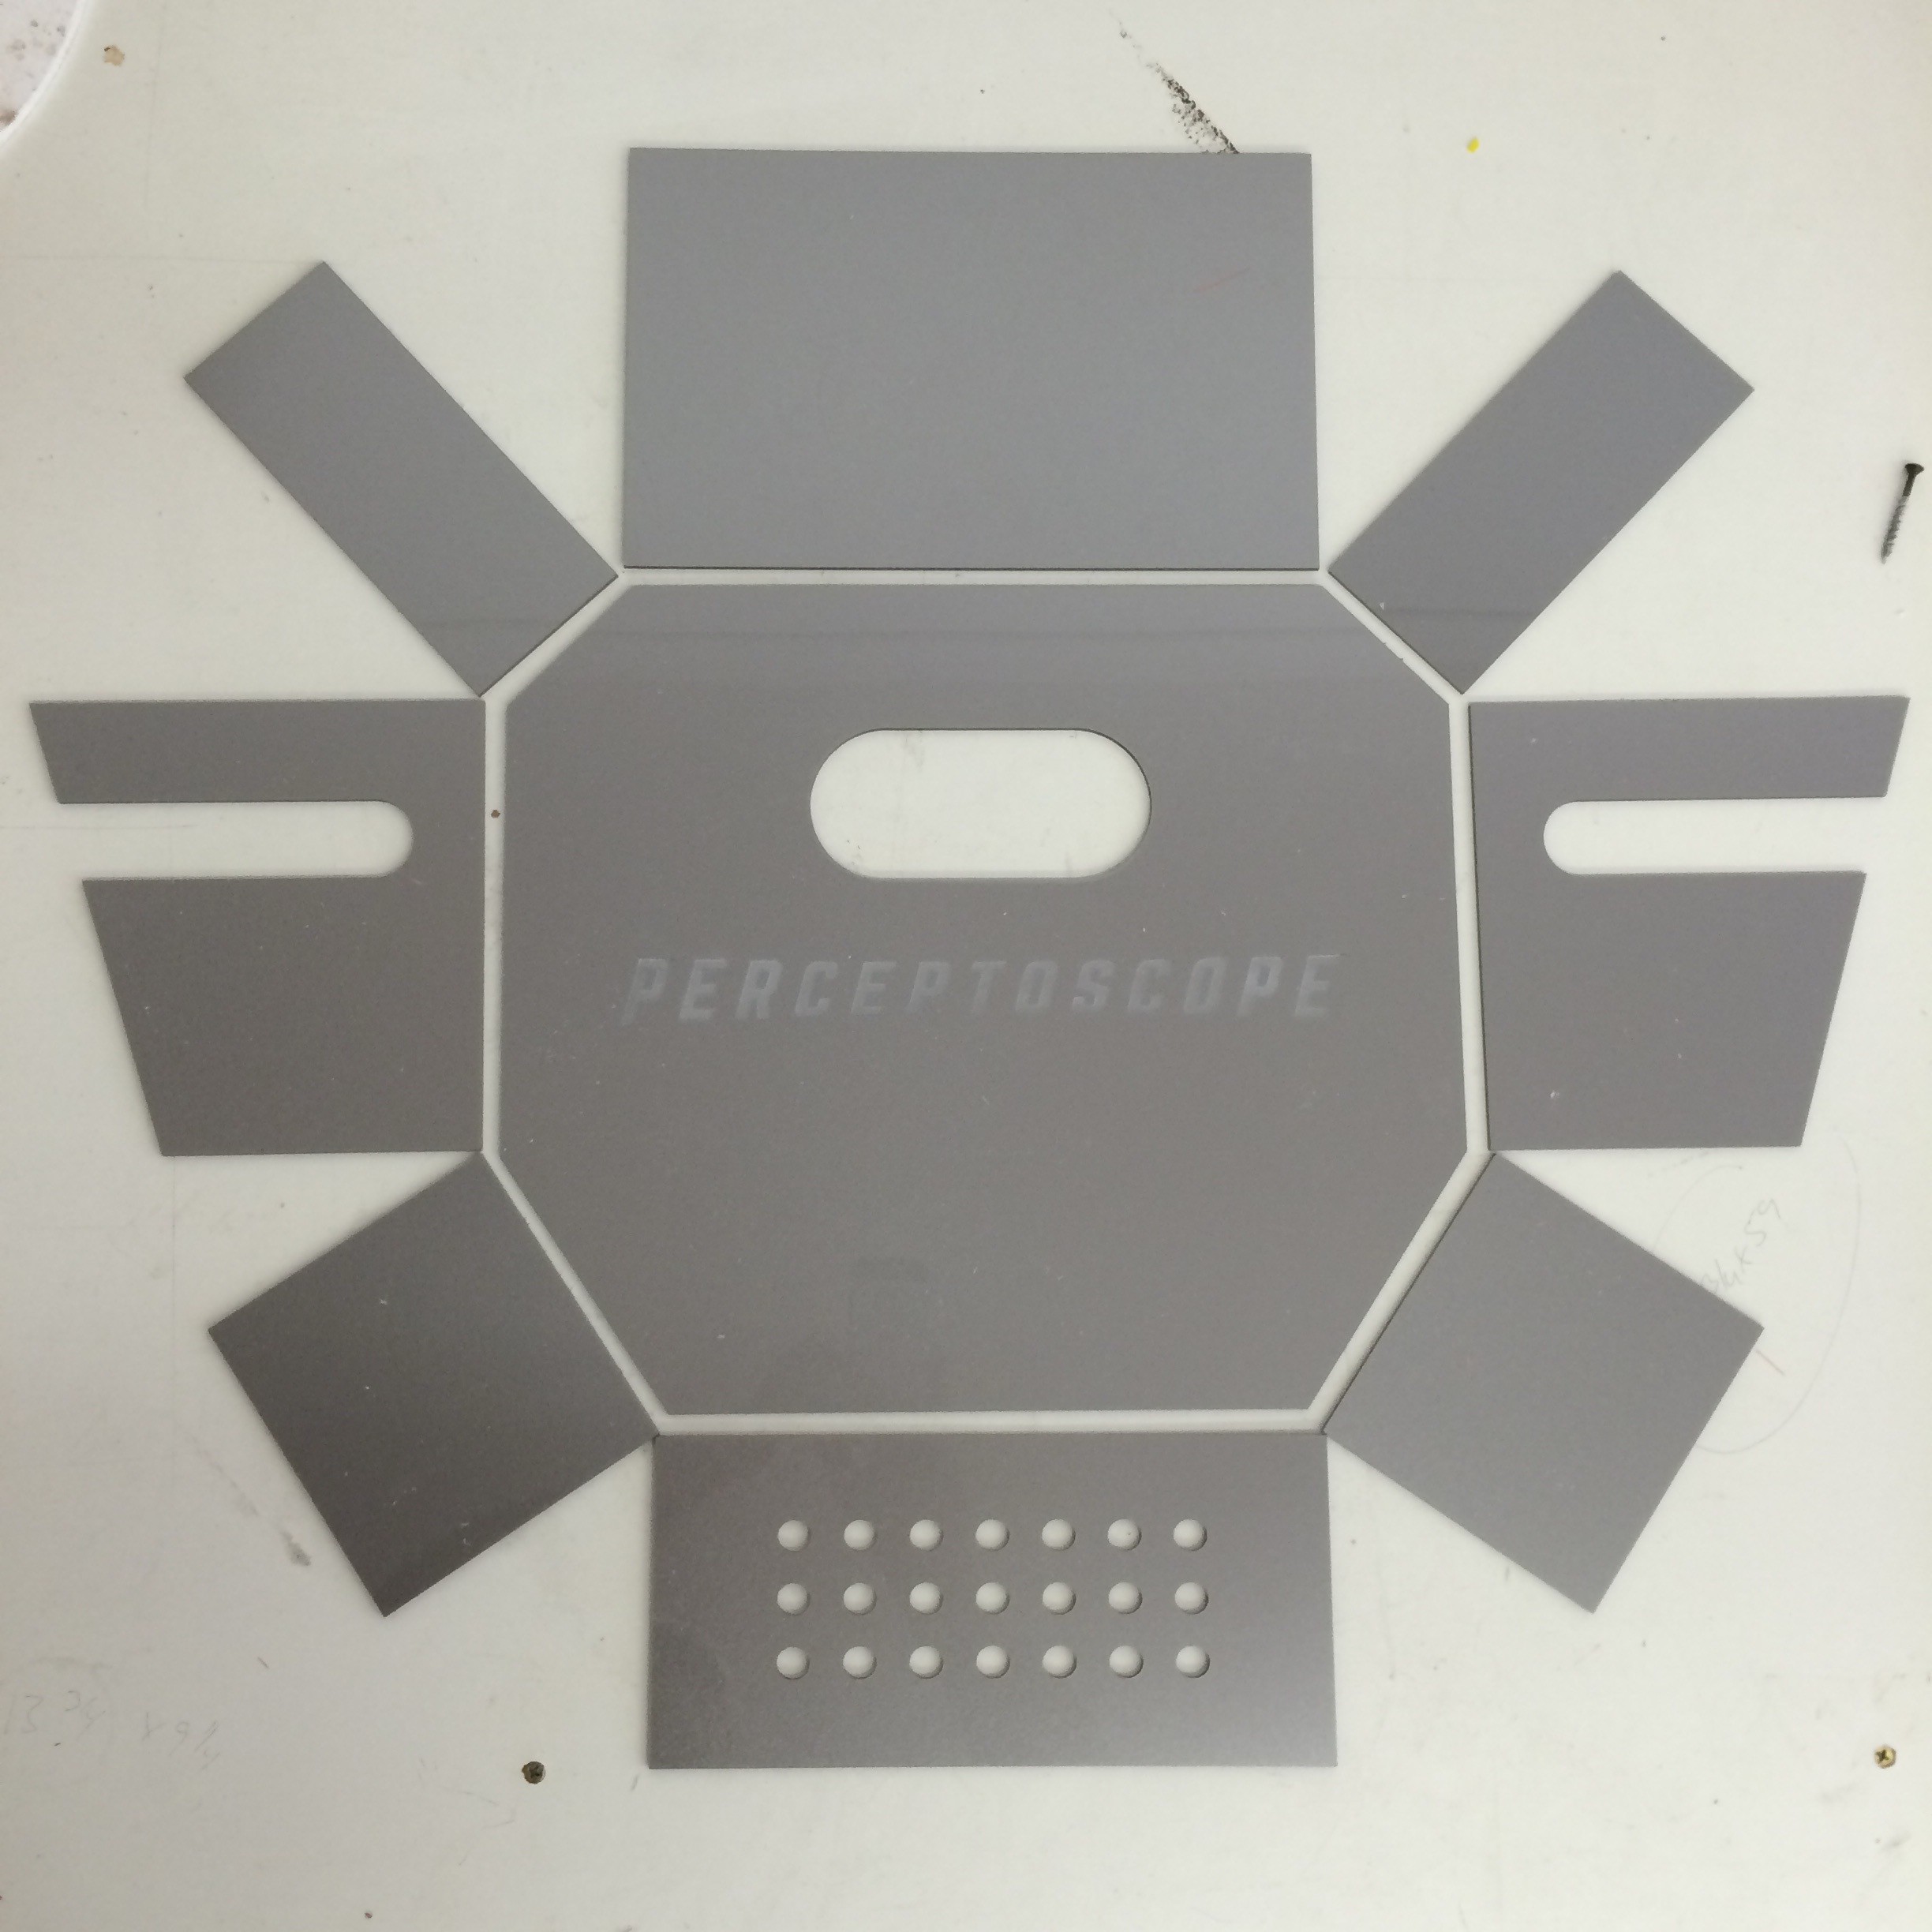
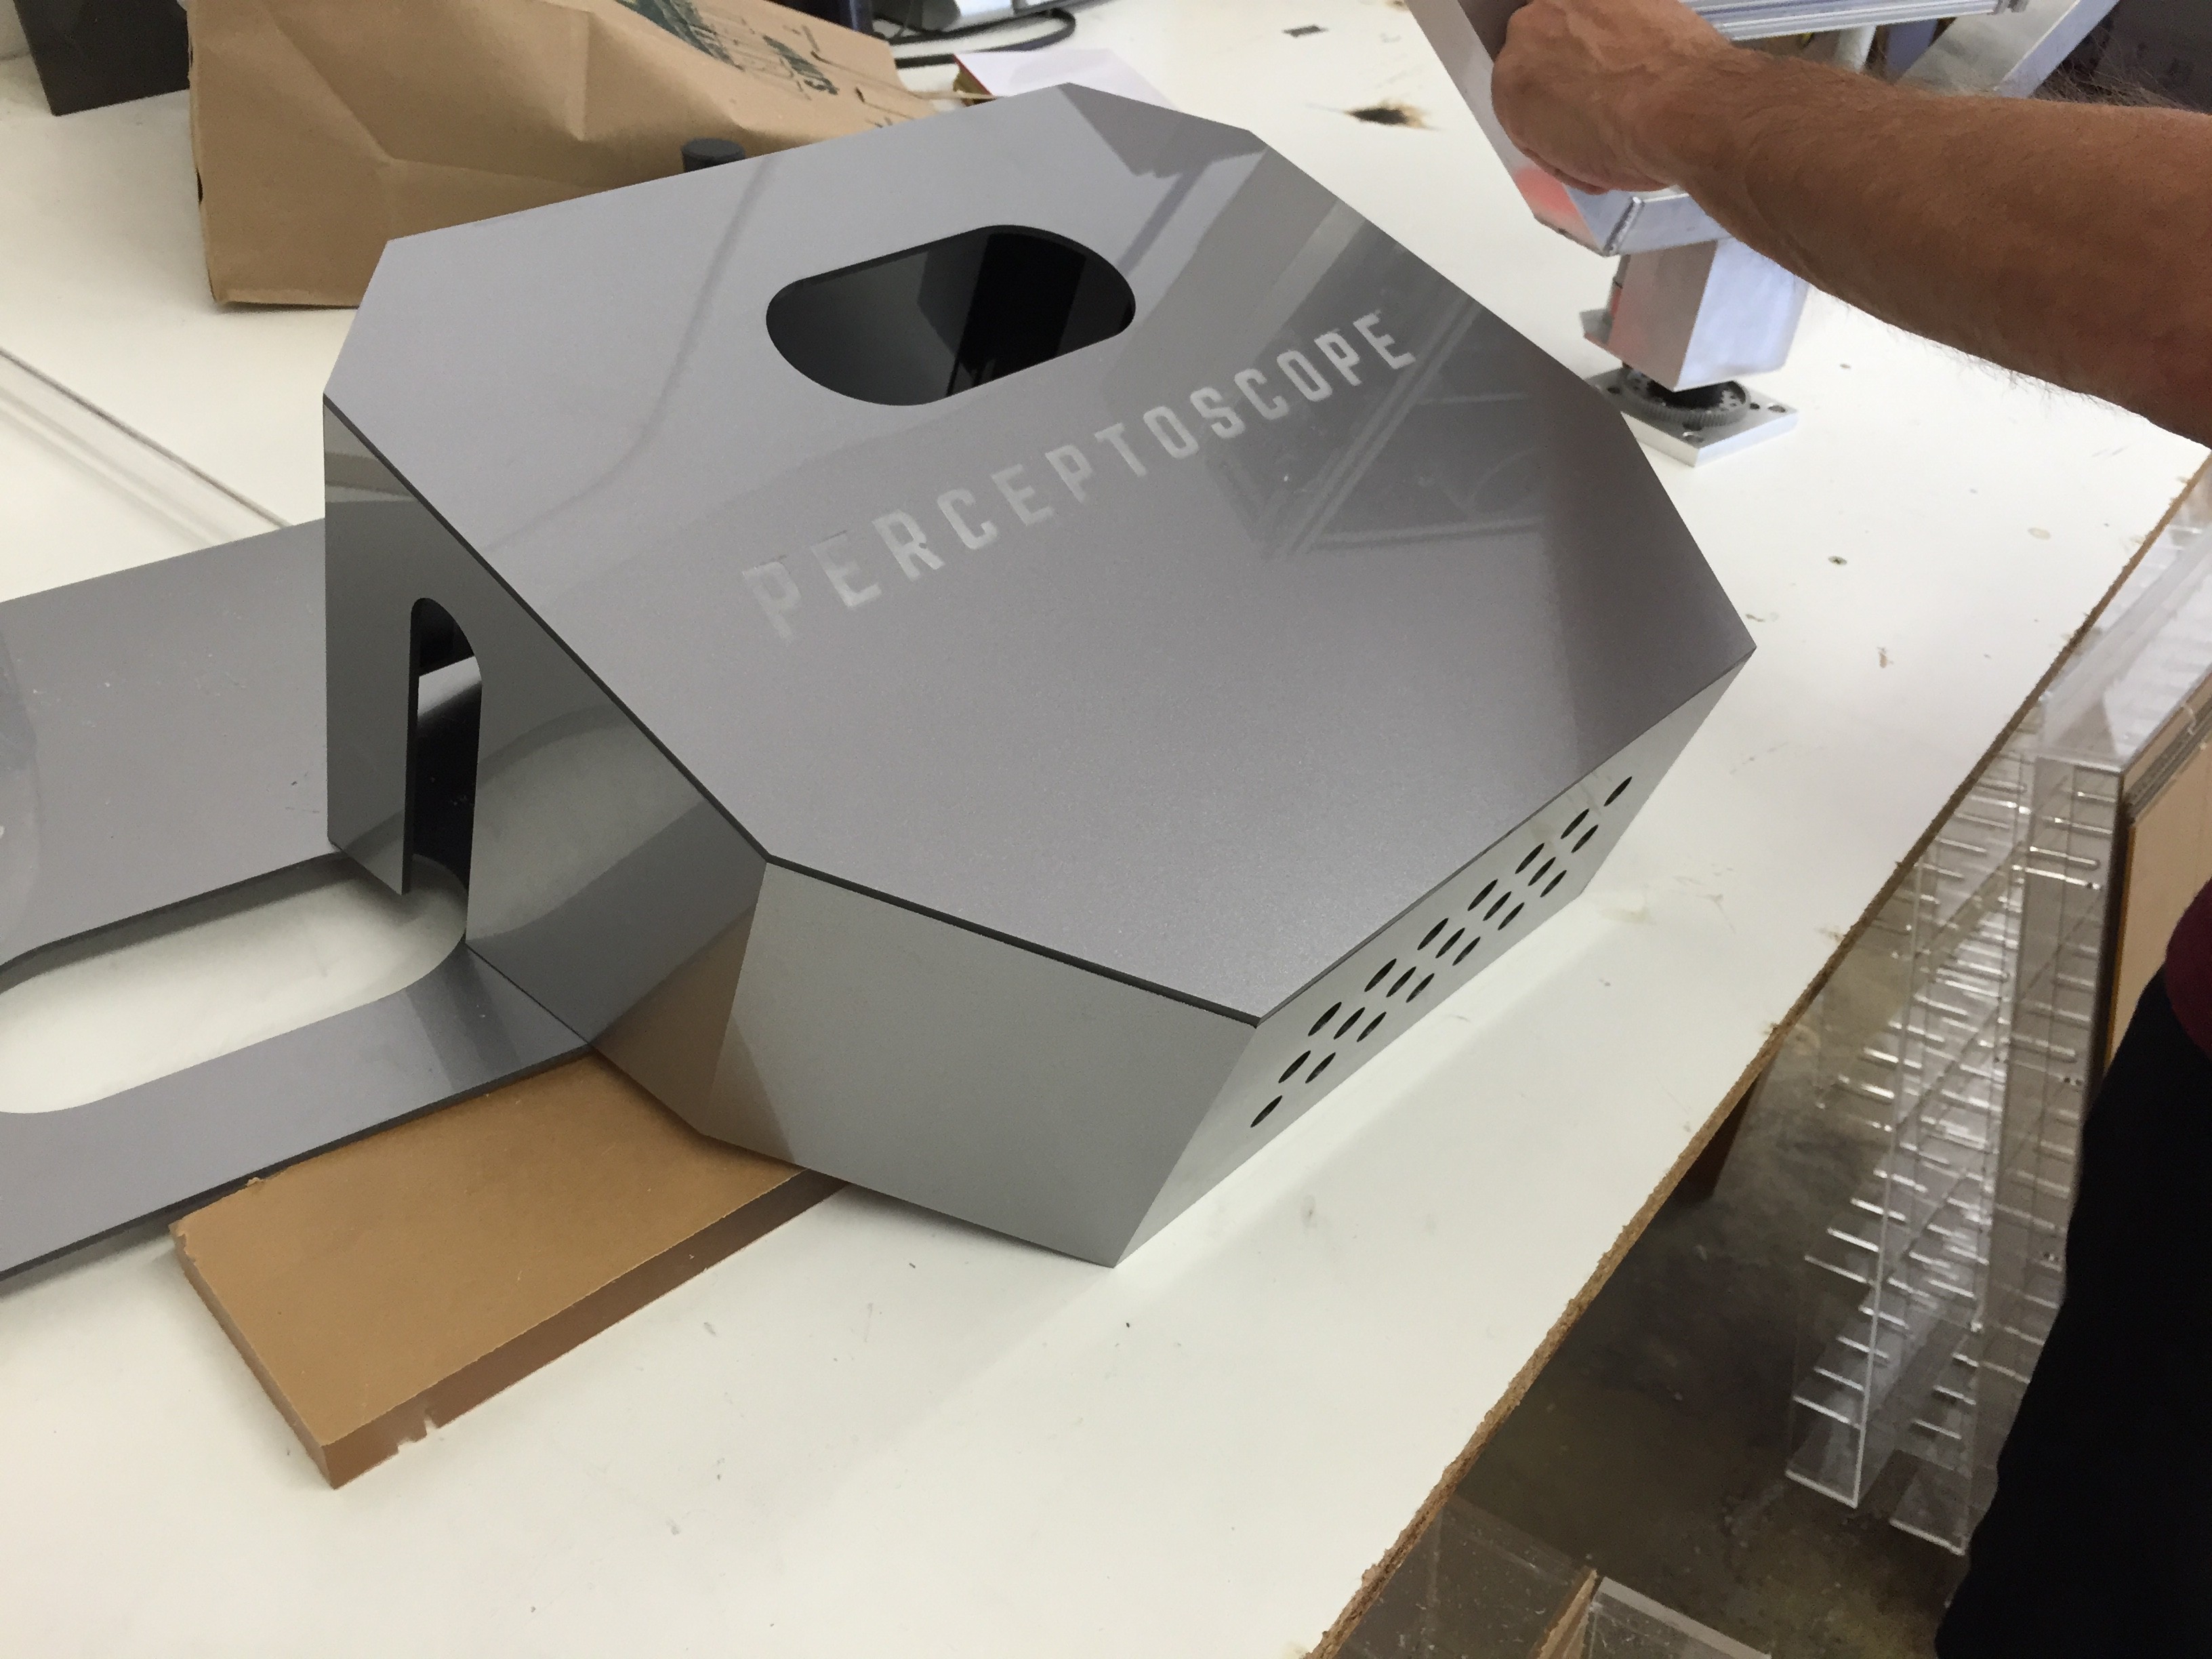
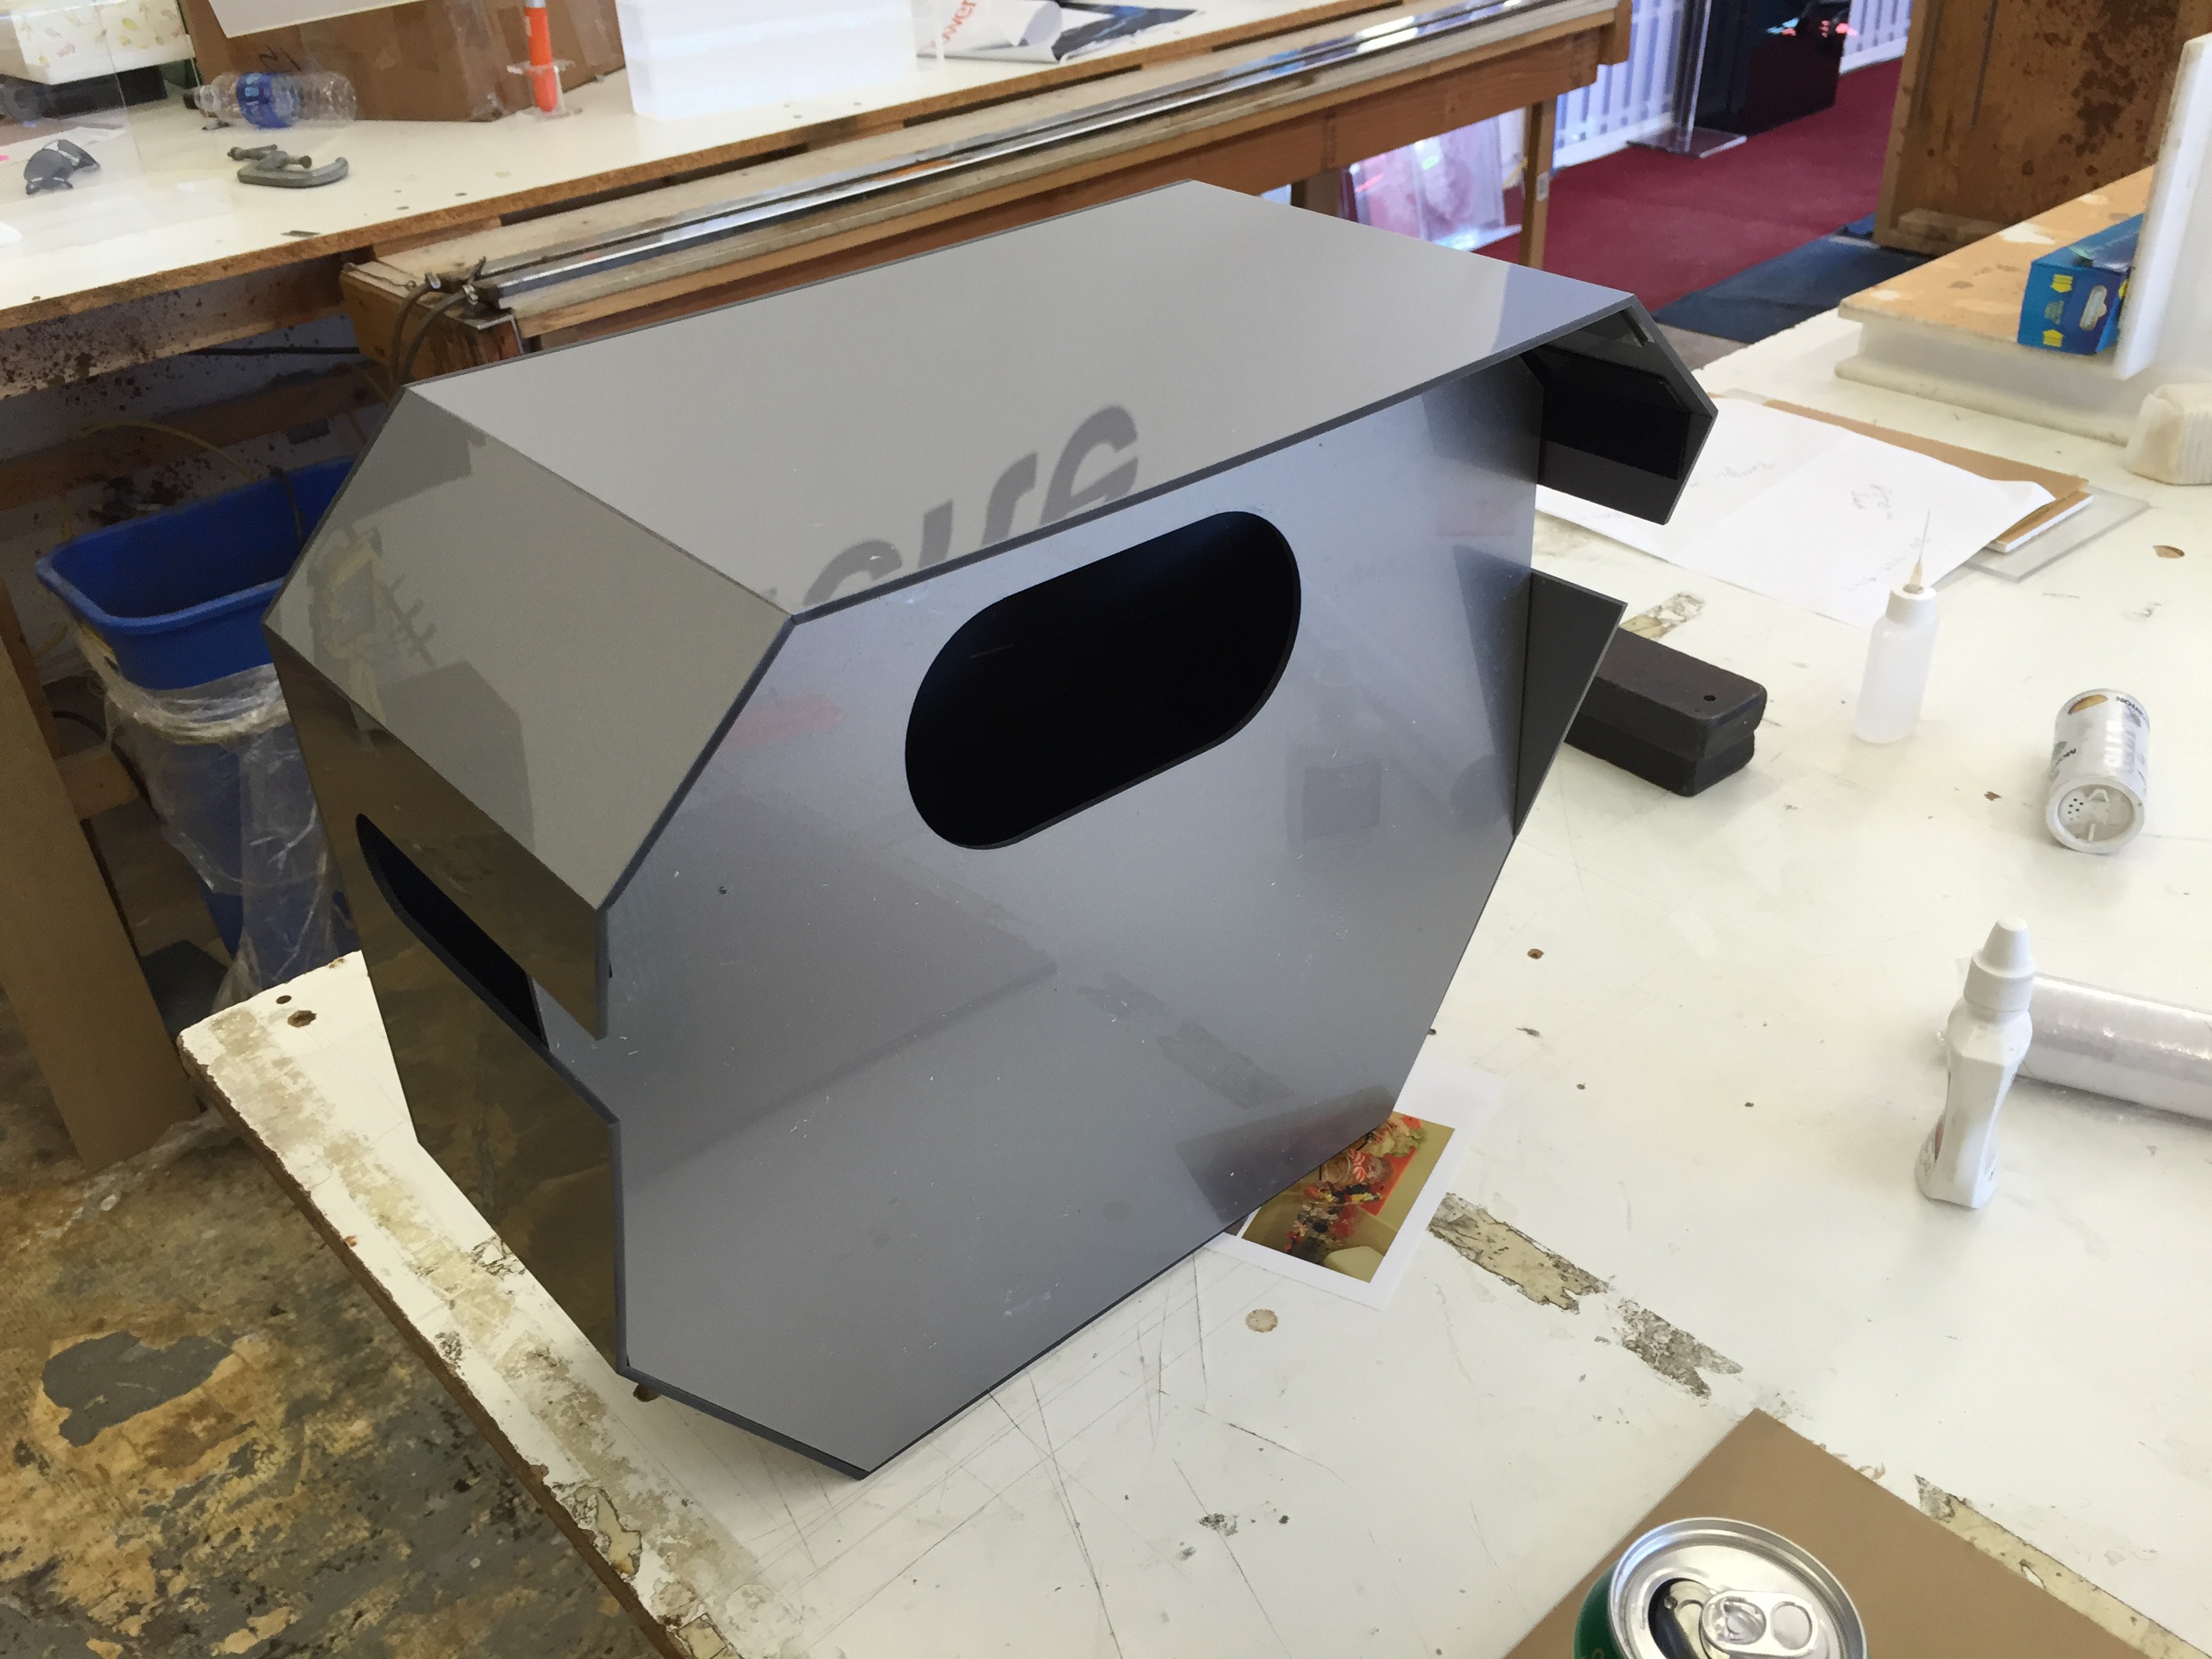
Last week I started to finalize the shell design, and found a good way to meet the practical concerns of actually manufacturing the shells, while still being able to hit the design language I'm hoping for. I printed out a little scale model just to get a sense of it.
![]()
![]()
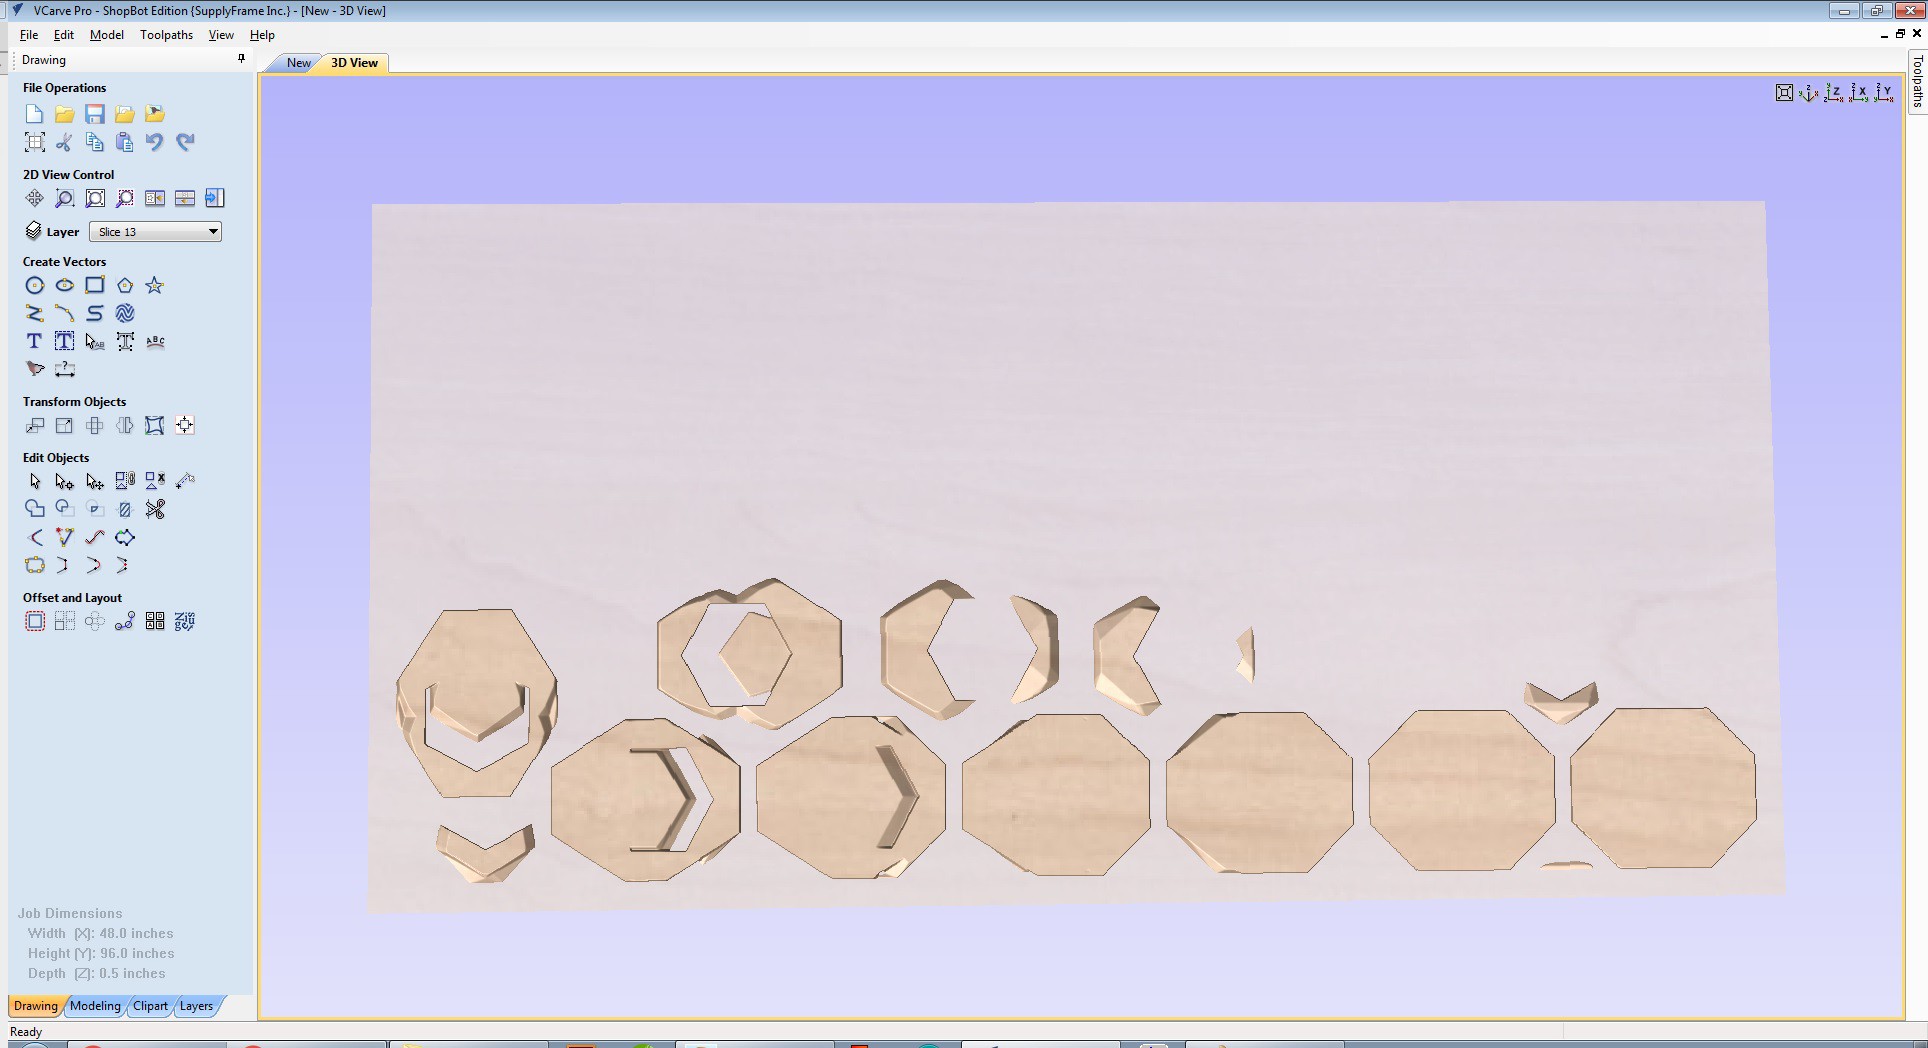
Playing around with VCarve Pro, I've now got a good sense of how to manufacture this full size on the Shop Bot. Basically we'll carve out the model from a large piece of MDF in layers and then stack them up to make the positives to be vacuum formed. VCarve Pro has a good tool for generating and laying out the slices, so it should move fairly quick.
![]()
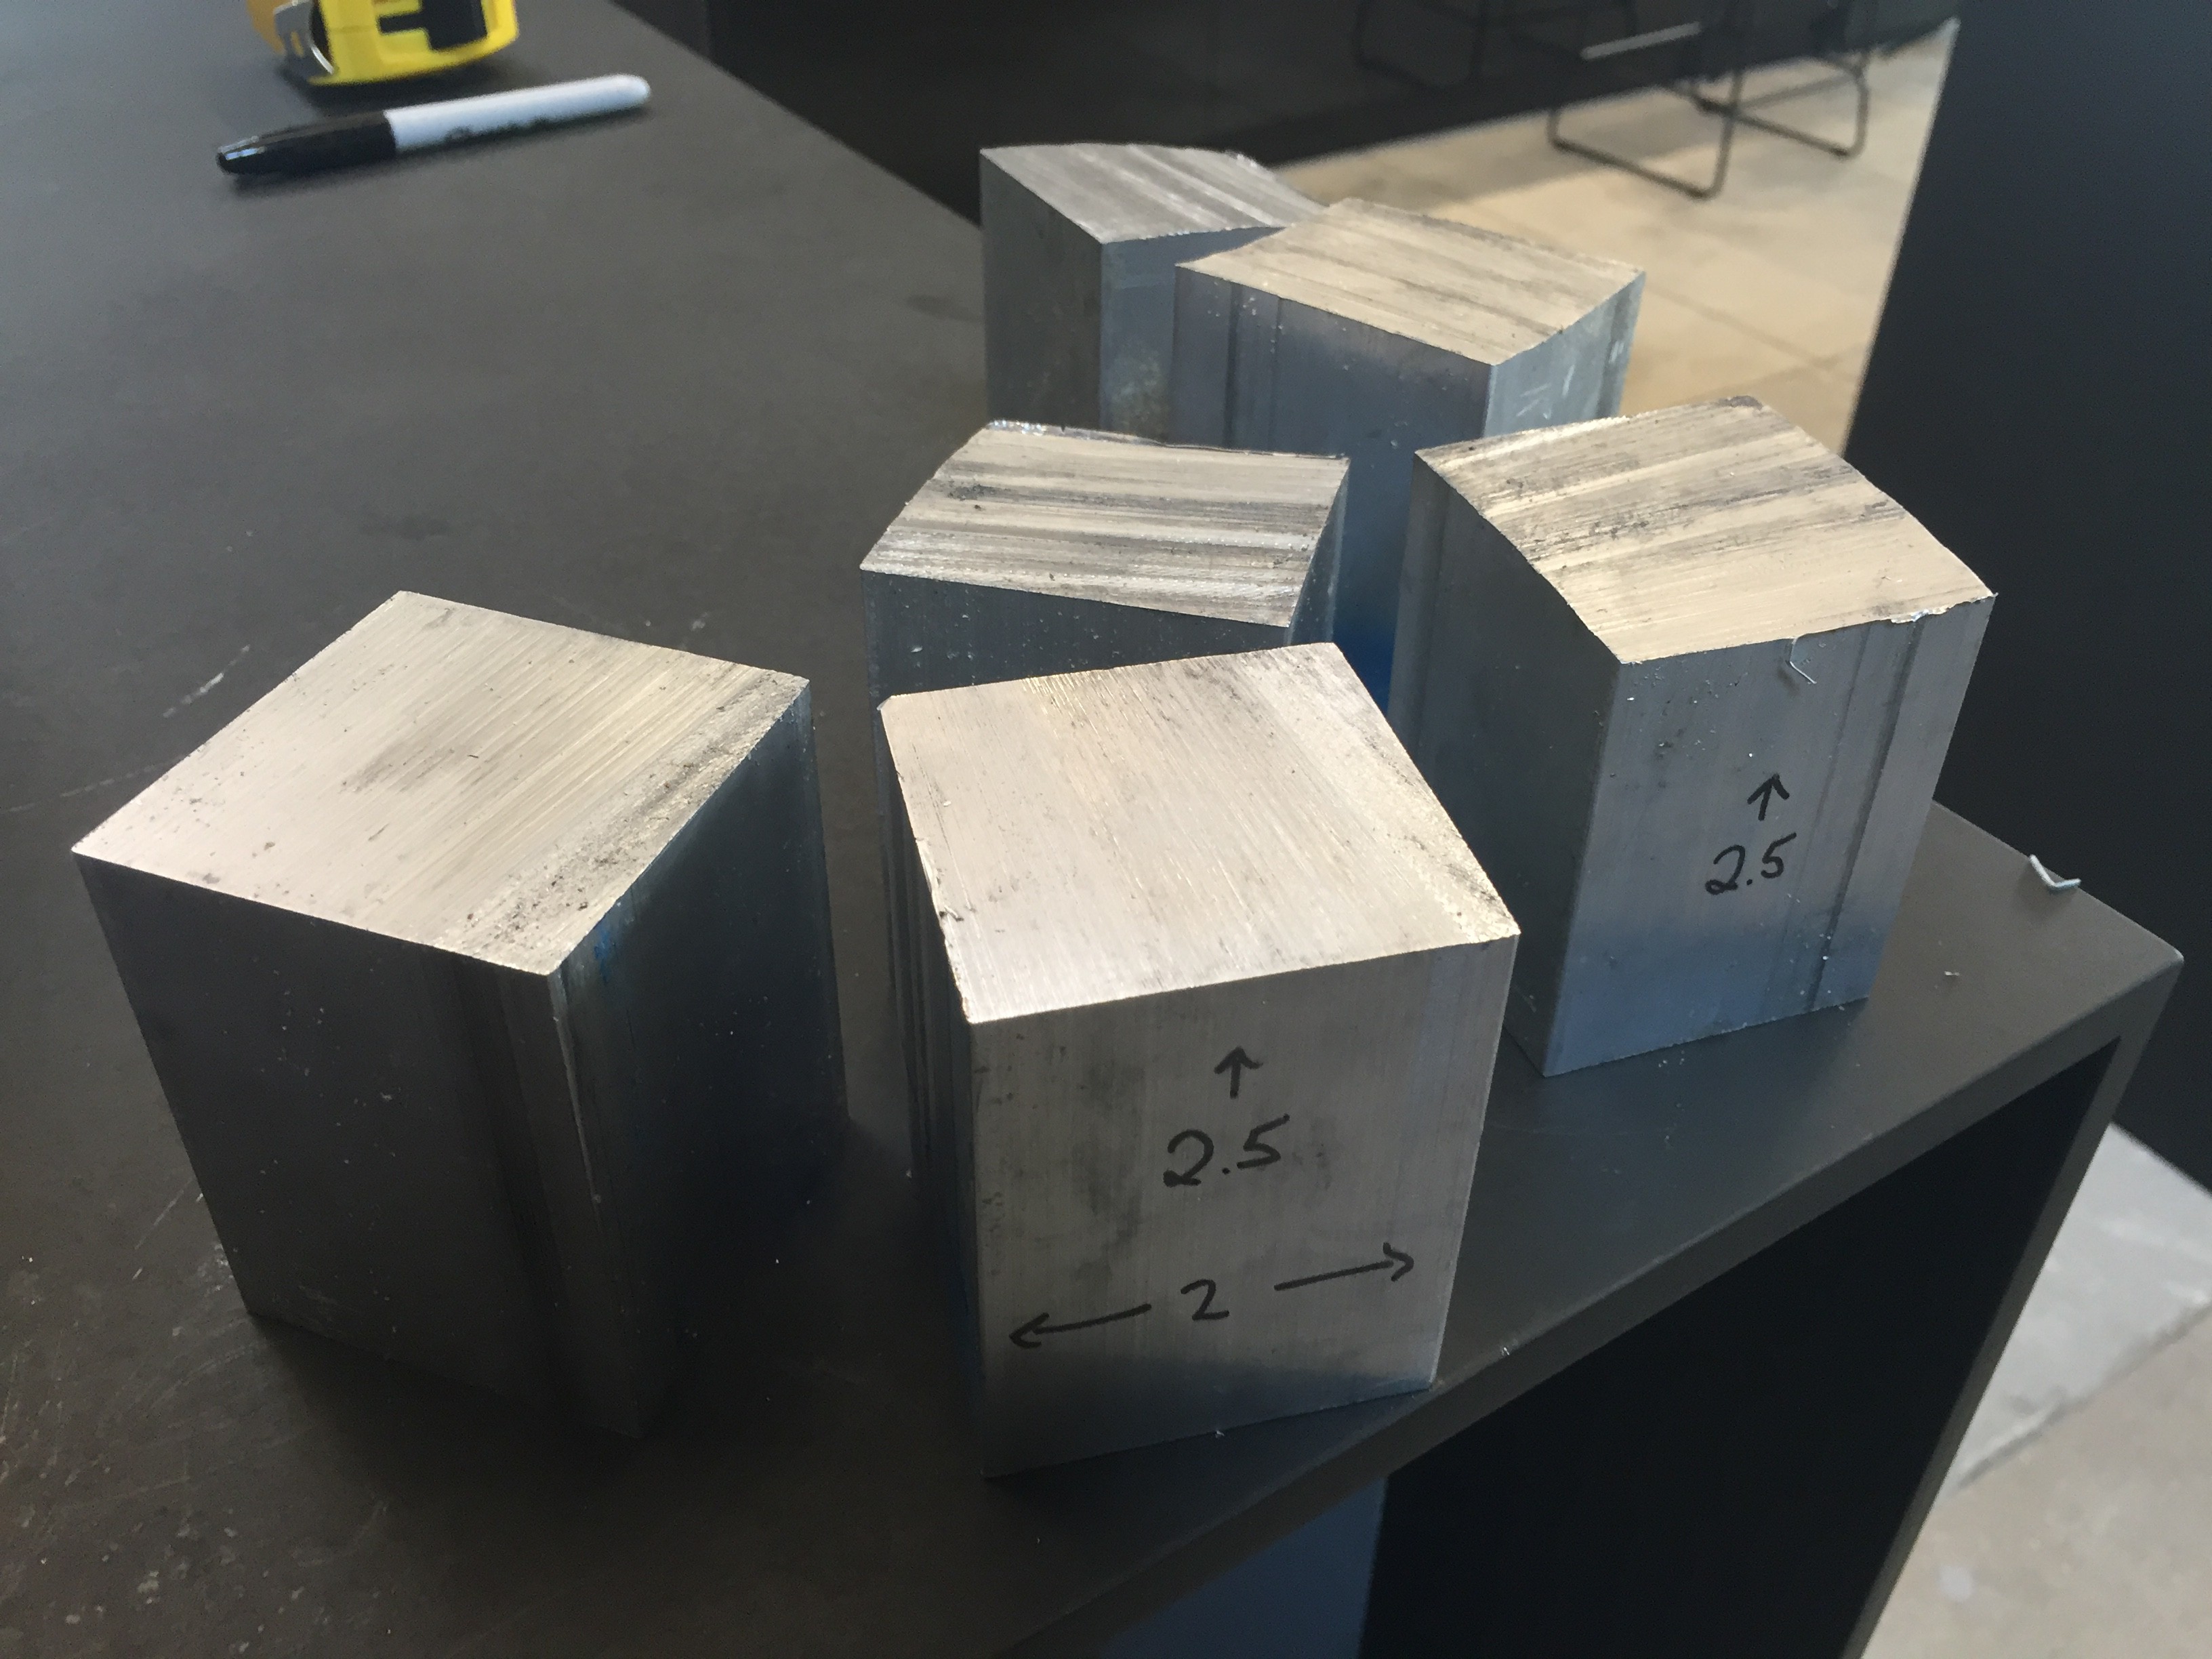
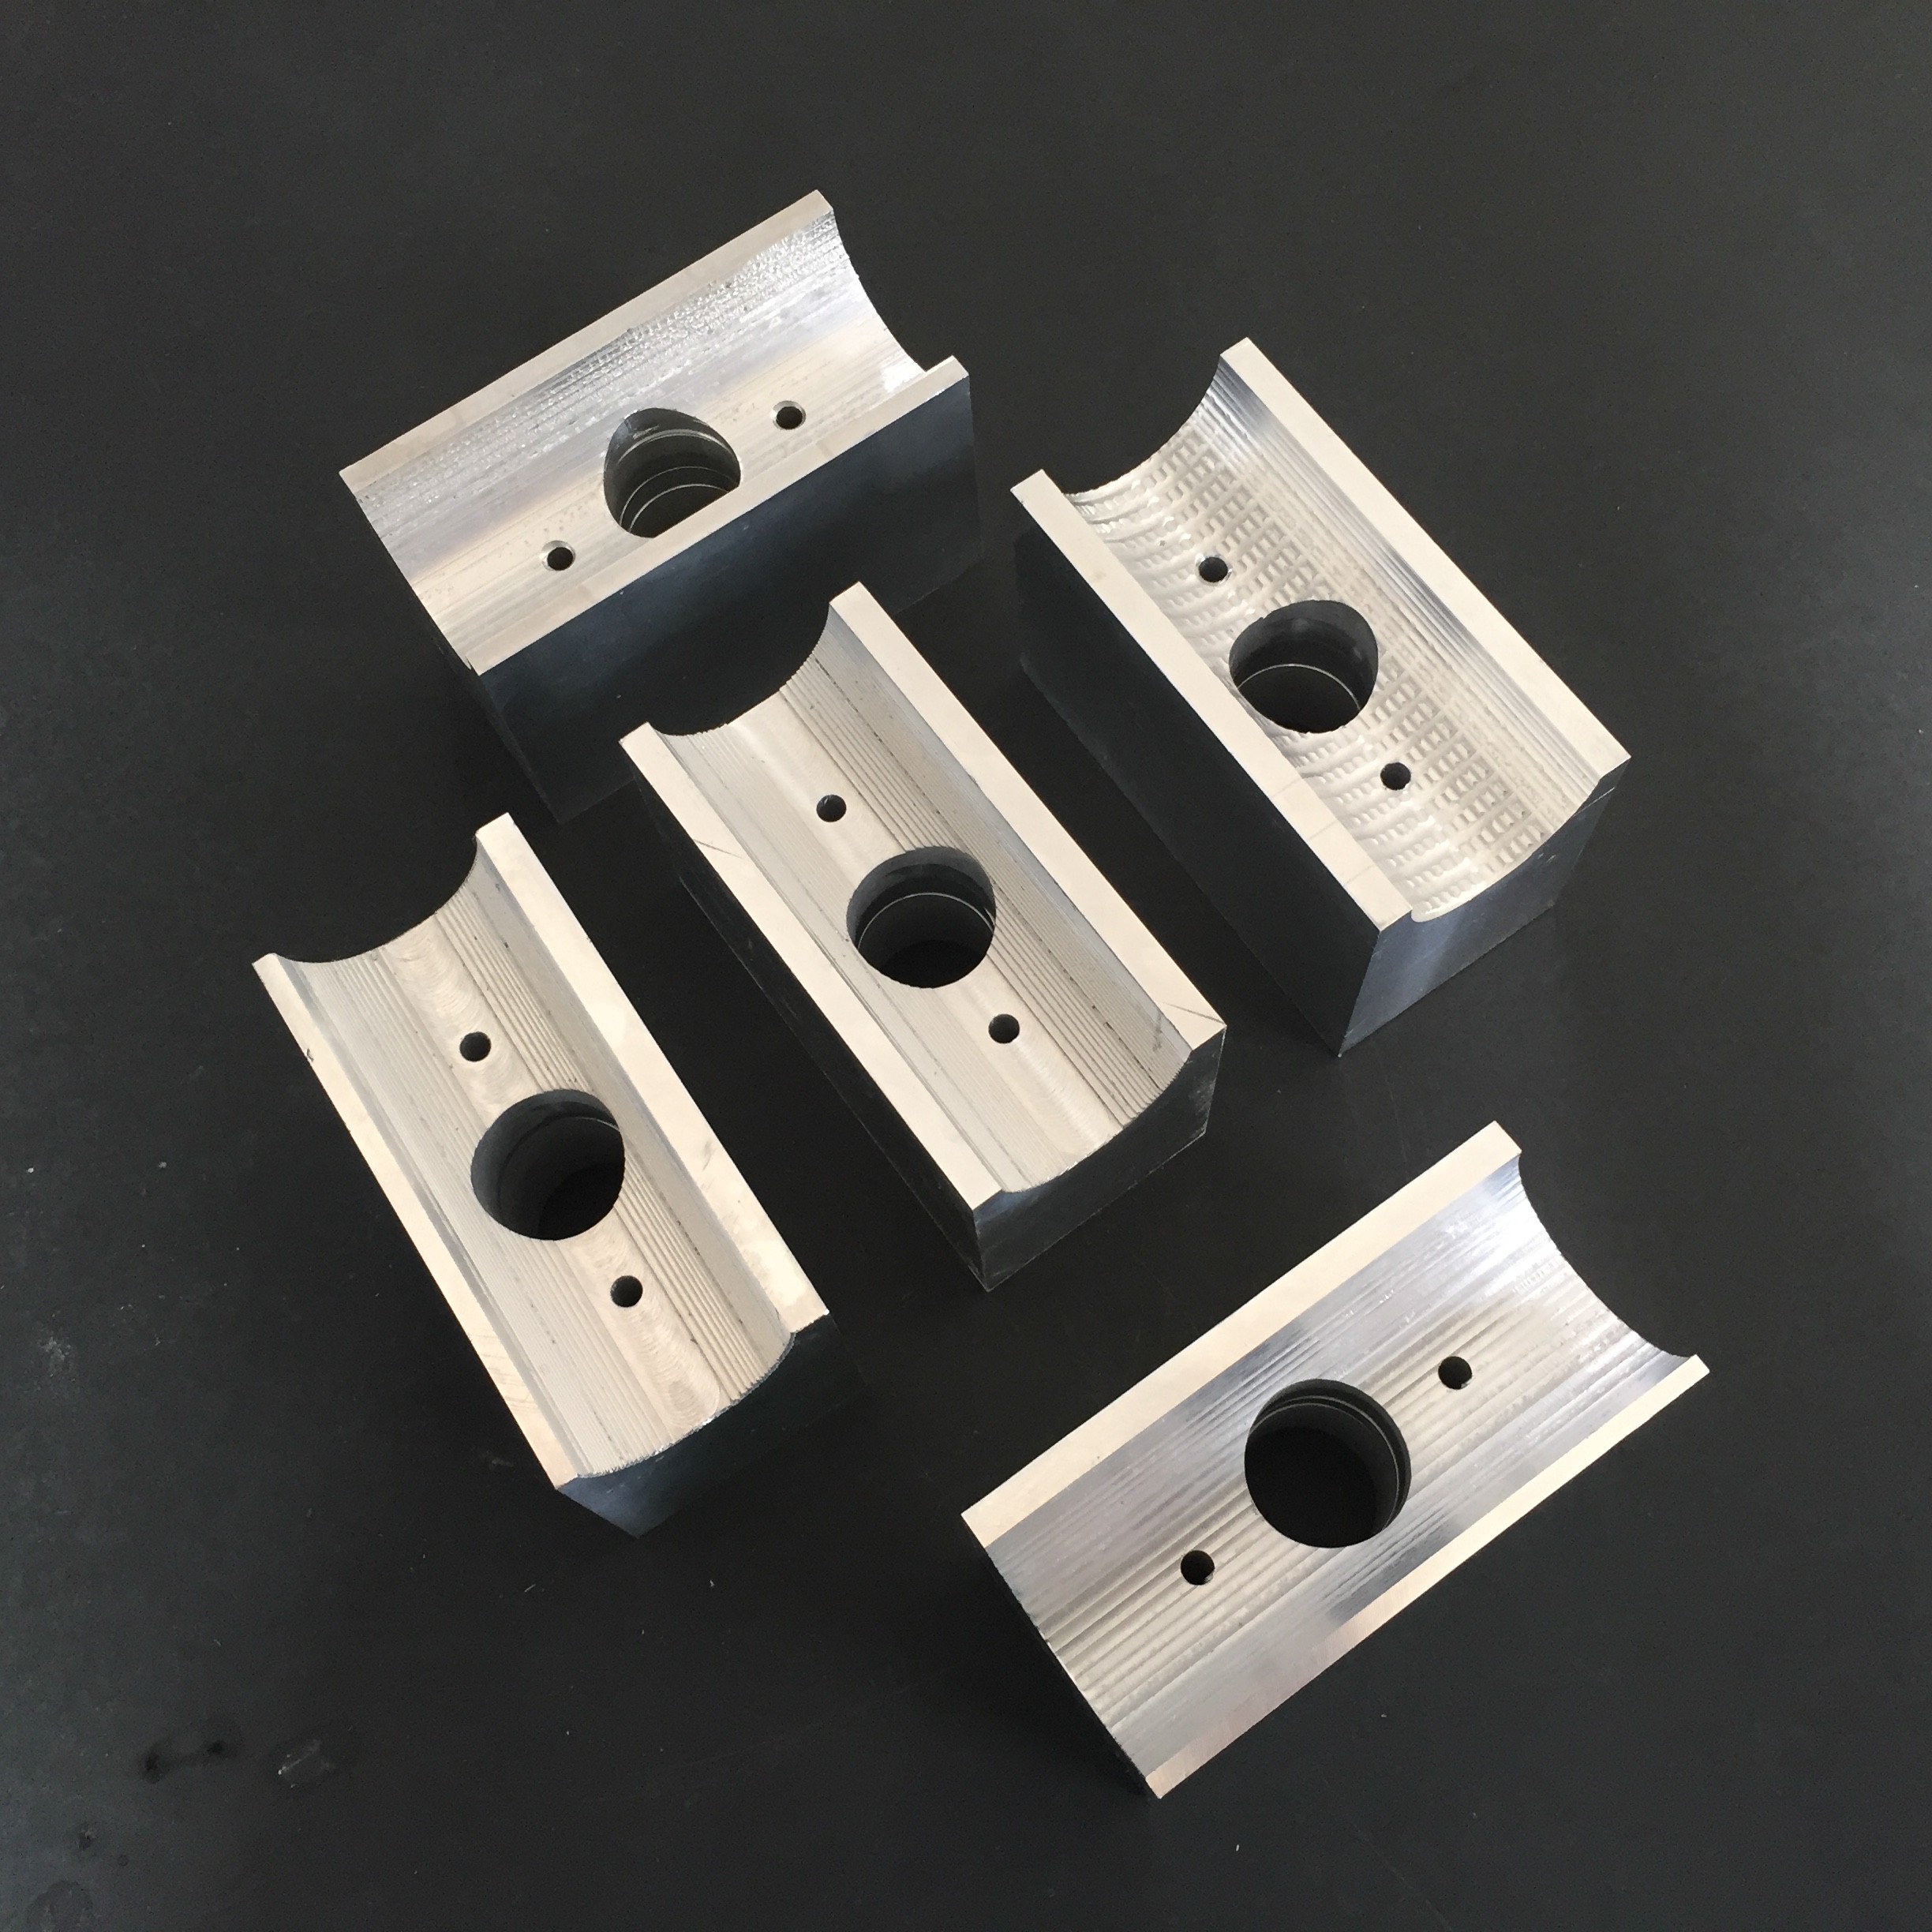
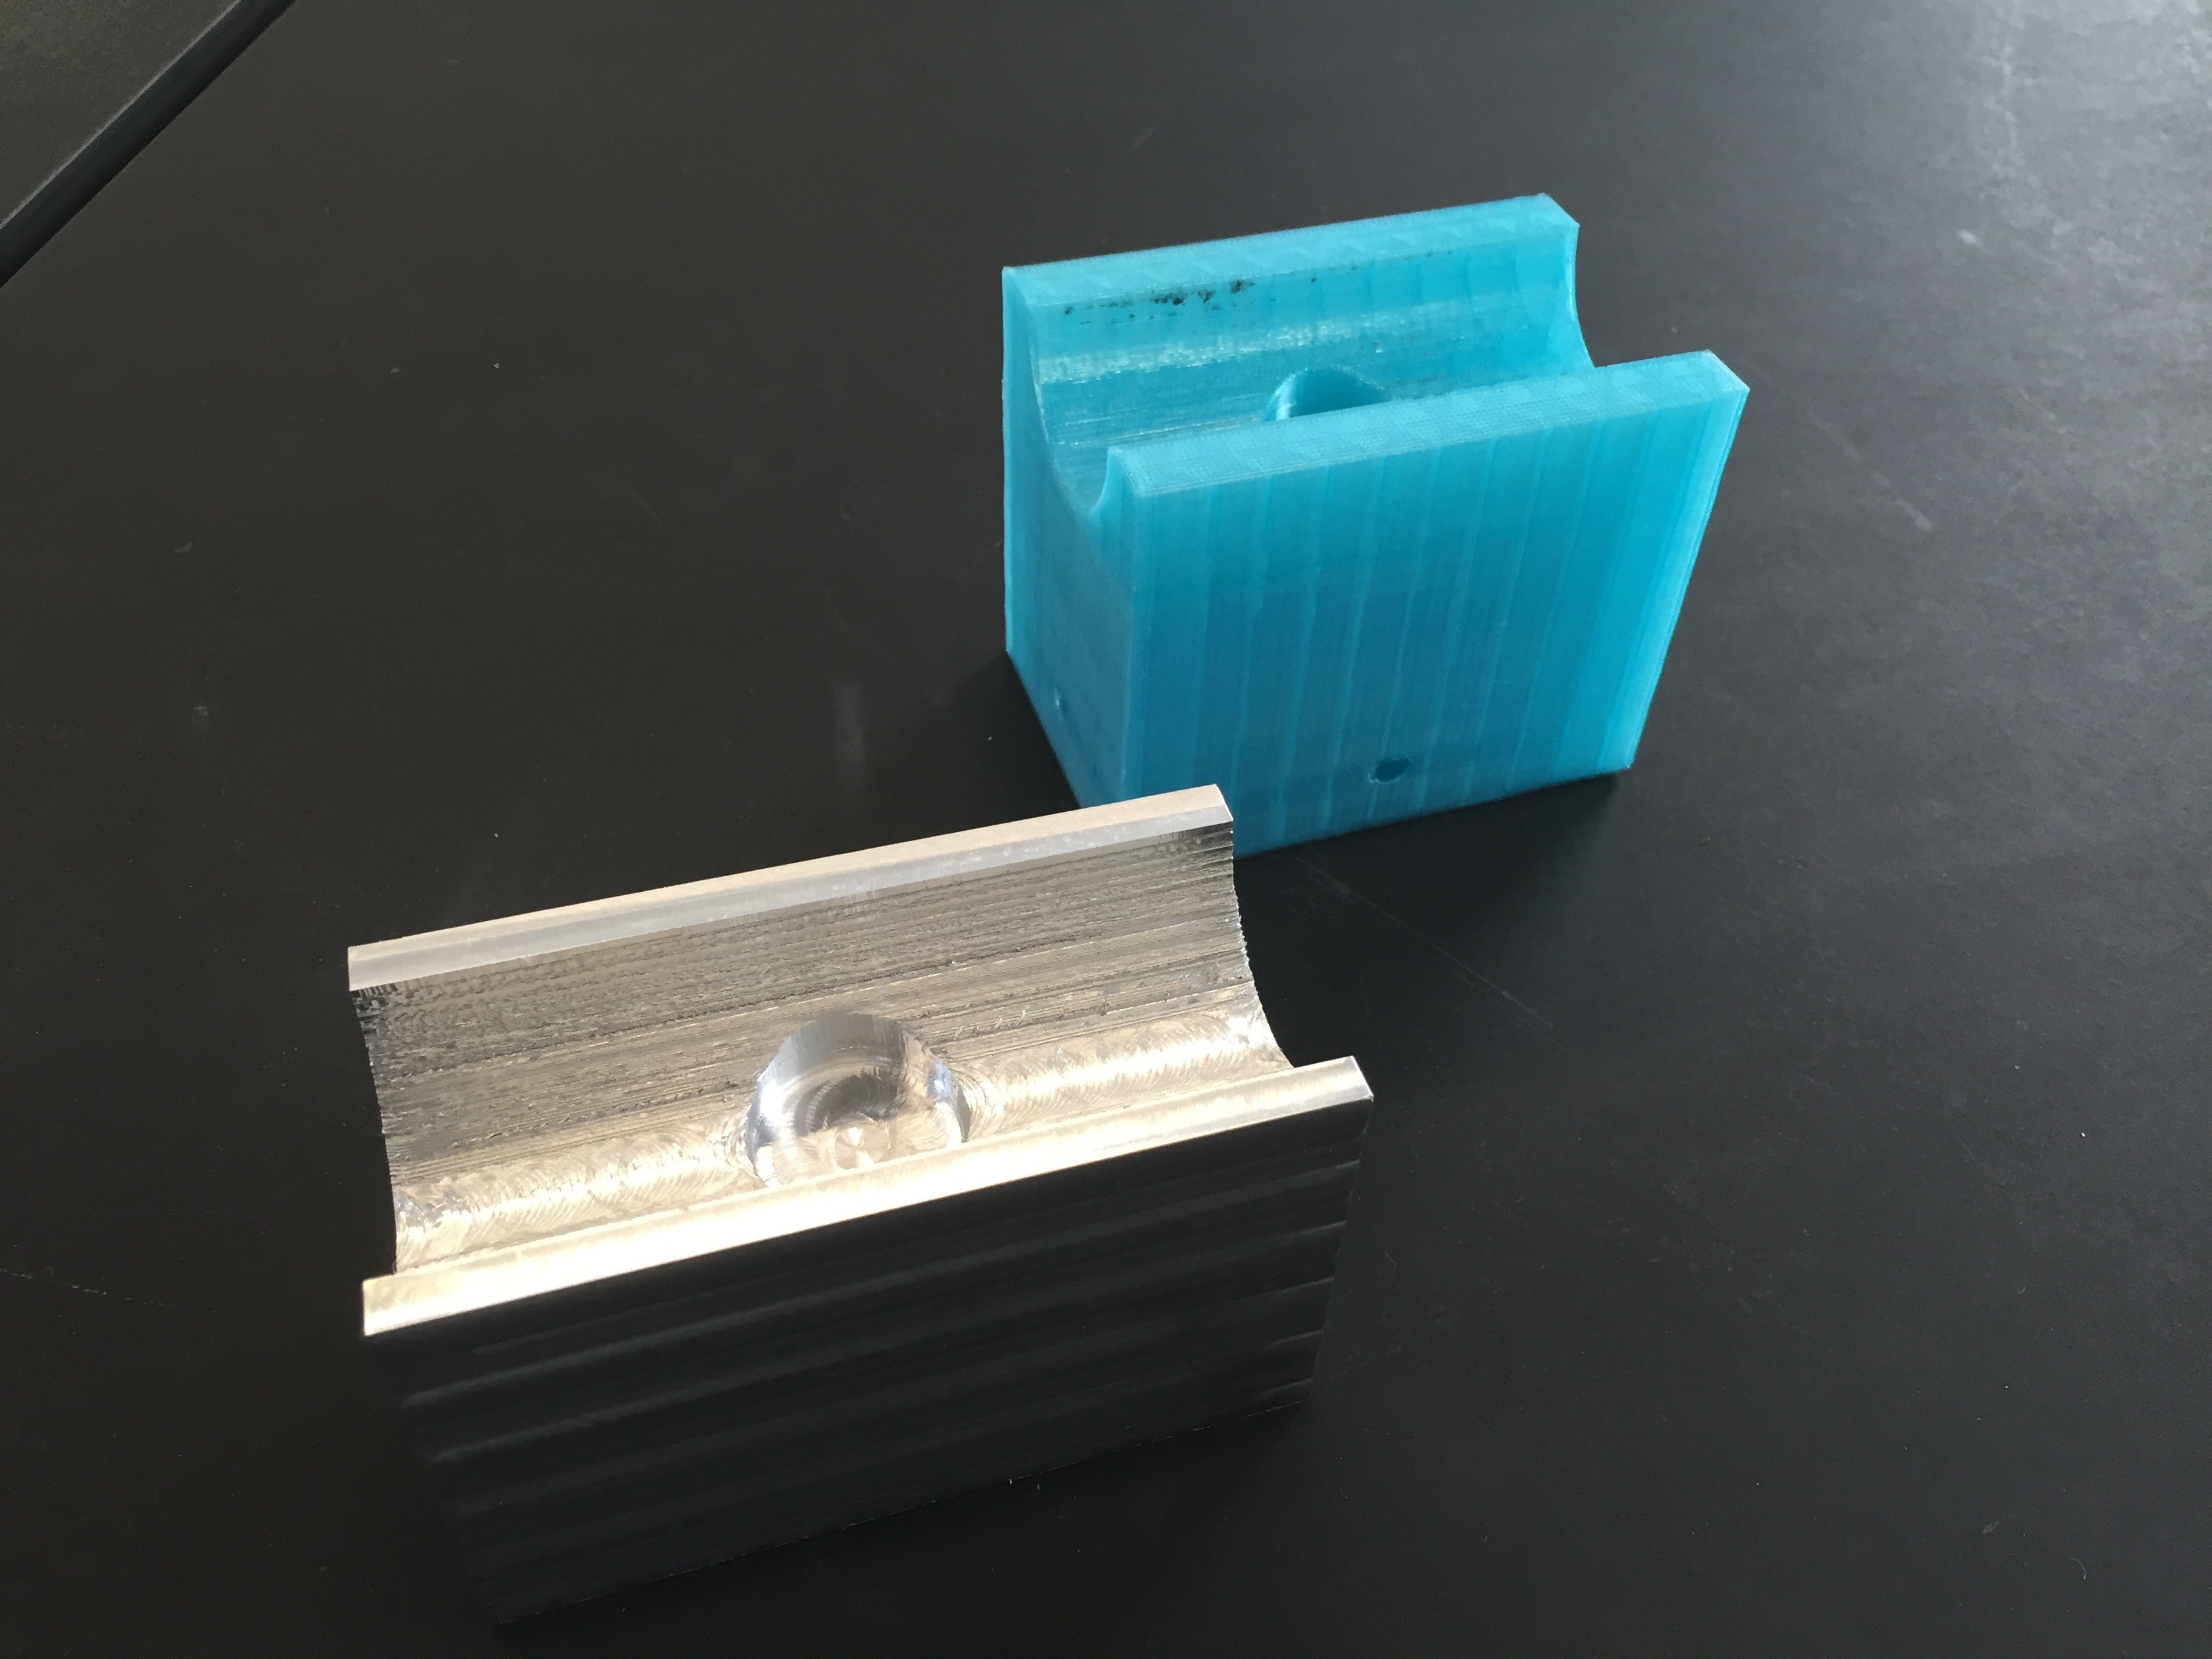
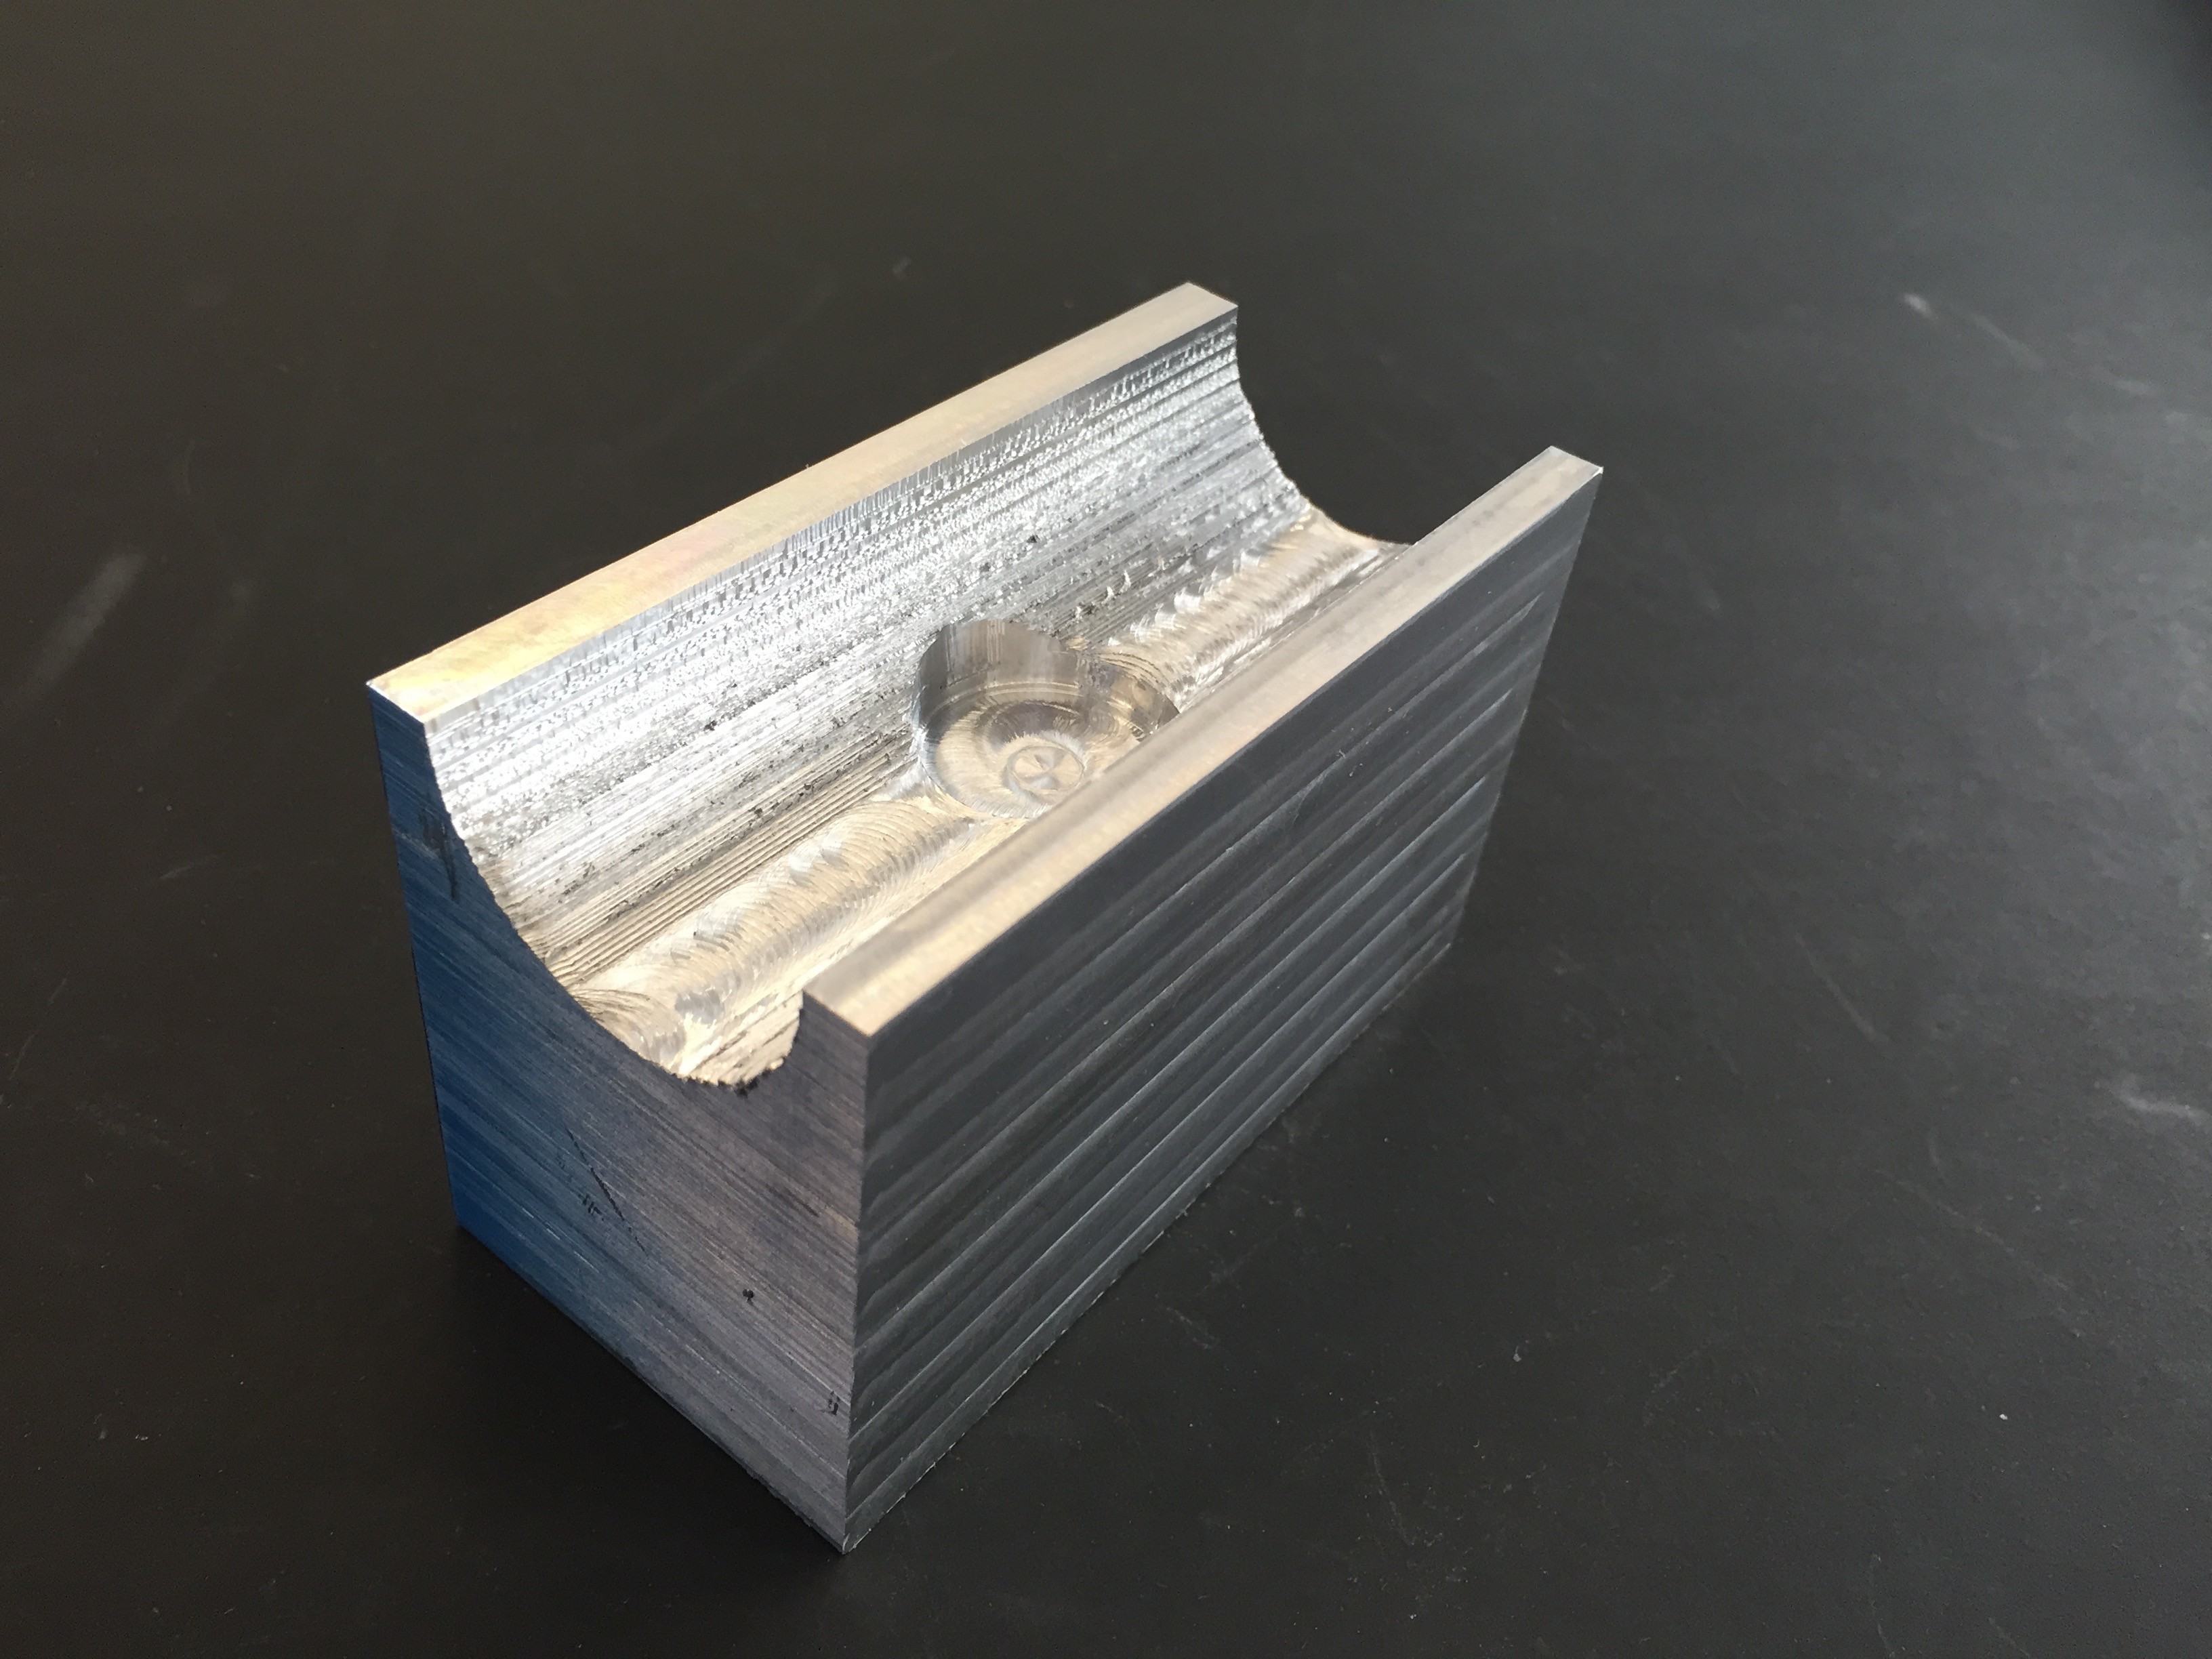
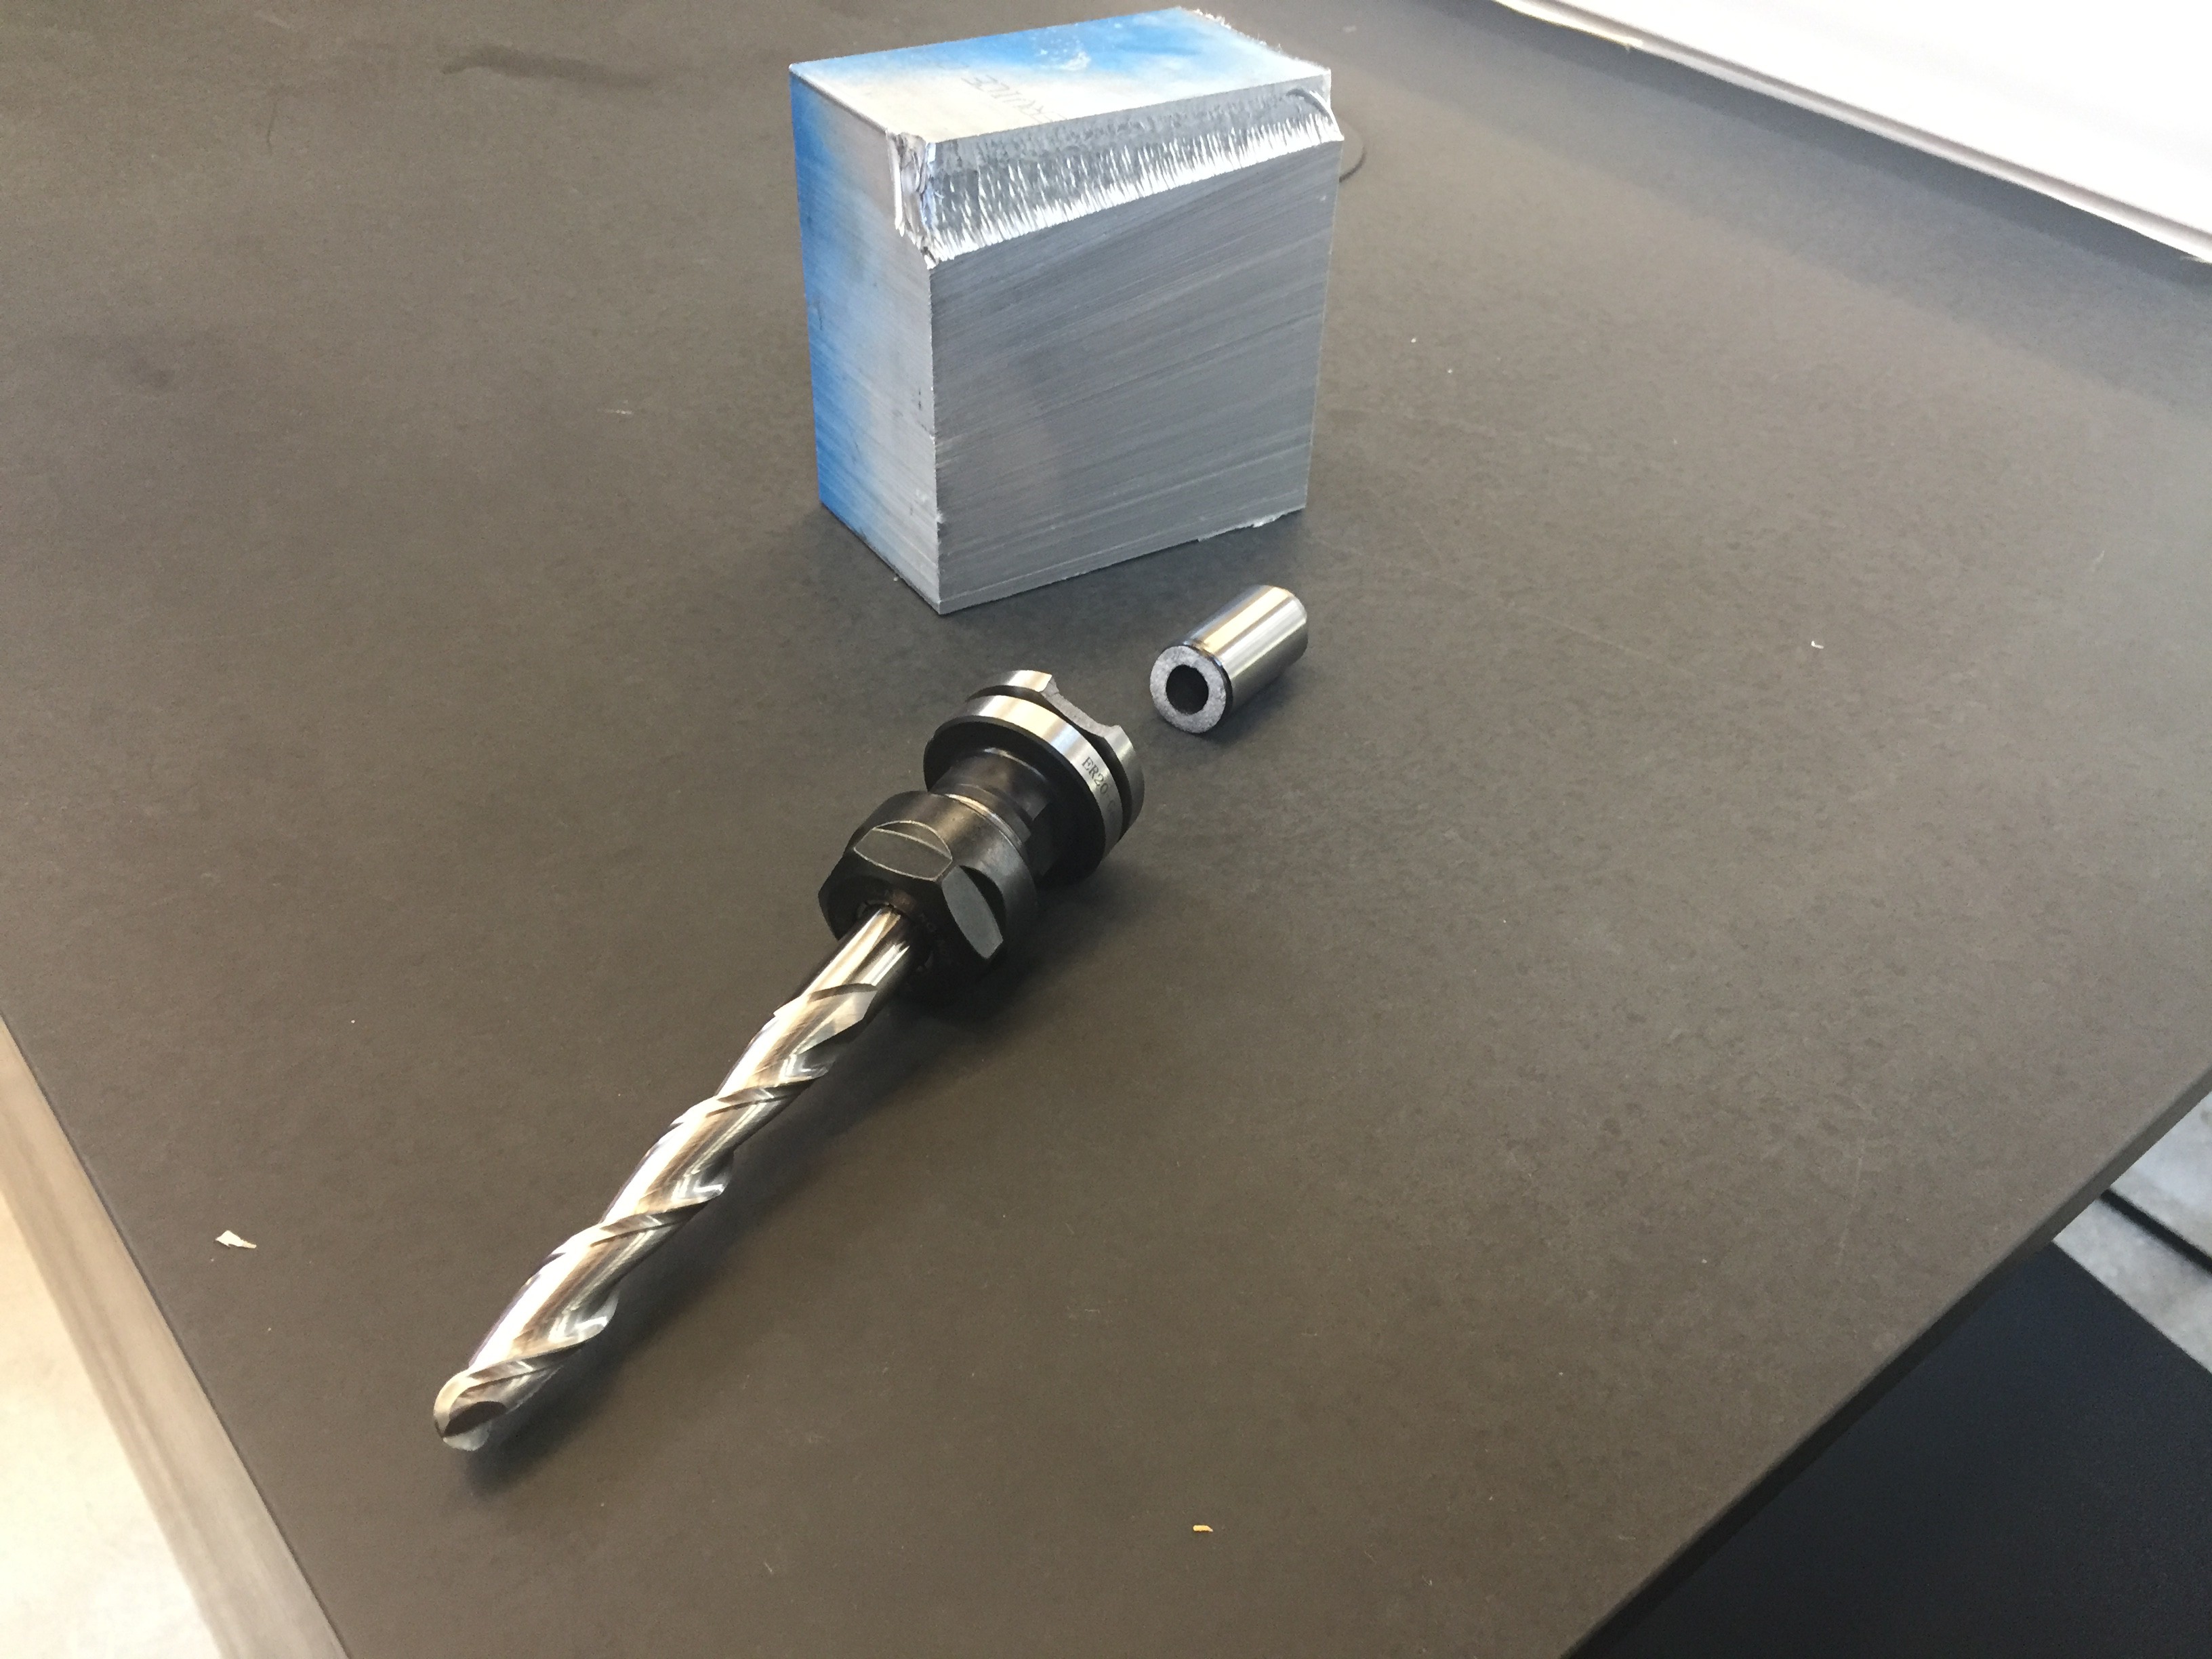
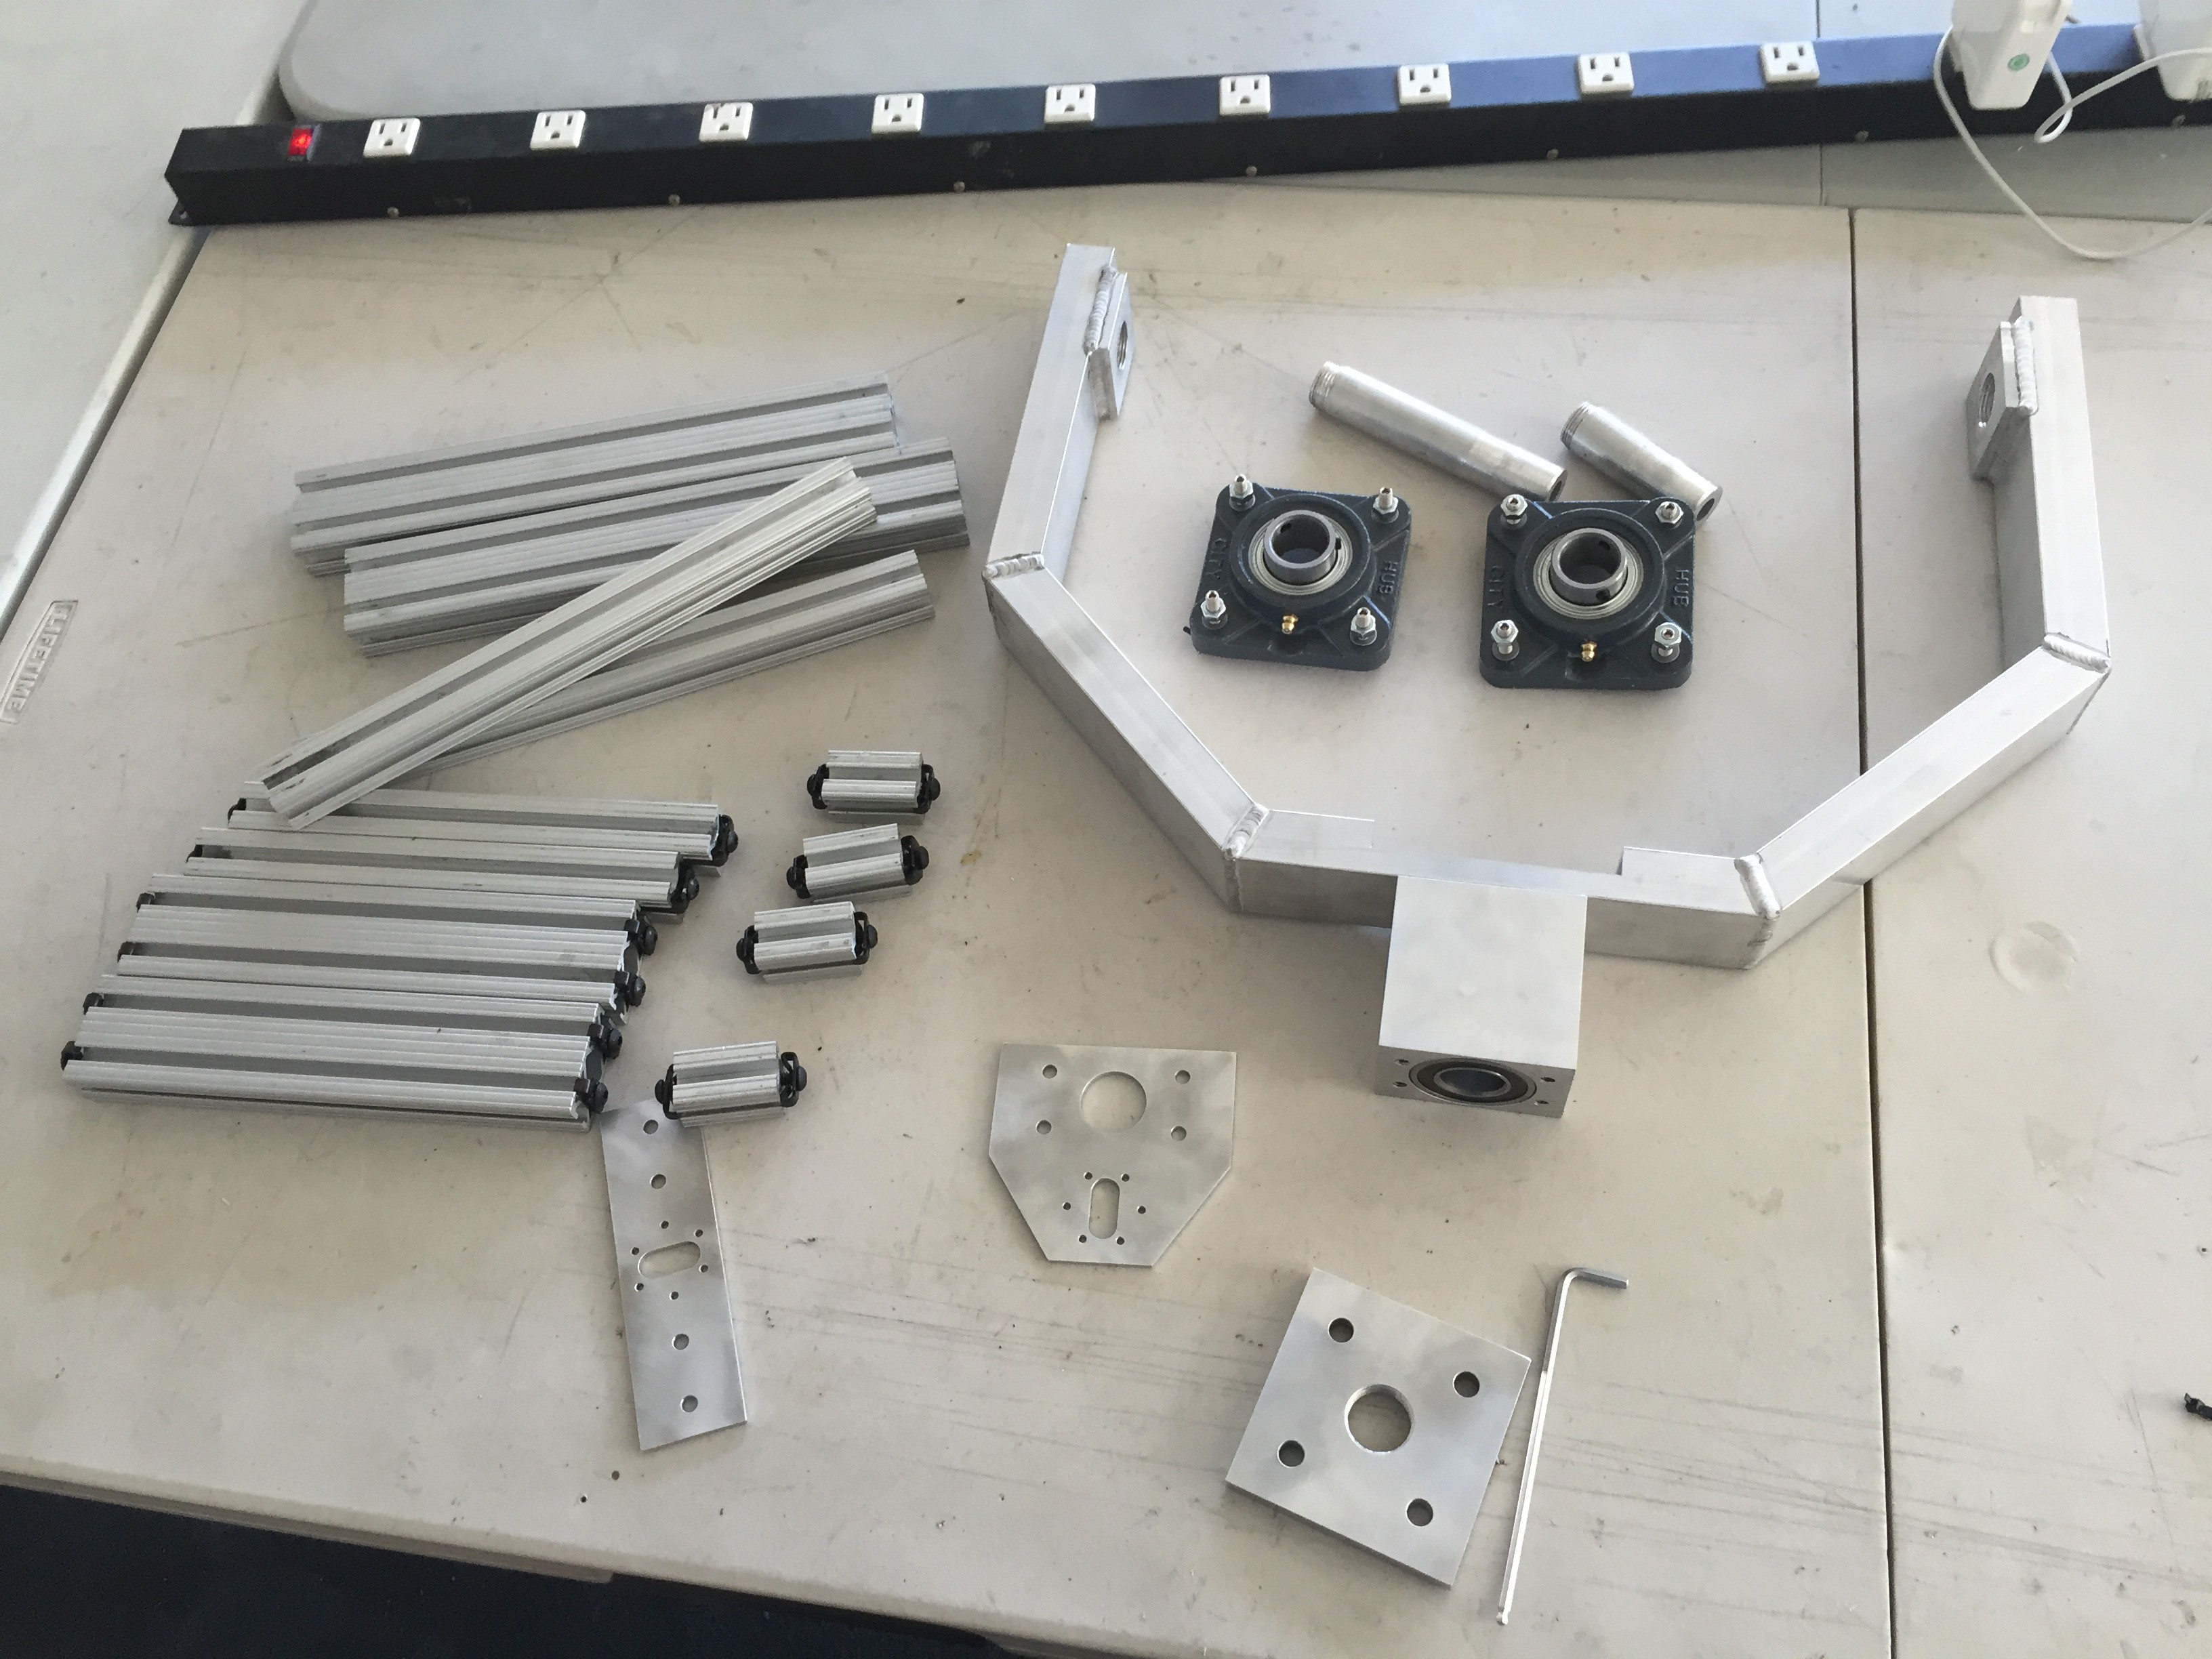
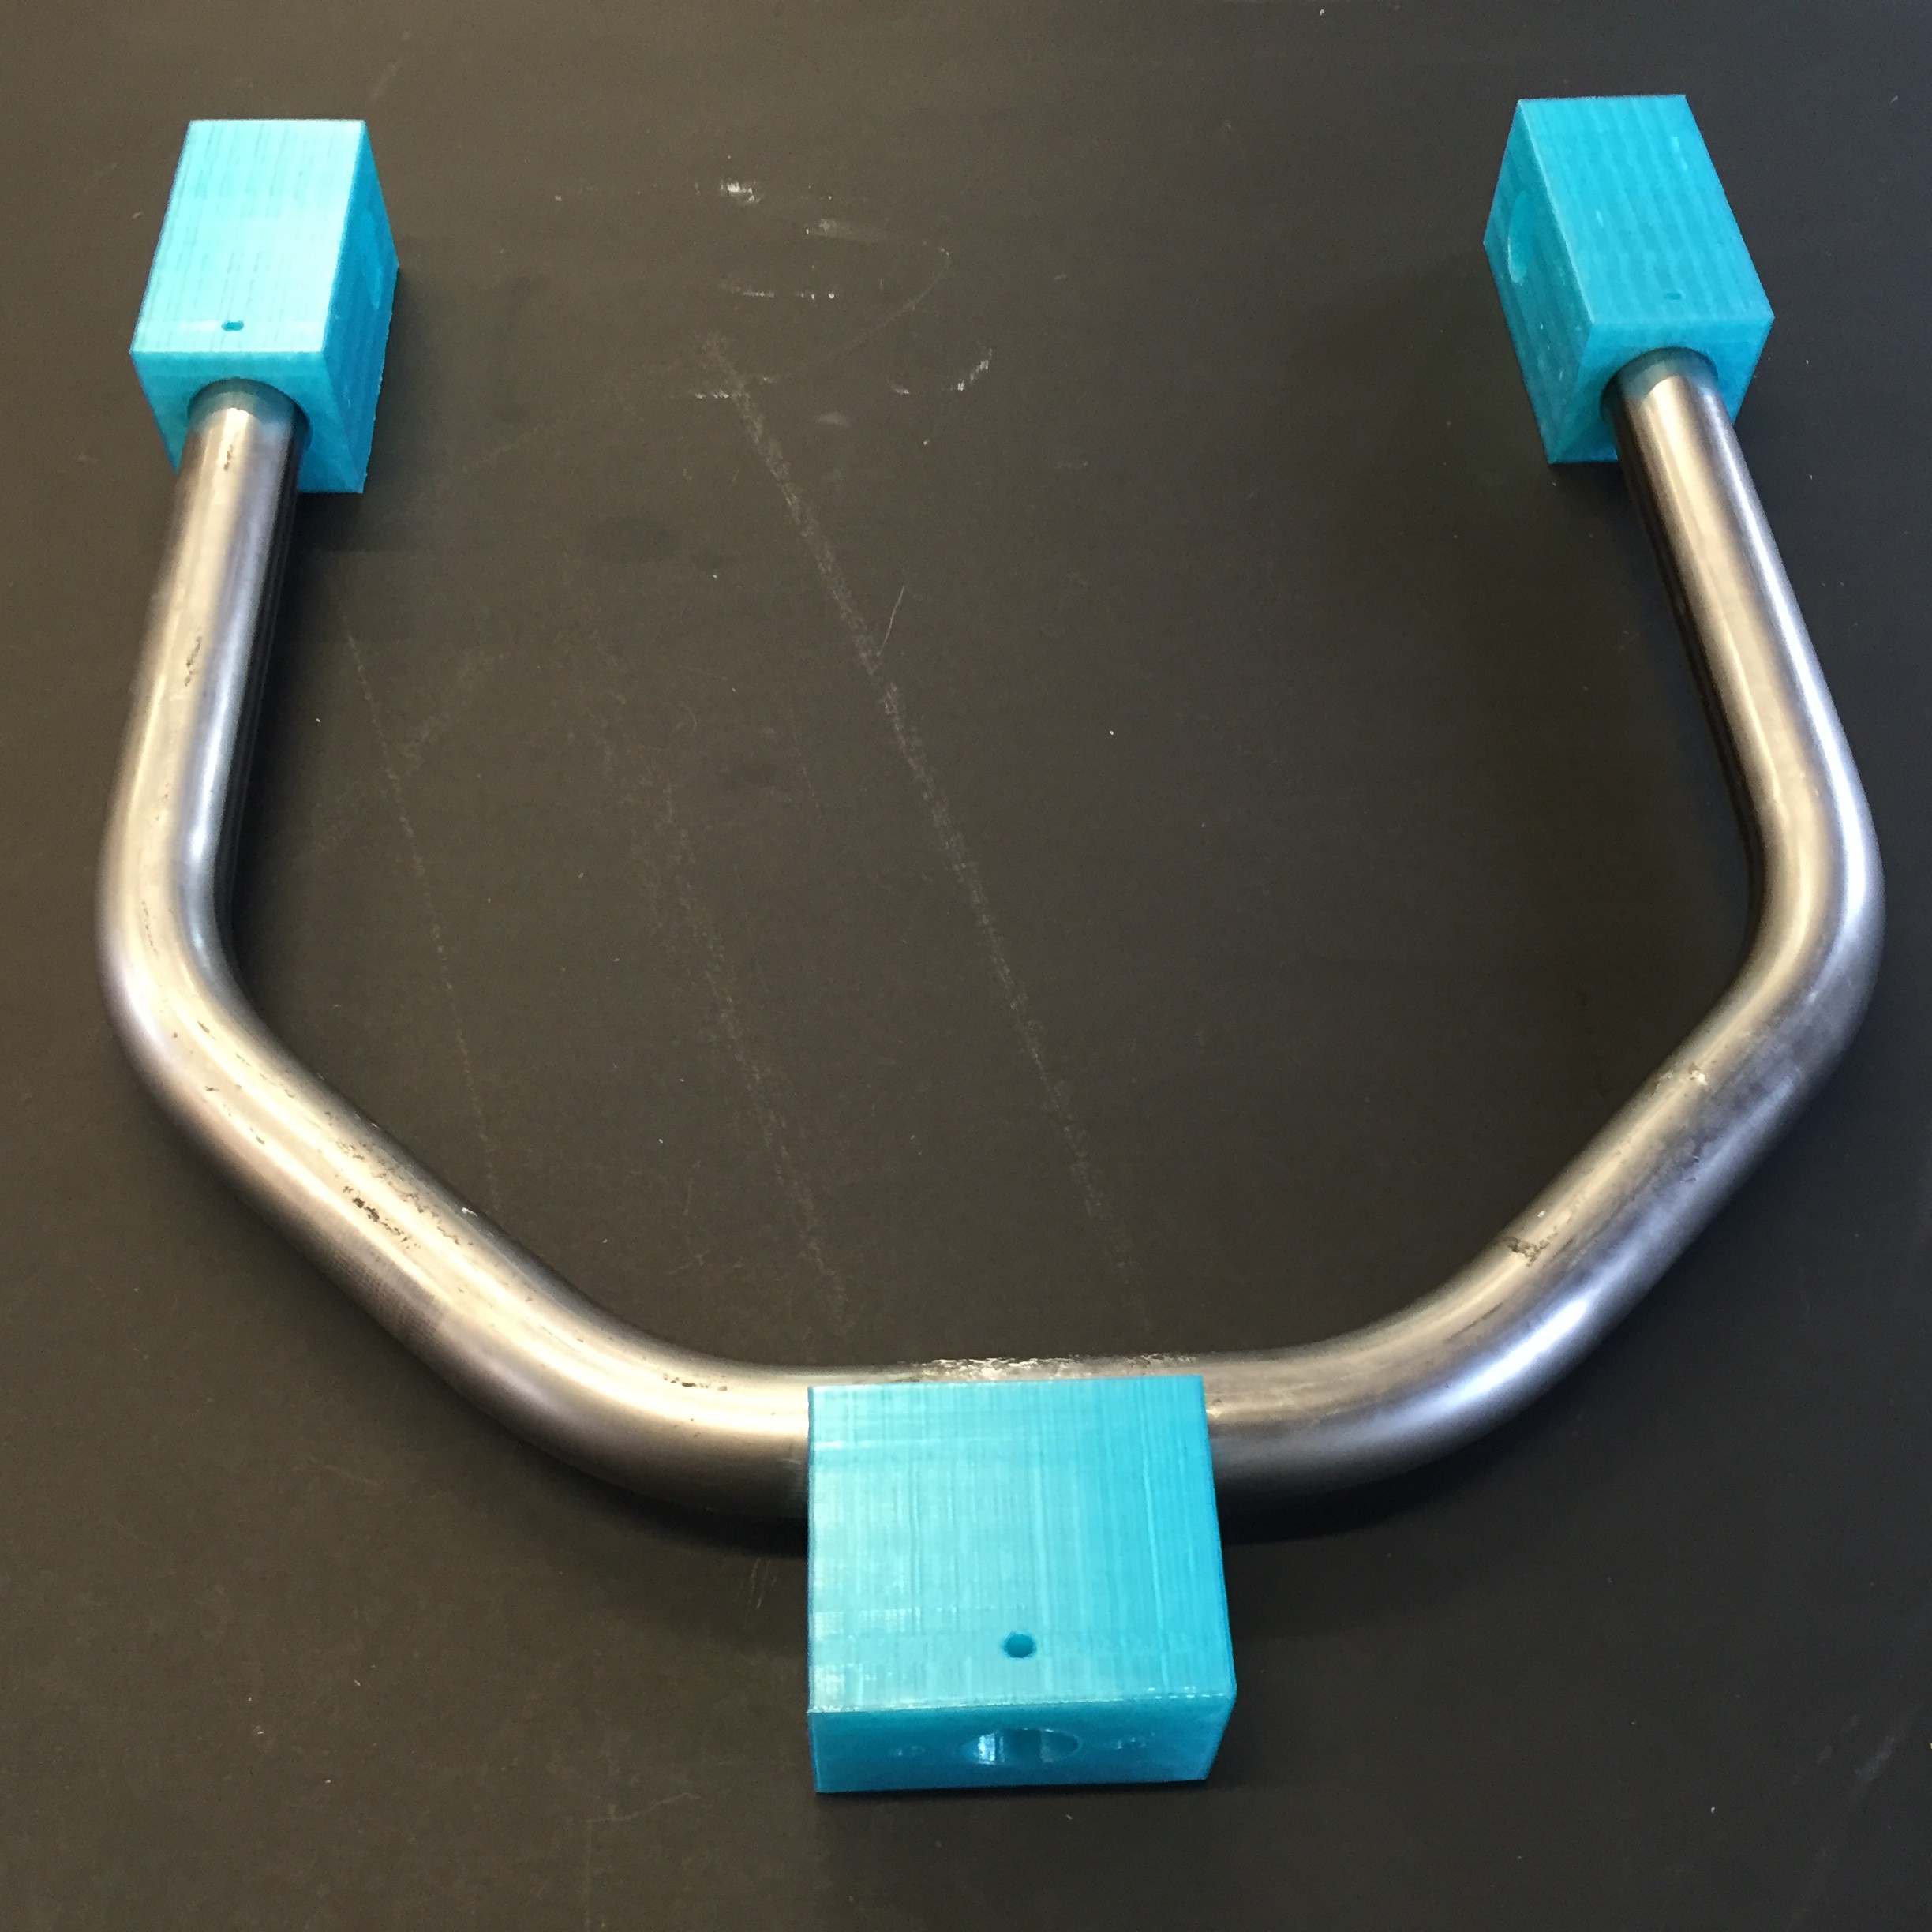
We're also starting to bust out the bearing blocks for the pitch axis. I cut up some stock on the bandsaw back at Crash, and Dan is milling them down to standard sizes this week.
![]()
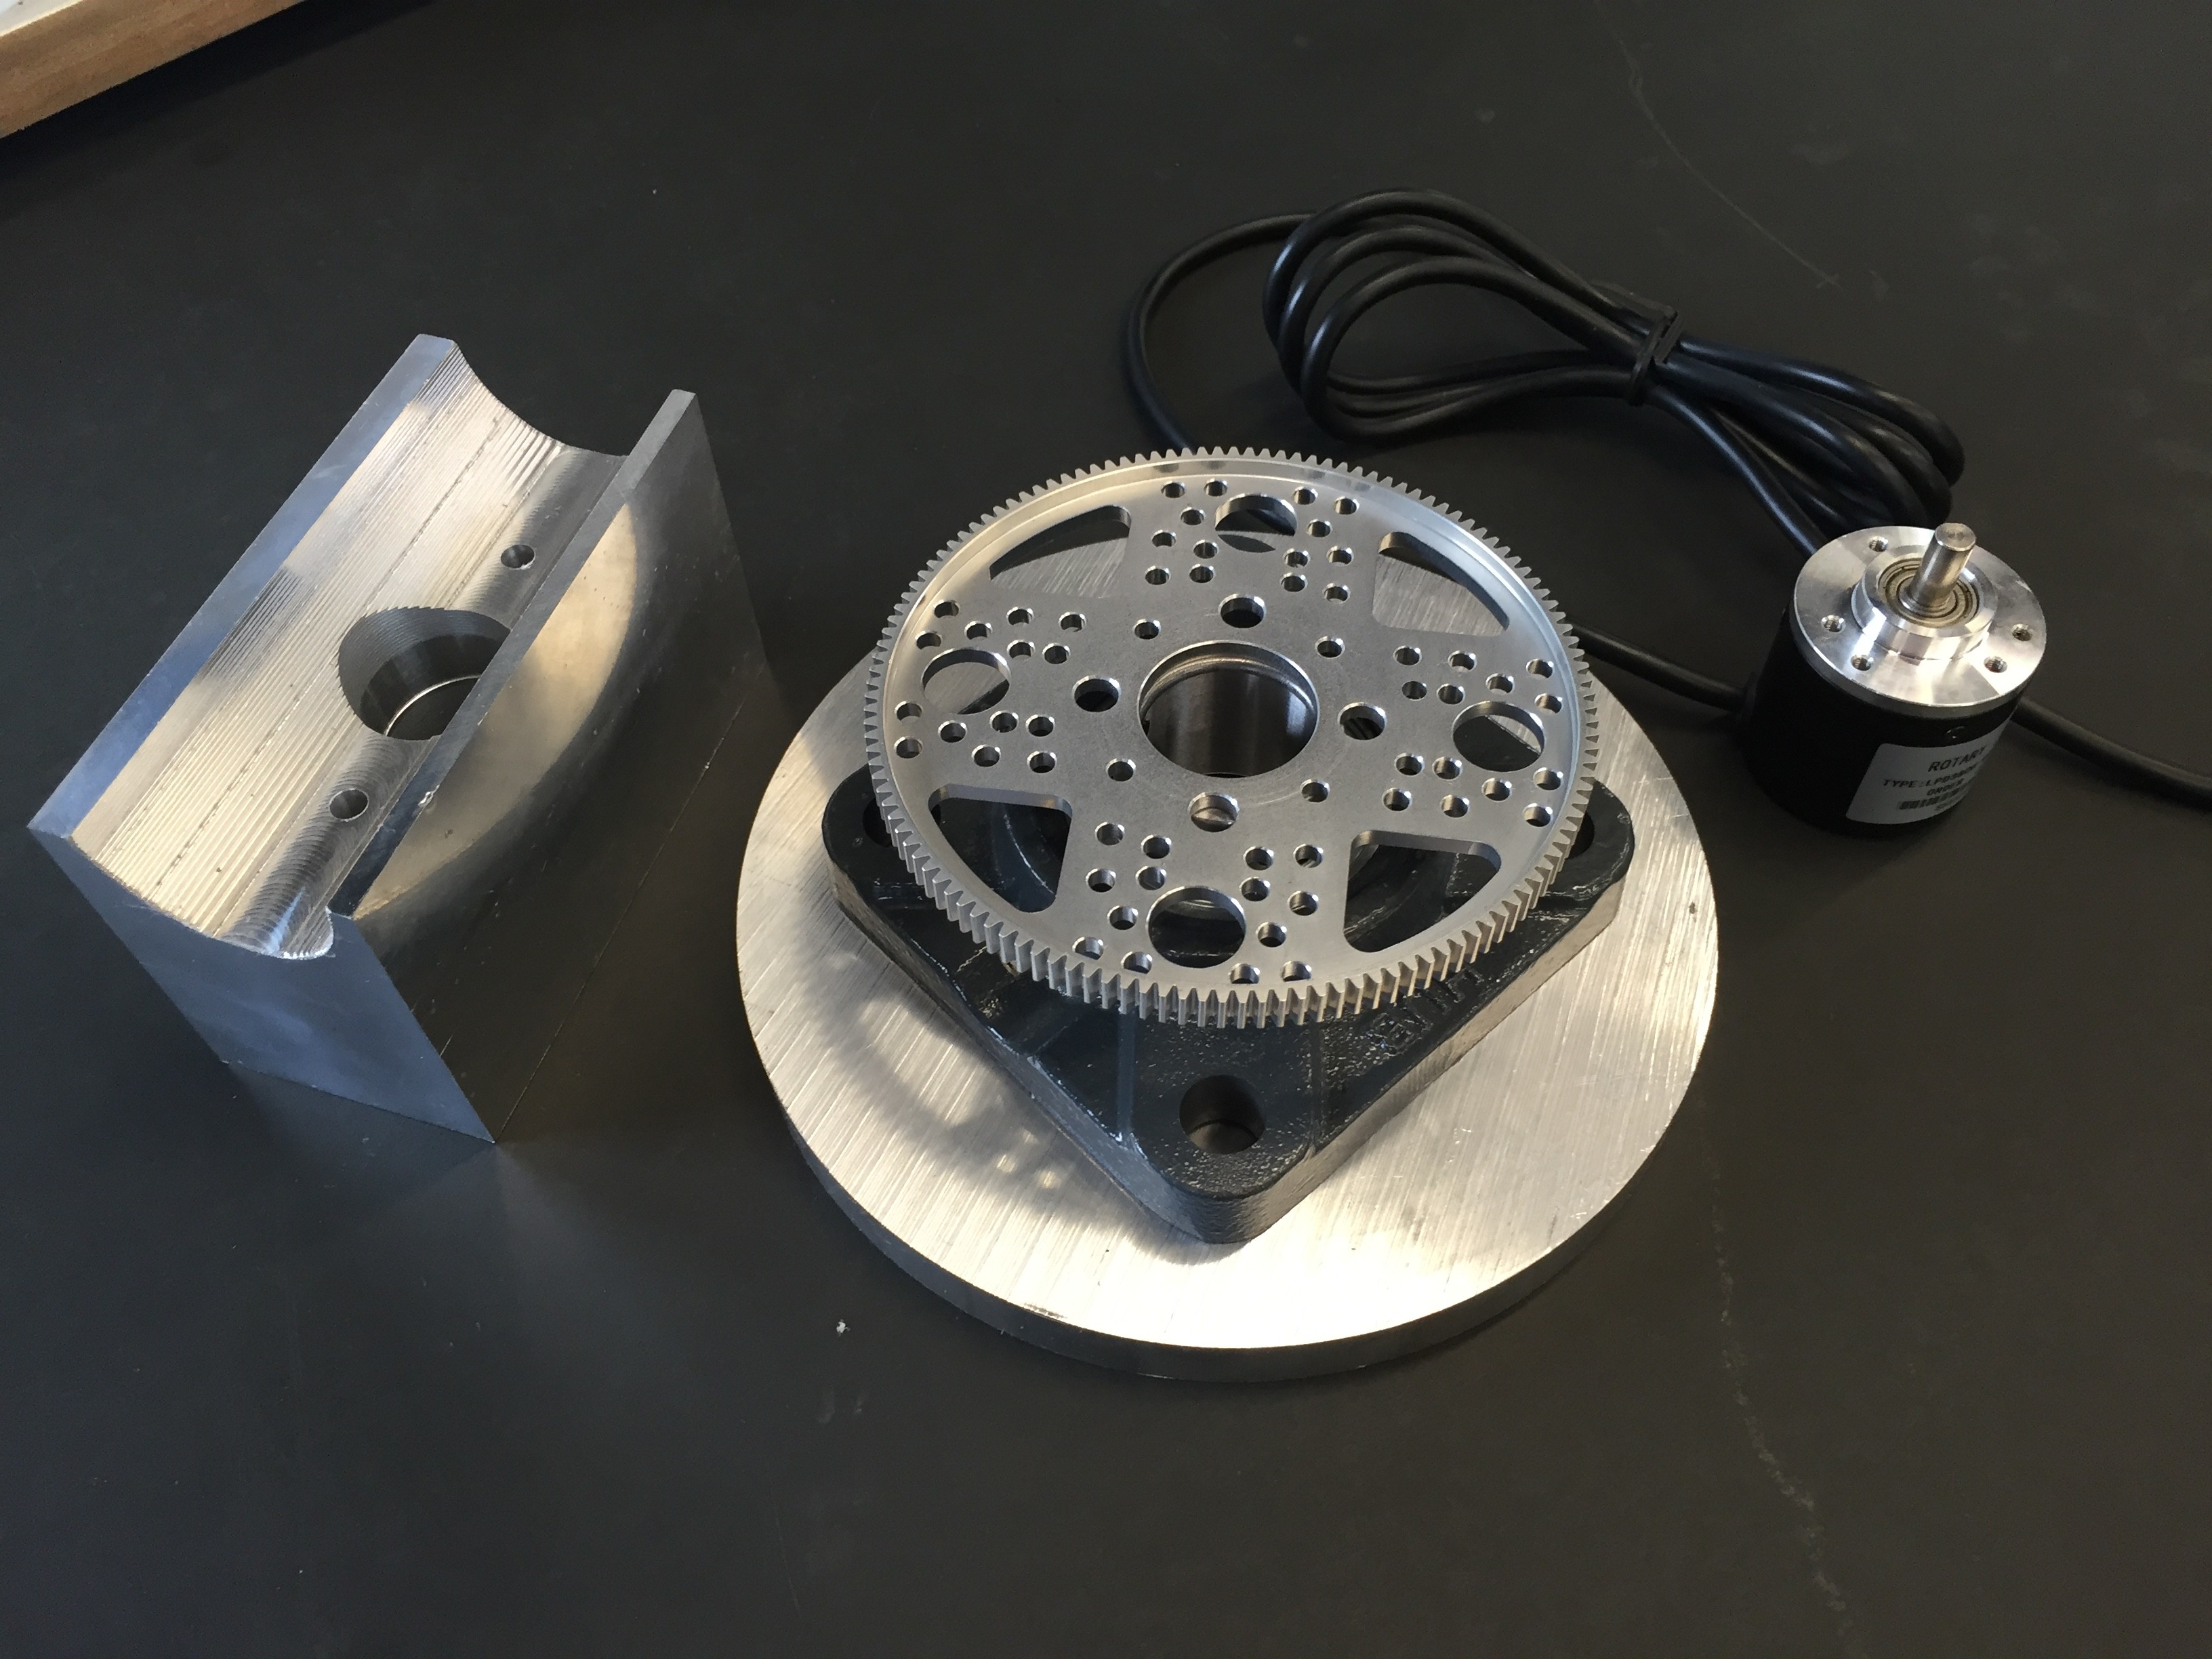
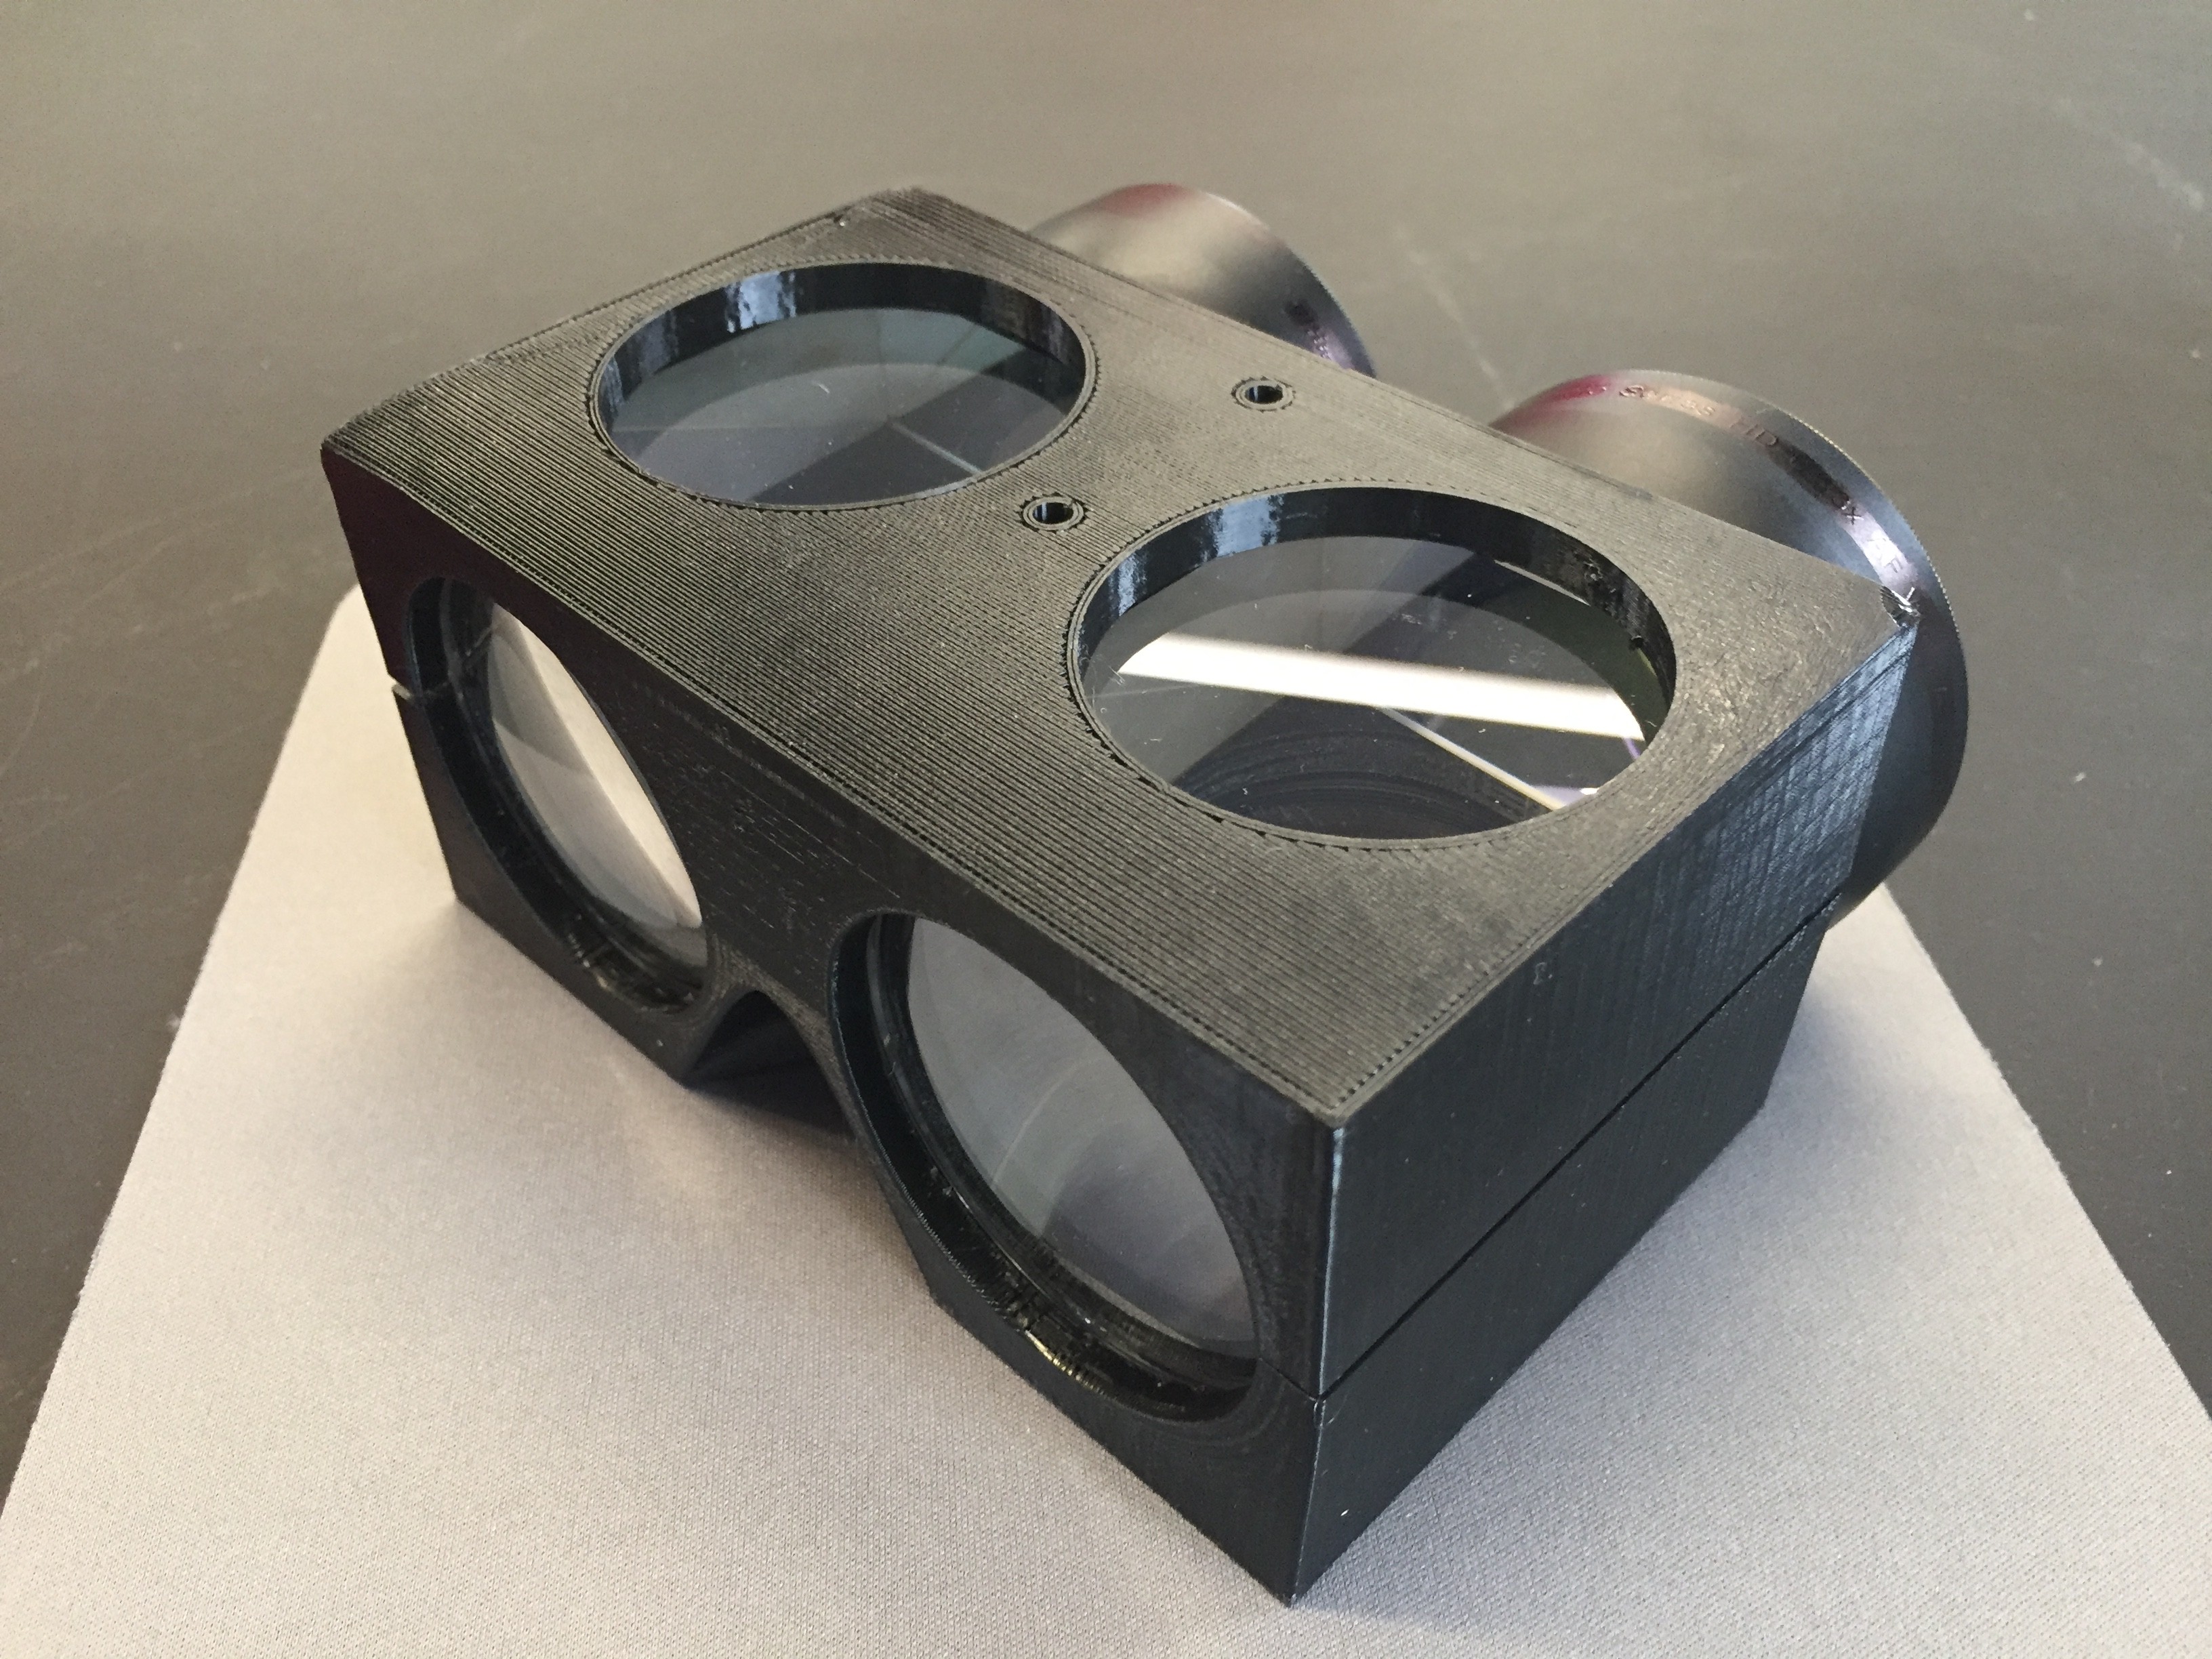
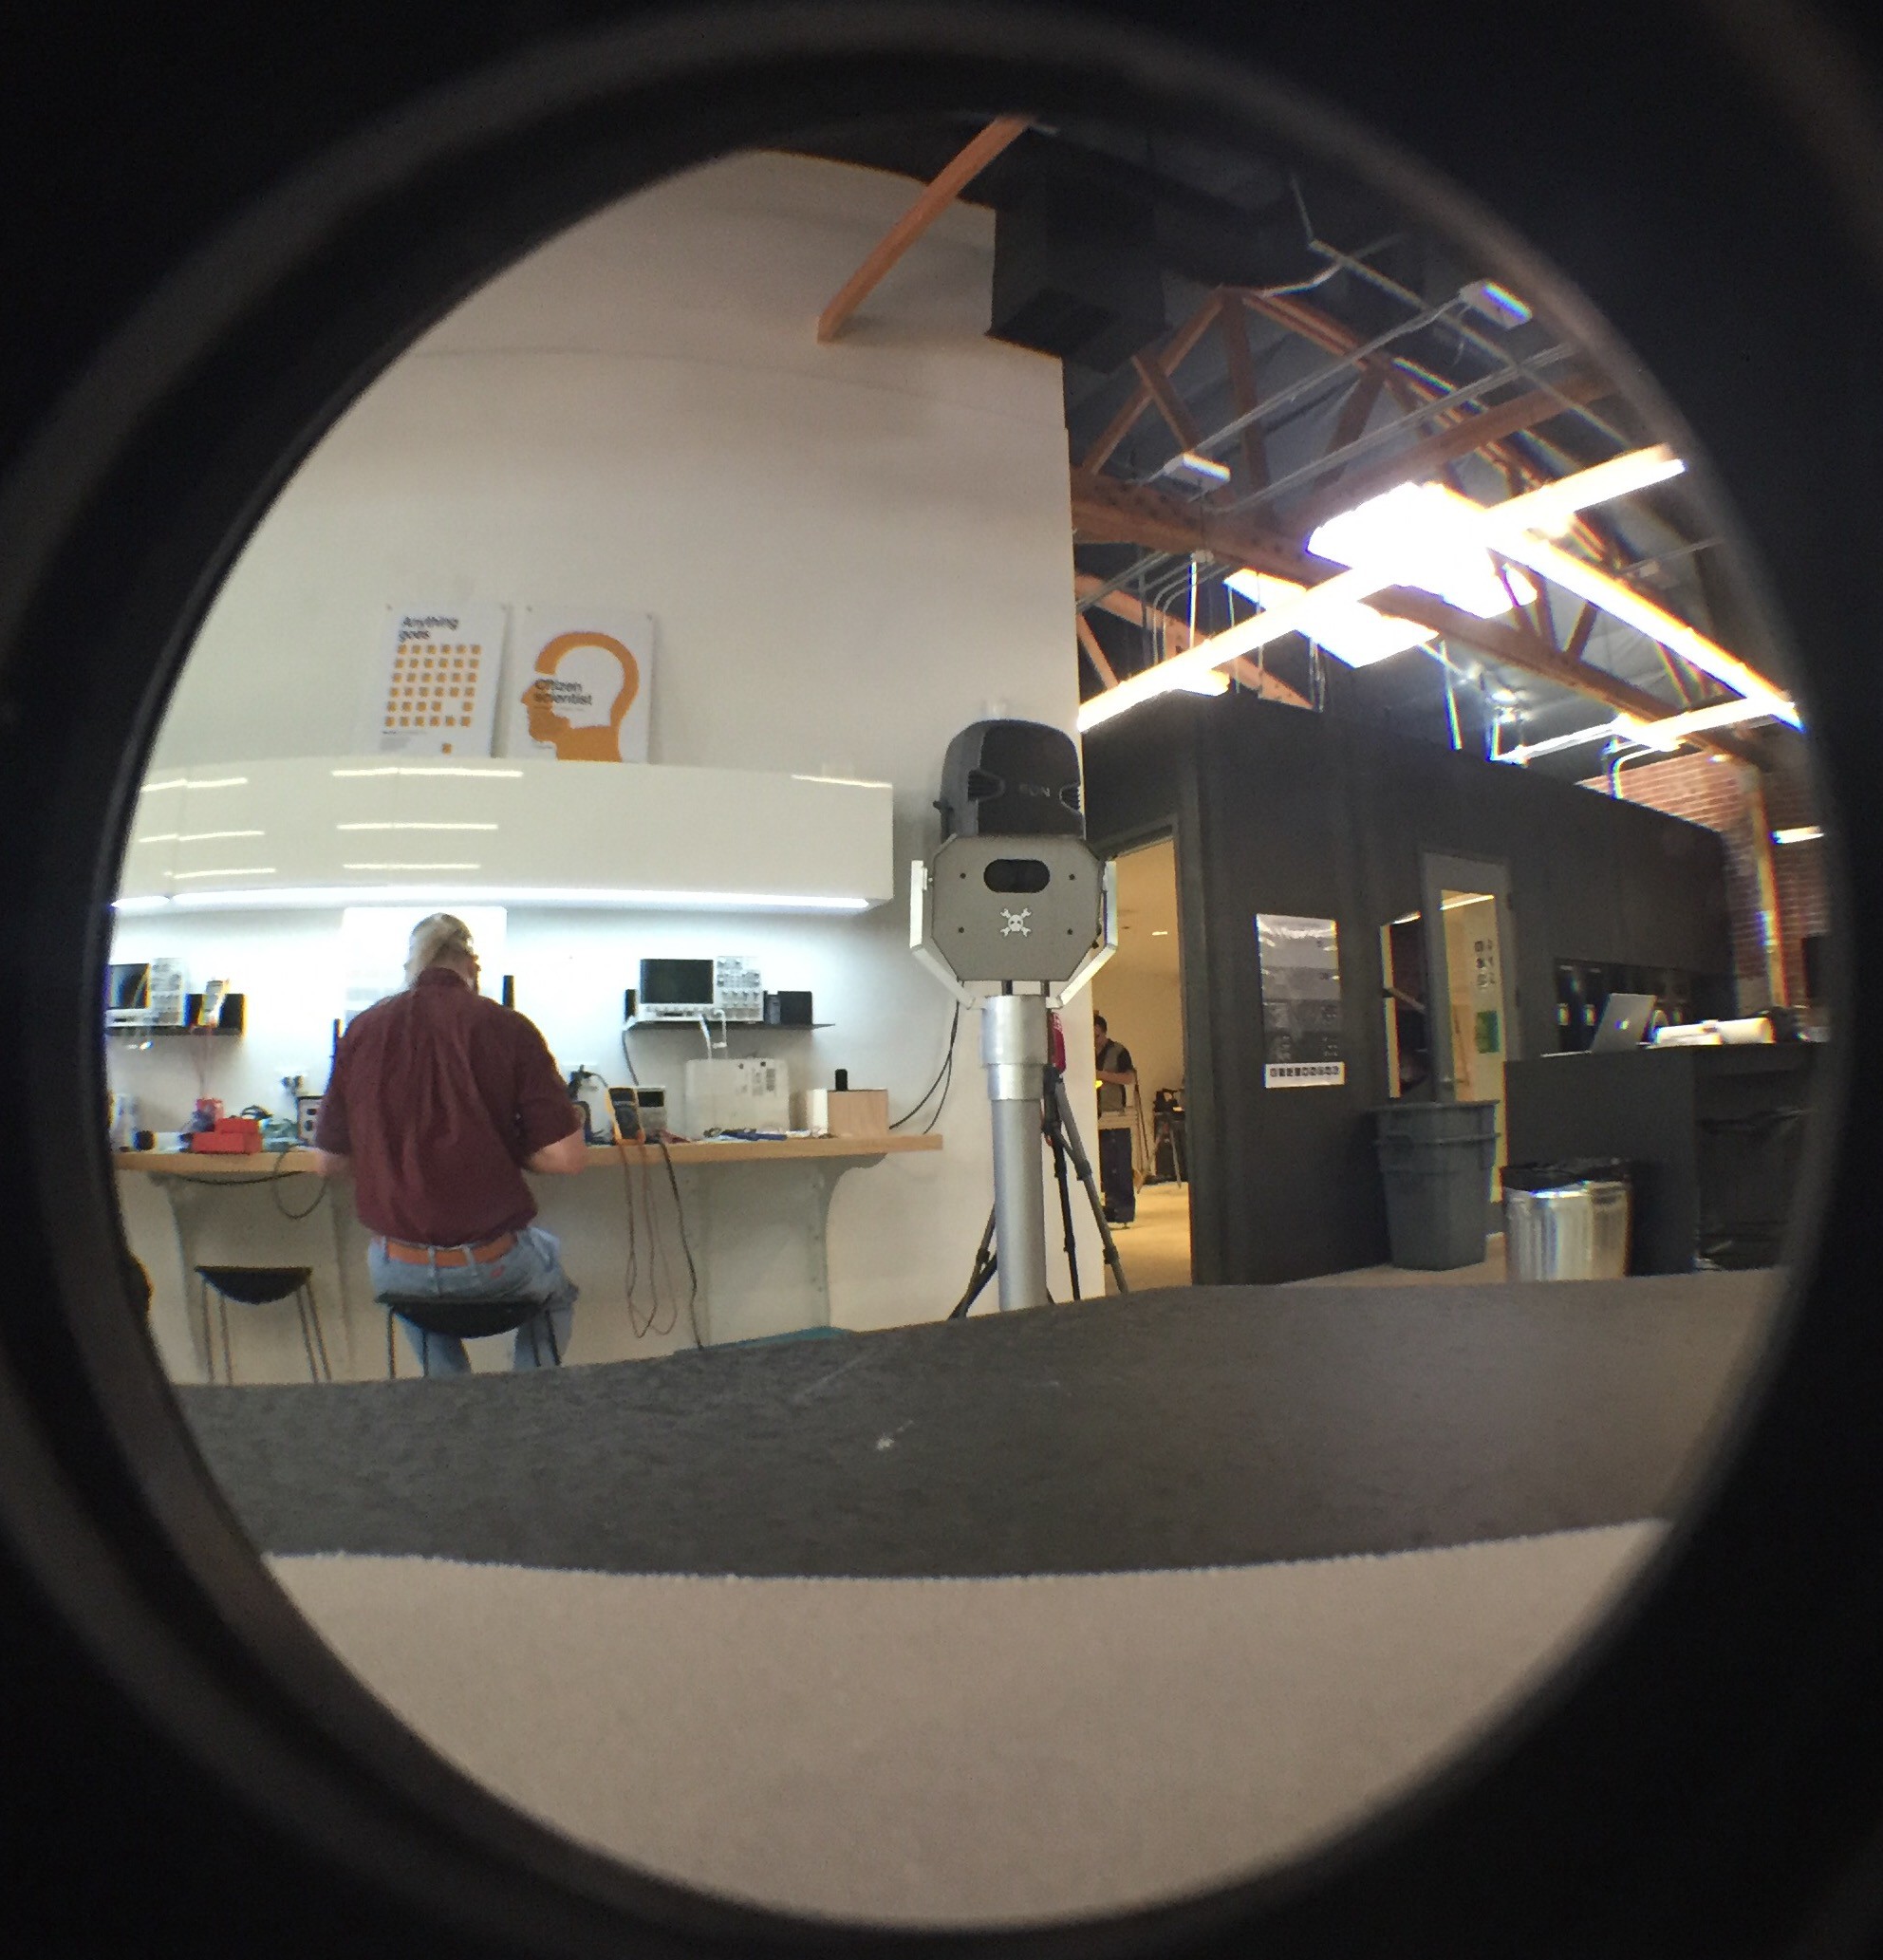
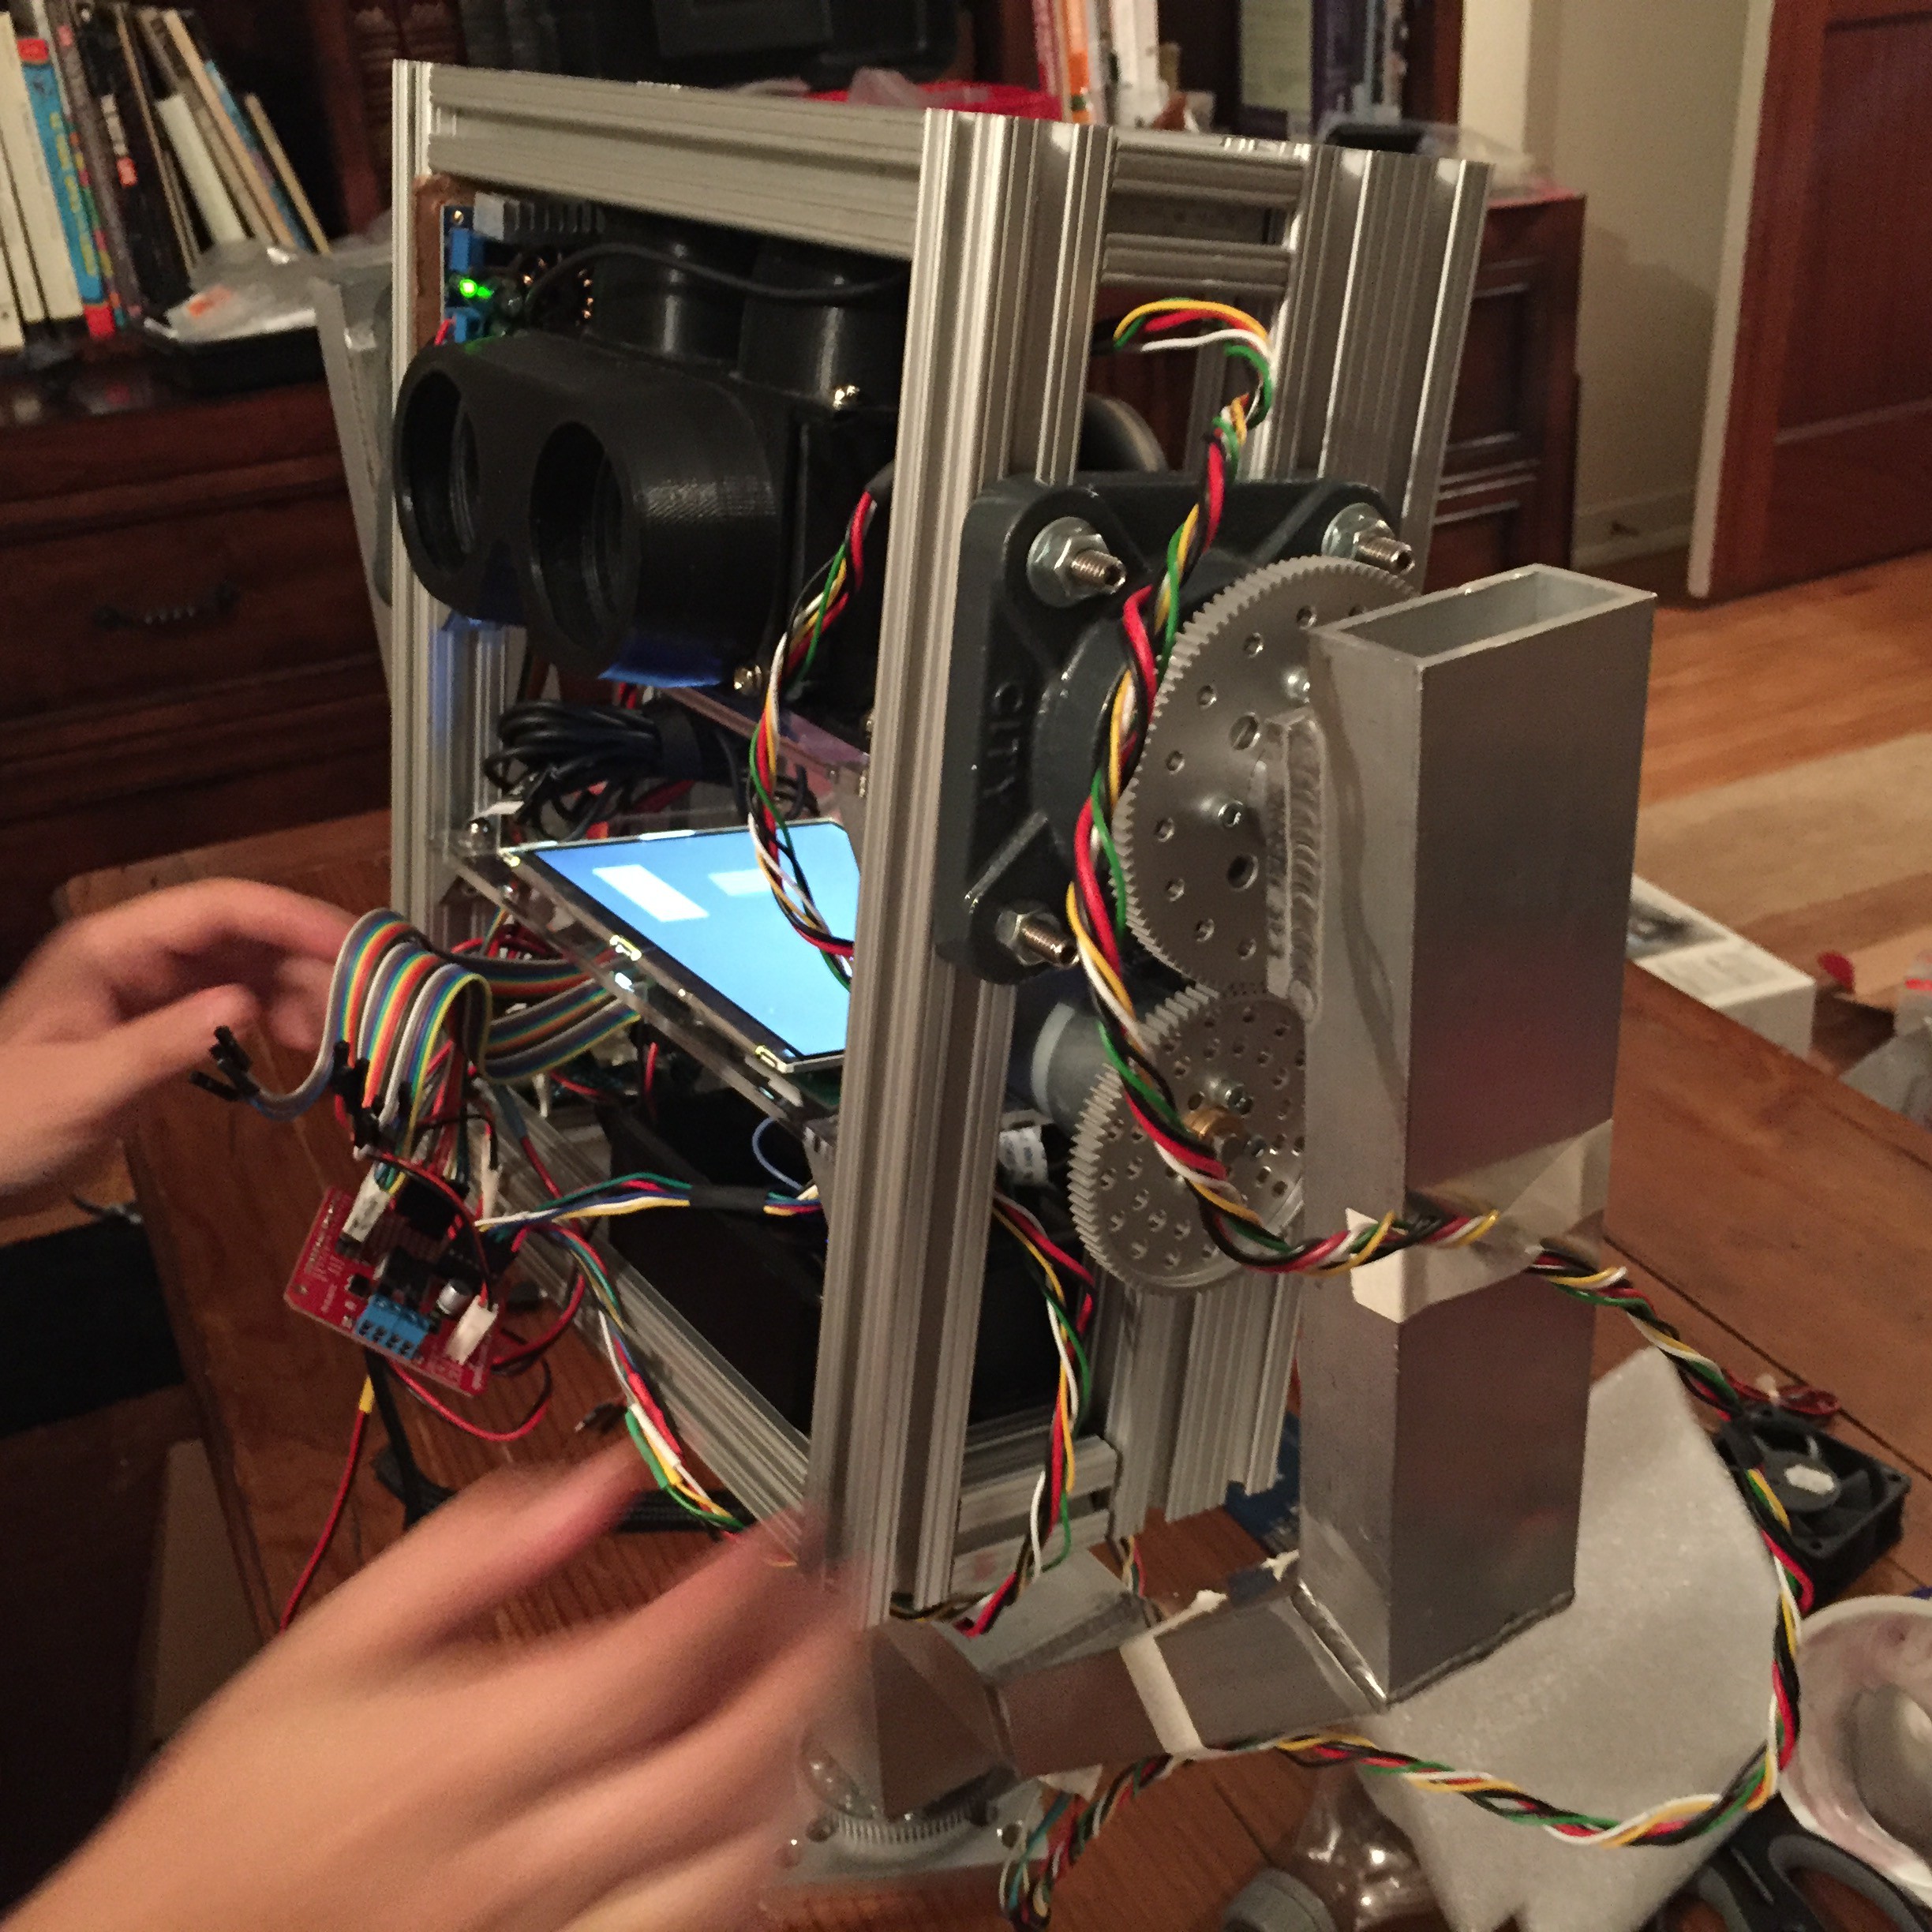
I'm also starting to put together the mounting plates which house the main Yaw bearing and gear. Once I cut the axles to size, we can start putting together the larger structure beyond that.
![]()
All good progress but still a ton left to do!
-
Rolling along and looking back
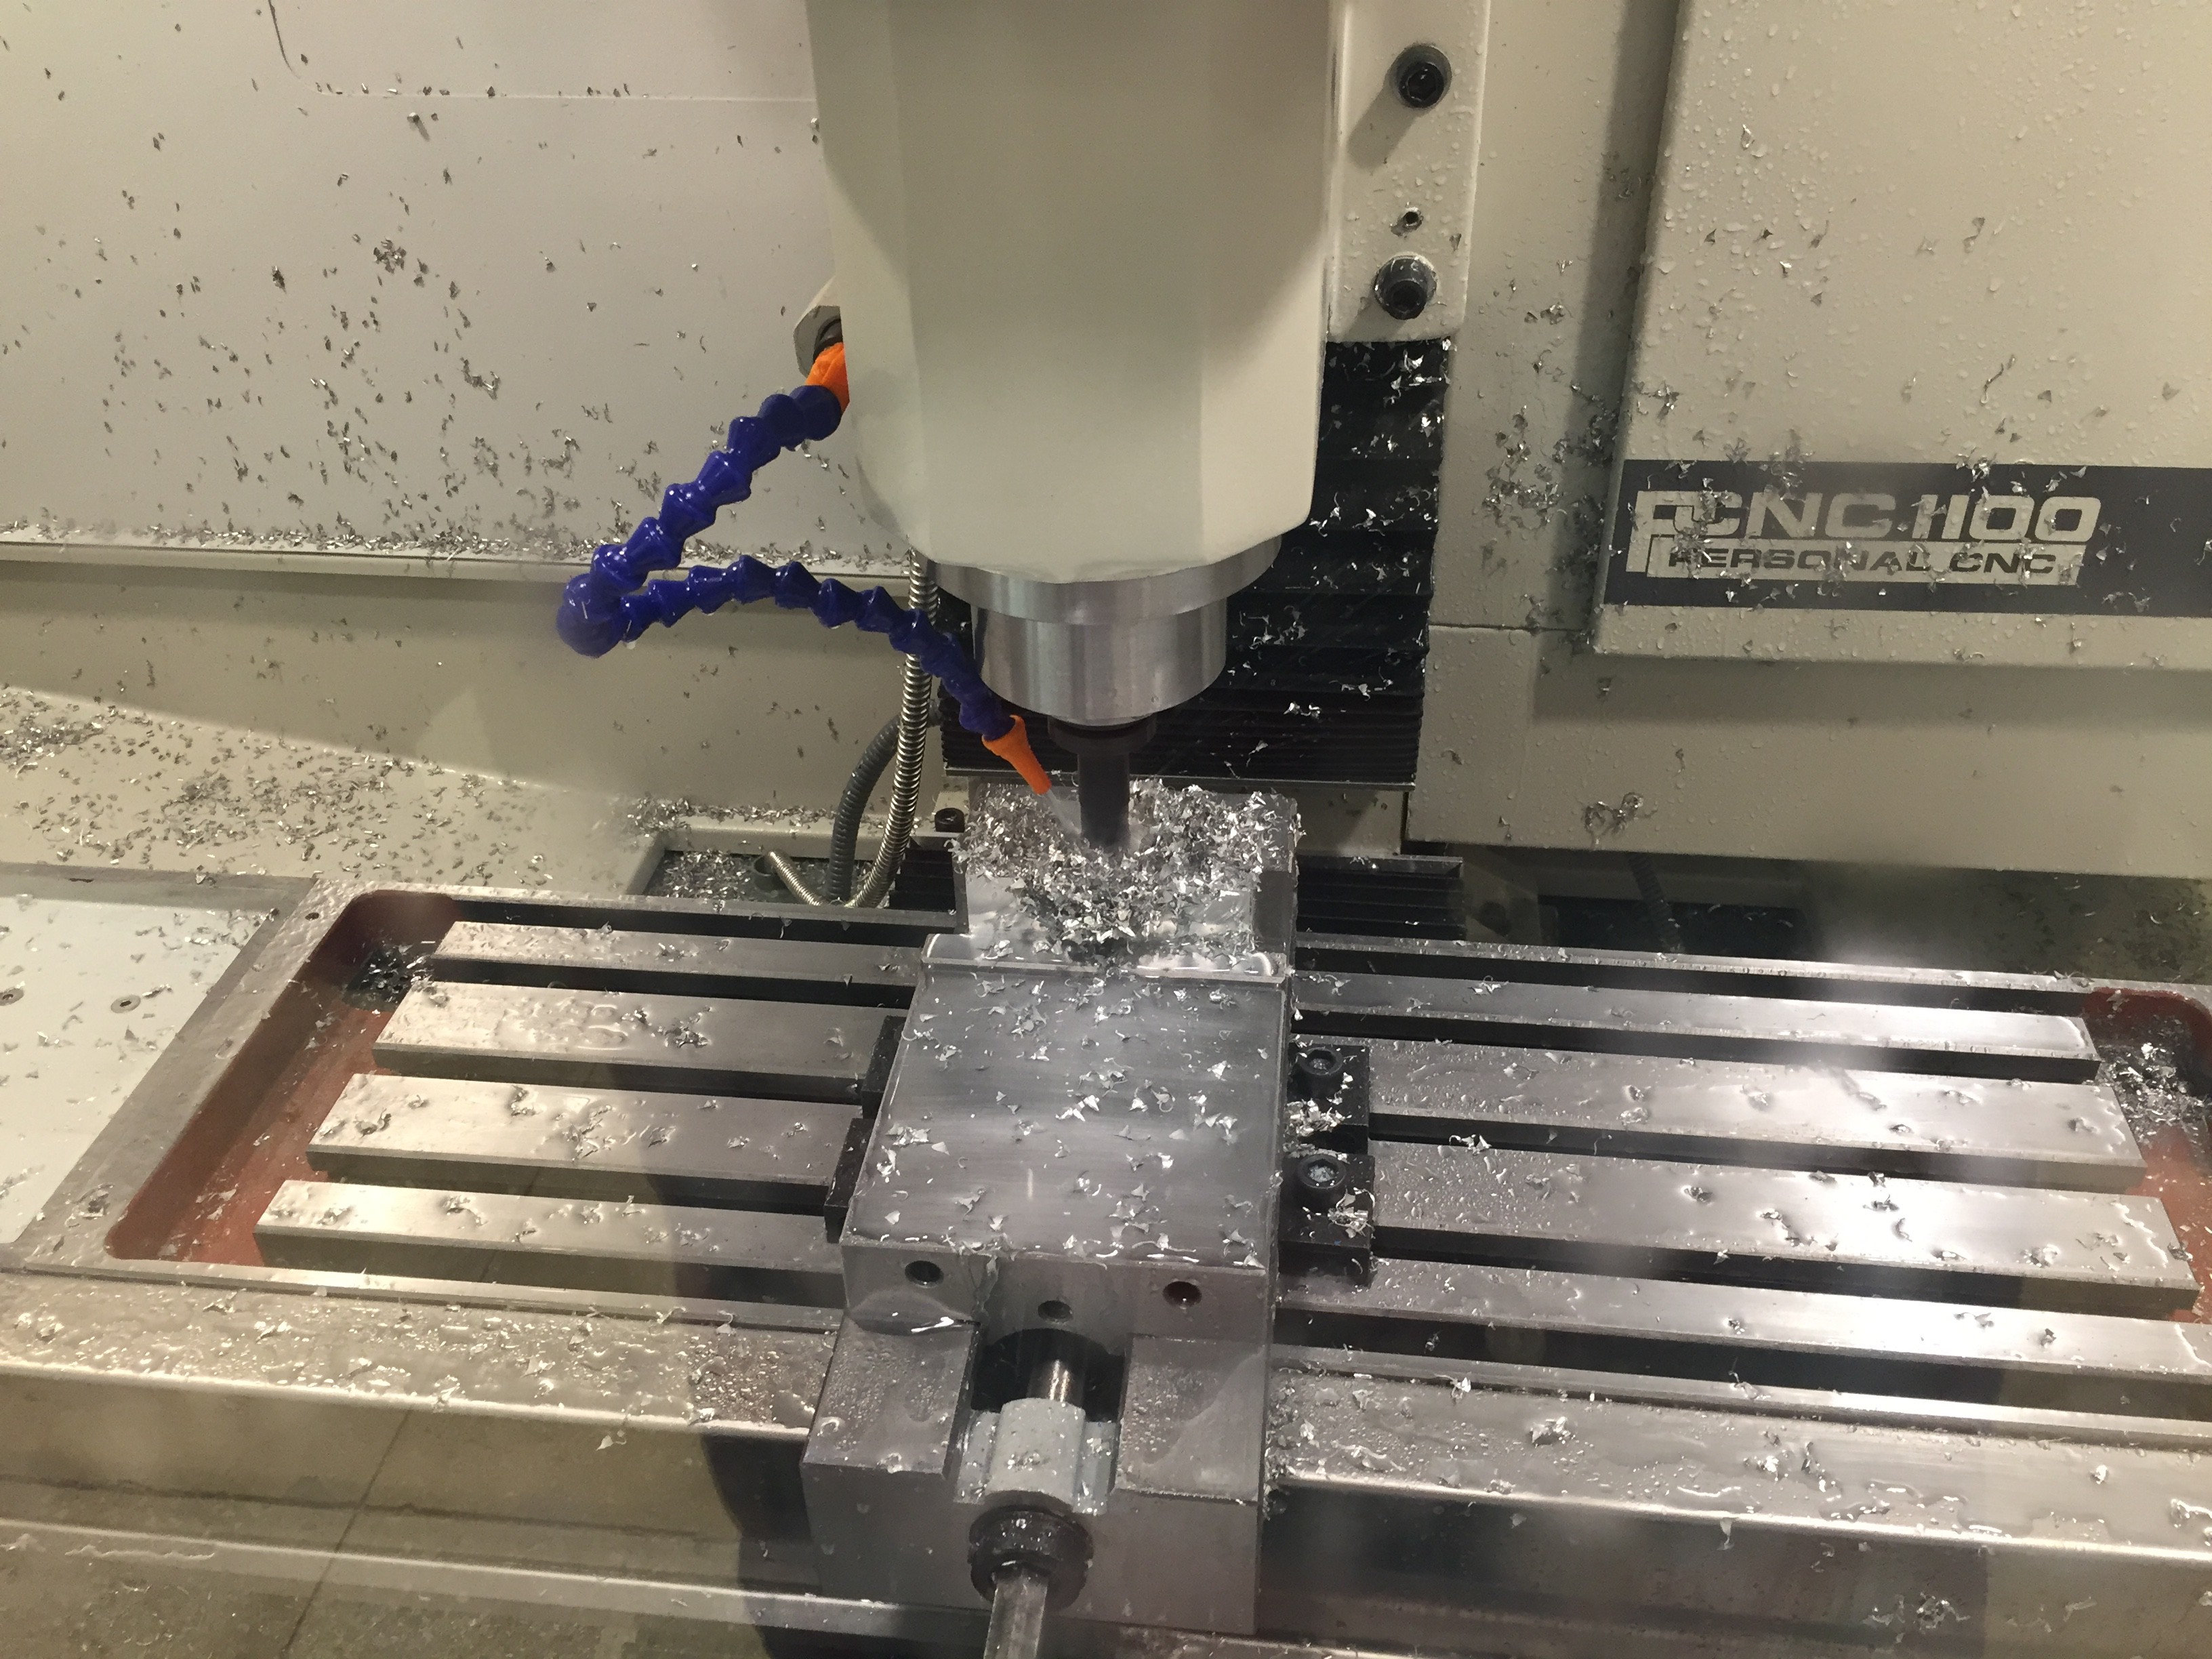
09/02/2016 at 21:02 • 1 commentThis week was mostly staying head down in production mode. Dan and I finally got through producing all the yaw bearing blocks for these next 5 scopes, and learned a lot about the Tormach along the way.
![]()
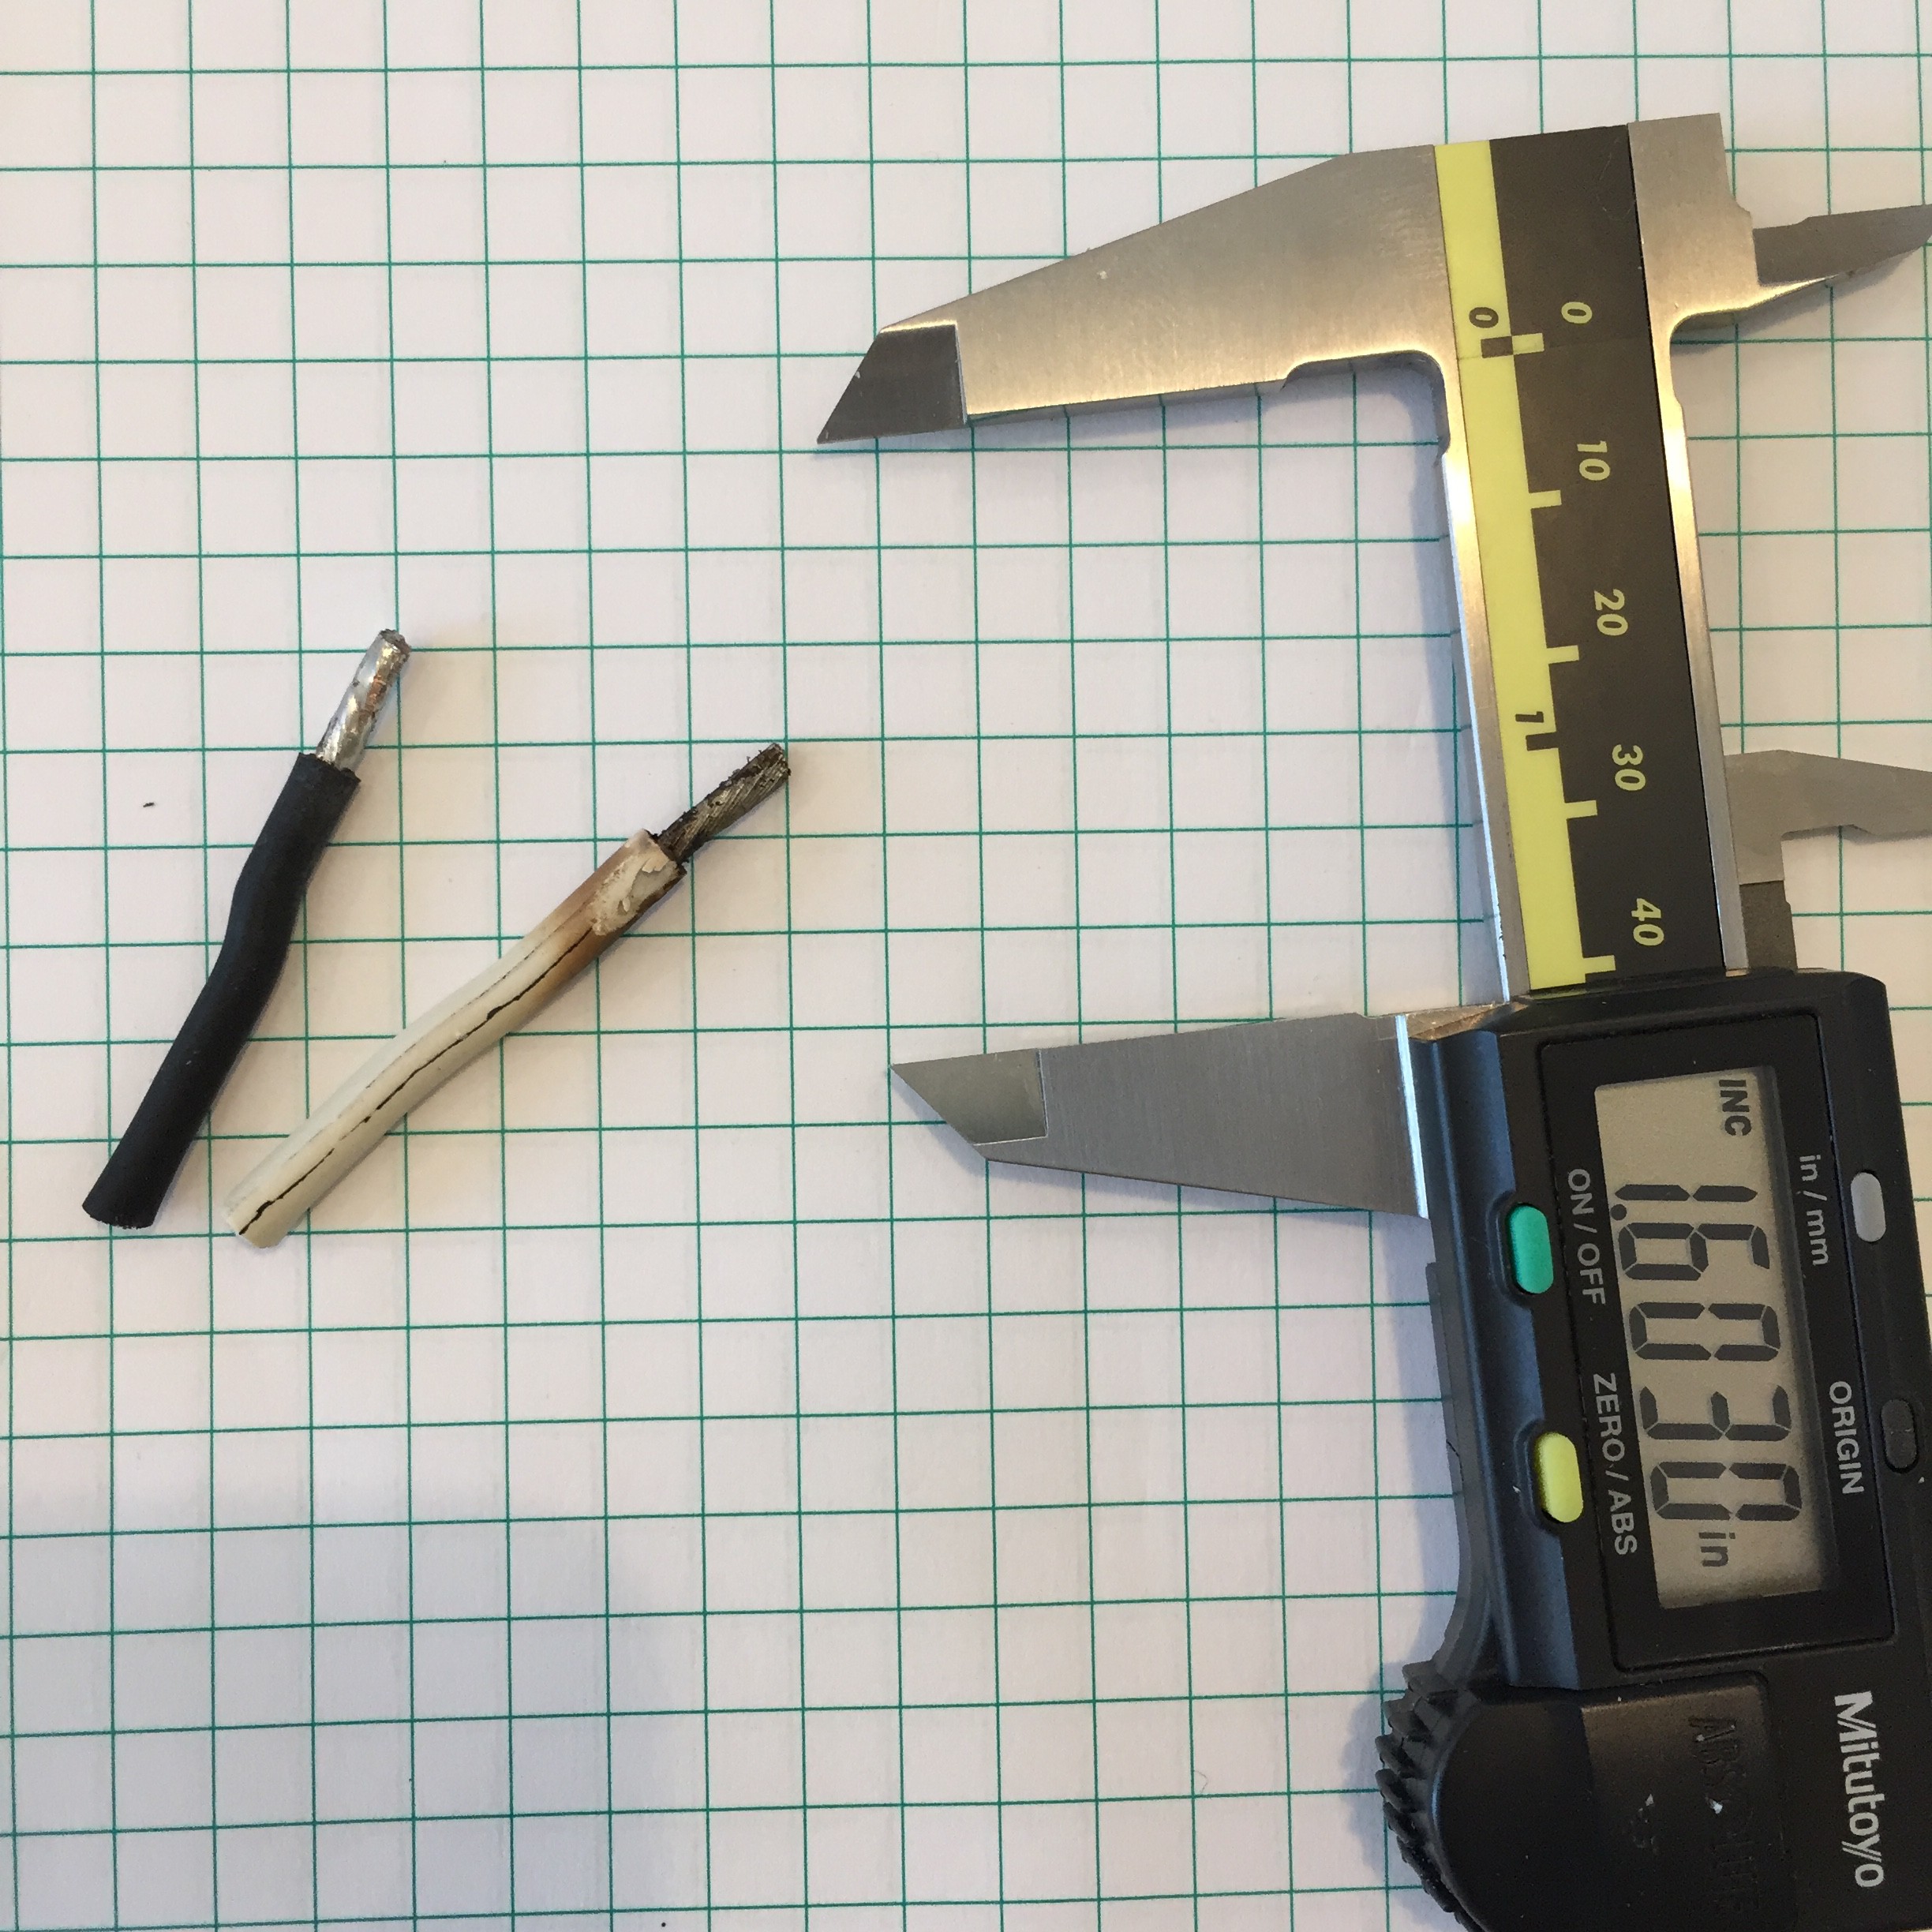
The most important thing we learned was that you'd better make sure to secure your wiring when you're assembling a heavy duty milling machine. We kept having emergency stops in the middle of operations or when the shroud around the pulleys were closed. It was bizarre behavior but Dan was able to diagnose it to a loose wire along the mains relay. It was likely never secure, and vibrating loose the entire time we'd been working. You can see the burn marks from the arcing.
![]()
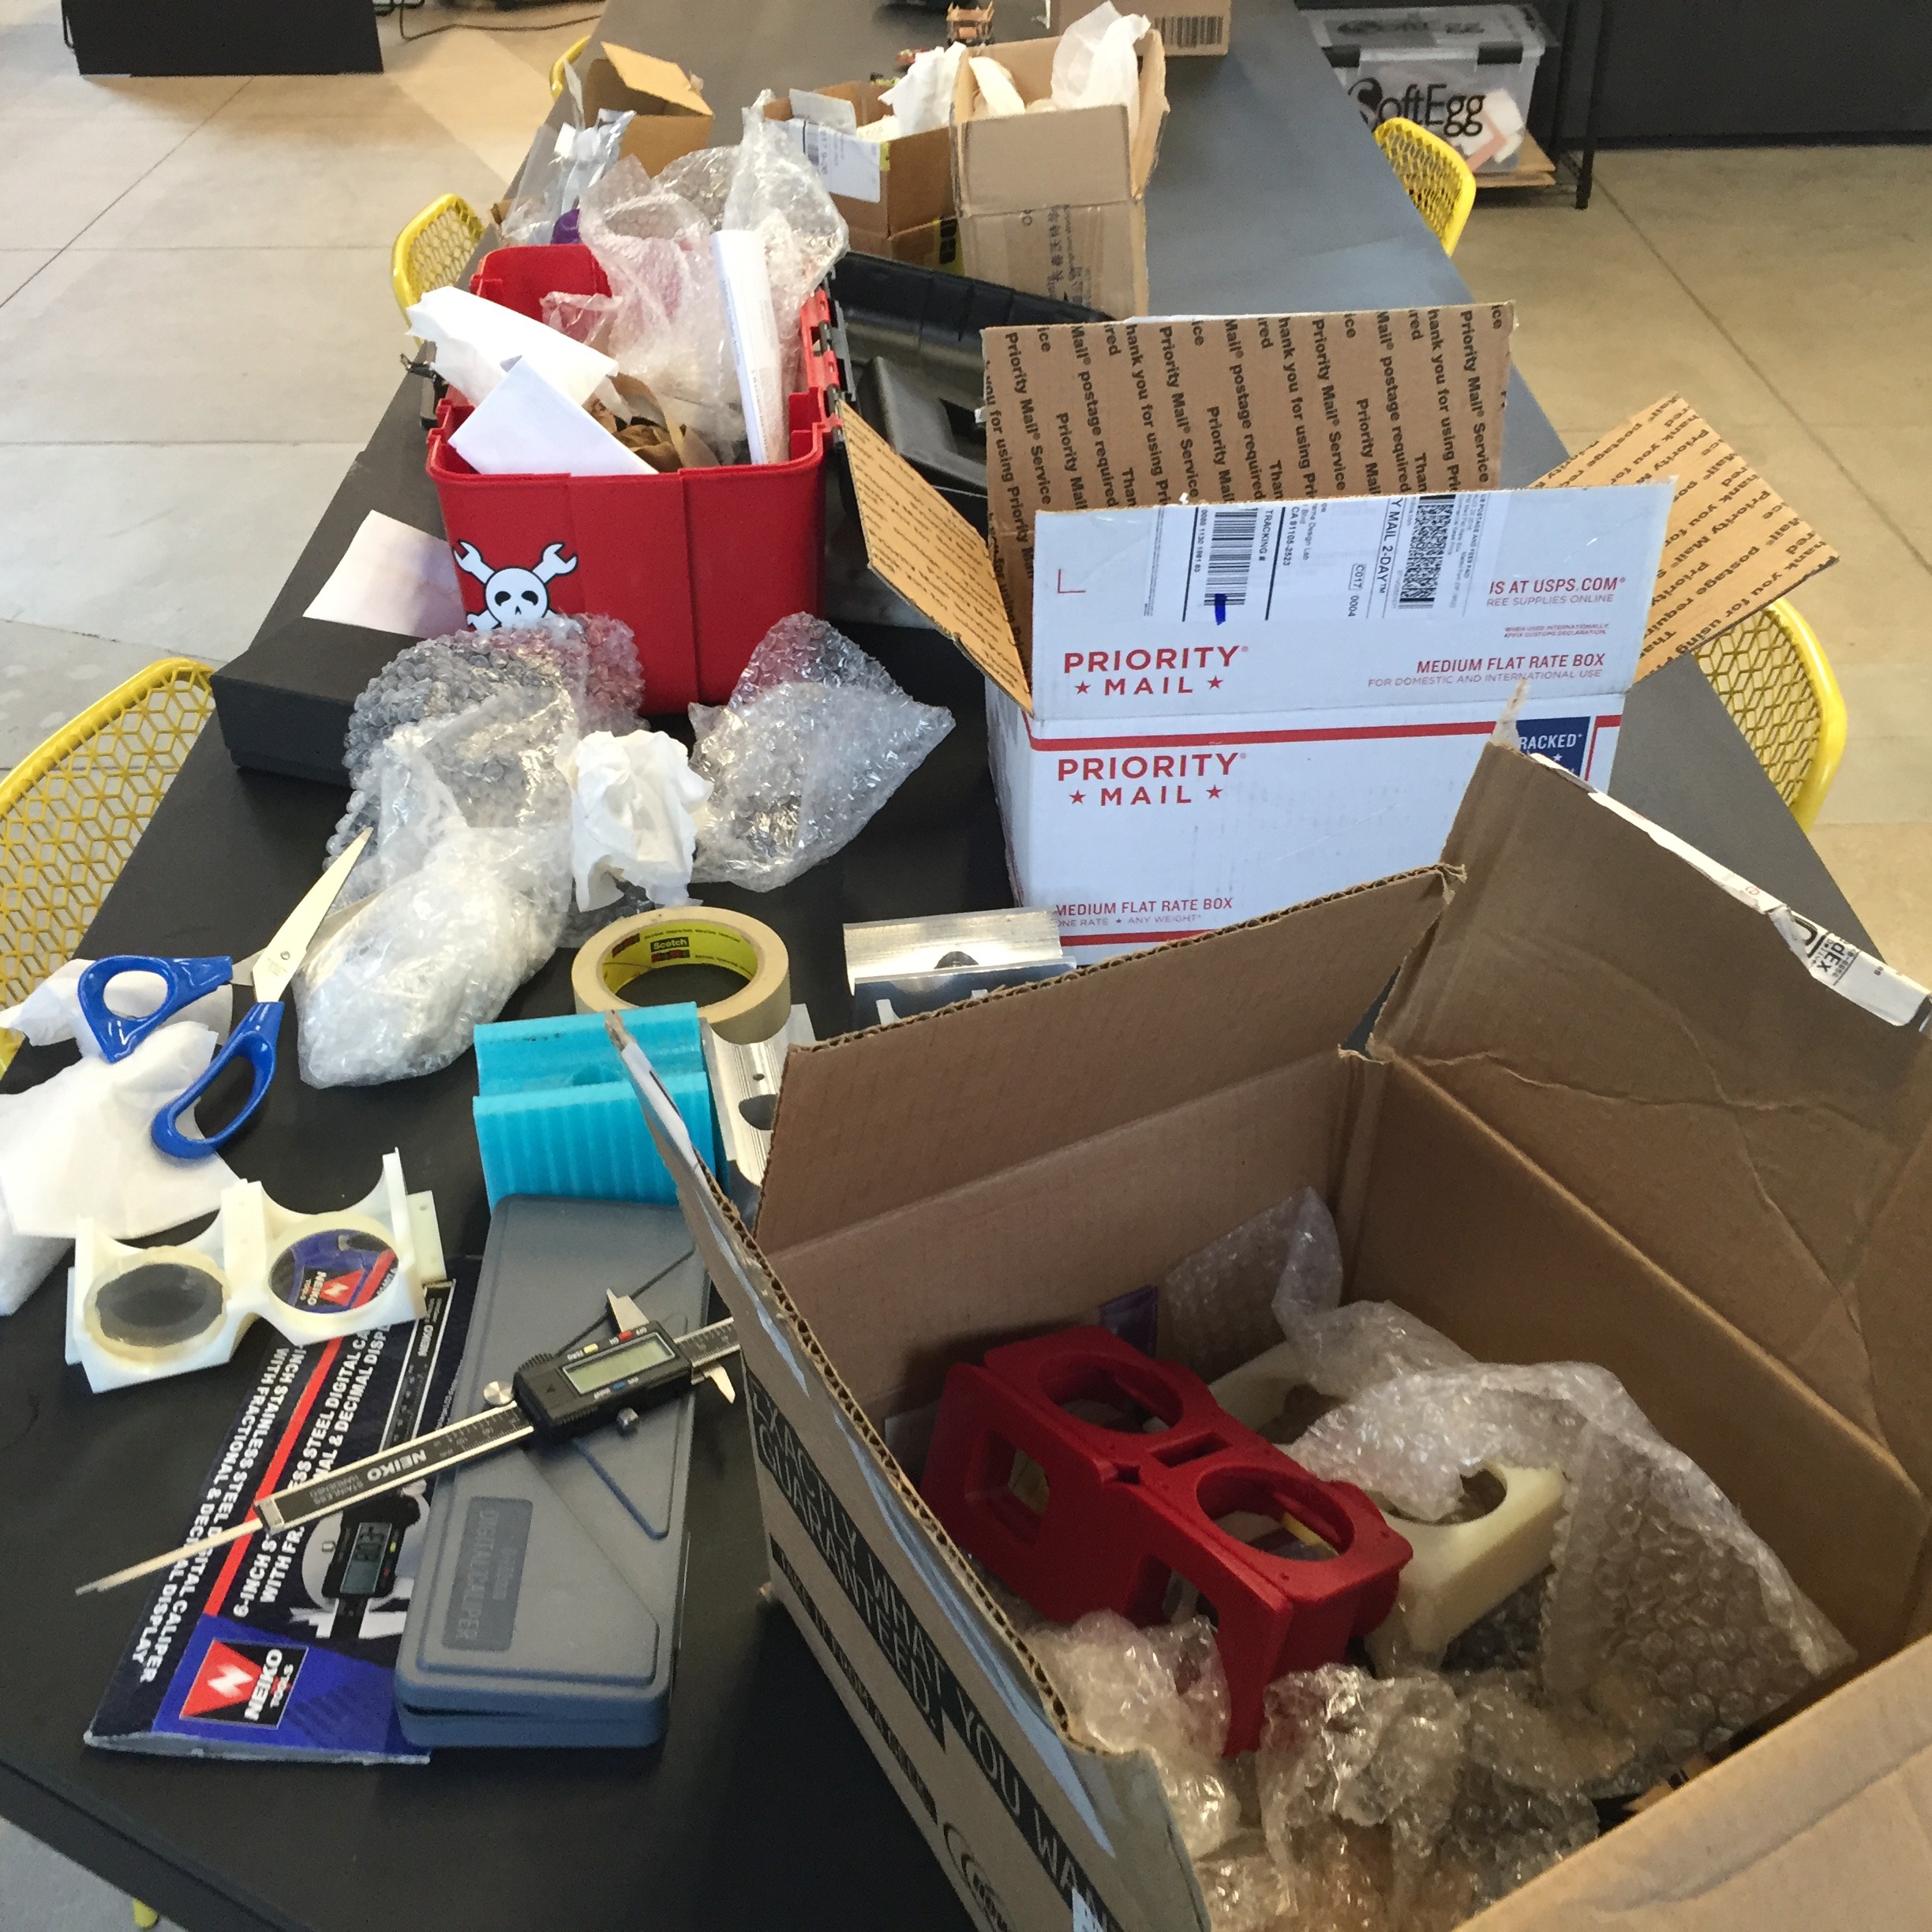
With the blocks completed, I've been focused on taking inventory of my optics and starting to piece together a supply chain for some of the harder to find components, like LCD shutter glass.
![]()
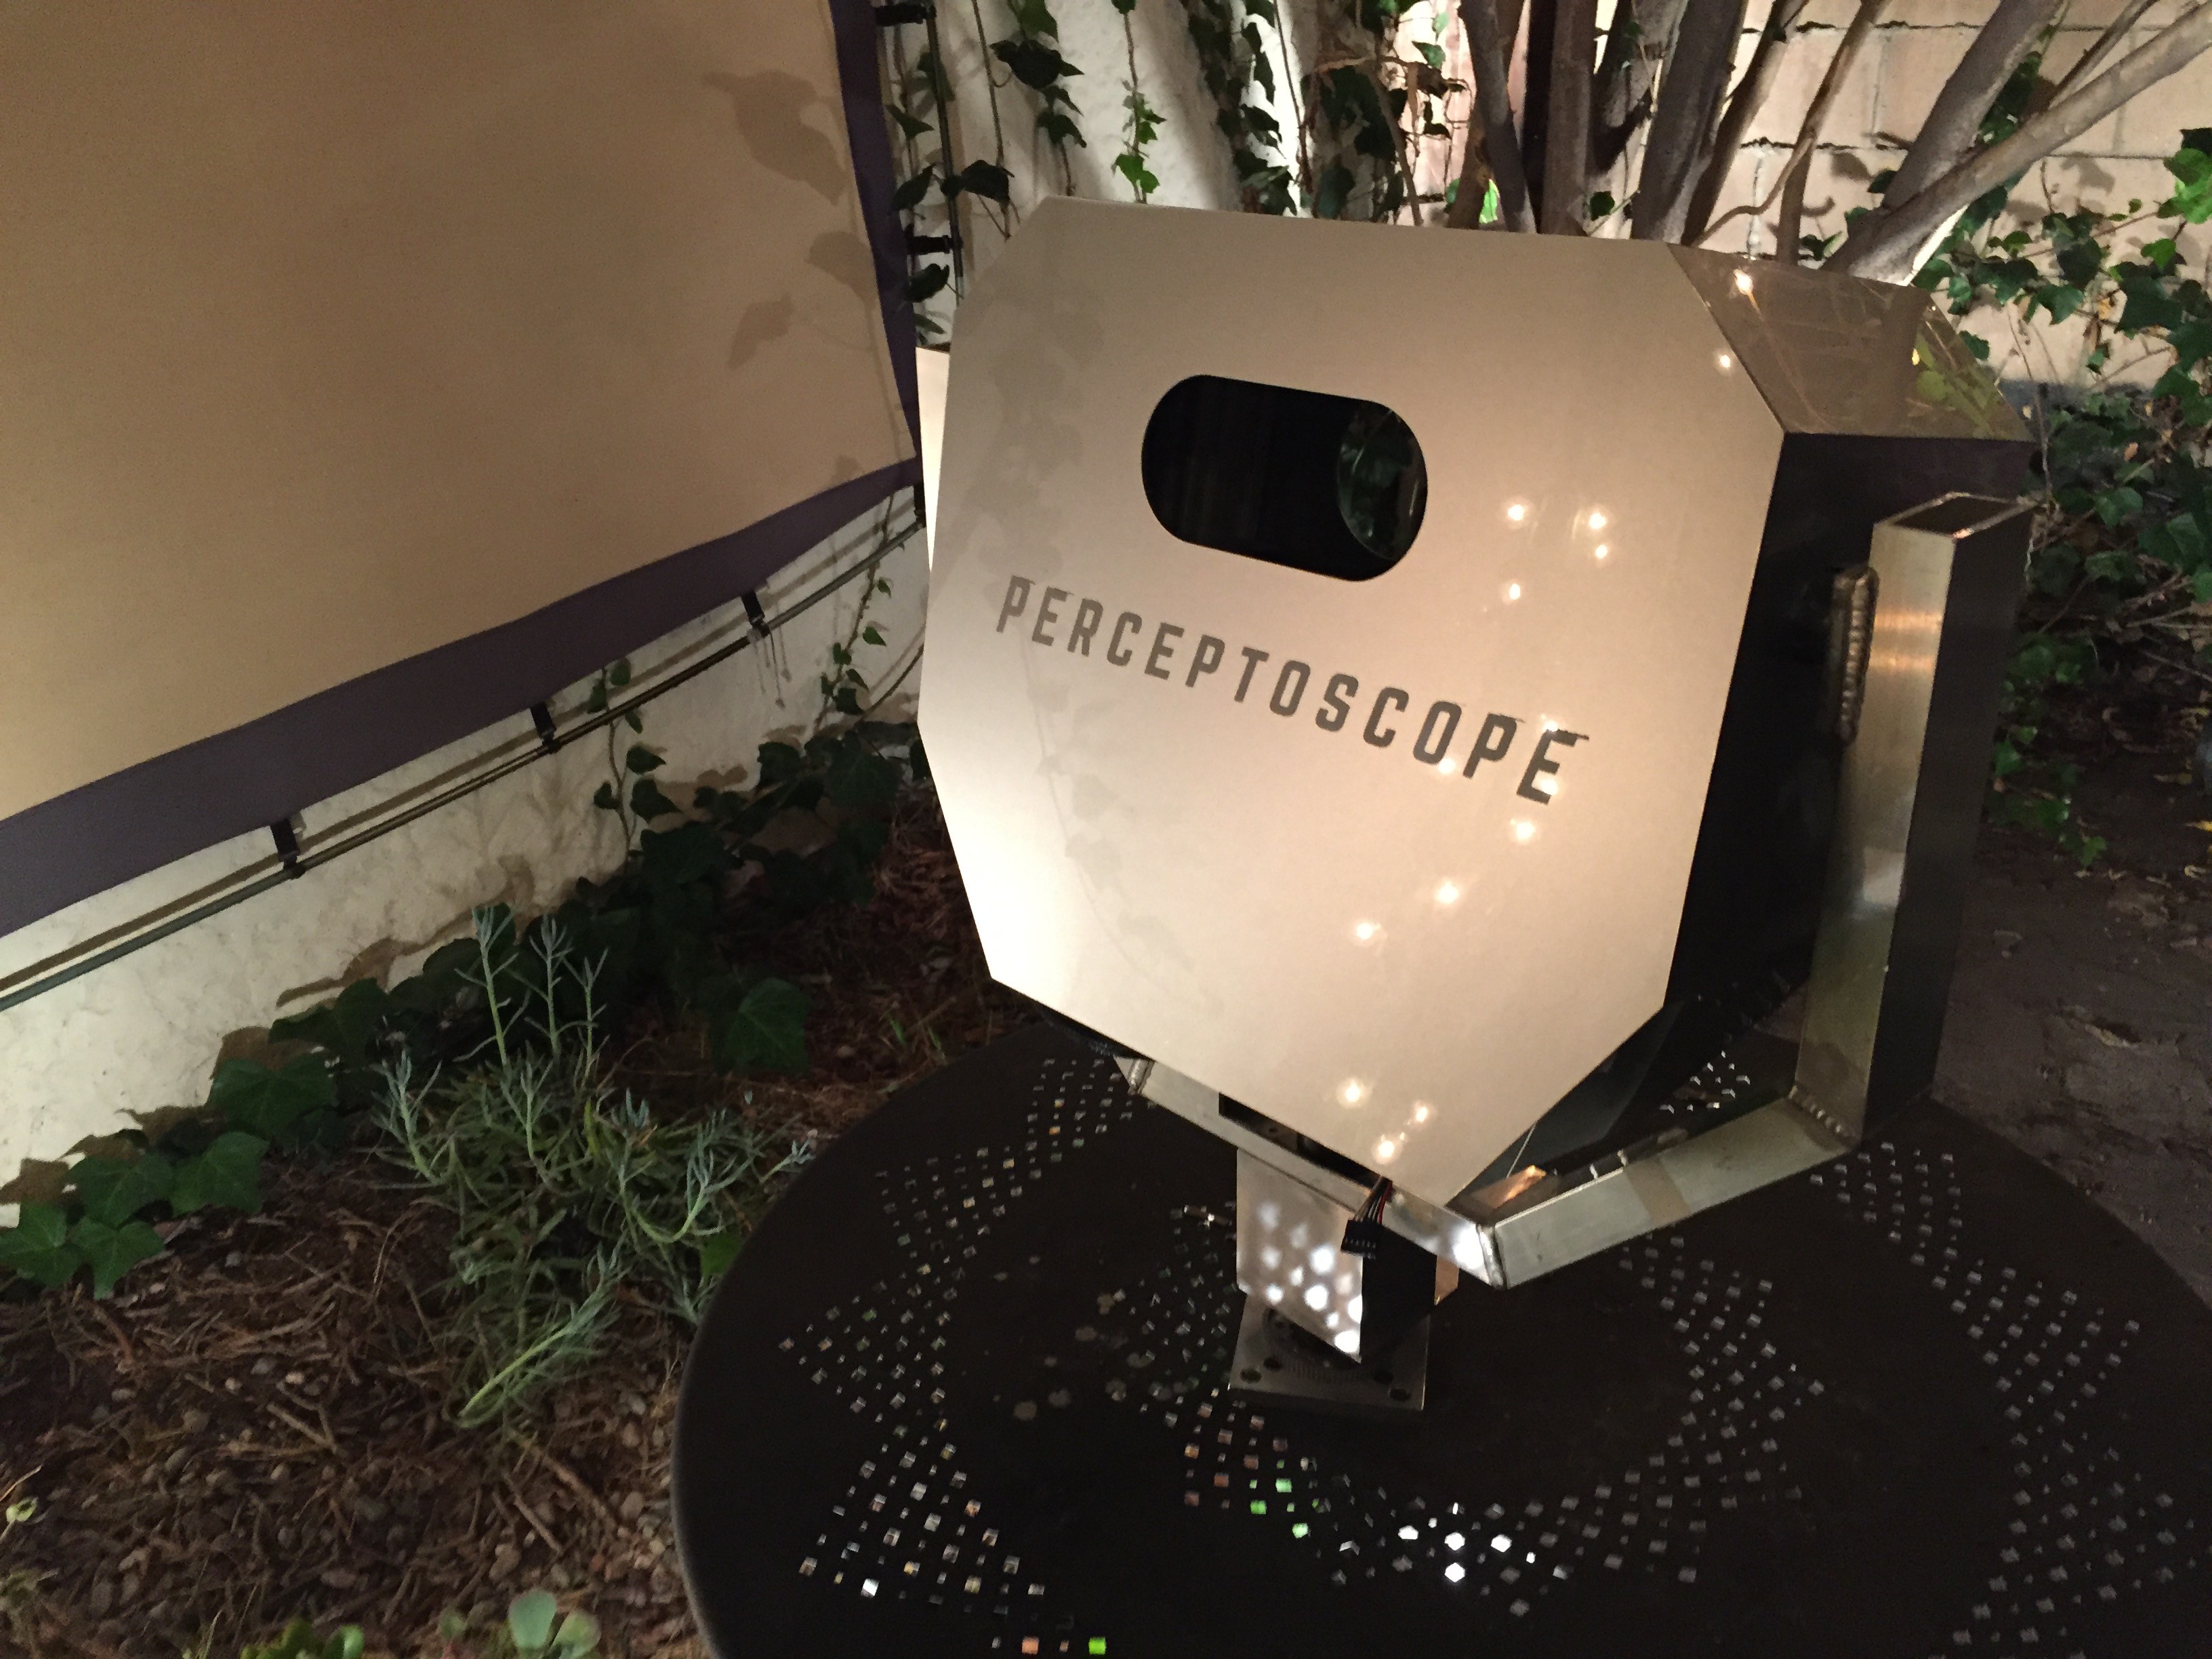
Since there isn't too much exciting to report this week, I figured I'd take a moment to look back on a fun event I did with the last Perceptoscope prototype. CRASH Space held its first ever art show in April, and it proved to be the perfect opportunity to fine tune the Scope and do something fun with it.
In honor of the movie (and show theme) Hackers, I recreated the Gibson that you could fly through on the Scope. Little Nyan Cats would flock around the space, and I cribbed a bunch of other visuals from the movie itself.
You can see a recap of the whole show below:
-
Melting and Molding
08/27/2016 at 03:31 • 0 commentsSupplyframe has been making a web-series following the progress of all the DesignLab residents, and the first segment about Perceptoscope was released this week! Check it out above.
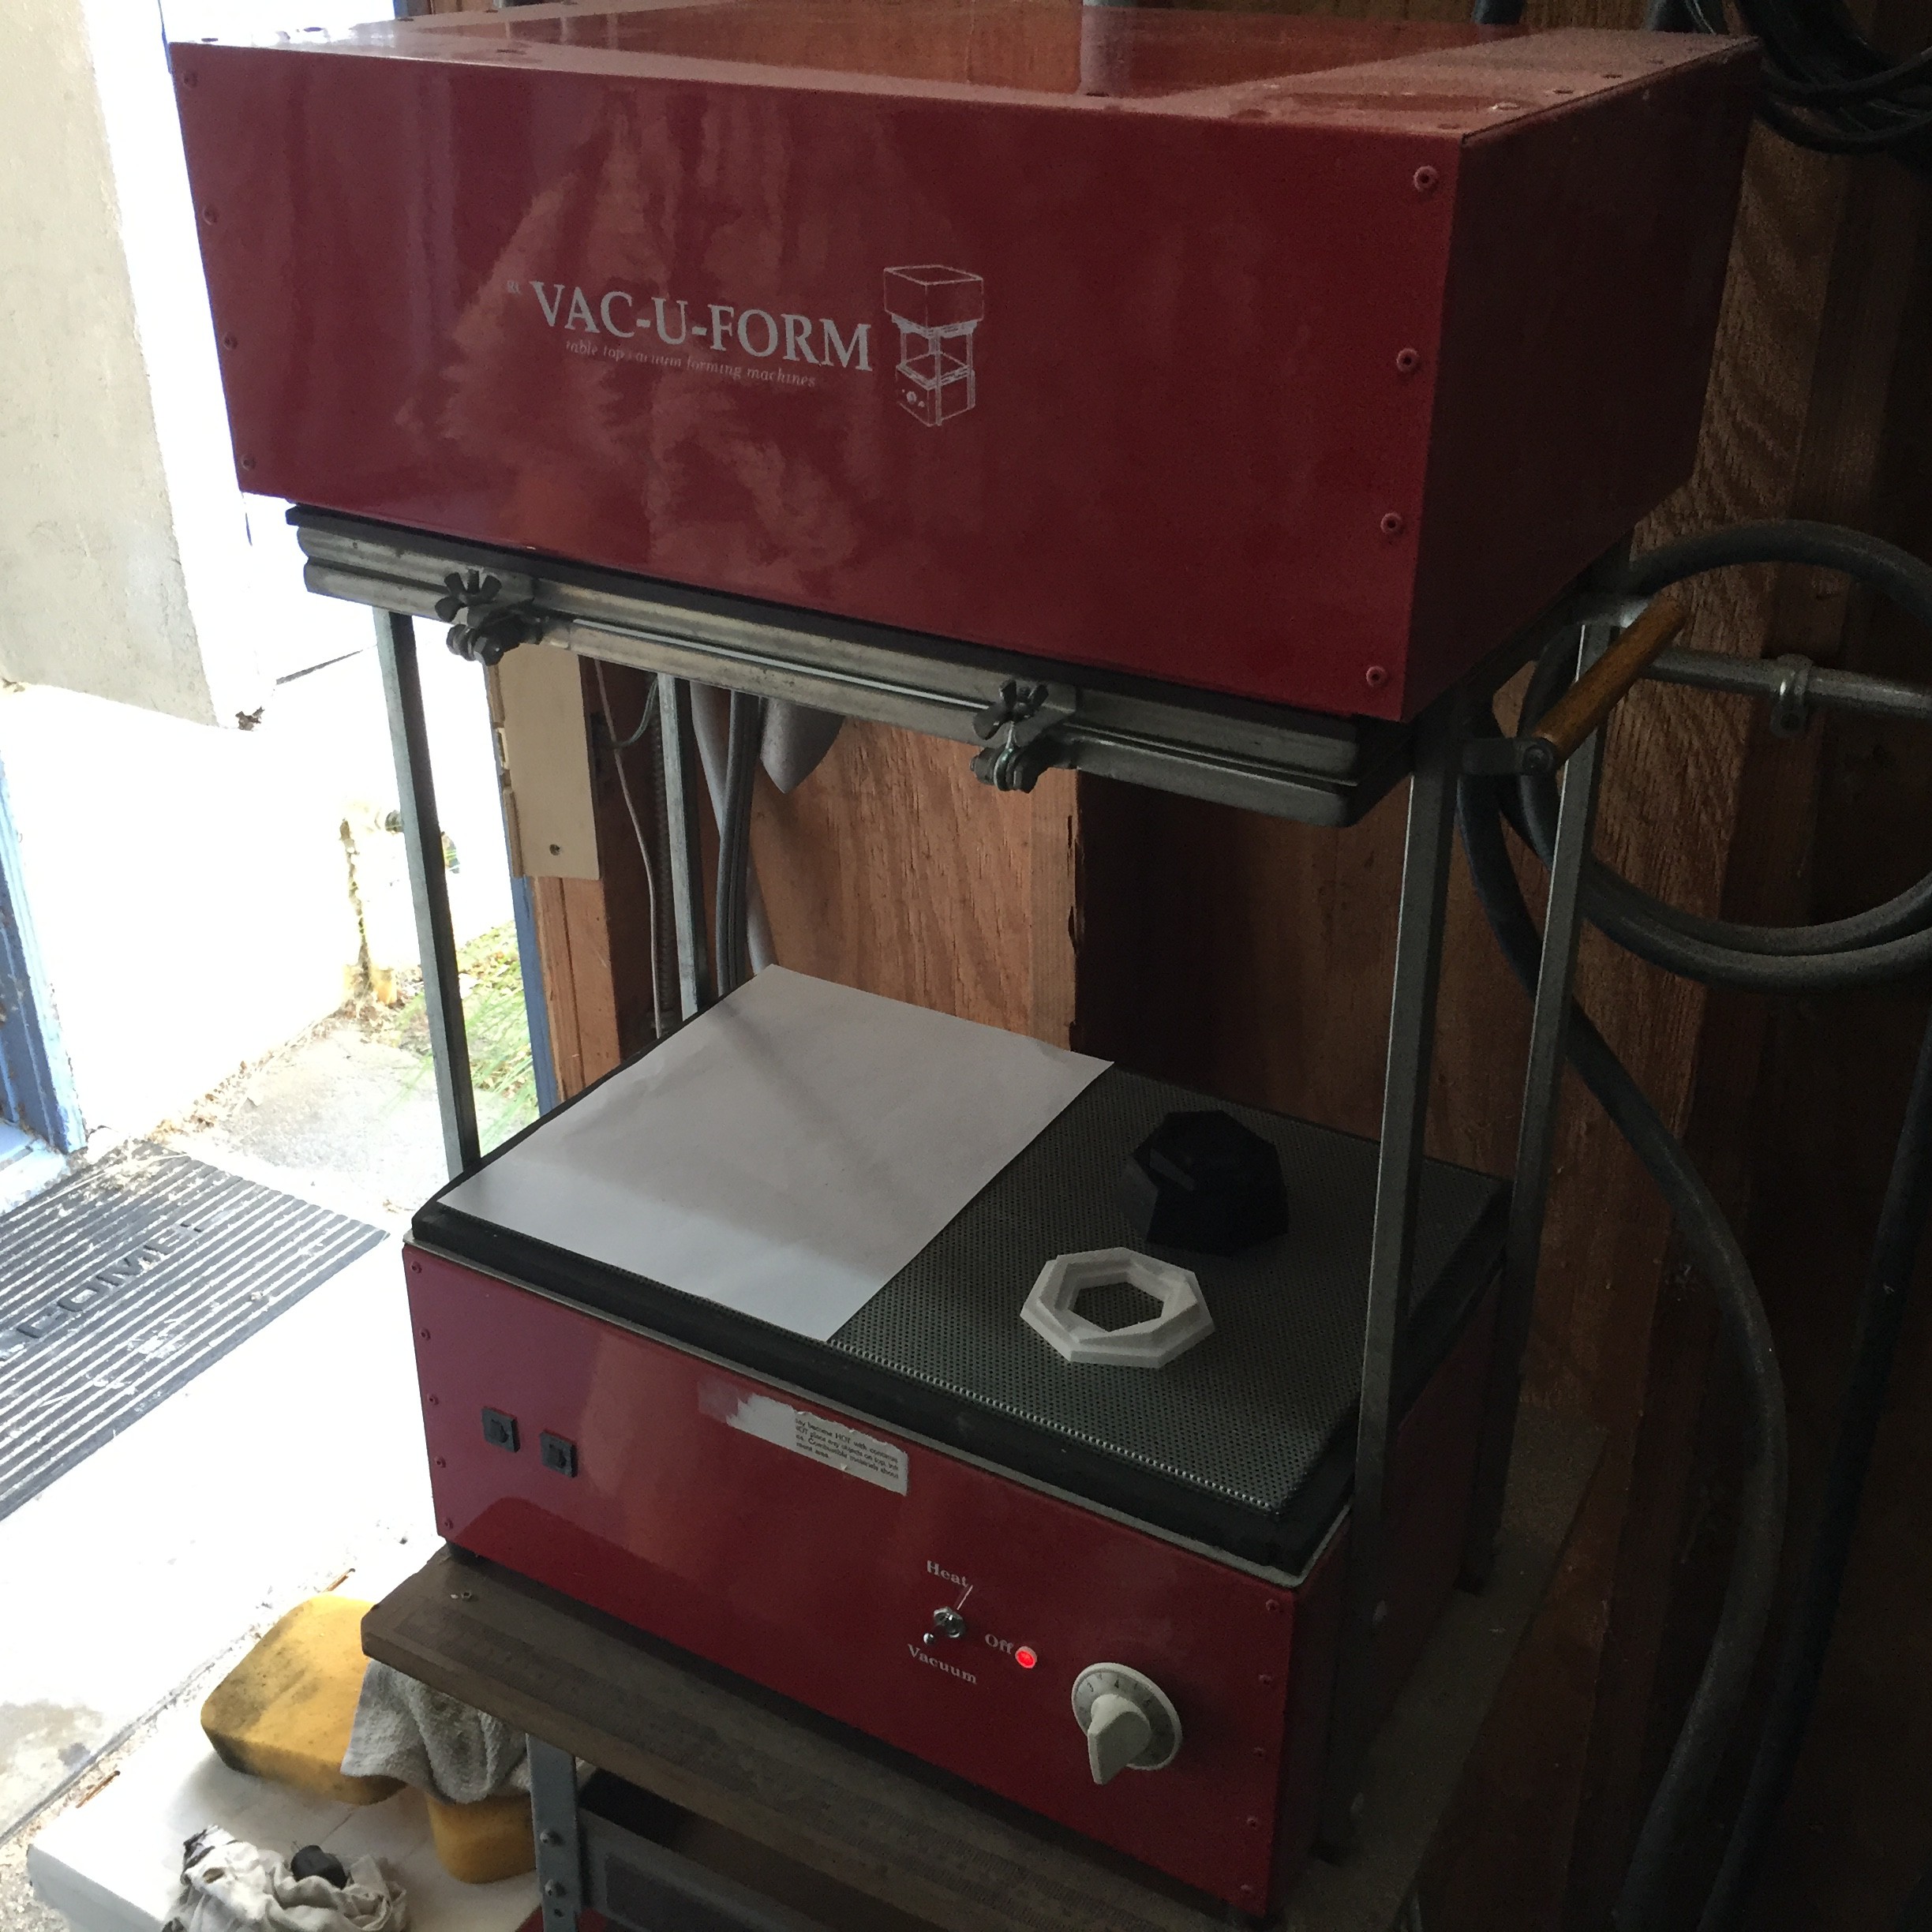
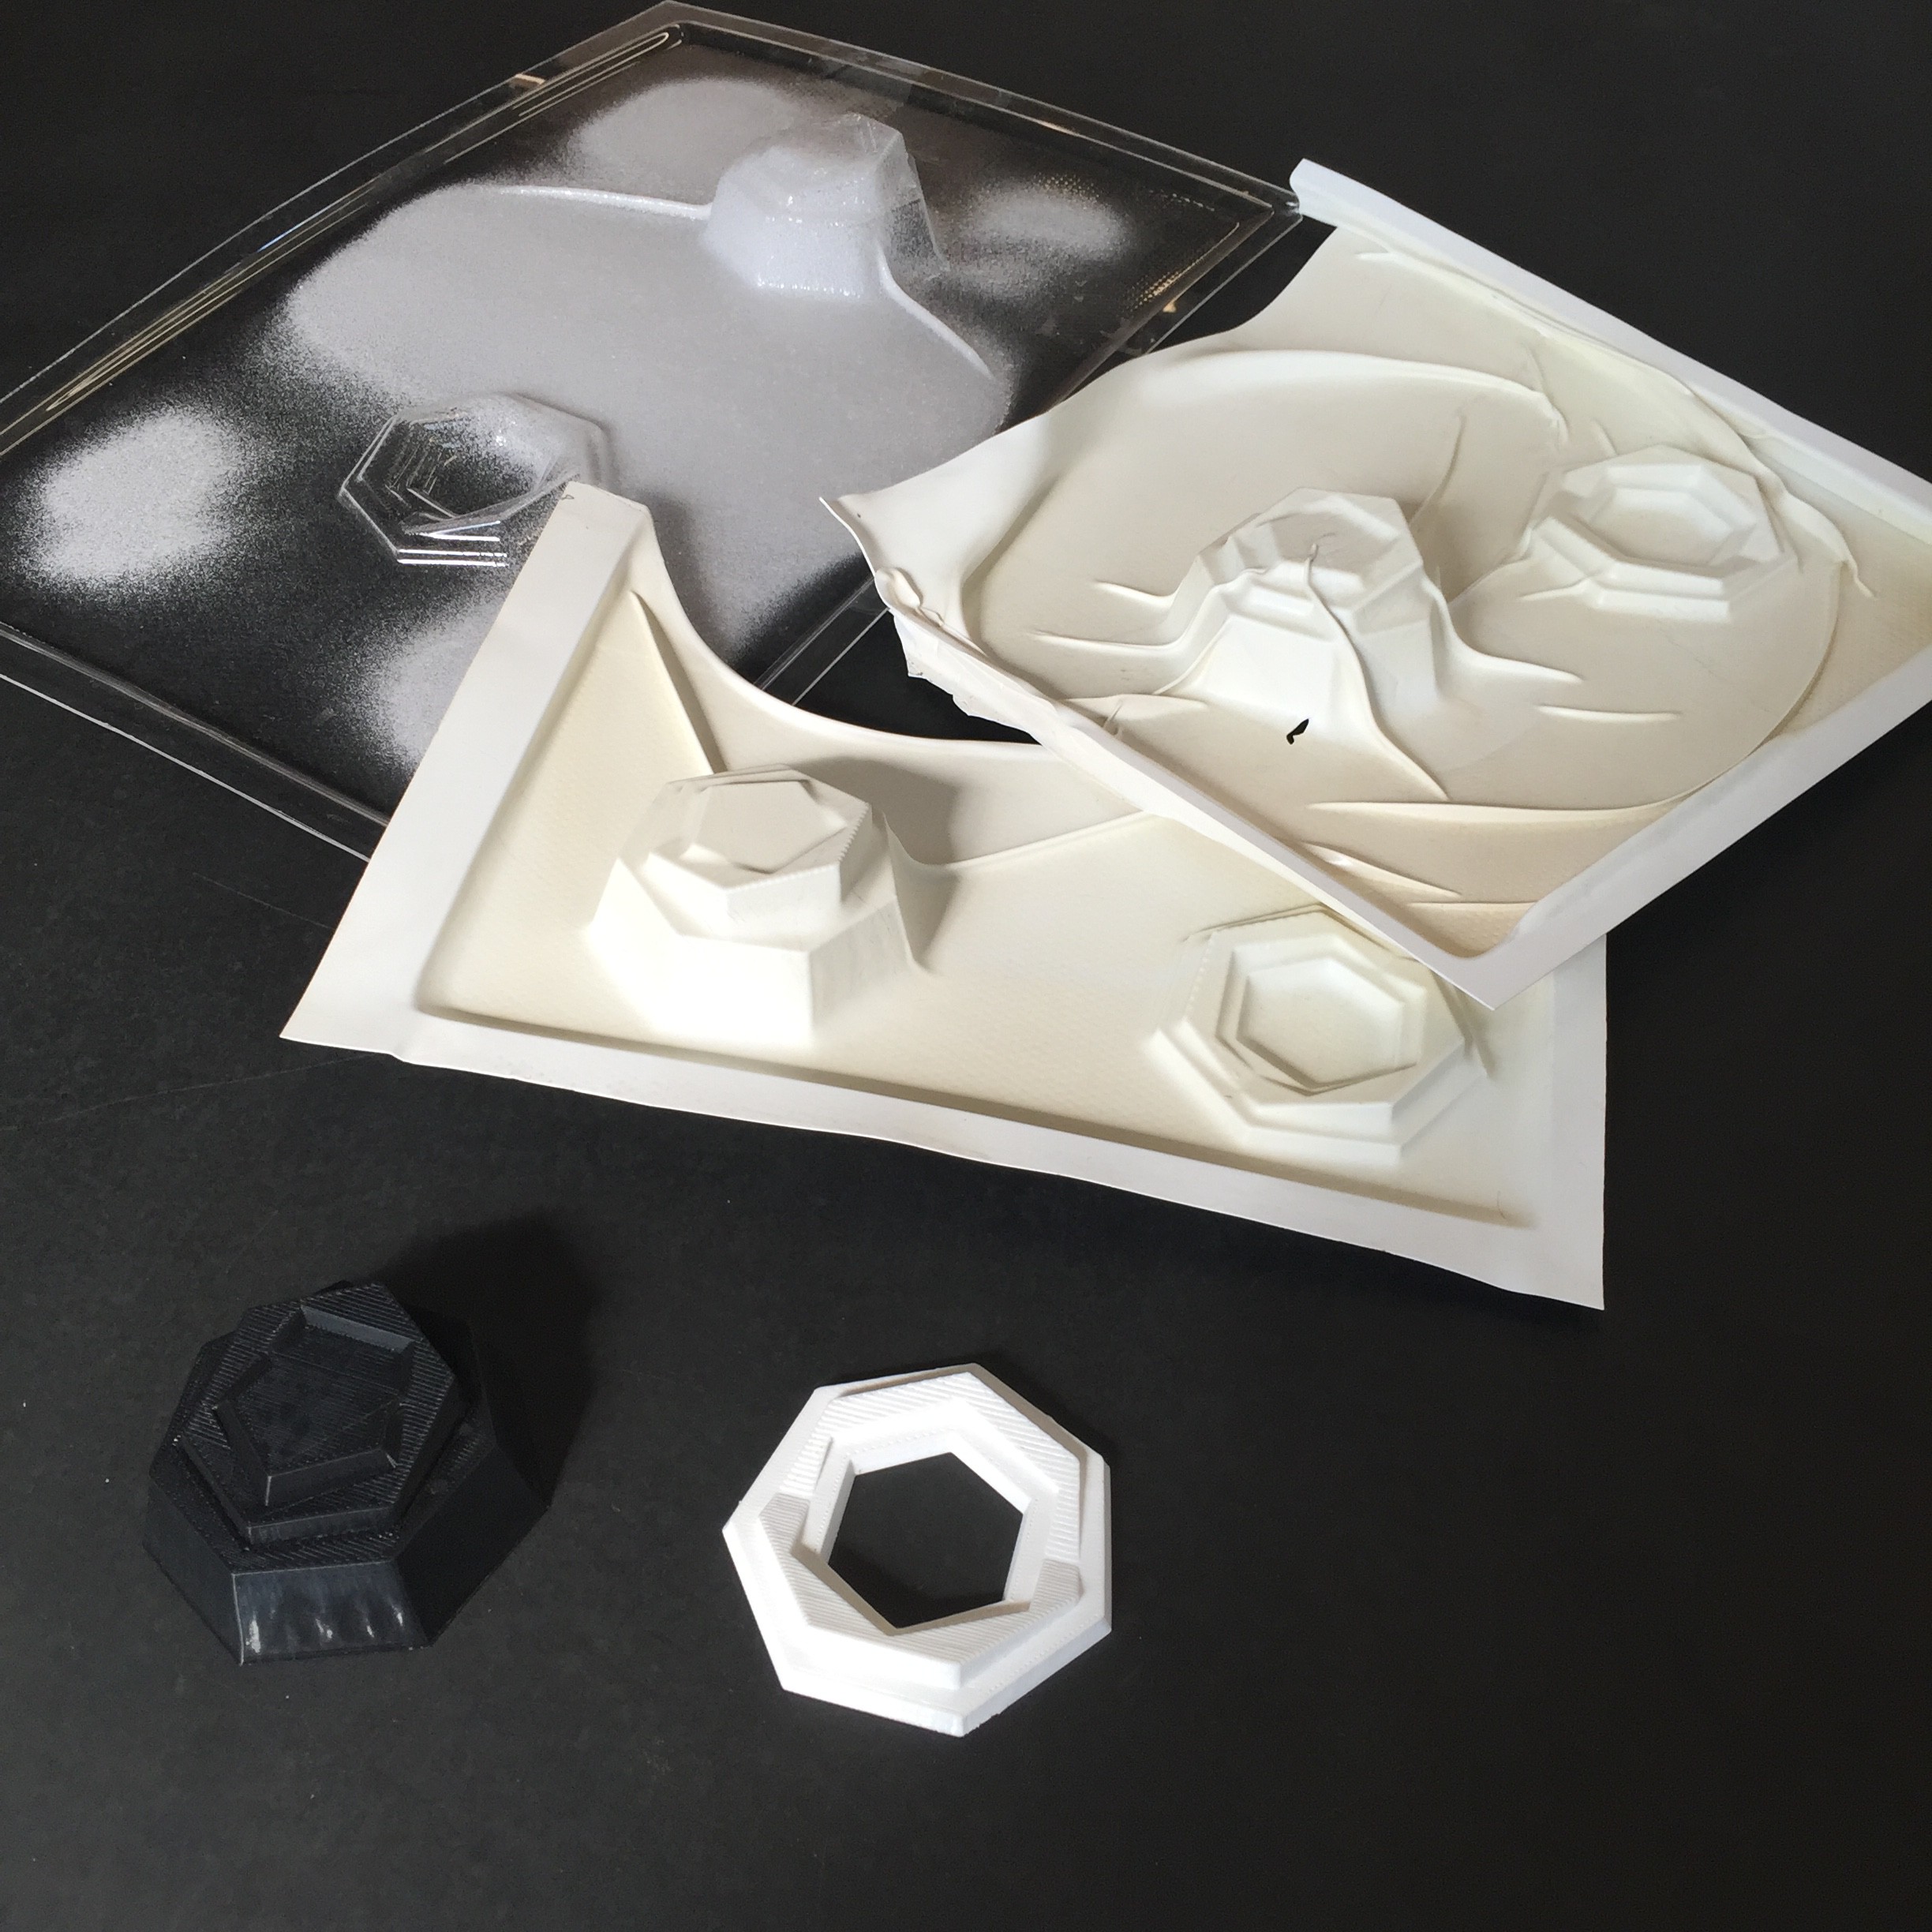
On the fabrication side, I wanted to take a stab at vacuum forming the positives that were 3D printed last week, so I headed to Crash Space to catch up with Steve and play with the machine there.
![]()
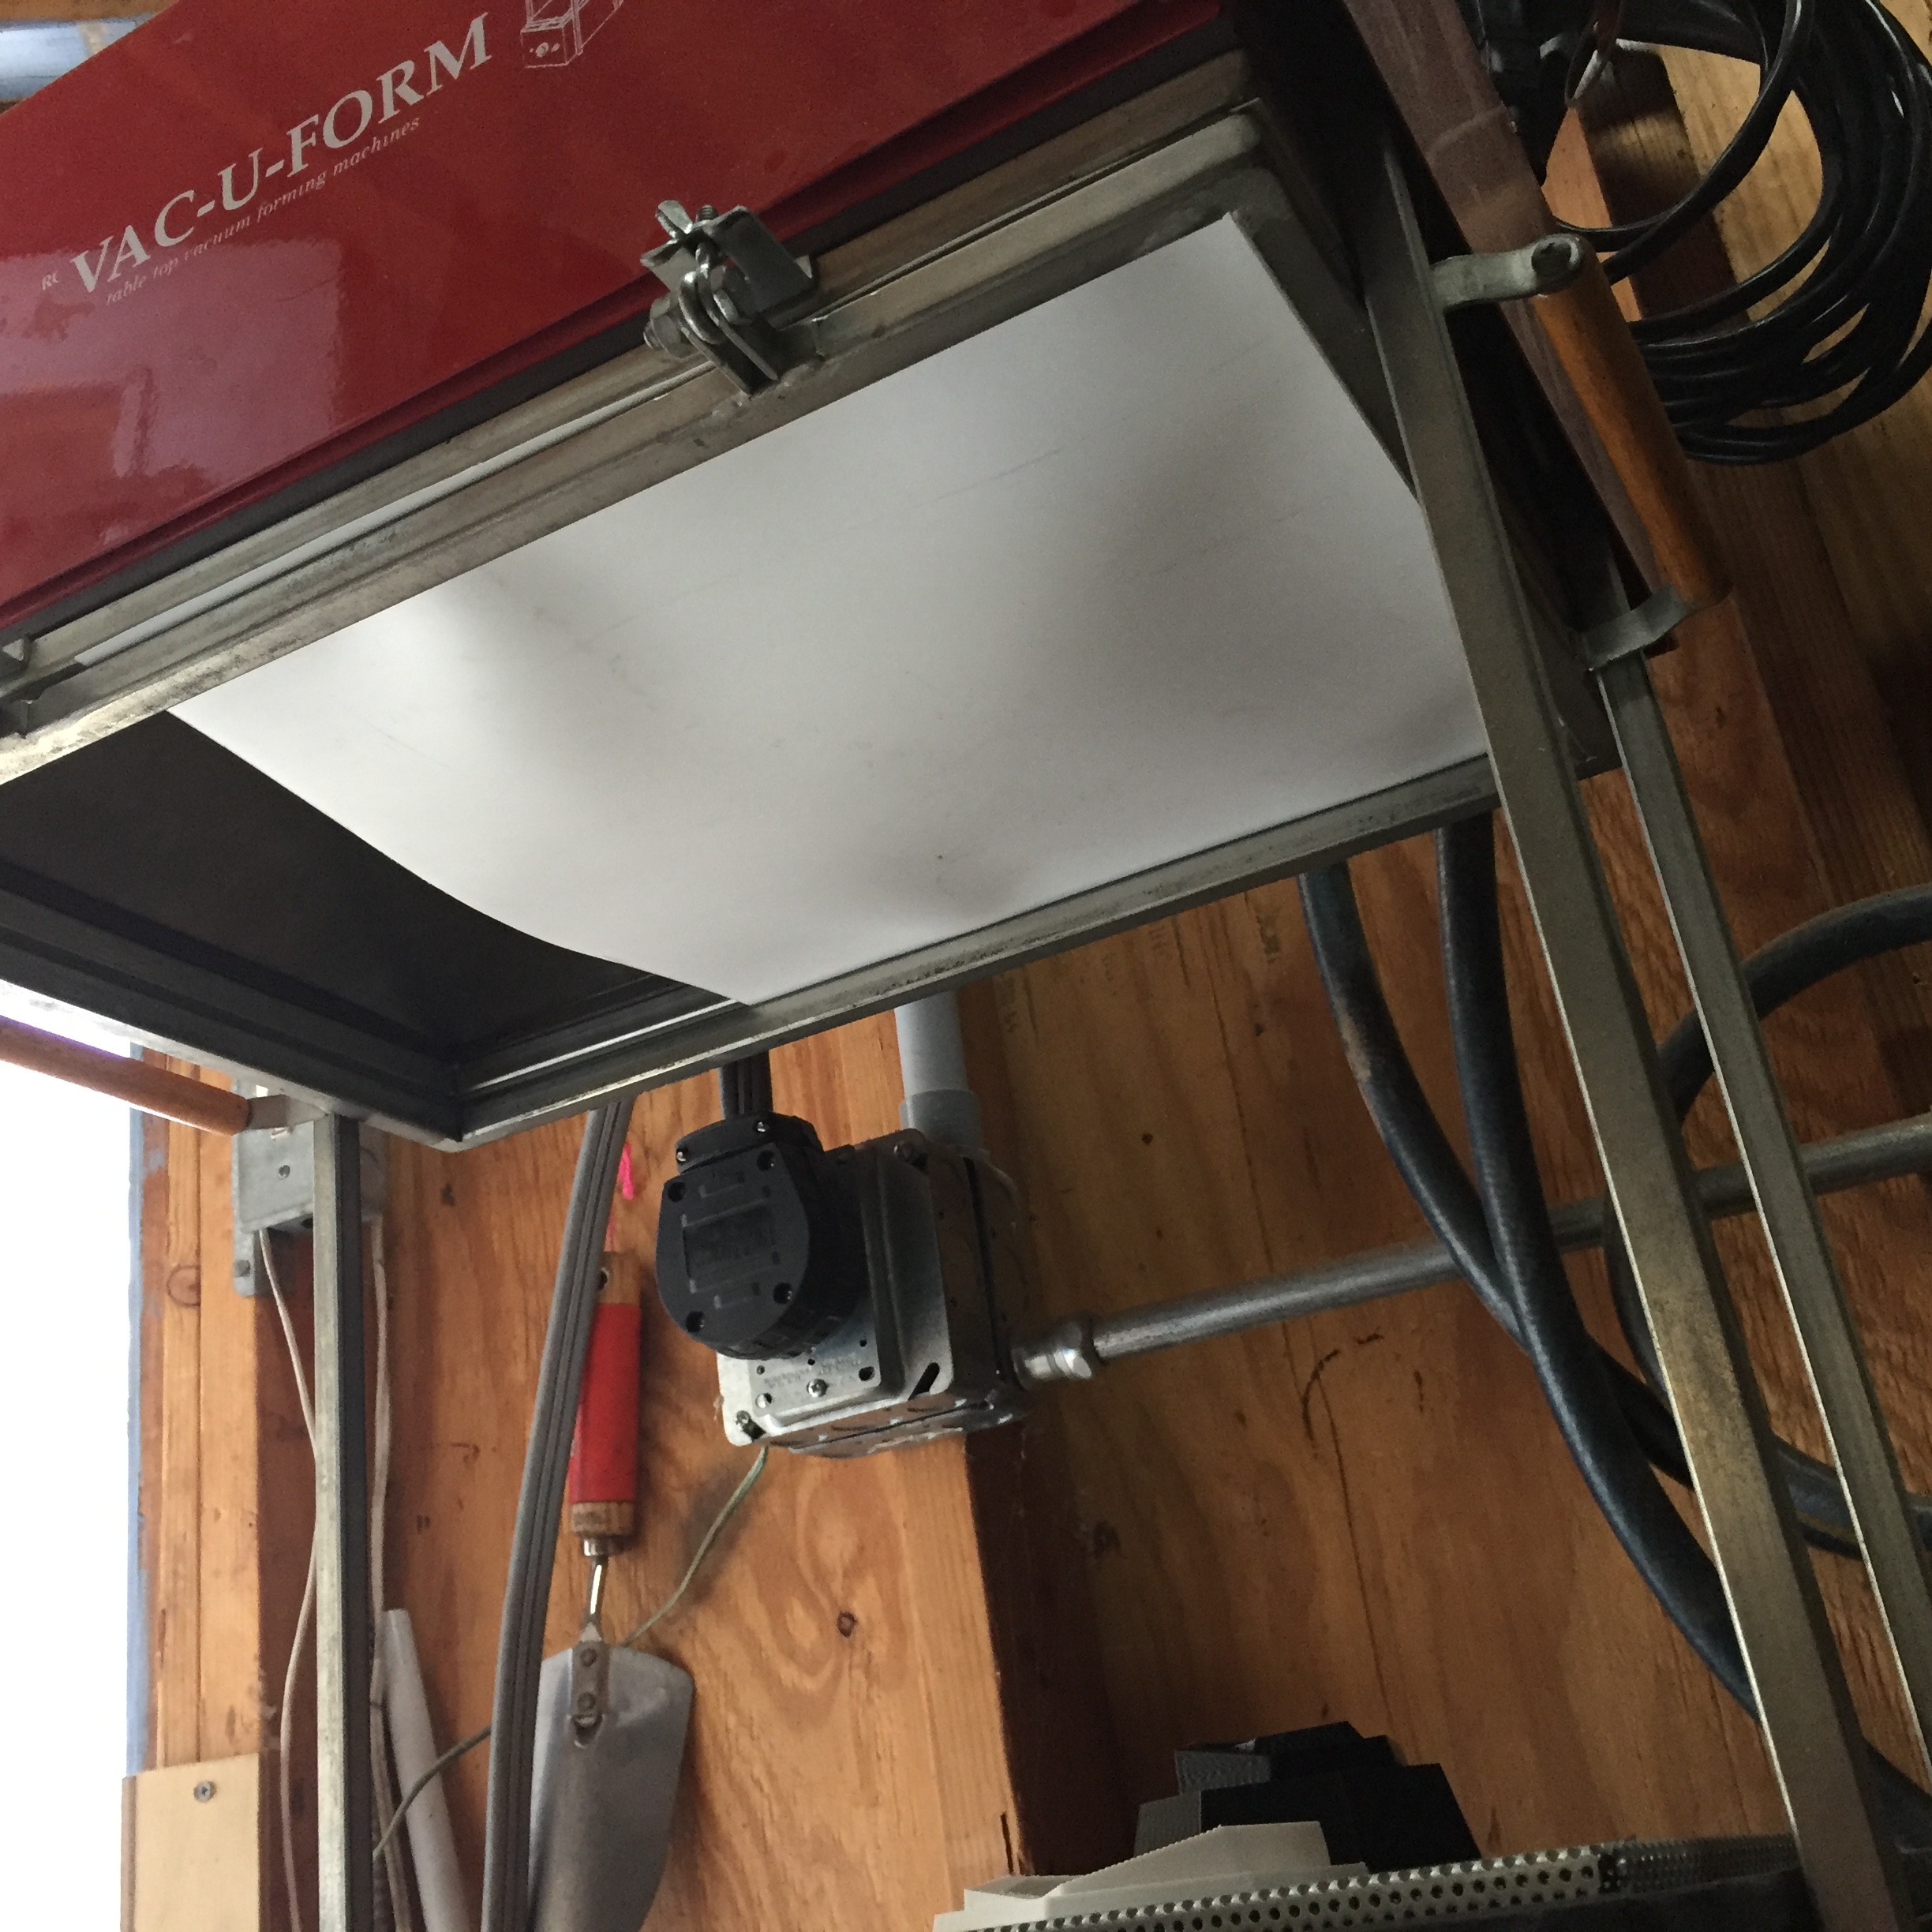
After you place the objects you want to form onto the vacuum bed, ceramic heaters at the top of the machine soften a plastic sheet so it's super malleable and saggy.
![]()
![]()
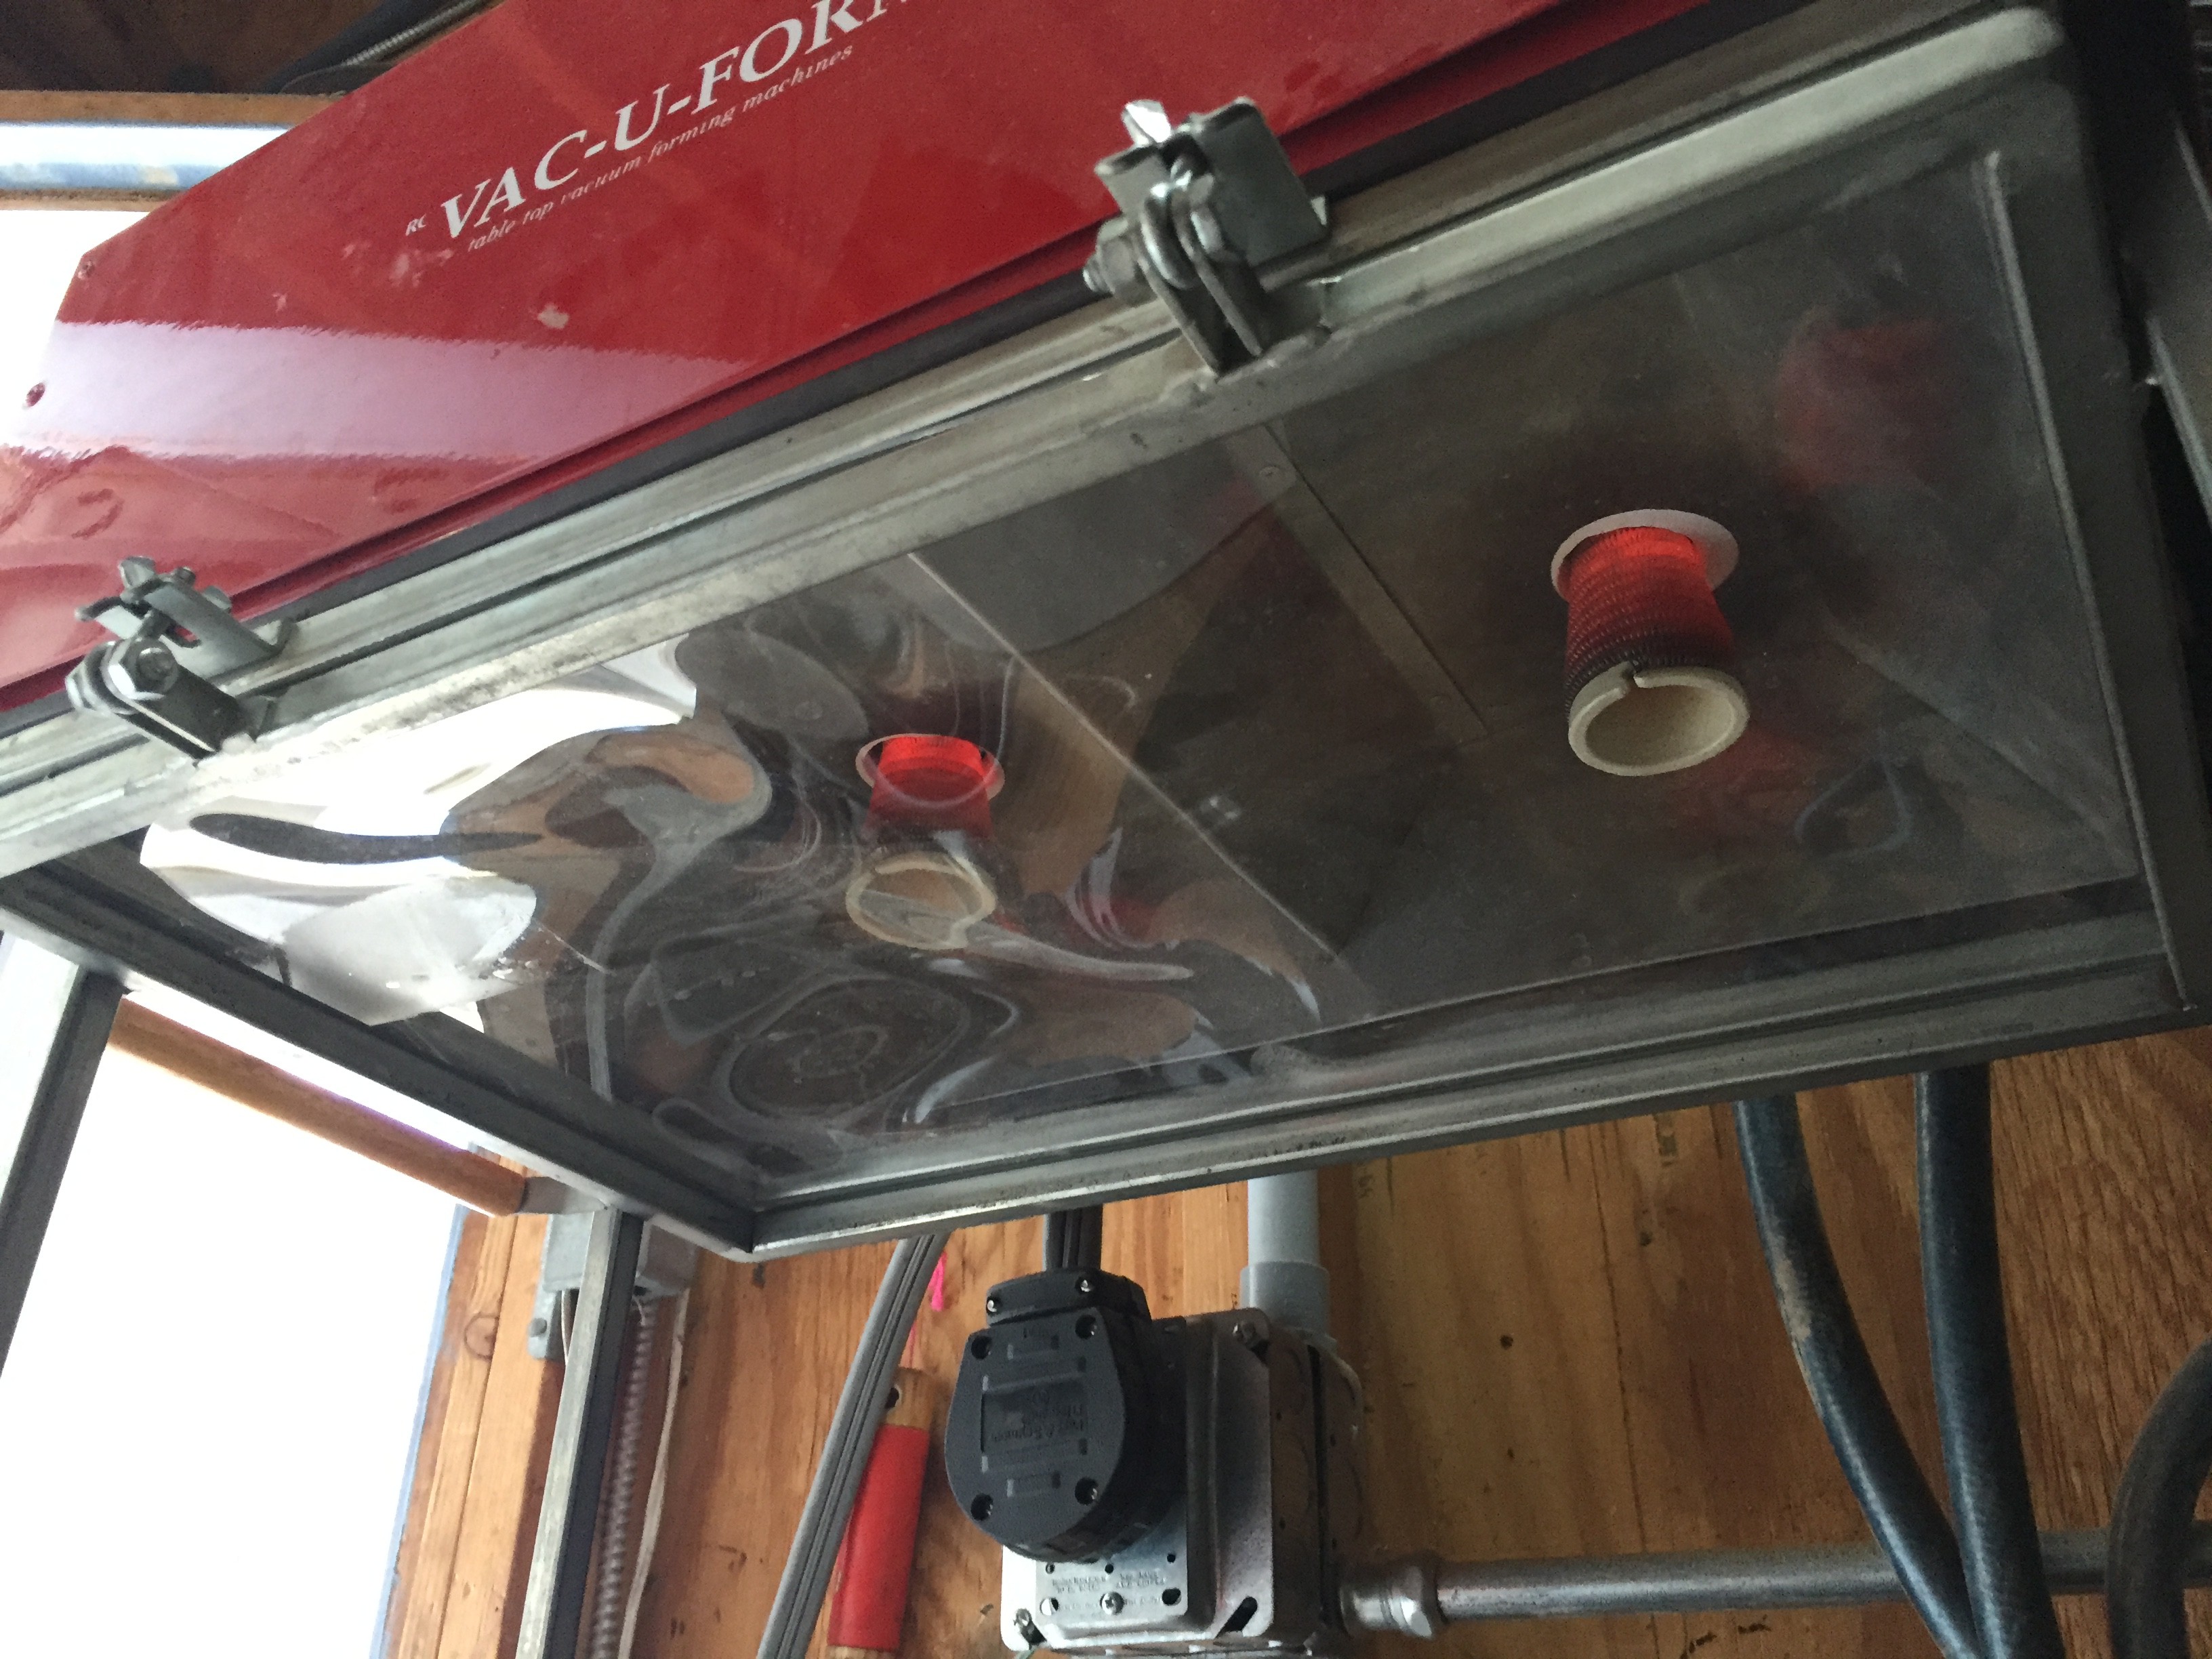
Then when it's ready to pull, you switch on the vacuum and drop the plastic down over your positives, creating a thin shell replica of your positive.
![]()
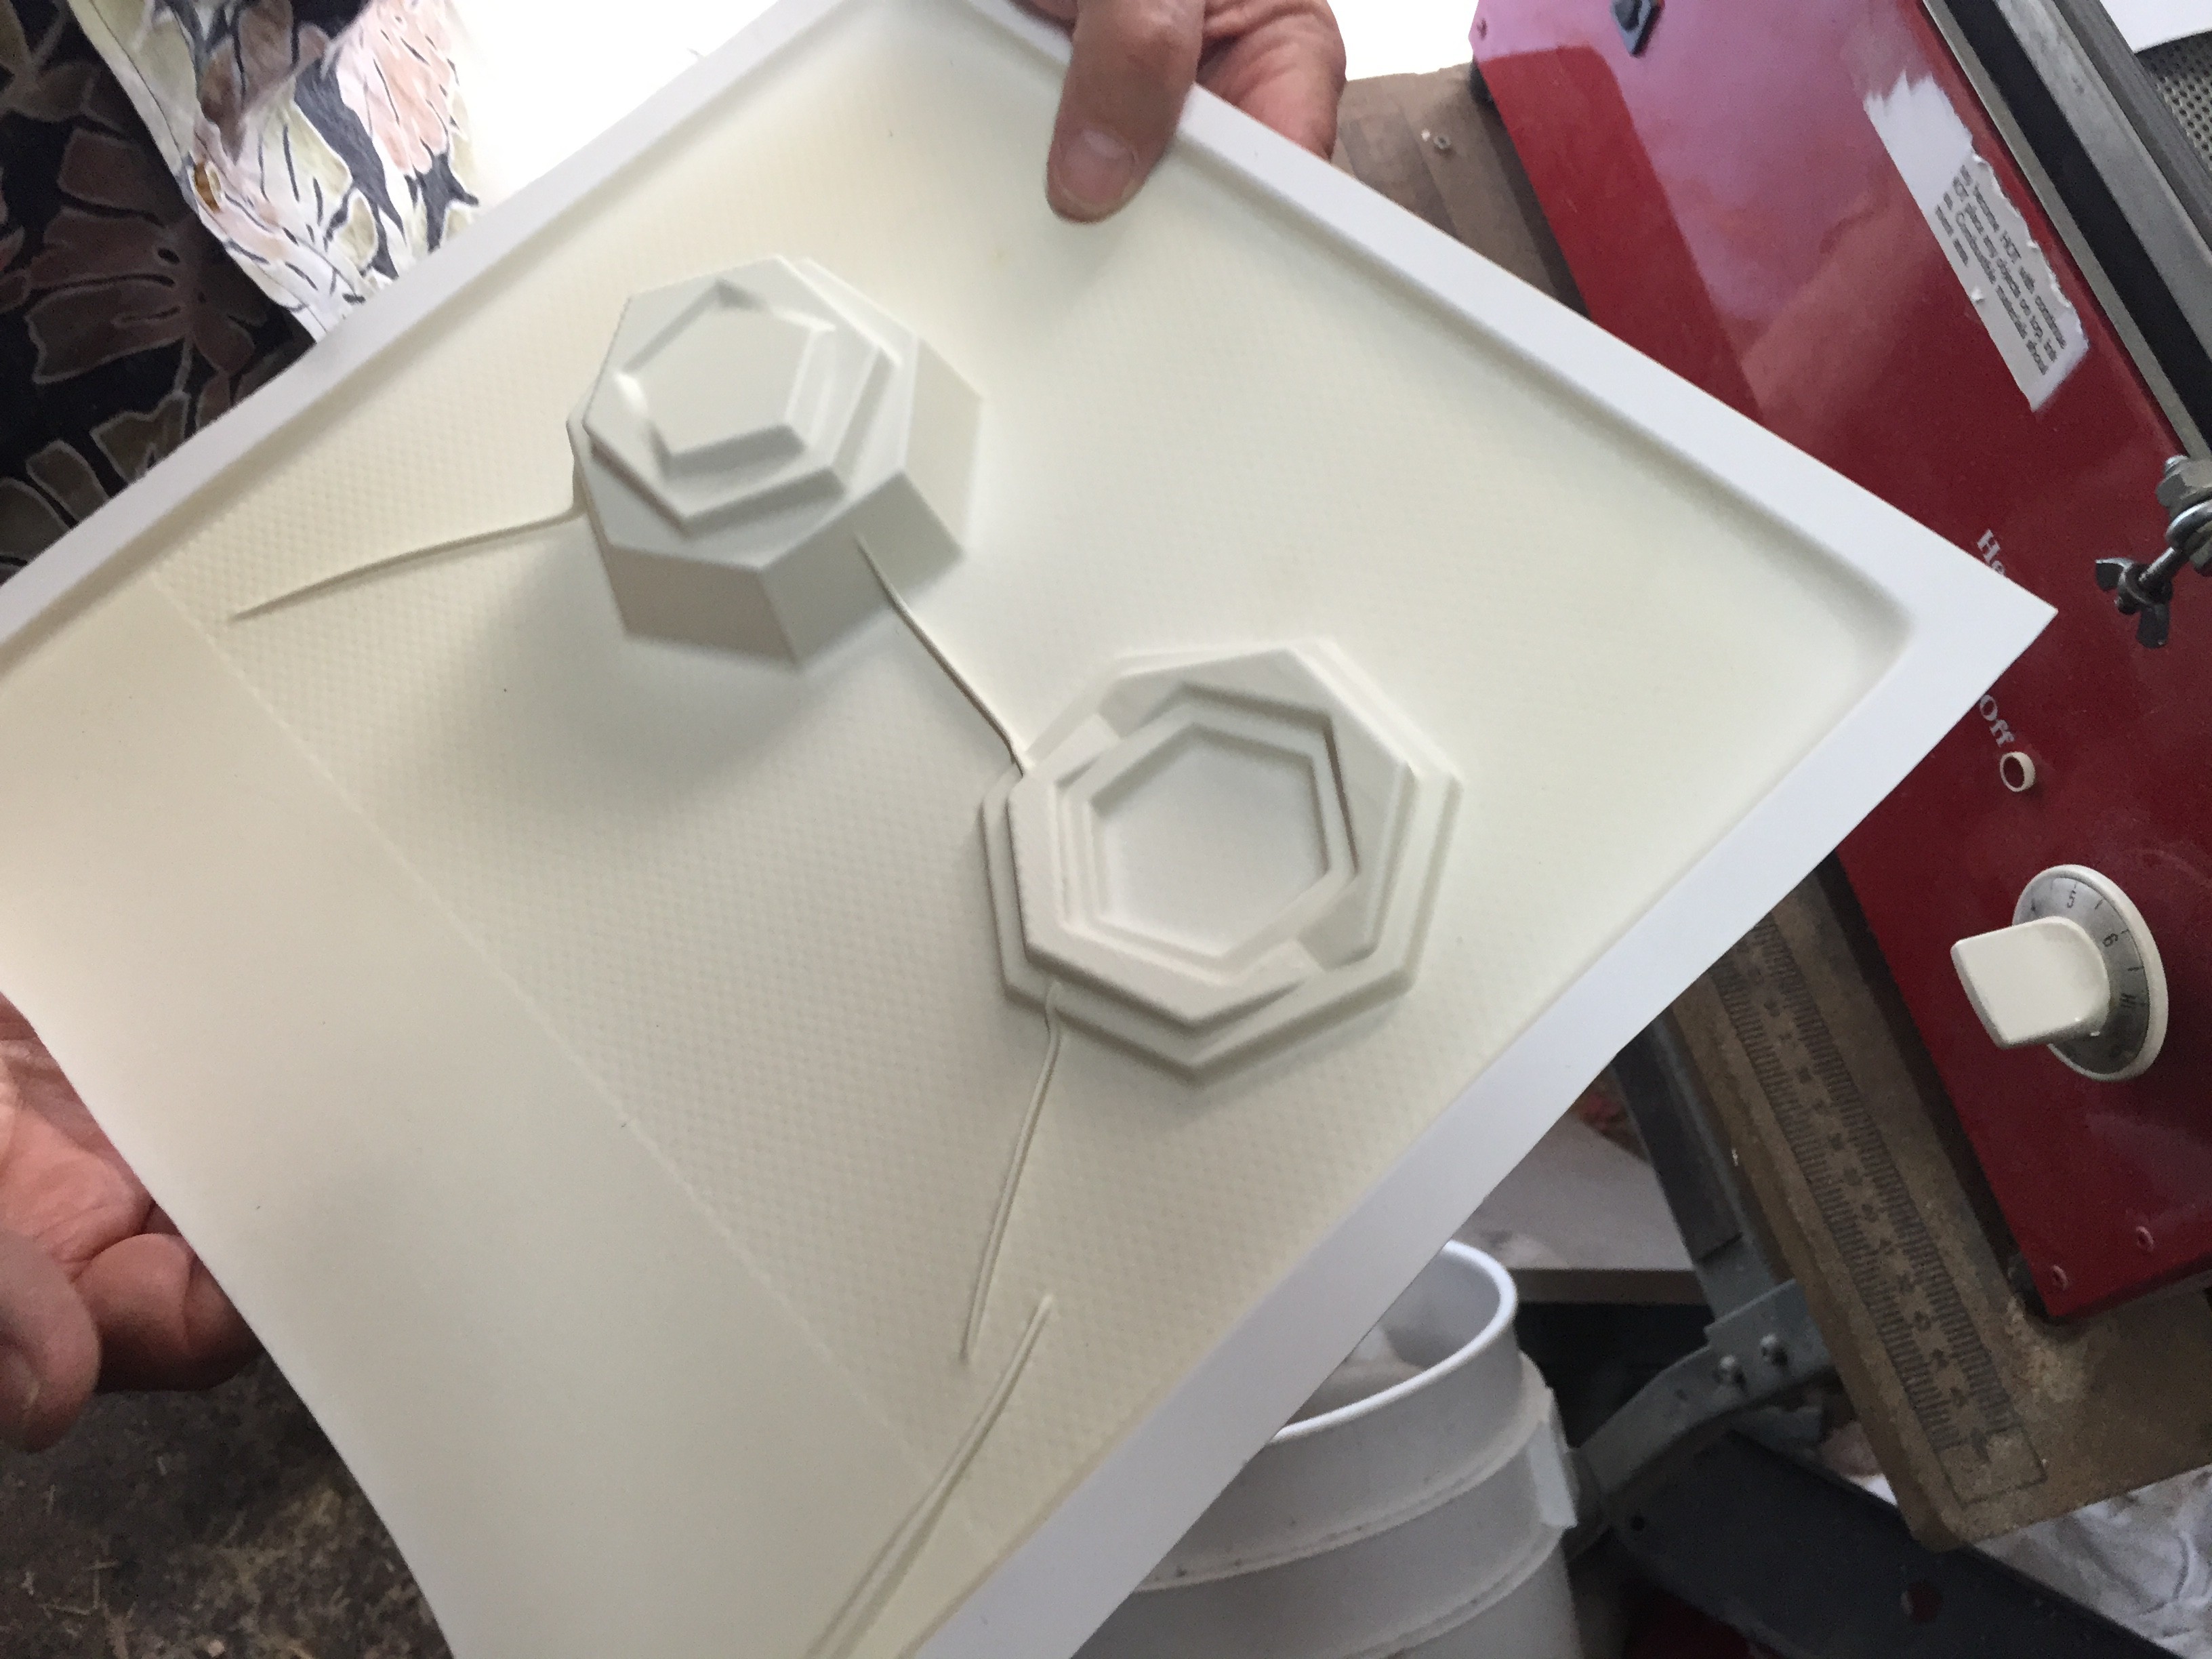
We experimented with a variety of materials, and had to be careful to not overheat the plastic to the point of melting completely. The PLA printed positives were also warped a bit by the heat, so we'll definitely go for MDF for the final full sized positive. Even though each pull had its quirks, it was nice to get a sense of any issues so I can go back and revise the designs. Things should move pretty fast when we head into production.
![]()
![]()
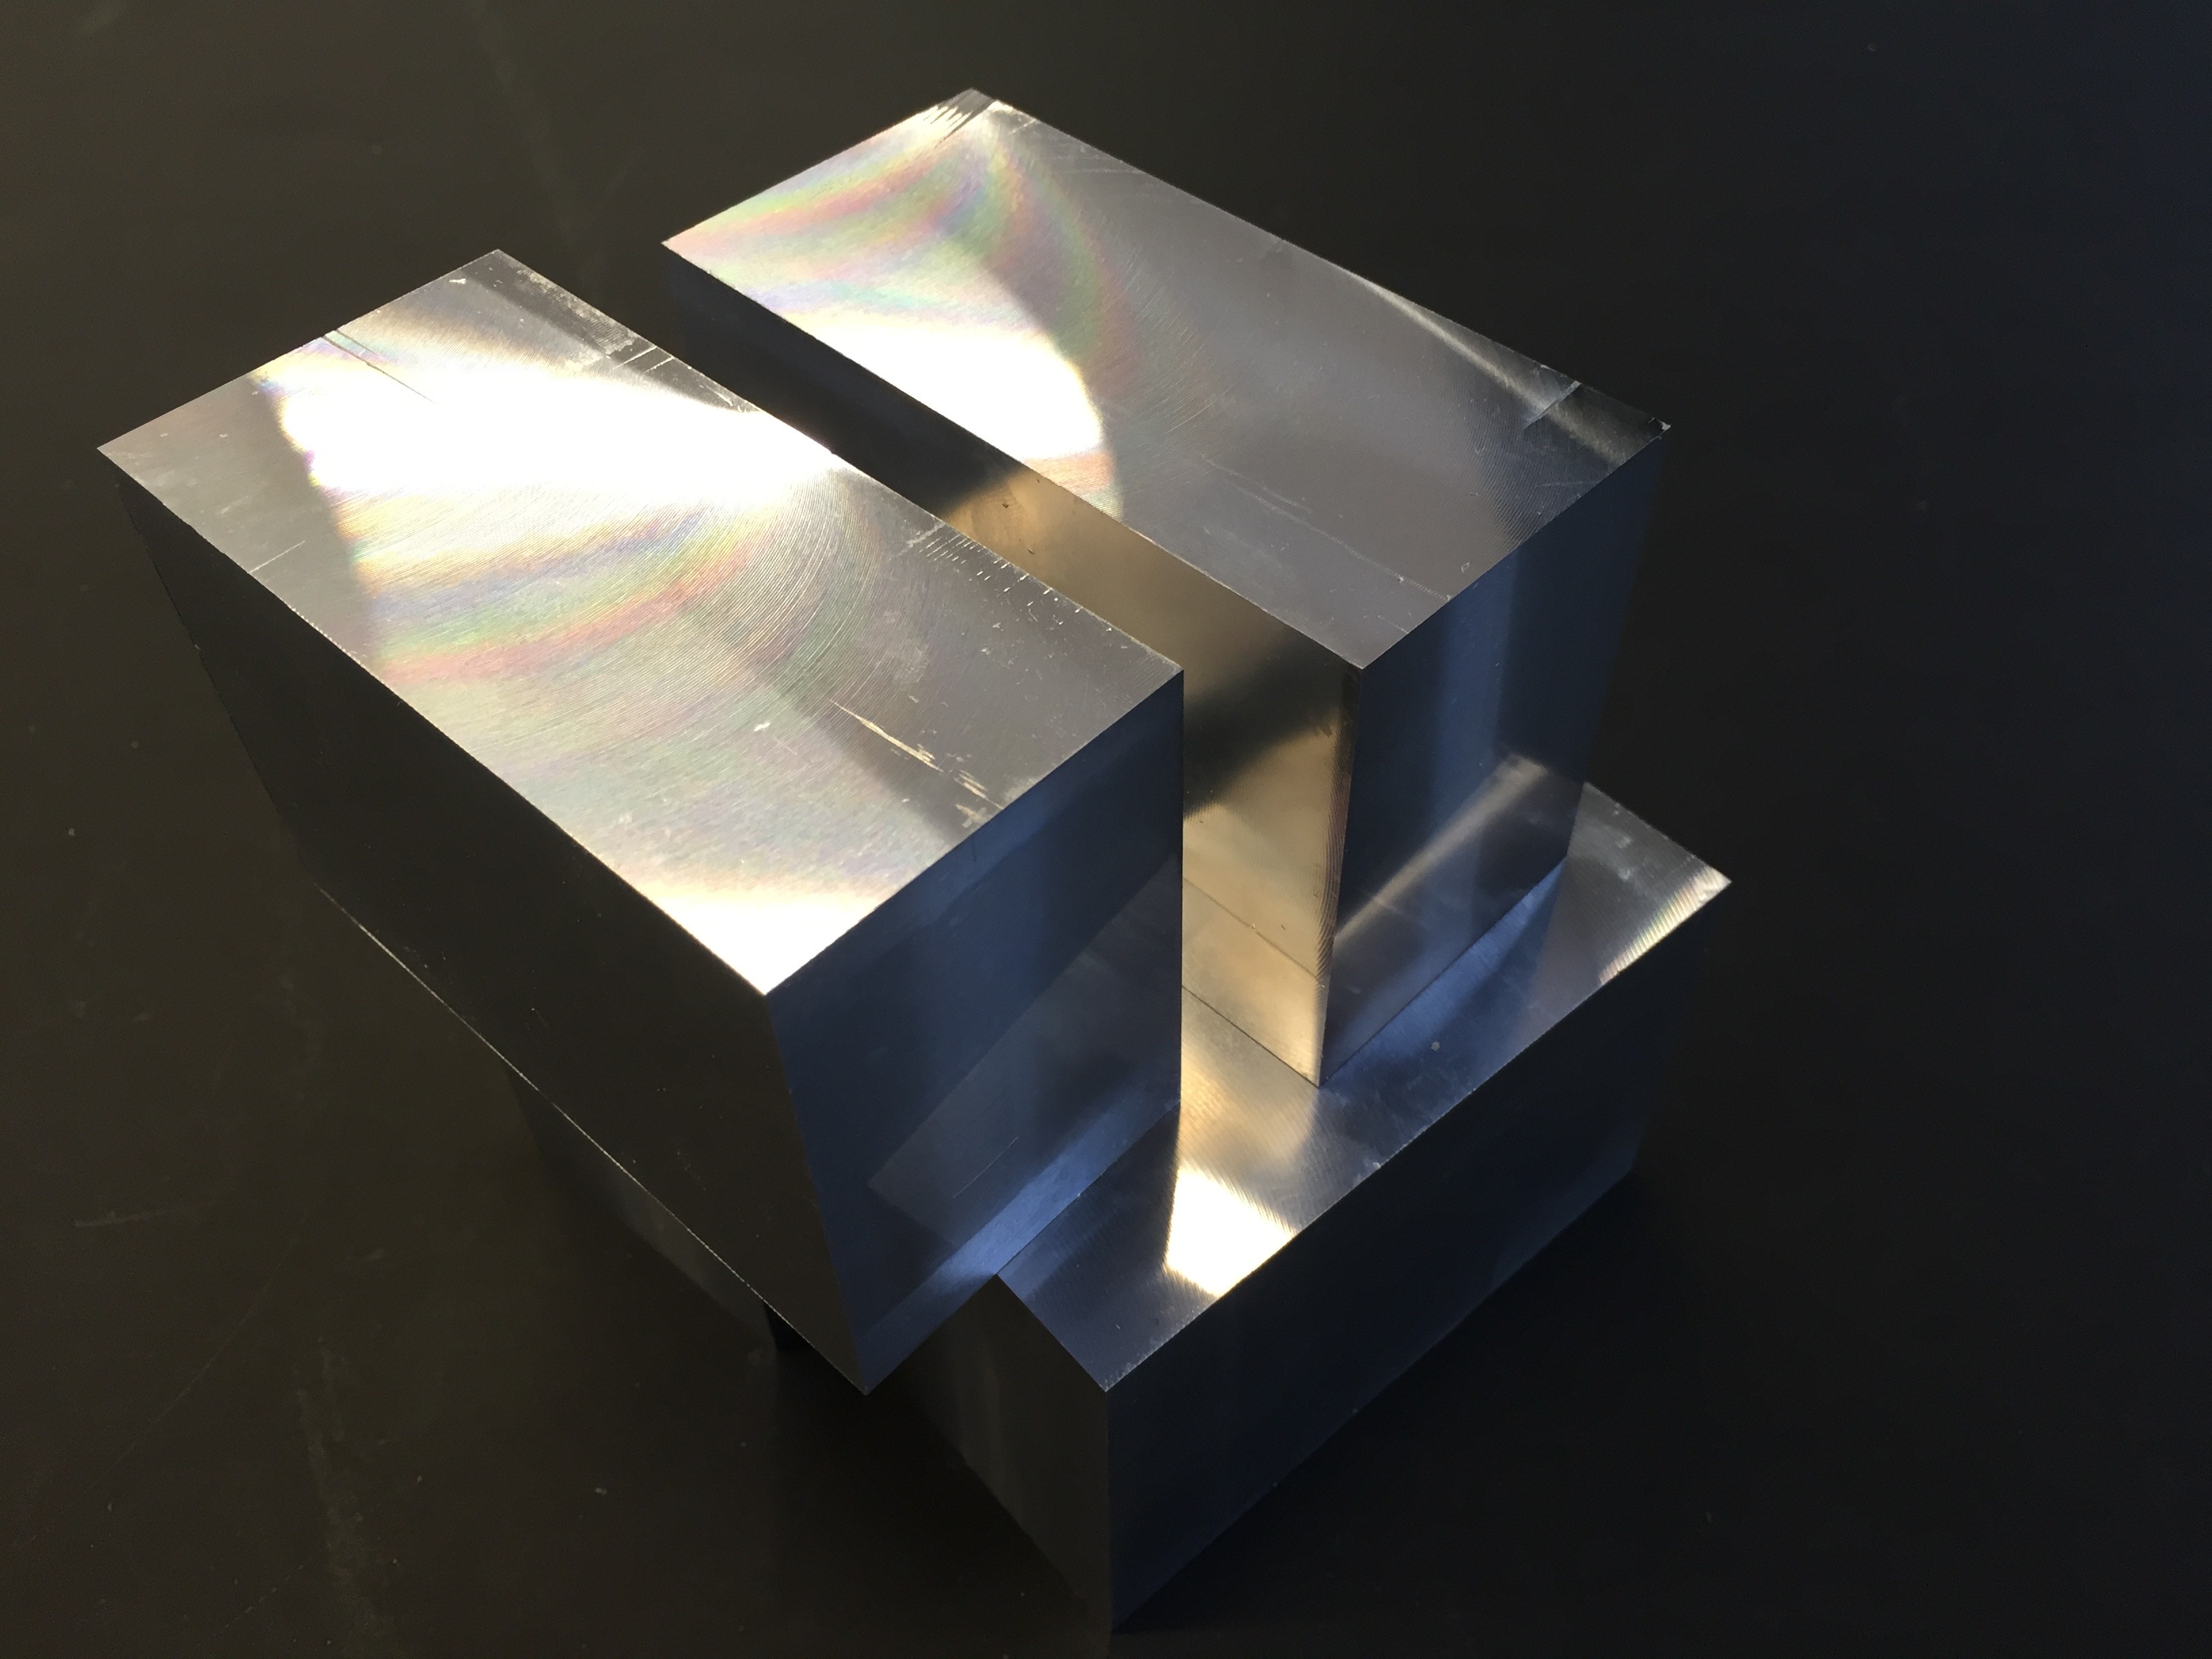
I also took a moment to layout the now finished bearing block against the previously fabricated yoke. The fit was perfect and that mirror finished aluminum looks sick next to the surface rusted steel pipe.
![]()
The DesignLab's Resident Engineer Dan and I also worked through the set of tooling operations needed to mill the rest of the bearing blocks. There's still a couple of things to perfect, but it feels like we have a good rhythm to it now.
![]()
![]()
The big steps left are making the MDF positive, putting together the in house vacuum former, pulling the full size shells, and starting to assemble and integrate all the components into new Scopes. There's a lot to do, but we're moving at a good pace.
-
Model. Print. Suction.
08/19/2016 at 23:03 • 0 commentsThis week was mostly focused on redesigning the shells for the Scopes, and starting to put into place what we'll need to get them ready to vacuum form.
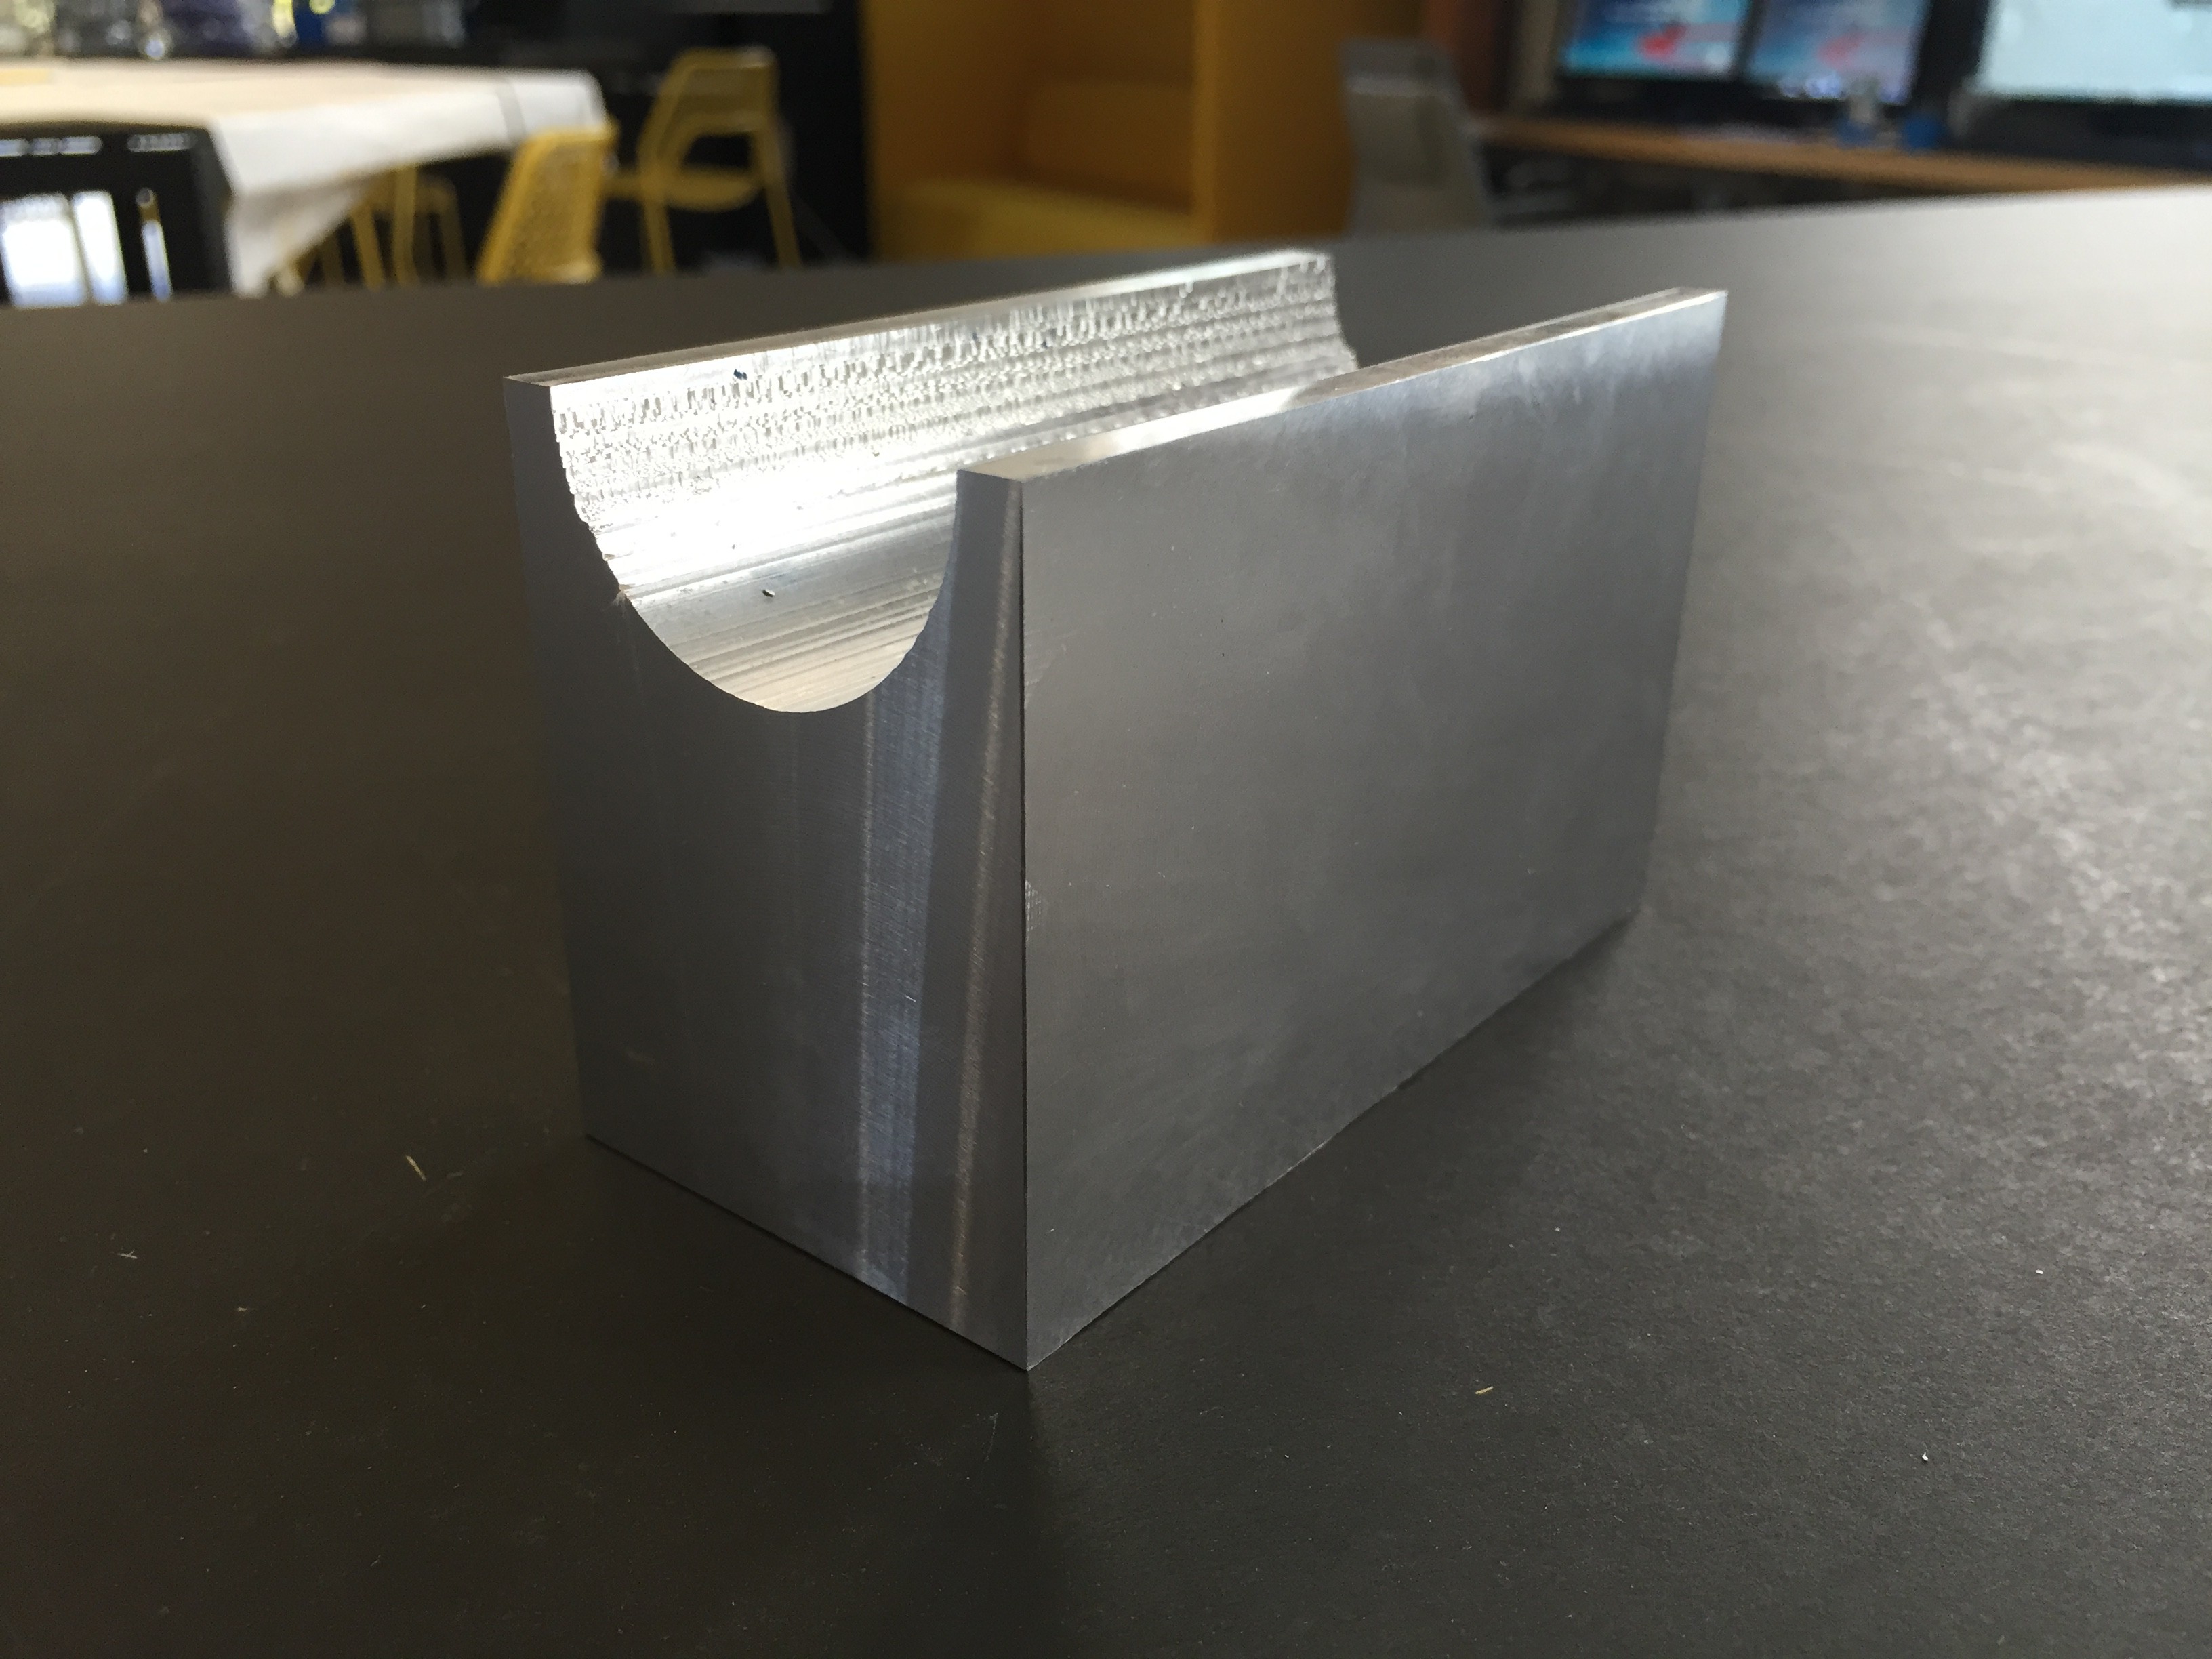
But a quick update on the bearing blocks. We got a hold of a sheer hog and were able to bore out the hole for the vertical axle.
![]()
![]()
That puts us in a place now where we can really start busting these blocks out with just a few operations on the Tormach. One block down, four more to go.
![]()
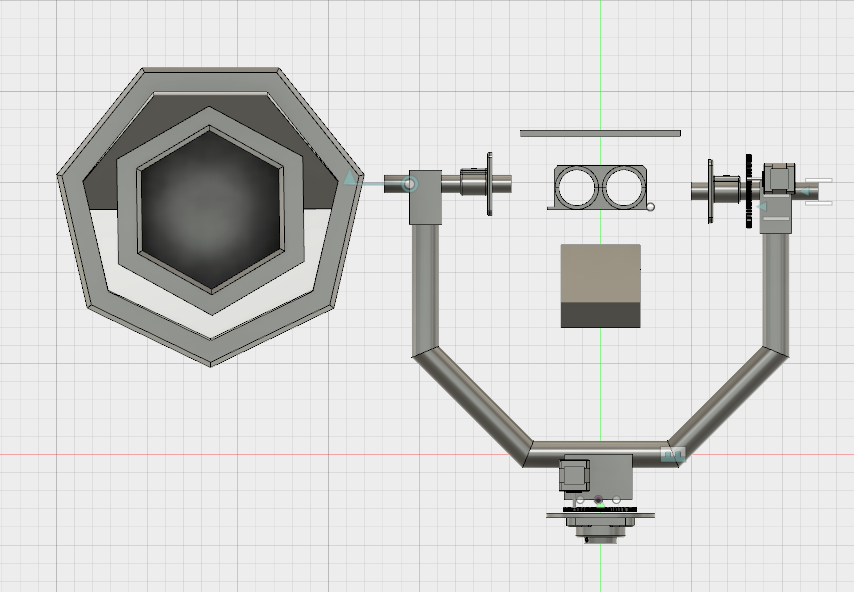
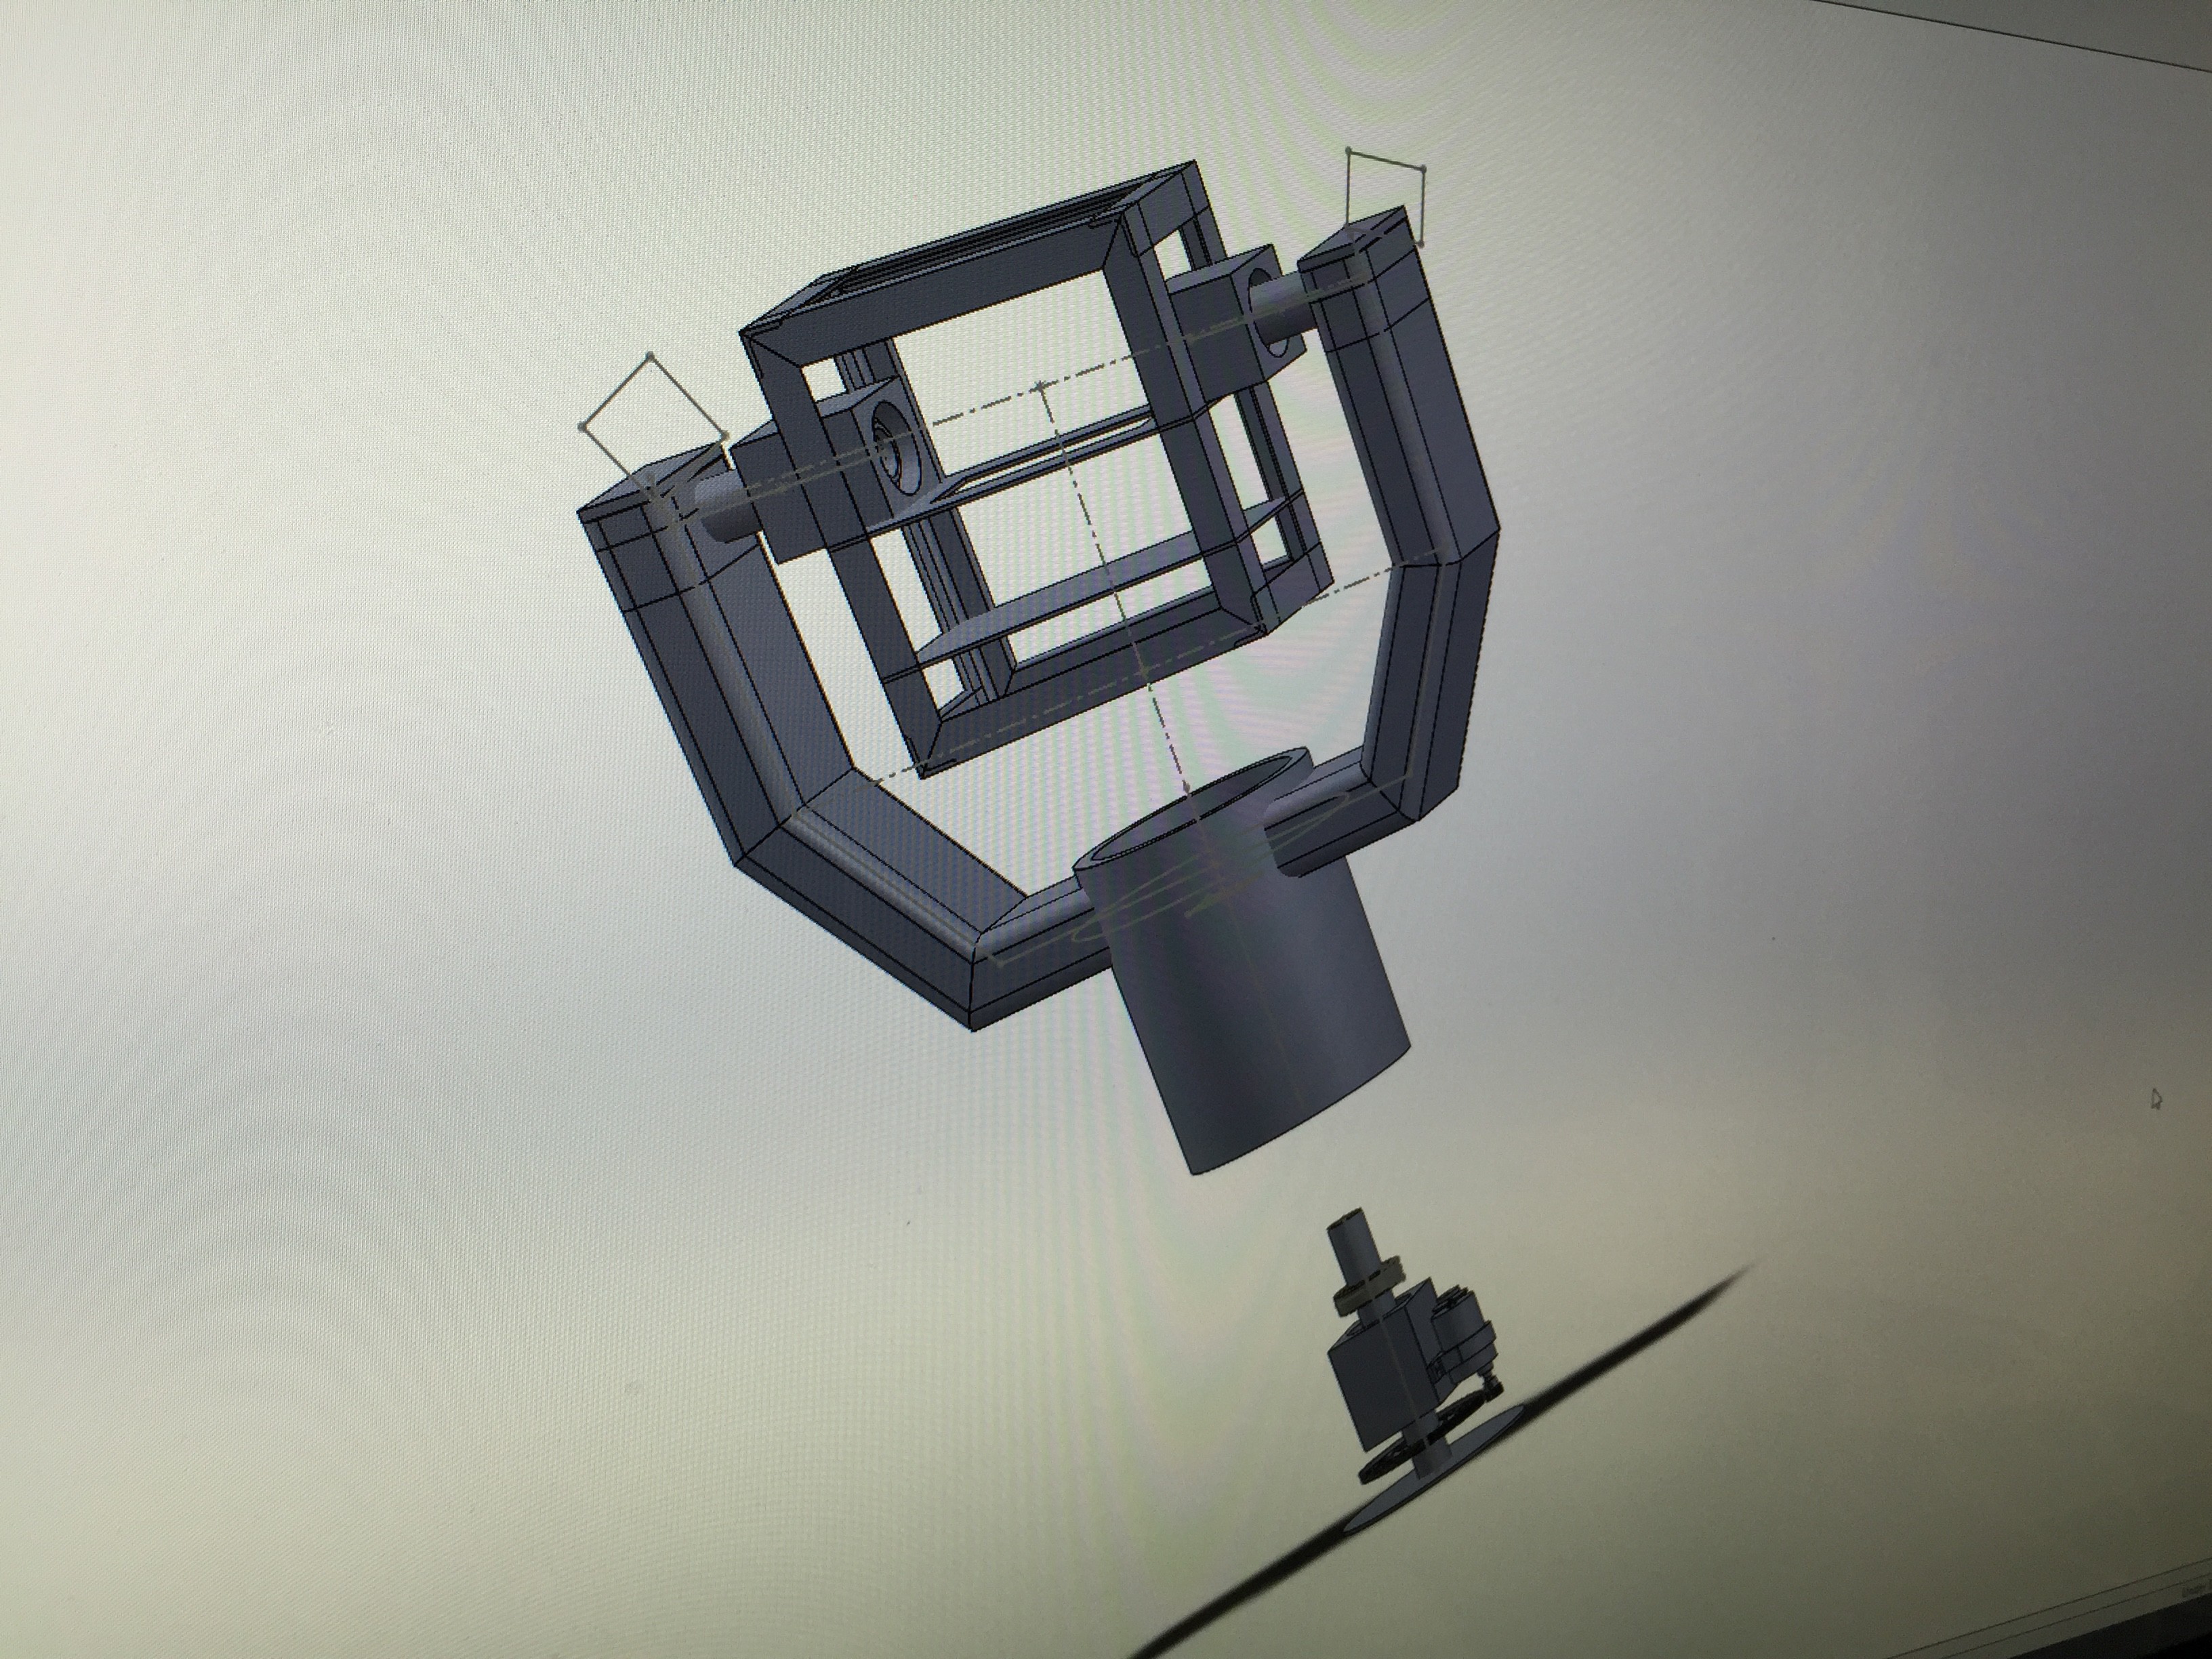
Back to the design side of things... I started off doing a rough layout of the yoke, blocks and the internal components, which helped me get a good sense of scale for how to approach this new shell design.
![]()
![]()
![]()
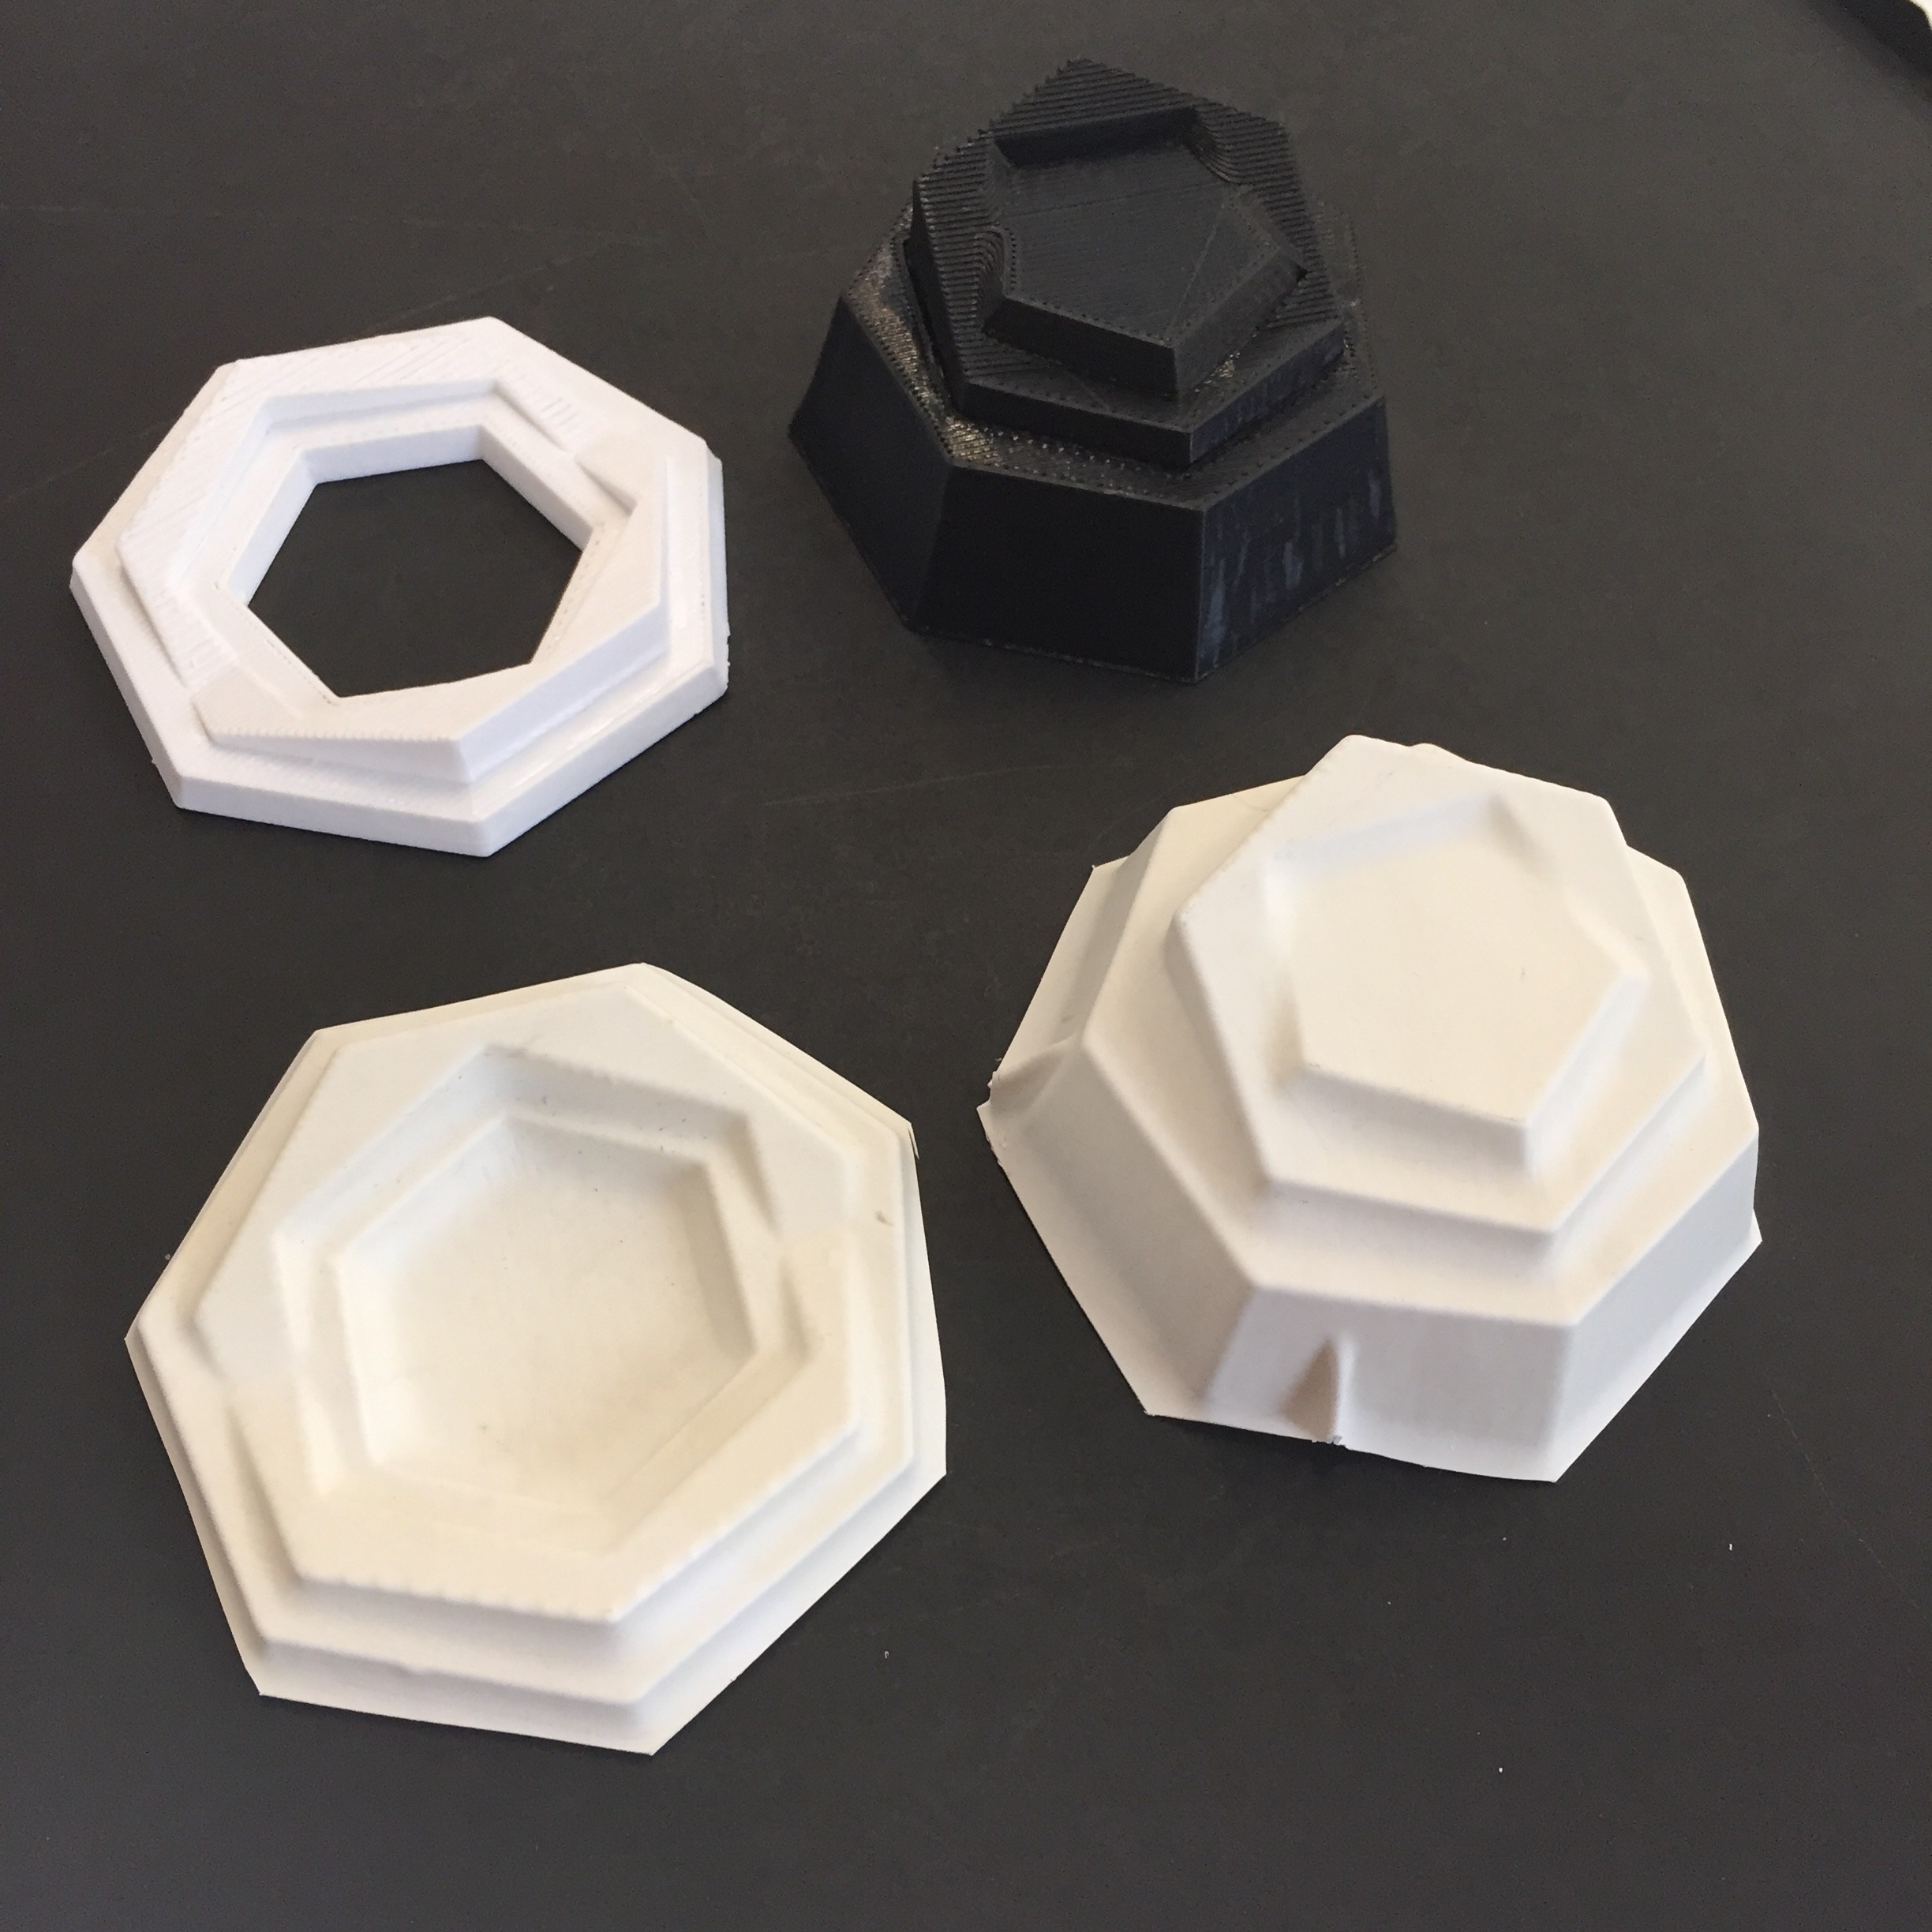
Now that I'm happy with the shape of the shell, I split the model into two sides and 3D printed some scale positives that I can use to do a pull on the small vacuum former over at Crash Space. It'll be good to follow the process from beginning to end before we make the full size positive on the ShopBot.
![]()
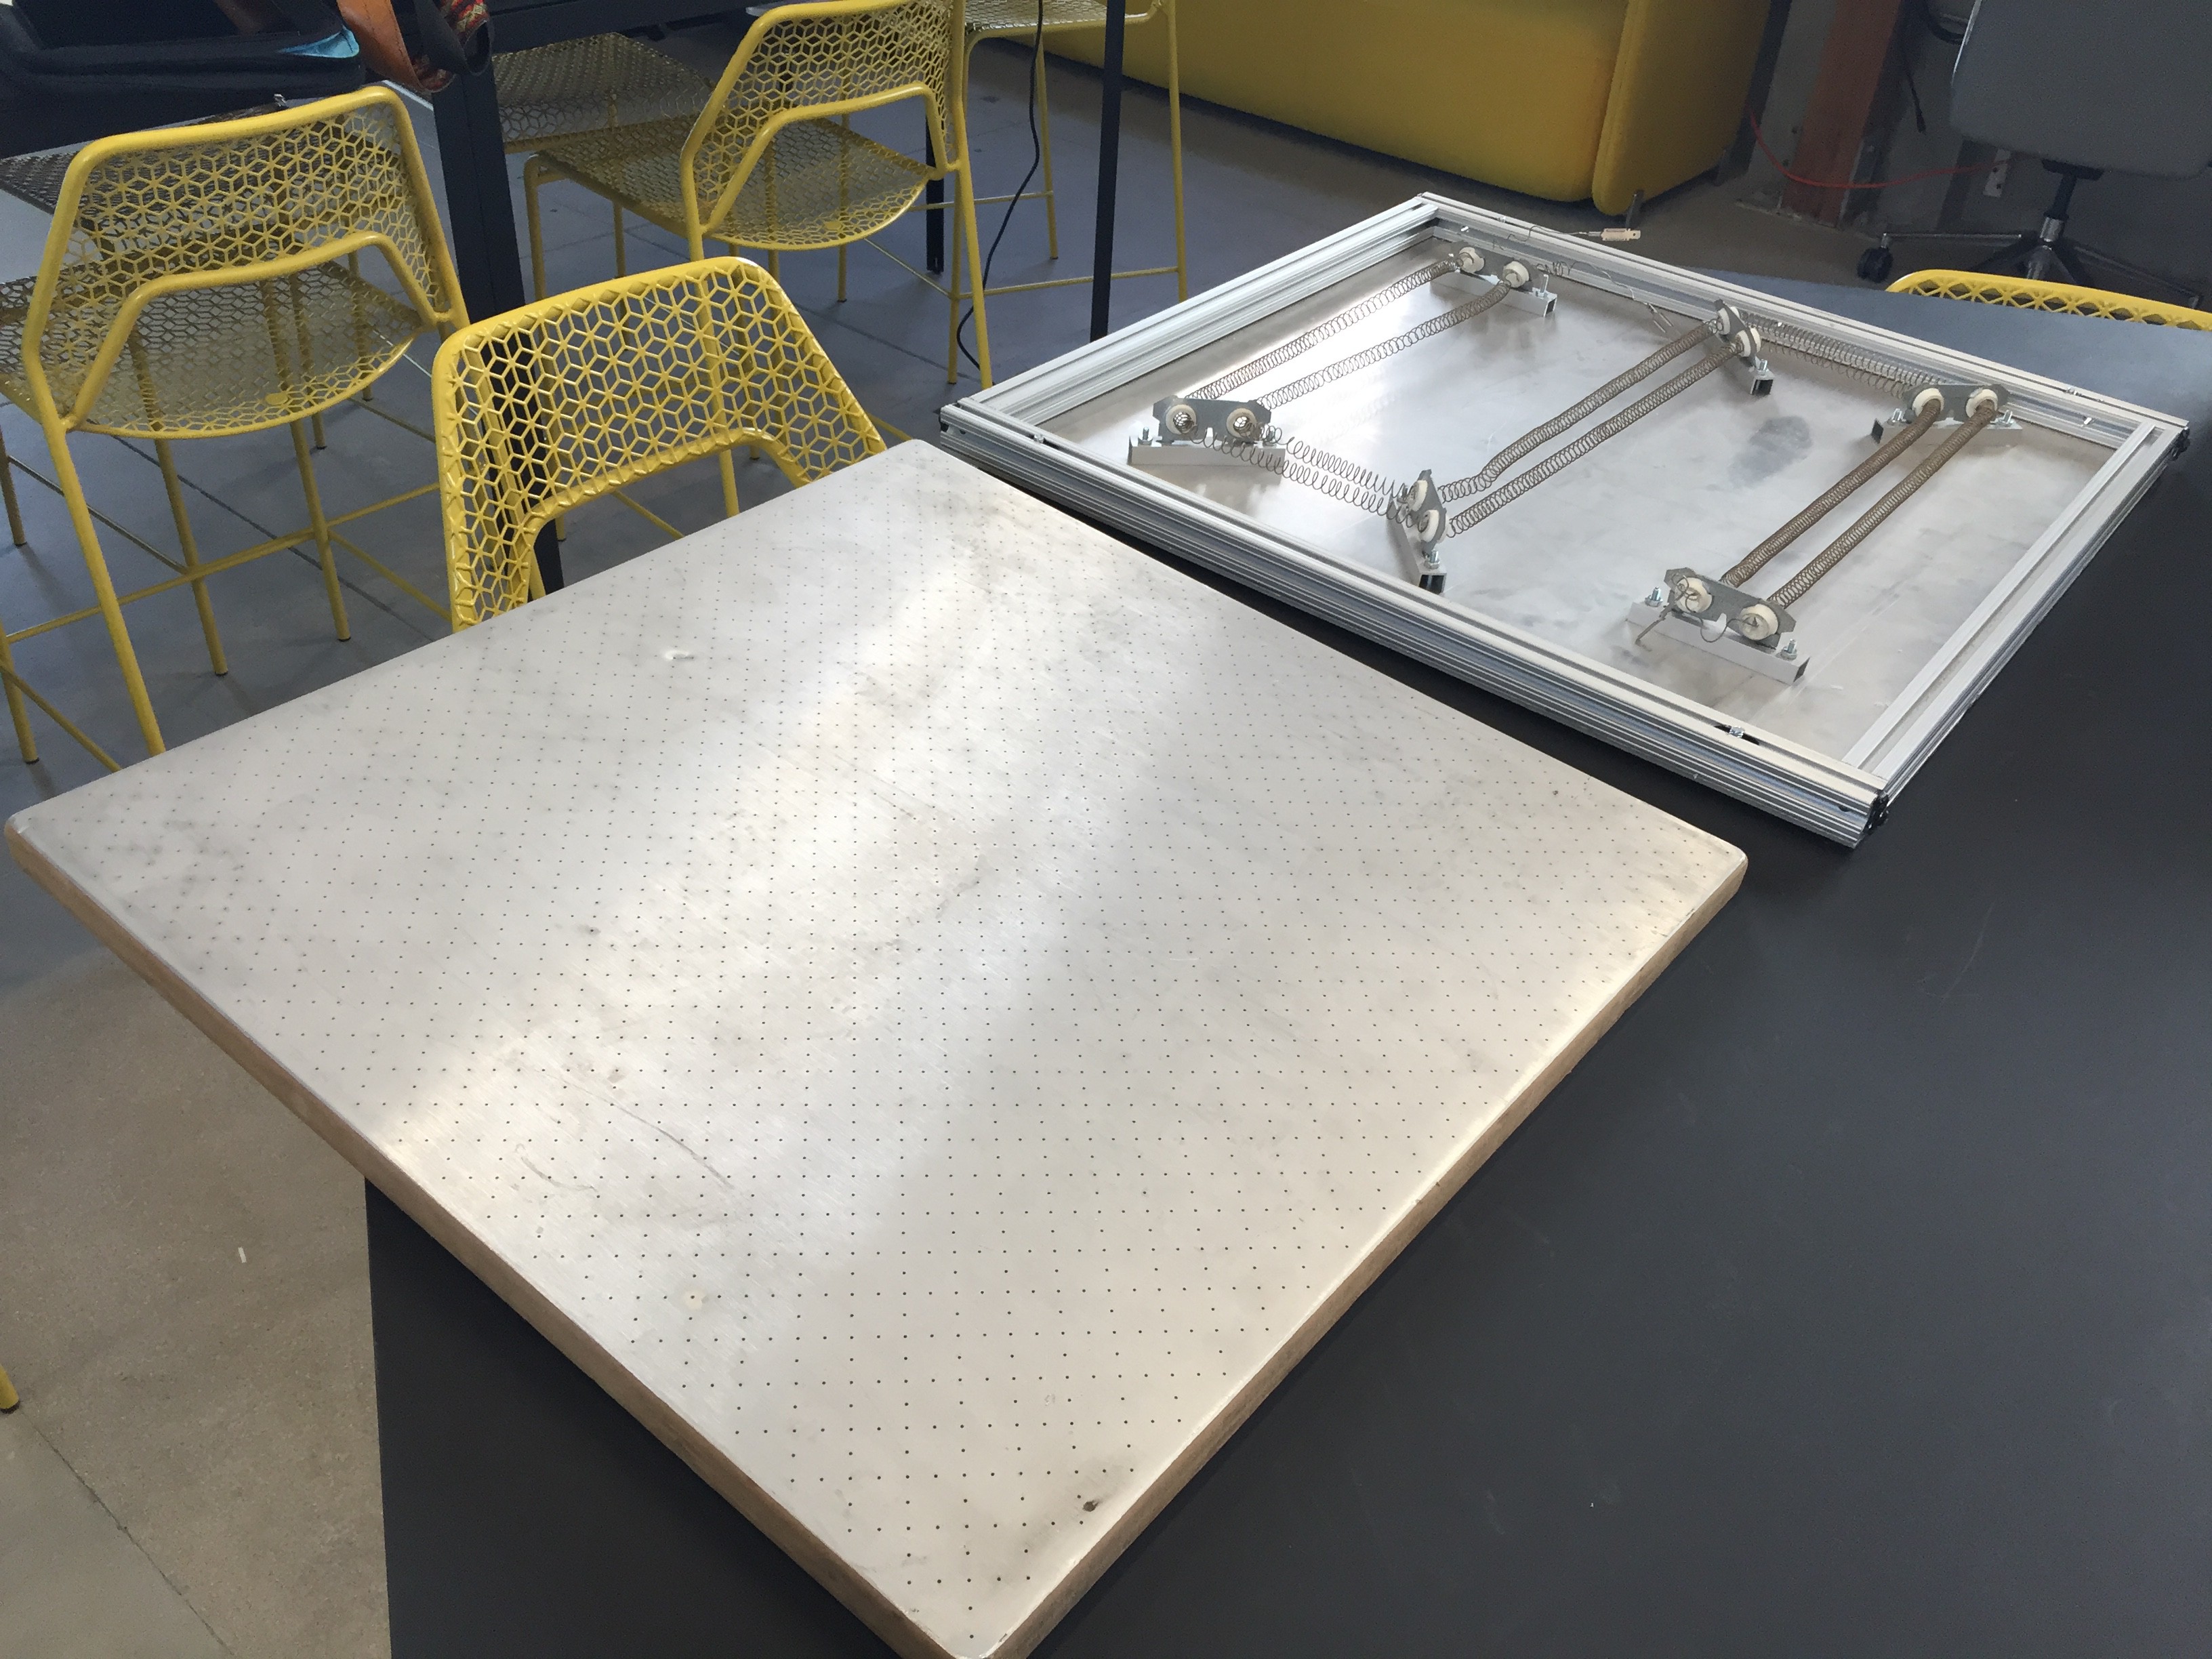
We're also going to try to build a simple vacuum former in-house. Steve had already started building one a while back that he never finished, but thankfully his heating element and vacuum bed were still kicking around Crash.
![]()
We should be able to fabricate the stand that holds the bed and heater fairly quickly on the ShopBot. Luckily there's lots of awesome open source DIY versions for inspiration. Since the bed is 24"x24" that should be more than enough room to fabricate as many Perceptoscope shells as we'll need.
-
Machining and Designing
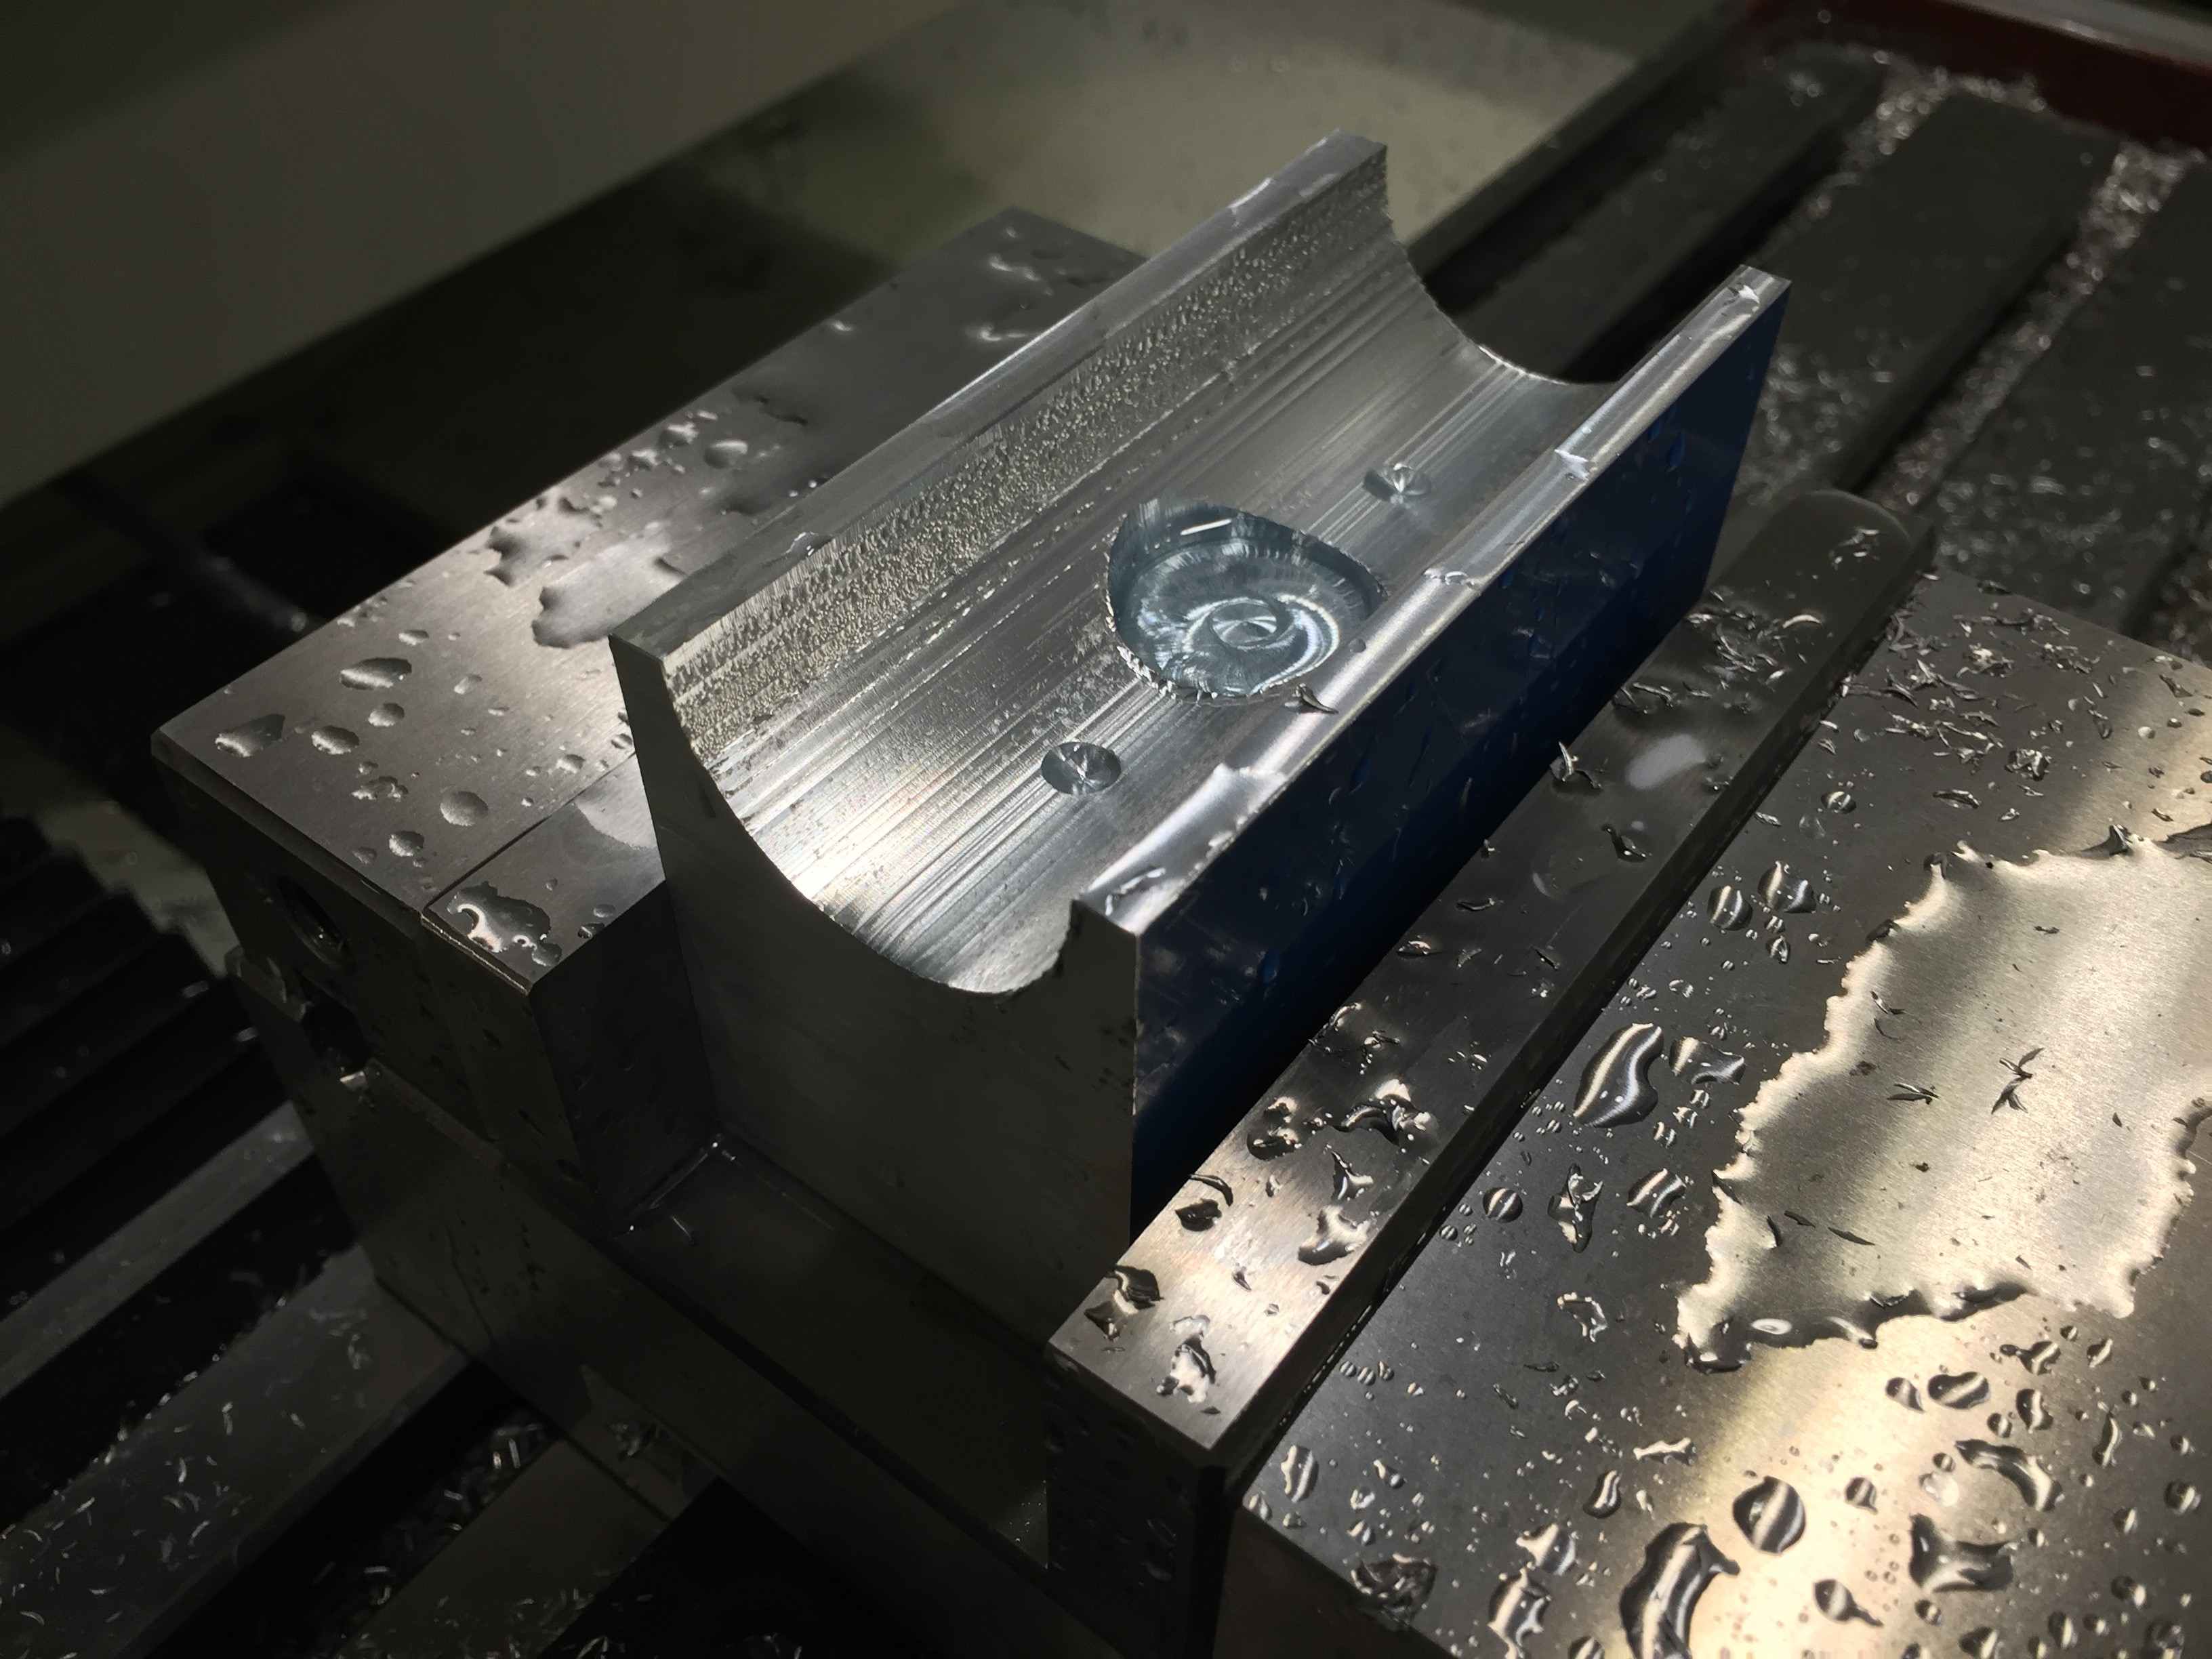
08/14/2016 at 23:10 • 0 commentsLast week we roughed out the bearing block, but there were still a few operations left to perform to get the piece finished up and operational. We started by clearing out the inner channel using a parallel pass operation with a ball end mill to take down the roughness of the finish.
![]()
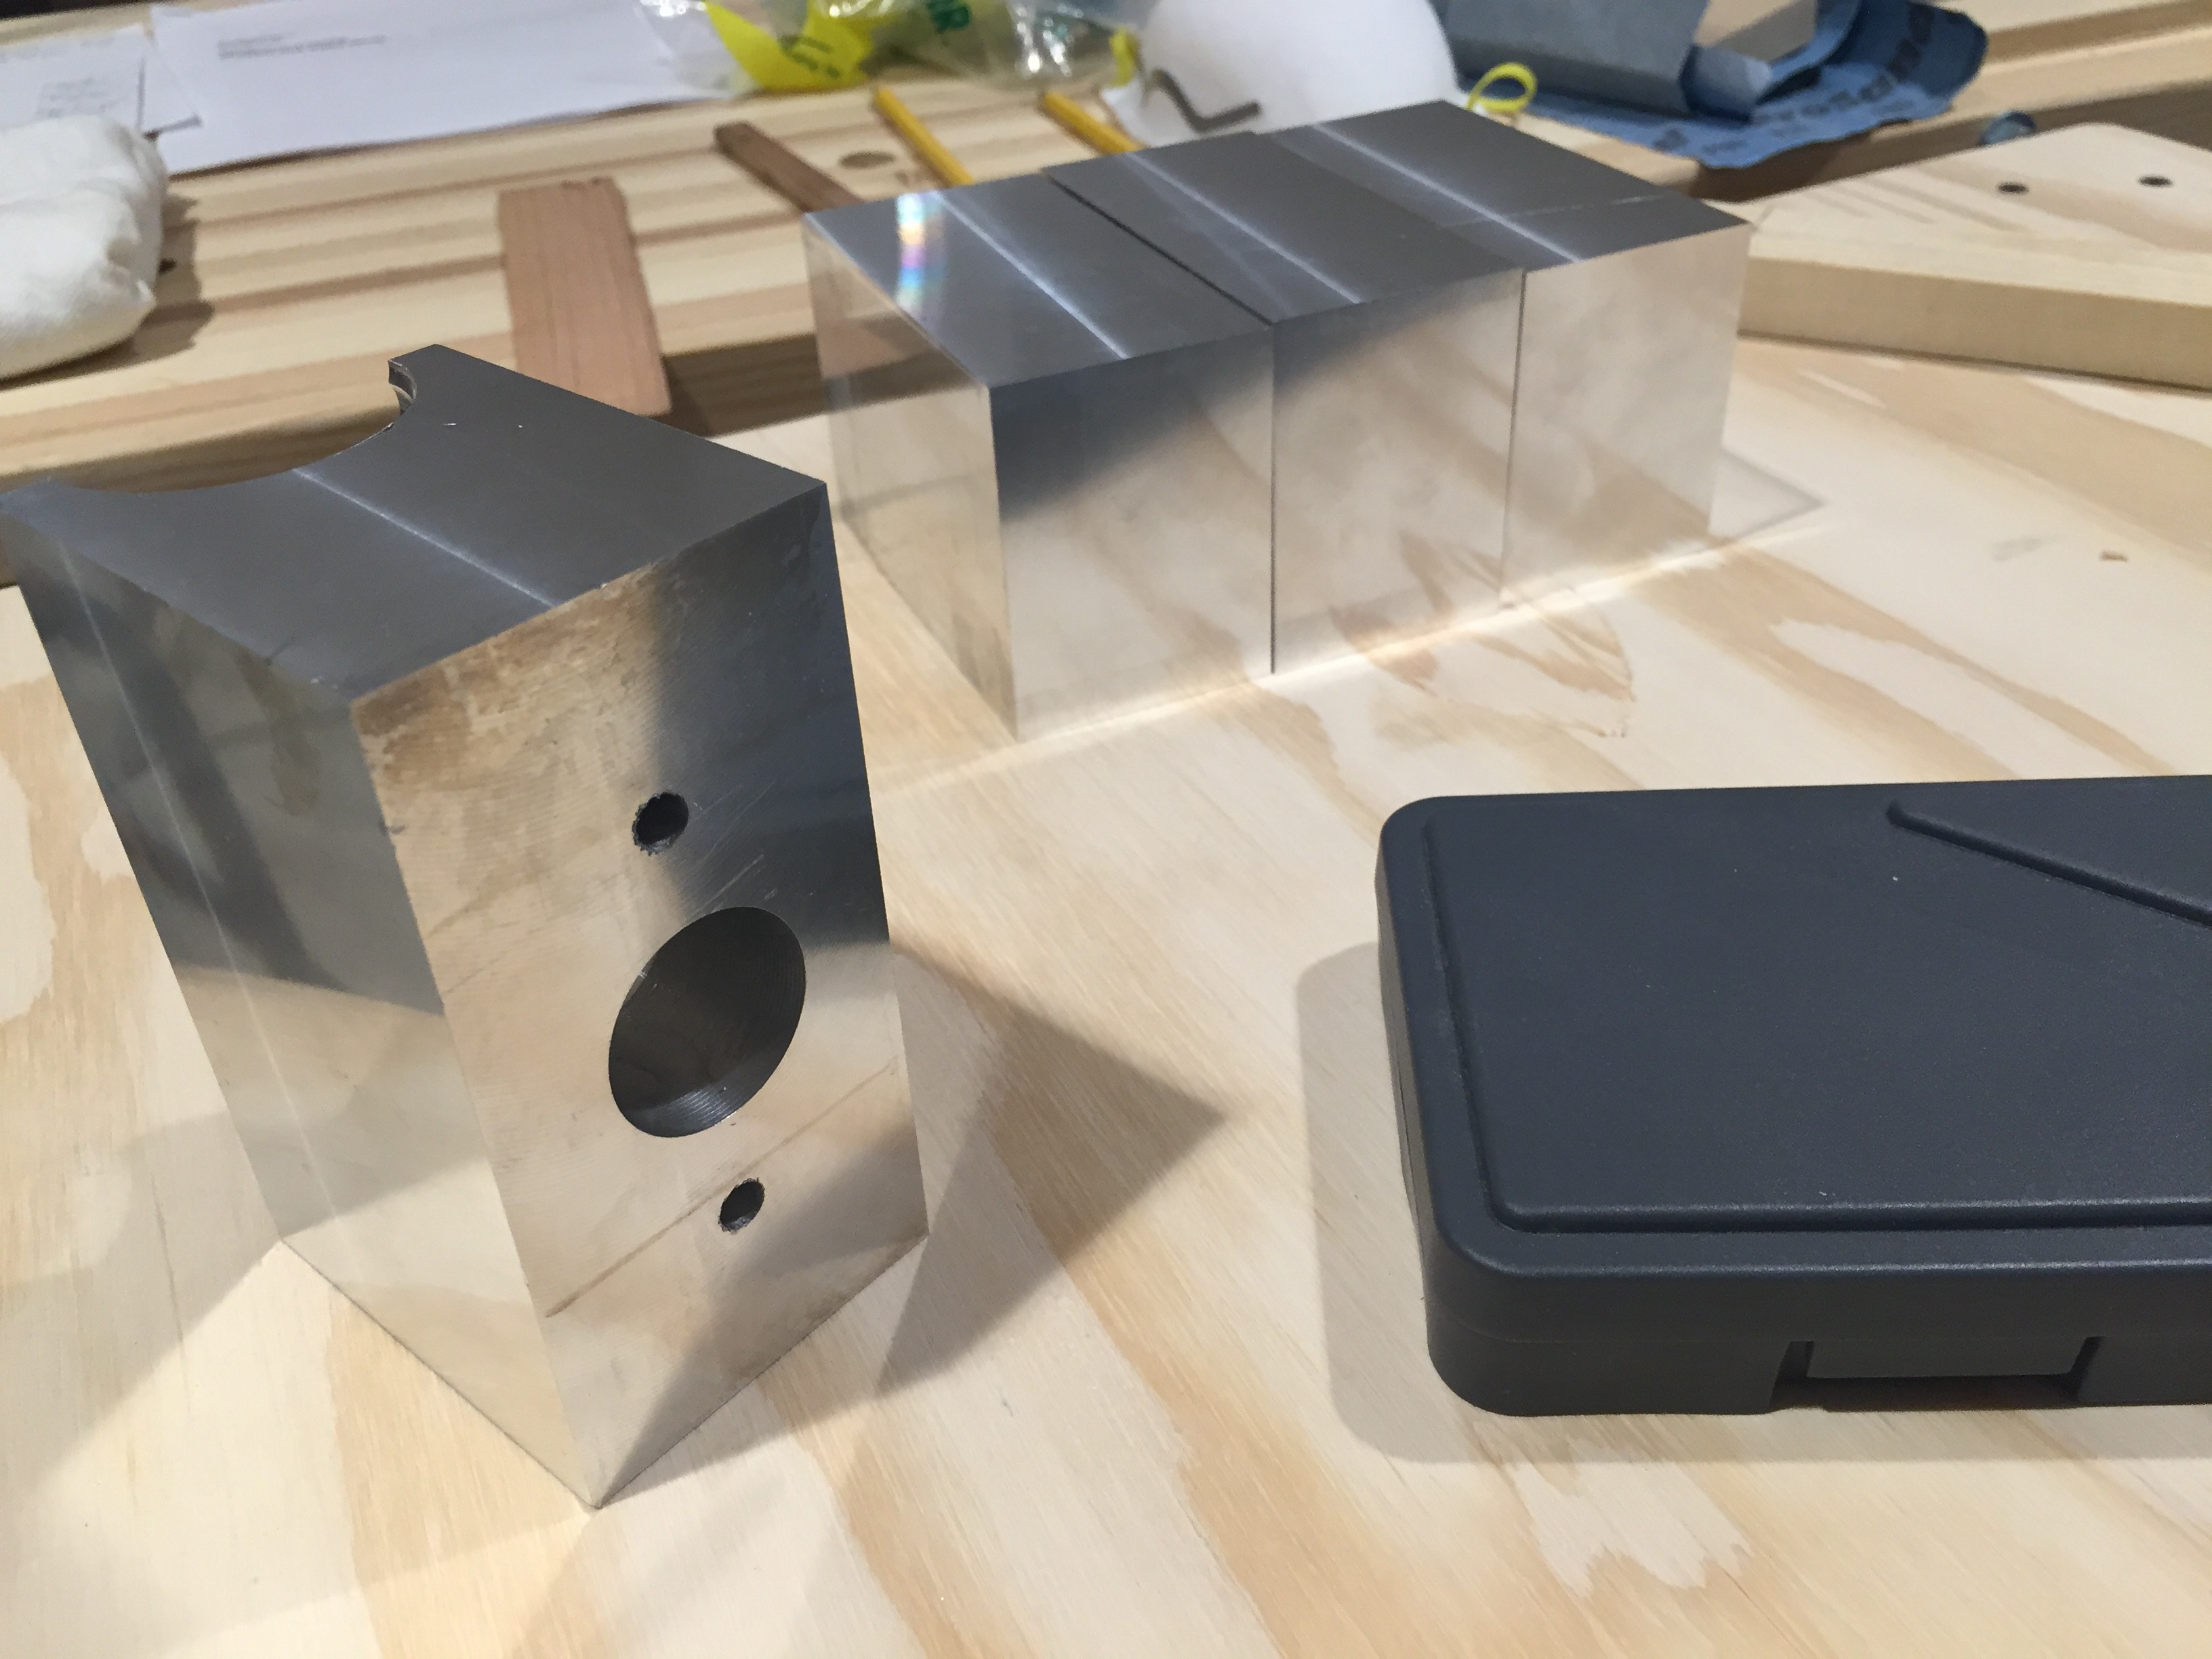
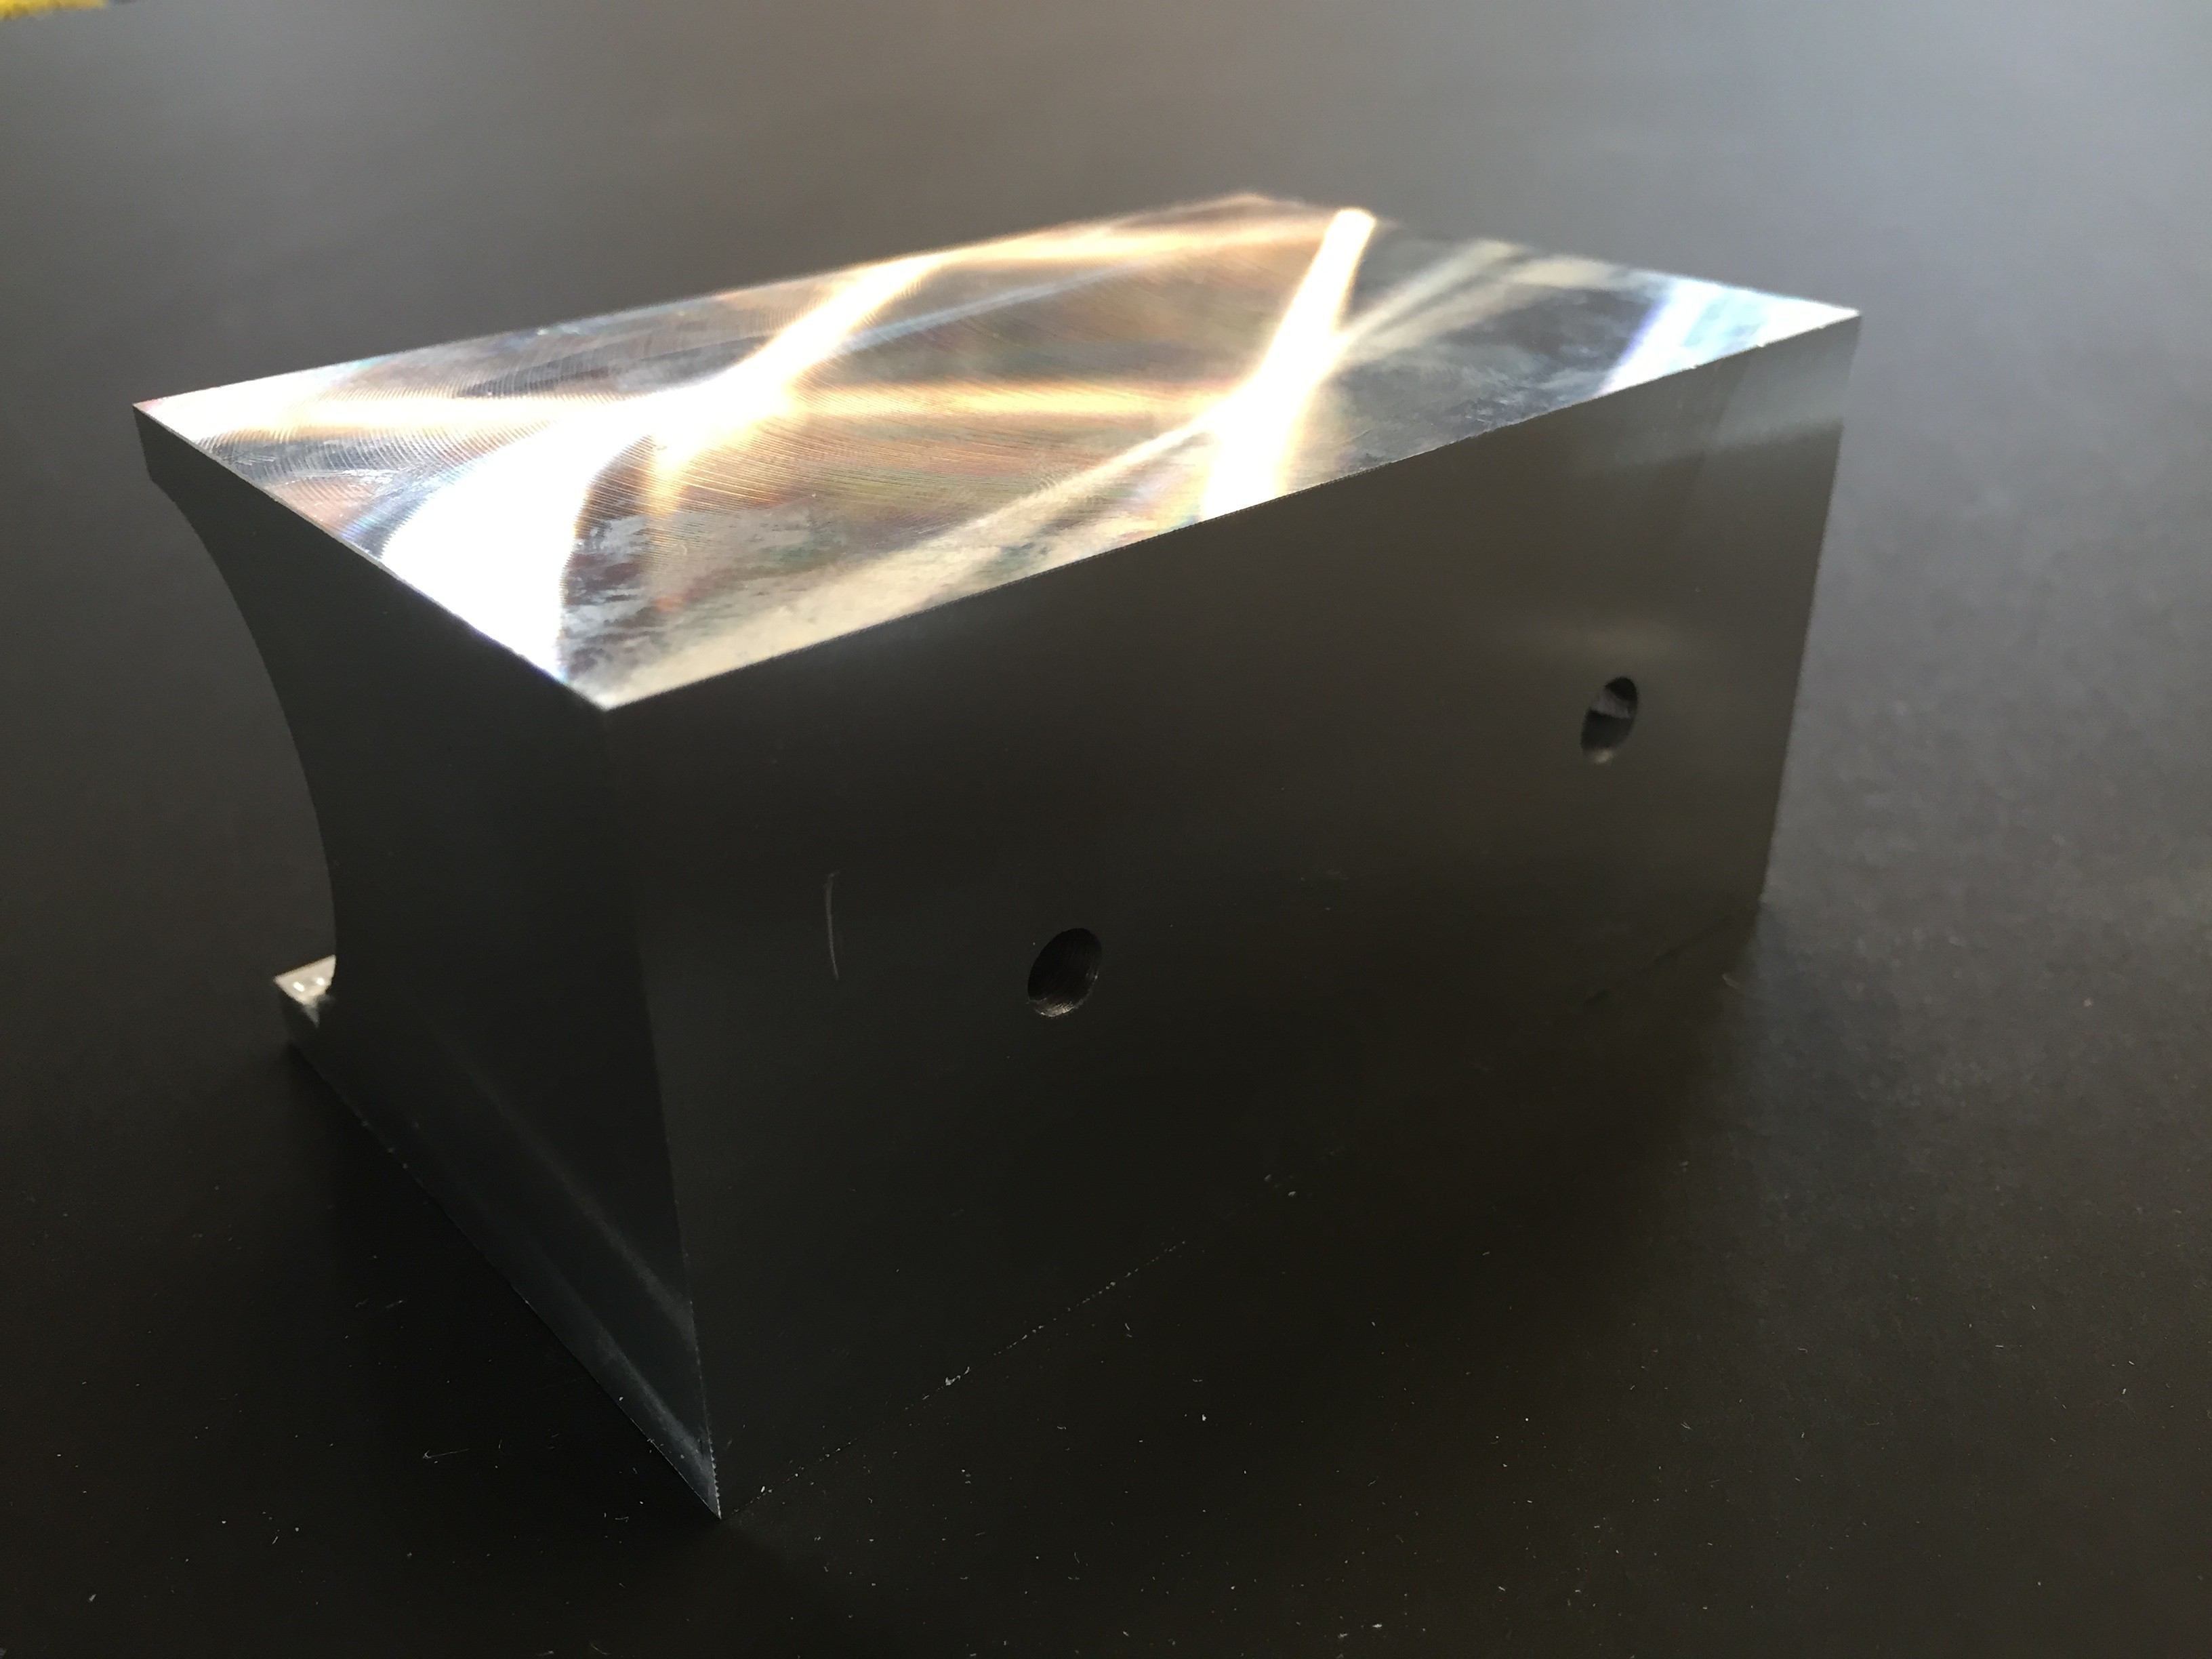
After that we used the fly-cutter to put a nicer finish on all the other faces of the block. We used a drill operation to add the mounting holes. It came out looking mighty fine.
![]()
![]()
All that's left it to bore out the center hole for the axle, but overall we've now got a good flow on machining these blocks. It should go fairly quickly from here on out.
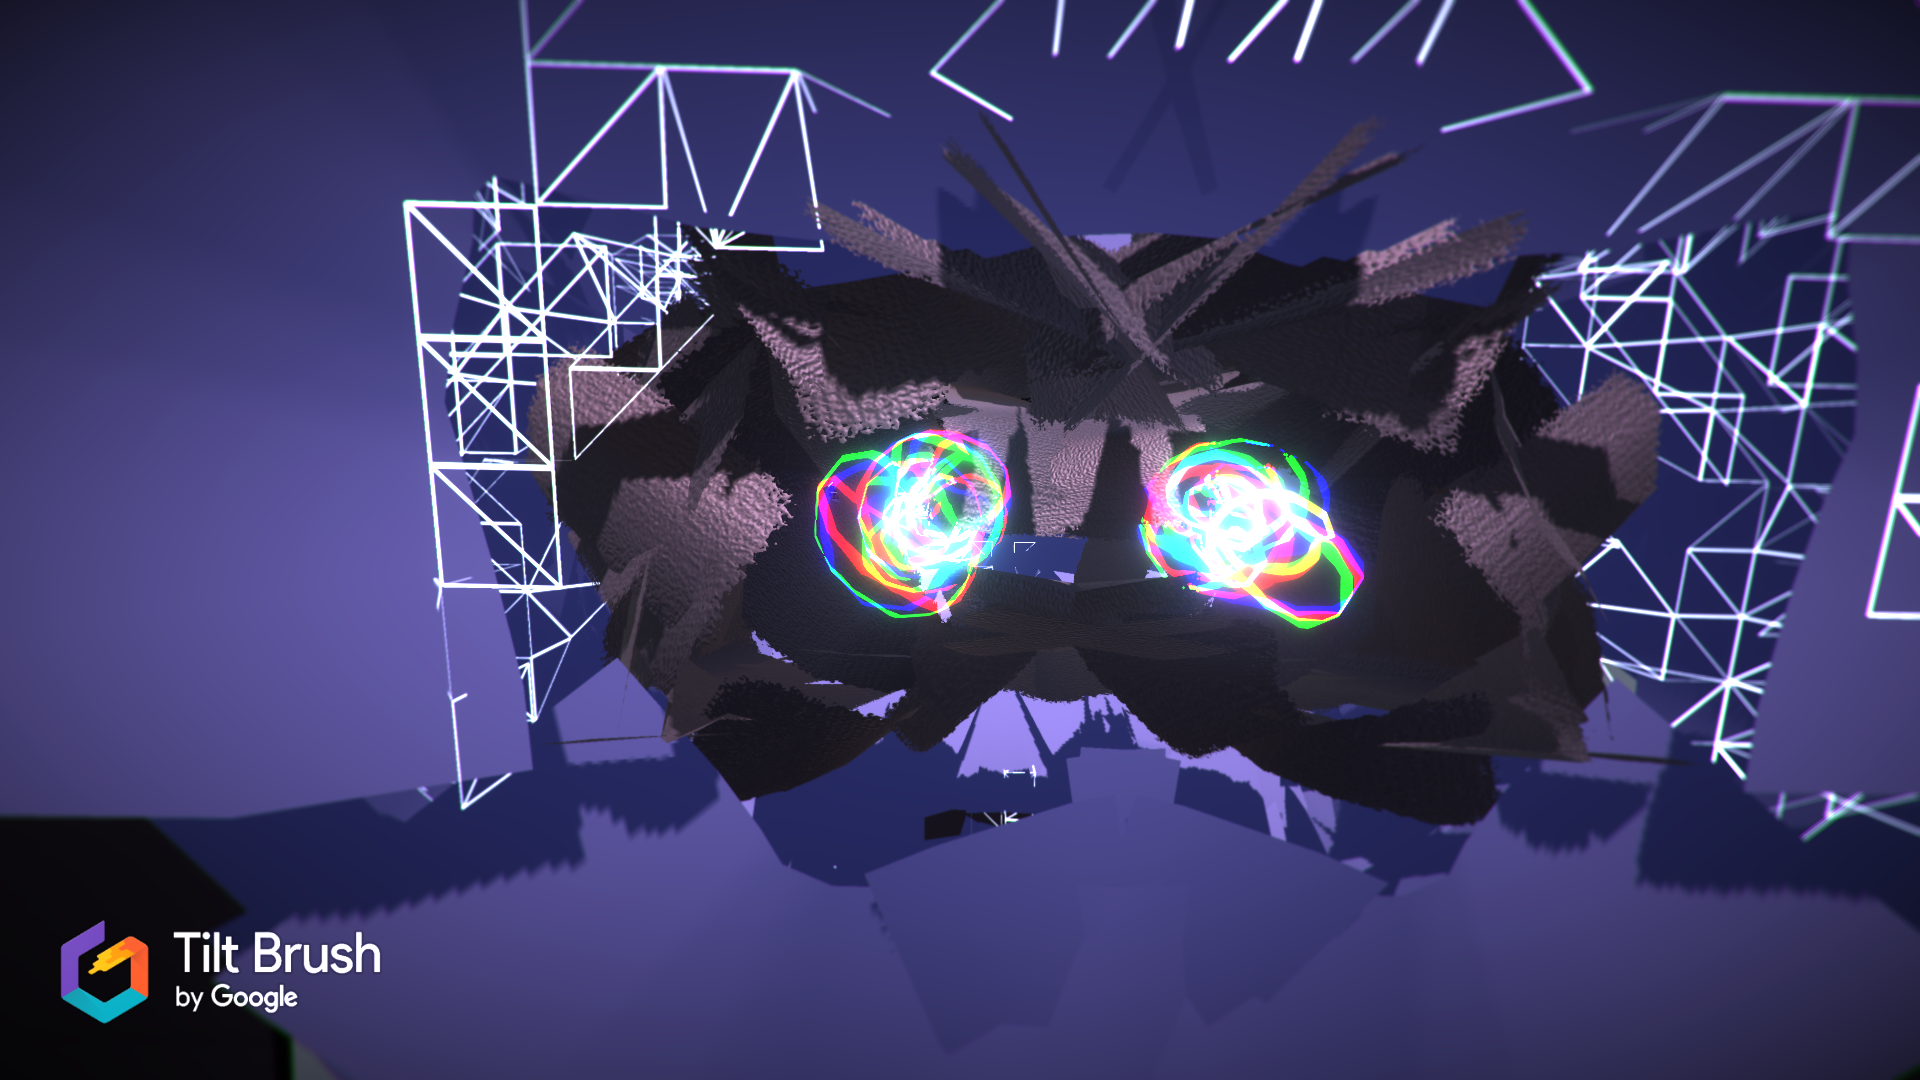
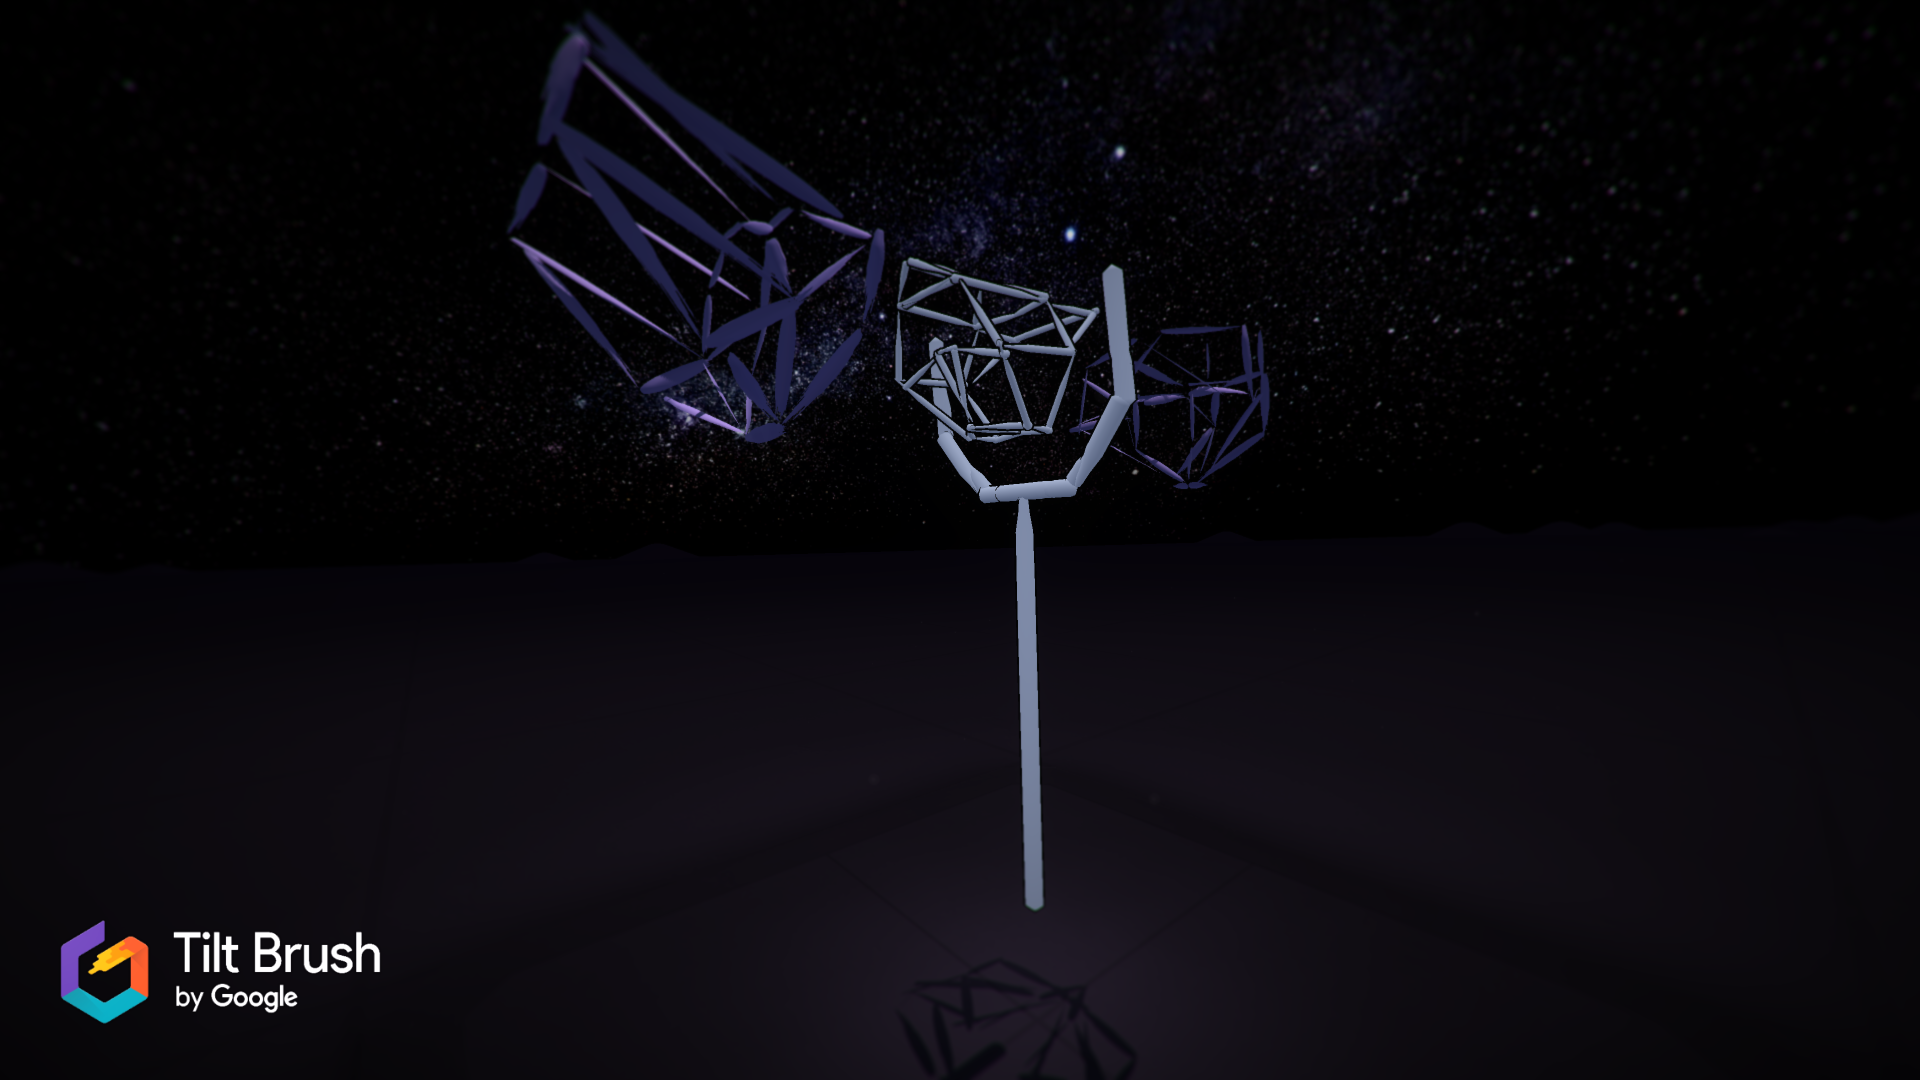
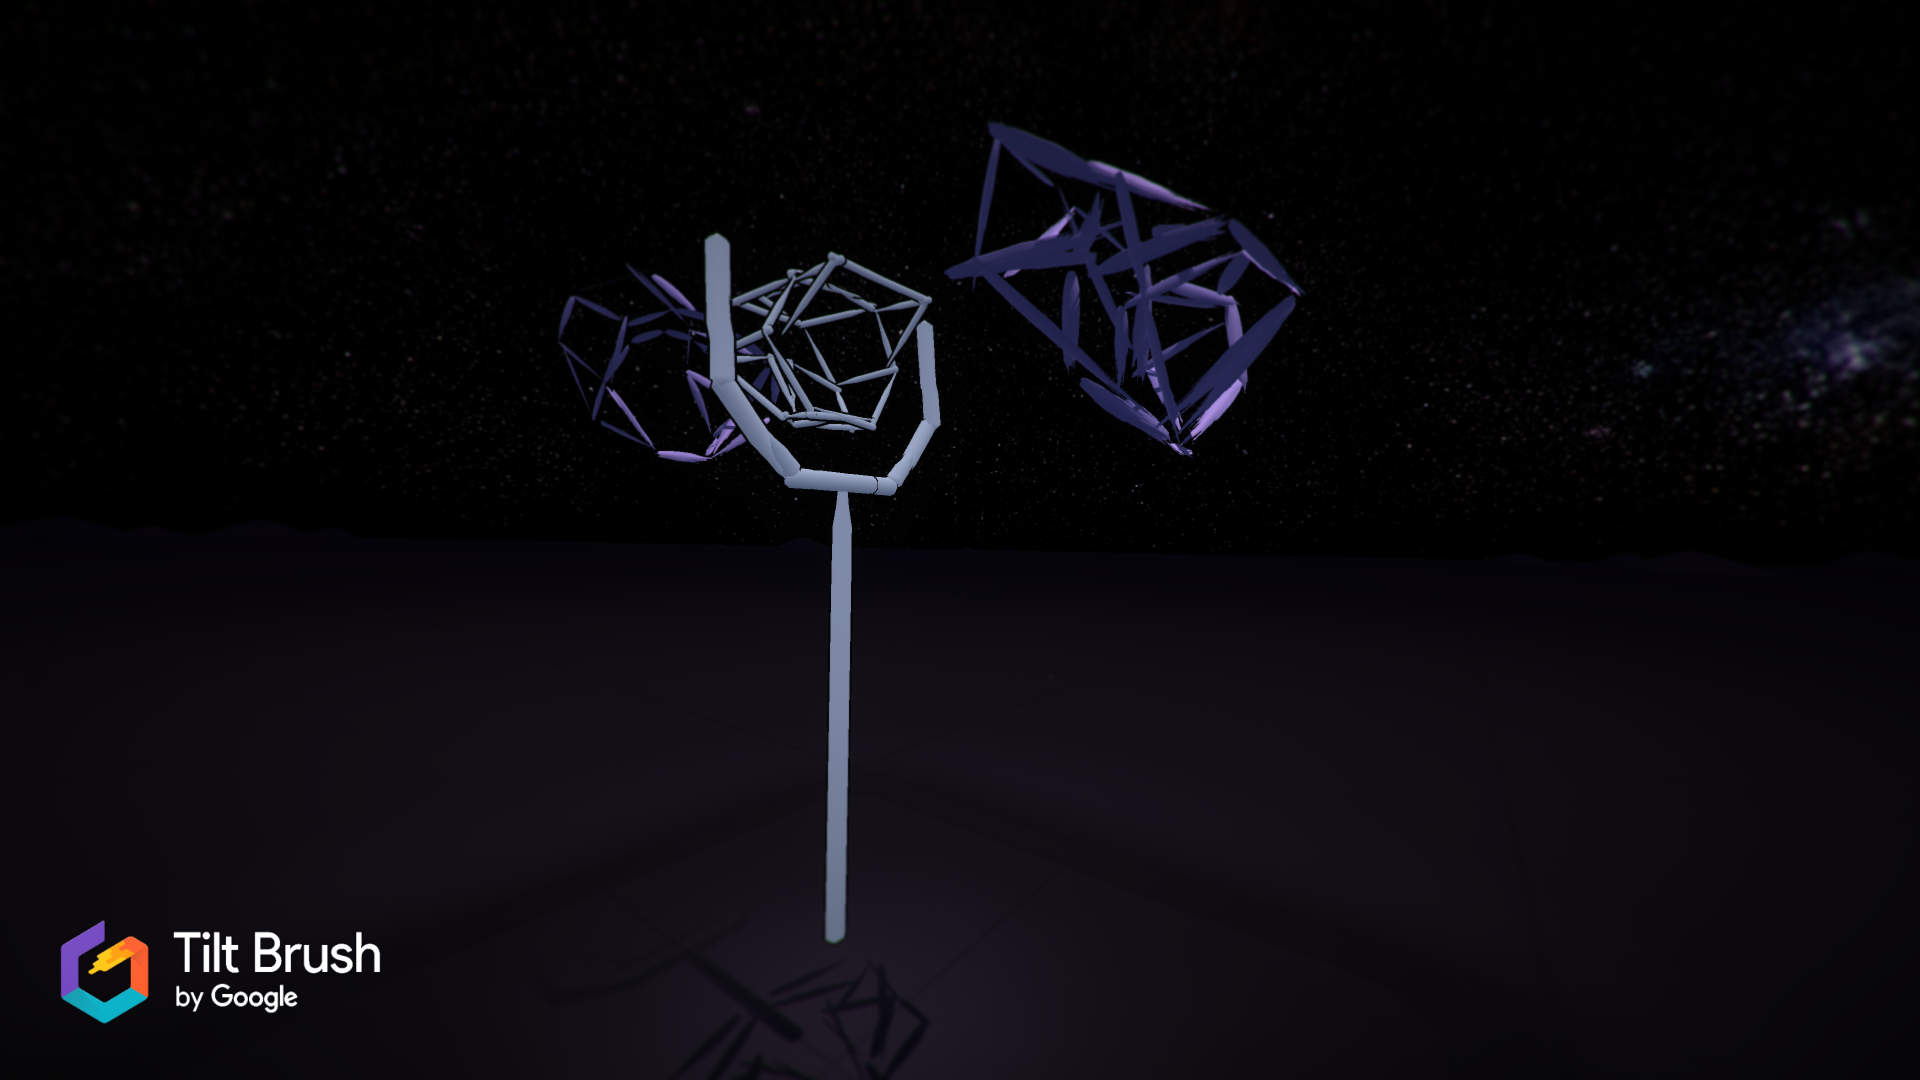
On the design front, I played around a bit with sketching out some new shell ideas using Tilt Brush. It's really helpful to get a sense of scale in VR.
![]()
![]()
![]()
![]()
Next step is to finalize the shell design and mill the positive mold out of MDF on the ShopBot. Once that's ready we'll be able to vacuum form the shells quickly and easily.
-
Scattershot
08/06/2016 at 02:09 • 0 commentsThis week was mostly focused on iterating and experimenting with fabrication techniques.
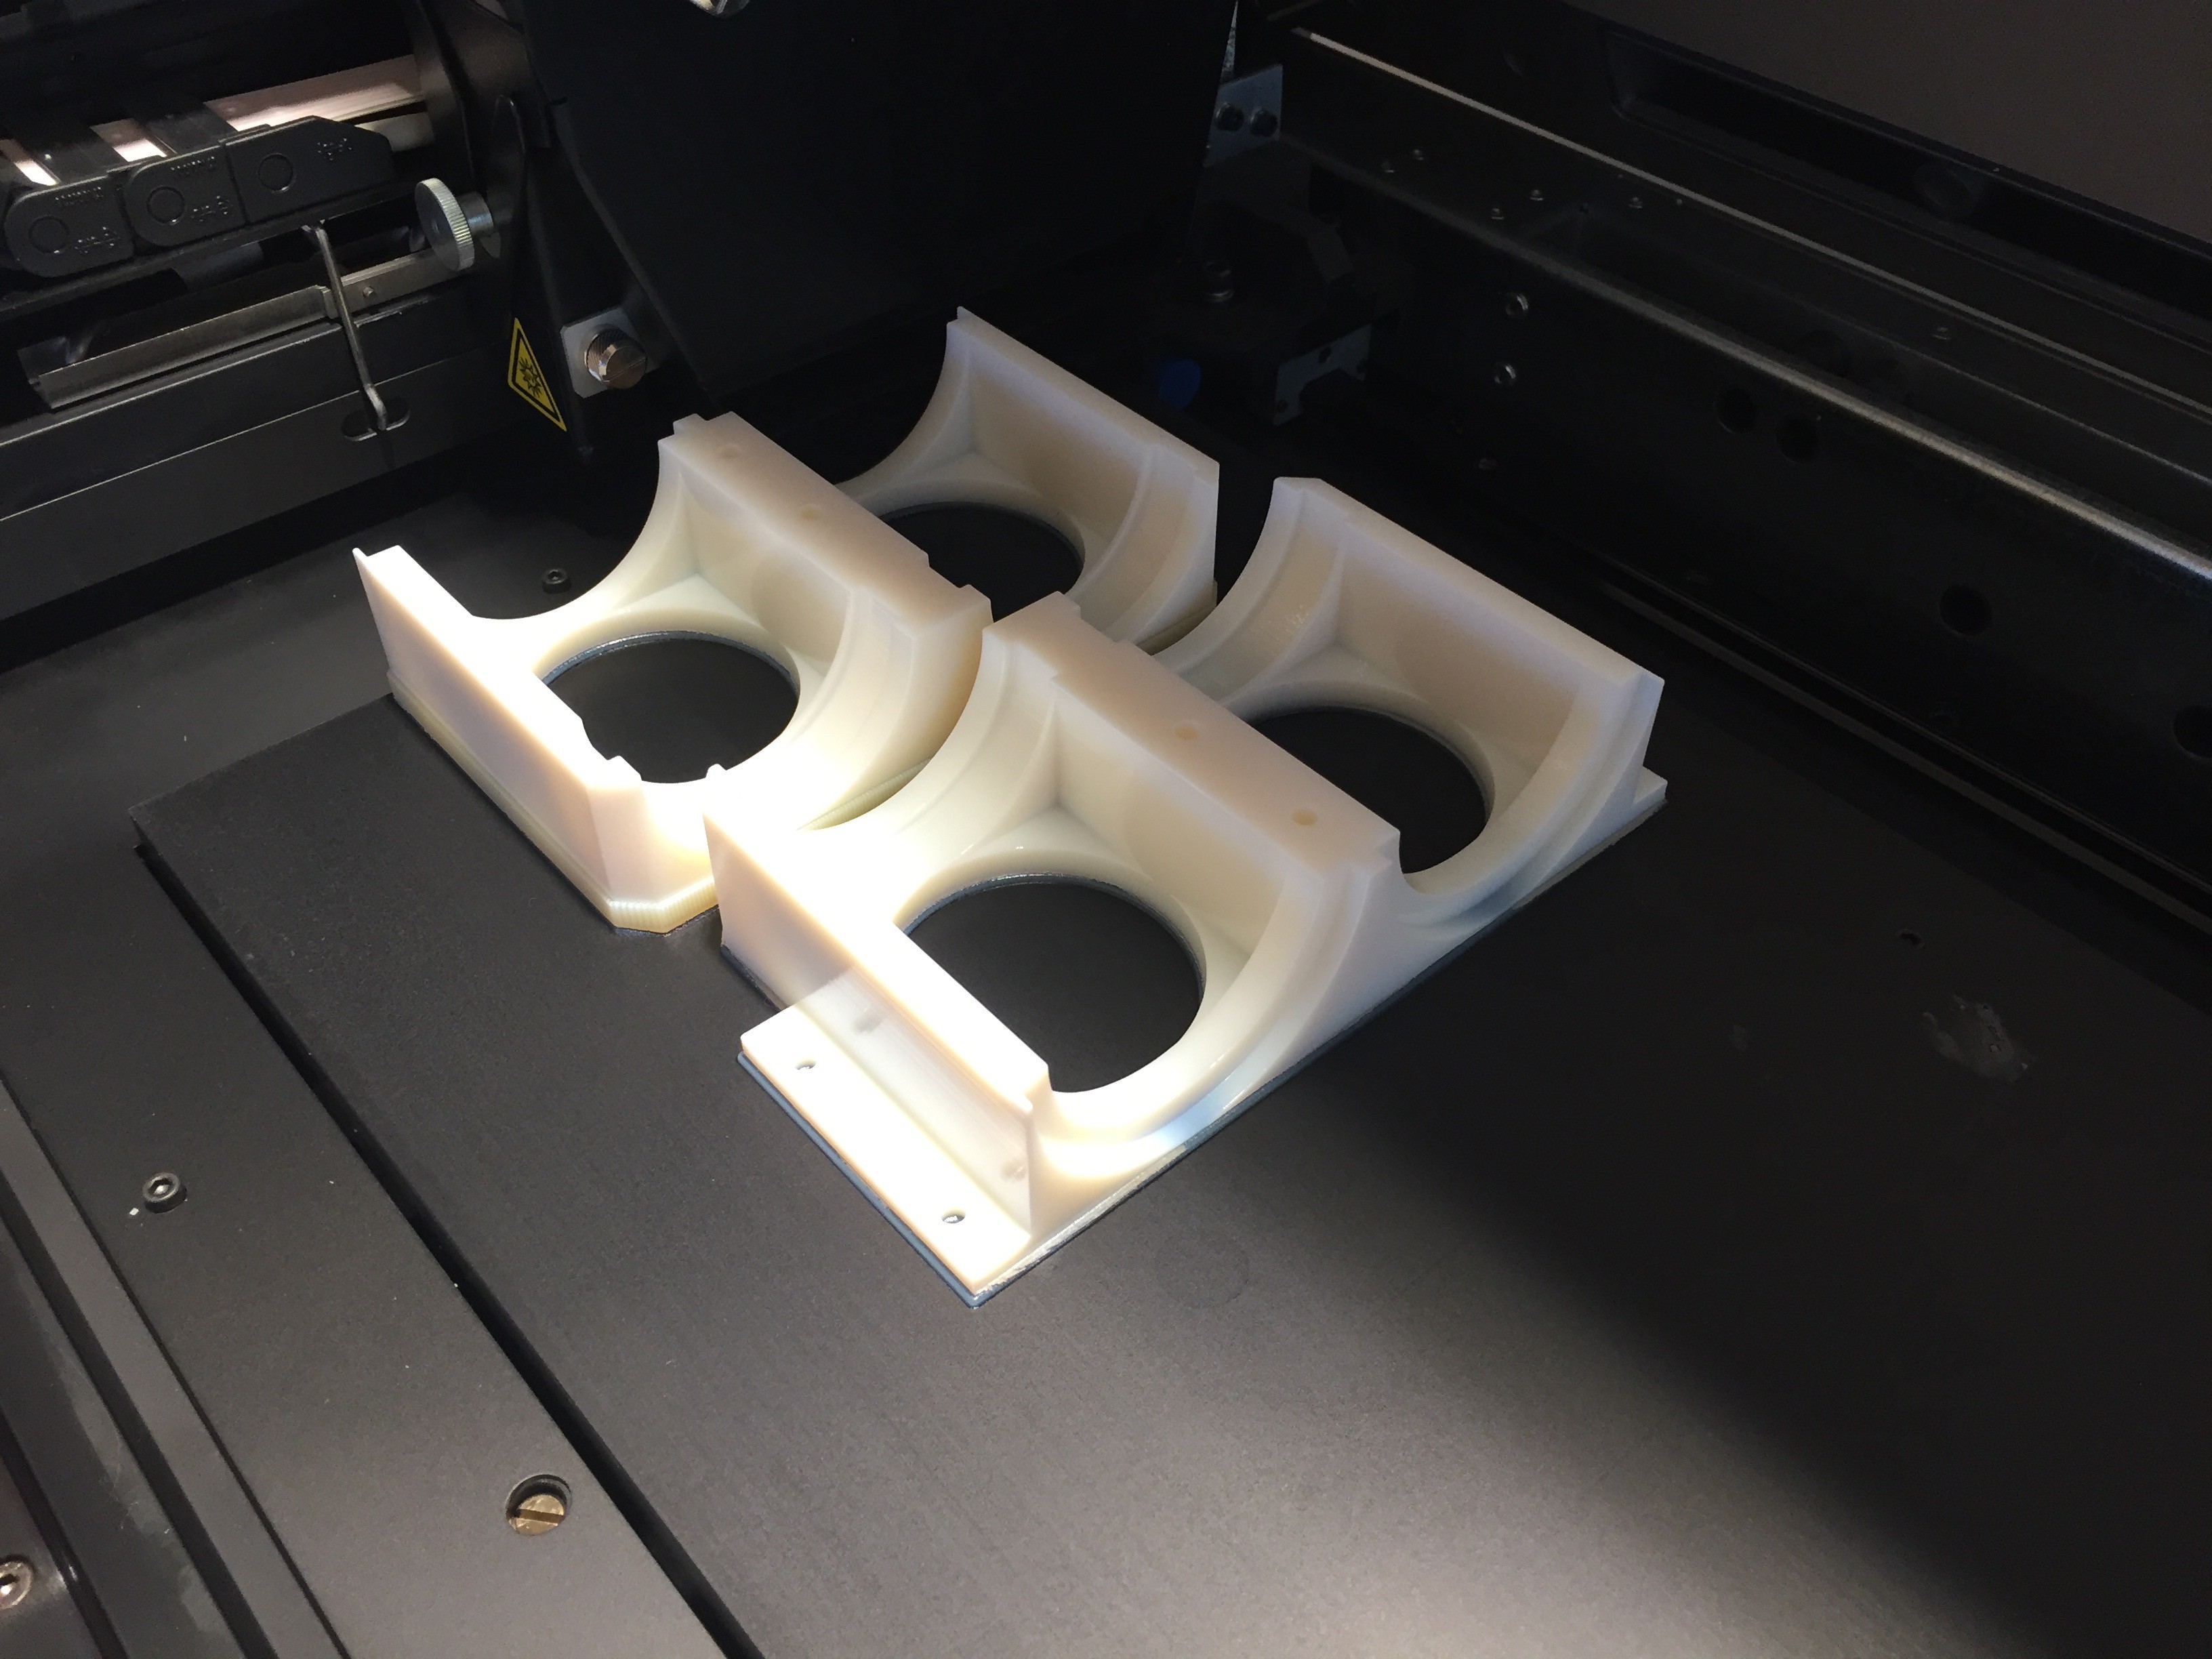
It started off with a print hot off the Objet of the latest optics housing.
![]()
The resolution off this thing is excellent, though it's definitely not the most cost effective approach for each unit. We'll likely use this proof print as a positive to cast some acrylic molds.
![]()
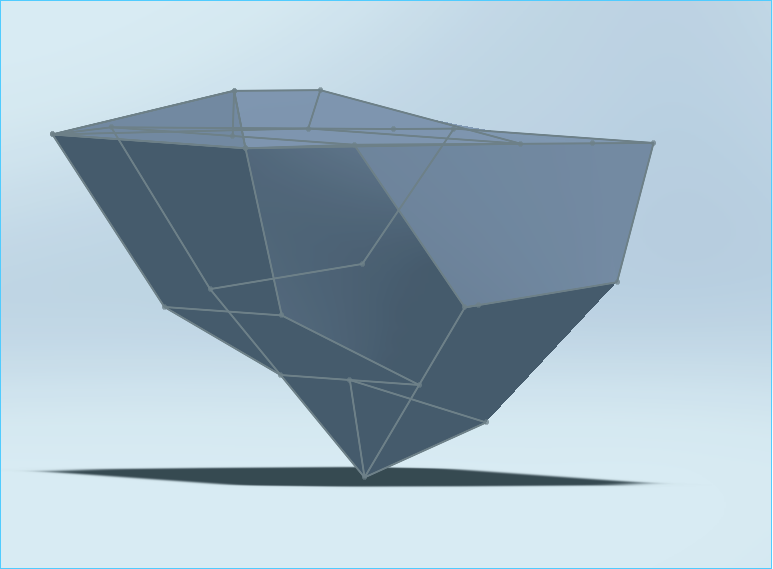
On the shell front, rather than vacuum forming or casting, I decided to play a bit with the idea of folding together a shell out of laser cut sheet metal. I want to go for something low poly, a sort of modified dodecahedron.
![]()
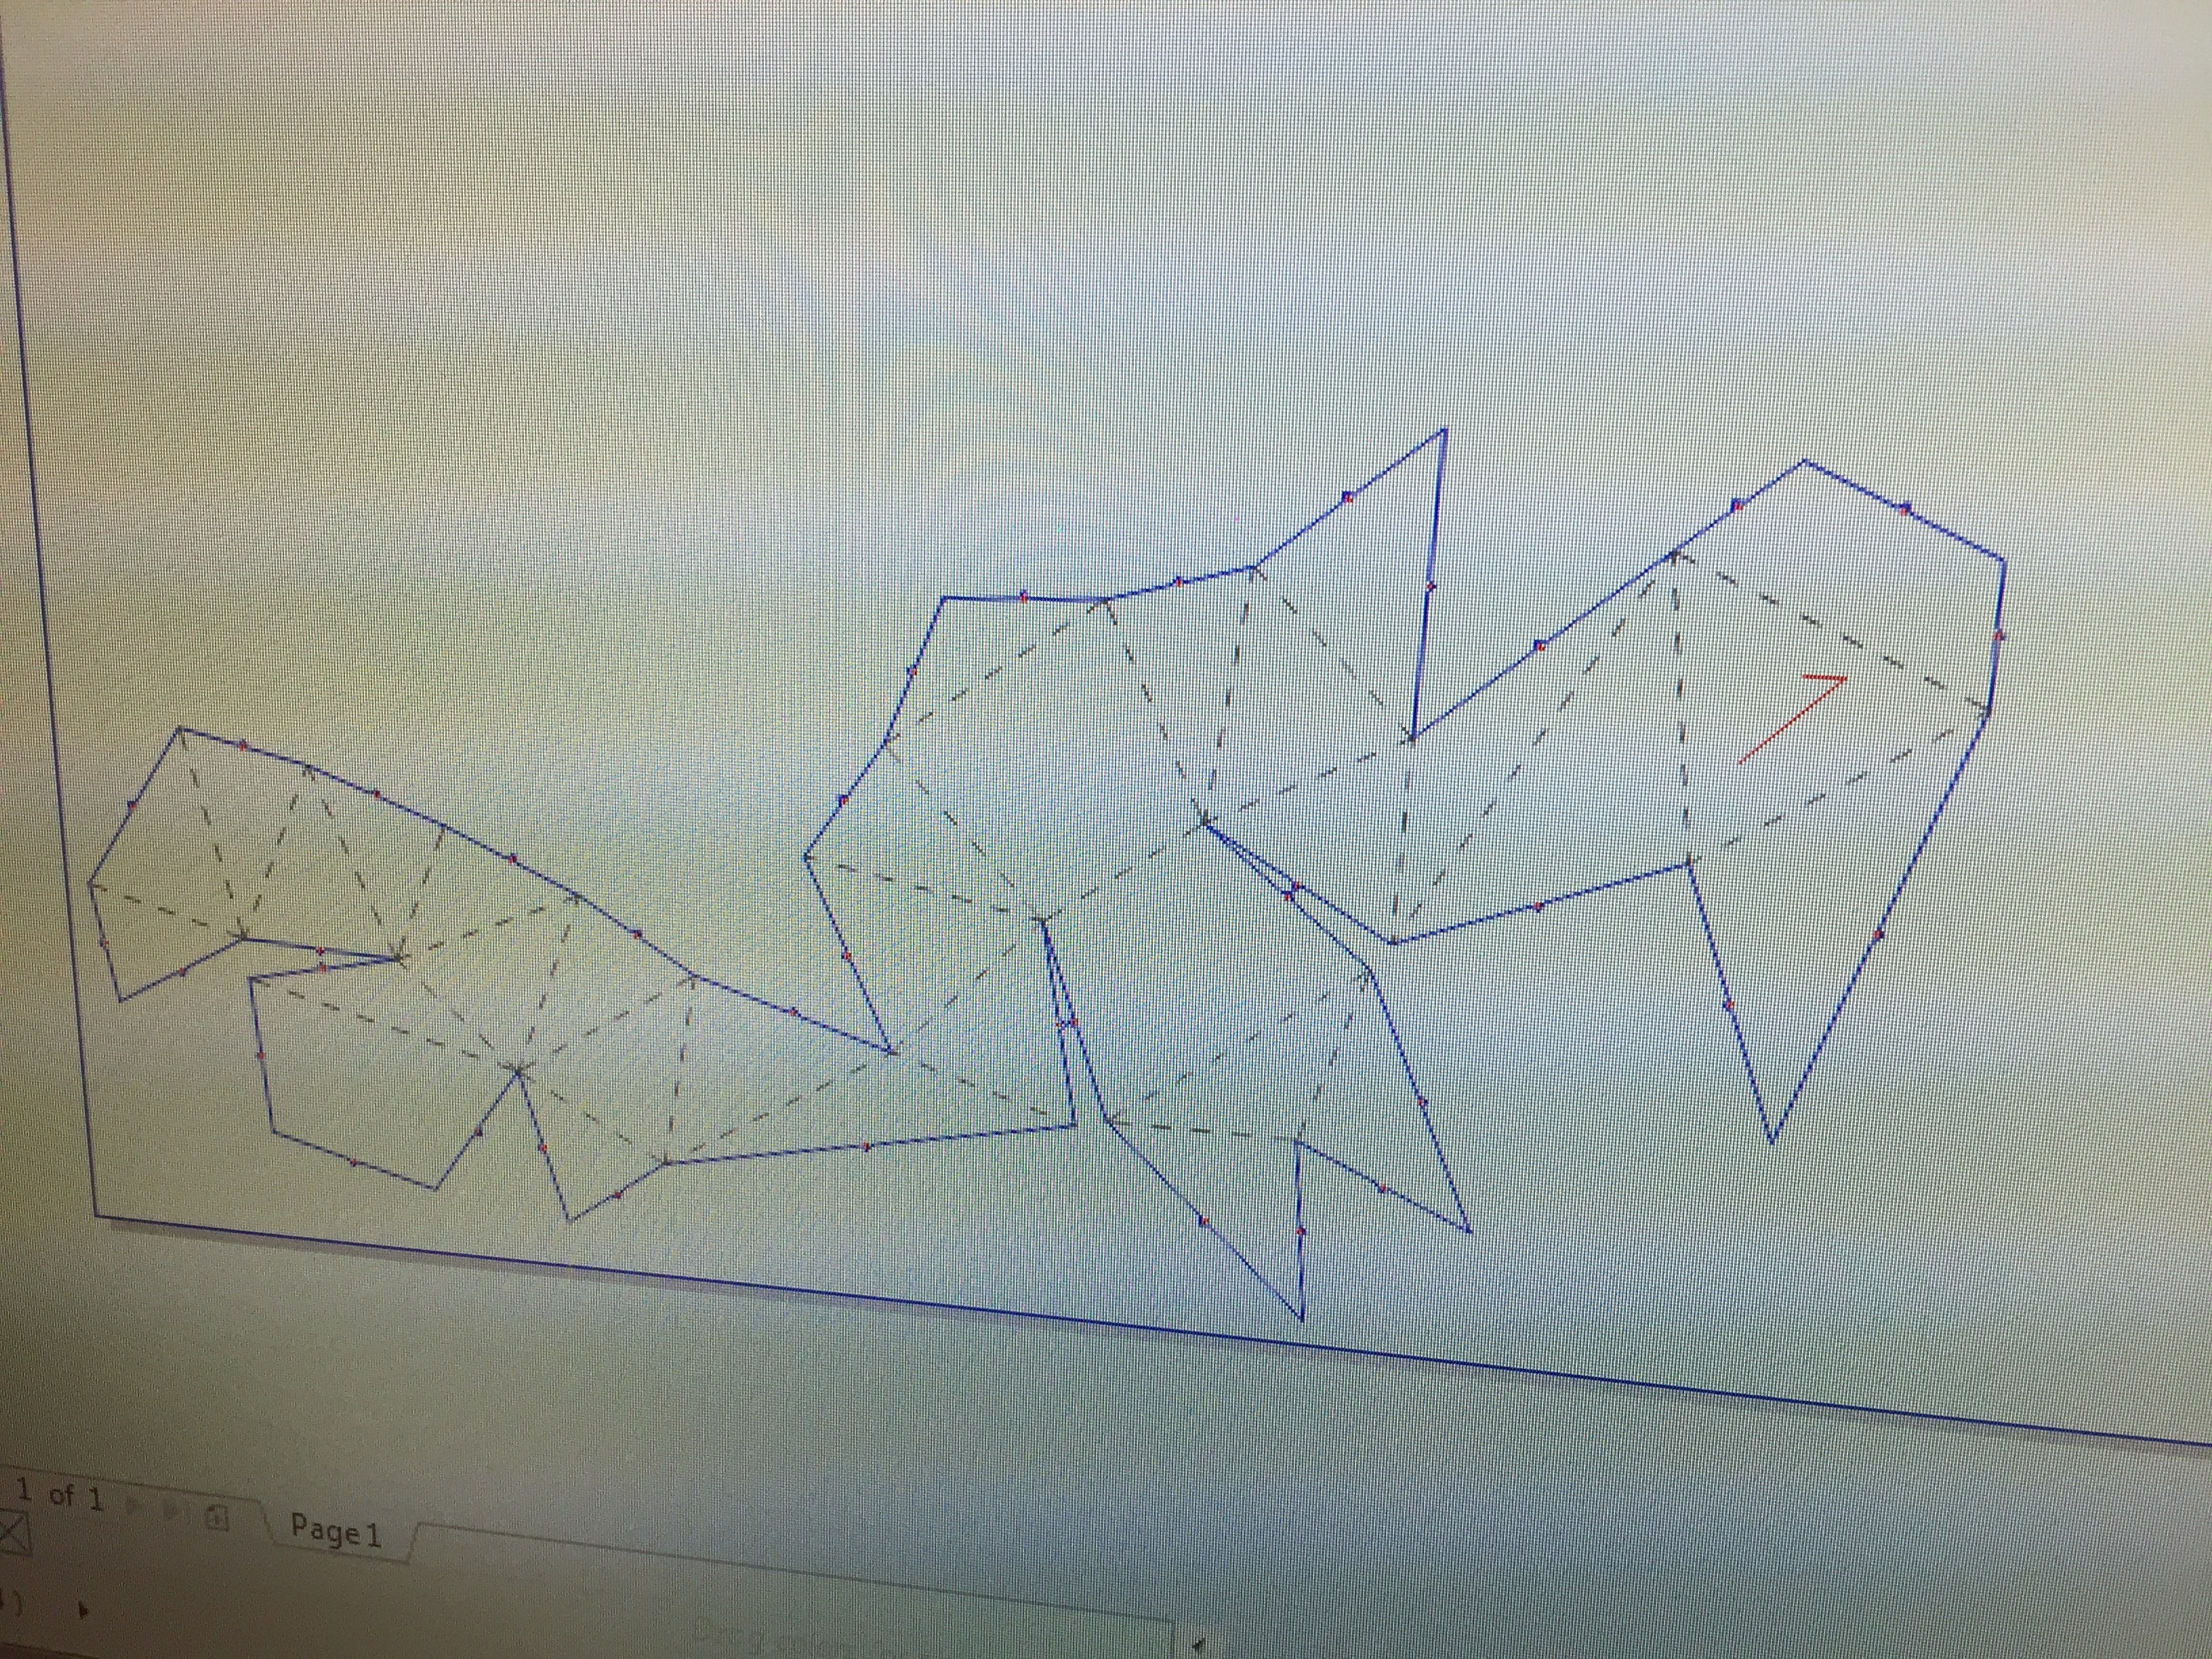
I used 123D Make to unfold the mesh into something that could be laser cut.
![]()
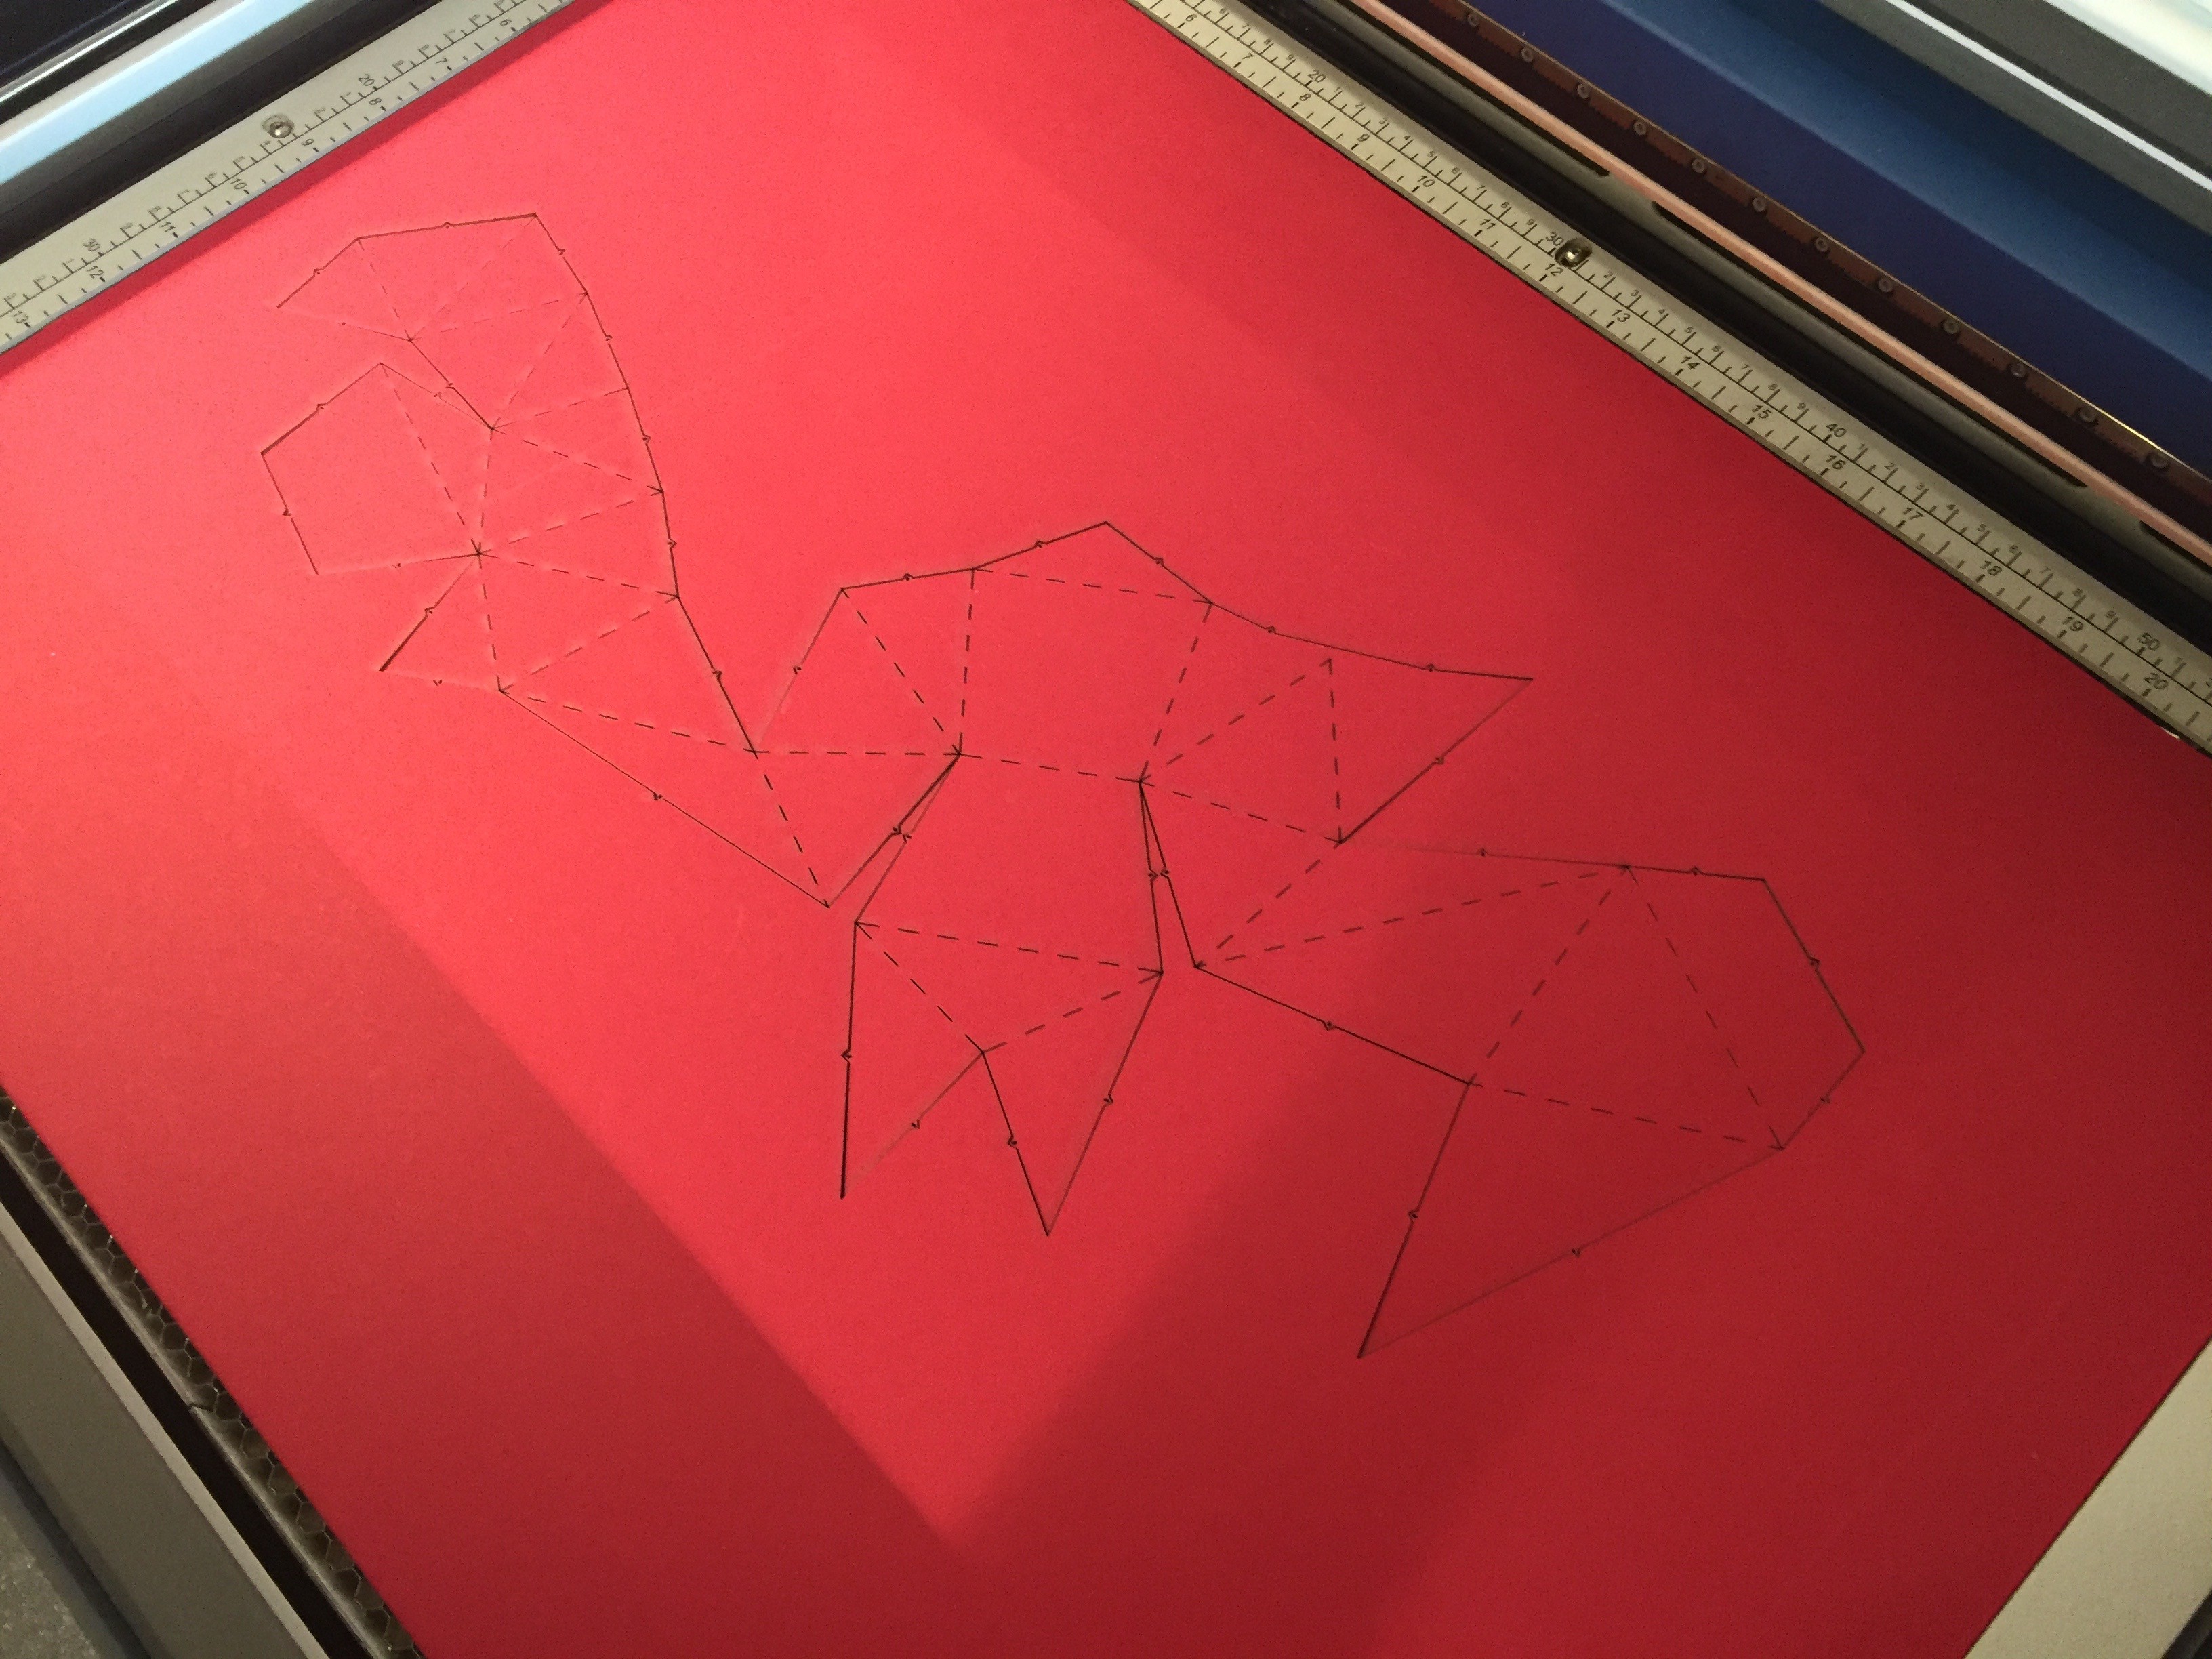
And sent it to the Epilog...
![]()
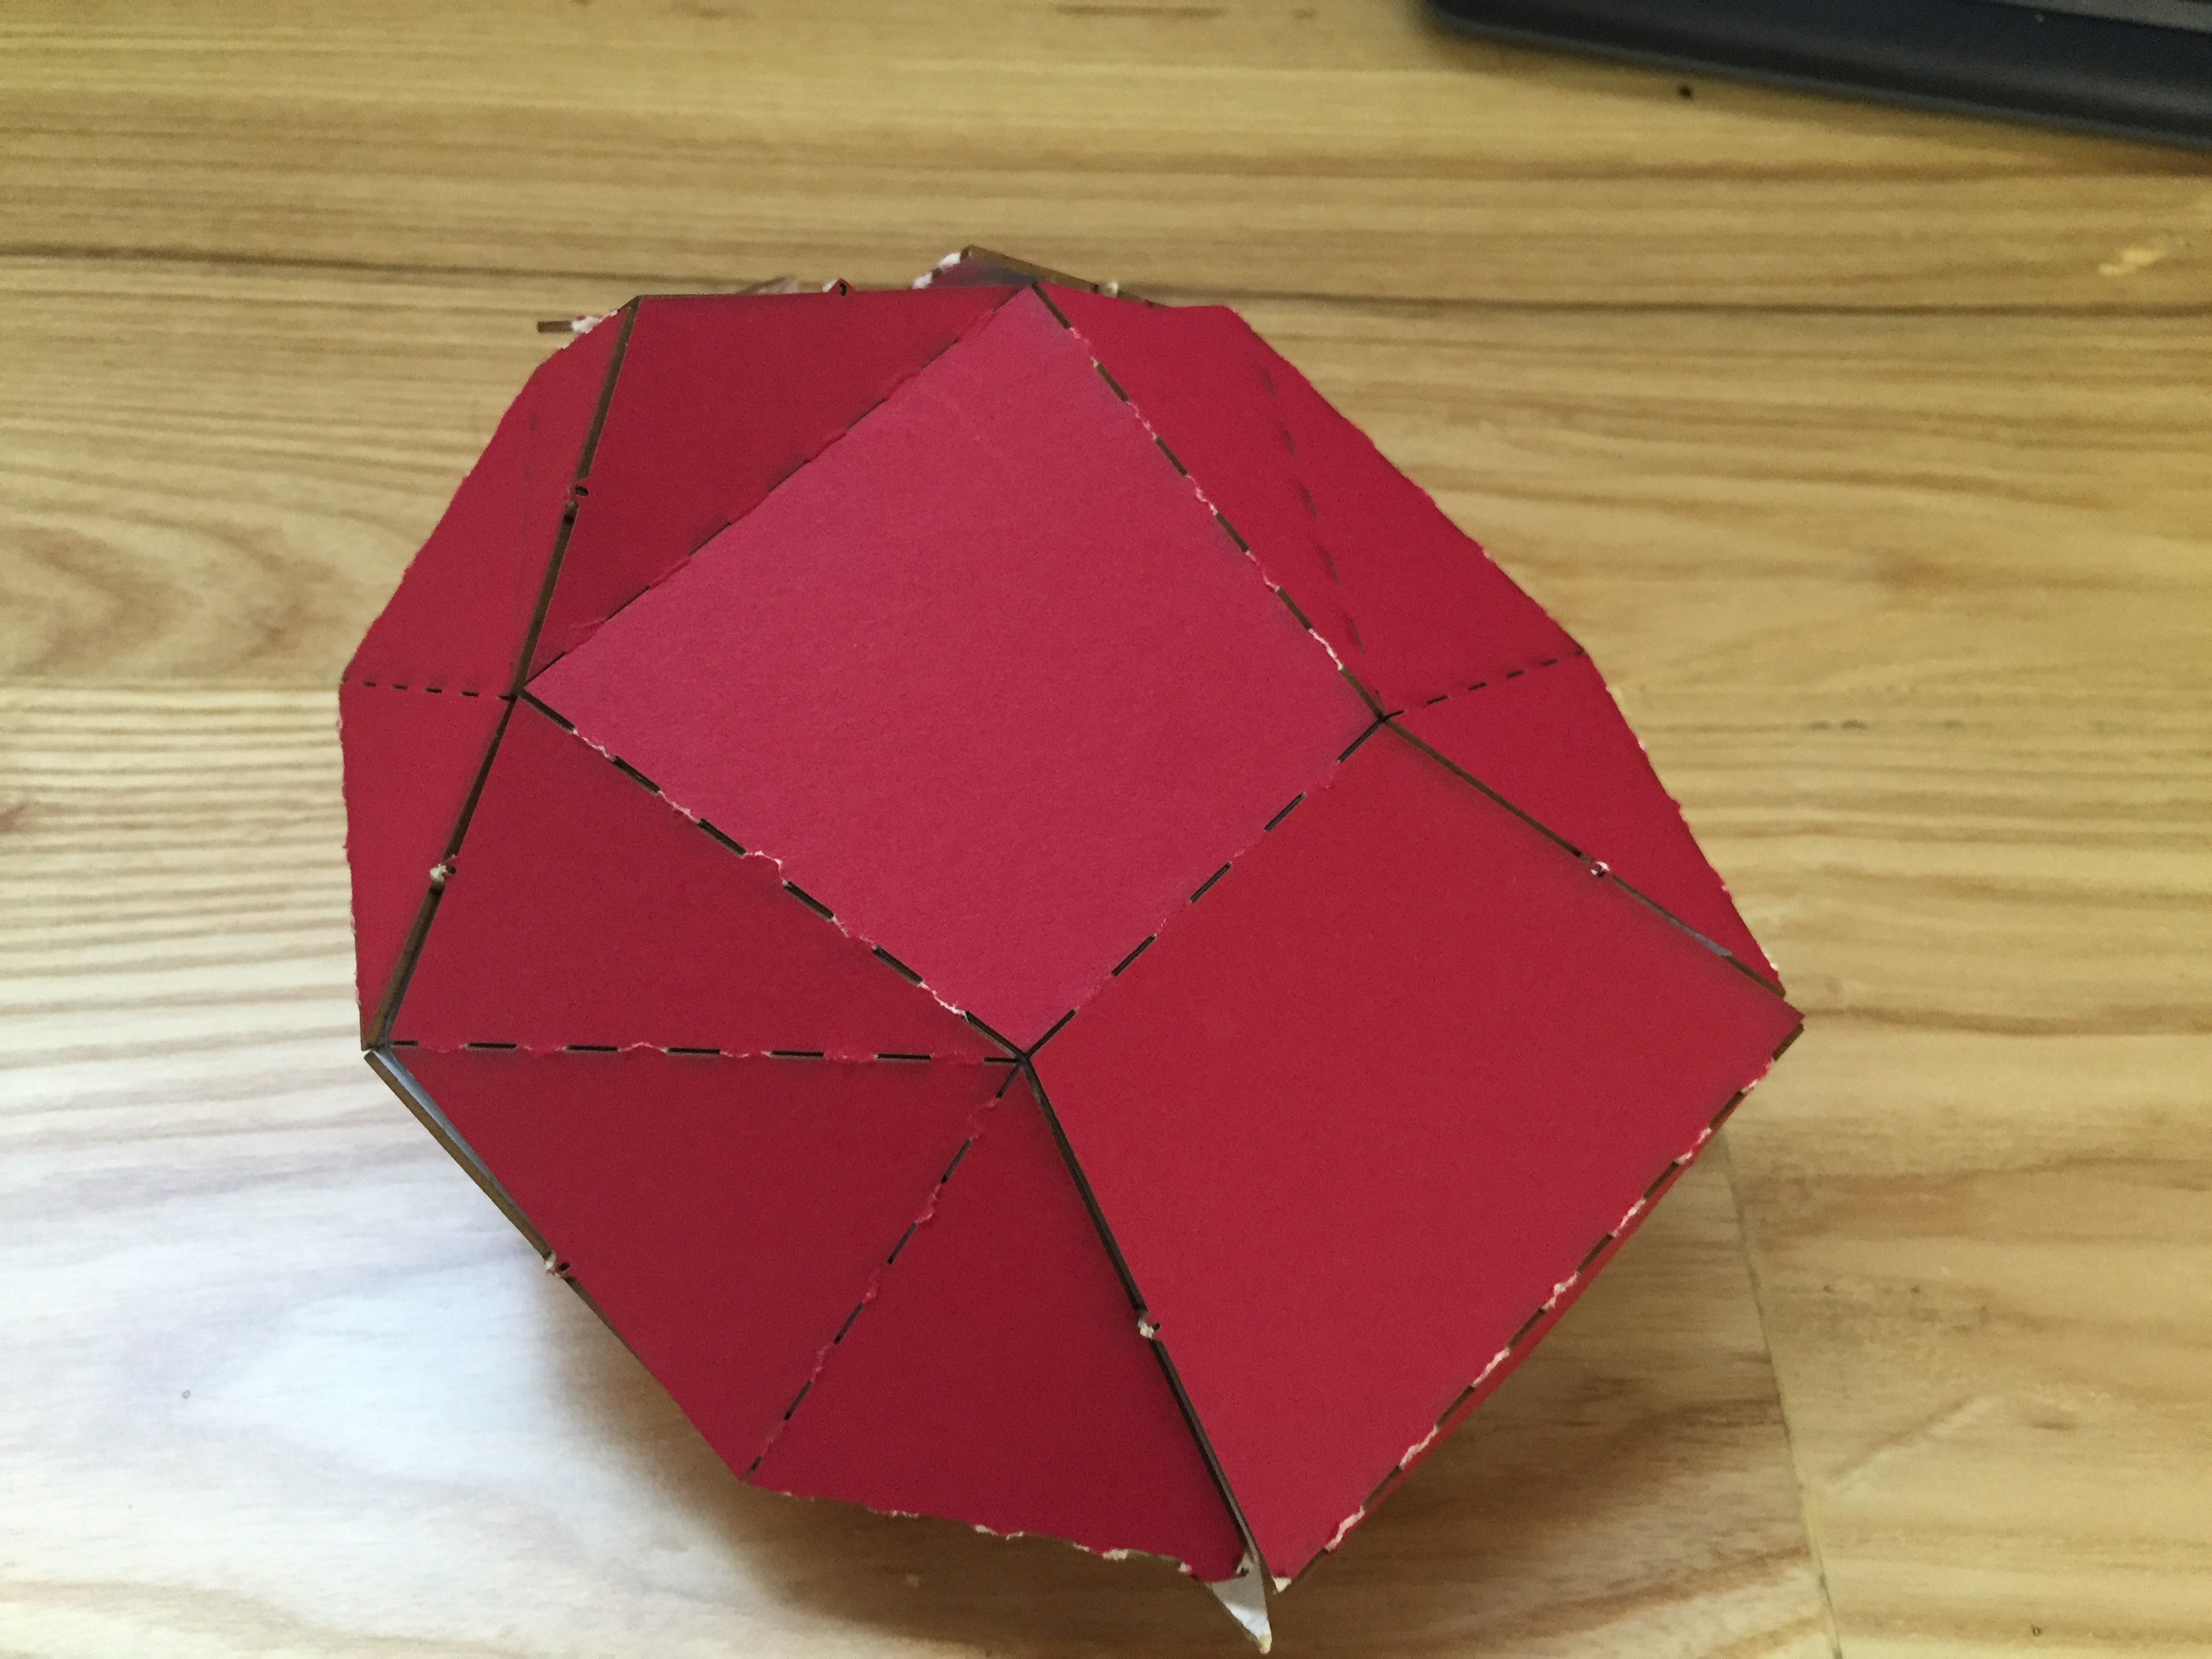
![]()
Seems like an interesting approach, though it might drive a fabricator crazy. Vacuum forming will probably be fastest for something with this many facets.
![]()
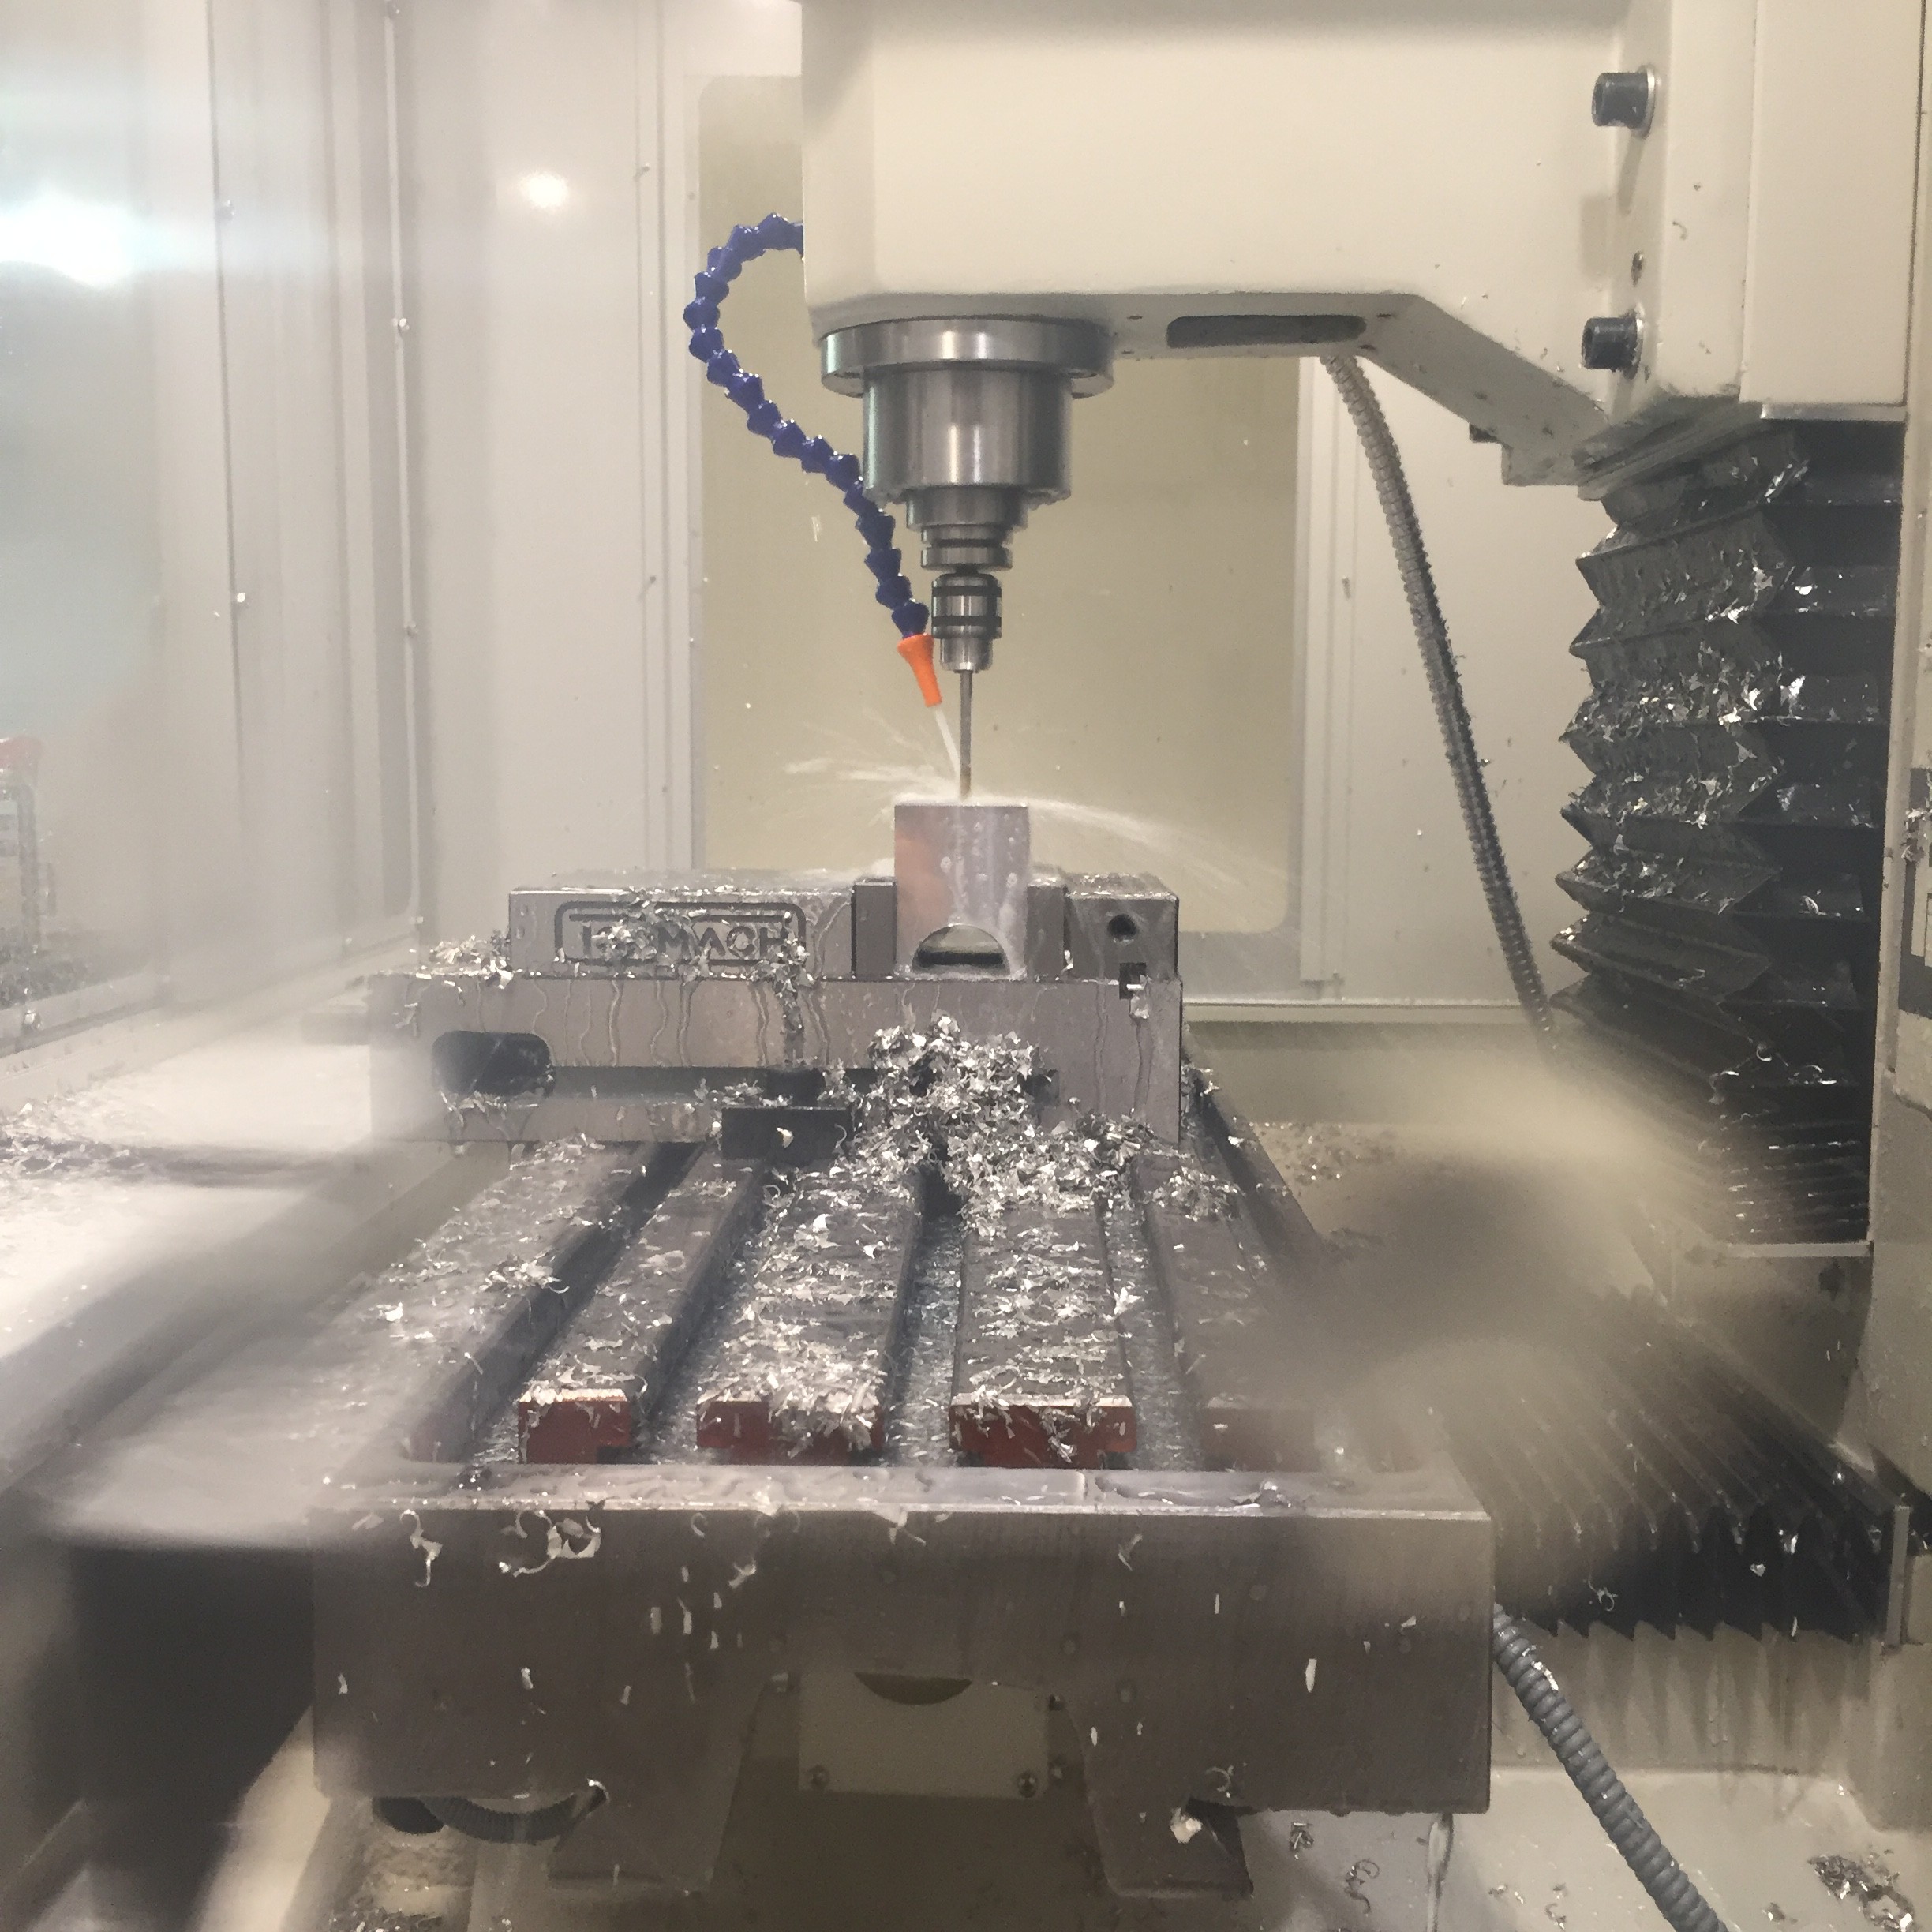
We also finally got our heads wrapped around CNC milling the bearing blocks. There's a definite art to it that's going to take some time to master.
To start off we faced down the stock to the dimensions of the final piece (and to shred away the evidence of last week's mistake). After that we used some adaptive clearing to mill out the pocket.
![]()
![]()
We'll still need to clean it out with a ball end mill, and then bore out the axle and mounting holes, but it's certainly starting to look study enough to survive.
-
SFDL Week 4: Excited Hearts and Broken Parts
07/29/2016 at 23:04 • 0 commentsThis week started off with some excitement -- I'm psyched to announce Perceptoscope is a finalist in the SXSW Eco Place by Design competition! I'll be headed to Austin in October to present the latest developments in the project.
![]()
In terms of manufacturing this week, the big focus was on prototyping out the stereoscopic optical assembly and starting to mill the bearing blocks on the Tormach.
The optics came out looking mighty nice and the FOV is even better than the last unit.
![]()
![]()
With the help of fellow resident Bruce from Call to Adventure, we started planning out how to make a mold for resin casting the optical assembly instead of printing.
![]()
Milling the bearing blocks was less successful. It seemed like I had gotten my tool paths figured out...
![]()
But speed and feed definitely weren't quite right... We ended up breaking the tool holder in a pretty magnificent way.
![]()
It's going to take a little more milling and research to get things quite right, but we should be able to get it humming next week.
-
Looking Back: Building it Strong.
07/25/2016 at 22:07 • 0 commentsThough there was excitement around the first Perceptoscope, it was never designed for everyday deployment. The concept was proven, the seeds of the platform were built, but there was still a lot of work to be done to make it something that locations would be willing and ready to use for decades.
In May of 2015, Perceptoscope was honored to receive a grant from the Knight Foundation Prototype Fund. This not only gave the project some working capital to get the components and manufacturing services required, but also opened us up to a network of like-minded individuals looking to use technology to engage people with the stories around them.
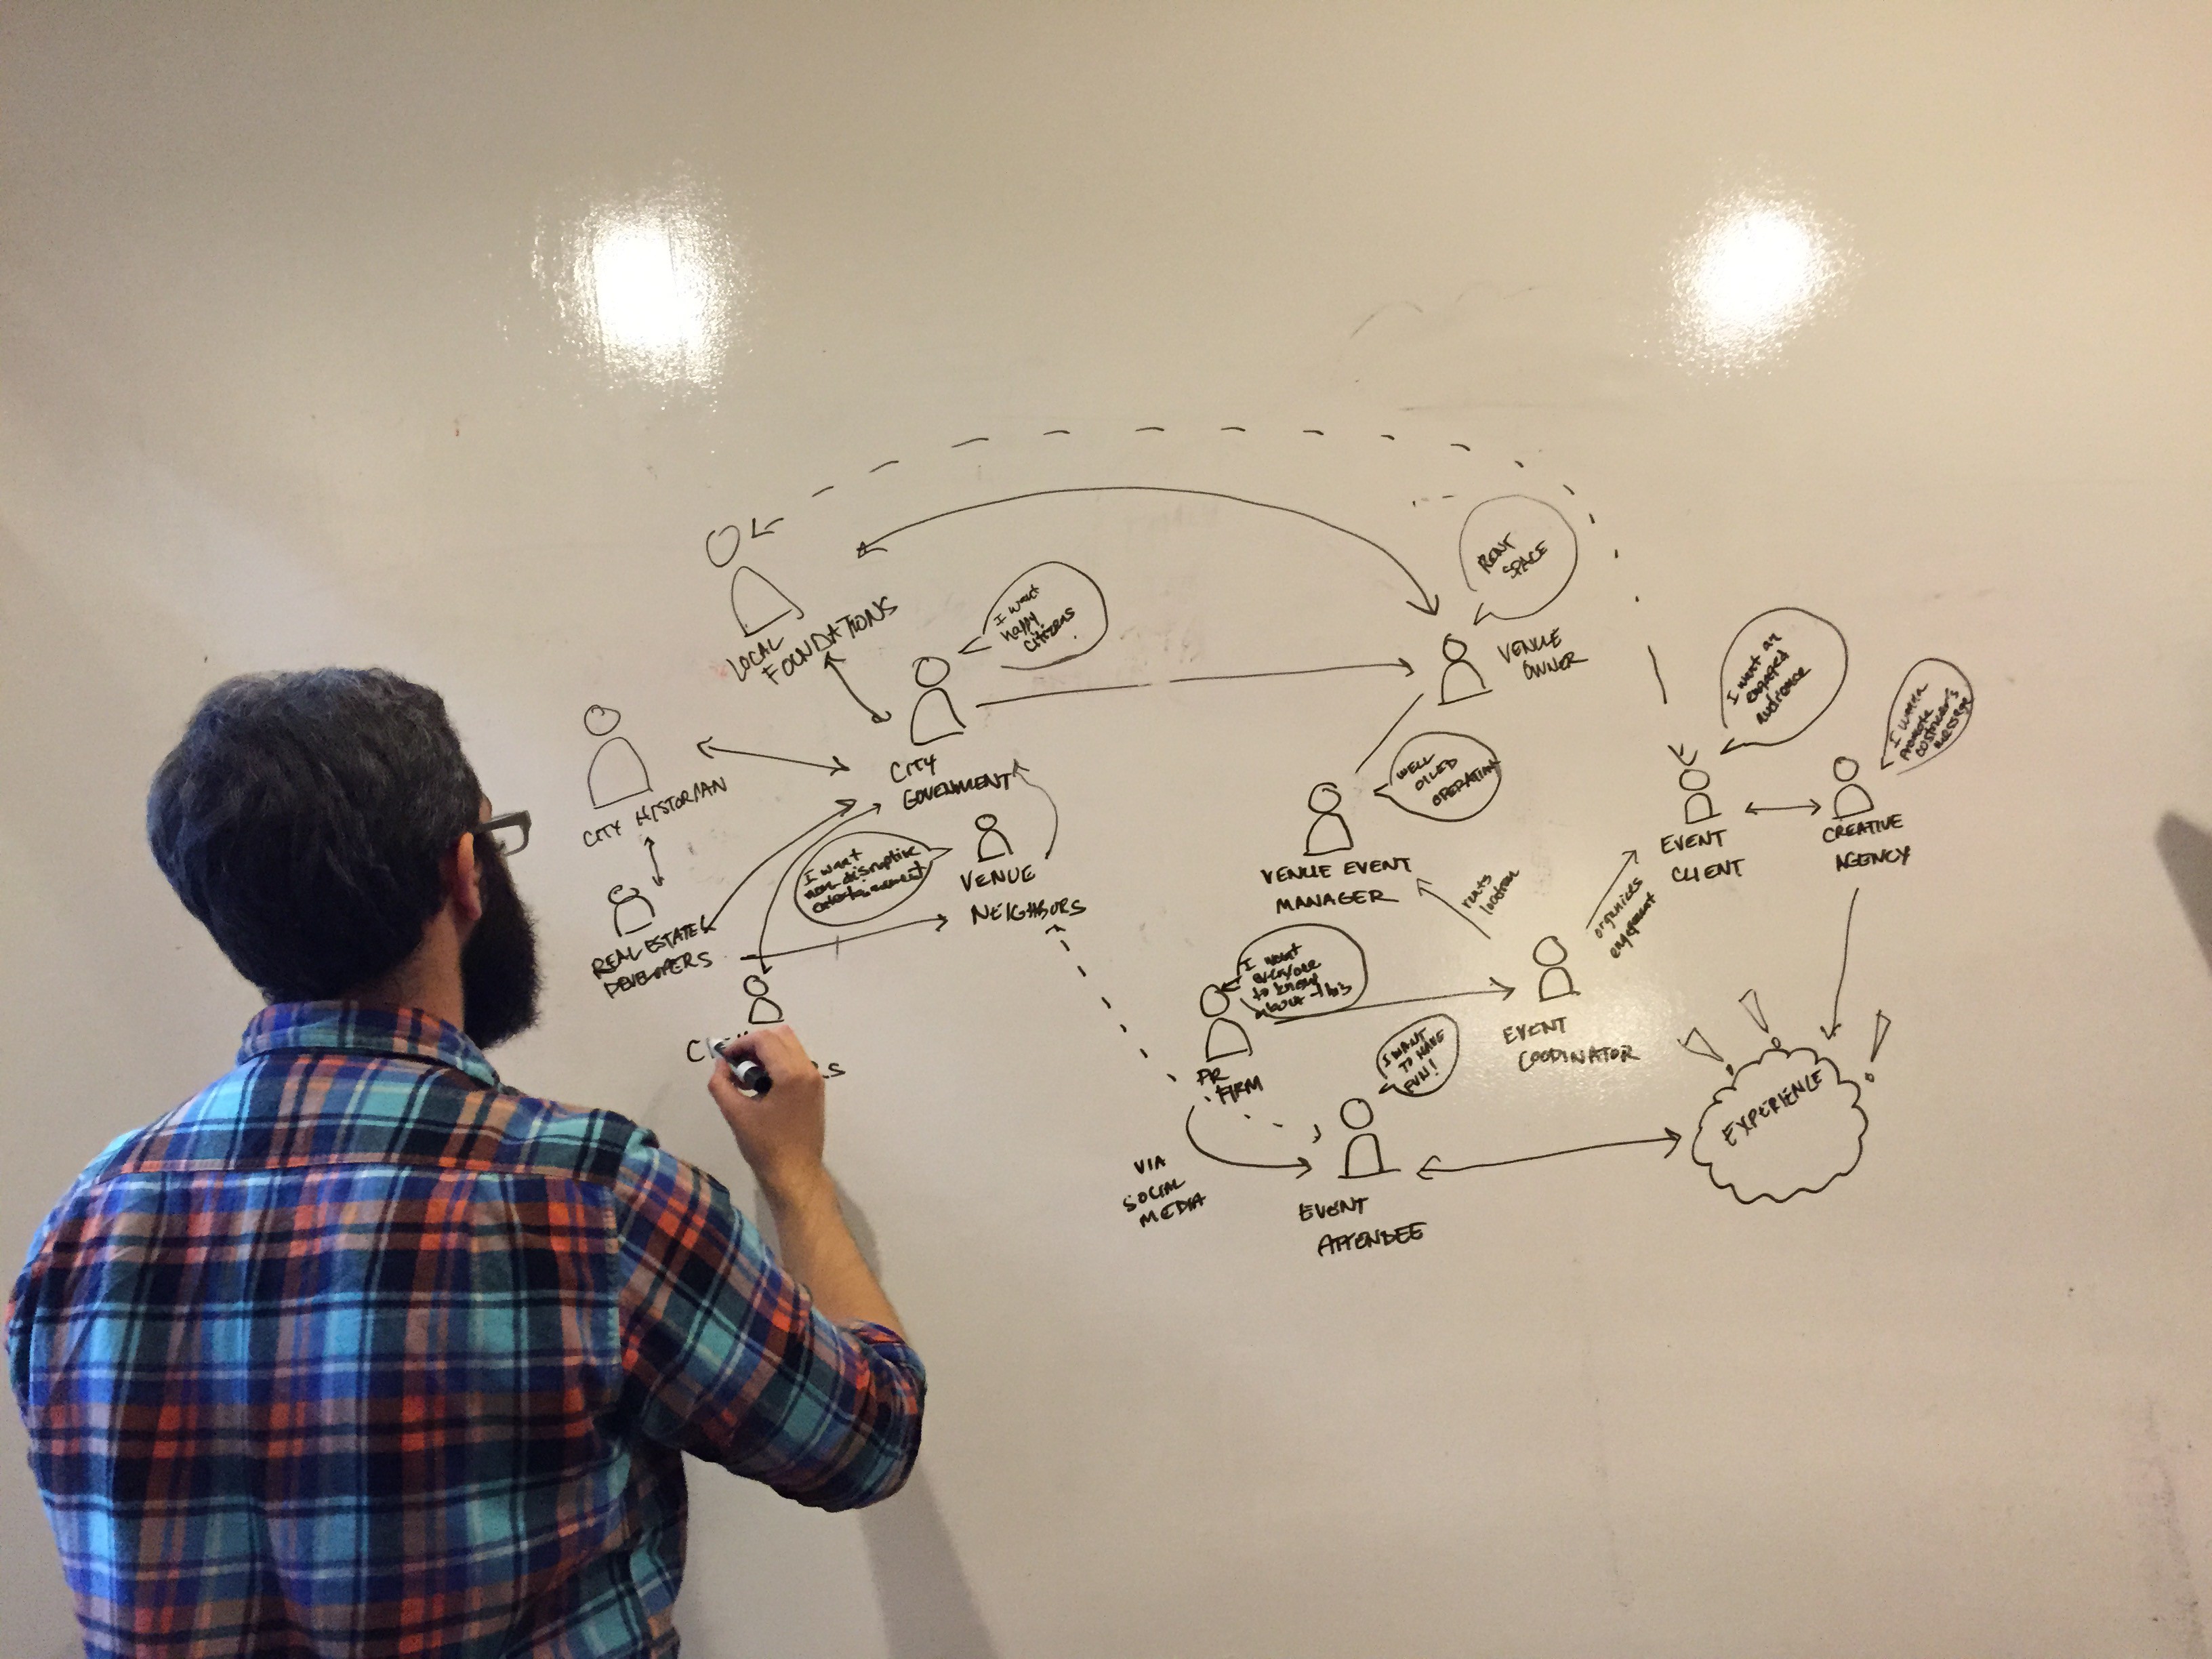
The grant process began with a workshop in Miami on Human Centered Design lead by the LUMA Institute. While there, I worked through a variety of different design thinking exercises with the other grantees. It was a great experience, and had me chomping at the bit to get home and dive in.
Once I was back in LA, I worked few a through exercises with Adam to formulate solutions to some of the bigger challenges we were facing. We wanted to design a platform that would be easy to deploy and manage, and stay focused on building as much of the stack as possible with open source tools.
![]()
![]()
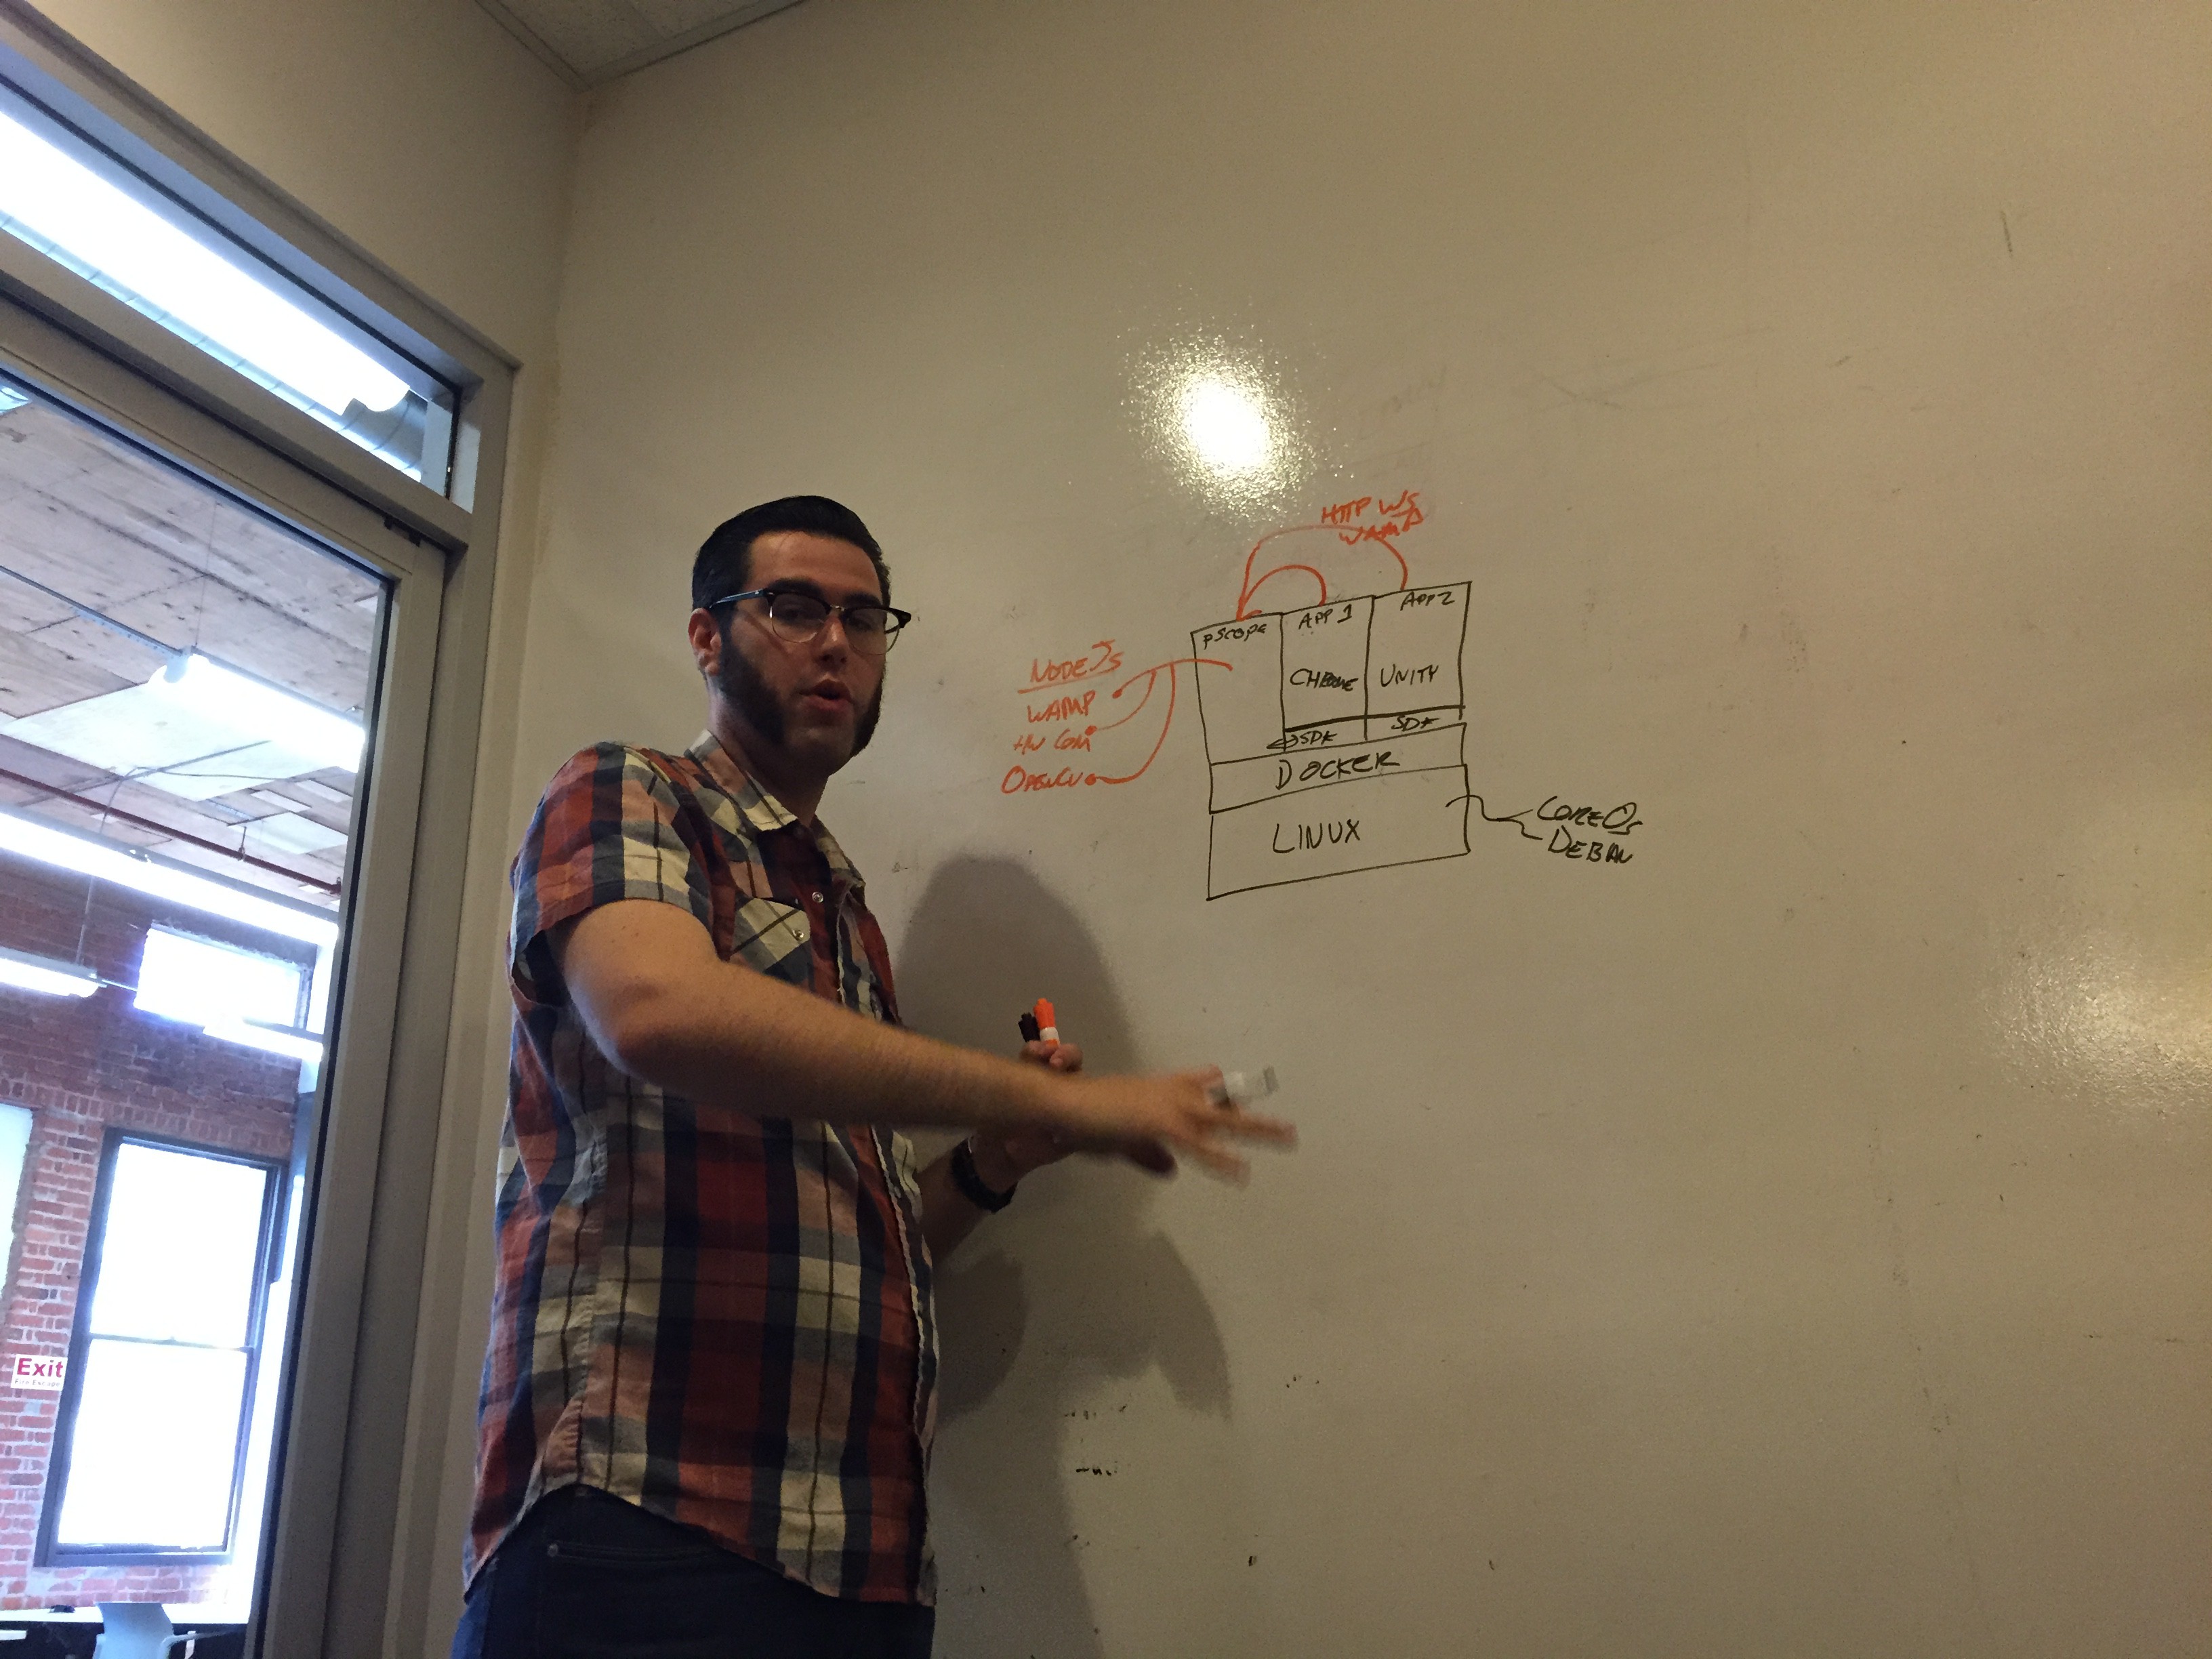
We settled on transitioning away from our previous ARM/Android/Jmonkey stack, and towards something that would be a little more straightforward. We went with an Intel NUC mini-computer running Linux, and refactored our stack to be built on web technologies that we could quickly spin up with different hardware architectures for ease of experimentation. Conceivably this stack could be completely architecture independent, and fly on either x86 or ARM.
Node.js would handle all the backend scripting to our sensors, as well as host the internal web server that serves the content. Three.js and (what would become) WebVR would handle the 3D rendering. This approach is not only super low overhead compared to a game engine, but opens up the possibility of a Perceptoscope dynamically sharing content to other mobile devices nearby. At its core, Perceptoscope is about activating public spaces, and this new possibility could significantly extend its reach.
Industrial design was also a big focus on this new rev, and some of the most significant improvements were made to what might be considered the most boring components. Steve and I brainstormed at CRASH Space for how to best tackle. To ensure the mechanics wouldn't break down under abuse, we had a custom yoke welded. Bearing blocks and encoder mounts were milled at a local machinist. The mechanical assembly was starting to feel bullet (and kid) proof.
![]()
![]()
I knew the internals of the Scope would always be evolving, so its skeletal structure was built out of 8020 for ease in mounting whatever needed to go inside. We laser cut shelves to hold components like the screen and optics assembly, and mounted them with standard 8020 gear.
![]()
The final step in the manufacturing process was shelling the Scope. Laser cutting acrylic seemed like a fast way to prototype out a single shell, so Steve and I worked out of Craig's Plastics down the road from Crash. Lucky for us, they have an extra large laser cutter there. We started by prototyping the shell in cardboard before cutting the final pieces. Craig built jigs to miter the edges of all the pieces and glued them together seamlessly.
![]()
![]()
![]()
![]()
I had designed the shell a bit tight, but it wasn't anything a good angle grind couldn't fix.
![]()
![]()
All that was left now was systems integration.
![]()
Adam designed a daughterboard to hook up all our components to an Arduino Pro Micro, and I built a power regulator sled to break out relevant voltages to the internal systems. We twisted together a wiring harness, and routed it through the body of the scope.
![]()
![]()
With the systems all in place, it was time to boot it up. Success!
I built a pedestal to hold the Scope , and quickly got it ready for an event Perceptoscope was invited to called "The Future of Cities" at the Los Angeles County Museum of Art. It was down to the wire quashing all the bugs needed to get it ready to deploy, but thankfully we made it.
![]()
The Perceptoscope was given a prime spot between some folks from the MIT Media Lab and Jesús Rafael Soto’s kinetic sculpture "Penetrable". On the experience side, I had designed a simple story around El Aliso, the lost council tree of the original native people of the LA basin. Where the tree once stood is now an onramp to the 101, and via the Perceptoscope people could see a 3D representation of the tree in the space in front of them, and then jump to a 360 panorama of what its former site looks like today.
It was a great experience sharing the story of El Aliso and the latest Perceptoscope in a place that meant so much to me as LACMA. My hope now is to bring El Aliso more permanently back to life as a monument in the actual site where it stood.
After an exhausting sprint, I packed up the Scope and headed to Miami to present my findings to Knight for the Prototype Fund's Demo Day. There was still a lot of refinement left to do to get the project ready to scale, but it felt good to share what we had been able to accomplish in such a short sprint.
I started planning for the next few Scopes, and working to set up some more deployments around the city. If I really wanted this to be effective, we'd need a minimum of three scopes to be able to take over a location. Either way, it was time to focus on getting this out of my apartment and into the world.
-
DesignLab Week 3 Update
07/22/2016 at 22:10 • 0 commentsThis week at the DesignLab was mostly about design refinement and training for the heavy duty tools.
I picked up the yokes for the new Scopes from the pipe bender. It should be a much faster way to produce new units quickly and cost effectively. They seem to fit the bearing blocks I printed a while back fairly well too.
![]()
The final bearing blocks will be milled out of aluminum, so I did some training to get up to snuff on the Tormach CNC we have in house.
![]()
![]()
It's going to take a little finesse to get my bearing block design ready to be milled, but I'm excited to see what this CNC can do.
With the supply chain side of my optics fairly figured out, I've been iterating on the housing design a bit. I'm getting fairly close to having something production ready for these next few units. The question will be whether to stick to printing them or start experimenting with resin casting, injection molding, or milling them out of aluminum on the CNC.
![]()
-
The Noble Beamsplitter
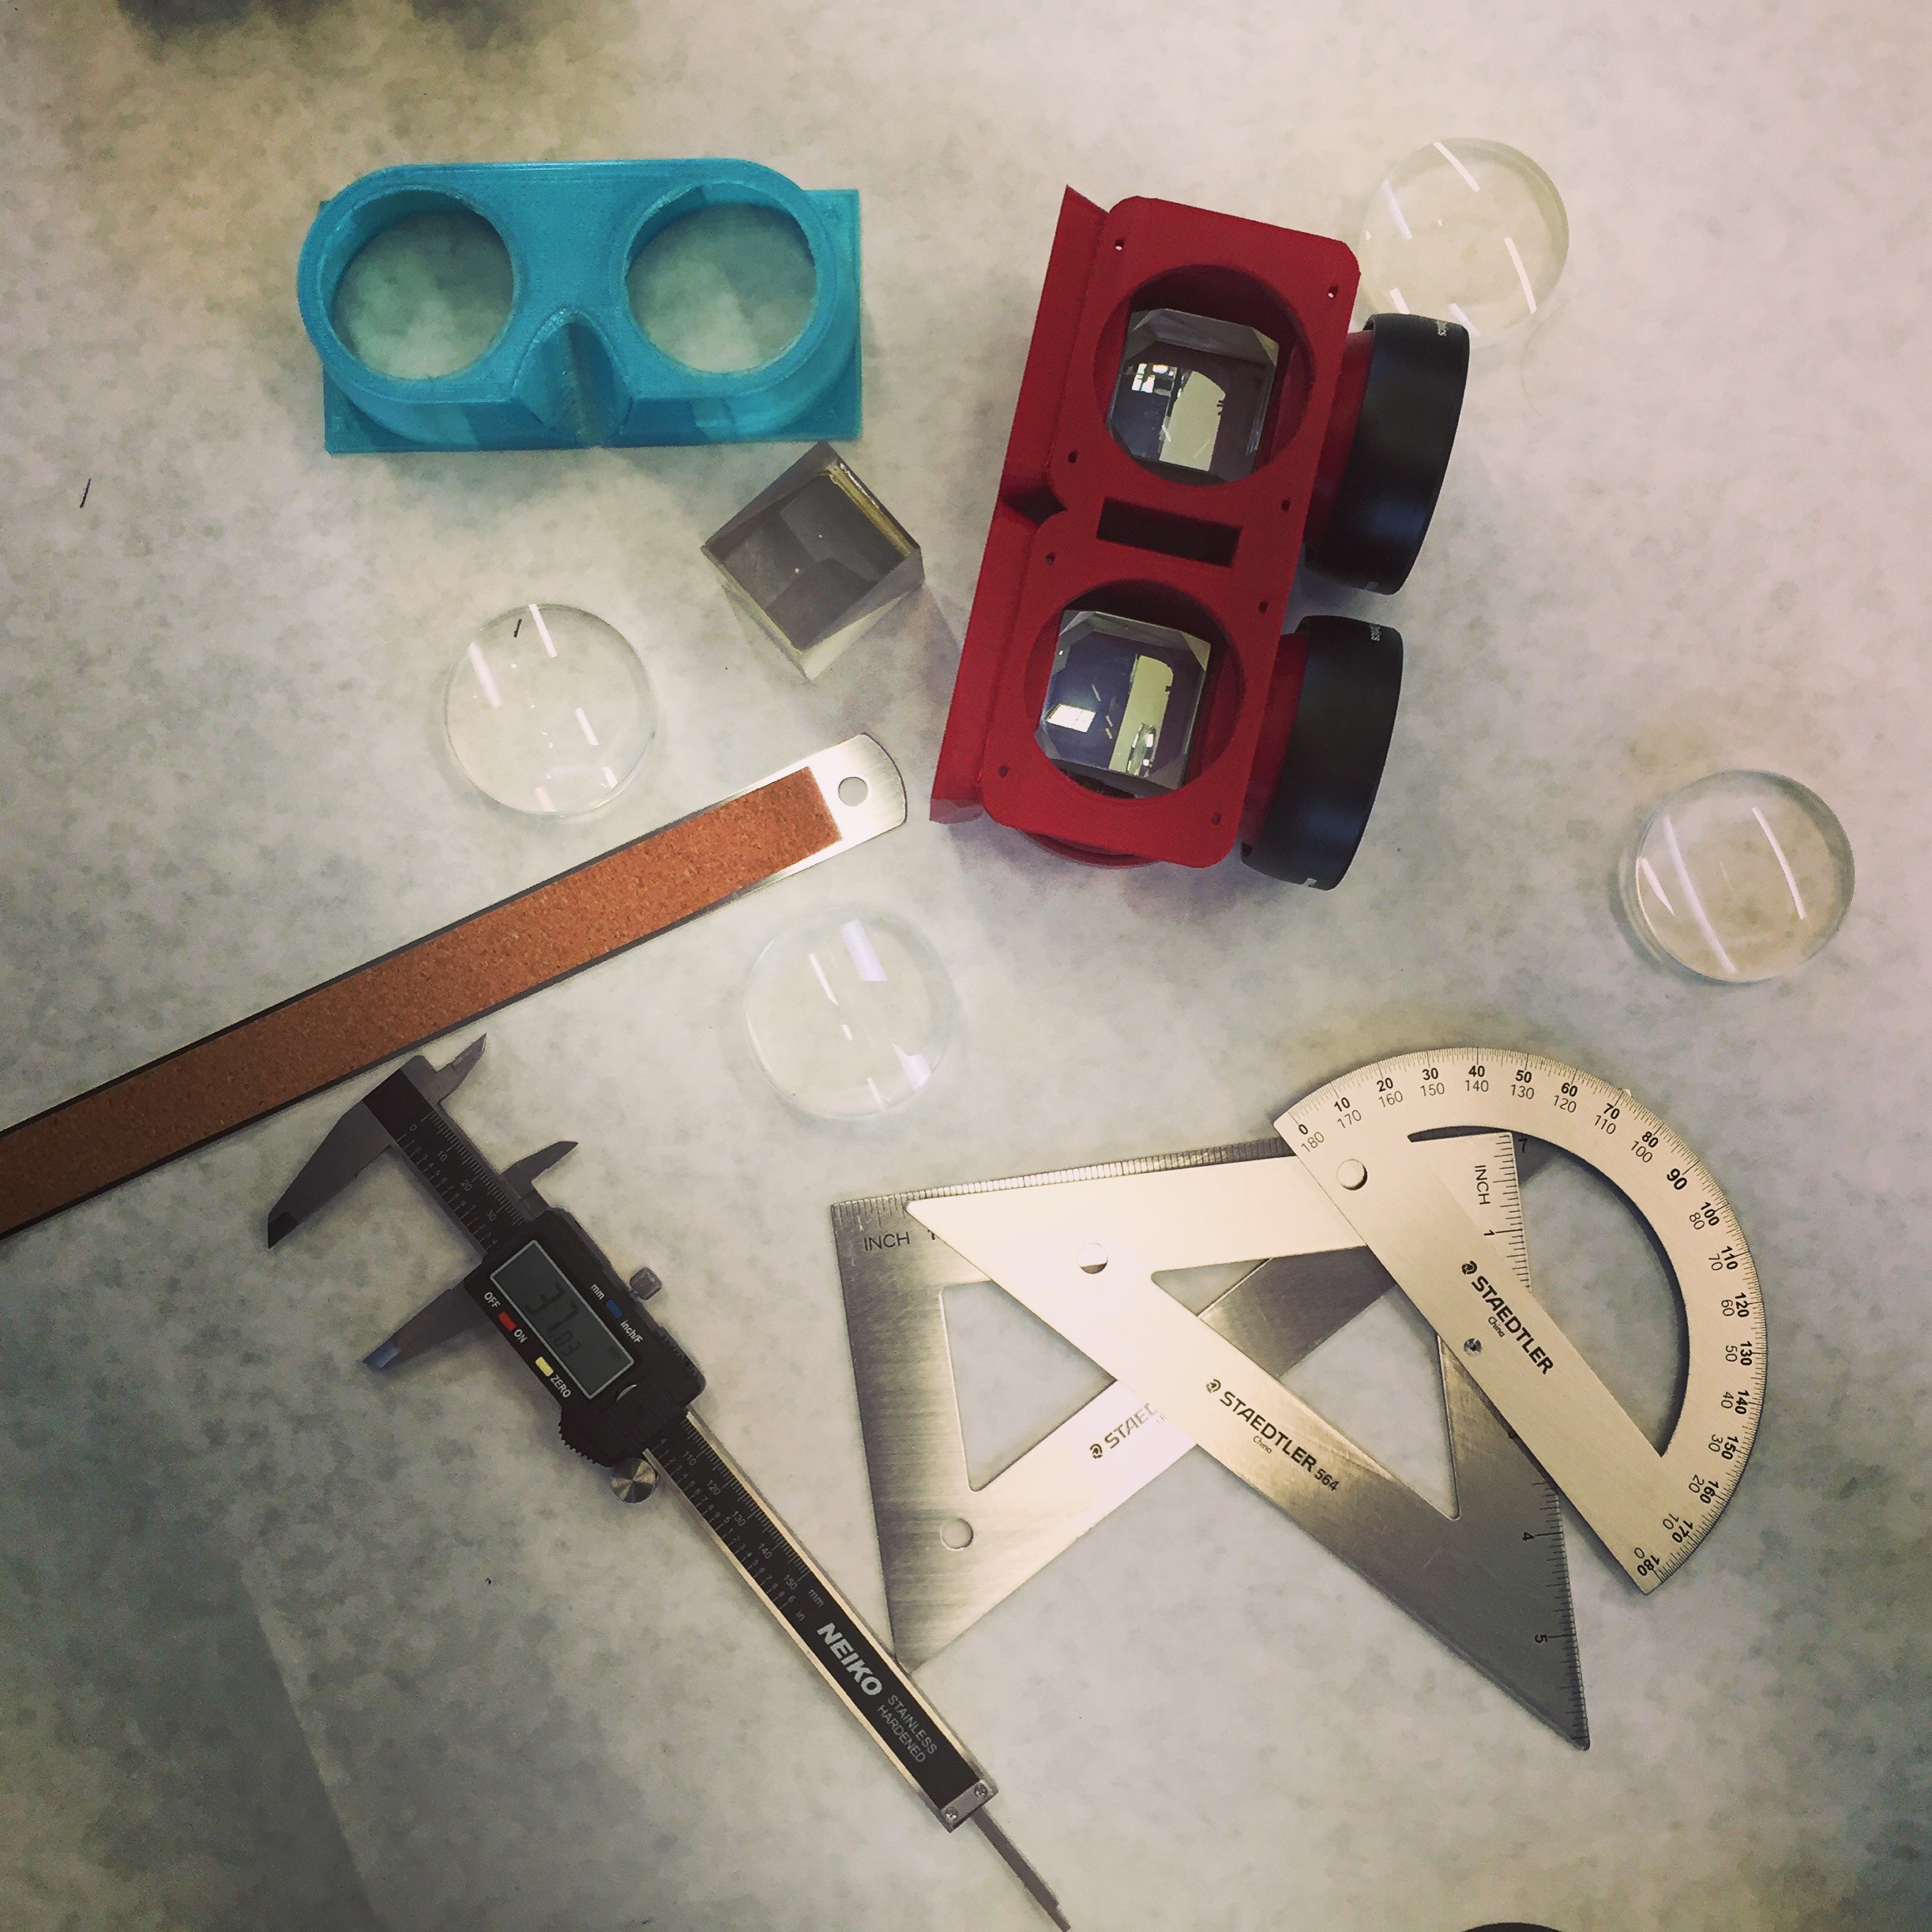
07/16/2016 at 07:42 • 0 commentsThe heart of a Perceptoscope is made of glass.
More specifically an assembly of prisms and lenses. This week I took the opportunity to experiment with some new approaches to building the crystal that sits center.
![]()
Beamsplitter cubes were always an especially difficult optical component to source at the specifications I needed. Funny enough if I glue them together, right angle prisms are fairly easy to get.
![]()
![]()
My original assembly was never really designed with manufacture in mind. I needed to think of something easily reproducible for the supply chains I could establish.
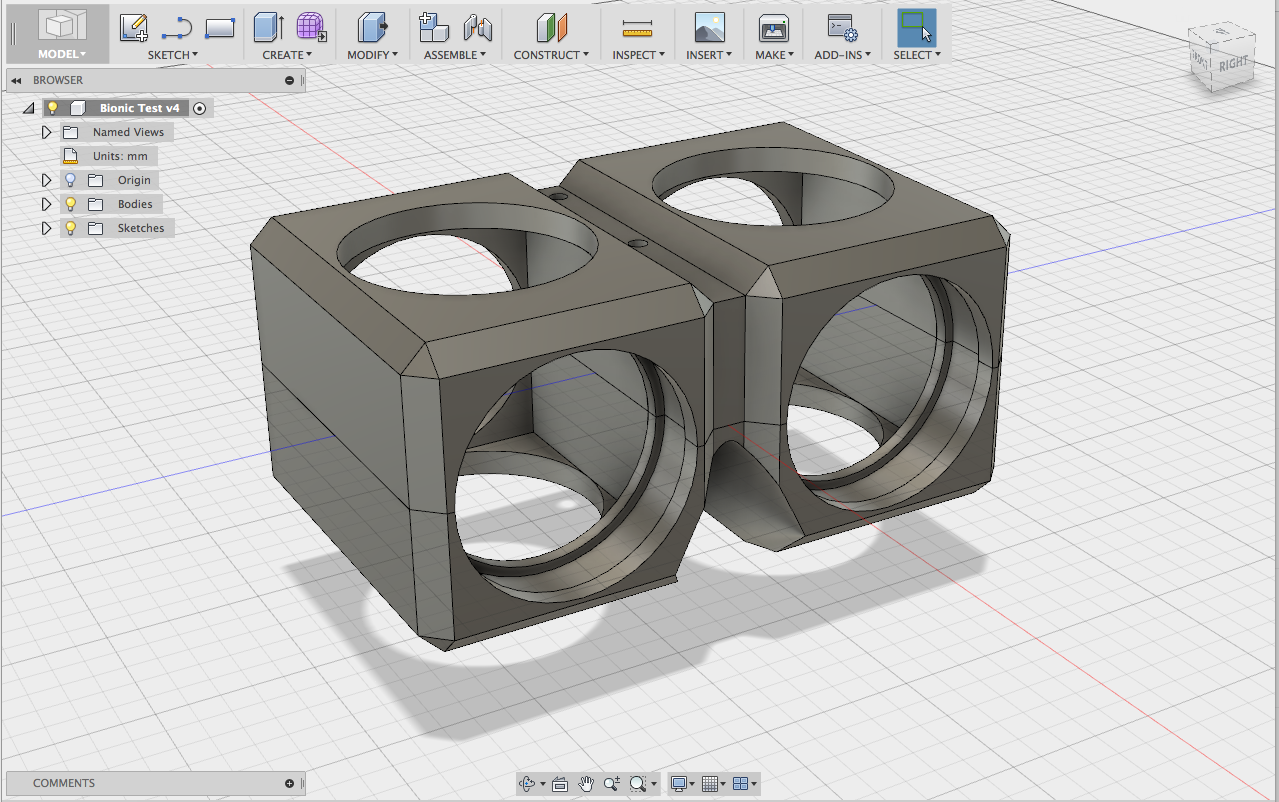
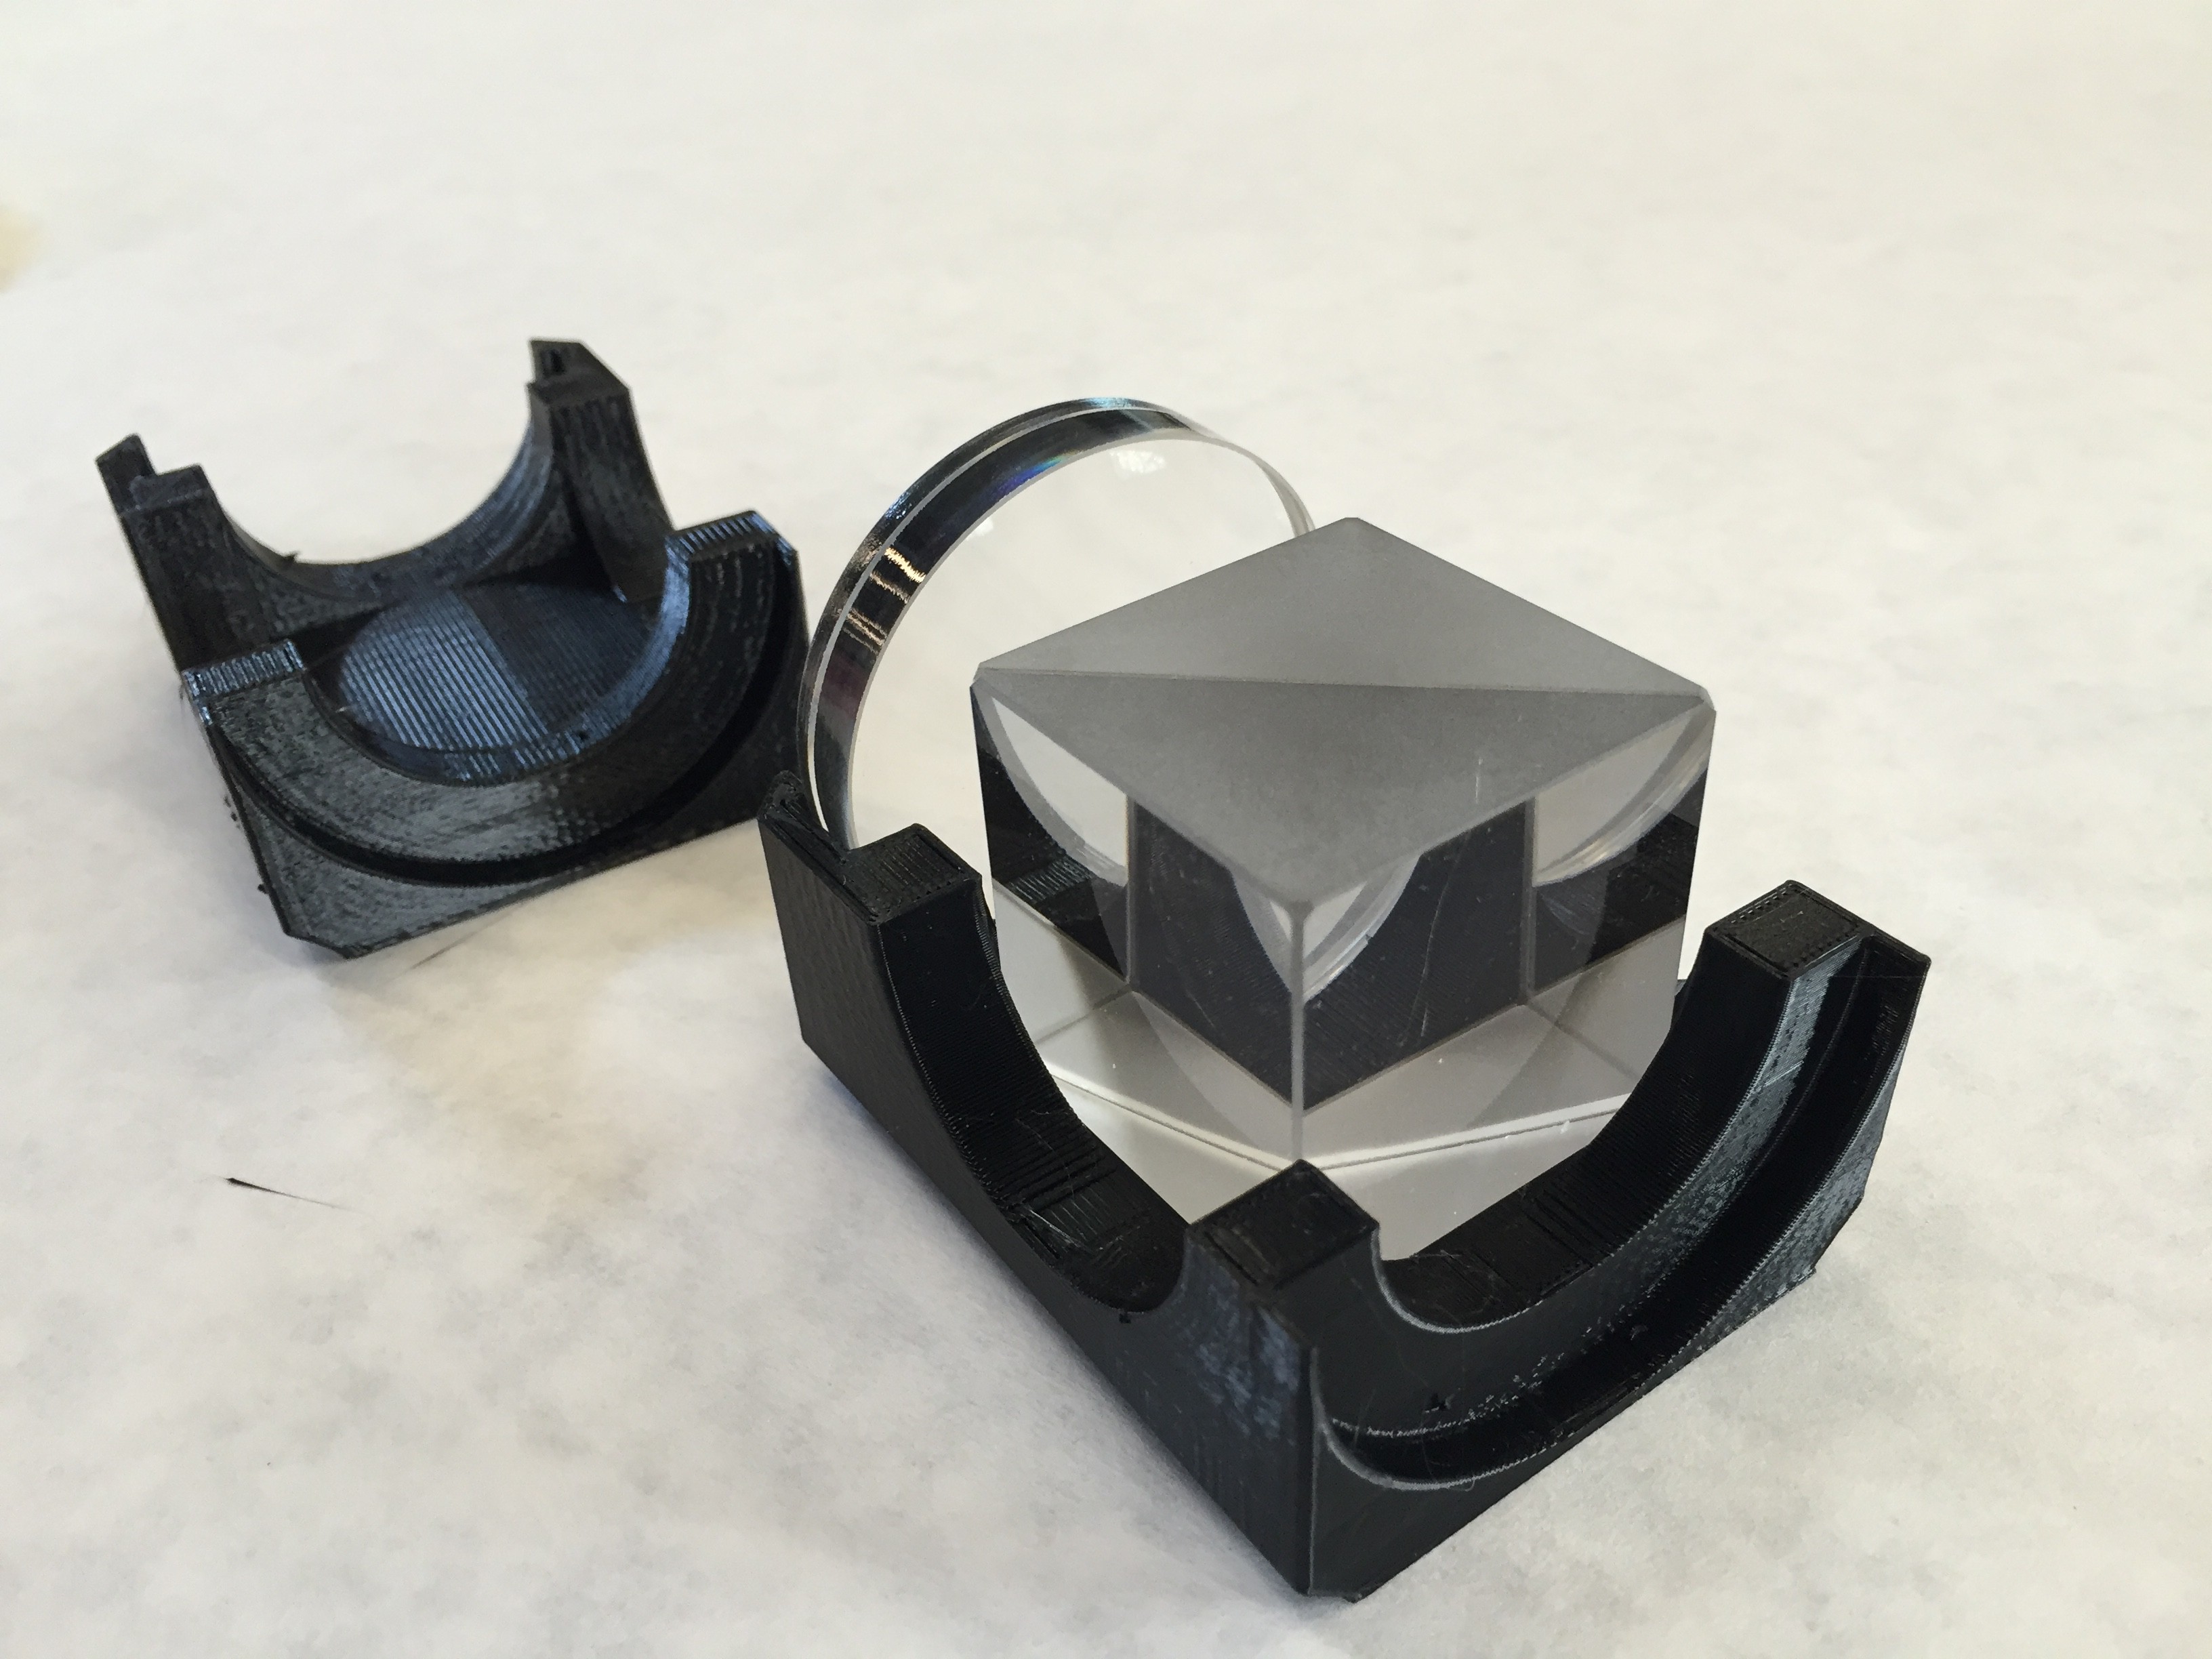
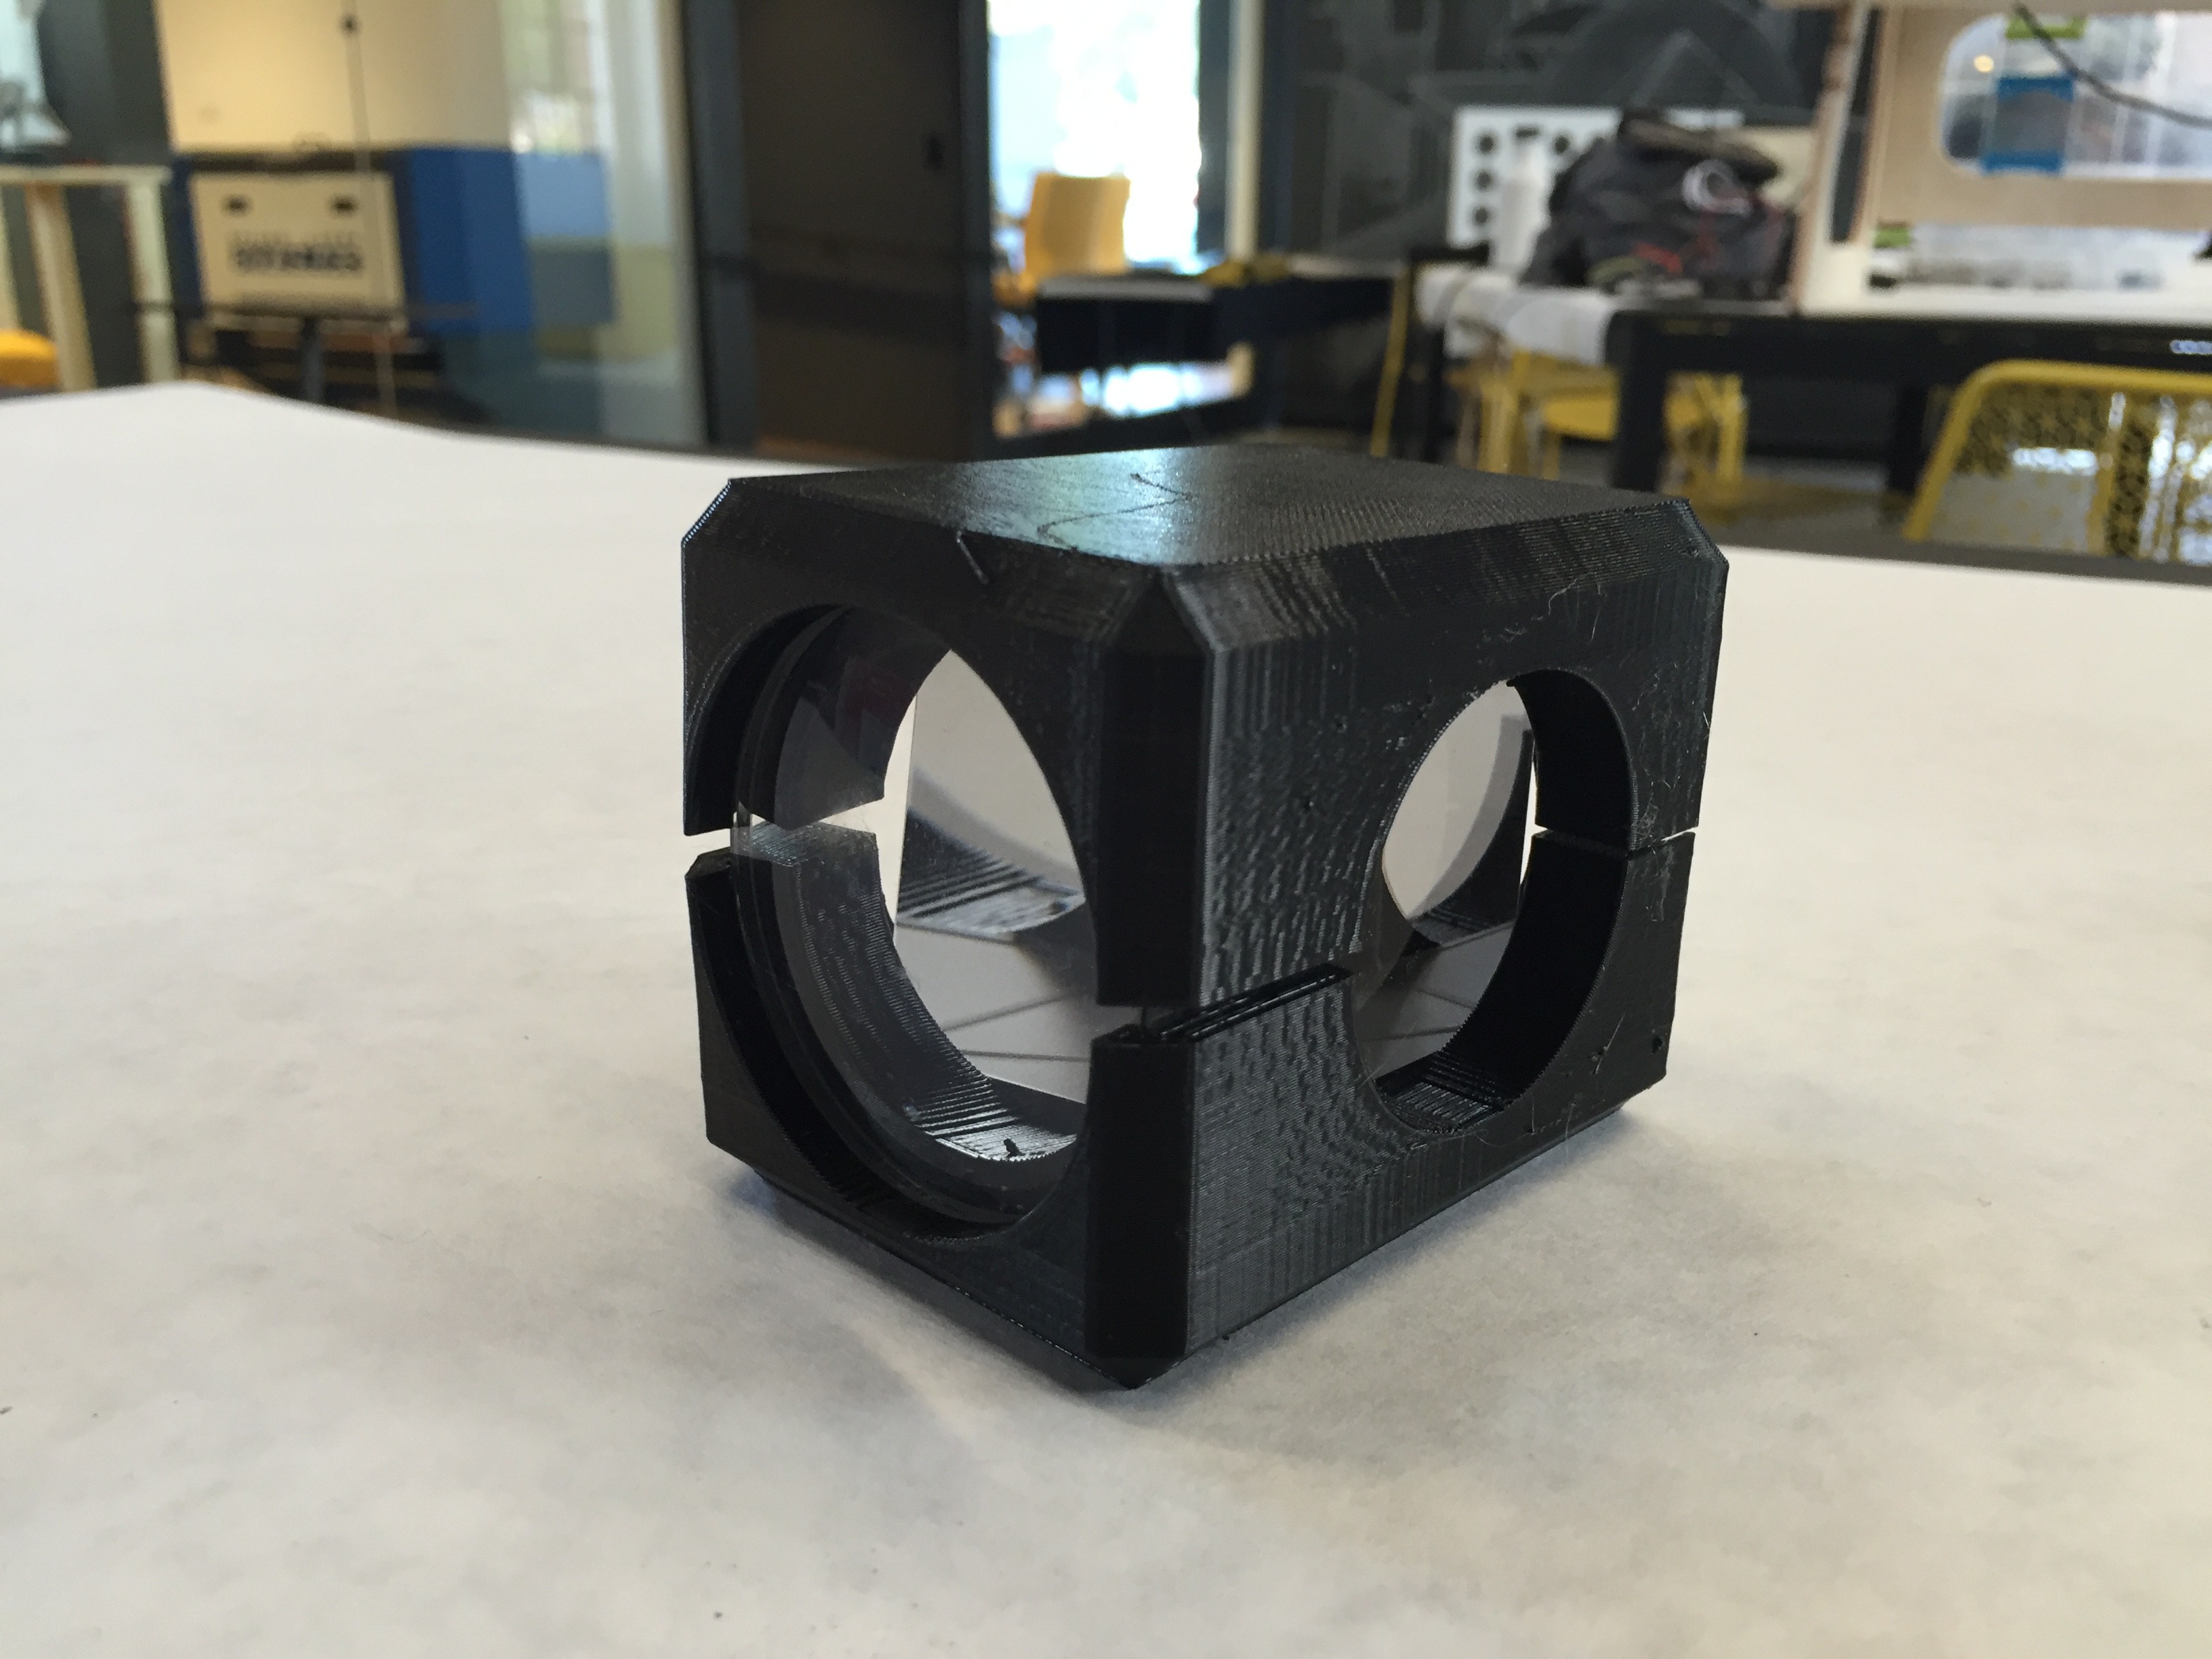
I had an idea for a new type of shell that would close around the optics to hold their alignment, so I mocked up a prototype monocle with some components I had laying around.
![]()
![]()
![]() This should work fairly well as an approach to the final assembly. I can really optimize the optical properties quickly for a set of given components too.
This should work fairly well as an approach to the final assembly. I can really optimize the optical properties quickly for a set of given components too.
Perceptoscope
A public viewing device for mixed reality experiences in the form factor of coin-operated binoculars.


 This should work fairly well as an approach to the final assembly. I can really optimize the optical properties quickly for a set of given components too.