 body interaction team
-
11Step 11
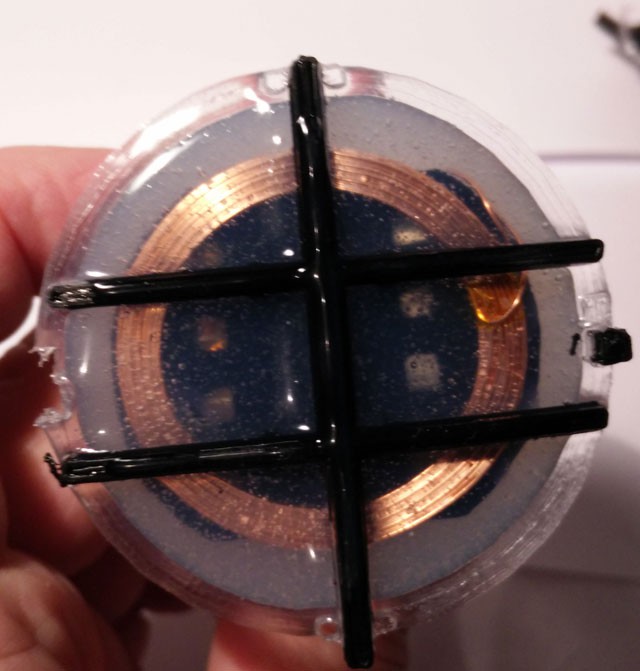
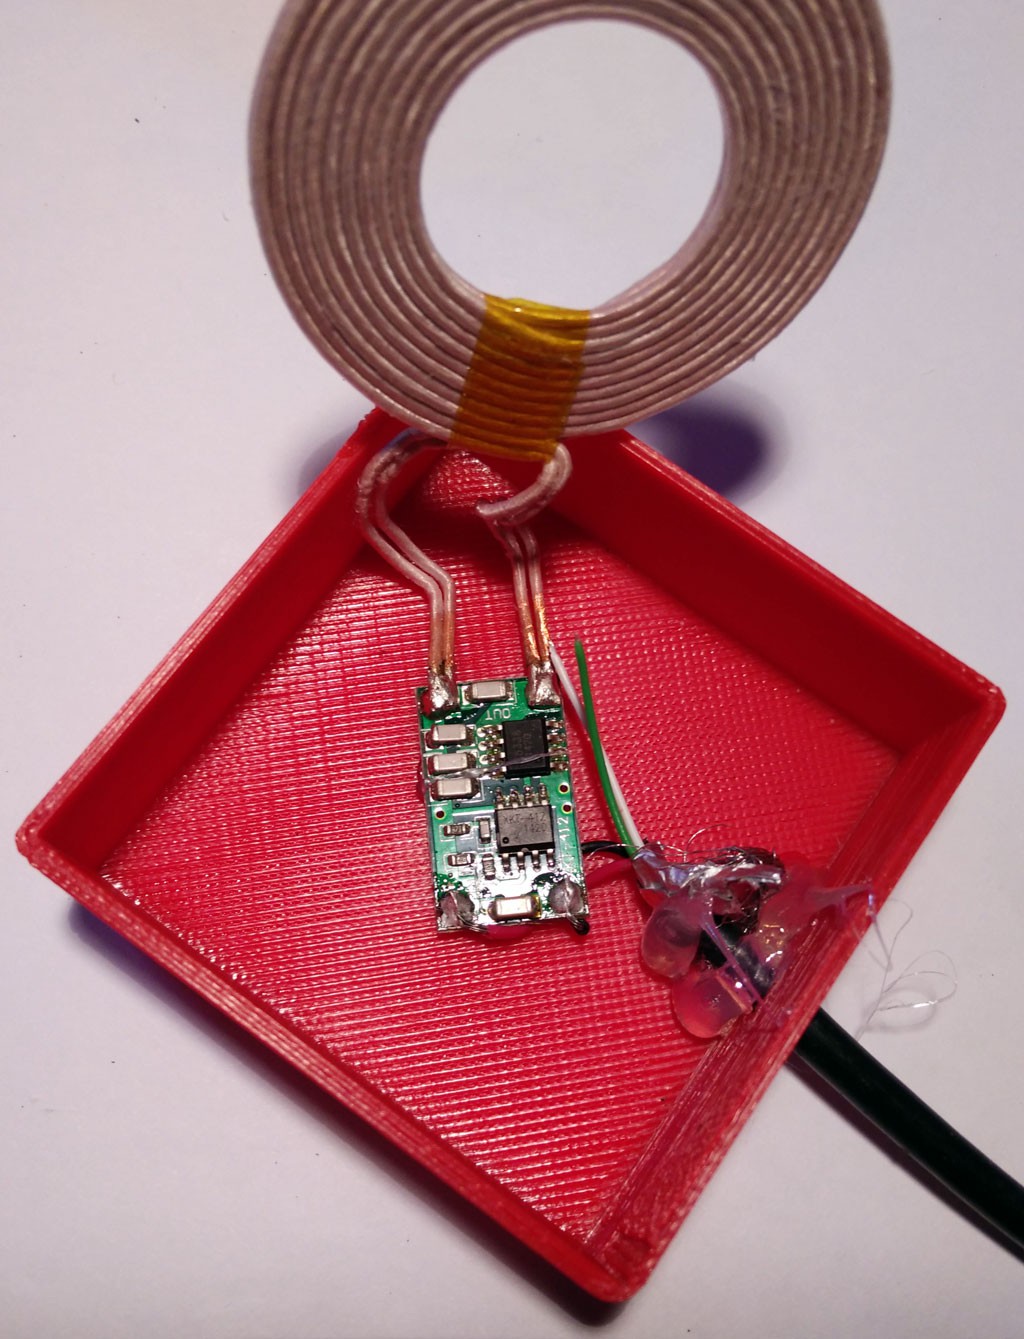
Test the wireless charging. The orange LED must be on when both coils are near together.
![]()
-
12Step 12
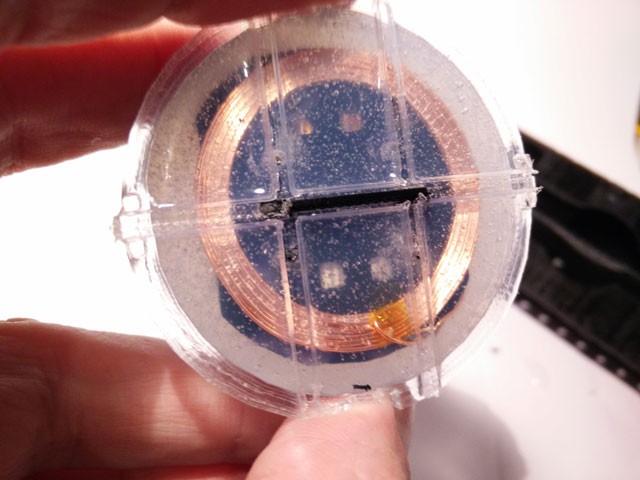
Remove the mounting.
![]()
![]()
Now your wireless vibrator is ready. If you like you can build a charging station.
-
13Step 13
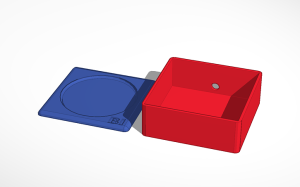
Optional: Build a charging station.
Print out both parts.
![]()
-
14Step 14
Cut a USB cable. Plug the cable through the hole of form B.
-
15Step 15
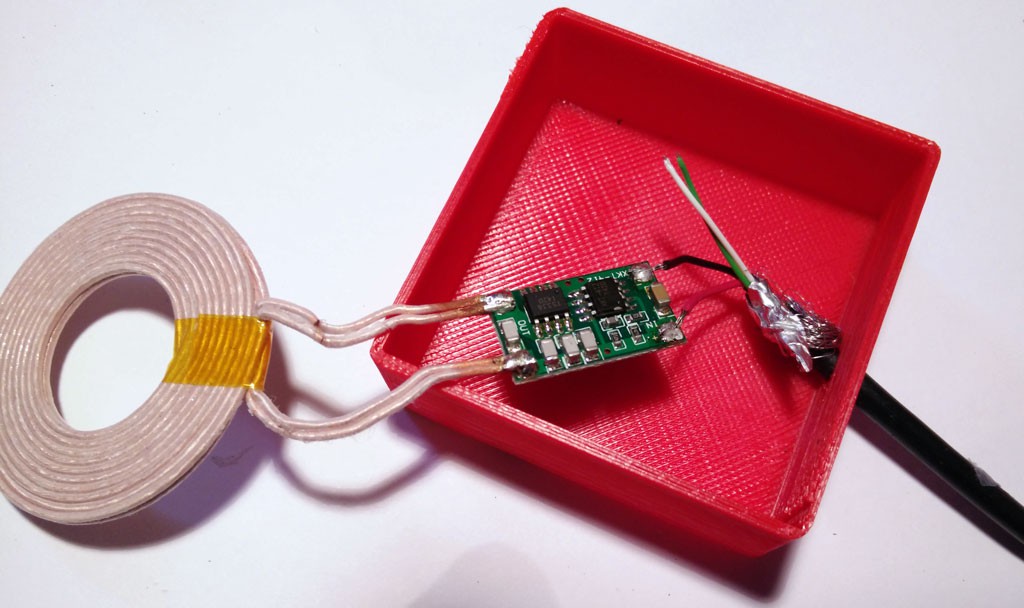
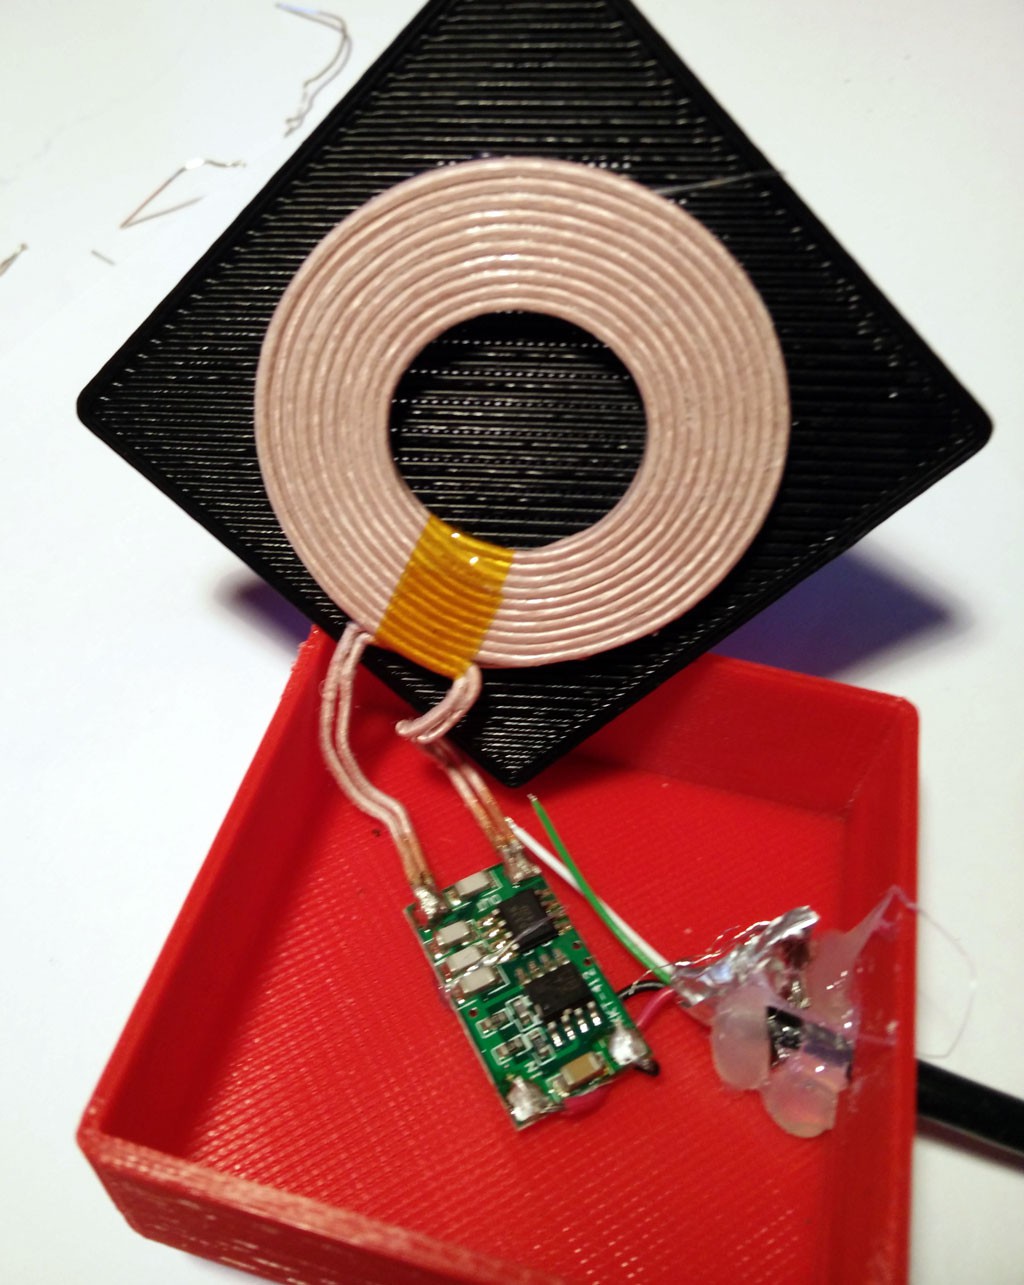
Now connect the USB wires with the sender module. Solder the red wire to the (+) pad on the wireless charging sender. Solder the black wire to the (-) pad.
![]()
-
16Step 16
Glue the sender board on the bottom of the red form. Put some glue on the cable to fix it. We used hot glue.
![]()
-
17Step 17
Now glue the black form and the sender coil together. We used simple “UHU”-like glue. If the distance between coil and form is too large the charging could be rather slow. So don’t use too much glue.
![]()
-
18Step 18
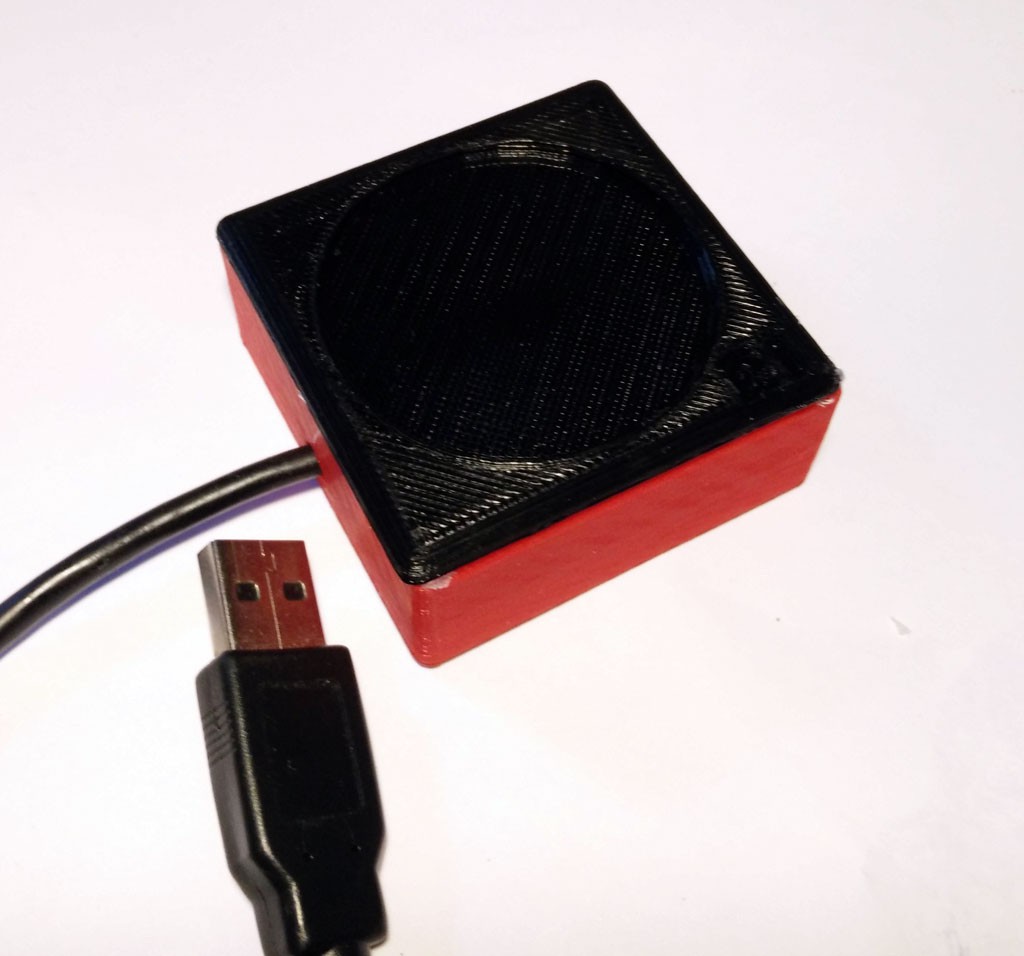
Now put together both parts. Again we used a simple glue.
![]()
-
19Step 19
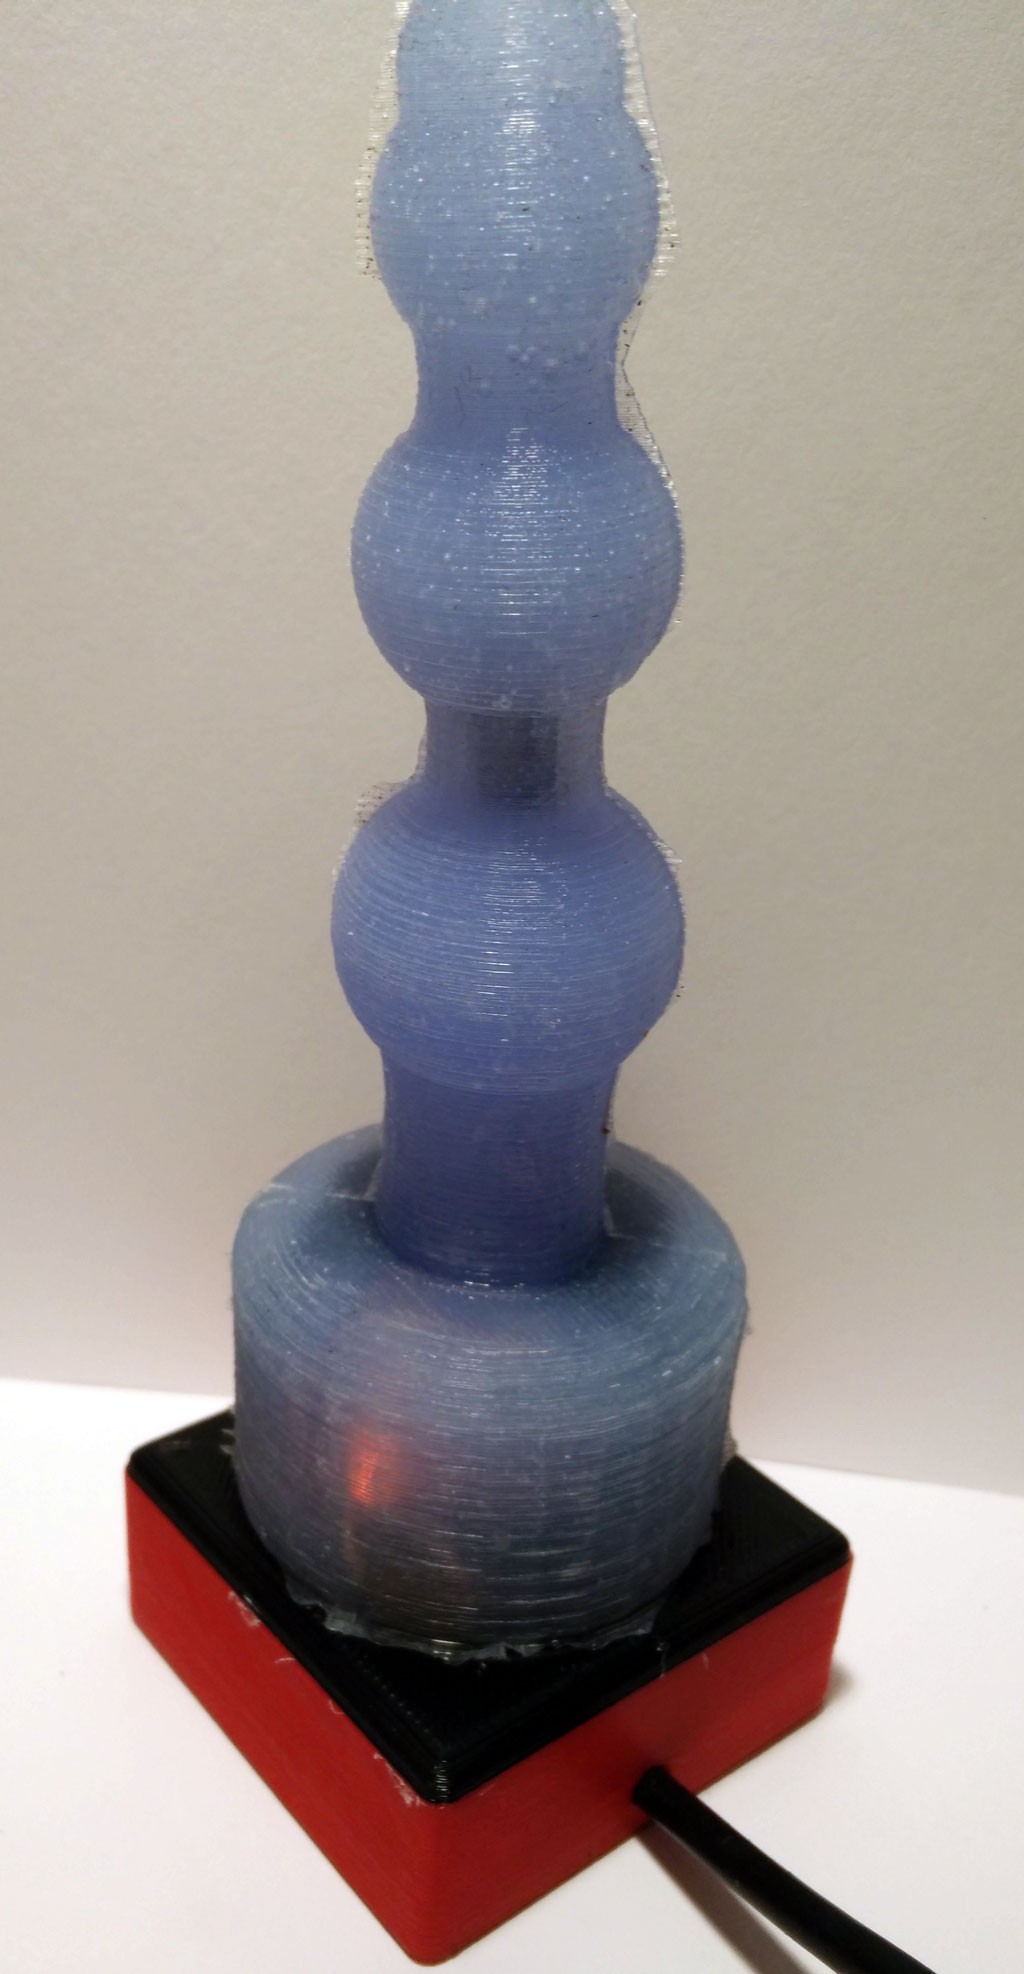
Insert the USB connector to your PC or any other source. Now the vibrator should be charged which is indicated by an orange LED.
![]()
Ready! Have fun with your collection of wireless DIY Arduino-compatible vibrators.
Wireless Arduino-powered Vibrator
Building your own silicone molded vibrator. Use a 3d printer for printing the form. Drive the vibration motor with a Arduino board.

Discussions
Become a Hackaday.io Member
Create an account to leave a comment. Already have an account? Log In.