Close
0%
0%

Vendotron

A vending machine that allows purchases of items via mobile phone or bitcoin

Similar projects worth following
Vendotron is a machine/service that allows one to use their mobile phone to pay for items in a vending machine, such as electronics kits/dev boards at a makerspace.

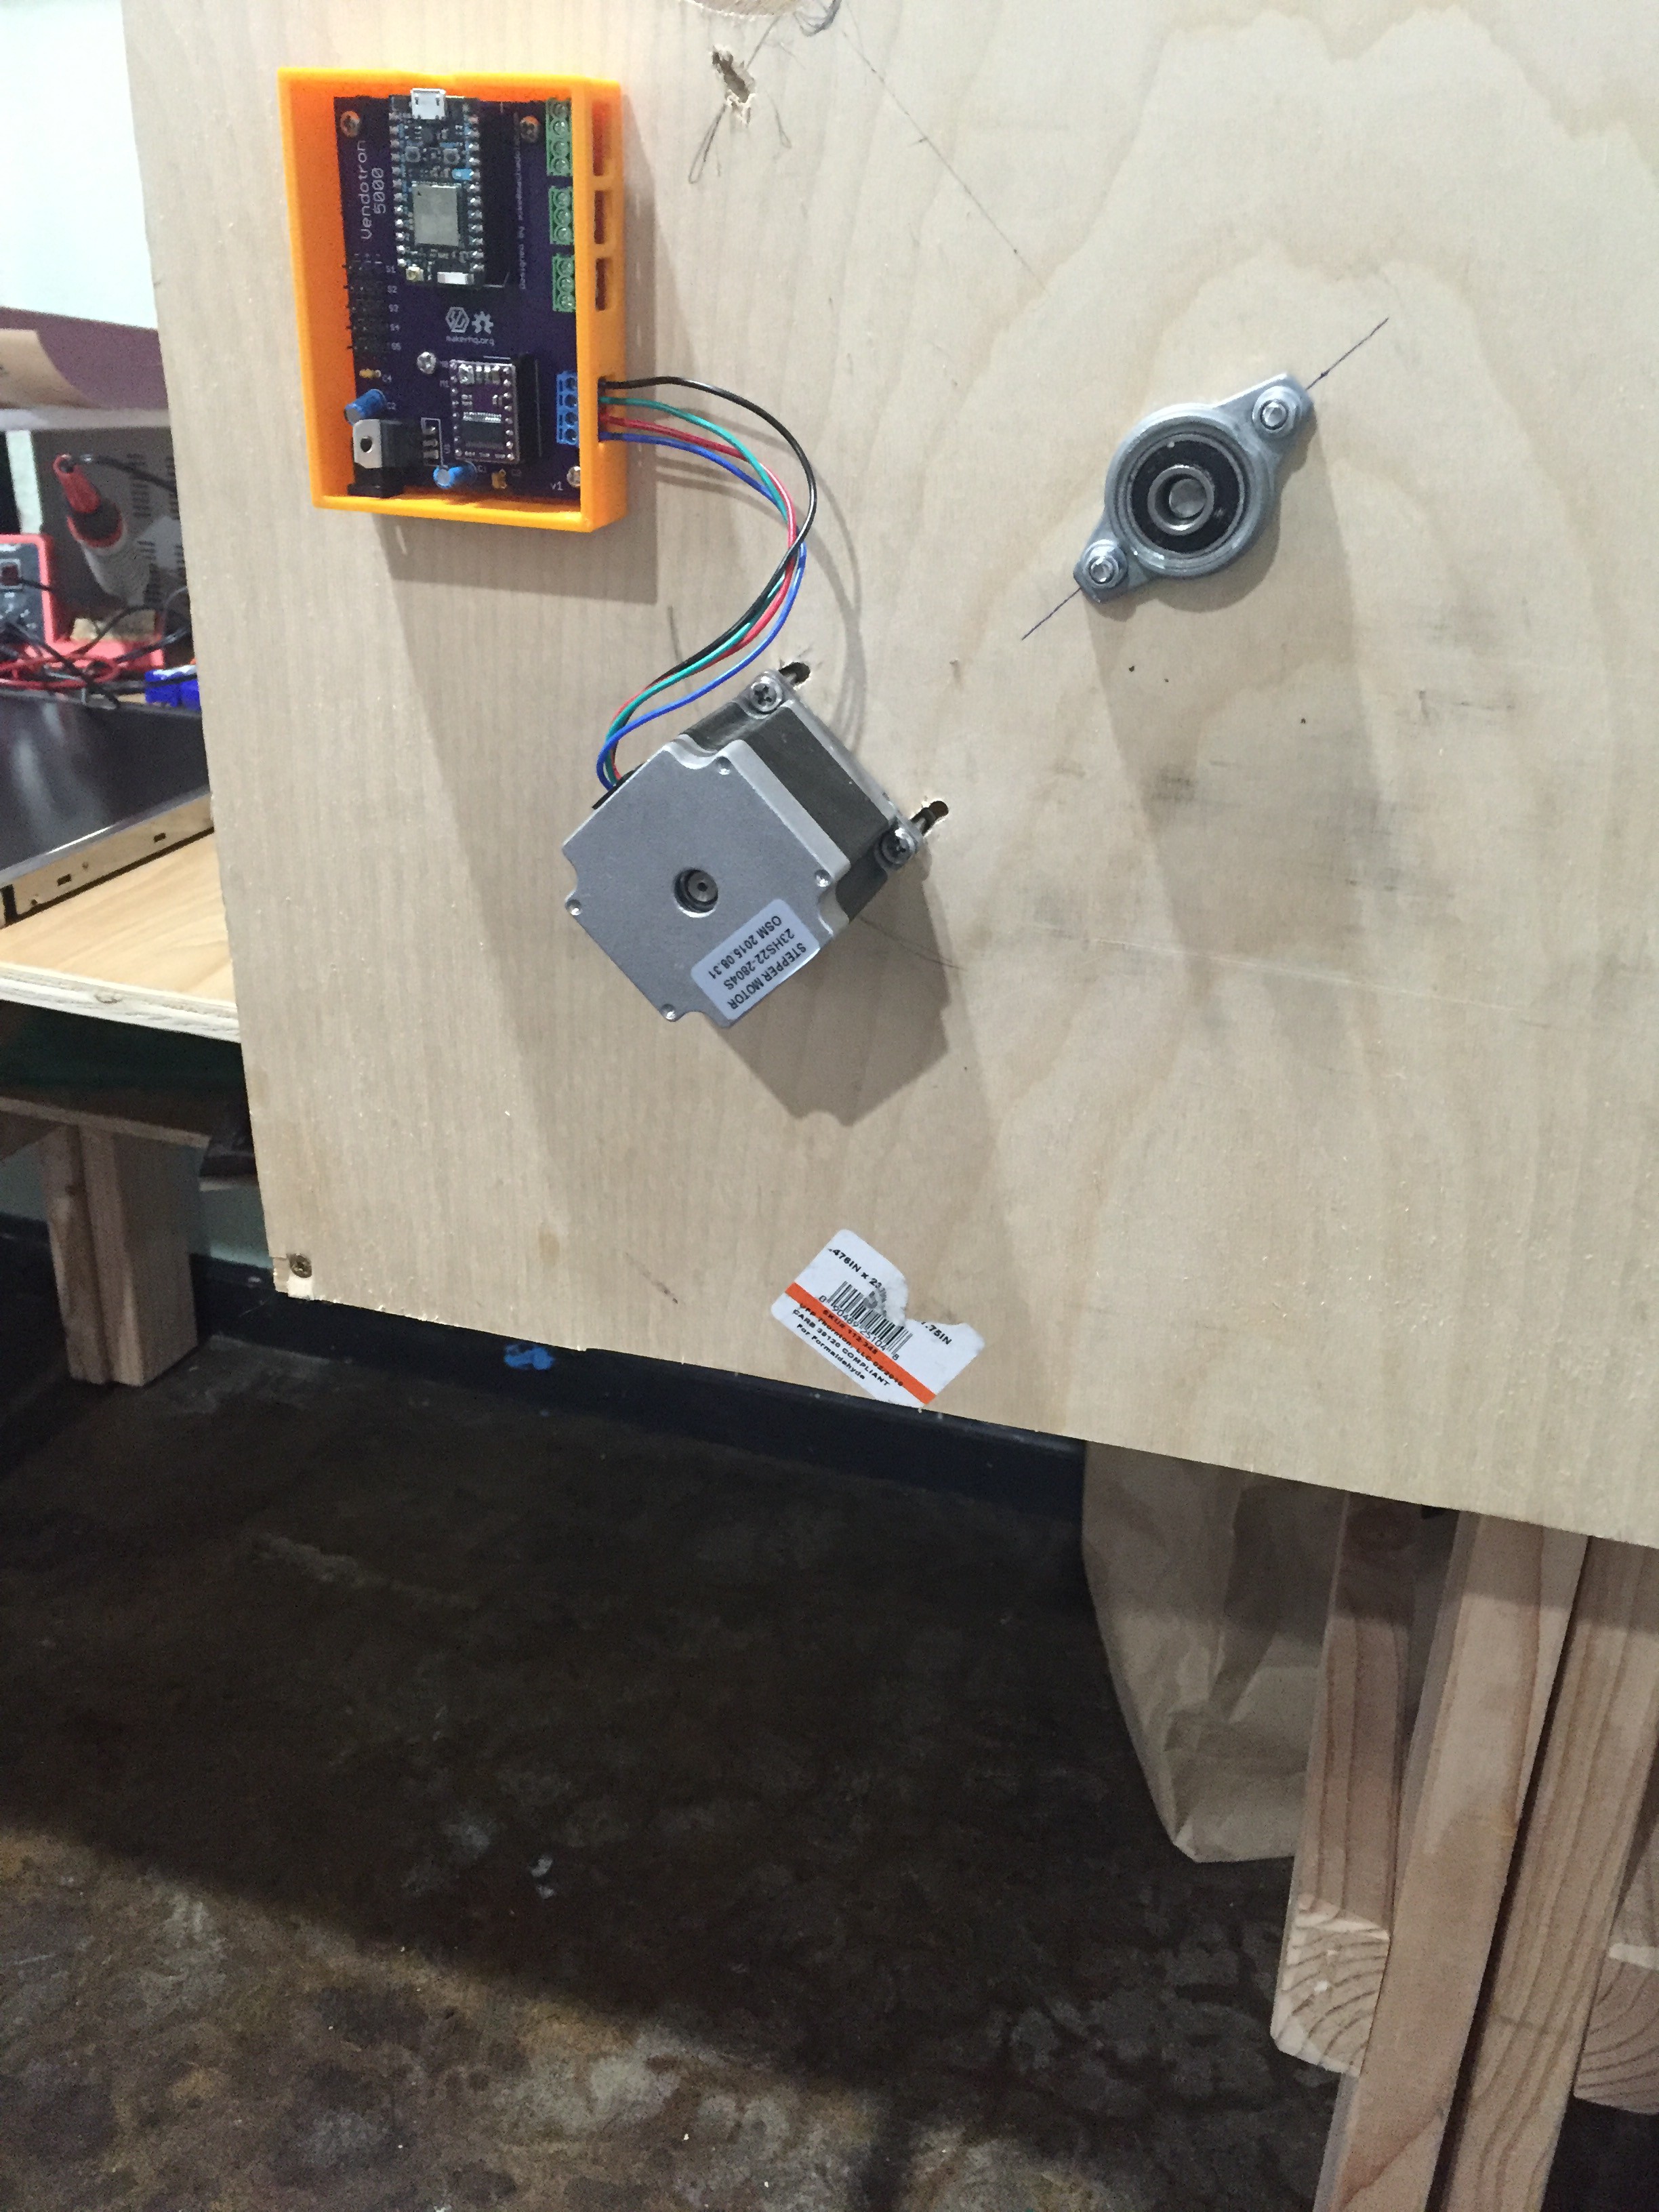
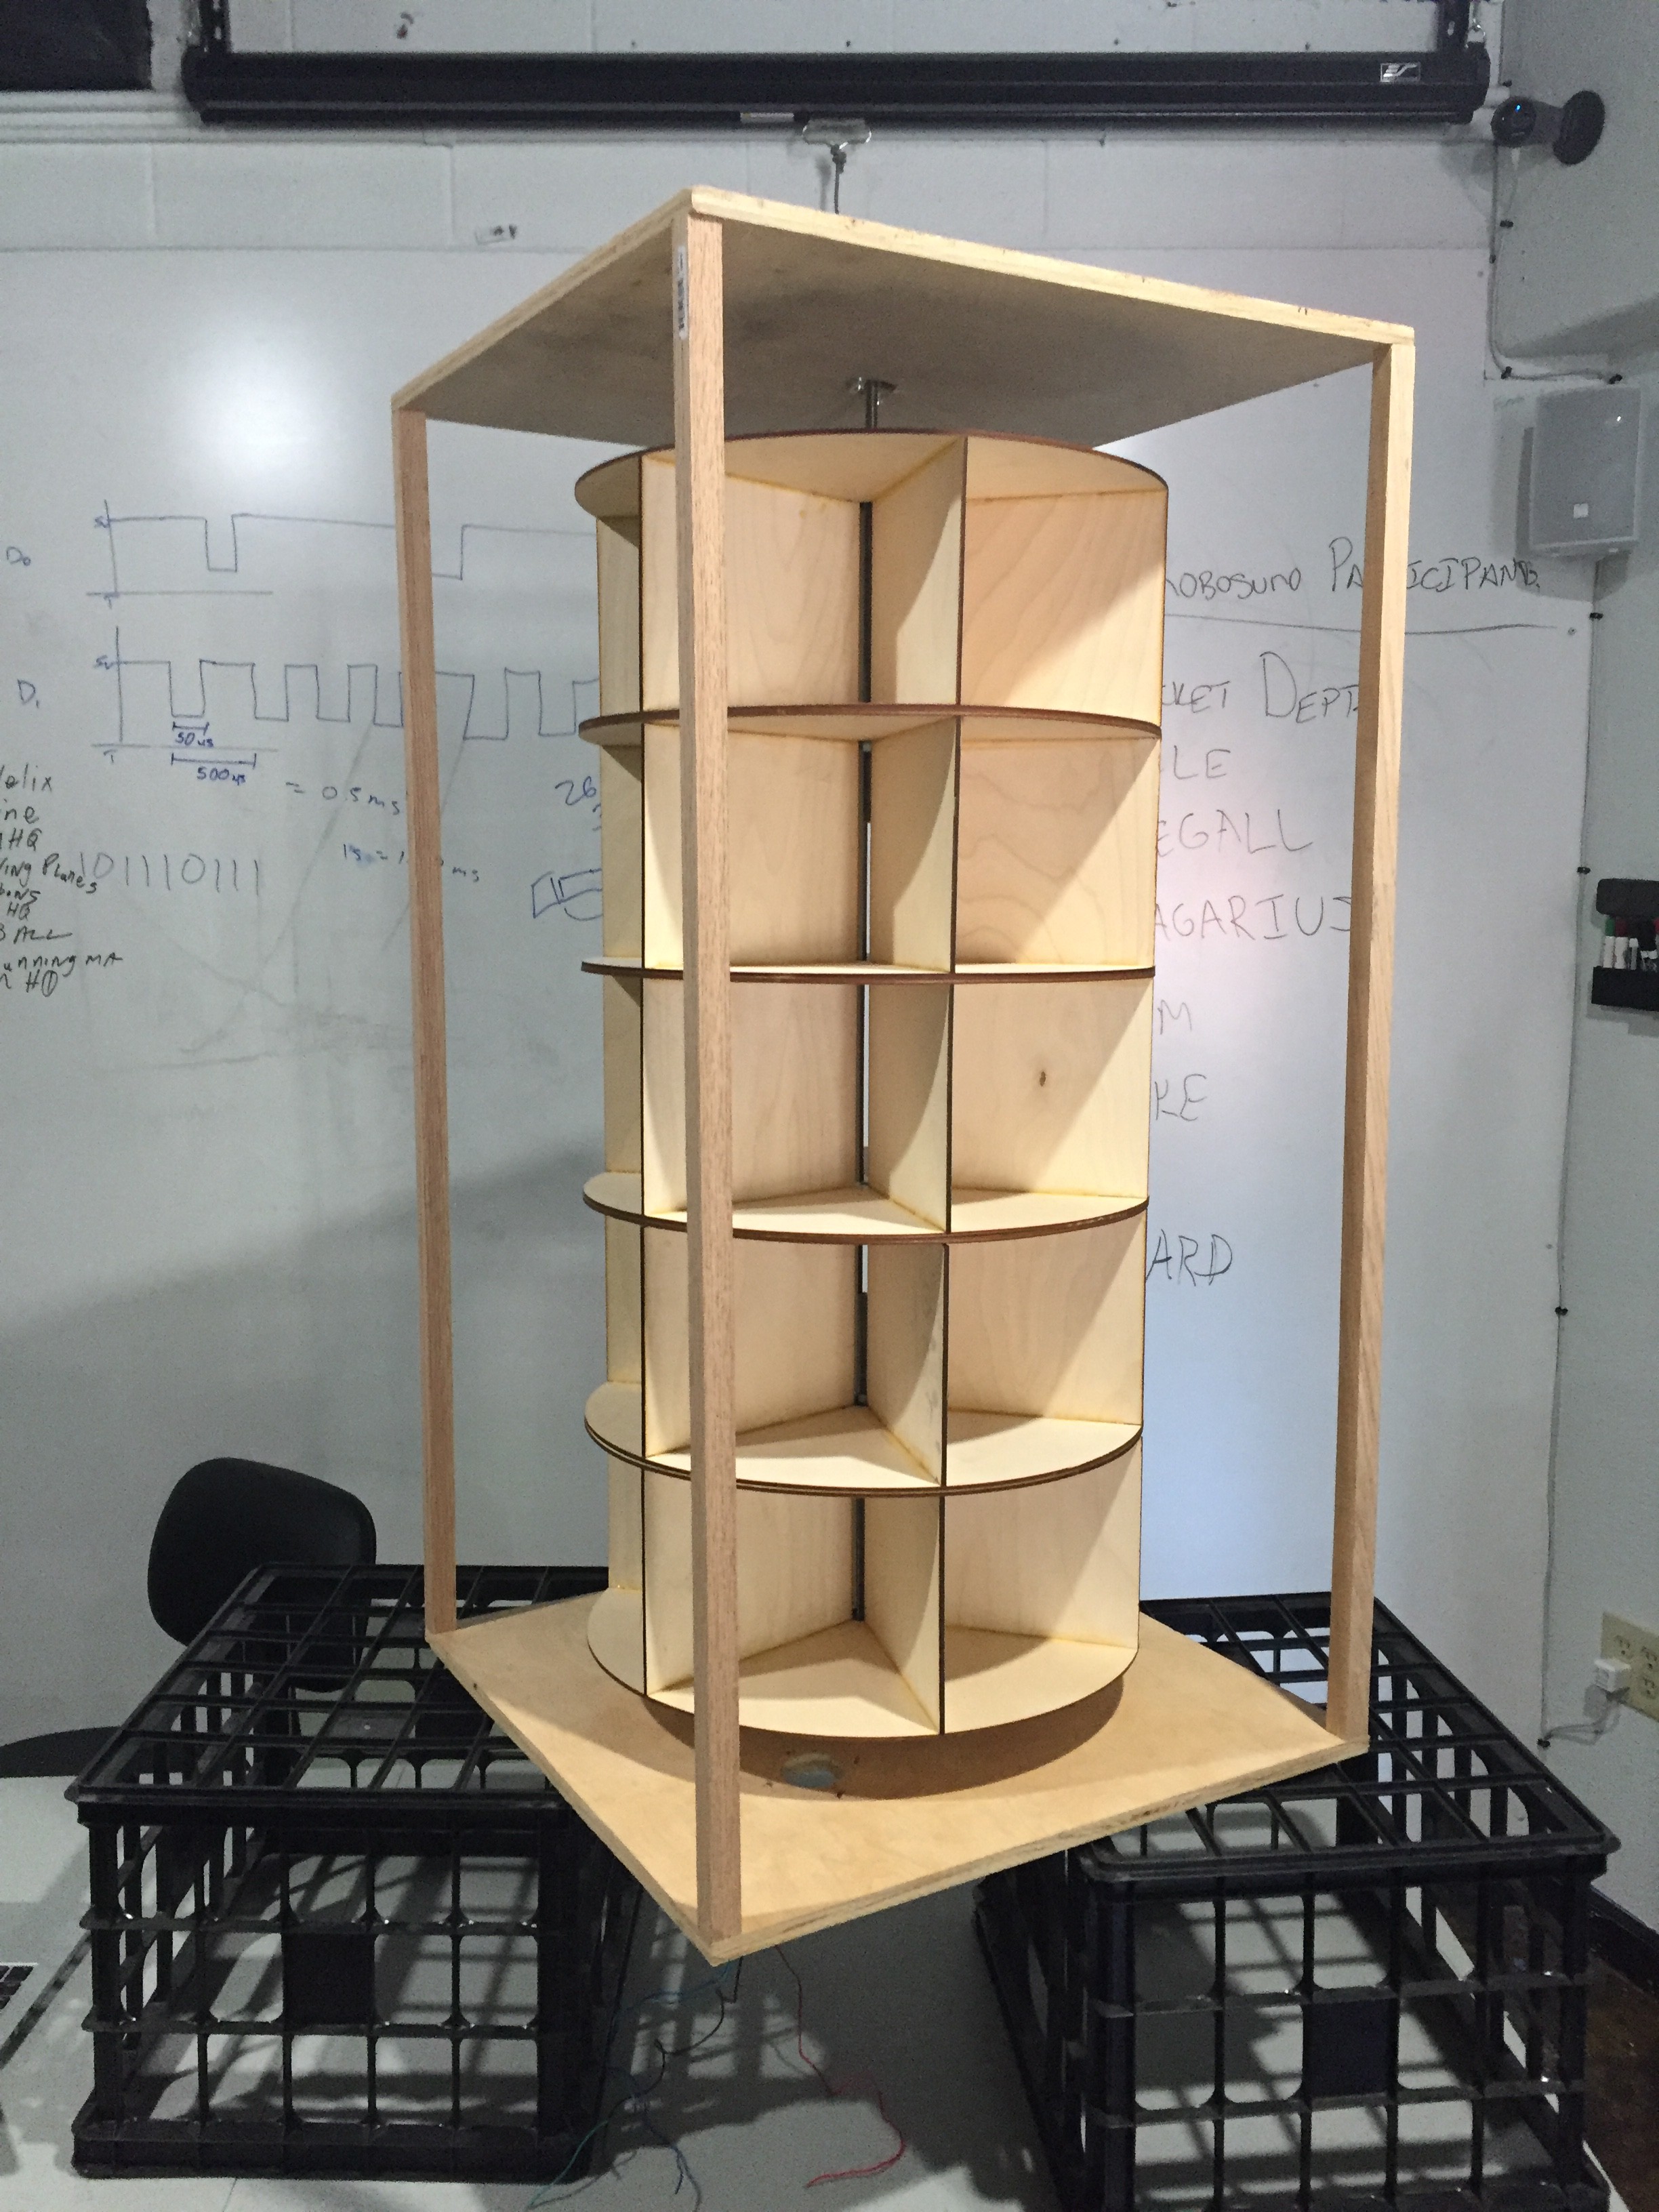
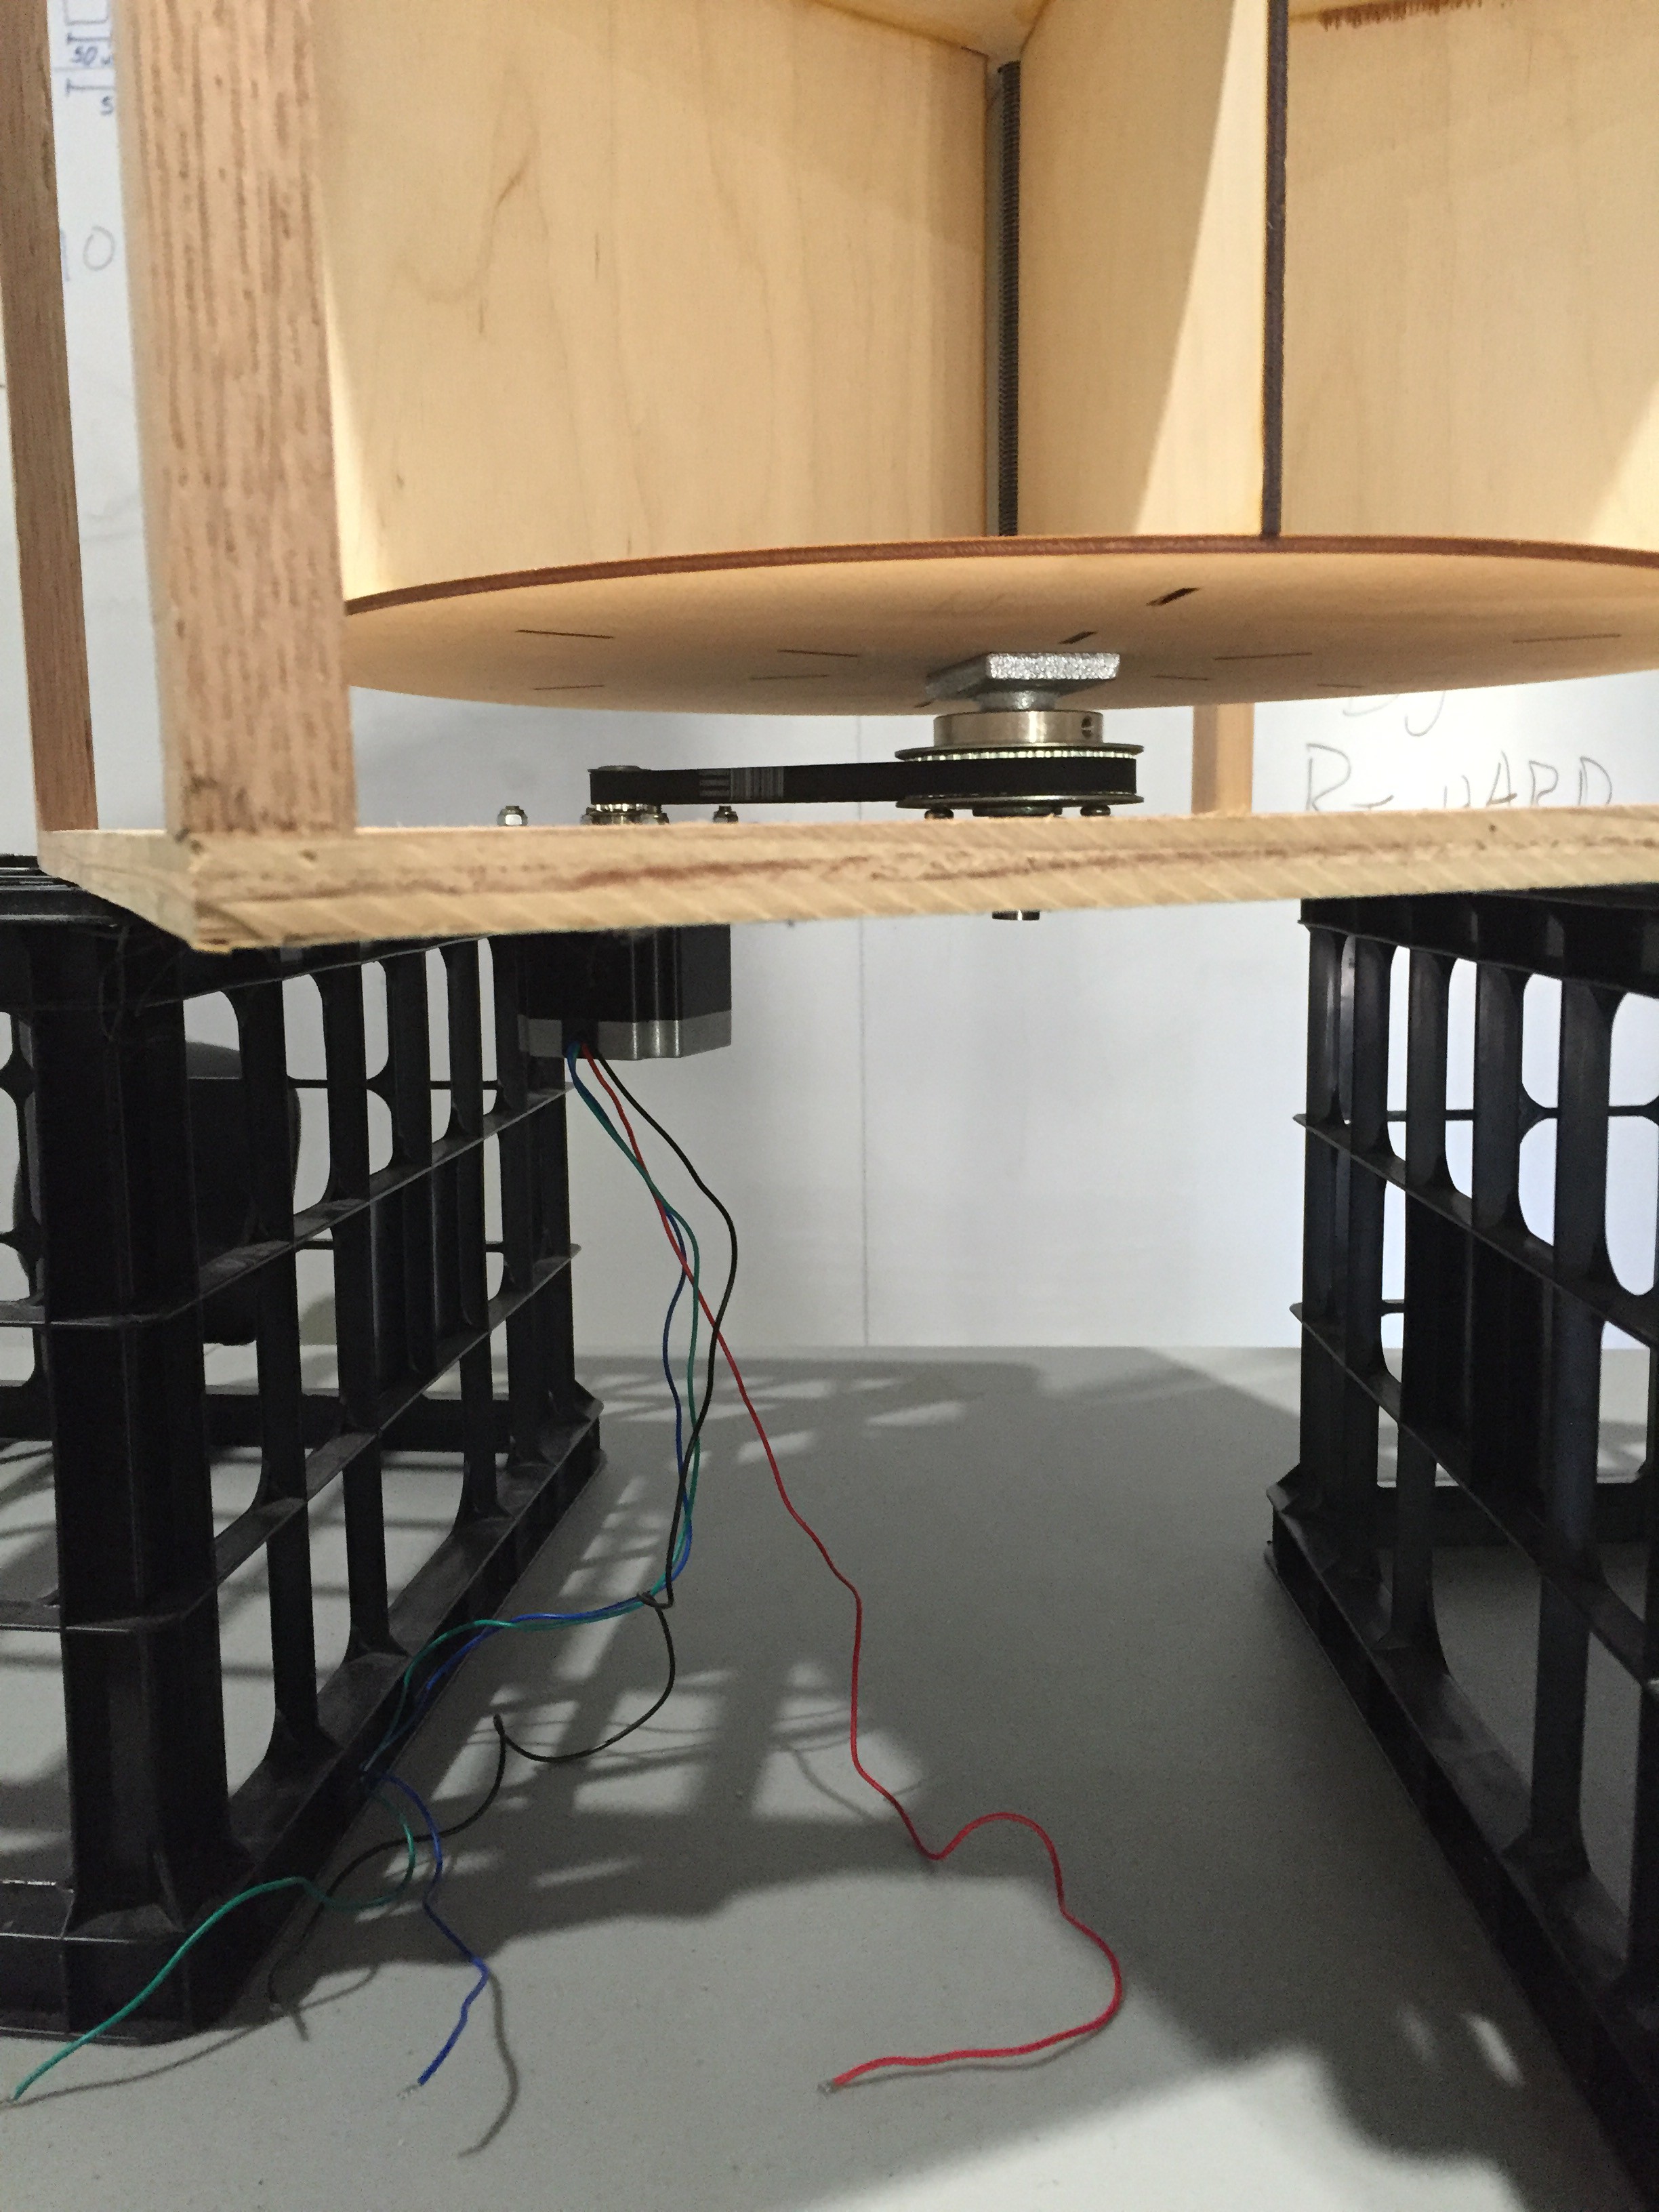
Vendotron is a carousel-style machine with a belt driven gear system to control the rotation. It is connected to a stepper motor driven by a pololu stepper driver on a custom circuit board. The microcontroller is a particle photon. The idea is that one can browse the inventory available on their mobile device, pick an item, see the details about it, and then make the purchase. The backend app will then perform the payment transaction and then send an event to the photon, indicating which column/row was purchased, and then spin the machine to that column, and then unlock the door for that row.

Once the item is removed from the machine, and it detects all the doors are latched, it will go back into browse mode where one can use the front buttons to spin the carousel to see the items, as well as make an additional purchase.

The target audience for this machine is makerspaces that want to offer kits/dev boards to their members such as arduinos, raspberry pi's, learn to solder kits, etc. Rather than having to deal with cash and have someone available to buy the items, members can make purchases and obtain their item all on their own.

  • Its ALIVE!

    Mike Machado10/10/2016 at 07:00 0 comments

    After months of design, redesign, coding, laser cutting, waiting for parts to be delivered (many times over), its always feels great when your creation starts to take real shape and you can feel the original vision coming alive!

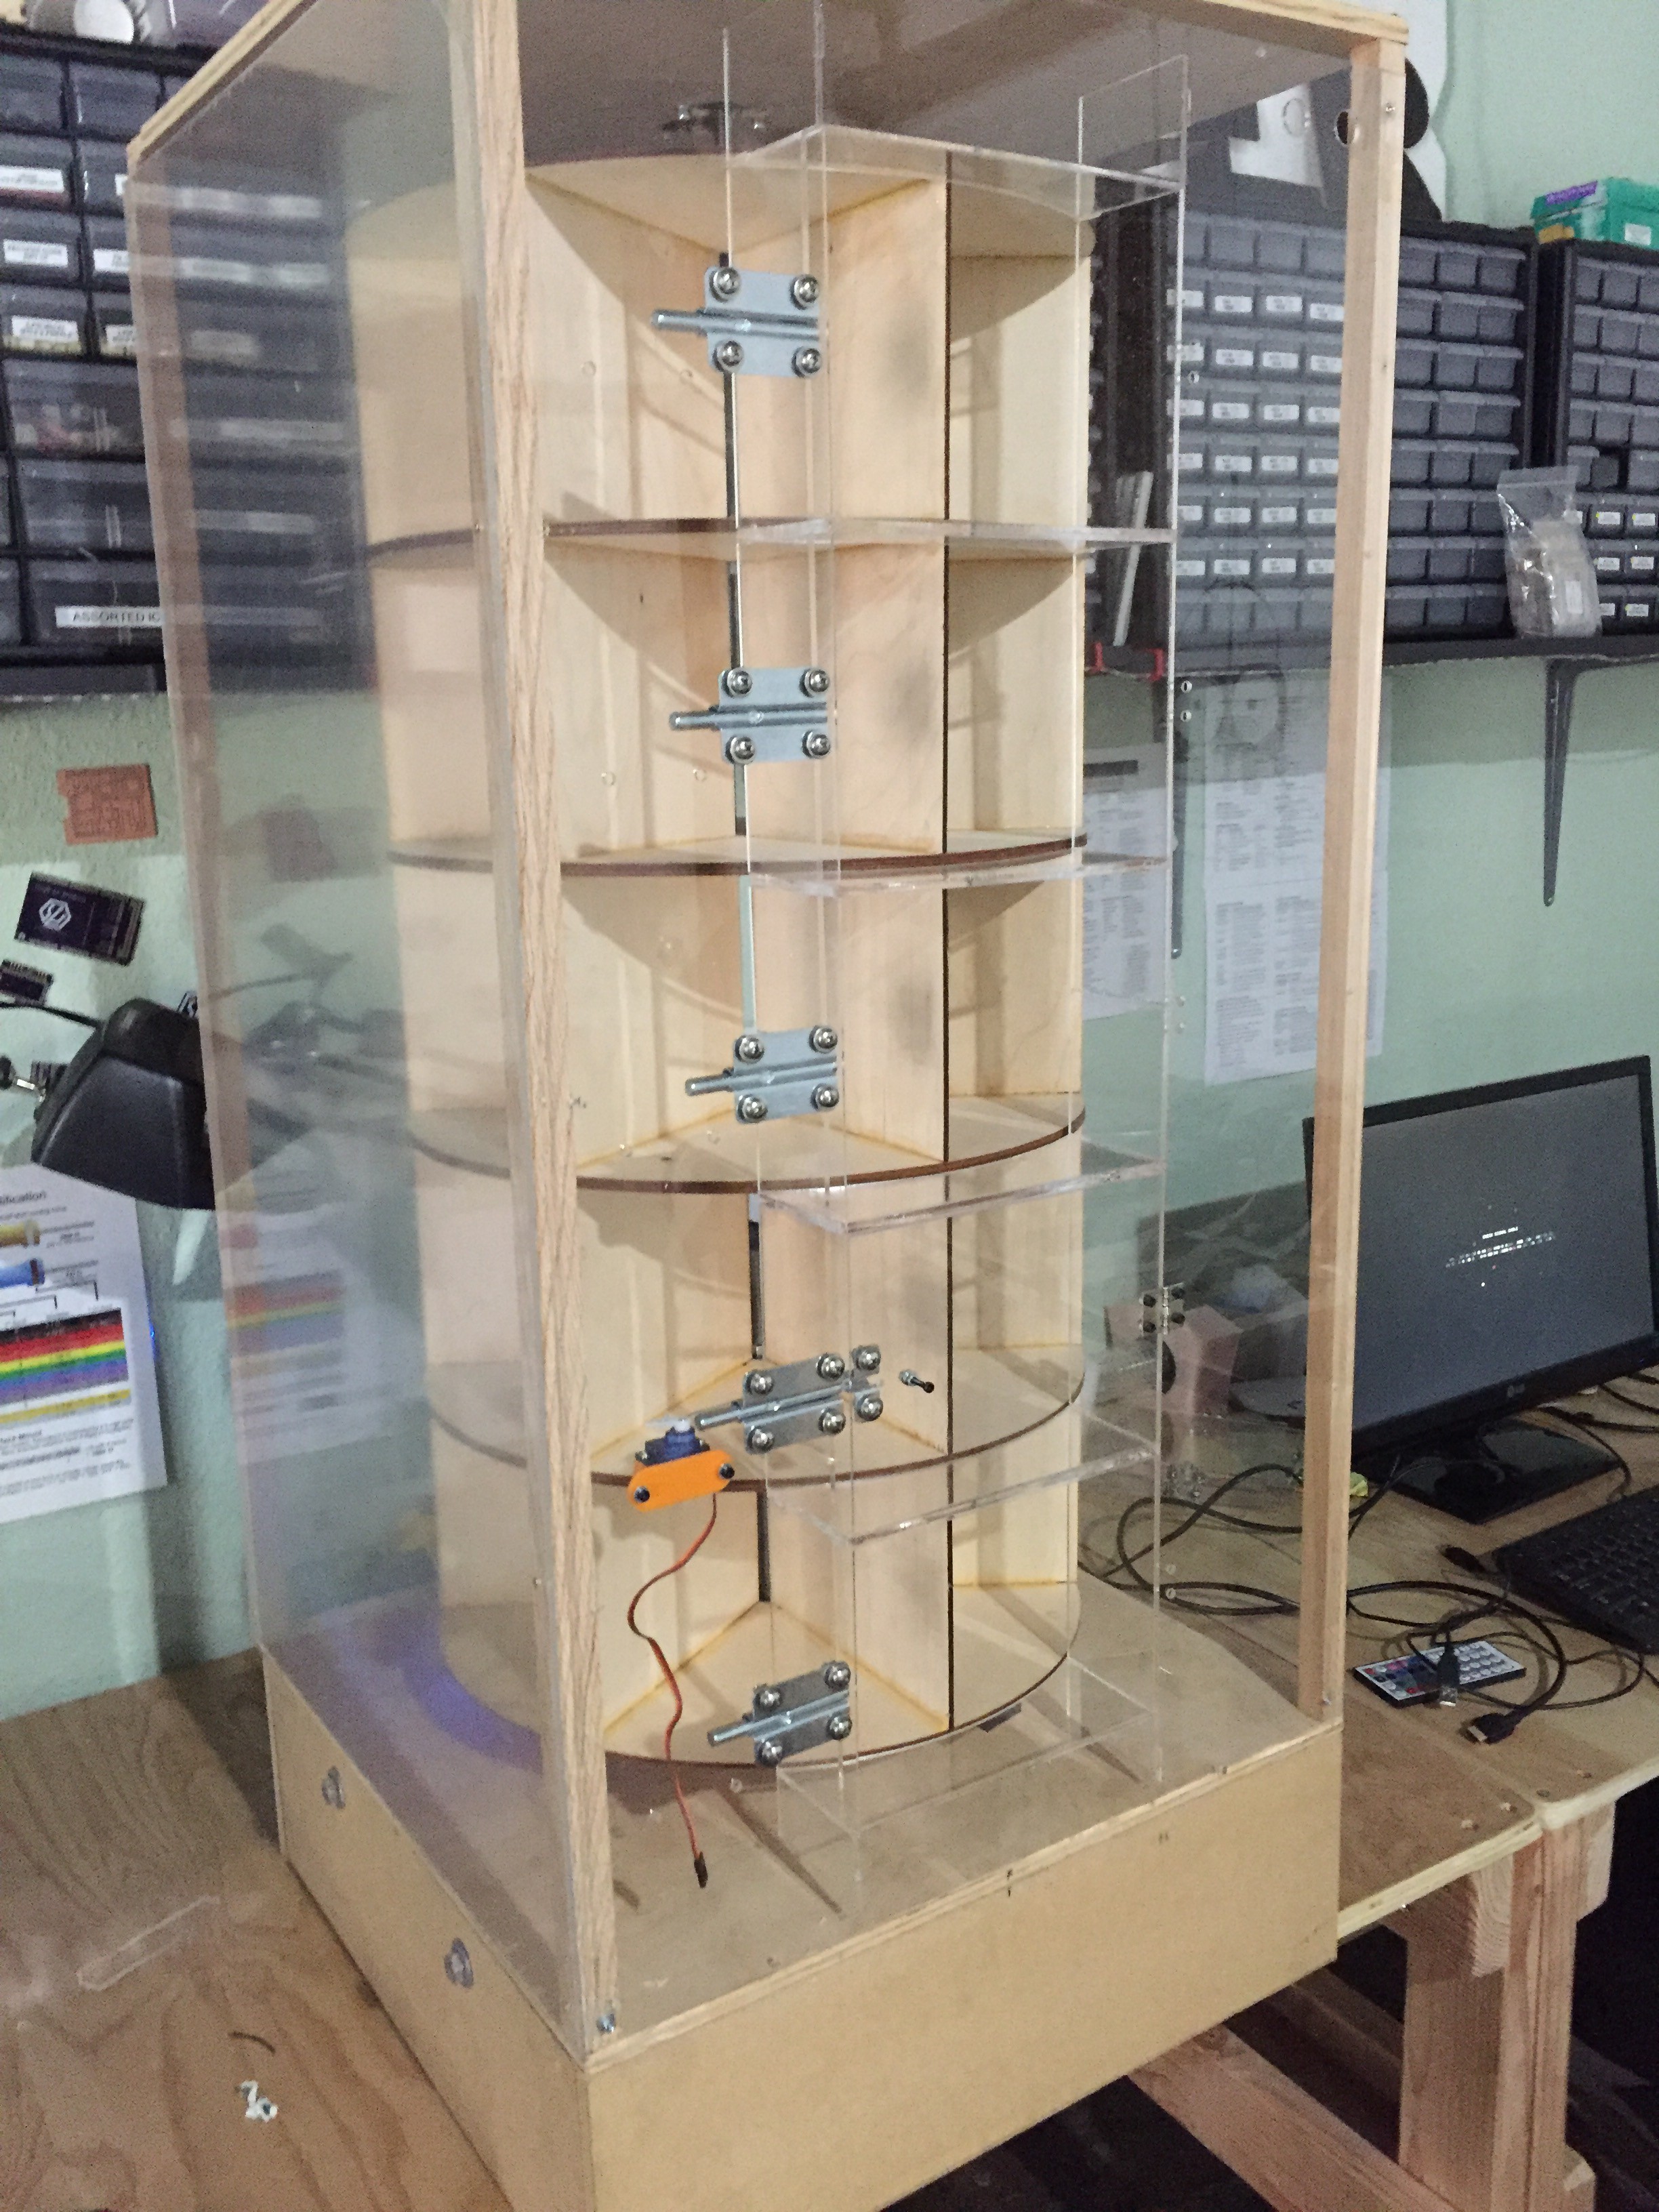
    Vendotron is finally closing in on the finish line. The front panel is mounted, door locks in place, and one door/servo is in place for testing.

    Of course there is a fair amount if tuning to go though. The door hinges are not as tight as I was expecting, so the doors droop a bit and snag on the sides, the carousel rubs against the front acrylic in a few places, etc, but overall I am very happy with the progress and how its turning out!

  • Gluing Acrylic For Front Panel

    Mike Machado10/08/2016 at 20:56 0 comments

    Be sure to have good ventilation and wear gloves / safety glasses! Acrylic glue is nasty stuff.

  • Handling Change

    Mike Machado10/07/2016 at 19:03 0 comments

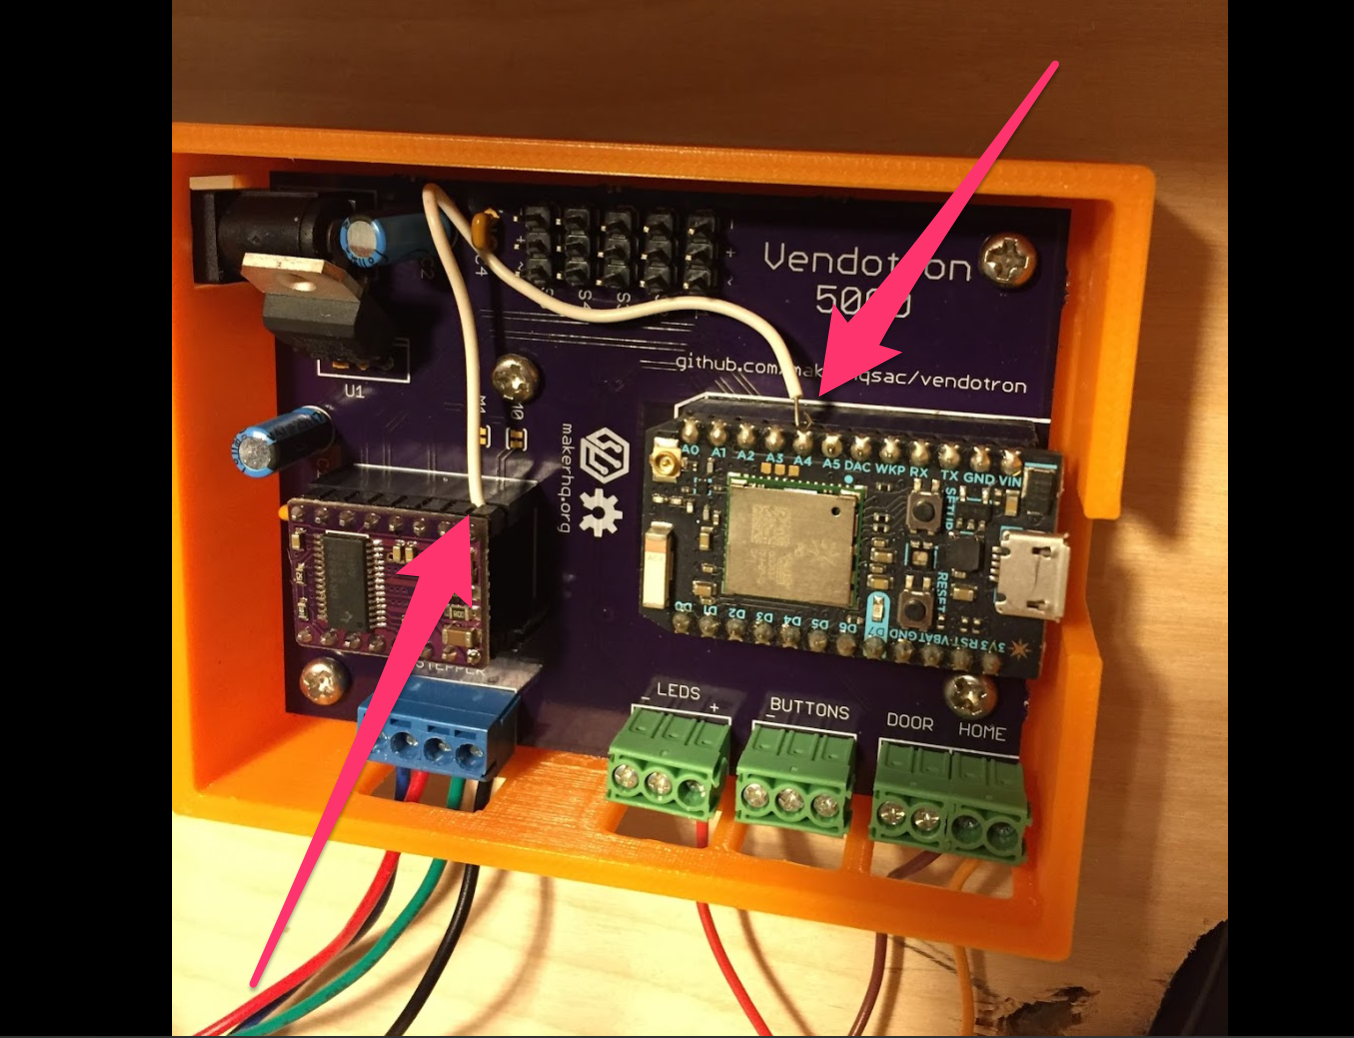
    Even when you think you thought of everything ahead of time, missing something is inevitable. Case in point, I didn't consider that I would want to control the stepper motor being energized or not. The use case is that there is no reason to keep the stepper energized when the carousel is not spinning and when the doors are all closed. But it is useful to energize if you want to 'lock' the carousel in place to prevent people from pushing the sides while a door is open.

    The prototype PCB didn't have this pin connected, so what to do? Jumper wire!

    The eagle file has had this connection added in, so future runs of the PCB will not need the jumper.

    Just an example of how to deal with change on the fly! :)

  • Homing Code Functional

    Mike Machado10/06/2016 at 17:26 0 comments

    I have a working prototype of the homing sequence code. The homing sequence is broken down into 4 steps:

    • Initial search for the home sensor, we look for this at 'search speed'
    • Once the sensor is found, we back off some distance
    • We then move forward again at a slower 'latch speed' to try and be more precise
    • Finally we move some distance from the home sensor as the final home position that aligns the columns with the doors

    I still have to tweak some speeds to try and avoid the sudden stop during the search operation, but overall its working well! See for yourself:


  • Panels Acquired and Being Mounted

    Mike Machado10/05/2016 at 20:41 0 comments

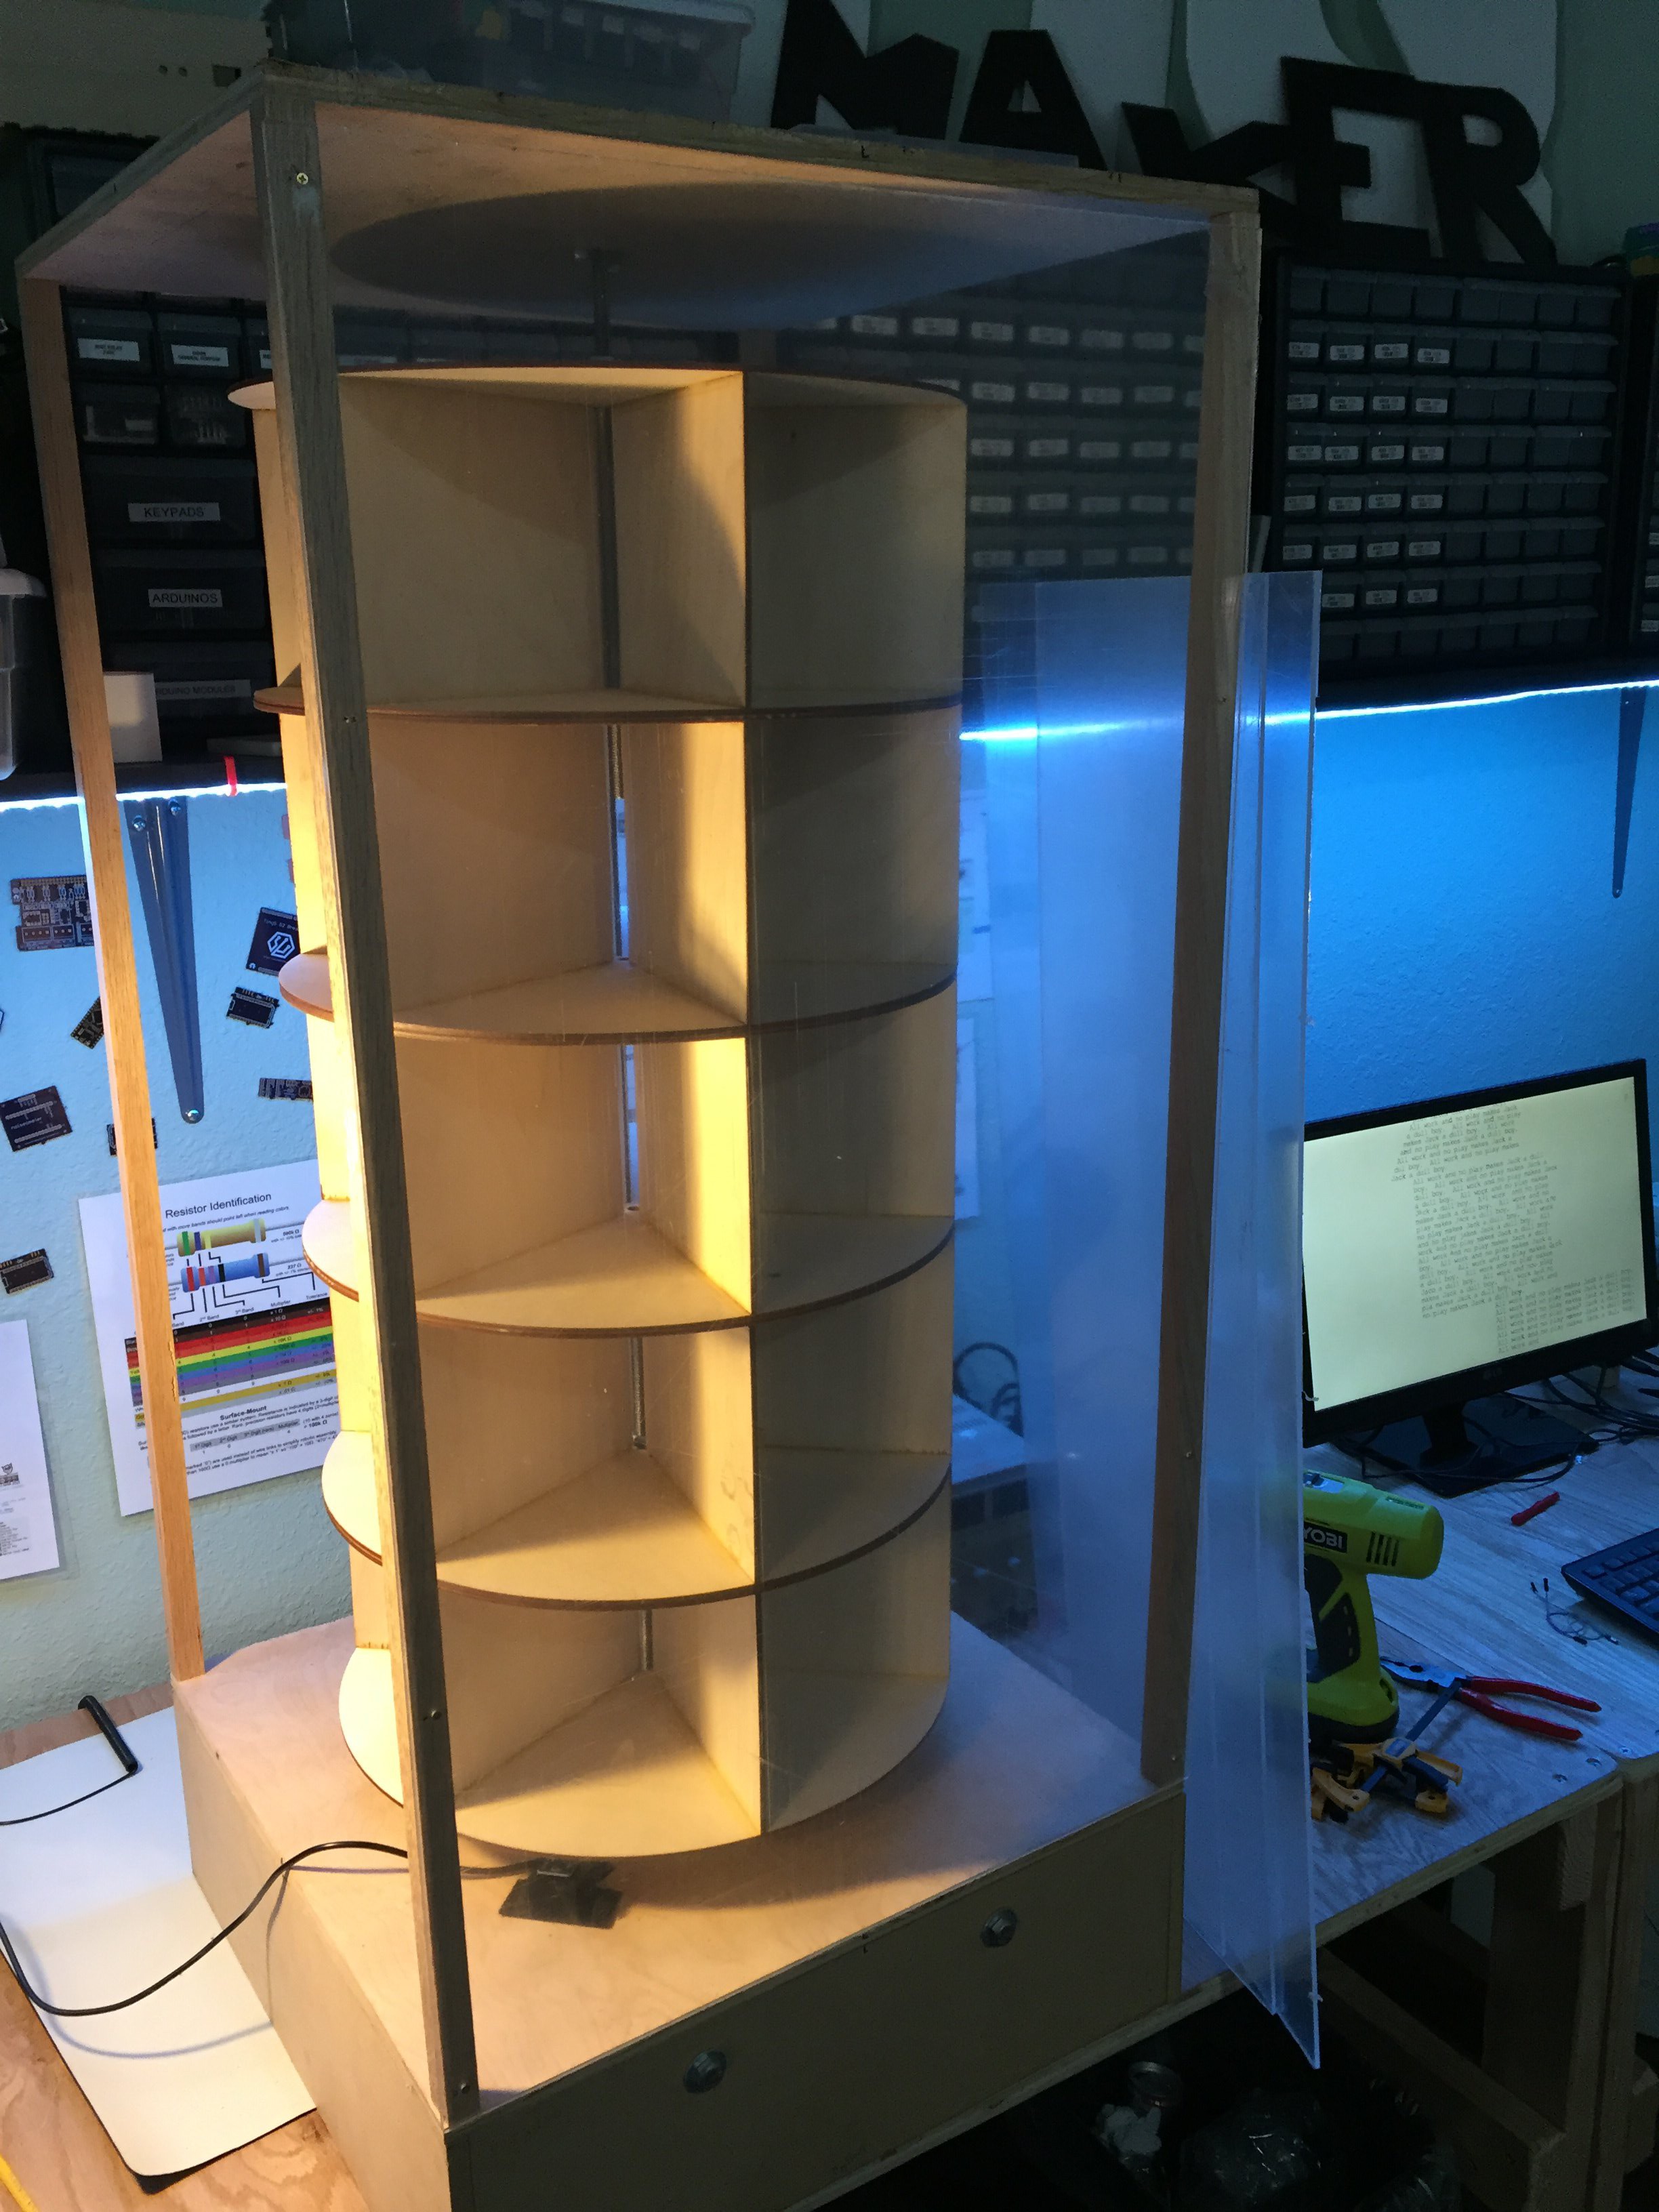
    I finally had some time to make it over to the local TAP Plastics and pick up the 1/8" acrylic sheets needed for the sides and rear panels. Since the only holes in these sheets are for the screws to mount into the vertical wood beams, it did not make sense to laser cut them.

    Here is a photo showing the progress. You can't really tell but there is an acrylic panel mounted on the closest side in the photo!

  • Progress On Multiple Fronts

    Mike Machado08/21/2016 at 15:47 0 comments

    Vendotron had a good week! The homing system was installed, the front acrylic panel was received from Pololu laser cutting service, and the backend interface has made a ton of progress.

    Homing System

    As mentioned in the previous log, Vendotron uses a hall effect sensor with a magnet installed on the carousel to perform a touchless homing operation. The sensor was installed and tested:

    The final code will do a double homing in order to get the best accuracy - the first homing is to detect the magnet, then it will backoff the carousel and then very slowly home again.

    Front Panel

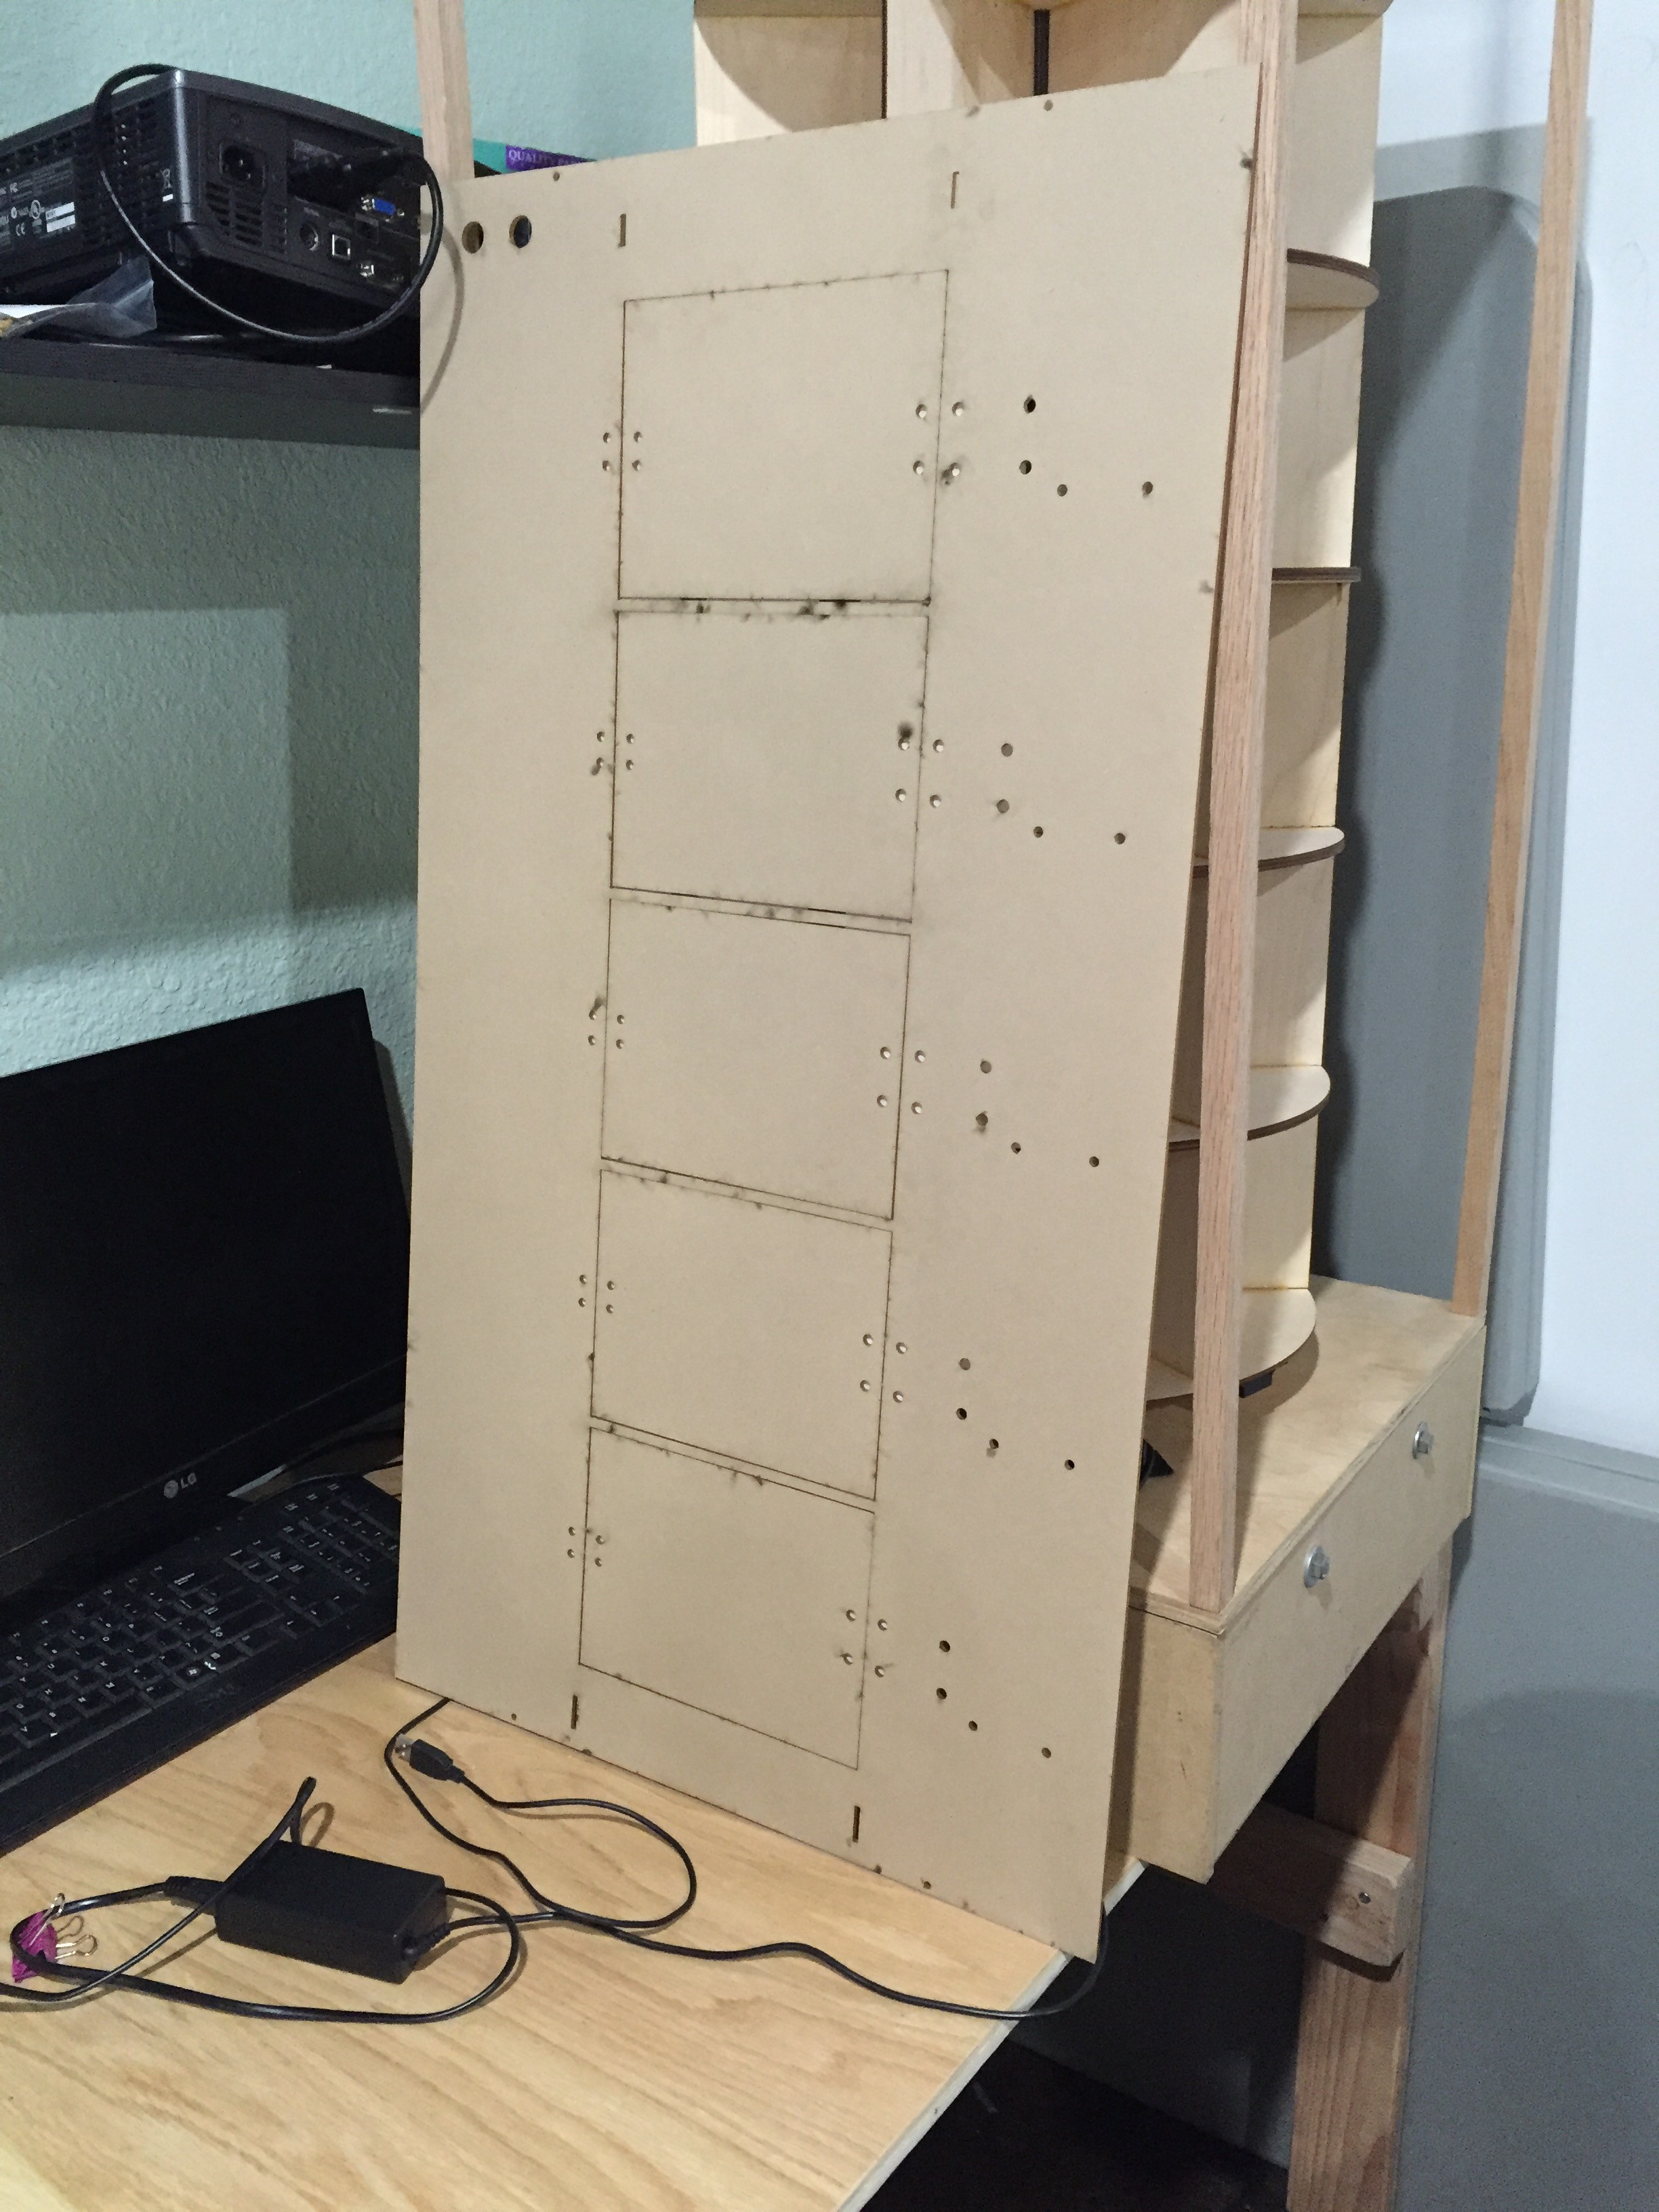
    The front panel from Pololu Laser Cutting Service looks fantastic! Next step is to mount it to the frame and install all the hardware (deadbolts, servos, hinges, etc).

    Backend Web App

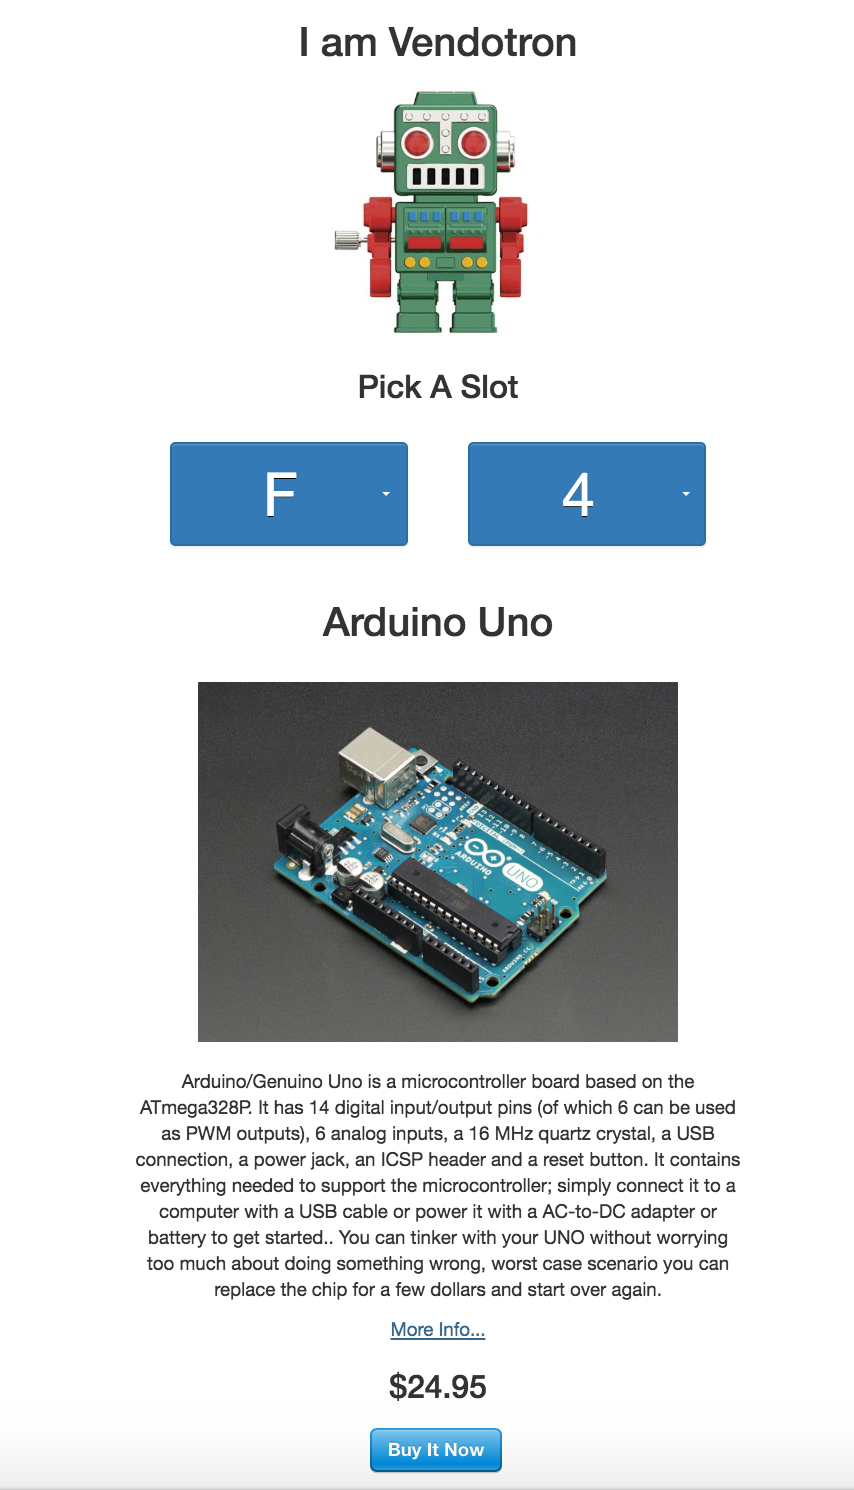
    The web application is a ruby-on-rails application that serves up a picker for the column/row, shows a description of the product, and then lets you make a purchase via stripe with a credit card or bitcoin.


    The admin interface to view purchases, see which slots are empty, restock slots, etc, uses Active Admin, a really nice UI to handle the basic interaction of creating, updating and deleting (known as CRUD in the web app world) things via common input forms. The result is a very nice UI for managing vendotron without having to write much code!

    For example:


    Well, that's all for this week! =)

  • Homing System Designed, Acrylic Panels In Progress

    Mike Machado08/13/2016 at 06:44 0 comments

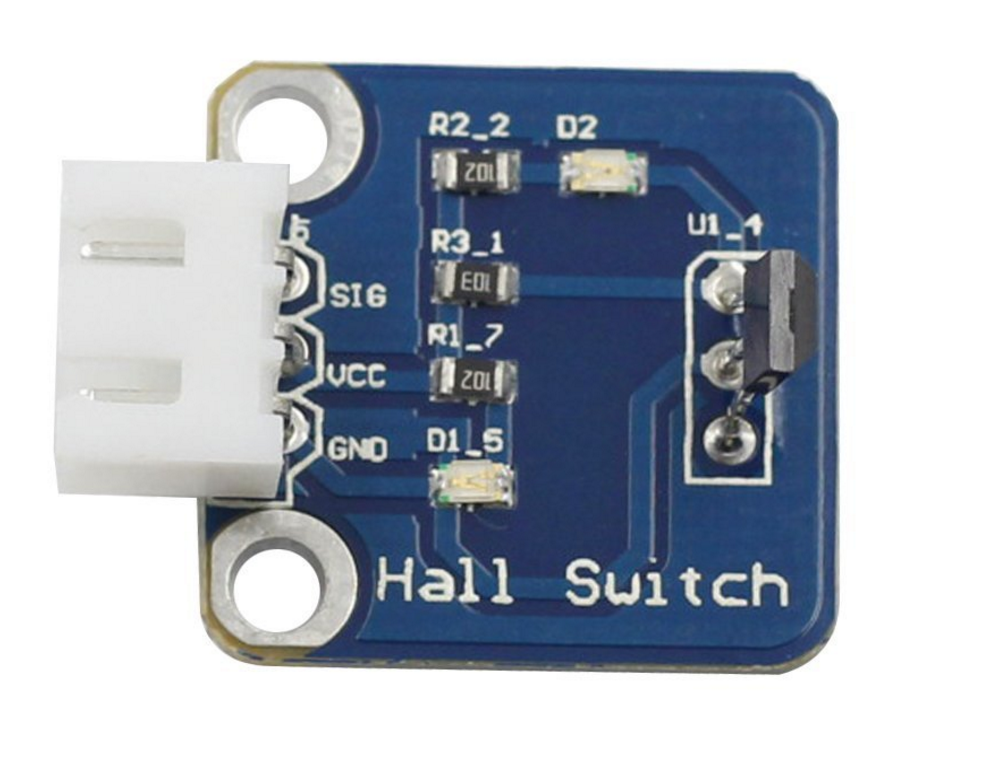
    I decided to go with a hall effect switch to do the homing for the carousel. Obviously vendotron needs to know exactly where "zero" is so that when a purchase is made, it can accurately spin the carousel to the correct column.

    I decided to go with an off the shelf hall effect sensor that can be purchases on a breakout board and with a wire connector to simplify the design. The one I went with is the SunFounder module:

    https://www.amazon.com/SunFounder-Switch-Sensor-Arduino-Raspberry/dp/B013G5N03O

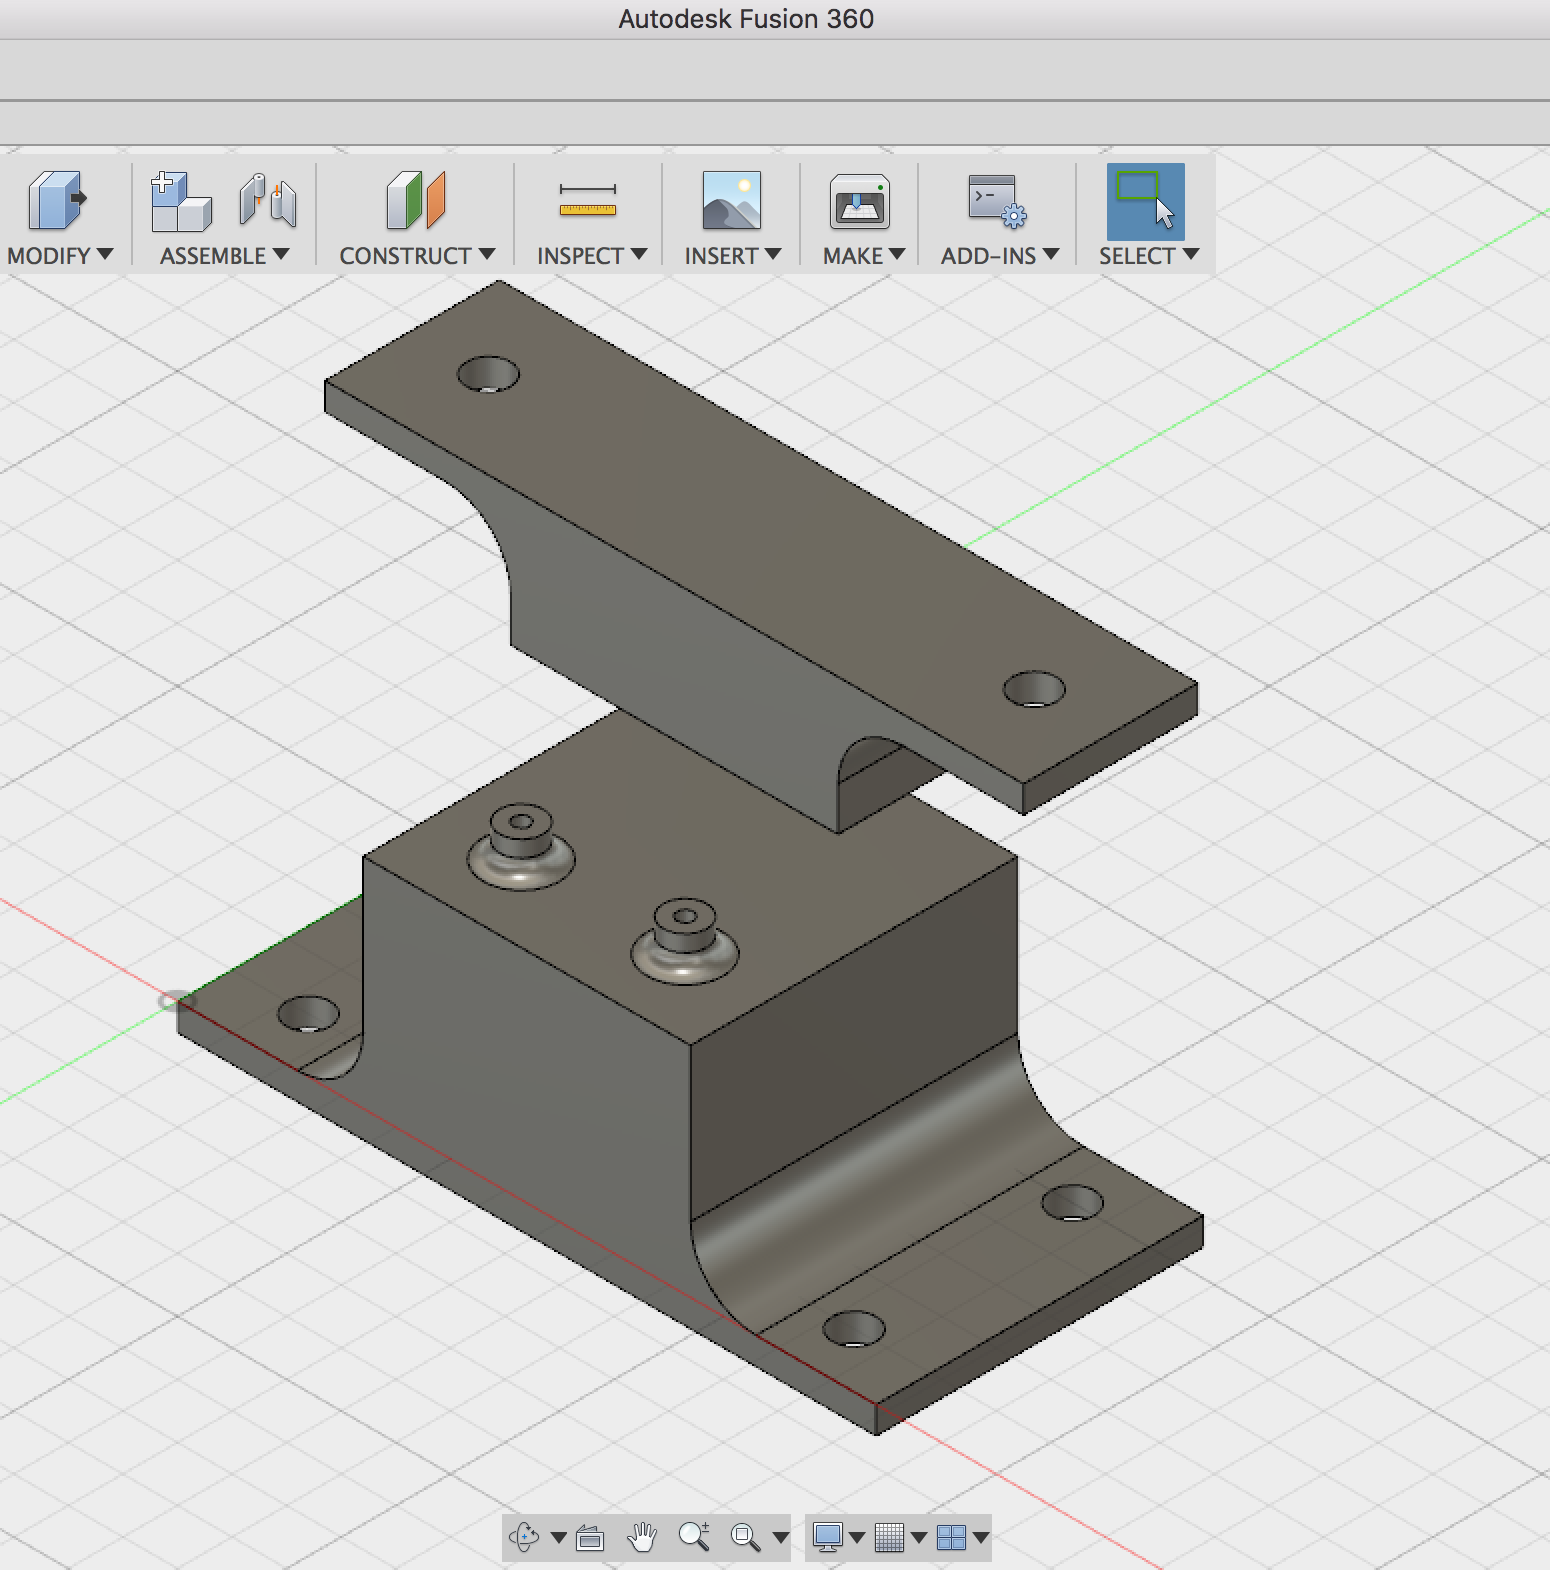
    I designed a stand for this sensor that will go under the carousel, with a bracket holding a 6mm magnet attached to the carousel:


    Example magnets that fit into the bracket:

    https://www.amazon.com/gp/product/B01I79ONIU

    The hall effect module will be wired into the 'home' port on the PCB, and code will be written so that when the machine is first powered on, it will slowly spin the carousel until the hall effect sensor detects the magnet. At that point, the software will know exactly where each column on the carousel is relative to the doors.

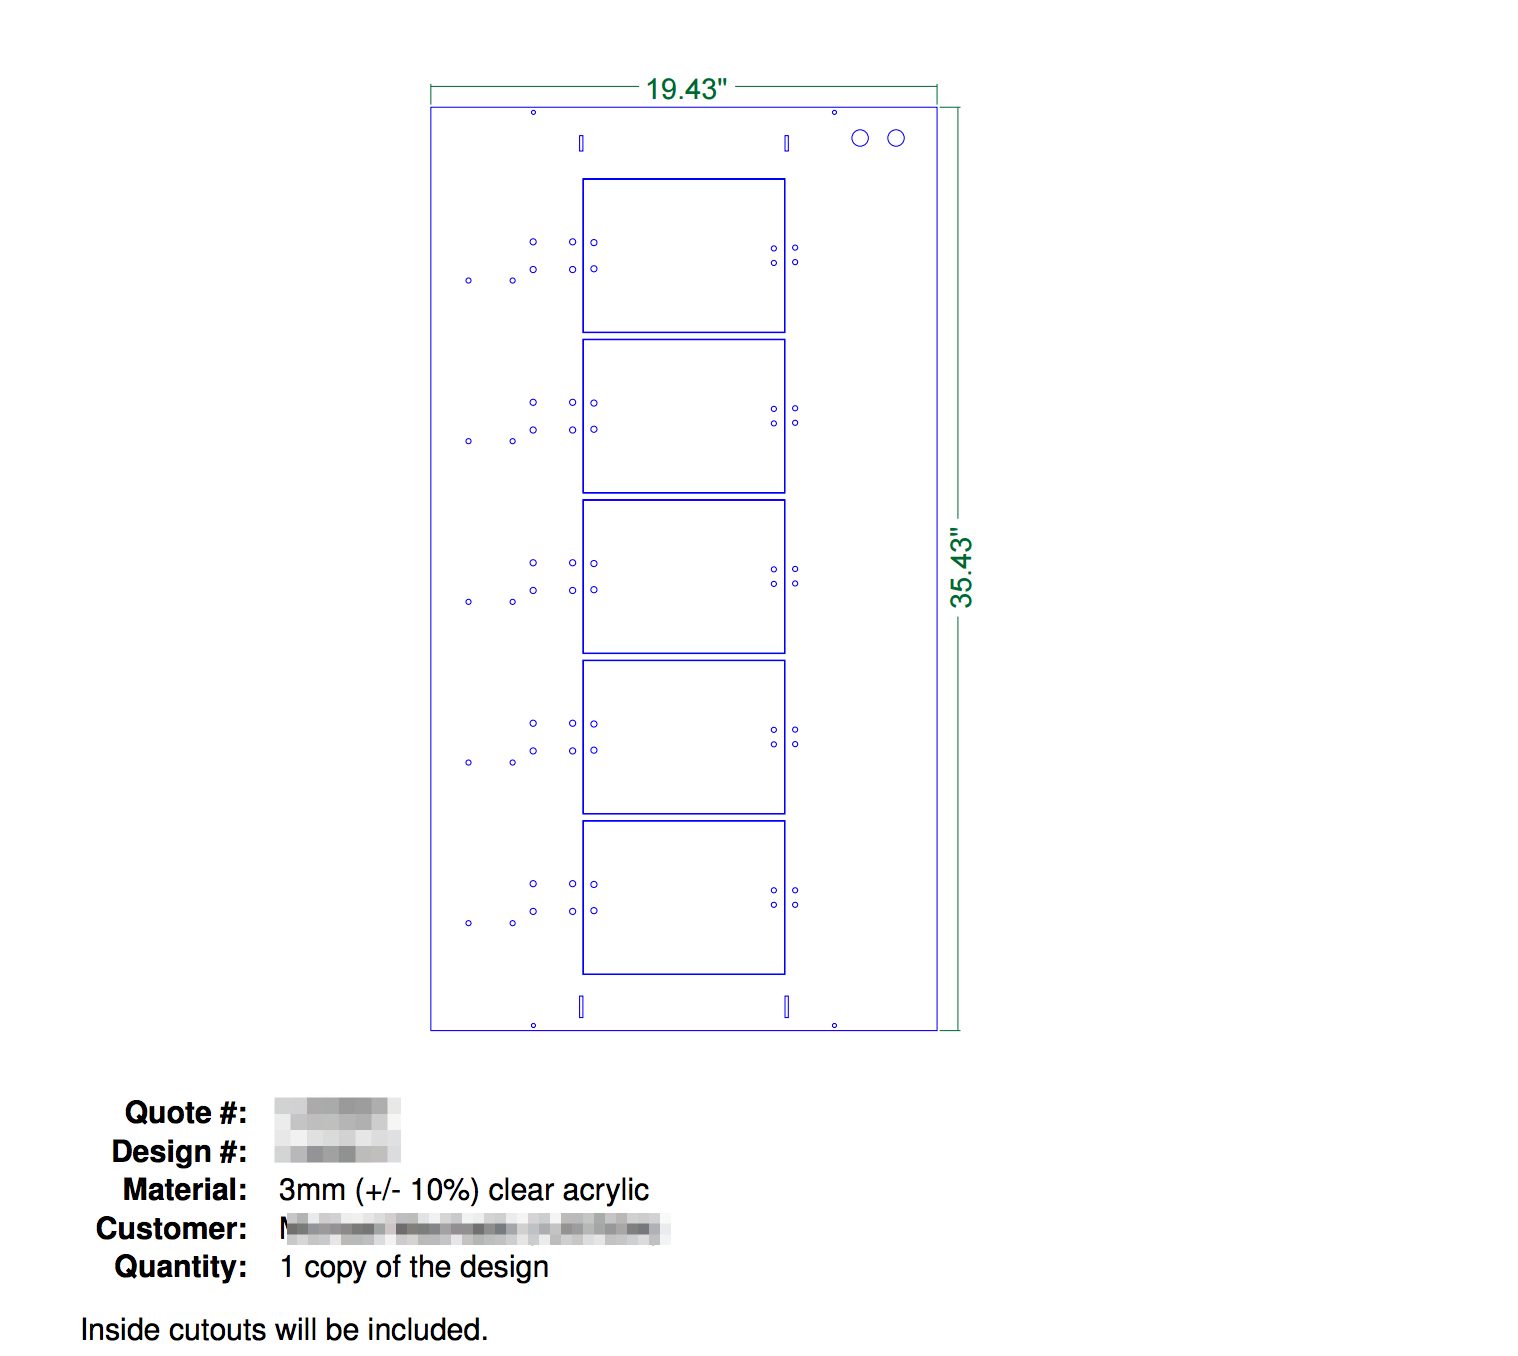
    The front panel acrylic has also been ordered. At MakerHQ we only have a 20"x12" bed on our laser cutter, so we can't do larger jobs in house. When we need to cut larger panels, we use Pololu Laser Cutting Service, because they are fast, high quality and an awesome company to support. Here is an example of the digital proof you get when submitting a job. It looked great, so I ordered it and it should be here in about a week!


  • Steppers and the Cloud

    Mike Machado08/08/2016 at 01:37 0 comments

    The brains inside Vendotron is a Particle Photon. This device is super awesome because its small, cheap, powerful and very easy to use thanks to the great documentation and example code. There is one little problem, however. Given that it needs to stay connected to "The Cloud", it spends some time every iteration of the standard loop() checking the network, processing events, etc. Usually this is all well and good, but when stepper motors are involved, it gets a little tricky due to the precise timing requirements for stepping.

    I am using the AccelStepper library since to spin a heavy load like Vendotron's carousel filled with goodies, you need to start slow and ramp up to speed. Luckiy, this library was already ported to work with particle devices by the community, so the code was basically copy paste from the Arduino Uno I used during my initial prototyping. On my Uno things worked flawlessly. When I first set the same code up on the photon, I got unexpected results. The motor was very jerky and top speed of the motor was very brief. Have a look:

    Far from a smooth acceleration. After much searching, I discovered the timing issue. The particle code that managed the cloud was getting in the way. Luckily I discovered the particle people made it so people wanting more control over the cloud connection could use what is called SYSTEM_MODE of MANUAL. This allows you to say when its ok for the photon to check in with the cloud. I modified my test code so that it only processes cloud 'stuff' while the motor is not moving, and voilà, that fixed it! The motor now spins perfectly smooth, just like it did on the Arduino.


    Before and after of the testing code can be found in this gist: https://gist.github.com/machadolab/e3bf5fb534a2a65bd561311044e2df0a


    According to the documentation, you need to call the Particle.process() method at least every 20 seconds, preferably more often, in order to avoid cloud/wi-fi connection issues. If your application requires long runs of spinning stepper motors, this technique may not work for you, but for this application, which should never have to spin the carousel more than 20 seconds to line up a door, this works great.

    Here is the final electronics mounted, along with another spin video showing the smooth AccelStepper code in action!


  • First spin achievement unlocked, PCB assembly in progress

    Mike Machado07/31/2016 at 03:01 0 comments

    Today I finished the frame for holding the carousel, mounted the bearings, put the carousel into the frame and connected up the pulleys and belt to the stepper motor. I wired a simple circuit on the breadboard to do some test spins of the carousel and it went well!

    The first spins revealed the belt was not quite tensioned enough, so I drilled out the stepper mounting slots a bit more so I could slide the stepper back just a bit to tension the belt.

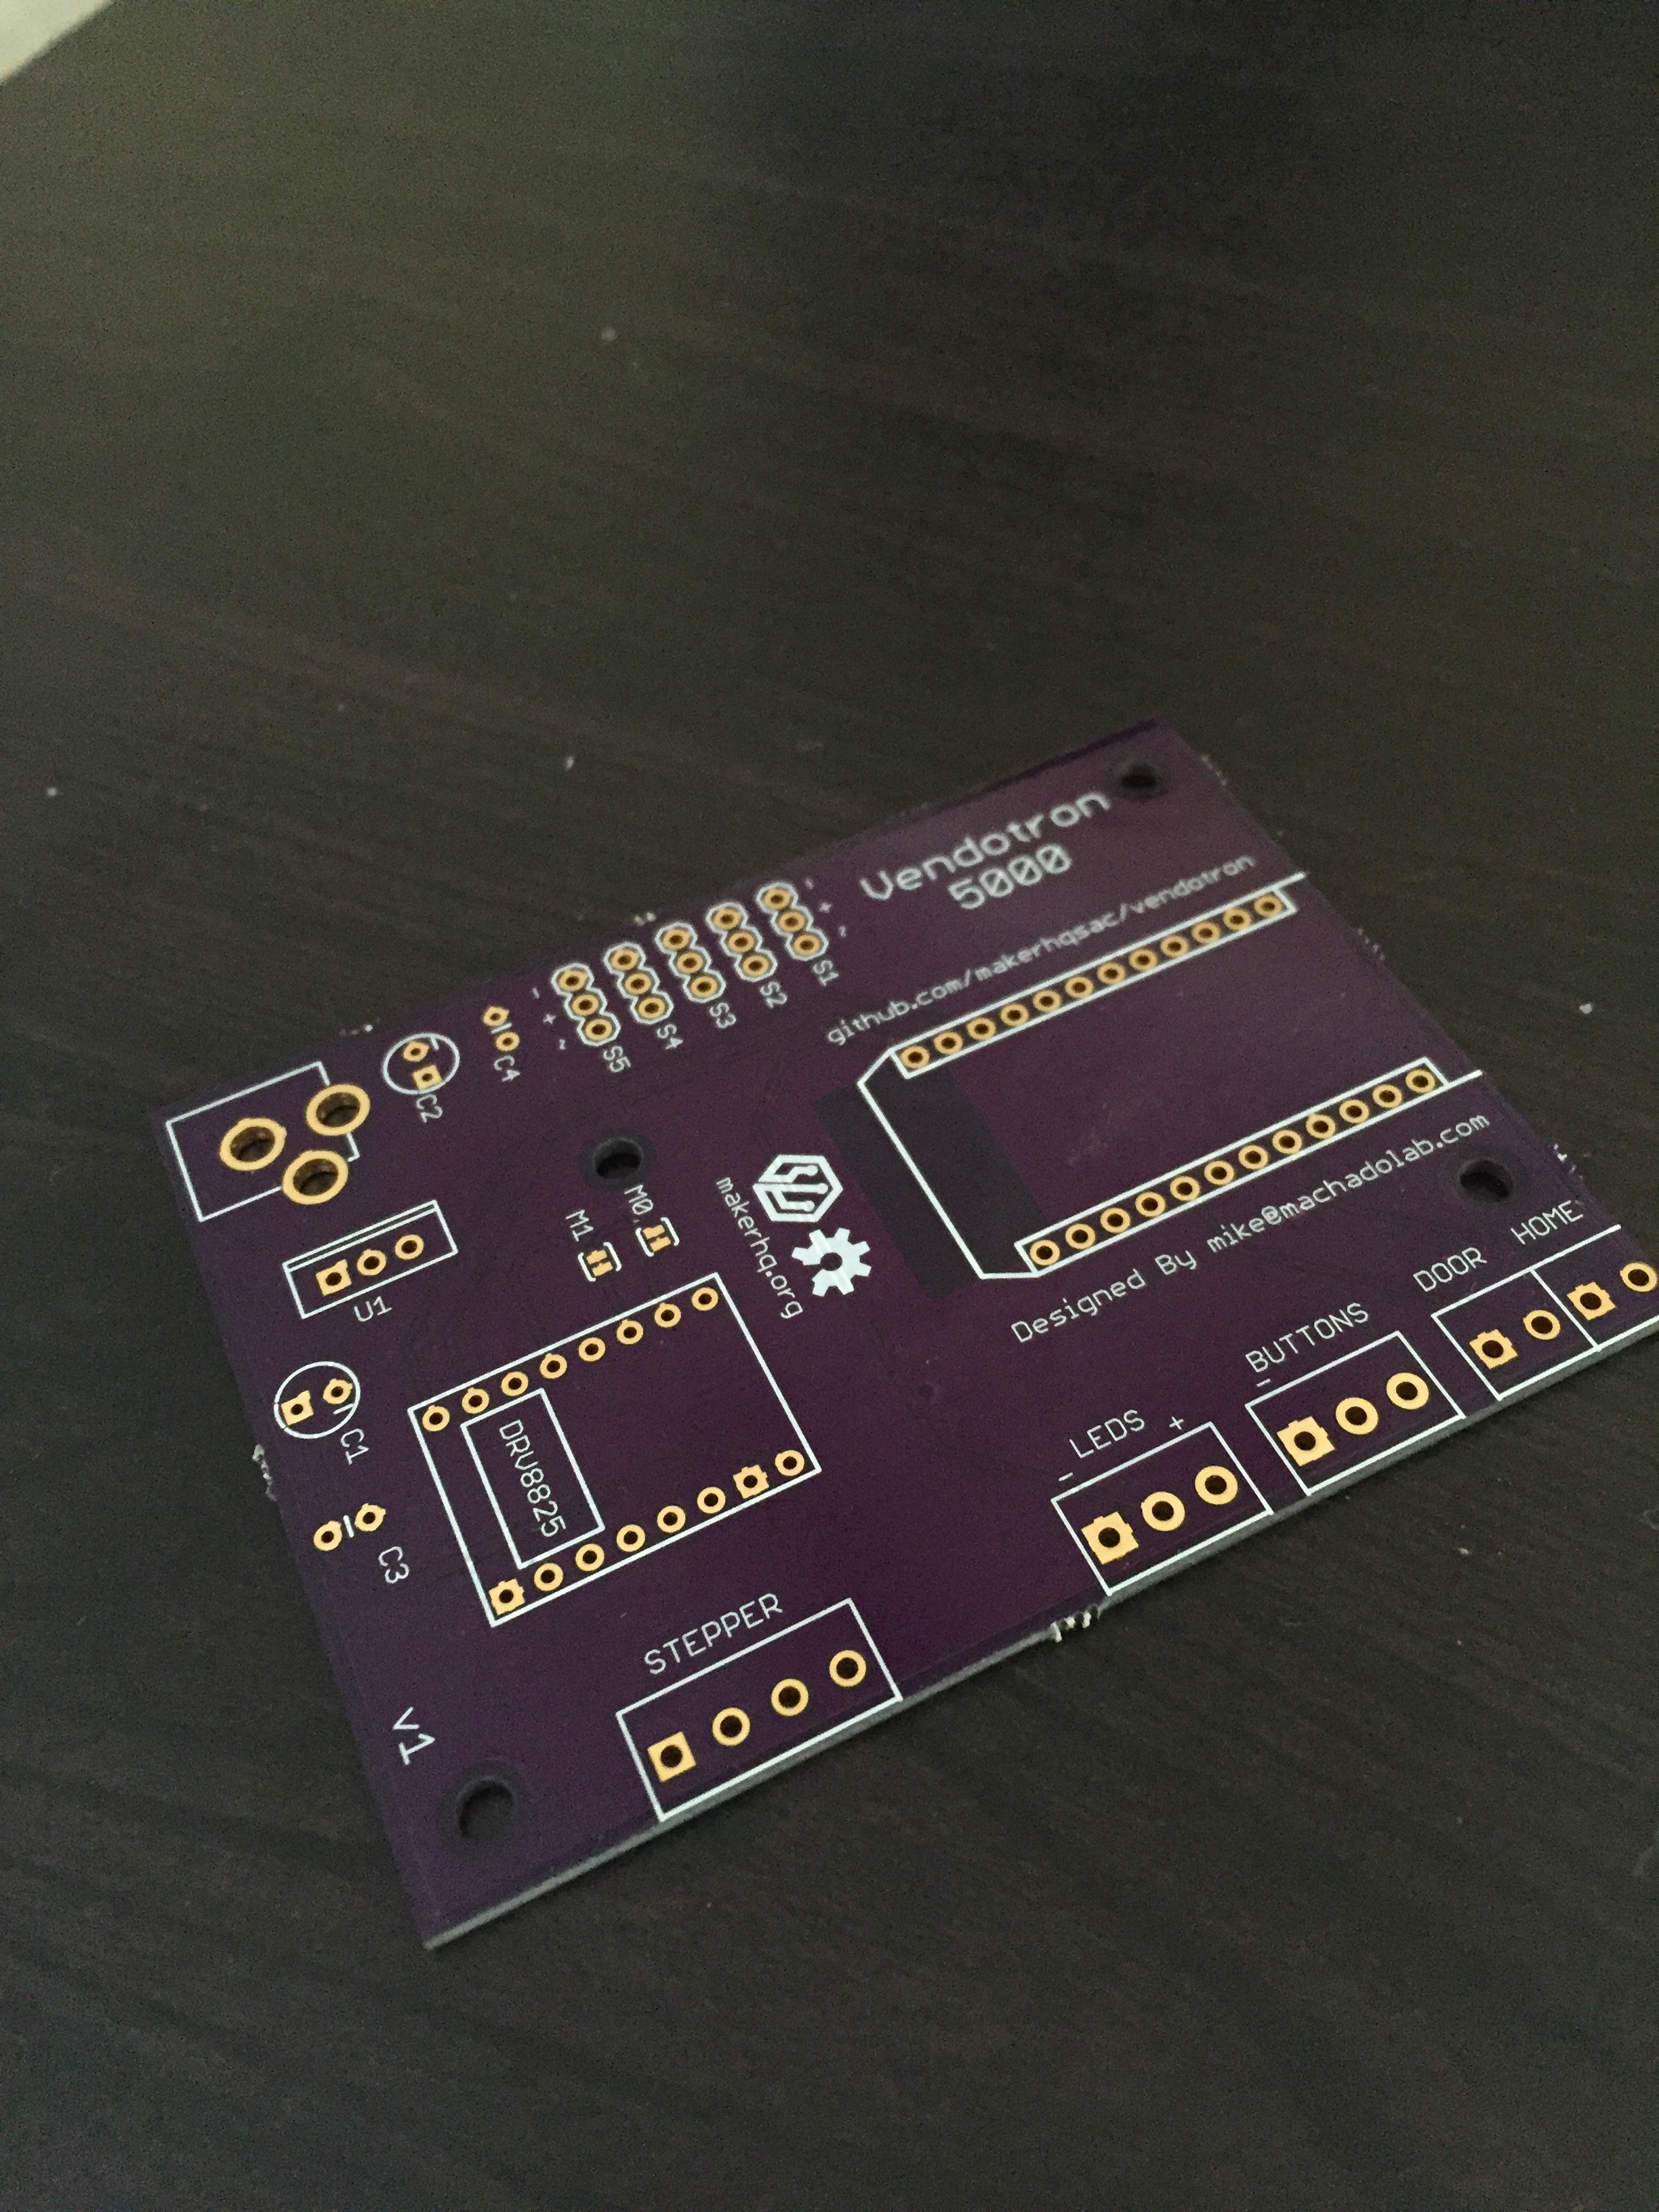
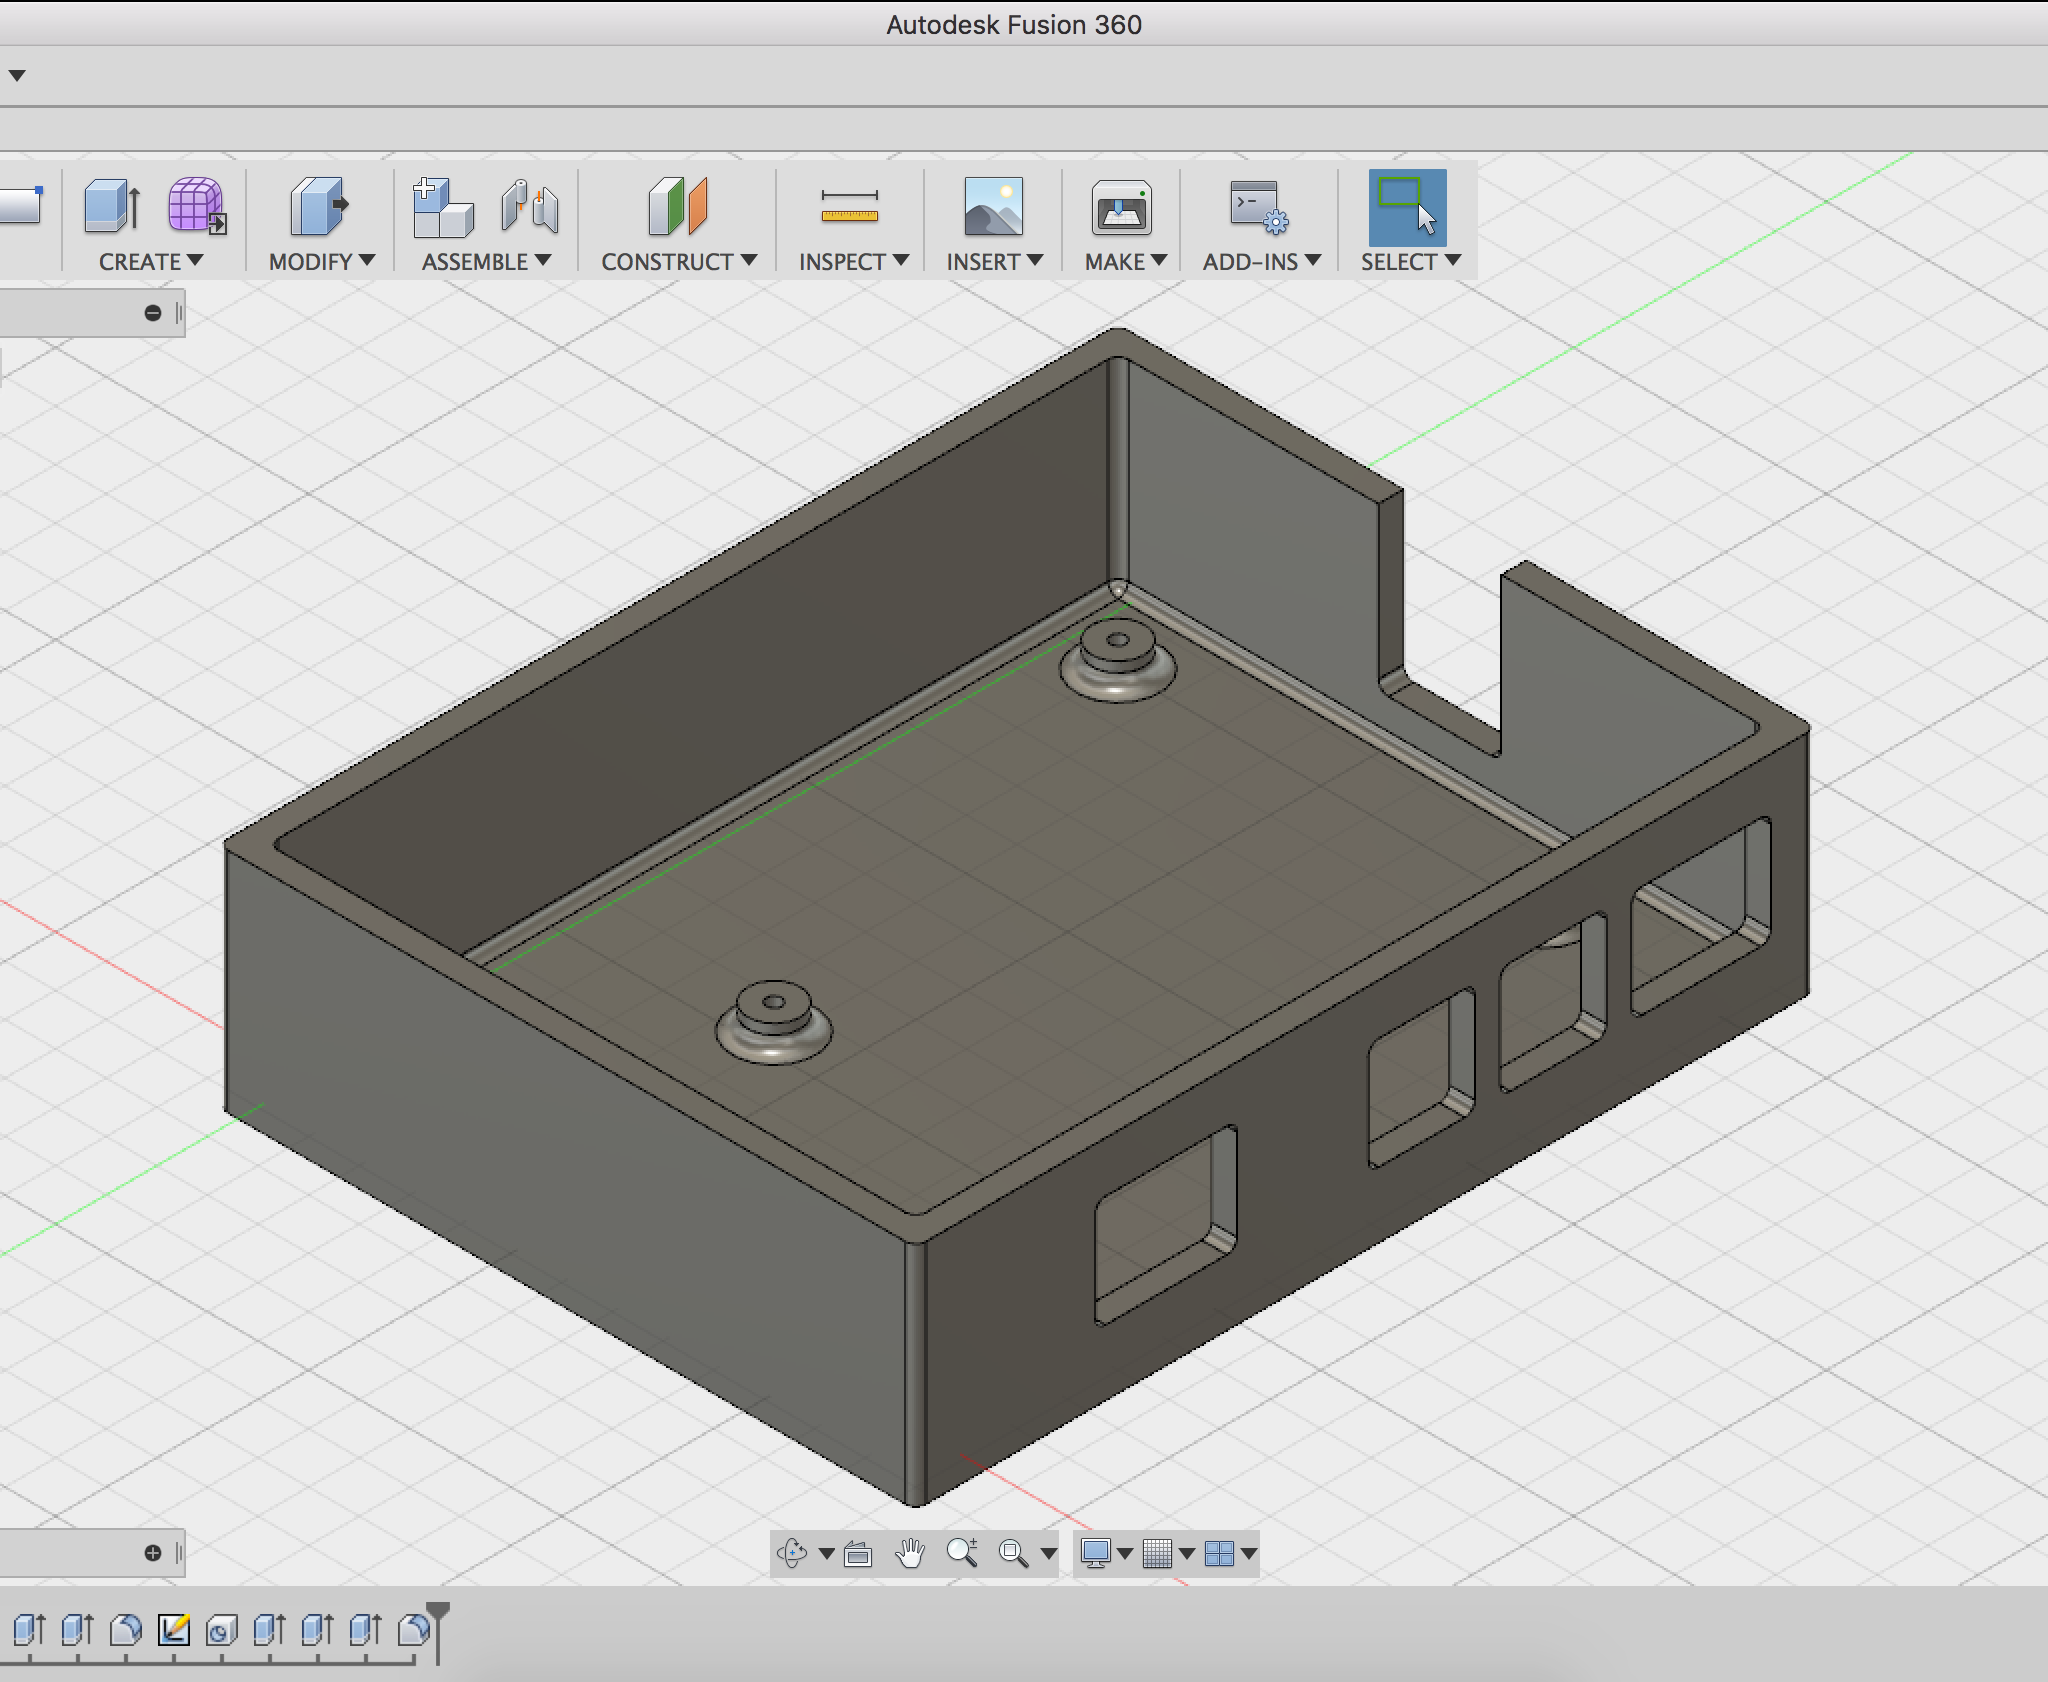
    I also received the PCB back from OSHPark, and later this week will be assembling the electronics. I also created an electronics enclosure to house the board so that it can easily be mounted on the underside of the frame base board.

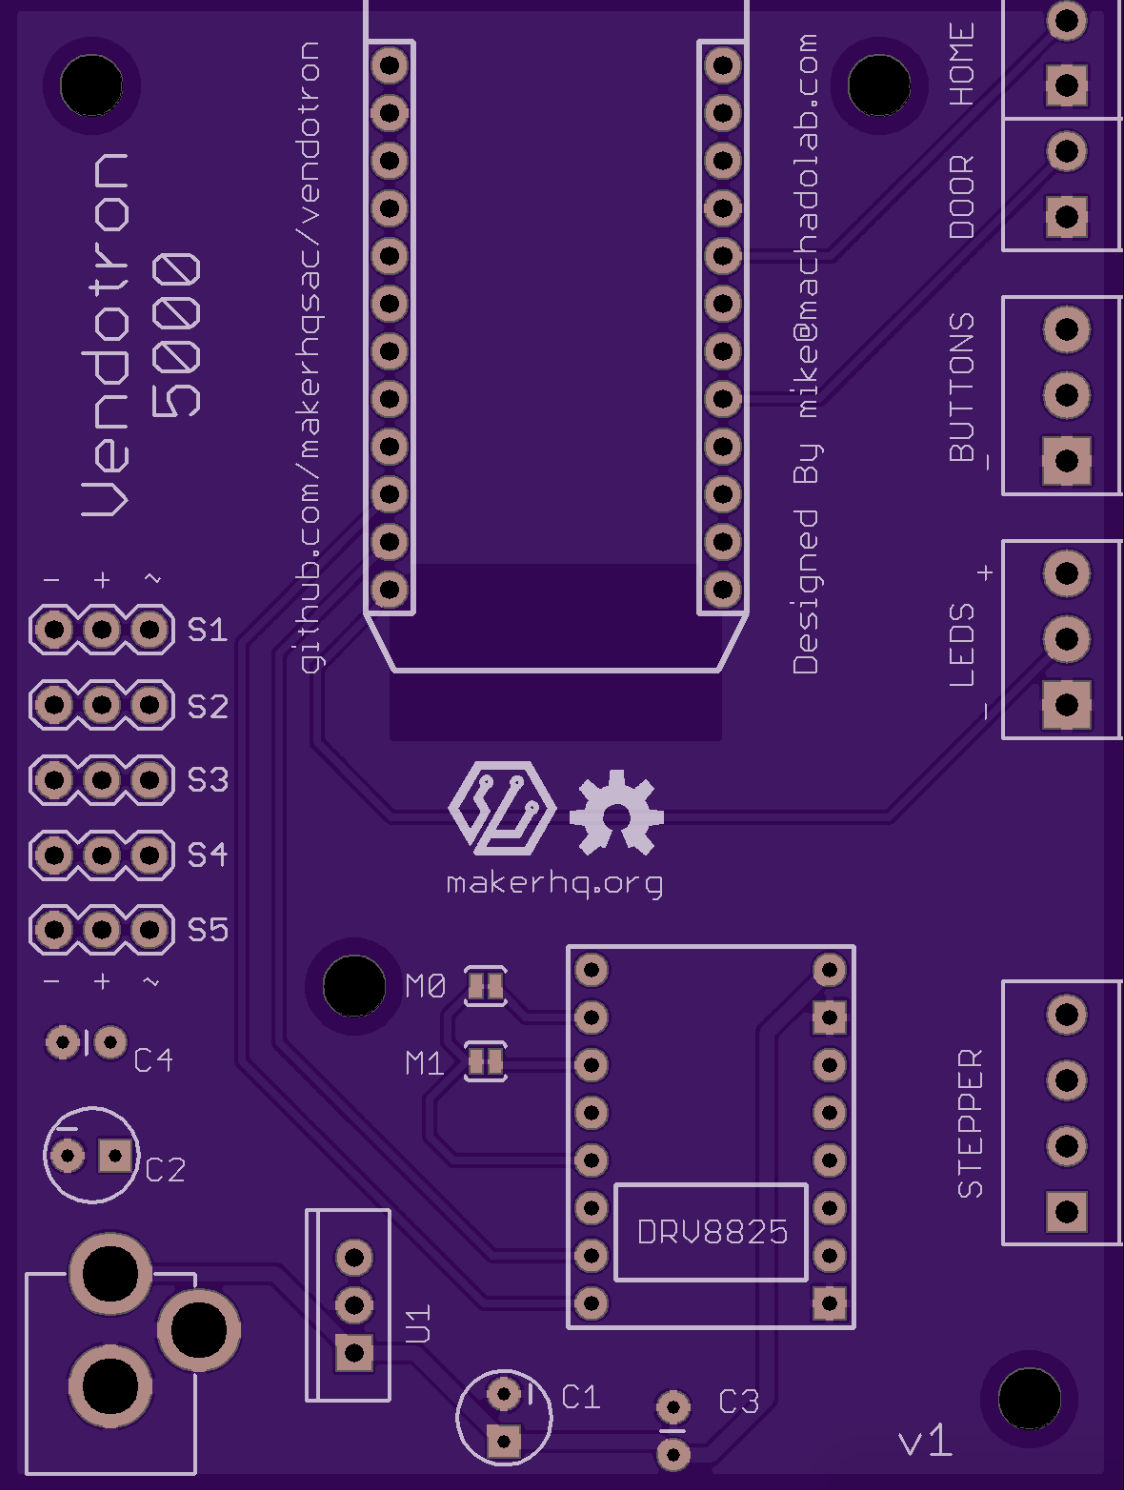
    All the files for the electronics and enclosure are available in the Github Repo.

    Here is a video of the first spin action and some pictures!


  • Carousel in progress, circuit board on the way!

    Mike Machado07/23/2016 at 00:14 0 comments

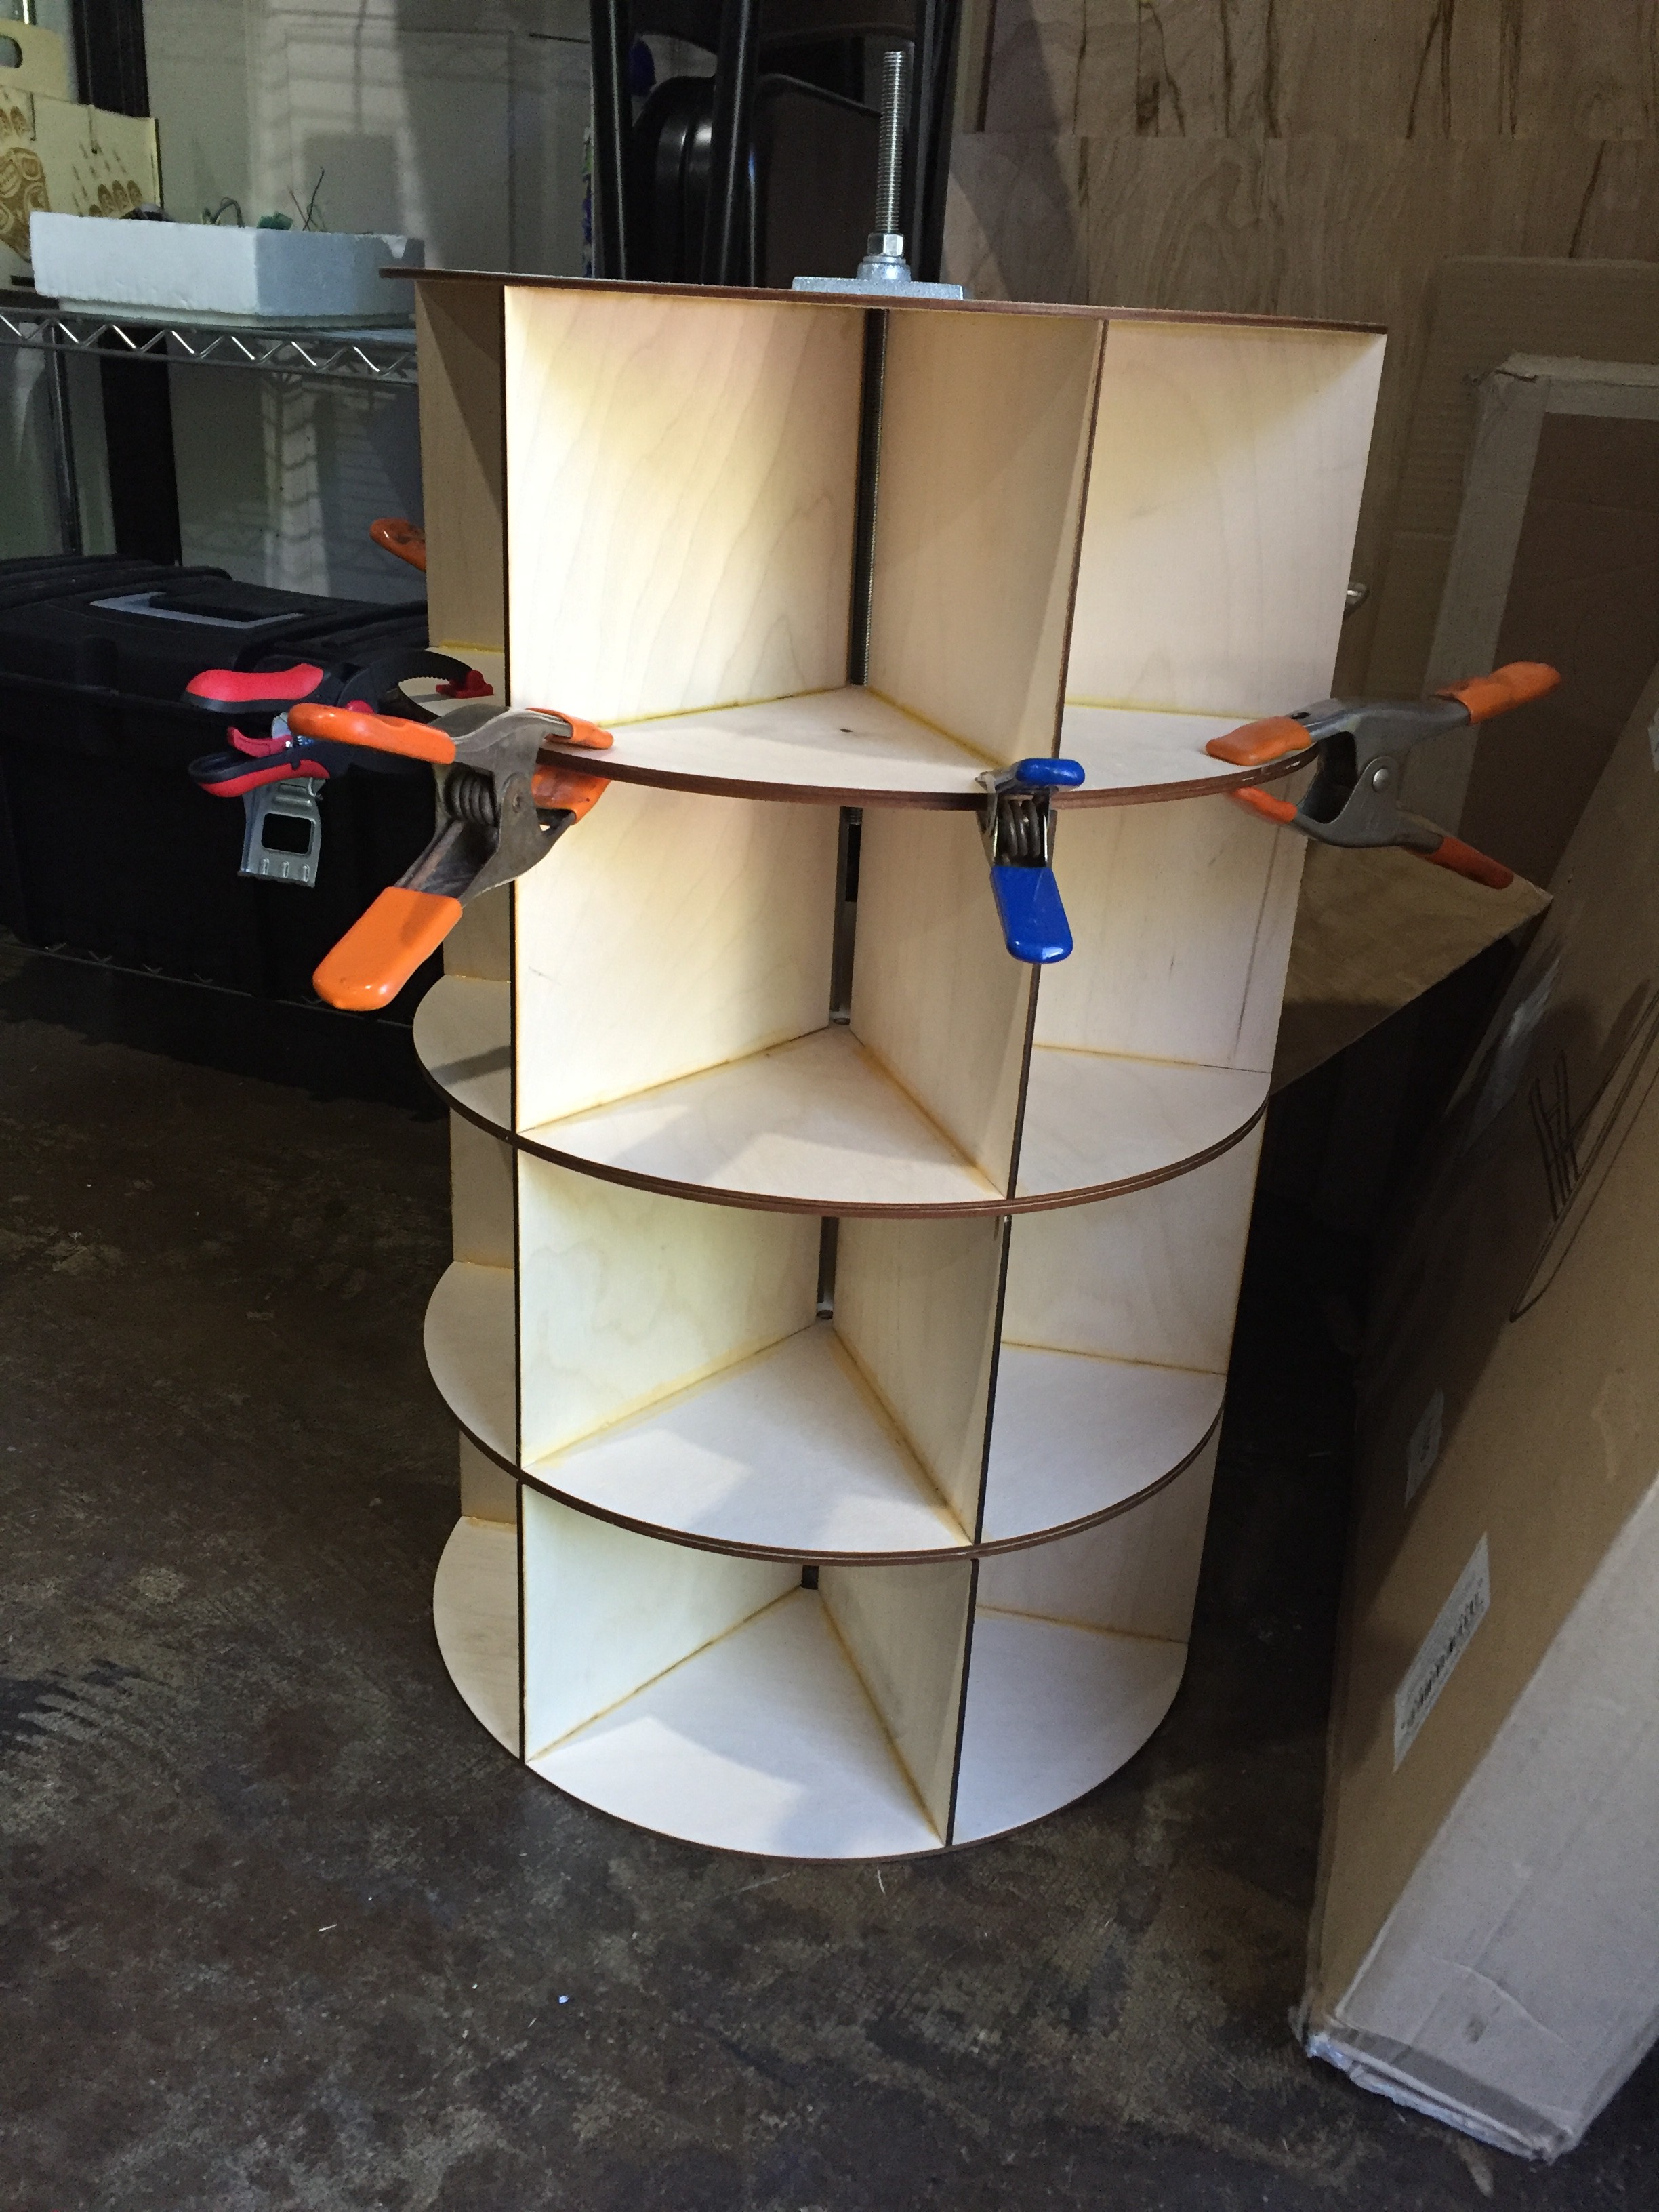
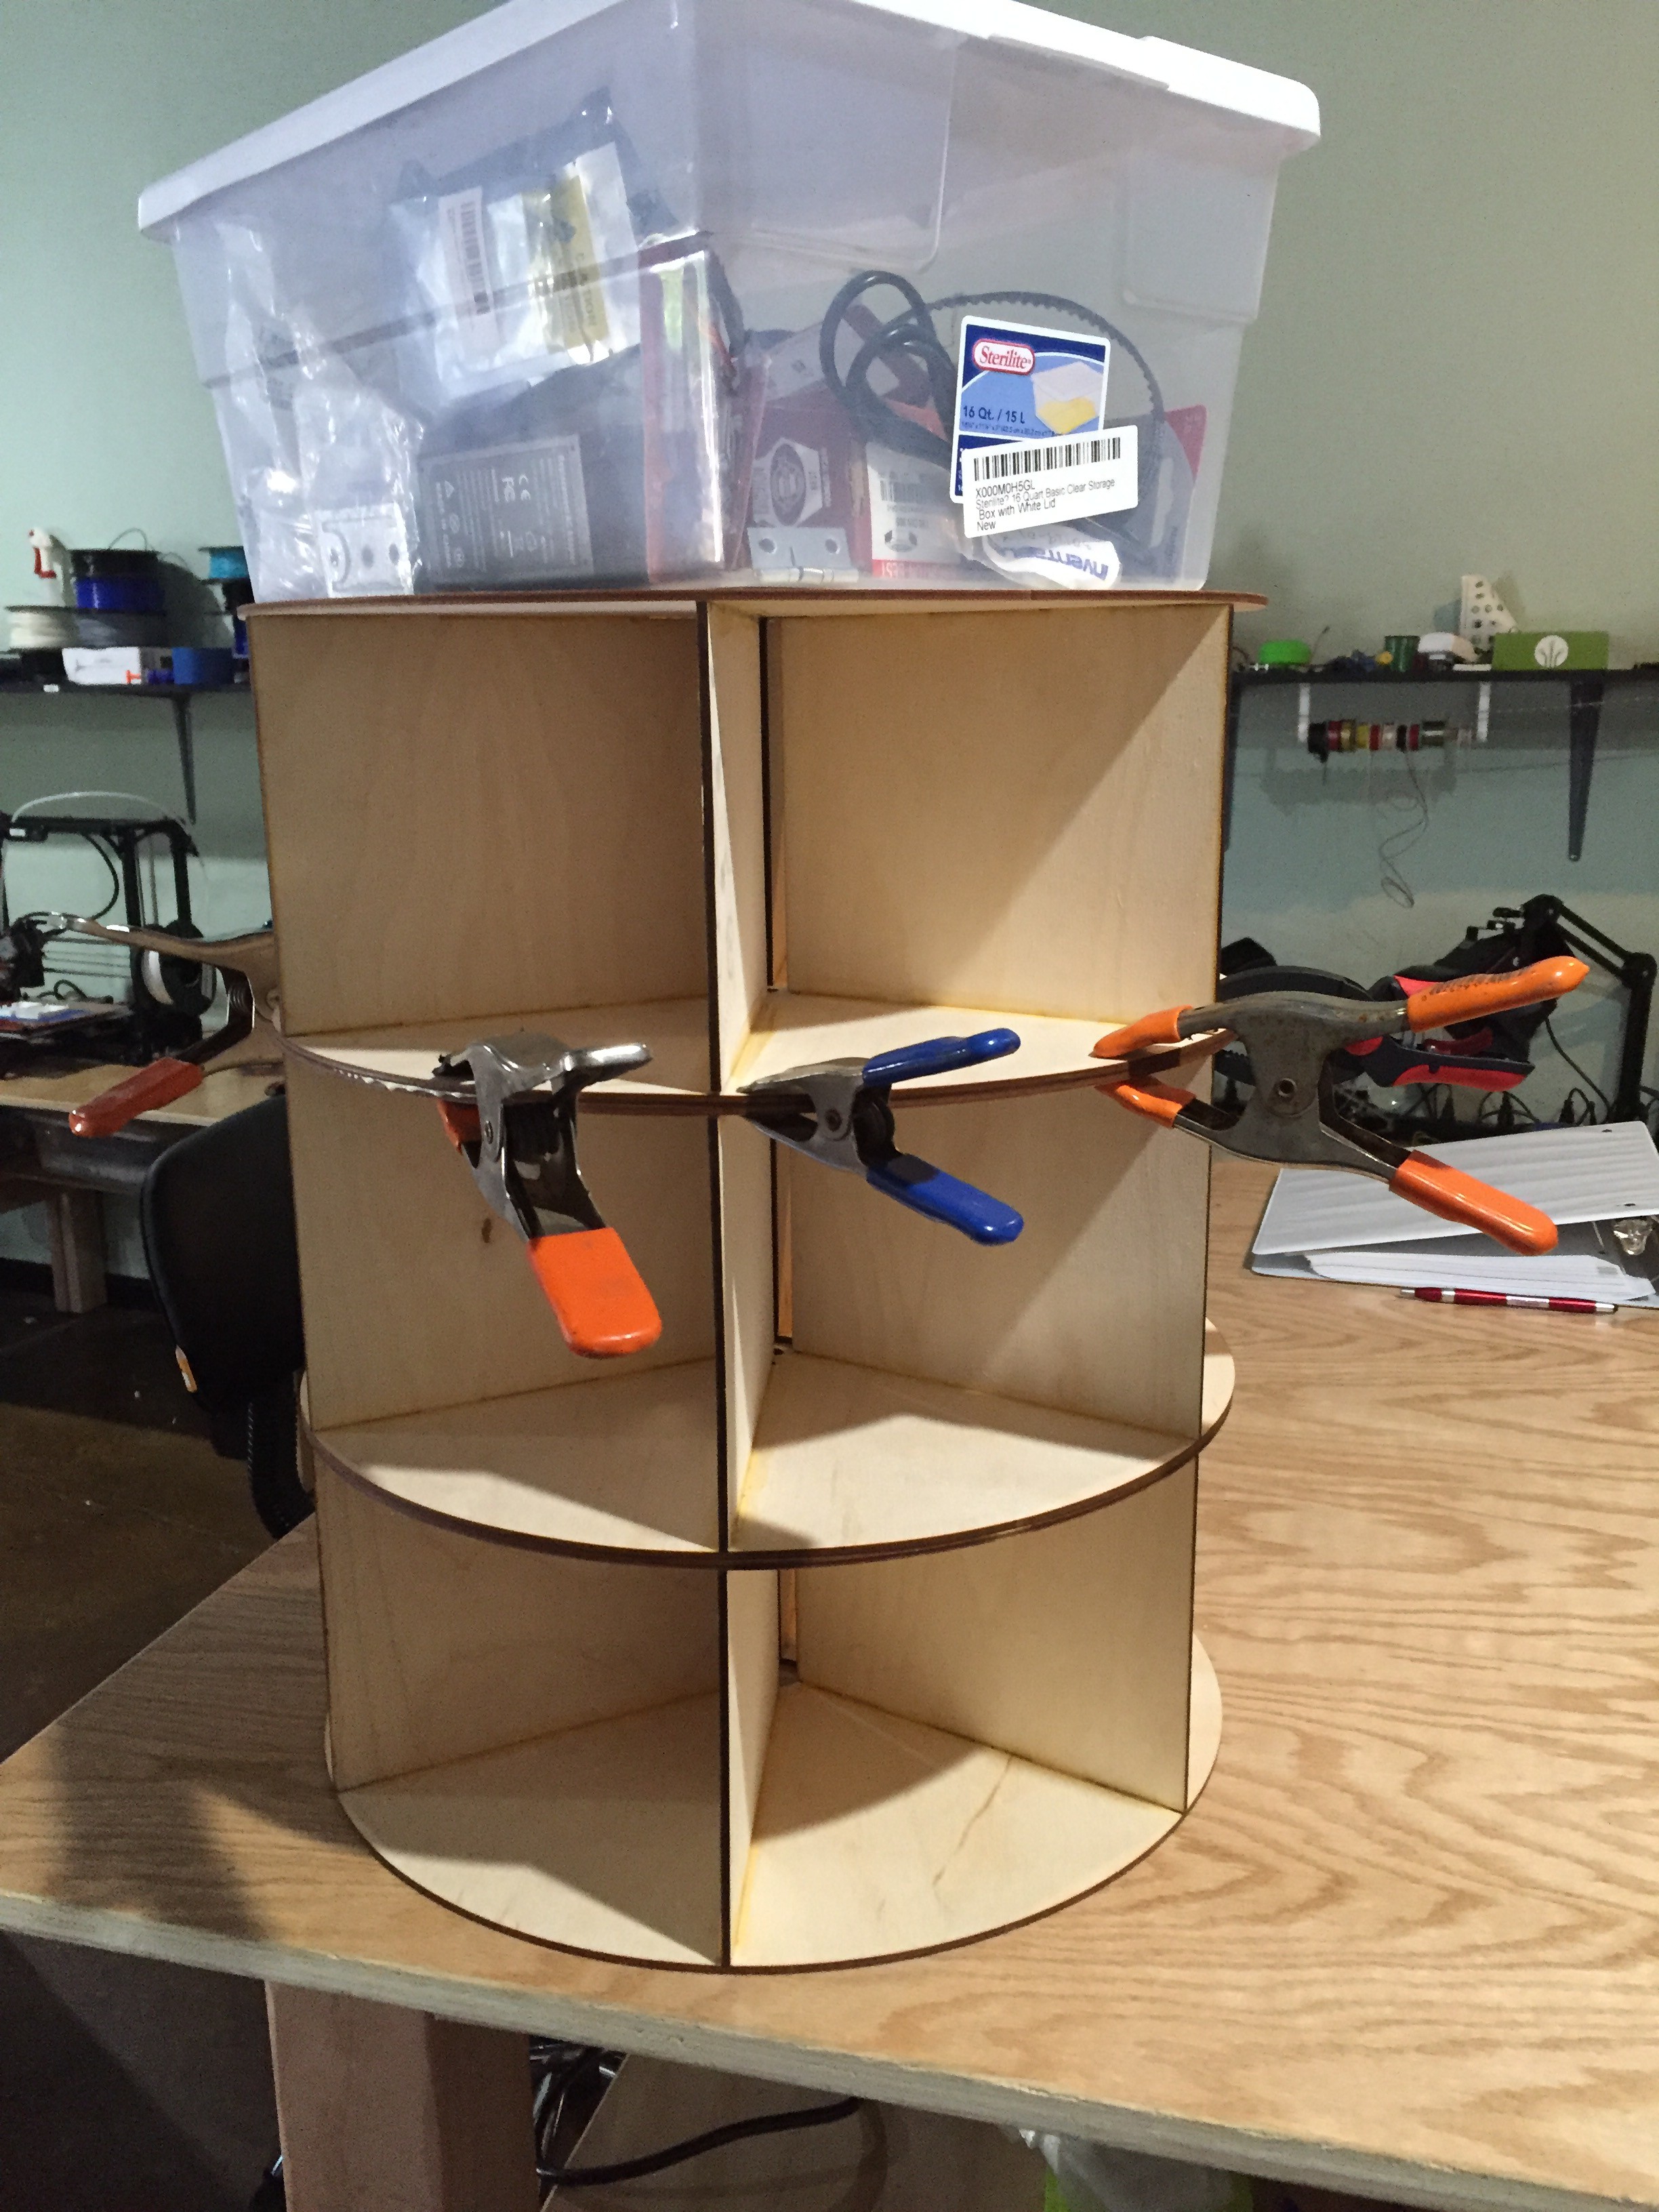
    All the wood for the carousel has been laser cut. All the layers except for the final layer have been glued together.

    Also, I completed the circuit design and sent a board design off to OSHPark to have fabricated. On the breadboard I was able to get the AccelStepper library functioning using the pololu stepper drivers in order to test the acceleration. This is key because the carousel is fairly heavy so in order to spin it, it has to start out slow and then get up to speed.

    Next week I should be able to complete the frame and have the gear system setup.

View all 10 project logs

Enjoy this project?

Share

Discussions

teriskeis wrote 08/06/2021 at 04:15 point

As you mentioned bitcoin here so I think it will provide you more benefit in future. Very impressive idea really you can see my vertigovisual webdesign service project here.

  Are you sure? yes | no

Est wrote 07/27/2016 at 06:14 point

how are you going to rotate the different levels of the carousel?

  Are you sure? yes | no

Mike Machado wrote 07/31/2016 at 03:17 point

The whole carousel rotates together. When someone buys an item, it knows which column and row it is in. It first spins to the right column, and then unlatches the door only for the row that the item is in. The system will then make sure all doors are closed, locked and re-check they are still closed (to prevent trying to trick the system and get free stuff) before a new purchase can be made.

  Are you sure? yes | no

K.C. Lee wrote 07/31/2016 at 03:35 point

Should also lock the shaft otherwise someone might try to rotate it manually to get to the next column.

  Are you sure? yes | no

Similar Projects

Does this project spark your interest?

Become a member to follow this project and never miss any updates