3D printed prosthetic hands are a classic project. I wanted to do something creative, but I wanted there to be an honest possibility that my work would contribute to actual real life prosthesis development. The only 3D printed prosthesis costing less than $7000 that have succeeded in being more than one-offs are the ones made by e-NABLE - so that is where I started.
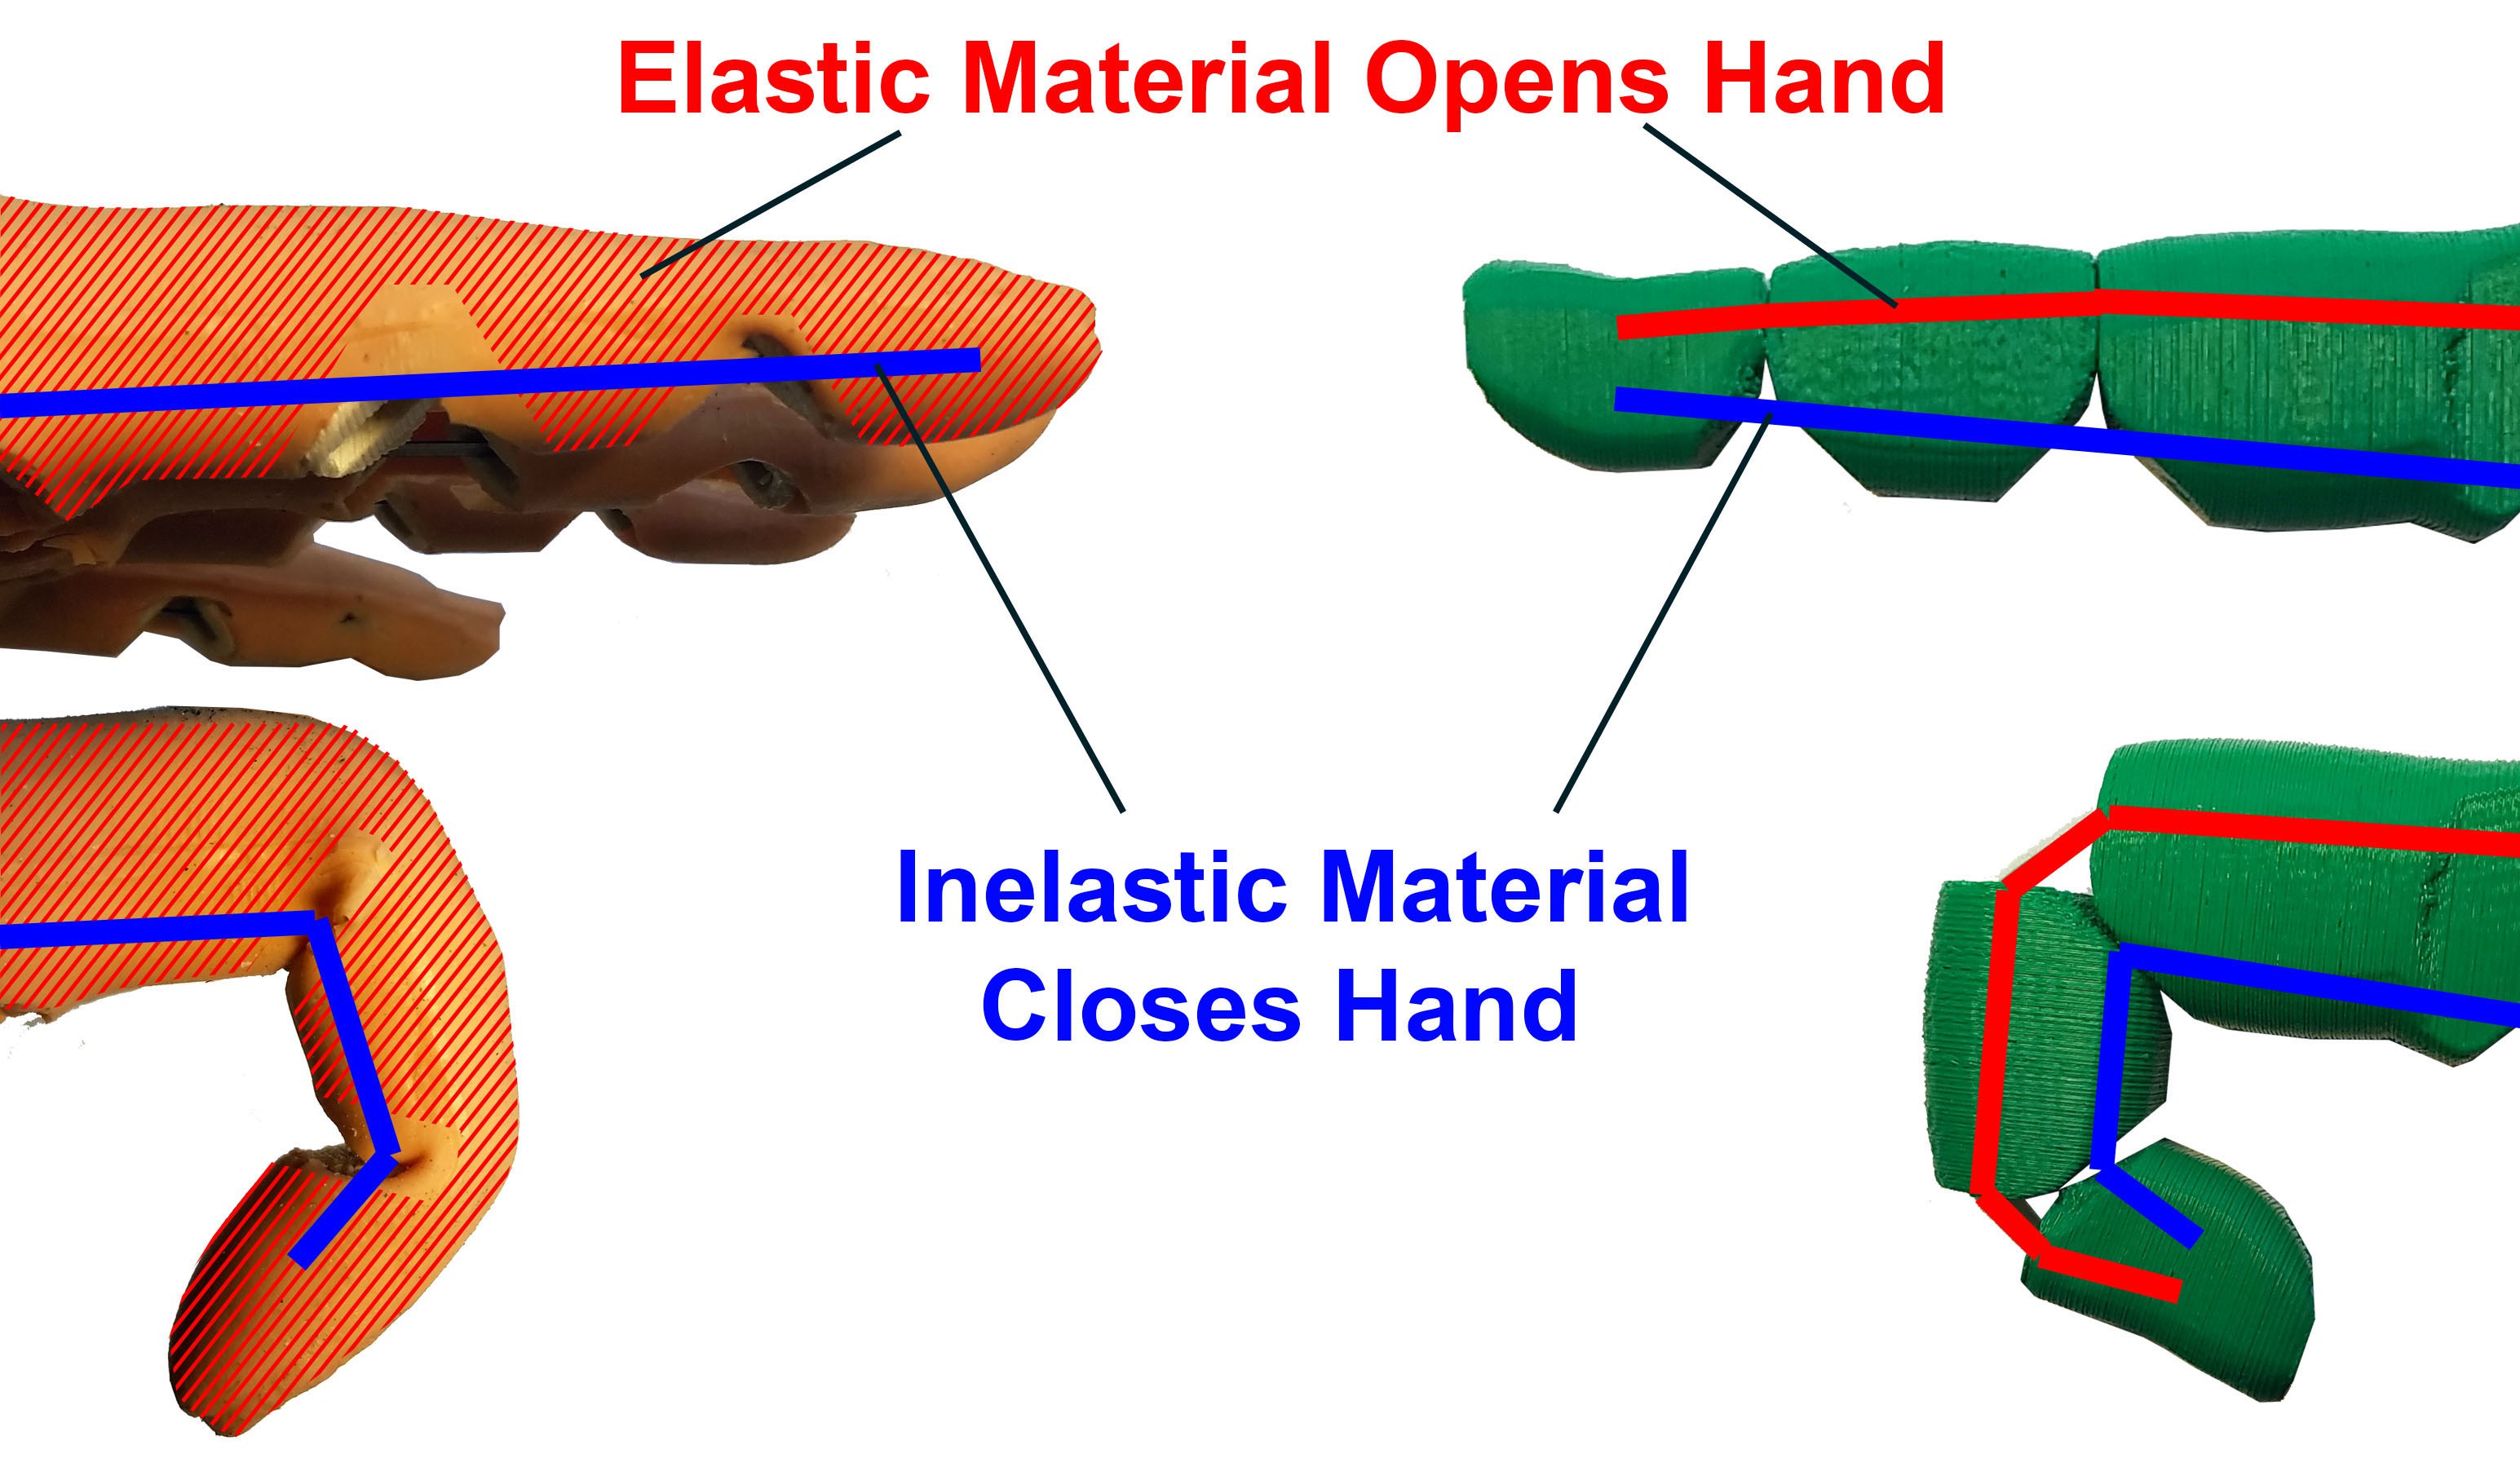
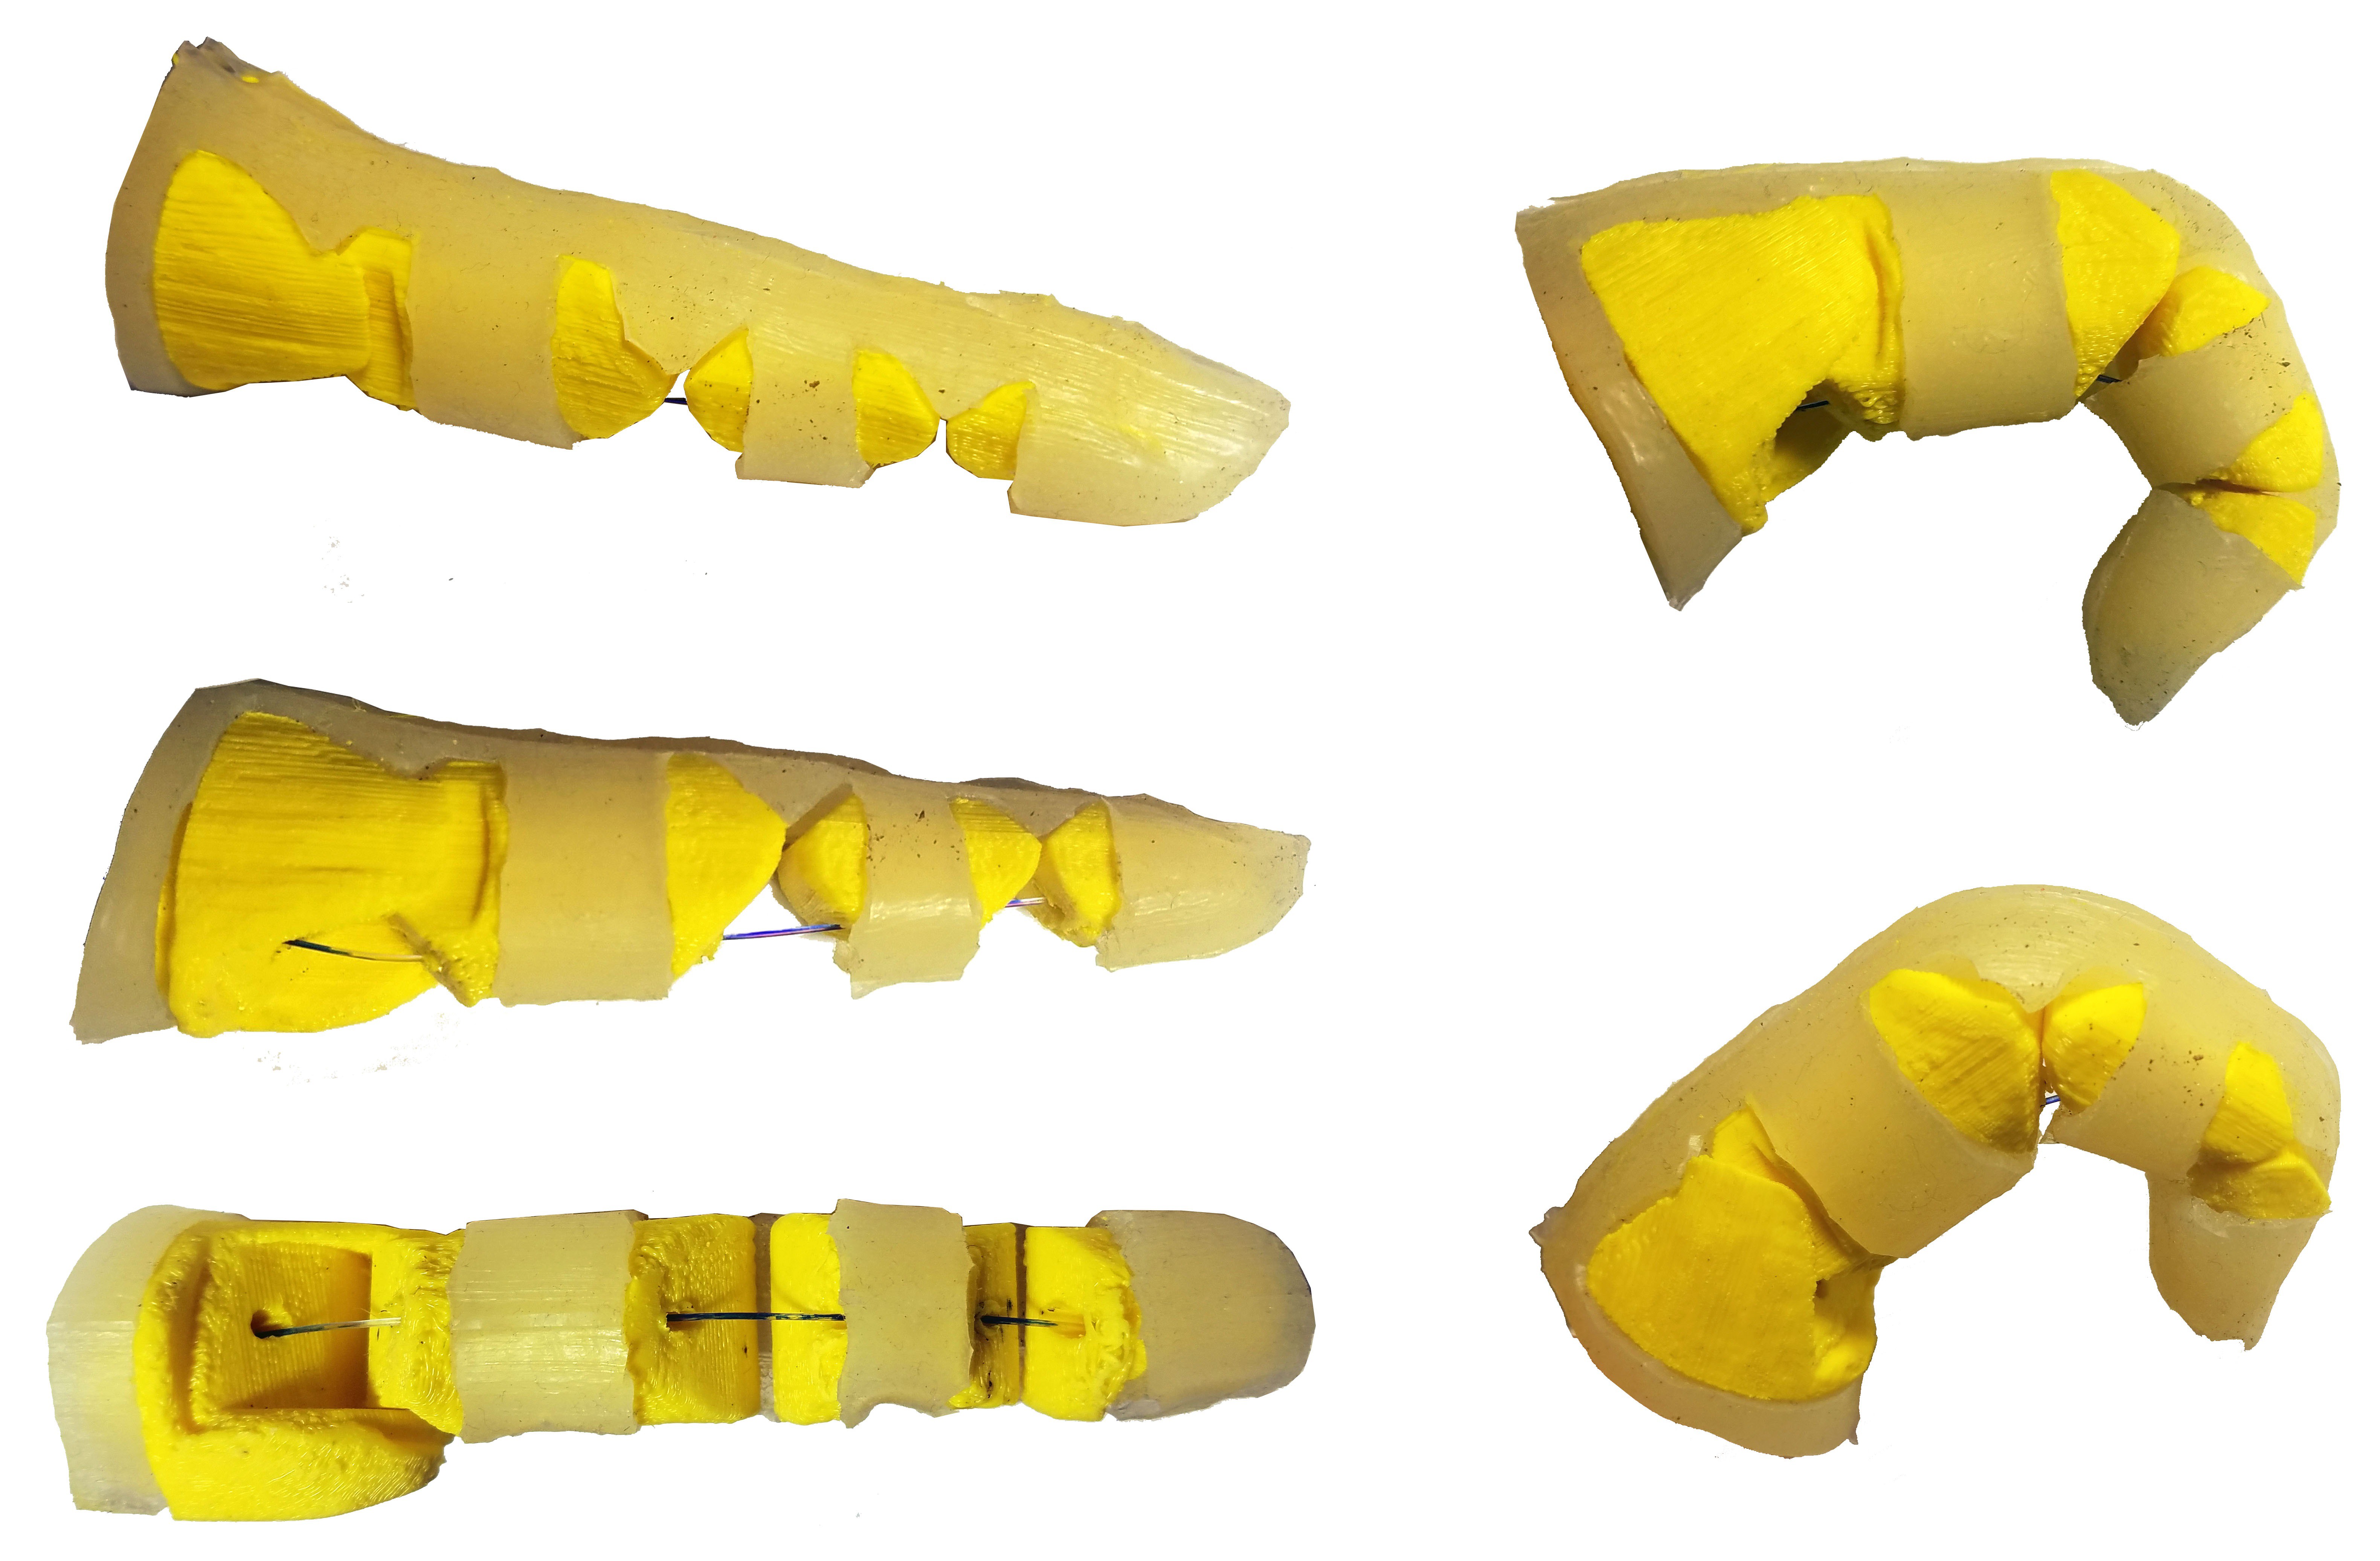
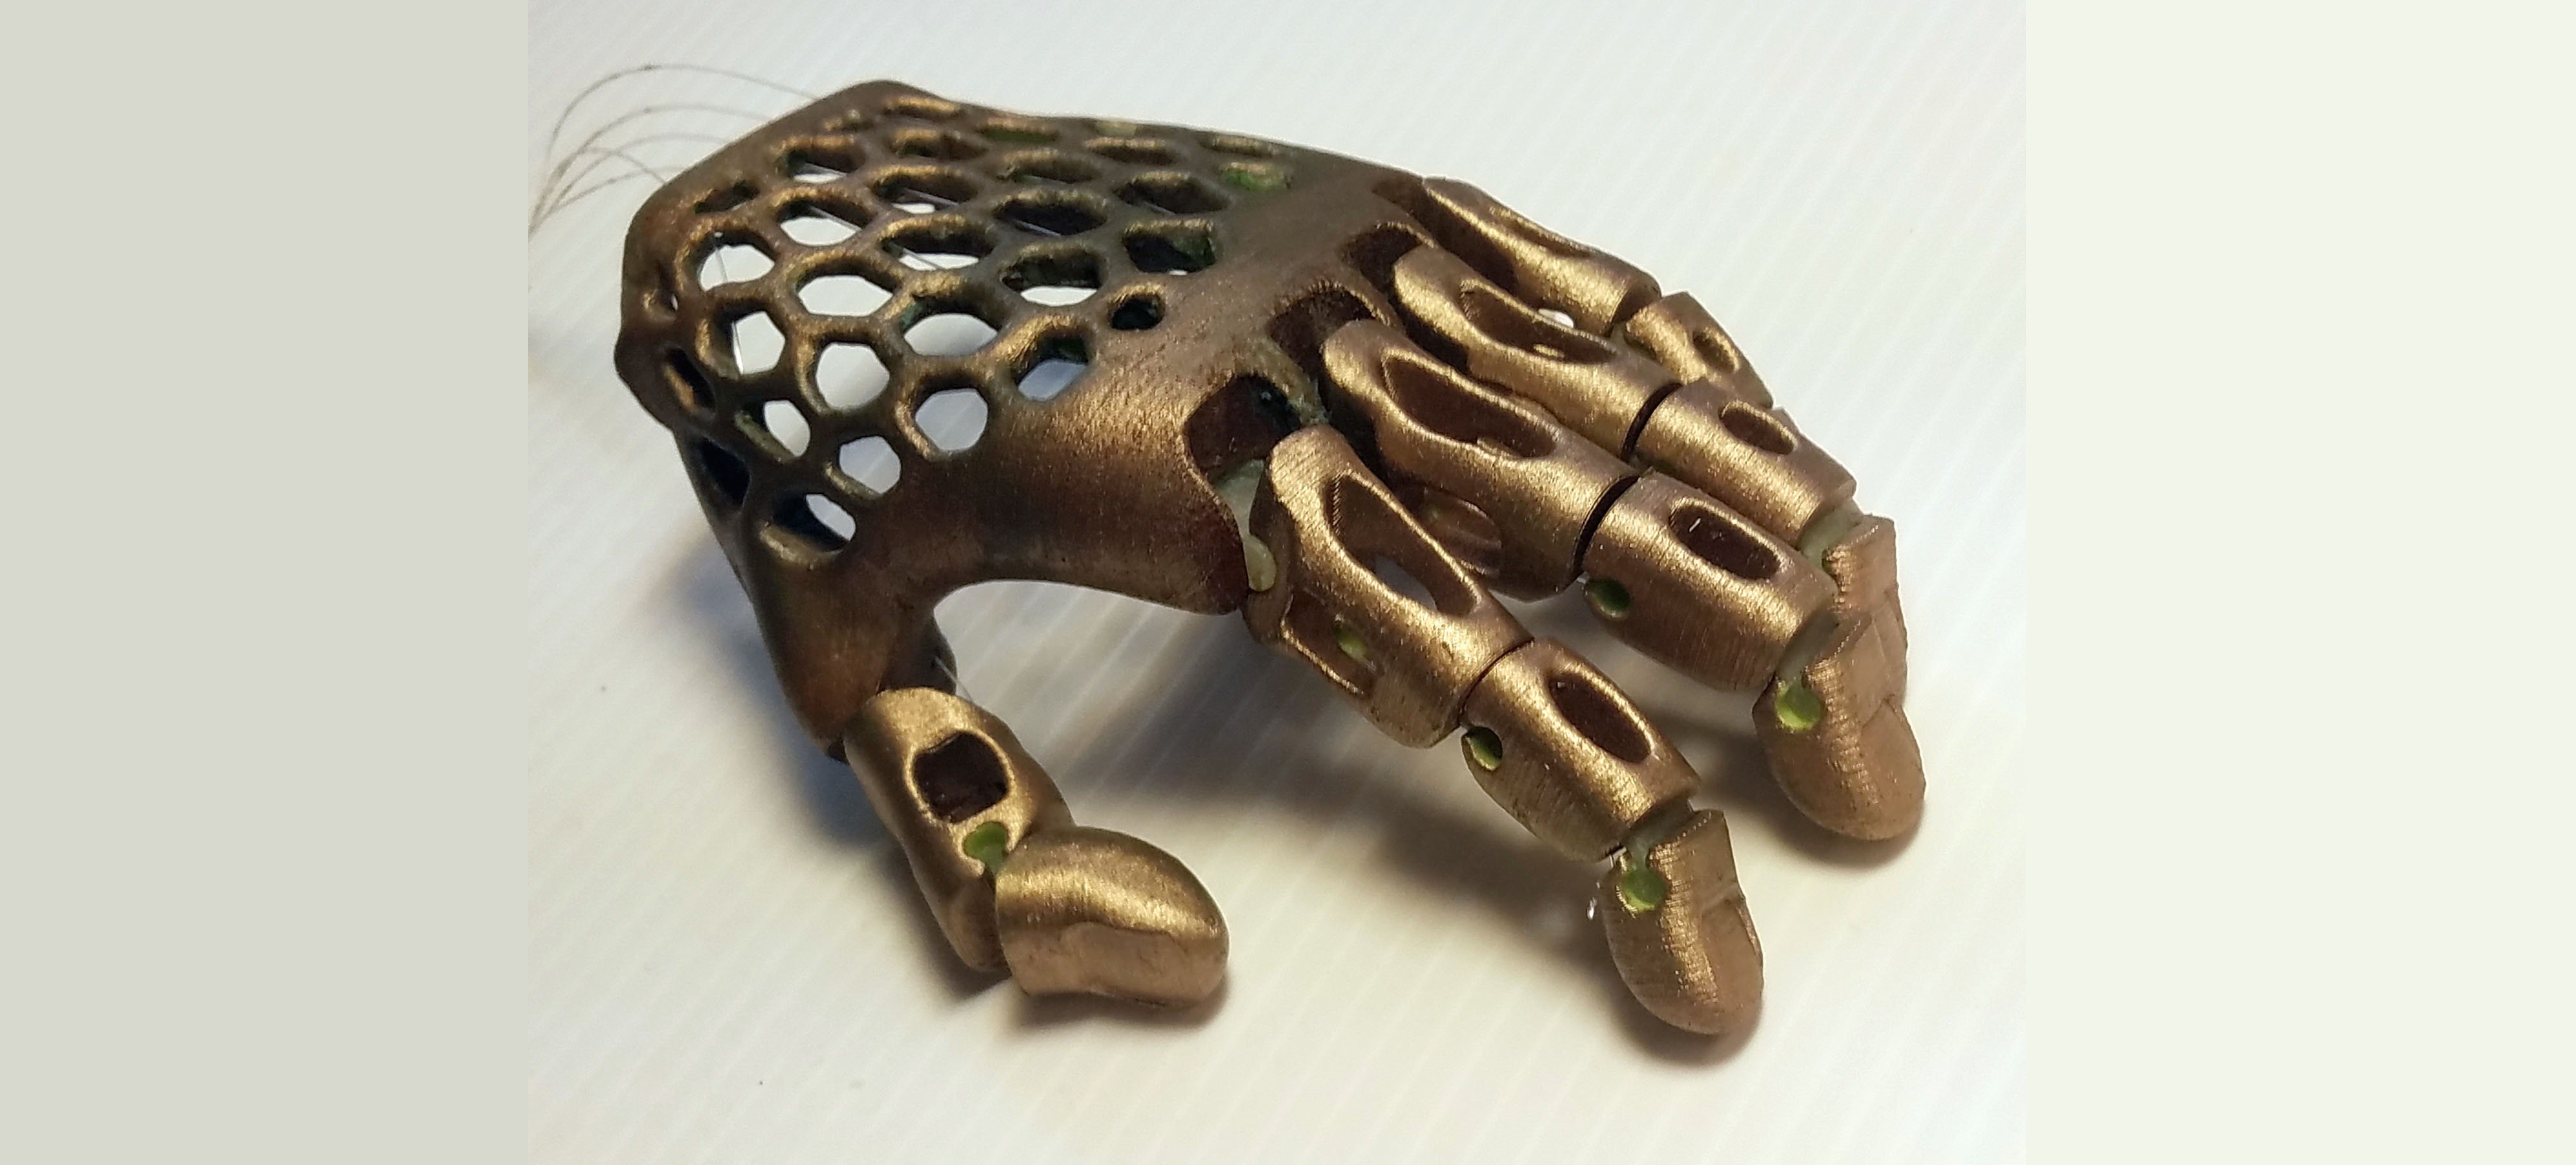
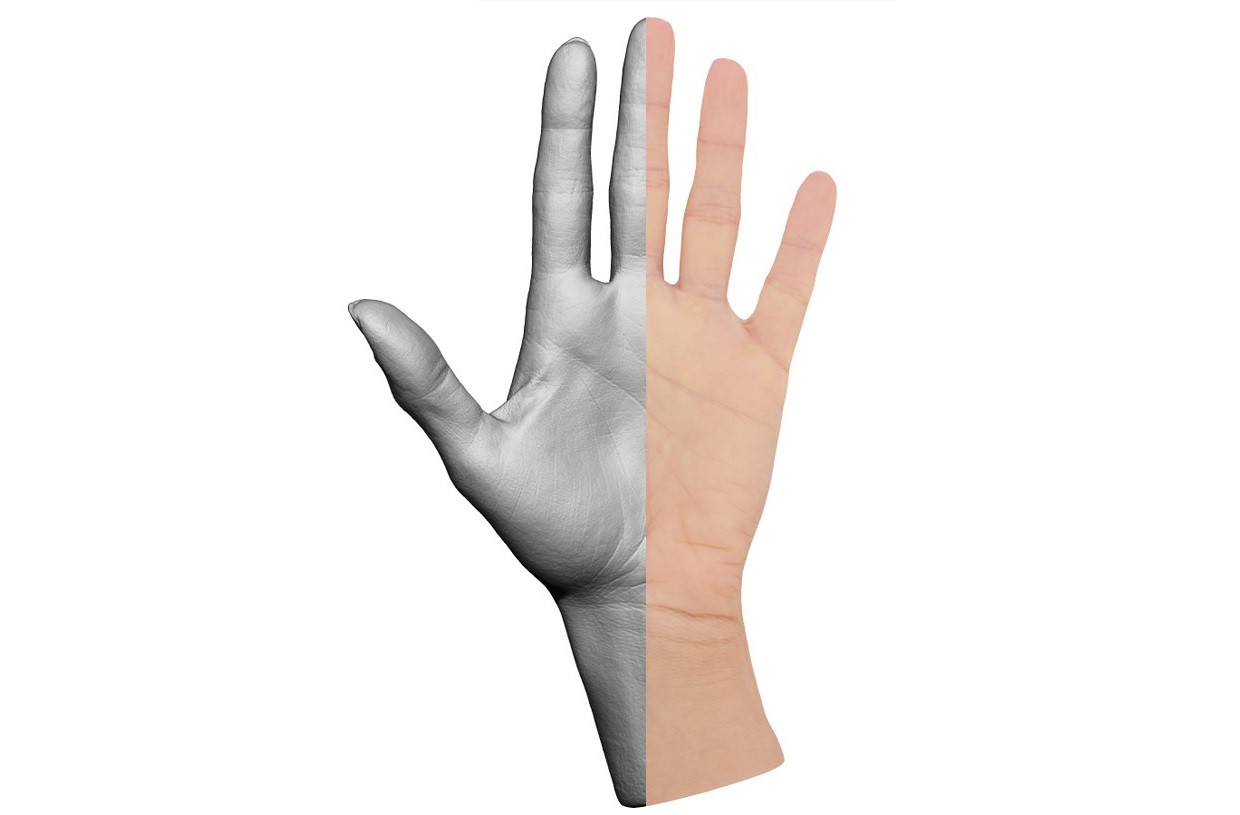
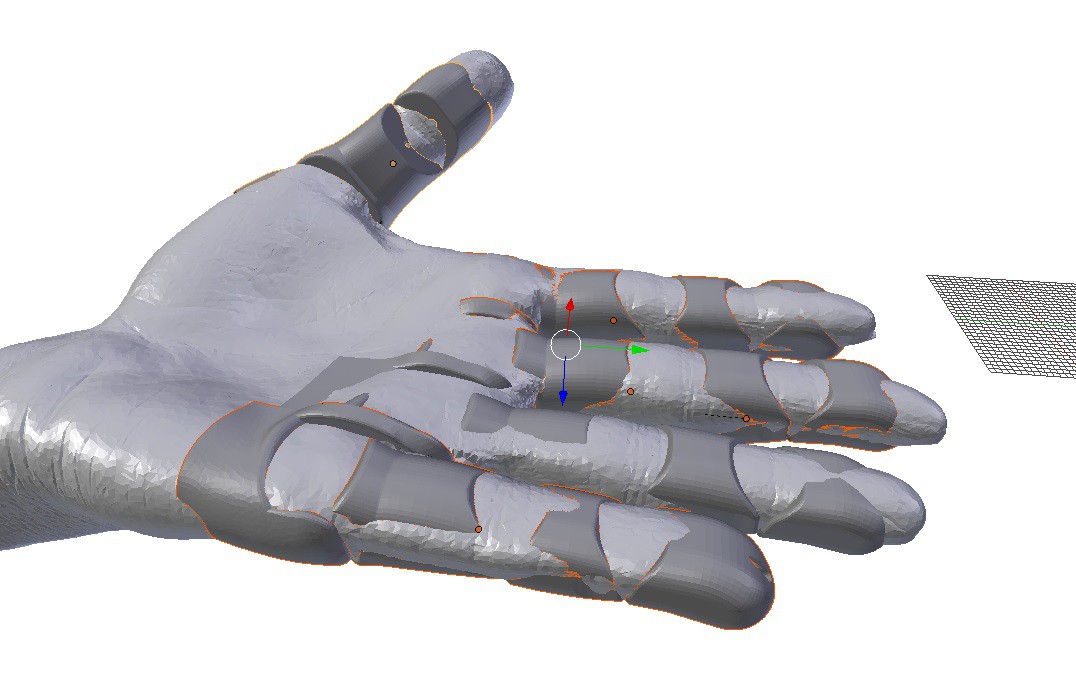
e-NABLE style prosthetic hands (right side in above illustration) use an elastic material in the top region of 3D printed joints for retraction i.e. a 'spring' force that moves the hand to an open position when no additional force is applied. An inelastic material like cord or monofilament in the bottom portion of the joints is used to pull the hand closed. The inspiration for this project came from the elastic material embedded in the hard 3D printed plastic digits of e-NABLE style hands. I wanted the hand to have a flexible, elastic life-like surface but the only flexible elastic component was buried inside hard plastic. What if I put the elastic band inside e-NABLE style hands on the outside instead? After a lot of experimentation I realized that it wouldn't be much additional work to base the hand off an actual 3D scan of a hand. Using a 3D scan with hard plastic doesn't add much, but when you are dealing with soft silicone rubber the use of a 3D scan becomes impressive.
*I have loaded all the important models (mold and hand parts) into an online 3D model viewer for your convenience HERE ( https://curtpw.github.io/silicone-skin-prosthetic-hand).
*All models and a whole lot of high resolution images are available in the GitHub repository for this project (https://github.com/curtpw/silicone-skin-prosthetic-hand).
HOW TO USE THIS PROJECT AS A TUTORIAL:
- Read through the instructions at the bottom, particularly the ones about modeling in Blender. A basic '3D printing level' knowledge of Blender software is assumed.
- Download my master Blender project HERE. I'm hosting the file on Google Drive because its too big (850MB) for Hackaday or GitHub.
- Go through the entire Blender project and look at the meshes one by one. This will take a while but it will familiarize you with the linear process I went through including dead ends and walls.
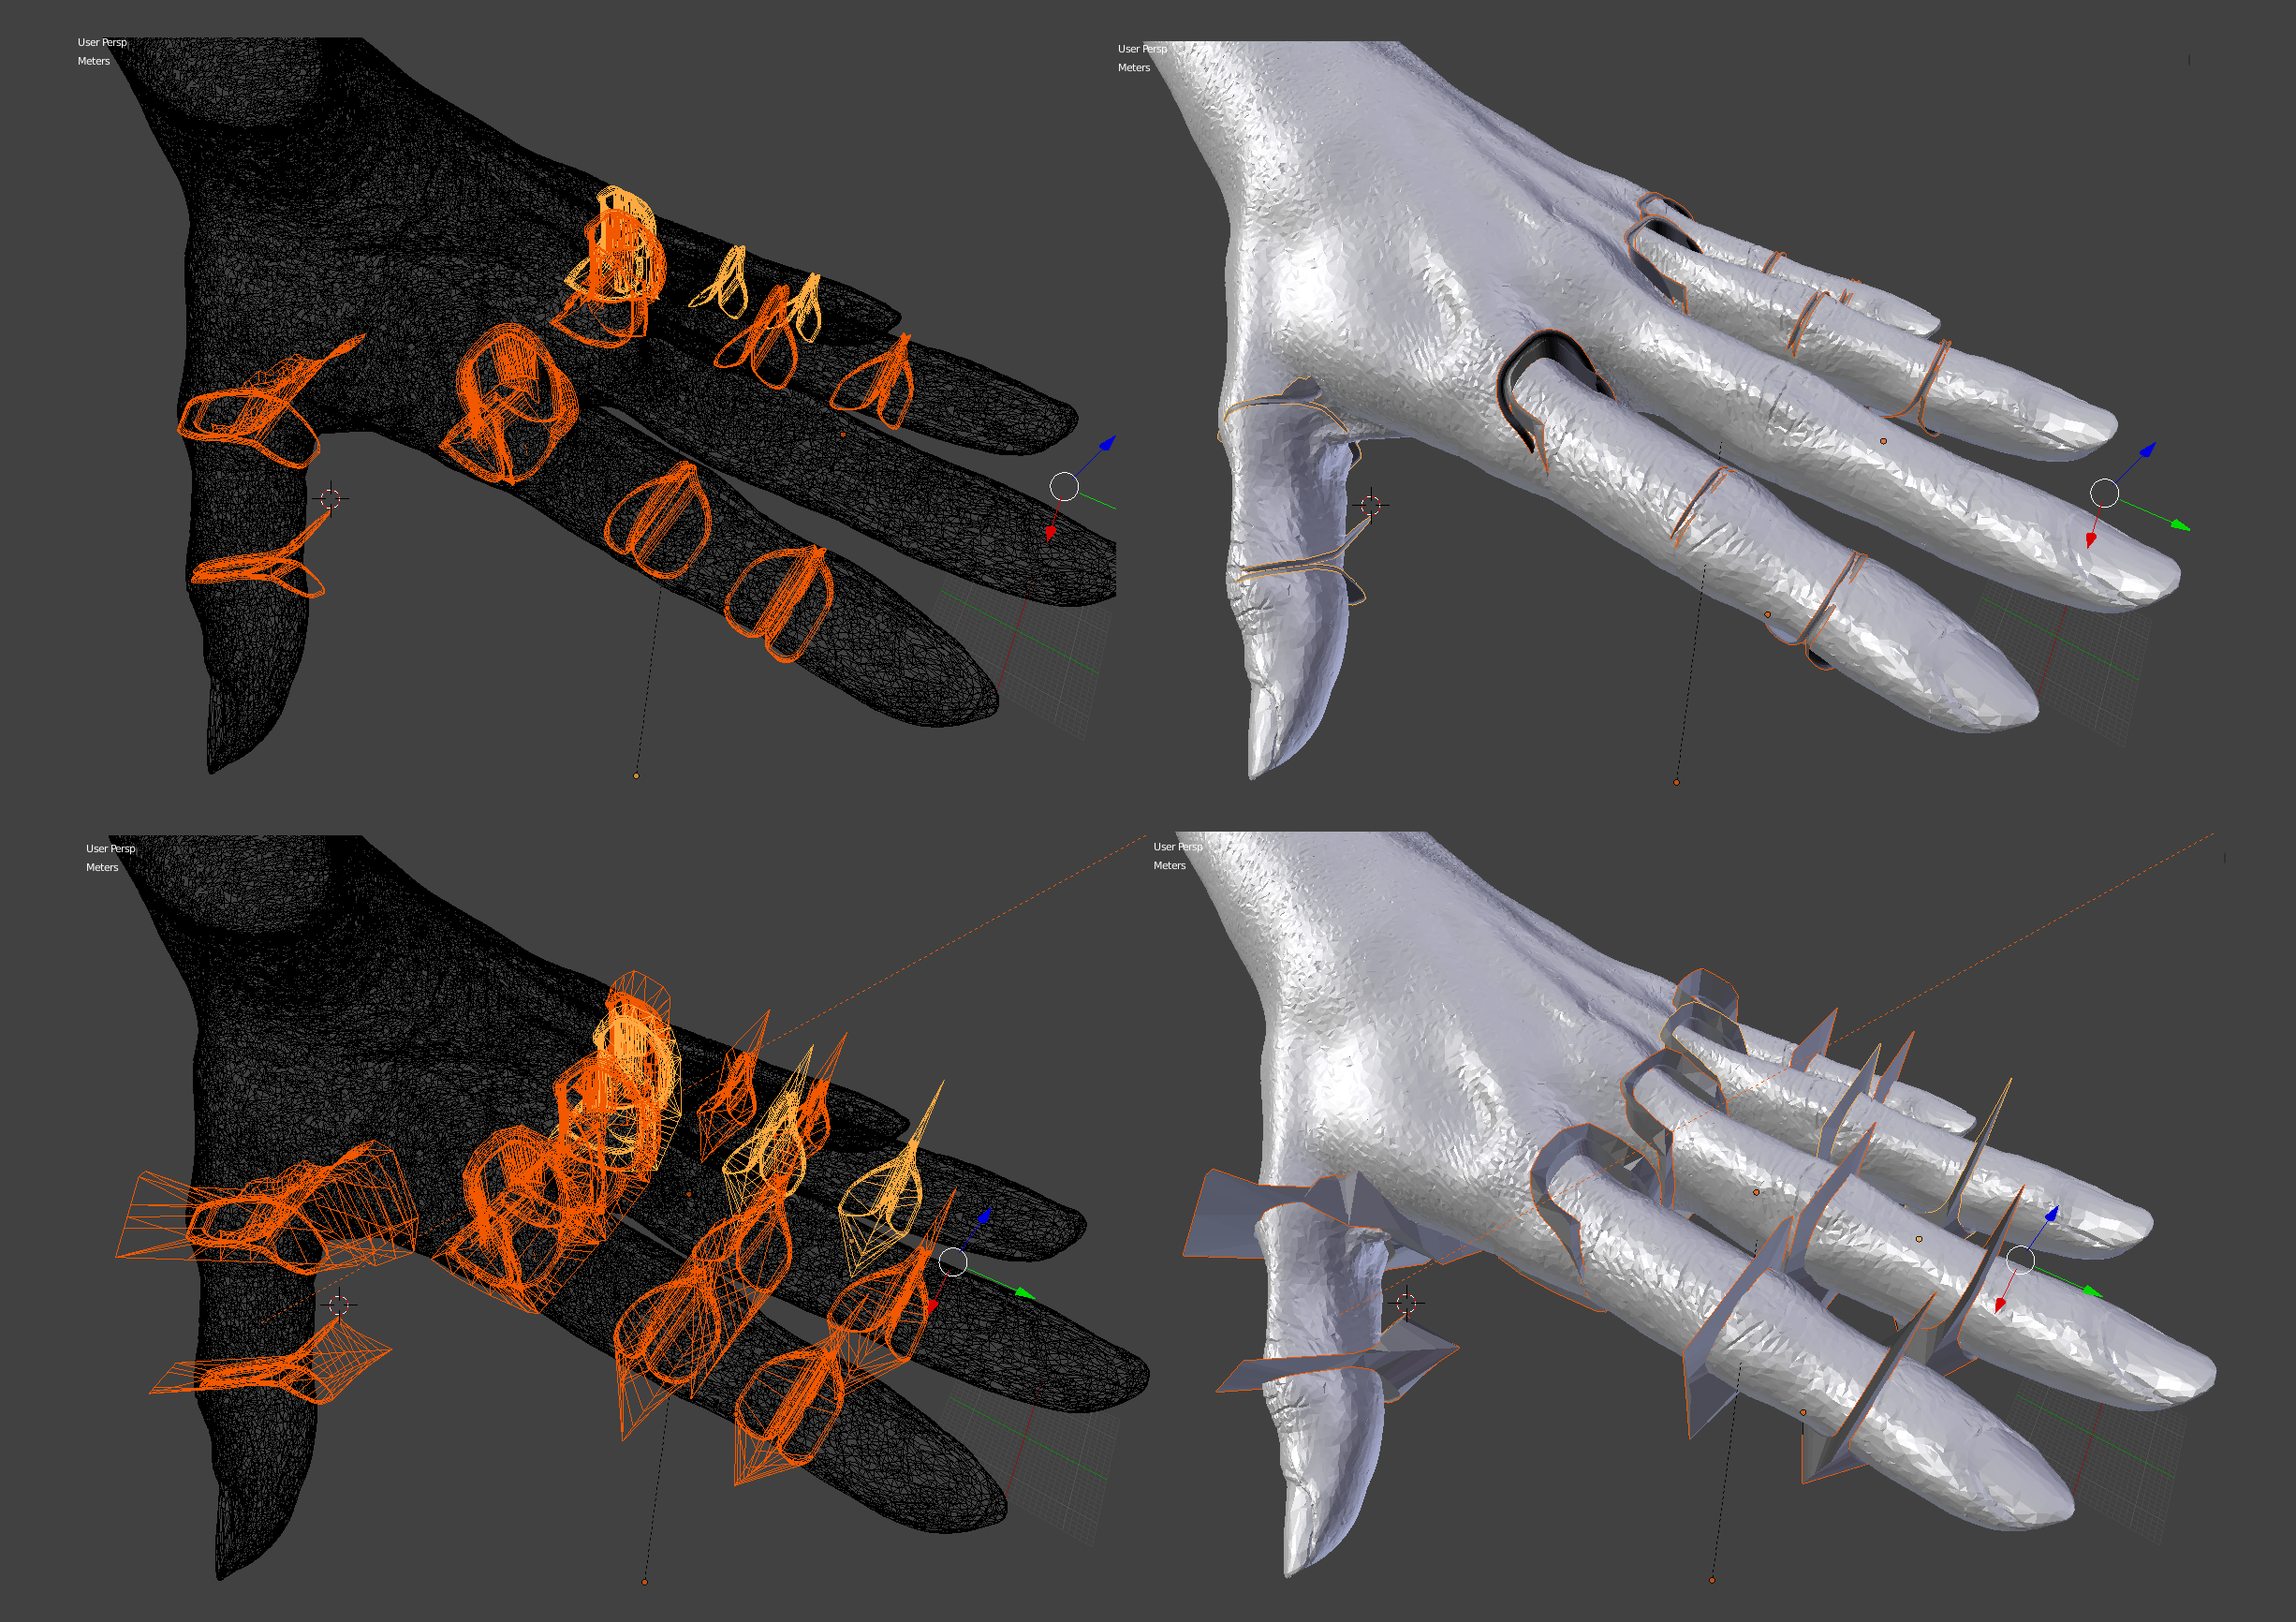
- Mentally connect the instructions in this Hackday project with the meshes in the Blender file. All the modeling instruction illustrations were taken from the Blender project.
- Load your own 3D scanned hand model into the Blender project and replace my raw hand model with your own.
- Work through the instruction steps in Blender with your own model.
Making it Robotic
This prosthetic hand is extremely easy to make robotic - in the controlled conditions of my workshop. All I have to do is hookup a linear actuator to the constriction/hand-closing cables. I'm in the process of getting this prototype up and running with an 50mm range Actuonix/Firgelli miniature linear actuator powered by two 18650 3.7v Lithium batteries. Right now I'm still working on finger/thumb cable tension but I have been running tests on the actuator using a 3D printed copy of the "Flexy Hand". The real question is whether or not this is useful. There are SO many powered hand projects on the internet, but the only one that has seemed to get any traction is Open Bionics (https://openbionics.com). Their device costs $7000, though they promise they'll get the price down to $3000. Although I'm continuing development of powered versions, I think attempting to contribute to extremely inexpensive e-NABLE style manual actuation prosthetic arms/hands is considerably more practical considering my lack of resources. There is also the possibility of combining this 3D Scan to 3D printed mold and silicone skin technique with high end robotic prostheses currently on the market.
... Read more » Curt White

 Debargha Ganguly
 RAMKUMAR R
 Liam_Thompson