-
1Get the Hand 3D Scanned
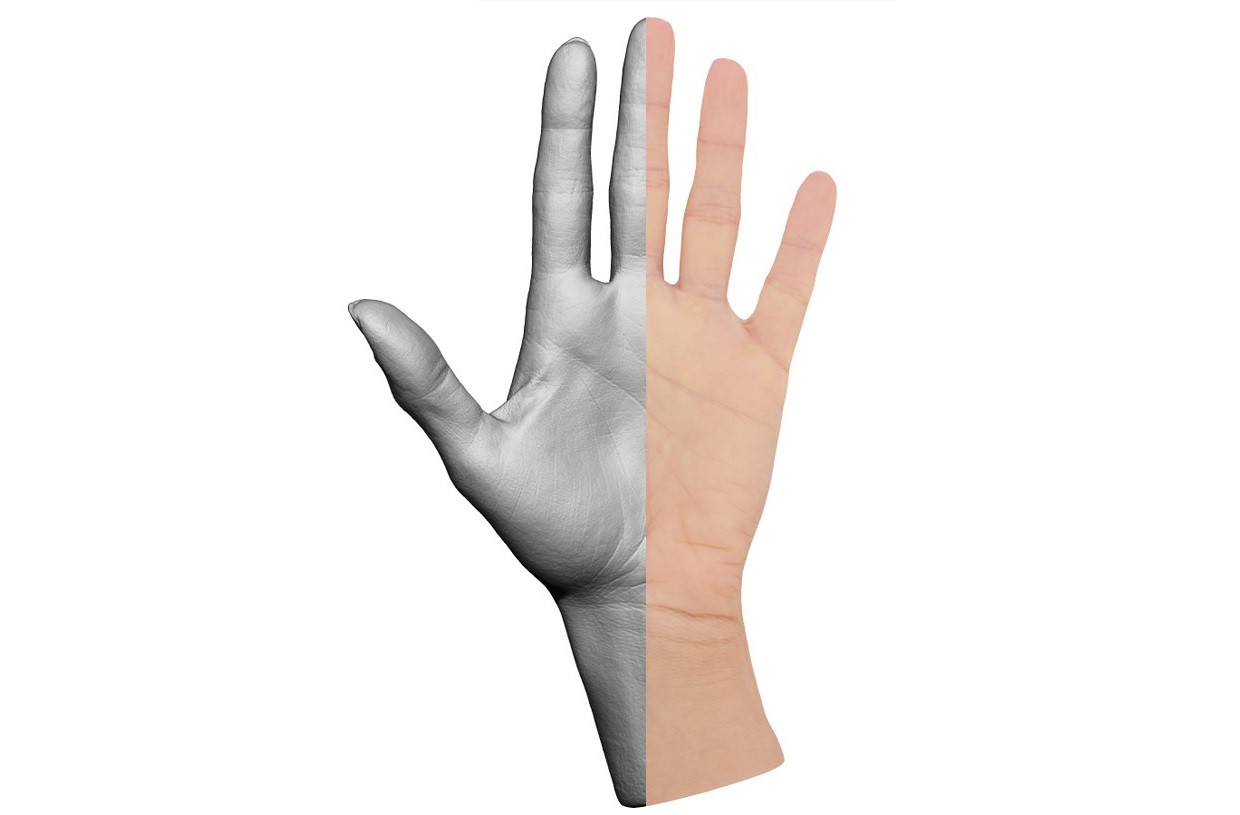
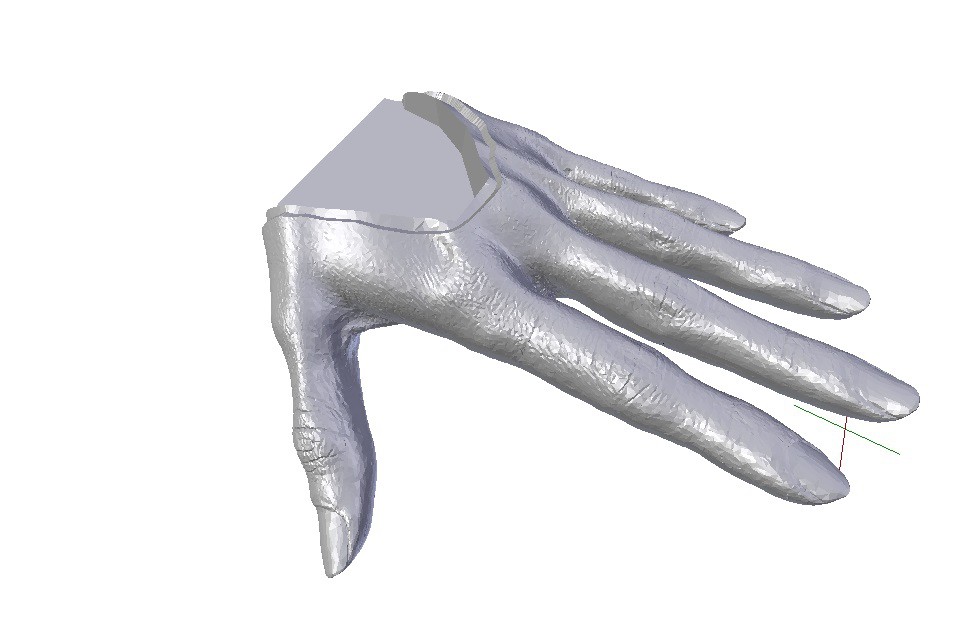
These days there are lots of places you can get your hand and other medium sized objects professionally 3D scanned - a brief internet search will help you find a convenient location. In the case of a prosthetic hand, you will need to scan the remaining hand and mirror it using 3D modeling software like Blender. If no hand is available for scanning, a professional 3D modeling artist can use photos to closely approximate a specific hand. You can also purchase 3D scans of hands - which is what I did for my current prototype.

-
2Skeleton Modeling: Superimpose e-NABLE/Flexy Hand Style 3D Printed Hand Model Over Your 3D Scan Hand Model
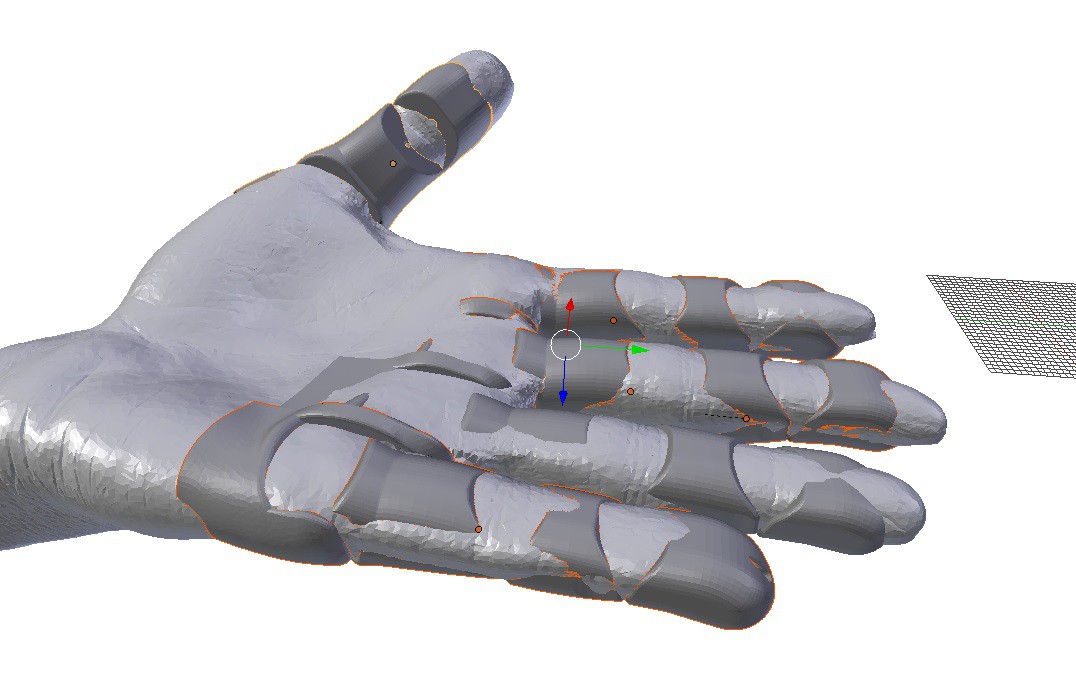
We need to create articulating joints for our 3D scanned hand. I use the joint geometry of Steve Wood's "Flexy Hand" and integrate it into my 3D scanned hand model in Blender. You can also use e-NABLE's standard prosthetic hand models - in fact this might be better since they are in active use as prostheses. You will need to shift around your 3D scan model to get a good fit - for example I had to shift the pinky finger of my model by about 20 degrees. In the end the 3D Printed prosthetic hand model should be cleanly superimposed over your hand 3D scan.

-
3Skeleton Modeling: Joint Cutting
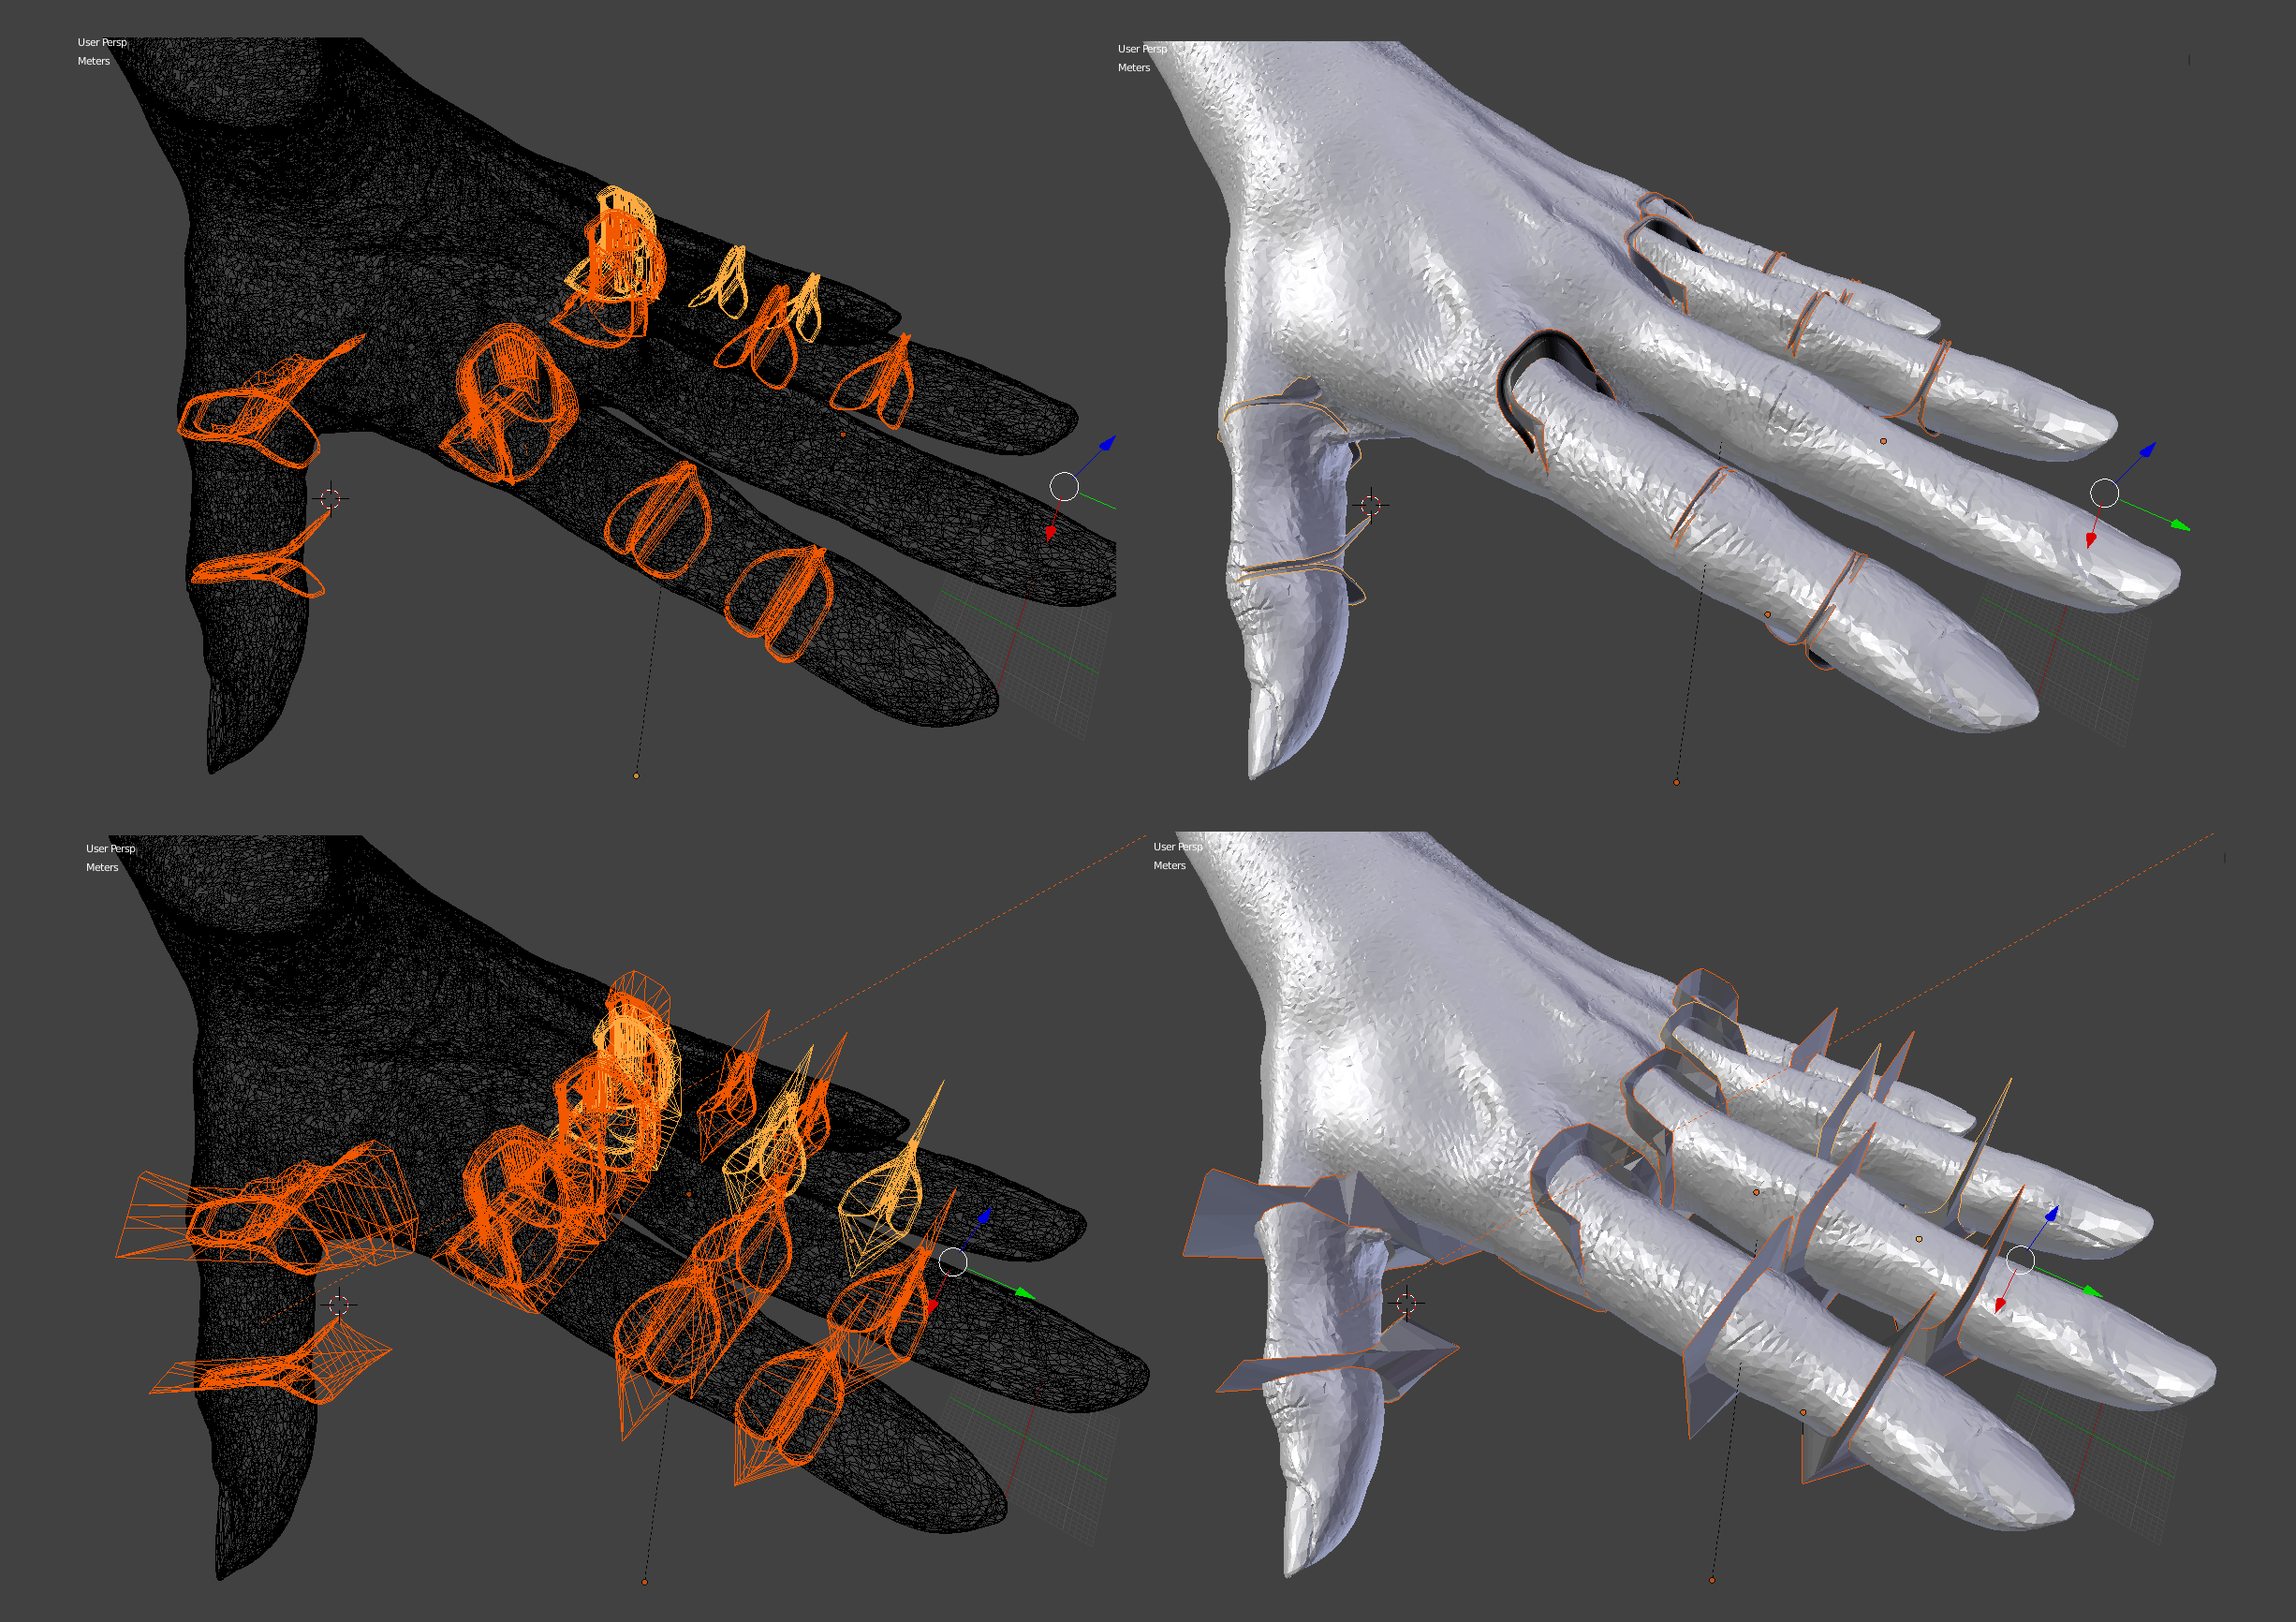
In combining the Flexy Hand model with our own hand model, the primary thing we wish to retain from Flexy Hand is the geometry of joint separation/articulation, the size of inter-joint surfaces and the spatial relationship of all the inter-joint surfaces. So we delete everything else from the Flexy Hand model mesh. Then we create models of the negative space between the Flexy Hand joints so we can use them to carve joints out of our 3D scanned hand model.

-
4Skeleton Modeling: Combine 3D Scan/Flexy Hand Model Intersection Mesh With Core Cylinders
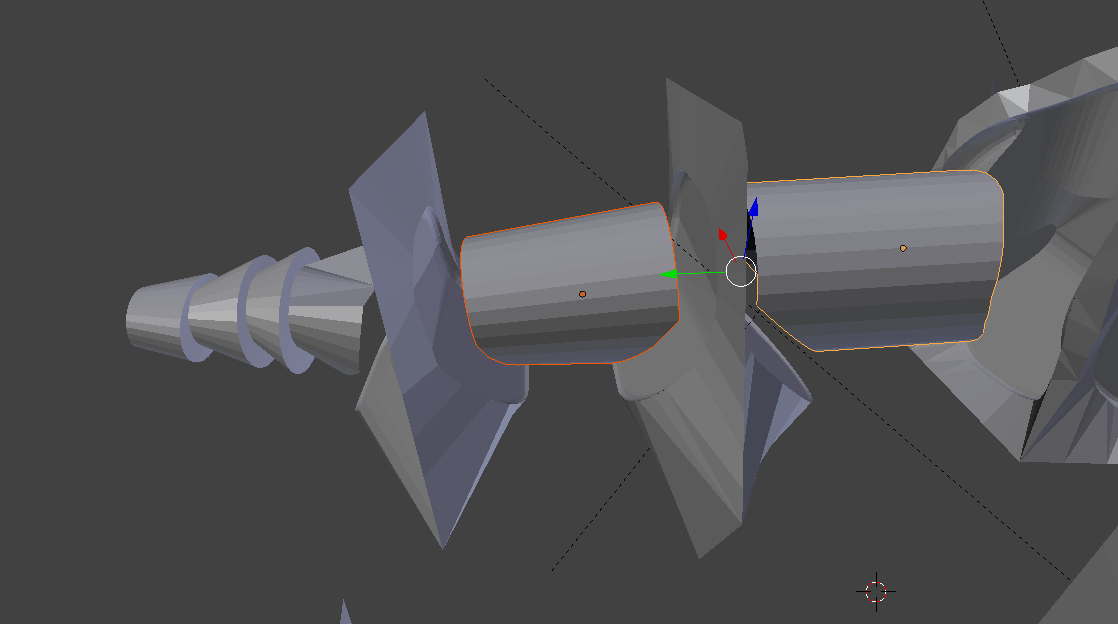
Now that the crucial step of isolating the intersection of the 3D Scan with the Flexy Hand digit ends is complete its time to attach the ends of each digit using a cylinder mesh that will fit inside the silicone rubber skin and also contain the spring steel cable used to close the hand. There is a whole lot of intermediate modeling steps involved with creating those toothed finger/thumb tips etc. so some of this you will have to read from the models included in the project.

-
5Mold Making: Trim 3D Scan Model to Outer Skin Dimensions
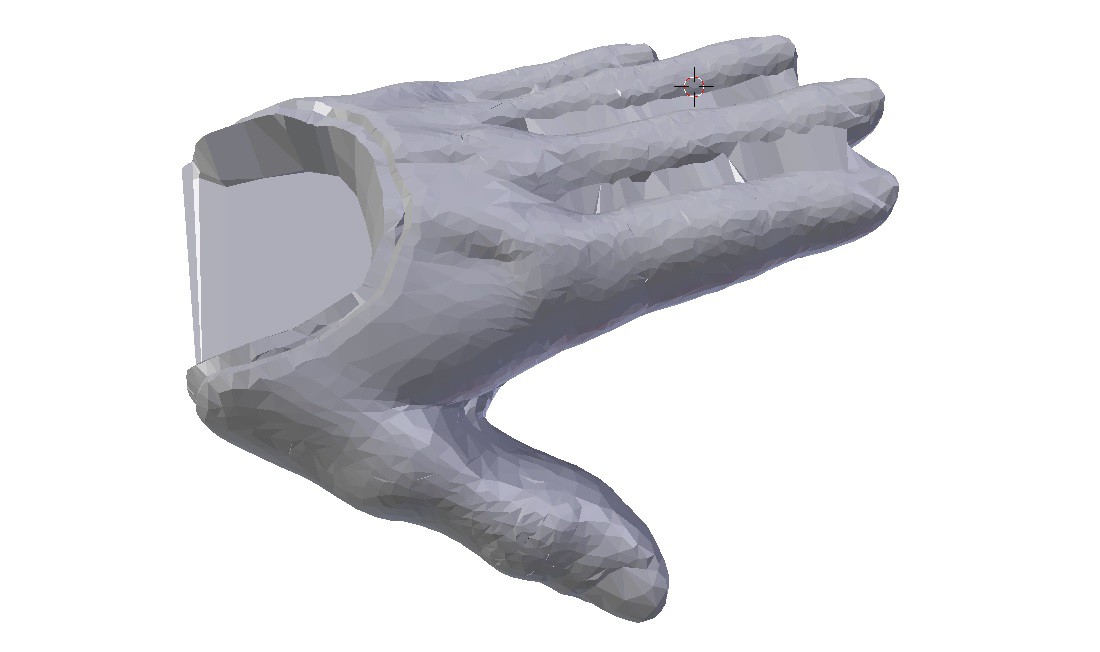
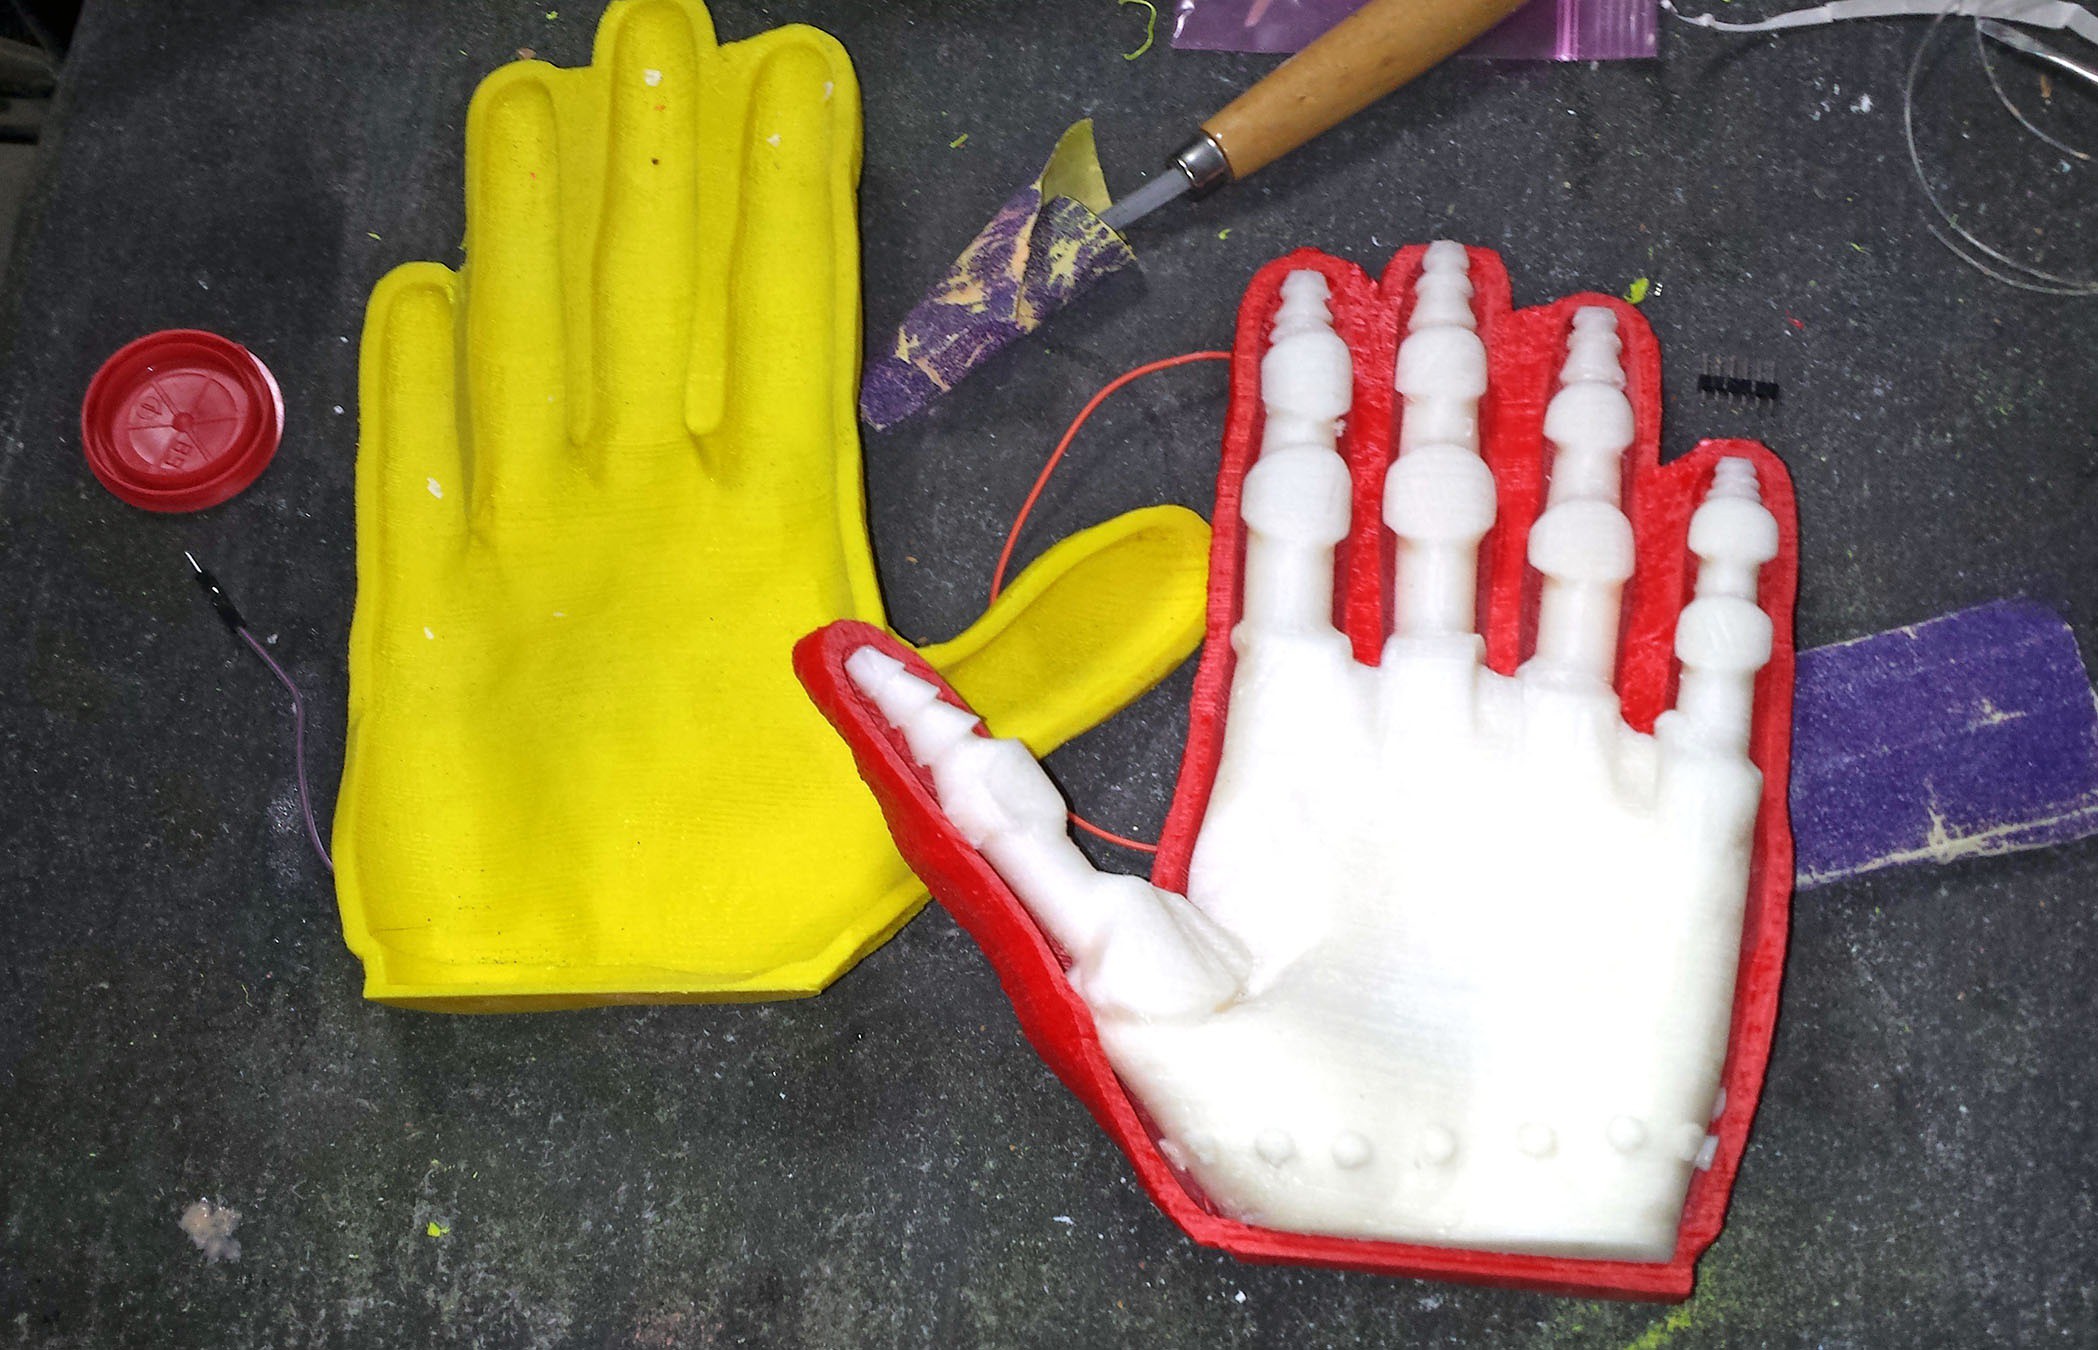
To make our silicone skin mold we must first complete a model of the mold interior. This means trimming and shaping our 3D scanned hand model. When I built the current prototype I chose to cover the palm and top third of the hand top with silicone skin. You might want to try something different but this worked fairly well for me.
First create a shape embodying the negative space we want to cut away from the model in order to define the edges of the silicone skin. I use lots of Boolean modifiers in Blender which some people don't like so you might have another preferred way to trim your model.

Then use a Boolean difference modifier to cut away from the hand model with your negative space cutting shape.

-
6Mold Making: Create Mesh for Top And Bottom Mold Peices
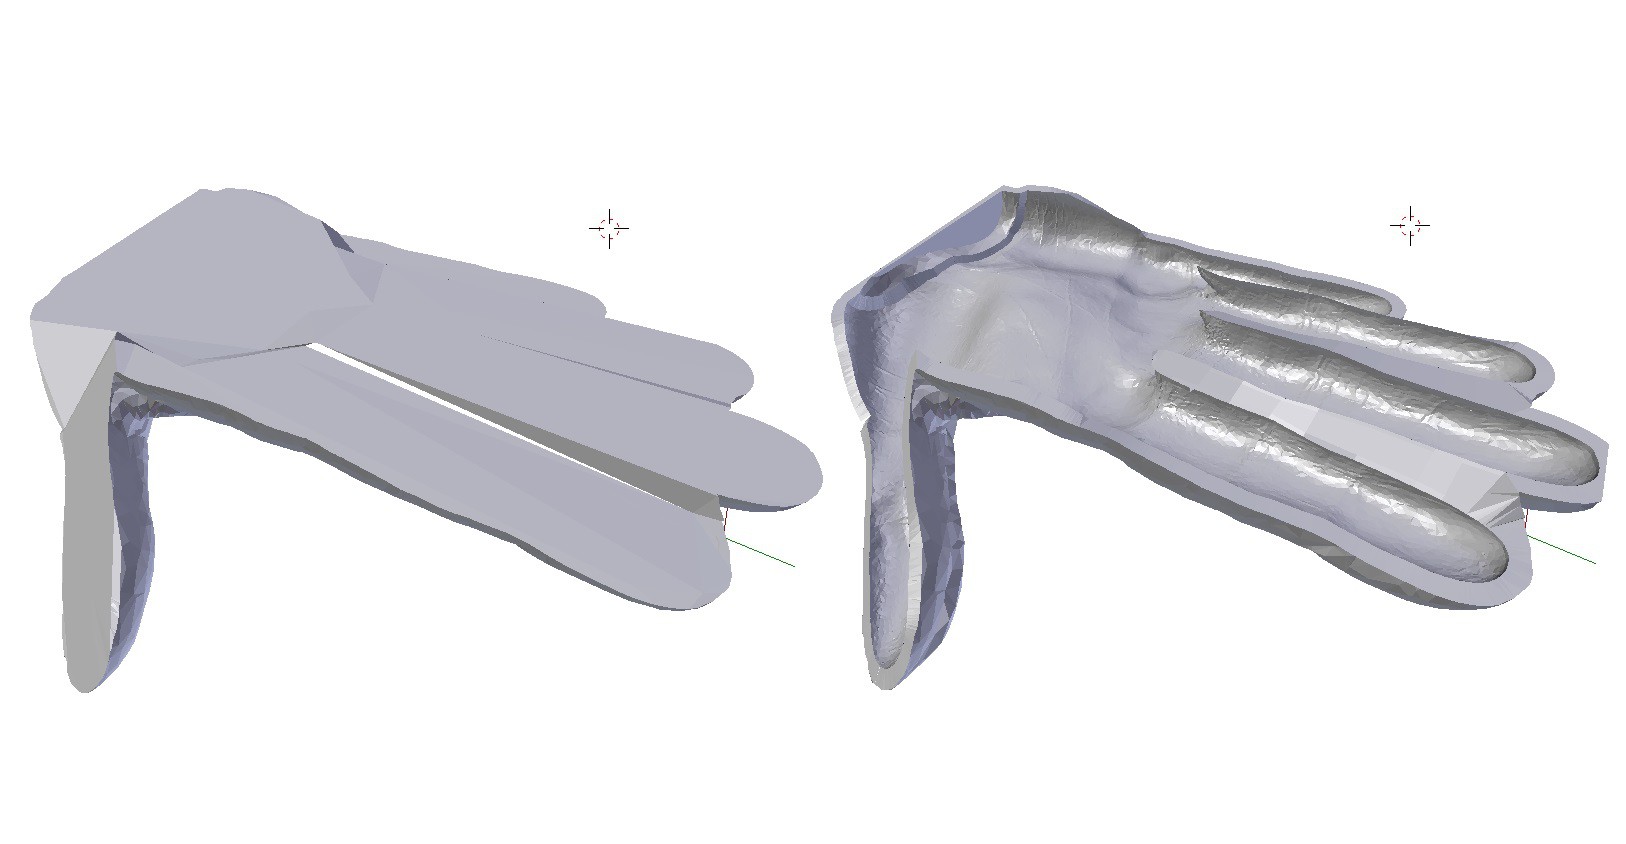
Use Blender's "Fatten" tool to create a copy of our interior model that is scaled up along the vertices normals. Since we aren't worried about detail, I heavily decimate the interior model copy before fattening. I also connect the fingers to make the mold a little stronger.

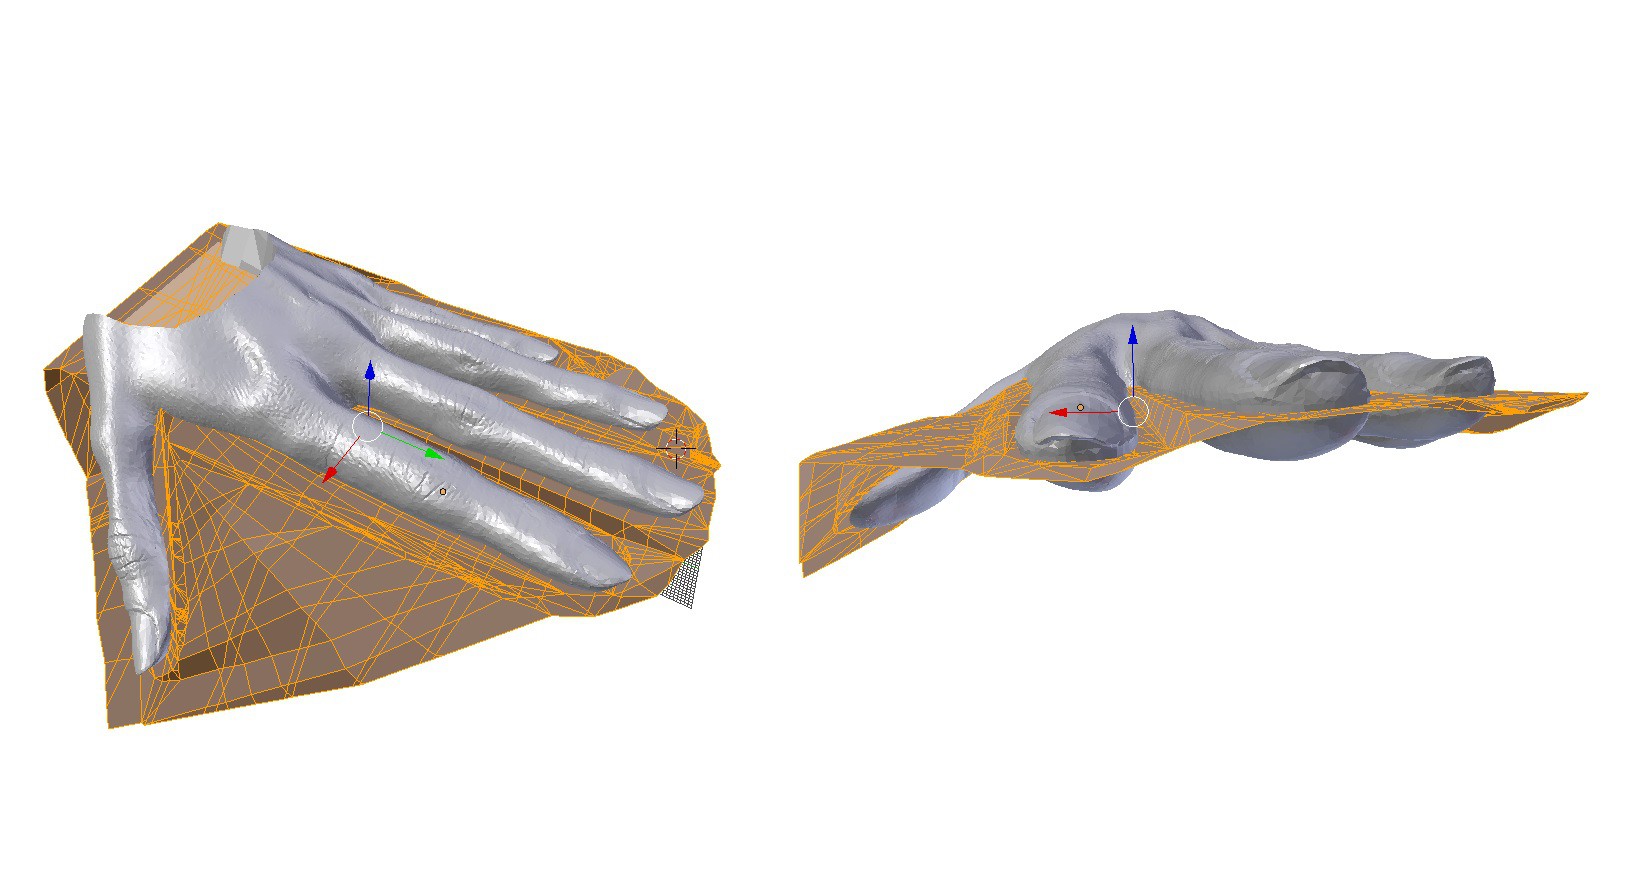
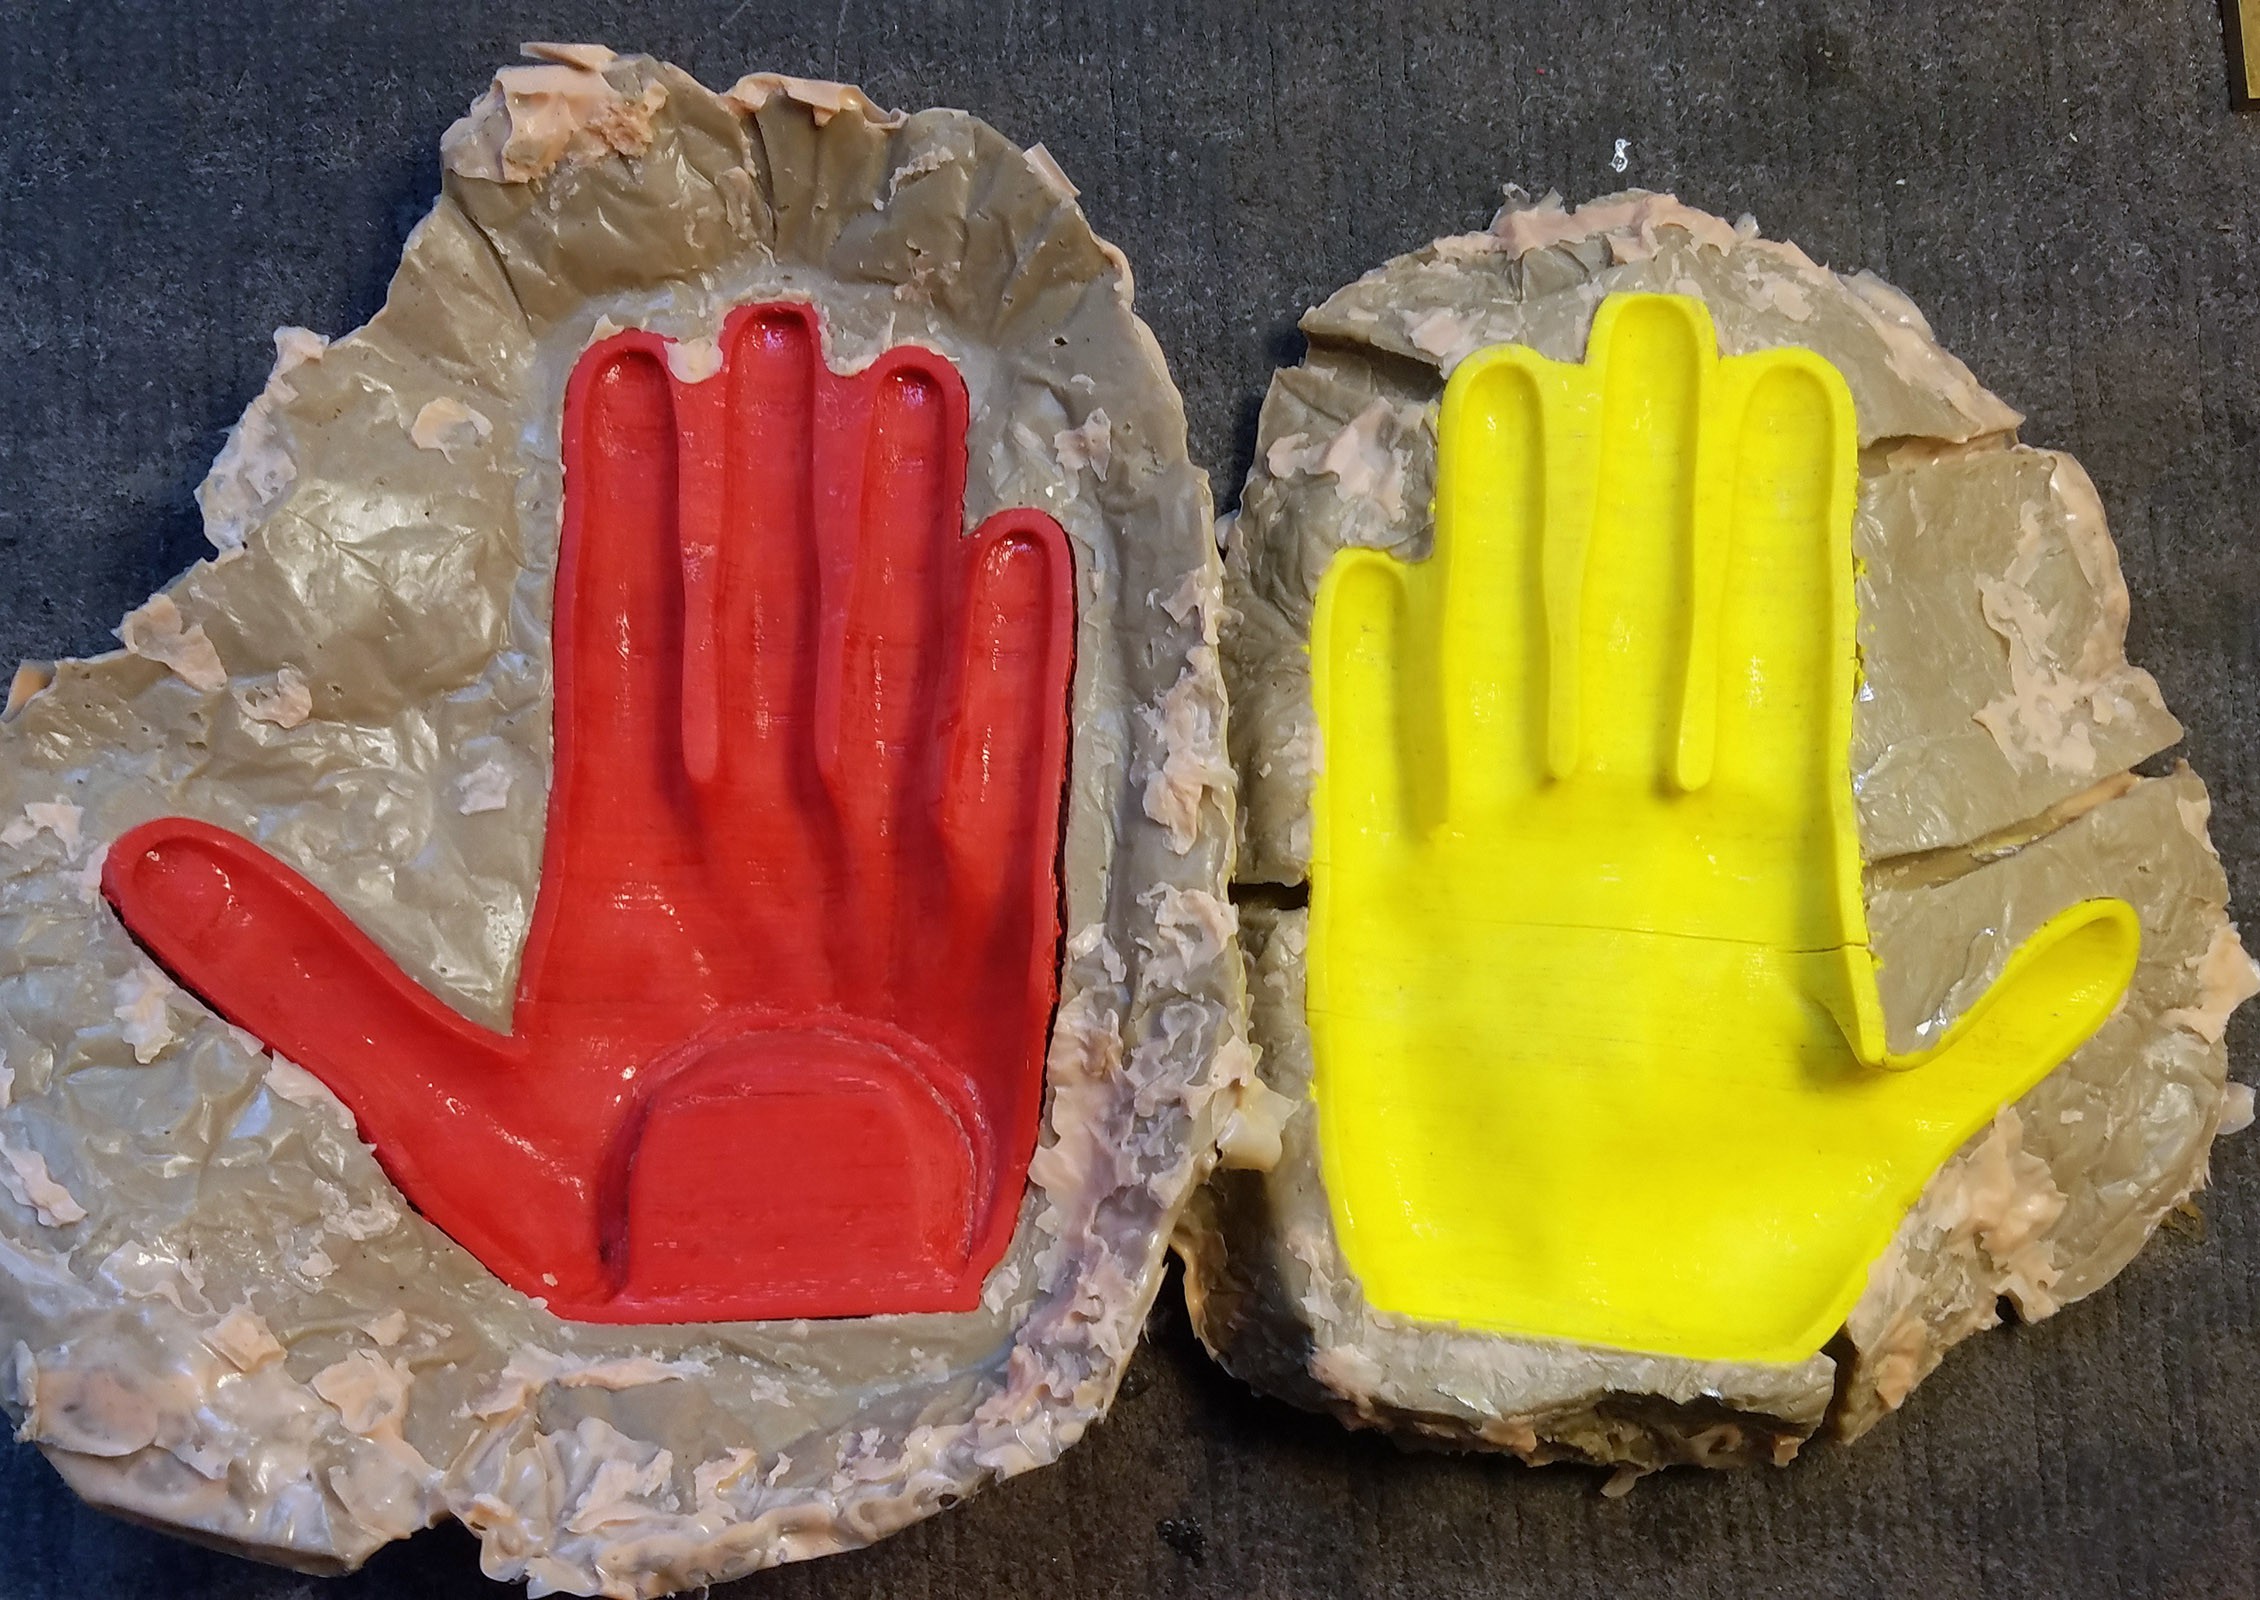
Now that we have a model of the mold interior we need to decide where the top and bottom halves of the mold will separate. Create a series of connected planes that bisect your model of the mold interior (negative space).

-
7Mold Making: Carving the Mold Mesh
-
9Cast Silicone Rubber Skin

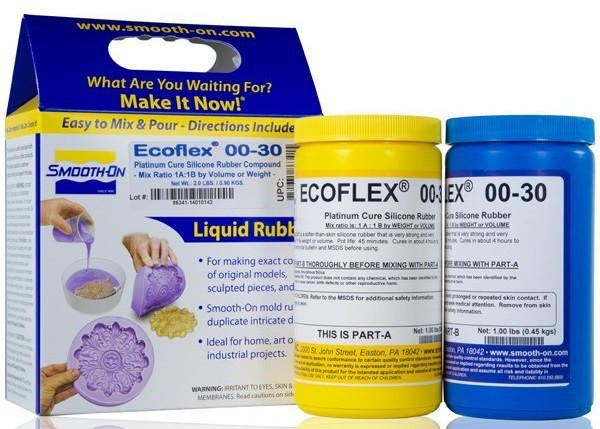
Mix 350ml of Smooth-On Ecoflex 00-30 platinum cure silicone rubber. You may optionally add Smooth-On silicone pigment.
*IMPORTANT Coat the entire surface of all three molds with a non-silicone mold release agent.
- Pour half of the silicone rubber mixture into the bottom half of the mold making sure to coat the inner surface
- Place internal mold inside bottom mold

- Pour the remaining silicone rubber mixture over the internal mold piece, covering it evenly.
- Place the top mold piece over the bottom and internal molds.
- Place the entire combined mold inside a vacuum bag and pump out air.
- Let the silicone rubber cure for a full 12 hours.
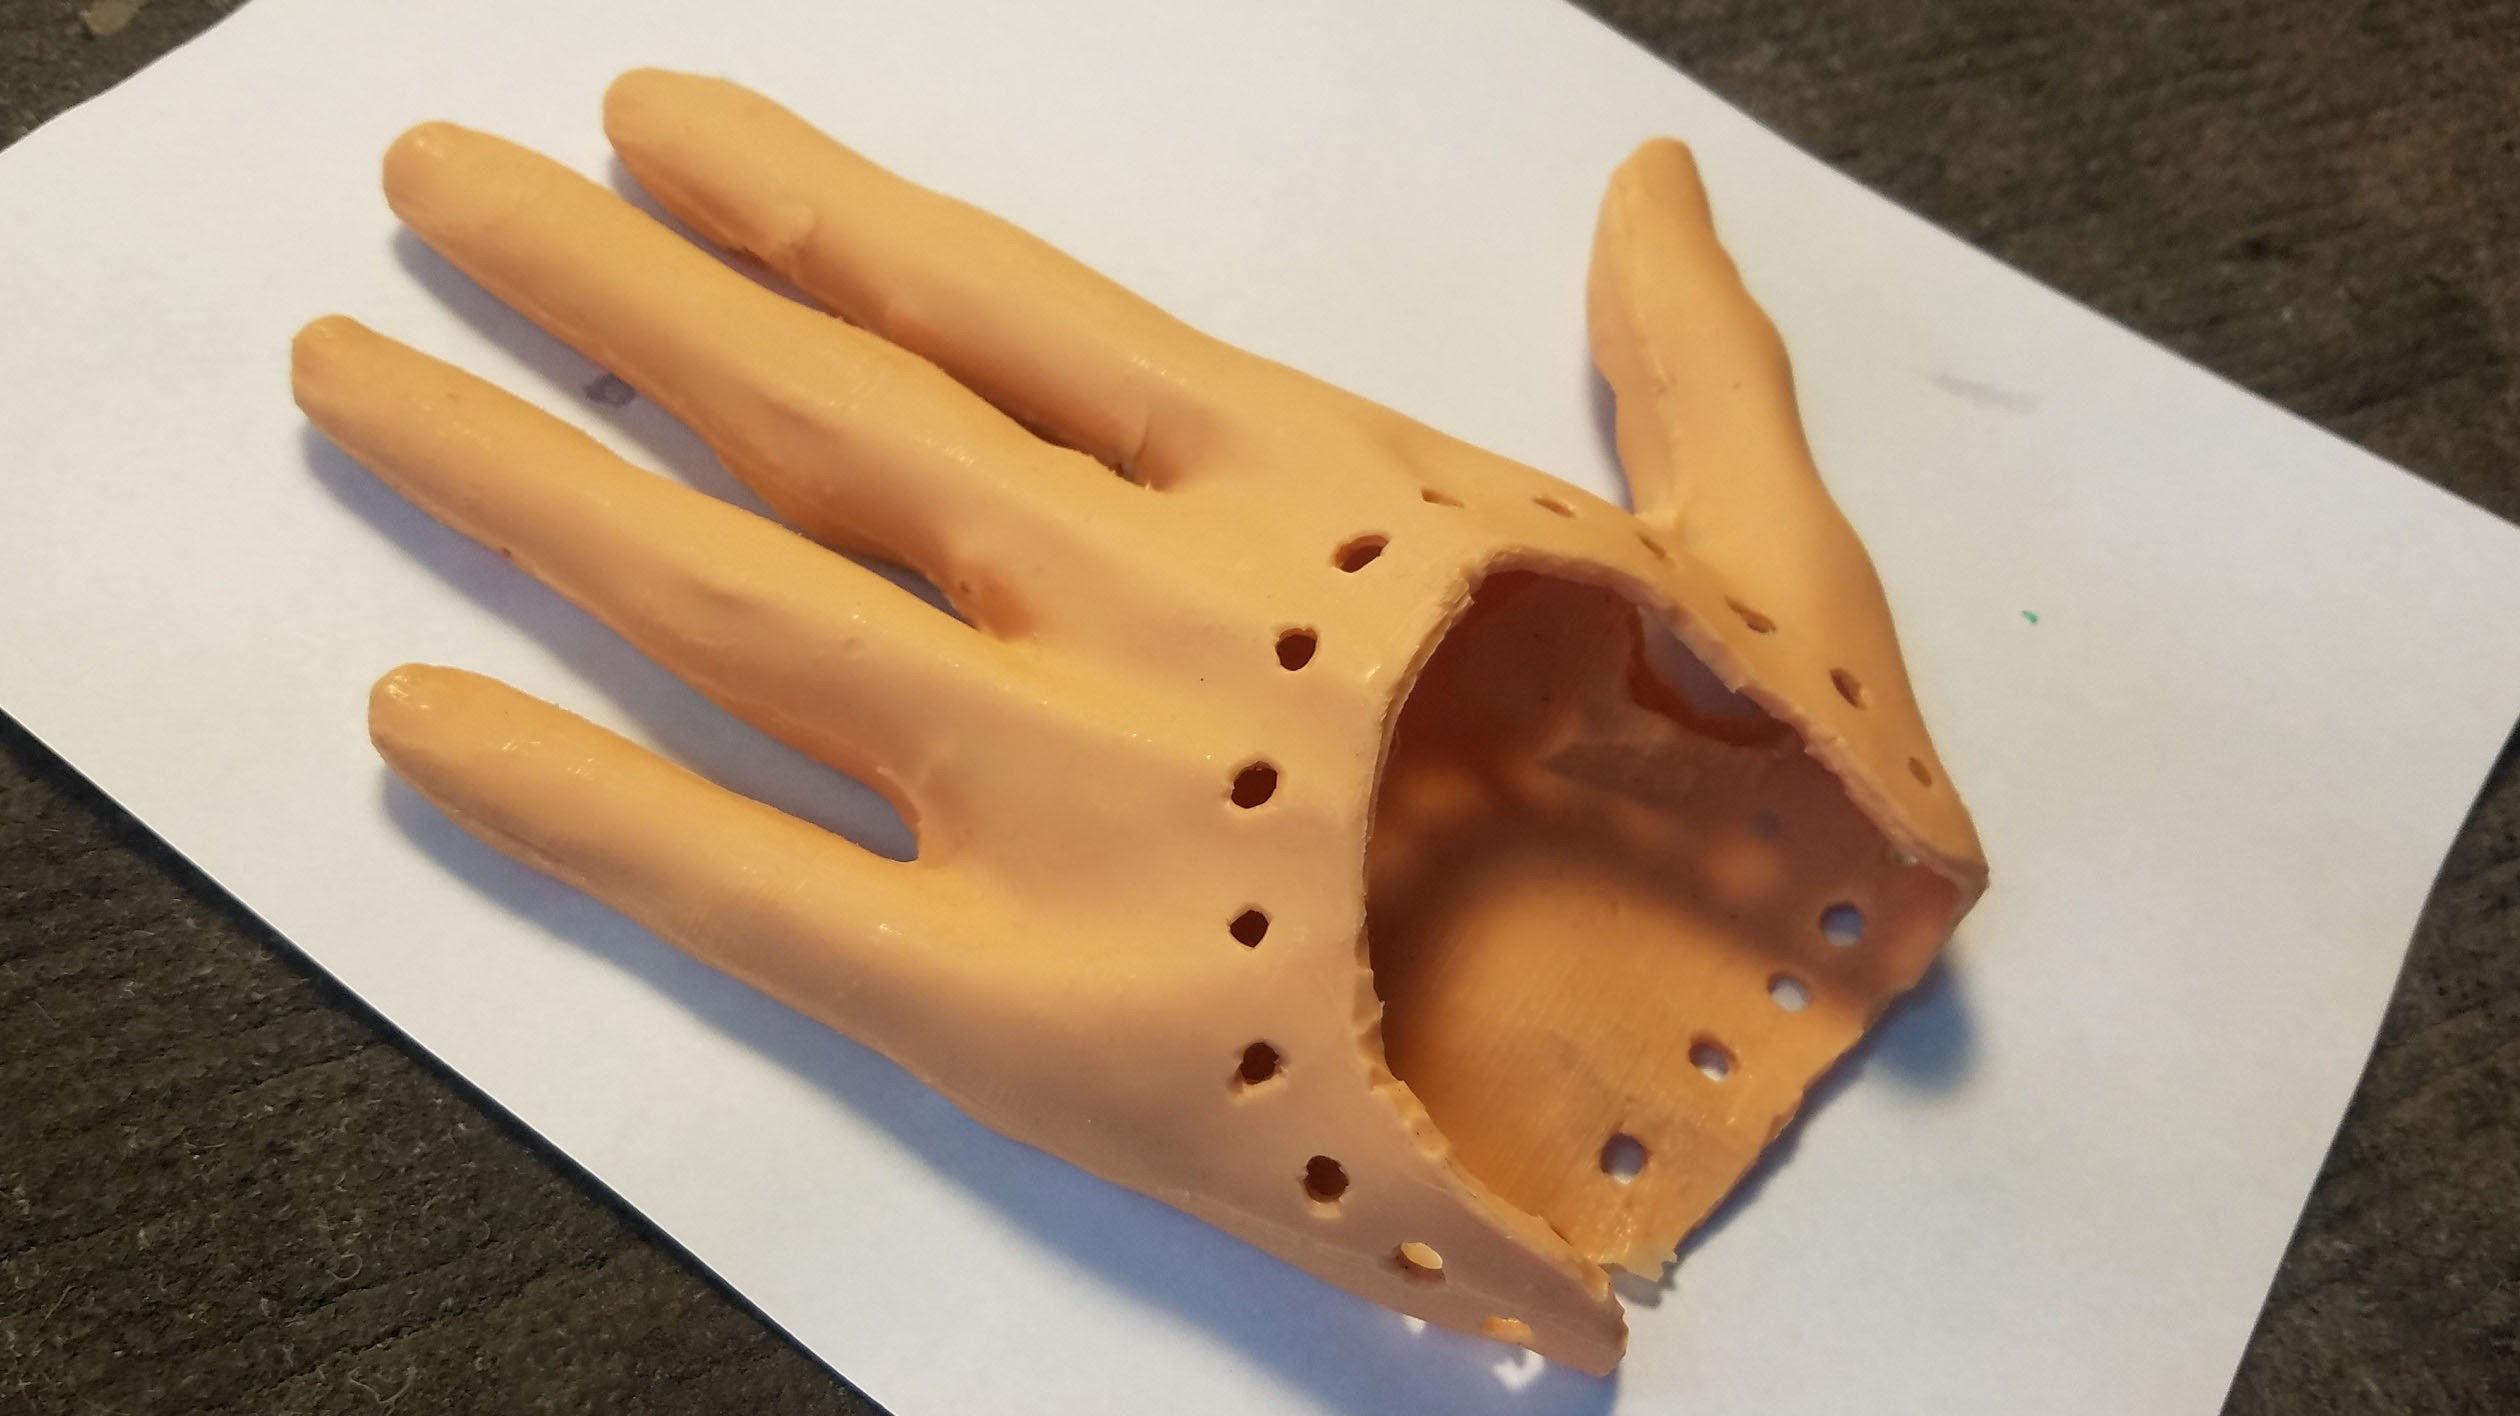
- Carefully separate the top and bottom mold pieces. Roll the silicone rubber skin off the internal mold. Trim excess rubber from silicone rubber skin.


-
10Mounting Silicone Rubber Skin on Main ABS Plastic Hand Base

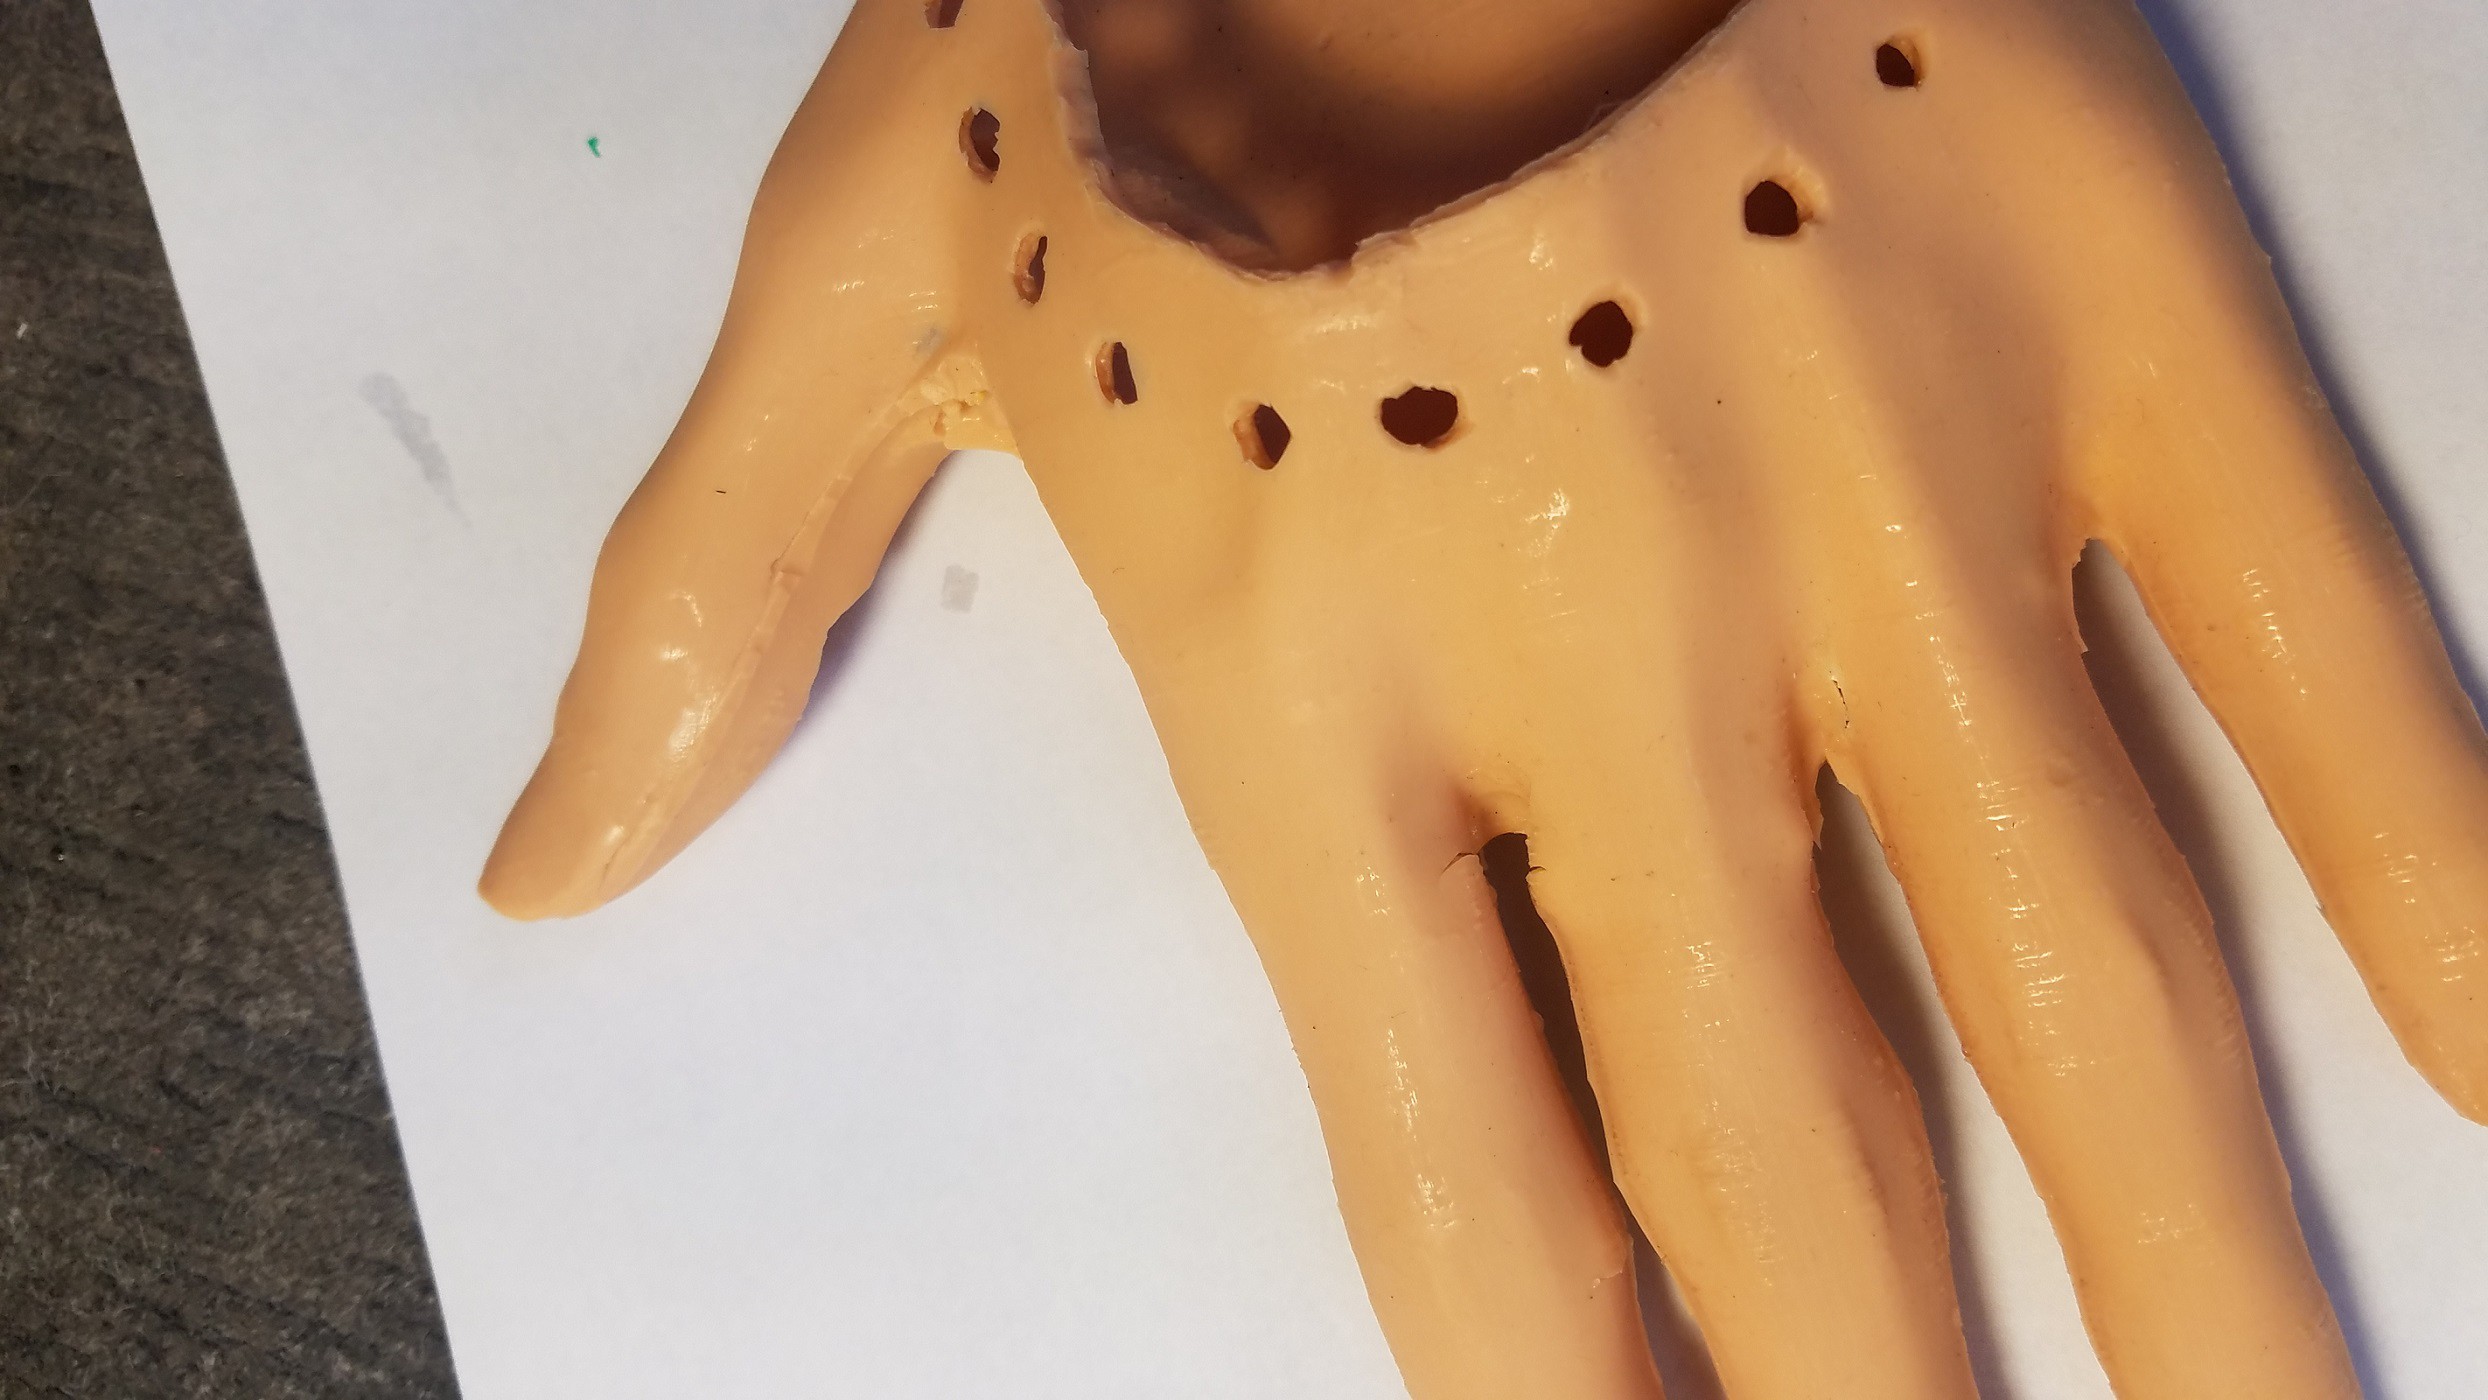
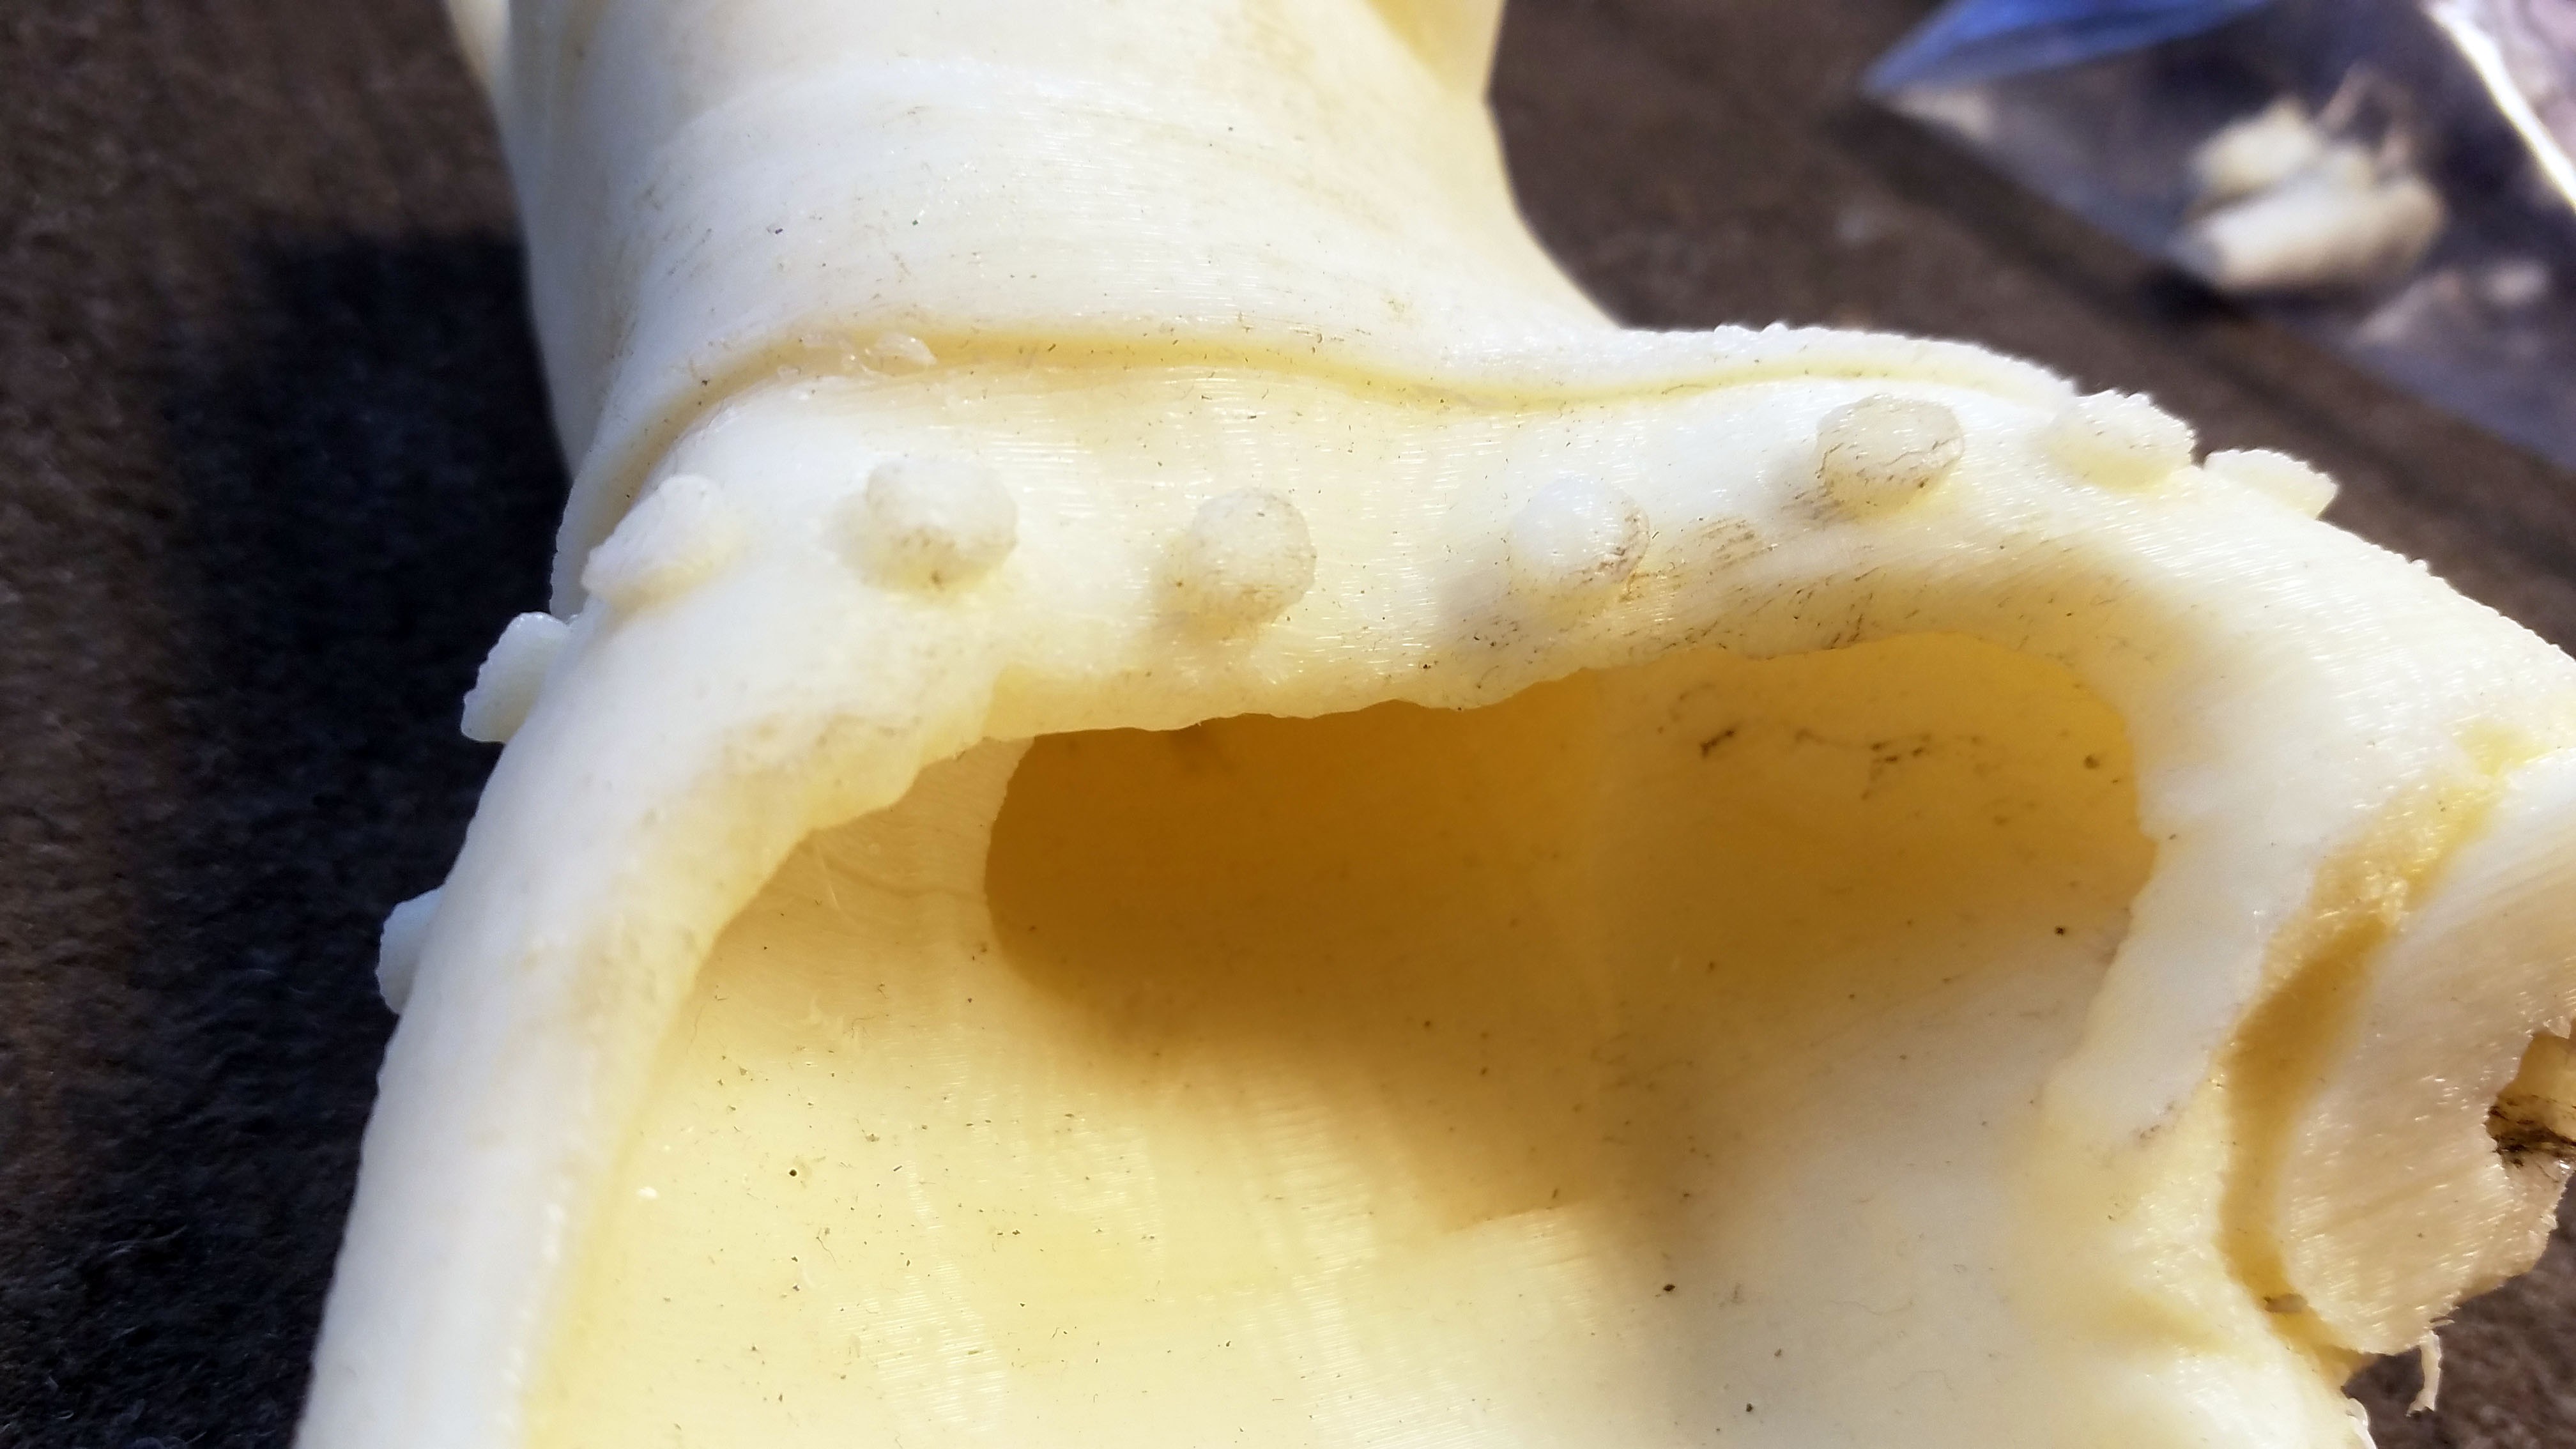
The retainer pegs on the ABS plastic hand base perfectly match the peg holes on the edges of the silicone rubber skin. Once the finger and thumb plastic cores have been mounted inside the silicone skin with the spring steel contractor cables, the combined skin and finger/thumb plastic cores can be pulled over the hand base.

3D Scan to Custom Soft Prosthetic Hand
Model and 3D print a mold to create a silicone rubber "skin" lattice for an easy to make custom prosthetic hand that matches your 3D scan
 Curt White



Discussions
Become a Hackaday.io Member
Create an account to leave a comment. Already have an account? Log In.