Close
0%
0%

ESP8266 SDK Tutorials

Getting up to speed with the ESP8266 SDK has never been easier!

Similar projects worth following
This is a series of tutorials for learning the SDK used to develop C applications for the ESP8266. The SDK is available both directly from Espressif, and also a (mostly) open-source version. We'll look at both but focus on the open source one. All code example should work perfectly with both.

Update September 2022: A lot has changed over the past couple of years! I've gone through and updated commands and info where I have been able to. If you run into issues anywhere in these tutorials, please contact me so I can fix the problem! :)

Links to the other tutorials in this series:

ESP8266 SDK Tutorial
(You are here!)
Learn how to use the ESP8266 SDK. This is what the pros use!
ESP8266 Lua/NodeMCU Tutorial
A look at the NodeMCU Lua interpreter for the ESP8266.
Learn how to get to Blinky!
ESP8266 Arduino TutorialUse the Arduino IDE to simplify development and get up to speed very quickly!

And here's the links to the other tutorials in Part 2:

ESP8266 SDK TutorialLooking at using the linker to get PWM, and the included I2C libraries
ESP8266 Lua/NodeMCU TutorialUsing PWM and I2C with Lua!
ESP8266 Arduino TutorialUsing the Wire library for I2C, and AnalogWrite for fading!

Links to Part 3

ESP8266 SDK TutorialUsing MQTT to develop an IoT device
ESP8266 Lua/NodeMCU TutorialUsing the NodeMCU MQTT module to communicate with a cloud data service
ESP8266 Arduino TutorialWe use the simpler, more widely available HTTP protocol to log data to the cloud

Getting Help

If you run into trouble while following these tutorials, you have a few different options:

  • Ask in the discussion area below the article
  • Join the ##esp8266 channel on Freenode IRC and ping me (MrAureliusR) or ask anyone who is in there
  • Post on the ESP8266 Community Forums (note it can take a while to get a response!)
  • Send me a private message here on Hackaday


The ESP8266 has been popular for quite a while now. The low cost of getting a module coupled with its power and reliability has made sales of the chip shoot through the roof. There's a lot of resources out there, but I wanted to combine all that information together into one place. So let's get started!

The ESP8266 was designed by a Chinese fabless semiconductor company called Espressif. Fabless means they just create the chip design, and they get another company to actually manufacture the silicon (Atmel was also a fabless semiconductor company). While having Wi-fi on-chip with a microcontroller was not a new idea, the concept having a simple serial link to control it out of the box was. Hobbyists all over the world started playing with the chip to see what it could do. Without having to program the ESP, complex IoT applications could be developed, using the ESP simply as an external Wi-fi chip. This is the easiest method for those who don't have interest in diving into the ESP itself. You can use AT commands over a serial link to control the chip. This is the only way to control the ESP modules which only have 8 pins. A full list of the AT command set can be found here. This is a perfectly acceptable solution for many hackers, and if that's all you need then great! I built a data-logging module which used the Sparkfun phant server as the backend using only AT commands. Getting it connected to my Wi-fi network and sending data was very easy.  

However, many of you are here because you want to dive deep down into the power at the heart of the ESP8266. You want to program the module using Arduino or the SDK. You are interested in playing with Lua and discovering how it can be used in an embedded system like this. I generally recommend that people new to the ESP8266 buy a pre-fabricated module from a company like SparkFun or Adafruit

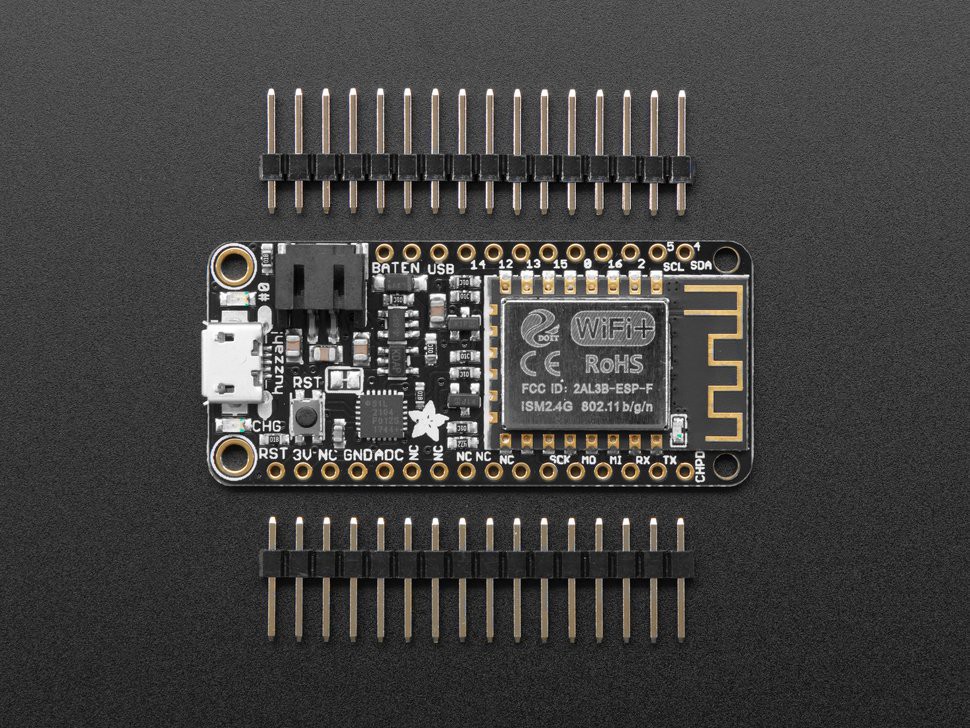
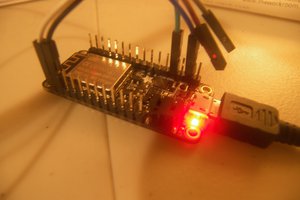
The Adafruit Feather HUZZAH with ESP8266

This takes a lot of the difficulty out of spinning your own board. But if you want to spin your own board using, say, an ESP-12F module, here are a few tips (skip to the tutorial section if you bought a HUZZAH Feather or a SparkFun Thing, or similar):

  • Decide which module you want to use. The modules were originally designed by a company called AI Thinker, but now have been widely cloned. Some of these have on-board 3.3V regulators, others don't. Take some time to find a reliable source, and take a close look at the requirements for...
Read more »

  • 1
    Installing the SDK on Linux

    Our first look will be at getting a Blinky app running using the esp-open-sdk. This is the result of an incredible amount of work by a bunch of very dedicated people who are trying to make the ESP8266 toolchain as open-source as possible. This toolchain is designed to work with Linux and Mac. Windows users will have to use a Linux VM, but I've provided a pre-configured one. Linux and Mac users can also use the VM if they want. I'm a lazy hacker sometimes too, though I strongly recommend setting it up locally where possible. It will likely be less prone to problems.

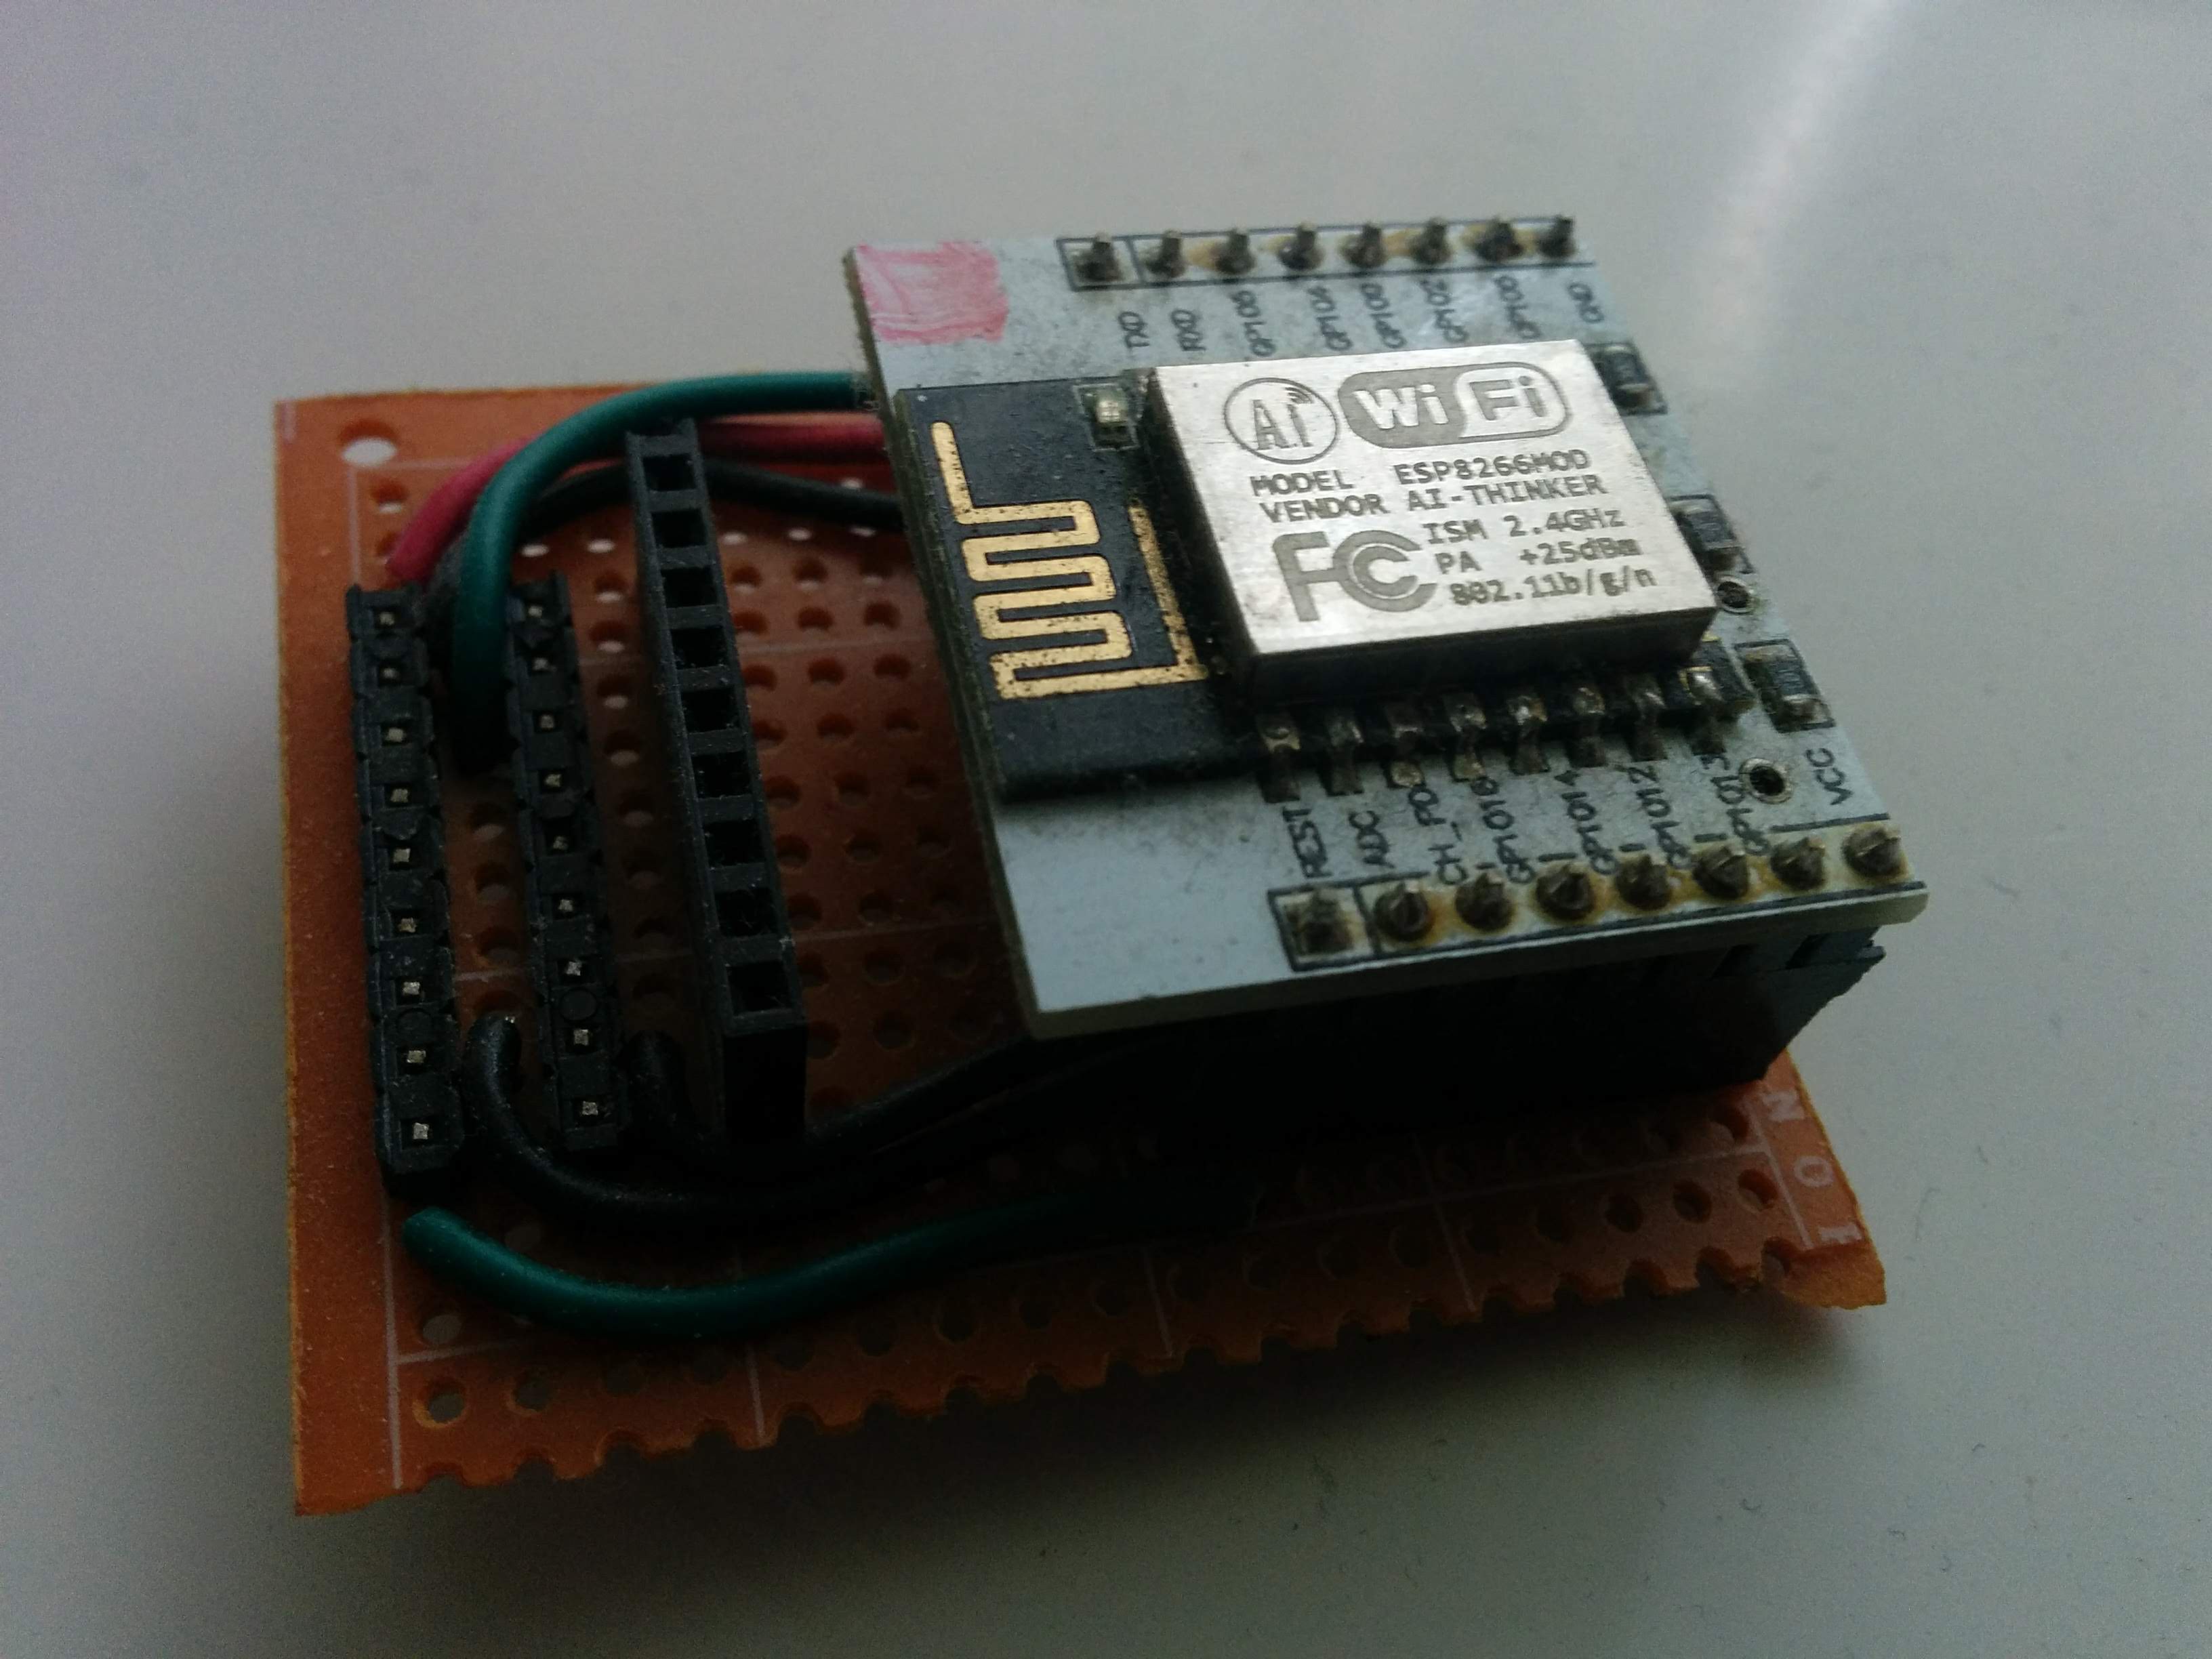
    ESP-12F on a breakout board

    Linux Instructions

    I run Ubuntu Budgie 18.04 on my daily driver development laptop. (Say that three times fast!) In order for this toolchain to compile, it requires a few dependencies to be installed. In my case, I already had all but two, but just to make sure, you may as well run the entire list:

    sudo apt-get install make unrar-free autoconf automake libtool libtool-bin gcc g++ gperf flex bison texinfo gawk ncurses-dev libexpat-dev python-dev python python-serial sed git unzip bash help2man wget bzip2

    If you are running a version of Ubuntu older than 16.04, remove "libtool-bin" from that if you get a package not found error. The above command should work on any recent version of Debian or Ubuntu, or distros which use those repositories (Mint, etc). If you are unable to find a package, use your package manager's search function to try and find the correct package. Use keywords; for example, on Fedora, if I got an error that it couldn't find libexpat-dev, I might issue

    sudo dnf search libexpat

    Take a good look at the results. Usually the correct package to install is obvious. Now it's a good idea to create a directory for your toolchain. I was trained to always create a directory in my home directory called workspace, and to do all my development work in there. You can also keep project-specific SDKs in there, which is what we will do. My ESP8266 projects ended up in:

    mkdir -vp ~/workspace/ESP8266/projects

    And we will clone the project into ~/workspace/ESP8266. This keeps the code and the projects segregated from each other.

    Ready to clone!

    Alright. Now we are ready to clone the project and build! This is actually the easy part. Move into the directory we created (something like ~/workspace/ESP8266) Just clone the project with:

    As of September 2022, pfalcon seems to have stopped maintaining their repo. Another user has stepped up to maintain it, and so the link here has been updated.
    git clone --recursive http://github.com/esp-open-sdk/esp-open-sdk.git

    Note the --recursive flag! The project will not build successfully if you leave this out. This is because this project contains pointers to other projects, which need to be recursively cloned.

    Before we apply the patch below, we need to do a full build first. Change into the esp-open-sdk directory, then into the sdk directory below that, and run

    make
    

    The default settings will create many libraries which are unnecessary and when we build our code later on, it won't fit into the RAM on the ESP8266. So we must apply a patch to slim down the libraries that are created.

    If you get error: too few arguments to function '_PyImport_FixupBuiltin' during build, there are two options to fix it. You can either apply the patch given here (make sure you are in the esp-open-sdk directory), or temporarily remove your /bin/python symlink, and replace it with a symlink to /bin/python2. If you do the second option, make sure to replace the symlink back to its original state after the build is finished!
    The original patch no longer works due to changes to the Makefile in the git repository. The original command below has been updated, but the original patch is available to view at https://patch-diff.githubusercontent.com/raw/pfalcon/esp-open-sdk/pull/282.patch

    Now grab the patch, and apply it with these commands:

    wget -O strip.patch https://gitlab.com/snippets/1833087/raw
    patch < strip.patch

    You will see a message showing you that the patch was successful. If you get errors saying it cannot find the files to patch, make sure you are in the esp-open-sdk/sdk directory.

    Now building it is as easy as running make again. Do not use a -j option!

    make

    If you have any errors, make sure to read the error log carefully. It will usually give hints as to what to do. Skip ahead to step 4 after you get a clean build.

  • 2
    Install SDK on Mac

    Mac Instructions

    Update 2022: It's almost certain that these instructions are outdated now. The git repo that is currently maintained is at https://github.com/esp-open-sdk/esp-open-sdk and may contain instructions for Mac.

    For Mac, the process is a bit more complex. I have never used a Mac, so I am just copying the build instructions provided by the project. If there are errors in this, let me know and I will correct them immediately: 

    brew tap homebrew/cask
    brew install binutils coreutils automake wget gawk libtool help2man gperf gnu-sed --with-default-names grep
    export PATH="/usr/local/opt/gnu-sed/libexec/gnubin:$PATH"
    

    Apparently Mac file systems aren't case-sensitive (which seems absolutely crazy to me!), so you need to create a virtual, case-sensitive file system. To do so, enter these commands (maybe use a name like "ESP-dev-volume" or something similar instead of "case-sensitive"): 

    sudo hdiutil create ~/Documents/case-sensitive.dmg -volname "case-sensitive" -size 10g -fs "Case-sensitive HFS+"
    sudo hdiutil mount ~/Documents/case-sensitive.dmg
    cd /Volumes/case-sensitive
    

    So now we are in our new volume. It's time to clone the Git repository and build it! 

    git clone --recursive https://github.com/pfalcon/esp-open-sdk.git

    Don't forget the recursive flag! That ensures that the sub-projects are also cloned. Move into the new directory that was created when cloning:

    cd esp-open-sdk

    We're going to patch the Makefile and add a couple other files to make the compiled code smaller later on. We can get the patch and apply it with these two commands:

    The original patch no longer works due to changes to the Makefile in the git repository. The original command below has been updated, but the original patch is available to view at https://patch-diff.githubusercontent.com/raw/pfalcon/esp-open-sdk/pull/282.patch
    Also, please see the associated comments in the Linux section of this guide if you encounter any other errors.
    wget -O strip.patch https://gitlab.com/snippets/1833087/raw
    patch < strip.patch

    Once the patch has applied successfully, we can now build the toolchain. This might take a while, depending on your hardware. On my 2015 laptop, it takes about 20 minutes. Do not use a -j option!

    make

     Once this process is complete, the toolchain is built! Skip ahead to step 4 to do the post-build steps.

  • 3
    Installing SDK on Windows/VM

    Windows/VM Instructions:

    As with the Linux and Mac instructions, these instructions are probably not quite correct anymore in 2022. The Lubuntu image is out of date and is no longer available, but if you download any modern Linux distro and create a VM with VirtualBox or VMWare, you can then follow the updated instructions in the Linux section above! If you need help with this, feel free to contact me or leave a comment on this page.

    Espressif recommend using a VM with Linux to do ESP8266 development on Windows. I highly recommend creating a virtual machine from scratch, and following along with the tutorial for Linux. This way, you will learn a lot more, and you will understand what to do if things go wrong. To make this even easier for you, I have created a VM image of Lubuntu 18.04 pre-installed with all the tools you will need to develop applications for the ESP8266. You could use this image on Linux or Mac as well if you wanted to keep your development environment self-contained. Start by downloading VirtualBox. Pick the platform package that matches the host system, i.e., if you are on Windows, pick the Windows Platform Package. Also, download the VirtualBox Extension Pack. Go through the setup process for VirtualBox. Once that is complete, double-click on the Extension Pack file. This will open VirtualBox if it isn't already open and prompt you to install the extension. Go ahead and install it. Now we are ready to download and import our development image.

    [original links removed -- please see note at the top of this section!]

    Once the file has downloaded, you can open VirtualBox, go to File->Import Applicance... and then locate the .ova file. A new virtual machine should appear in the list after this is done! You might want to tweak a few settings depending on how much RAM your system has. If you need help on this topic, there are many excellent tutorials out there on how to use VirtualBox.

    A few quick notes: the password for the user esp is hackaday. You'll need this when running commands prefixed with sudo. I have created shortcuts to the terminal and to emacs on the desktop. The VM already has the toolchain installed, with the patches and changes made that we outline in the next sections. In the Settings page for the VM, you need to pass your USB device through to the VM. You do this by going to the USB page, and clicking the green plus sign at the right. Choose the device you want the VM to use, and then click OK. Restart the VM, and the device will show up inside the VM! Note that while the VM is capturing that device, the host system can no longer see it. The VM contains a udev rule for the Feather HUZZAH, all you need to do is edit the serial number to match yours. Read the next section on udev rules if you want to create one for your device!

View all 7 instructions

Enjoy this project?

Share

Discussions

tywy wrote 09/08/2022 at 20:43 point

please add fuzix or other system

lufa, RTOS etc

  Are you sure? yes | no

Alexander wrote 11/01/2022 at 22:33 point

Those are more advanced topics, this tutorial series is meant to be a starting point :)

  Are you sure? yes | no

vic wrote 04/13/2021 at 04:28 point

Thanks for this Tutorial! It went well. Now, can you point me to the correct project files to compile that accepts AT commands? The espressif SDK examples has at, at_espconn and at_stdio folders, I tried downloading the ready-made bin files to my 8Mbit device but am not successful, some boots up to display up to "ready" but wont accept any AT input Commands, the cursor just returns to first column position.

  Are you sure? yes | no

vic wrote 04/14/2021 at 02:35 point

It's ok, I think the MQTT project is a better way to go instead.

  Are you sure? yes | no

karlipe wrote 03/26/2021 at 20:08 point

U are a legend I love ur tutorial. I never felt so happy blinking an LED I swear. Keep it up mate.

  Are you sure? yes | no

Alexander wrote 11/01/2022 at 22:34 point

Thank you so much for the kind words -- it means a lot to know people find the material helpful!

  Are you sure? yes | no

nodebench wrote 05/07/2020 at 16:34 point

After flashing the ESP (12E) (For those boards with LED on GPIO2),  LED was not blinking, I checked all combinations tried different addresses, different pin numbers etc. Later it came to my mind that GPIO2 is one of the boot mode control pin, so it was tied to 3.3v in the breadboard. I removed it and LED started blinking.

Thanks Alex.

  Are you sure? yes | no

Lysander wrote 12/26/2019 at 19:03 point

I got to the bottom of the first instruction: Installing the SDK on Linux, without any problem, but when I tried to run make, I got this: 

/bin/bash: /home/dragon/workspace/ESP8266/esp-open-sdk/xtensa-lx106-elf/bin/xtensa-lx106-elf-gcc: No such file or directory
Makefile:128: *** missing separator.  Stop.

I did change the URL as instructed for the patch. I even tried to forgo the patch and it worked  perfectly fine, but from the explanation about the patch in the instruction, that doesn't sound like what I want. I am inexperienced and I don't know what any of that really means, so I don't know what to do about it. Any help would be much appreciated. Thanks.

  Are you sure? yes | no

Philipp wrote 01/20/2020 at 19:53 point

I had the same problem and found the Solution on Stackoverflow. https://stackoverflow.com/questions/14576237/errors-in-make-file-missing-separator-stop/14576610#14576610

On line 128 - 131 are spaces but there should be a tab in front of every line.

  Are you sure? yes | no

Lysander wrote 01/21/2020 at 14:59 point

Thank you so much, this fixed the problem. I was googling around about this, but I wasn't really getting anywhere. This is very helpful. Thanks

  Are you sure? yes | no

Alexander wrote 01/21/2020 at 16:34 point

Aha, I will try and find time to fix that. It's odd that I had no issues with it.

EDIT: Just want to make sure you are using the patch I provided, and not the original one? Read the comment above the patch instruction carefully.

  Are you sure? yes | no

Similar Projects

Does this project spark your interest?

Become a member to follow this project and never miss any updates