-
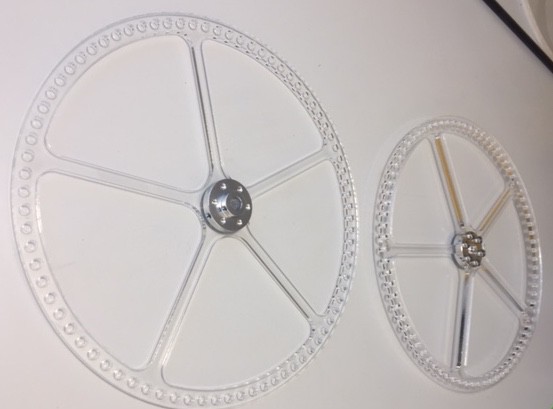
1Laser Cut
Begin by laser cutting two copies of the spokes file using 1/4 inch acrylic (preferably extruded acrylic as opposed to cast acrylic) and one copy of the circle file using 1/8 inch acrylic. Each piece should be 7.5 inches in diameter. If the size is wrong there may have been an issue with the scaling of the file in your printing software.
Attach the Polou mounting hub to both spokes using 4-40 screws.
![]()
-
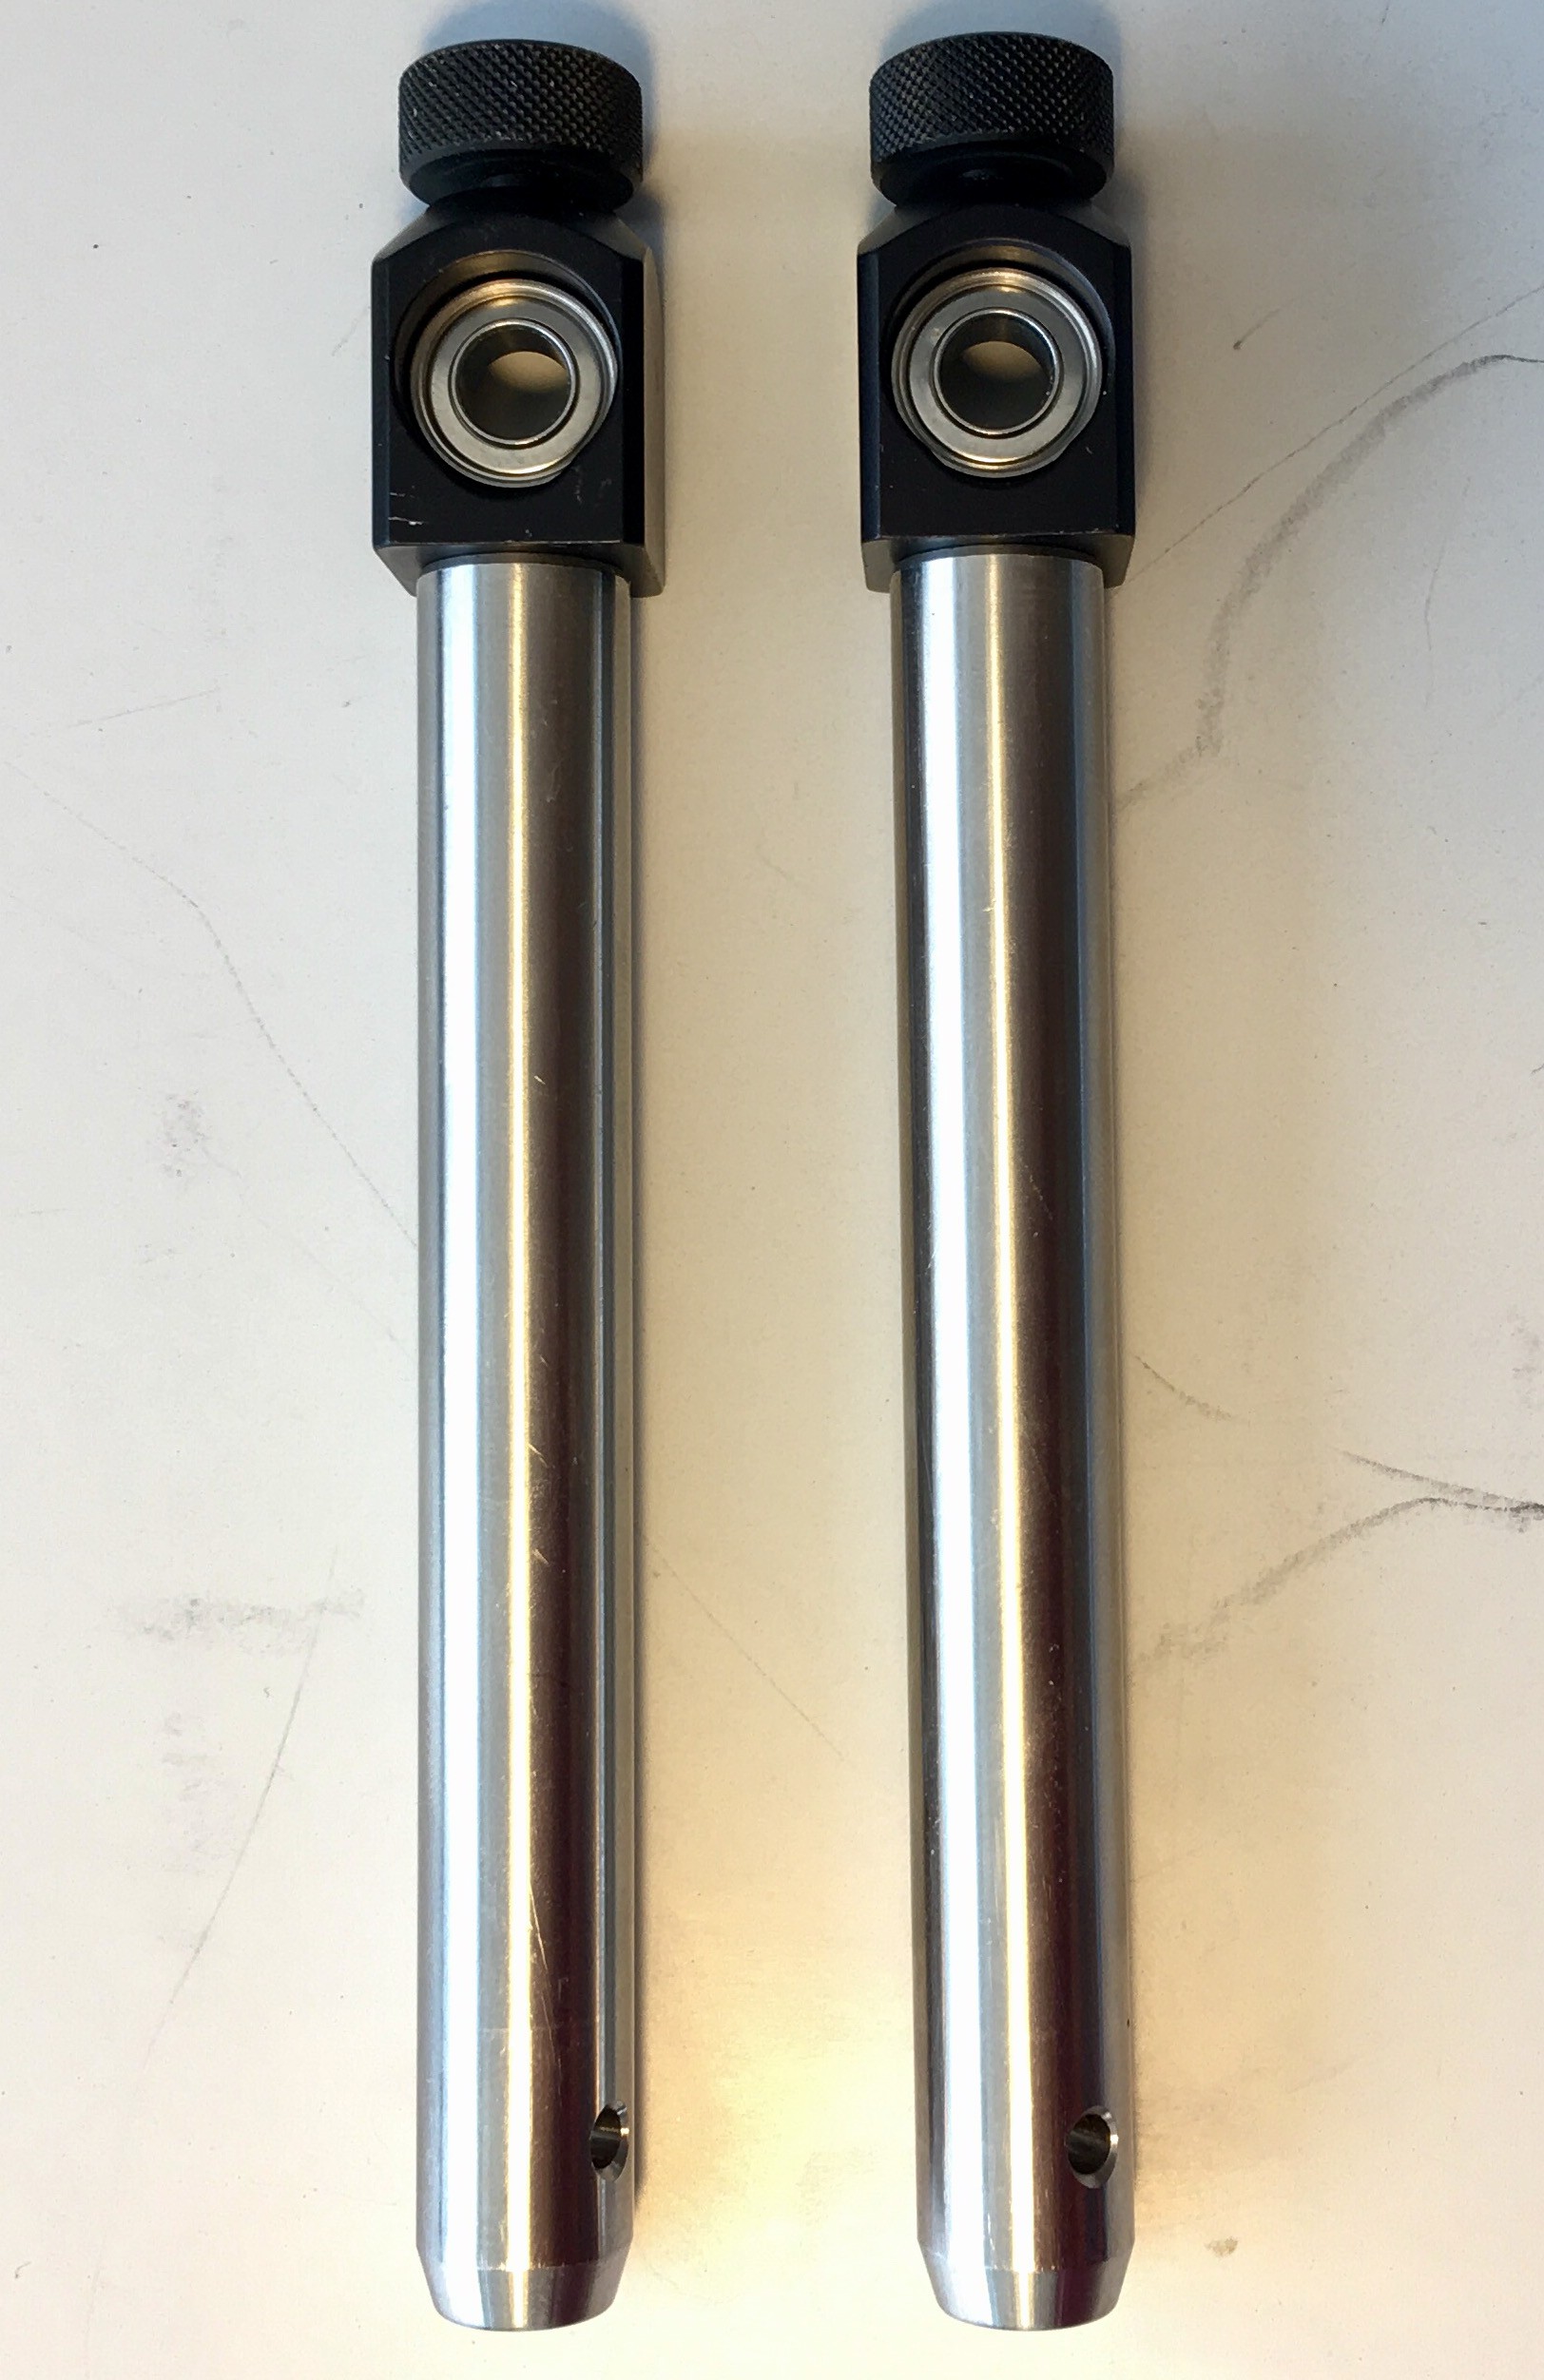
2Mount poles
Mount Thorlabs RA180 clamps to TR4 posts, and clamp the ball bearings inside the clamps without over tightening.
![]()
-
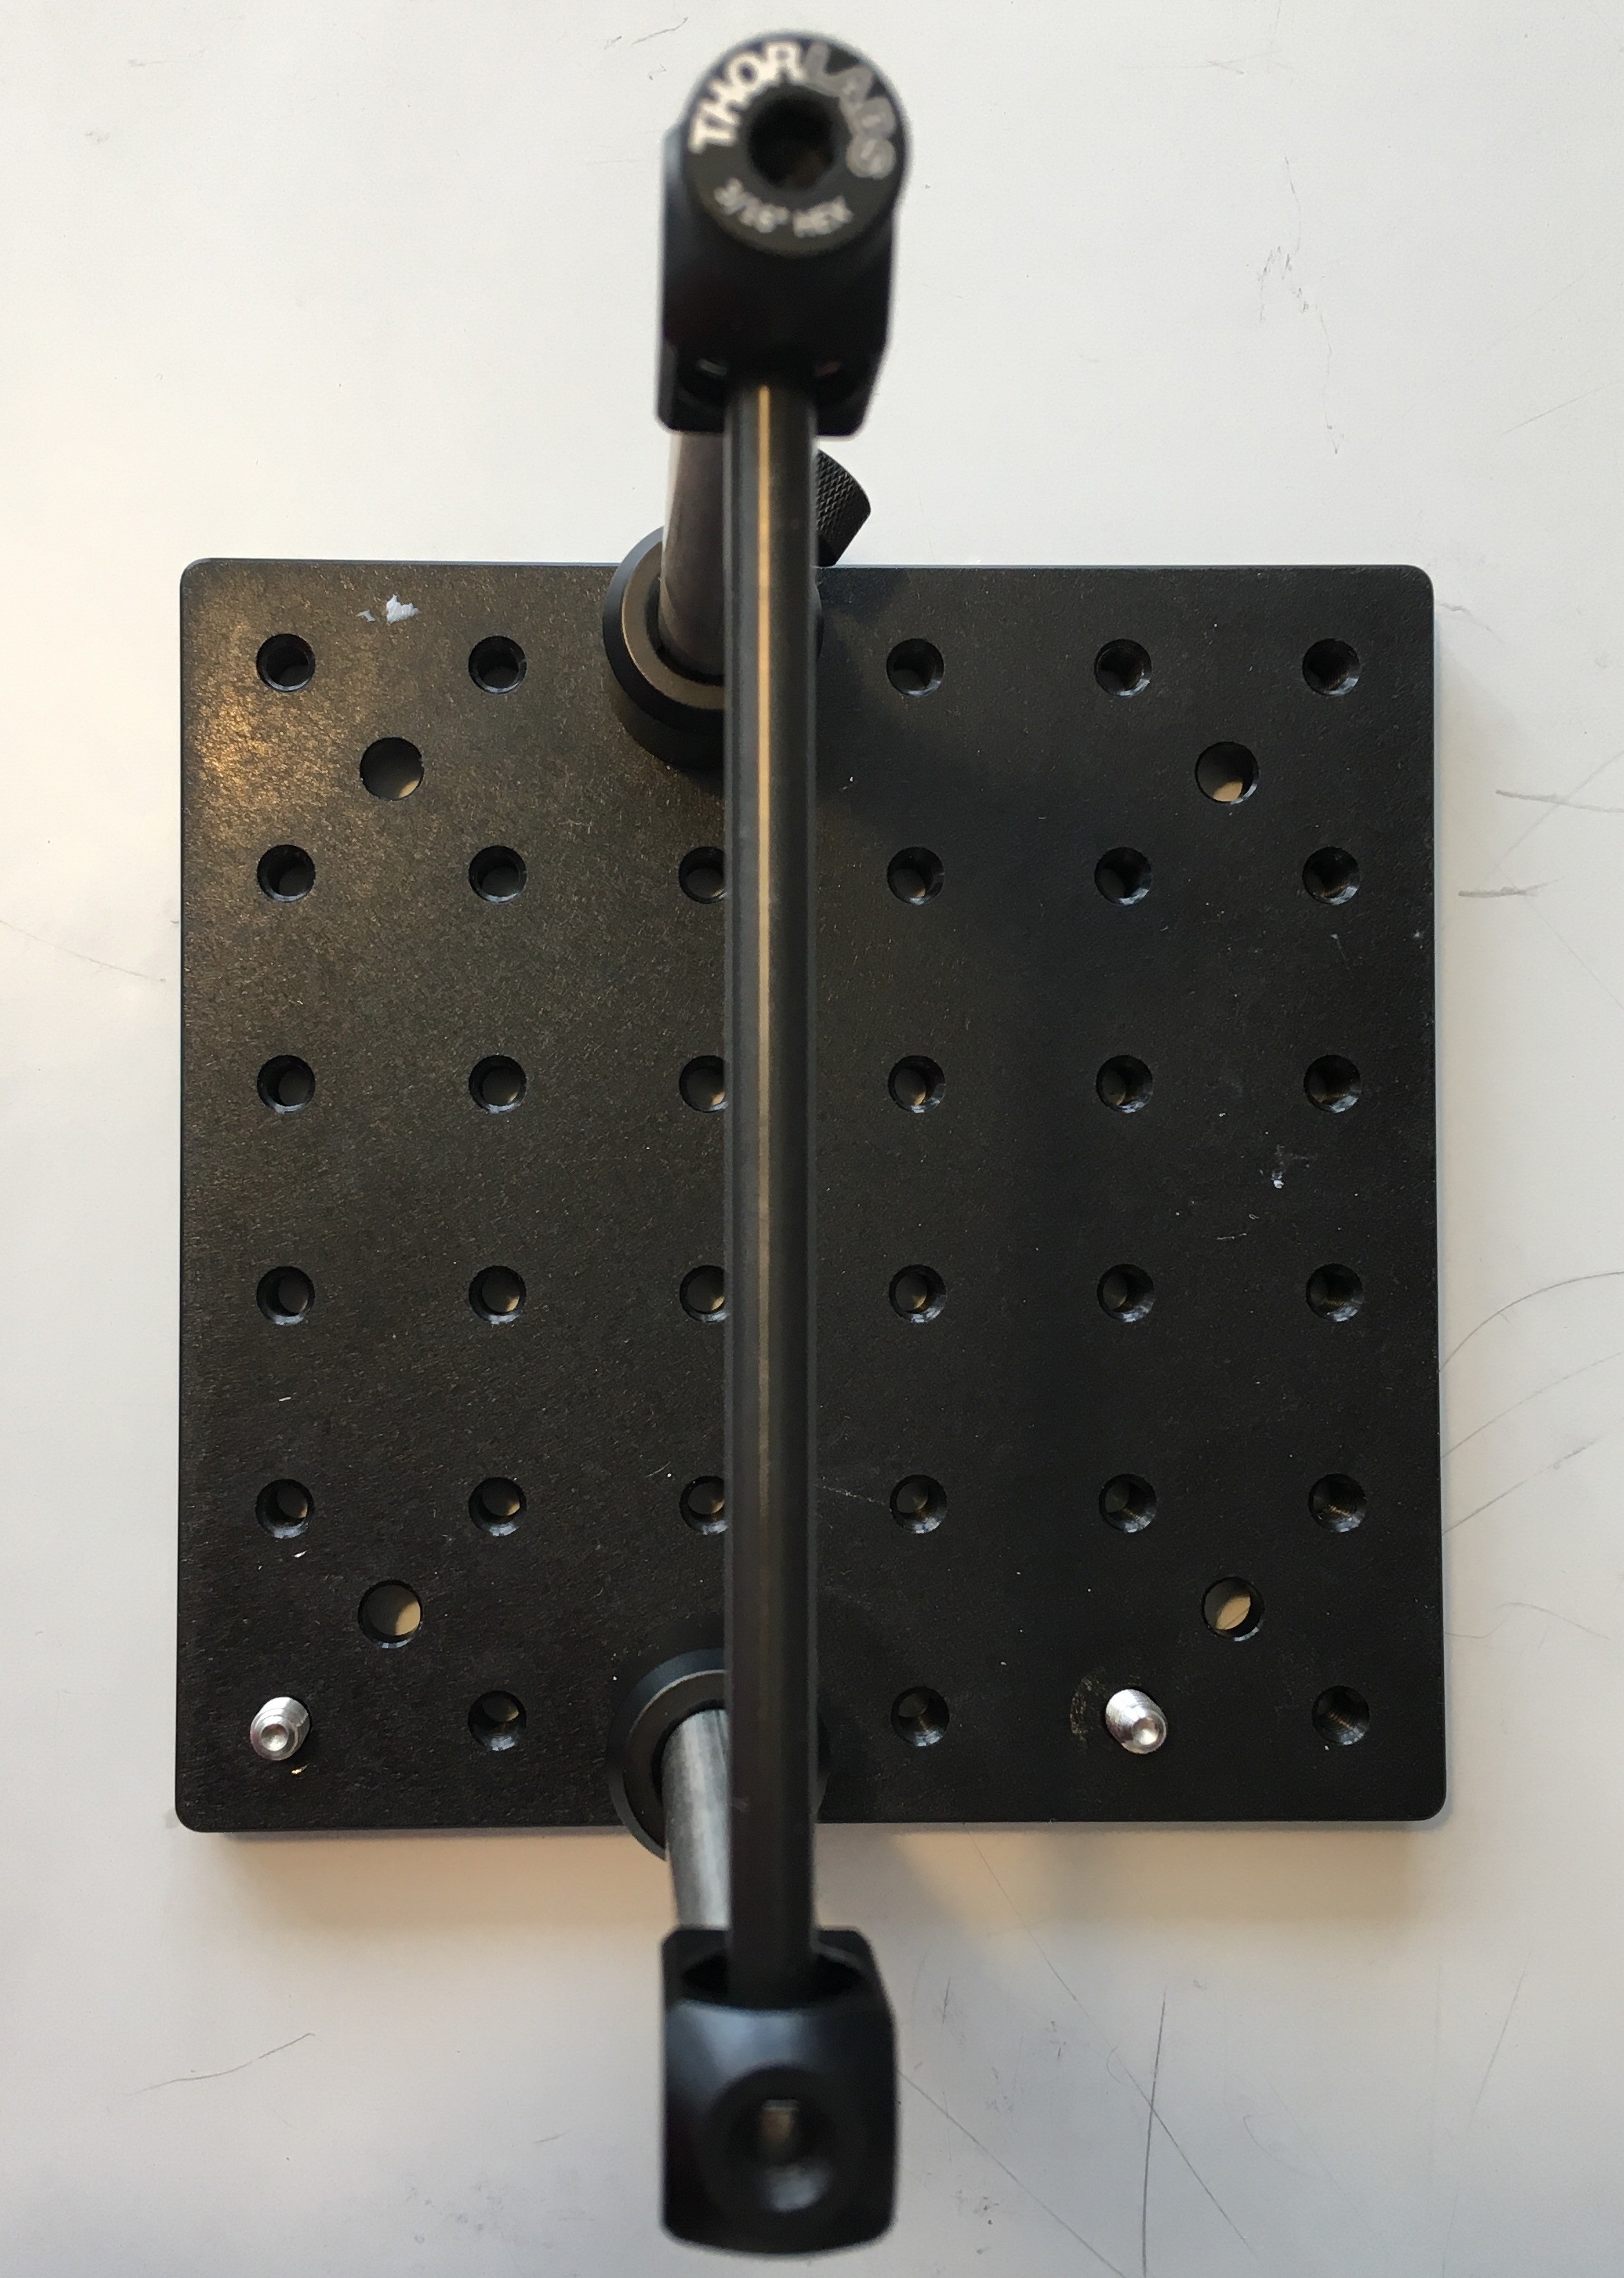
3Mount on breadboard
Insert the posts into two PH1 post holders separated by 5 inches on the breadboard. Cut aluminum shaft to length of 5 inches.
![]()
-
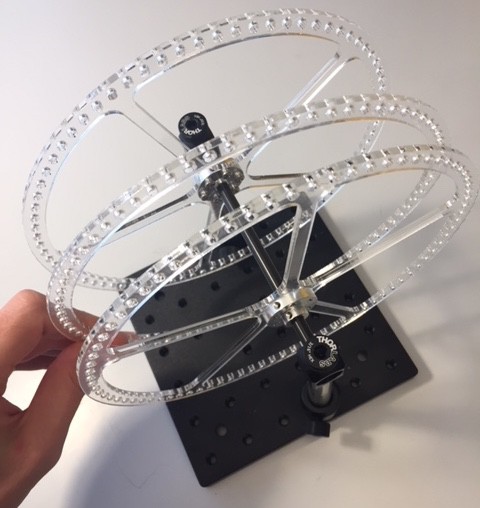
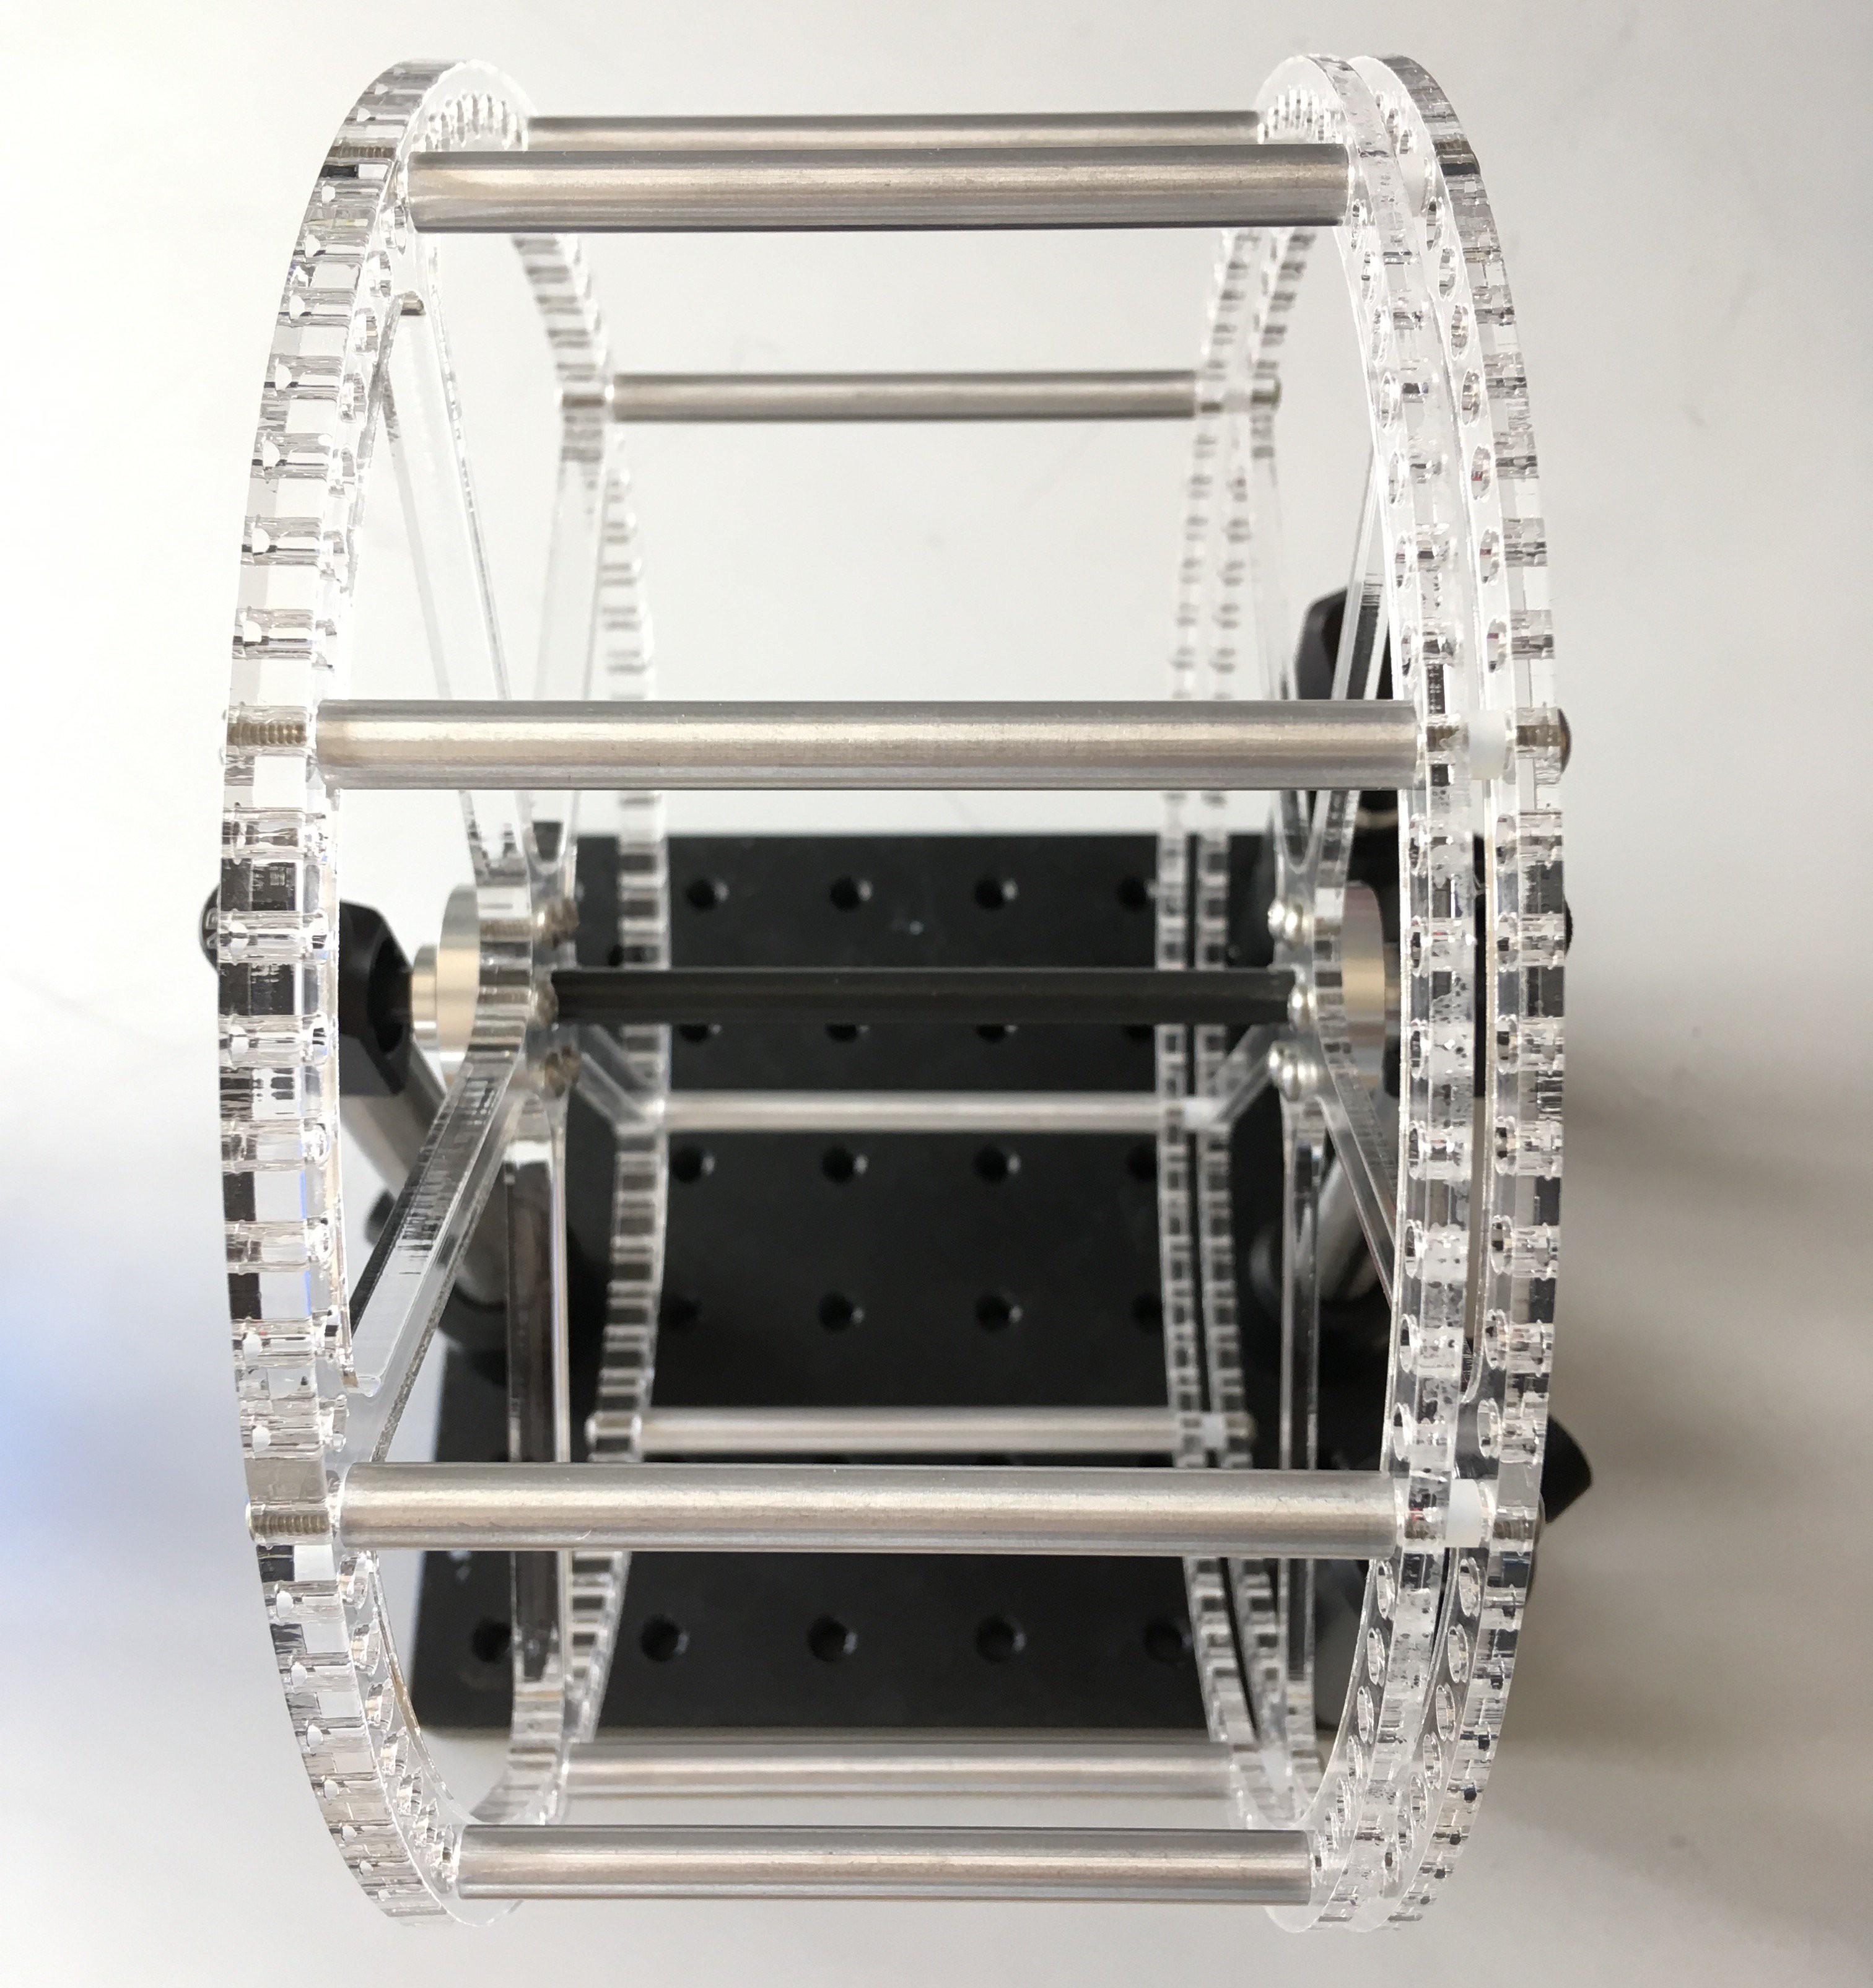
4Mount spokes
Mount the circle on the aluminum rod, and mount both printed spokes on either side of the circle. Tighten the spokes mounts using a hex key so that they are separated by approx. 3 inches with the circle in between them.
![]()
-
5Enforce separation
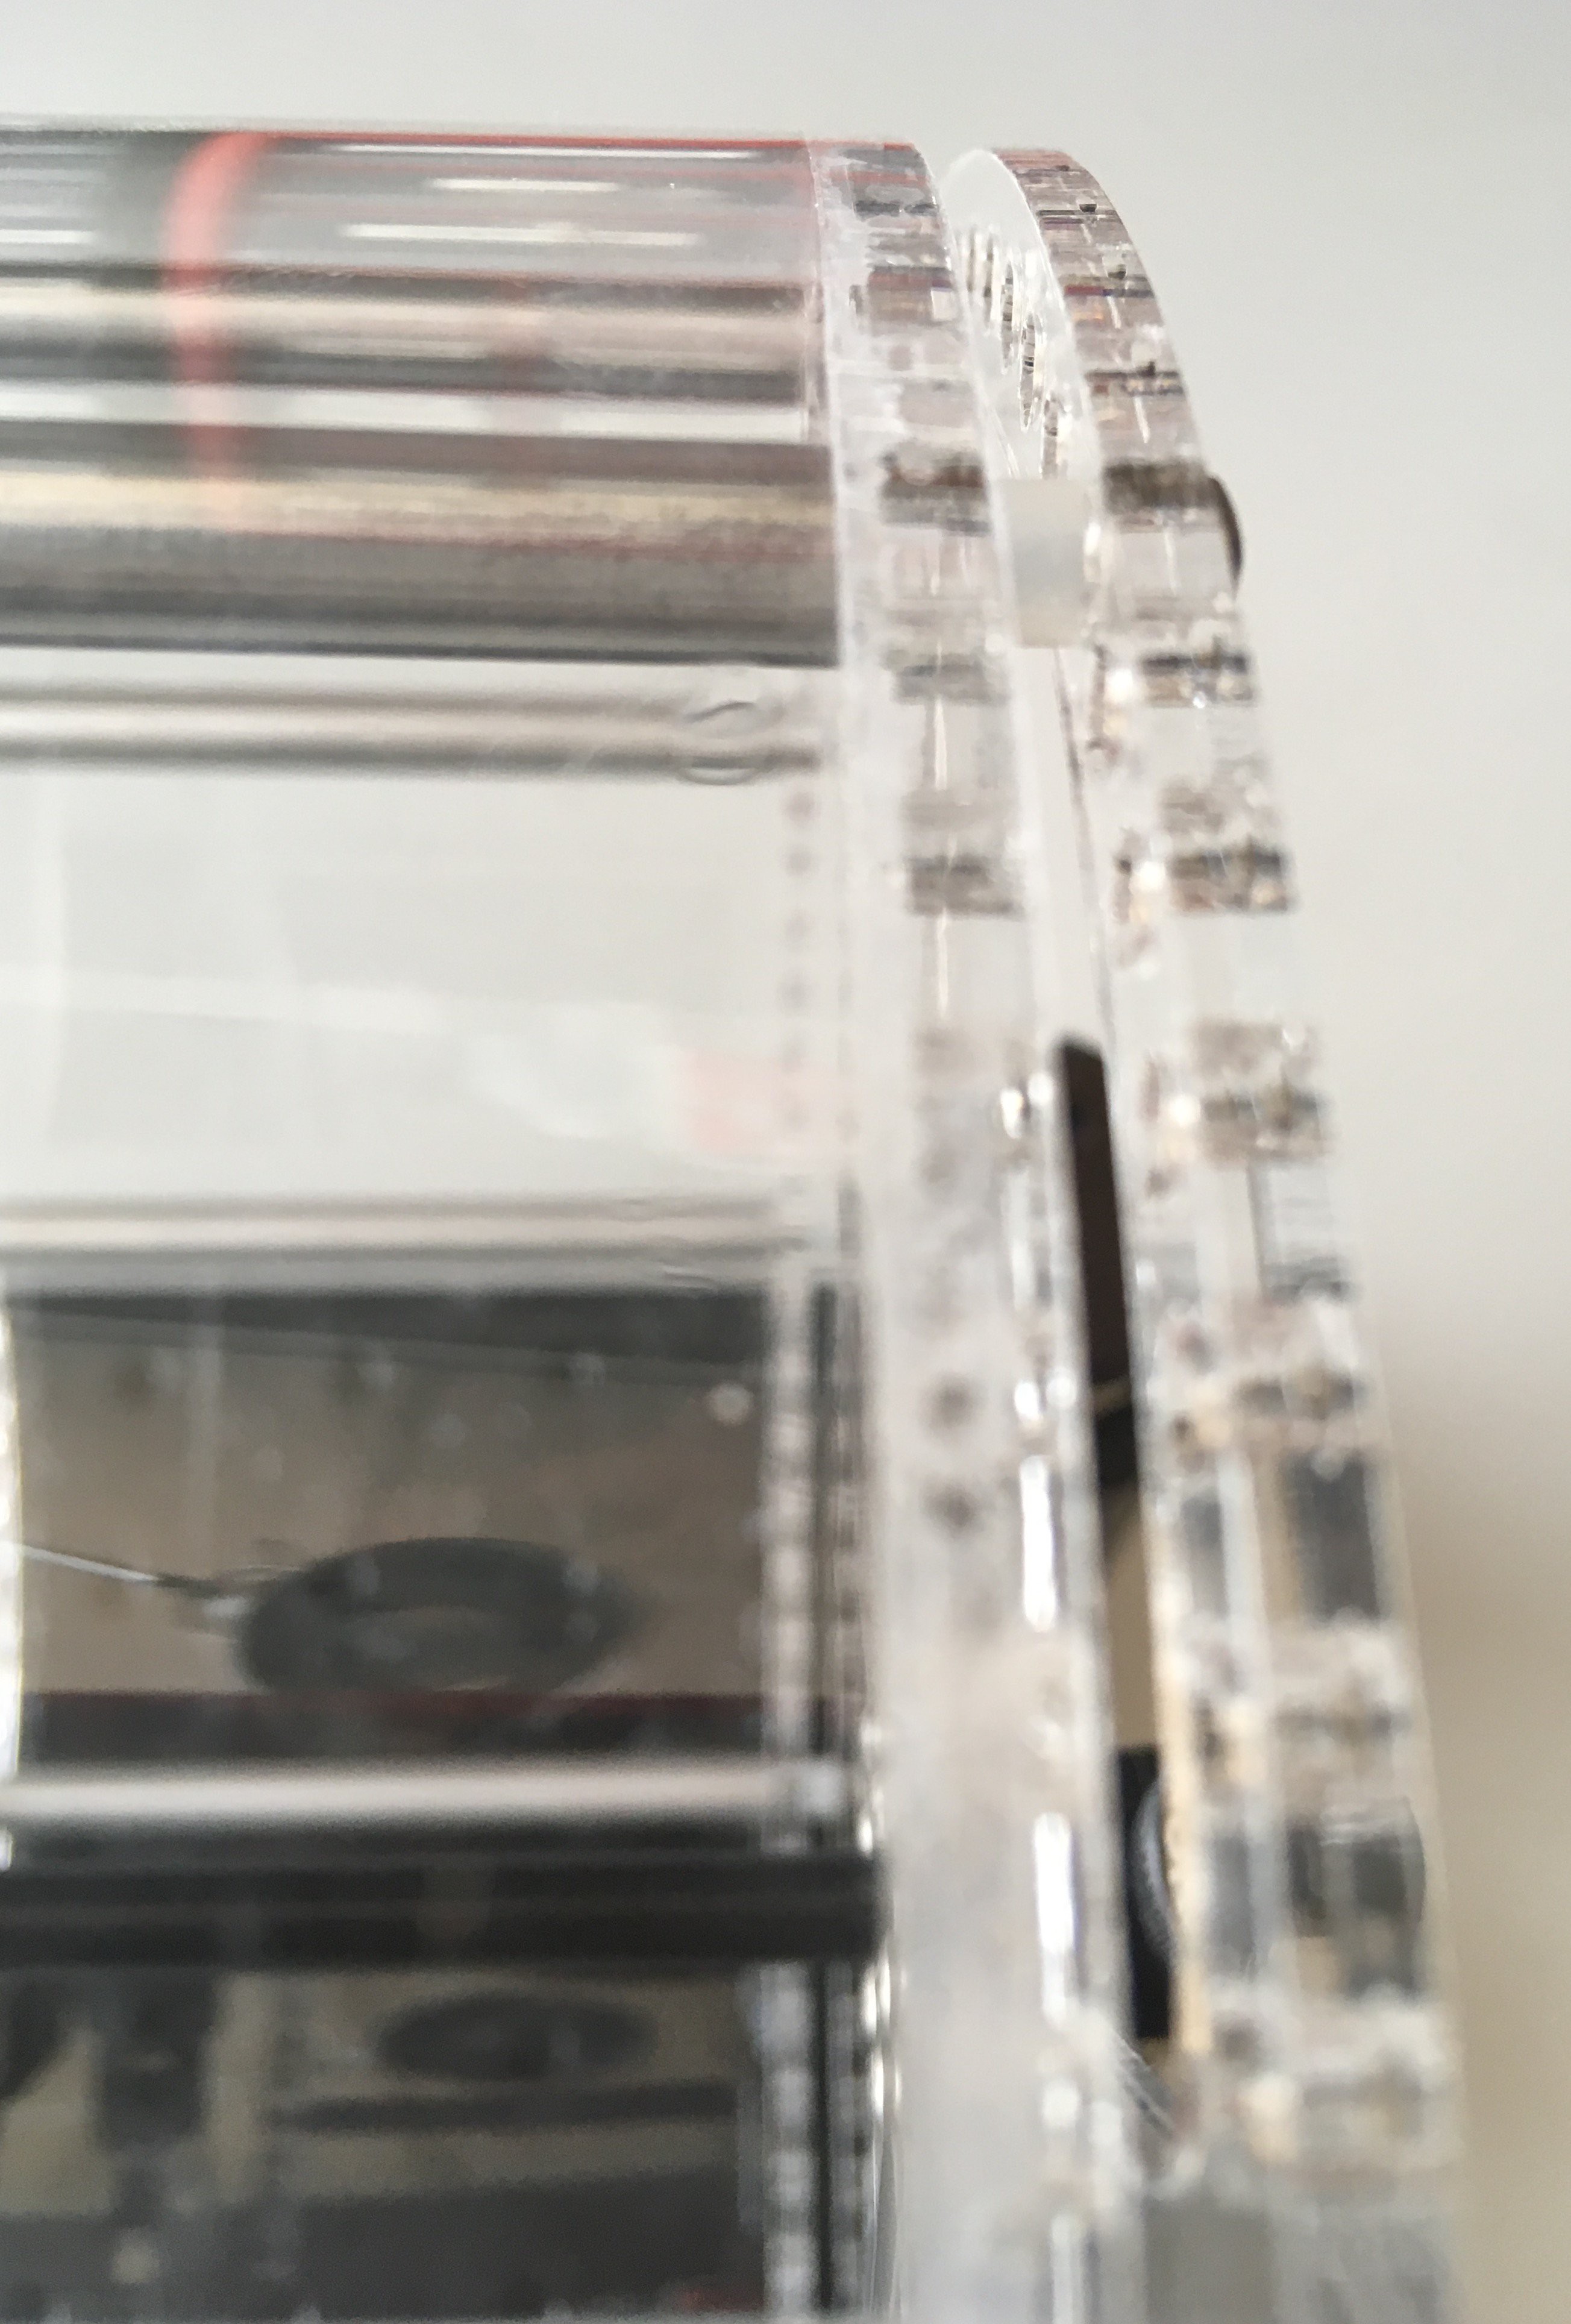
Use the standoffs to enforce a separation of 3 inches between the thick spoke piece and the circle piece. Place spacers in between circle and the thinner spoke.
In example below: the right of the wheel has the circle pressed against the spacers and spoke and the left has a thick spoke only.
The screws should pass through the thick spoke on one side and through the spoke, the spacers, and the circle on the other.
![]()
![]()
-
6Cut Polycarbonate
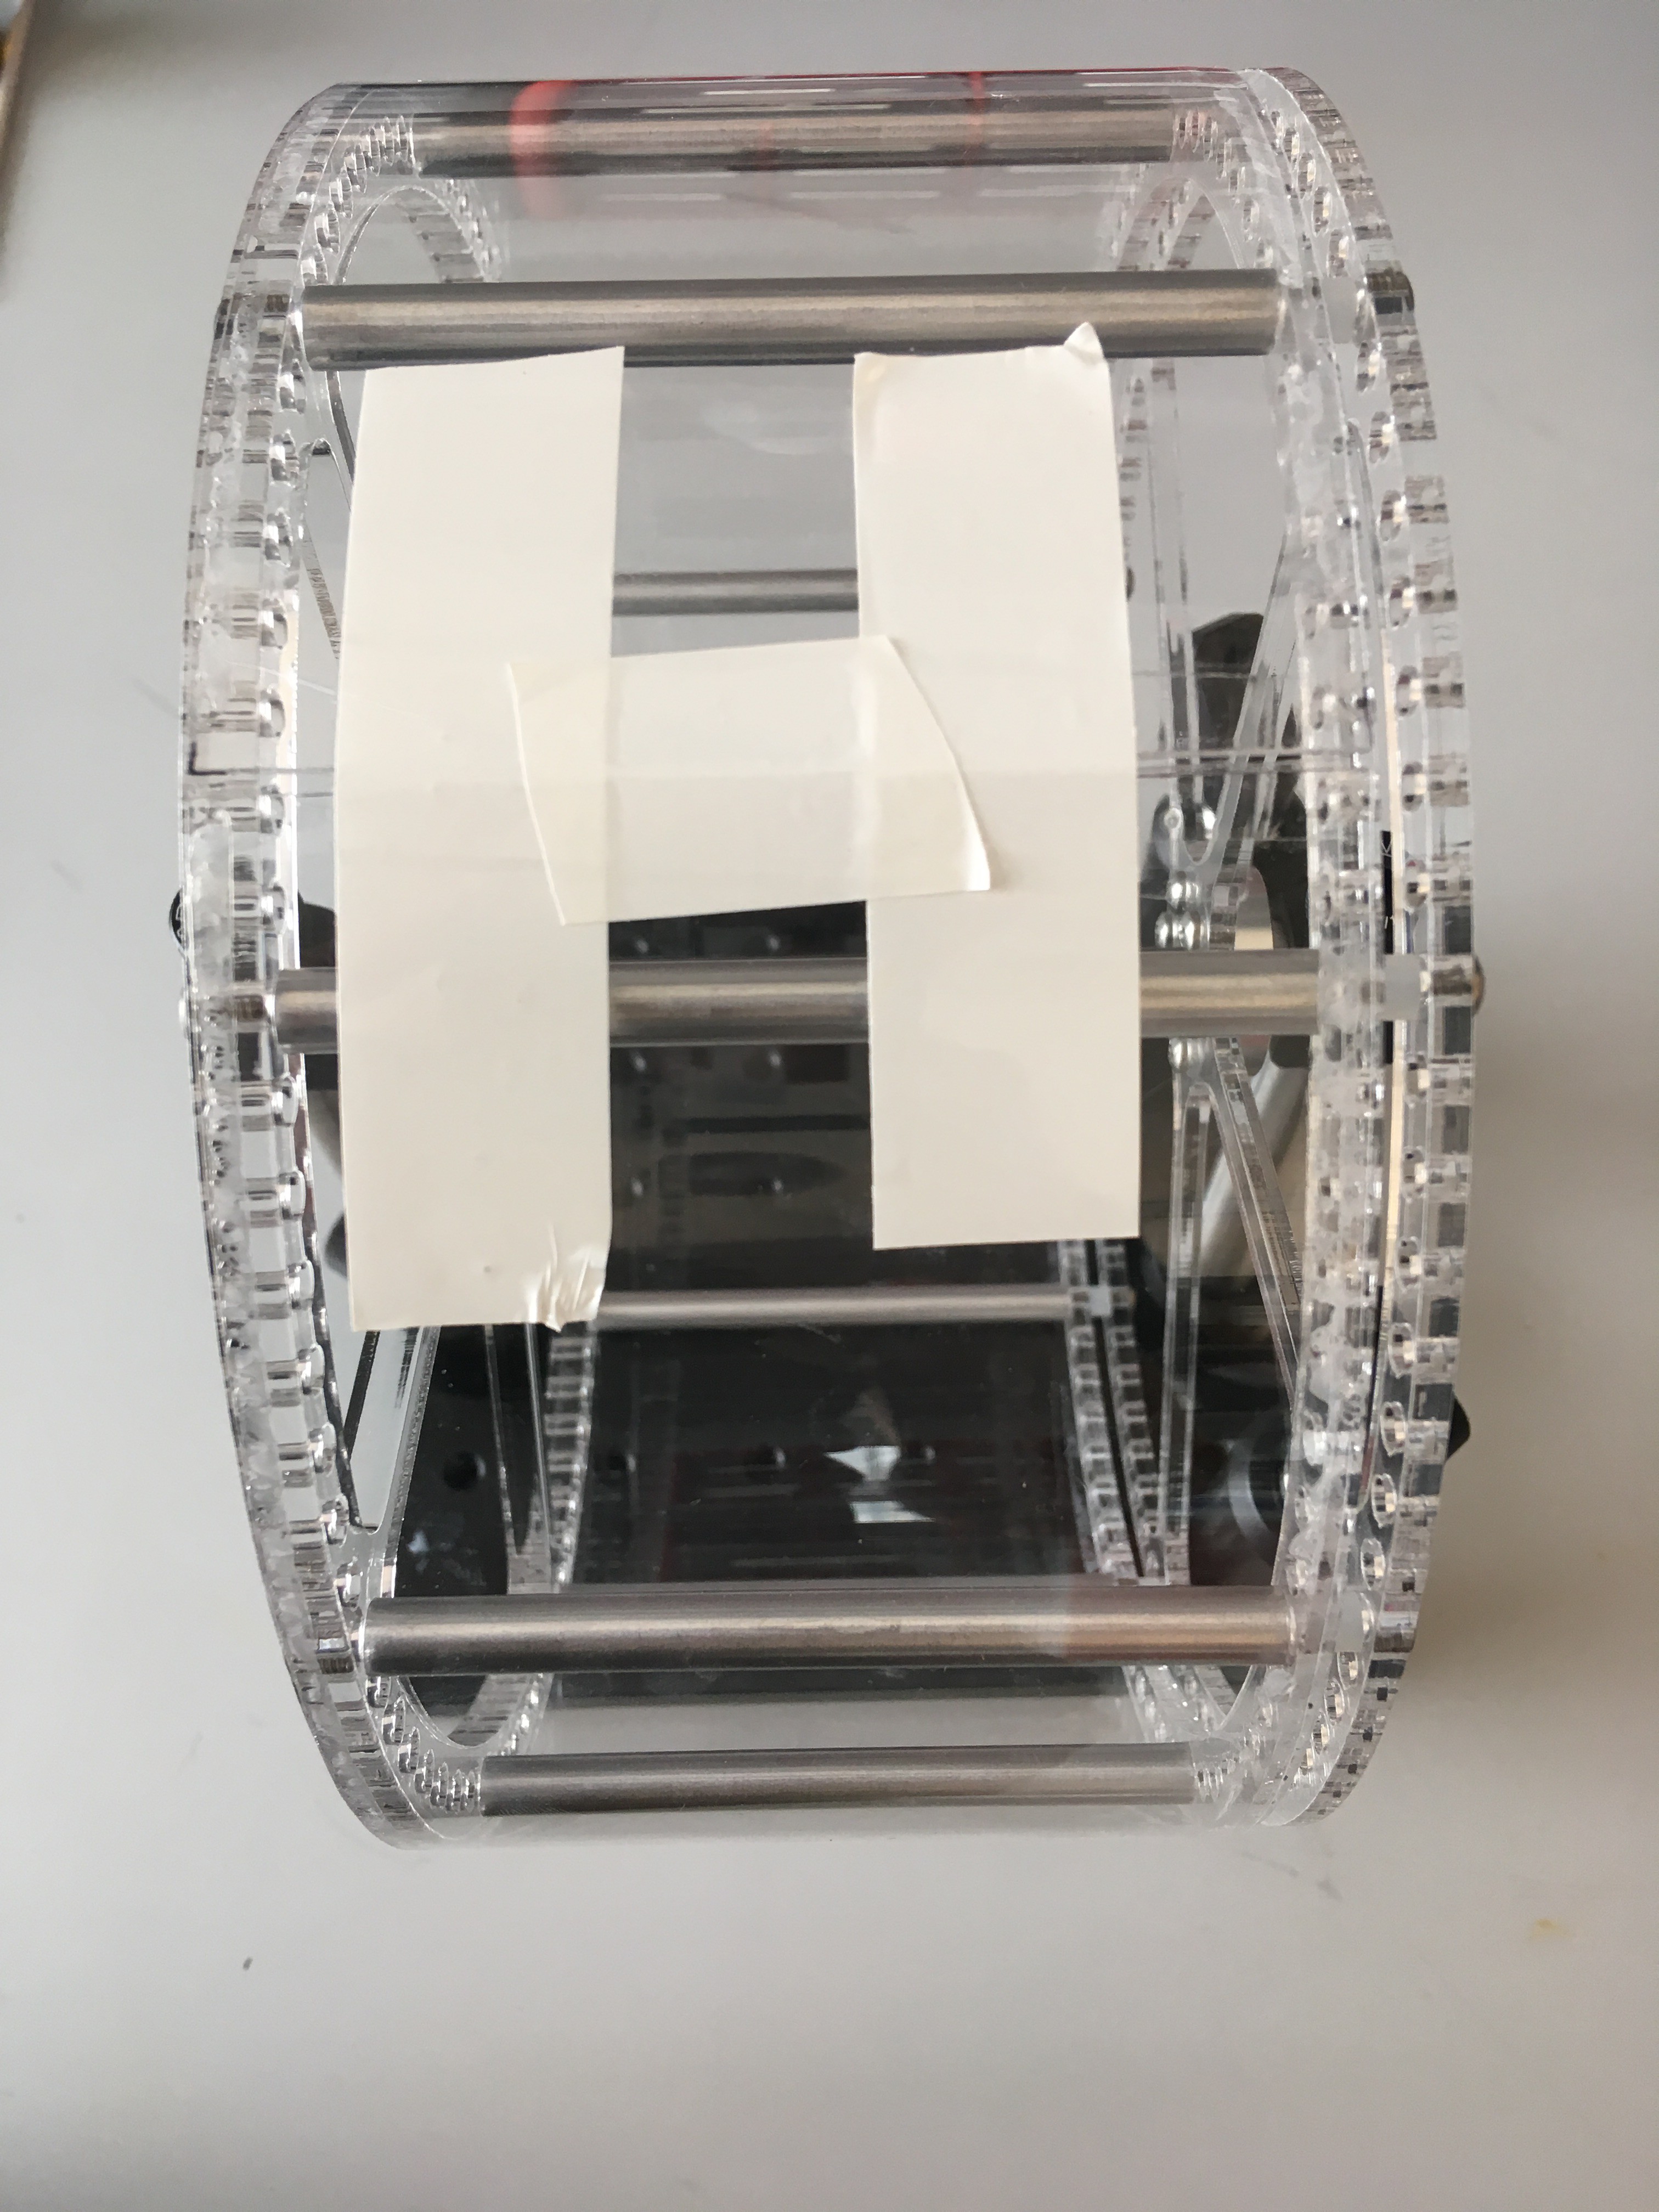
Cut a 3 inch wide strip of polycarbonate.
- It should be wide enough that it is aligned with the edge of the thick spoke on one side and the edge of the circle (but not the spacers or spoke) on the other. Do not cover the thin spoke as it will be removed shortly.
Wrap it around the wheel.
- Pull the polycarbonate around the wheel tightly.
- Mark the polycarbonate at the point where it needs to be cut in order that there are no gaps and nor overlaps.
- Take the polycarbonate off and cut it to the marked length and put it back on and tape it. Make sure tape is secure for next step!
![]()
![]()
-
7Cement polycarbonate
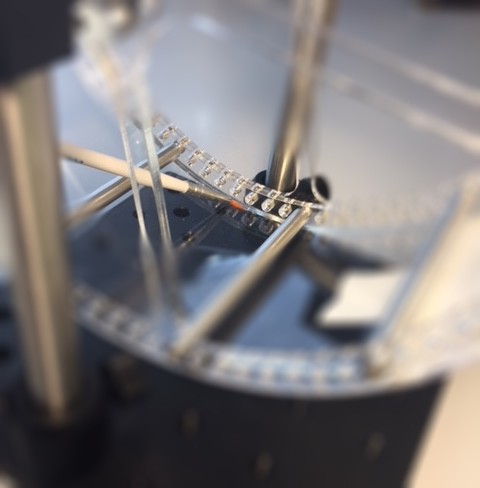
Using a paintbrush apply acrylic cement at the junction between the polycarbonate and acrylic.
- Do not get any cement on the spoke piece adjacent to the circle one - it will be removed later.
- Apply cement at inner and outer edges, but be careful not to get any on the surface of the polycarbonate.
- You should see the cement spreading and filling the gap underneath the polycarbonate as you apply it.
![]()
-
8Wait
Wait for the cement to dry according to the cement bottle's instructions (probably safe to leave it overnight). If possible place clamps around the edges of the wheel to ensure the cement settles correctly.
![]()
-
9Remove!
When the cement is dry:
- Unscrew and remove the standoffs.
- Remove tape, and add a clear piece of tape to bridge the tiny gap between the two ends of the polycarbonate.
- take off mounting poles in order to remove the thin spoke piece and spacers so you are left with just the thick spoke and the circle.
![]()
-
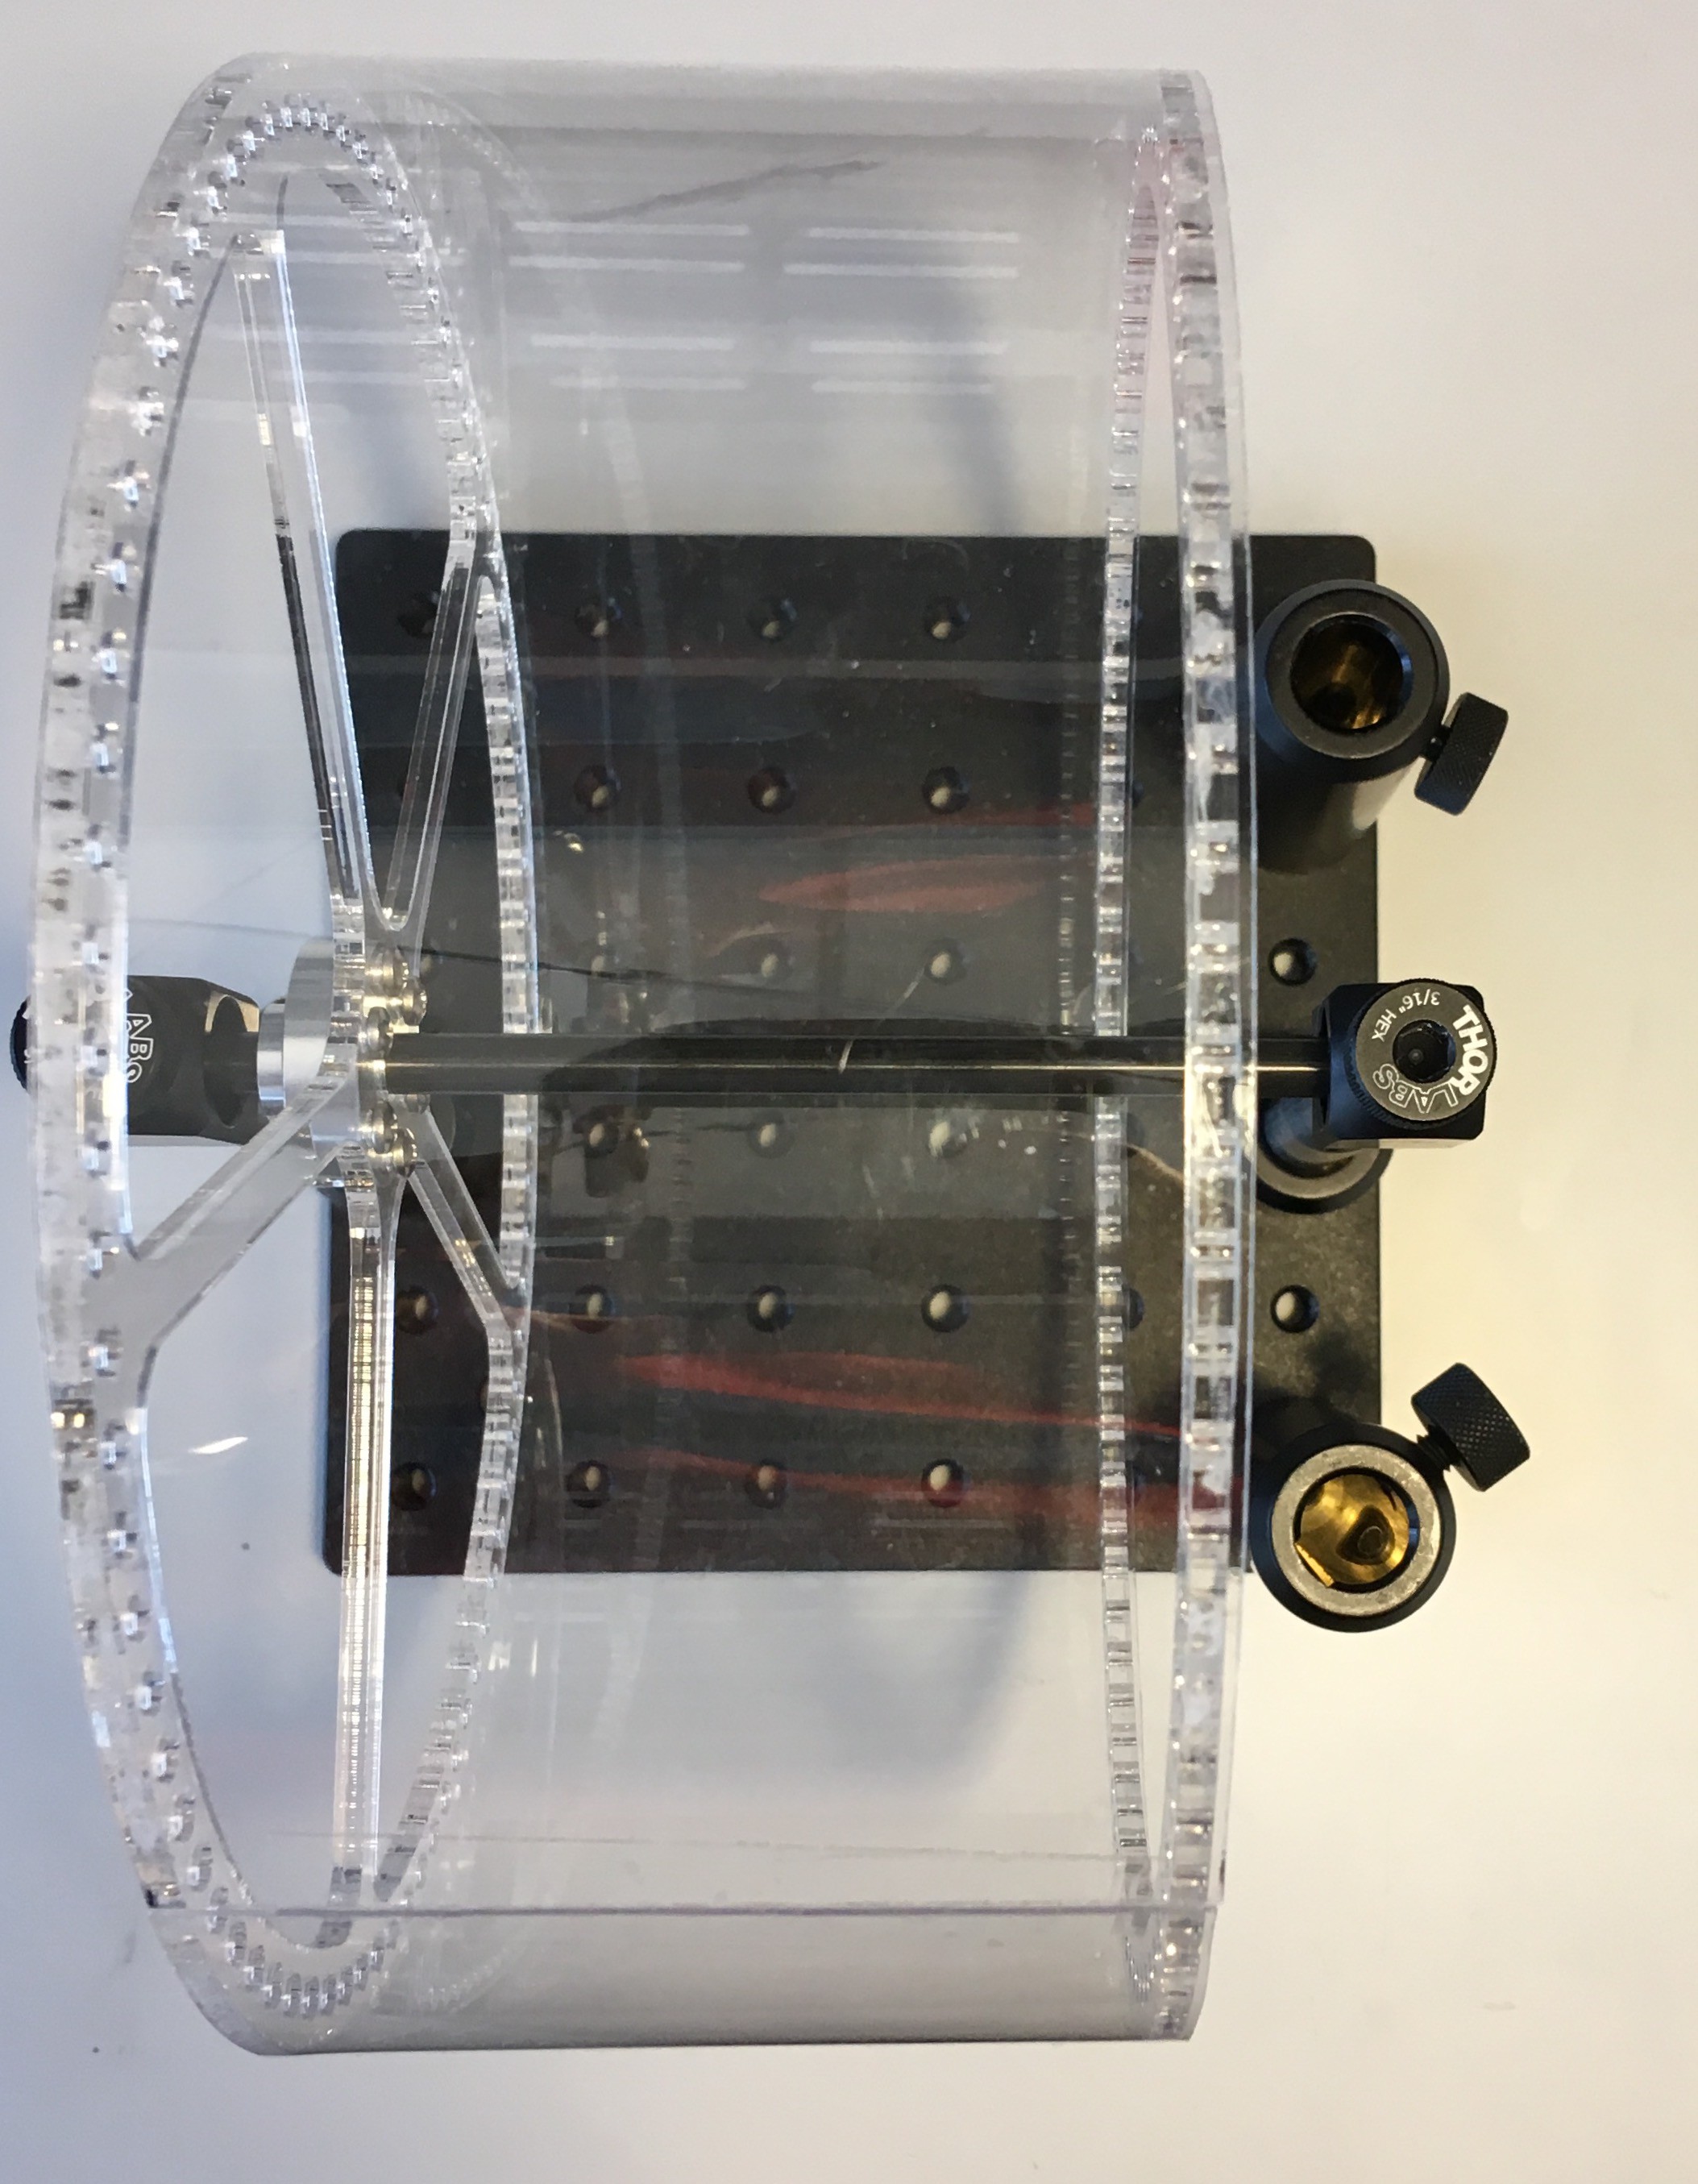
10Mount mirror holders
Mount the Throlabs PH3 post holder 4 inches apart on the breadboard beside the wheel on the circle side.
![]()
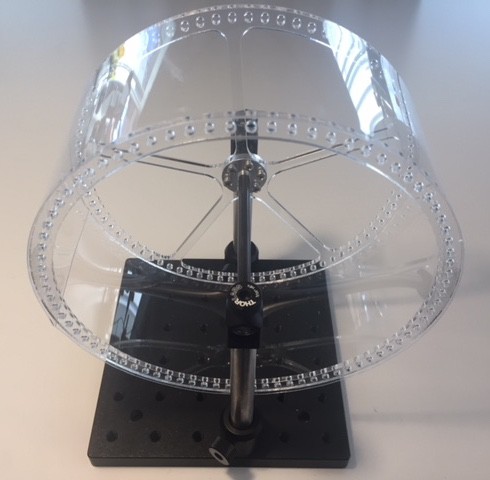
KineMouse Wheel
Light-weight running wheel for head-fixed locomotion in mice that allows 3D reconstruction of the position of the body with a single camera.


Discussions
Become a Hackaday.io Member
Create an account to leave a comment. Already have an account? Log In.