Alastair Young
-
First board place
02/11/2019 at 08:08 • 0 commentsClearly not good enough, but is a learning step. I think a lot of the offset is related to nozzle run-out. It seems to me that if the process did the final rotation over the camera, the runout would be moot. I will see if the forum has any input on that.
Other problems encountered:
- 0603s intermittently not letting go the nozzle. I hope that with solder paste they will stick to the board.
- Double sided tape not reliably sticky to hold down strips.
- the two chips are rotated 90 degrees in the strips.
![]()
-
Nozzle Rack
01/22/2019 at 16:26 • 0 commentsCobbled up a nozzle rack from aluminum angle.
-
First Pick!
01/06/2019 at 07:22 • 0 commentsSee the comments on the video. There's a lot not working here, but it does pick and it does place.
A big hindrance here was that as soon as the pump was enabled the second arduino - configured to run the 4th axis and the lights - lost serial connectivity. This seems to be some kind of EMI. After a lot of trial and error I got past this by moving the pump to its own power supply and adding a 0.1uF cap between + and the motor casing and grounding the casing.
Tuning and tweaking then commenced and a lot of fiddling around with the vision pipelines and I eventually got it reliably placing the SOIC-16 almost right. Rotation was still slightly random - in spite of the logs showing the vision to be happy. Then I noticed that when the pump was running, the nozzle was intermittently rotating slowly clockwise. I'm pretty sure this is the motor EMI again. The step and direction signals for the 4th axis take a several inch leap from one board to the other and probably make a great antenna. So the next step is to wrap the motor in grounded aluminum foil and if that doesn't work it is coming out of the case and being placed far away at the end of a tube.
Other snippets of learning:
- grbl responds immediately with an ok even if it has not yet finished moving. So the imaging was happening before the part was in front of the camera and the lights were flashing on and off way too fast. This is fixed with a "dwell" putting G4P0 on the end of the move G-code and a G4P1 after the "lights on" G-code
- I edited the default lighting scripts to remove the "turn the other one off before we turn this one on" logic as I am using the coolant control pins which are M7/M8 for on but a shared M9 for off.
- grbl homing is oddly broken where it wasn't before - it seems like the x-limit is triggering randomly. more EMI?
- default vision pipelines don't work at all with my cameras and SOIC-16 parts.
-
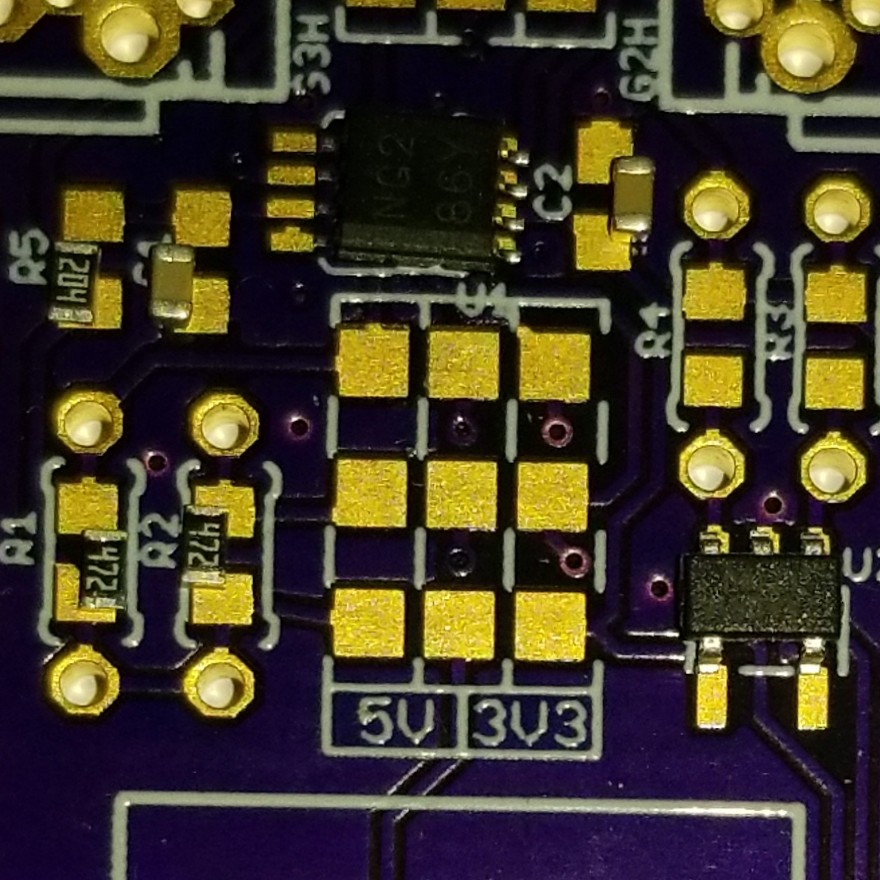
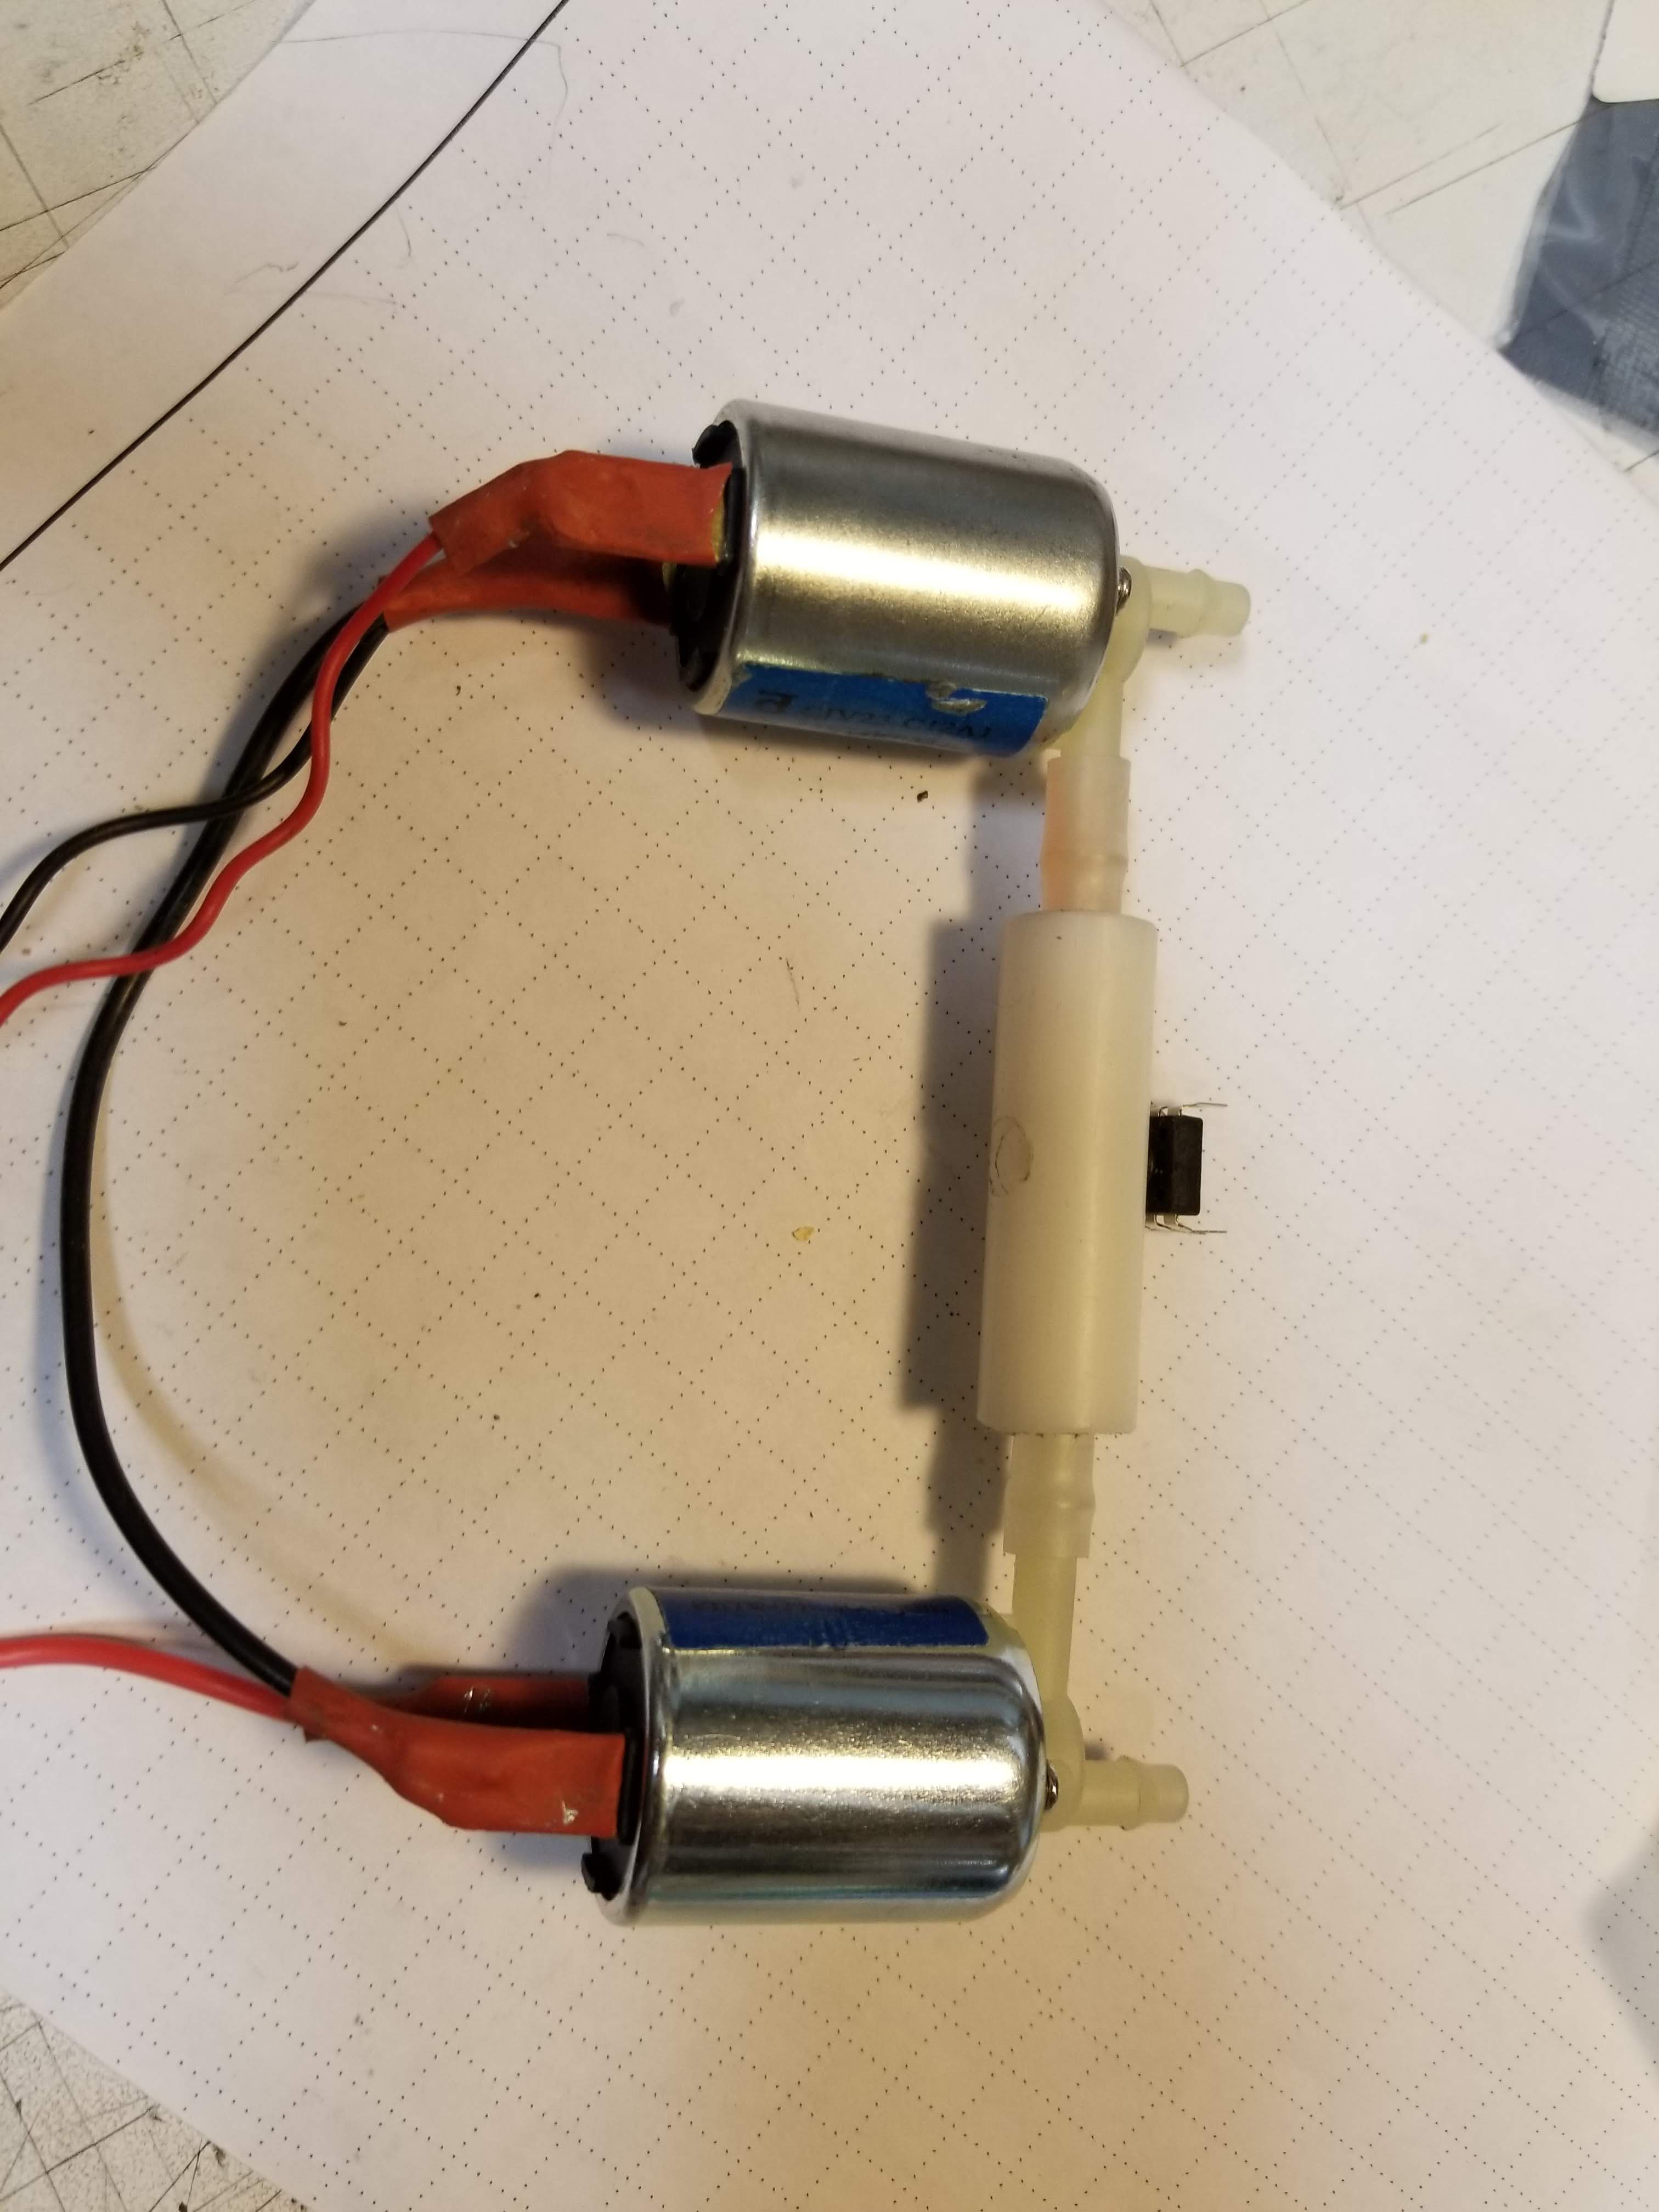
Vacuum Network
12/30/2018 at 02:10 • 0 commentsThis took a long time to get around to, but ended up being very simple. The magic gubbins is a manifold made from a short piece of the 1/2" delrin left over from the nozzle holder work. It is drilled lengthways to a size which is a stiff push fit for the 1/4" tubing. There is a side hole in the center the same size to feed to the head. There is a small hole opposite this which is a tight push fit for the sensor. This is stuffed in there to stop the hole for now - it is not wired up.
The solenoids are 12 from American Science and Surplus and were 10 for $10.
Pump is from robotdigg, $10.80 + shipping
Sensor is from banggood, $3.76 for three....
Tubing was closeout sale stock from Orchard Supply Hardware.
Mounting bracket is a piece of carved 2x4 pine/redwood, 3 drywall screws and 2 cable ties.
This setup is untested. I'll have a go without the sensor at first as I think it will take some software fettling.
![]()
![]()
-
Look down, look down...
12/04/2018 at 05:47 • 0 commentsThe 7mm by 5m camera is installed. It is still 640x480 and seems to have the same GEMBIRD USB interface. The "documentation" says 1024x768 (PC only), but lsusb -v shows no such option.
Next up will be mountings for the vacuum system.
-
Don't look down....
11/28/2018 at 00:35 • 0 commentsThe down camera is also smoked. Ordered a $10 replacement - this is a 7mm one with a 5m cable. Seems to go to 1024x768 and the longer cable will help - the old one barely made it out of the cable chain. 5m shoul dbe able to do that and follow the USB cable over to the laptop - I have to run two cables anyway because of the the camera dumbness.
-
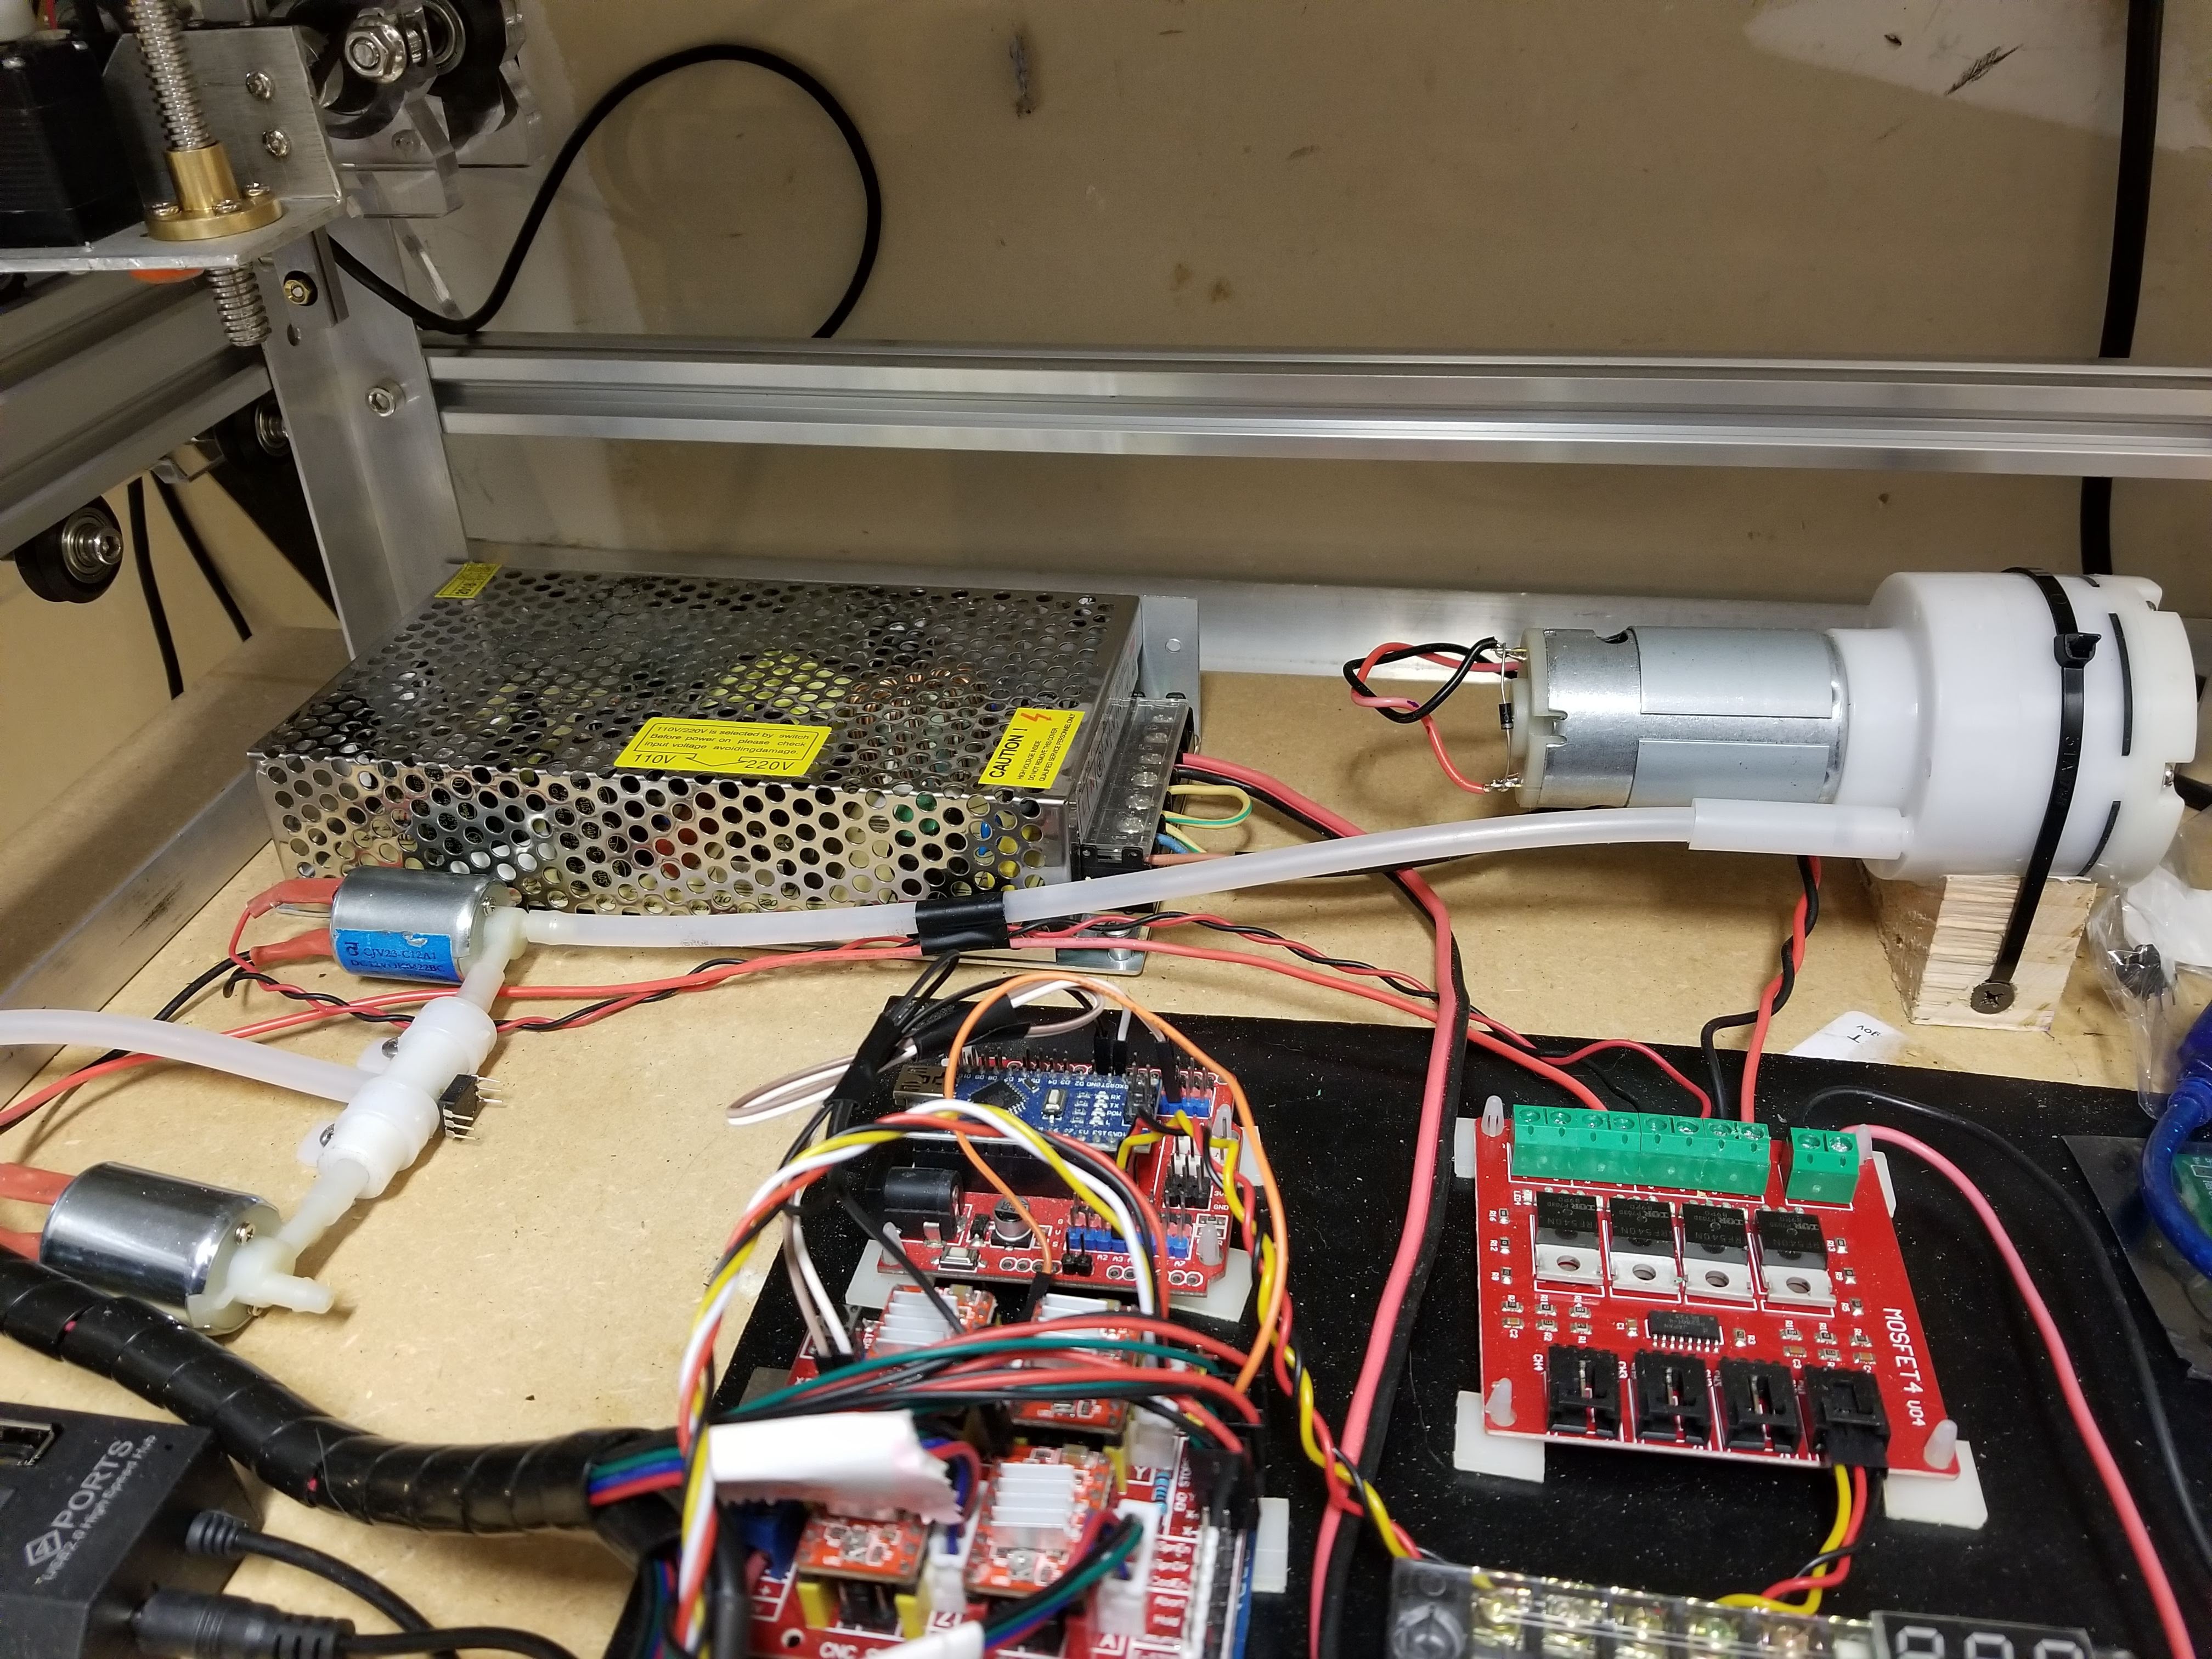
Wiring oops...
11/26/2018 at 02:54 • 0 commentsI spent a couple hours working out the power wiring to remove the random wall-wart and add nice safety features like fusing, C13 switched socket, emergency stop, buck converter to step down the 12V to 5V to feed the things that need 5V, like the USB hub. Which I then wired into the 12V line and let the smoke out. Of the USB hub. And the Arduino Uno. And the Nano. D'oh!
I found another Nano that worked after a bootloader refresh - most of my spares have been loaned out to the Girl Scout group, and raided my Genuine Arduino Uno from my breadboarding kit, to keep me going until the replacements come from China. So that adds about $10 to the BOM..... Also ordered some voltage displays while I was there.
Wired the vacuum pump to the Nano's coolant control via the mosfet board - it spins on M8
![]()
Trying to keep the rat's nest tendencies at bay.
-
Controller Simplification
11/19/2018 at 02:53 • 0 commentsI pulled the C axis nano off the Eleksmaker board and moved it to the Funduino shield, eliminating one controller. The Y axis driver now drives both Y motors via a splitter - eleksmaker style. The 4th driver on the protoneer is now dedicated to C, having been modified by removing its ENA pin and resoldering it in reverse so it can be patched back to the C nano ENA pin 8.
This also allows grbl to control the ENA on the C nano so it doesn't cook by being on all the time.
I may still strip the C axis nano's grbl code of YZ and add more function for sensors and solenoids etc. We'll see.
-
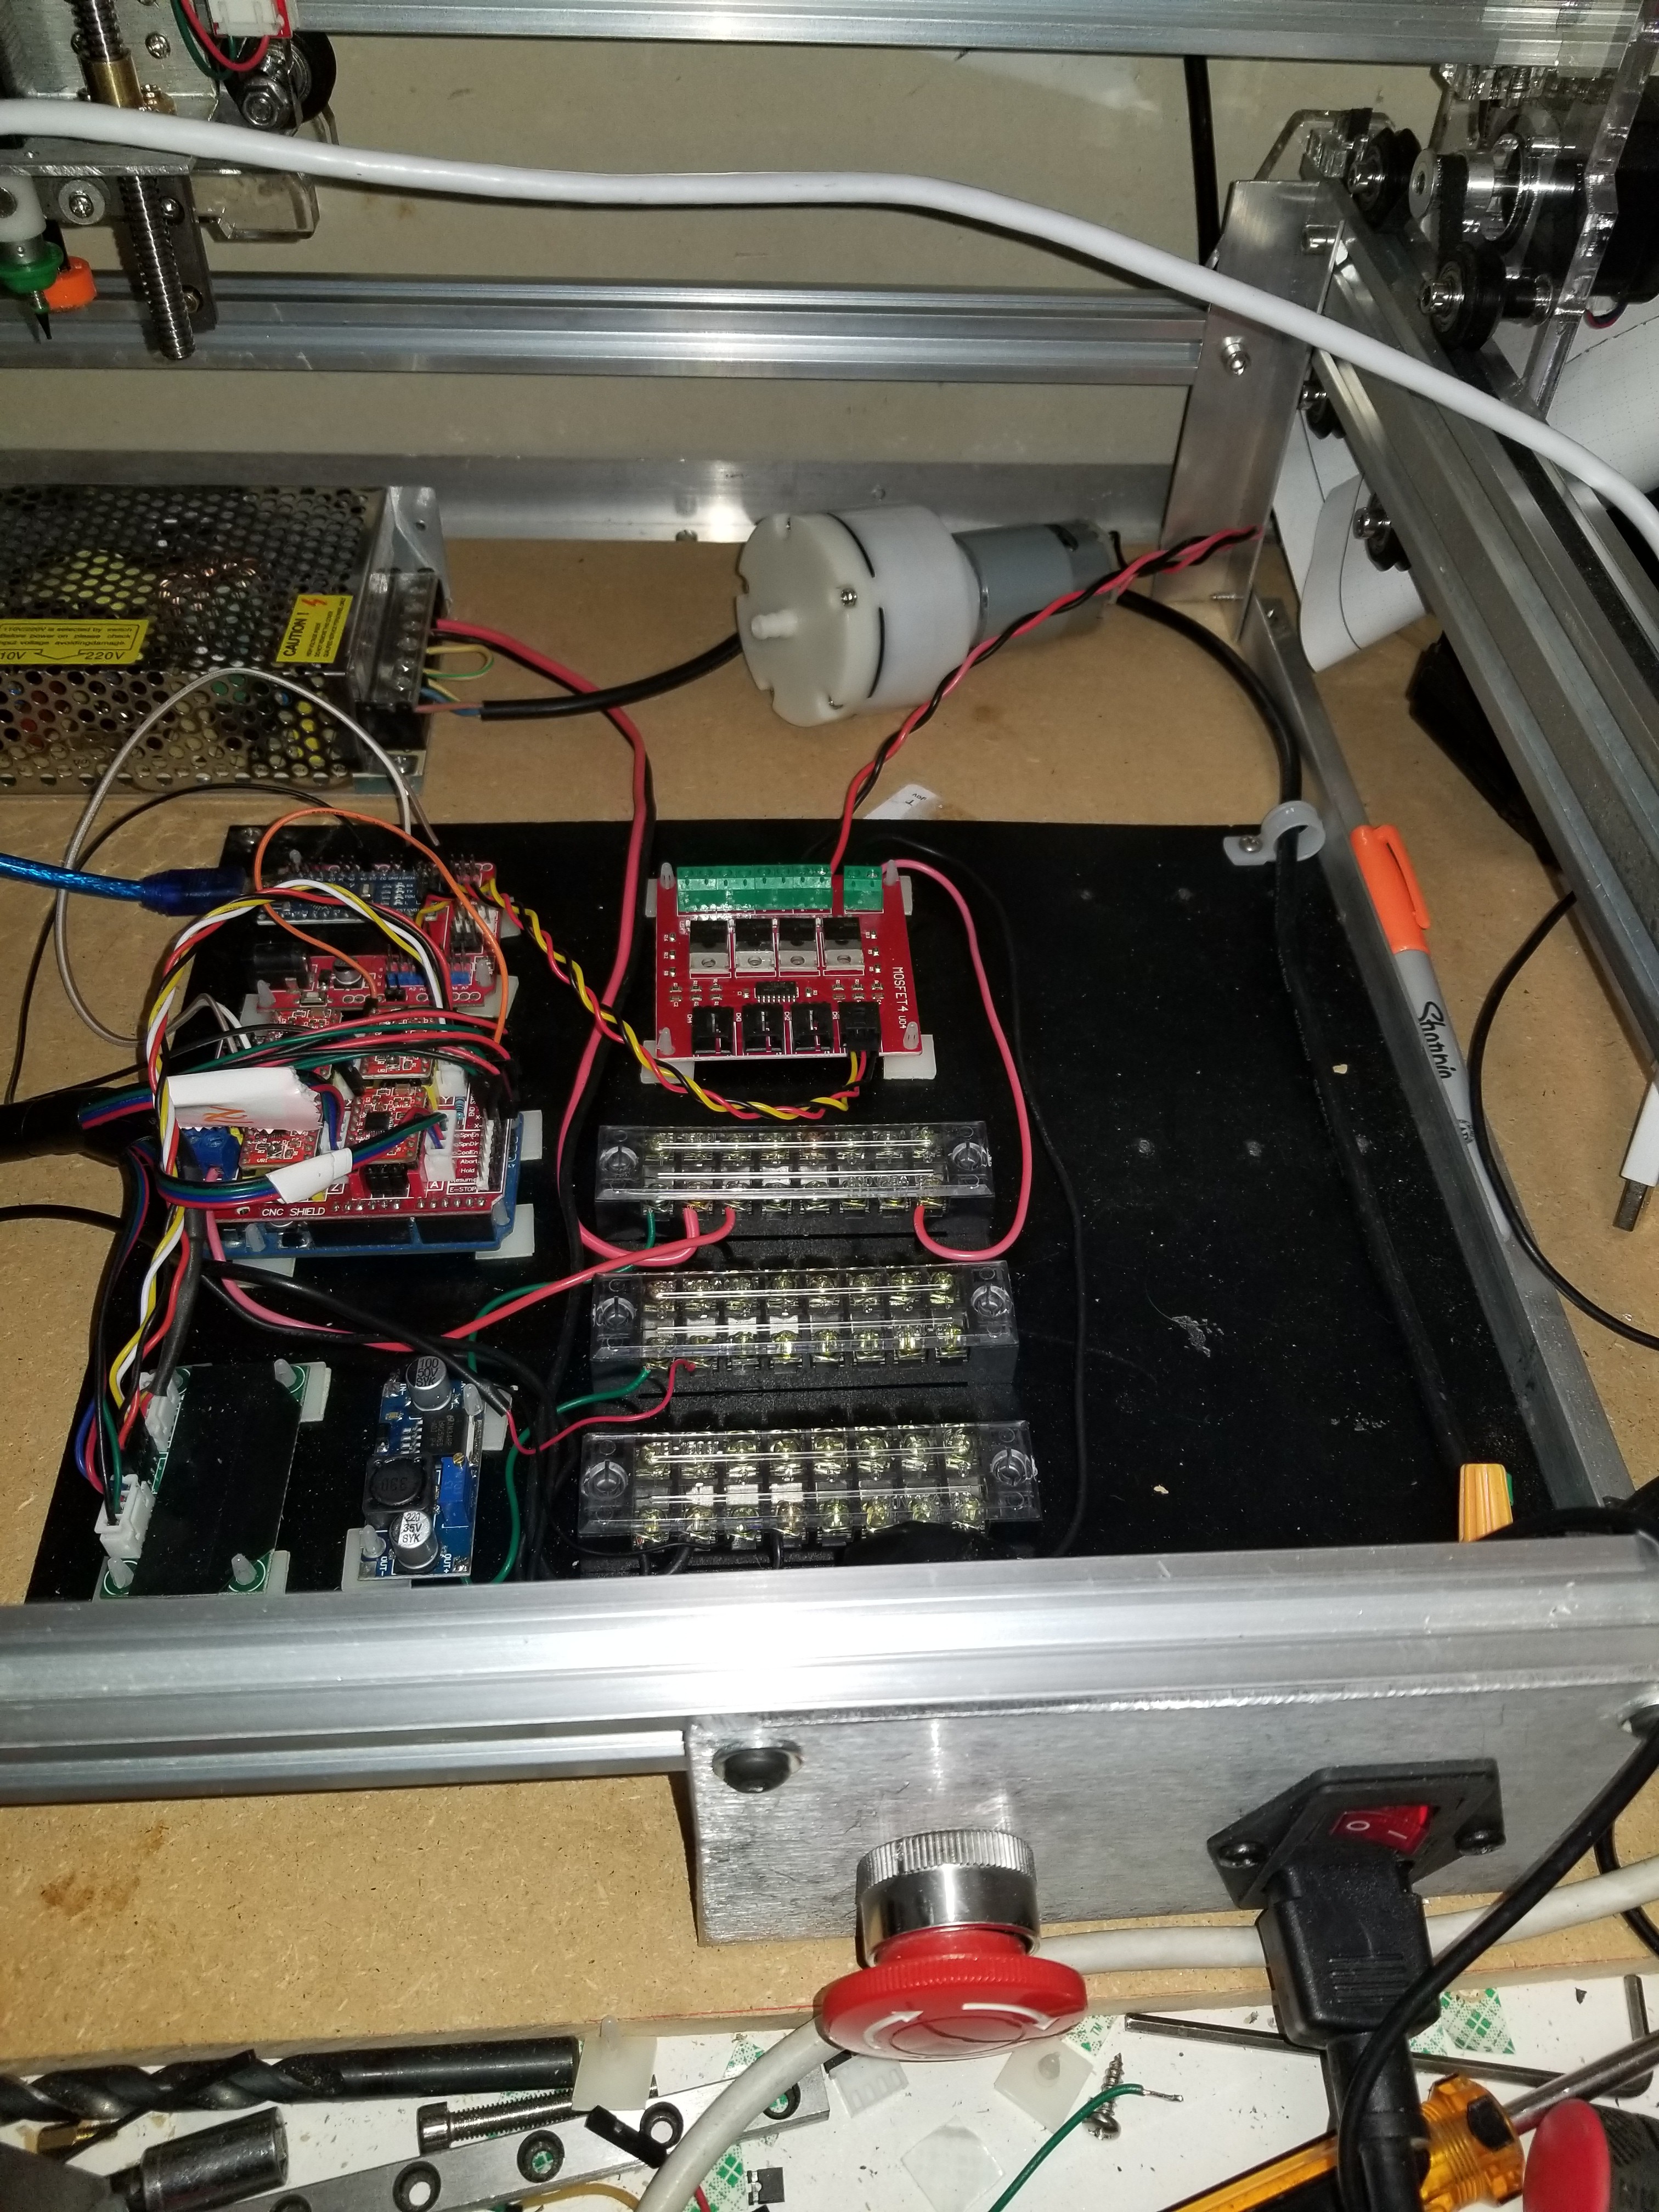
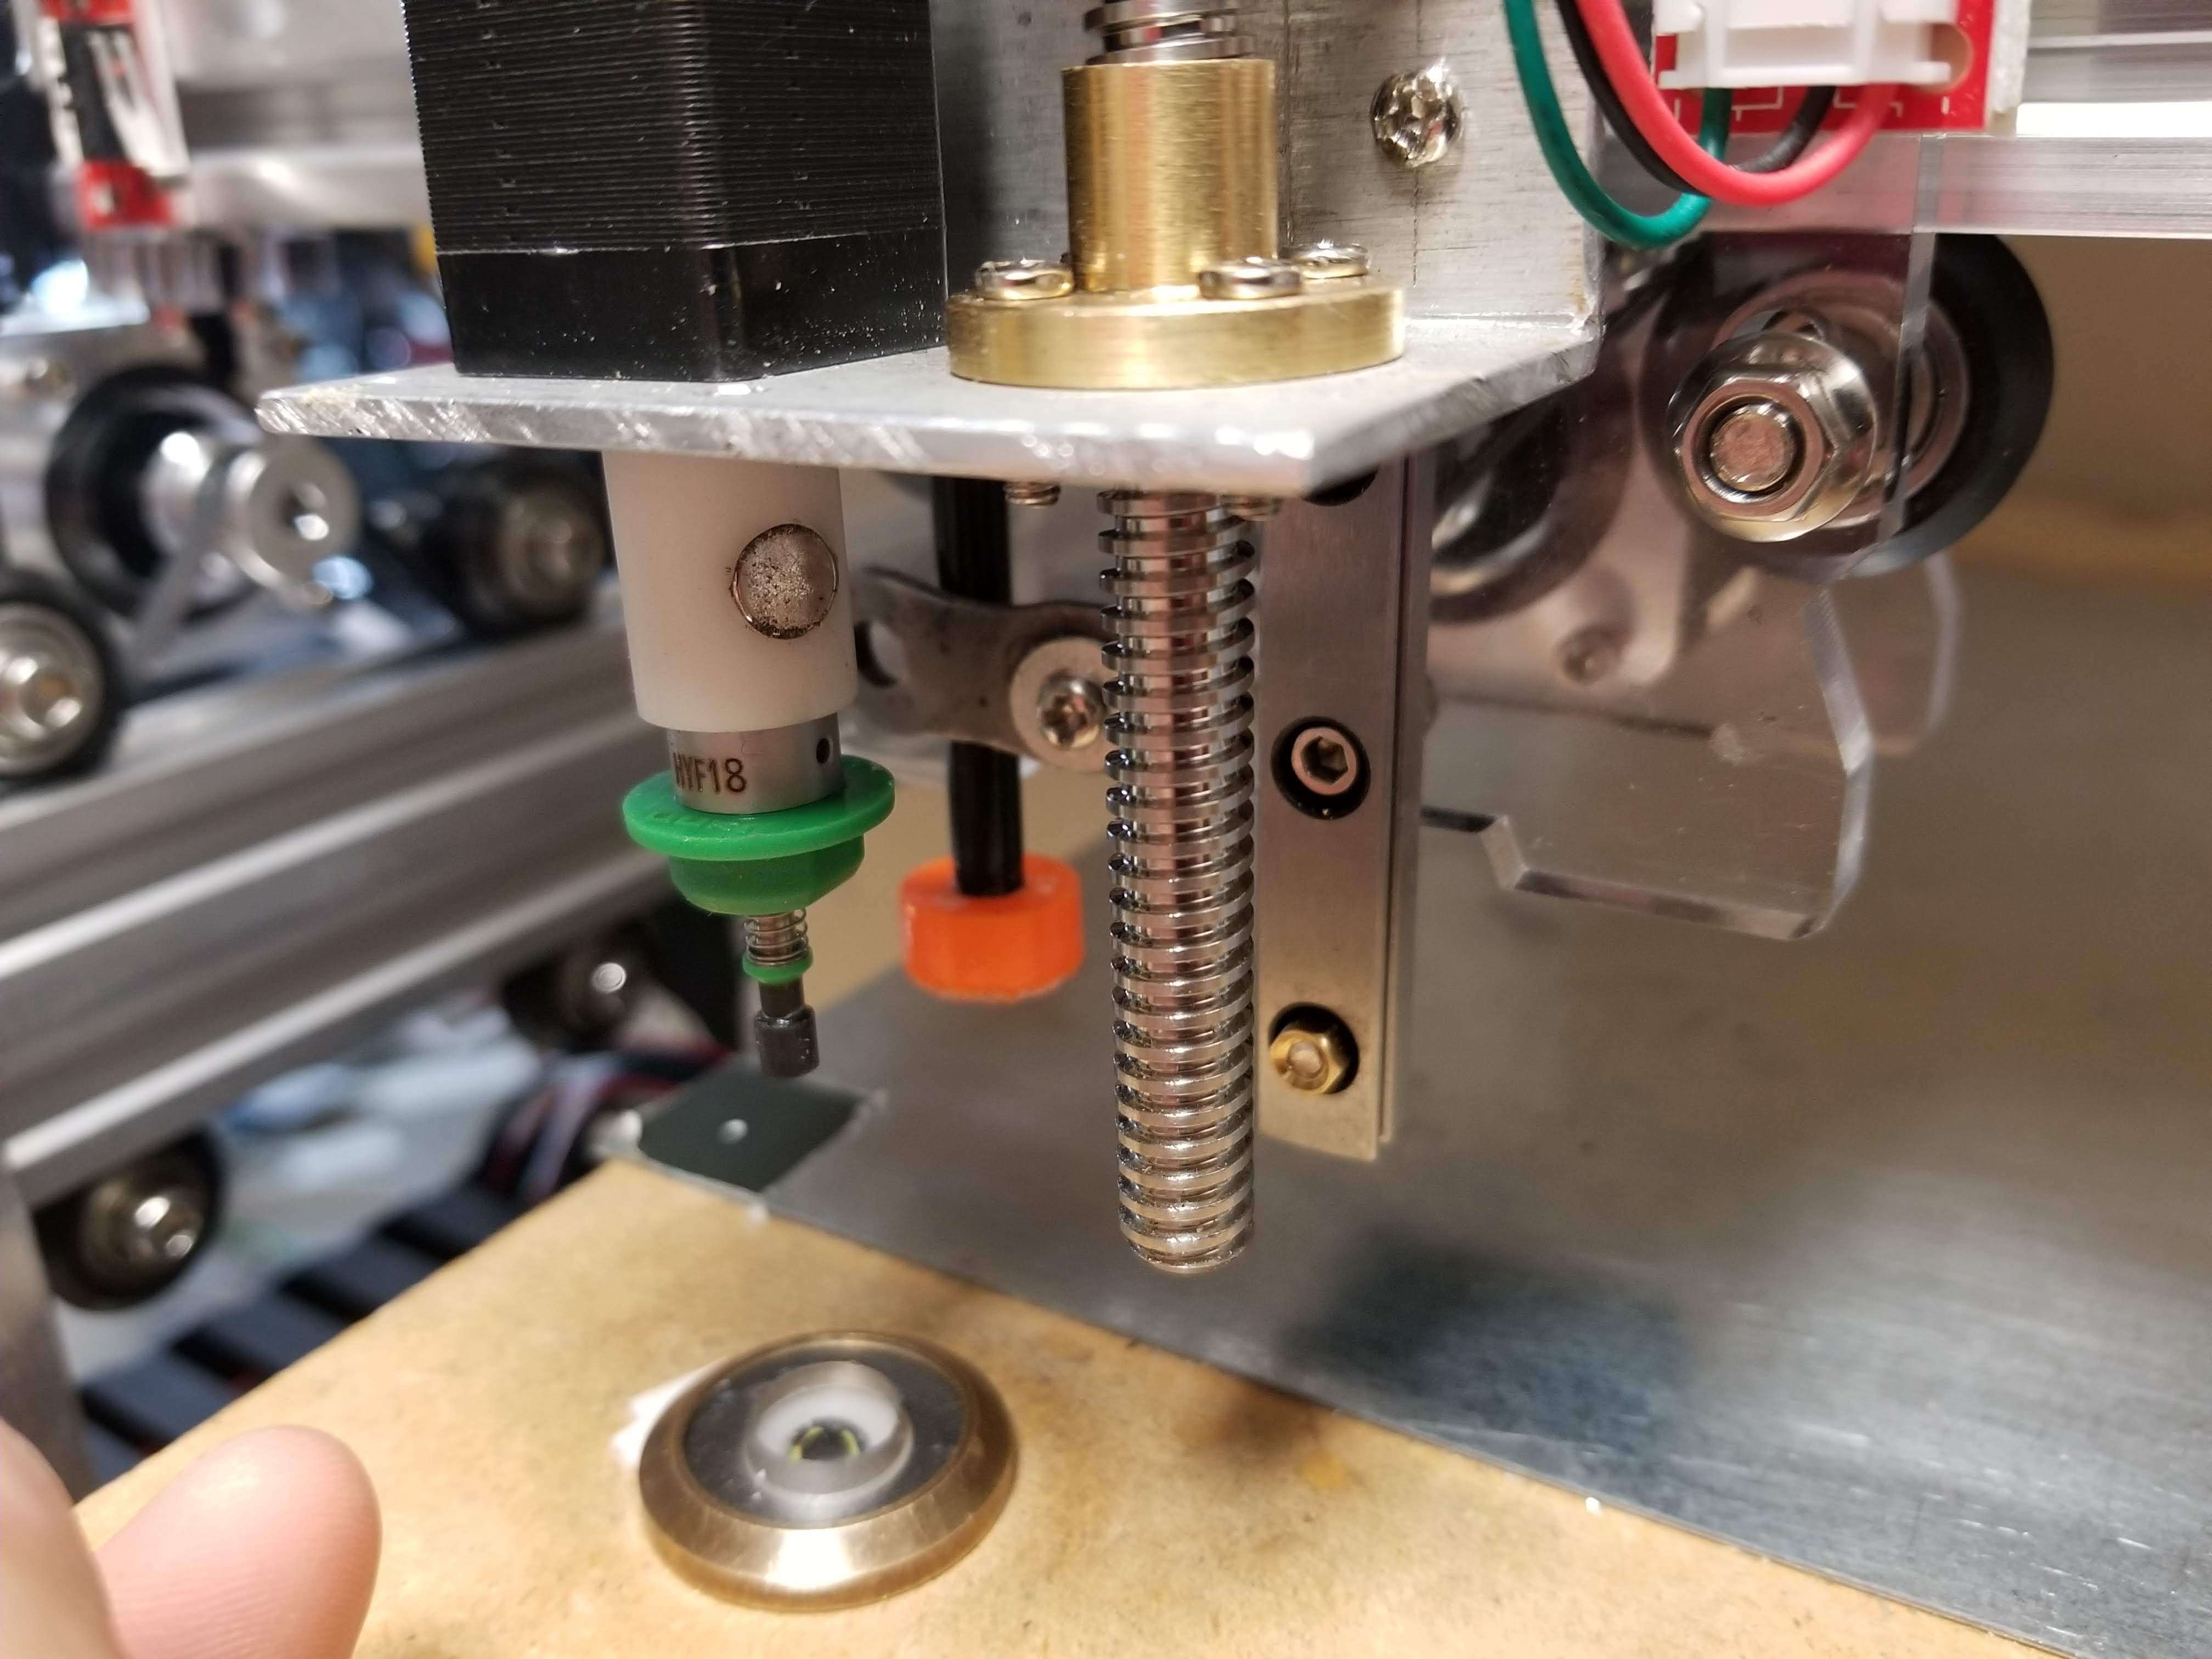
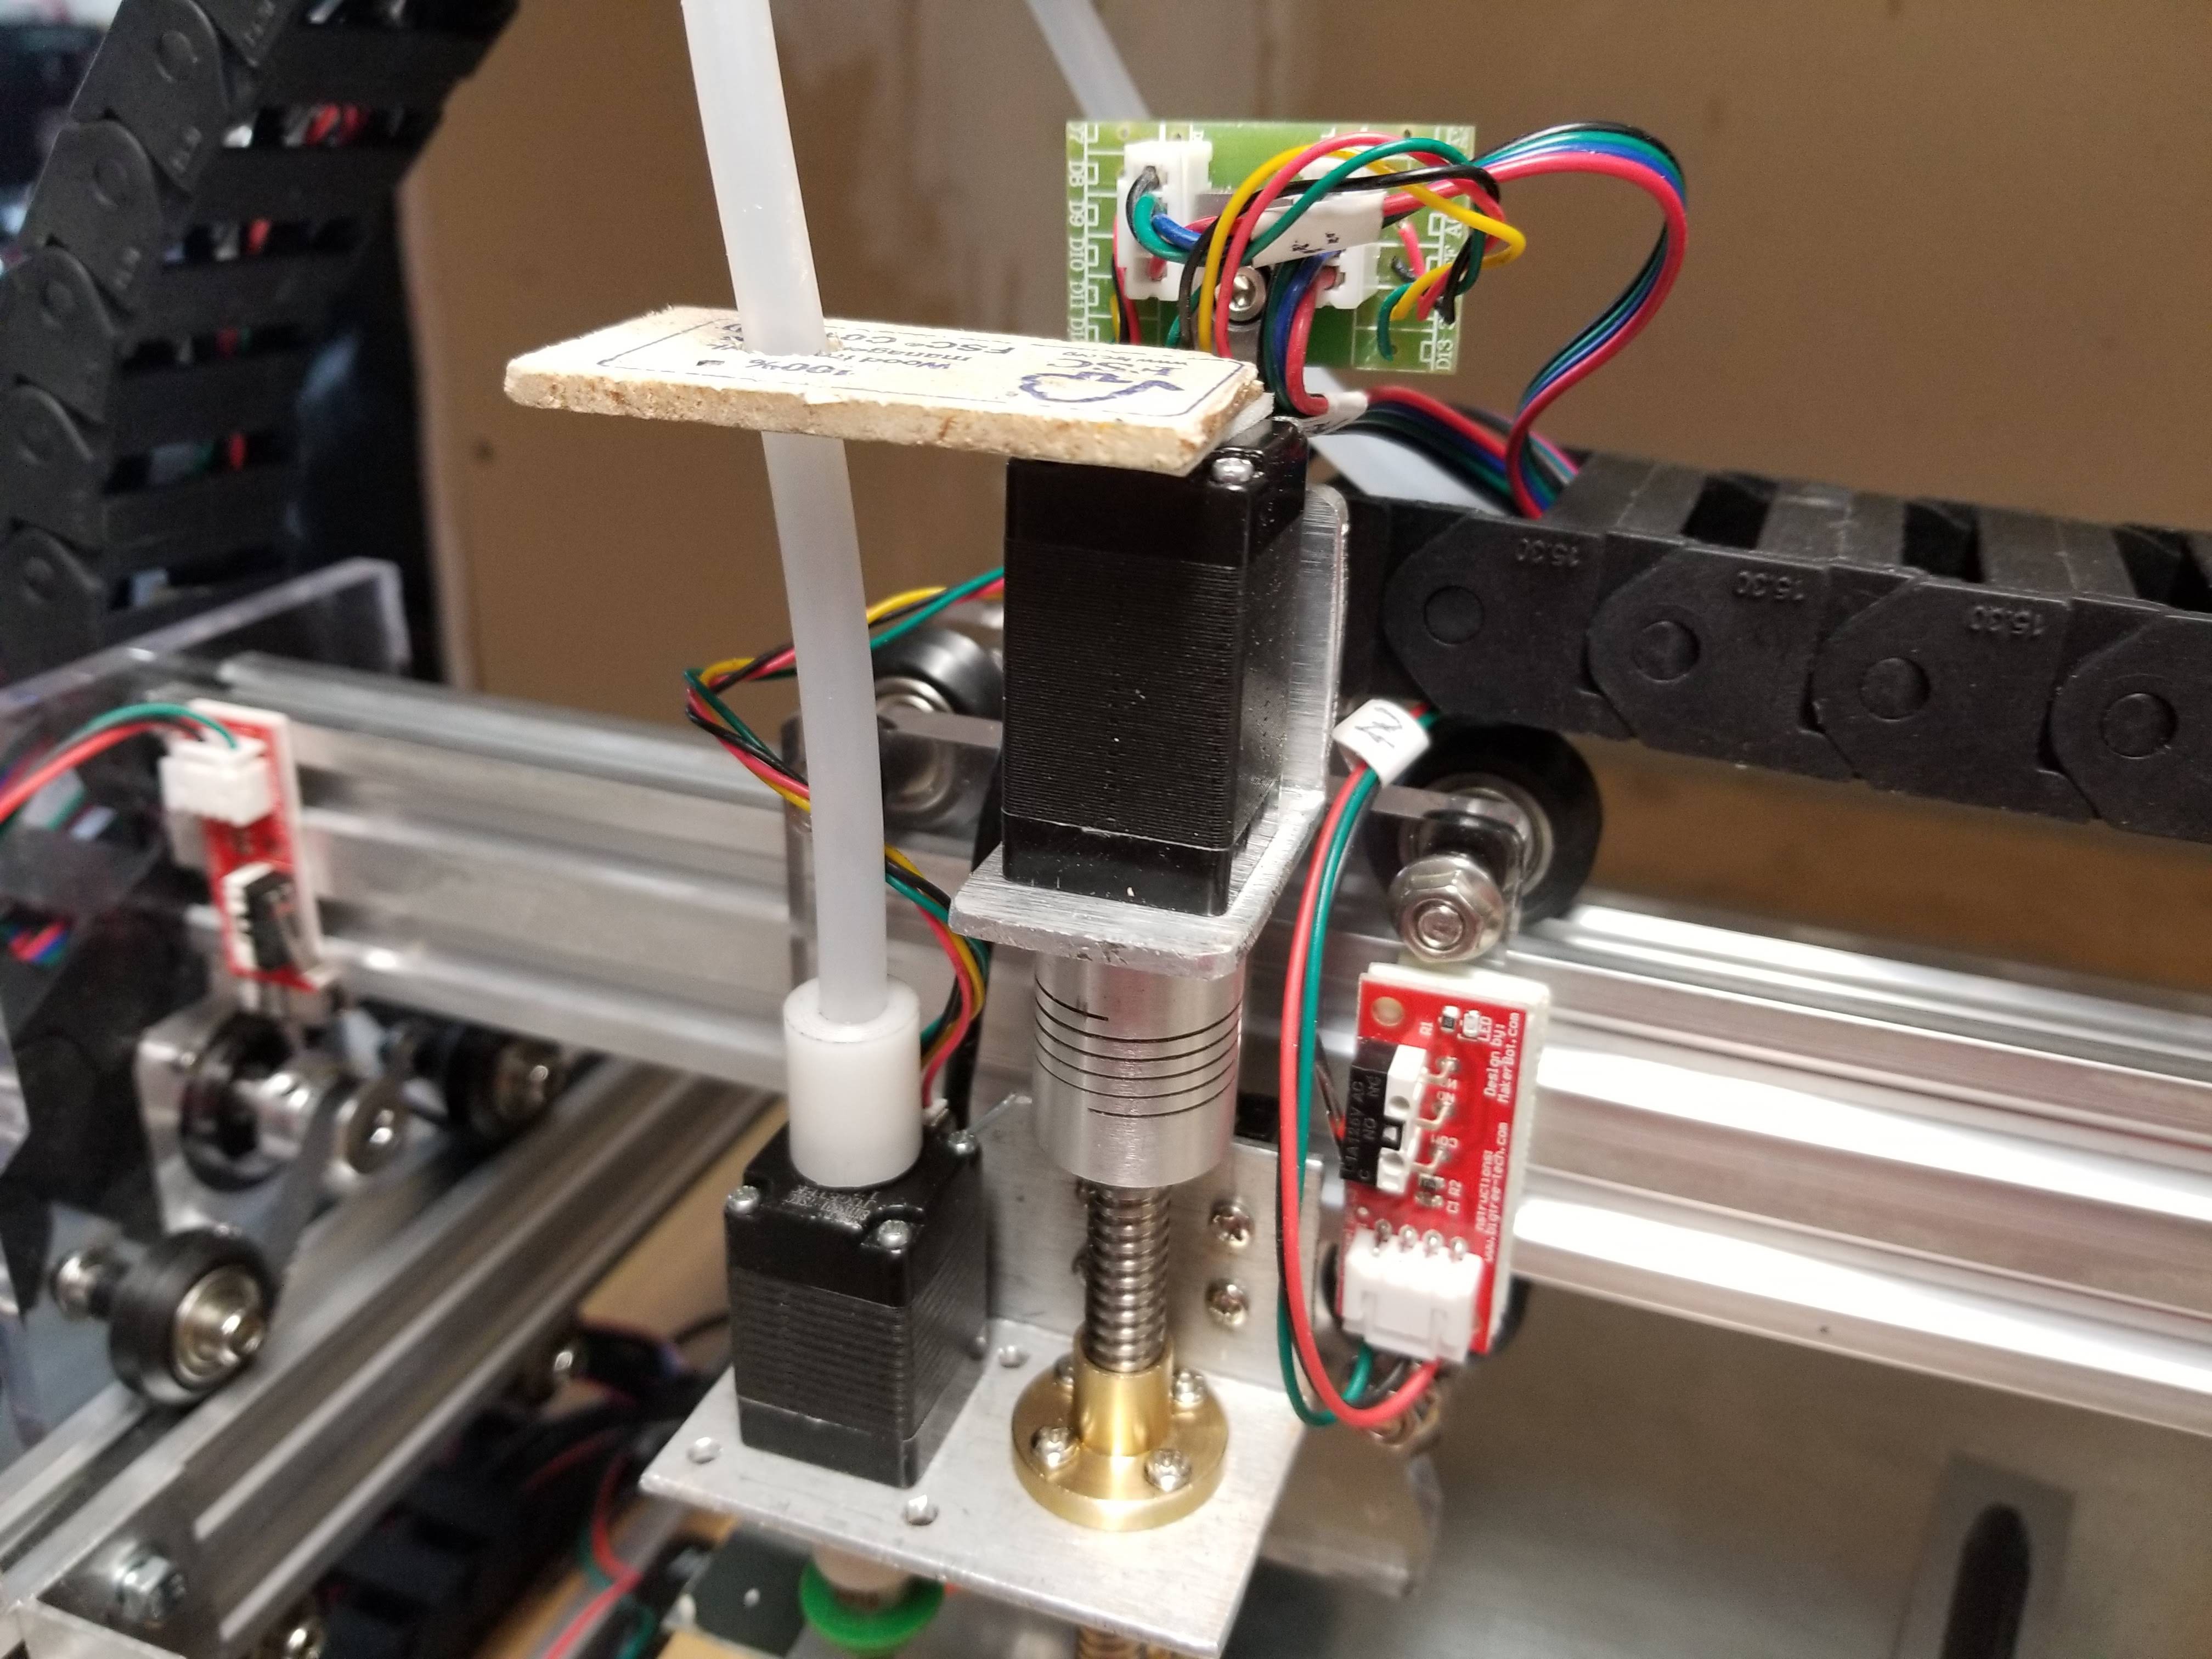
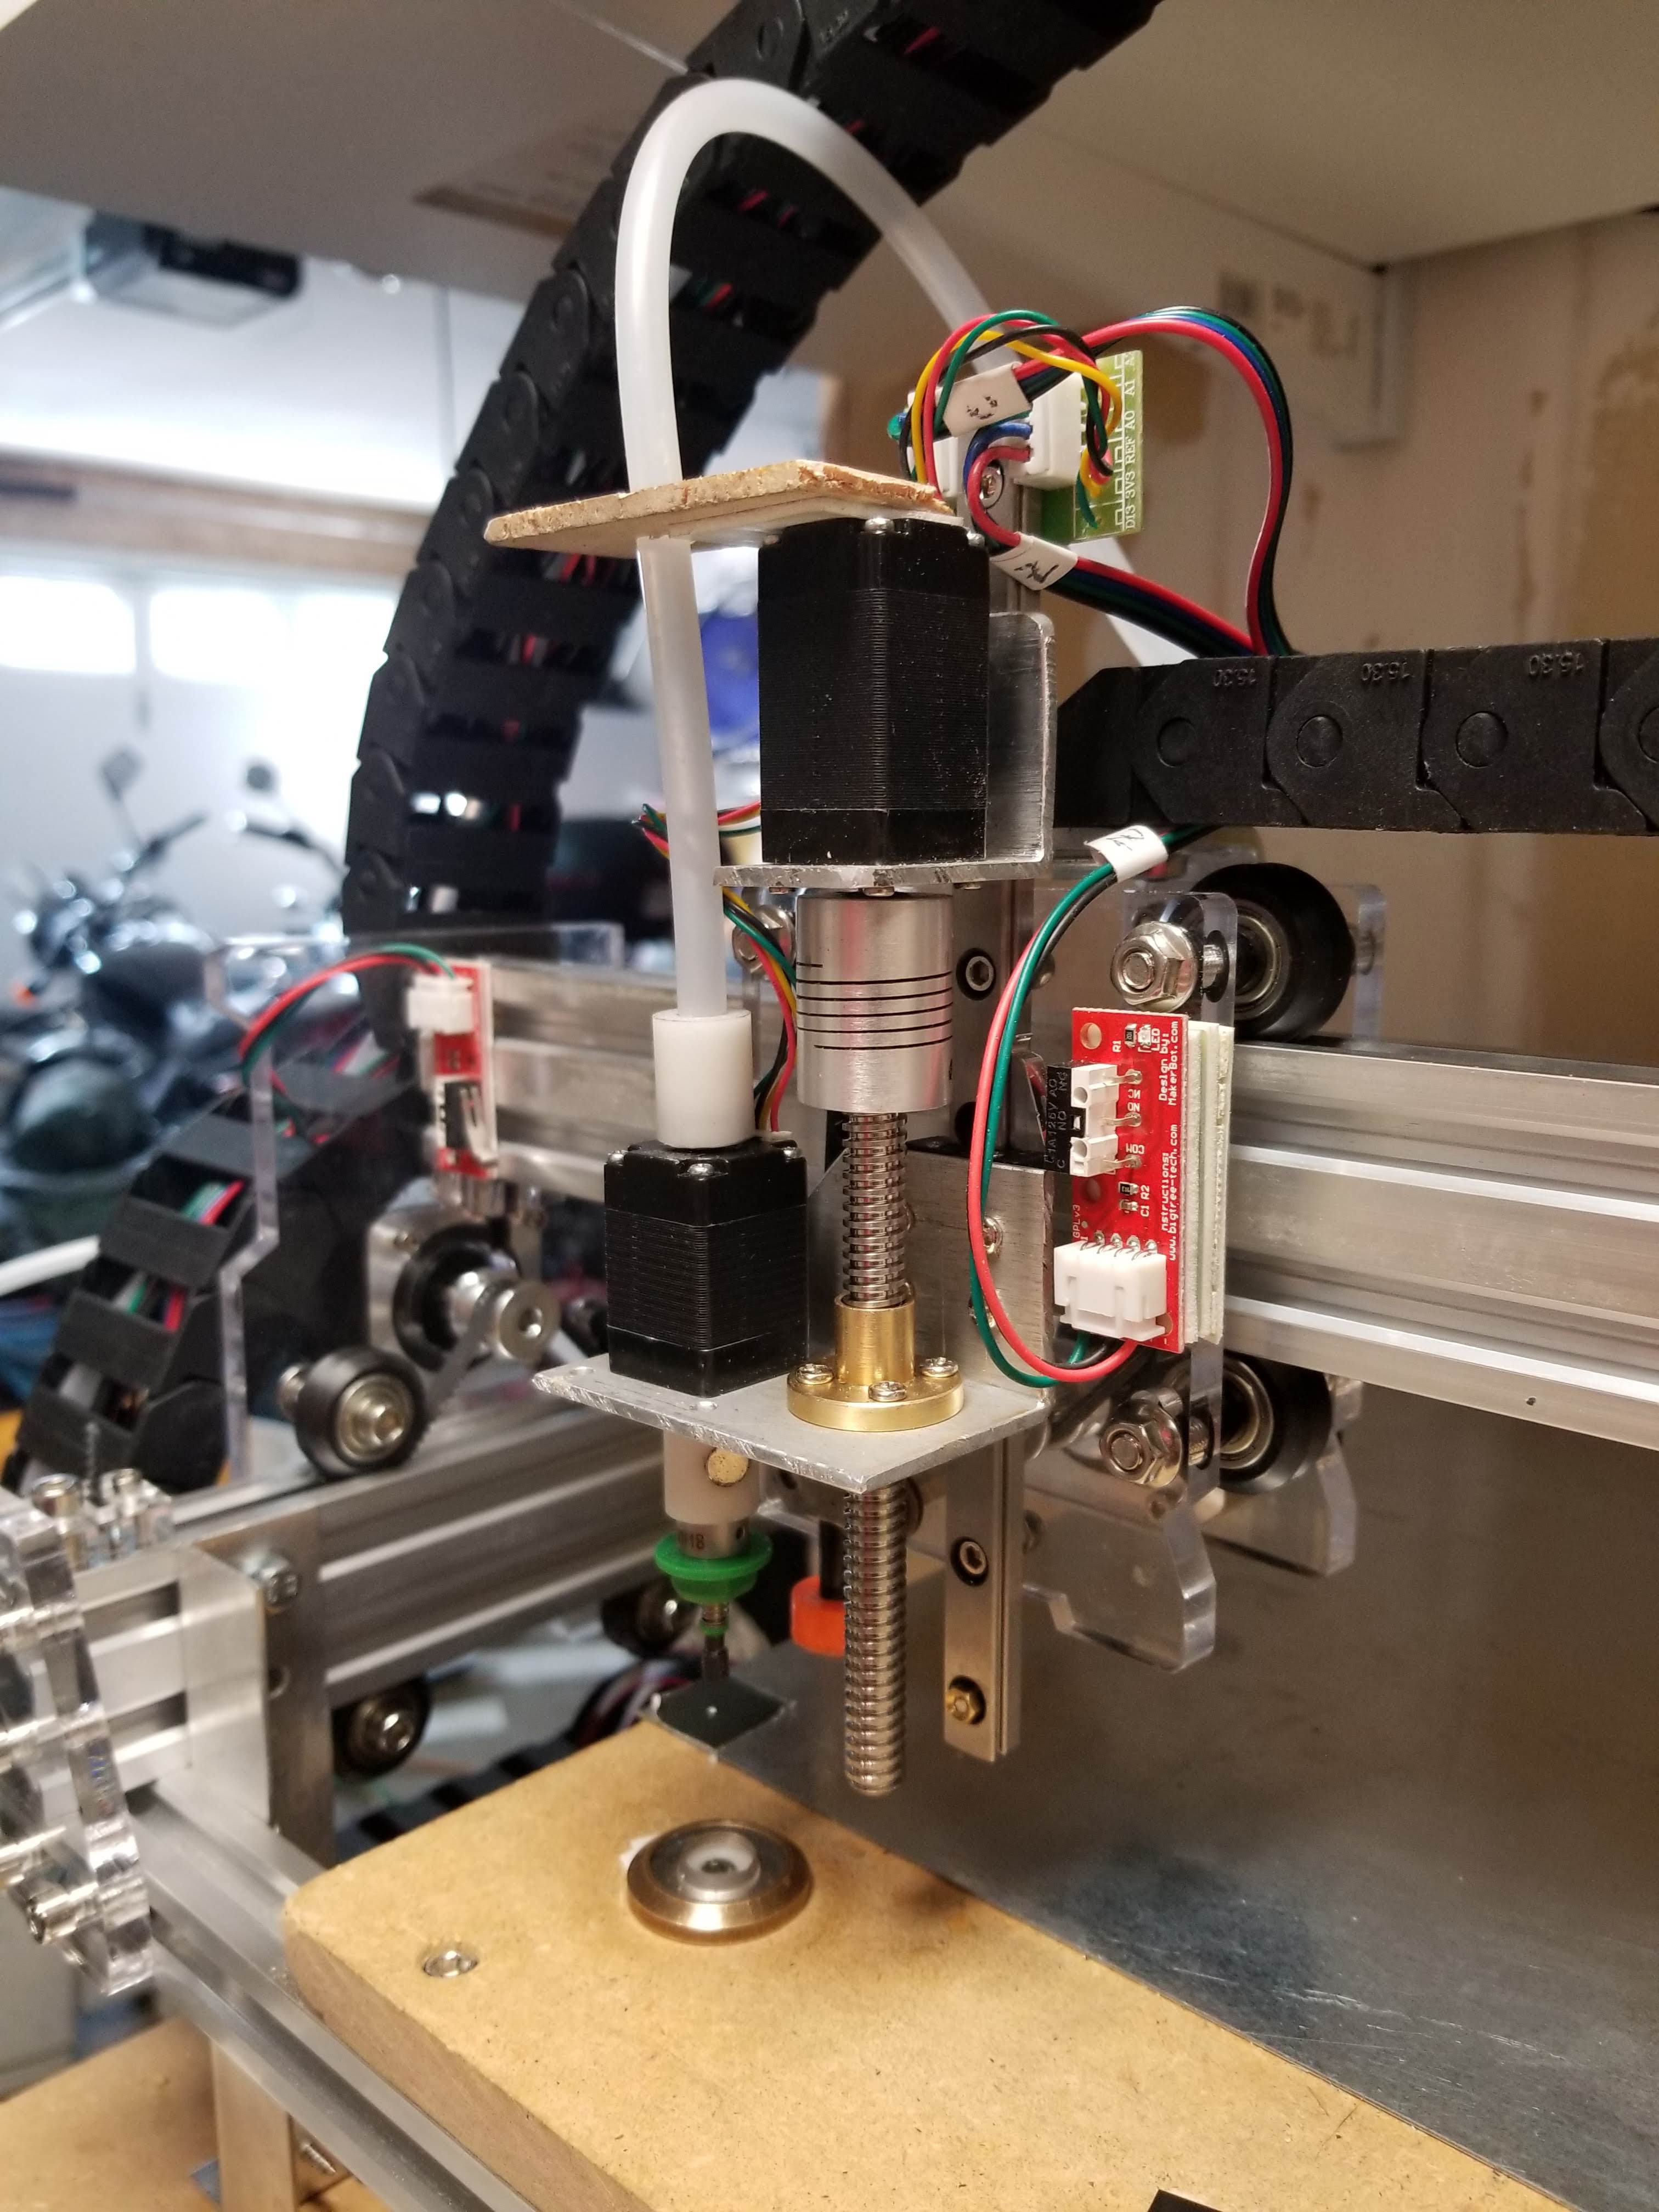
Many Updates Z, C, optical homing etc
11/18/2018 at 19:31 • 0 commentsOnce the second edition of the Z-slide arrived which included the carriage I have made a lot of progress.
- Z slide assembled and verified
- Installed homing switches - double sided tape
- Re-do of camera lenses
- Up camera mounted
- cable chain install - much wiring tidiness improvement
- learned about homing, visual homing etc
- learned about sub-driver config for C axis
- vacuum hose install, with swivel
I'll break out the details into the "instructions" sections. Here are some pictures.
![]()
![]()
![]()
-
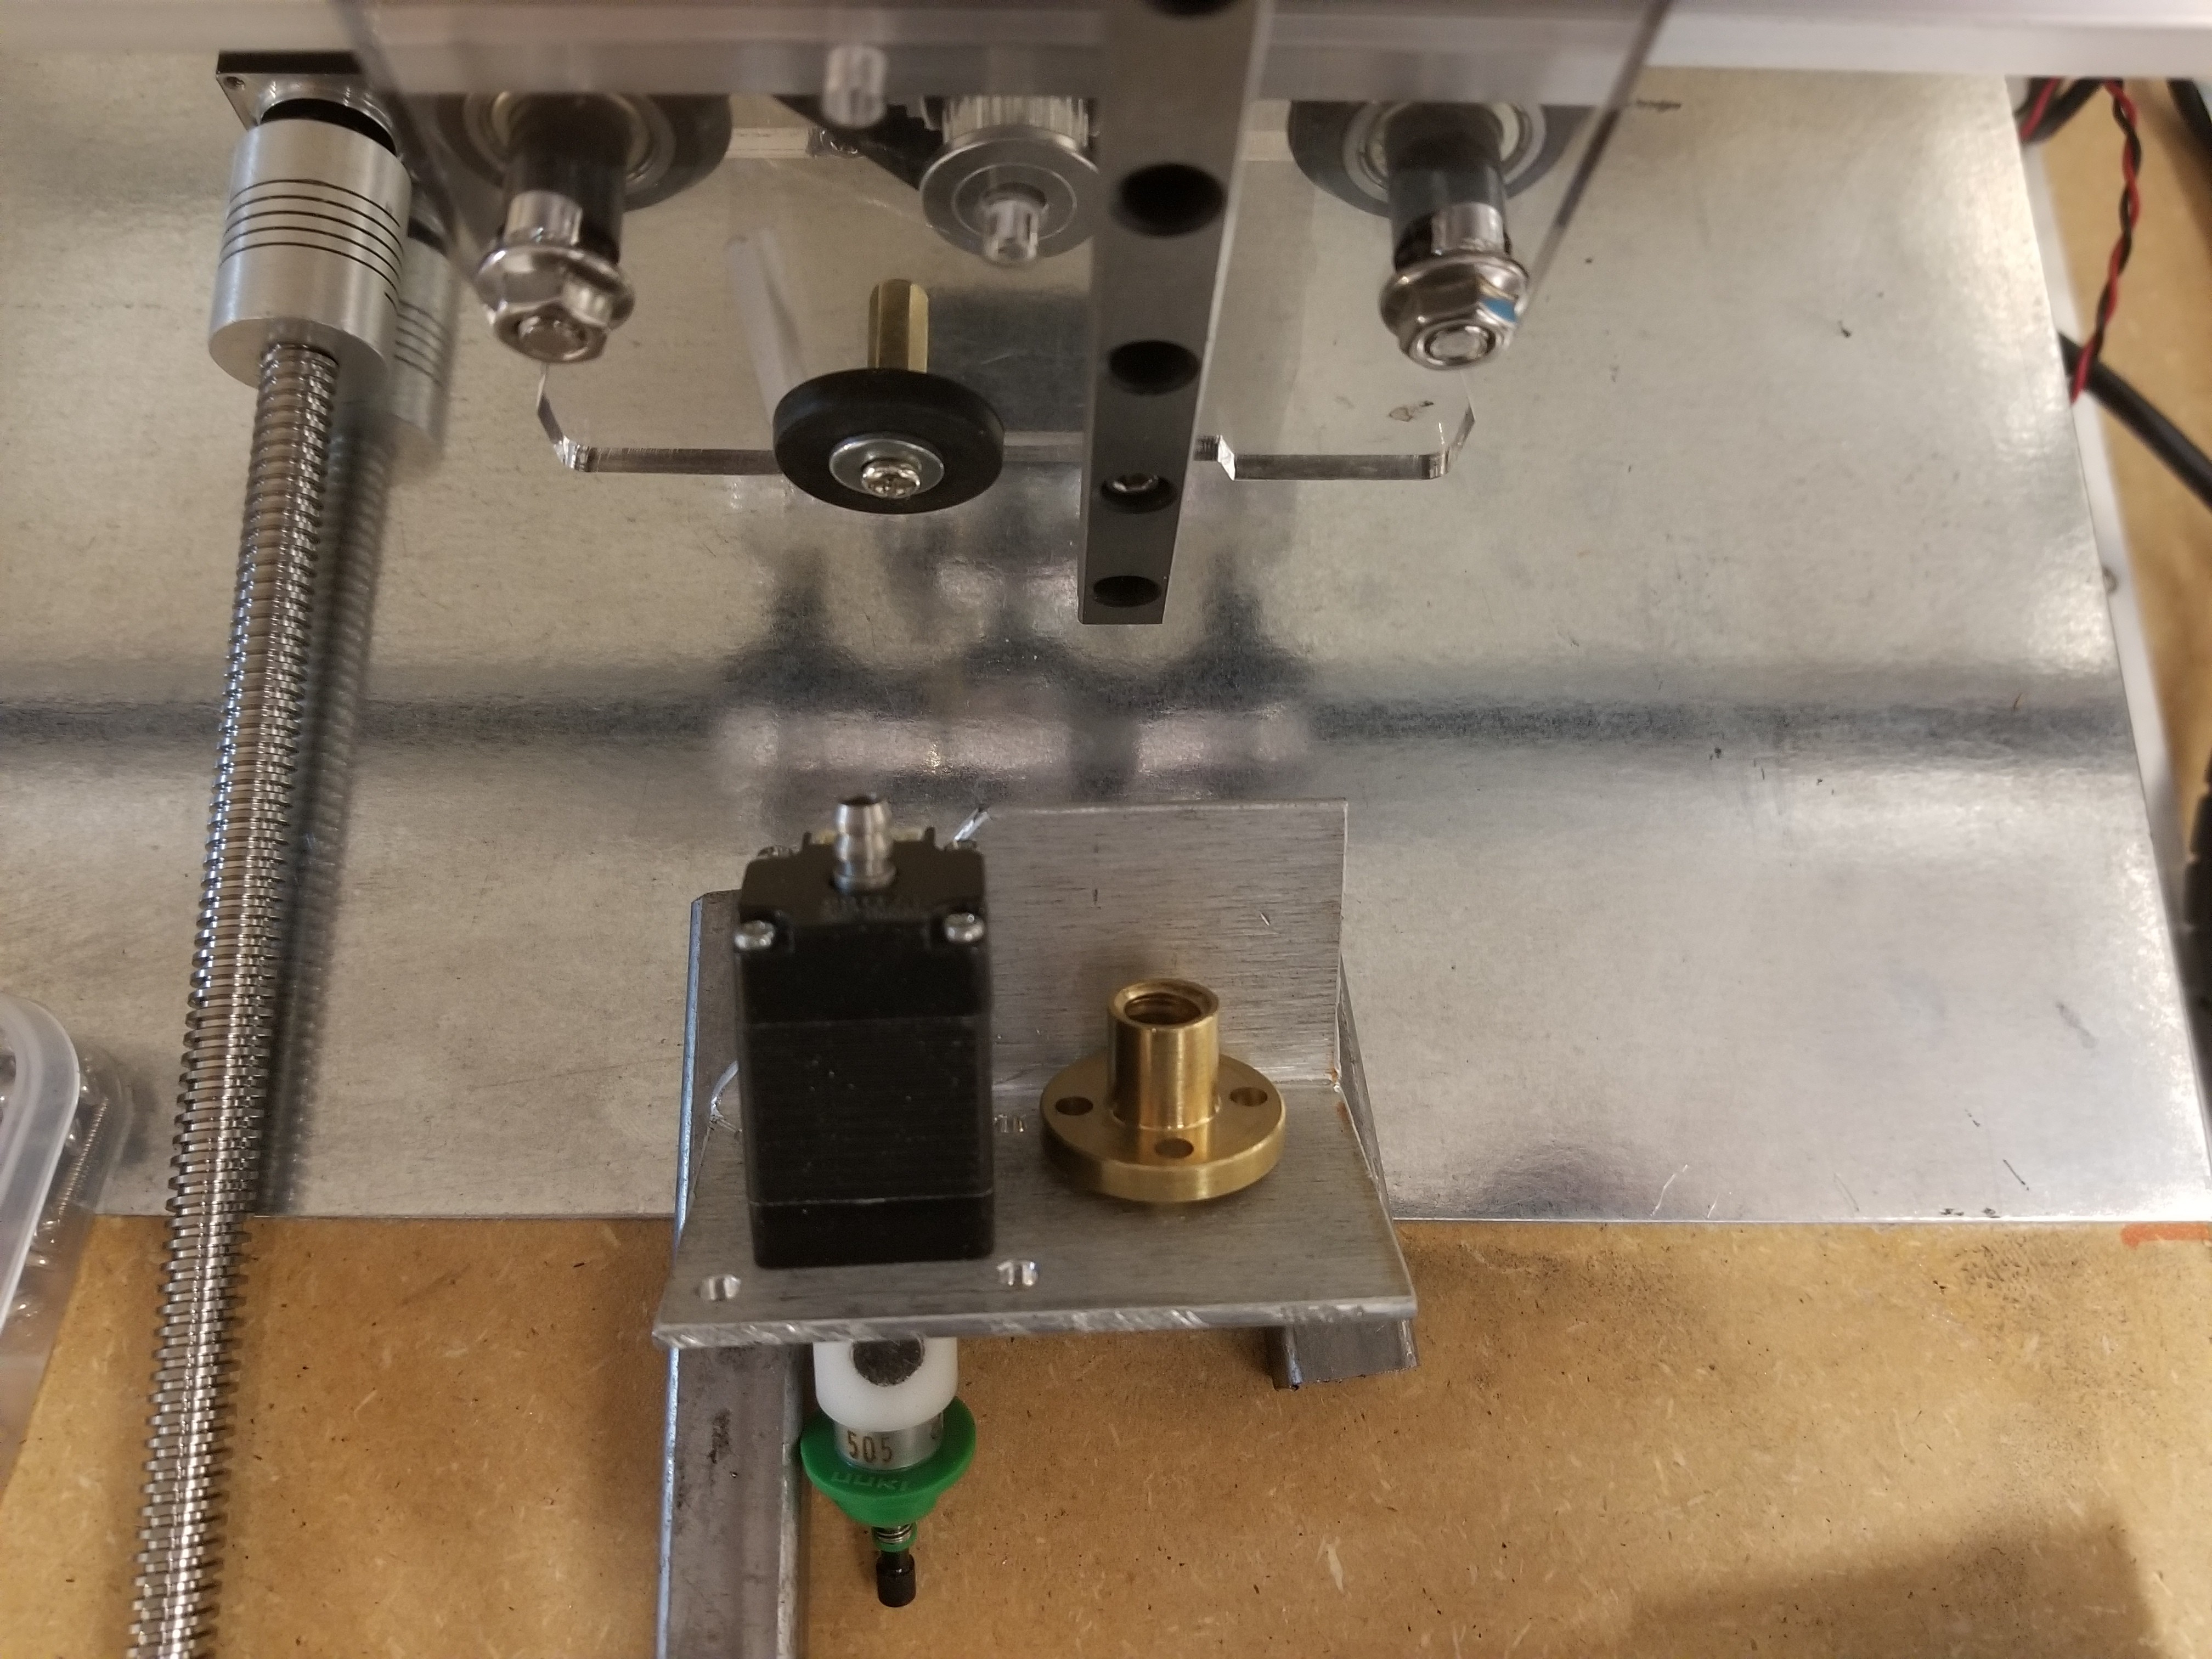
Z axis crafting
10/11/2018 at 05:01 • 0 commentsScrap datacenter aluminium adapted for Z bracket. My linear slide is missing a carriage at the moment so I'm limited on implementation here, but some fabrication can be done on tgis where the exact dimensions of the missing part do not impact.
The extra 3mm holes are for swapping the laser module back in.
![]()
Thrifty Pick and Place
Building a Pick and Place machine on the cheap, in a repeatable way.