Close
0%
0%

Thrifty Pick and Place

Building a Pick and Place machine on the cheap, in a repeatable way.

Public Chat
Similar projects worth following
My SMD boards for my Tindie store are so simple and low volume that tweezering components for a day can stock the store for months. However I only did that in the first place to learn the process, so why not build a PNP machine anyway? As I can't justify it for itself (yet), it needs to be low cost. That doesn't mean crappy. High volume low-cost products repurposed are probably a better option that random one-off hacks.

Here's my initial thoughts.

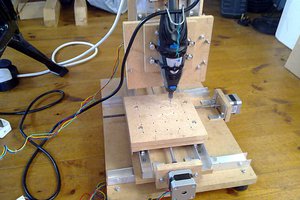
Start with a low cost gantry type X-Y system - specifically the EleksMaker® EleksLaser-A3 Pro These are often on sale at Banggood, and are a complete laser engraver system, so it justifies itself for that, and can switch between engraver and PNP.

Features/wants:

1) OpenPNP compatible
2) X,Y,Z and C axes
2) Single head, with autochange nozzles
3) top and bottom cameras
4) 0603 placement (low bar)

I'll break out specific component details into build instructions and use project logs as a calendar of progress. 

The base system is the EleksMaker® EleksLaser-A3 Pro 2500mW Laser Engraving Machine which was on sale at banggood.com for $190. There is a version without the laser for $40 less, and the laser itself is $120. Seeing this bargain price triggered me to finally actually do this. Getting it with the laser means that if I don't get the PNP working (or useful) I still have a laser engraver to play with.

Current status is 4 axis functional with a vacuum hose attached, and visual homing worked out - also up and down cameras done.

Currently working on back end wiring stuff - wall-wart elimination - fuses - emergency stop.

  • First board place

    Alastair Young02/11/2019 at 08:08 0 comments

    Clearly not good enough, but is a learning step. I think a lot of the offset is related to nozzle run-out. It seems to me that if the process did the final rotation over the camera, the runout would be moot. I will see if the forum has any input on that.

    Other problems encountered:

    • 0603s intermittently not letting go the nozzle. I hope that with solder paste they will stick to the board.
    • Double sided tape not reliably sticky to hold down strips.
    • the two chips are rotated 90 degrees in the strips.

  • Nozzle Rack

    Alastair Young01/22/2019 at 16:26 0 comments

    Cobbled up a nozzle rack from aluminum angle. 

  • First Pick!

    Alastair Young01/06/2019 at 07:22 0 comments

    See the comments on the video. There's a lot not working here, but it does pick and it does place.

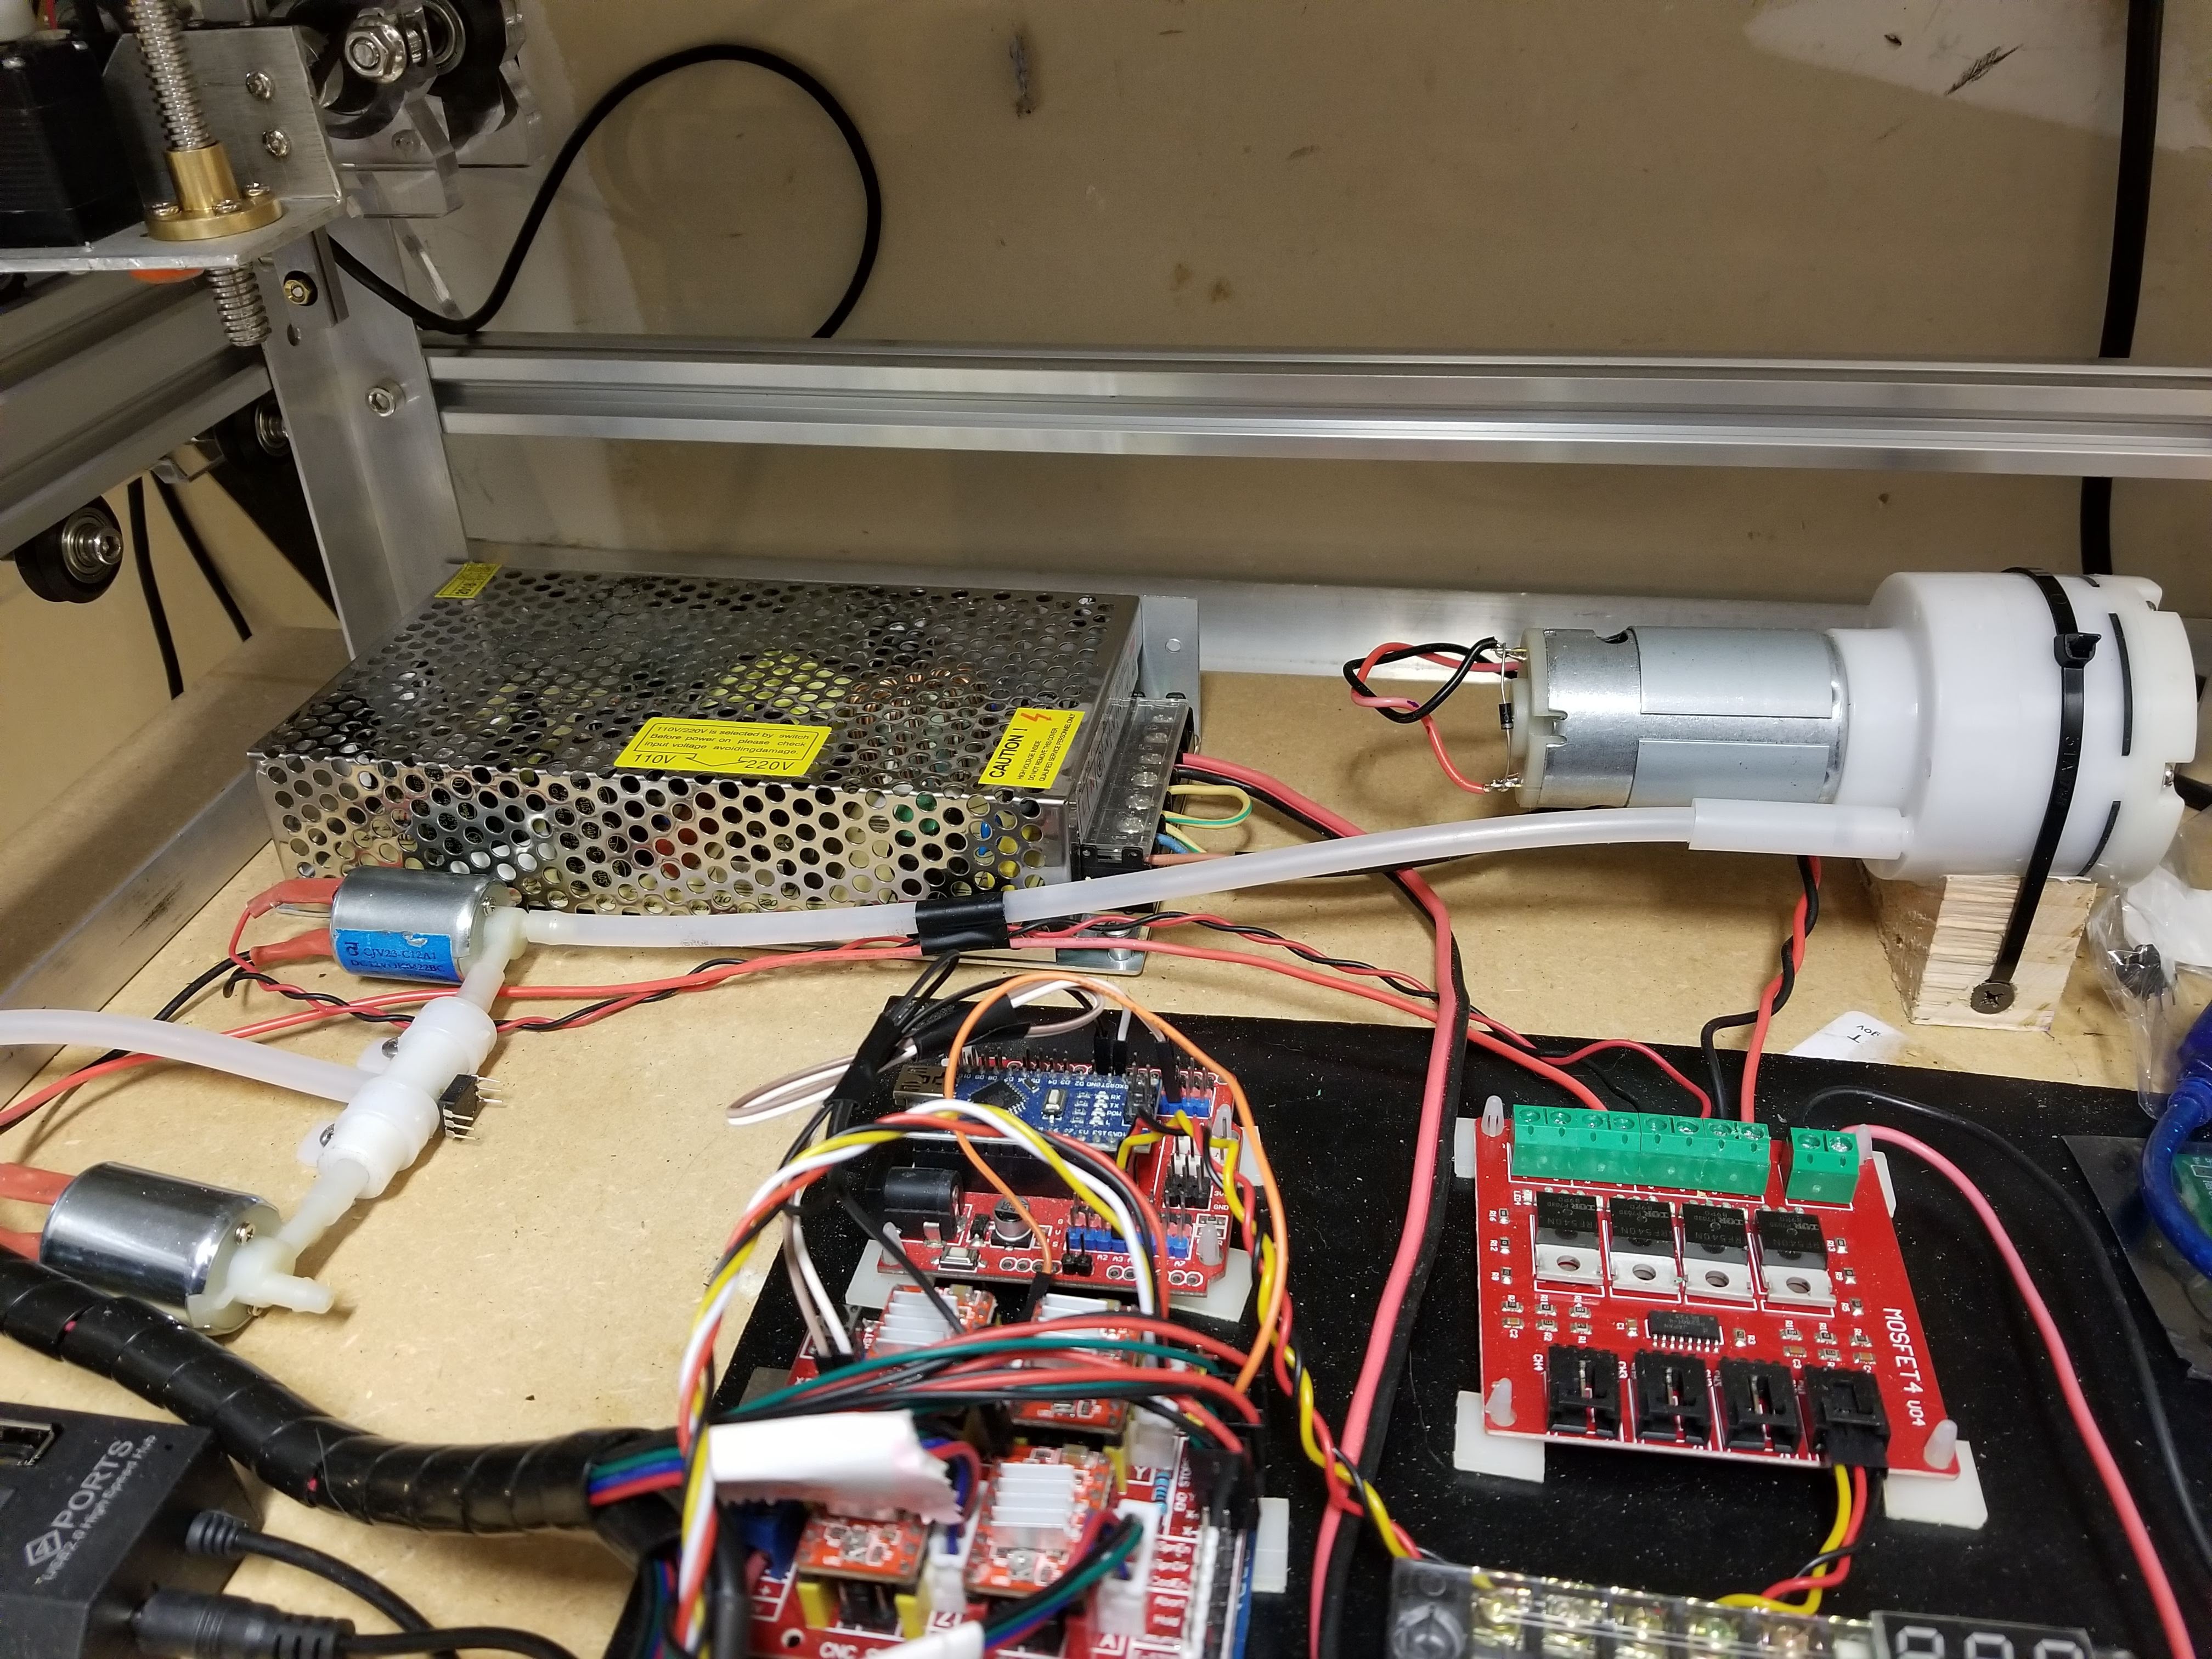
    A big hindrance here was that as soon as the pump was enabled the second arduino - configured to run the 4th axis and the lights - lost serial connectivity. This seems to be some kind of EMI. After a lot of trial and error I got past this by moving the pump to its own power supply and adding a 0.1uF cap between + and the motor casing and grounding the casing. 

    Tuning and tweaking then commenced and a lot of fiddling around with the vision pipelines and I eventually got it reliably placing the SOIC-16 almost right. Rotation was still slightly random - in spite of the logs showing the vision to be happy. Then I noticed that when the pump was running, the nozzle was intermittently rotating slowly clockwise. I'm pretty sure this is the motor EMI again. The step and direction signals for the 4th axis take a several inch leap from one board to the other and probably make a great antenna. So the next step is to wrap the motor in grounded aluminum foil and if that doesn't work it is coming out of the case and being placed far away at the end of a tube.

    Other snippets of learning:

    • grbl responds immediately with an ok even if it has not yet finished moving. So the imaging was happening before the part was in front of the camera and the lights were flashing on and off way too fast. This is fixed with a "dwell" putting G4P0 on the end of the move G-code and a G4P1 after the "lights on" G-code
    • I edited the default lighting scripts to remove the "turn the other one off before we turn this one on" logic as I am using the coolant control pins which are M7/M8 for on but a shared M9 for off.
    • grbl homing is oddly broken where it wasn't before - it seems like the x-limit is triggering randomly. more EMI?
    • default vision pipelines don't work at all with my cameras and SOIC-16 parts.

  • Vacuum Network

    Alastair Young12/30/2018 at 02:10 0 comments

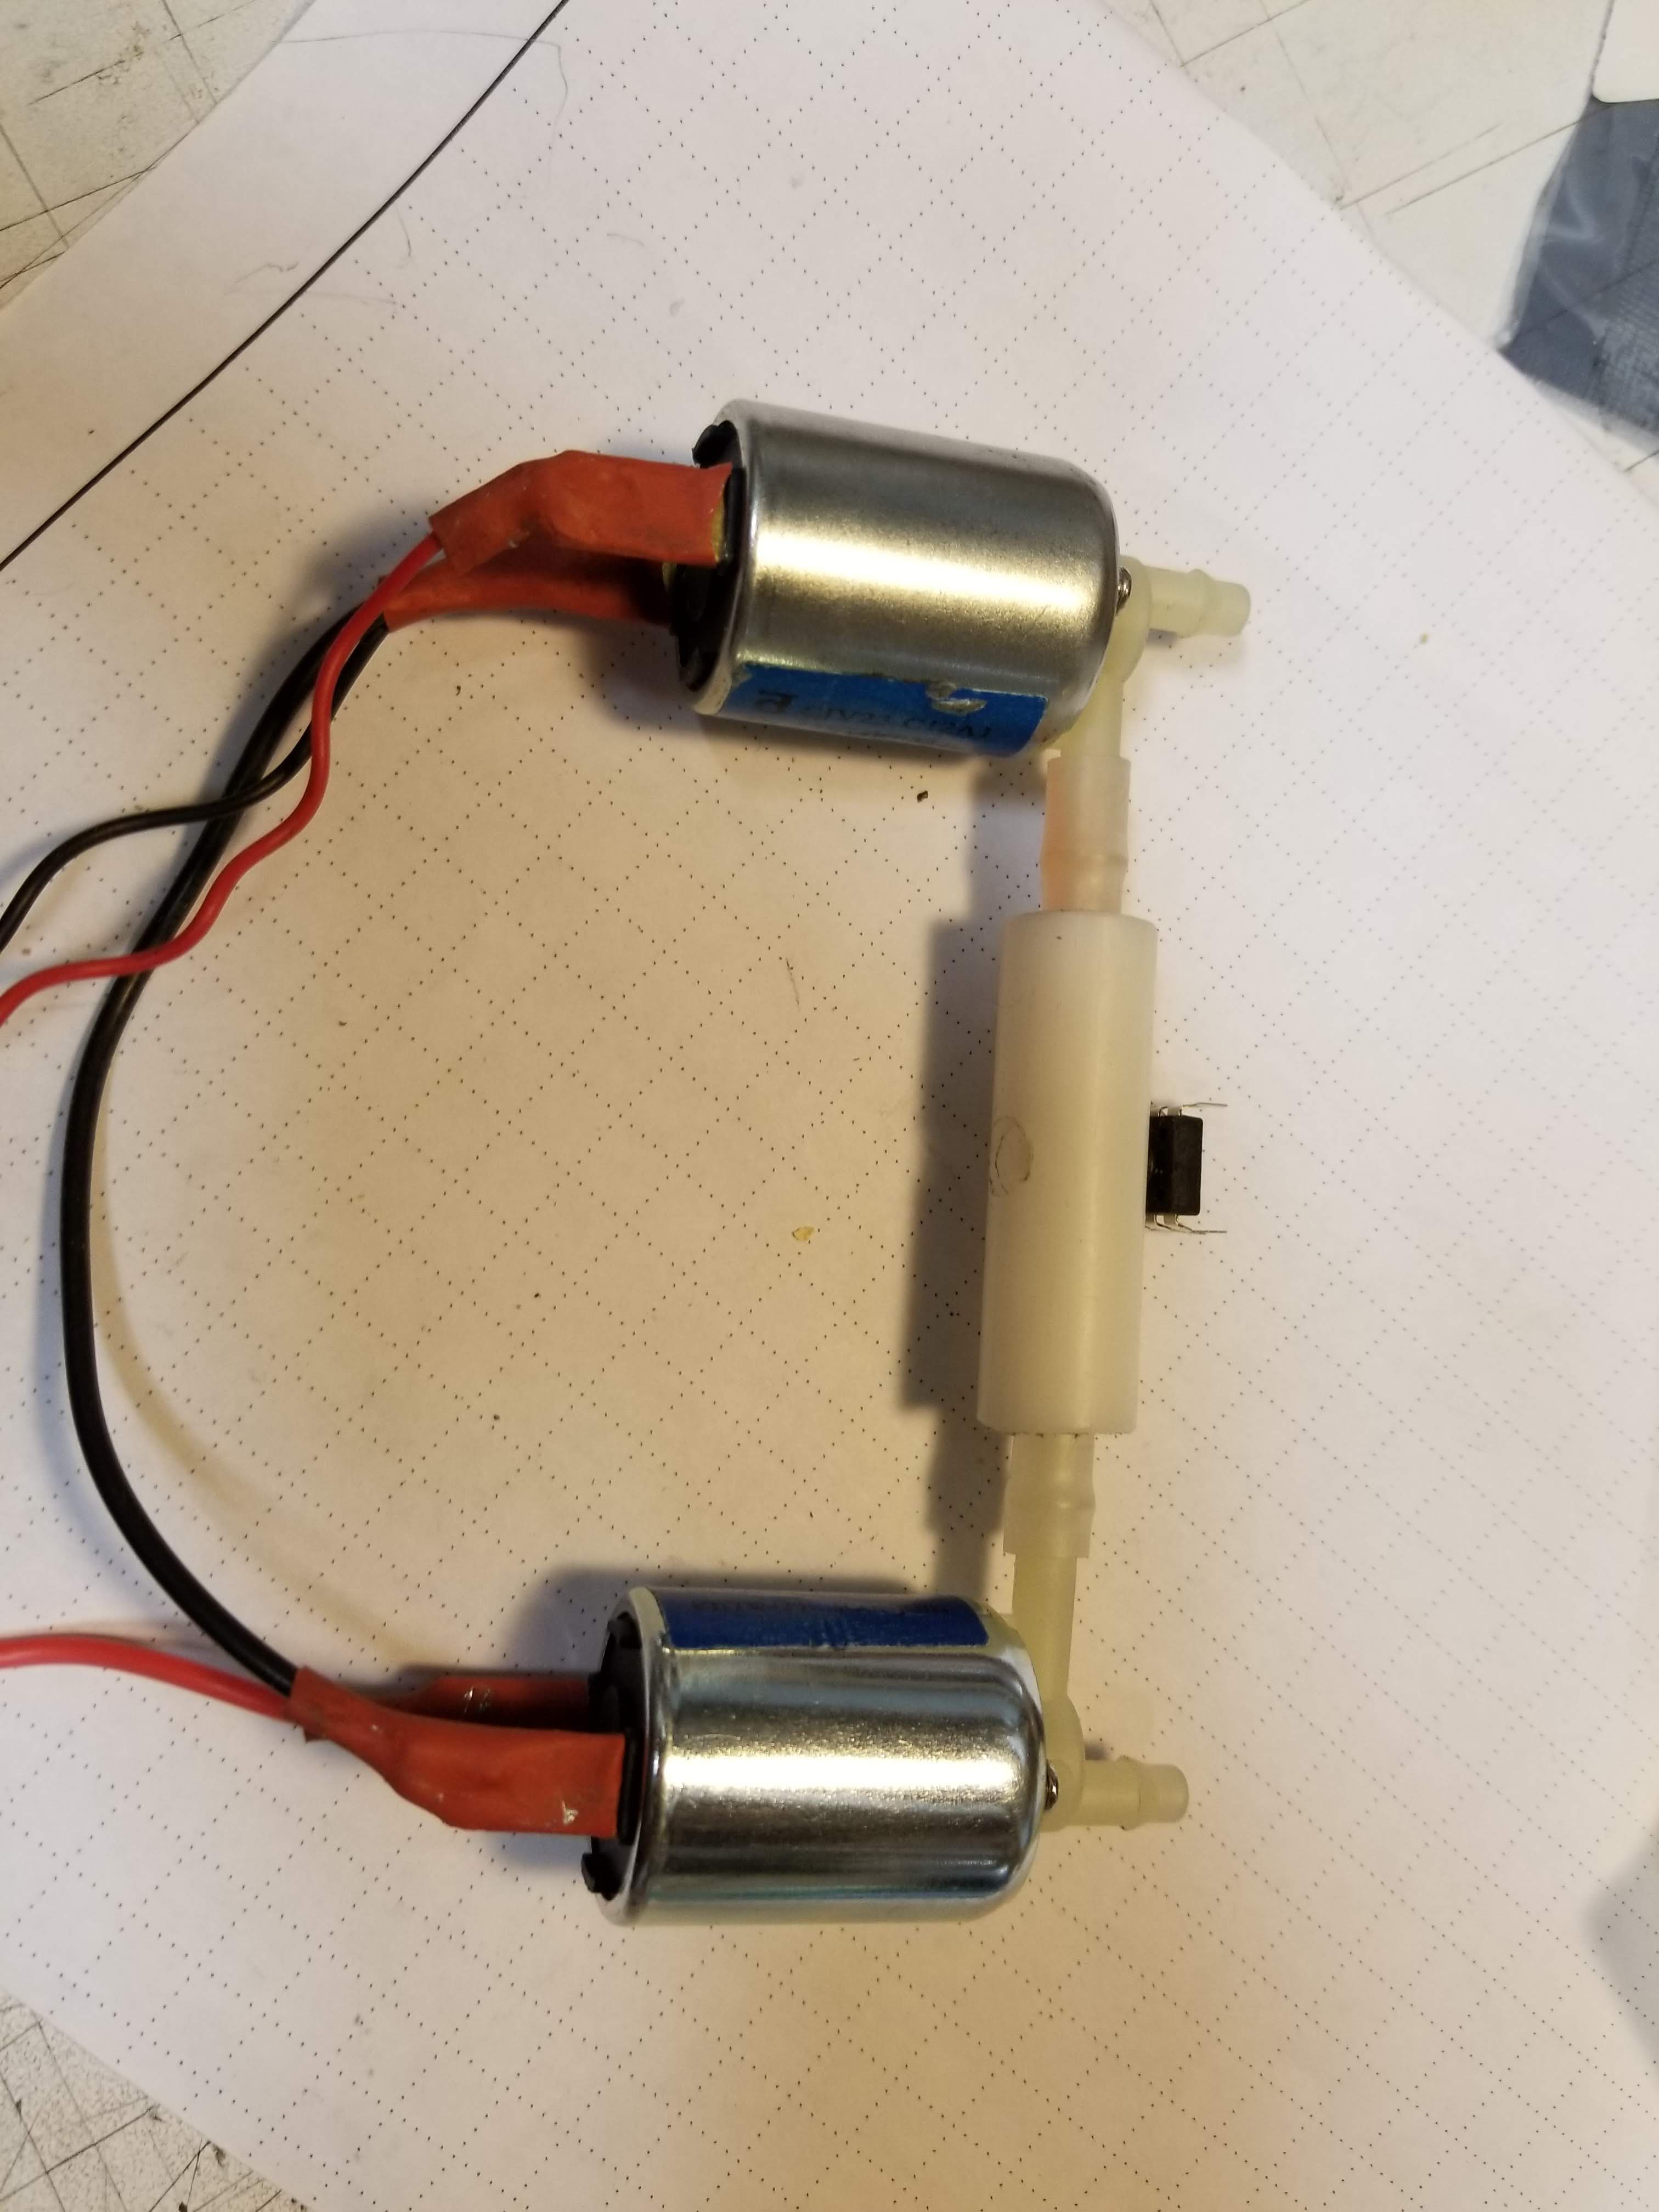
    This took a long time to get around to, but ended up being very simple. The magic gubbins is a manifold made from a short piece of the 1/2" delrin left over from the nozzle holder work. It is drilled lengthways to a size which is a stiff push fit for the 1/4" tubing. There is a side hole in the center the same size to feed to the head. There is a small hole opposite this which is a tight push fit for the sensor. This is stuffed in there to stop the hole for now - it is not wired up. 

    The solenoids are 12 from American Science and Surplus and were 10 for $10. 

    Pump is from robotdigg,  $10.80 + shipping

    Sensor is from banggood, $3.76 for three....

    Tubing was closeout sale stock from Orchard Supply Hardware.

    Mounting bracket is a piece of carved 2x4 pine/redwood, 3 drywall screws and 2 cable ties. 

    This setup is untested. I'll have a go without the sensor at first as I think it will take some software fettling.

  • Look down, look down...

    Alastair Young12/04/2018 at 05:47 0 comments

    The 7mm by 5m camera is installed. It is still 640x480 and seems to have the same GEMBIRD USB interface. The "documentation" says 1024x768 (PC only), but lsusb -v shows no such option.

    Next up will be mountings for the vacuum system.

  • Don't look down....

    Alastair Young11/28/2018 at 00:35 0 comments

    The down camera is also smoked. Ordered a $10 replacement - this is a 7mm one with a 5m cable. Seems to go to 1024x768 and the longer cable will help - the old one barely made it out of the cable chain. 5m shoul dbe able to do that and follow the USB cable over to the laptop - I have to run two cables anyway because of the the camera dumbness.

  • Wiring oops...

    Alastair Young11/26/2018 at 02:54 0 comments

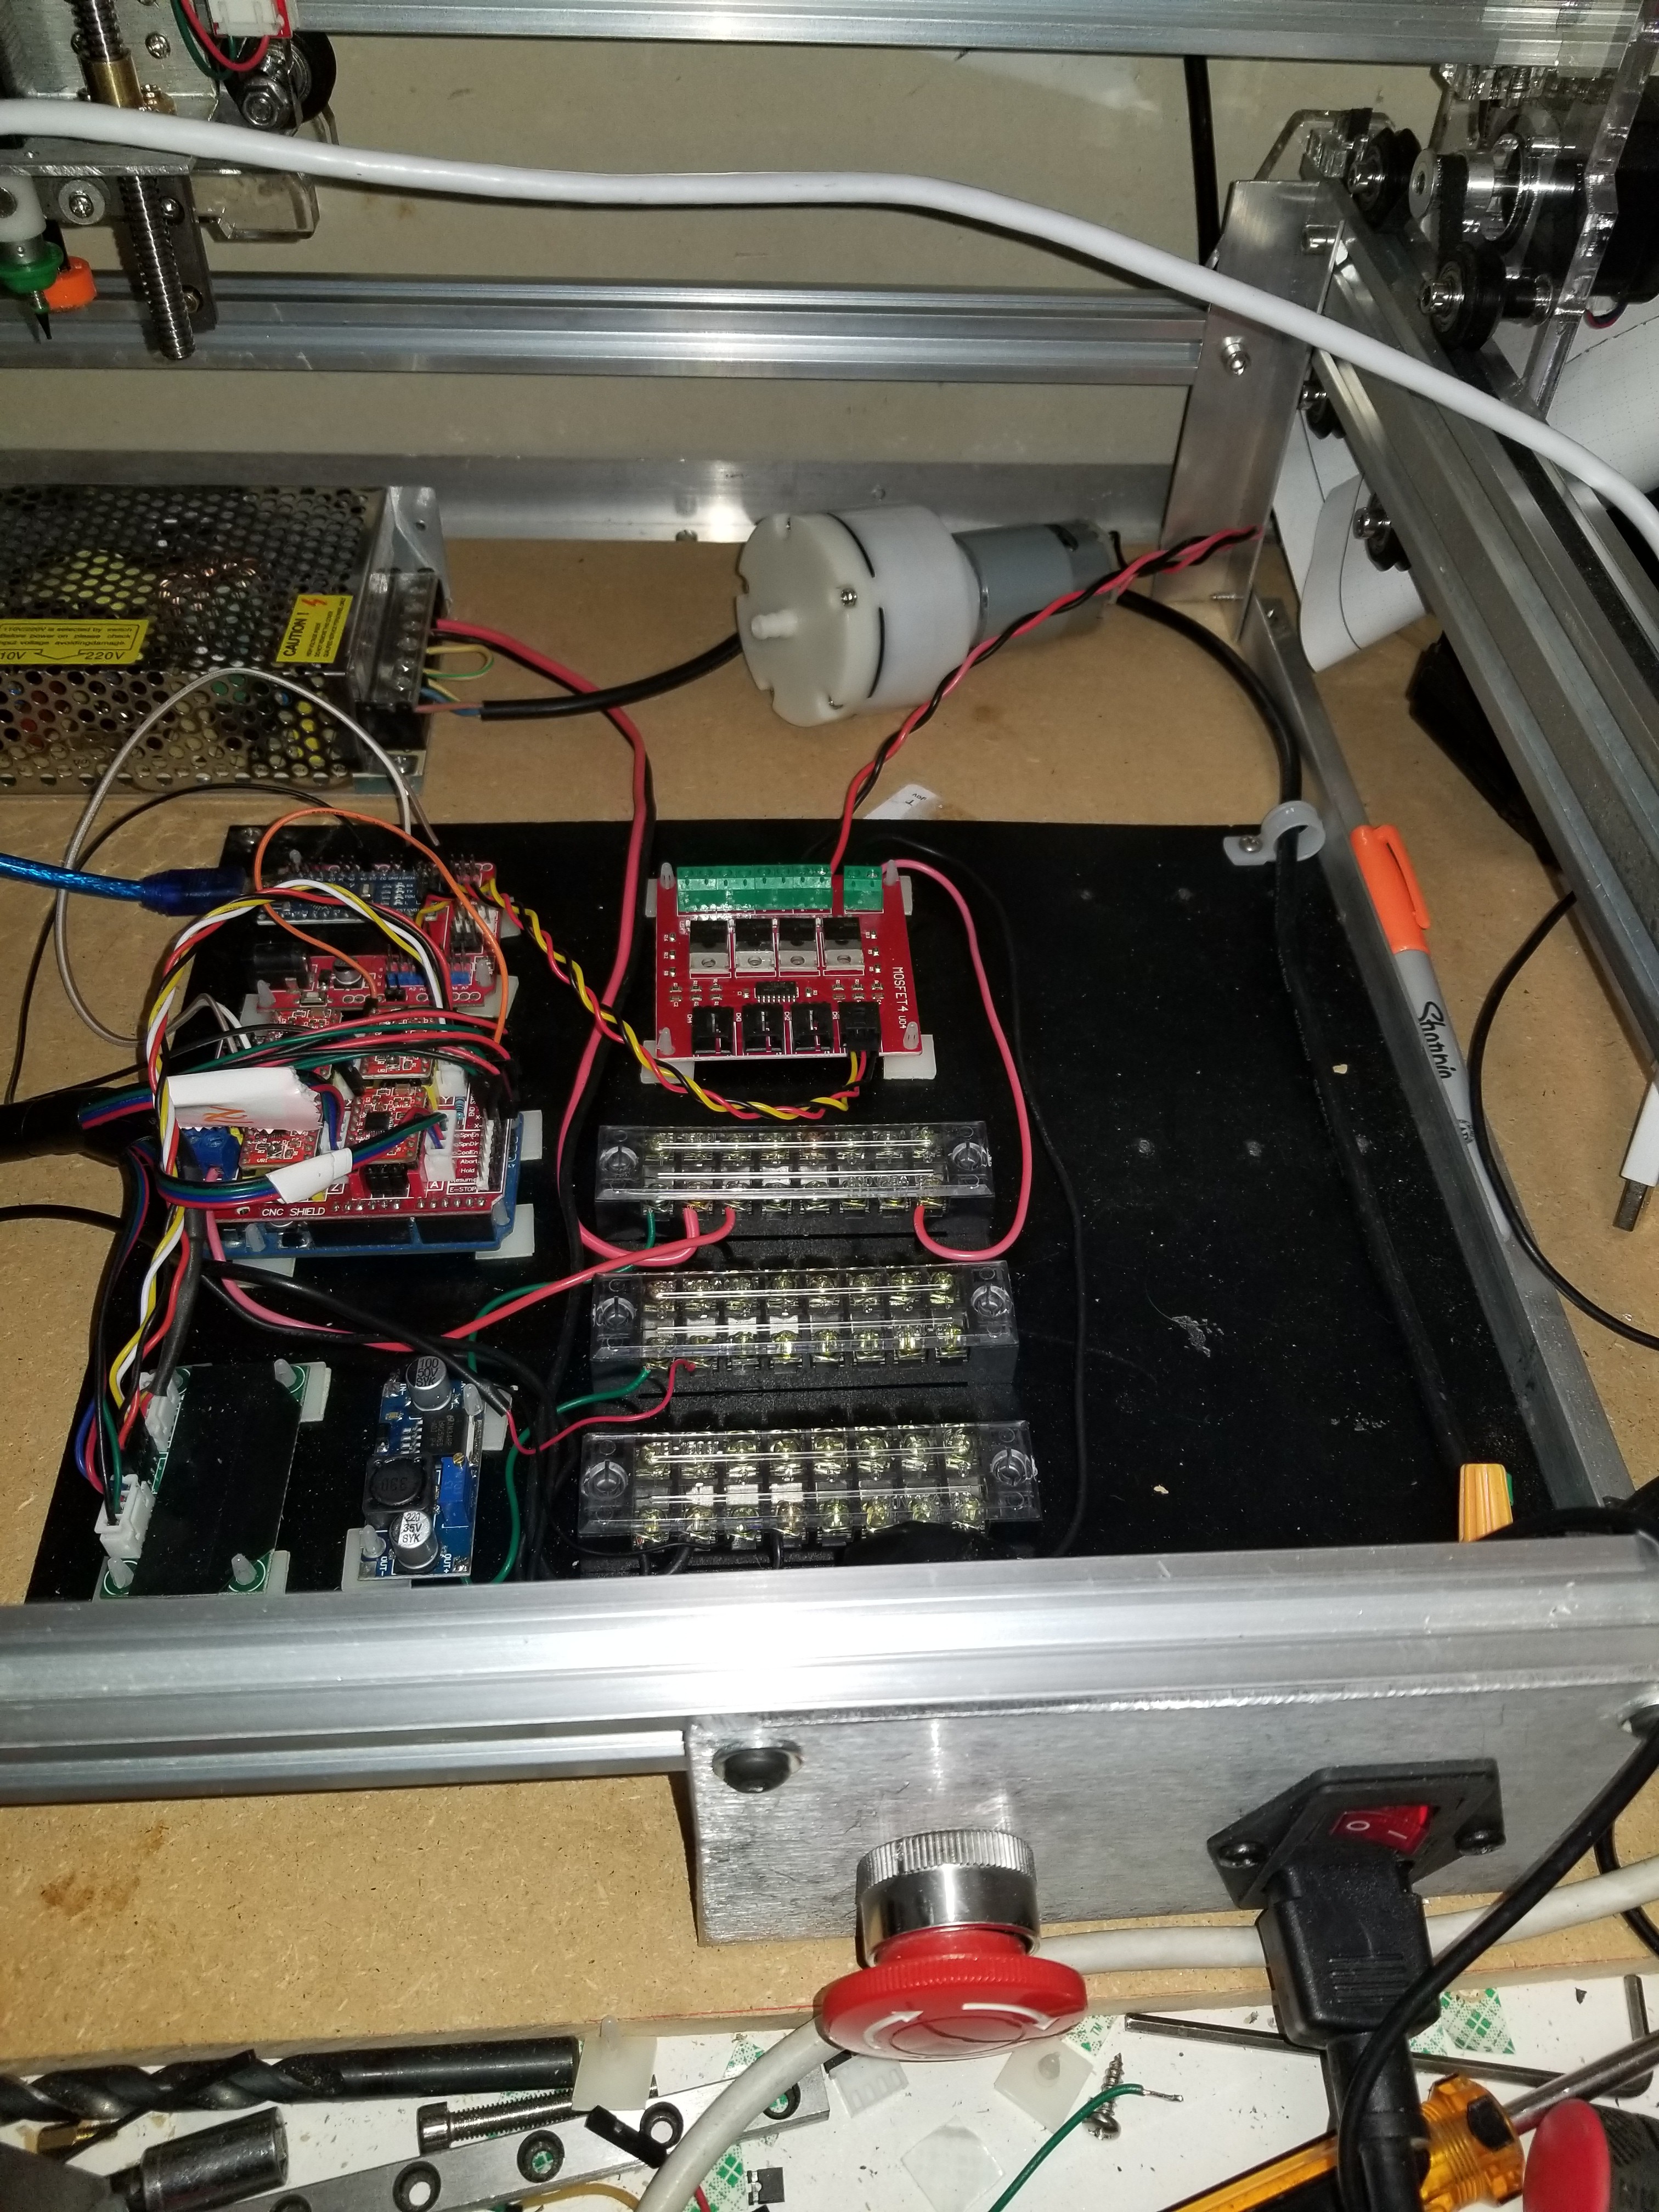
    I spent a couple hours working out the power wiring to remove the random wall-wart and add nice safety features like fusing, C13 switched socket, emergency stop, buck converter to step down the 12V to 5V to feed the things that need 5V, like the USB hub. Which I then wired into the 12V line and let the smoke out. Of the USB hub. And the Arduino Uno. And the Nano. D'oh!

    I found another Nano that worked after a bootloader refresh - most of my spares have been loaned out to the Girl Scout group, and raided my Genuine Arduino Uno from my breadboarding kit, to keep me going until the replacements come from China. So that adds about $10 to the BOM..... Also ordered some voltage displays while I was there.

    Wired the vacuum pump to the Nano's coolant control via the mosfet board - it spins on M8

    Trying to keep the rat's nest tendencies at bay.

  • Controller Simplification

    Alastair Young11/19/2018 at 02:53 0 comments

    I pulled the C axis nano off the Eleksmaker board and moved it to the Funduino shield, eliminating one controller. The Y axis driver now drives both Y motors via a splitter - eleksmaker style. The 4th driver on the protoneer is now dedicated to C, having been modified by removing its ENA pin and resoldering it in reverse so it can be patched back to the C nano ENA pin 8.

    This also allows grbl to control the ENA on the C nano so it doesn't cook by being on all the time.

    I may still strip the C axis nano's grbl code of YZ and add more function for sensors and solenoids etc. We'll see.

  • Many Updates Z, C, optical homing etc

    Alastair Young11/18/2018 at 19:31 0 comments

    Once the second edition of the Z-slide arrived which included the carriage I have made a lot of progress.

    • Z slide assembled and verified
    • Installed homing switches - double sided tape
    • Re-do of camera lenses
    • Up camera mounted
    • cable chain install - much wiring tidiness improvement
    • learned about homing, visual homing etc
    • learned about sub-driver config for C axis
    • vacuum hose install, with swivel

    I'll break out the details into the "instructions" sections. Here are some pictures.

  • Z axis crafting

    Alastair Young10/11/2018 at 05:01 0 comments

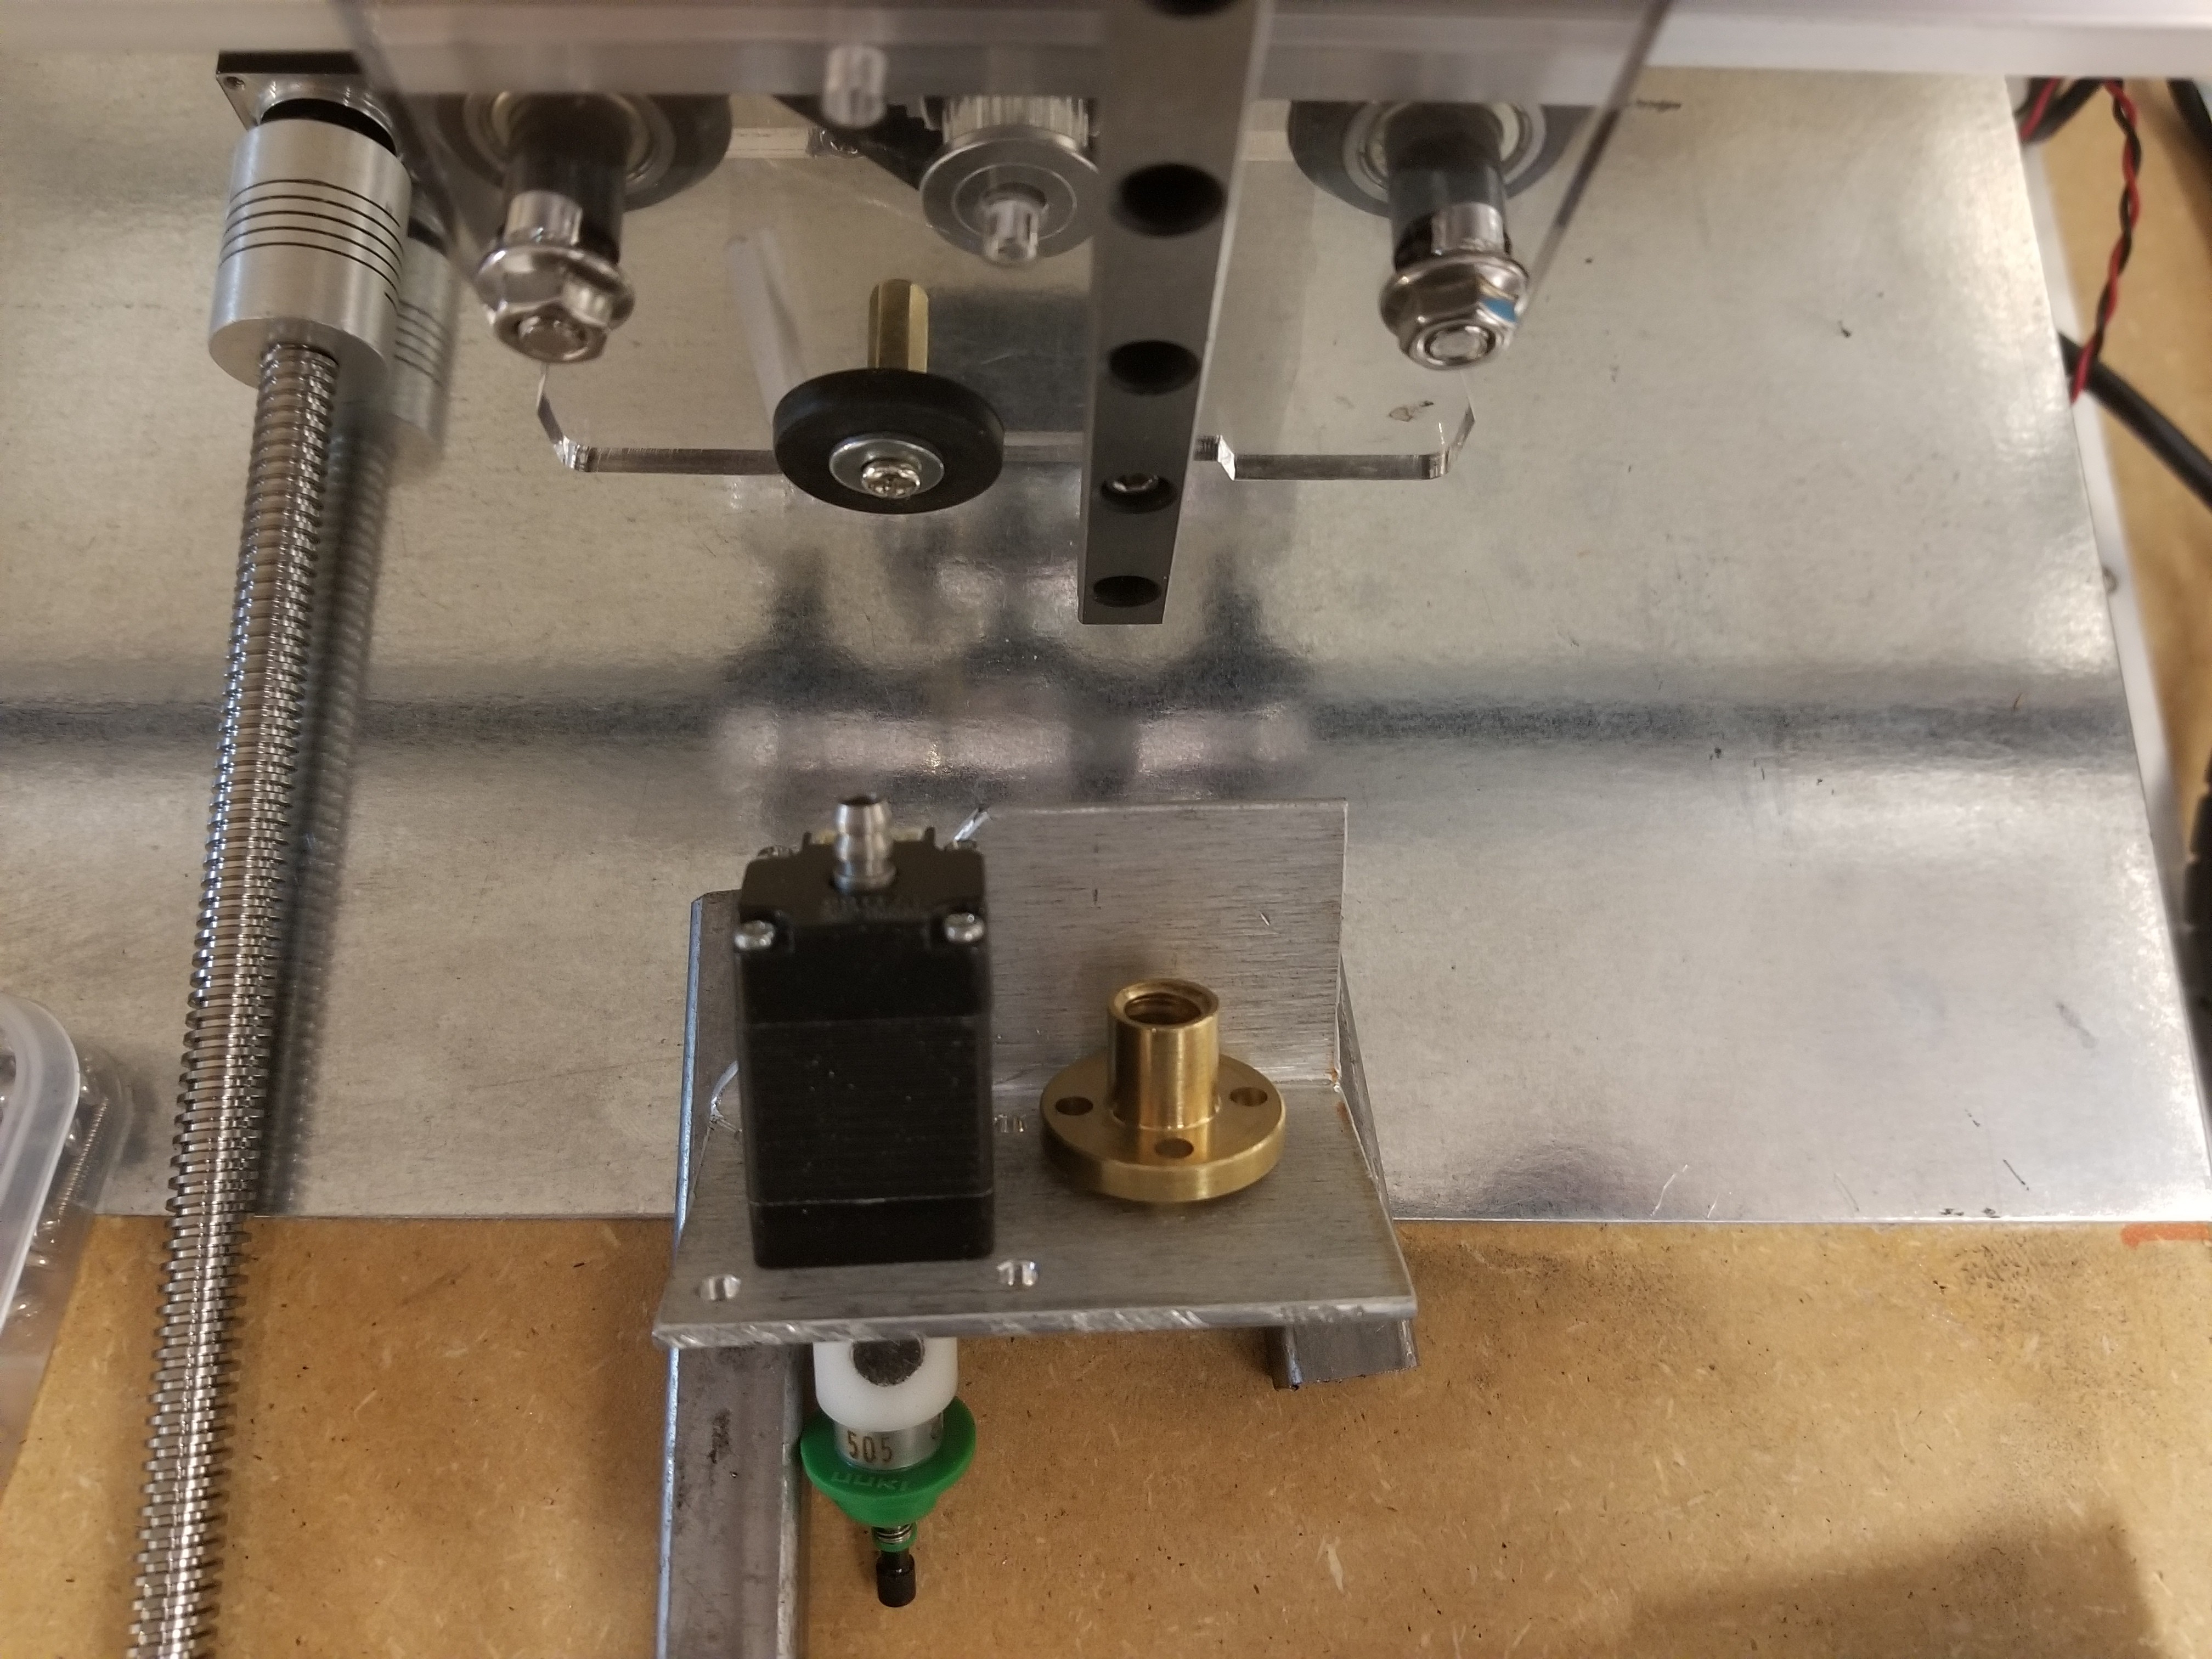
    Scrap datacenter aluminium adapted for Z bracket. My linear slide is missing a carriage at the moment so I'm limited on implementation here, but some fabrication can be done on tgis where the exact dimensions of the missing part do not impact.

    The extra 3mm holes are for swapping the laser module back in.

View all 18 project logs

  • 1
    Controllers

    The controller that comes with the Elekslaser is the EleksMaker® ManaSE (version unclear) which is an arduino nano and supports two A4988 driver modules. I am using this to control the C axis and may use it's motor port - spindle speed - to control some lights or something. This board keeps the motors permanently enabled - it has the driver ENA pins hardwired to the 5V rail. I think this may overheat the little Nema8 motor, so rewiring or replacement of this board may be in order.

    The 4 driver arduino shield is a copy of the Protoneer V3.00 which is GRBL compatible. The fourth driver is jumpered to clone the Y axis as it is a two-motor axis. GRBL only does 3 axes on the Atmega328p. The X-Y is configured with the setting from the Elekslaser (80 steps/mm at 16X microstepping) and the Z is set at 100 steps/mm which is 1X microstepping on a lead screw with a 2mm lead. 

    Both controllers are running the current GRBL 1.1

    I haven't verified that the new controller will actually drive the laser system yet, that will need rewiring. I have swapped pins 11 & 12 between the arduino and the shield as these pins were swapped by GRBL after the protoneer 3.00 board was designed.

    I disabled soft limits as I kept going outside them and freezing the board. The motors are weak enough they will just make noise and miss steps if they crash, so I'd rather just re-home when that happens.

    I have a third arduino on the bus, a nano with a Funduino shield which is intended to control lights, air solenoids, vacuum pump etc, the idea being I would take GRBL and strip out the XYZ to make space for more pin controls, vacuum sensors, neopixel lights etc keeping the GCODE interpreter and pin code. Now I'm  thinking I'll just strip Y and Z and keep the X to drive the C axis and junk the Eleksmaker board. Need to look for a single stepper driver shield on the cheap if I do that. Or I drive the Y off one driver and use the 4th driver on the protoneer-clone via its external pins.

    XYZ Settings

    $0=10
    $1=25
    $2=0
    $3=3
    $4=0
    $5=0
    $6=0
    $10=1
    $11=0.010
    $12=0.002
    $13=0
    $20=0
    $21=0
    $22=1
    $23=3
    $24=25.000
    $25=3000.000
    $26=250
    $27=1.000
    $30=1000
    $31=0
    $32=0
    $100=80.000
    $101=80.000
    $102=400.000
    $110=8000.000
    $111=8000.000
    $112=1000.000
    $120=400.000
    $121=400.000
    $122=10.000
    $130=350.000
    $131=250.000
    $132=46.000

    C Settings (under development)

    $0=10
    $1=25
    $2=0
    $3=3
    $4=0
    $5=0
    $6=0
    $10=1
    $11=0.010
    $12=0.002
    $13=0
    $20=0
    $21=0
    $22=1
    $23=3
    $24=25.000
    $25=3000.000
    $26=250
    $27=1.000
    $30=1000
    $31=0
    $32=0
    $100=80.000
    $101=80.000
    $102=400.000
    $110=8000.000
    $111=8000.000
    $112=1000.000
    $120=400.000
    $121=400.000
    $122=10.000
    $130=350.000
    $131=250.000
    $132=46.000

  • 2
    Z axis

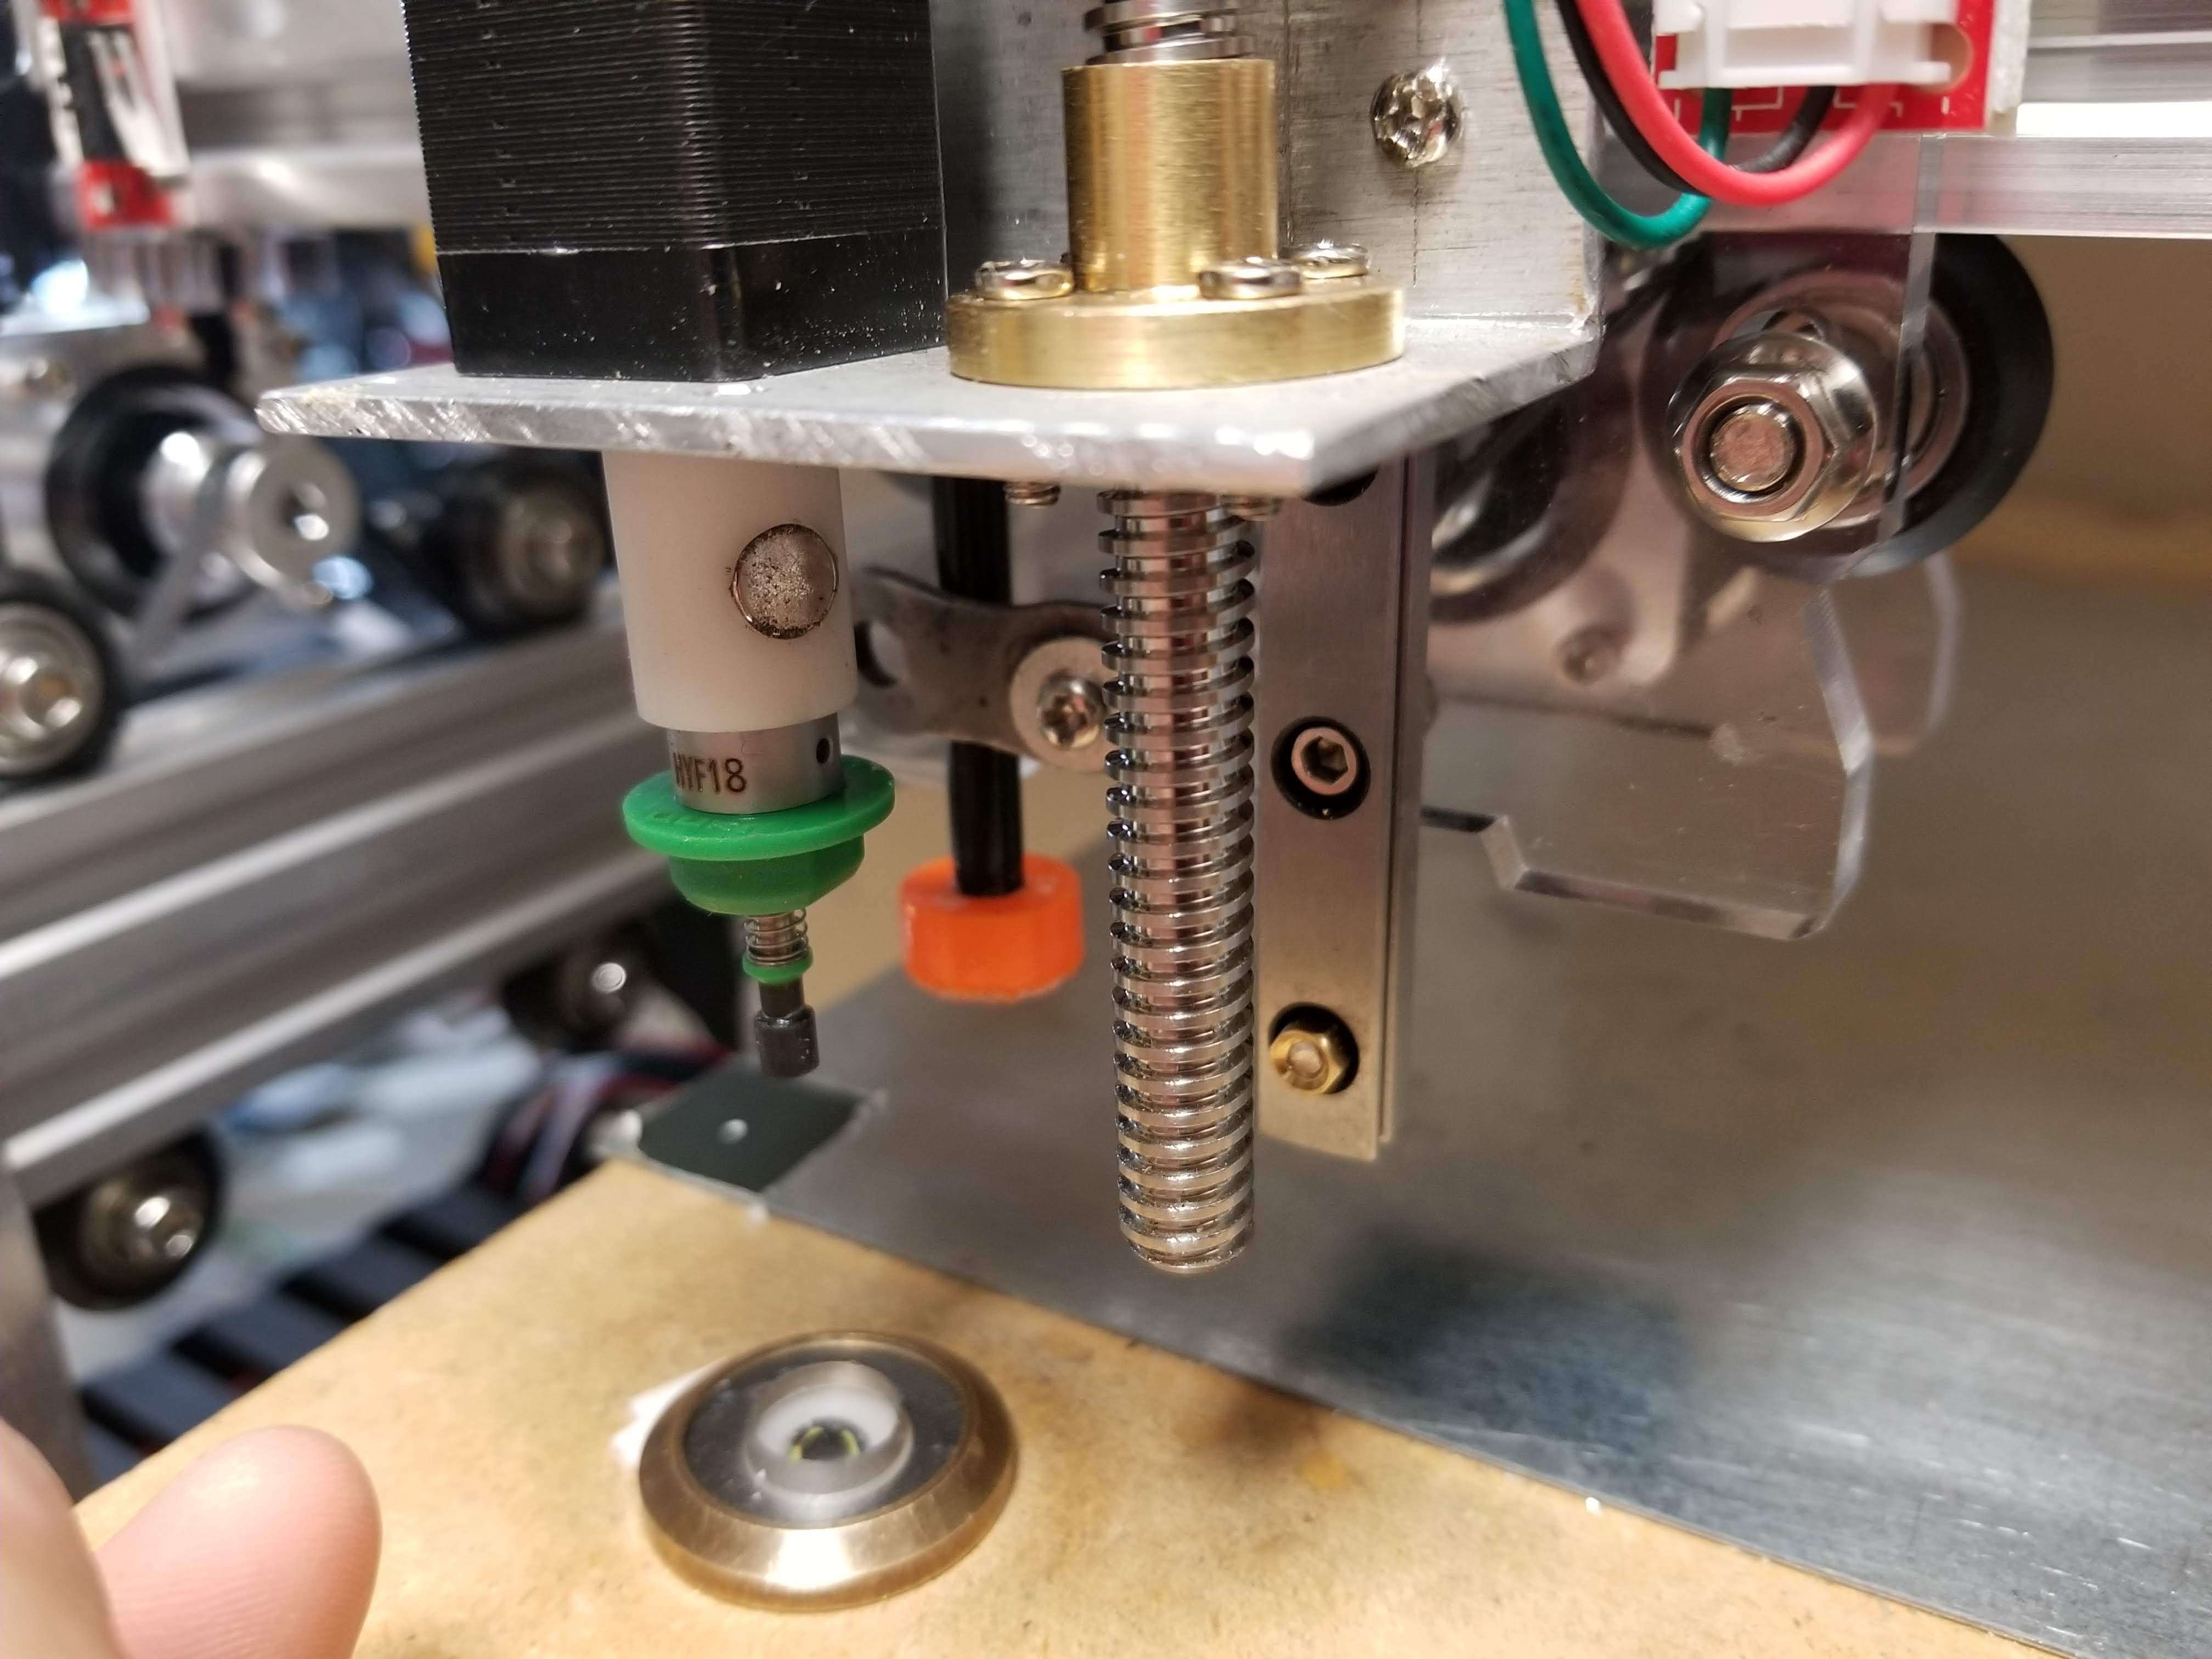
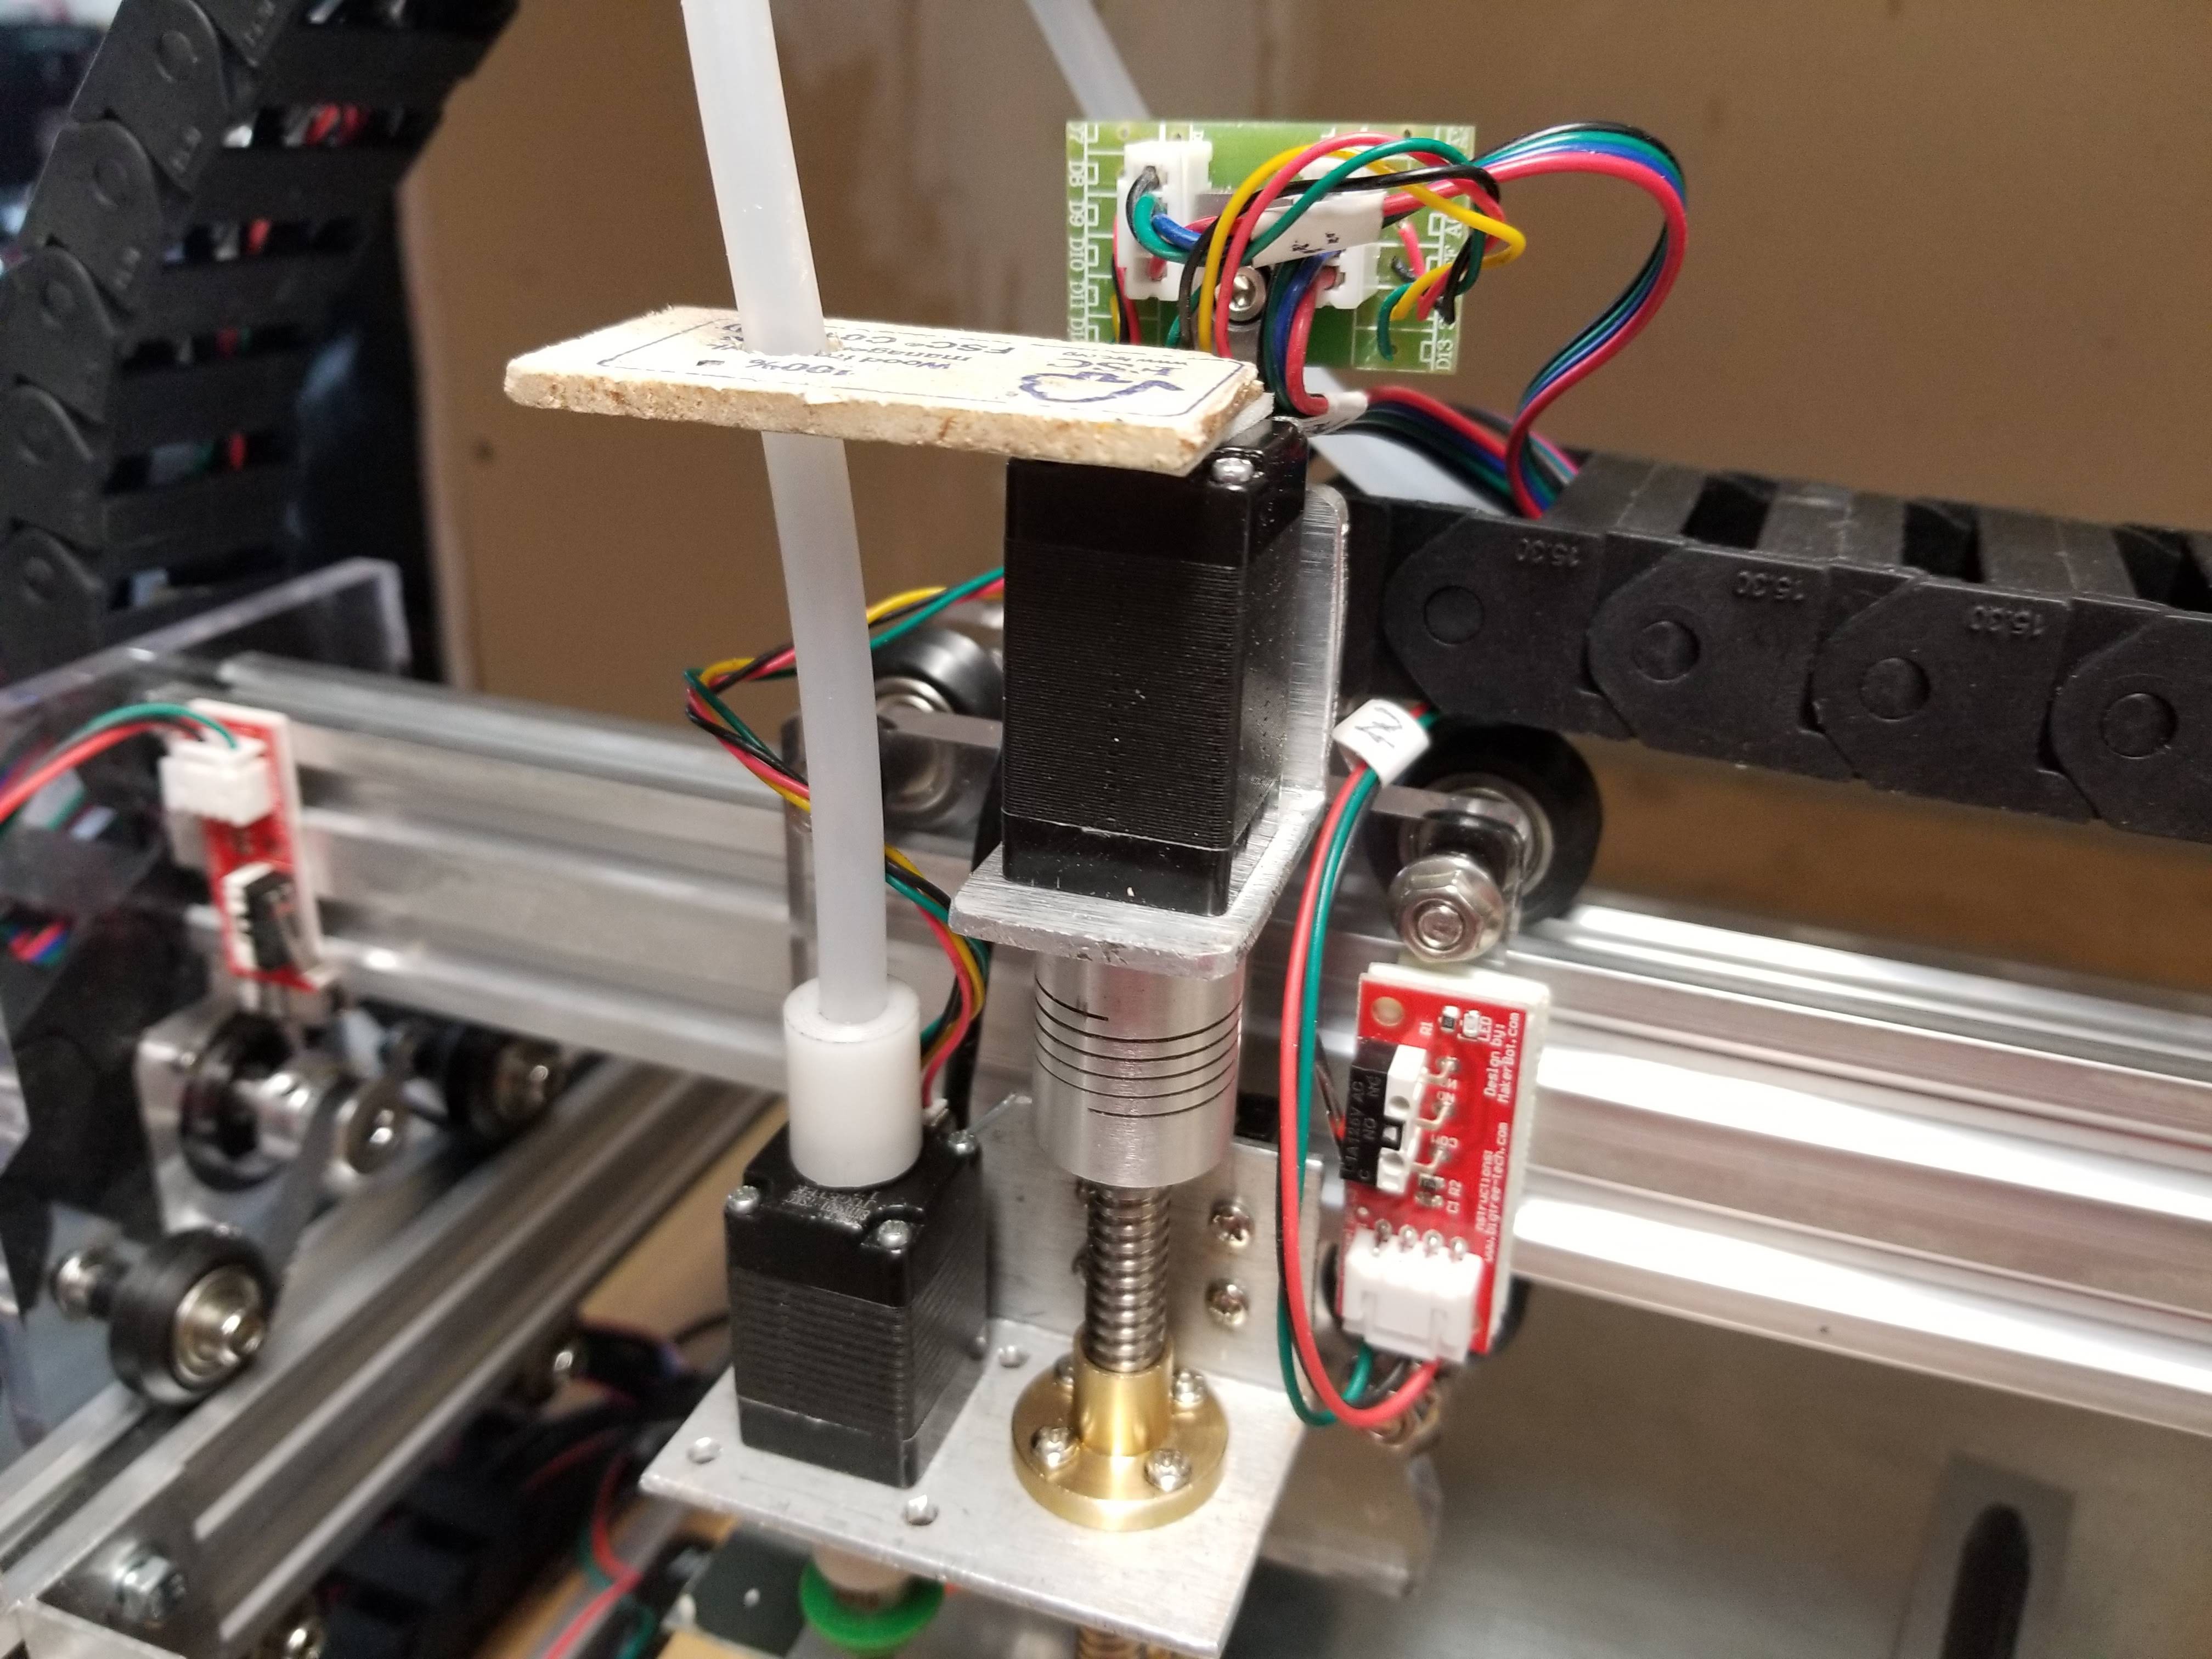
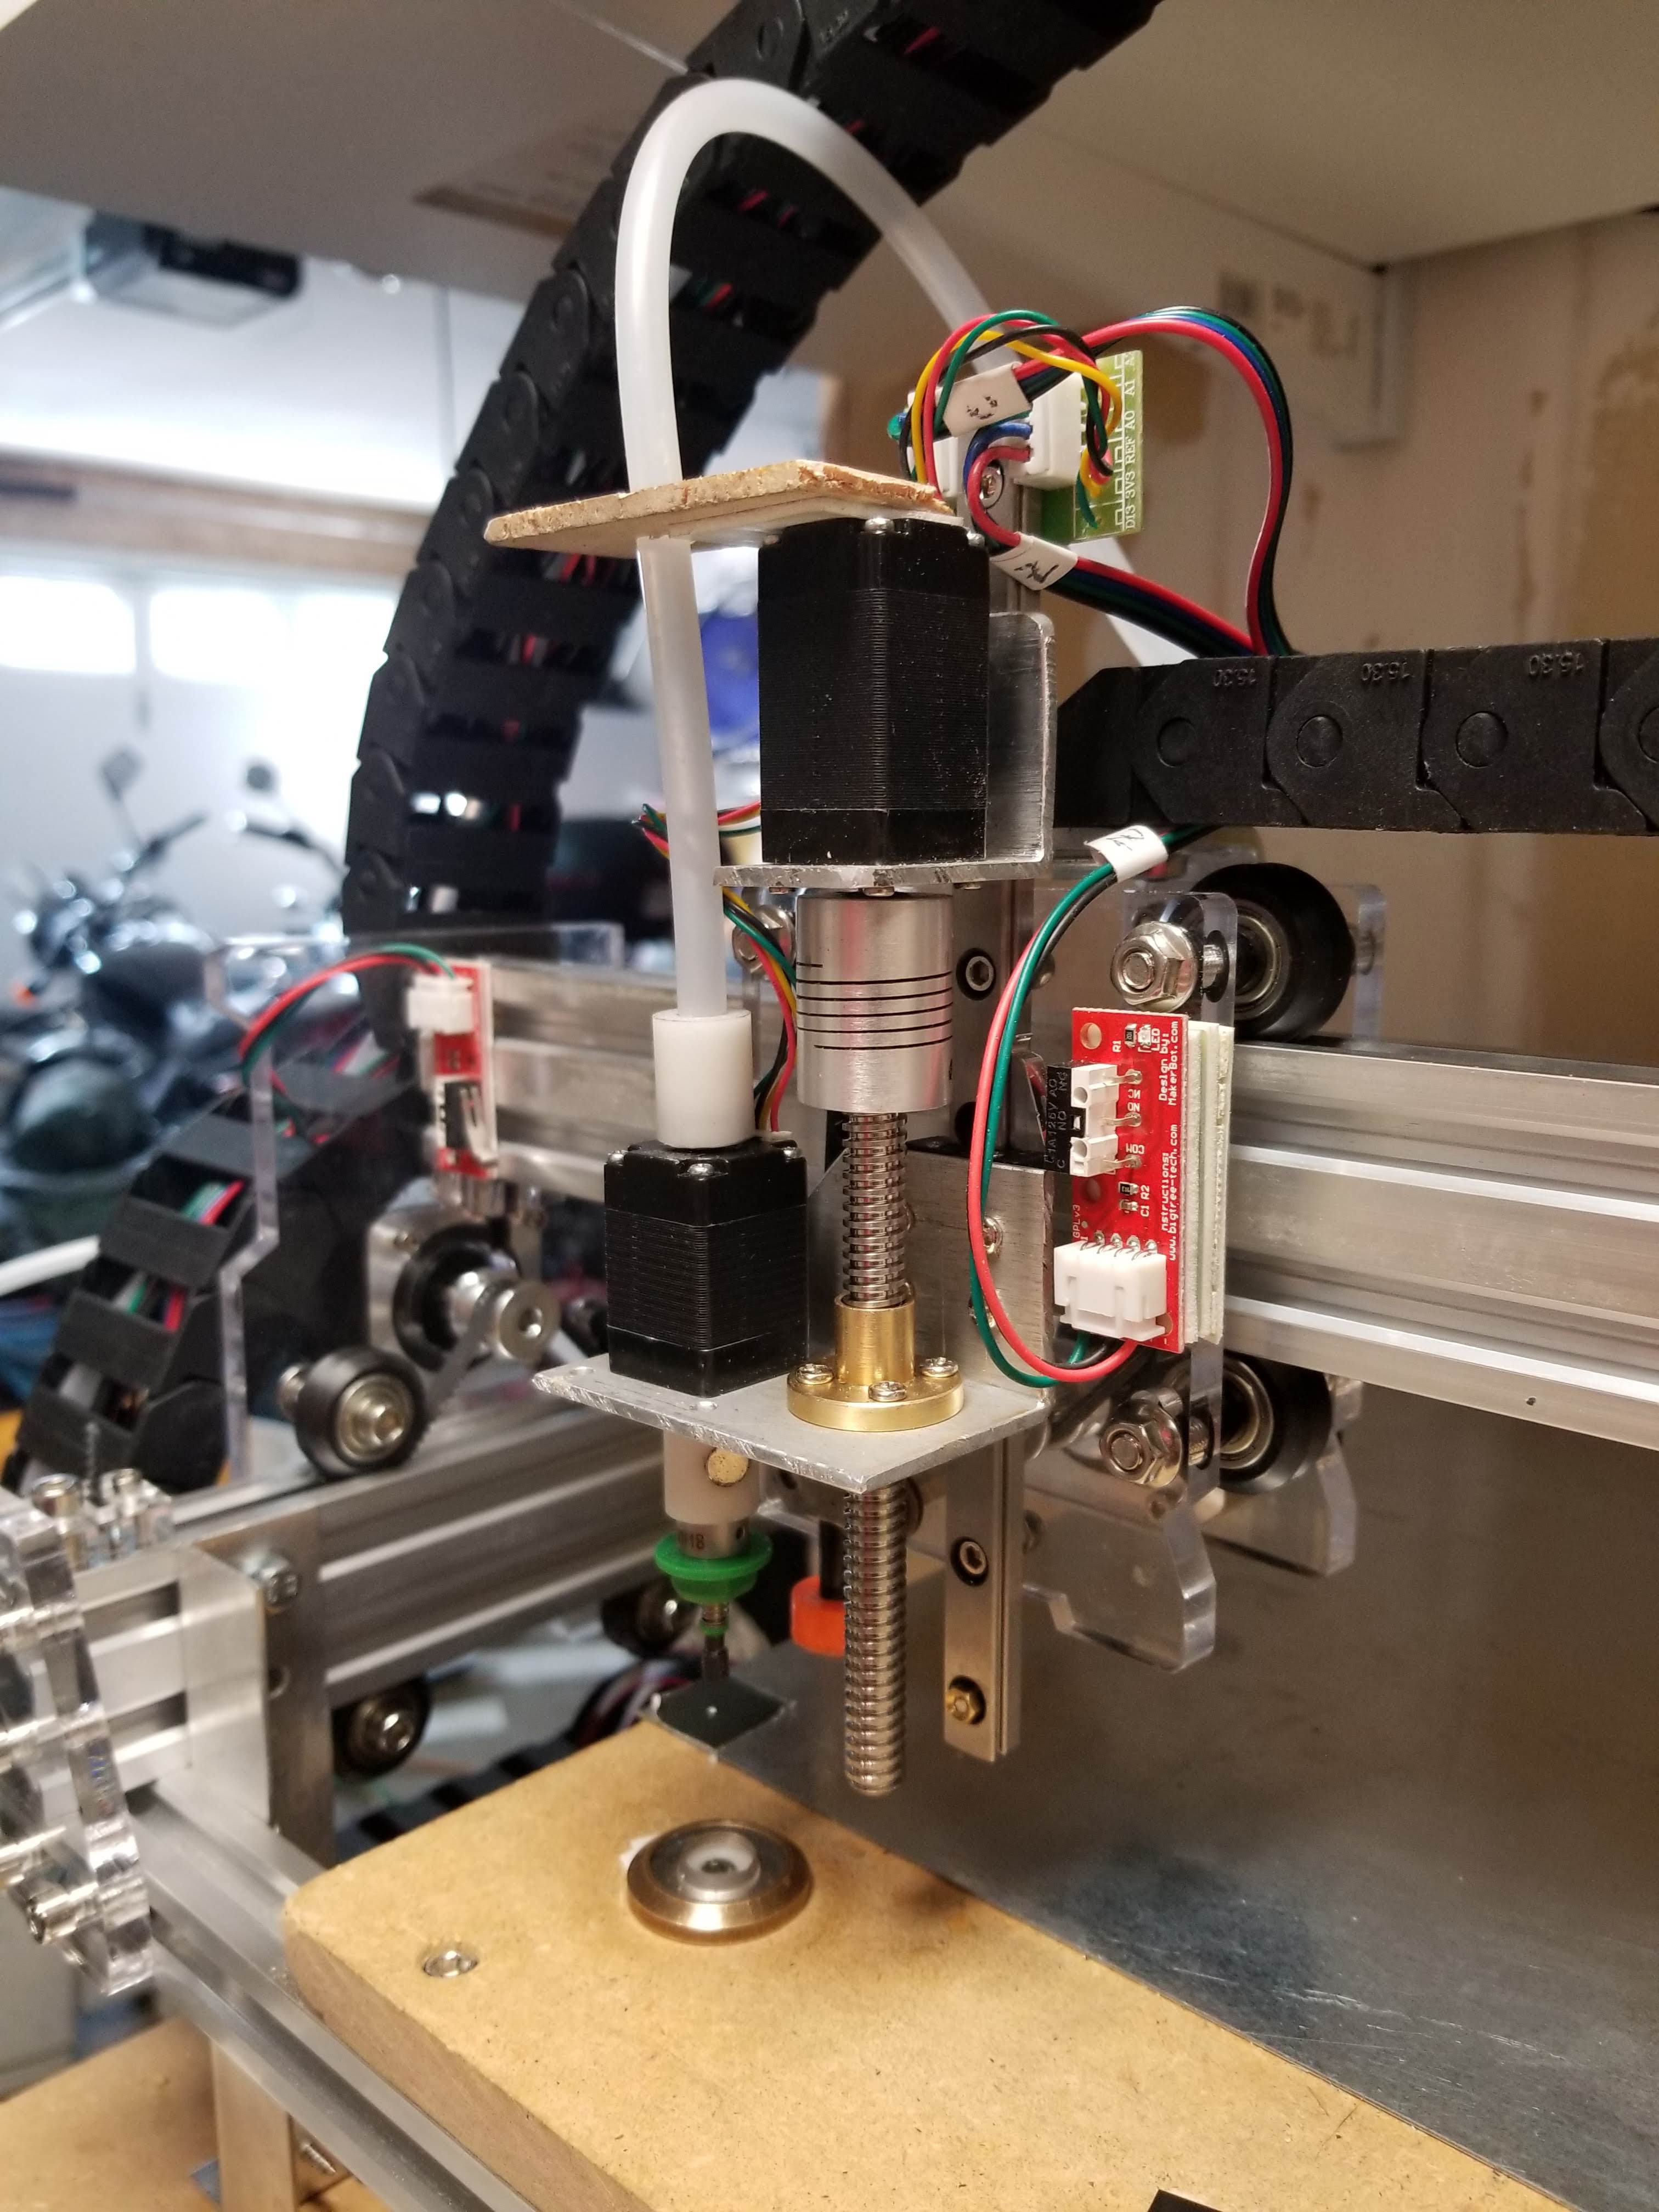
    The z axis is a 9MN Miniature Guide Linear Support Rail Slide Bearing Steel Ball Holder/Retainer (175mm) . This as a flat rail with ball race up each side and a sled. The whole thing is only 8mm deep. 

    8mm lead screw and nut - 2mm lead driven by a Nema8 stepper. Yes it is small, but we are not driving a lot of weight here. Idrives the Z-axis load without problems.

    The springy 4mm/8mm coupler came with a wildly off 4mm hole. However as I have a lathe and just acquired some metric reamers I was able to re-sleeve it straight. 

    Total spend there for Z axis - $31 including shipping so I have something at half the price and much more compact than the commercial options.

    The z-axis stepper is be mounted on the Y carriage with aluminum angle salvaged from an old datacenter keyboard tray (also used in my reflow oven project - don't throw stuff away!). The carriage is from the same material. 

    I used part of a nano scre-shield board to make a converter board to convert from the tiny 6-pin connectors on the Nema8s to the the 4-pin cables. 

    The homing switch is a makerbot.com design attached with a foam-tape and nano-screw-shield offcut 5 layer sandwich. This comes with a 5V power line that is currently unconnected 

  • 3
    C axis

    Hollow shaft Nema-8 stepper with built in nipple. I think the nipple was a mistake, as I had not considered the swiveling requirements. The swivel is a 5mm bore sealed ball bearing which would have been a close slip fit on the 5mm shaft, but wobbles on the nipple. I could have just epoxied it onto the straight shaft. As it is I used two #60 o-rings and then trimmed them down with a knife. The bearing is pushed into a piece of delrin with a hole in the other end where the tube pushes in. The vacuum tube has a guide above it (paint stirrer and foam tape) to keep the tube straight - this keeps down the friction and twisting effects on the stepper.

View all 9 instructions

Enjoy this project?

Share

Discussions

MasterOfNull wrote 02/23/2019 at 06:42 point

One of the random, one-off hacks here... and I agree with you.  :)  Choosing a motion platform that is stable is pretty important.  Beyond that, I have a project you may be interested in...

  Are you sure? yes | no

Similar Projects

Does this project spark your interest?

Become a member to follow this project and never miss any updates