Close
0%
0%

Self-Driving Power Wheels Car

Retrofitting (and overhauling) a Power Wheels car to make it self-driving.

Similar projects worth following
Our project consists of two main parts. First, overhauling an existing Power Wheels car to better simulate a real vehicle. We will be replacing the wheels, battery, gear boxes, motors, and adding brakes. The second part of the project is retrofitting the Power Wheels to make it autonomous. We will build a rig that mounts to the car to control the gas, brakes, and steer the wheel. Input from a variety of sensors will be used to control these movements. We are continuing to research the best components to make this project a success.

Objectives:

Frame Construction & Chassis

  • Weight & Strength
  • Maximum top speed (Goal: 15 mph)
  • Comfort of riding & Braking System
  • Wheel traction & Motors
  • Chassis Reinforcement

Additional Car Electronics/Necessities

  • Ultrasonic sensors on all sides
  • Speaker to communicate danger
  • Accelerating system
  • Indicators

Autonomous Driving

  • Avoid obstacles using ultrasonic sensors
  • GPS tracking to navigate to a certain point
  • Additional possibilities if time permits:
    • Remote control
    • Speaker guided commands

Pedal_Controls.ino

Pressing the left pedal will activate the left motors, and right pedal will activate the right motors

ino - 1.17 kB - 05/29/2019 at 02:19

Download

Steering_Wheel.ino

Code for our steering wheel -- detects how much the wheel has been turned clockwise or counterclockwise using an IMU

ino - 5.21 kB - 05/29/2019 at 02:15

Download

Acceleration_Pedal_Test.ino

Test code for acceleration pedal -- Code failed; the vehicle would begin moving when the pedal was pressed the first time, but would not stop after it was released and would not register future acceleration pedal clicks.

ino - 851.00 bytes - 05/28/2019 at 14:51

Download

Drive_Forward.ino

Test code for driving car forward for 5s

ino - 746.00 bytes - 05/28/2019 at 14:47

Download

  • 4 × 3 Stage EVO Shifter Gearboxes
  • 1 × 12V Interstate Battery
  • 1 × Go Kart frame - 80/20 aluminum & plywood
  • 4 × Arnold 15-in Front Wheel for Riding Lawn Mower
  • 2 × Indoors Lidar Range Finder Sensor Module

View all 9 components

  • Pedal_Control Test Video

    PowerWheels05/29/2019 at 02:50 0 comments

    Here's a video of our Pedal_Control program running. 

    https://www.youtube.com/watch?v=4zGgB08z7JI&feature=youtu.be

  • May Update

    PowerWheels05/28/2019 at 15:58 0 comments

    We have made substantial progress, transforming our raw materials into a working, moving frame. Images of our progress is available in the gallery.

    Steering Wheel: 

    We 3D printed a steering wheel to be used with our car. Mounted to the steering wheel is an IMU, which detects how many times either clockwise or counterclockwise the wheel has been rotated. By utilizing a counter with our code, the steering wheel can be rotated either clockwise or counterclockwise up to 900 degrees, which can be used to modify the motor power while turning. The code for our steering wheel can be accessed in the files section, under Steering_Wheel.ino.

    Drive Train:

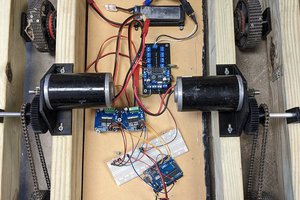
    Our vehicle is powered by a total of four CIM motors. Our vehicle uses two 3-stage EVO CIM gearboxes (14.17:1 ratio) , each of which takes two motor inputs. The gearboxes and motors are mounted on either side of the frame. 

    Each motor is hooked up to a Jaguar motor controller. This lets us code the DC motors as if they were normal servos, using Arduino.

    Each motor controller is plugged into a power distribution panel, which in turn is plugged into a 12V battery.

    The weight of the frame as well as friction from the new wheels makes building a physical steering rig, as was used in our stock Power Wheels car, difficult. Thus, we aim to use skid steering to guide the car, with the steering wheel's inputs being used to automatically adjust the speeds of the left and right motors.

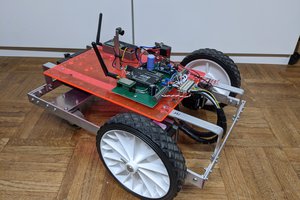
    Our vehicle utilizes front wheel drive. For the rear drag wheels, we initially used a set of omni wheels mounted to 1/2" churro axle. Upon testing, the wood holding the churro axle split and we had to replace the rear wheels.

    We opted to use a set of castor wheels for their low-friction, and stability in being screwed directly into the plywood frame of the car.

    Testing:

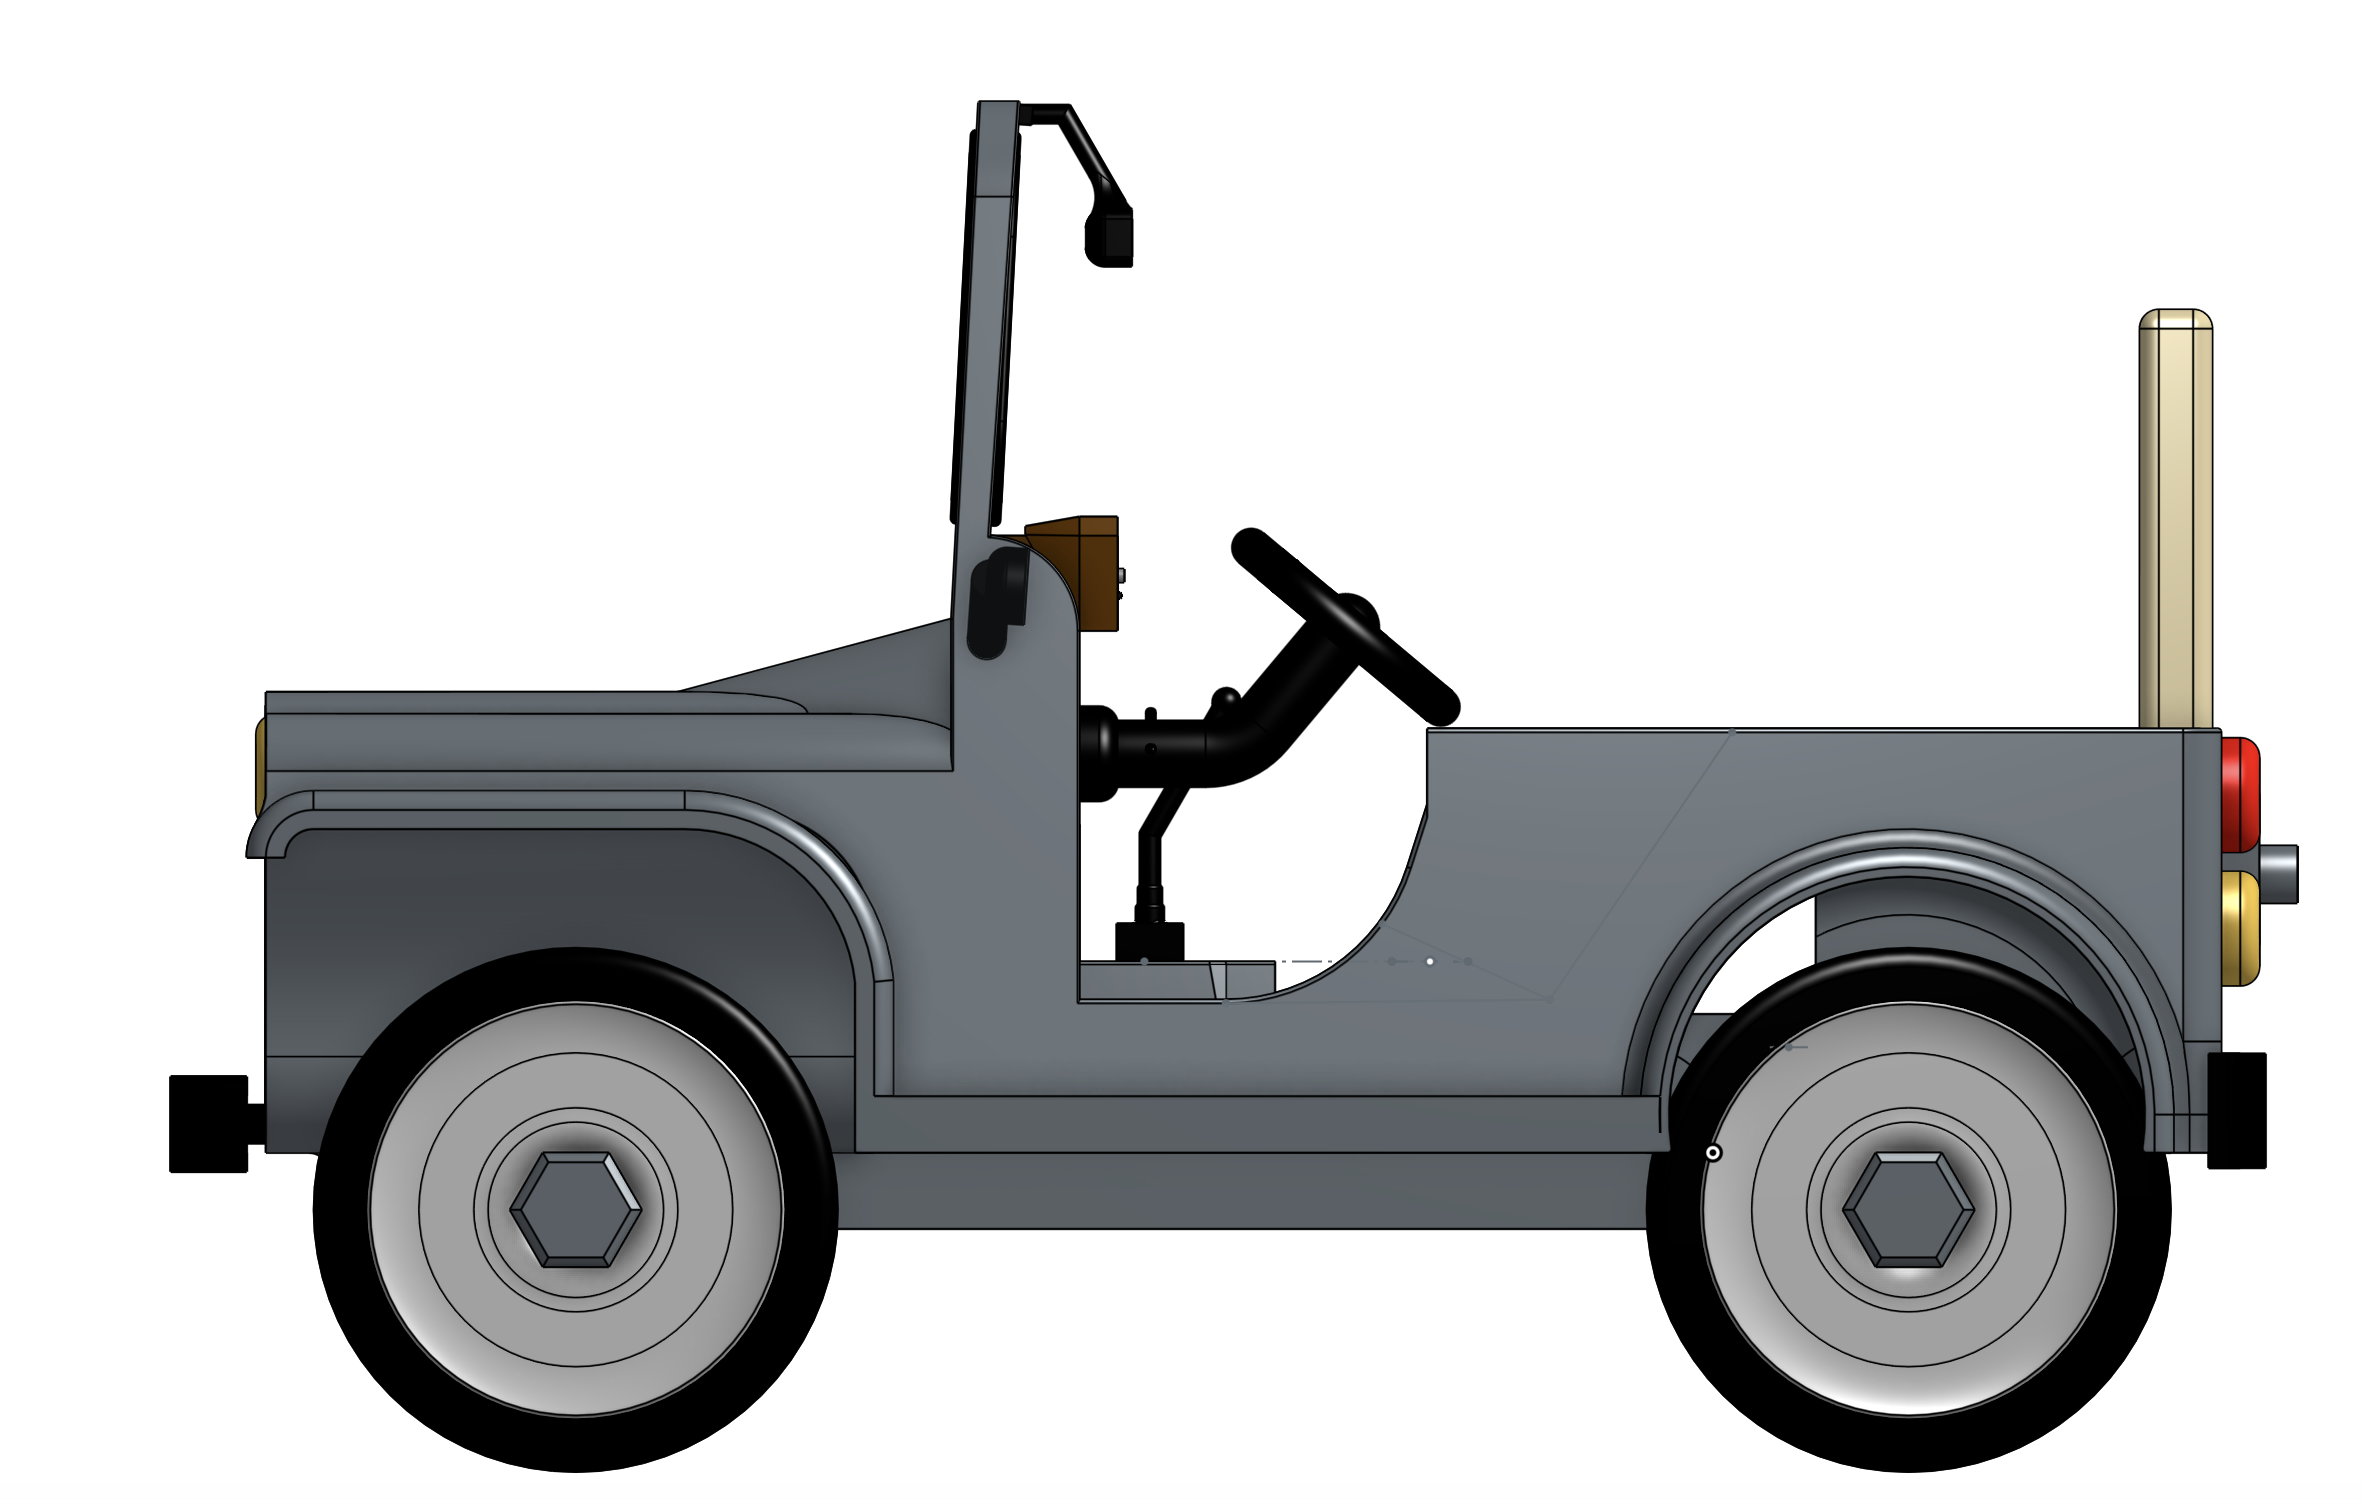
    Even after construction of our drive train was complete, testing was a long process of trial and error simply to get the vehicle to move. One of our biggest issues was that the gearbox output was a hexagonal axle, and our wheels had circular hubs. We 3D printed multiple different adapters, but each was worn down by the weight and torque of the vehicle. Ultimately, metal hexaxle hubs got the job done, as can be seen with the side view photo in the gallery.

    In testing with the Drive_Forward program, we found that the left motors moved faster at quarter speed than the right motors, so we had to account for this in future programming.

    In the Acceleration_Pedal program, we aimed for an acceleration pedal to move the vehicle forward, and for the brake pedal to stop the movement. Unfortunately, we were unable to get this program to work.

    In the Pedal_Control program, we opted for an alternative steering method. Rather than relying on an acceleration and brake pedal in conjunction with a steering wheel, we have a left and right pedal (as pictured in the gallery). When the left pedal is pressed, the left motors spin, and vice versa. This program was successful.

  • April Update

    PowerWheels04/12/2019 at 01:59 0 comments

    We've made quite a bit of progress on the car since January. First and foremost, all materials to construct our chassis, including 80/20 aluminum bars, three-way connectors, and screws have arrived, and we are in the process of completing the chassis. We have made some progress in other fronts as well:

    Motors:

    Although our initial plans called for using two drive motors, in calculating the torque necessary to move an average adult of 180 pounds, we have determined that our car will need to be equipped with four 12V DC motors. As such, our car will use skid steering to navigate, which we will need to code.

    Battery:

    We will be using a simple 12V battery available to us in the lab. This solves one of our obstacles of acquiring a 64V battery.

    Ultrasonic Sensors:

    We are using four Maxbotix Ultrasonic Rangefinder - LVEZ4 sensors

    Seat: 

    We are using a ZXTDR Seat for Drift Trike Racing

    Wheels: 

    We are using Marathon 00210 Universal Fit wheels

    Steering Wheel:

    We 3D printed a steering wheel for our car. An image of the printed wheel is posted in our gallery.

  • January Update

    PowerWheels01/23/2019 at 14:47 0 comments

    Due to some delays, we have had to push back our build schedule. Our revised schedule can be found here.

    https://docs.google.com/document/d/16GOUXHAd7xvJrtRl-44KlLluDAhO5_ExsurhShvZ_mo/edit?usp=sharing

    Once our materials arrive, we are set to begin constructing our aluminum chassis. In the mean time, we are looking into what motors and batteries to use, as well as how to construct a steering mechanism for the car.

  • Web Update

    wdpemble12/07/2018 at 20:31 0 comments

    At this point, we have spent a significant amount of time searching for and choosing the specific parts we will need for the remainder of the project. Currently, our main focus is constructing a new aluminum chassis to replace the one that is currently part of the Power Wheels vehicle. This will increase greatly increase the durability of our vehicle so that is able to support the weight of an average adult. Recently, we removed the original wheels from the vehicle and are preparing to detach the plastic shell from the rest of the vehicle. The raw materials for chassis construction have been ordered as well. Chassis construction is the next task at hand and we will begin that as soon as our materials have arrived. Once the chassis is completed we will attach the plastic shell to it to maintain the original look of the vehicle. 

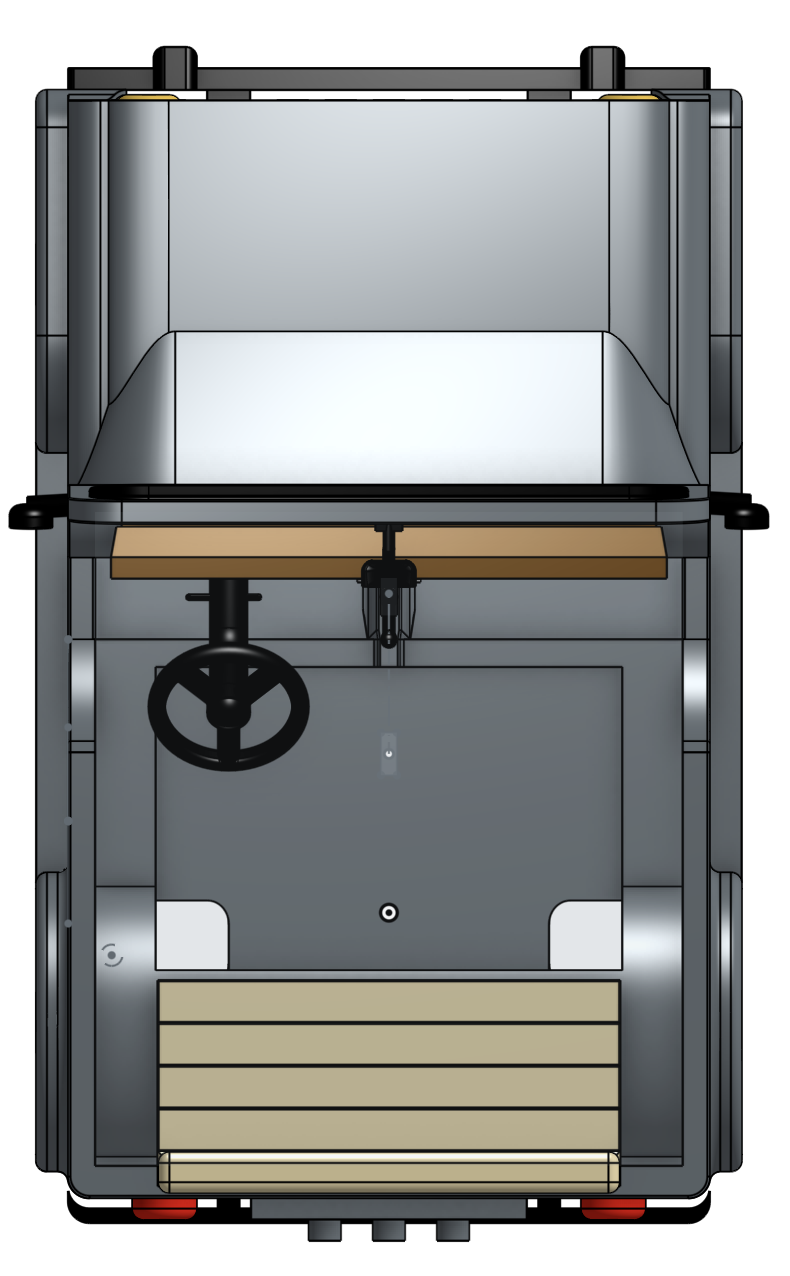
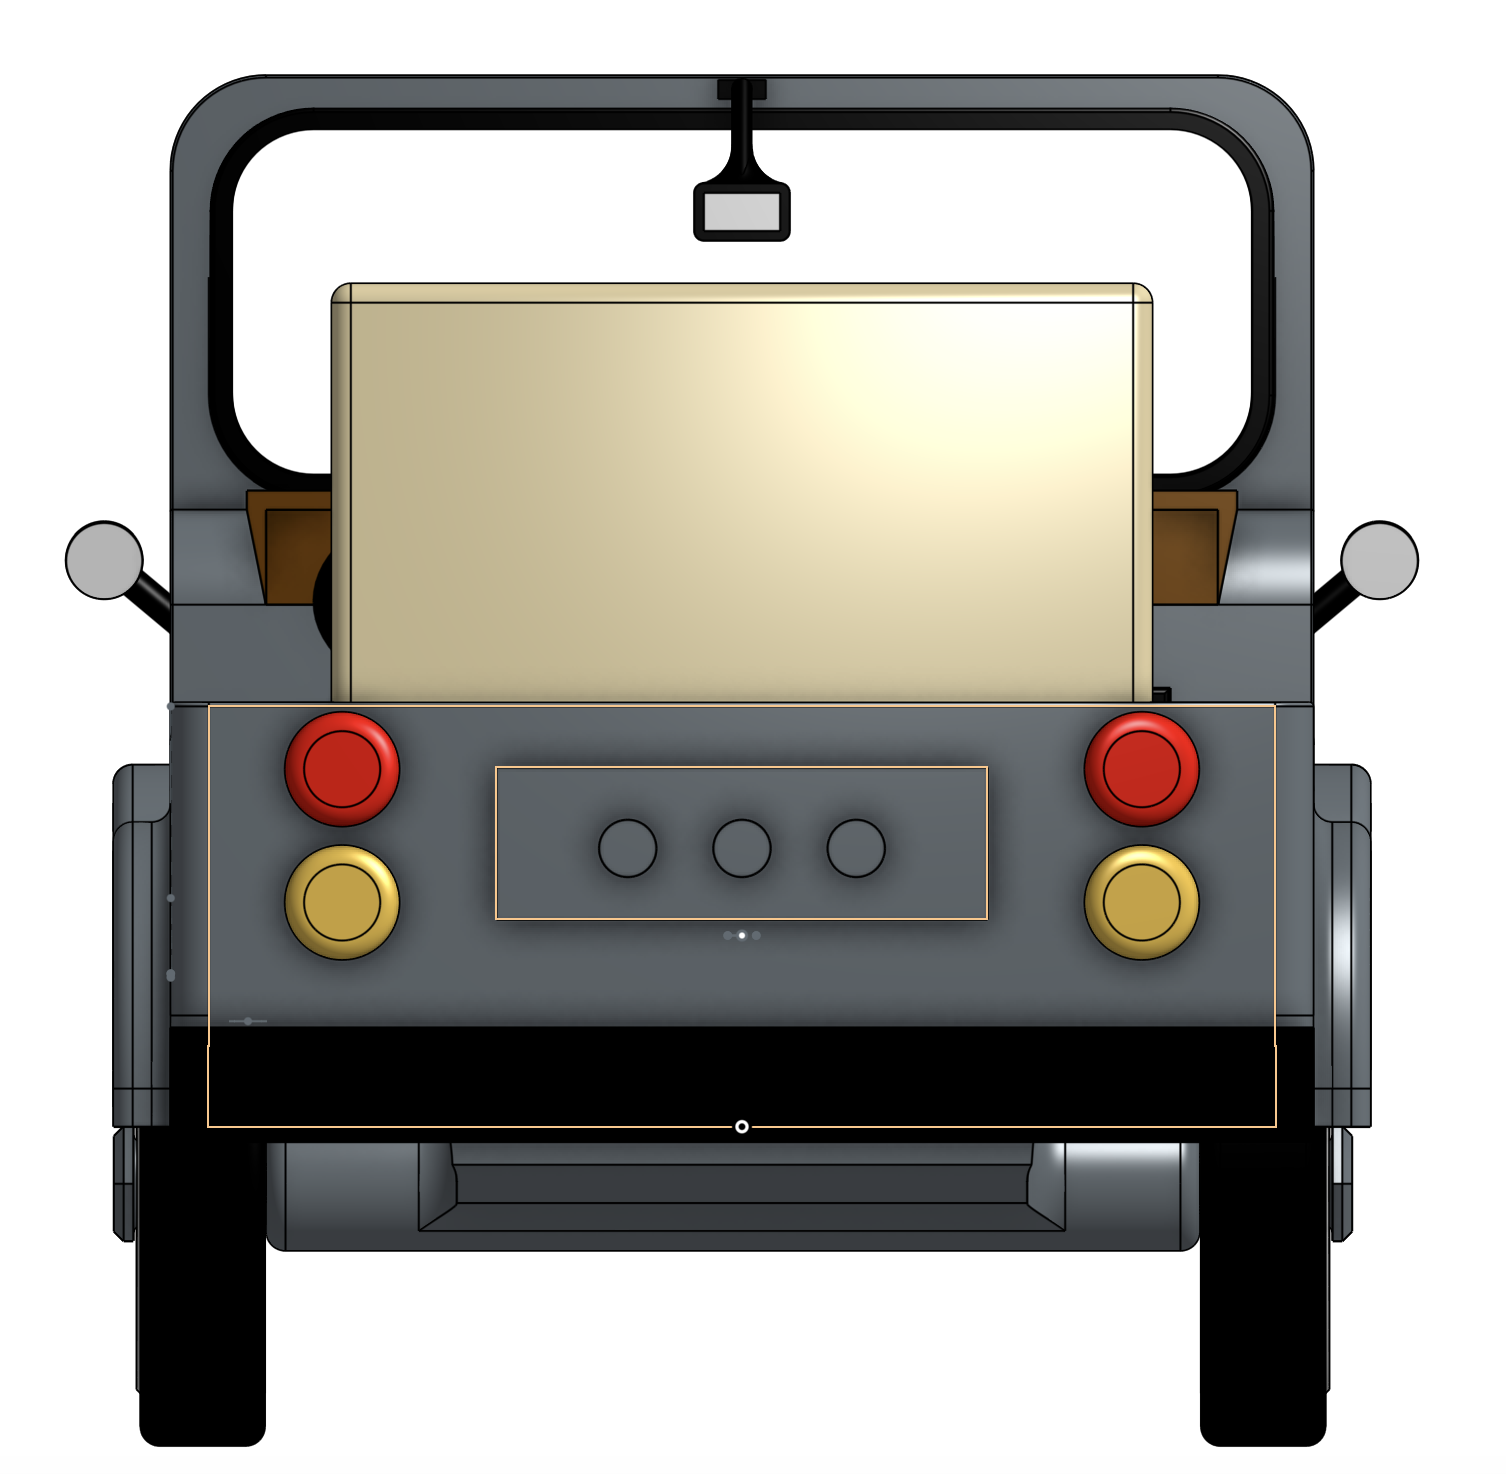
  • CAD Designs for Final Look & Underneath Frame Box

    aaronwadhwa11/06/2018 at 16:26 0 comments

  • Research Proposal

    PowerWheels11/06/2018 at 16:19 0 comments

    We finished our final proposal, which outlines our problem, objectives, and approach for this project. Our proposal can be read here:

    https://docs.google.com/document/d/1WcoMT9AB_8yNUt0sjX5nhp3J5i4iLcpf7cEoZHsvjbk/edit?usp=sharing

View all 7 project logs

  • 1
    Methodology

    At the beginning of this project, the project was outlined in a structure that involved two phases (each complete with a series of smaller tasks). Phase 1 involved a full overhaul of the Power Wheels vehicle so that it could support the weight of an adult human and drive at speeds that would be close enough to those of a real car that it could be considered a simulation of an actual vehicle. Phase 2 involved taking this overhauled vehicle and fitting it with enough sensors so that it could obtain autonomous vehicle capabilities.

    When the original car arrived, we began by running a series of initial tests on it. After cleaning off the outer shell and the driver area, we tried to start the vehicle for the first time, but our attempts were unsuccessful. After checking various parts, we determined that the issue was in the battery. We found a similar, but slightly larger, battery and were able to fashion a connector that would allow us to use it with only one minor complication. As the battery was not made originally for the Power Wheels car, it was slightly too large to fit within the cut out area for the battery.

    After we had a working vehicle, we decided to conduct baseline tests to determine its initial capabilities. We set up a track across the back of our lab space where we ran 12 hand-timed trials to determine the time it took us to travel a distance of 24 feet. Following simple calculations and unit conversions we determined our baseline speed was about 3.5 mph. From this initial number, we set what we believed was a reasonable goal for the maximum speed of our finished product: 10 mph.

    Due to a lengthy approval process required by the school to order new materials, we experienced several delays in the arrival of our materials. While we were unable to begin the overhaul of the vehicle without new parts, we were lucky enough to already have our vehicle in our hands. We took advantage of this by using the time while we were waiting for our materials to come in to test a few different sensors that we knew we would need in the second phase of our project. Using some old ultrasonic sensors and a speaker we found in the lab, we fashioned a backup safety system for our vehicle. As obstacles neared, the speaker would start beeping while the volume and frequency of the beeps increased as the distance to the objects decreased. This technology would be incredibly useful in the final product as with a number of these sensors positioned around the vehicle it could “know” where objects were around it.

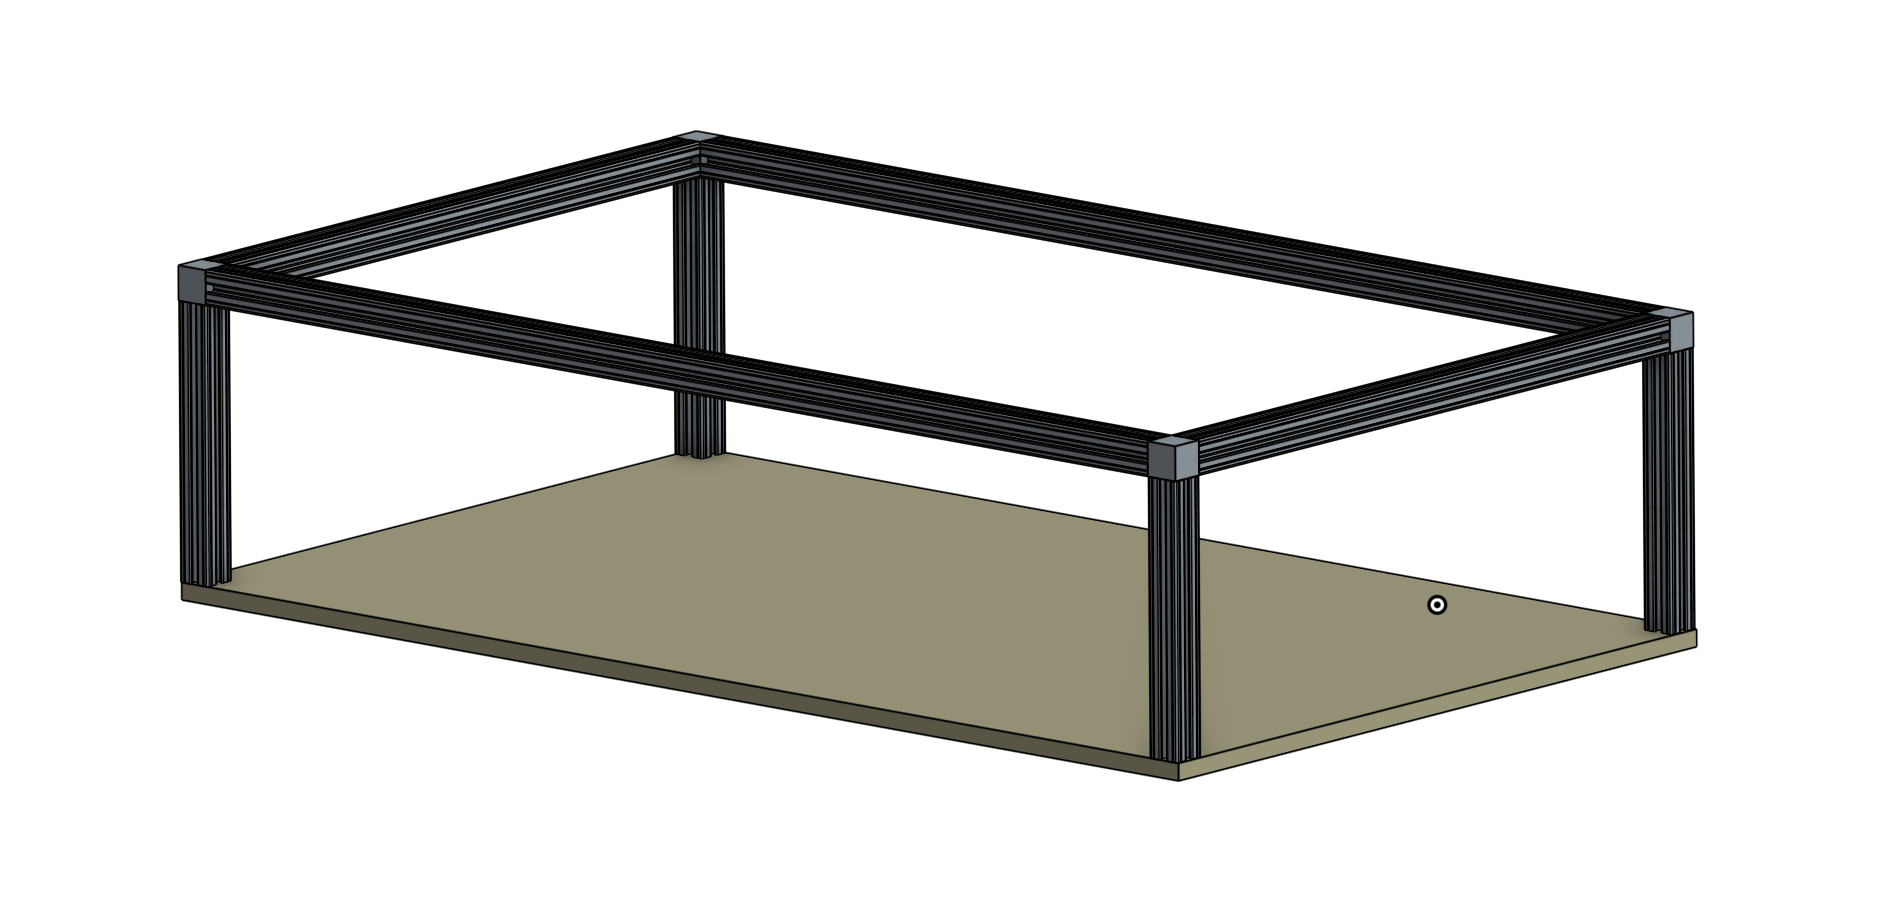
    As our orders began to arrive, we were able to officially begin Phase 1 of our project. The first step of this process involved the construction of a new chassis to add stability to the structure of the vehicle and increase the load it could handle. We ordered bulk 80/20 aluminum for this purpose as it was relatively lightweight, durable, and easy to assemble. We used a bandsaw to cut down the long rods to the desired length and then tapped the holes on the end so that they could be used with screws for sturdy attachment. Following these preparatory steps, we assembled our chassis and attached a wooden slab to the bottom that would eventually hold the gearboxes, motors, and other electronics.

    Attaching the original plastic shell to the chassis proved to be more difficult than expected. While the dimensions of the chassis were correct to fit the plastic shell, the original shell had a number of aesthetic and structural features that made it impossible to attach it to the new chassis immediately. As a result, we used a saw to cut down some of the excess material of the shell as well as some purely aesthetic features. Additionally, the original wheel and axles made it impossible to attach our new chassis so we removed those from the shell as well. Once this process was complete we were able to fit the original shell snugly on top of the new chassis. Although it was not yet permanently attached, this was an encouraging step. Next, we focused on reinforcing the plastic so that it can support the weight of a person. To do this, we took multiple wooden blocks and drilled them into both the frame we constructed and the plastic chassis. After doing so, the constructed frame and plastic are solid and provide good support.

    Another item needing replacement from the original vehicle was the steering wheel. The original vehicle came with an extremely flexible and flimsy plastic steering wheel that was difficult to turn and impractical for our uses. In an effort to solve this problem, we designed a new steering wheel on an online CAD software called Onshape where we could easily multitask. After the design process was completed, we printed the wheel on a Lulzbot TAZ 6 3D printer and replaced the original wheel with our newly constructed one.

    The next step was critical in making our vehicle suitable for an adult passenger. In the original car, there are two small plastic seats that were far too small for an elementary school student, let alone an average adult. We removed the original seating arrangement easily, but adding a new seat was more difficult than expected. We discovered that simply replacing these smaller seats with a new seat would not give the driver enough room to be comfortable so we cut off the back wall of the original shell, filled the empty space with a wooden slab, used pieces of wood to raise up the platform, and positioned our seat in a way that was farther back and raised up from its initial position. The addition of a new seating arrangement provided other benefits as well as we chose to use the new platform as a means to permanently attach the plastic shell to the chassis.

    Following this point, we have experienced significant delays as the original gearbox we ordered ended up being out of stock. We have placed an order for a replacement gearbox, but as with all orders there is a significant delay between the time we order and the time the materials arrive. There has been a sort of domino effect that has had many implications for our project. Since we have not had gearboxes, we have been unable to attach motors or wheels. As a result, our vehicle is unable to move, and while we were able to complete some parts of Phase 2 without the capability of motion, we will be unable to progress until these materials have arrived. However, when the gearboxes do arrive, we plan on connecting two motors into each of the two front gearboxes to give our vehicle a front wheel drive.

    Despite these setbacks, we have been able to take a few steps towards the goals set for Phase 2. One of the most significant of these steps was the addition of an IMU to the steering wheel. This will drastically increase the speed at which we are able to progress once the gearboxes have arrived as we will no longer have to worry about any complications that may come with mechanical steering and move forward with a far less complicated digital approach.

View all instructions

Enjoy this project?

Share

Discussions

PowerWheels wrote 05/29/2019 at 02:41 point

Although our project was aimed at modifying a power wheels vehicle to create an autonomous vehicle, we found that many of the same practices we used along with difficulties we faced are present for those designing full sized autonomous vehicles today. Whether it be something as simple as an ultrasonic sensor reading, or as complex as detecting street lights using machine learning, the challenges that creators of autonomous vehicles face everyday are difficult. However, innovations in this industry could drastically impact the future of the automobiles.

A future of autonomous vehicles could help solve the problems of traffic and accidents we see everyday. Even the most focused drivers make mistakes, and innocent lives are lost every day due to minor human errors. Autonomous vehicles can help solve the issues of distraction and error while providing numerous other benefits such as decreasing the rate at which pollution is being added to our environment. Although two deadly crashes in early 2018 did scare some into believing that autonomous driving testing is dangerous, it is essential and necessary to test because of the countless improvements that a road full of autonomous vehicles could lead to.

Although we faced several difficulties both throughout the construction of our vehicle and in terms of part arrival, there were many positives that resulted from our research. We were able to construct an easy to install back-up sensor, wire an IMU to read the angle of the steering wheel, and optimize our vehicle to accommodate for larger people and heavier material. We hope that future Automation and Robotics senior researchers can use our project as a model to learn what techniques to modifying a vehicle are effective and what common mistakes can be avoided using different routes. As we graduate, we hope to advance our techniques and ability from Power Wheels cars and go-karts to real cars in the future, and we hope that we can use experiences from this project to guide the construction of fully autonomous vehicles.

  Are you sure? yes | no

Similar Projects

Does this project spark your interest?

Become a member to follow this project and never miss any updates