Kevin Harrington
-
Make Costume Competition winners announced
02/24/2017 at 16:02 • 0 commentsMake just announced Open Animatronics was a winner of the costume competition!
-
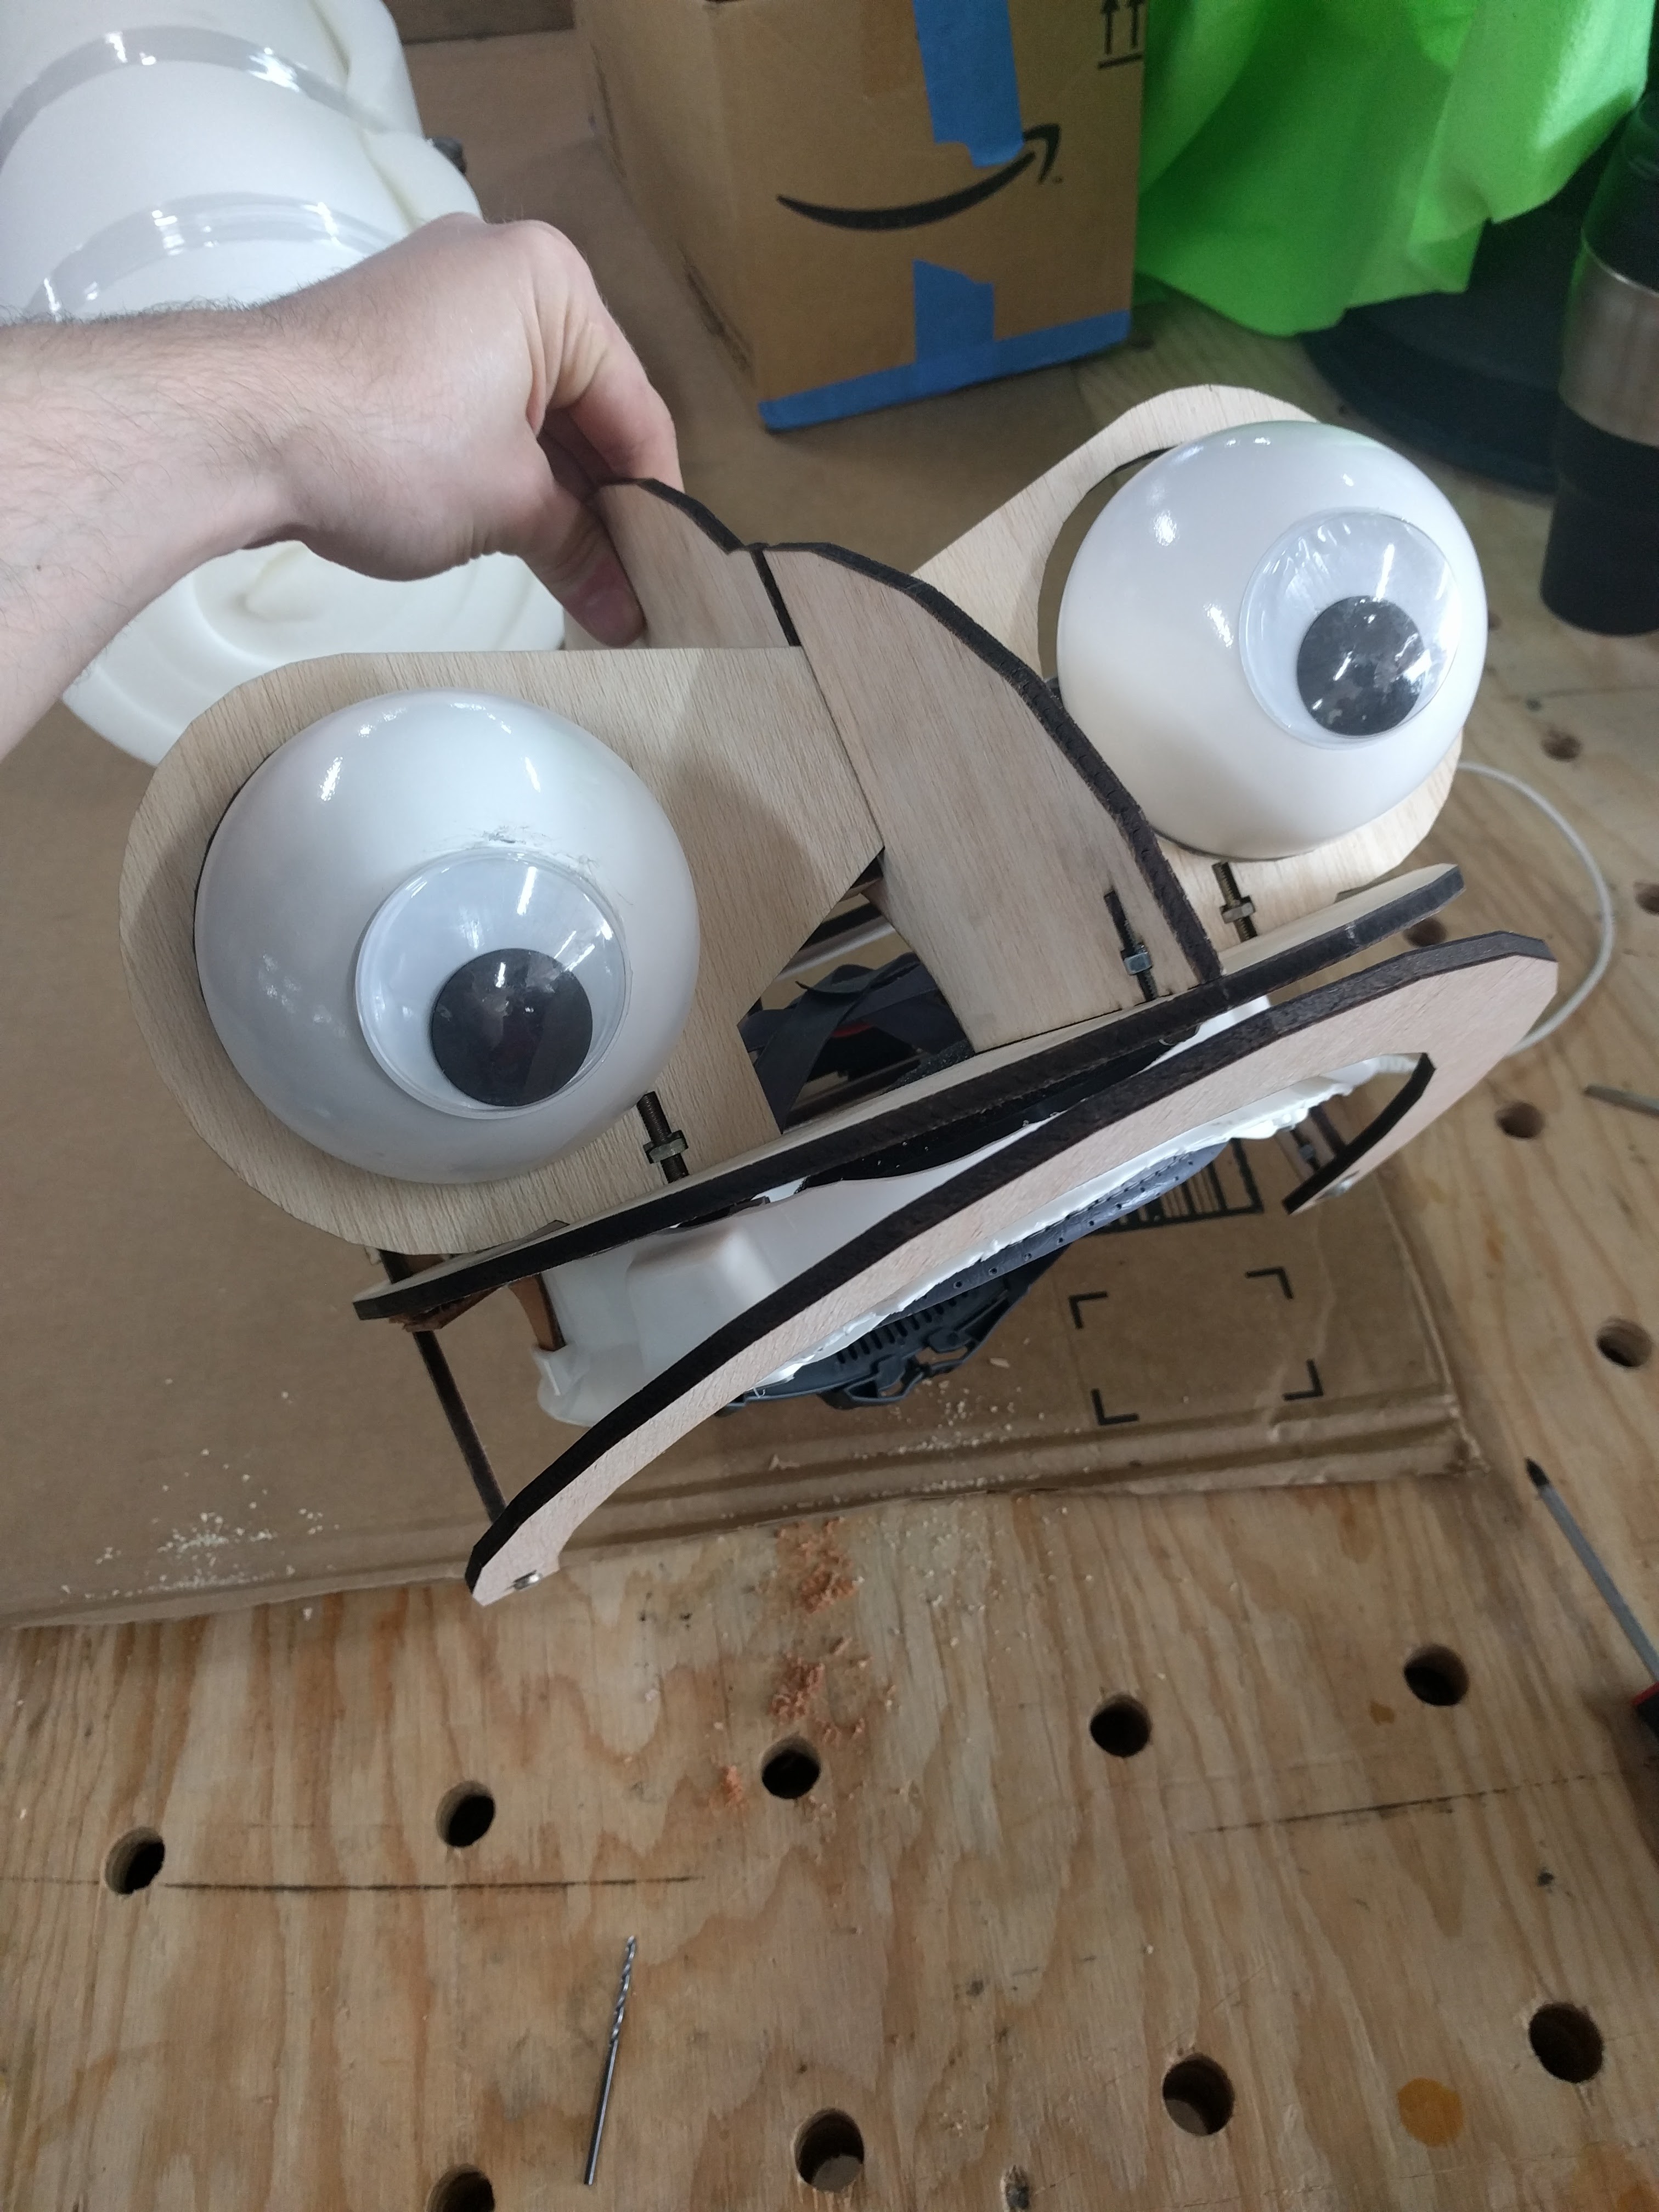
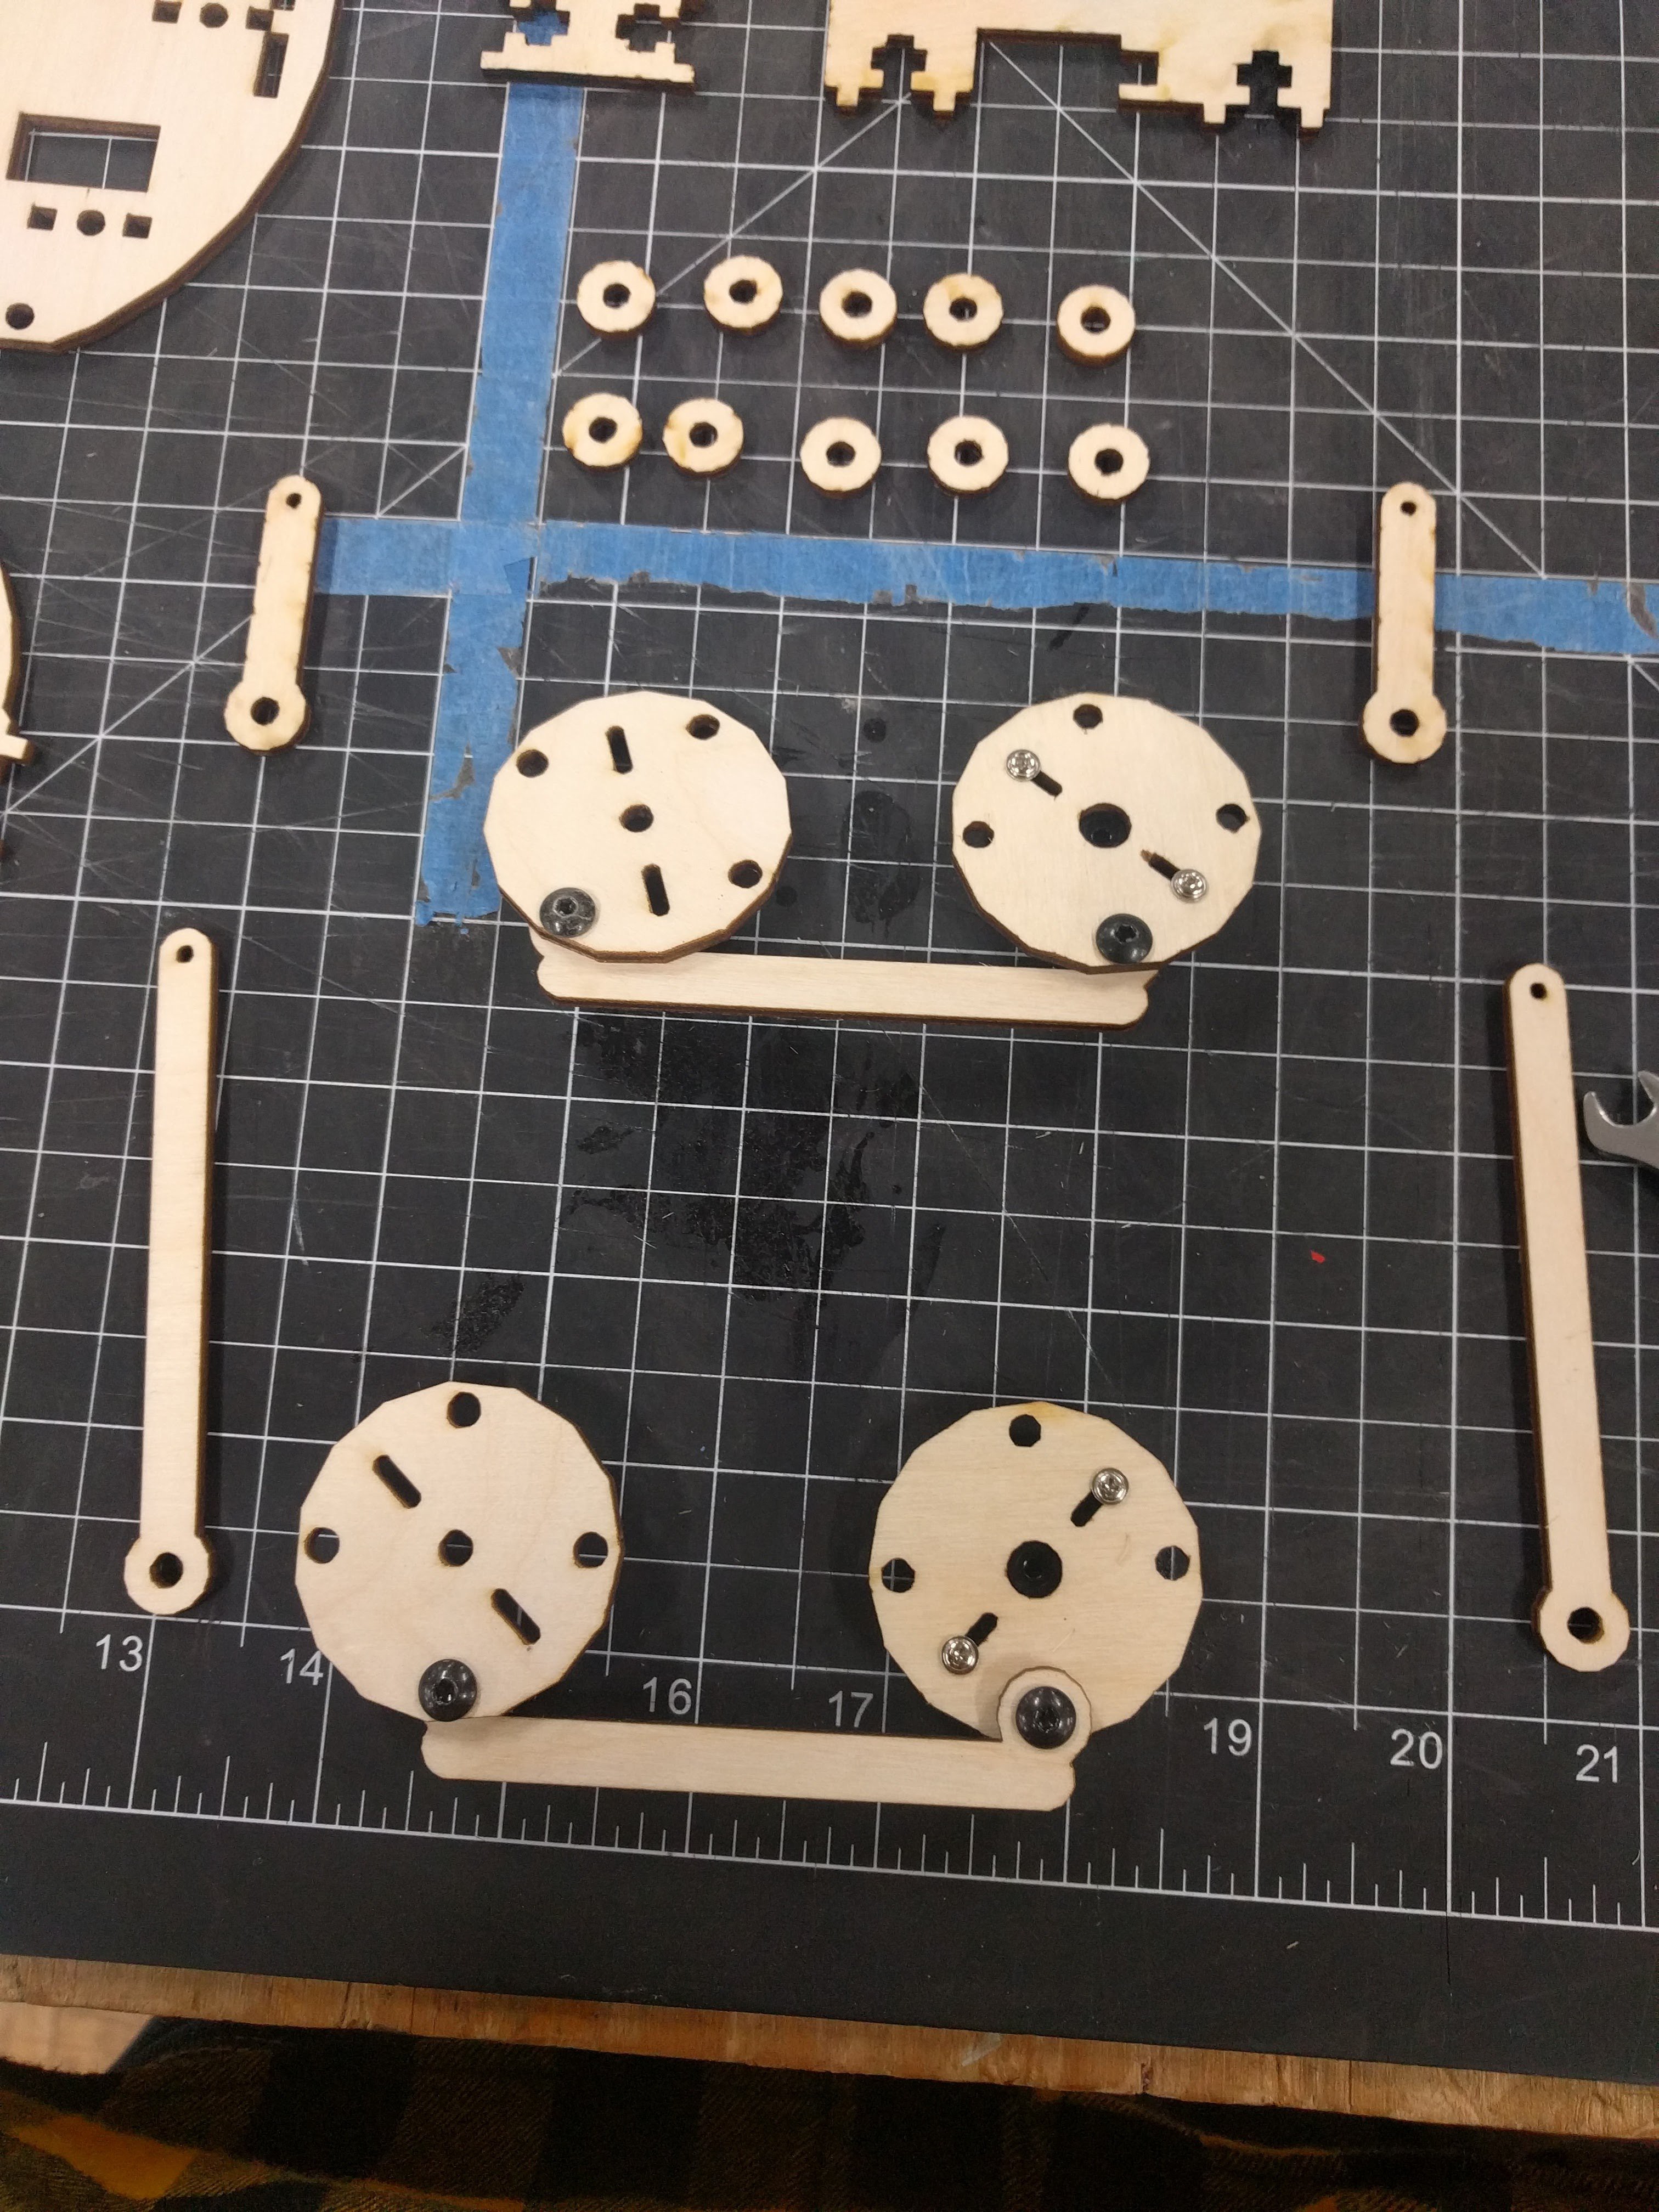
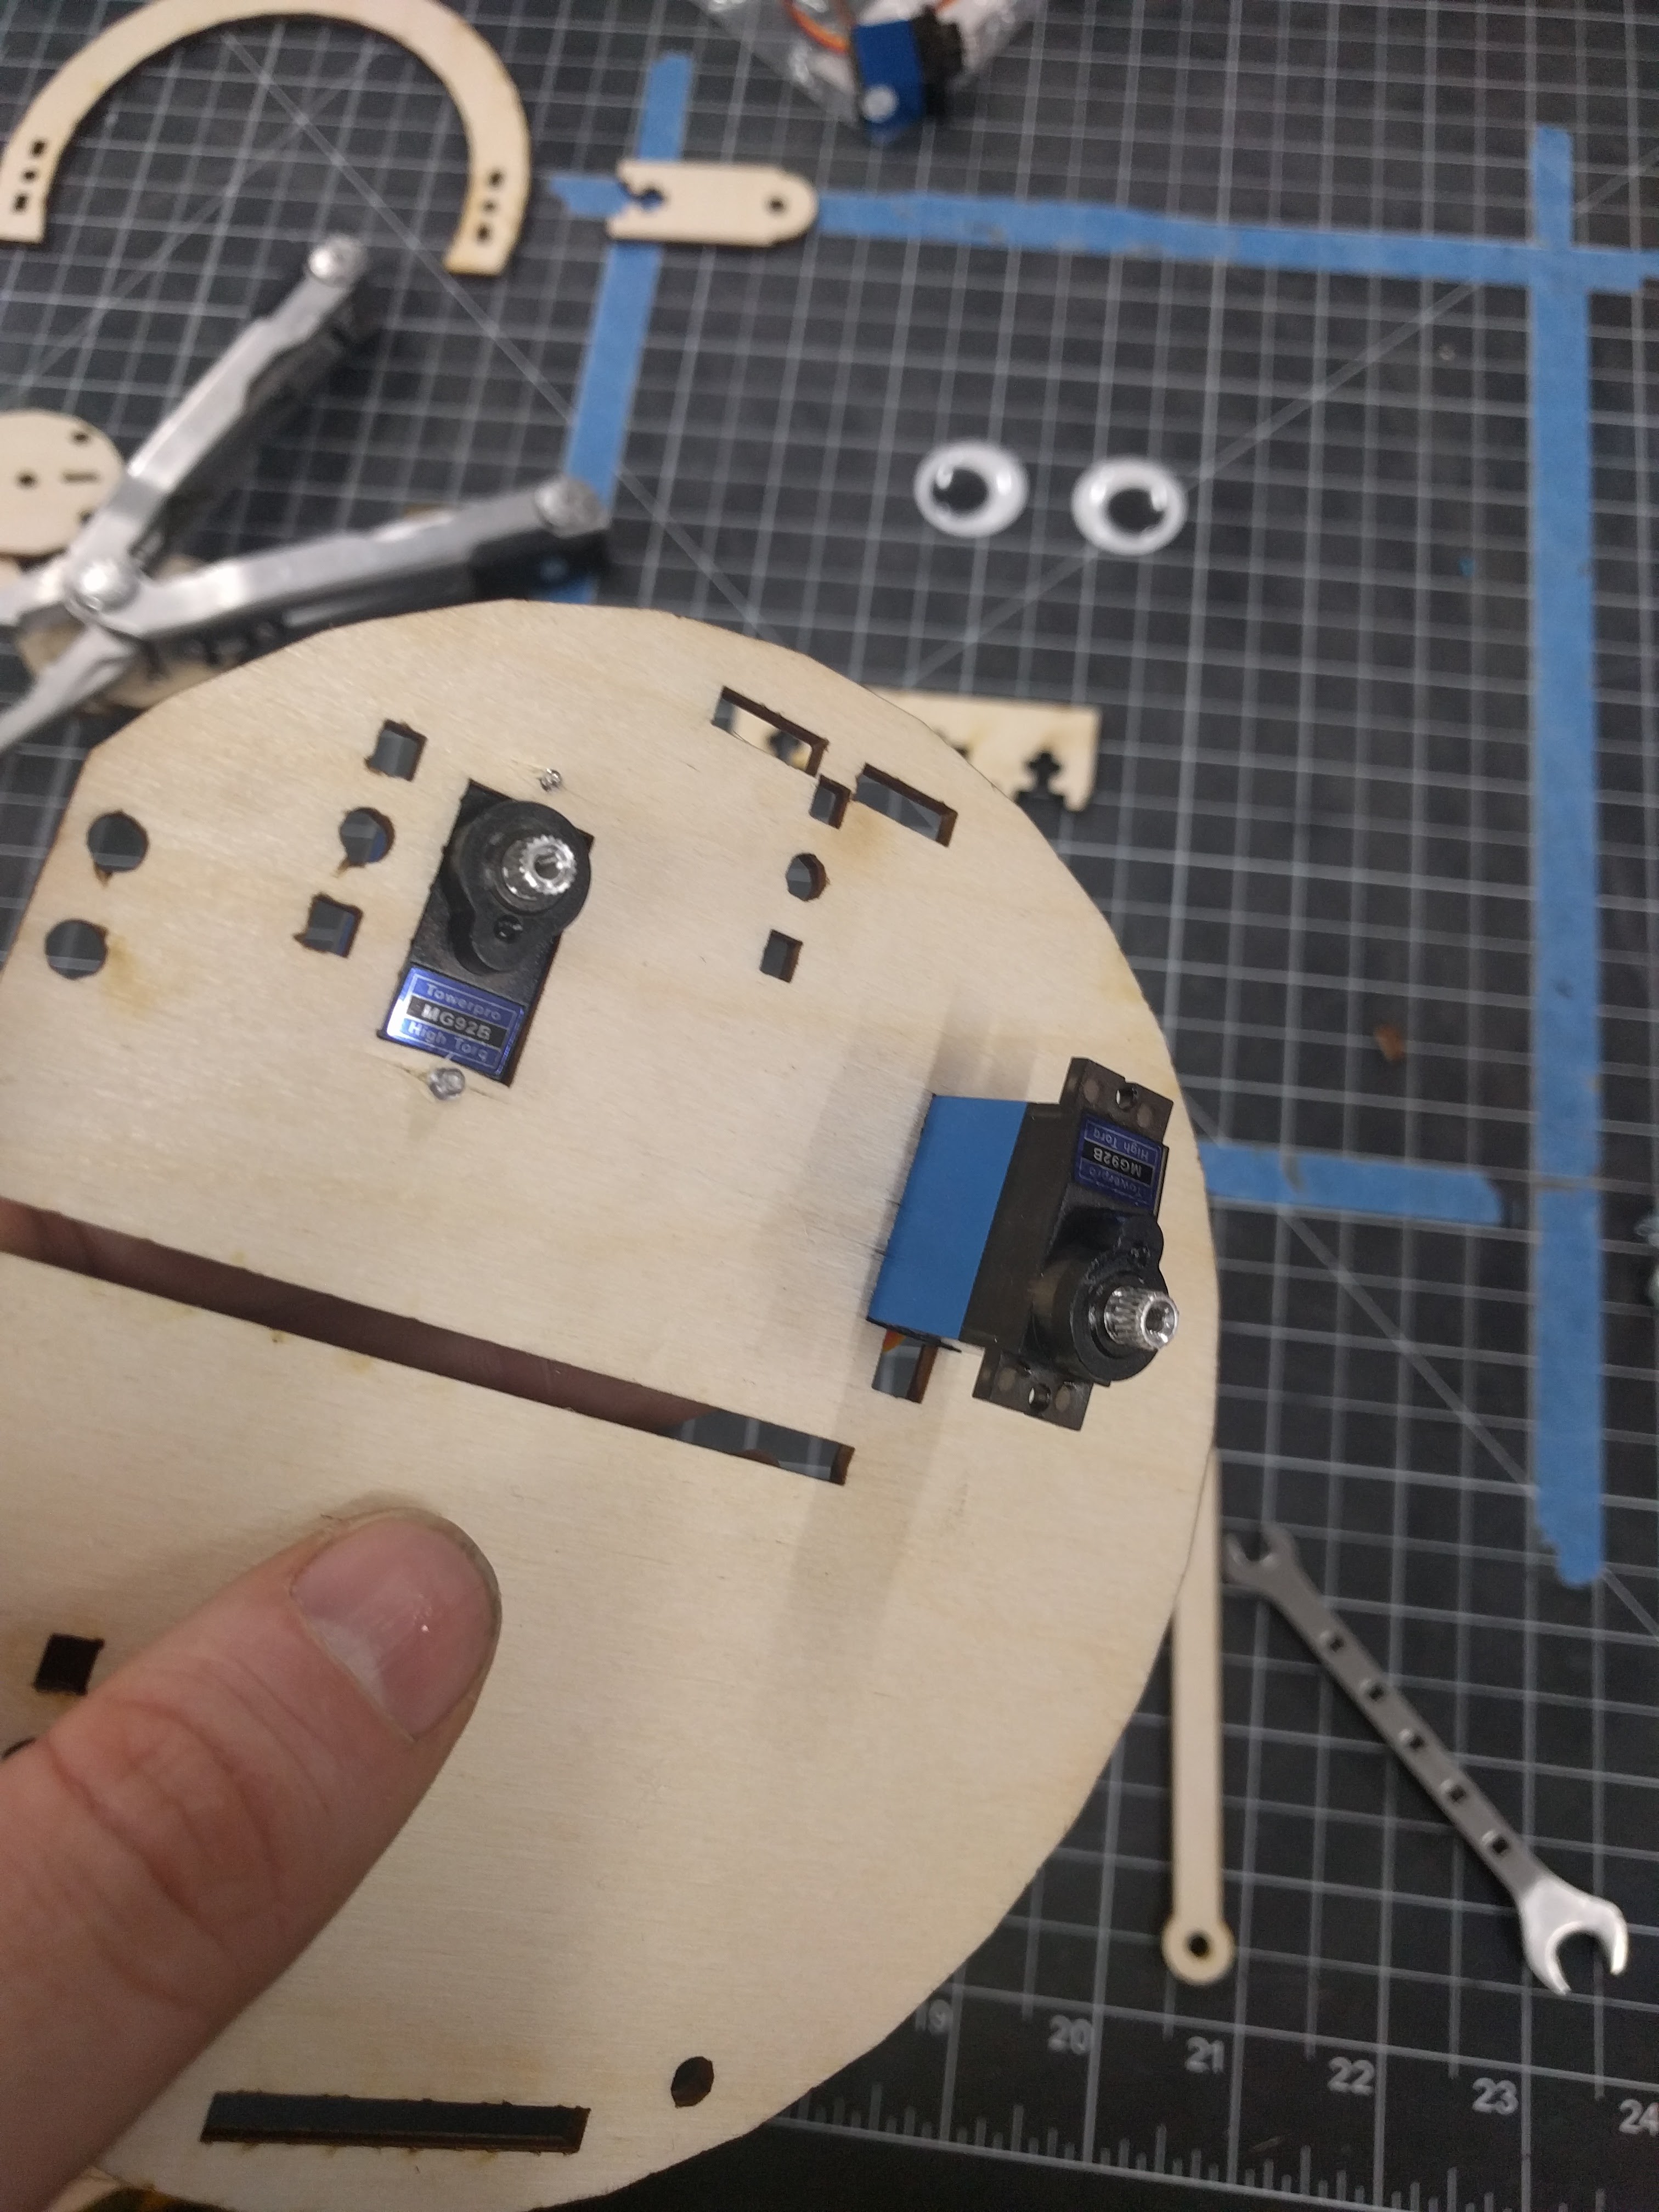
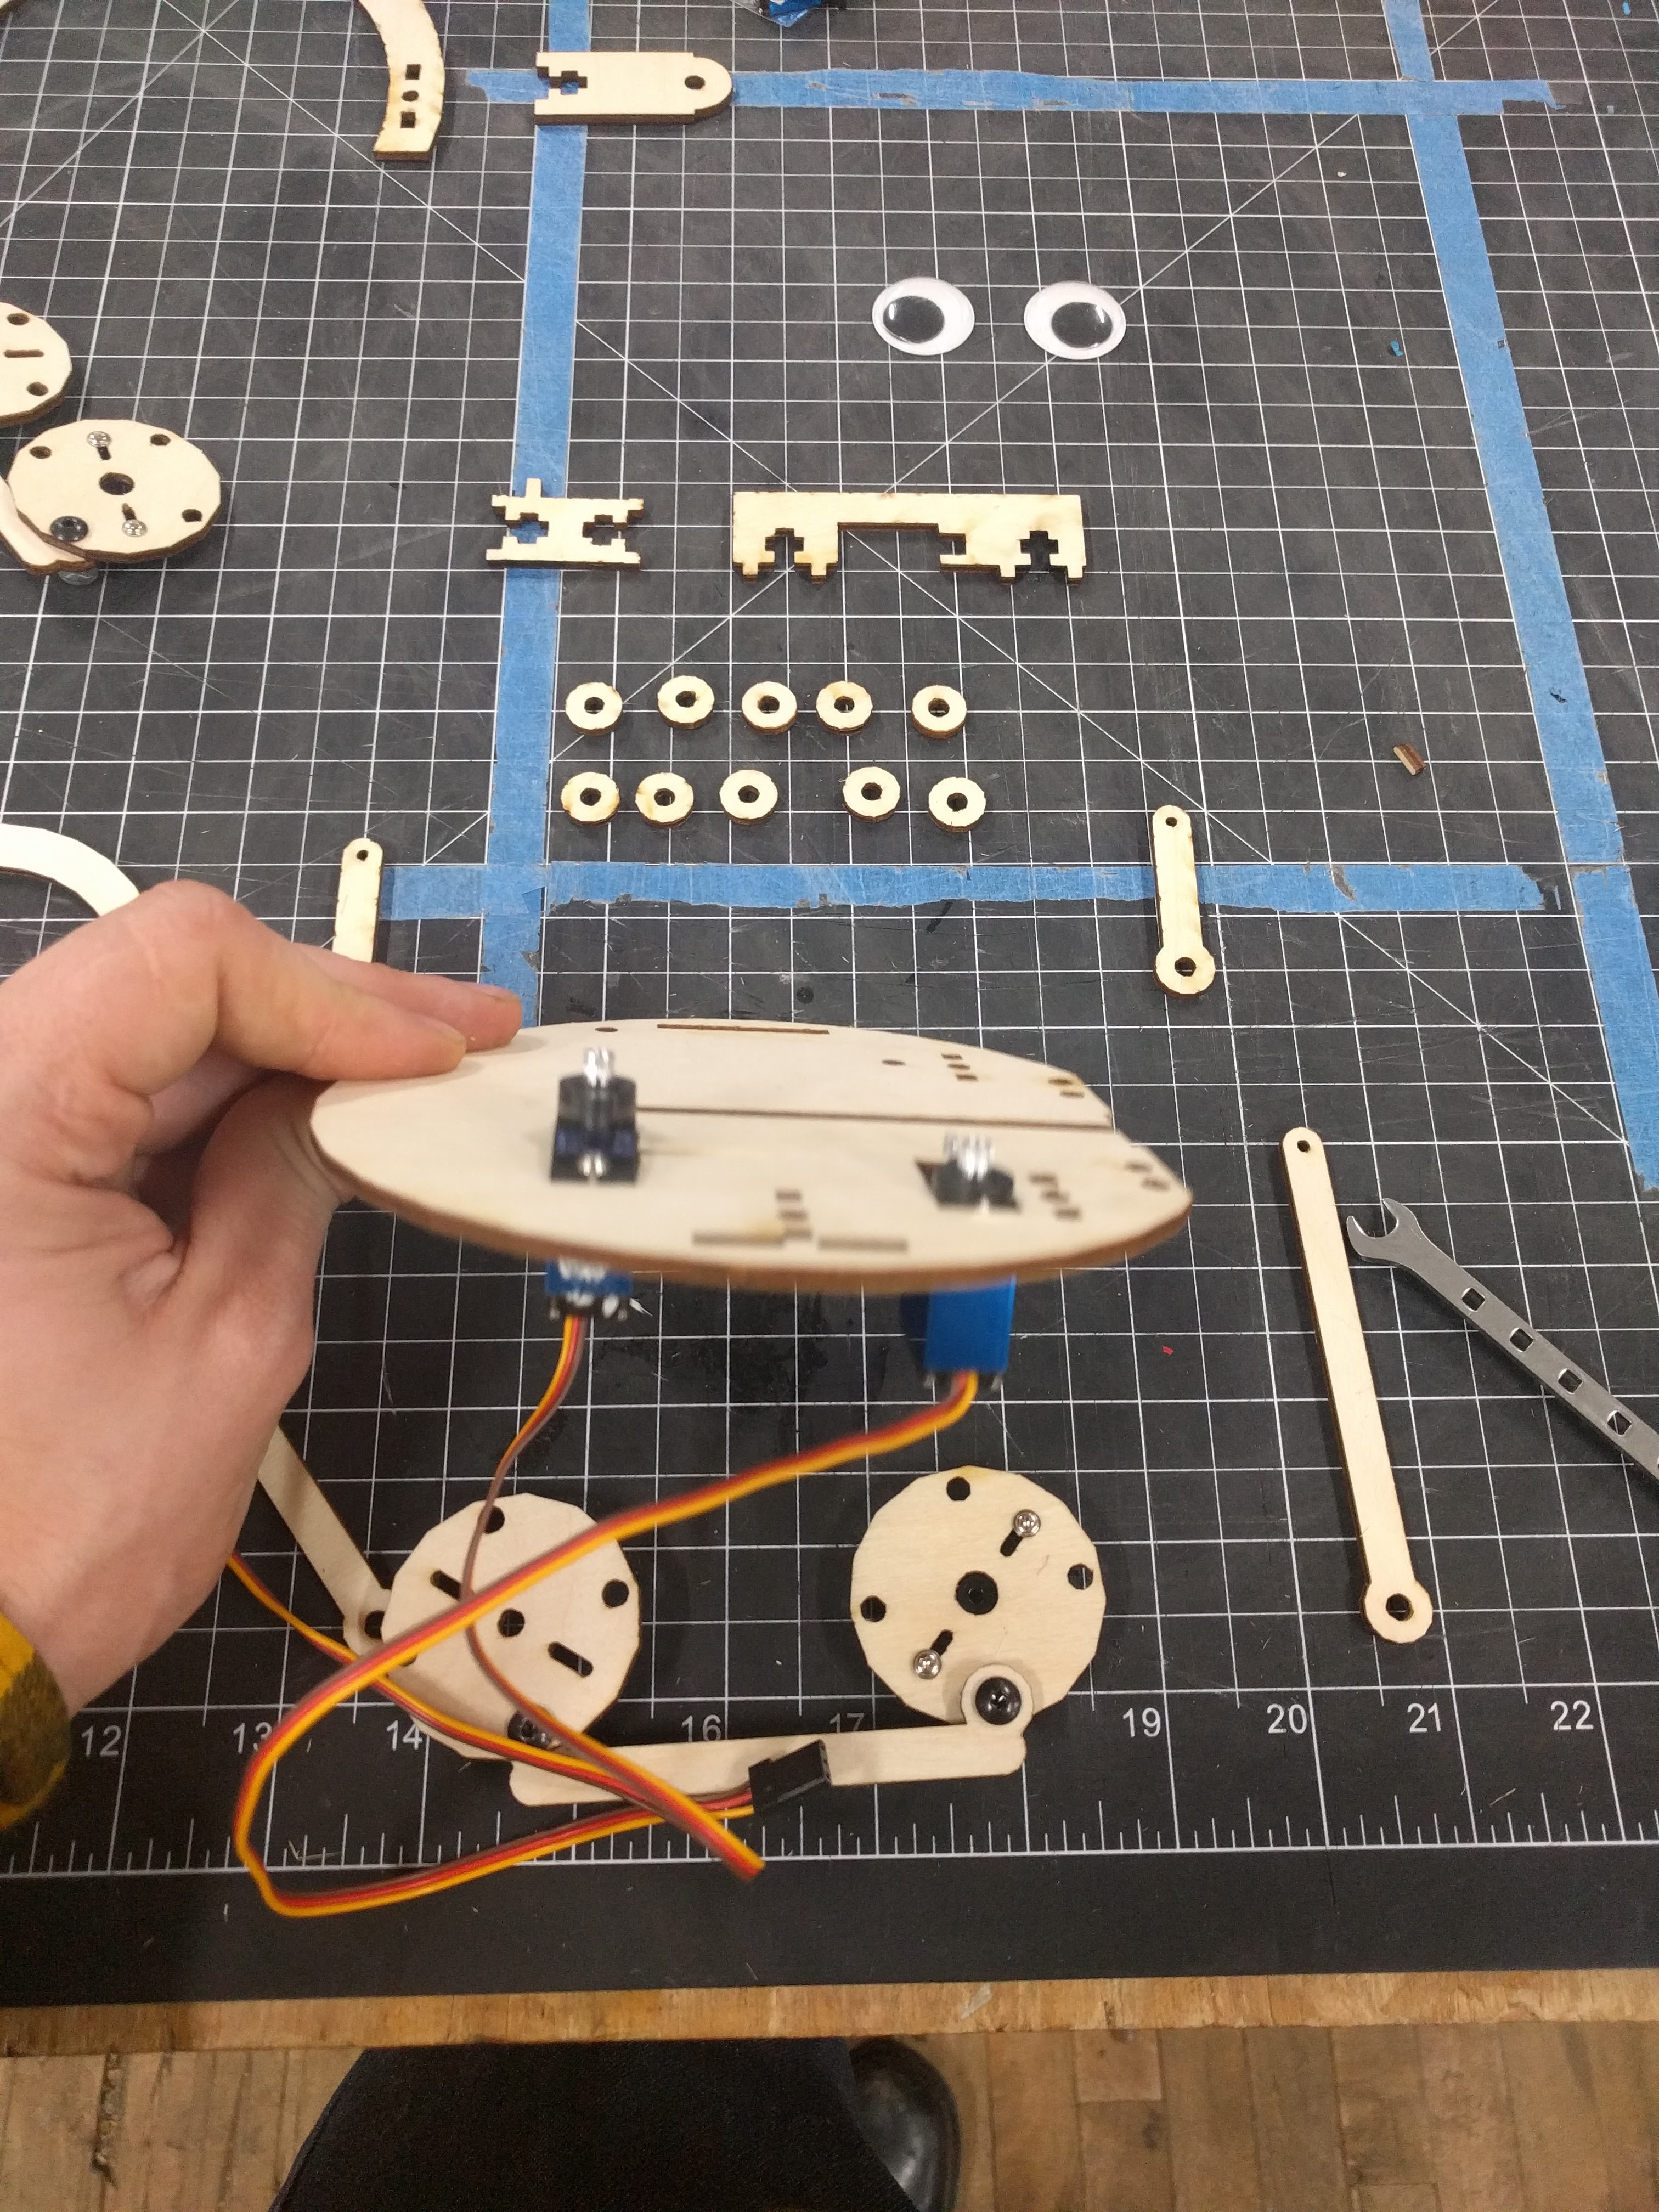
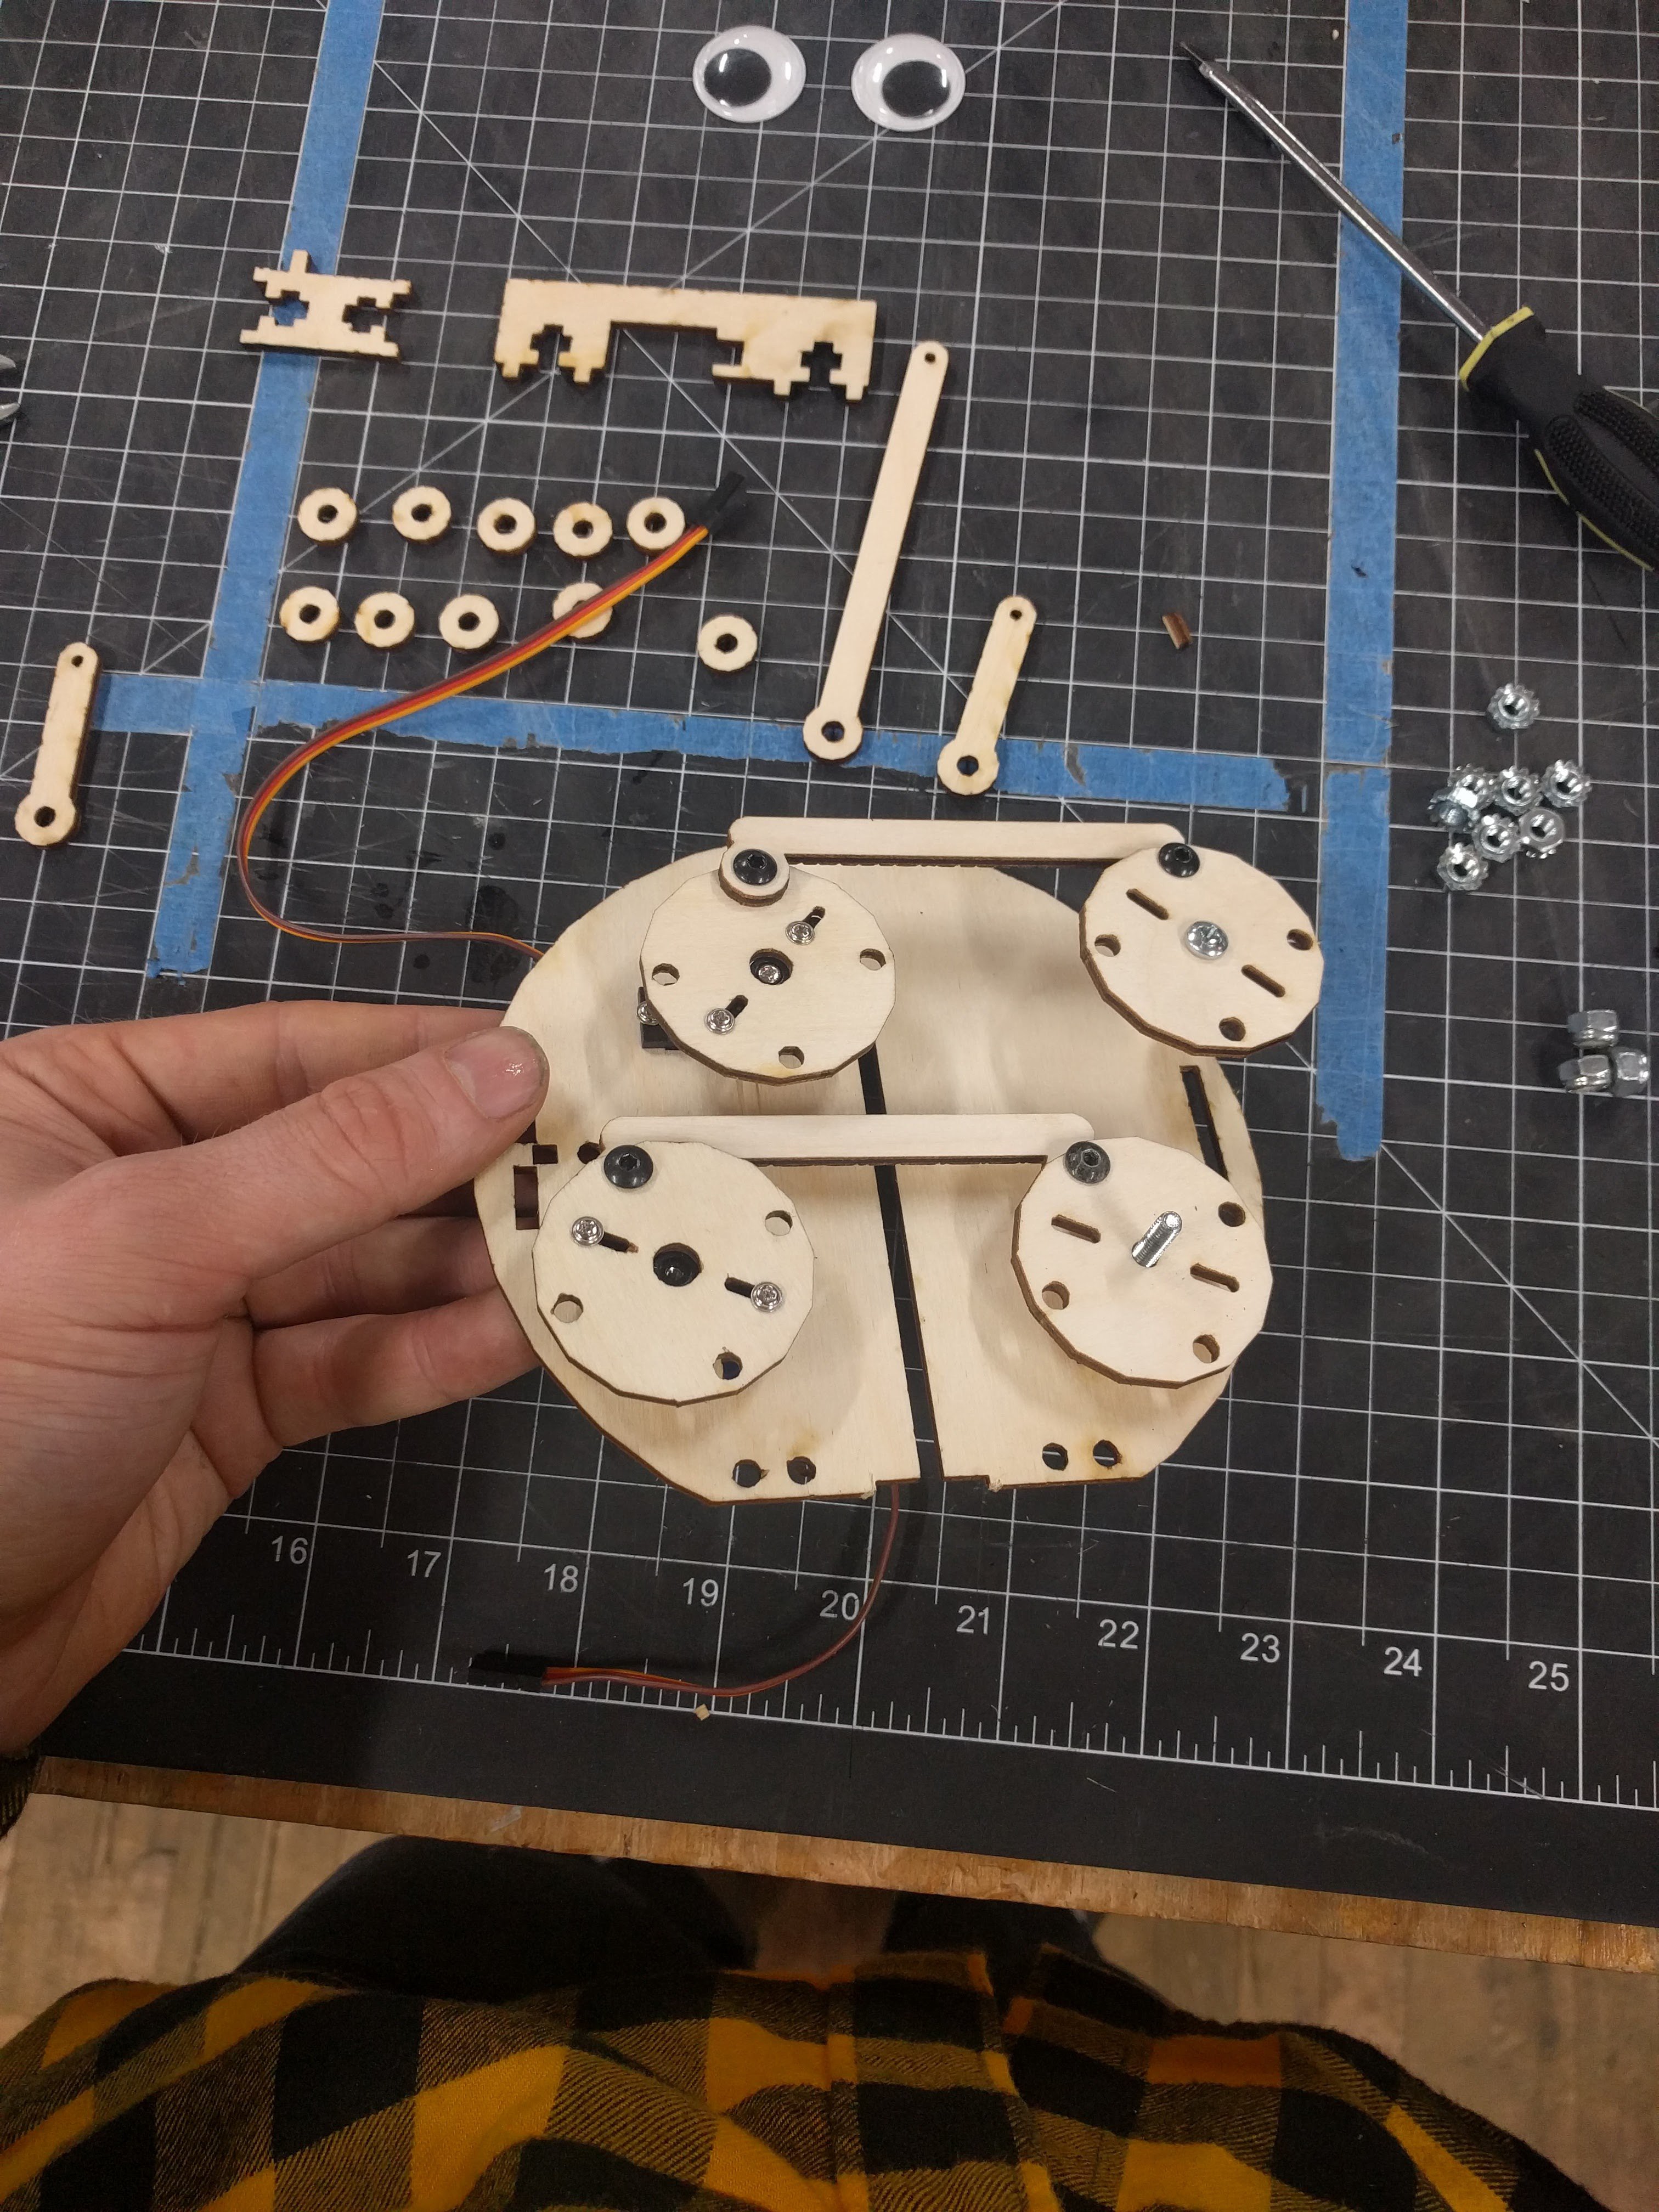
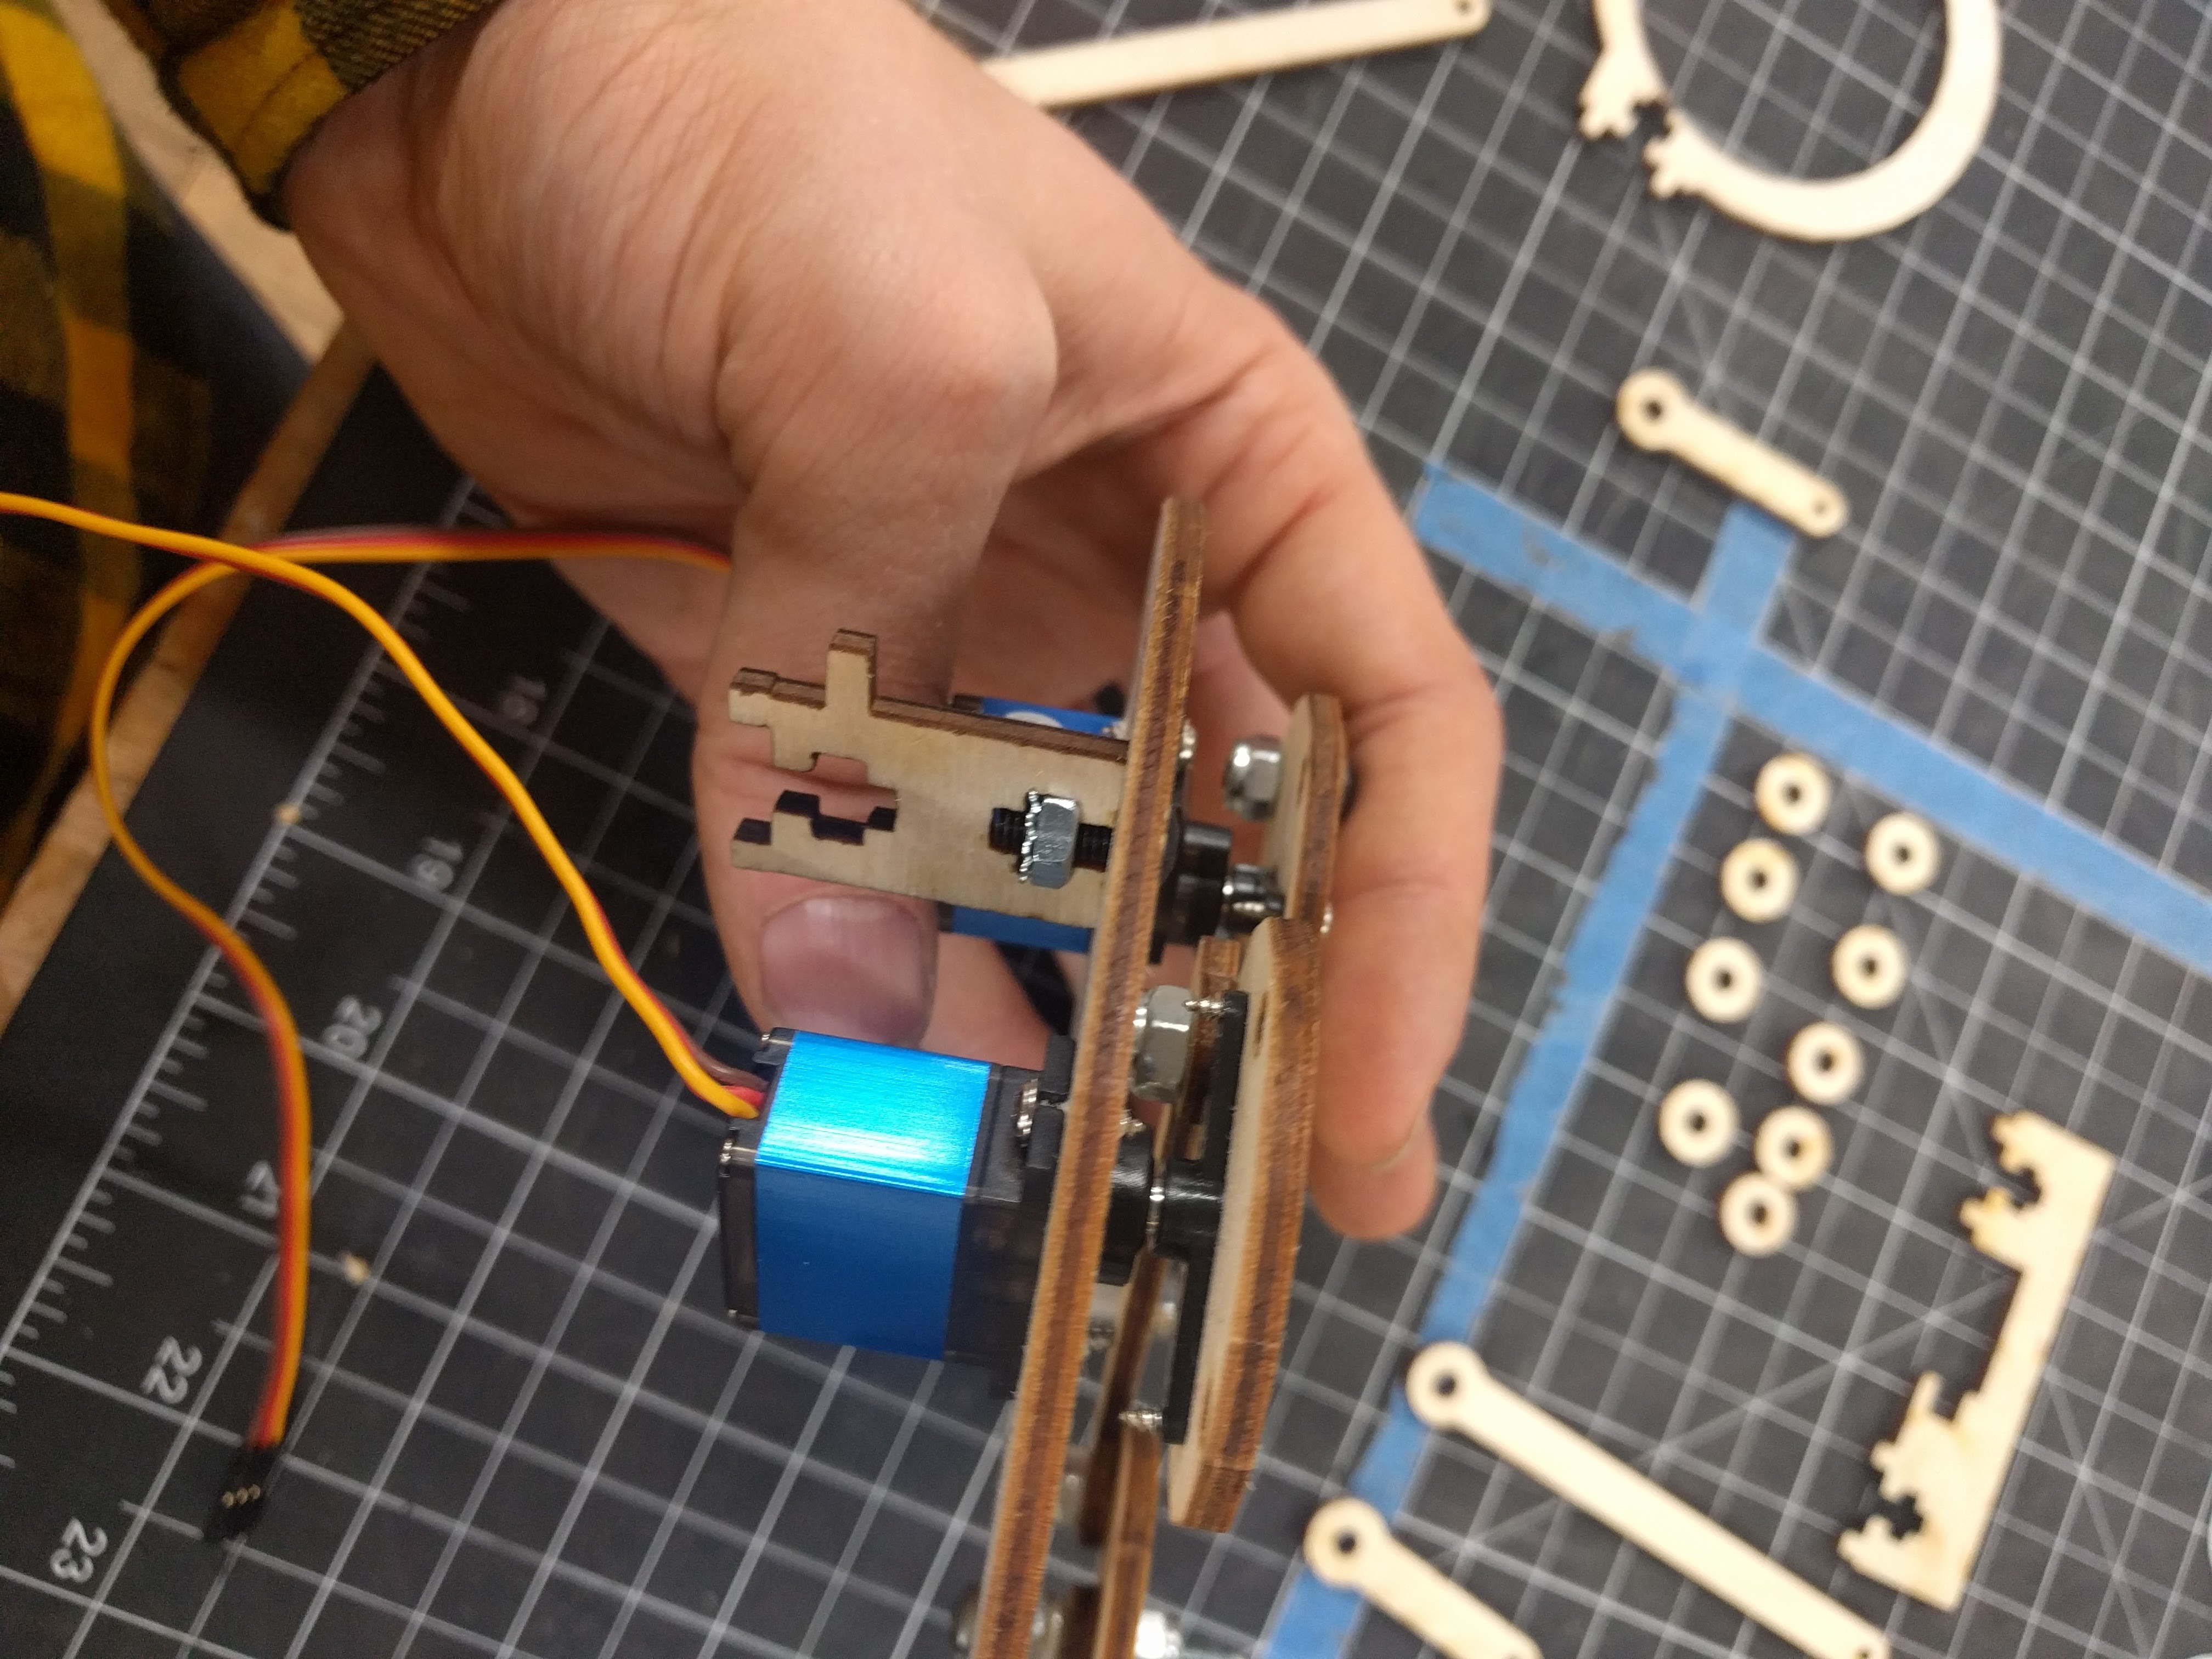
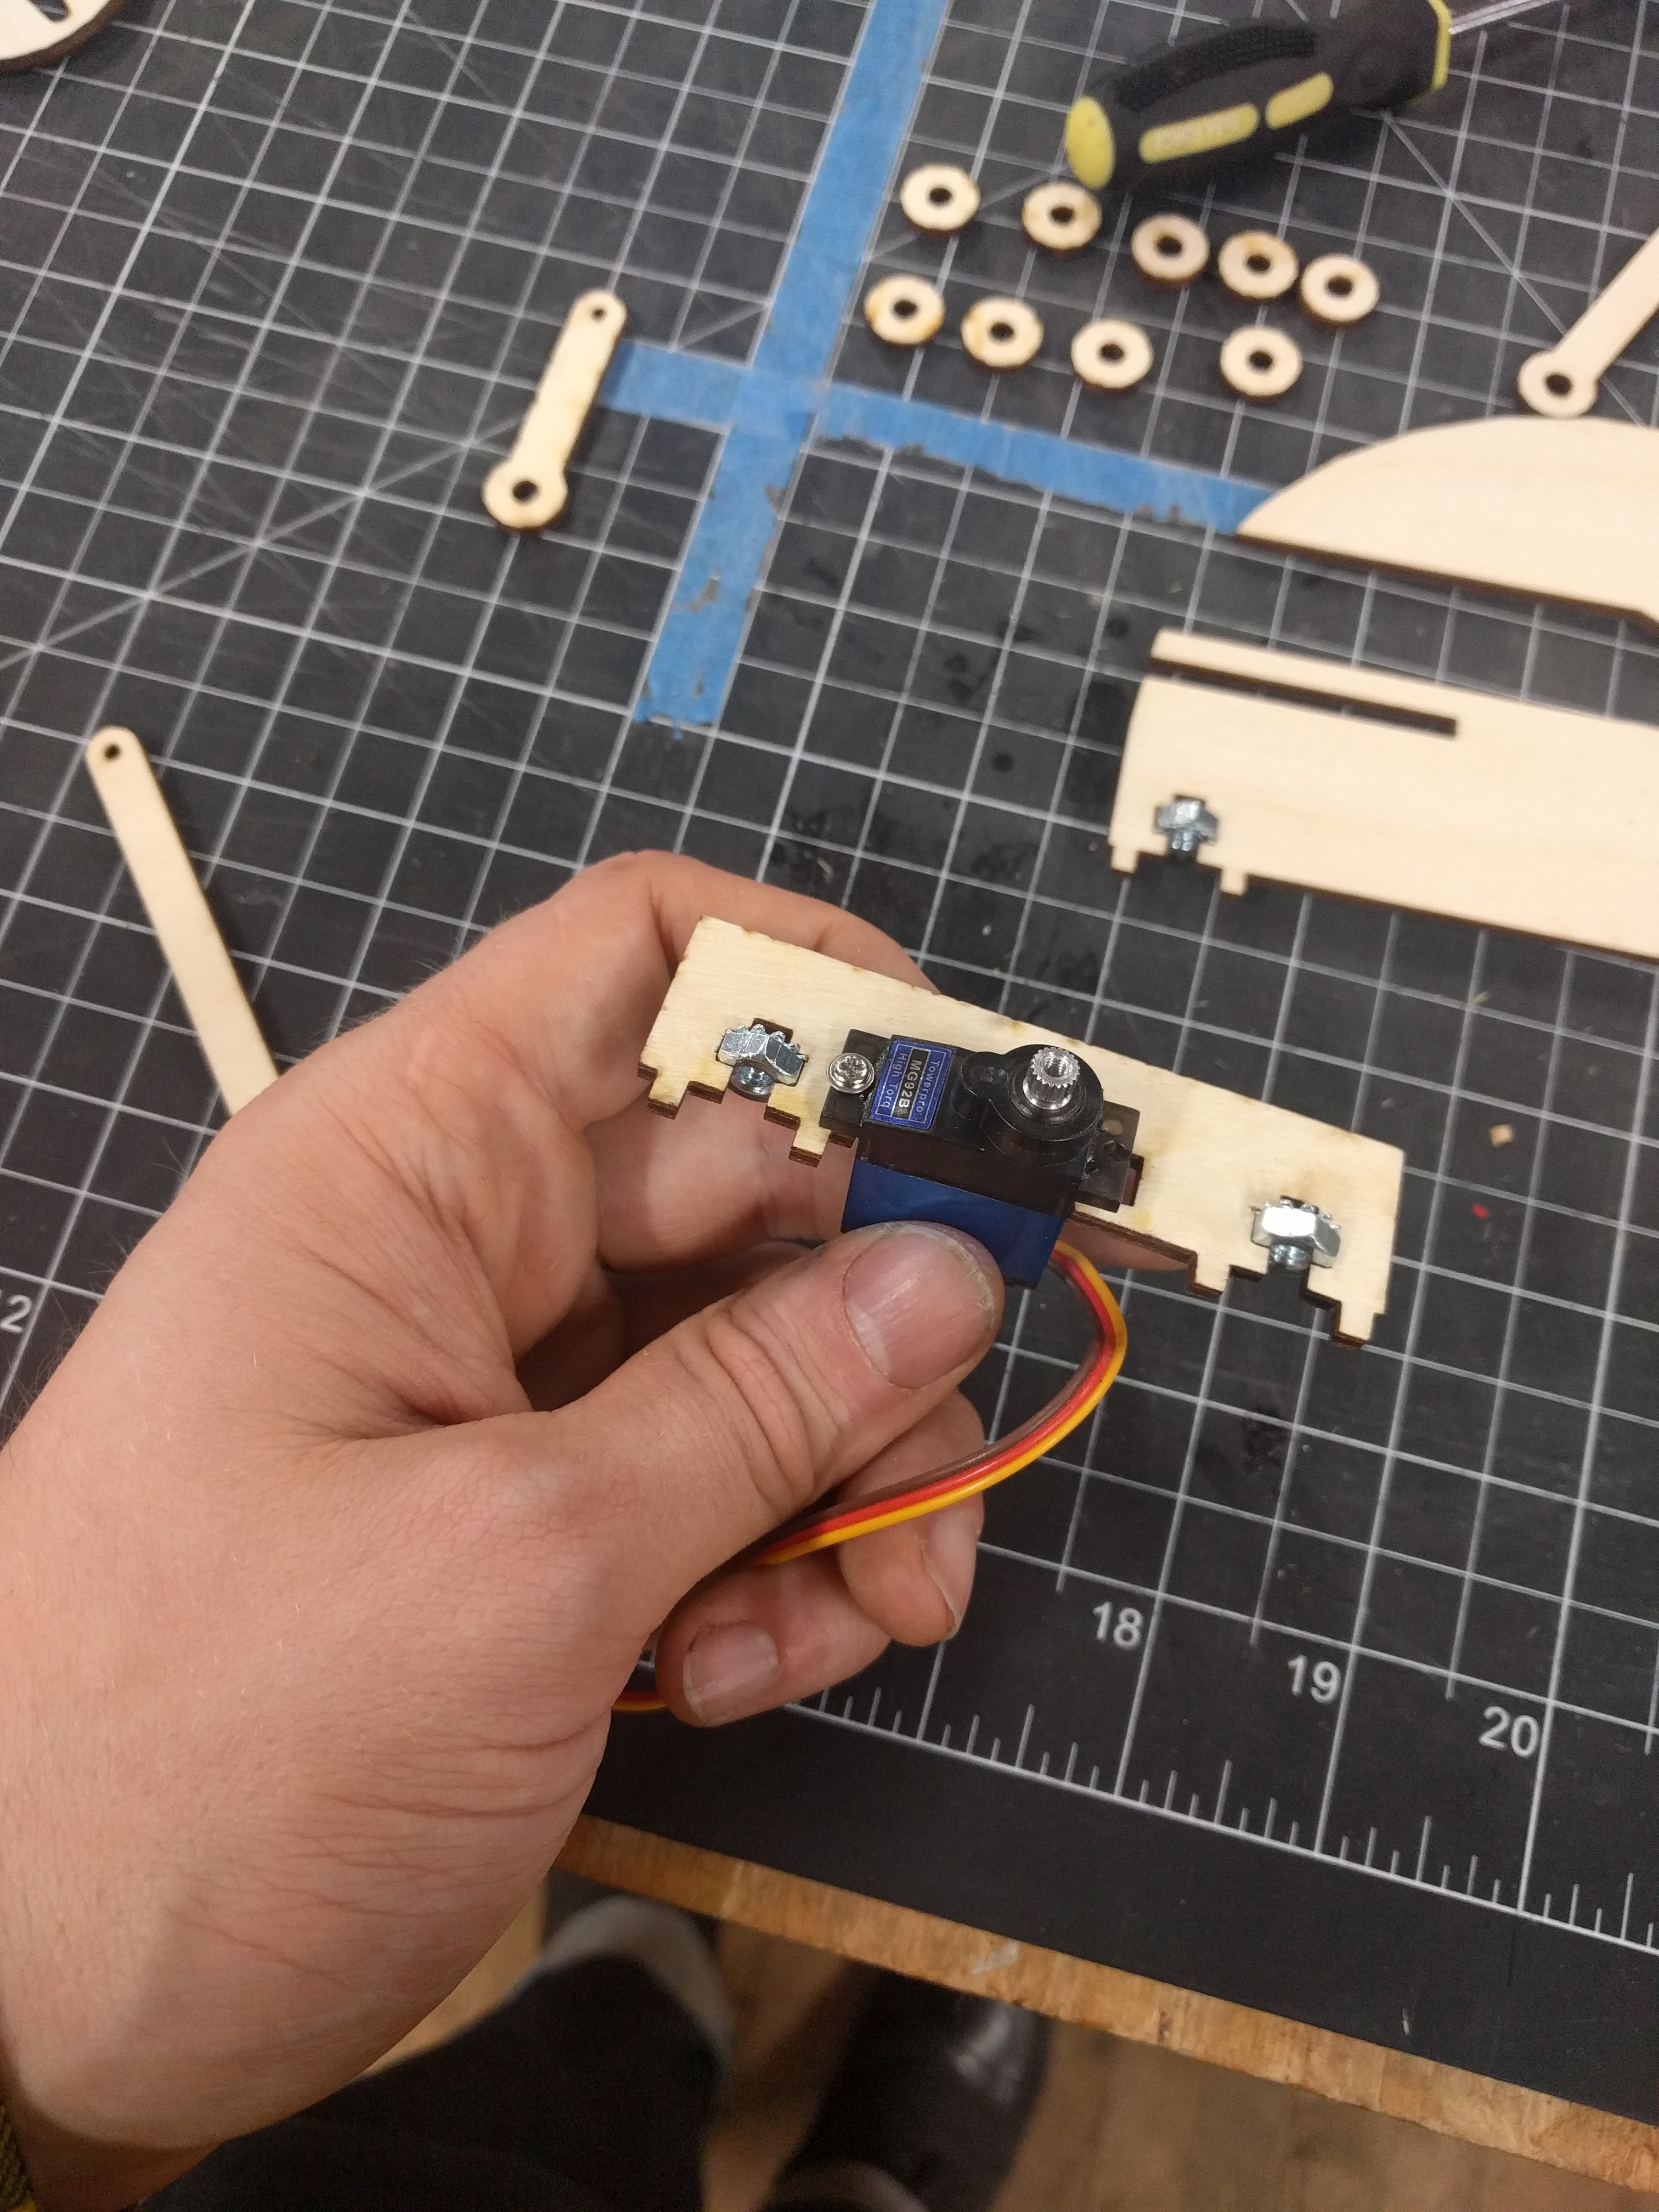
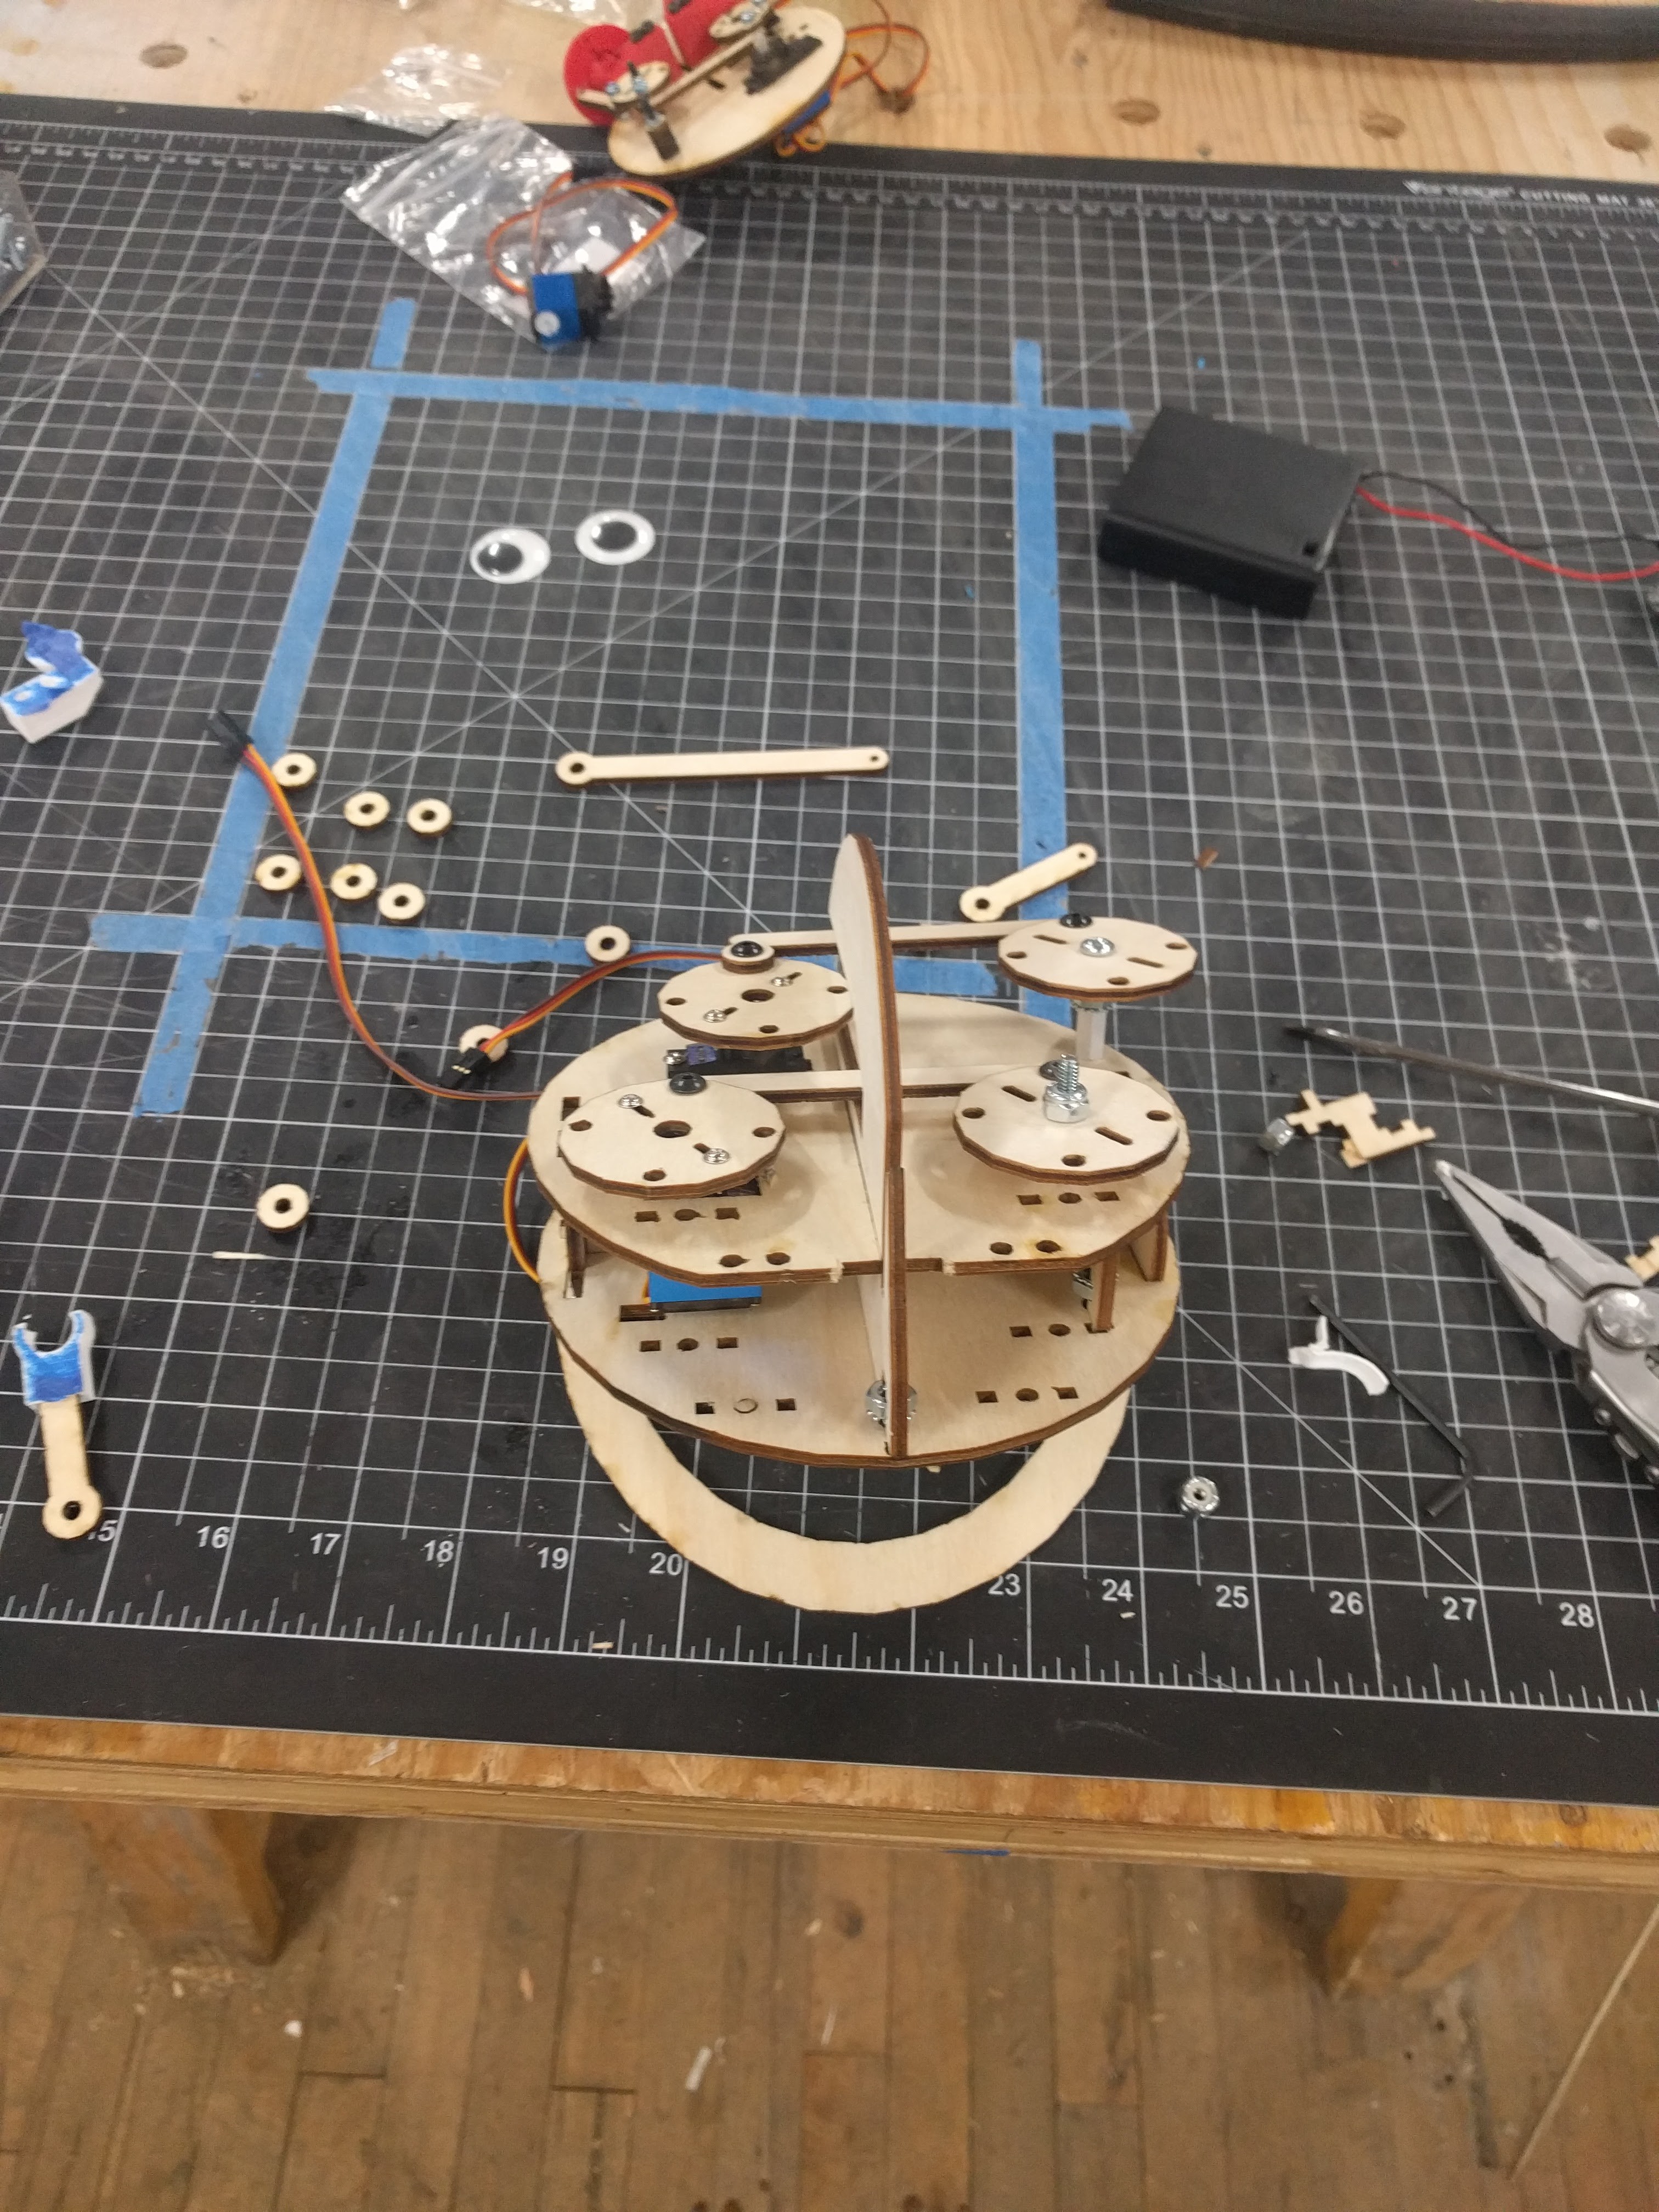
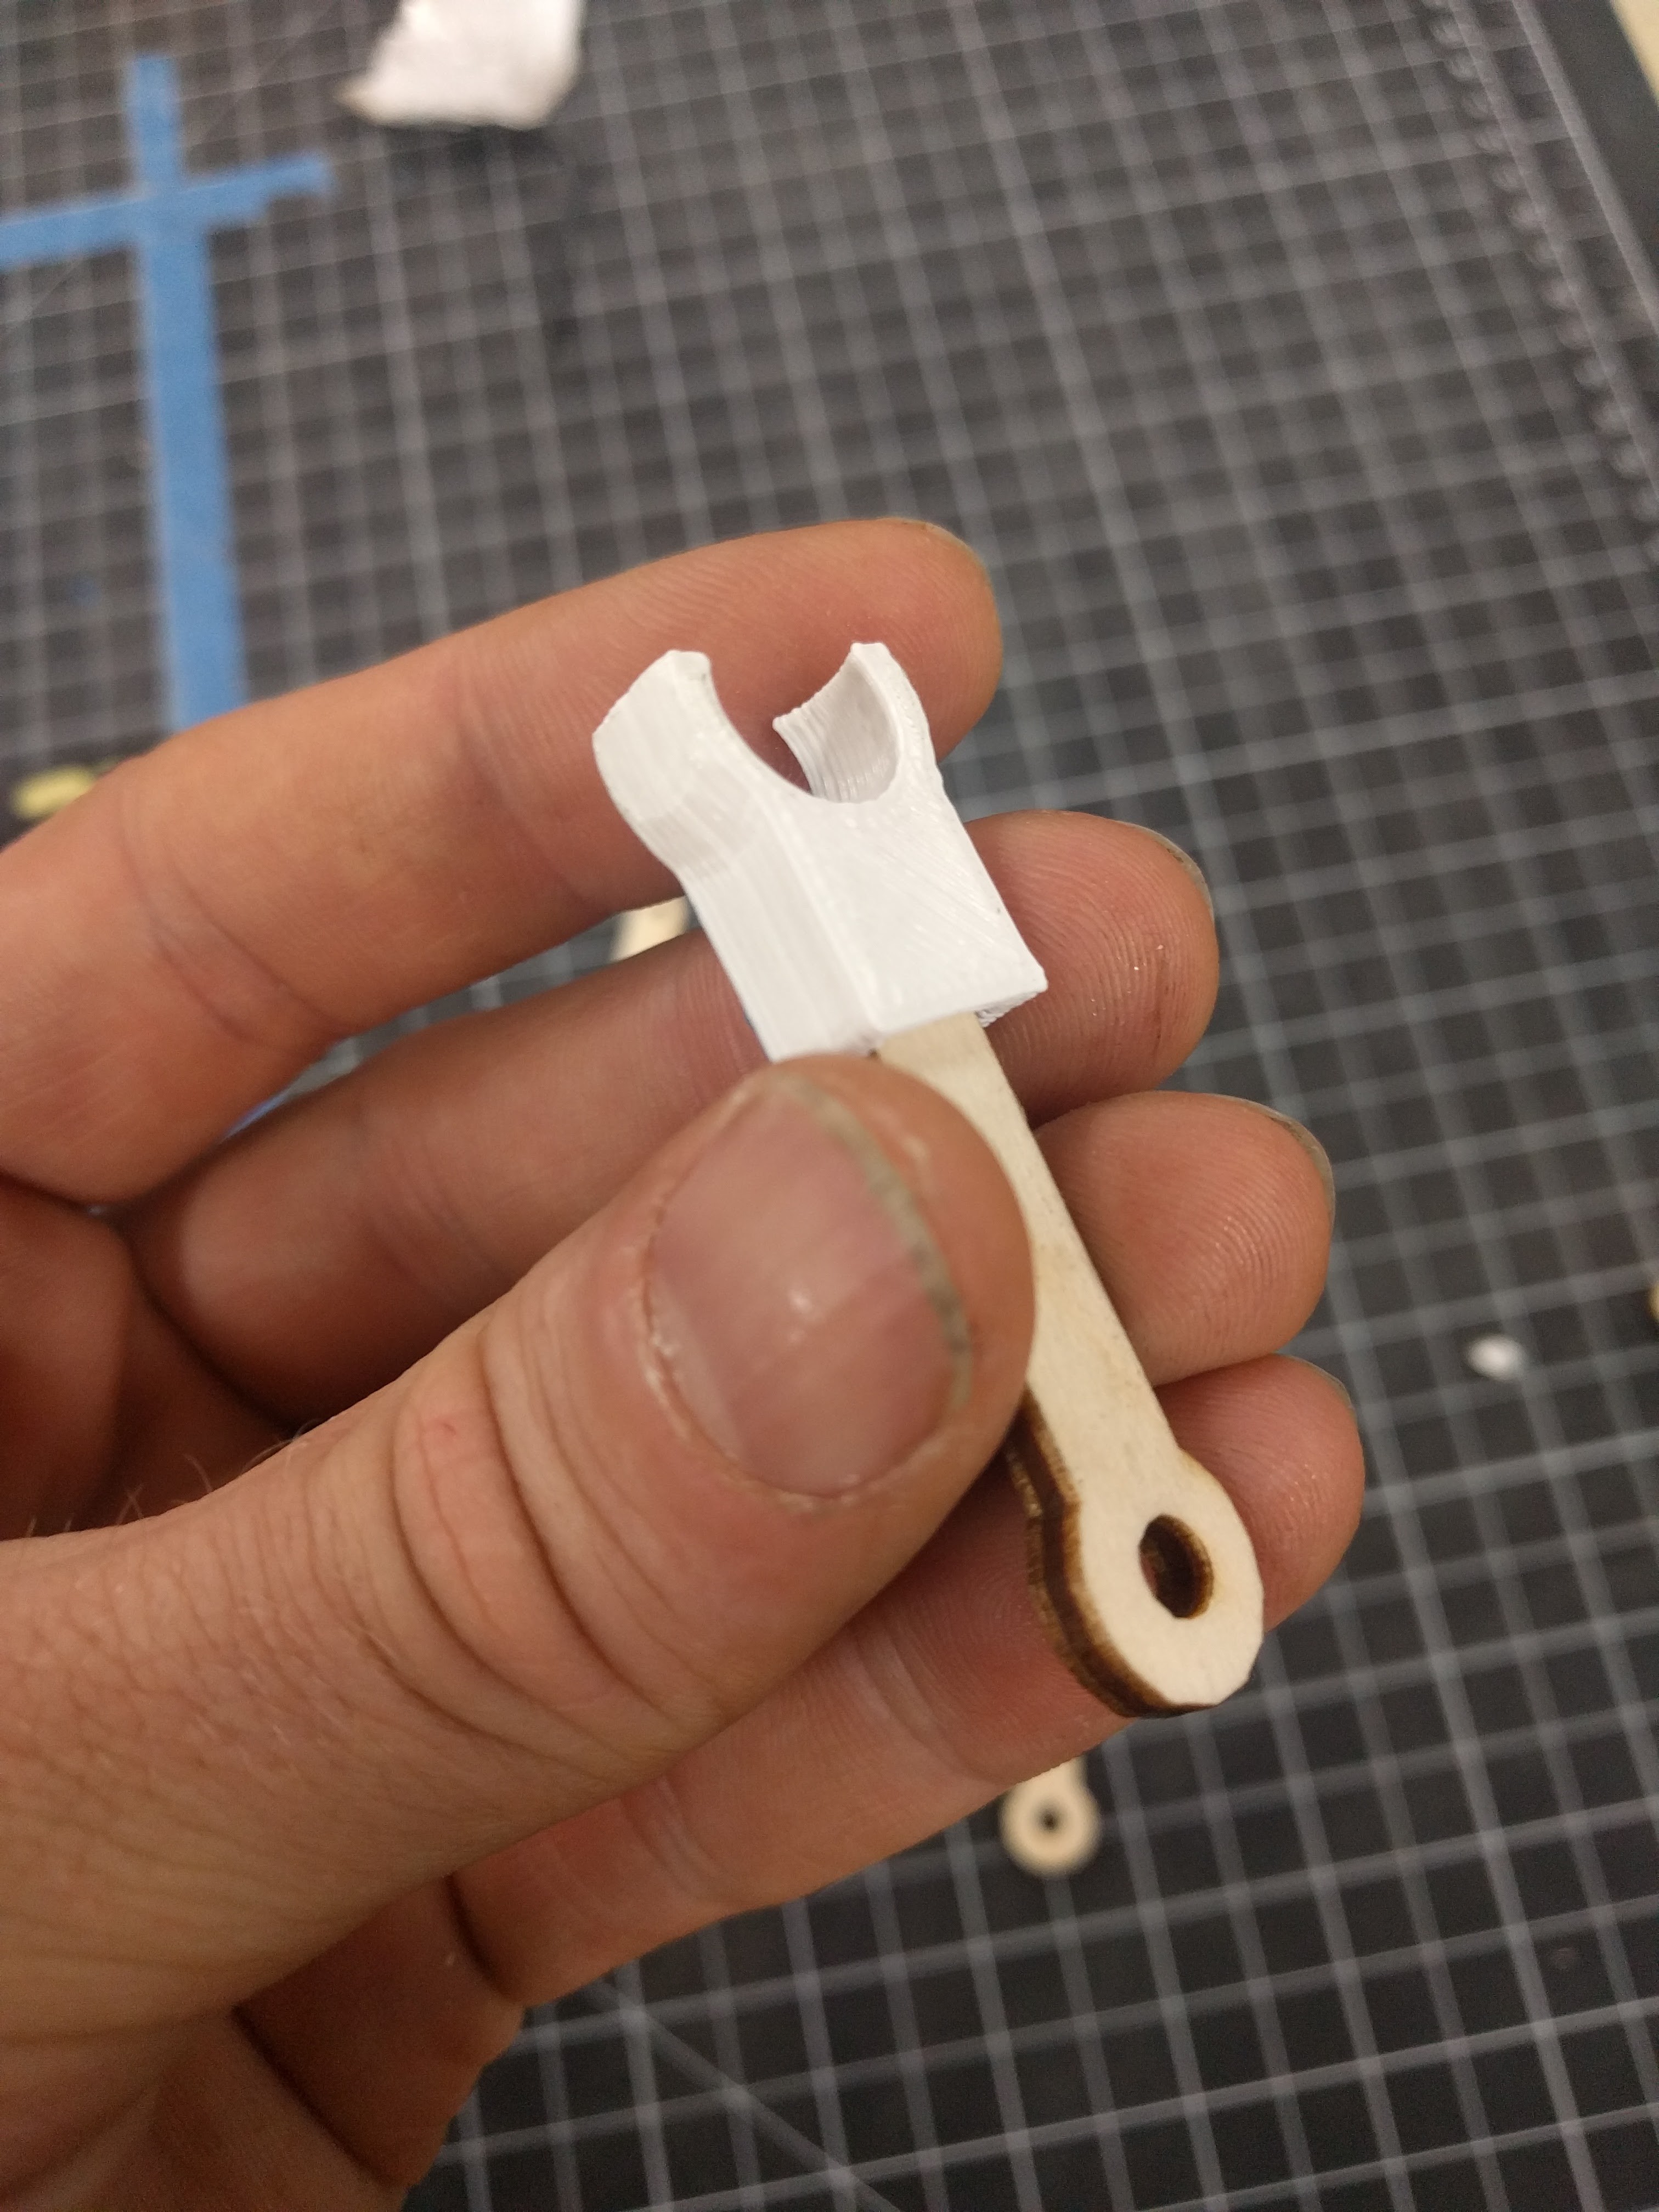
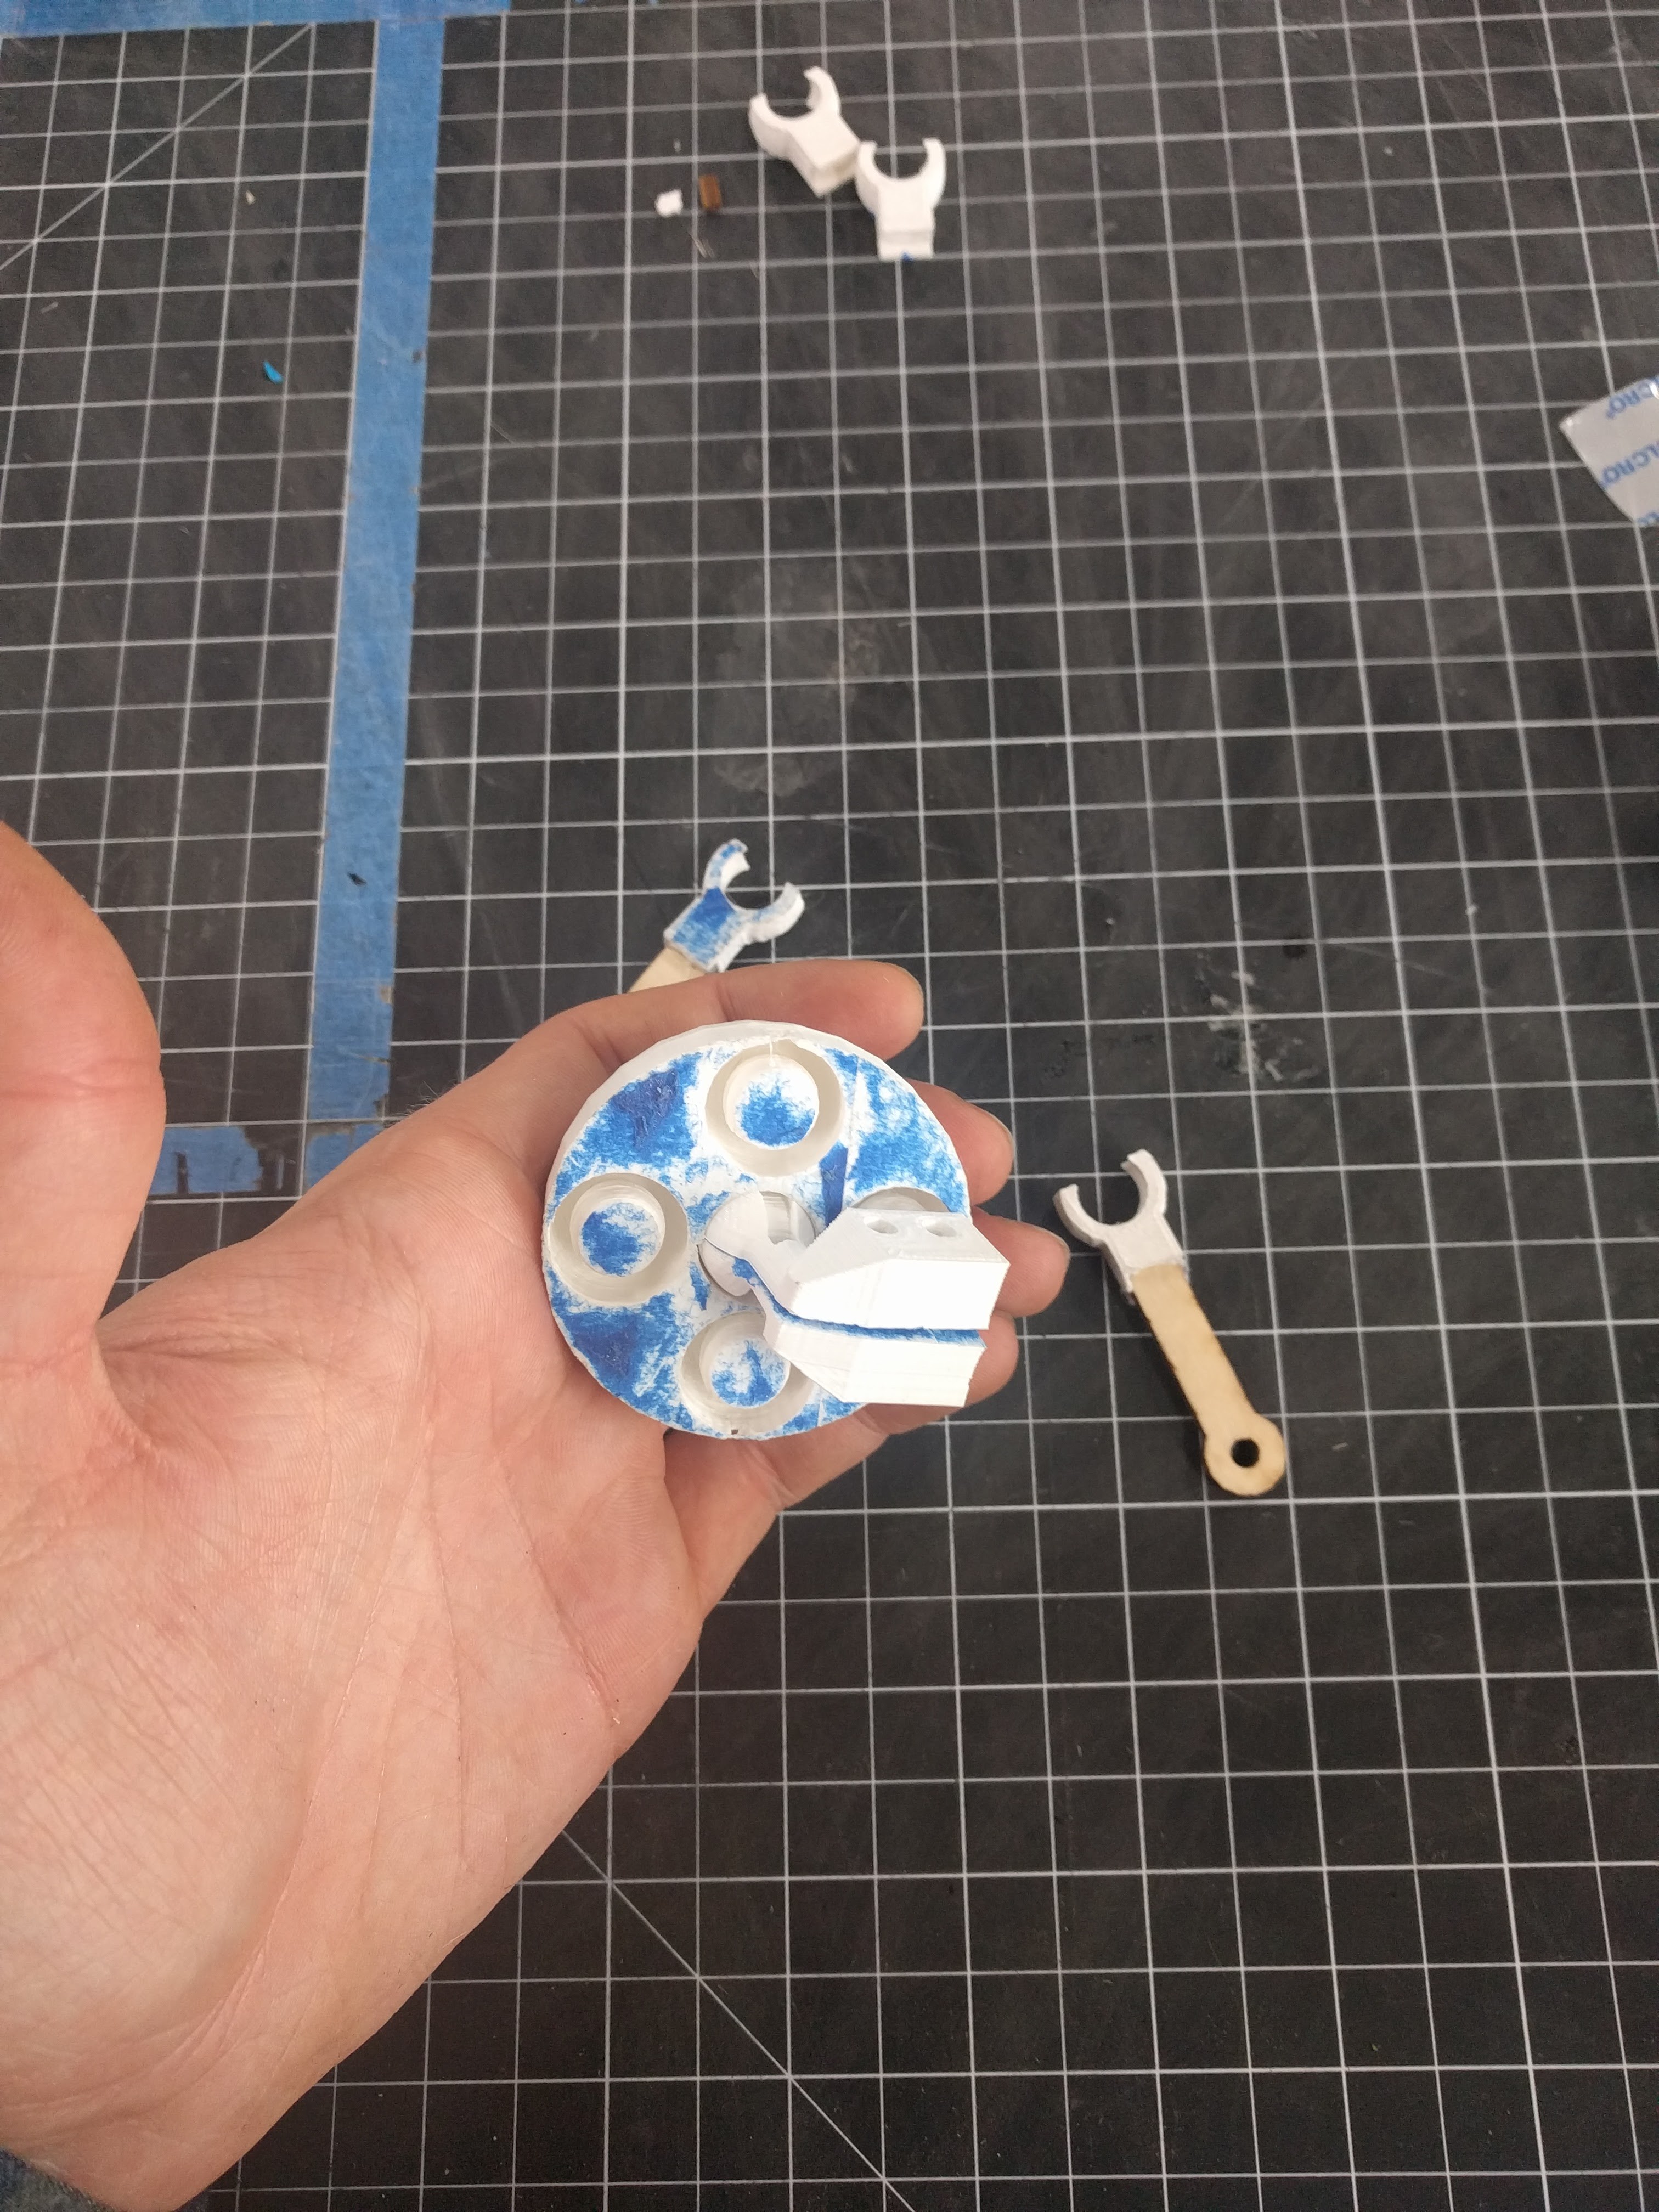
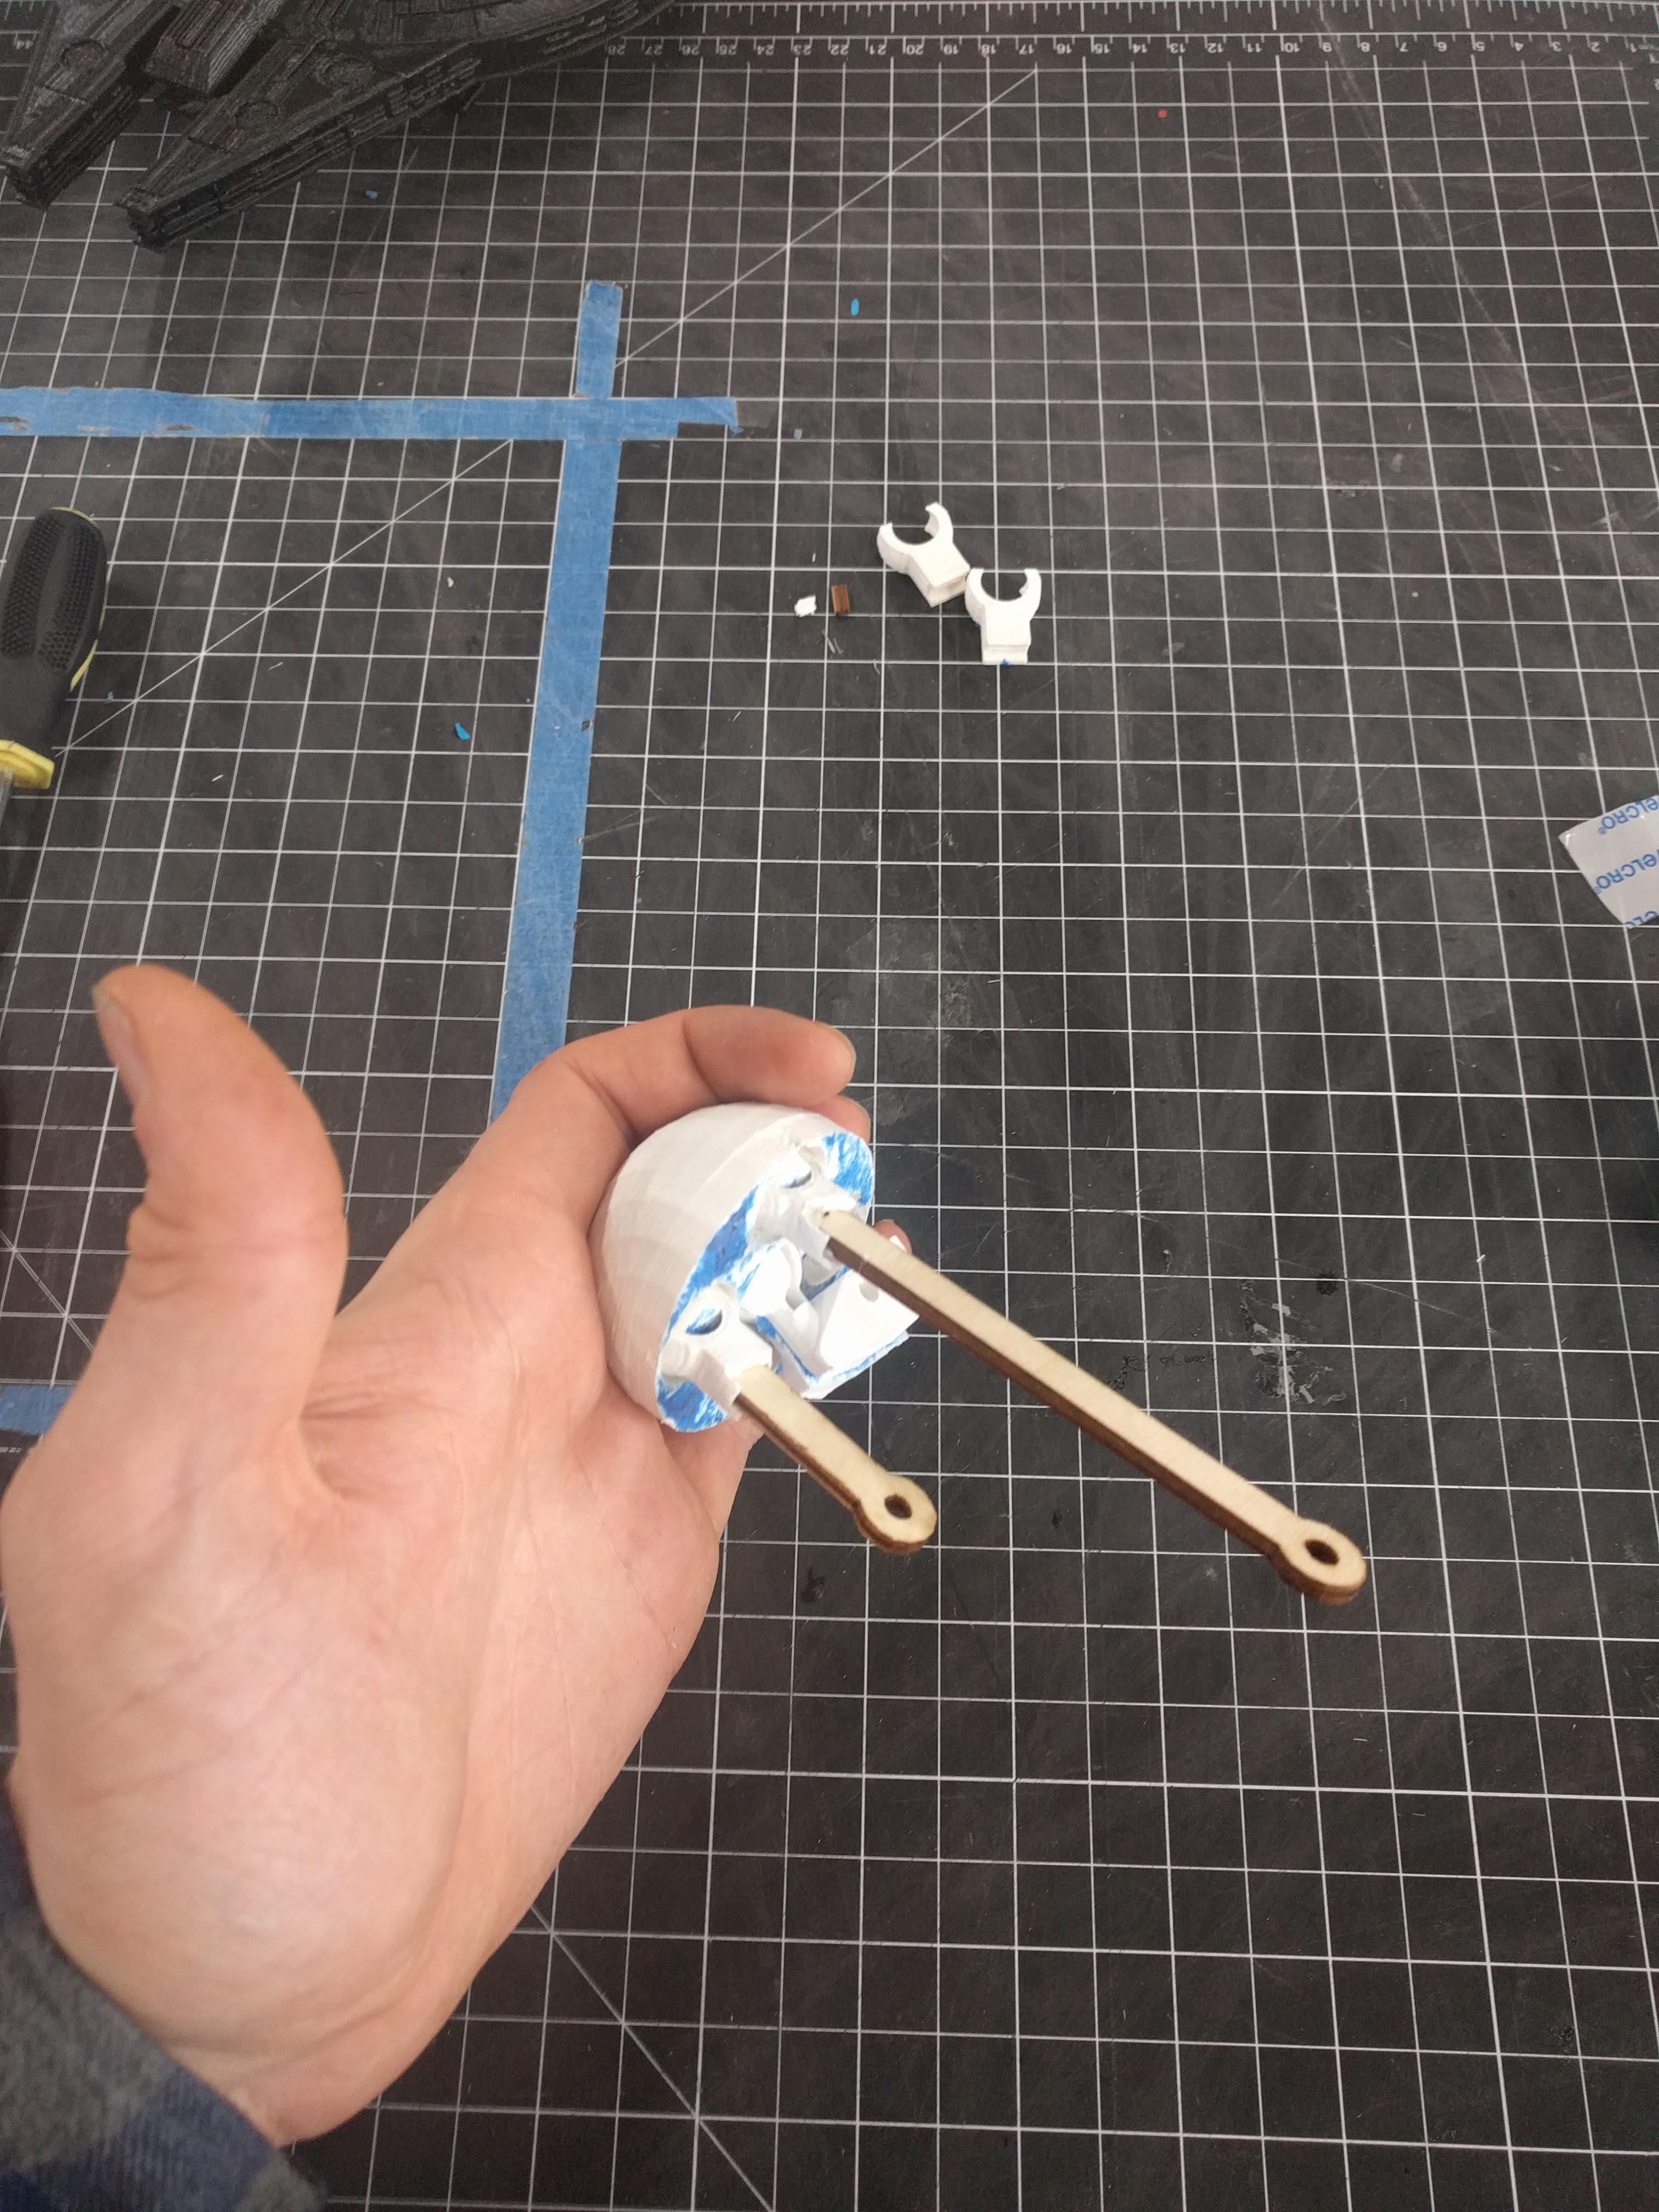
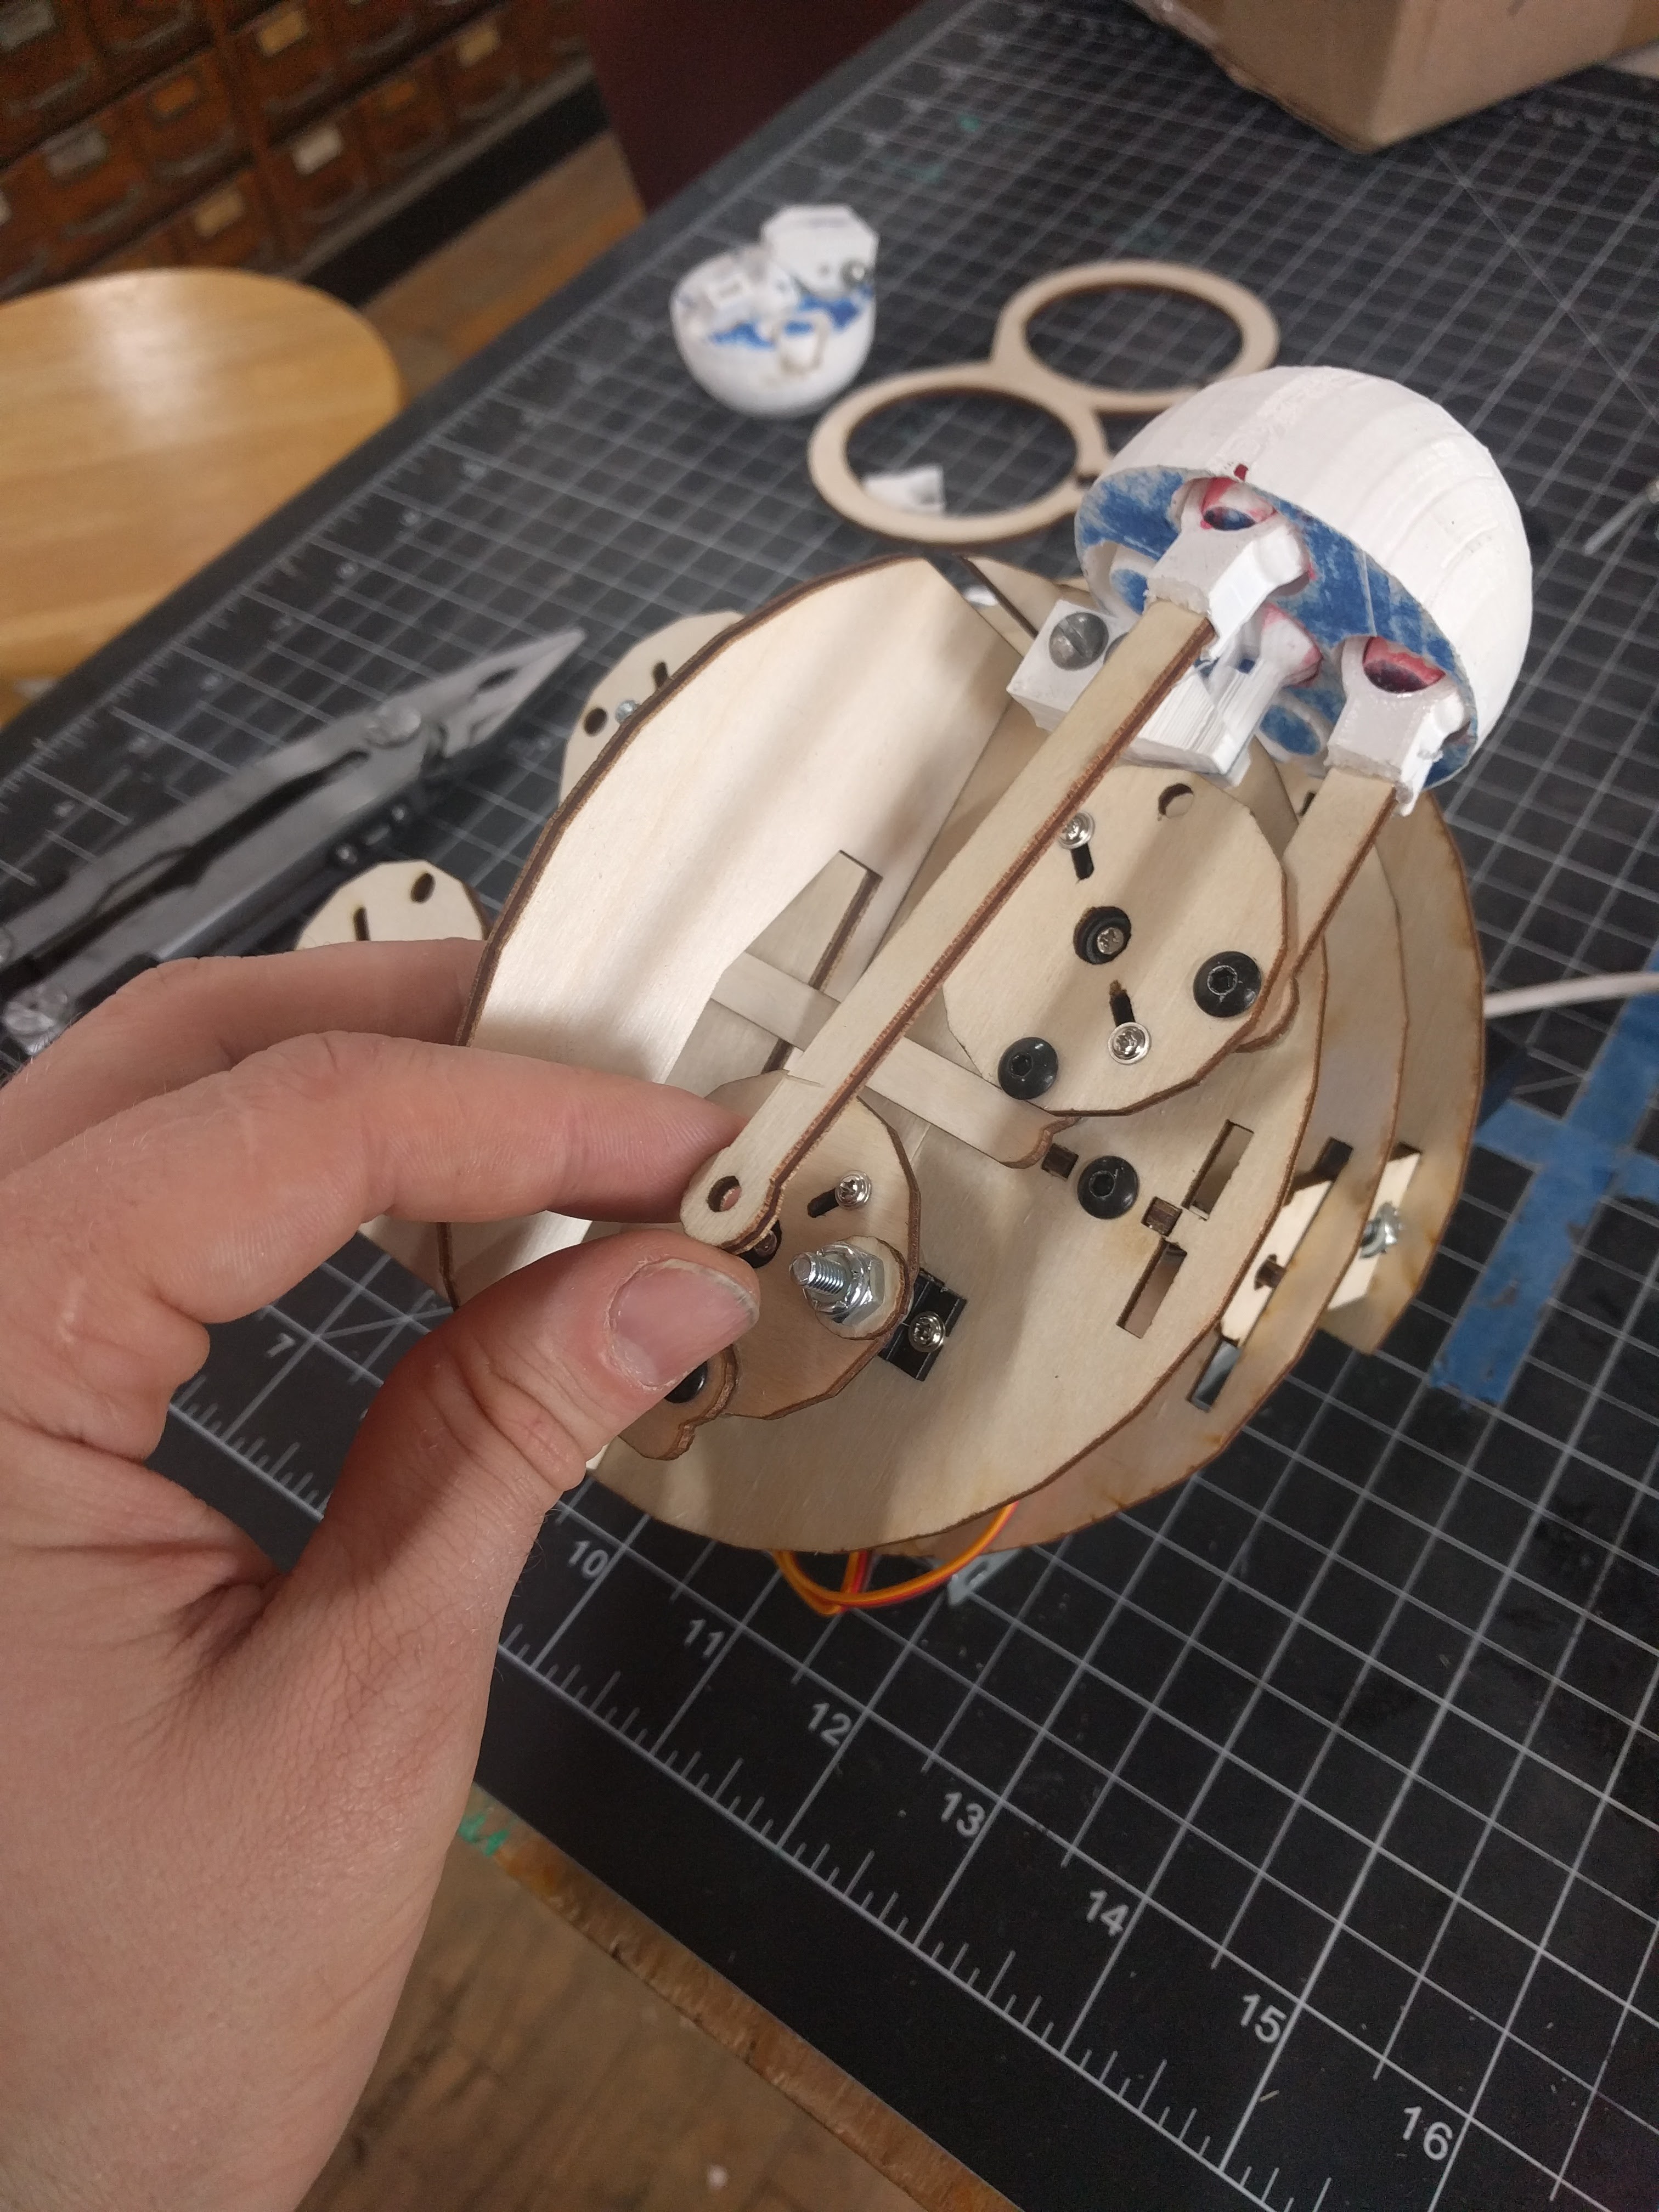
Assembling a head from the printed and laser cut parts
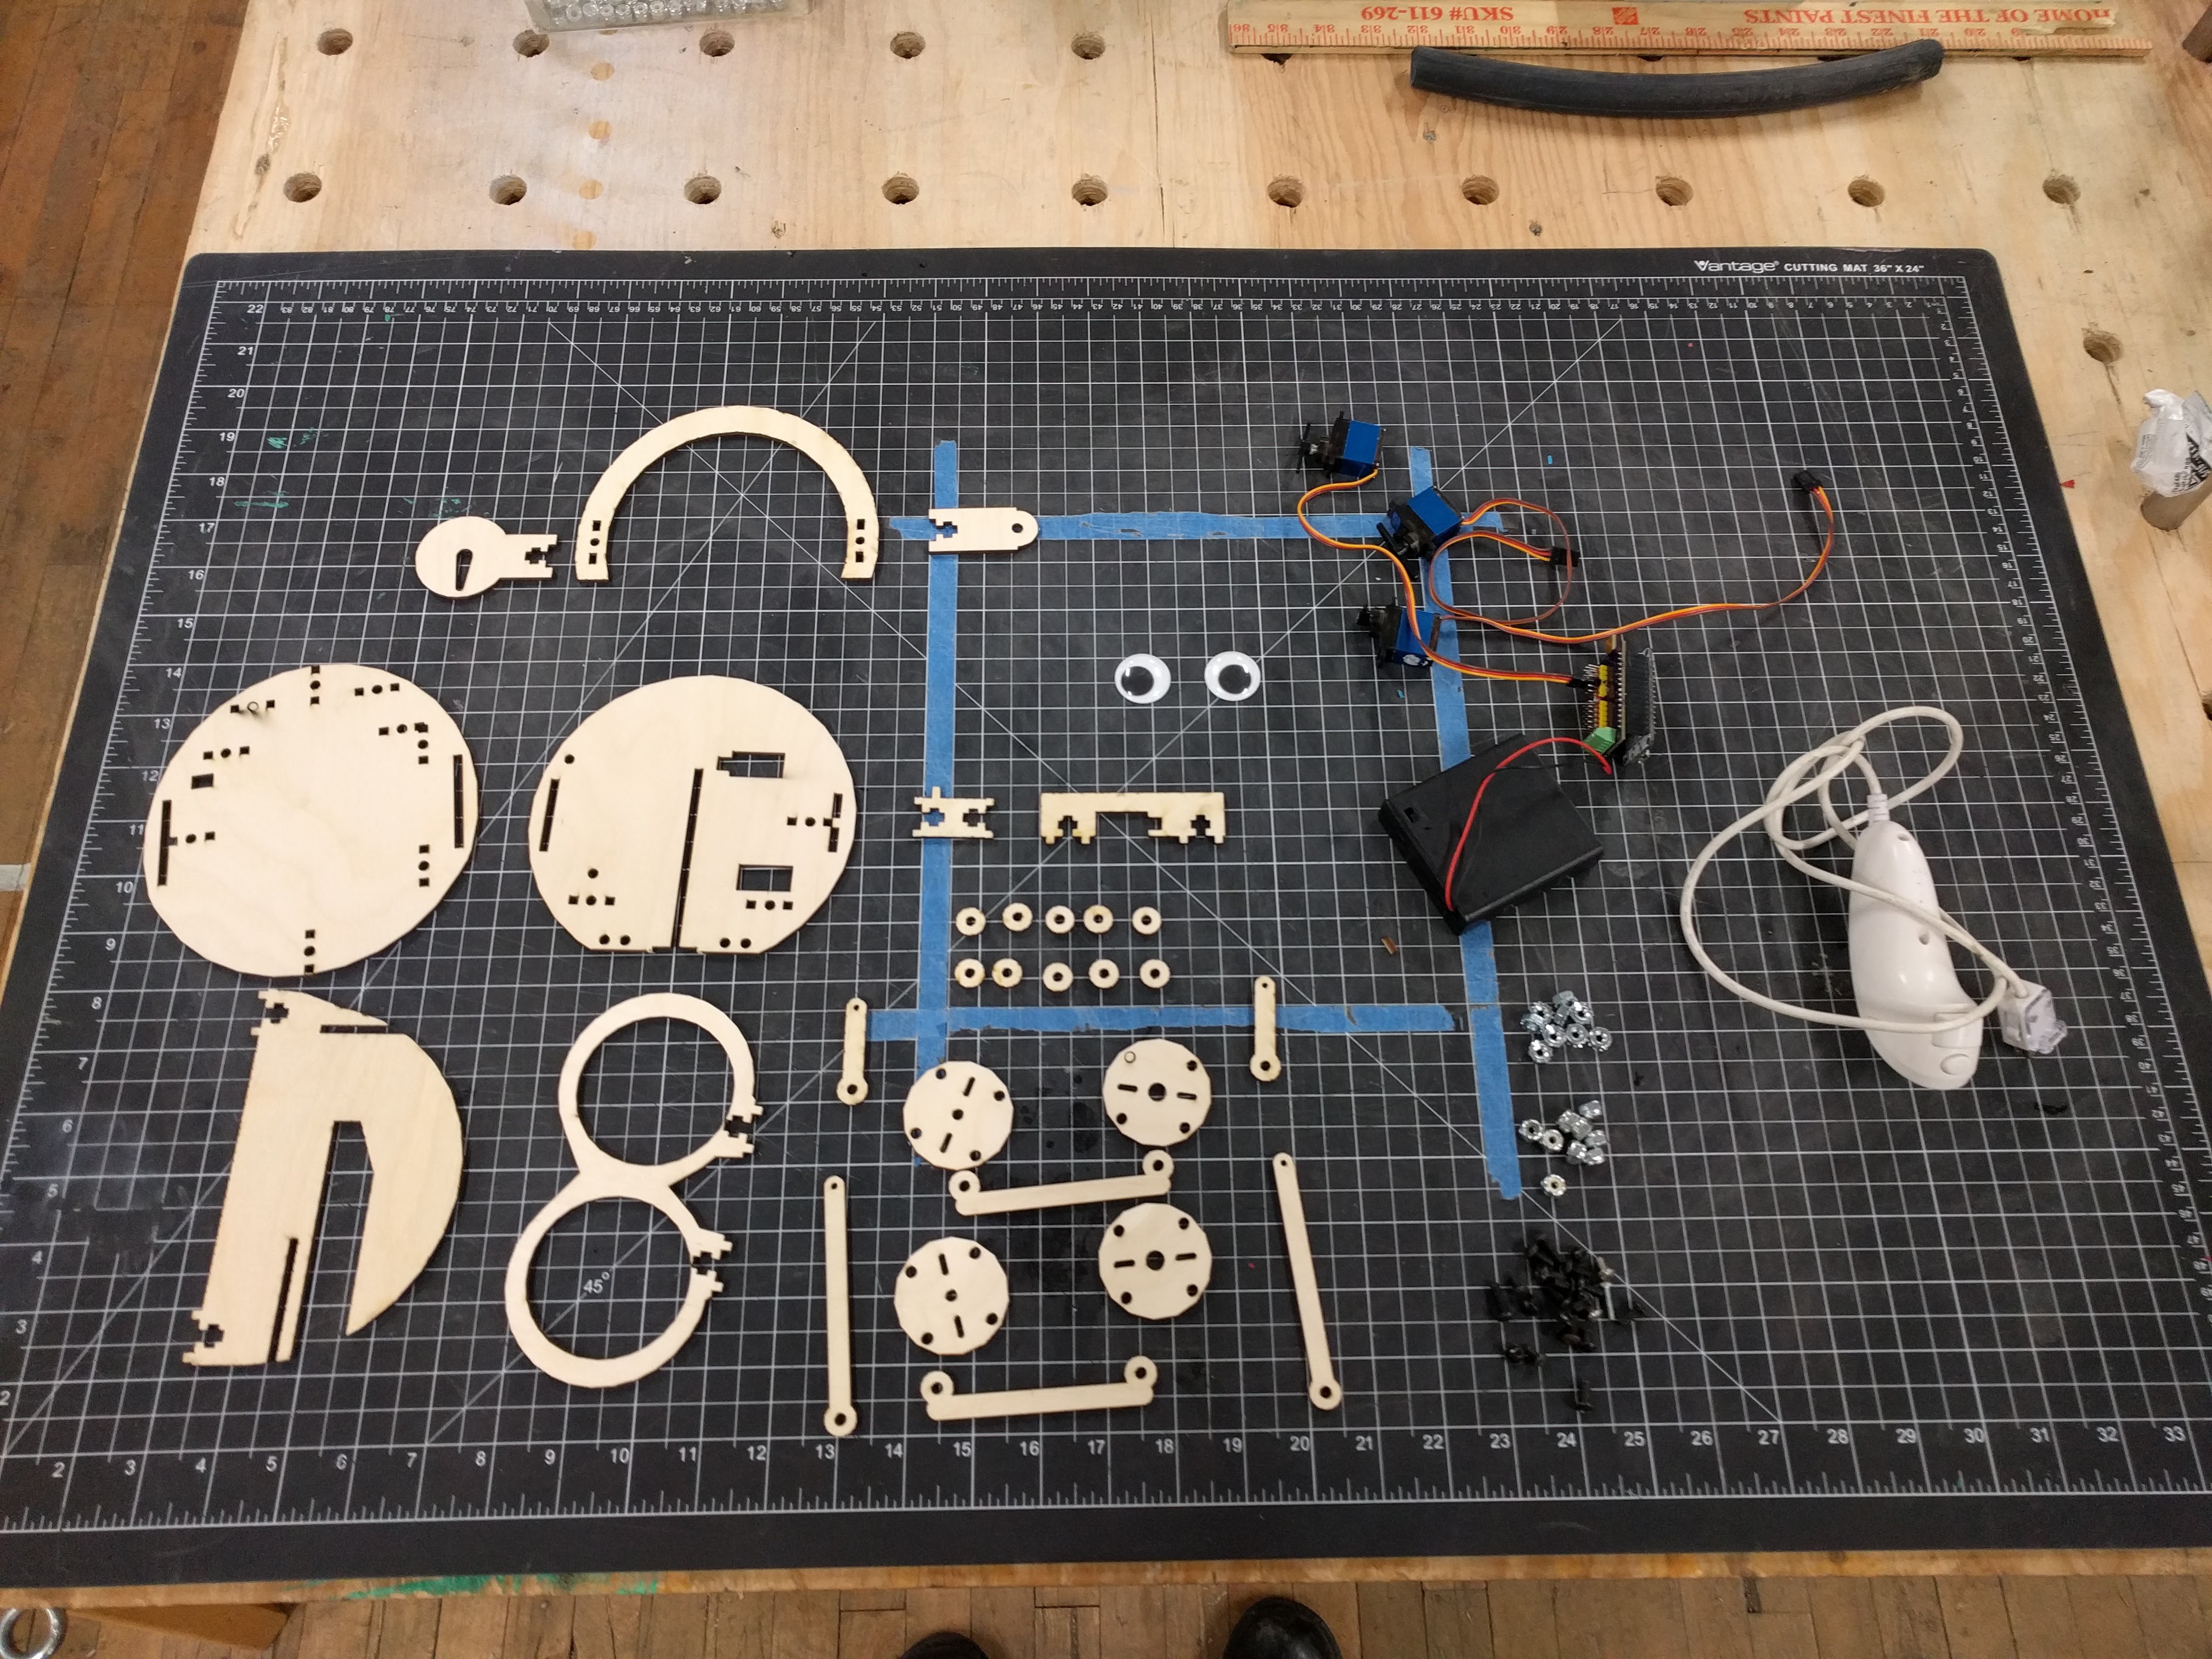
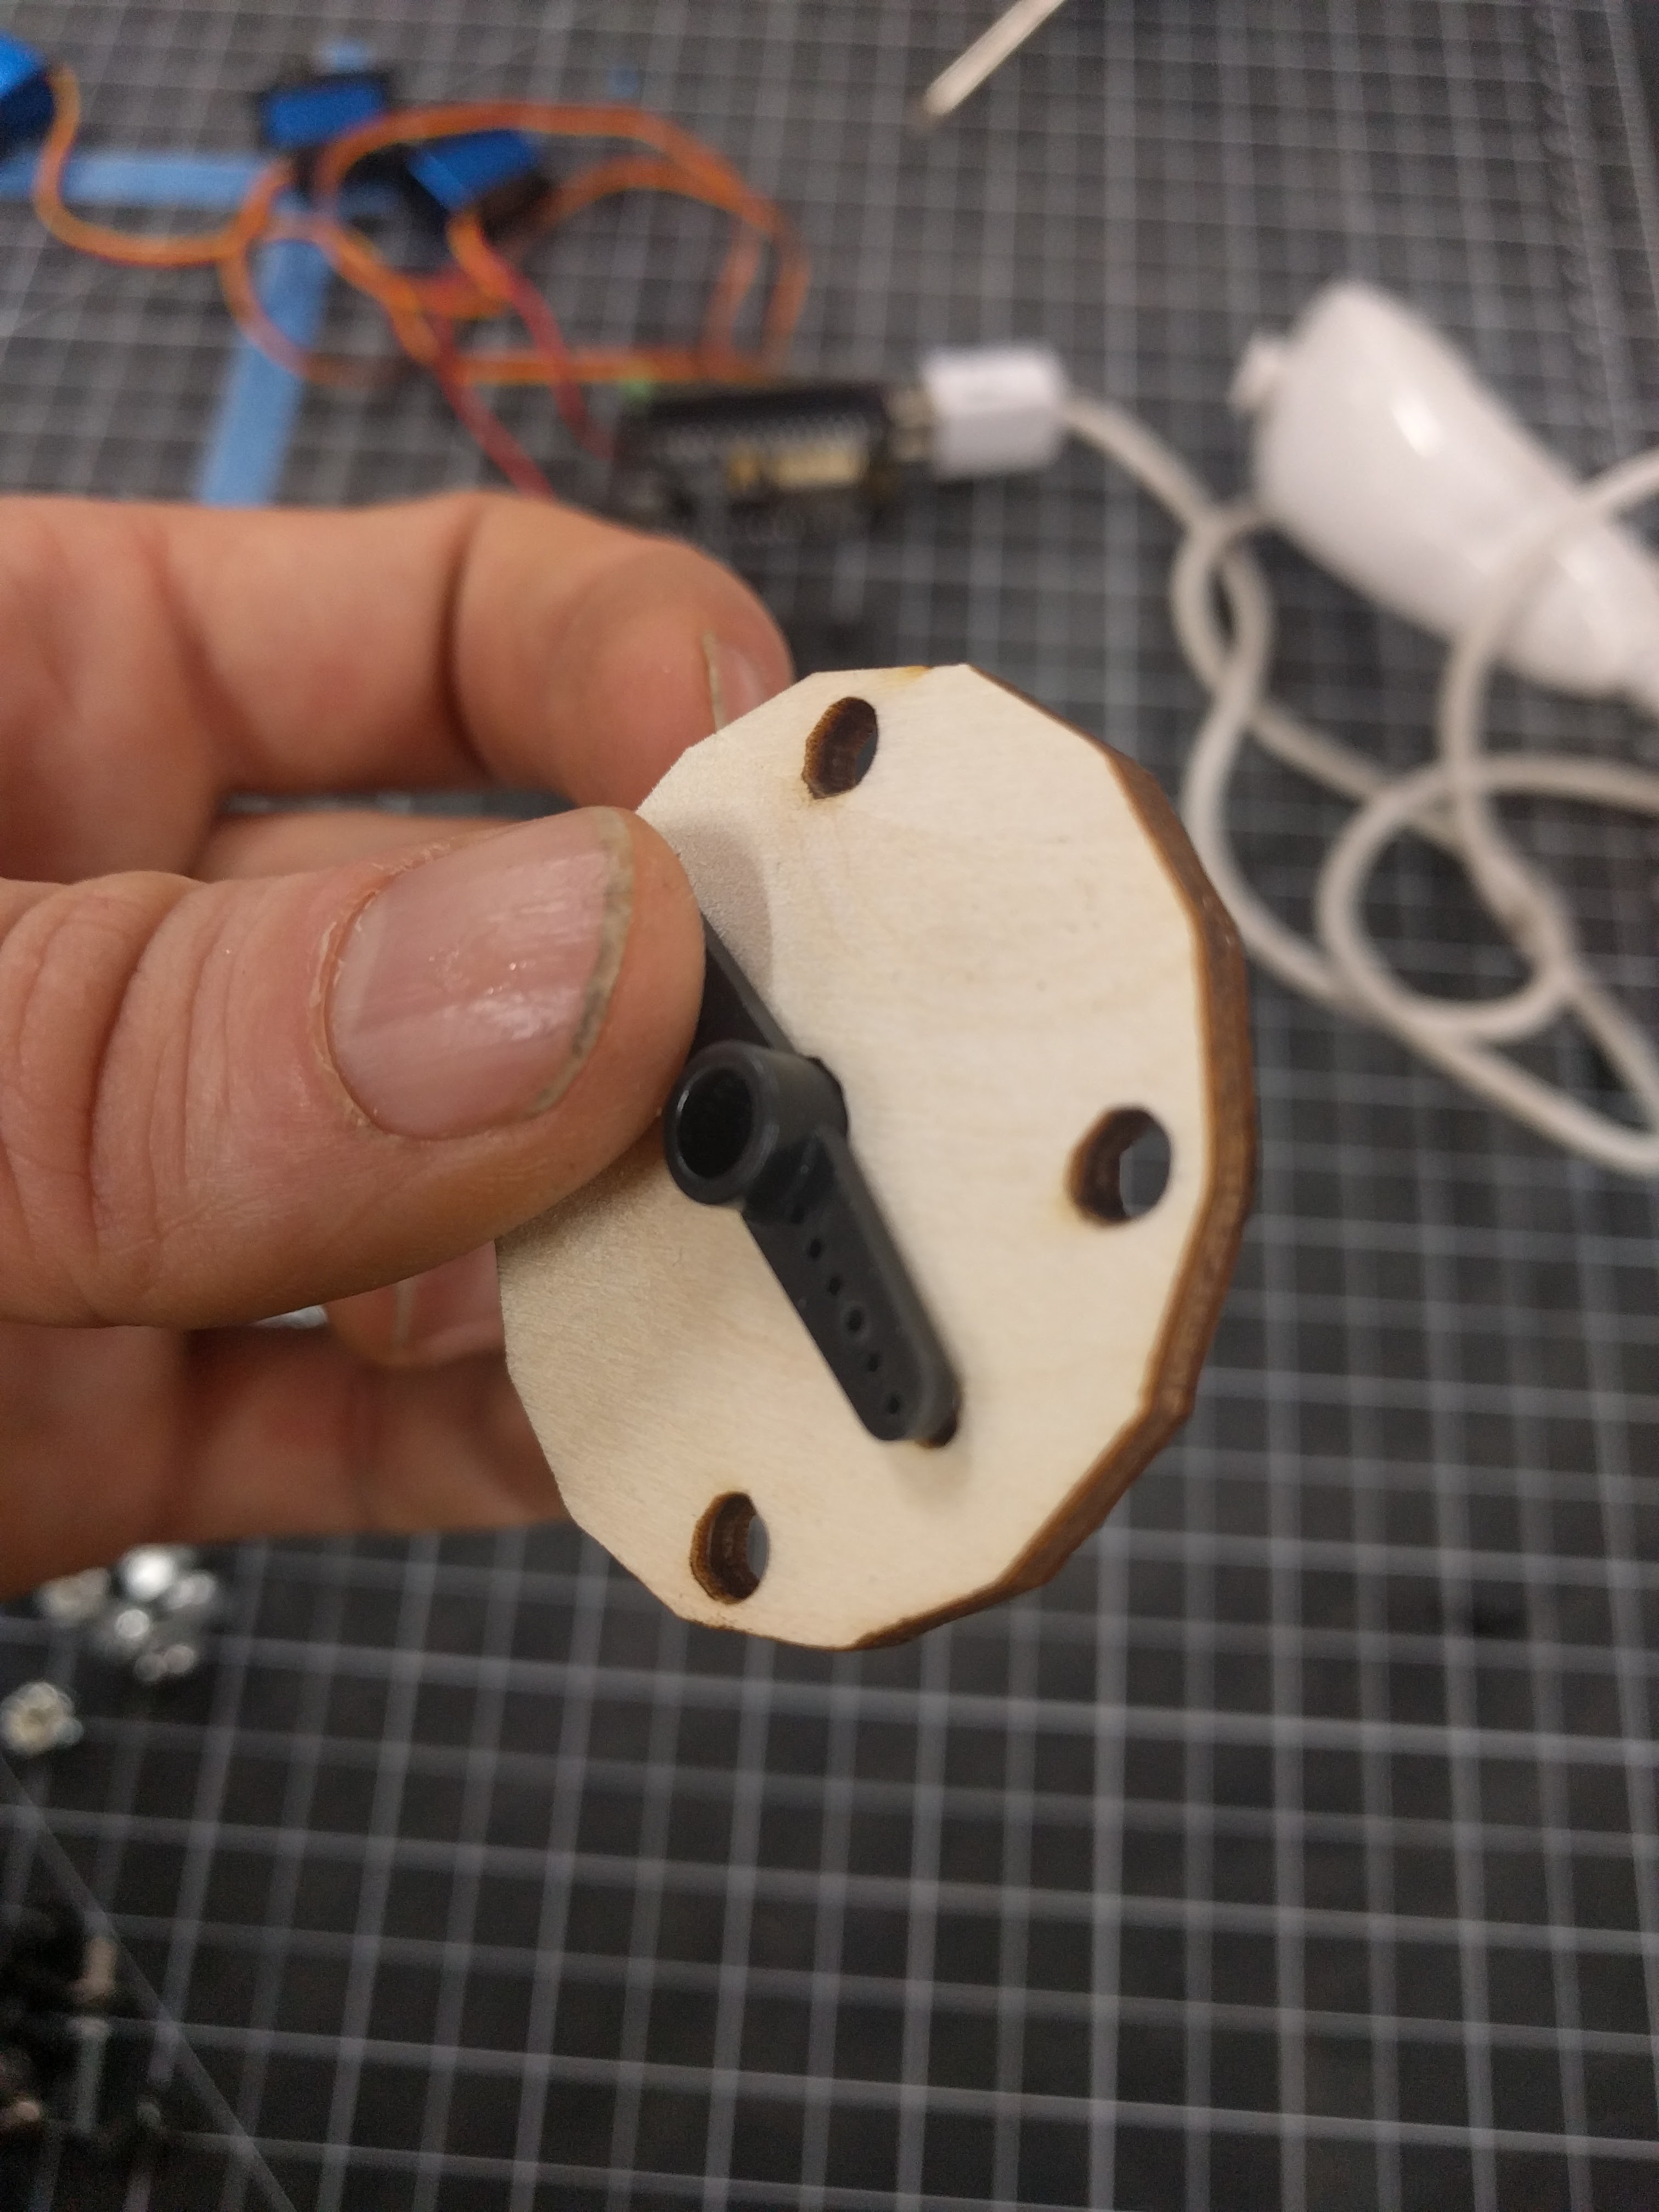
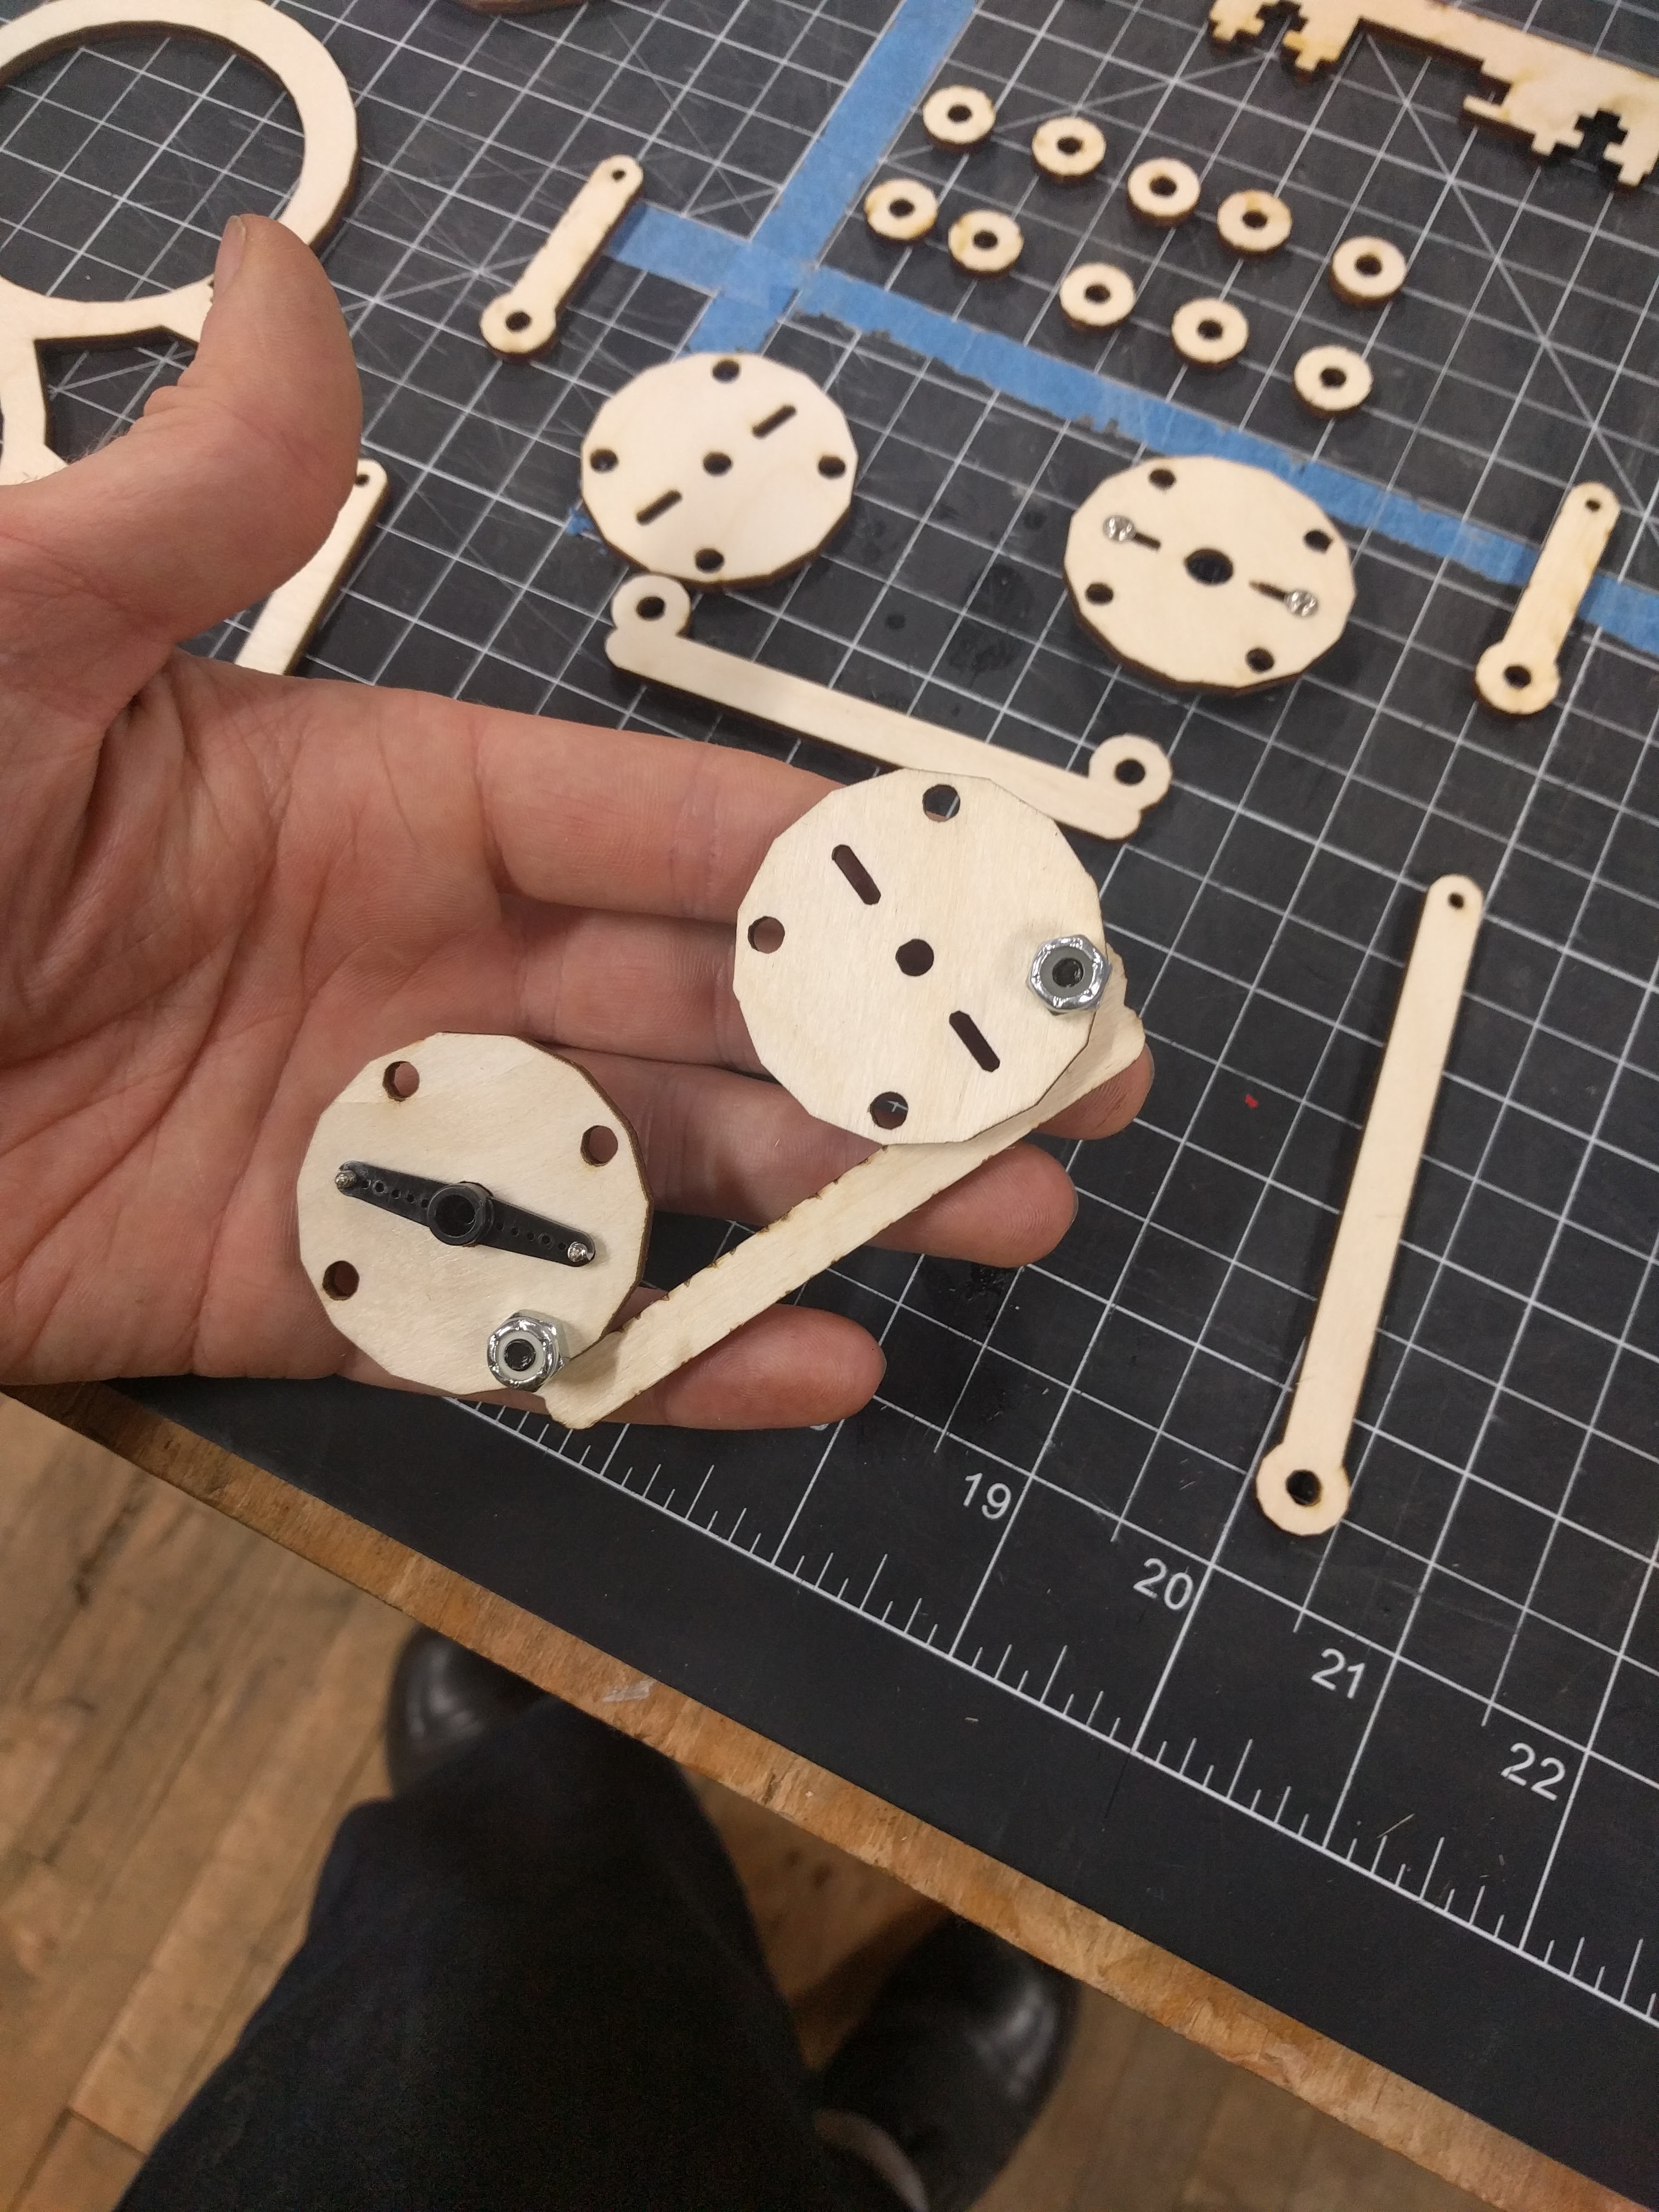
12/29/2016 at 14:55 • 2 commentsHere is a step-by step of the assembly of the animatronics part of the head. To get the printed pieces from bowler studio, right click on them and export to stl. NOTE! the two different color eye stocks are mirror images of each other and you need 2 of each! The connector cup however is universal and you need 4 of the same part. You need to print 10 pieces in total, and they all can be printed by a standard FDM printer during the period of time it takes to assemble the wooden sections. (which is why the printed pieces don't show up until the end ;)
You can also get a glimpse of the first production prototype of the animatronics backpack for the NodeMCU that powers the system. It has screw terminals for the battery and 2 dc signals connected each to an h-bridge. The wiimote connects with a simple PCB connector and does not need to be modified for use with this kit. The servos all have thier own connectors, one per IO pin on the NodeMCU, although some conflict with the h-bridge, so when using it, you get a limited number of servos. It is quite frankly the most useful hacking tool i have ever used... Awesome Job Alex Camilo for designing, manufacturing, and assembling the whole backpack!
![]()
![]()
![]()
![]()
![]()
![]()
![]()
![]()
![]()
![]()
![]()
![]()
![]()
![]()
![]()
![]()
![]()
![]()
![]()
-
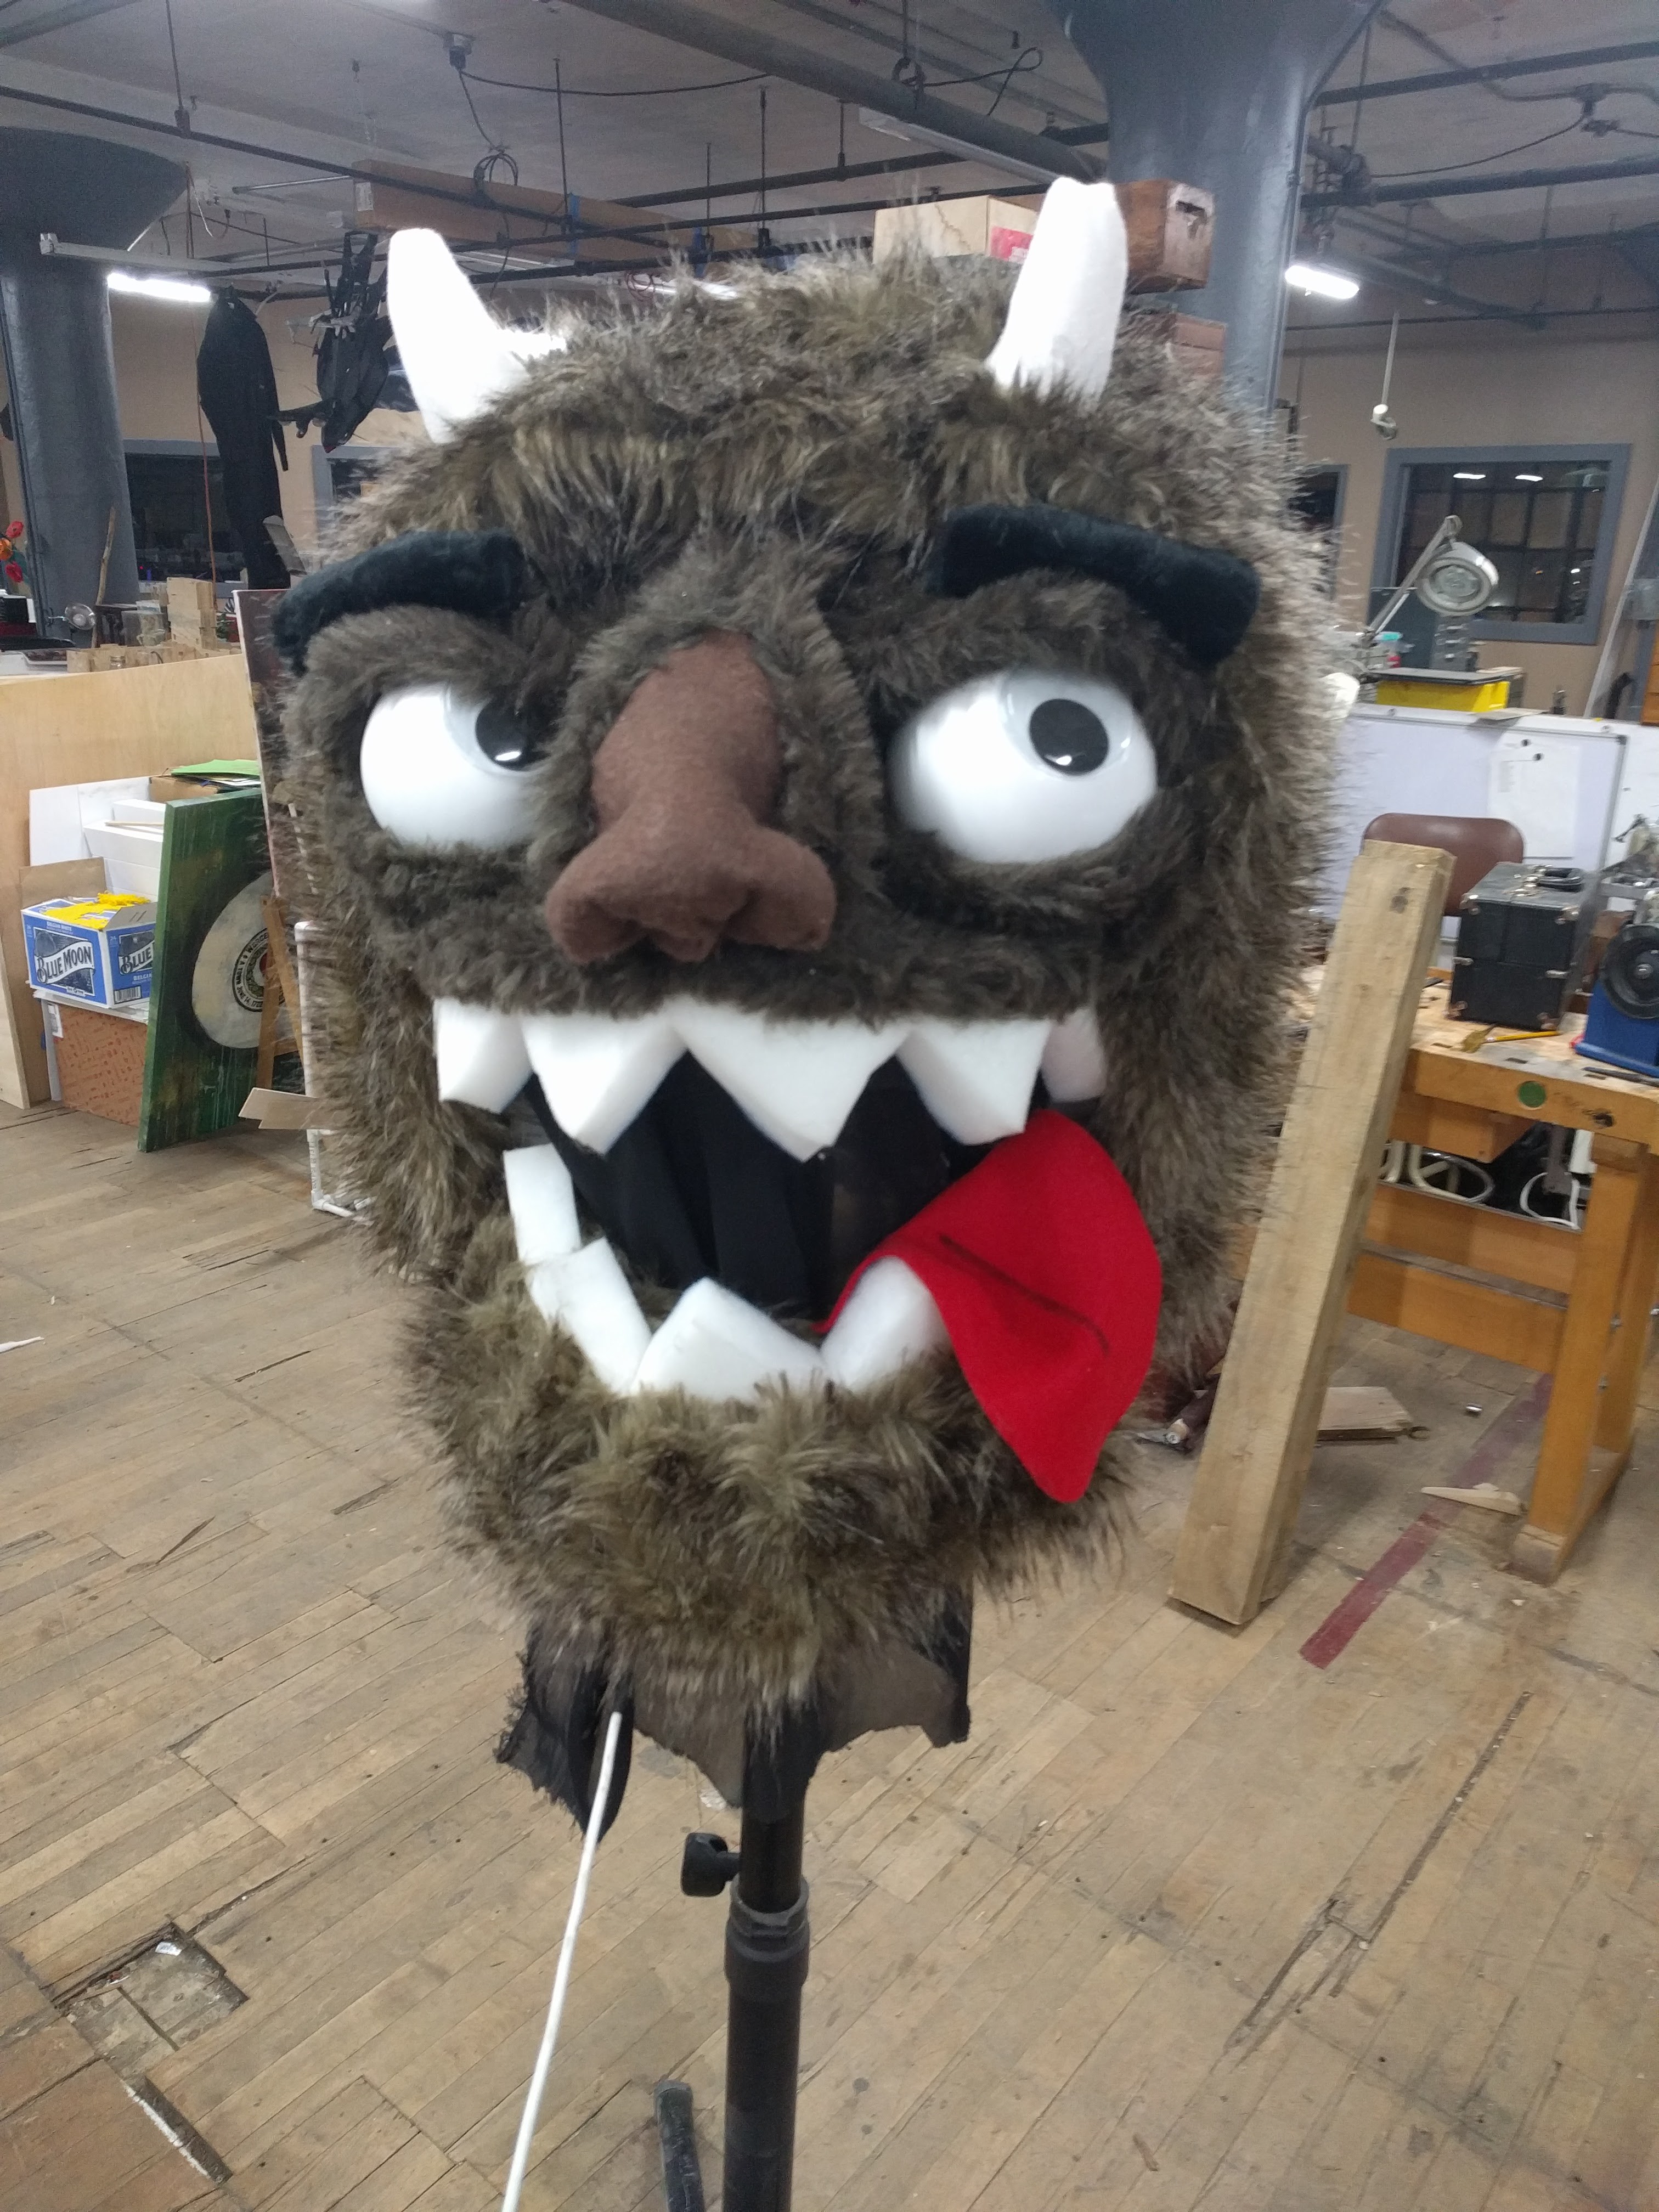
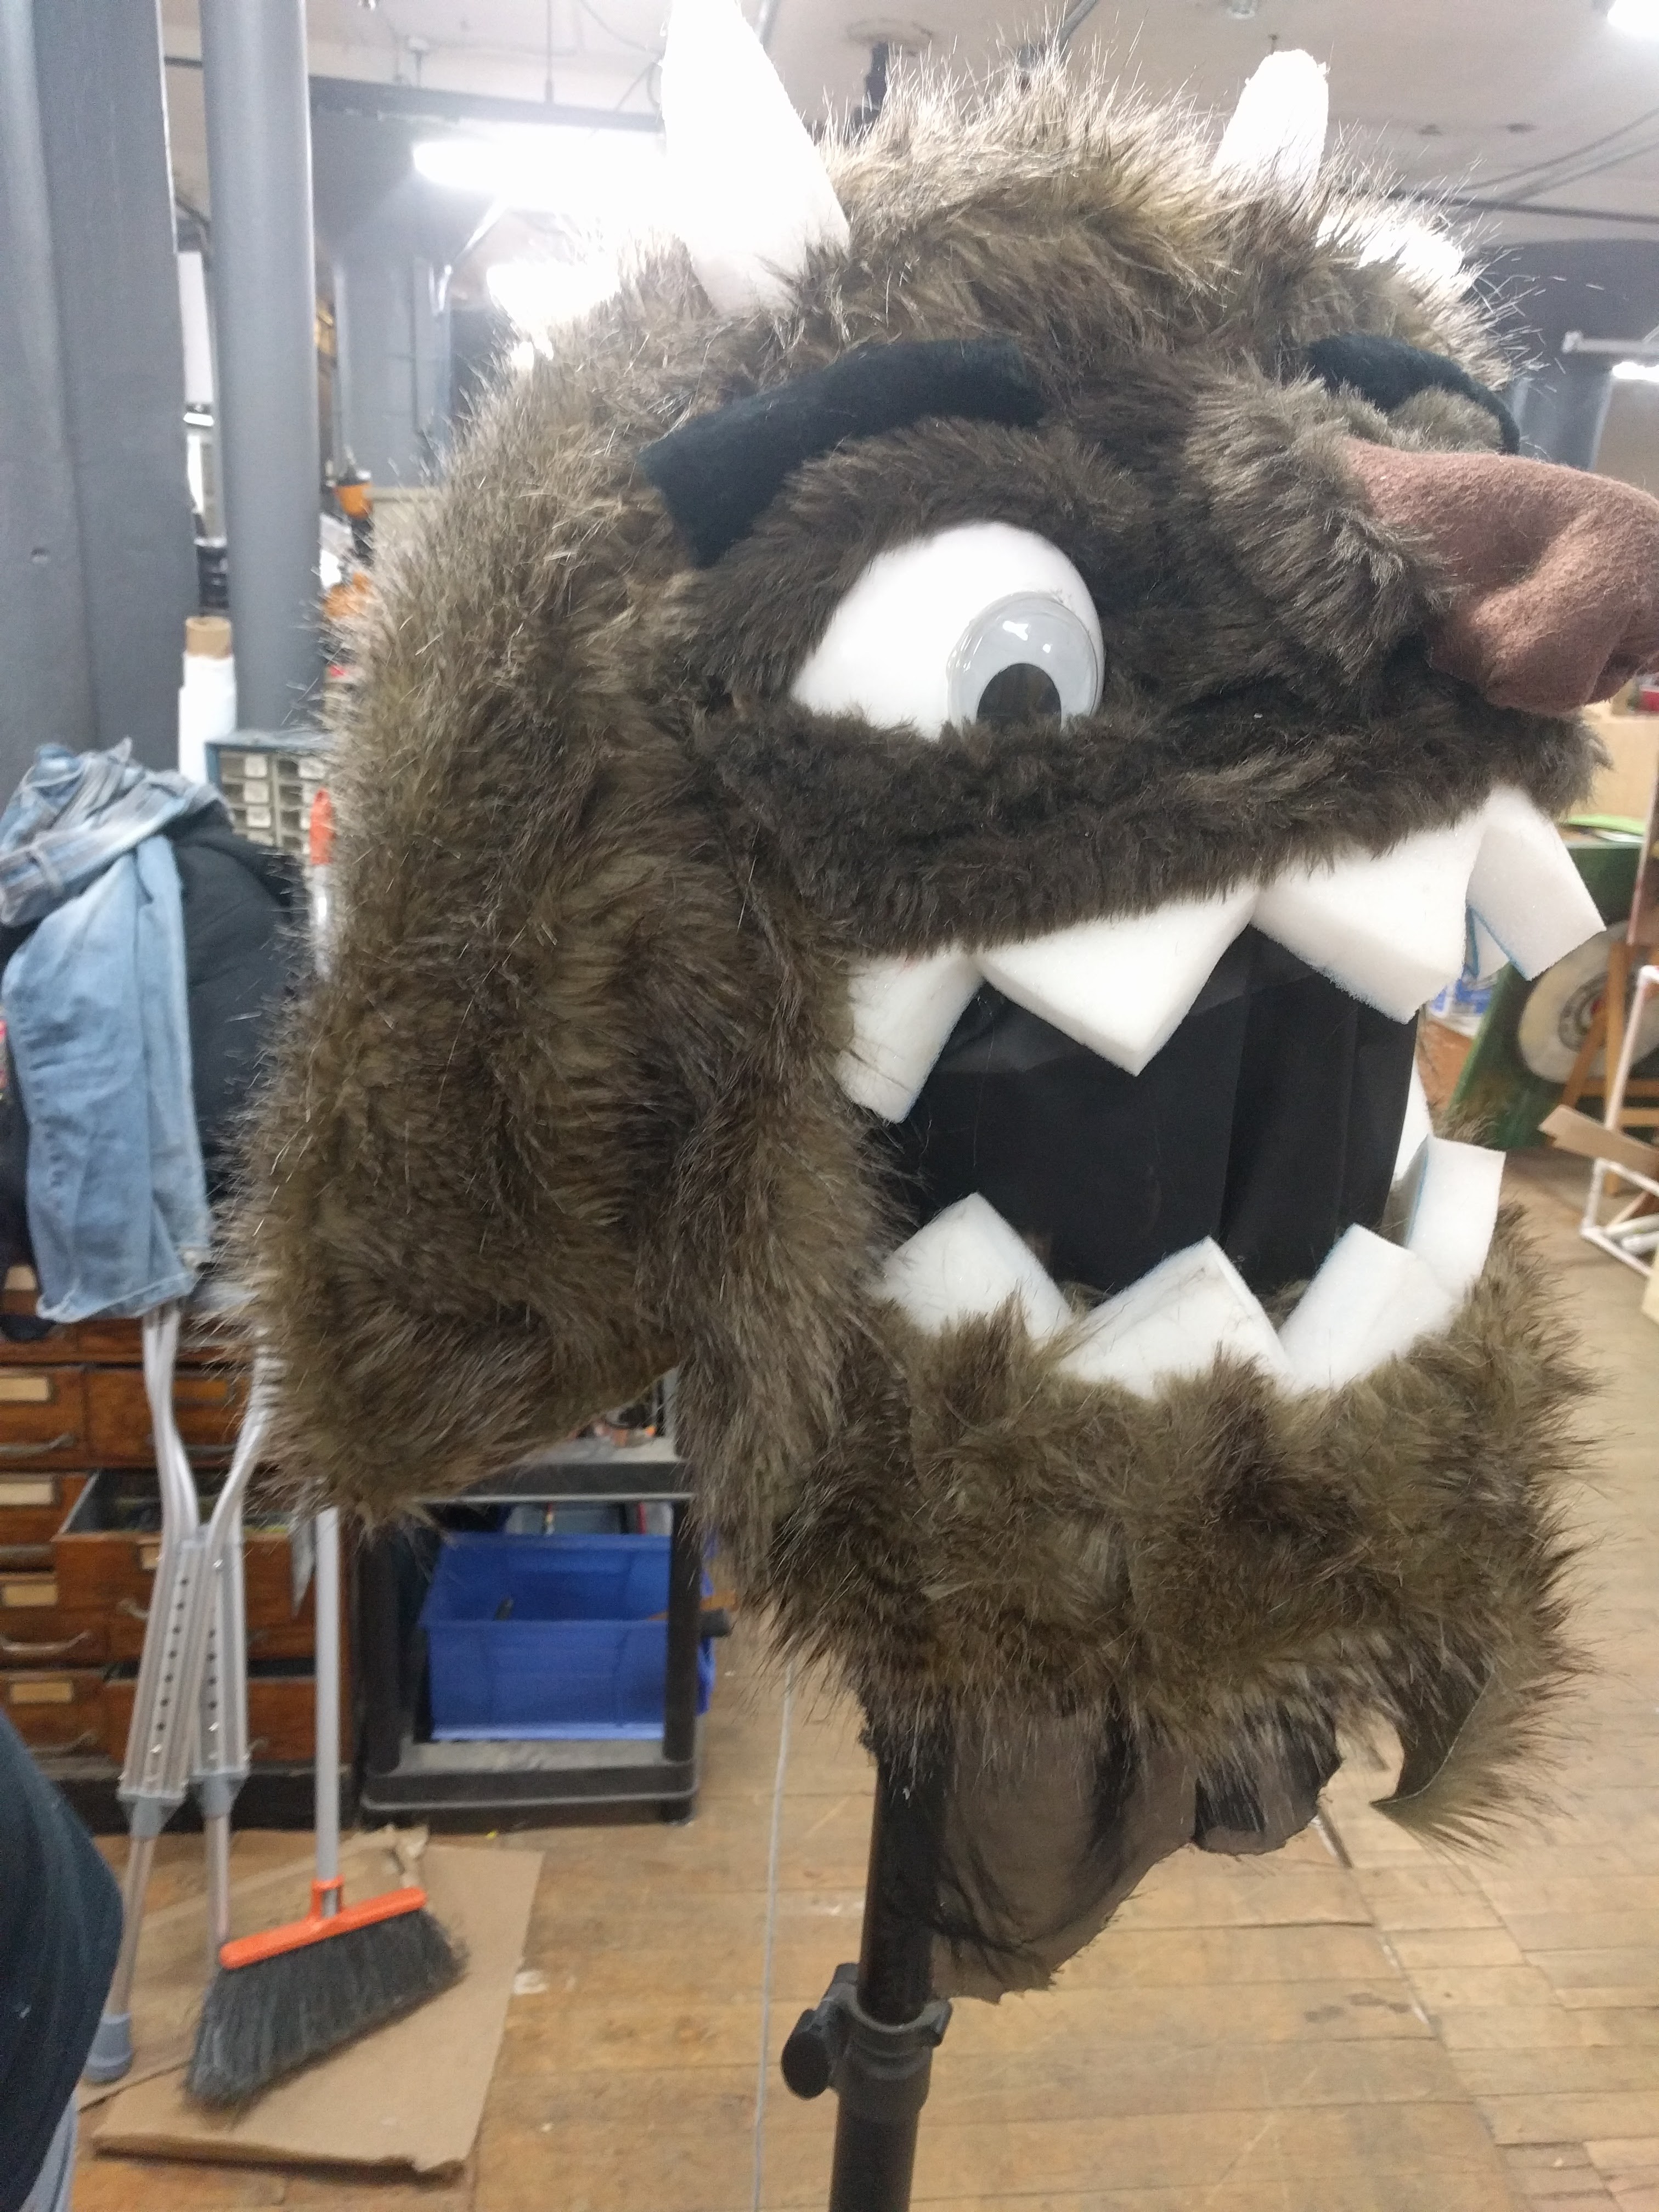
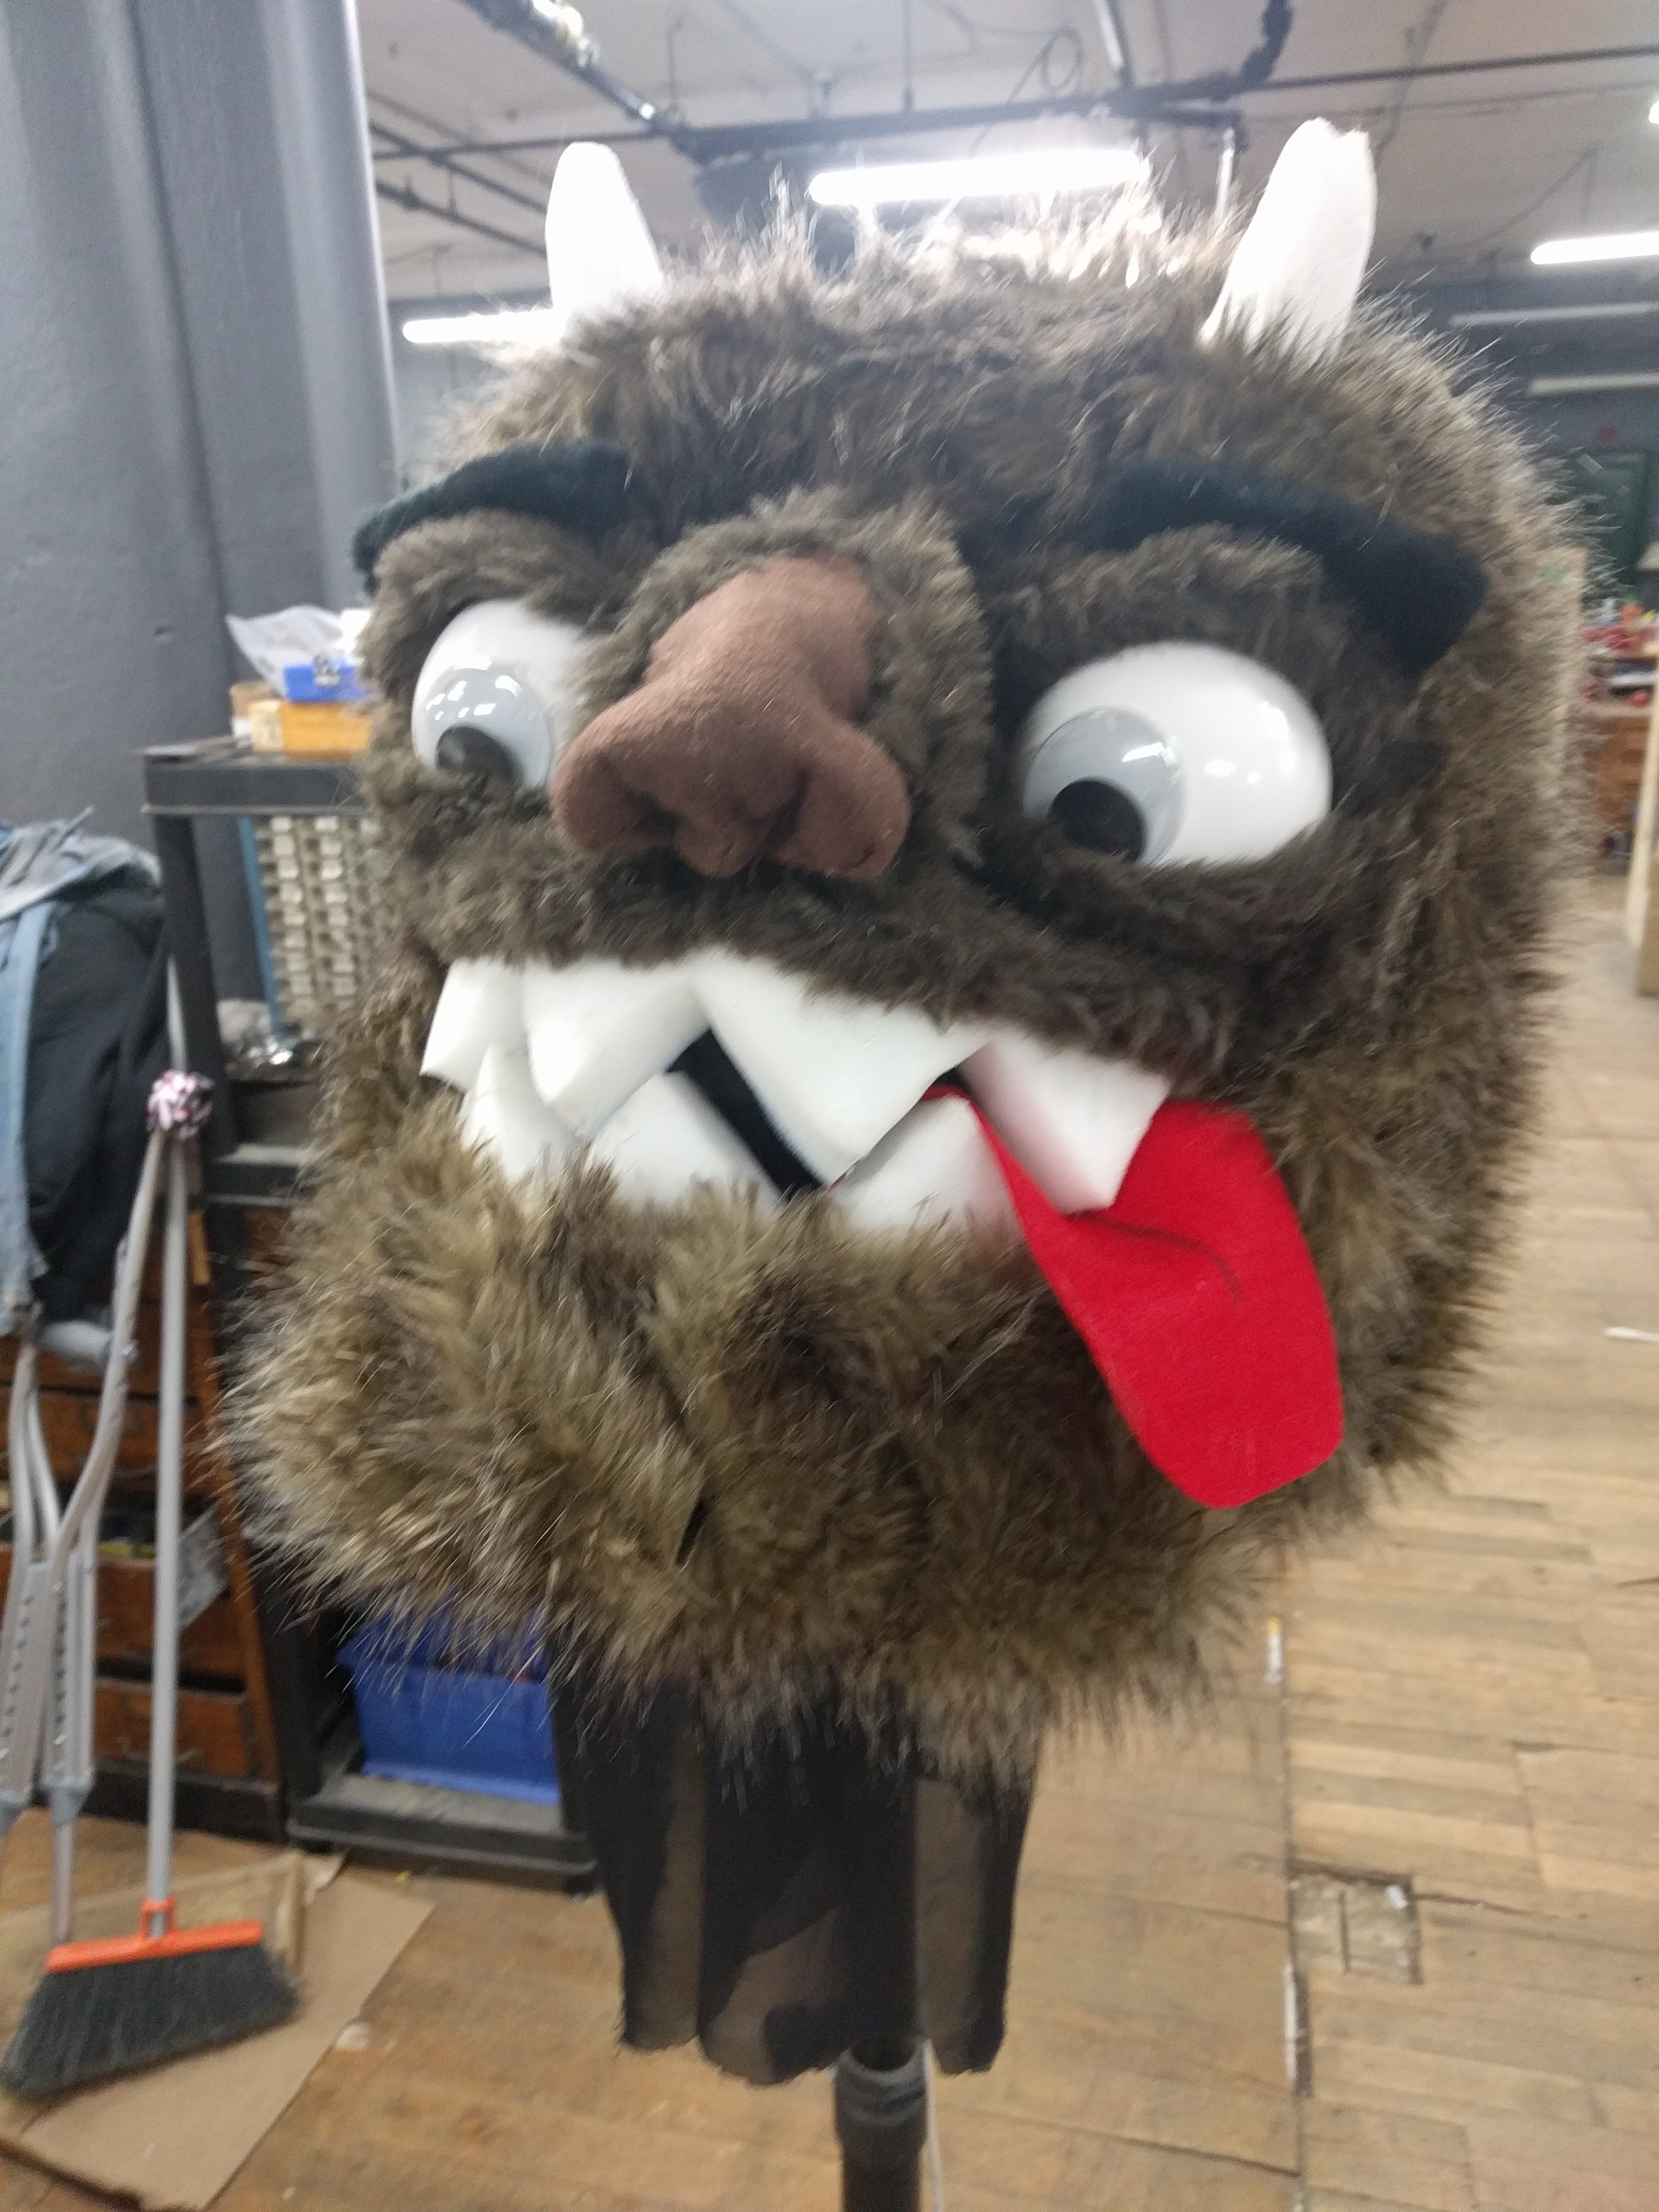
Morice's Day 6, Finished Build!
10/31/2016 at 23:19 • 0 comments![]()
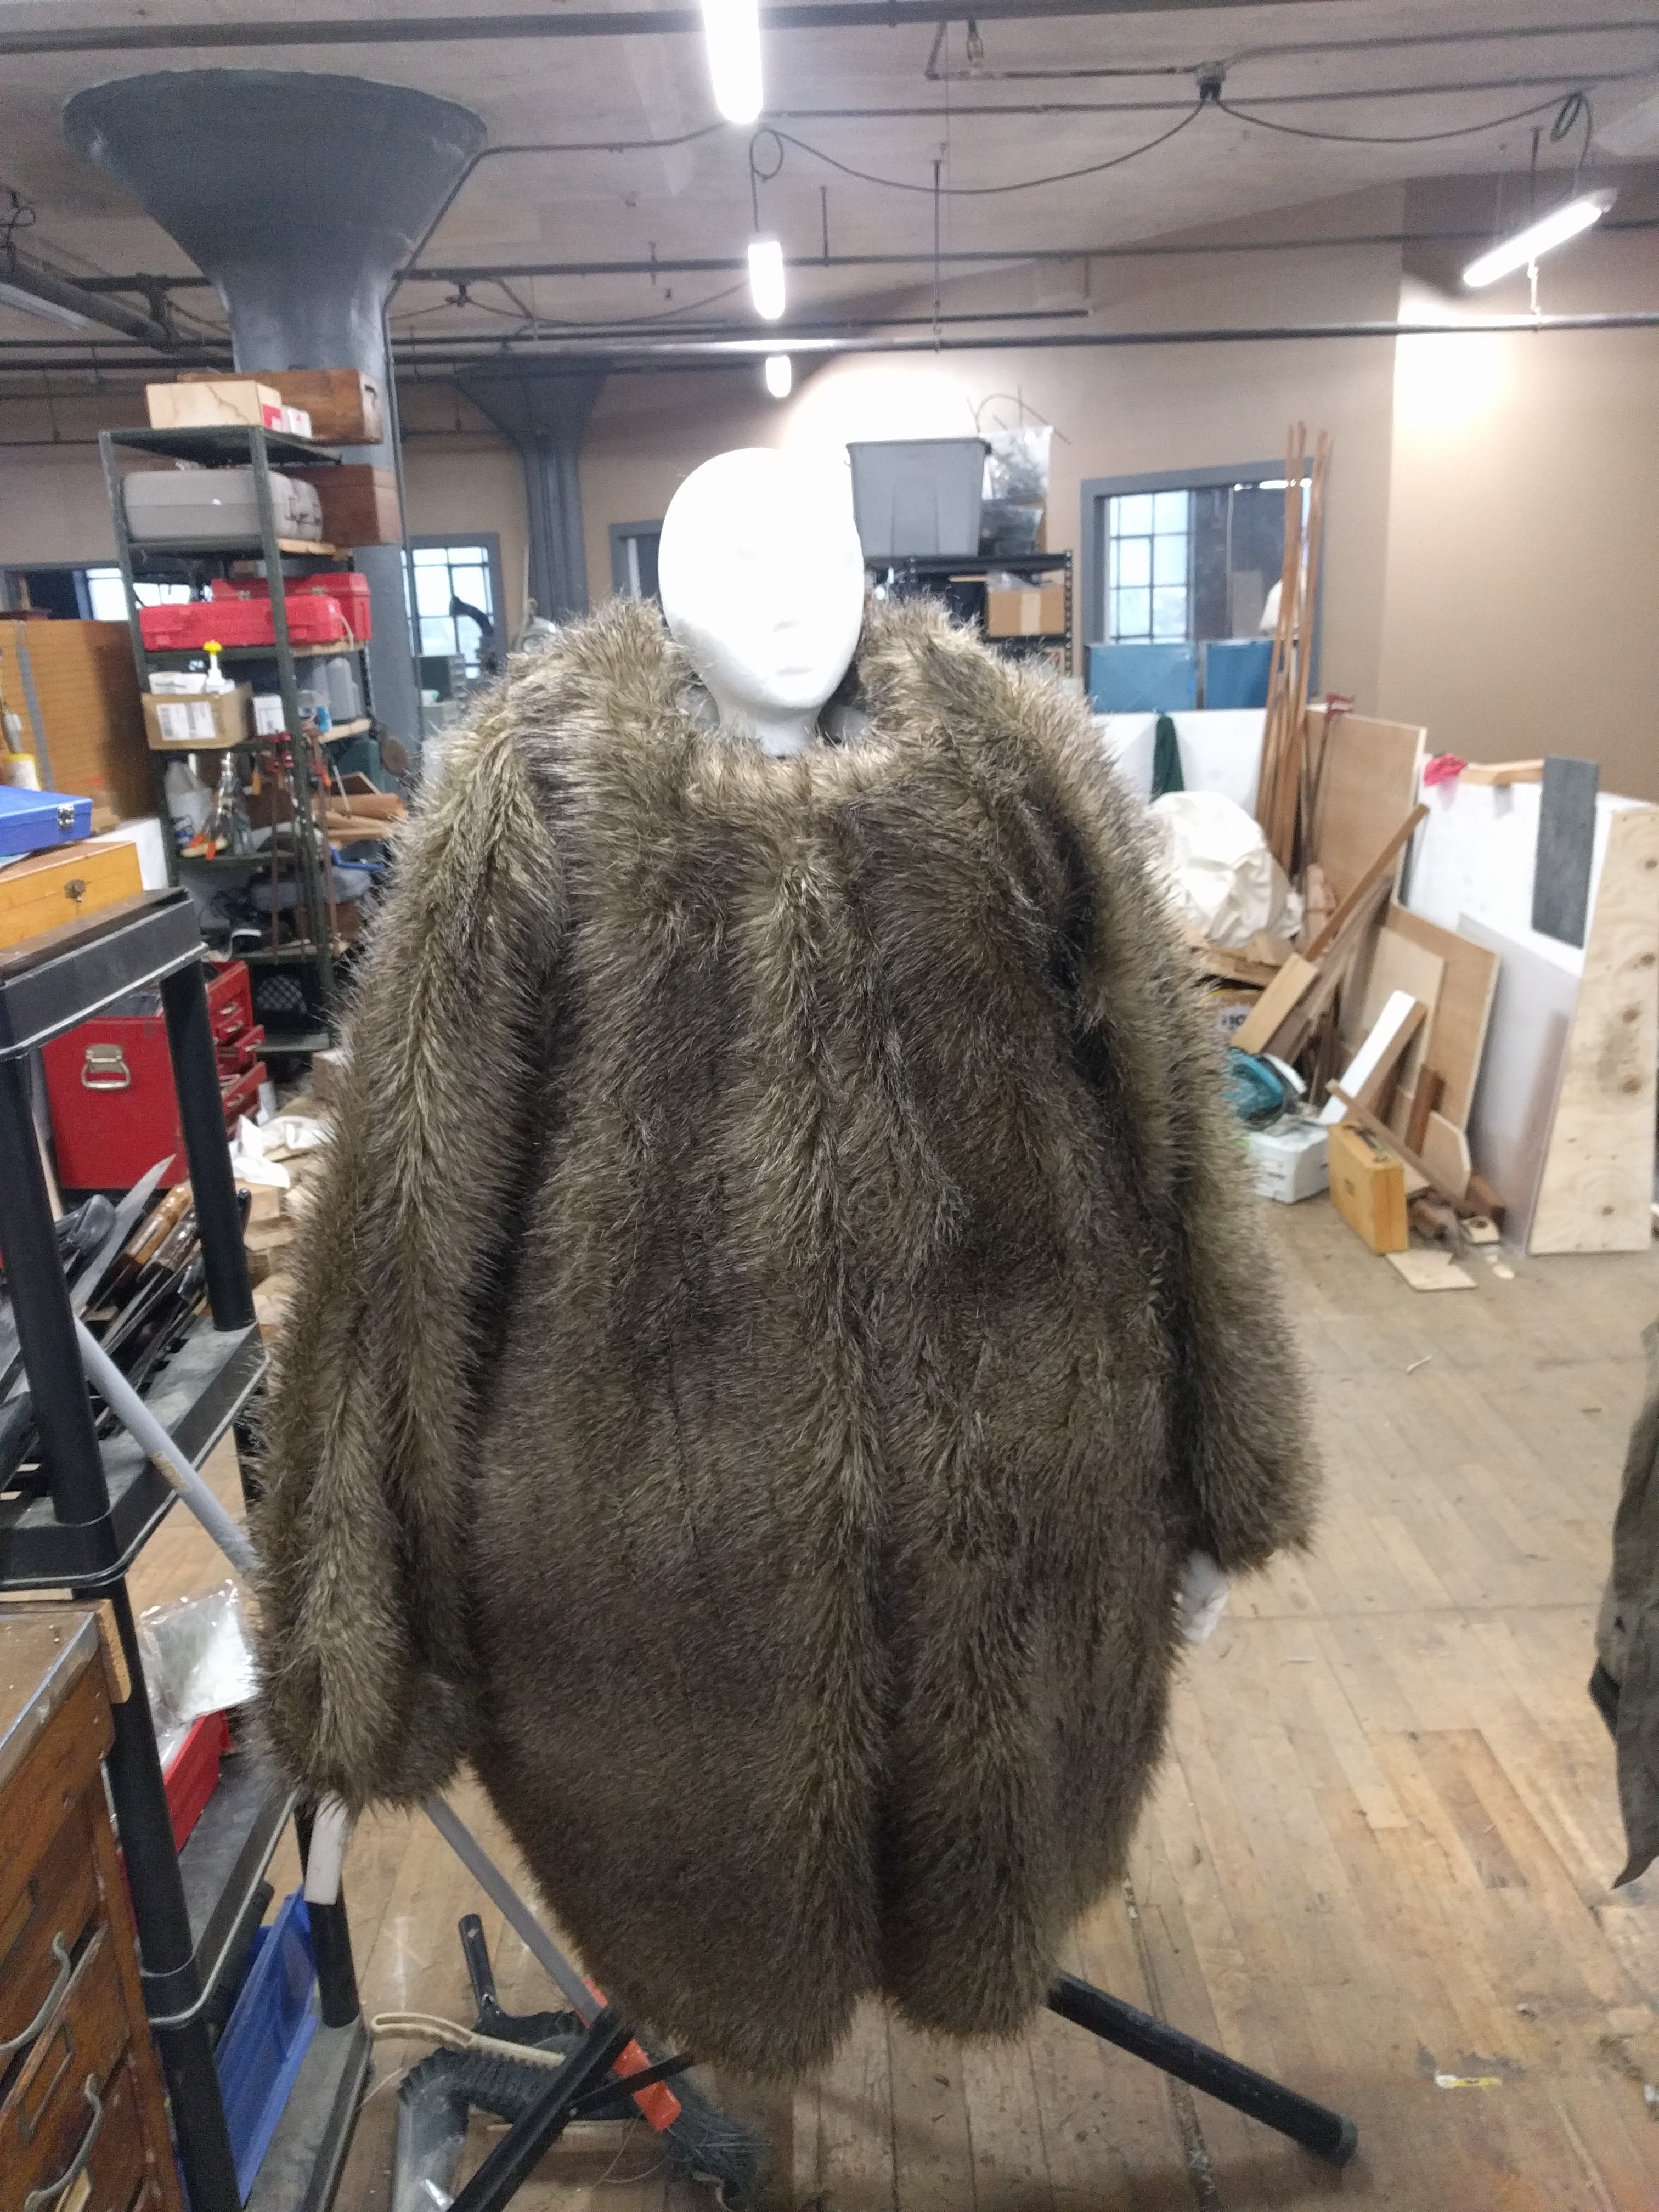
I finished Morice last night and he looks great!
I started by draping the fur over the body foam to test the outline. It's a little skinny, but it's the last day, so i guess i'll just roll with it :/
next I made a pattern using this floral print that we have a huge spool of.
![]()
next I cut the fur pieces: for the body
![]()
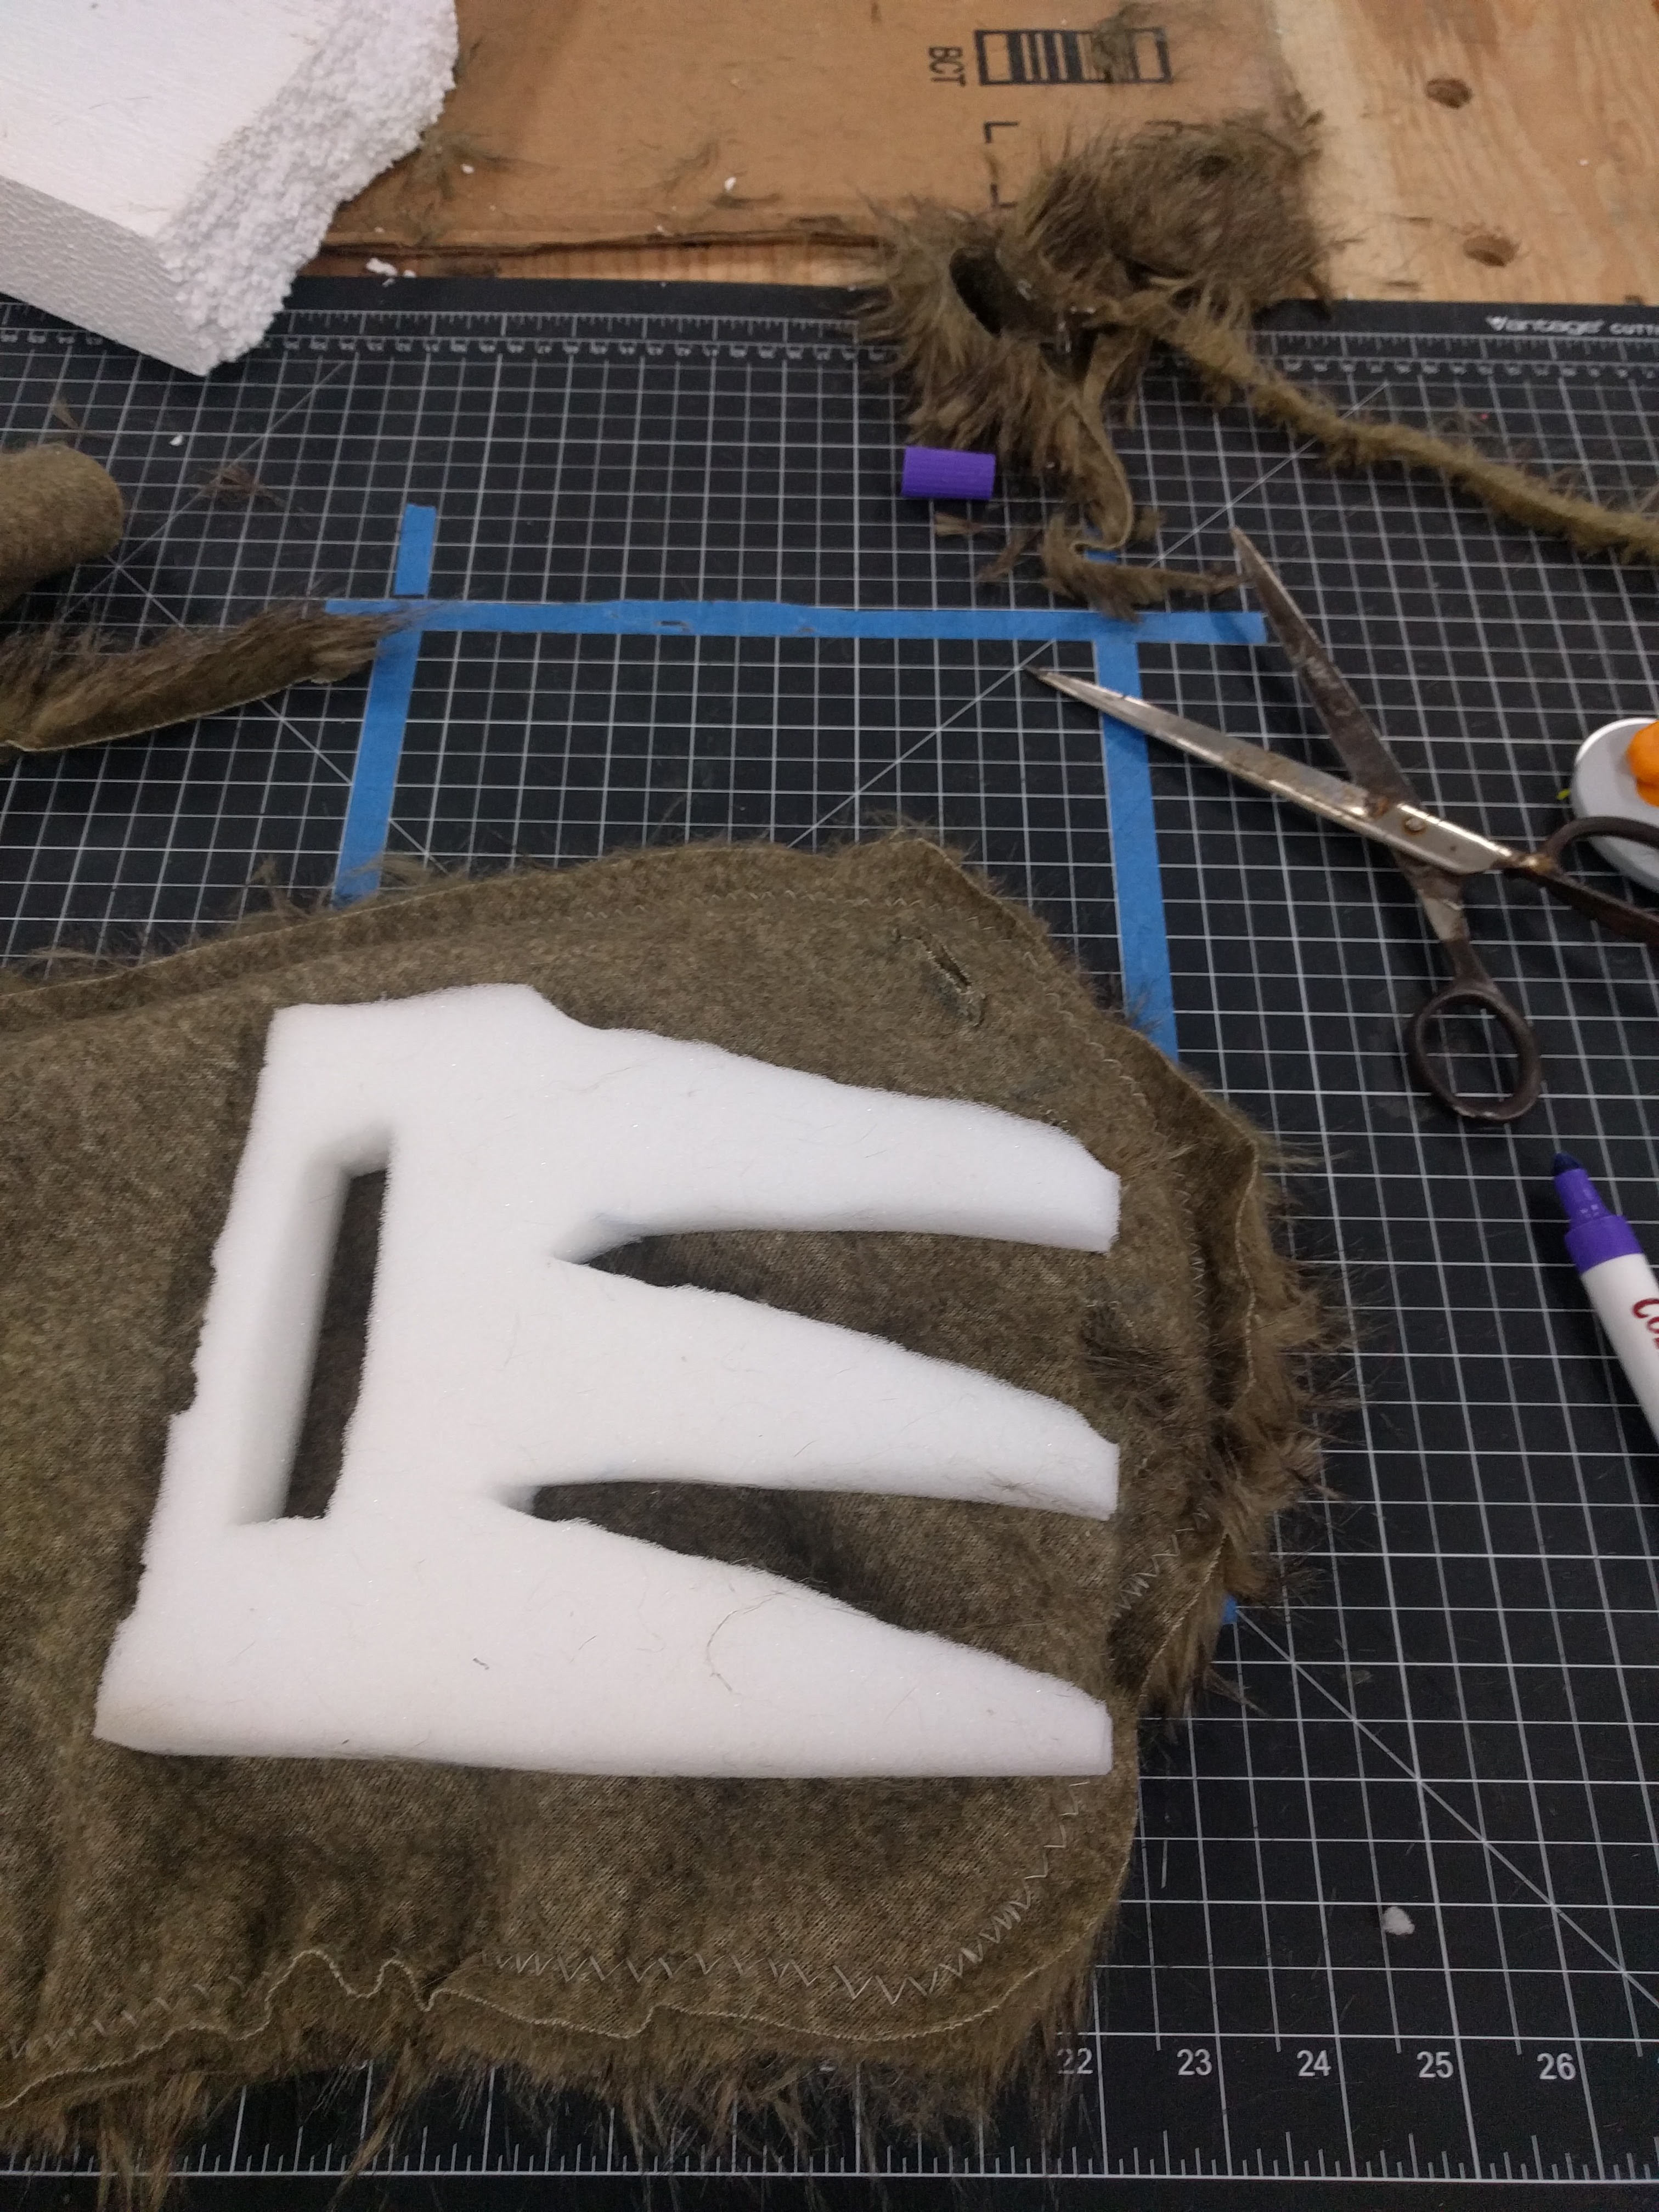
Next made sleeves and a set of claws to poke through the suit. These claws are terrible, but i guess thats the point?
![]()
Next I added the arm to the body :
And one more arm!
![]()
-
Morice's Day 5
10/31/2016 at 23:05 • 0 comments![]()
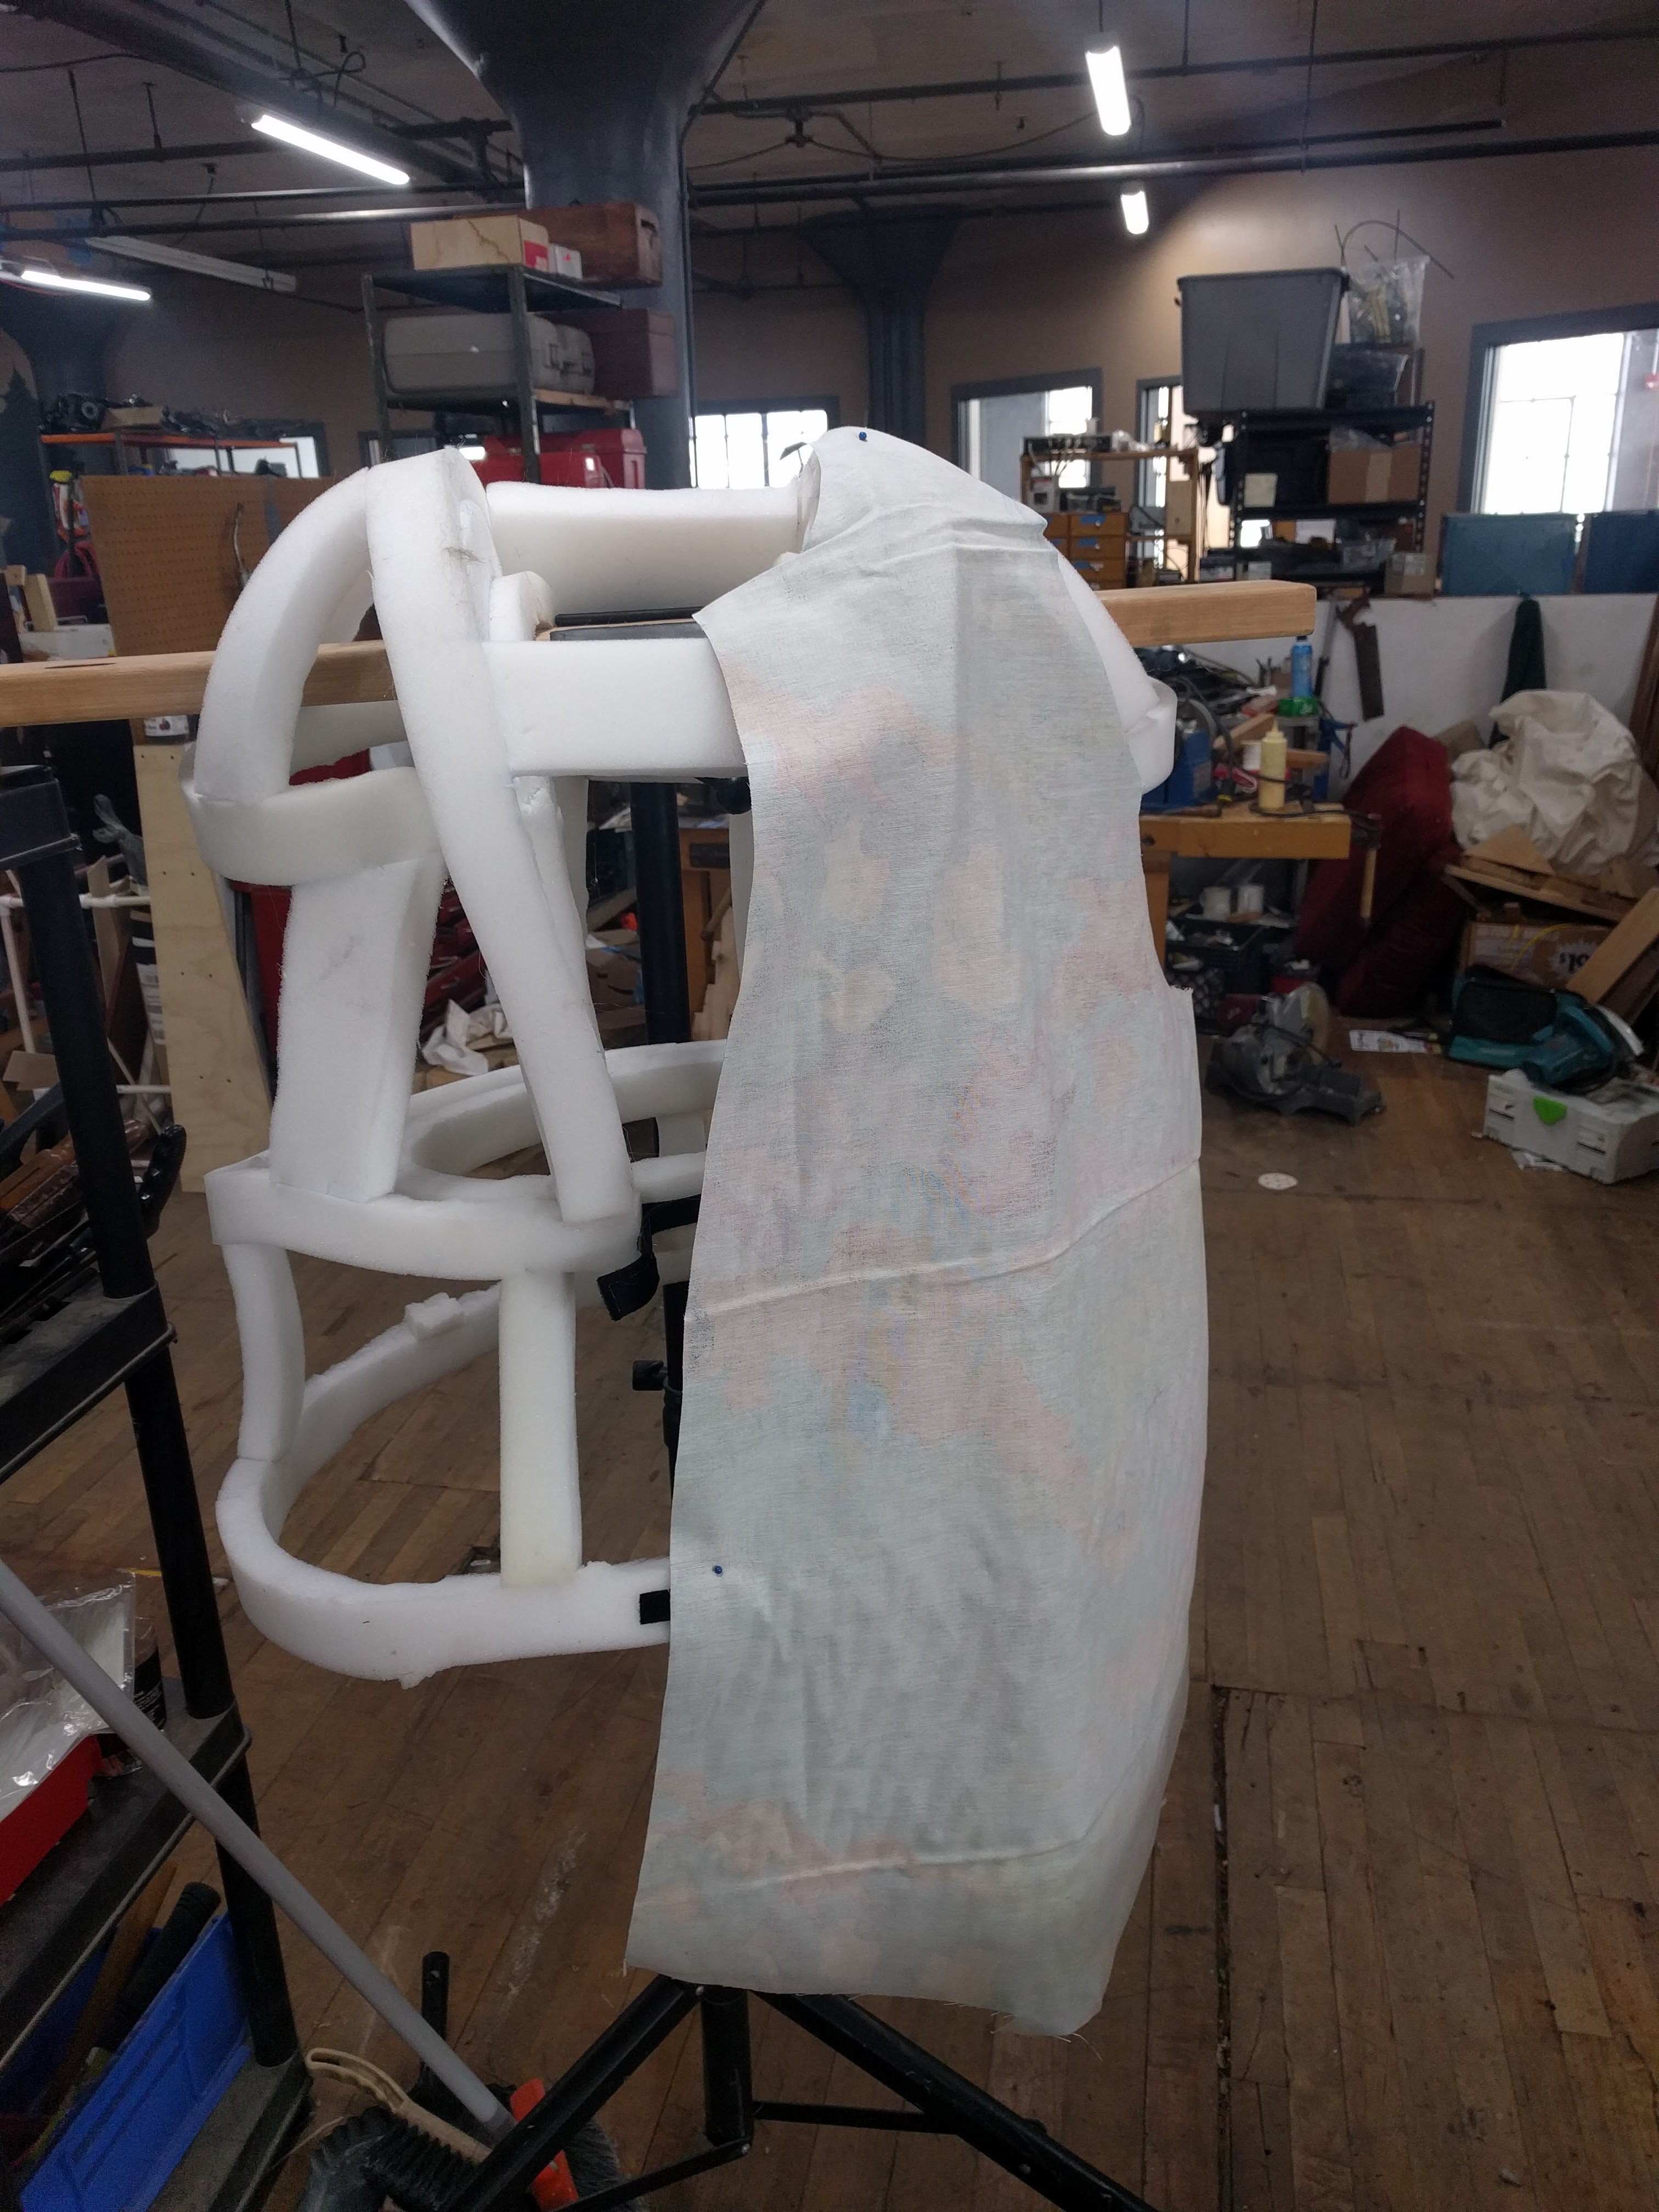
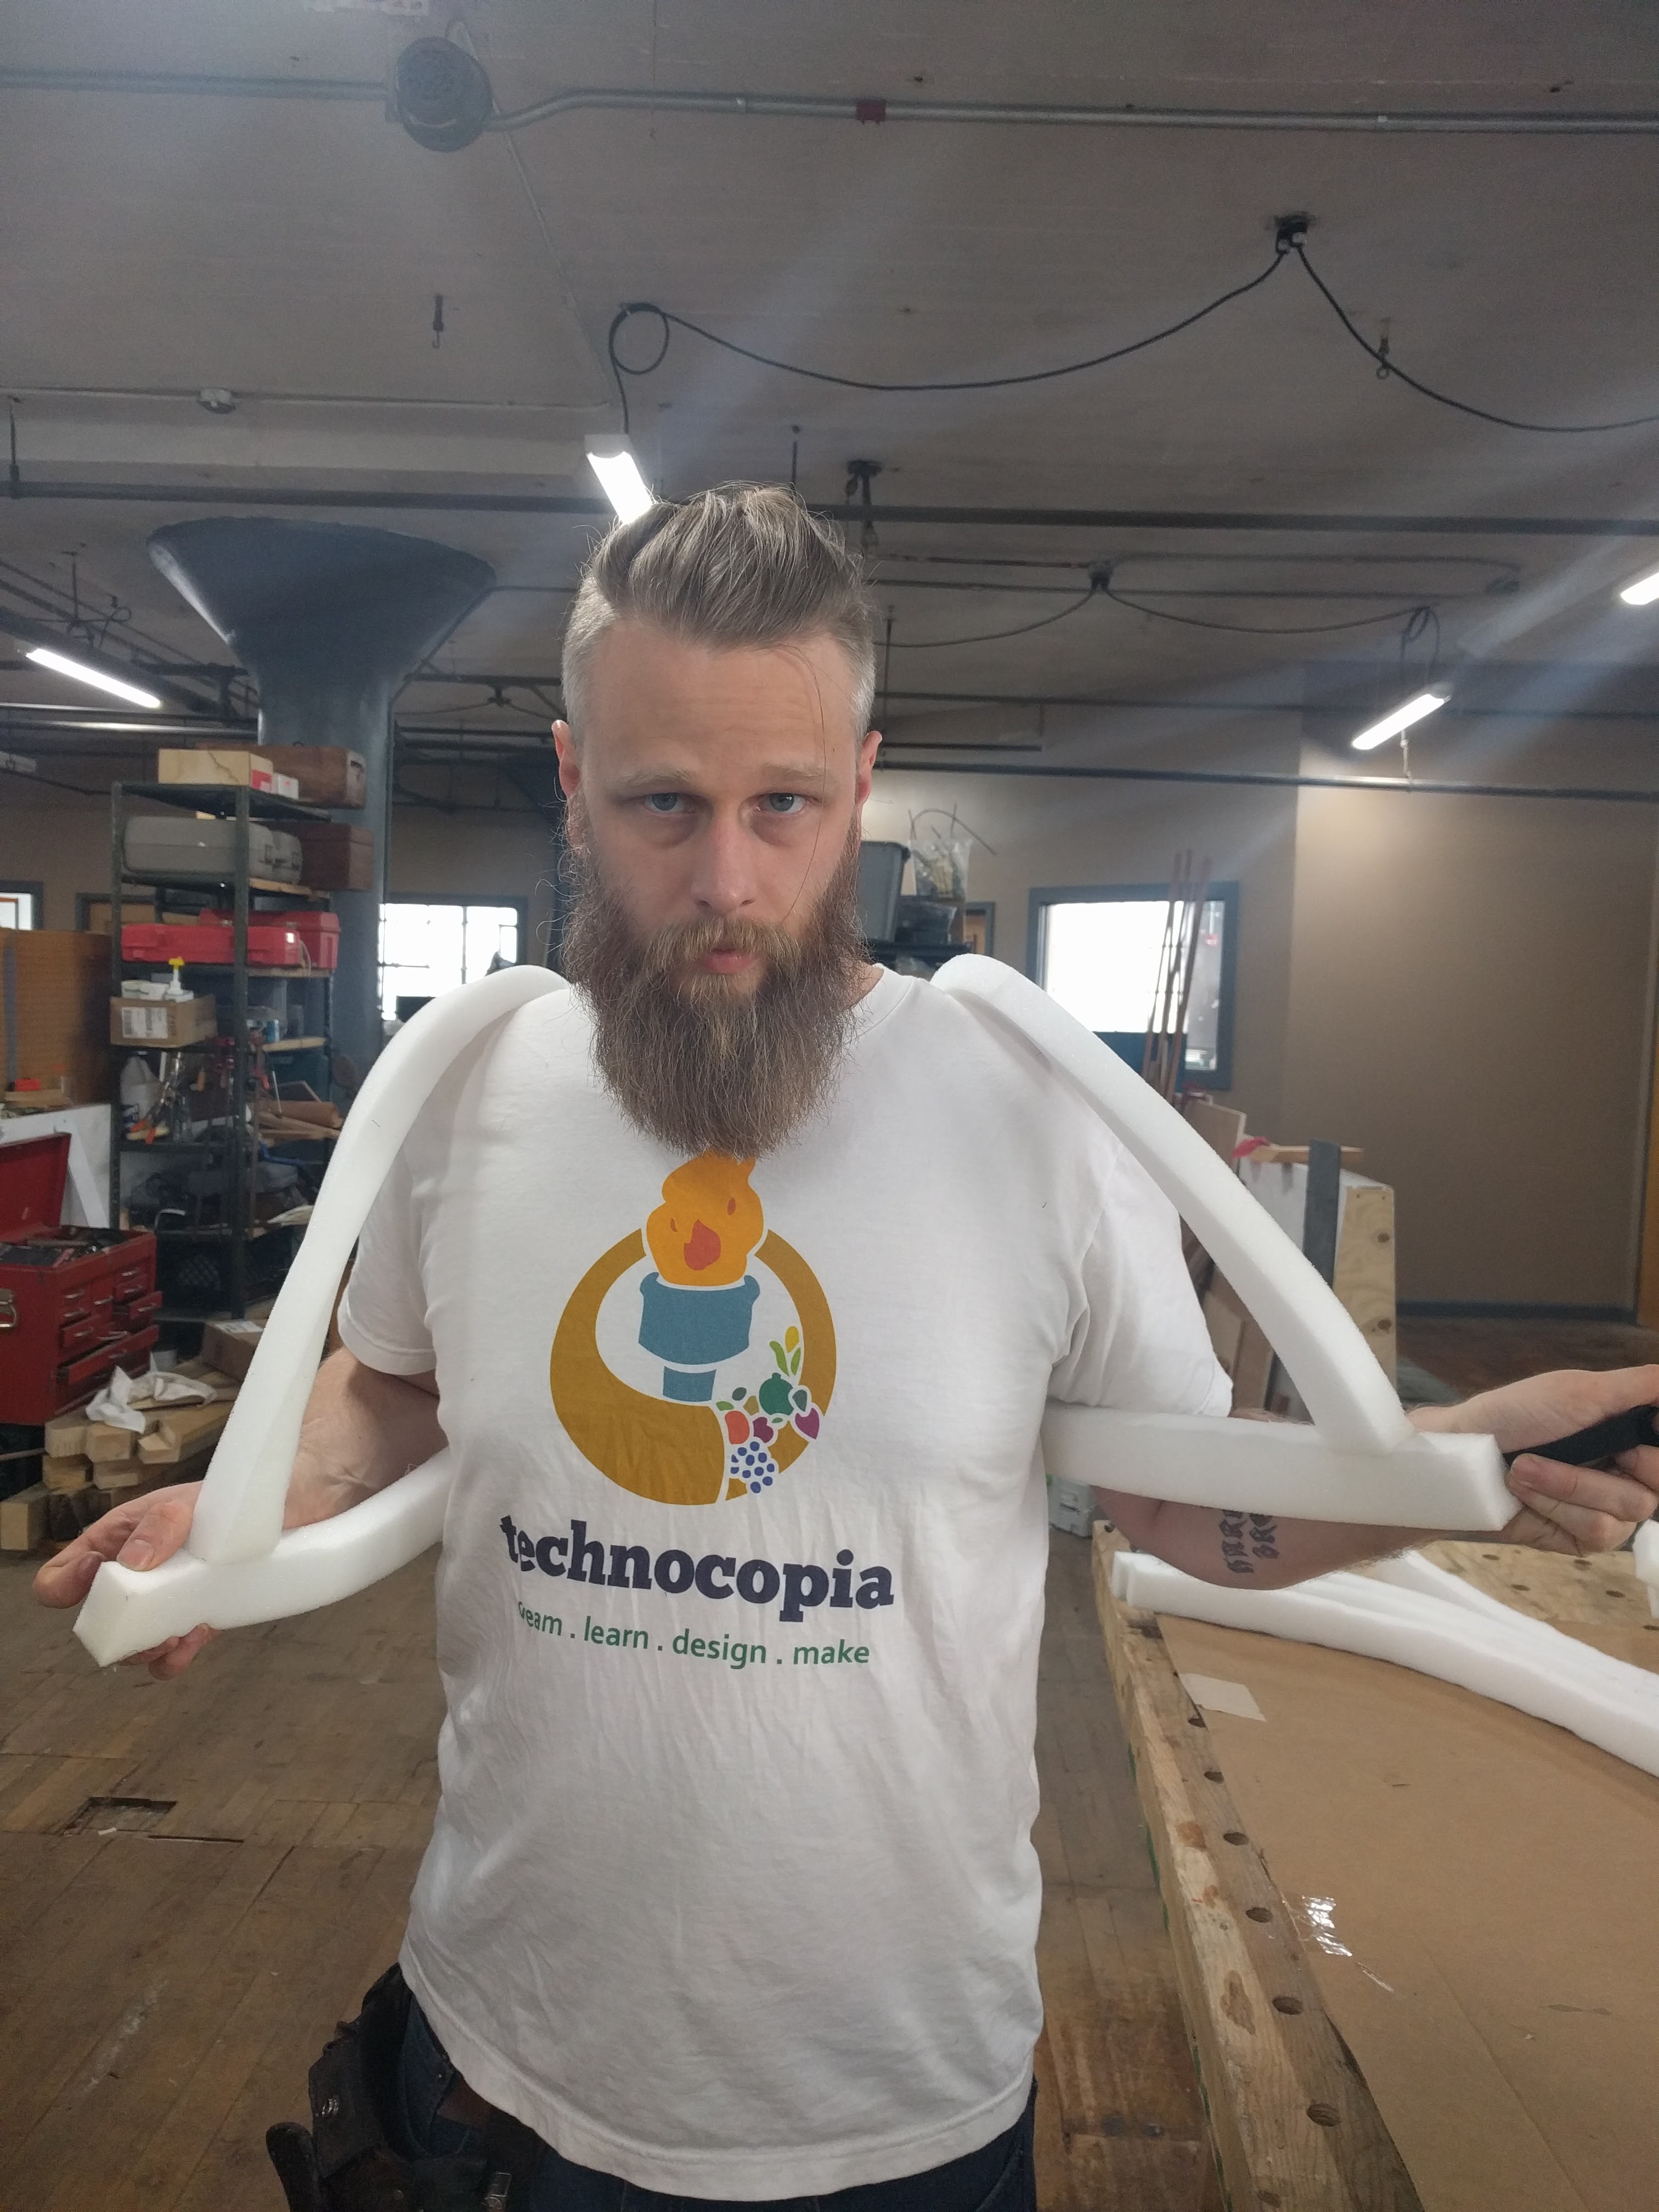
On Day 5 i did all the fur work for Morice. I started with making the foam understructure of the body.
![]()
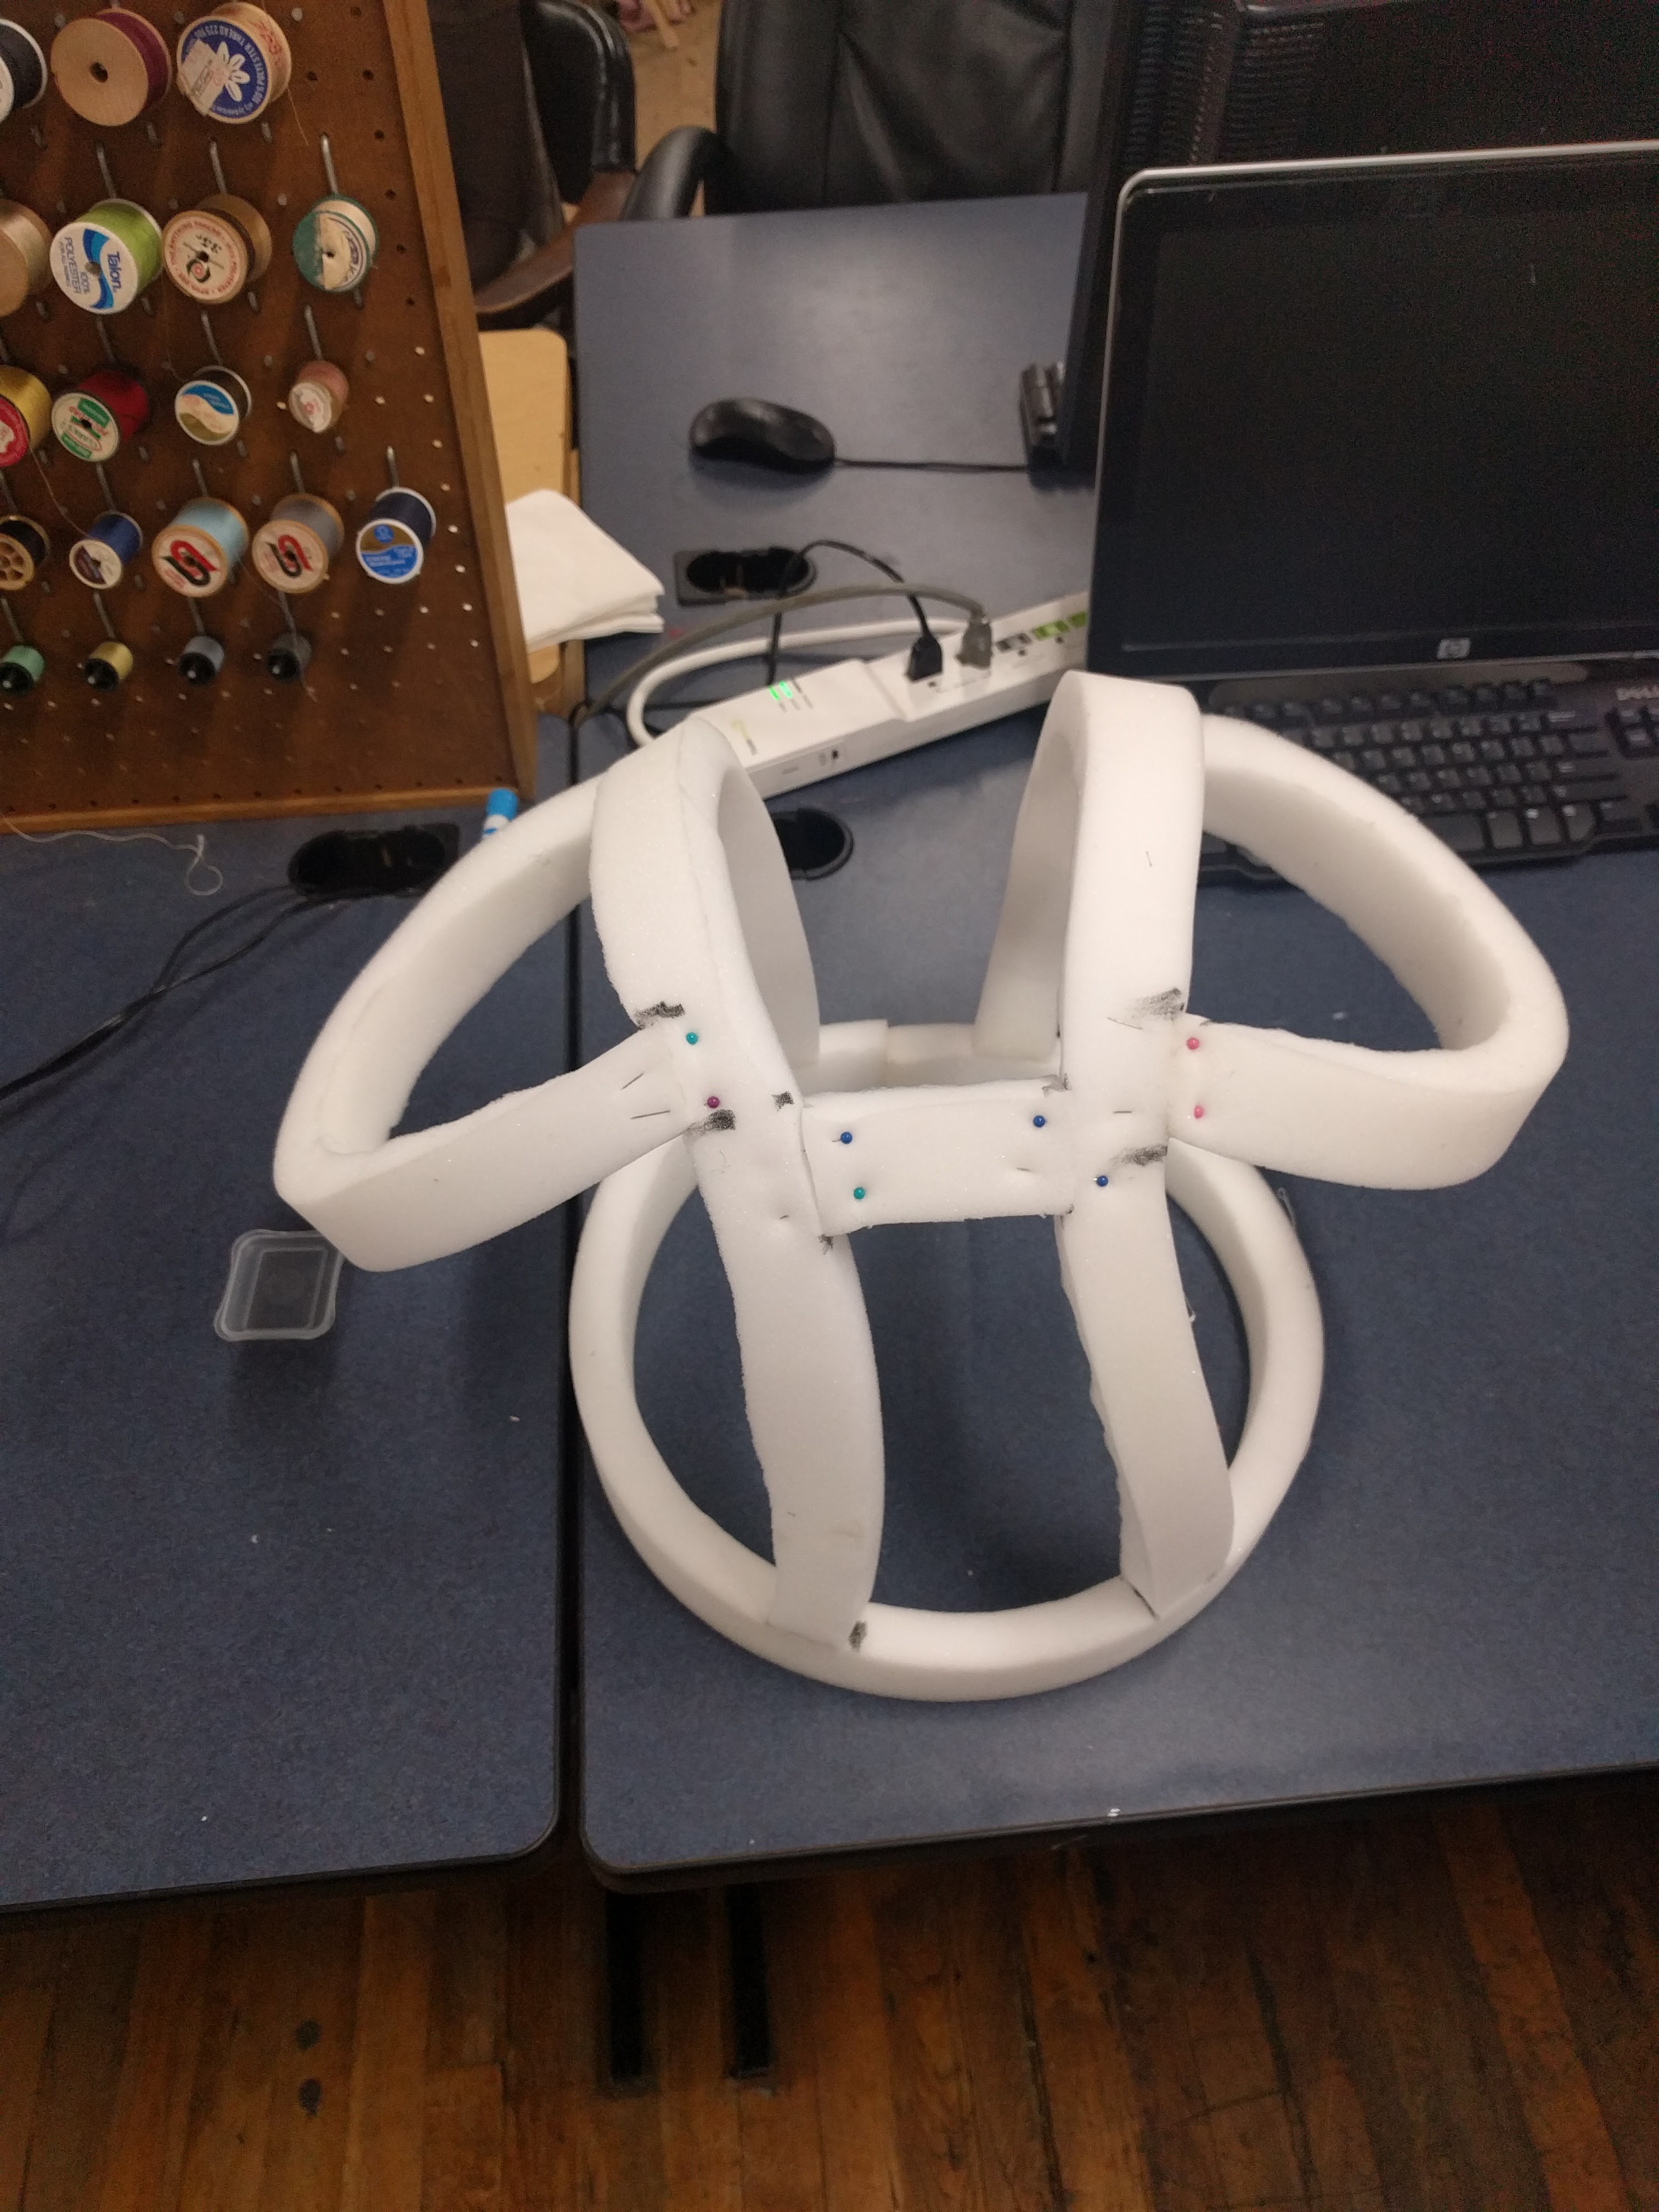
Next I added loops to support the taller shoulders i will be building
![]()
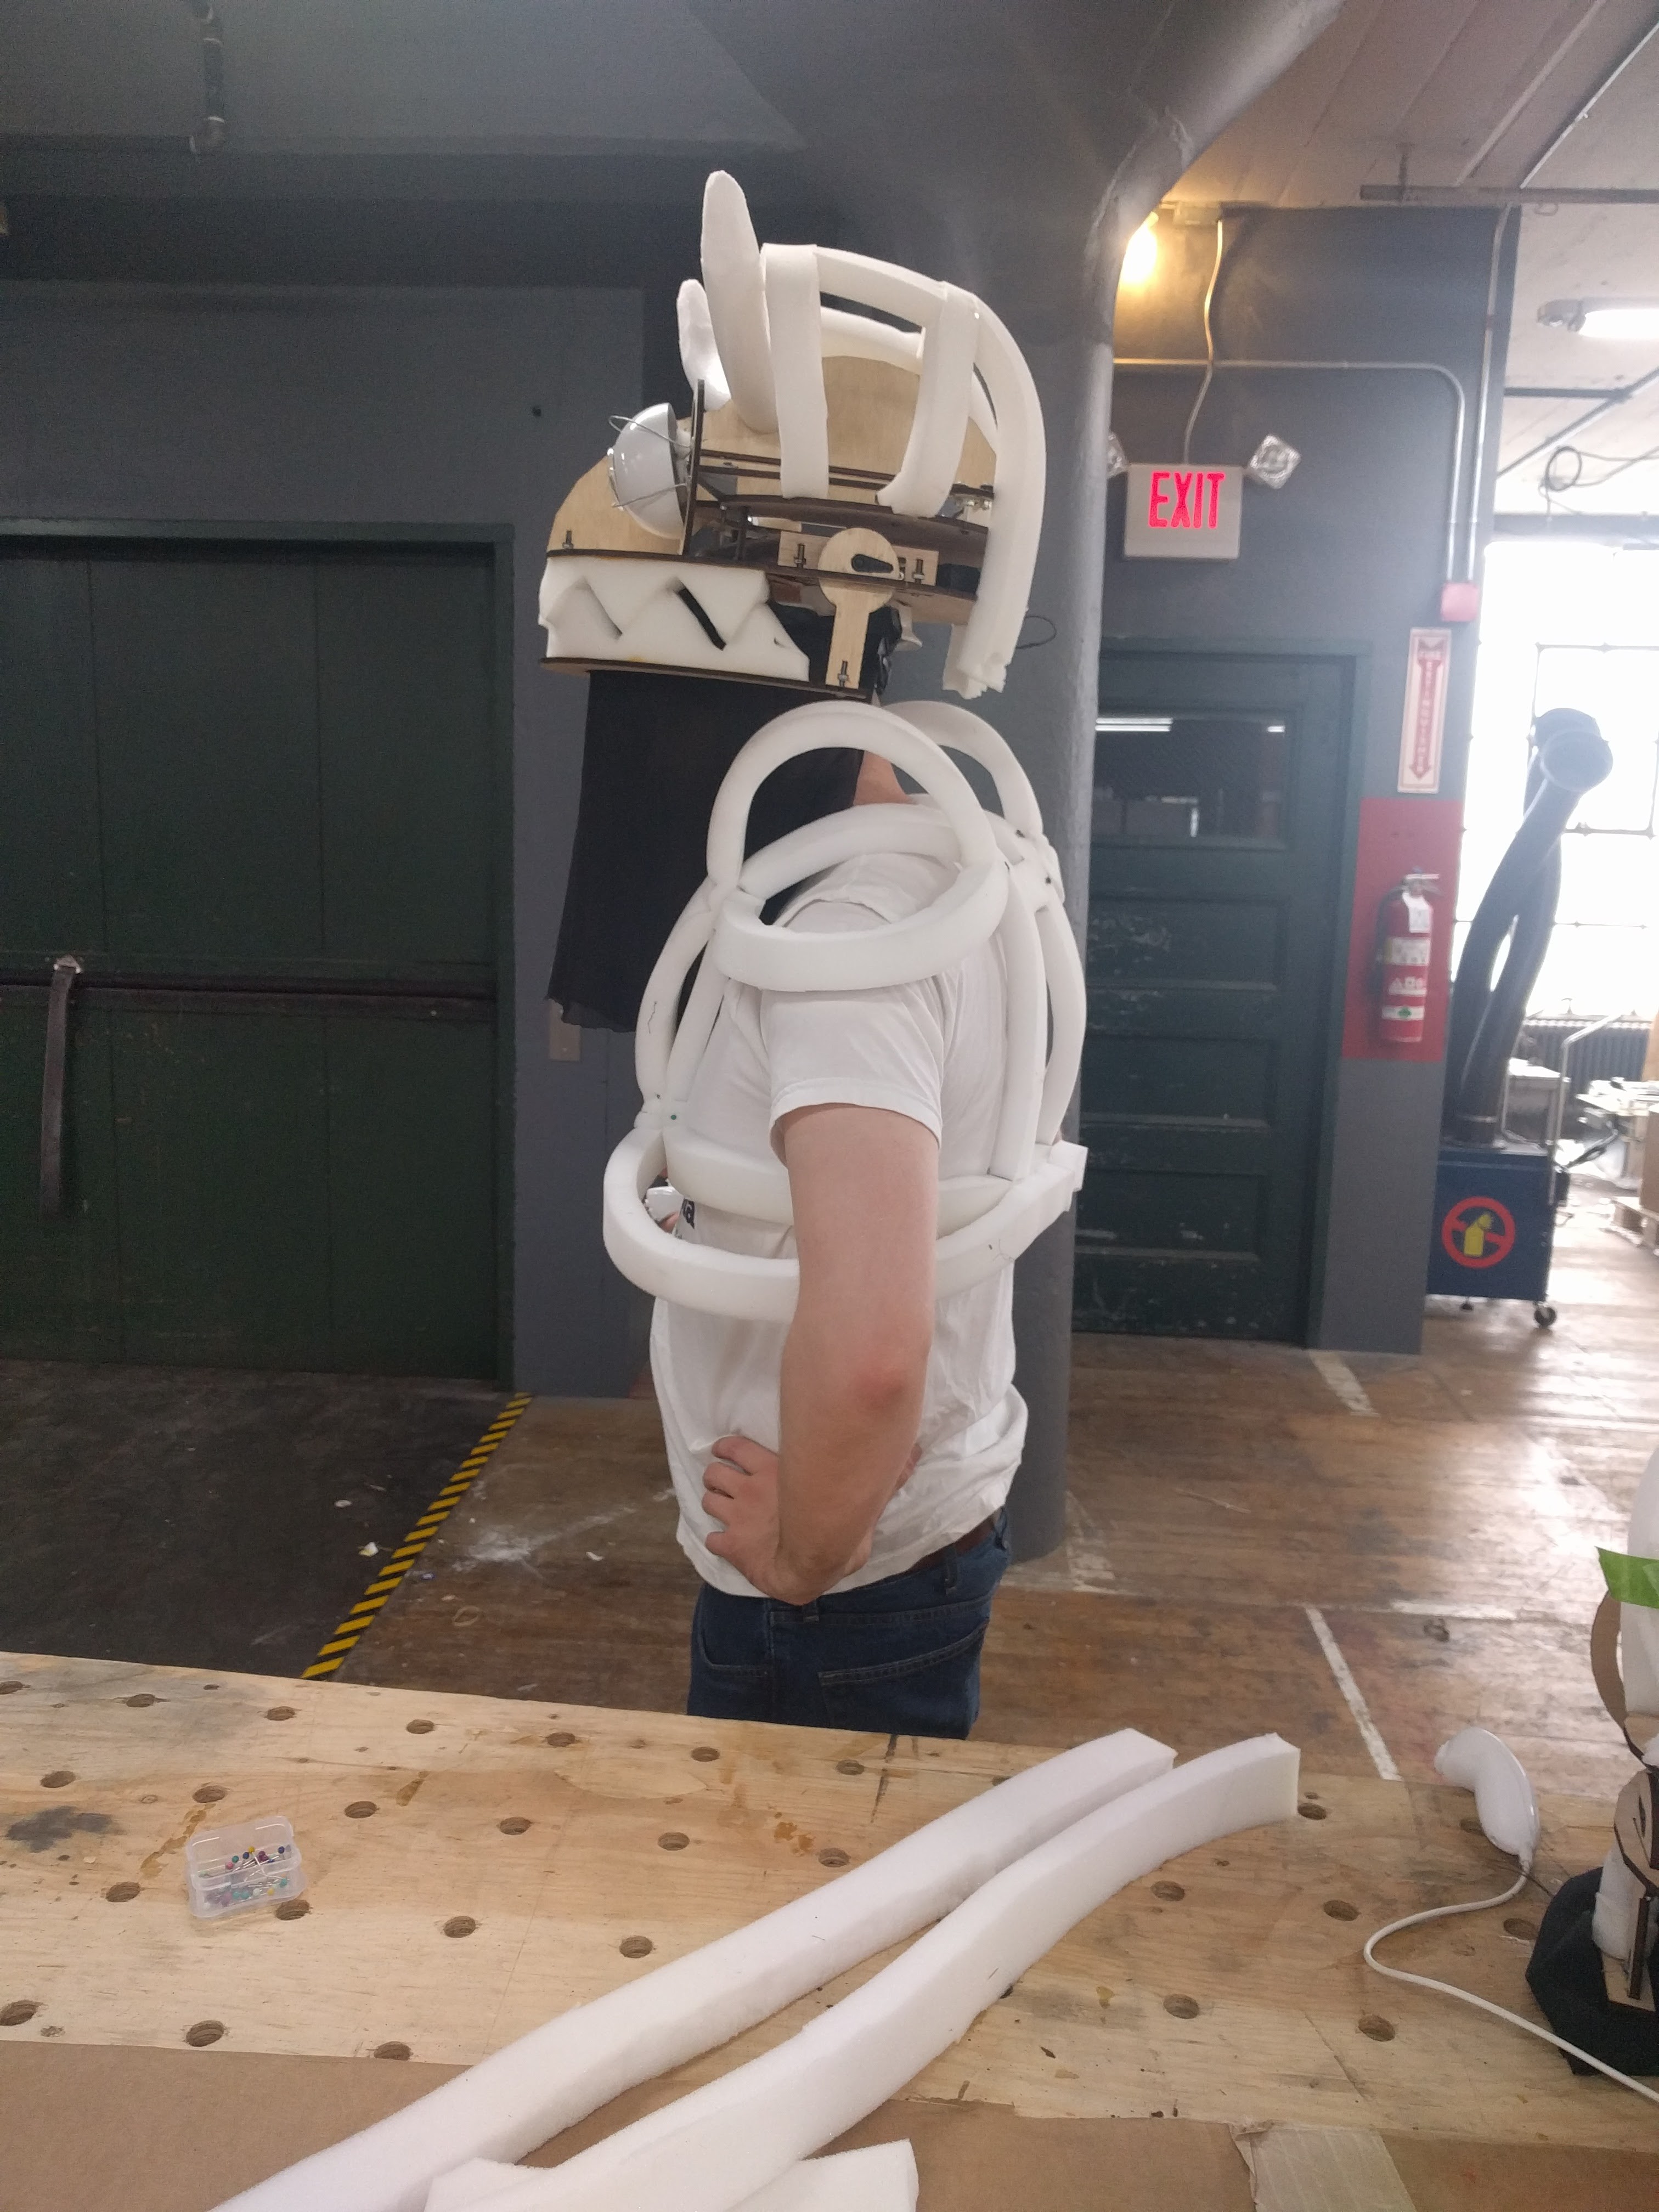
Next I added loops to make tall shoulders that match the profile of the head
![]()
next I added a rough nosed foam to the frame, since it's secured to the frame,, you can wiggle it and it jiggles.
![]()
next I added wider ribs to bulk him out. I think these were not stiff enough, and i would go with retal like Adam Savage's Totoro next time.
![]()
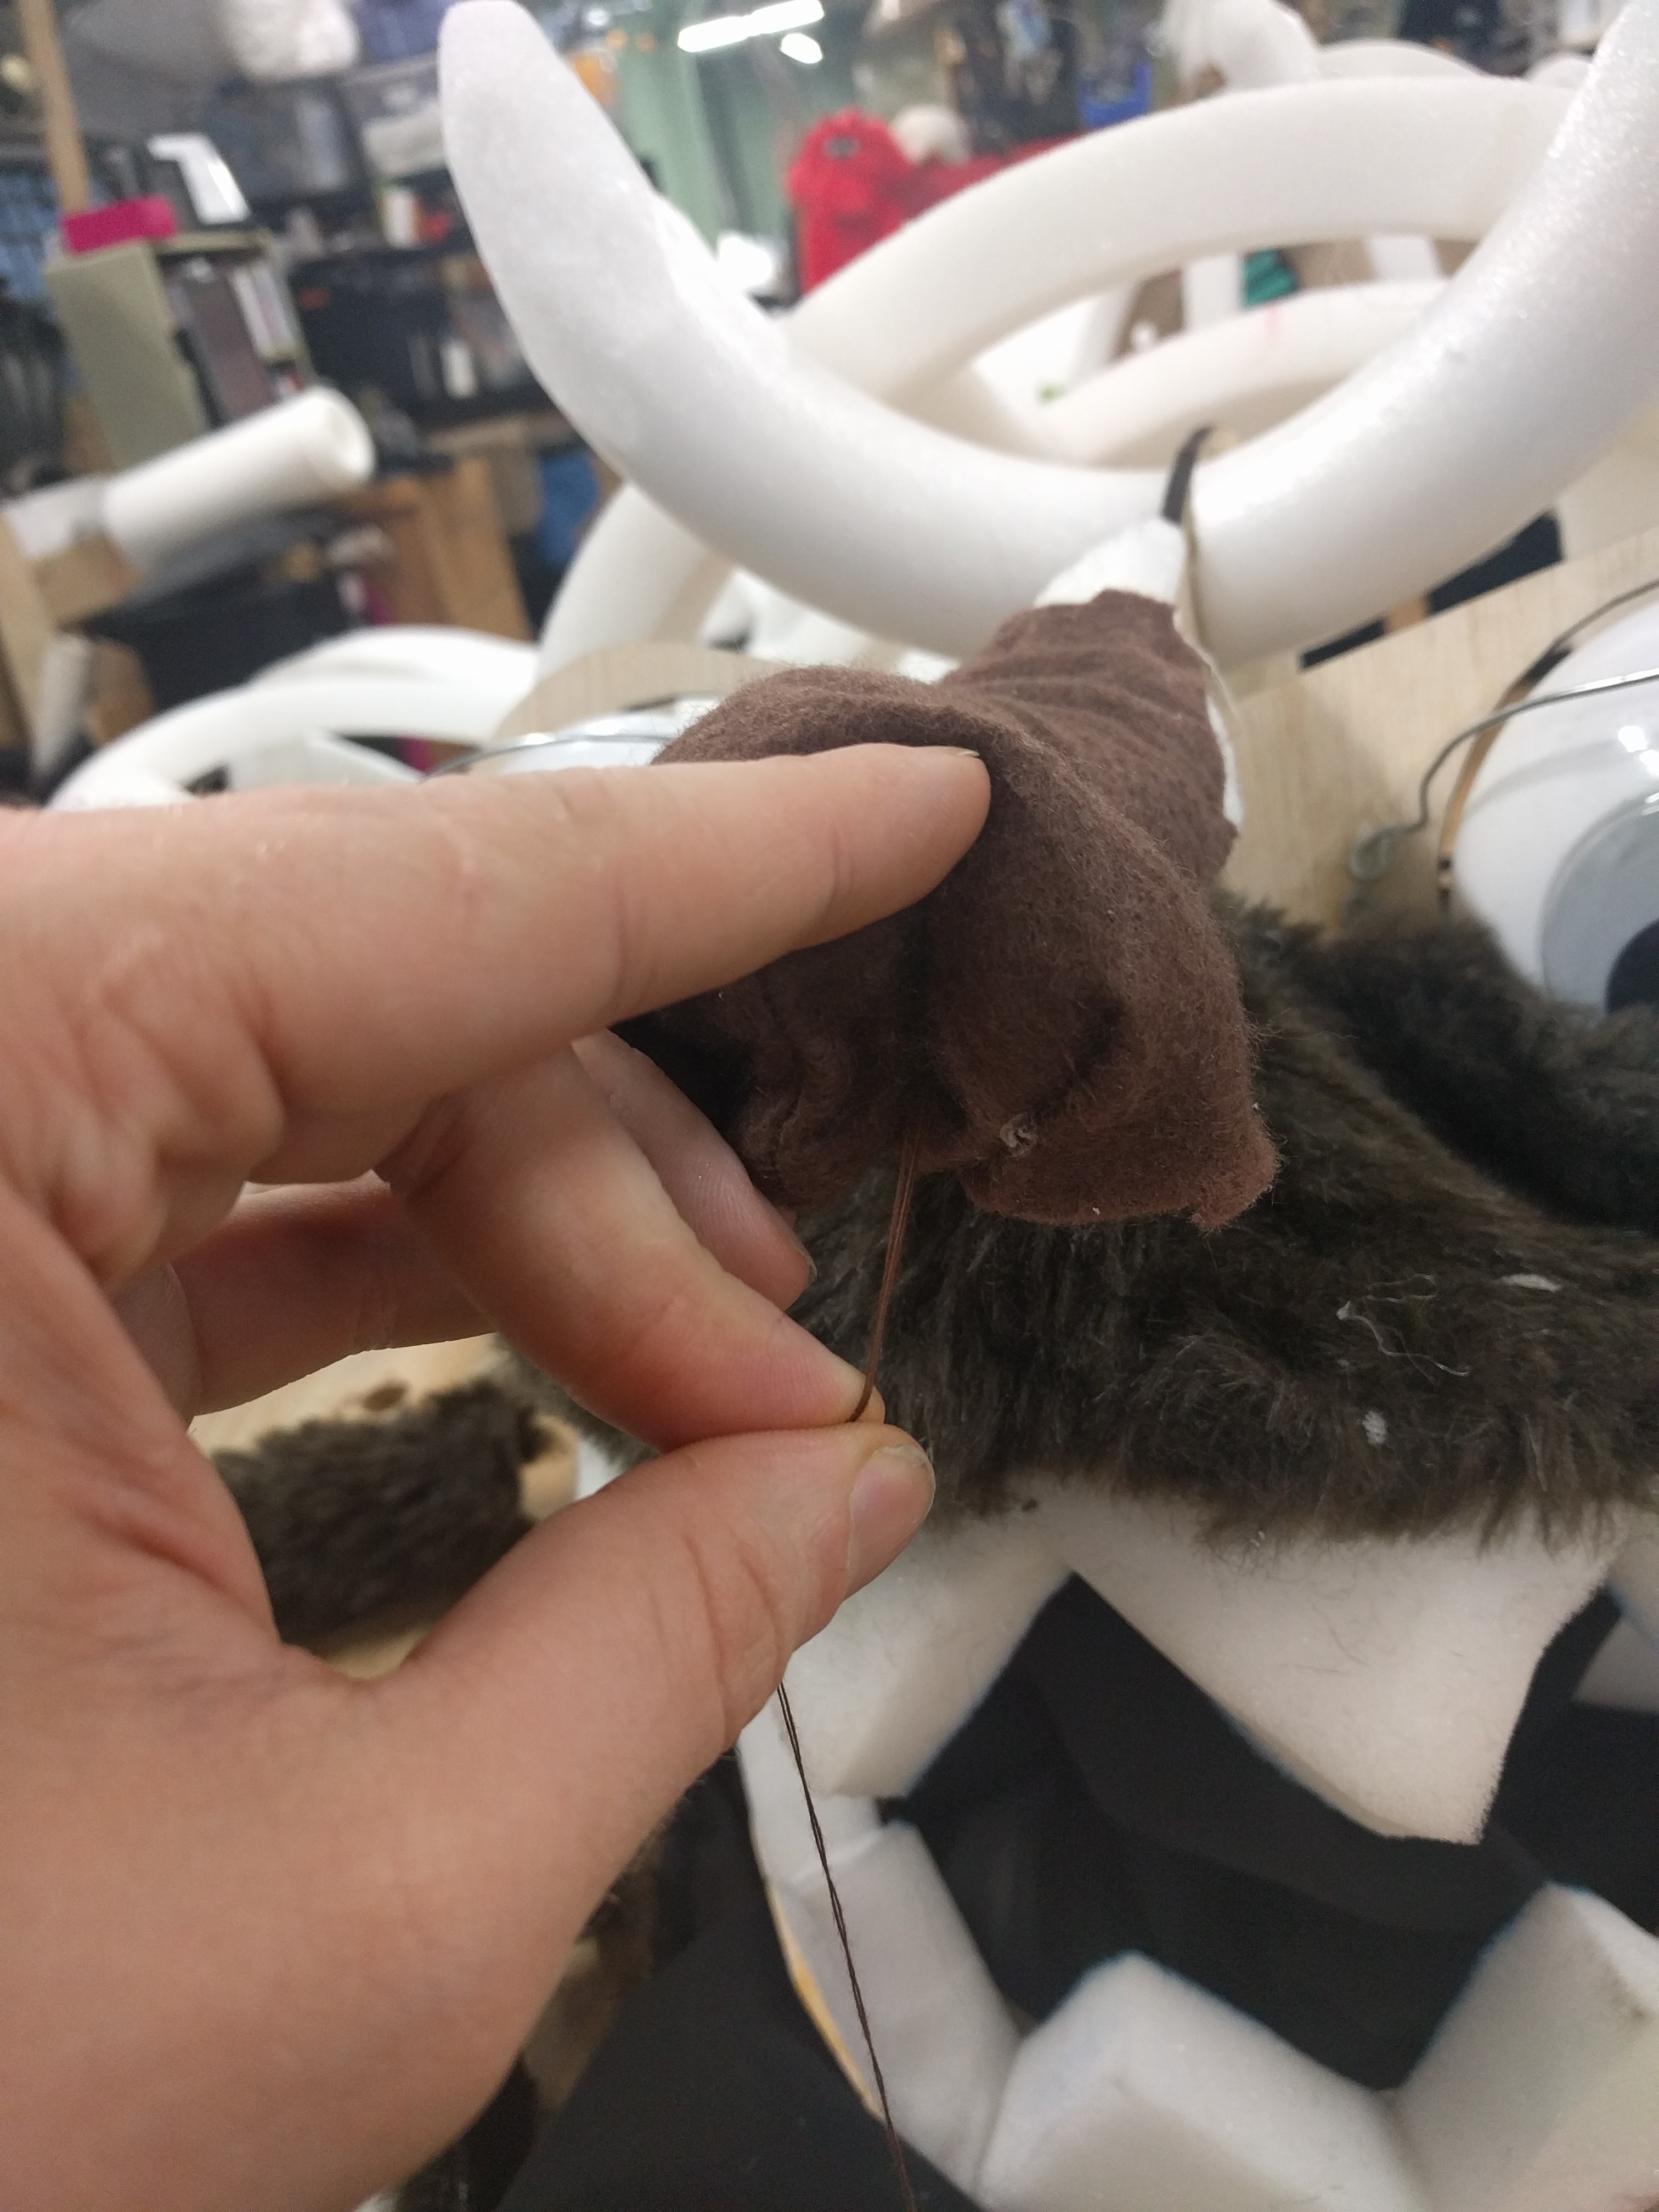
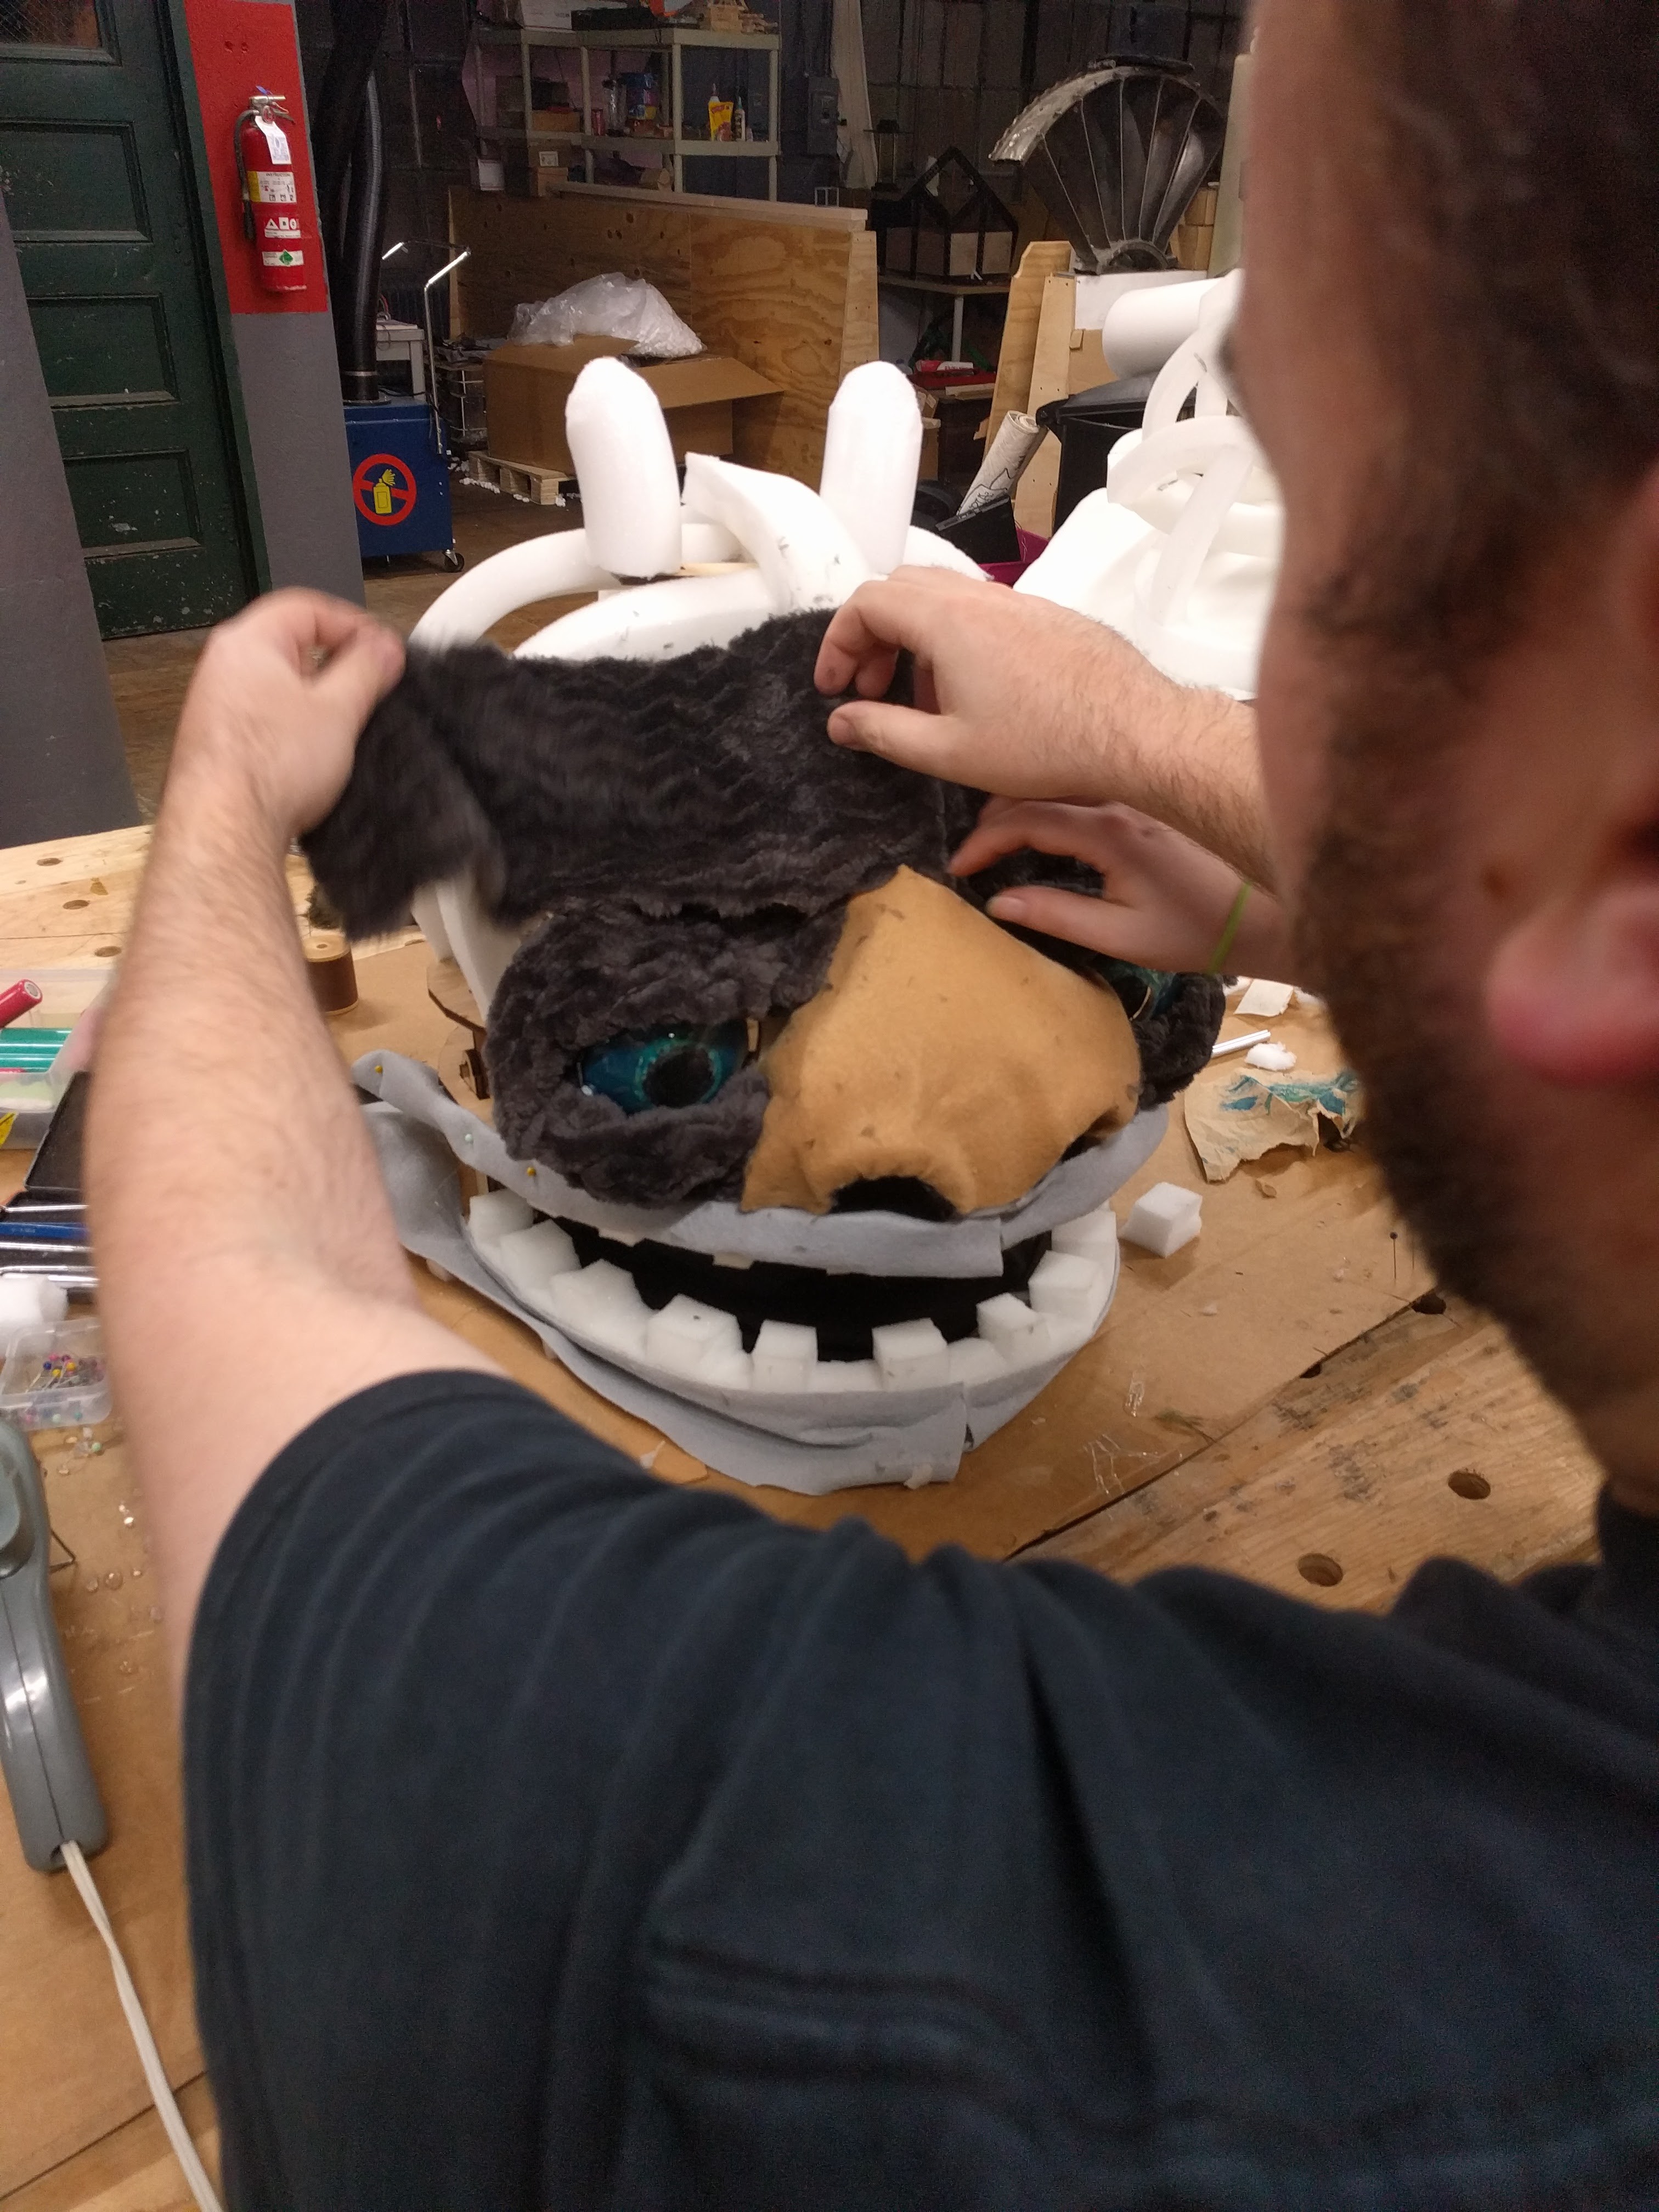
next I started the fur, laying it down strip by strip, gluing it to the frame underneath. The face is a short tight curled brown, and the rest is a shag faux yak fur that a friend had laying around. Here I am forming the nostril by stitching from the corner of the nose to the center of the nostril.
![]()
Next I add more fur
![]()
![]()
![]()
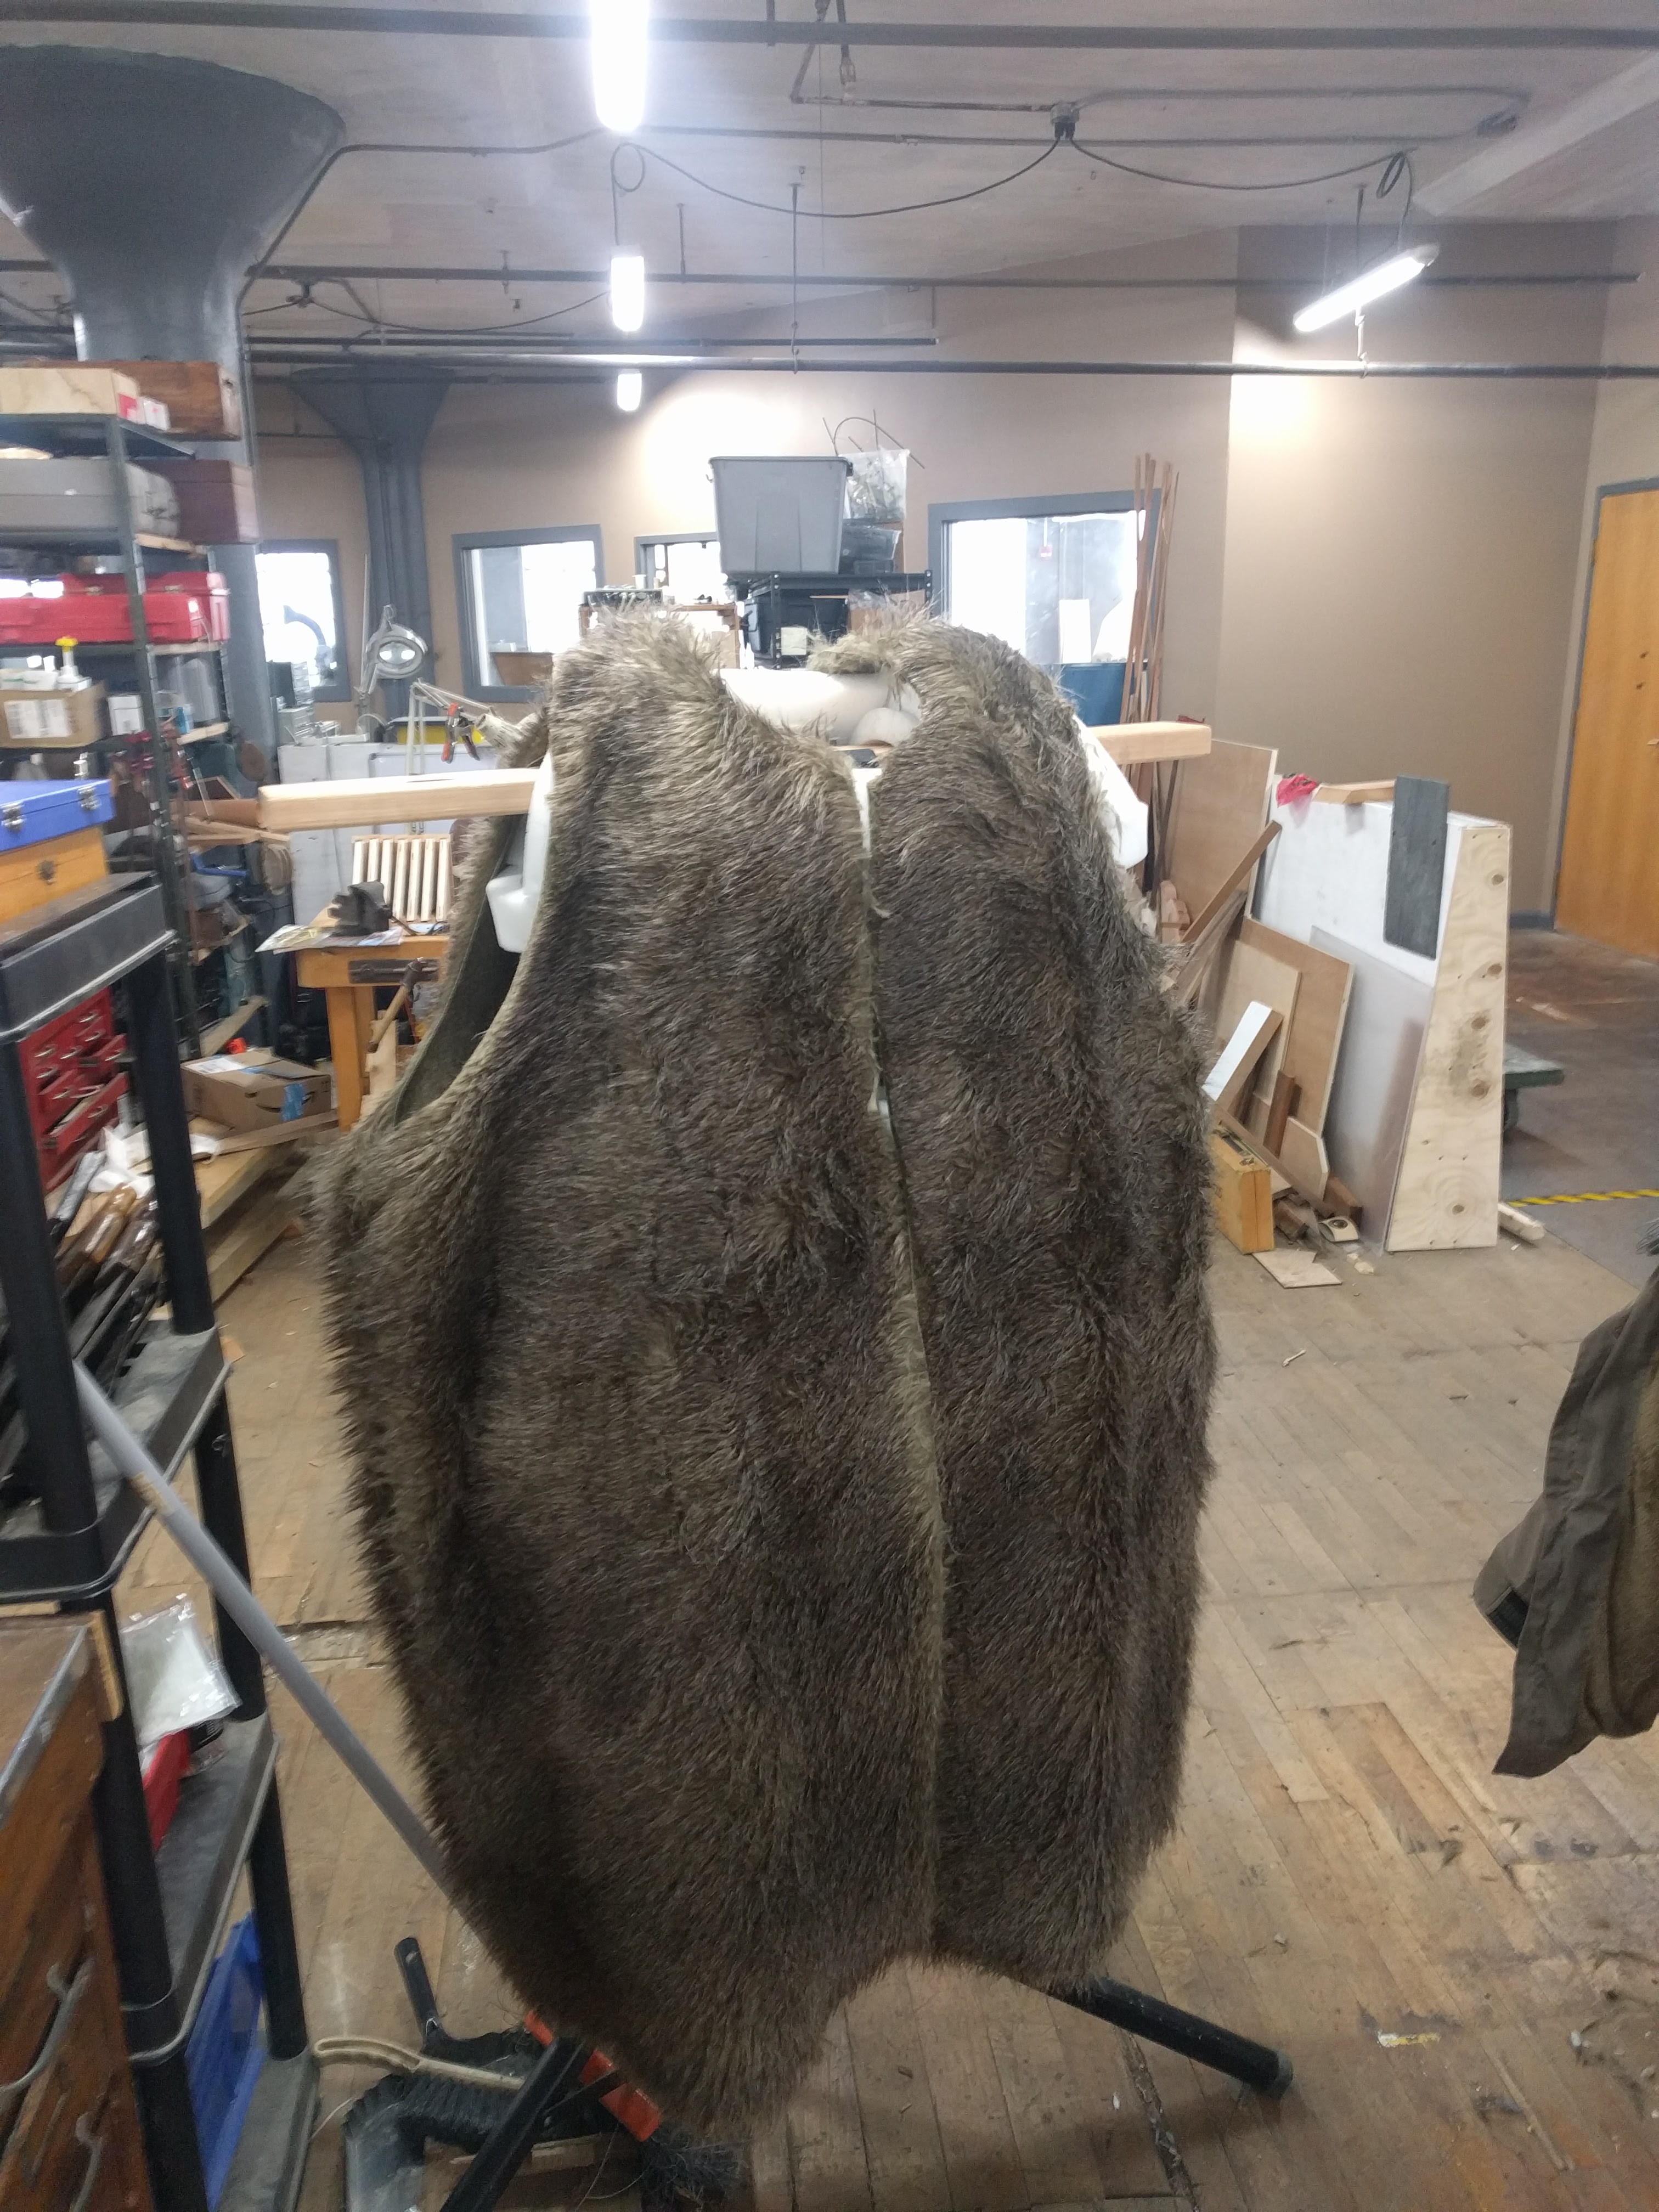
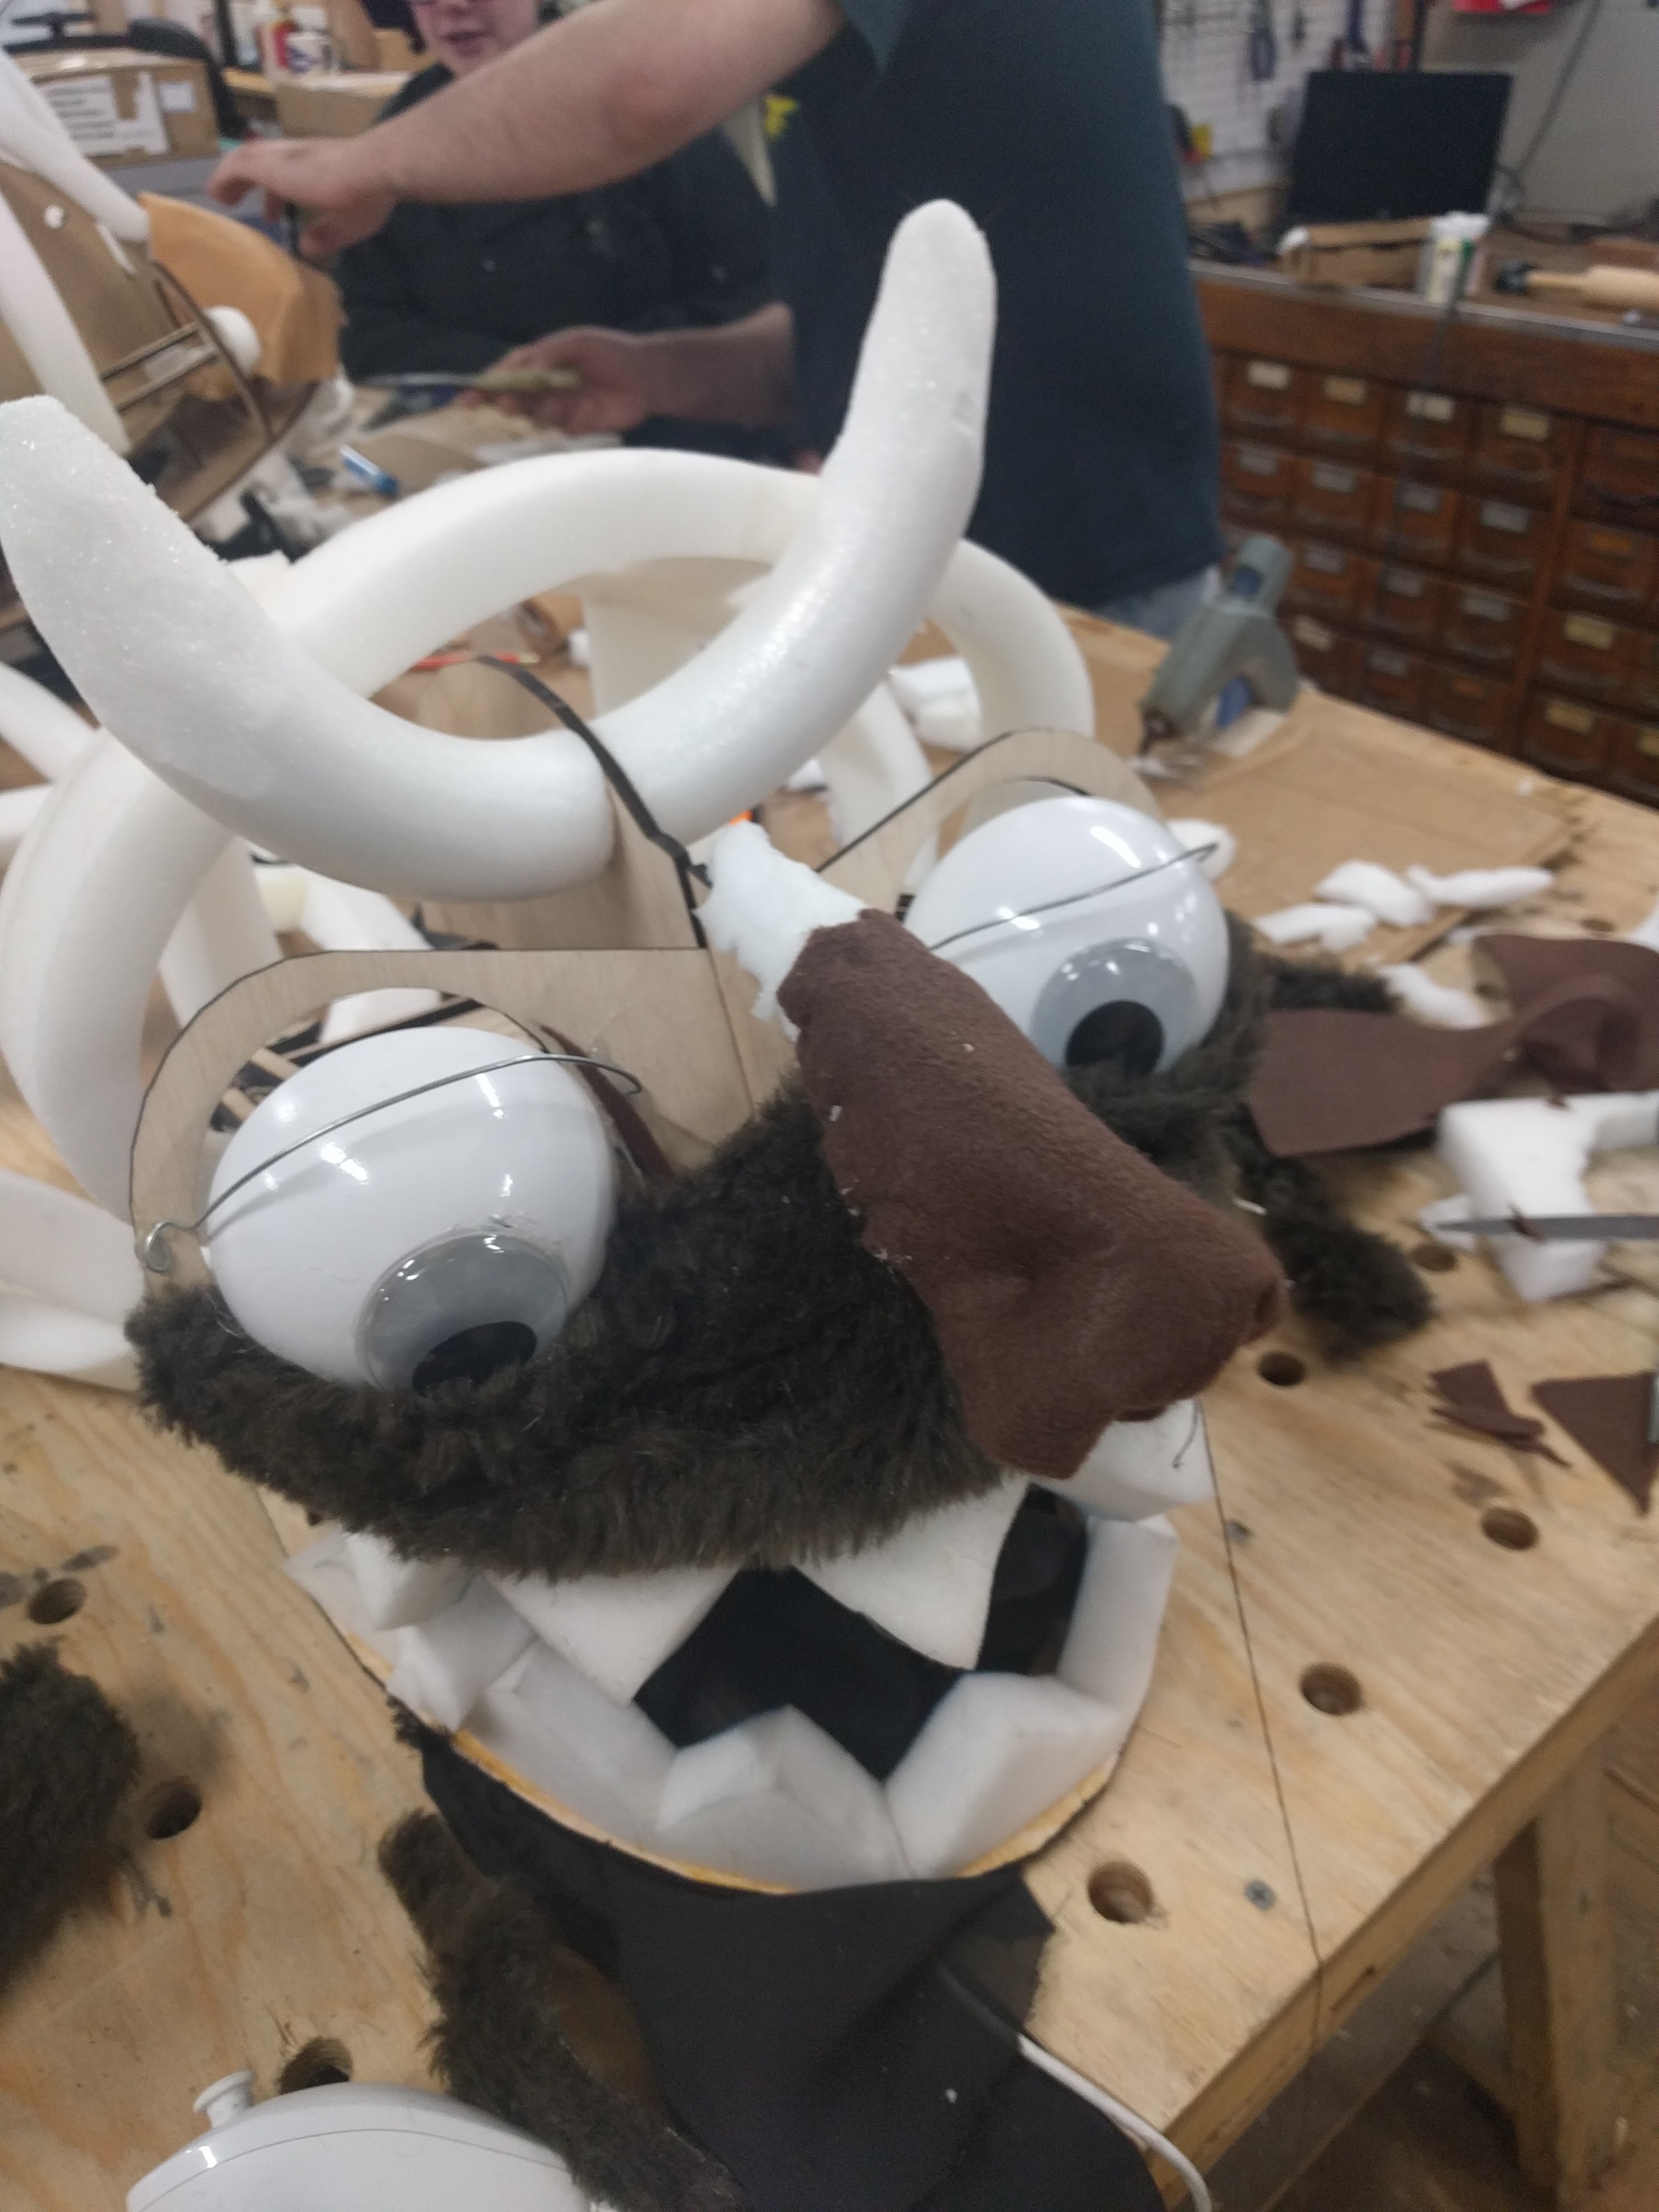
Next I added the shag fu to the outside and draped it back to see how it looked
Next i trimmed the fur and attached it to the frame
![]()
Finally i added loops of fur strips below the bottom teeth to make s jawline:
![]()
-
Alexs Wild Thing Lawrence
10/31/2016 at 22:43 • 0 commentsAlex blocked out his own frame and is a much better puppeteer than me!
![]()
Here he is laying out his face and awesome nose!
![]()
He has a Face!
![]()
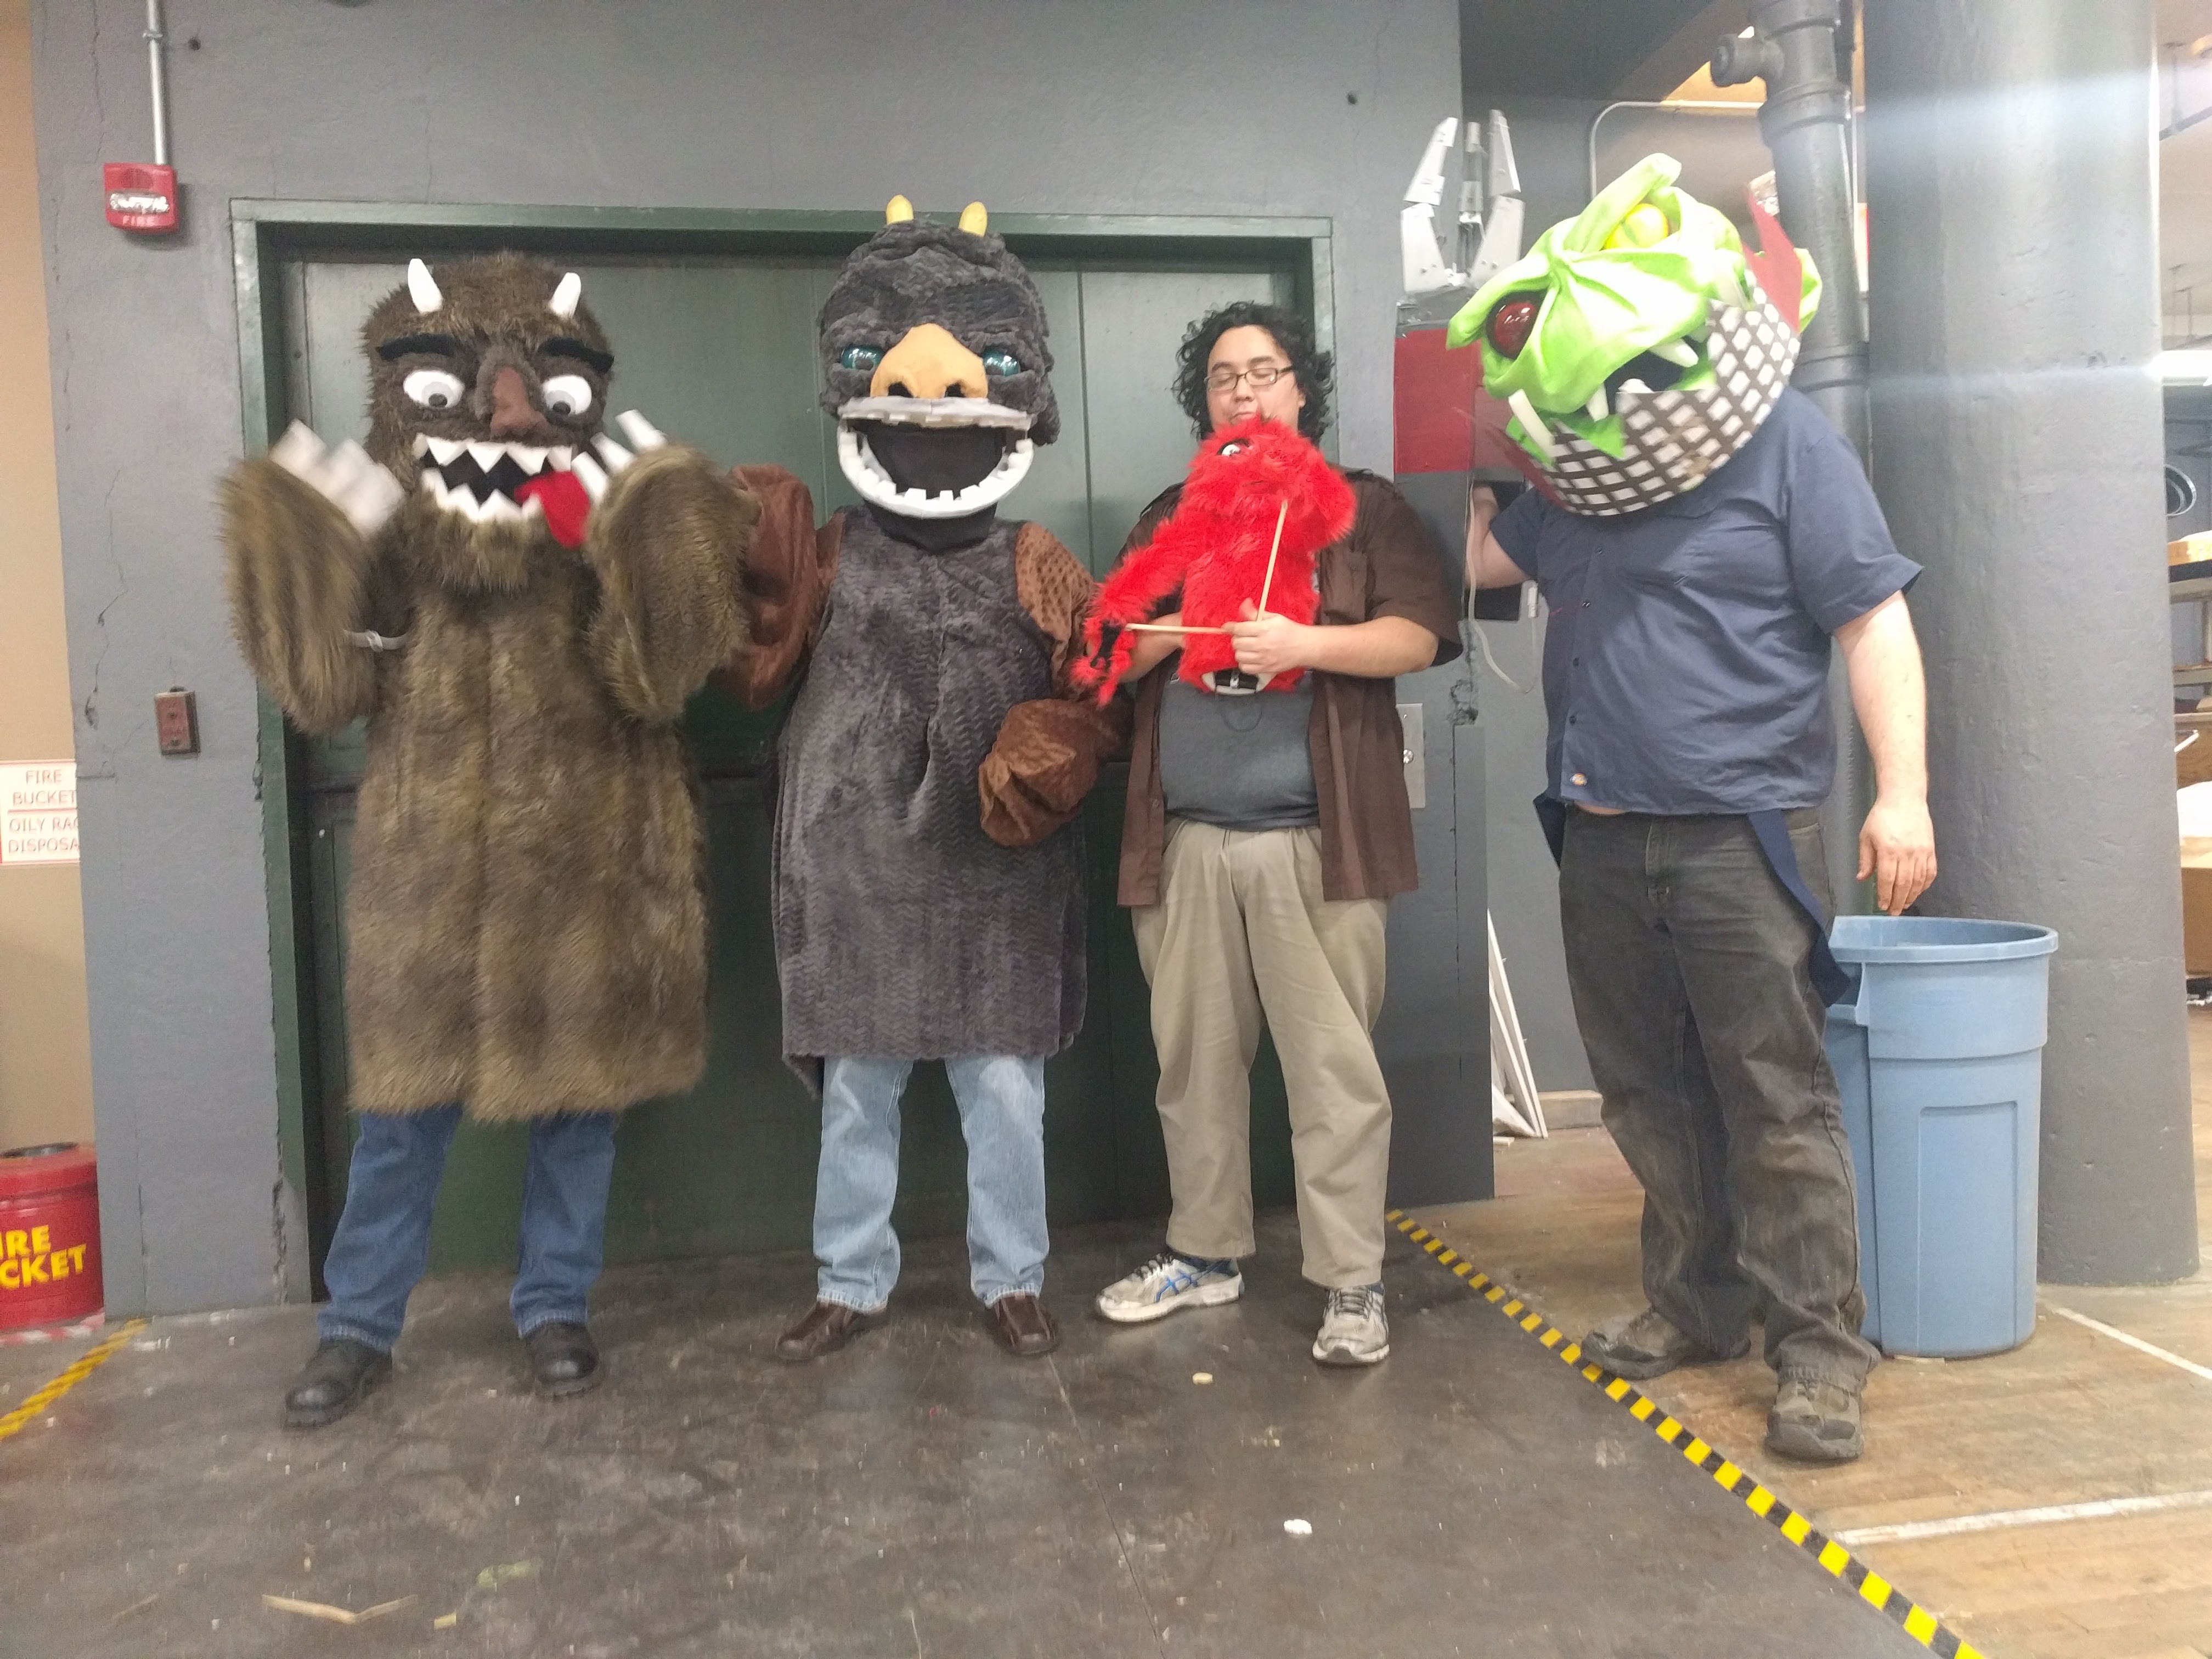
And all put together in the group
![]()
-
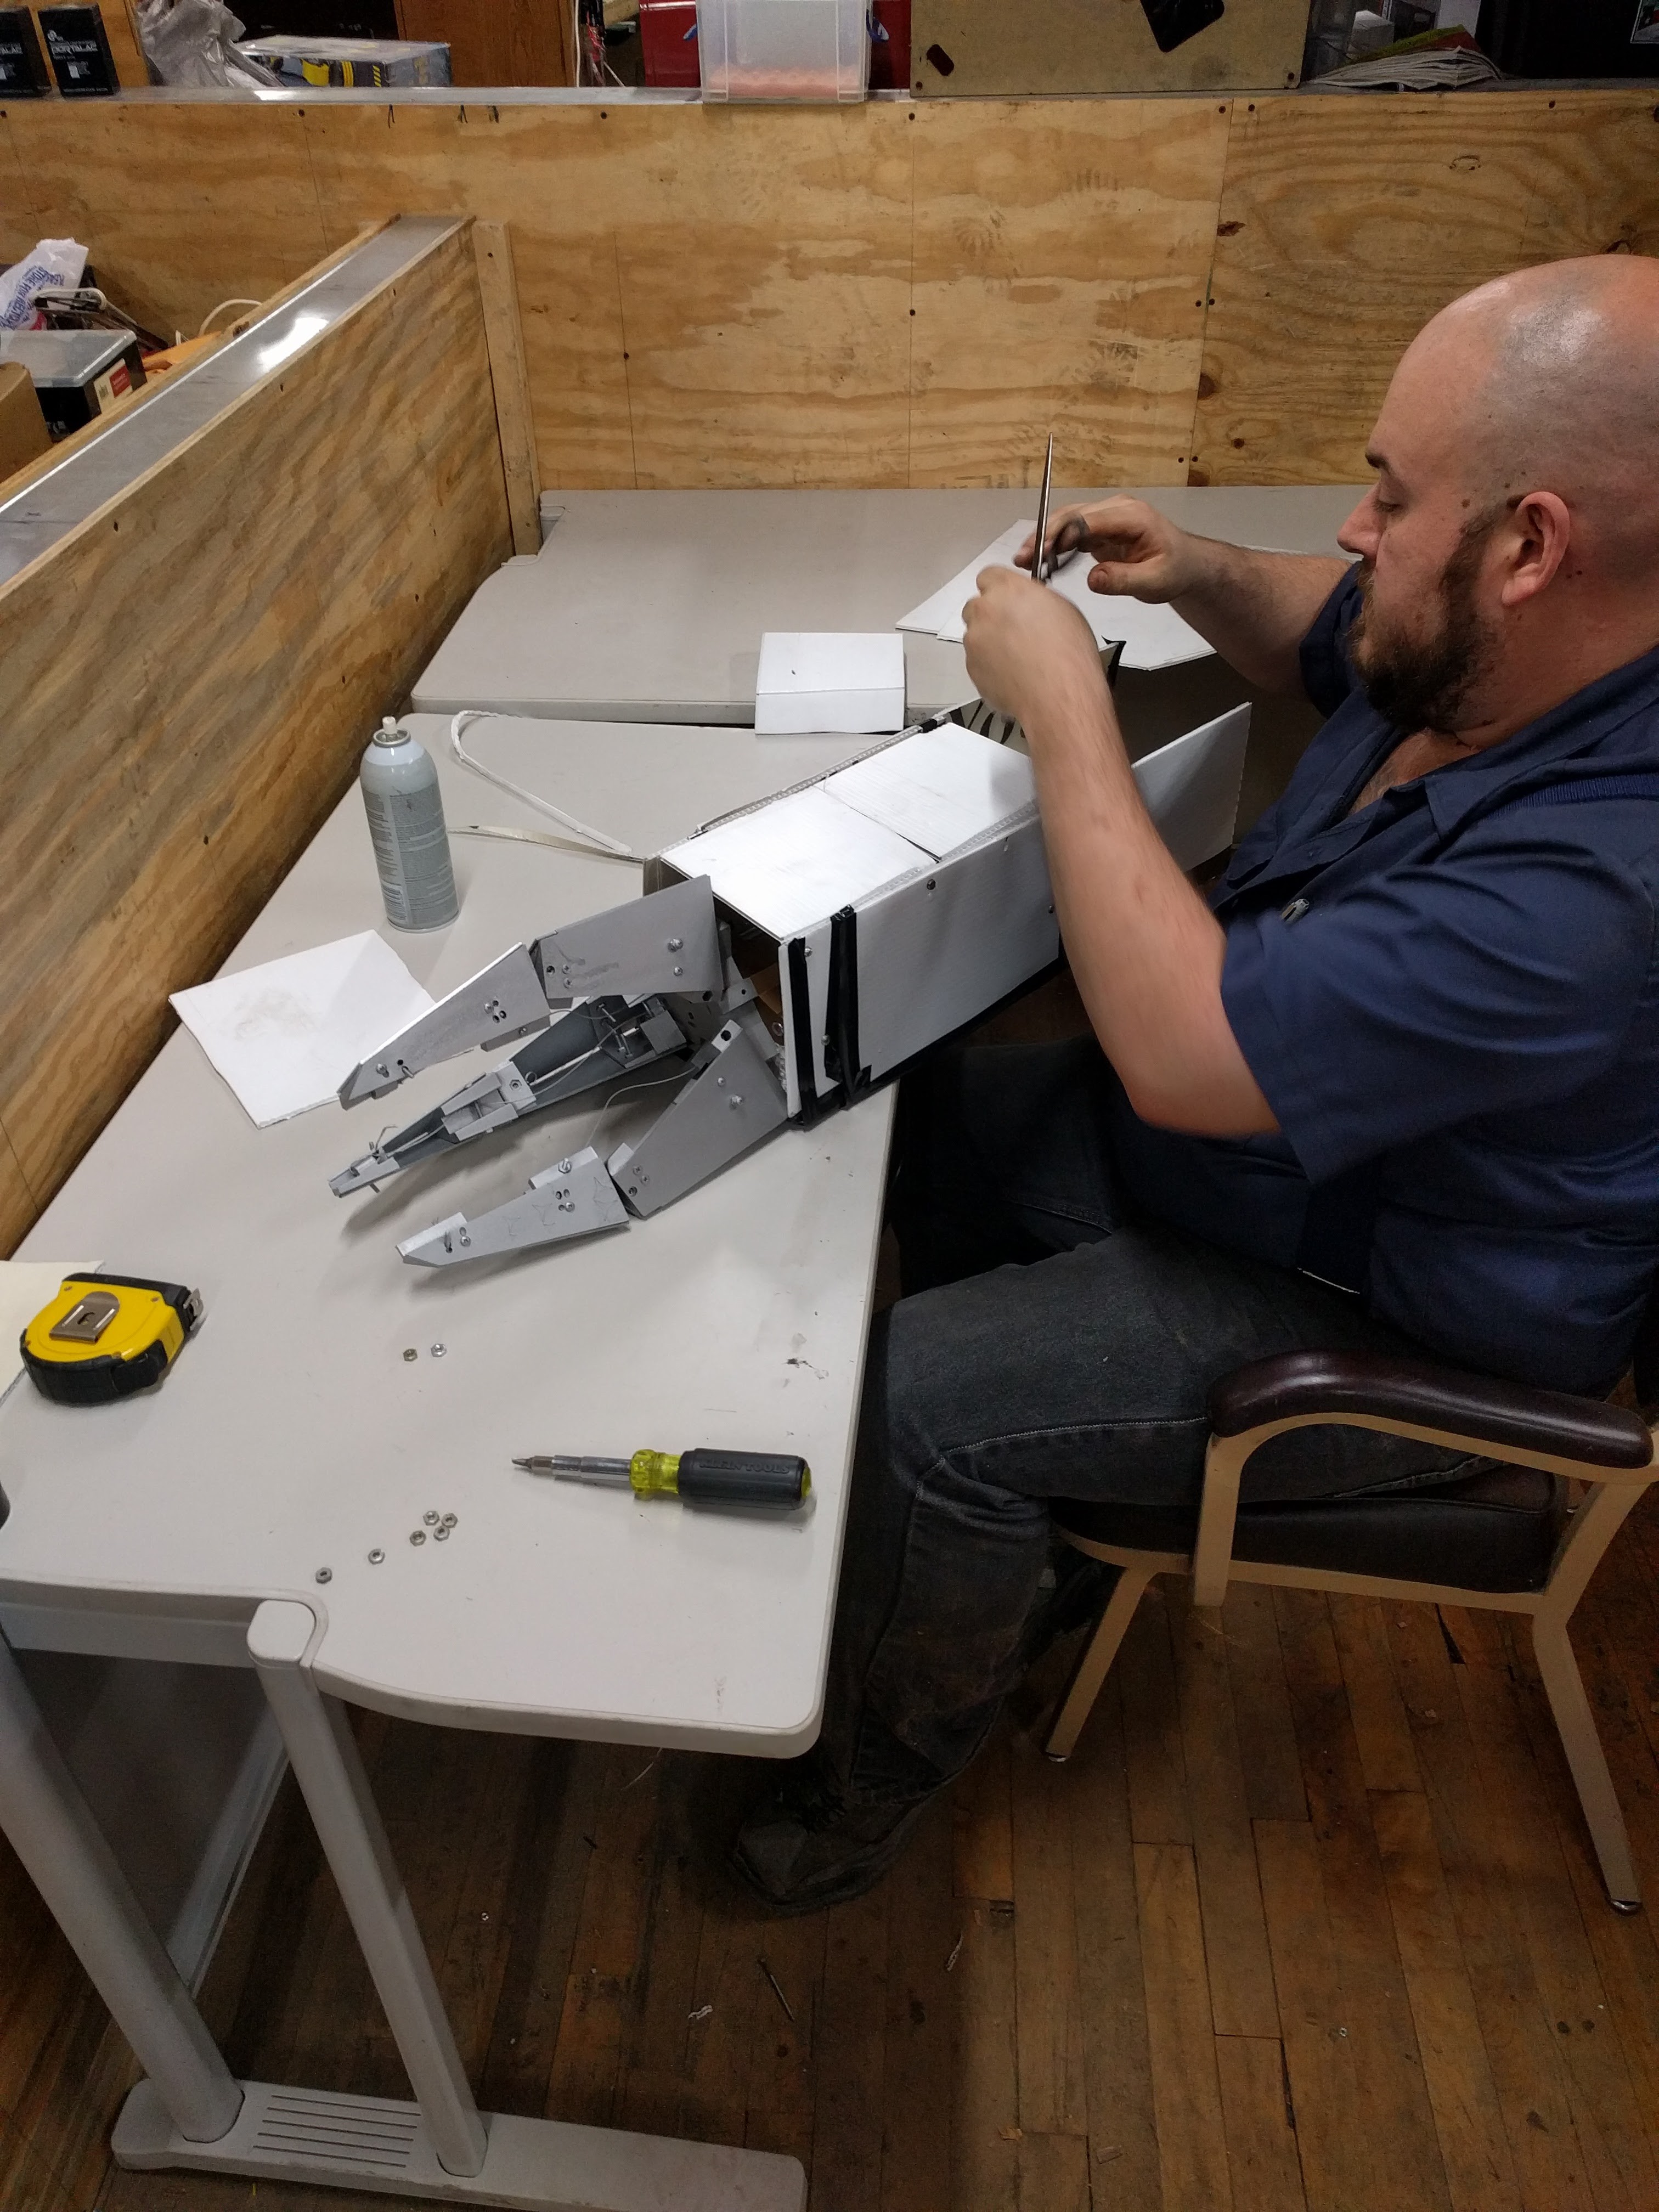
Corys Warhammer 40k Ork Claw update
10/31/2016 at 22:36 • 0 comments![]()
Cory worked on the Proper Claw
![]()
-
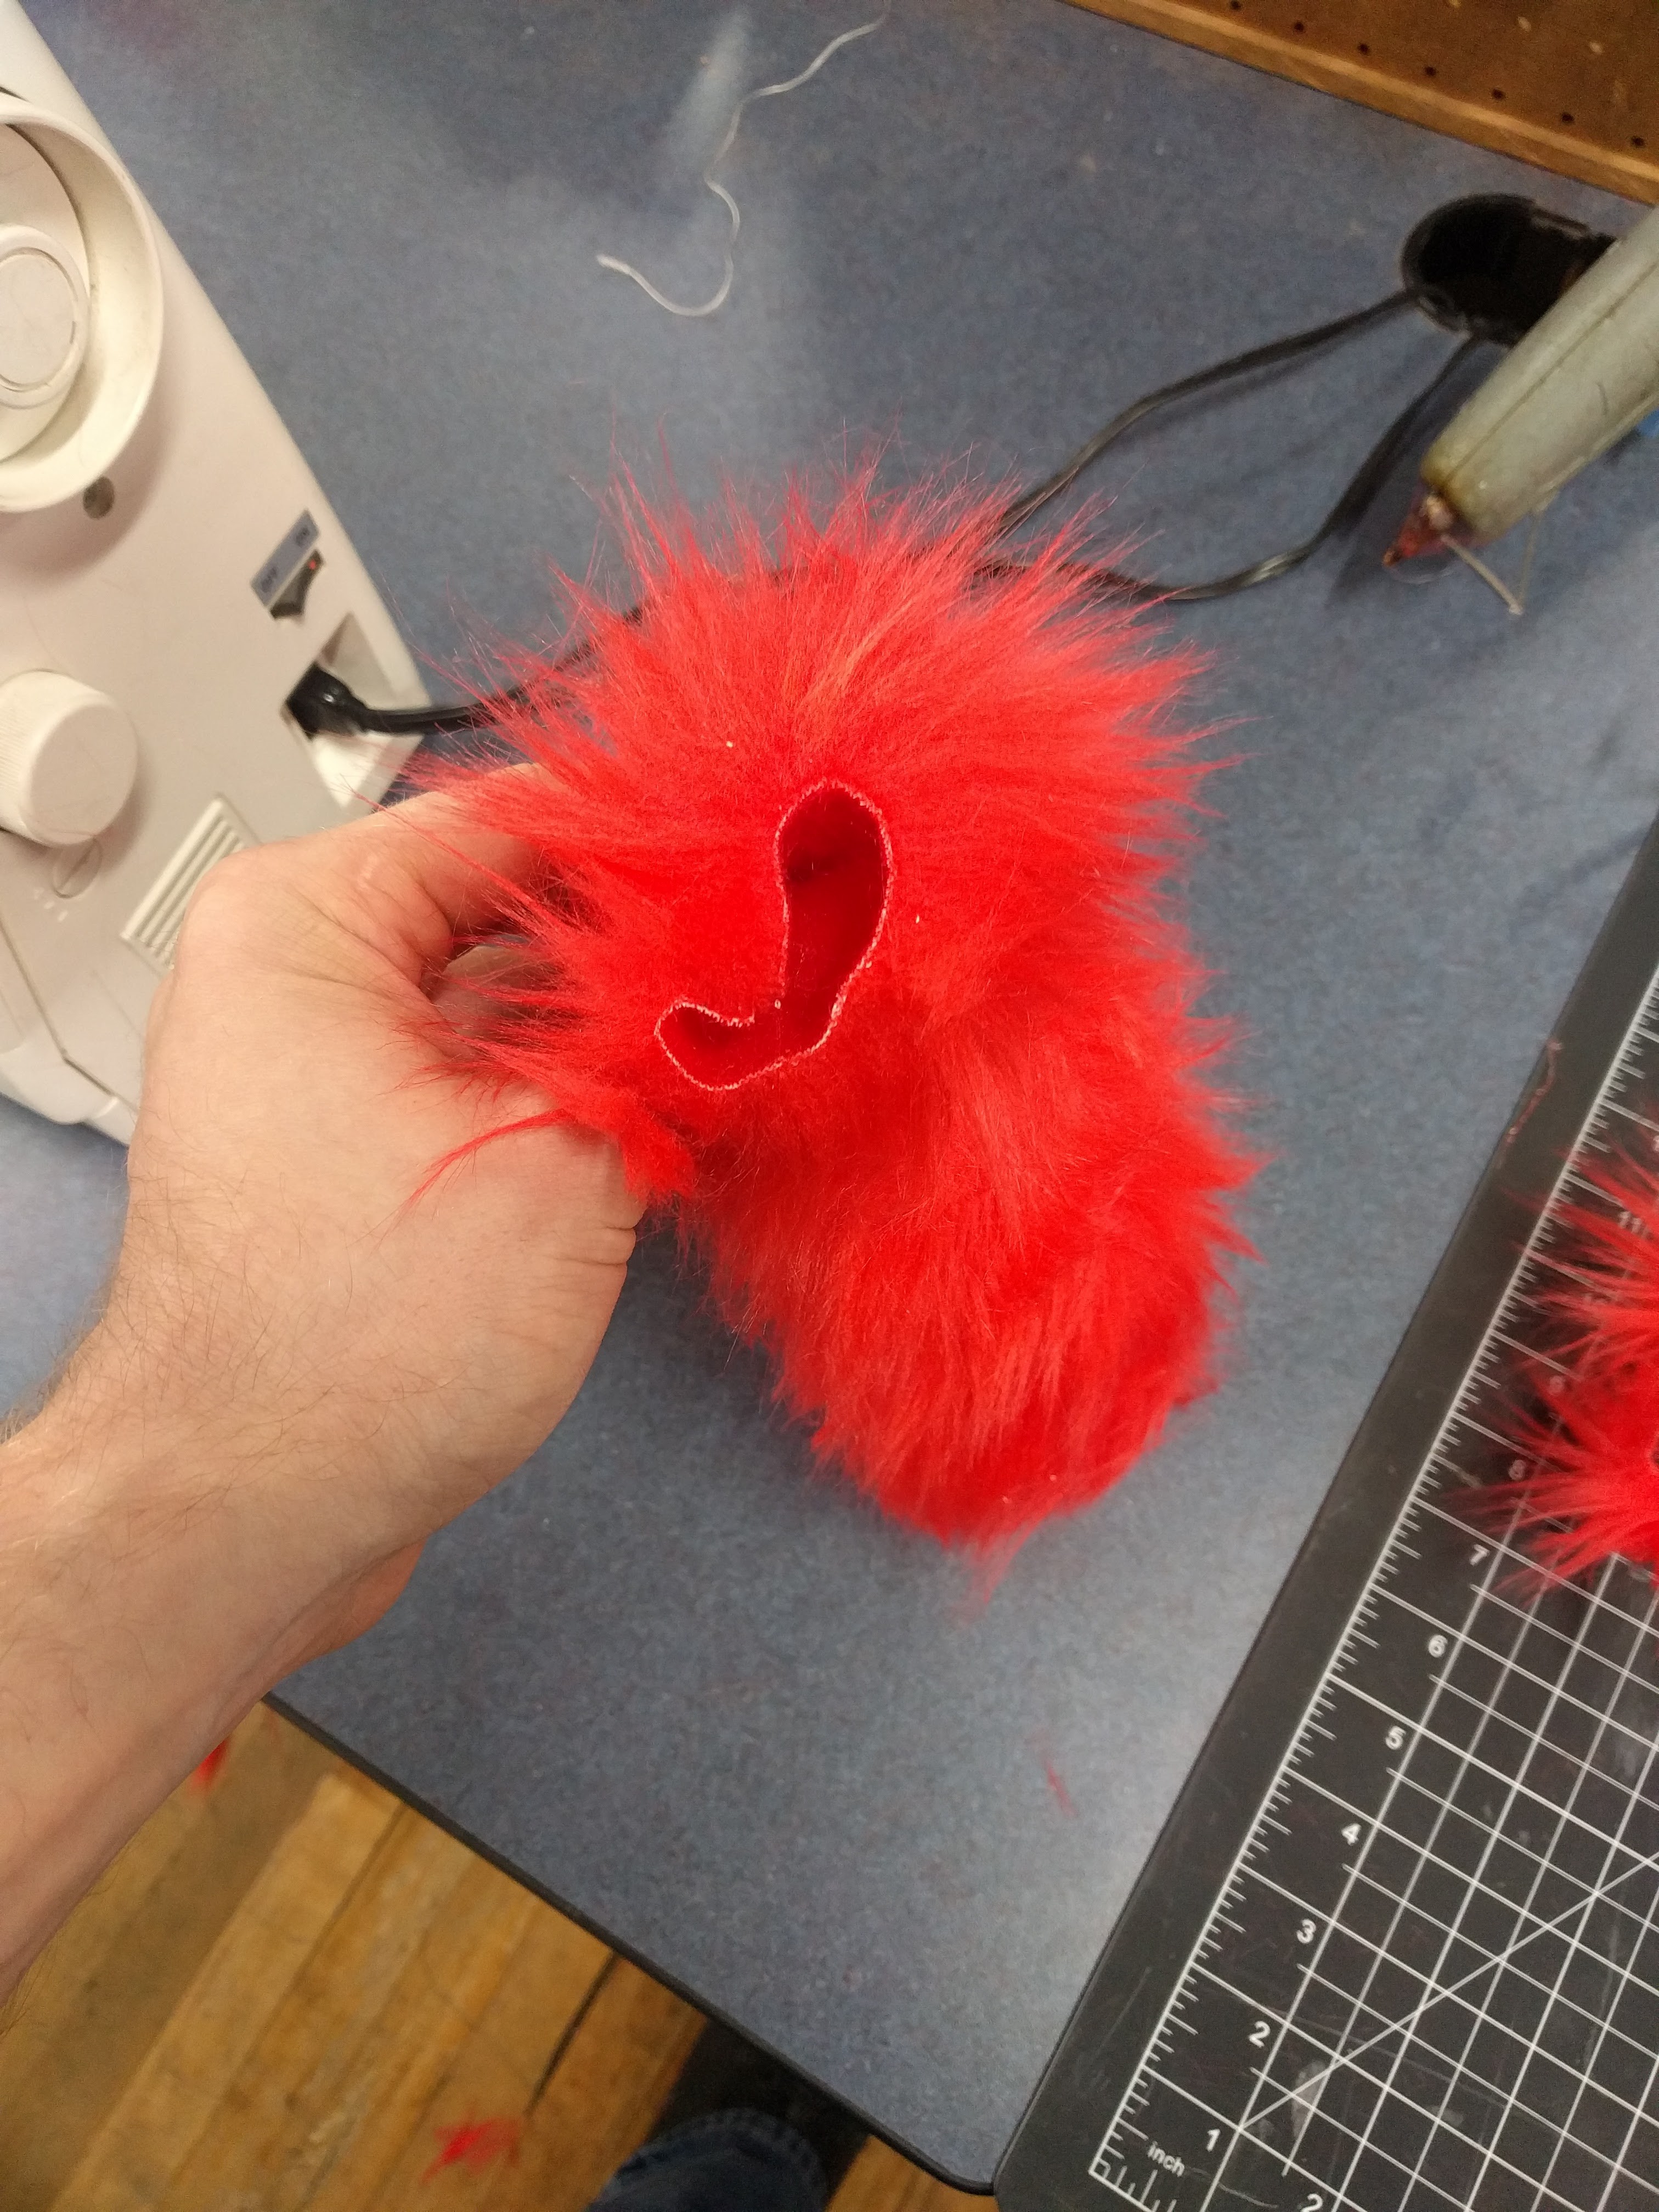
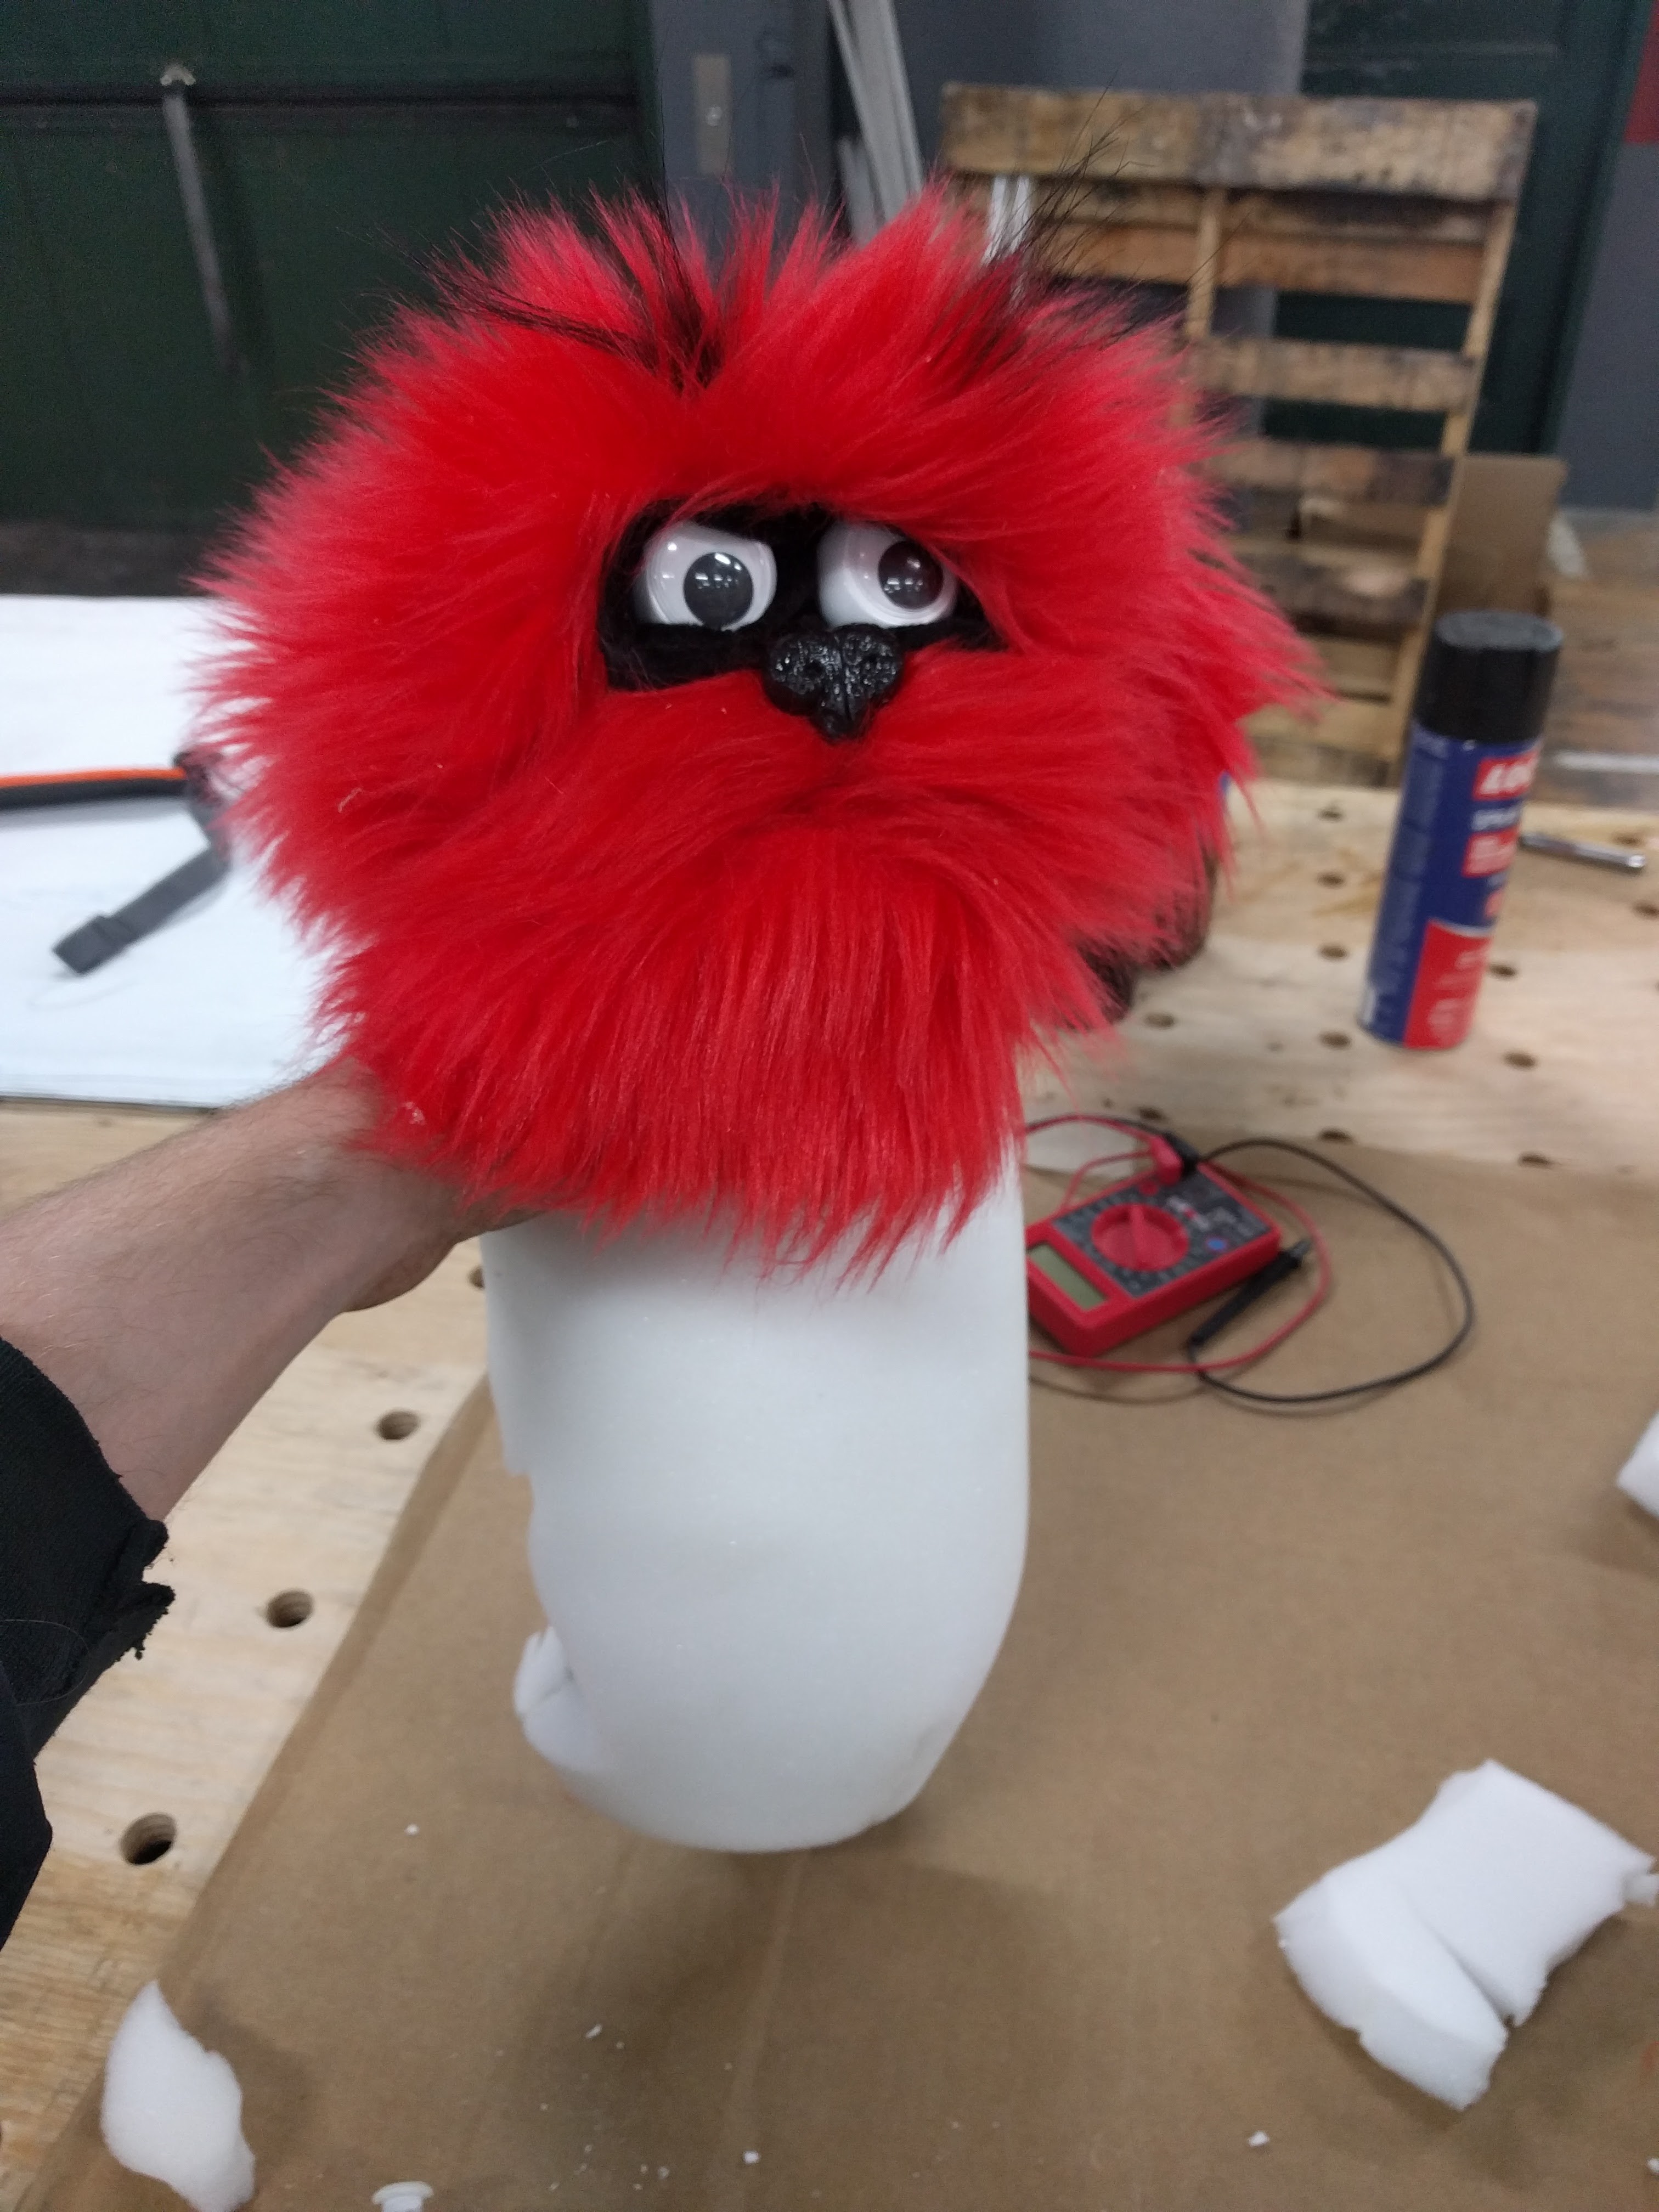
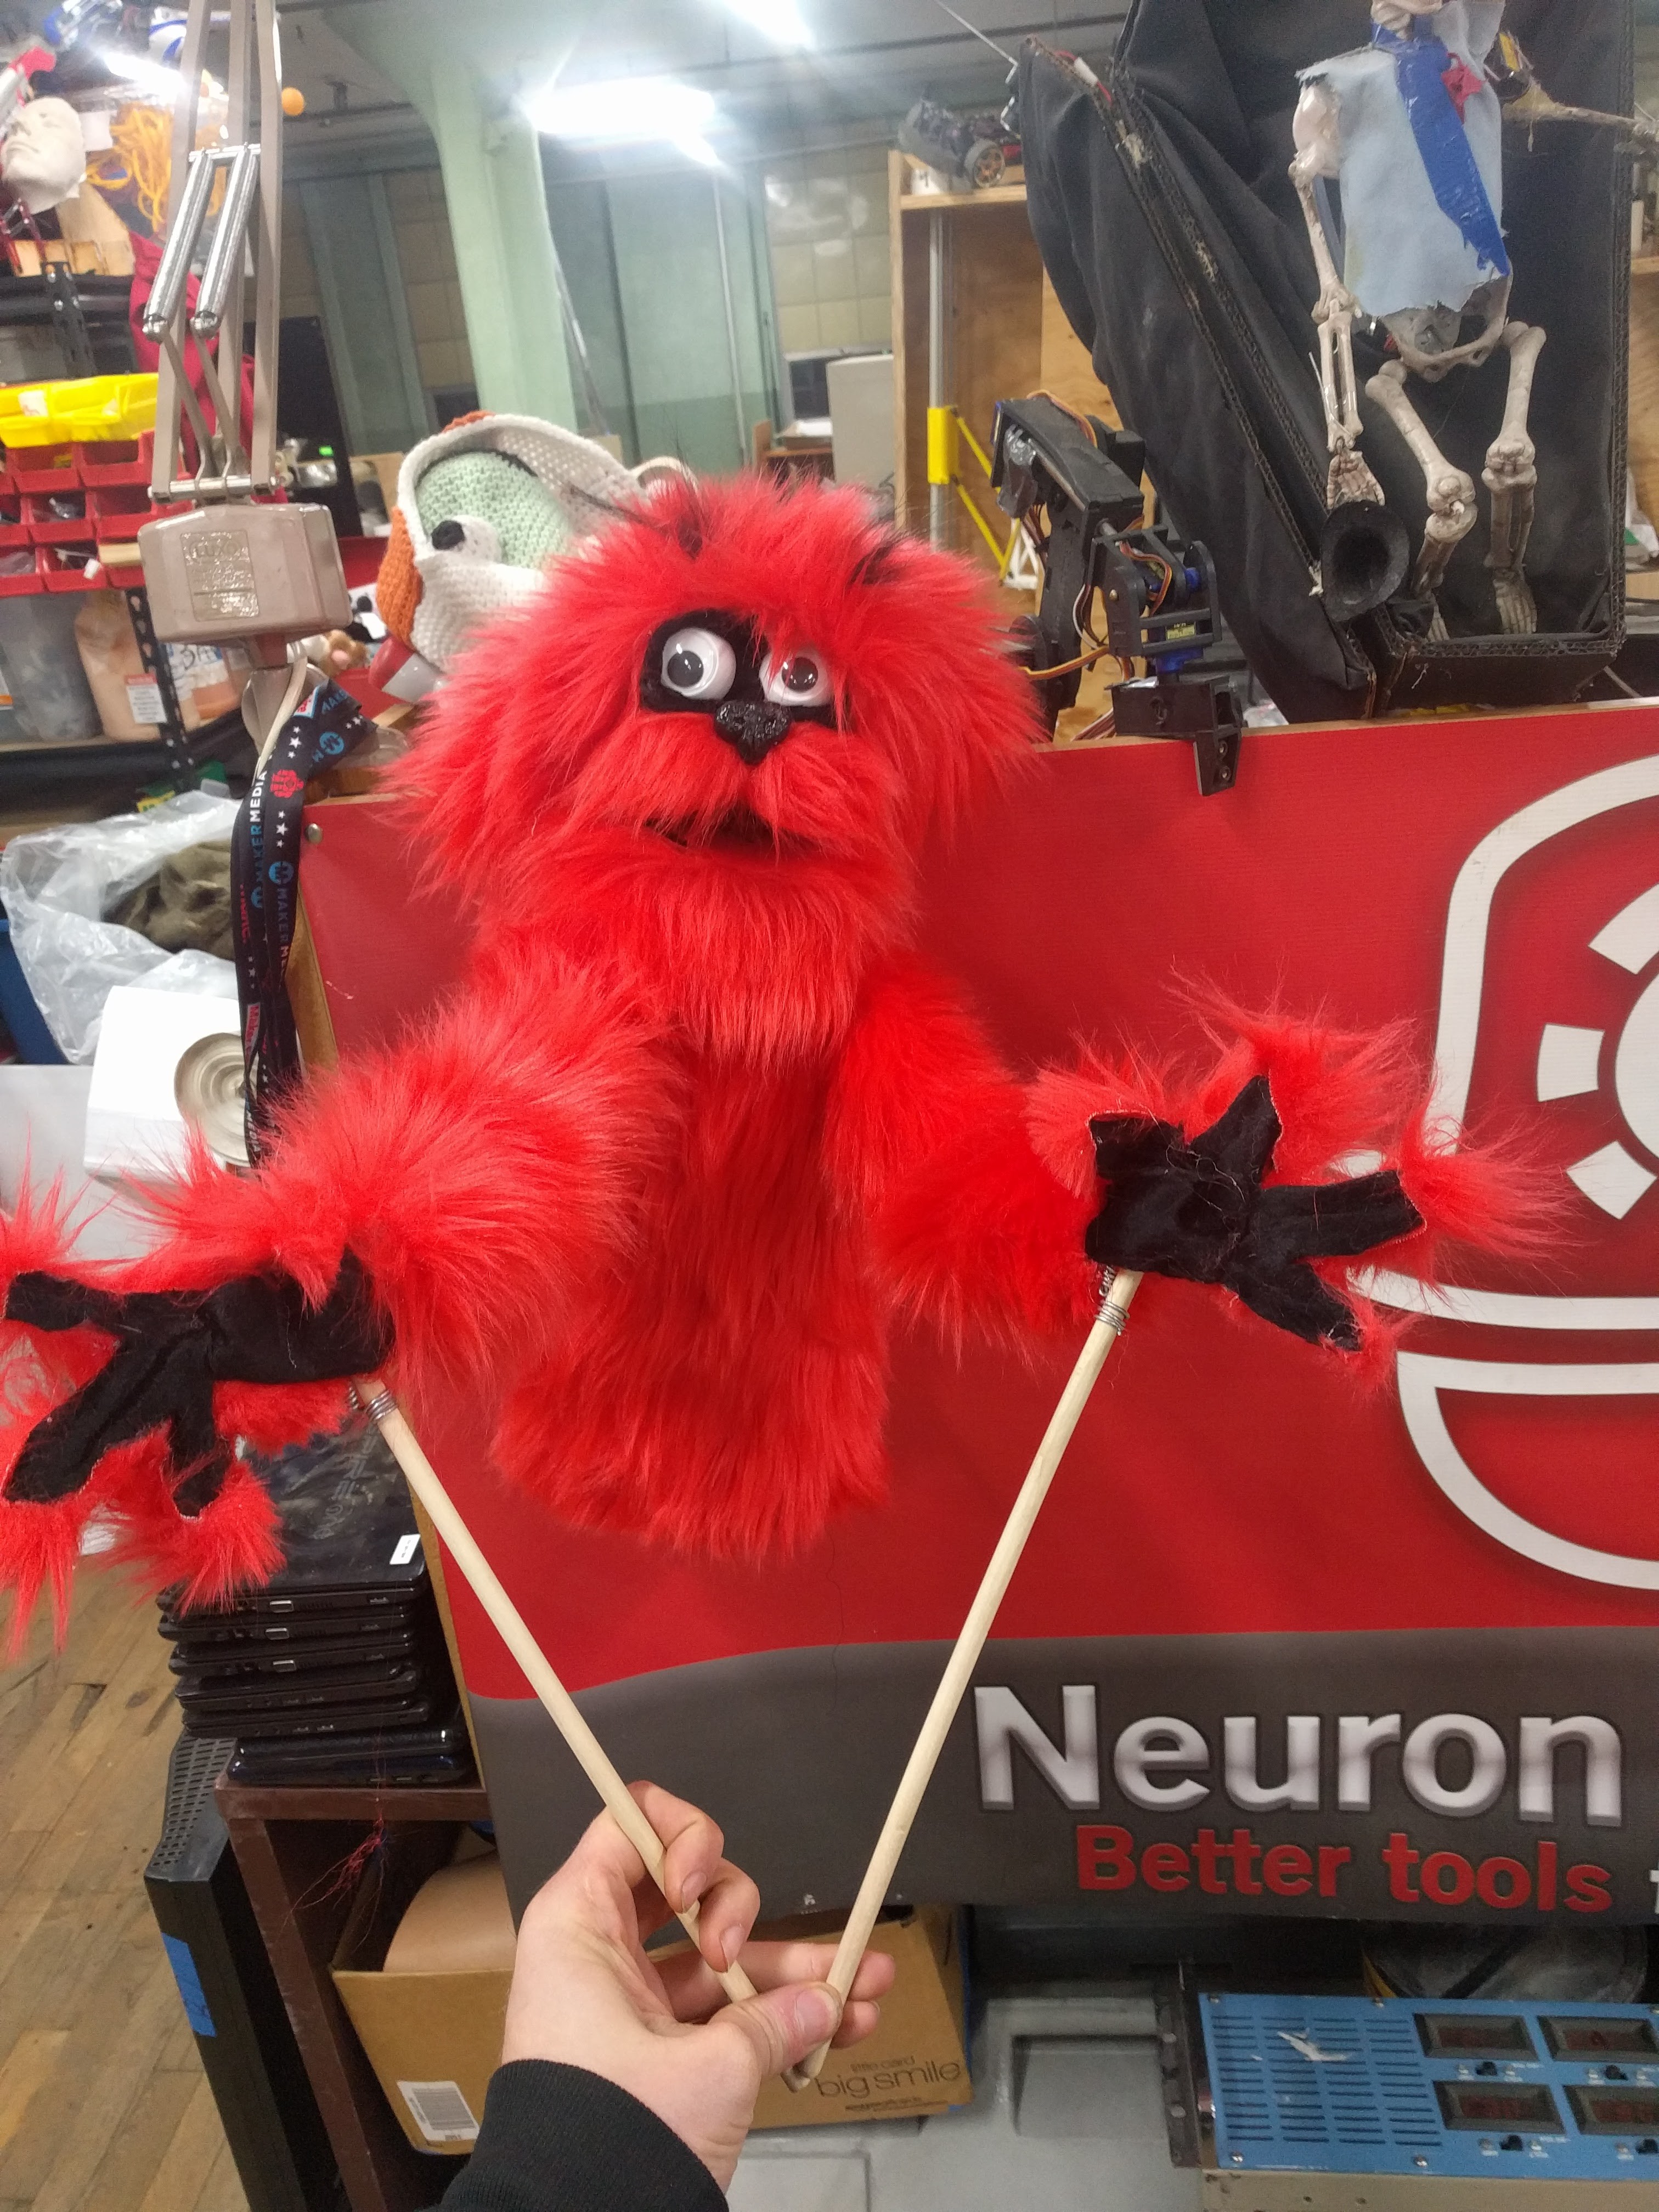
Finishing Rupert!
10/31/2016 at 21:37 • 0 comments![]()
I started with bending wire in the shape of hands then gluing black short fur to it. On the back I glued fur to the back of the hand to cover the wire.
![]() Next i sewed tubes to make the arms:
Next i sewed tubes to make the arms:![]() And sewed them to the body fur:
And sewed them to the body fur:![]() And finally i sewed a flap at the end of the arm and glued it to the hand:
And finally i sewed a flap at the end of the arm and glued it to the hand:![]()
-
A little context: I'm automating engineering!
10/24/2016 at 03:14 • 0 commentsSo the big-picture point I want to make with this project is that BowlerStudio is a tool to build automated engineering.
The engineer making scripts can take all the possible constraints, the possible components and build methodologies, and embed them into parametrics. What this means is that you can take engineering knowledge, and automate access to it. I am not just *modeling* a head in software, the process of modeling it, creates it, and ensures that parts fit through parametric mutations. All of the cutouts made between two parts were made using the part that needed to fit there. Parametrics are presented to users as options, inputs to measure off what you have in front of you.
The 3d printer tells the design its nozzle diameter, the laser cutter tells the design how thick the wood actually is. THEN the parts are sent off to manufacture. It's not a manufacturing pipeline anymore, it's a conversation between manufacturing machine, vitamins, designs and the user's preferences. BowlerStudio automates that conversation, and lets the user simple get what they want with what they have laying around.
-
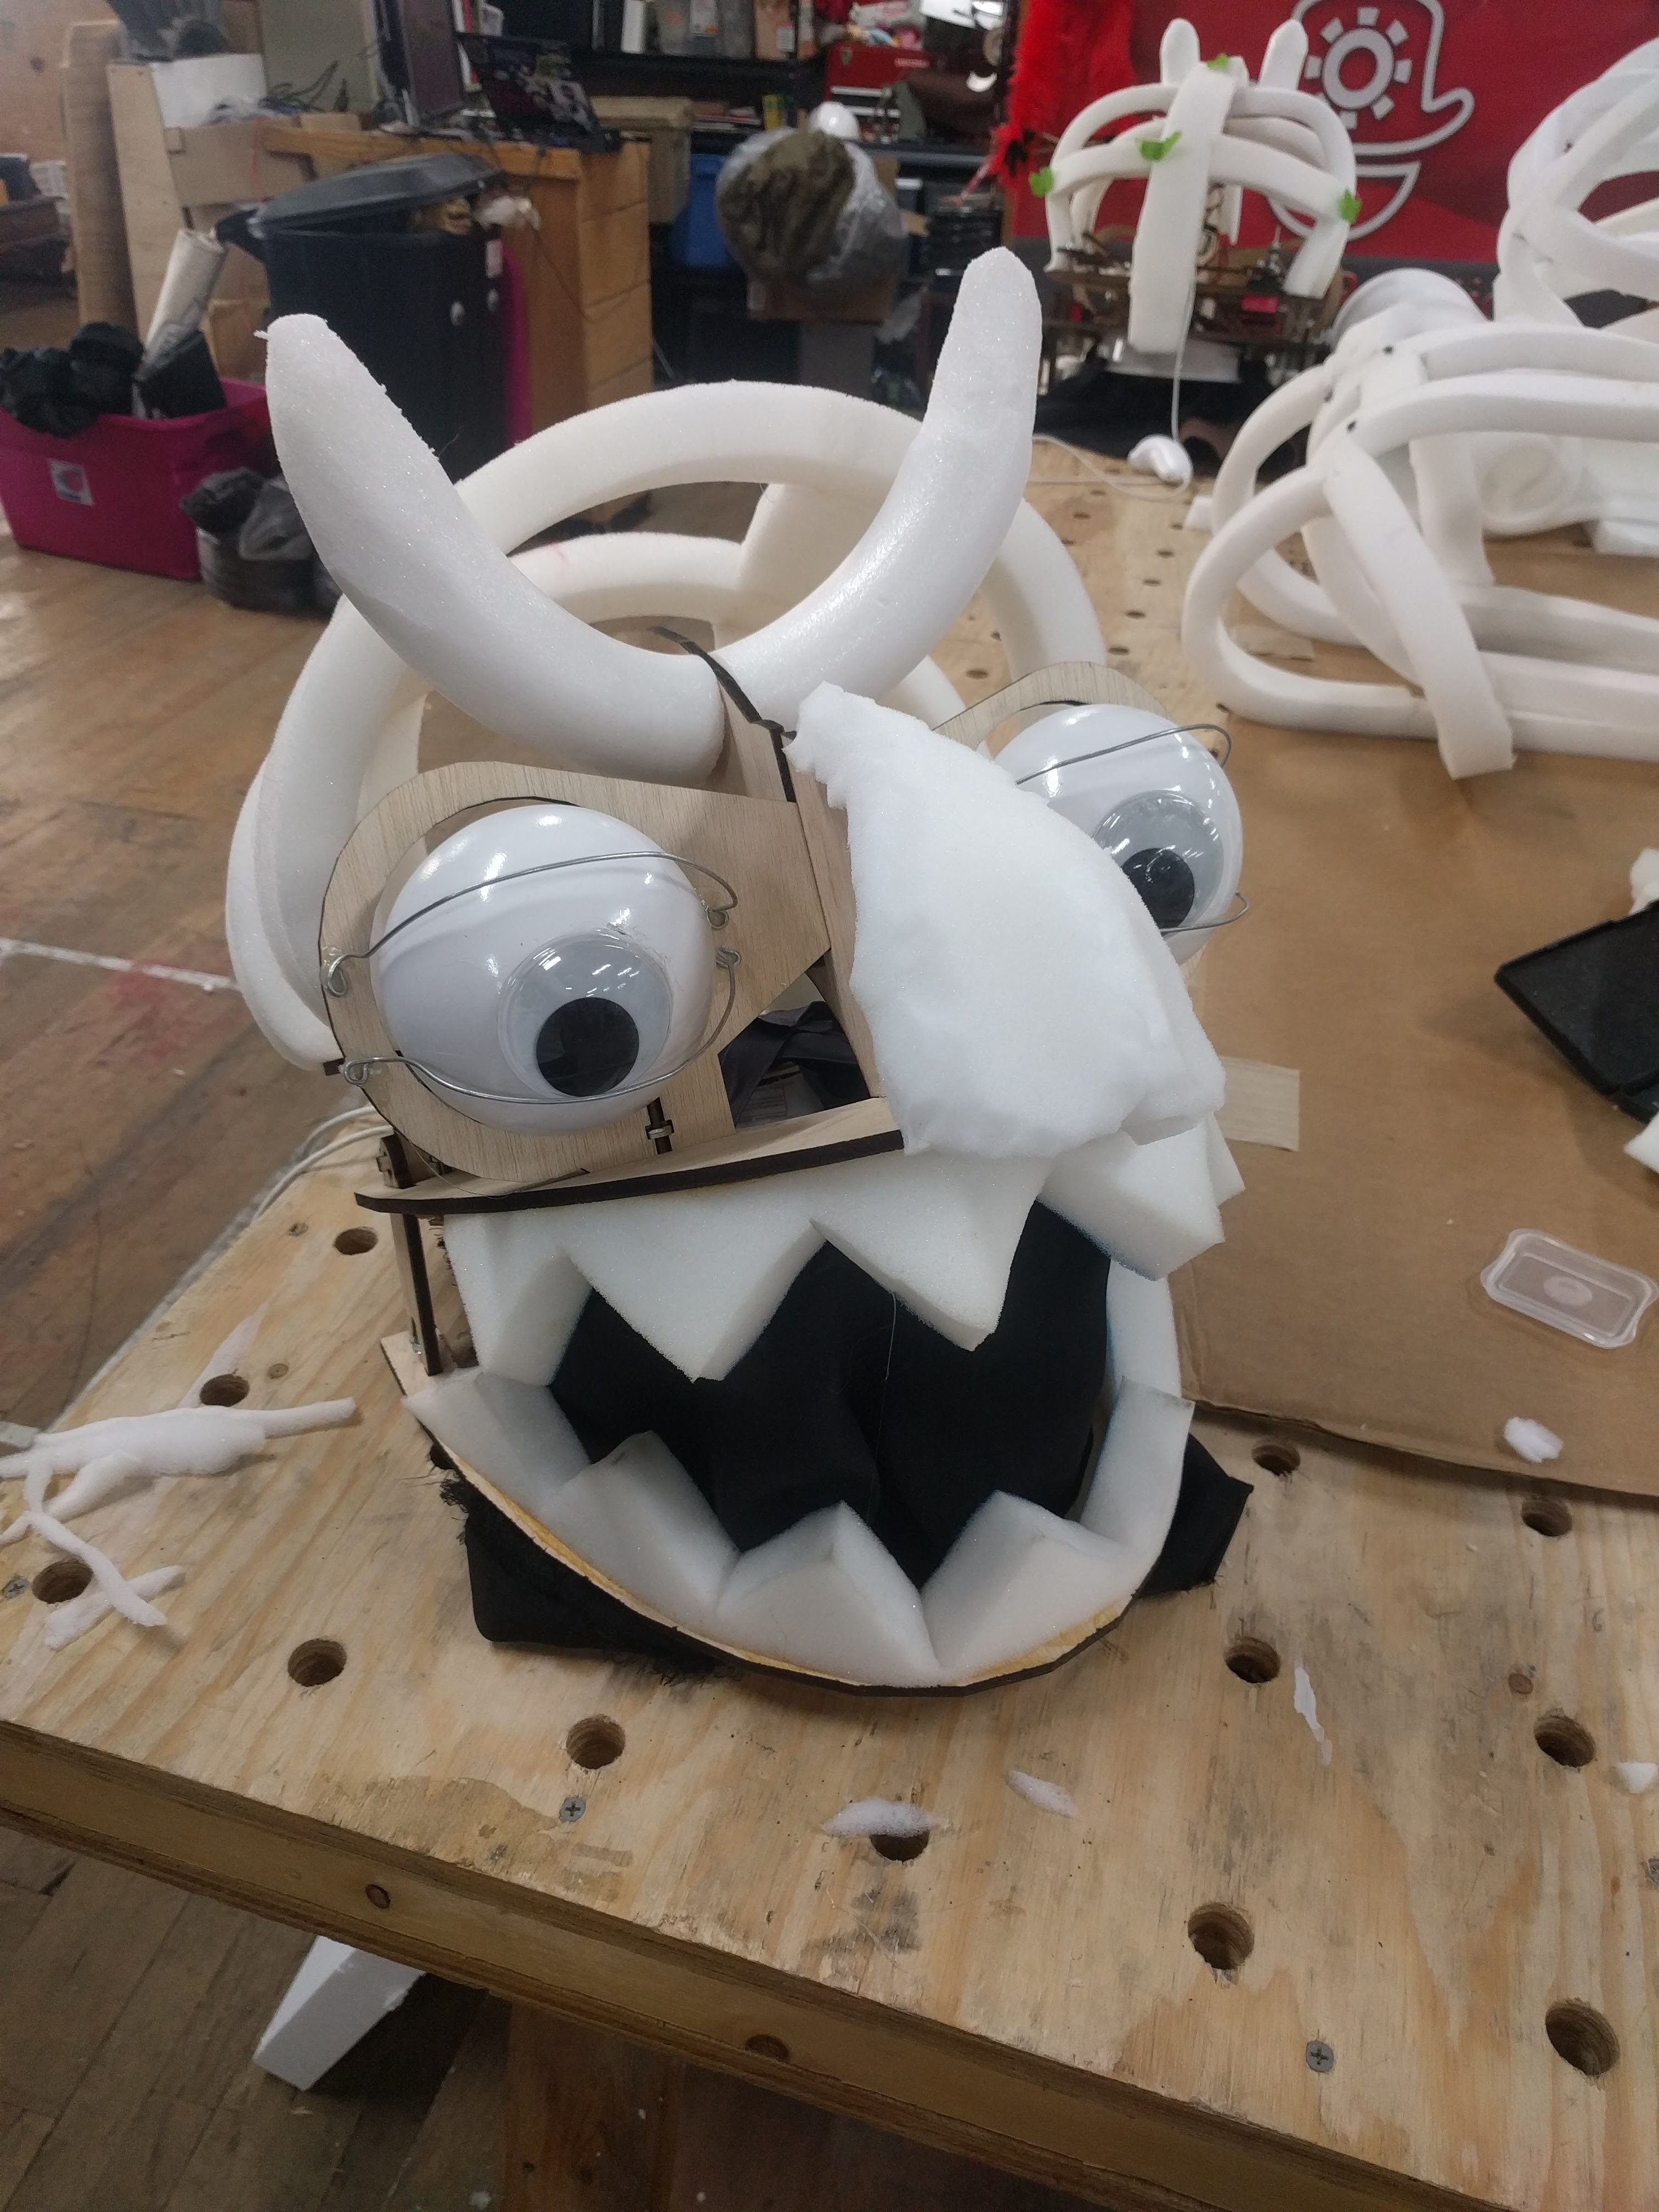
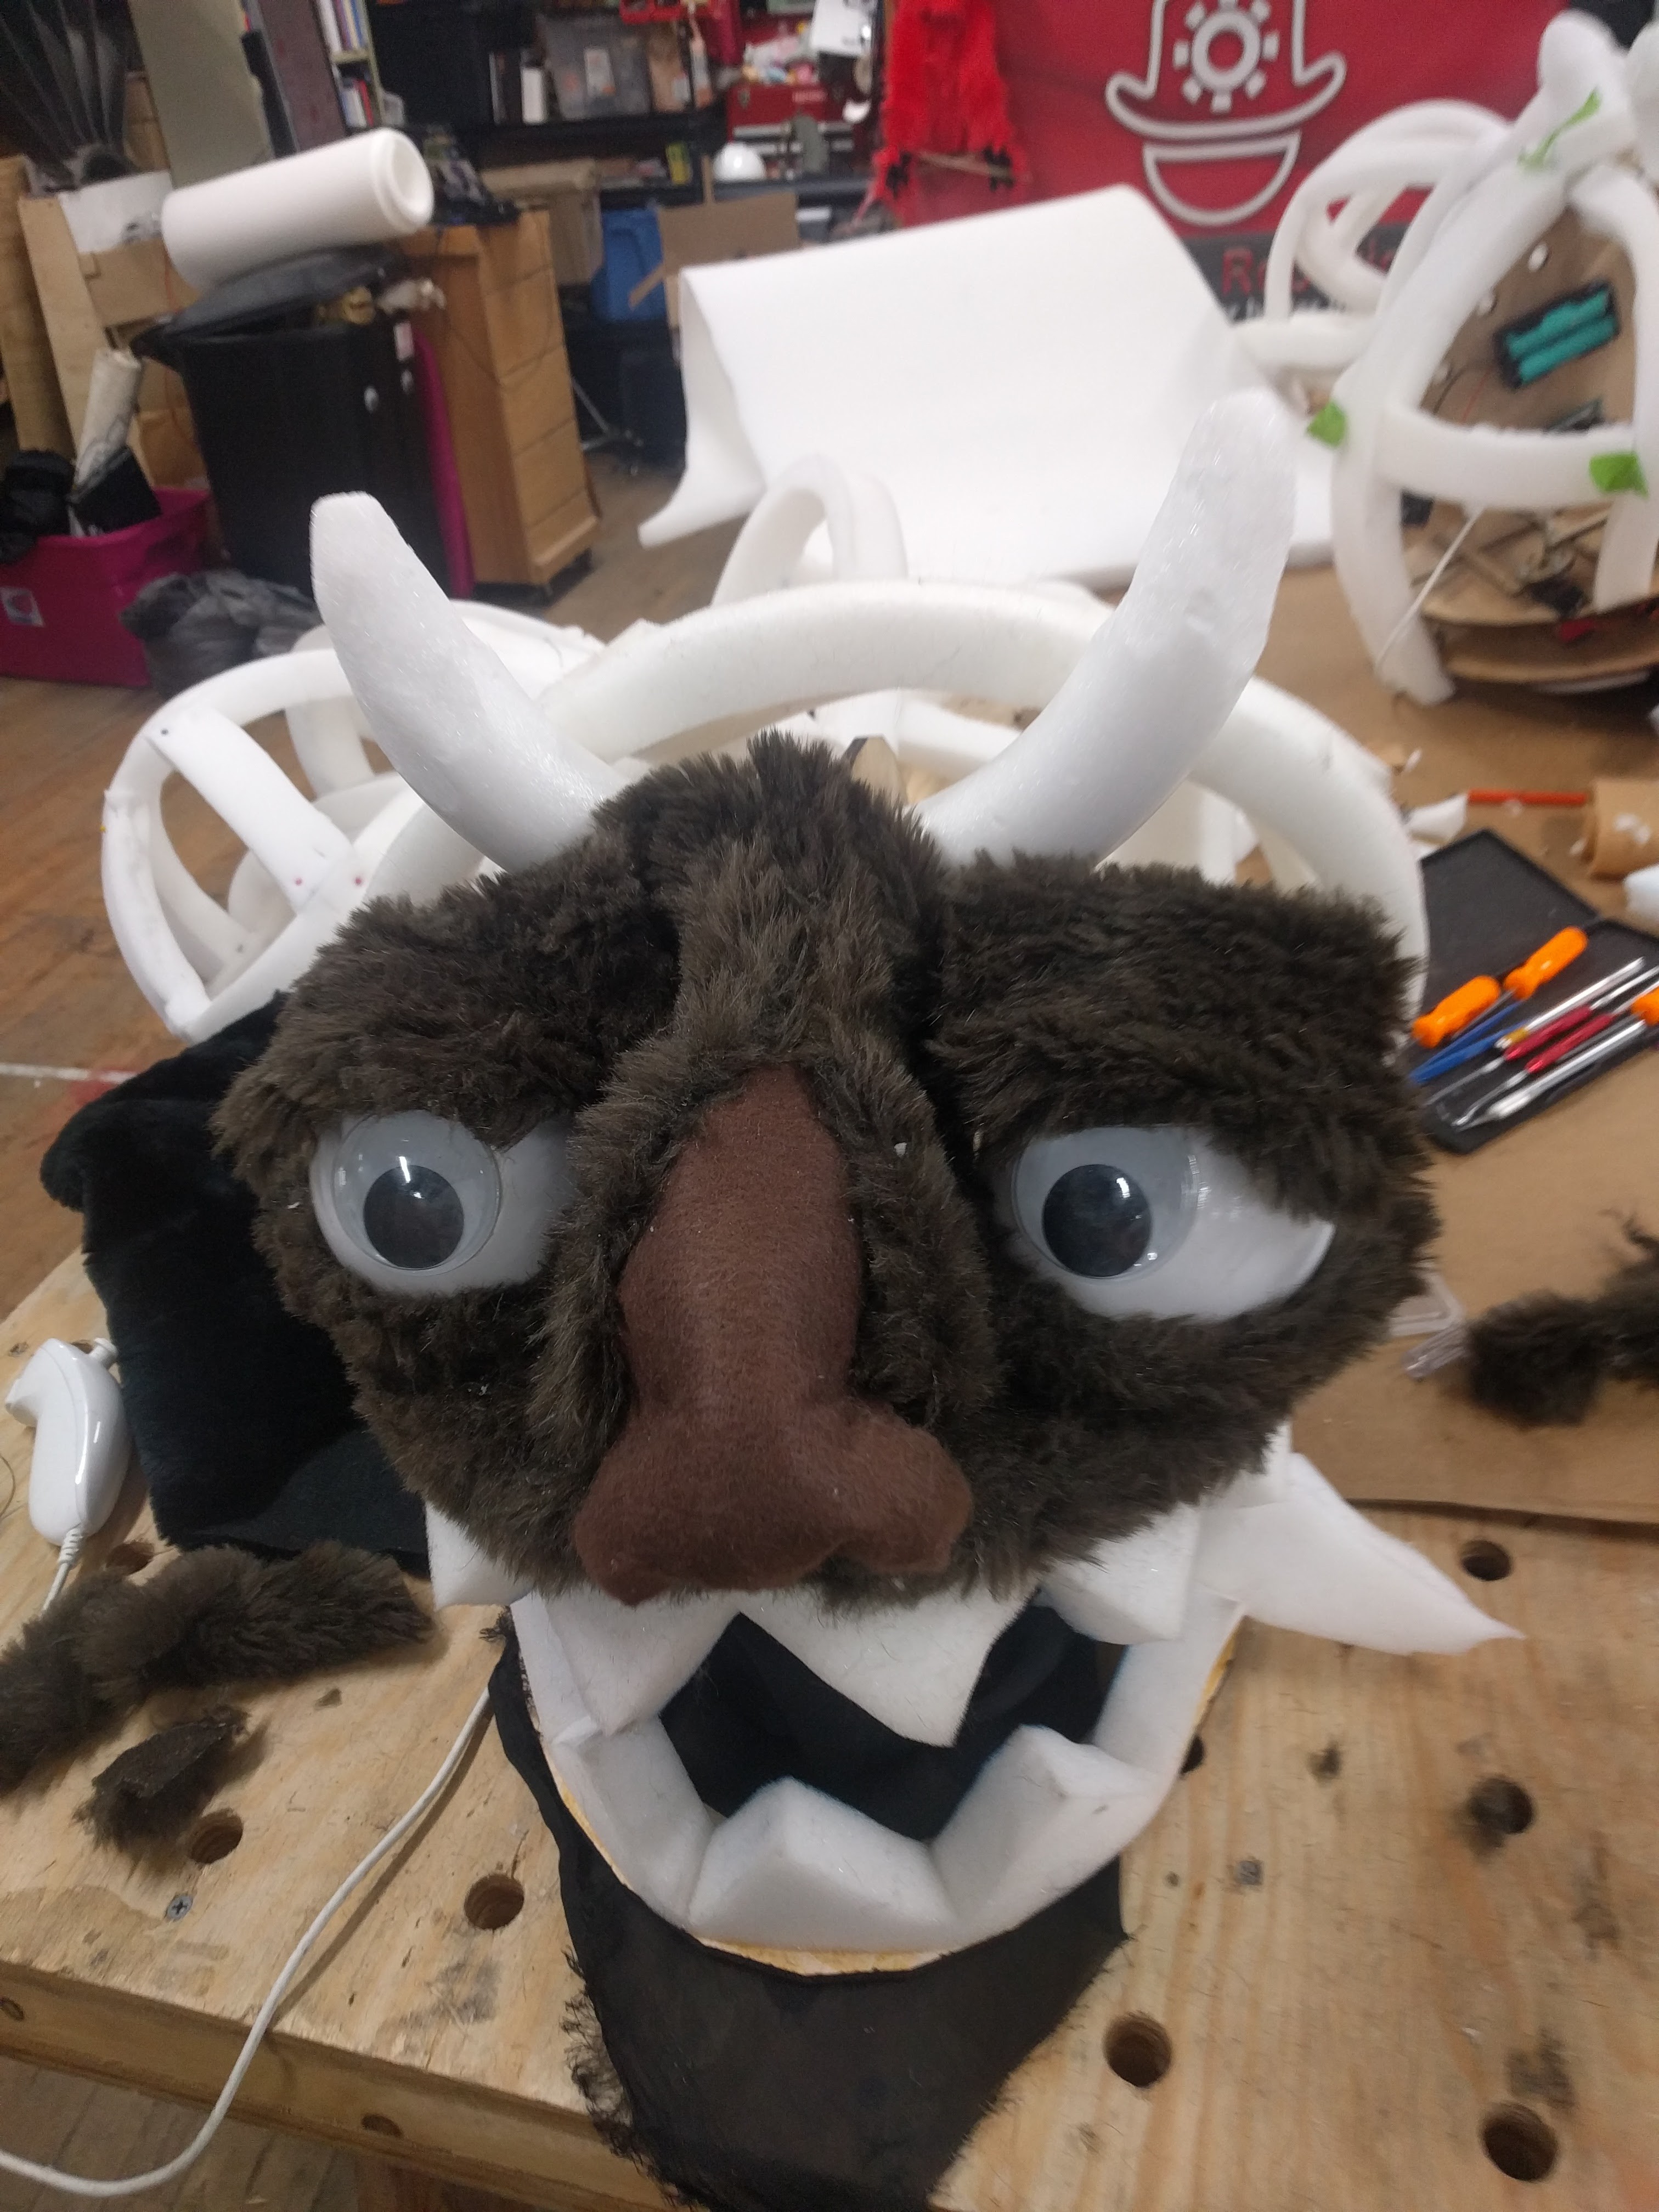
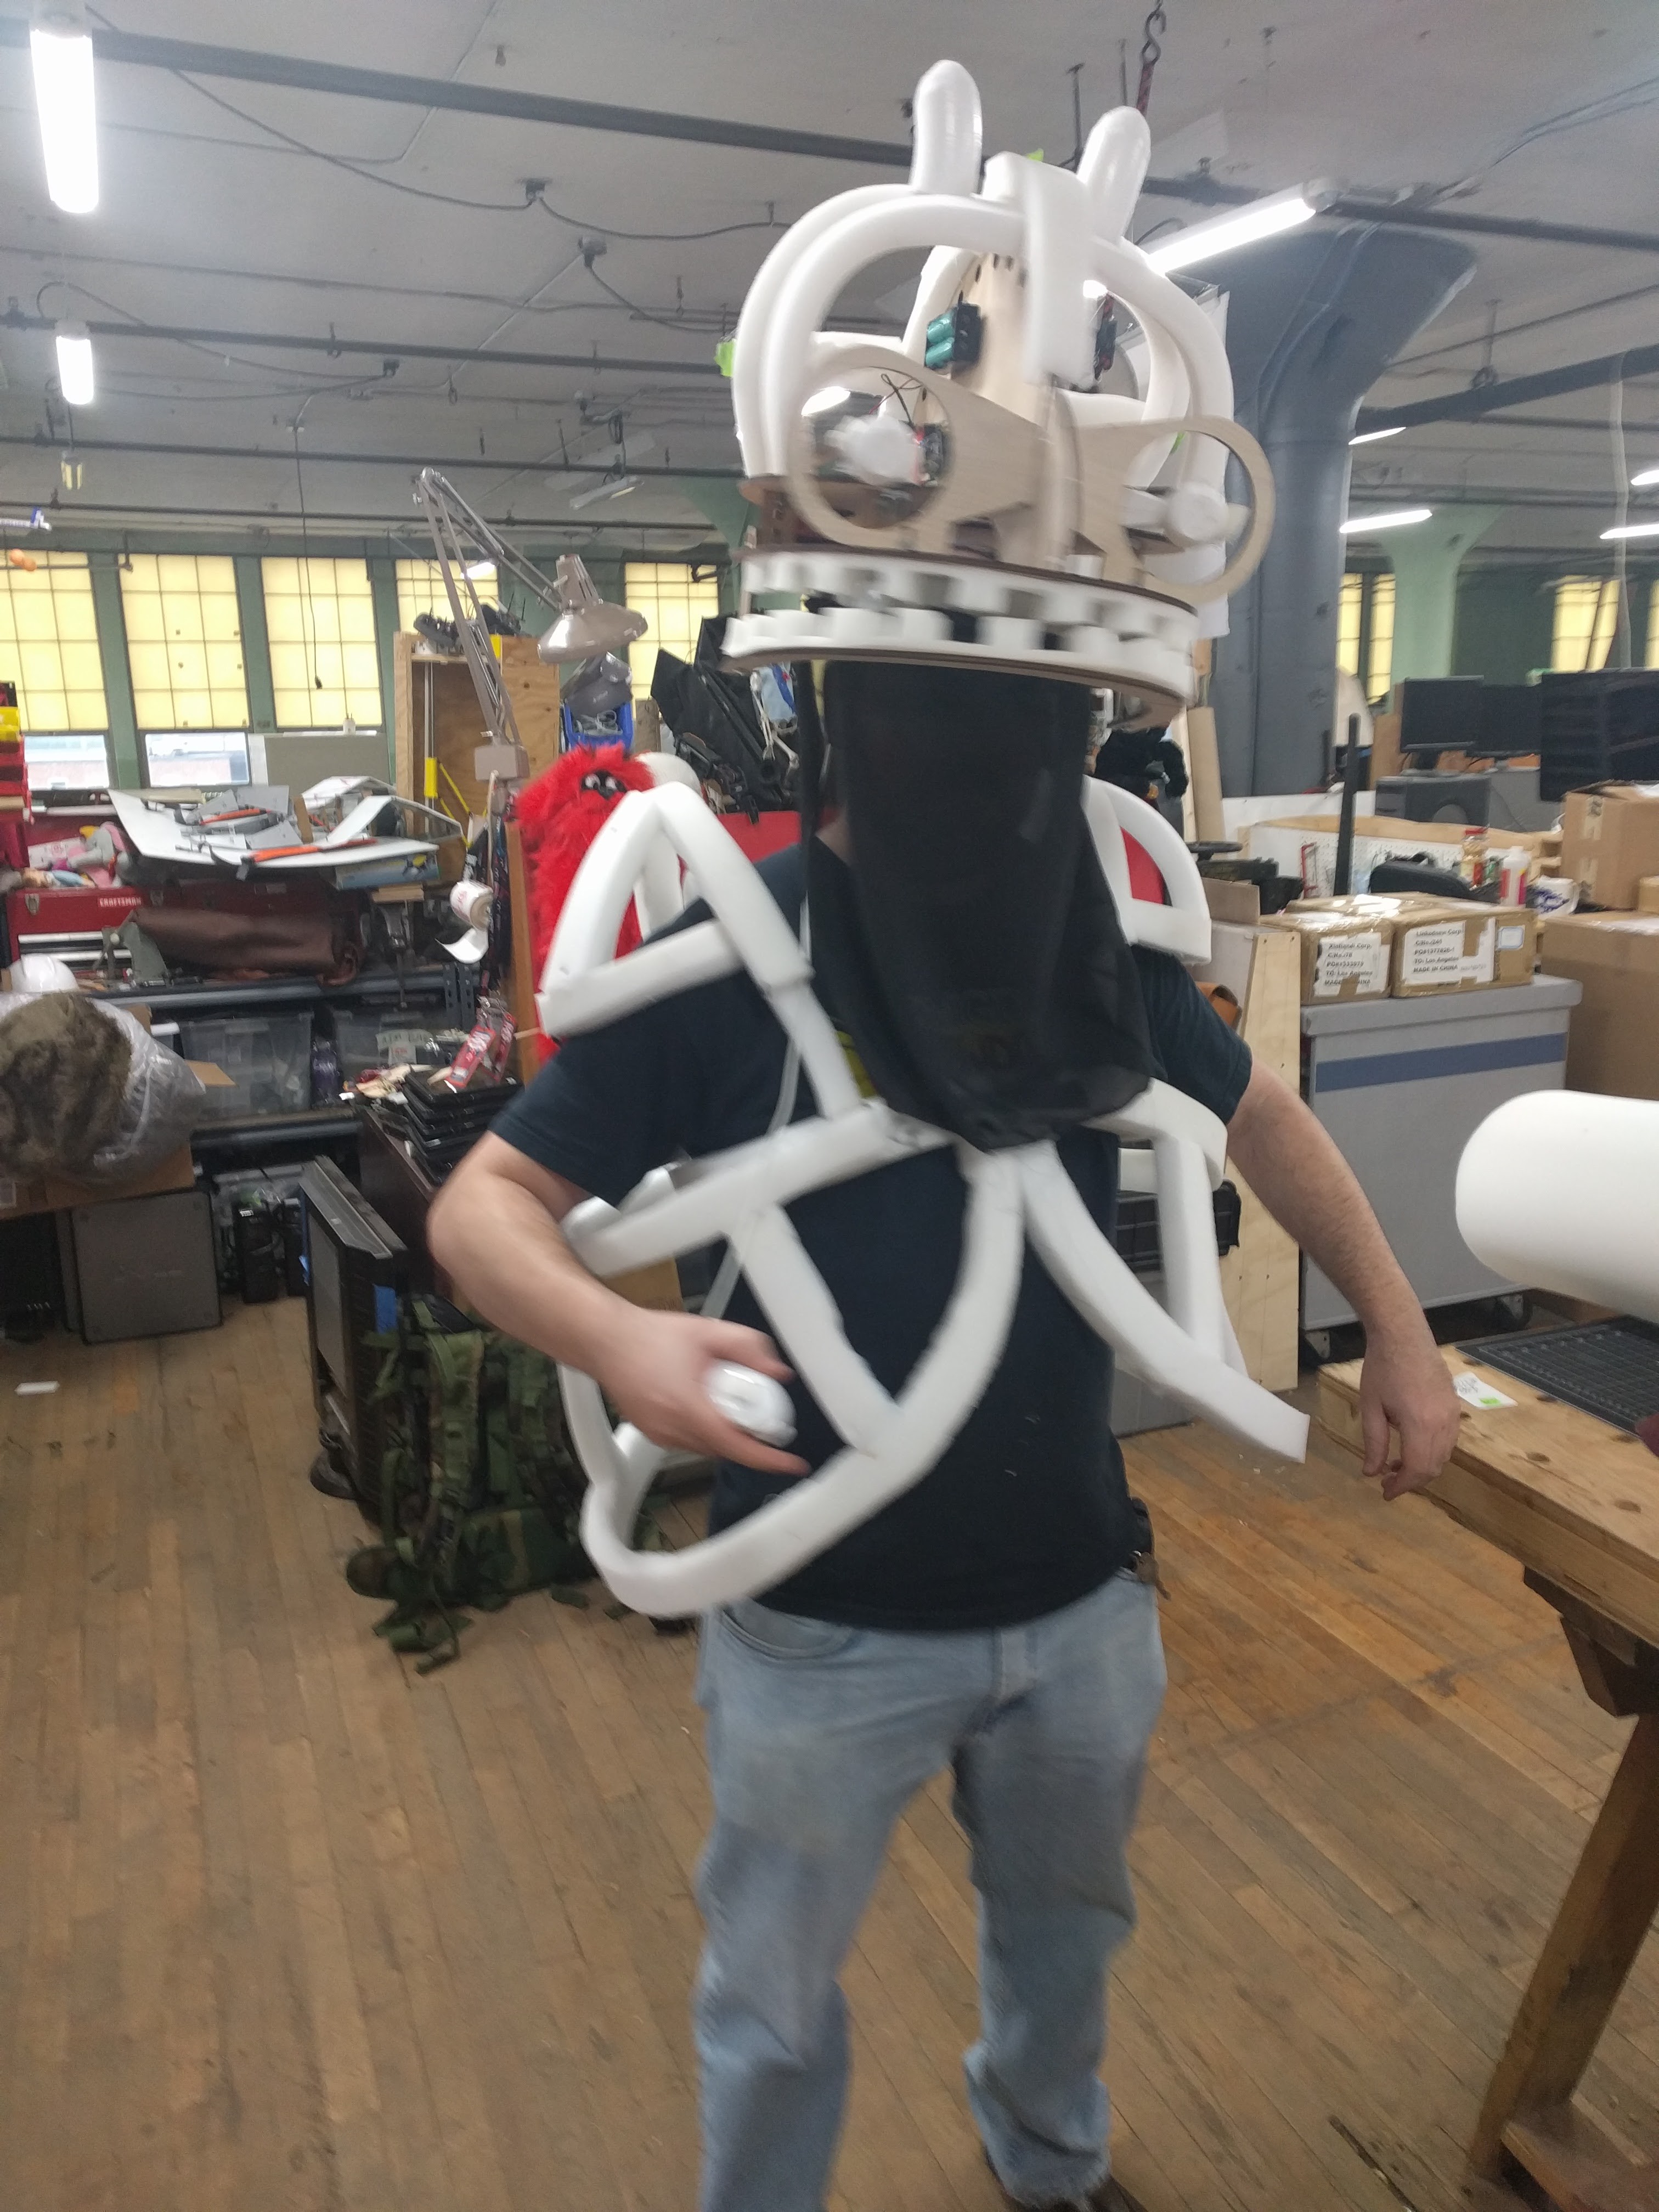
Kevins wearable head day 4
10/24/2016 at 02:55 • 0 commentsToday i split my time between Ruperts body and my animatronic head.
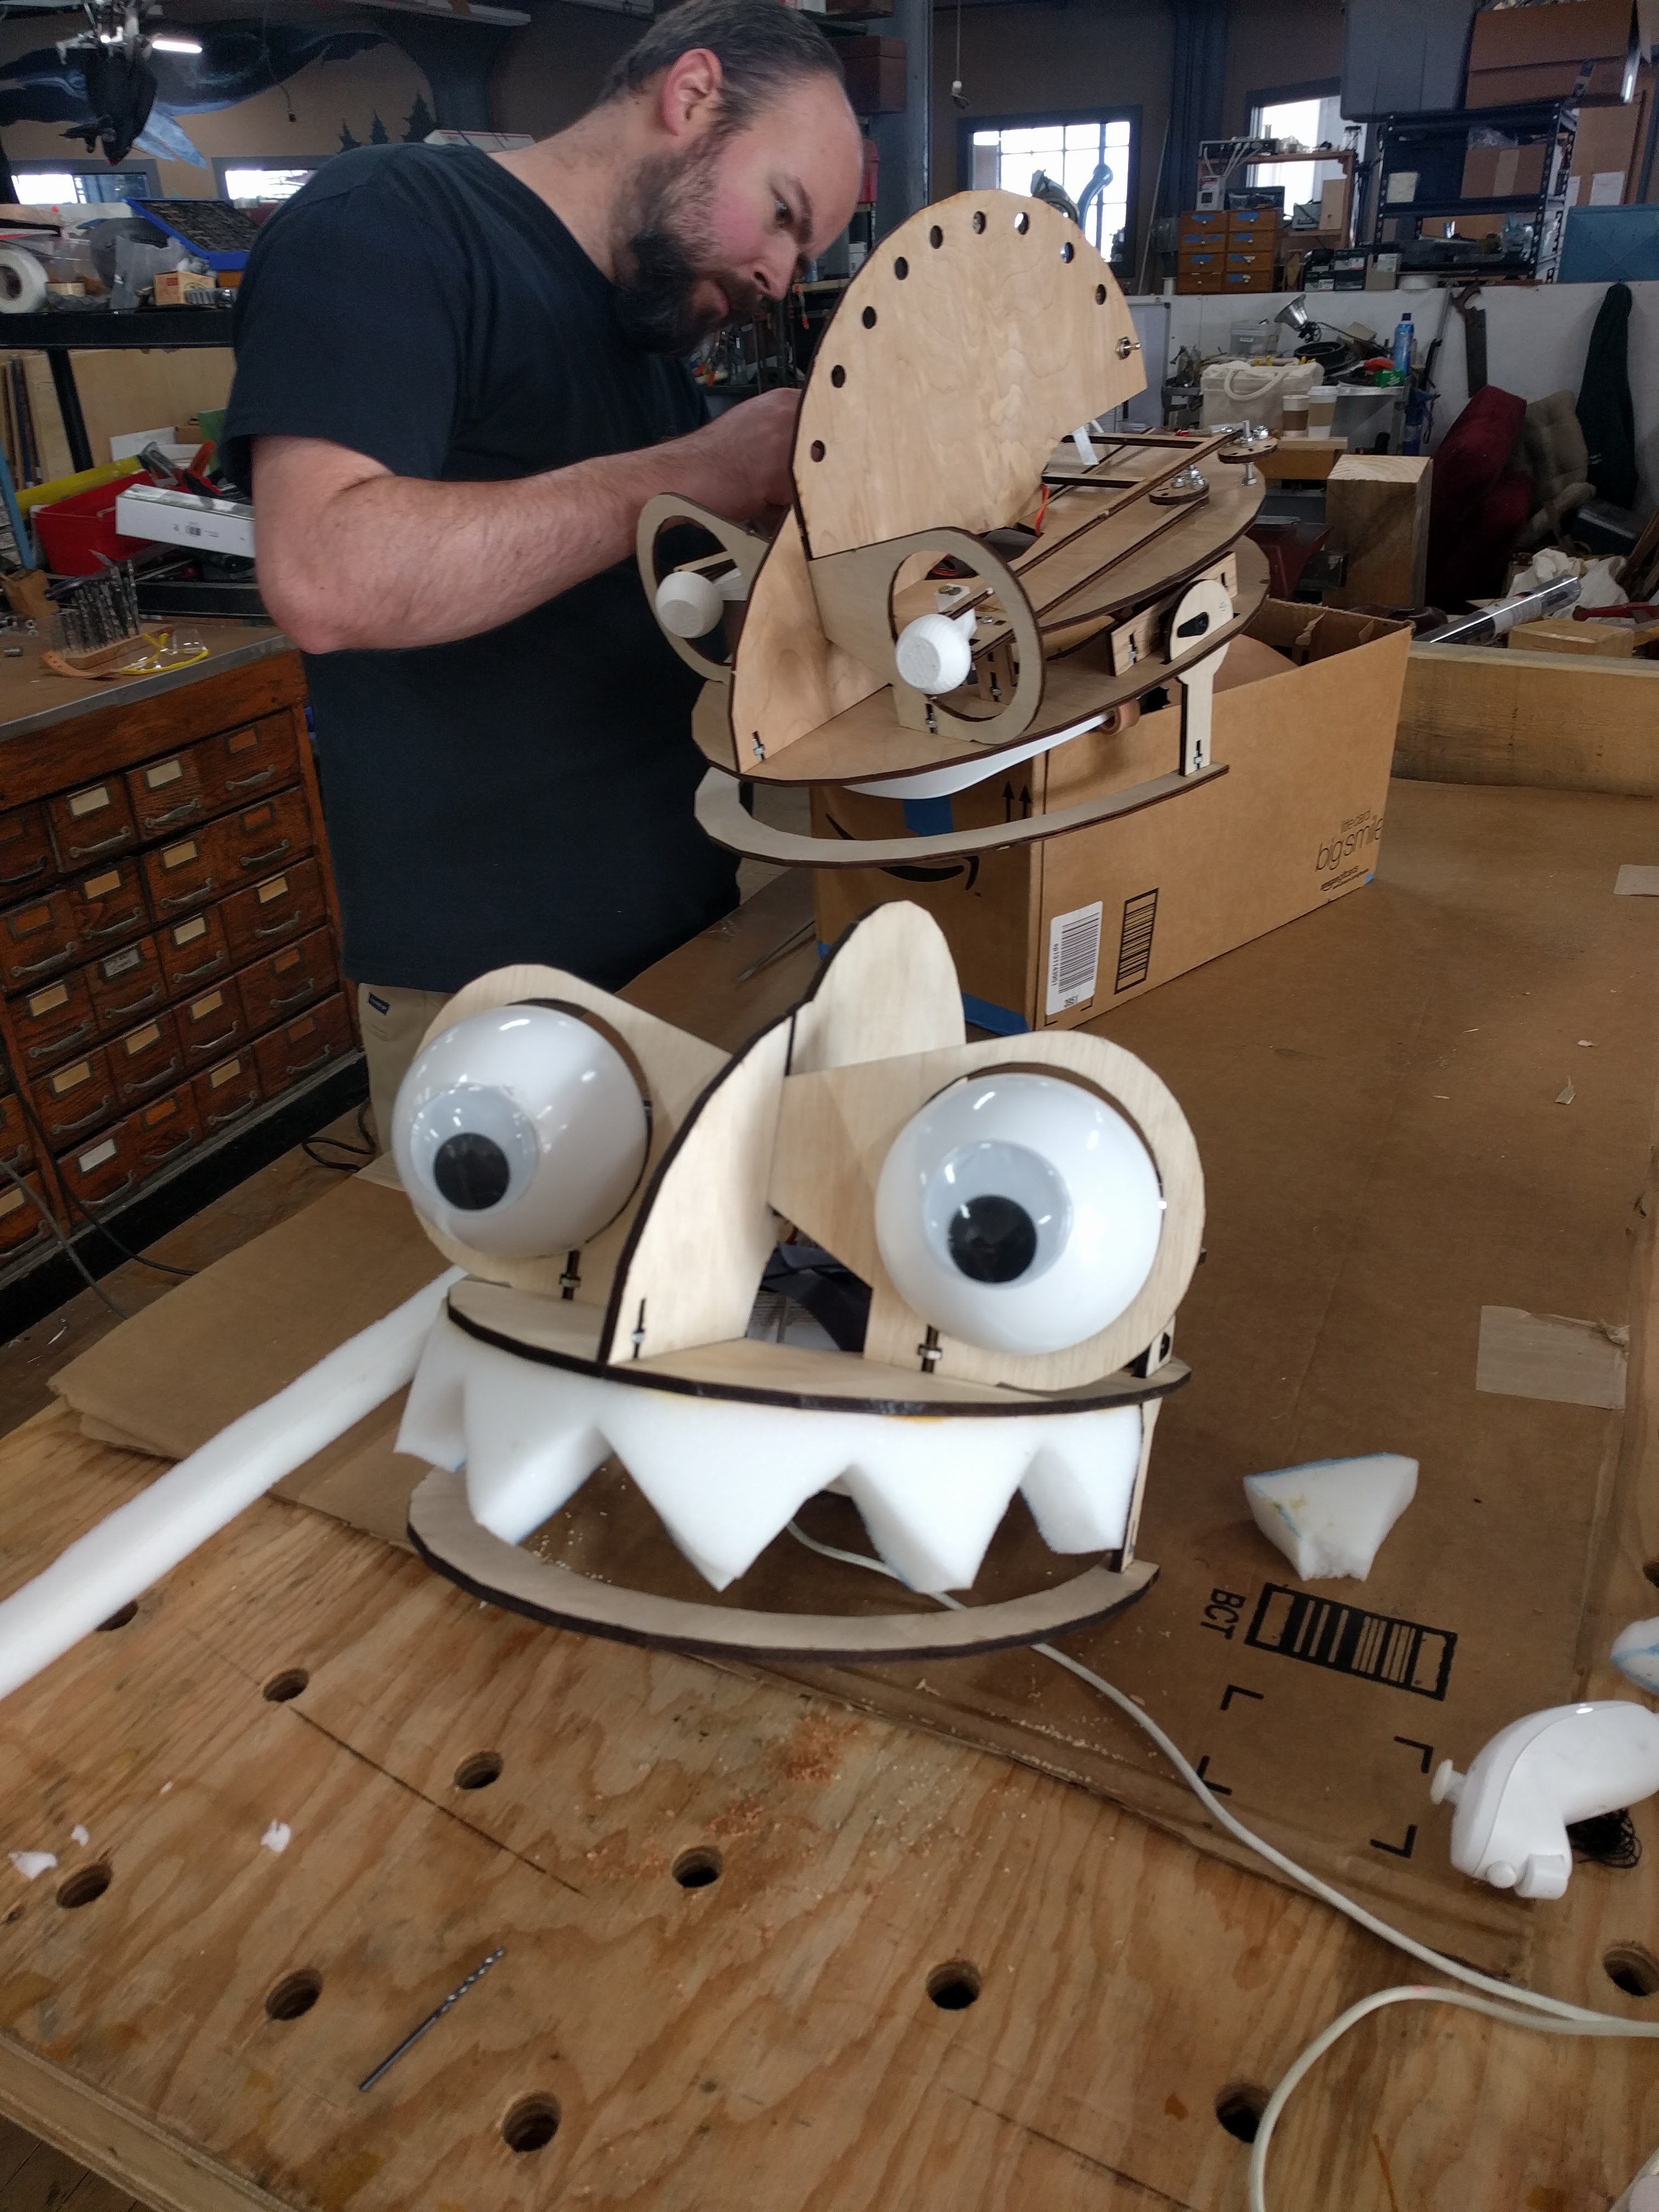
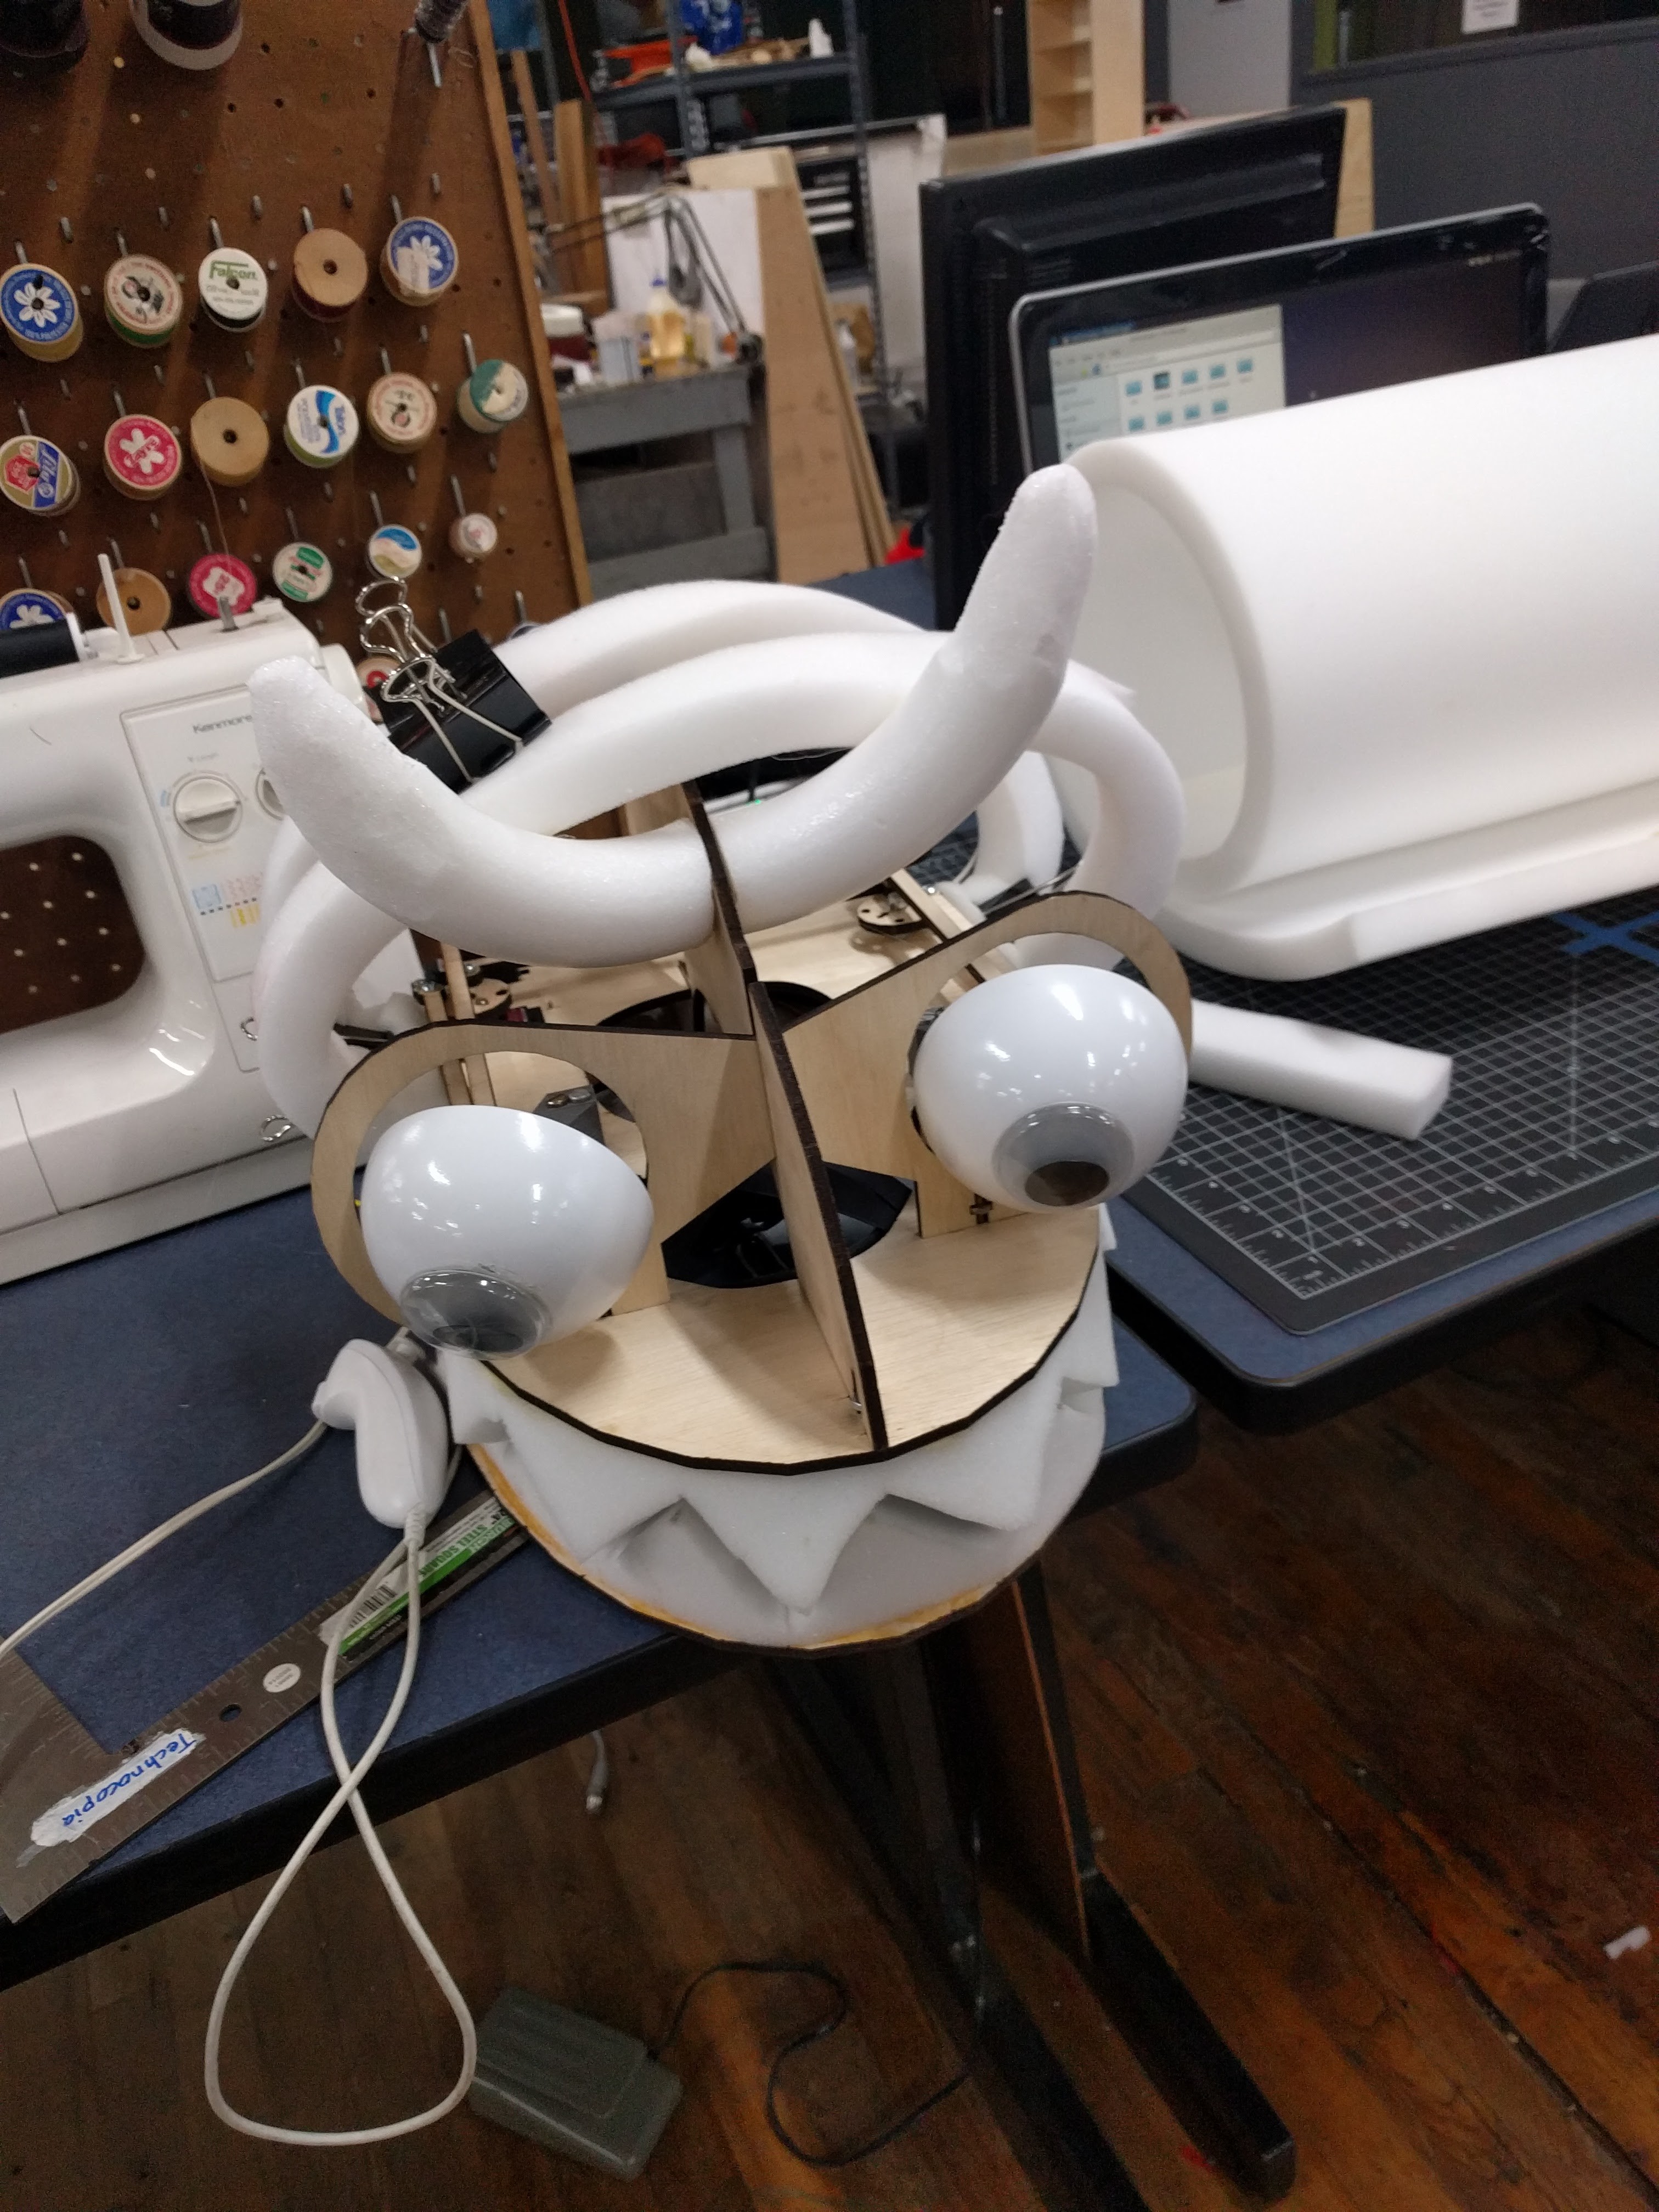
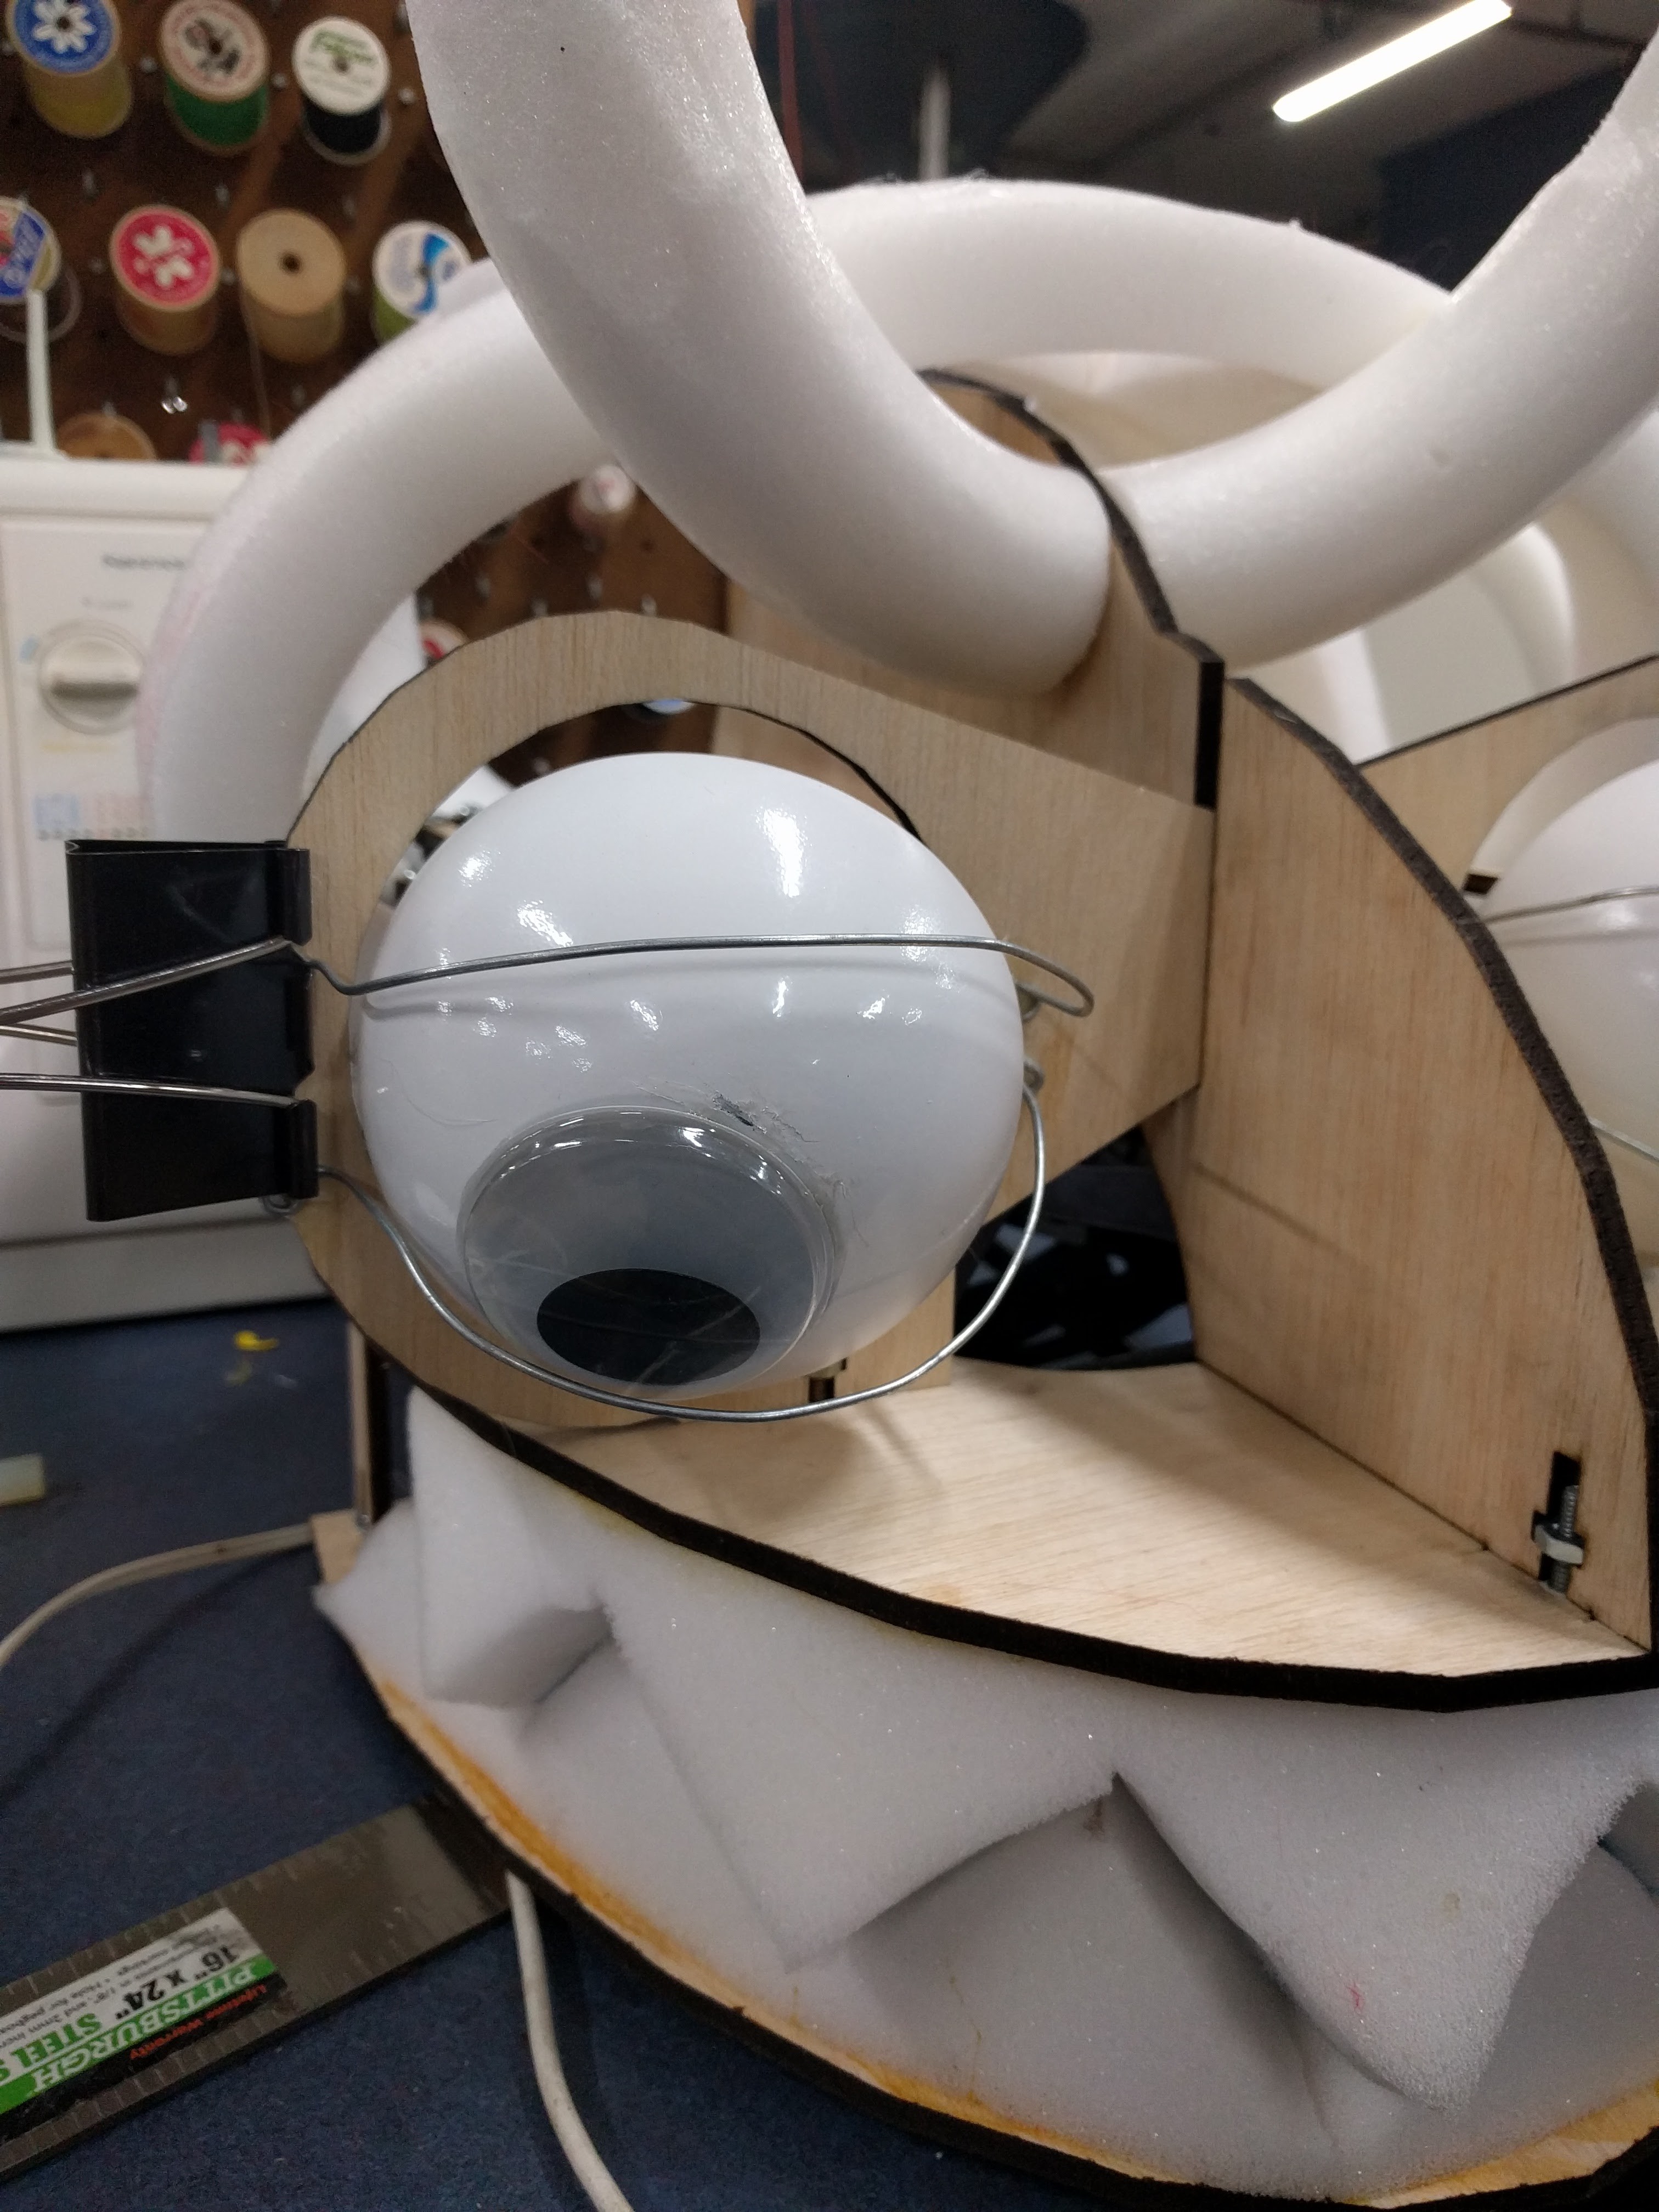
First i added the eyes:
![]()
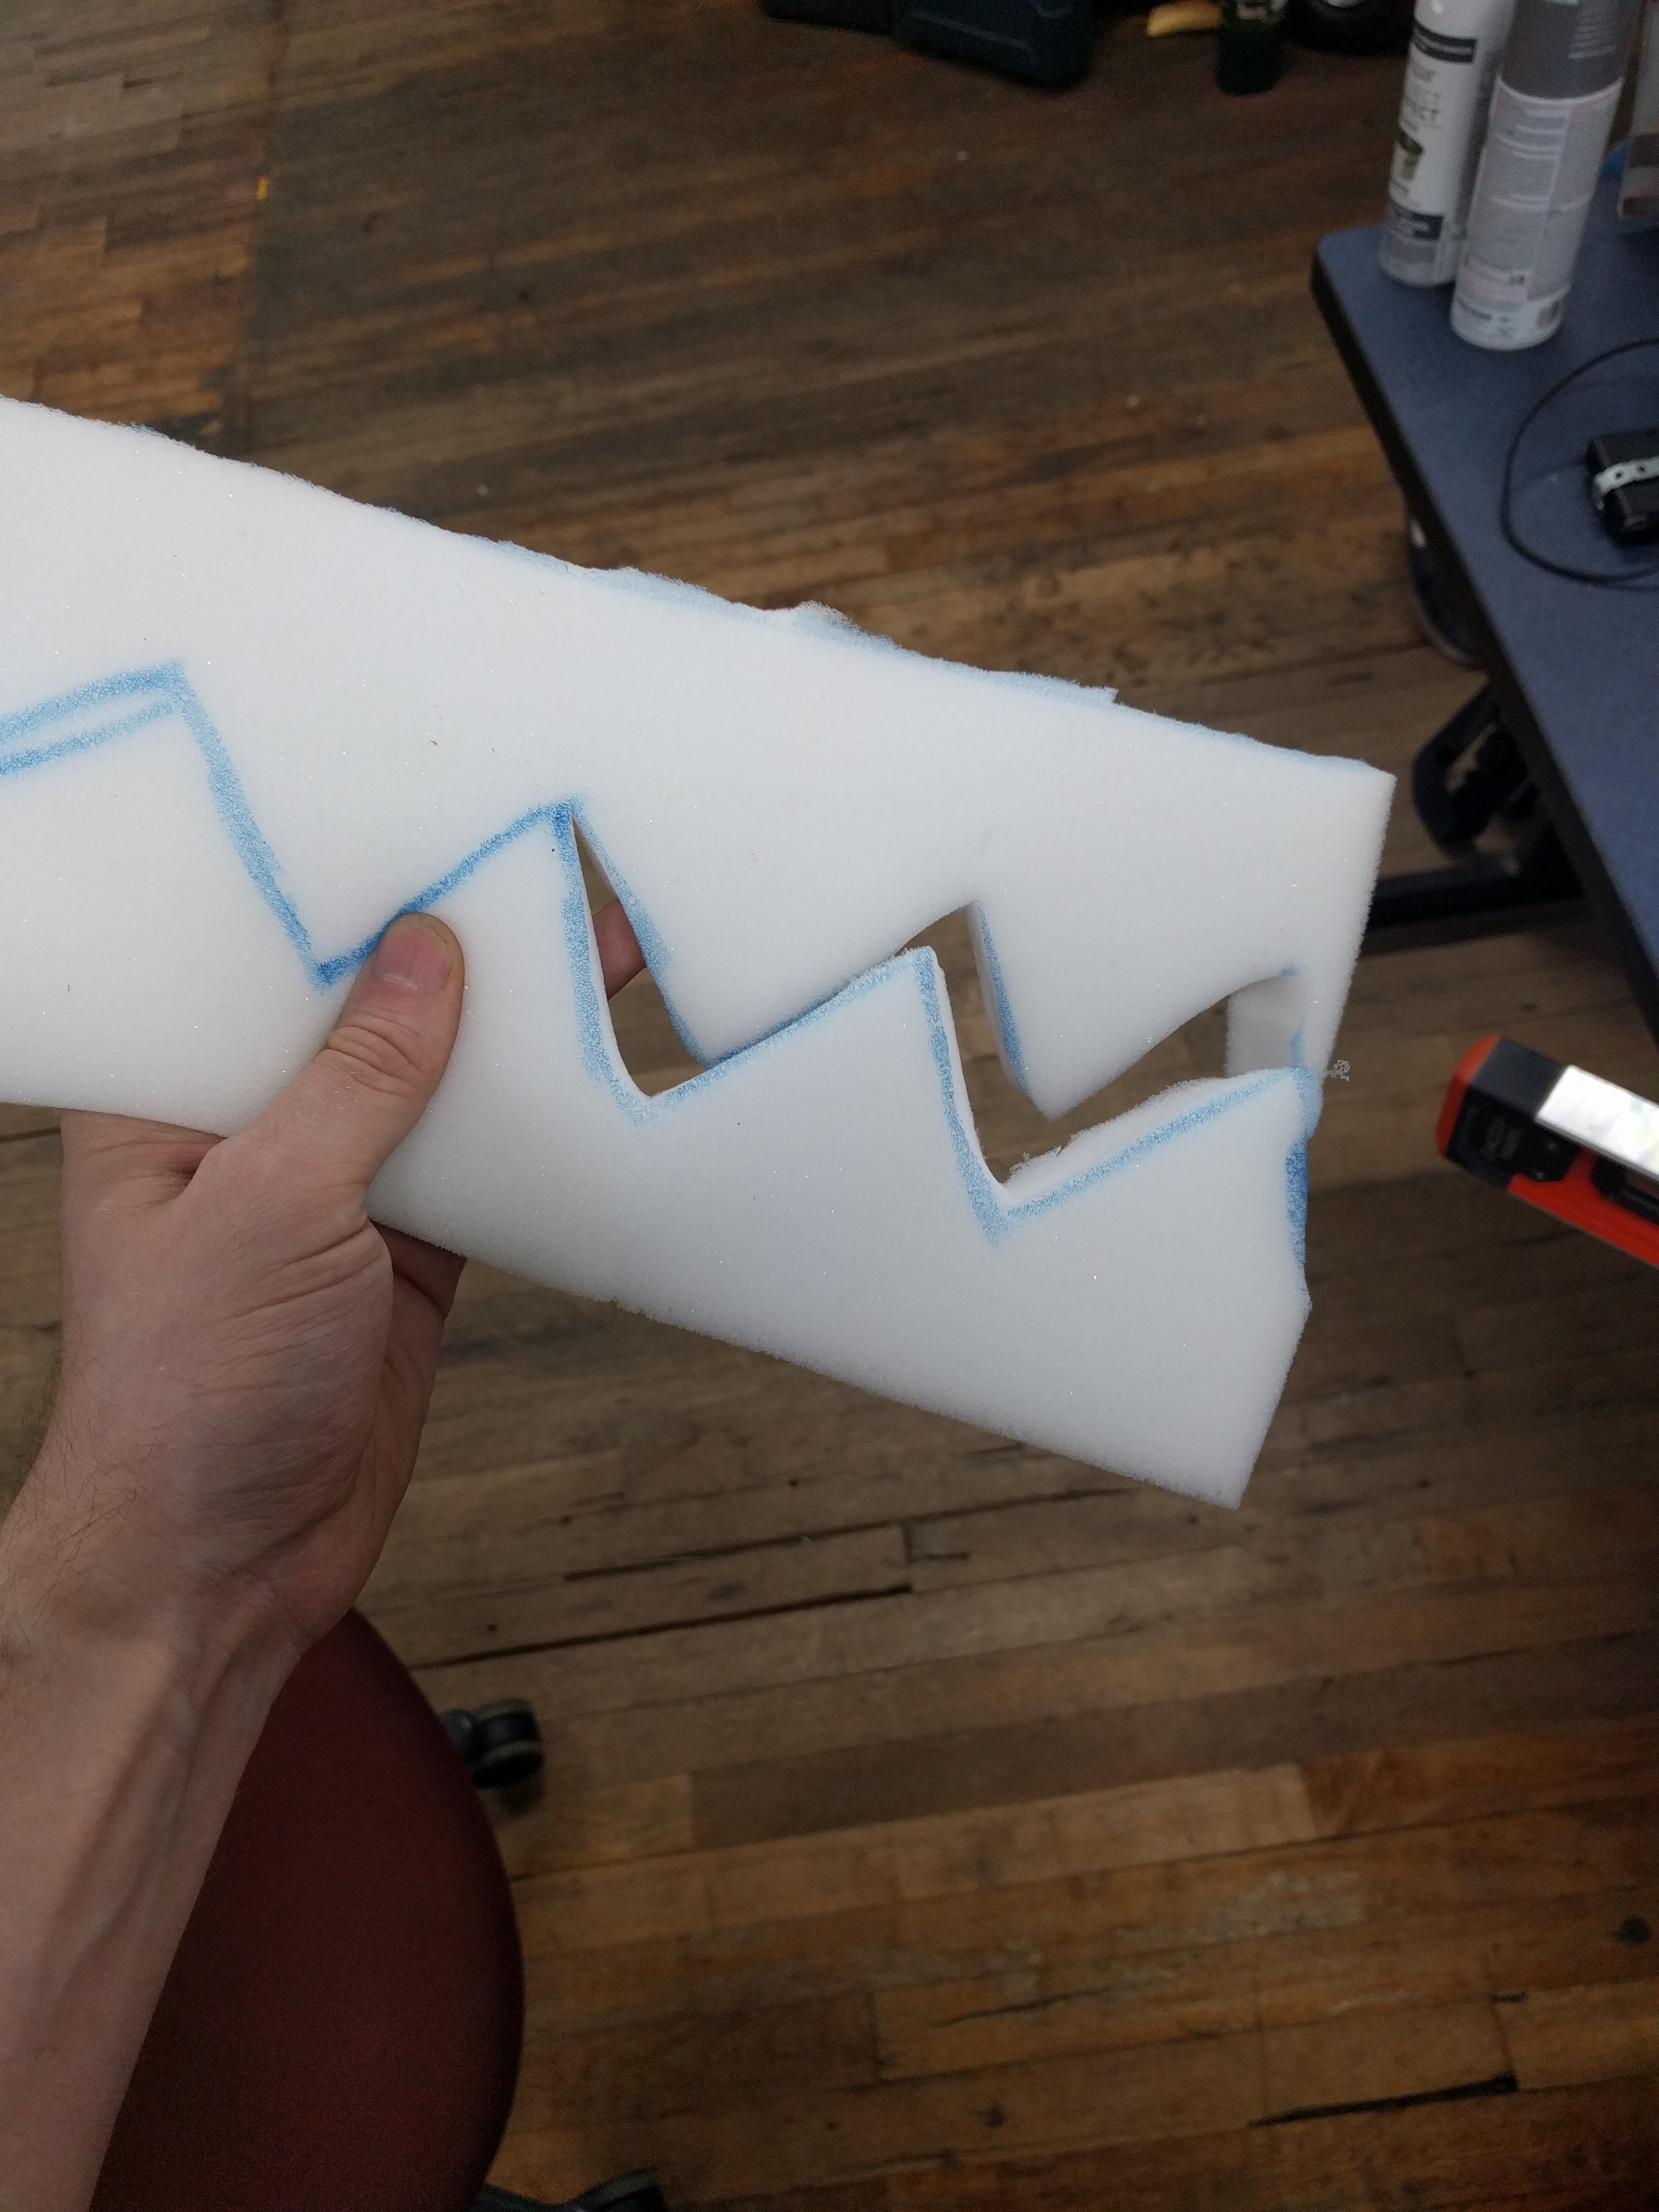
Next i cut a strip of foal the make the matching top and bottom teeth:
![]()
the attached the top:
![]()
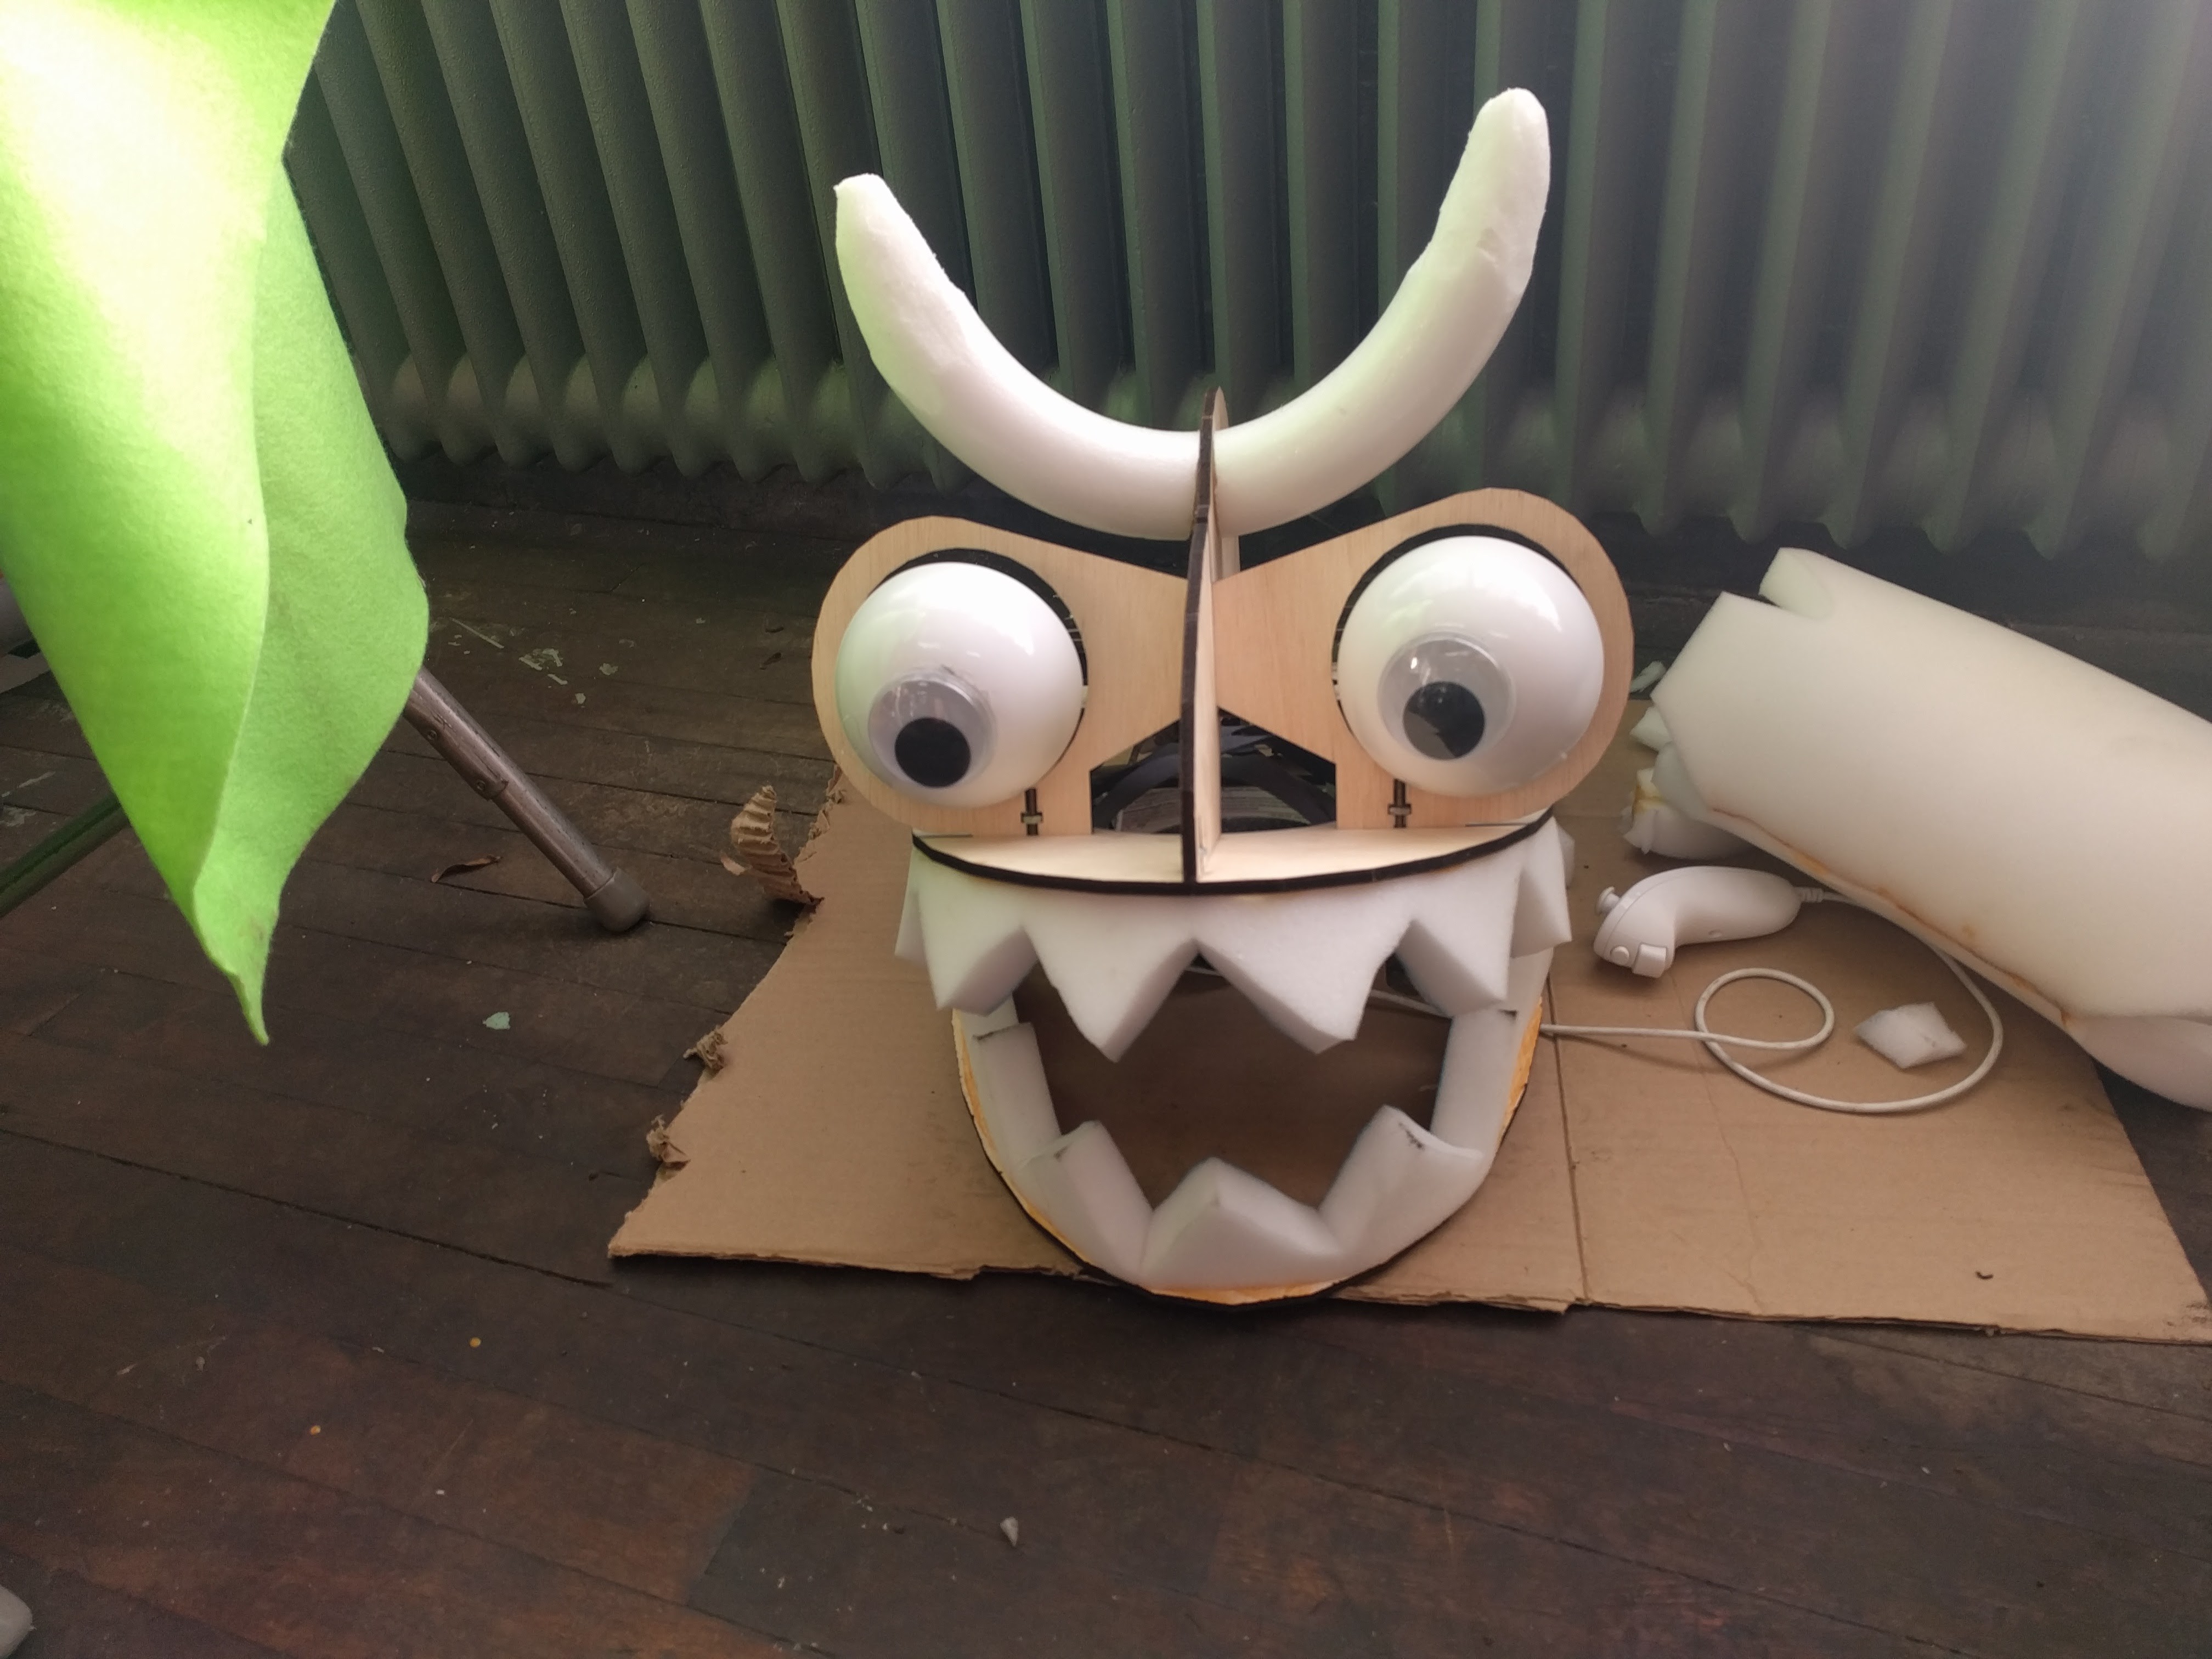
And nearly decided to stop there and make him have an overbite. Instead i decided to add the bottom teeth anyway. I also added horns made from a floral foam ring:
![]()
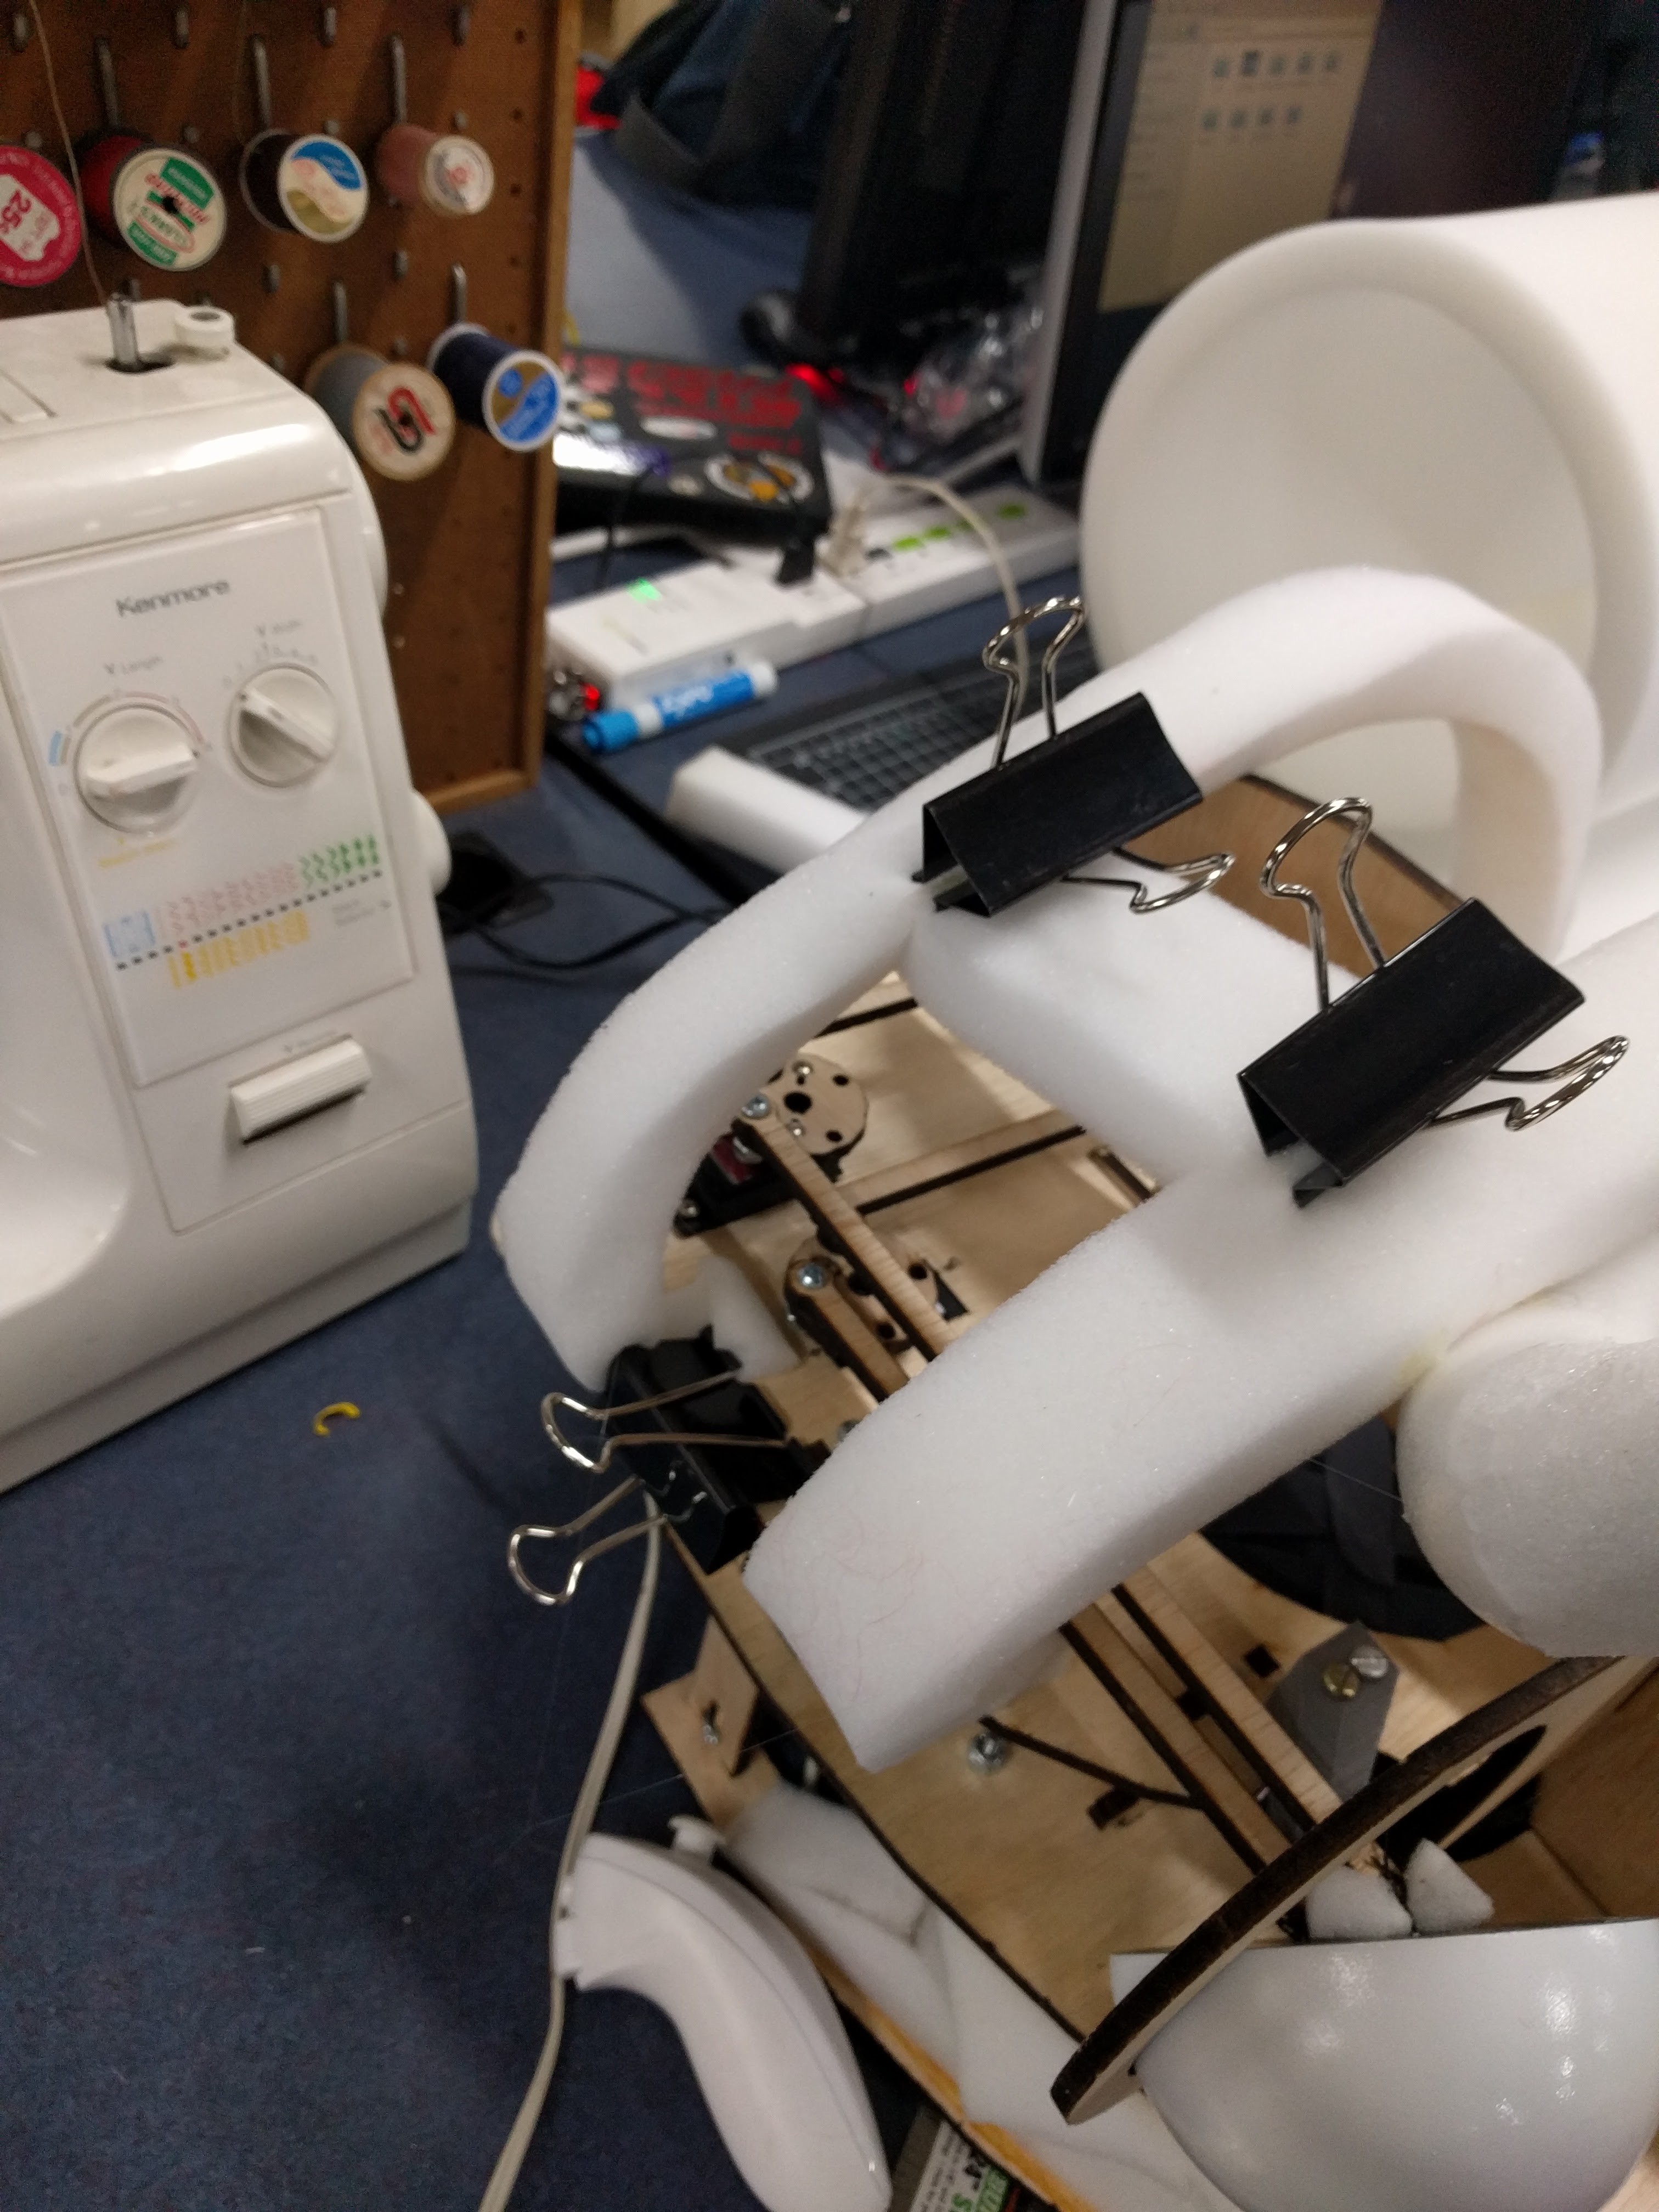
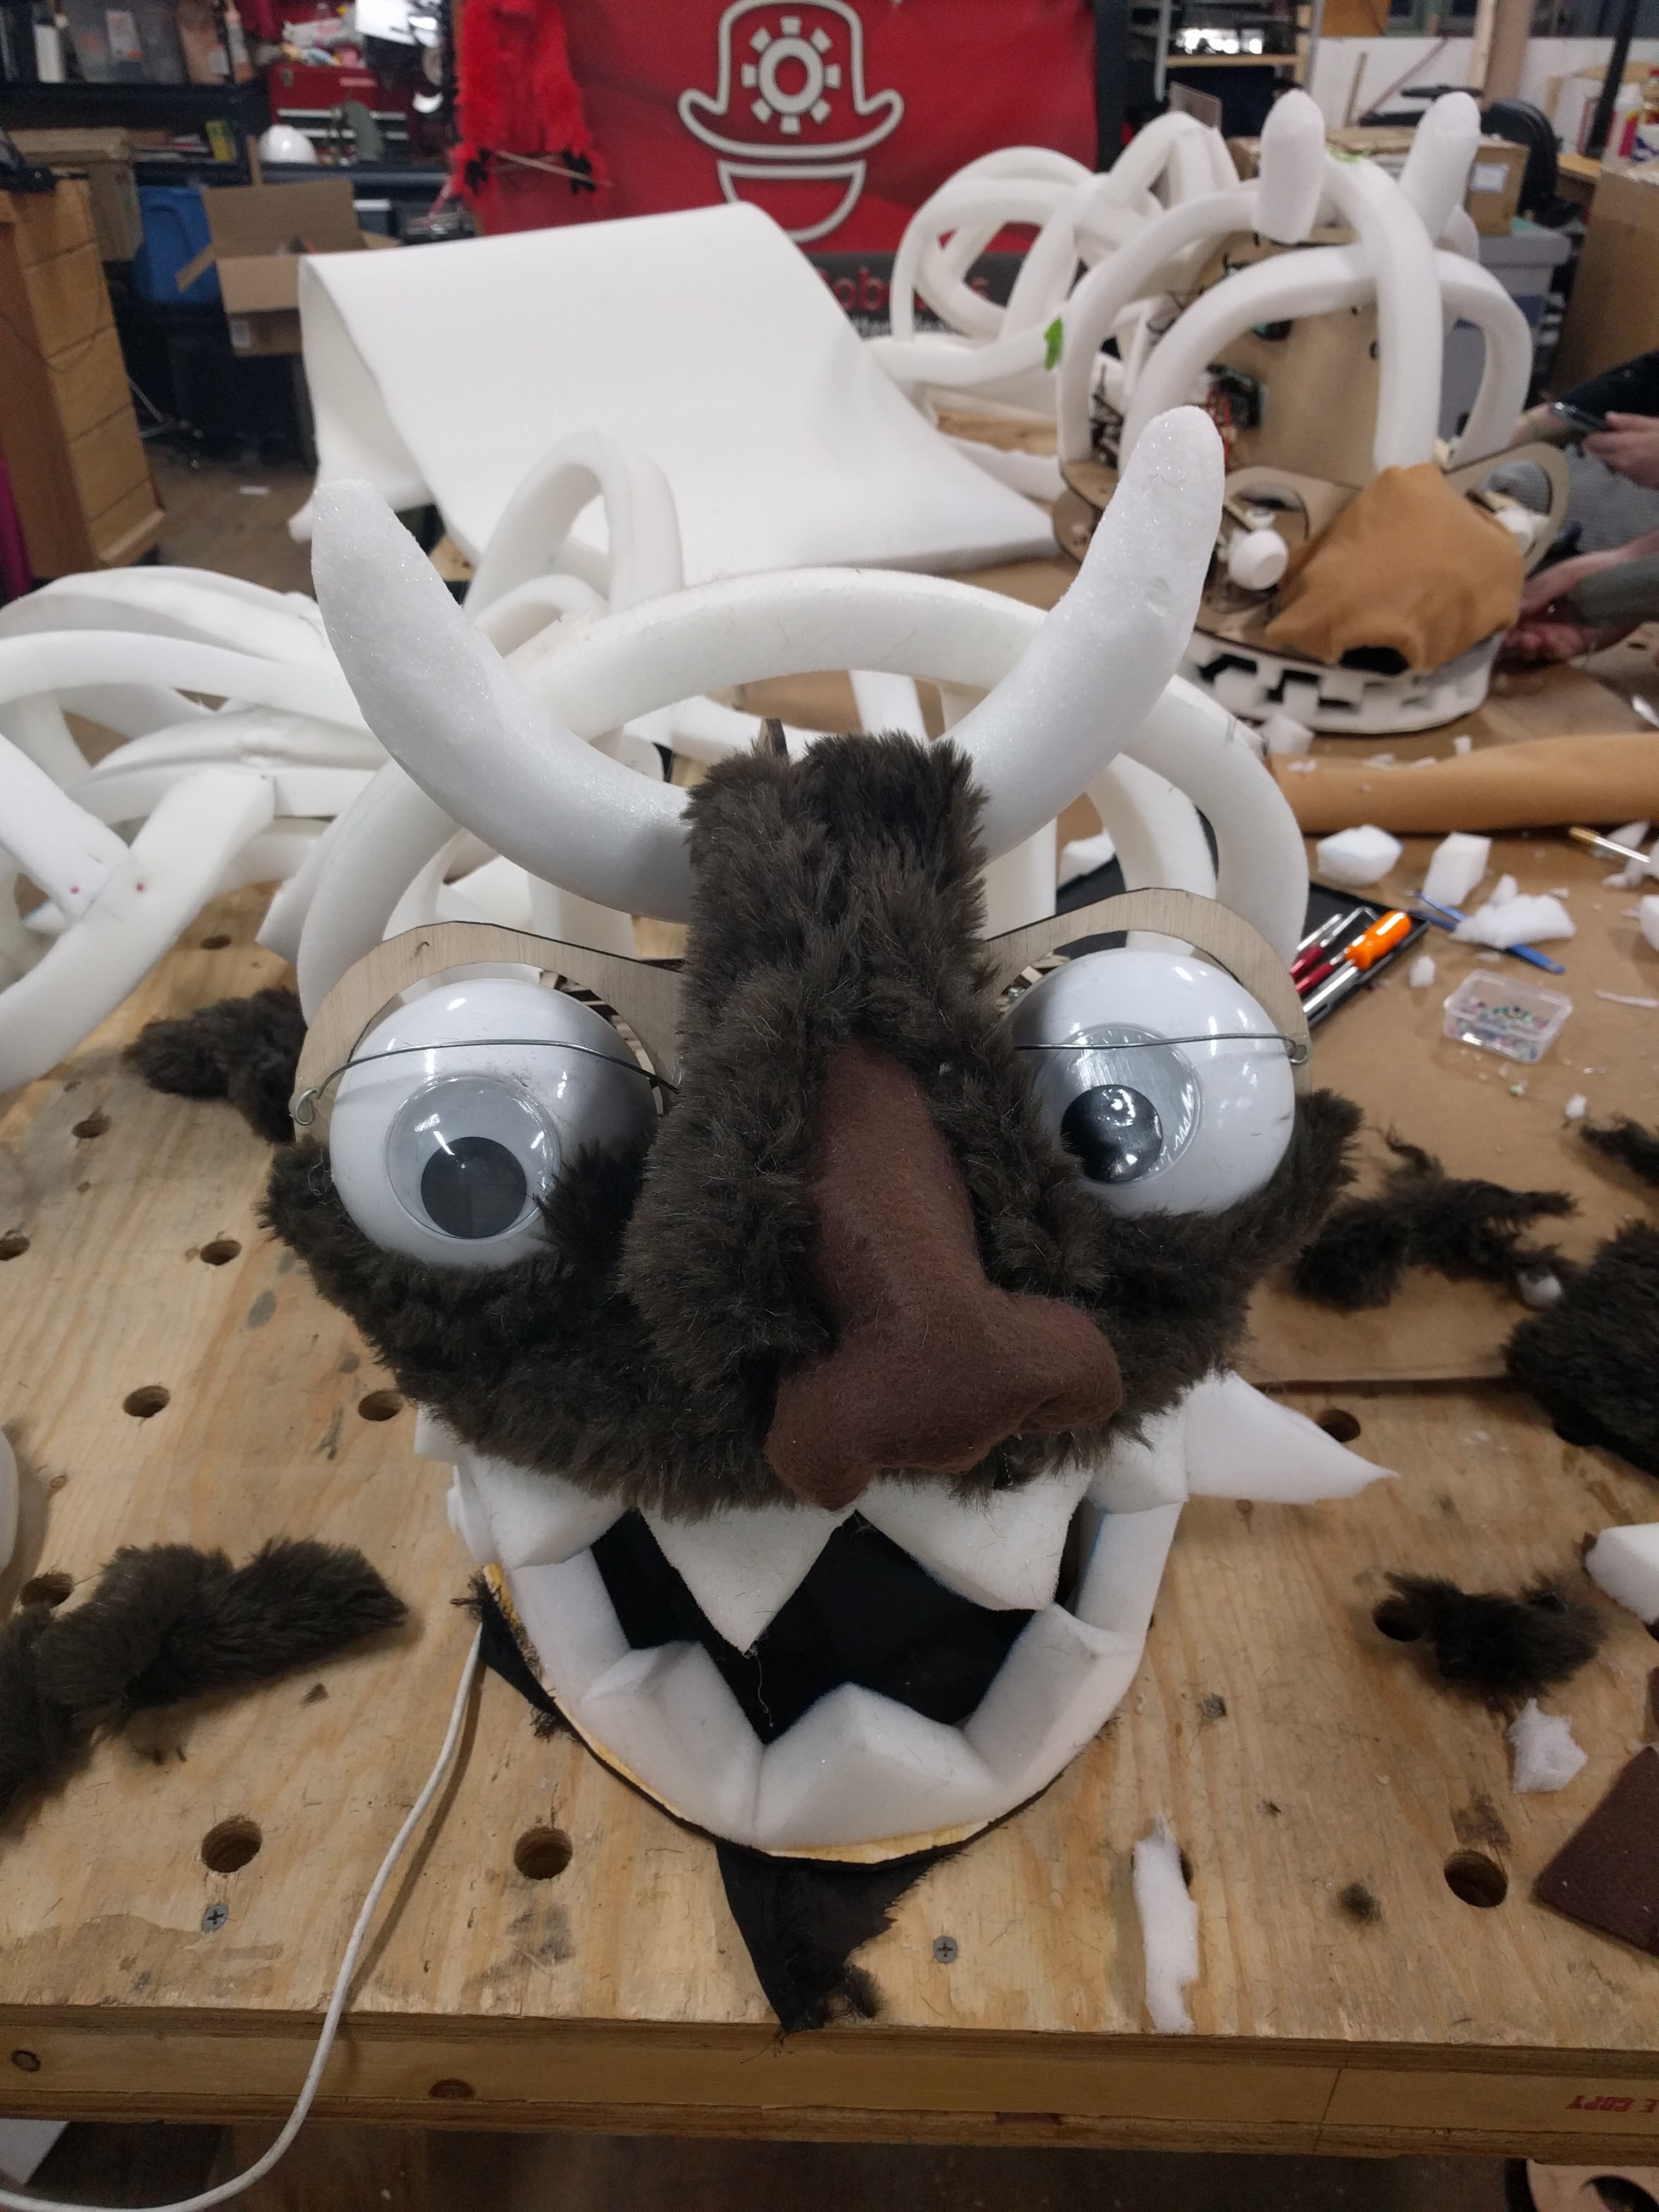
Next i used strips of foam to shape out his head. I used the binder clips to hold the edge of the foam while the hot glue cools. It helps keep the seem tight.
![]()
And the blocked out head:
![]()
Next i added wires to hold the eyelids. If i had a bit more bandwidth i'd add parametric blinking lids to the script. I should add it soon for a class i'm teaching though...
![]()
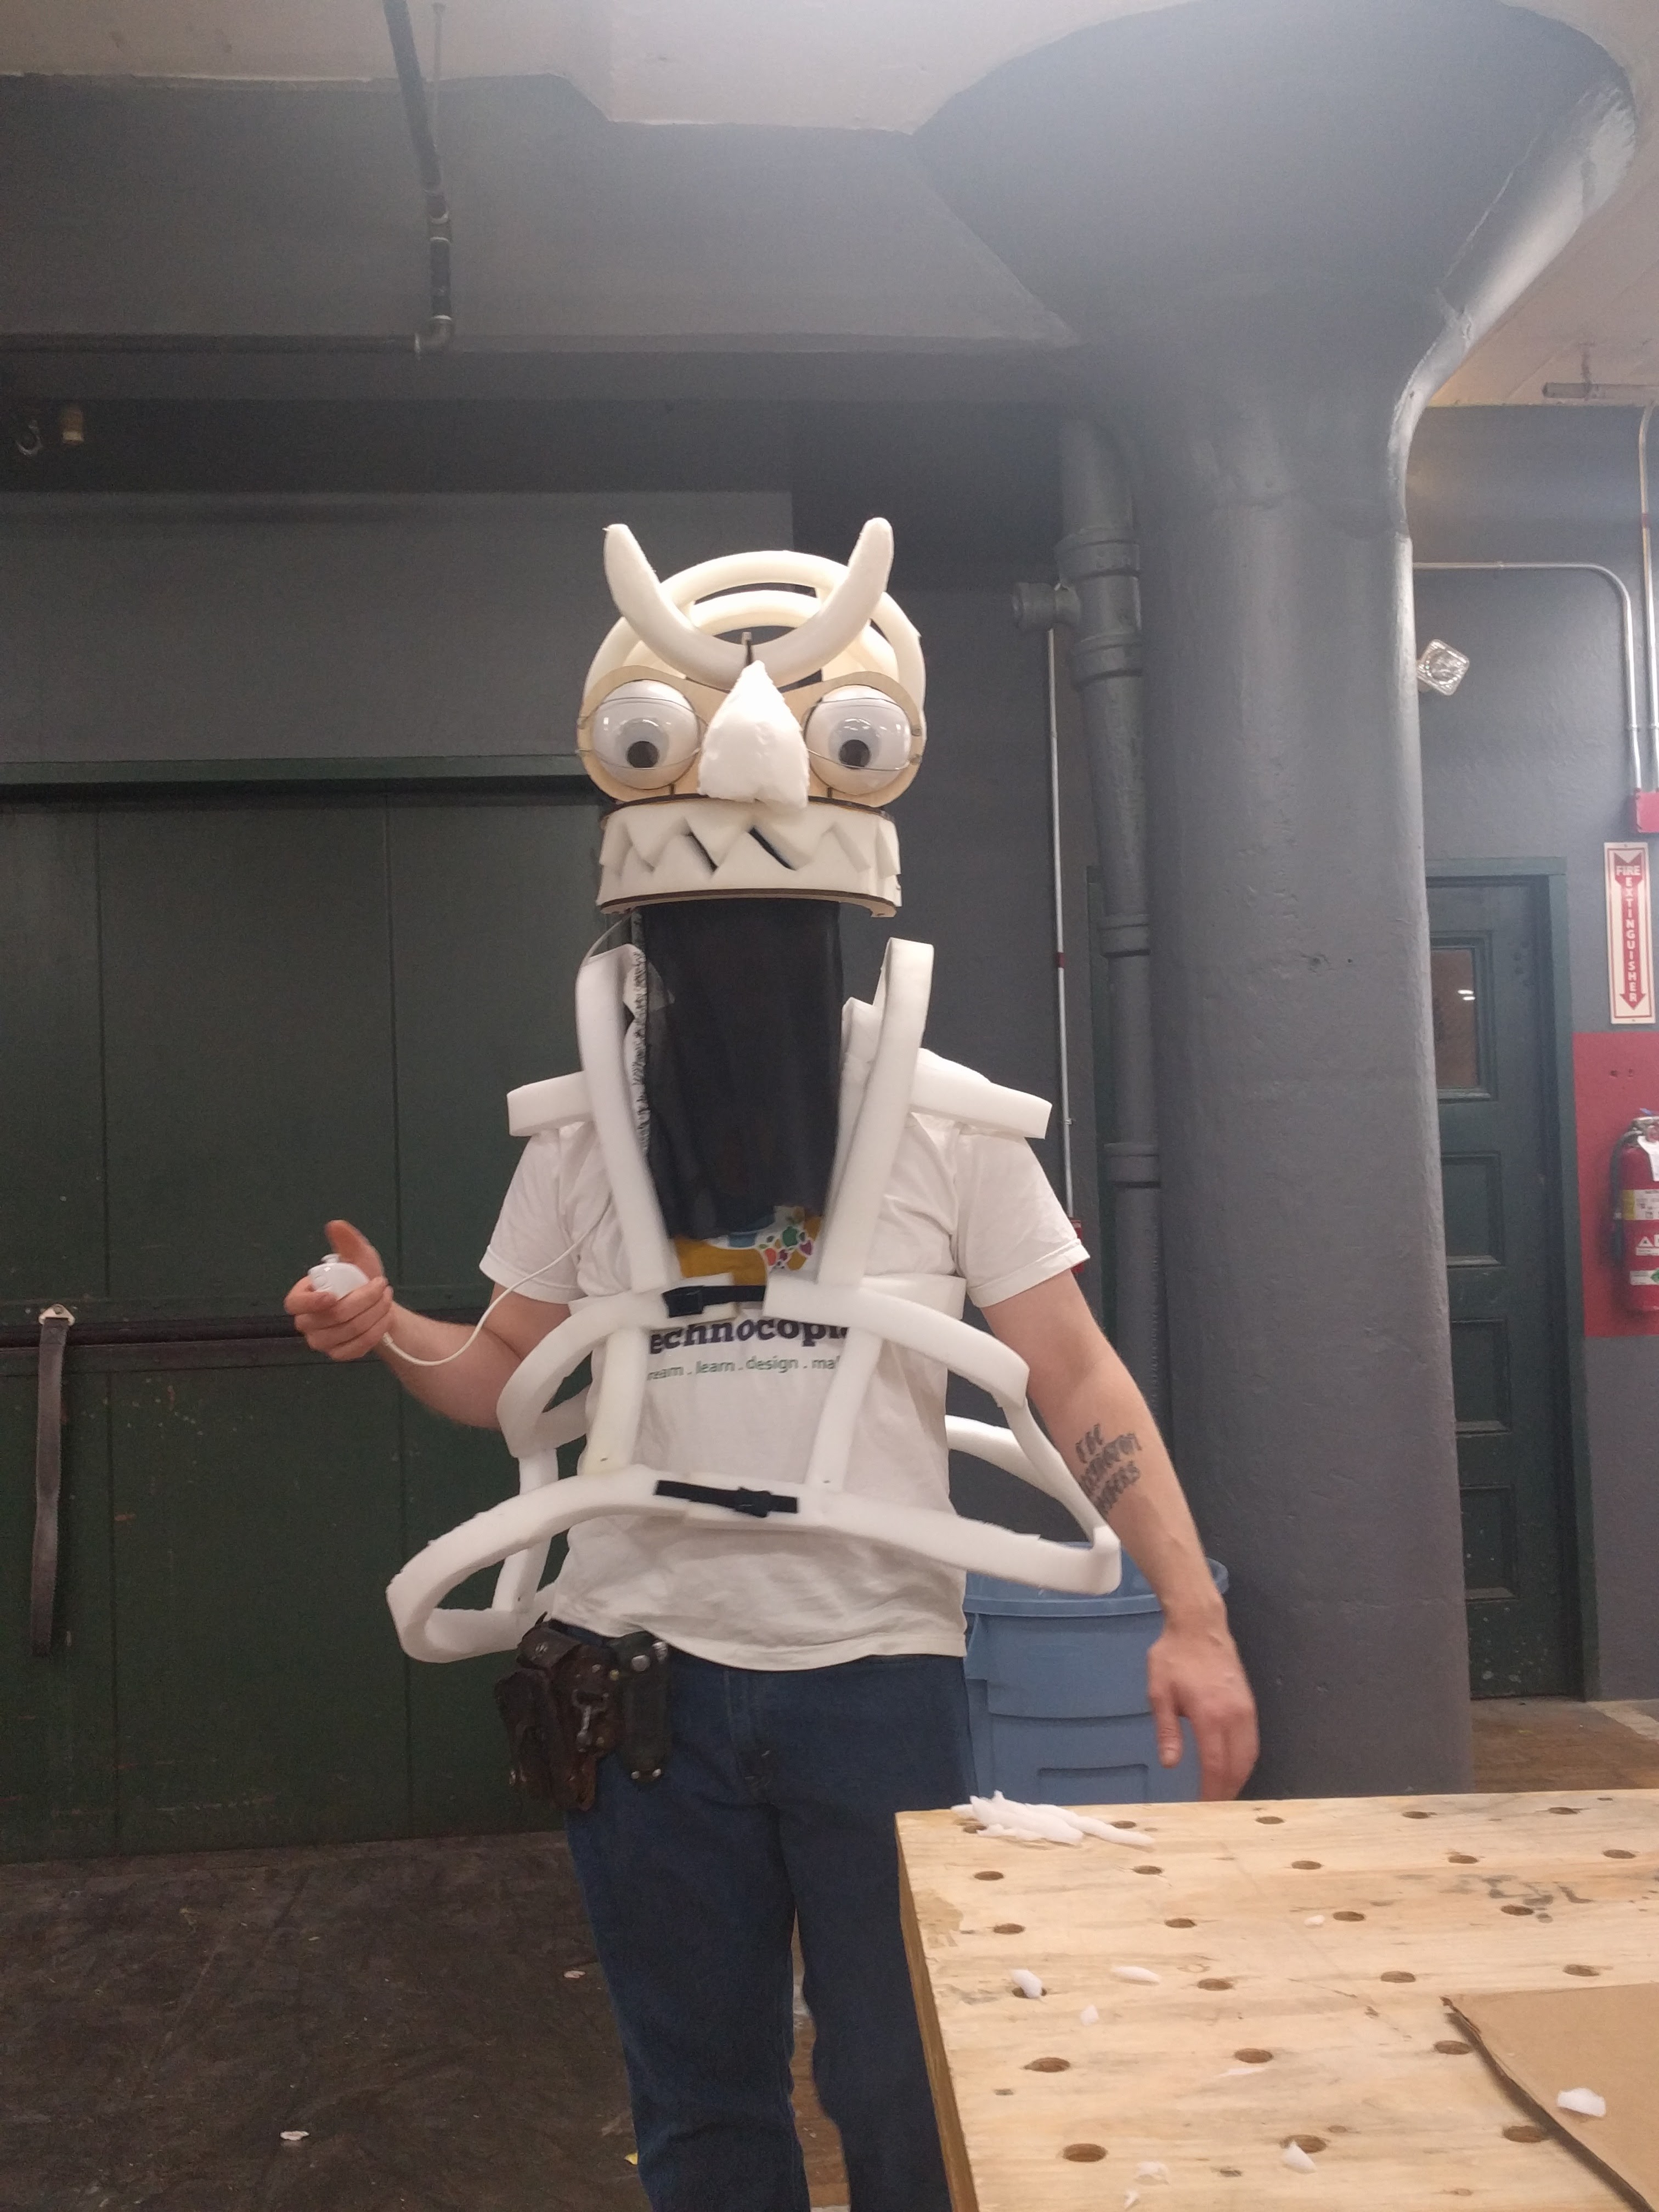
Finally i added the black veal. It is glued along the brim of the hard hat on the inside. It drapes through the mouth acring as the blackout and i can see through the mouth when its open, and through the neck when it's closed. i have nealy unobstructed vision with the mouth open and totally unobstructed when its closed.
-
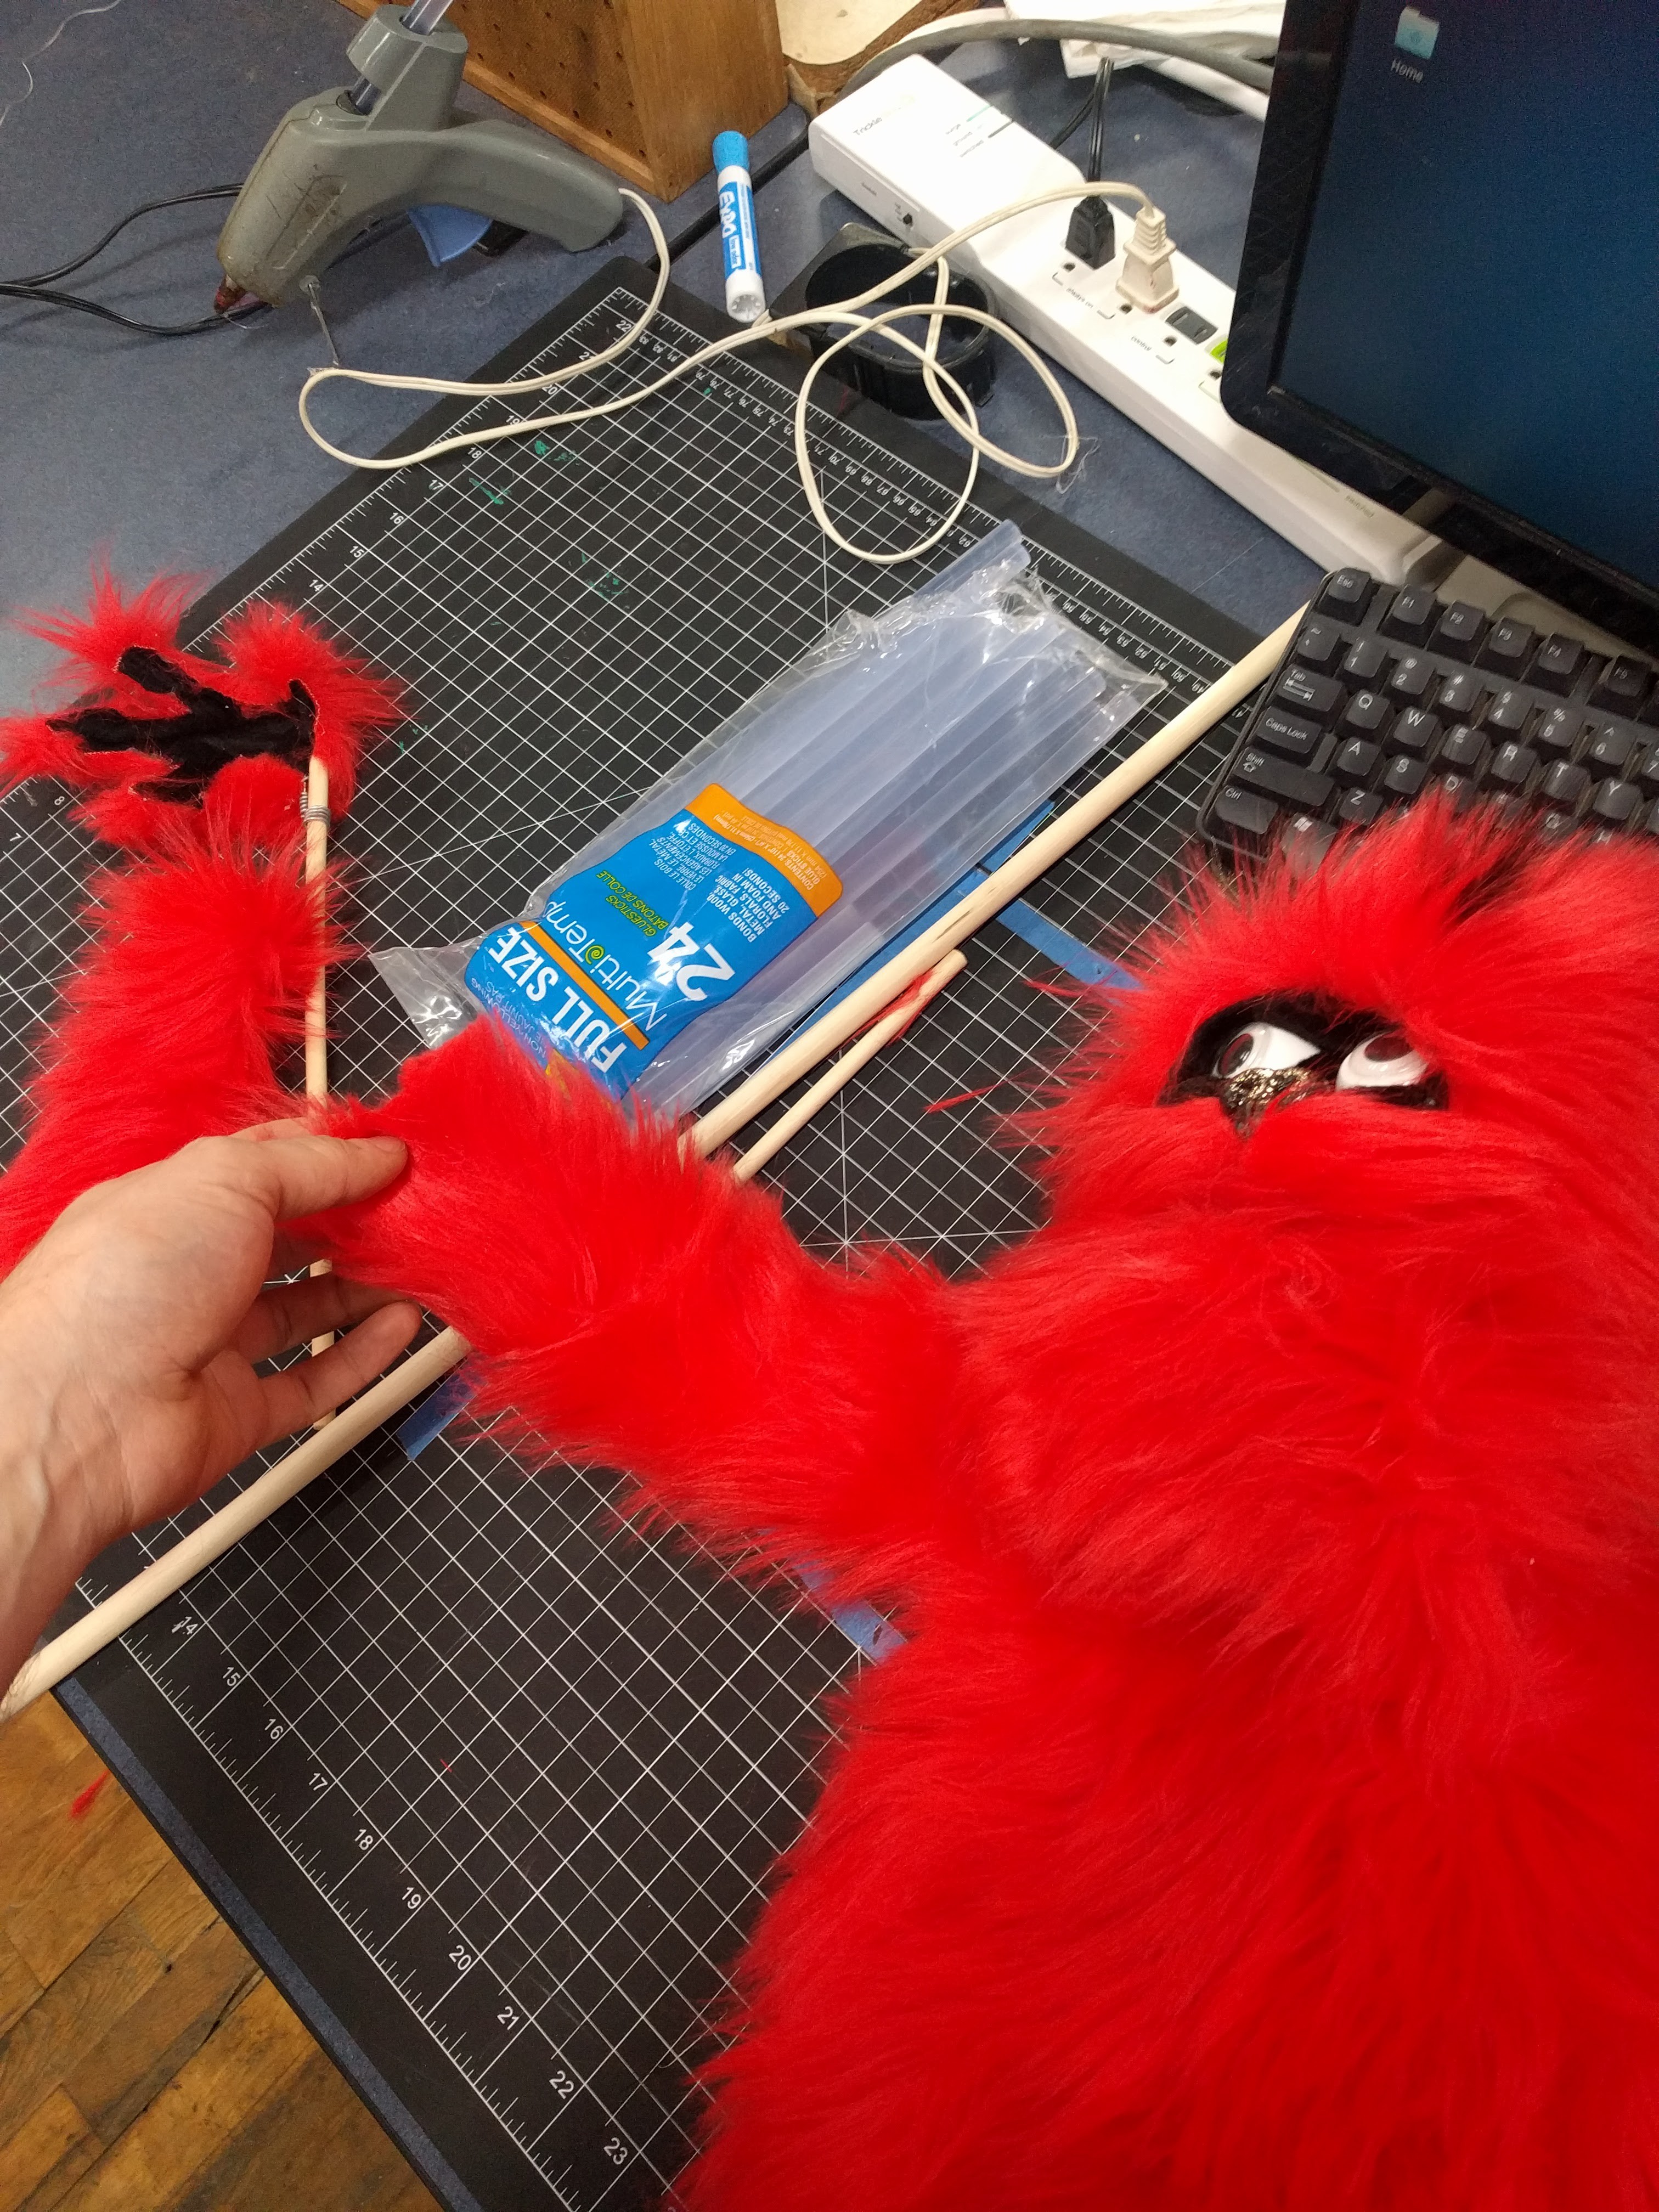
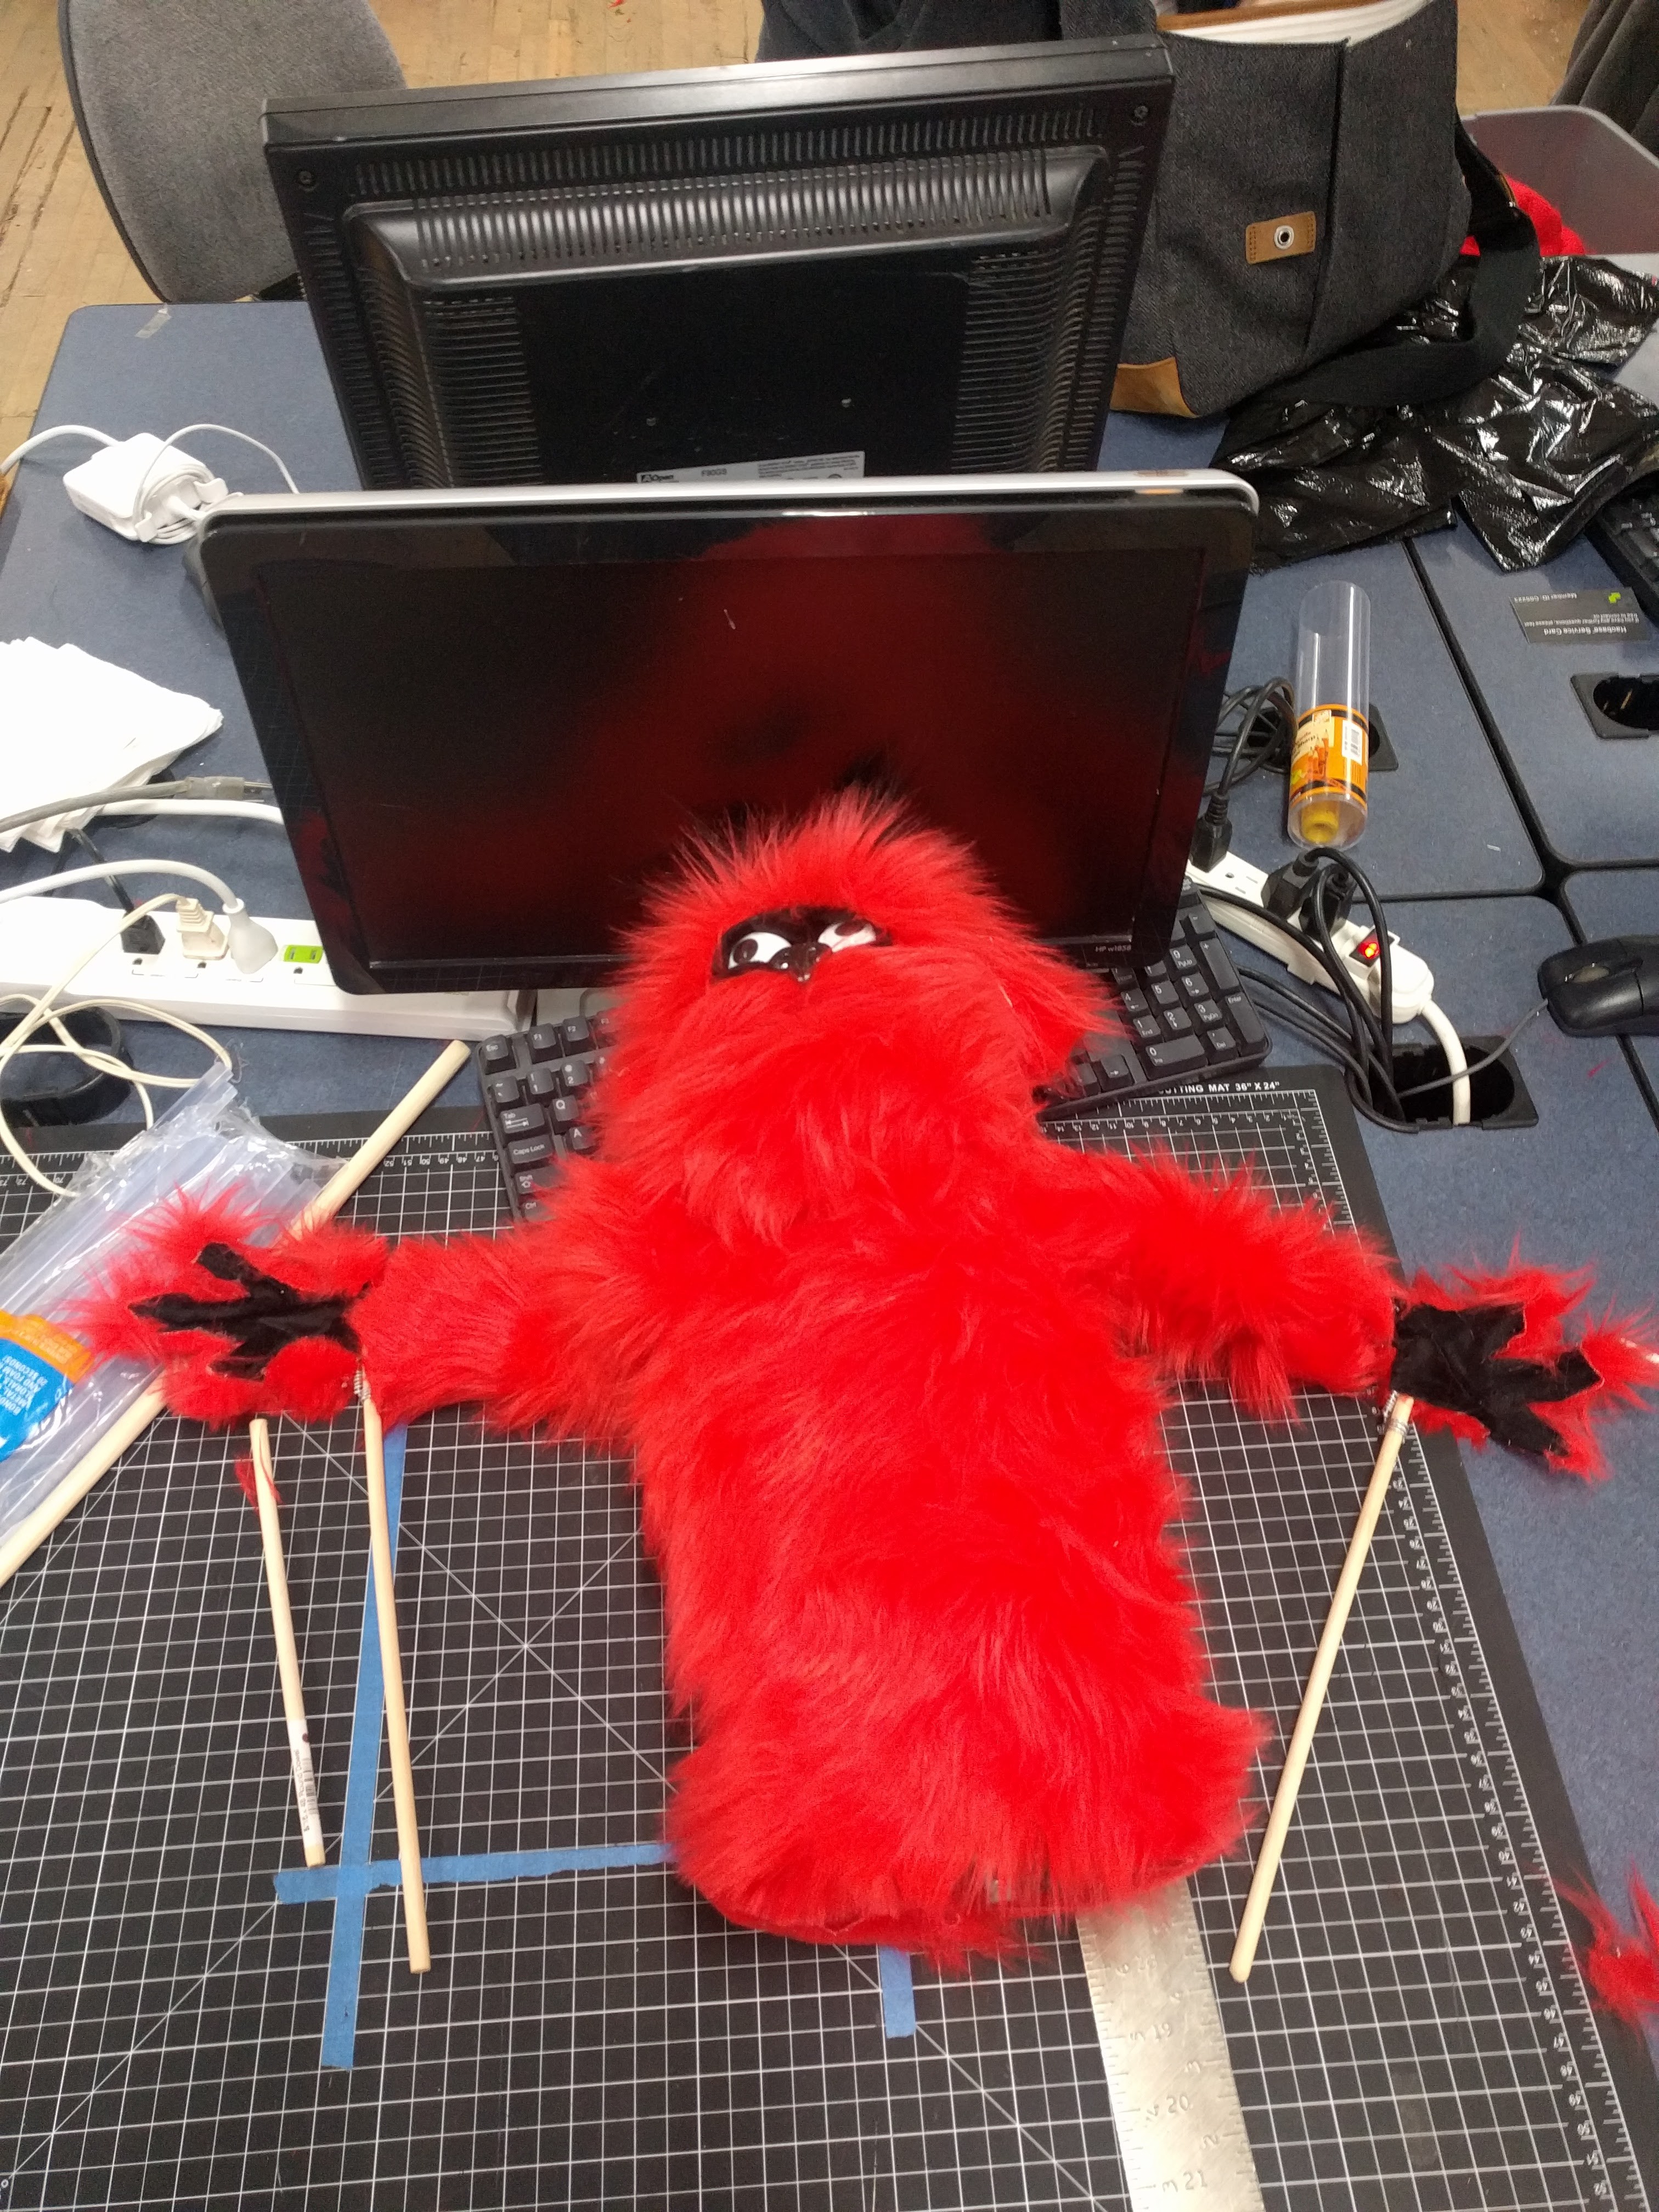
Kevins Progress on Rupert
10/24/2016 at 02:42 • 0 commentsToday i split my time between Rupert and my wearable head.
First I added Rupert's head to the stick and glued the controller to the bottom.
next I glued up some foam to make a body:
![]()
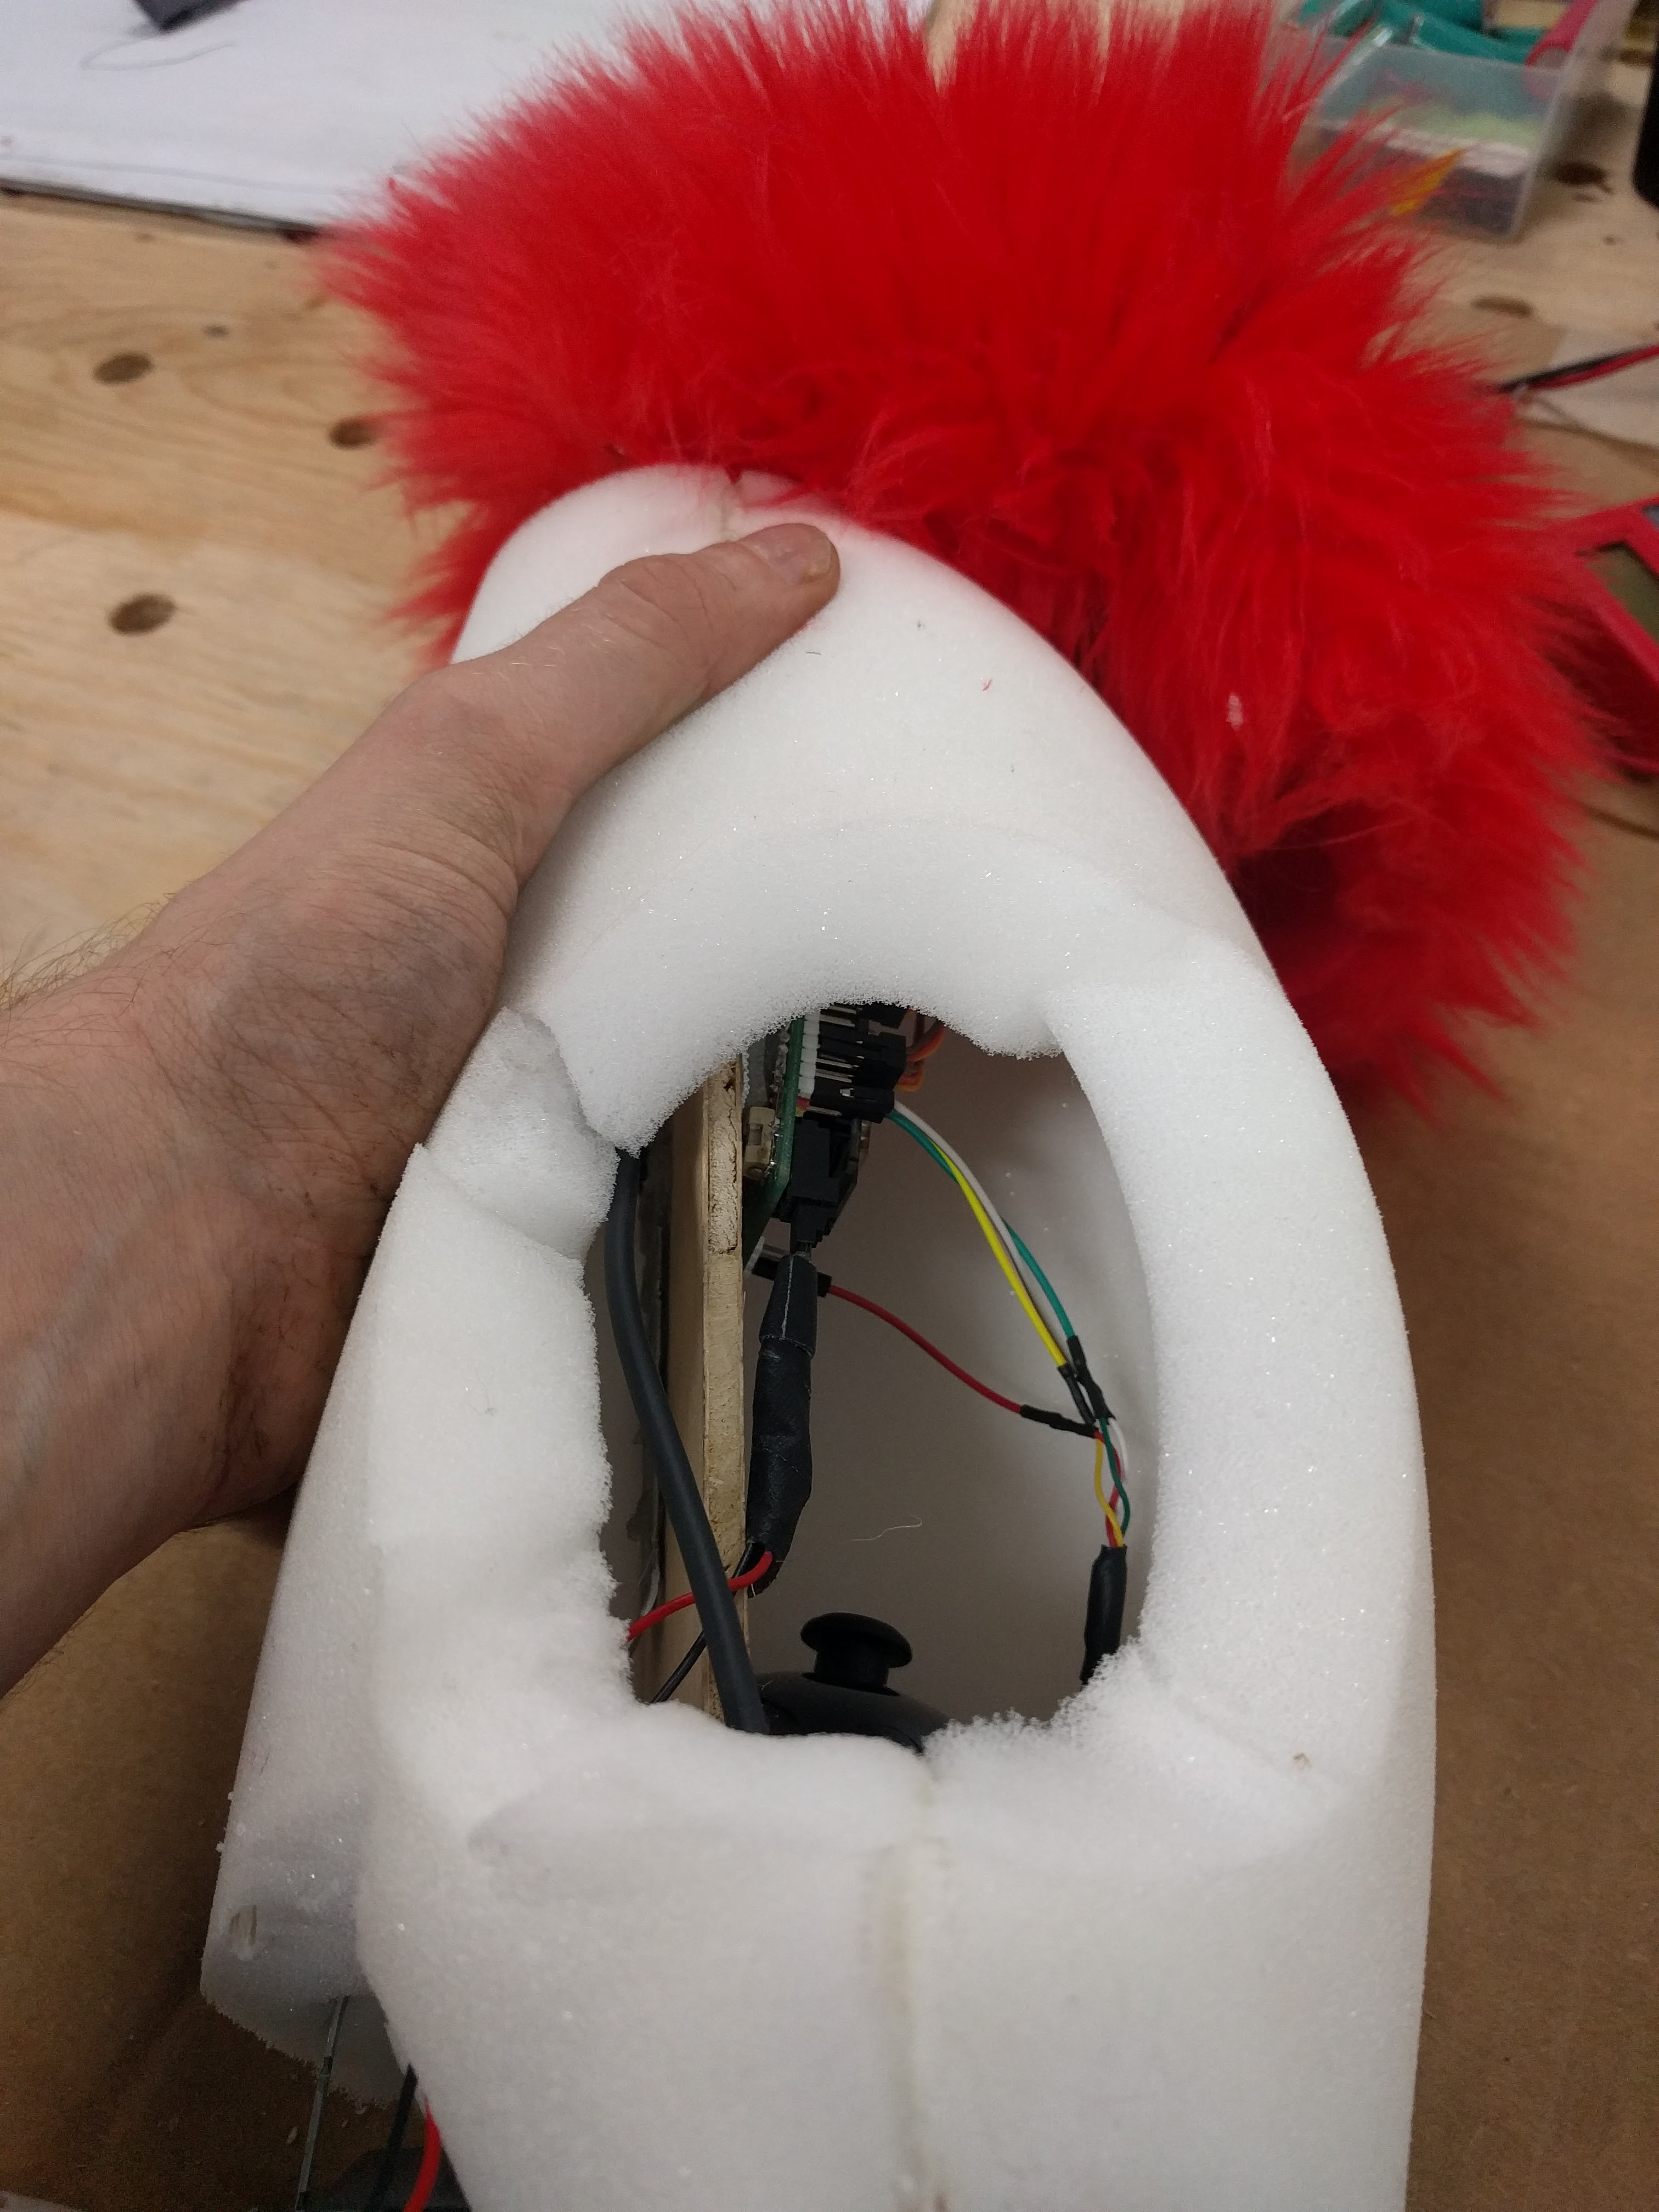
Next i cut a hole in his side for my hand to access the wiimote:
![]()
Finally a sewed up a body covering with darts at the top to sit underneath the head fur.
Next up, arms and legs!
Open Animatronics
A modular, parametric and extensible Animatronics cad generation framework


 Next i sewed tubes to make the arms: