Build and process:
Rig and technique for digitizing 35mm film negatives.
To make the experience fit your profile, pick a username and tell us what interests you.
We found and based on your interests.


Build and process:
35mm Film Bracket.f3dFusion 360 model containing both halves of the film gate/clamp and the mount for my light source.f3d - 606.35 kB - 12/17/2018 at 02:55 |
|
|
Lower gate.stlBottom half of the film gate/clampStandard Tesselated Geometry - 201.25 kB - 12/17/2018 at 02:55 |
|
|
Upper gate.stlTop half of the film gate/clampStandard Tesselated Geometry - 132.31 kB - 12/17/2018 at 02:55 |
|
|
Bracket.stlAdapter for the specific down-light I used. You'll probably want to create a custom mount to use for your specific light source.Standard Tesselated Geometry - 888.66 kB - 12/17/2018 at 02:55 |
|
|
Light holder.f3dFusion 360 model for the down-light case. Unless you're using the same light, this probably isn't useful.f3d - 85.09 kB - 12/18/2018 at 03:31 |
|
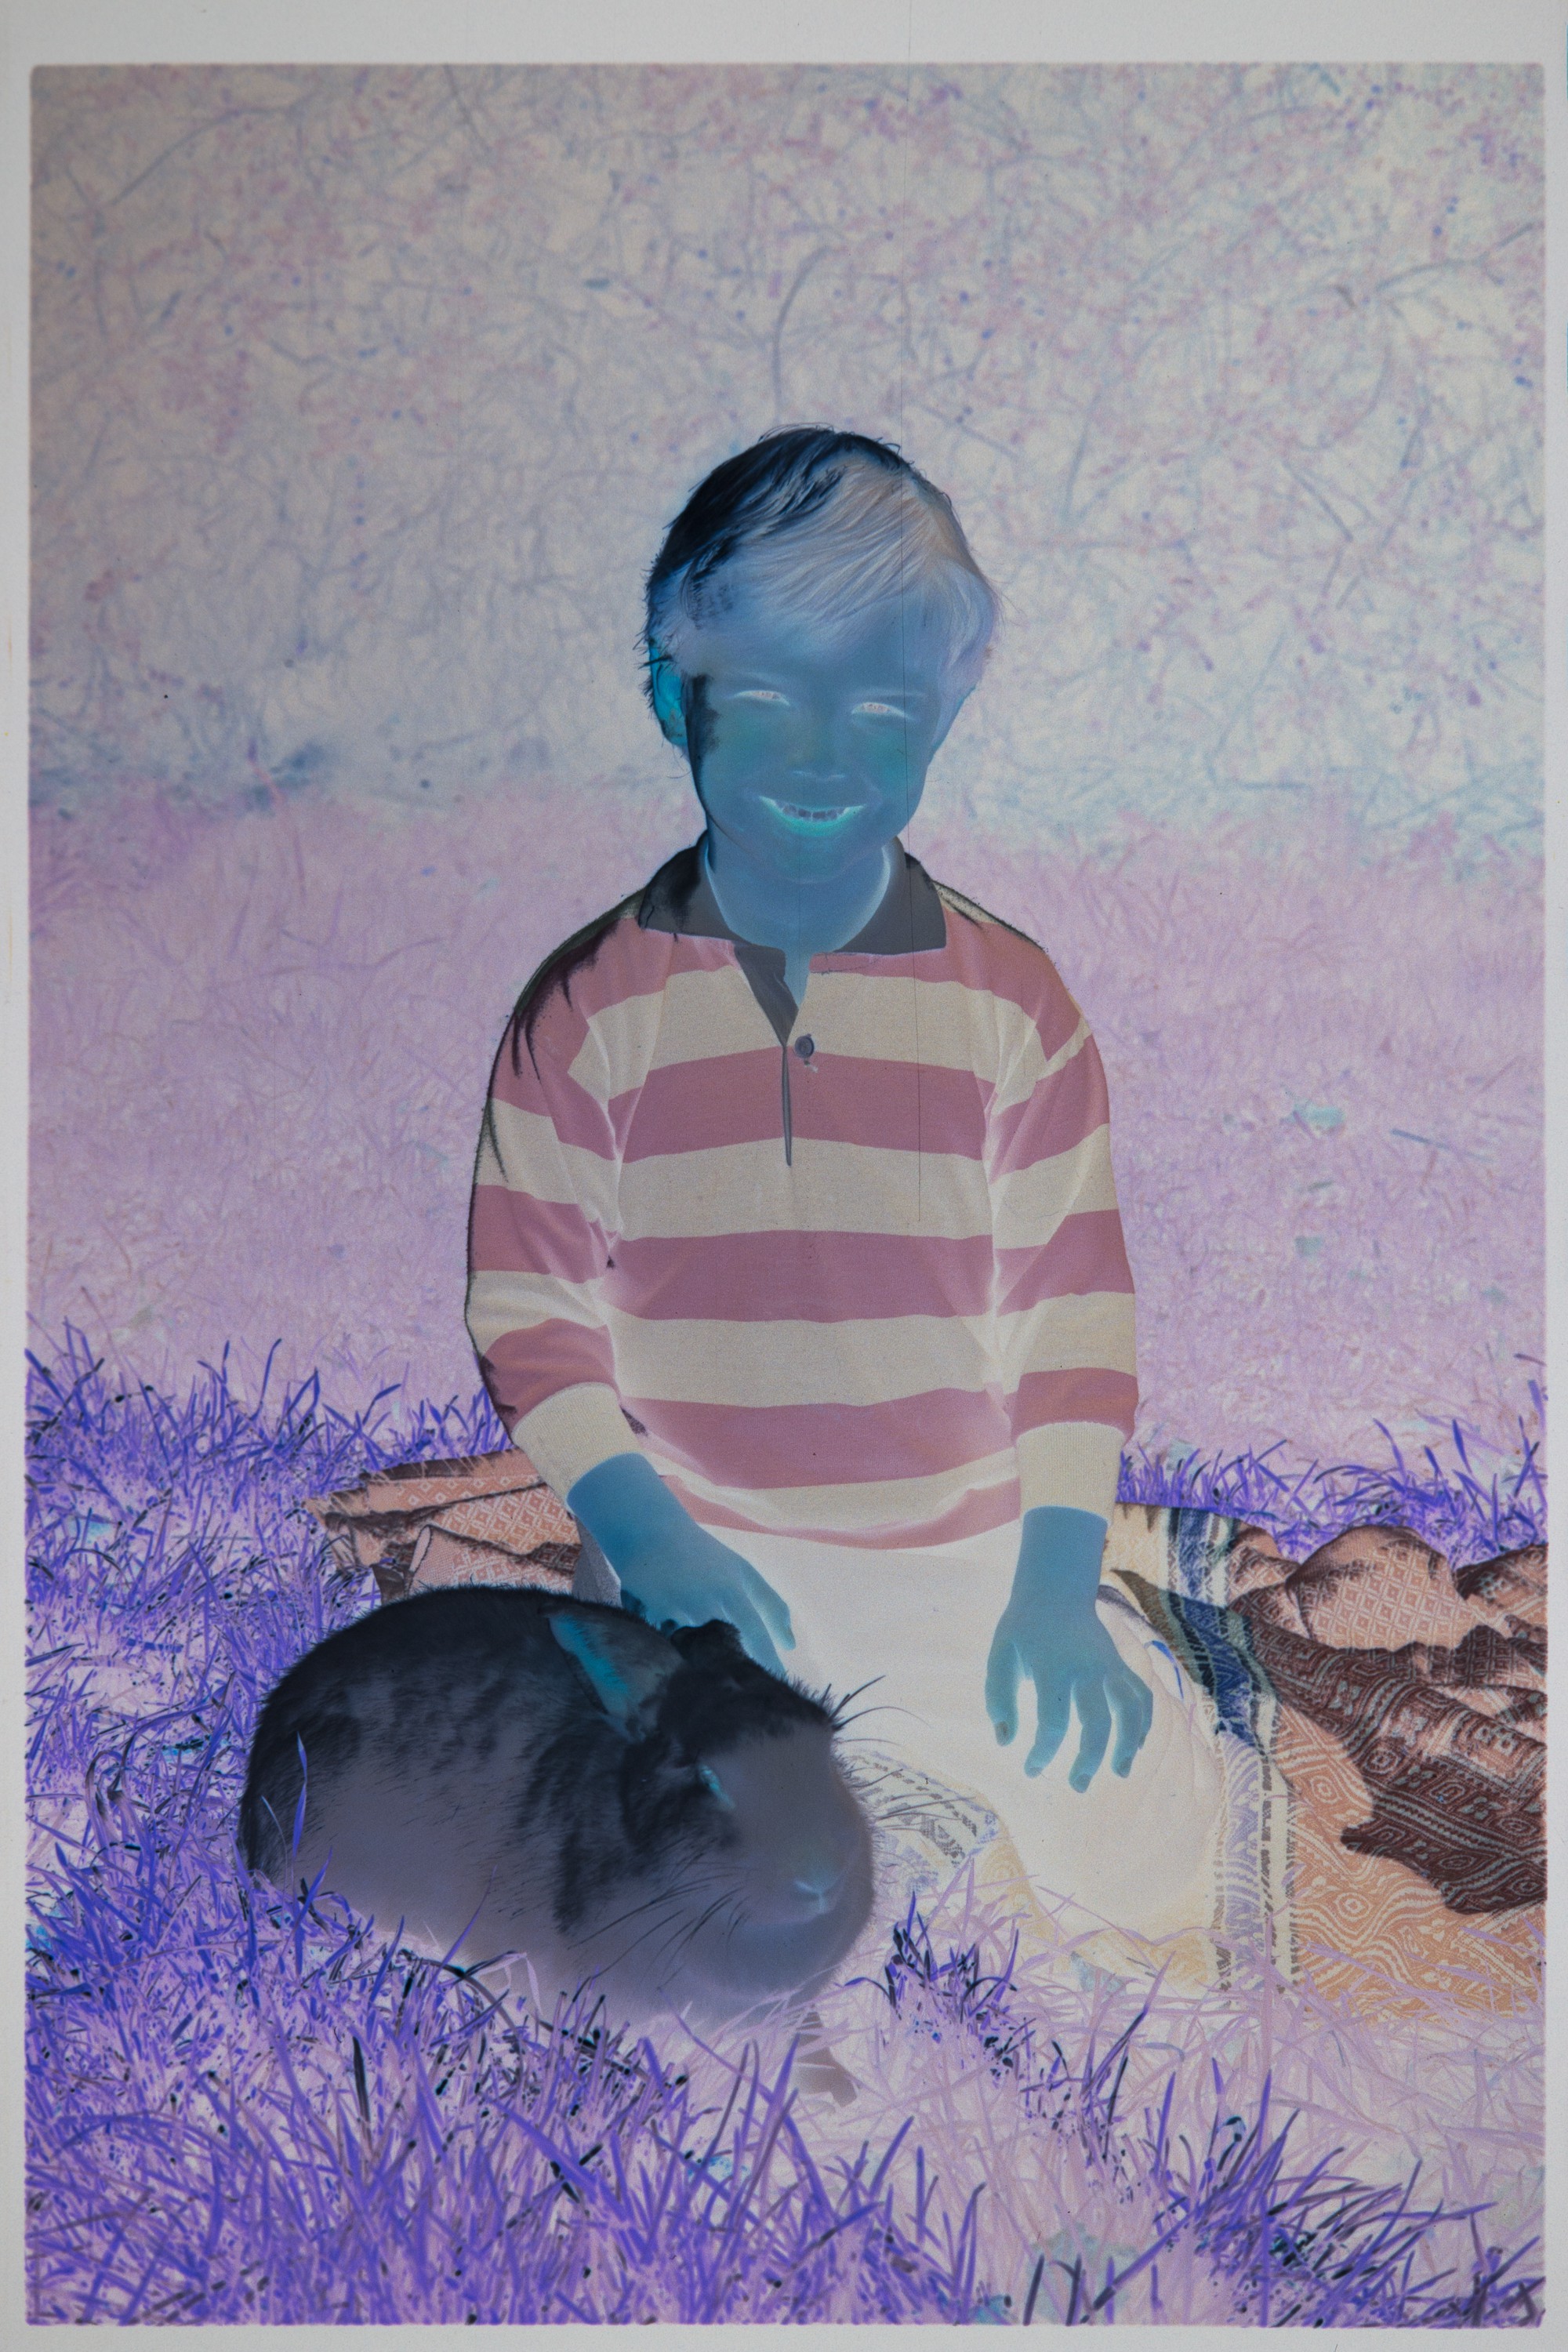
With the number of negatives I've scanned, manually cropping each and every one image down to the exposed part of the film is pretty tedious. Over the last couple of days I've been hacking together a solution for taking a scanned negative from Adobe Lightroom, detecting the bounds of the exposure using OpenCV, and pushing that crop information back into Lightroom.
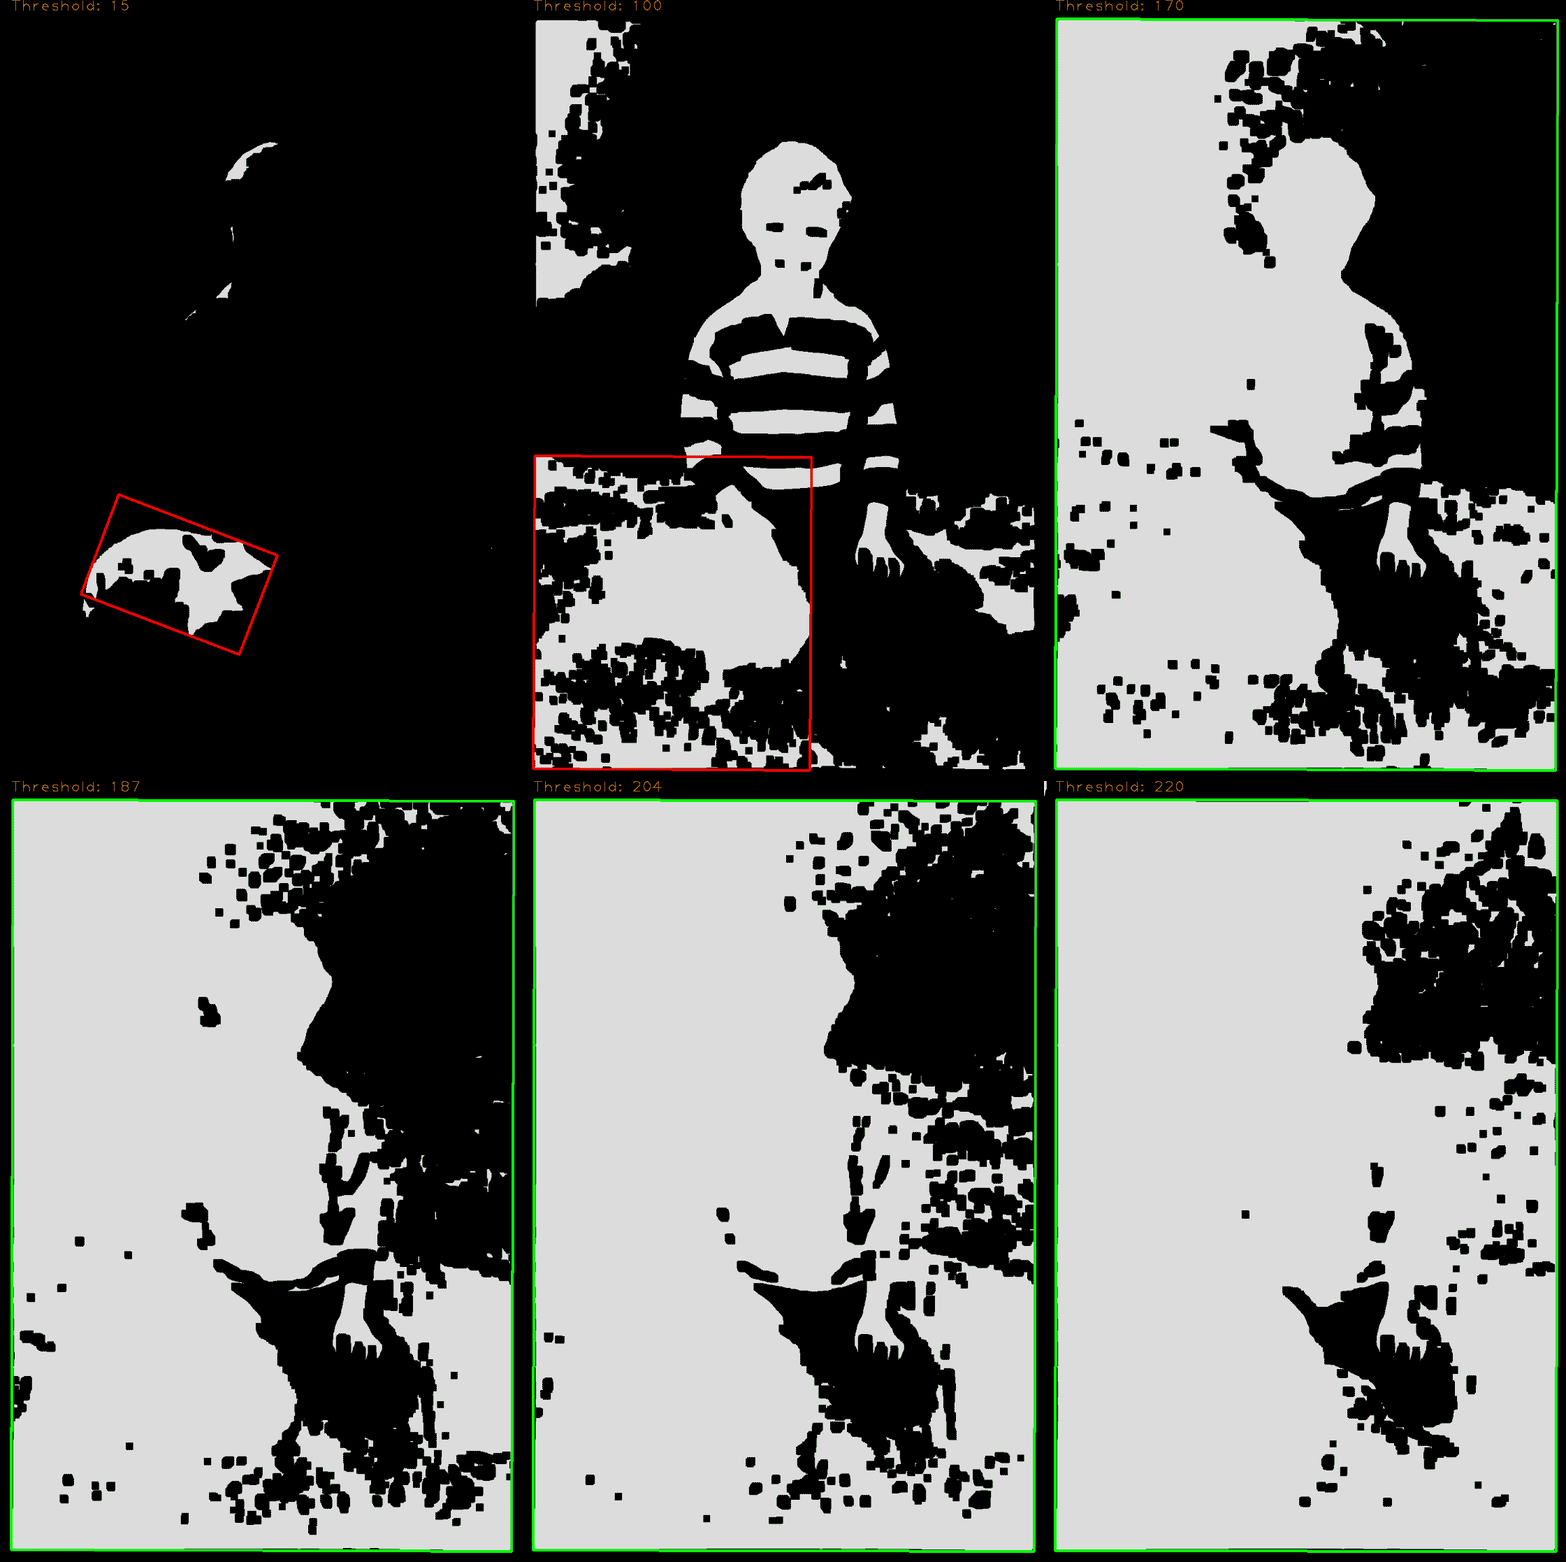
This is a fairly straight forward image processing problem, as most images have an obvious edge between the unexposed film and the exposed part. I chucked together a script in Python that uses a simple brightness threshold to look for this:
 |
 |
Once the bounds of the frame are known, there's a few small adjustments to improve it. The edge is inset slightly to make sure the crop doesn't contain any (partly) unexposed film, and the crop rectangle is adjusted to have an exact 3:2 aspect ratio. Once that's done, there's a bit of fiddling to turn it into four 0.0 - 1.0 range edge offsets that Lightroom understands.
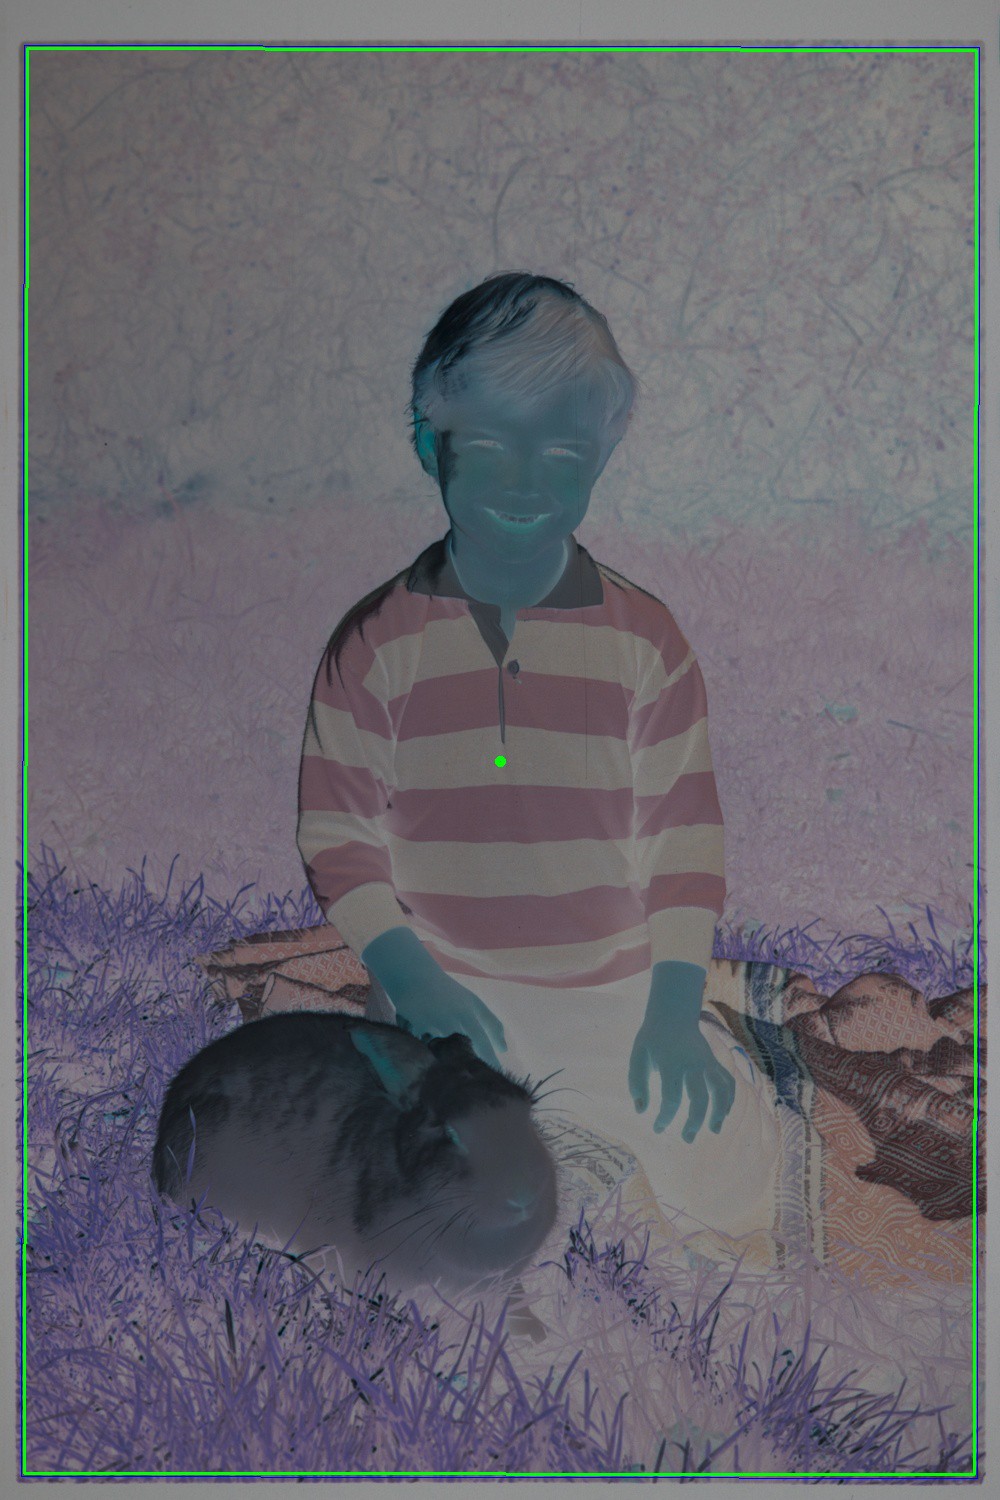 |  |
Writing a Lightroom plugin to glue this together was a gigantic pain as the Lua API for Lightroom is poorly documented, and its plugin system is designed only for export plugins (eg. posting to a new social network), but the result was worth it:
The detection process I have at the moment works on most images, but as it looks for the biggest single blob/contour, it fails on images with over or under exposed parts that cross the full width or height of the frame. I'm looking at running a few different passes to resolve this. Underexposed images don't process very well as they have low (or no) contrast between the exposure and the rest of the film.
Currently the resulting crop is the median of all rectangles over a minimum size. These are the green rectangles in the gifs above (the red rectangles are too small and are ignored).
To prevent light shining through sprocket holes from affecting the frame, the brightest pixels in the image are masked out during thresholding. The darkest pixels probably also need to be ignored to stop dark marks on the film being included as an edge.
Here's the code at the time of writing.
Up until now I've been manually processing my scanned negatives into positives simply by fiddling with the RGB curves.
The process is roughly to invert the R, G, and B curves, then move the white and black points to cancel out the the different response of the film to red, green and blue:
After 10 minutes of tweaking, adjustment layers and comparing to a reference image, I would have something that looks kind of ok, but the colours were always way off vs the reference print, hence why I haven't written about this process.
The problem with this approach is that it's very unscientific; it's all done by eye, and manipulating the curves tool with the mouse is imprecise. I tried out the Photoshop plugin Color Perfect a while ago which was better, but a high price tag combined with a terrible UI stopped me purchasing it.
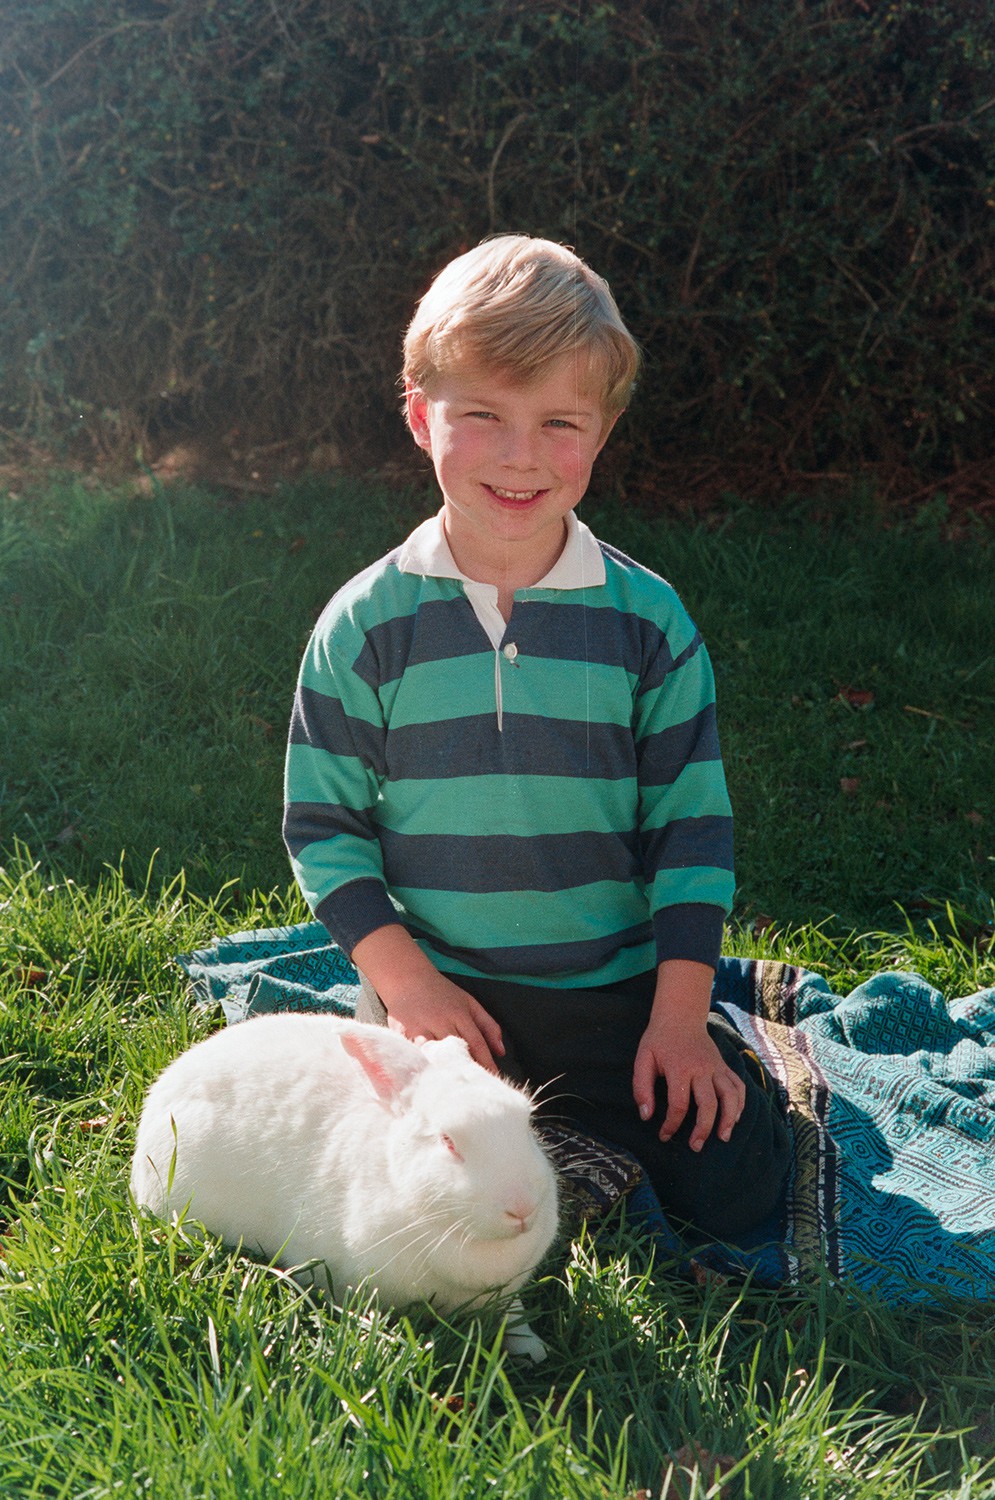
I looked into writing a Lightroom plugin to automate this conversion process, but it turns out someone else has written a plugin with the same idea called Negative Lab Pro. I haven't bought this yet, but the results it gives are fantastic:
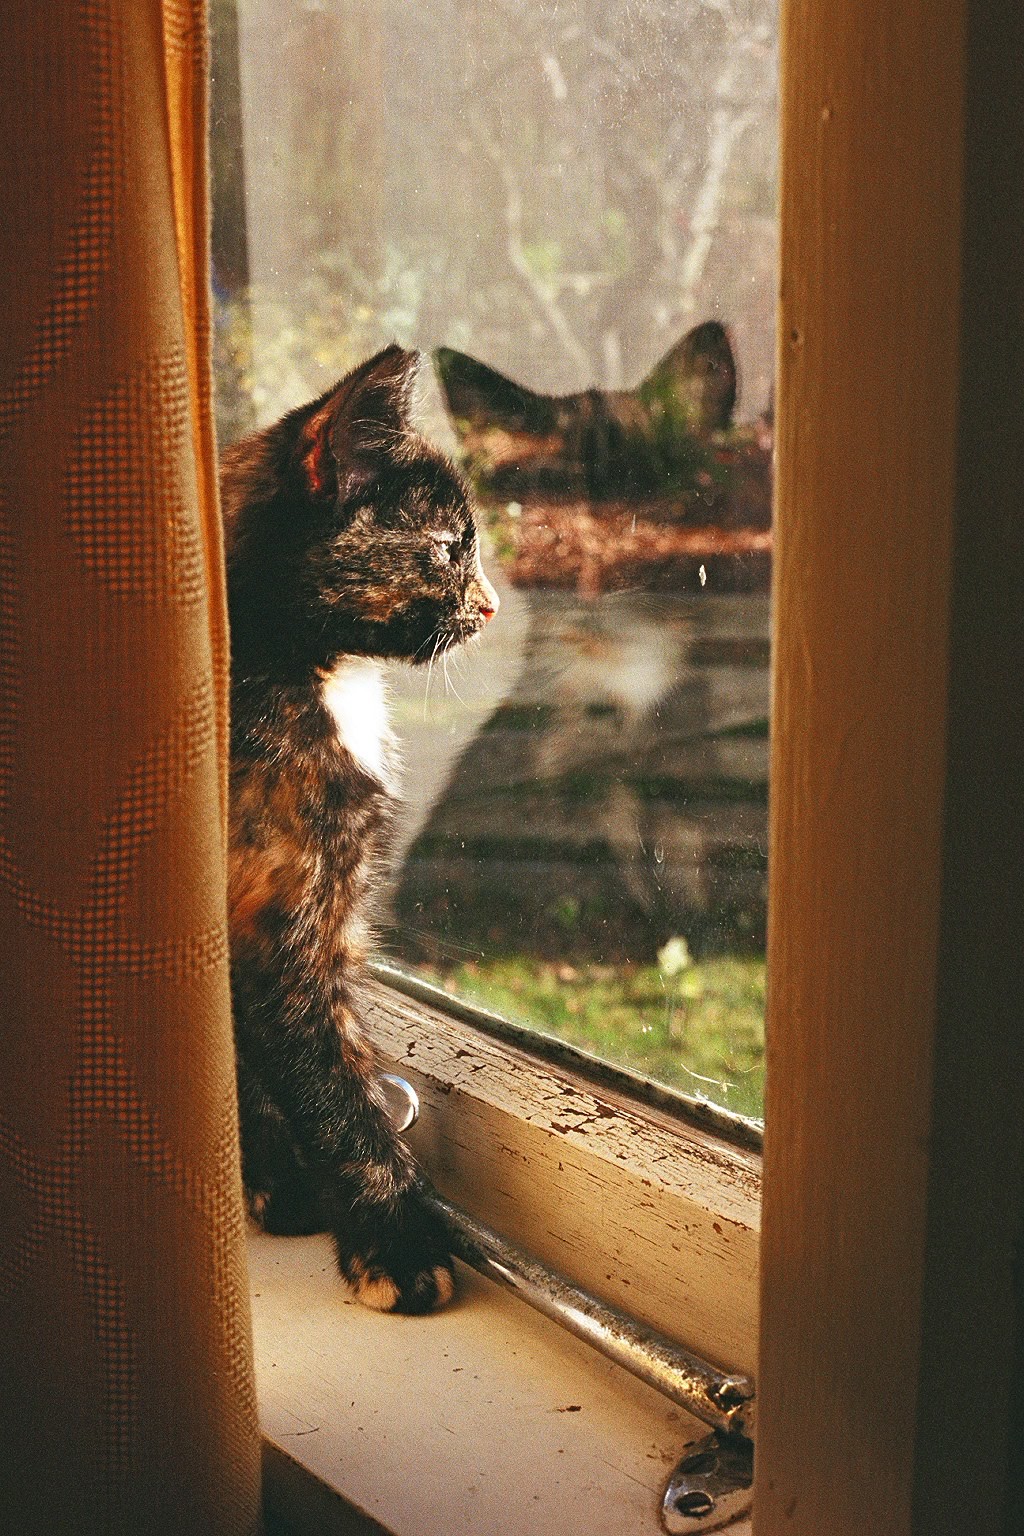 | 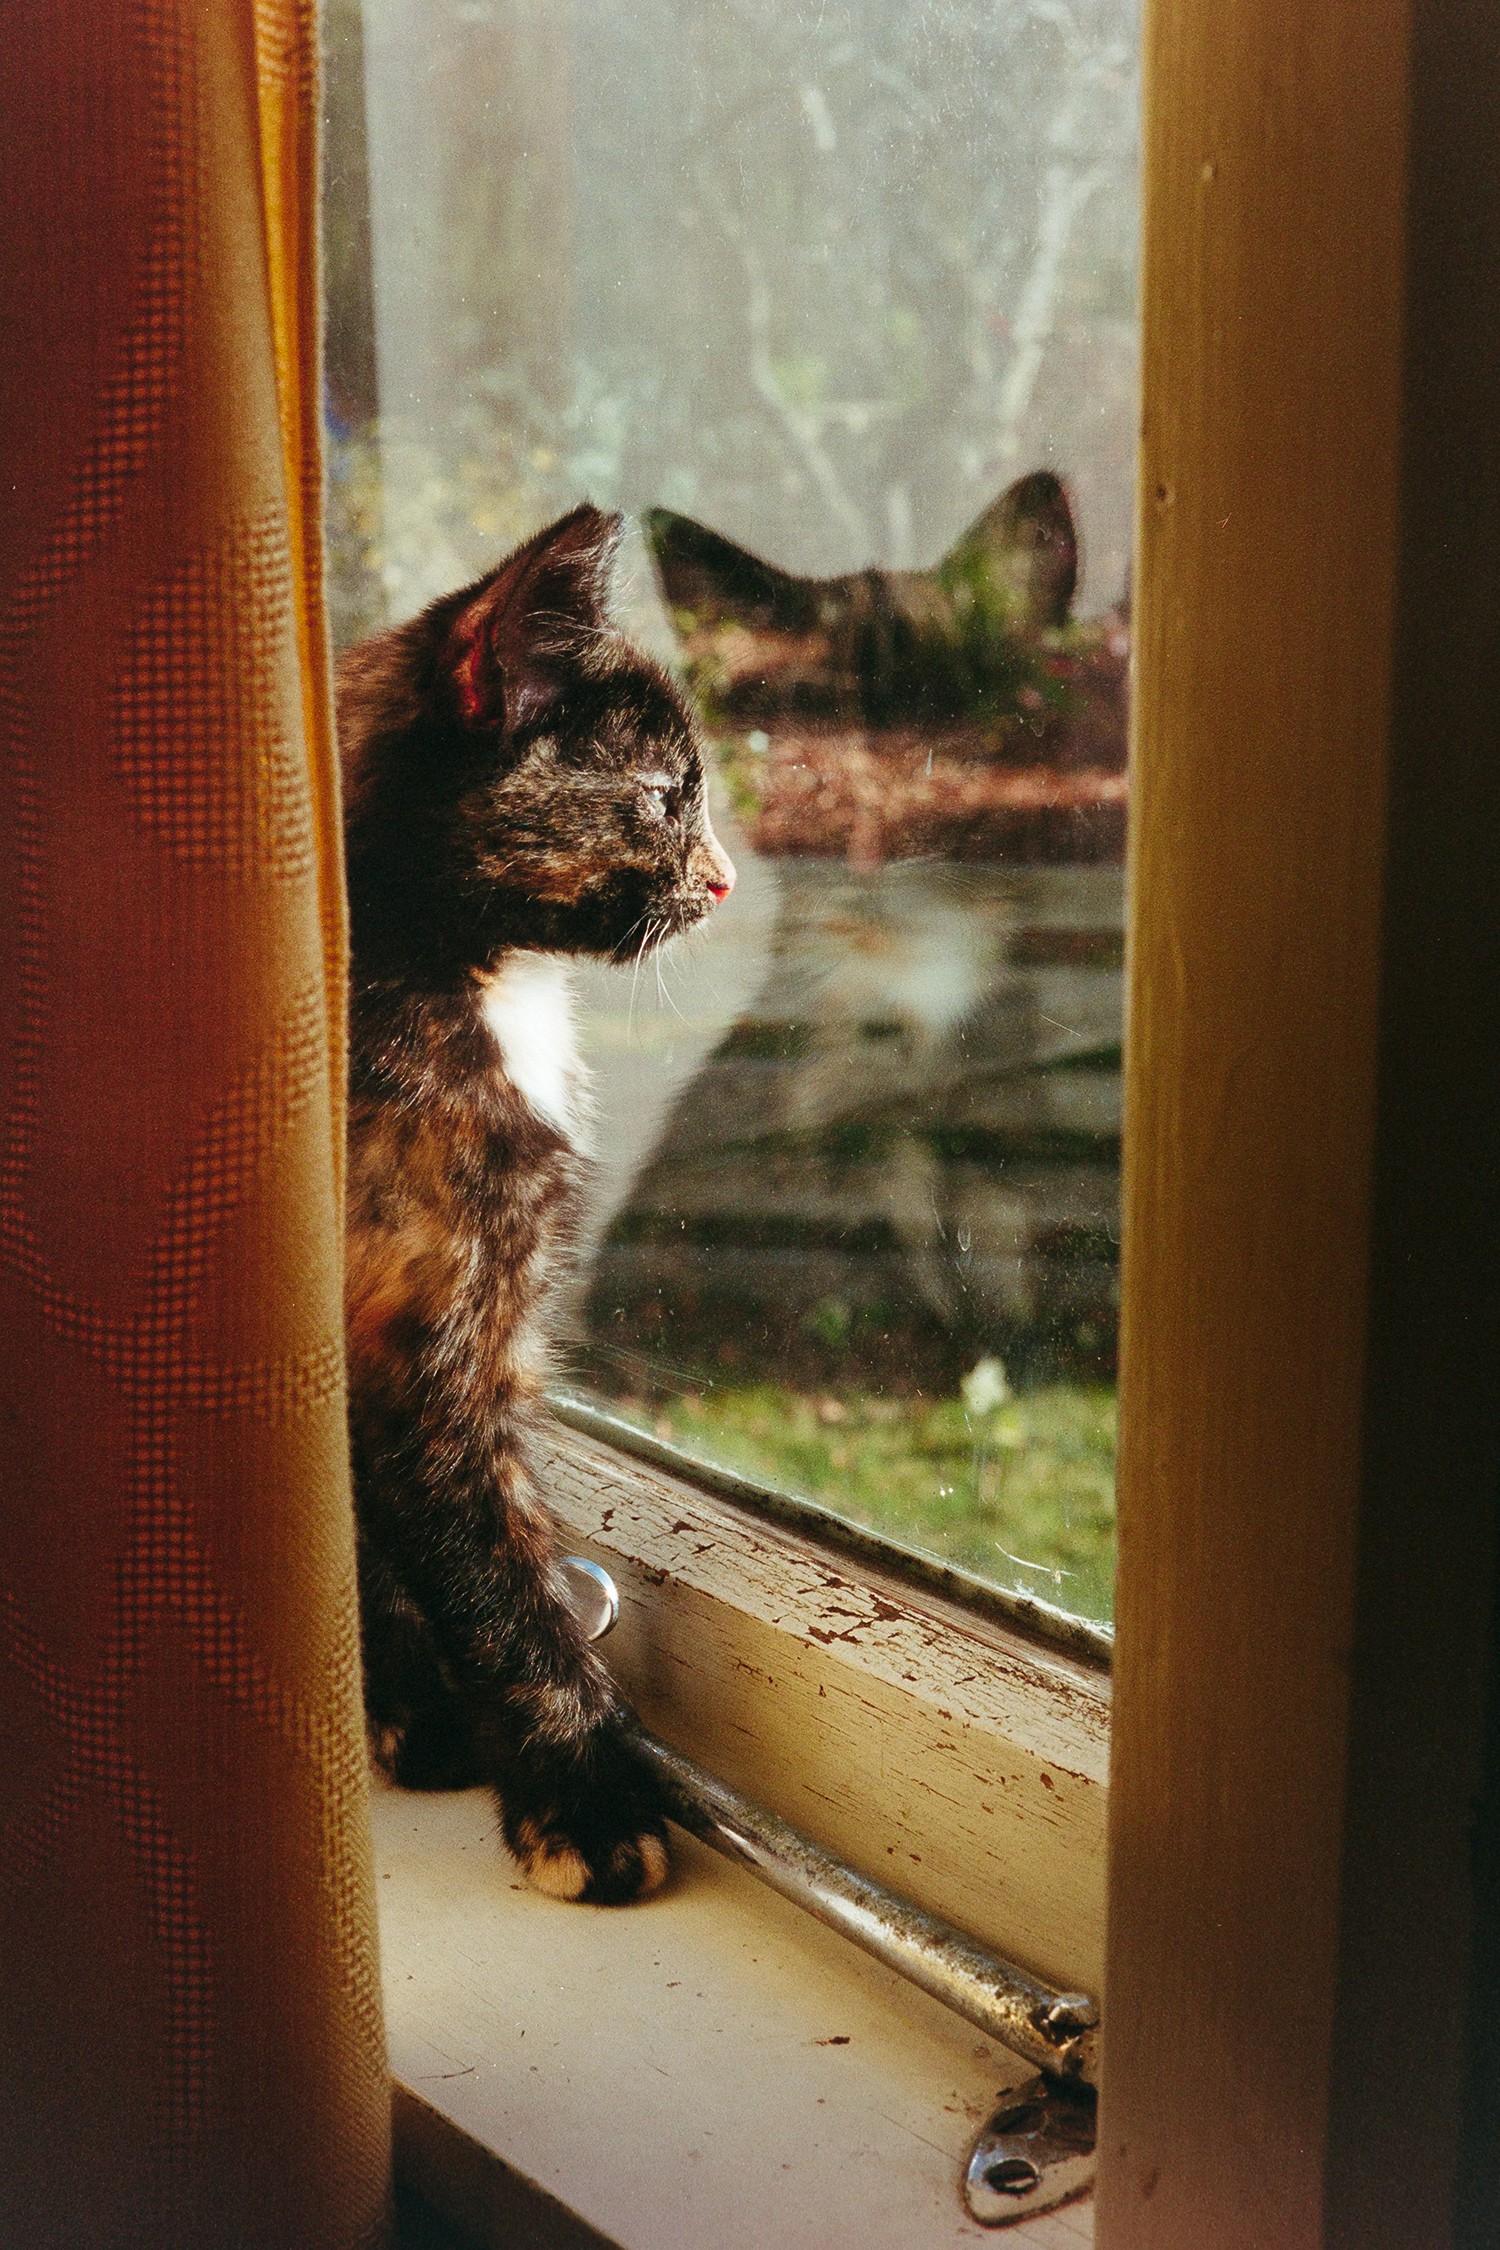 |
For comparison, here are the two scans I've had done professionally of this negative, and my best manual curves attempt (right):
After recieving borderline results from a professional film scan in the last post, I took the same negative to be scanned at Wellington Photo Warehouse, another local store.
The scan quality this time around was significantly better. The scan was delivered at the same resolution in both JPEG and TIFF (8-bit, but still nice to have), and it cost just $5 - one third of the price per frame compared to the previous store! Here's the result:
The delivered JPEG file has no EXIF data so I don't know what equipment this was scanned on, but the guy I talked to on the phone before going in said they didn't use a drum scanner or flatbed. He described it as a "transmission scanner" with a light source on one side of the film and a CCD on the other, though that doesn't narrow down the equipment.
Detail-wise, I'd be happy to scan negatives in bulk at this store if I was going to pay someone to do it. My DSLR scan (left) still appears to have resolved a little more detail, but this professional scan is very close (center). Certainly a lot closer than the previous professional scan (right):
The crop of both professional scans was about the same at 5% loss of the exposure vertically and horizontally. I don't know what the industry standard crop is for printing 6x4's, but I suspect it's something around this number for practical reasons. I digitally cropped the DSLR scan as close to the edges of the exposure as possible, which is kind of cheating:
It would be nice to have this negative scanned on some other professional equipment to continue comparisons, but with the results I have so far I'm happy that this DSLR + macro lens setup at least matches the resolving power of the equipment I'd otherwise be paying per frame to use.
Next up I have to sort my colours out.
As a follow-on from the last post, I took the tortoiseshell cat negative to be scanned professionally at a local business. After a week of waiting, I eagerly went to pick it up today - they'd sent it to a different location to do the super-high resolution scan, so the wait was longer than usual.
According to the EXIF data, the scan was made with a Fuji SP-3000, which is a fairly well regarded piece of equipment. I held my breath and opened the file, ready to be blown away by a superior scan...and was pretty disappointed:
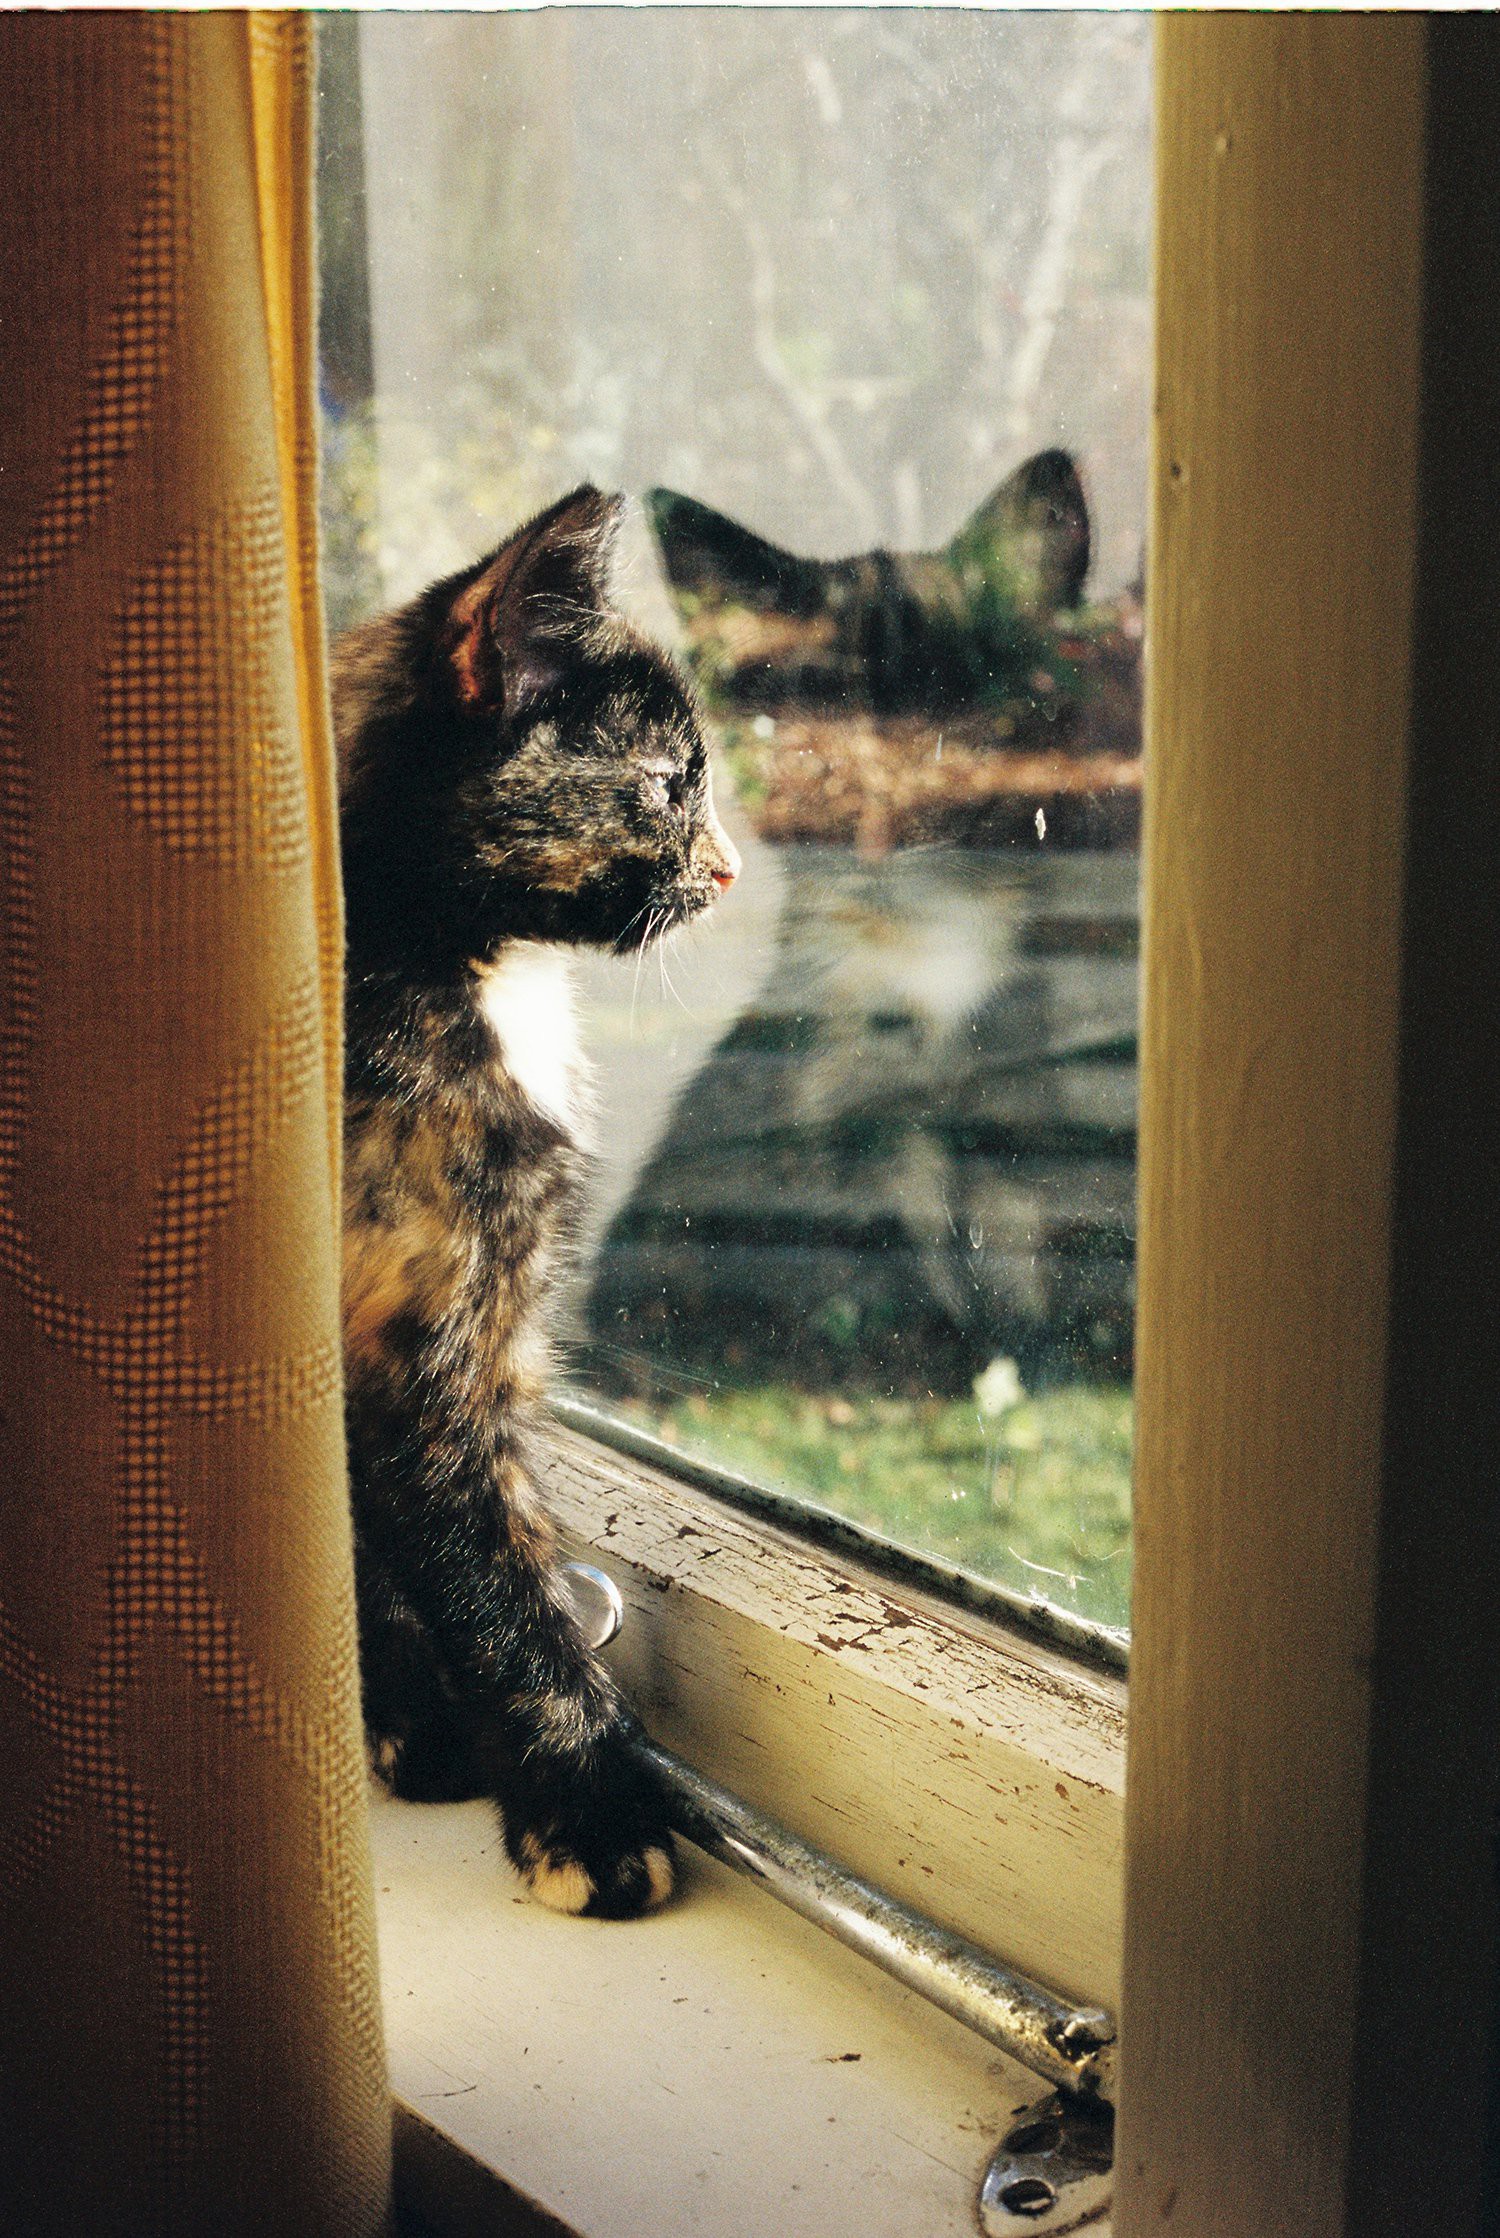 |
 |
I'm not concerned with the different colour - the original image has a strong yellow cast from the sunset, so it was probably corrected automatically or manually with good intent. The problem is that while this image looks alright scaled down, at 100% it's lacking a lot of detail compared to the DSLR scan:
I initially thought this might be partly caused by JPEG compression as the file provided was only 6MB, but had to save my DSLR scan at 0% JPEG quality to get a similar looking result:
I've contacted another local store that I've seen decent scans from in the the last few years when getting film developed. I'll take this same negative in to be scanned tomorrow and see if we can get a better result from them.
To give an idea of scan quality with a DSLR, here's a comparison against a negative scanned with a consumer-grade film scanner and another scanned with a professional film scanner.
This Endeavour "Personal Film and Slide Scanner" belongs to a family friend. I'm not sure of its history, but it looks like it was purchased around 2013 for the $149 NZD stickered on the box. This one has a 5MP CMOS sensor, similar to devices that can be picked up online currently for around $60 NZD.
The negative I chose for this comparison was simply the first I could find that wasn't of people, as I'm in the middle of scanning my girlfriend's family photos. By chance, this roll happened to be an example of exposures not aligning with this scanner's style of mount. The images on the film aren't aligned with the sprocket holes as the mount is designed, so part of the exposure is obscured by the mount:
Scanning the left-hand exposure with the Endeavour gave this result:
The same exposure captured through my DSLR + macro lens setup and processed to a positive manually looks like this:
Neither of these get the colour quite right (colour is something I'm still getting the hang of in my processing), but what struck me was how much of the image is cropped out using the consumer-grade scanner. You can see that even if the film was aligned correctly in the mount, a decent chunk of the edges would be lost:
The original exposure isn't a particularly high fidelity or technically good, but comparing detail between the two scans, I would say the Endeavour is simply not useful outside of quickly emailing an old picture to a friend for laughs:
I've recently seen devices like this with 14MP sensors on AliExpress, but I suspect at this price-point the image quality would still be ultimately limited by the size and quality of the lens inside.
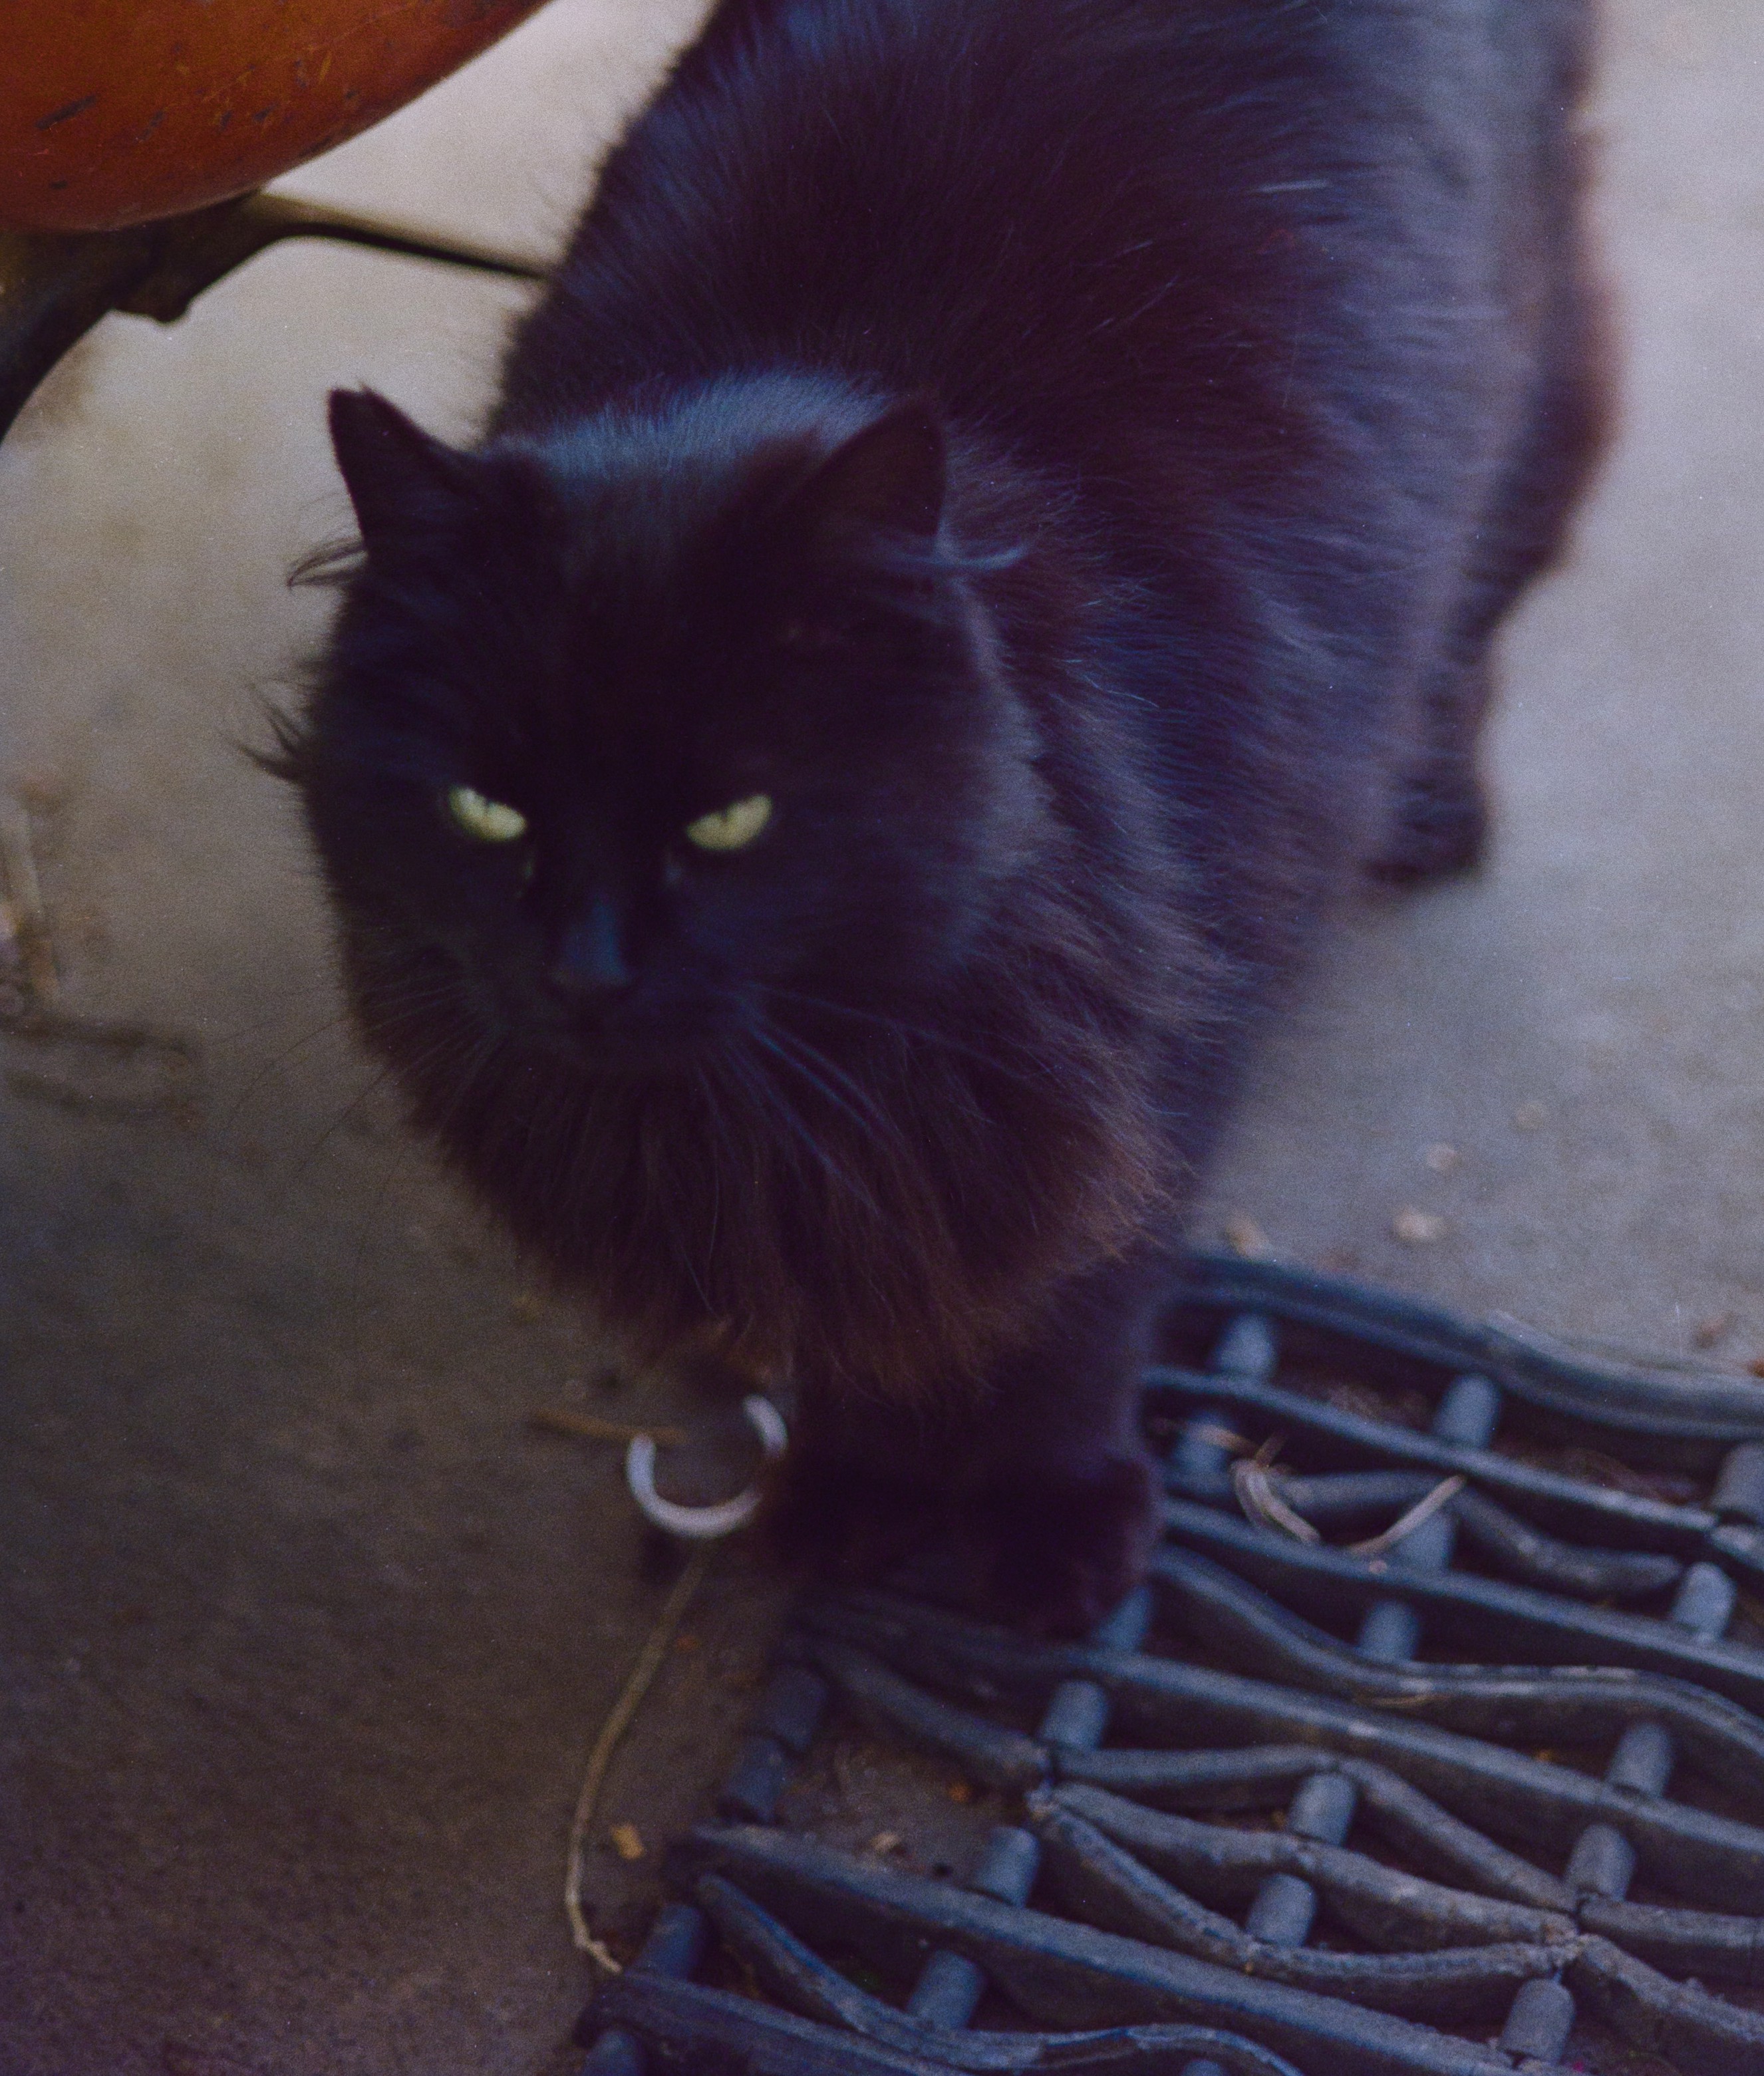
The mail-in developing service FotoPost we used in the early 2000's used a Noritsu Koki QSS to scan the images sent back on CD, according to EXIF data. The exact model of scanner isn't specified, but the image quality really speaks for itself:
The same negative scanned by my Canon 70D looks like this when roughly matched for colour and scaled down to the same resolution:
I've just re-scanned this negative for this post as I found the original scan from a year ago was slightly out of focus while processing it. Even with the correct focus, this DSLR scan seems a tad softer than the FotoPost version. The cat's cheek has more hair detail visible in the FotoPost scan, though at the closest focusing distance I still couldn't resolve this detail, so it may be a result of the image processing or just too small for my lens to resolve:
To continue this comparison post, I'll have this same negative scanned at 18MP by a local service once I'm back from Christmas break. It costs $15 NZD for a single scan at this resolution, but it will give an idea of how much or little I'm missing out on by scanning these myself.
Continued in: "Professional scan" comparison
Here's a quick run-down of how I've been scanning negatives.
How much the negative image fills the frame is a balance between resolution and the speed you want to work. I've found the sweet spot for me is framing so the sprocket holes barely enter the frame. This makes it quick and painless to get each frame aligned to capture, and leaves the final crop and any minor straightening for processing later.
I did experiment with filling the whole frame in-camera, but I found it wasn't worth the extra time and precision needed for a small gain in final image resolution.
With my mount, I take the top plate off completely to insert a new section from film the top, then place the top plate back on. To move between frames the top plate is levered up slightly to release pressure, then the film can be slid along:
It's easy to do this with the remote trigger still in one hand, so it's a pretty quick cycle to capture each frame. Once focus is established for a roll, I use live view to quickly get each exposure framed without looking through the viewfinder again.
I currently prefer to set focus through the viewfinder by eye, as it's easy to see when peak sharpness is reached across the whole image. Generally I found re-focusing at the start of each new roll was necessary, and more often if the image sharpness looked questionable.
During the first batch of scanning I did, I used the 5x and 10x zoom function in live view to focus on features or grain, but this frequently resulted in incorrect focus and was more time consuming than looking through the viewfinder.
Trying to set focus on a frame that is out of focus itself (or has motion blur) is difficult. I'd recommend setting focus for a roll using a photo that has a fine texture in focus (eg. hair, gravel, grass, carpet). I tried the camera's auto-focus in both in viewfinder and live-preview mode, and neither gave reliable results for me. The focal plane is tiny, so you really need to dial it in manually. Auto-focus would usually focus on marks and dust on the surface of the film rather than on the image in the film's emulsion layer, and it would move slightly with each exposure, even if the focus was already spot-on.
I was originally working in a room with the lights off and curtains drawn, but I've found some ambient light has no adverse effects (as long as there's no direct sunlight or overhead lights). It's much more comfortable to work in a room where you can see!
To avoid going back to a computer constantly, I note the start and end image number on the camera for each roll as I'm working, along with any available information (date, film stock, descriptions). Eventually when the SD Card is inserted into a computer I run a hacked-together script to use this information to move the images into folders:
During early testing, I figured out a couple of criteria for the light source:
I browsed local stores and ended up picking this Deta 12W Daylight LED down light from Bunnings as it was bright, had a decent looking diffuser and in testing showed fairly even illumination across the whole surface.
This apparently has a Color Rendering Index (CRI) of 86, which is fairly decent given the price. I'm unsure exactly how this affects imaging compared to a continuous light source like an incandescent bulb.
With the dimensions of the light known, I chucked together a friction-fit / clip-on adapter for the bottom plate to screw to that puts 5cm between the film and the diffuser of the light:
Then a quick case to mount the light facing up:
All together, this completes the setup with no moving parts:
The whole setup is heavy enough that the top plate can be lifted off without disturbing the other half, and rubber feet added on the light case stop it sliding around.
This rig has been fantastic to use for hours on end without causing any frustration. The only thing I'd probably change in a future revision is making the attachment to the light more secure; the friction clip/fit is acceptable, but having screws to keep it exactly in place would help.
All CAD files are available to download on the project's main page.

I trialed a dedicated negative scanner before starting this project and found that the trays it used were quite fiddly and somewhat fragile. They do make it quick to move between frames, but opening and closing them to change the film was tedious in my experience. Designs like this also assumes frames are properly spaced on the film, which isn't always the case.
Based on this, I had a few criteria for a custom design:
Looking at patents for ideas on how existing high-speed film scanners might handle this, I came across US5400117A: "Film clamp for flattening image frames in a scanning gate":
A film flattening apparatus and method of operation for flattening a filmstrip image frame against an aperture in a base operable by applying normal compressing force through longitudinally extending clamping elements to compress the longitudinal edges of said filmstrip image frame against said base surface...
This design has some good ideas, but armed with just a 3d printer, some hand tools and very little experience in mechanical engineering I wasn't sure how I was going to construct something reliable enough with a lever to apply pressure to the film:
After at least a week of mulling over how I was going to make this mechanical contraption work, I found myself fiddling with some small neodymium magnets I'd bought for a different project. It was only then it occurred to me that I could keep the clamp extremely simple just by using magnets to apply force - no levers, hinges or springs required:
The existing design was then adjusted to have a top plate that puts the magnets in each half as close together as possible. Screw holes were added to attach the mount to a yet unknown light source, and enough tolerance was given for the film guides to slot into the top plate without catching.
I printed this in ABS, and it worked even better than I was expecting in practice. The magnets provide enough clamping force to flatten out the film, and additionally make the two halves self-align. As long as the top plate is chucked within 1cm of the right place, it homes itself.
Create an account to leave a comment. Already have an account? Log In.
I have been thinking about this for years, for I have an analog legacy that even outnumbers yours. Bu I never really started it, even got rid of my commercial scanner, for I consider feeding thousands of frames a bigger problem than photographing a single one.
Hello, have you seen Hamish Gill's Pixl-latr project? https://www.kickstarter.com/projects/hamishgill/pixl-latr-helping-you-digitise-35mm-120-and-4x5-fi
I was one of the Beta testers, and it works really well.
Also, the Intrepid team have produced a lightbox with excellent colour rendition, that may be worth looking into:
https://www.kickstarter.com/projects/1436129614/intrepid-4x5-enlarger-print-and-scan-35mm-120-and
I have an old Nikon bellows and slide/negative holder, and an old Micro-Nikkor lens (that I tested and it is at least as sharp as their new ones (but no autofocus, which is irrelevant for copying/scanning) and they all work with my D7100 camera. My problem is in converting color negatives - the C41 (Kodak, Fuji) negatives have a yellow layer that was apparently needed for color printing in the ancient times of photographic chemical paper; when I try to invert the scans with photoshop, it creates a bluish cast. Are there any (preferably public domain or freeware) program for reversing negative color images scans?
I'd suggest the gimp for photo manipulation. and their forum for that specific question.
IMHO the colour balance problem you're having might be to do with your LED backlight. Its probable it does not have a flat response across the spectrum but instead looks white with the three peaks at r,g,b being balanced. This would lead to the kinds of problems you seem to be having. To test it - capture just the white with an empty slide and examine the channels, or photogrpah a gretag macbeth chart and scan it. The colours wil probably not match. Solution is to buy a more expensive LED bulb which is for photographic purposes. Has more emitters which are under driven and have better flat response.
I've just bought one of these from Bunnings (Silverdale) for my kitchen.
I second this - google Color Rendering Index (CRI). A Falcon fluorescent bulb from Photo Warehouse (or other photo studio supplier) could be used with a 4mm thick white acrylic bathroom shelf from Bunnings as the diffuser. (3mm is the minimum for artifact-free diffusion).
To get the best results you'll also need to compensate for flat-field variation in the lens/sensor of your camera - see rawpedia.rawtherapee.com/Flat-Field.
To solve your focus/sharpness problems you'll need two small pieces of picture glass, as used in art galleries, to hold the negatives truly flat and at a consistent distance. (The glass is sometimes called "anti-newton" glass because it minimises internal reflections as well as external ones.)
Pro photo scanners like the Noritsu use, or used, wet drum scanning to get consistent, optically good results (provided the operator was trained). Not something that can be done at home very easily. They also had special sensors that had very high dynamic range (ability to pick up detail in very dark and very light areas). Some of the more expensive modern cameras are getting close, but most aren't quite there yet.
I admire your grit, Stephen, in working through so many photos!
I hadn't looked up the CRI for this light, but it apparently has a CRI of 86, which seems respectable given the price. High/utlra-high CRI LEDs would definitely be interesting to test out, along with other light sources.
http://www.ledbenchmark.com/display.php?id=337&name=Deta+12W+Dimmable+LED+Downlight+Kit+Daylight
I was originally looking at glass to flatten the film, but found the magnetic sandwich was good enough™ to get the whole exposure in focus (enough) at f8.0. The main limitation I'm finding with focus is that the focal plane is no more than 0.2mm, and a hand on the focus ring of the lens isn't precise enough to get the focus perfect. A microscope focusing mechanism would probably be necessary to nail the focus with this gear, at which point the glass you mention would definitely be necessary.
Enabling Lens Profile Corrections in Camera RAW has been useful for removing a hint of vignetting added by the capturing setup. The distortion adjustments have been imperceptible, but yeah I have been correcting this.
There's still a lot of scanning I want to do, so all these suggestions are really helpful, thanks. To date I've scanned 1988 through 2004 from my family (`2,800 frames) and 1,300 frames from my partner's family (~49 rolls), but there's still another suitcase full of negatives from my mum's travel/antics, and my partner's mum has a box with 100+ more pouches of photos and negatives.
Interesting - I agree this will be a factor in the captured image, though the colour issues I've been mentioning are from me processing these by eye instead of applying actual data about the film, light source, camera sensor etc.
I'll do some more testing around this, thanks!
Nice mount, I've been placing them on a light table up until now. But I like this sandwich holder strategy to keep the film flat. Is there a diffuser on the led light?
Thanks! I kind of stumbled into using magnets for this design, but it's worked really well. The top half is easy to remove, gives enough clamping force on the negatives to keep them flat enough, and self-aligns to the bottom half as a bonus.
The light does have a built-in diffuser, and mounting the film about 5cm from its surface keeps any texture from the diffuser way out of focus. I haven't noticed any consistency issues with illumination across the film with this setup which has been nice.
I assume the cat photo is a sample that you converted from film. Fidelity look amazing! How do you feel about the color quality of the captured negatives?
Yeah the cat is a full resolution sample (at about 60% jpeg quality for hacakday's 5MB image size limit).
Colour is something I'm still working on - it's quite a manual process to get it right at the moment, and it's done by eye rather than automatically. The negatives are shot in raw, but it's not particularly intuitive to match the original print colours with existing software. Lightroom and Camera RAW for example don't process curves - which I'm using to invert and correct for the film's response in each channel - until halfway through their pipelines, which makes most of the controls have unwanted side-effects.
I'll keep posting updates to this over the next few days; I started this project a year ago and have already scanned hundreds of rolls of film, so there's lots to write about.
Become a member to follow this project and never miss any updates
Cool project, mate !
It would be great to establish some kind of collaboration with other DIY-digitizers projects:
https://hackaday.io/list/175104-diy-film-scanners
Hope that helps/inspires.