 ActualDragon
-
1Step 1
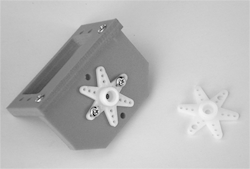
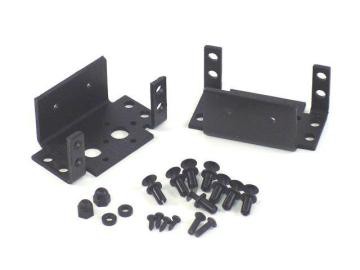
cut out the chassis and legs. you can find the cutting guides in the files. Also, you can make your own XY servo joints for the legs or buy them I got mine from lynxmotion, but cutting files can be found at http://robotoid.com/printable-templates.html
the ones I bought:![]()
![]()
-
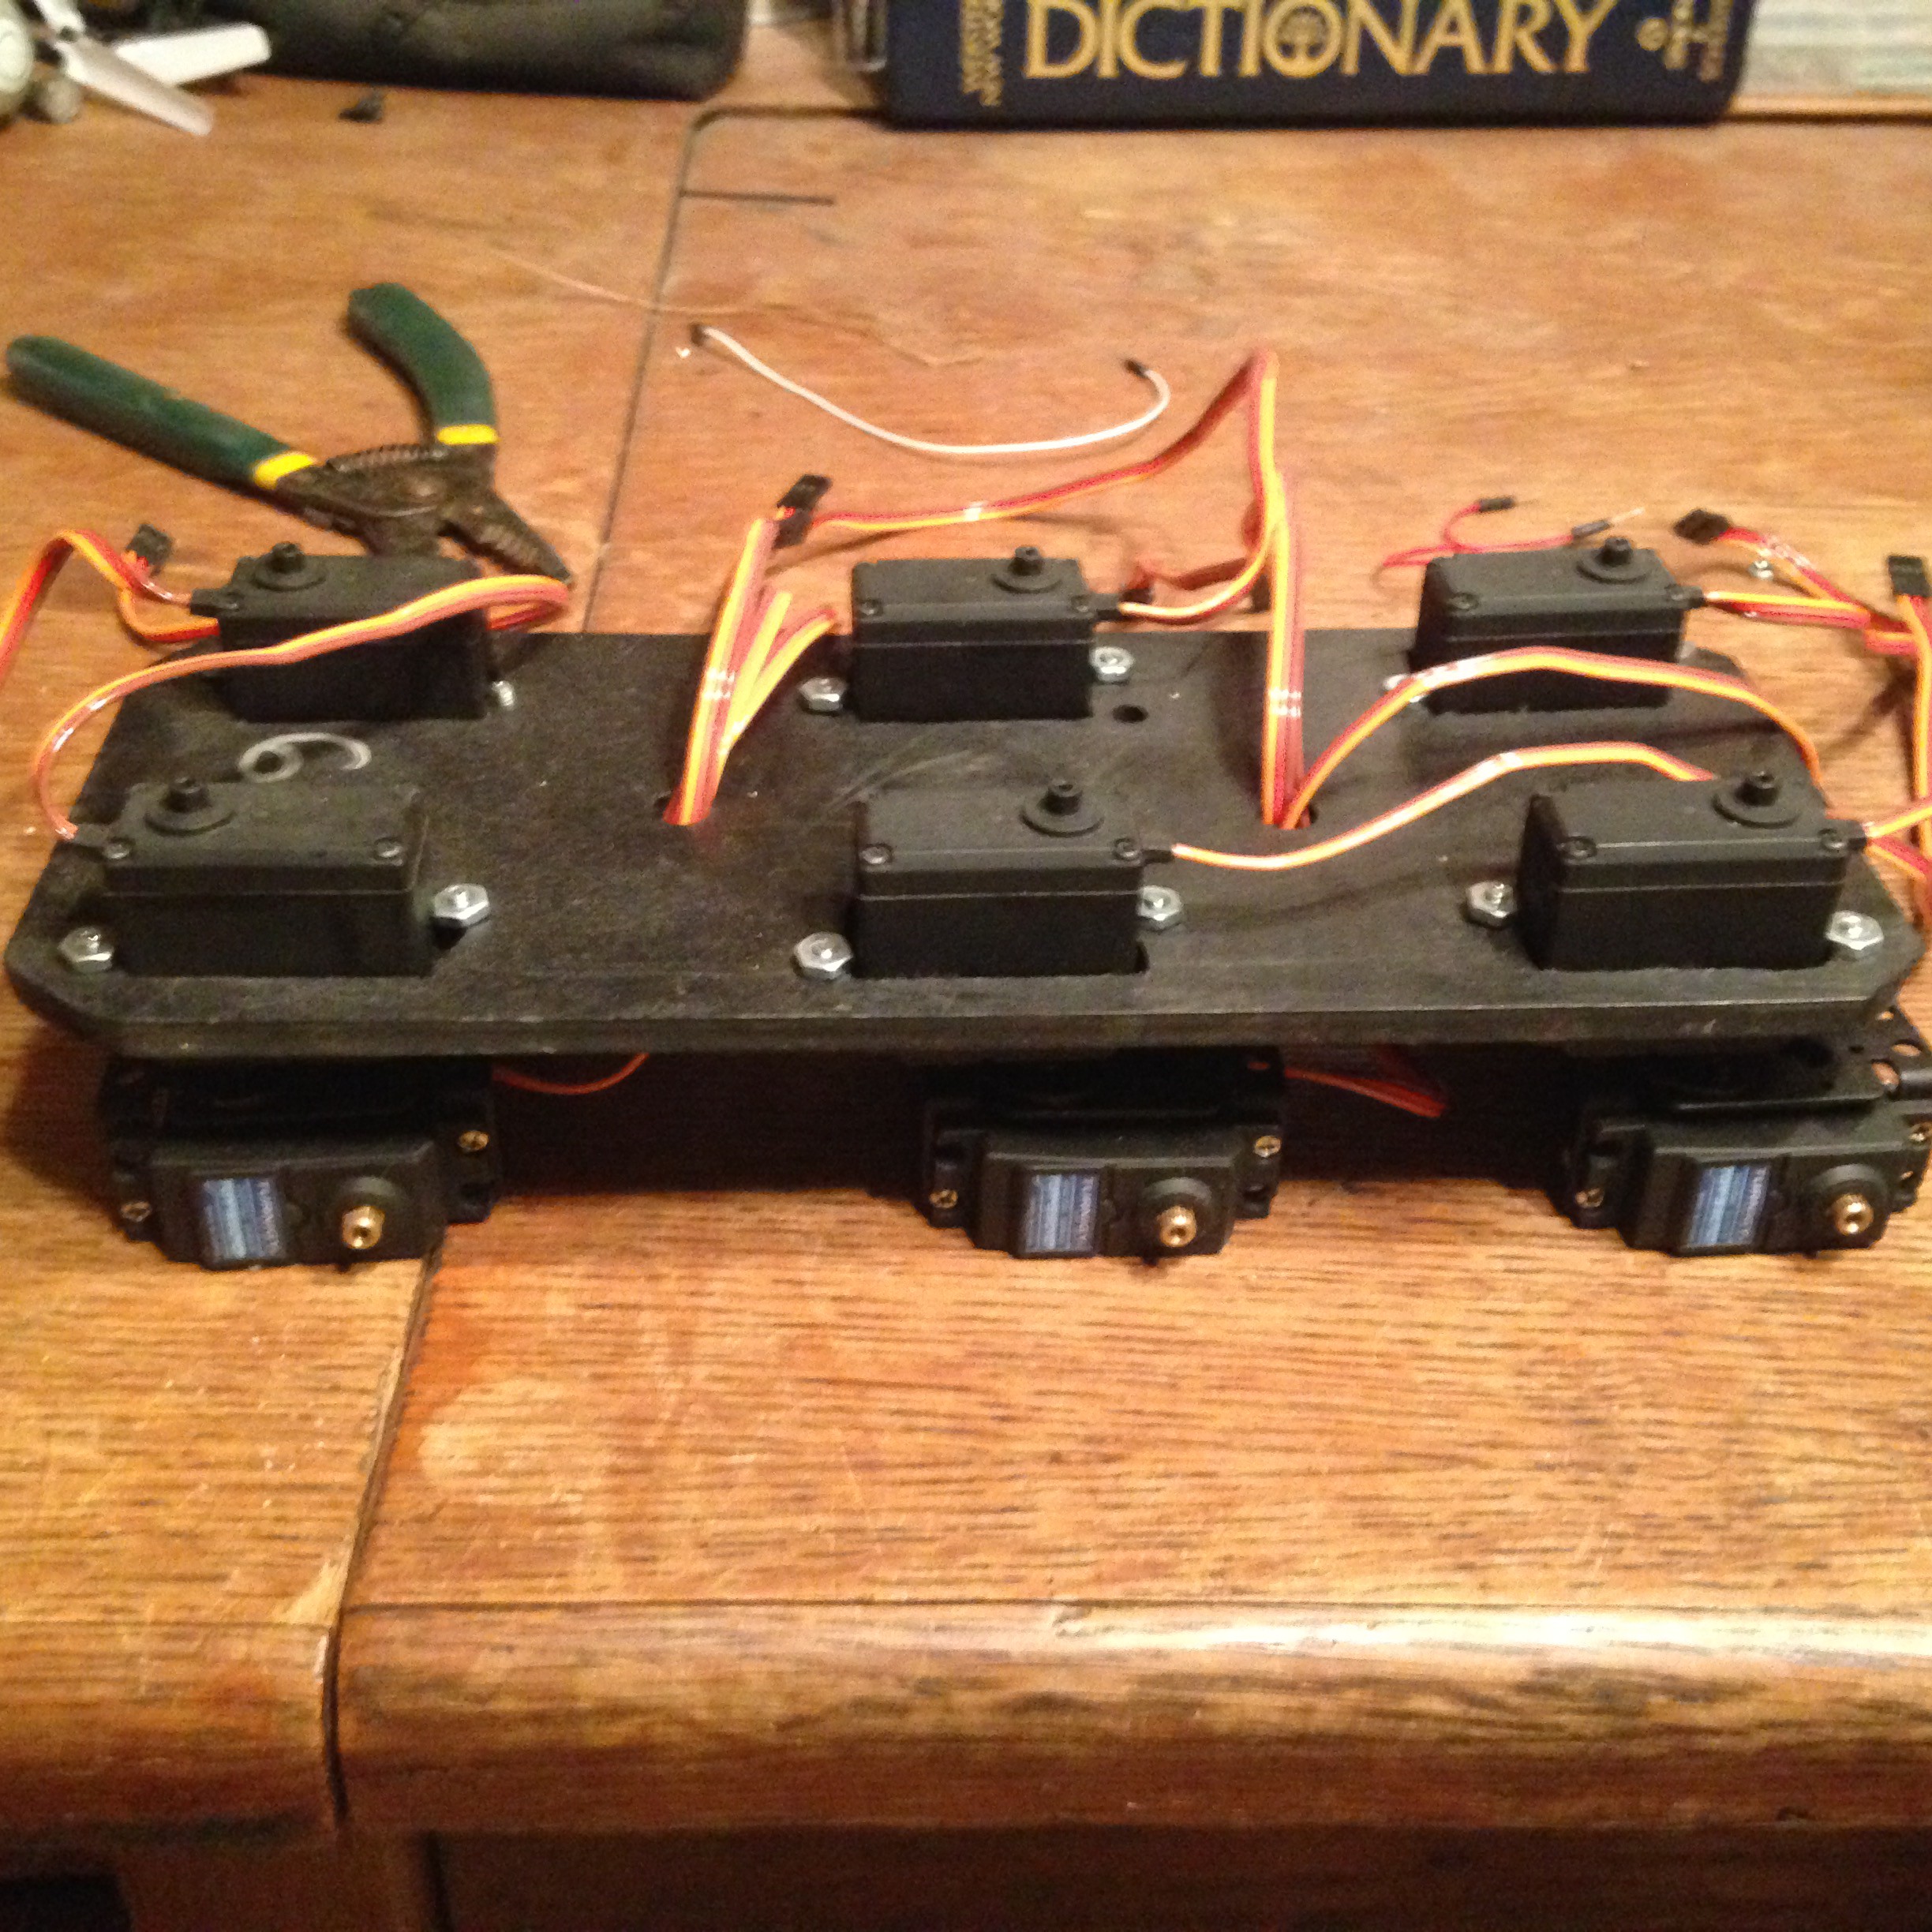
2Step 2
i didn't list all the hardware because there was a lot of it, you need to fasten the xy joints, then put a second deck on it for electronics. i used a sheet of polycarbonate. but it sucks to cut. then, of course, you need the legs onto the bottom of the xy joints.
![]()
-
3Step 3
Now for the electronics- the servos require 6 volts, so I used a linear voltage regulator (https://en.wikipedia.org/wiki/Linear_regulator) to keep it at 6 volts. careful, they are static sensitive! I blew two before i got it. use "dummy" parts until the circuit is properly grounded. The problem is that if it IS damaged, then there is no visible signs. It won't blow up or anything. Before you plug in the servos, ALWAYS CHECK THE OUTPUT VOLTAGE with a multimeter. The arduino needs a separate supply (same supply for me, i'm using a wall wart) so i just split it at the beginning.
![Image result for linear voltage regulator circuit basic]()
-
4Step 4
You can go two ways with this- use a servo controller (this one's from adafruit) https://www.adafruit.com/product/815 or you can interface the servo directly with the arduino. you need a mega, because the uno doesn't have enough pins, especially if you want more sensors. I won't continue any farther with the servo controller method, because i suck at programing. Adafruit has a very well documented article on this. I figure it'll be easier to stick to the simple (relatively).
![Image result for arduino mega]()
to make it look professional, you also need either a protoshield or a custom one. You could also do it on the stripboard, but it'd look messy. Basically you need to connect the servos to the pins, however you decide to do it.
-
5Step 5
The armor for the tank, i'm calling it MkII, is made out of balsa wood sheets from when my dad and I used to make rockets. It's pretty complicated, and i didn't really have a plan. I was just winging it and hoping it'd look cool. after it's spray painted it looks pretty cool. My advice is follow the pictures and use your imagination!


Discussions
Become a Hackaday.io Member
Create an account to leave a comment. Already have an account? Log In.