This was a spontaneous project that actually went according to plan, on time, and under budget. Go figure!
I recommend you work your way through the project logs as it tells the whole story (although I'll give you the gist below):
- Conception and proof of concept
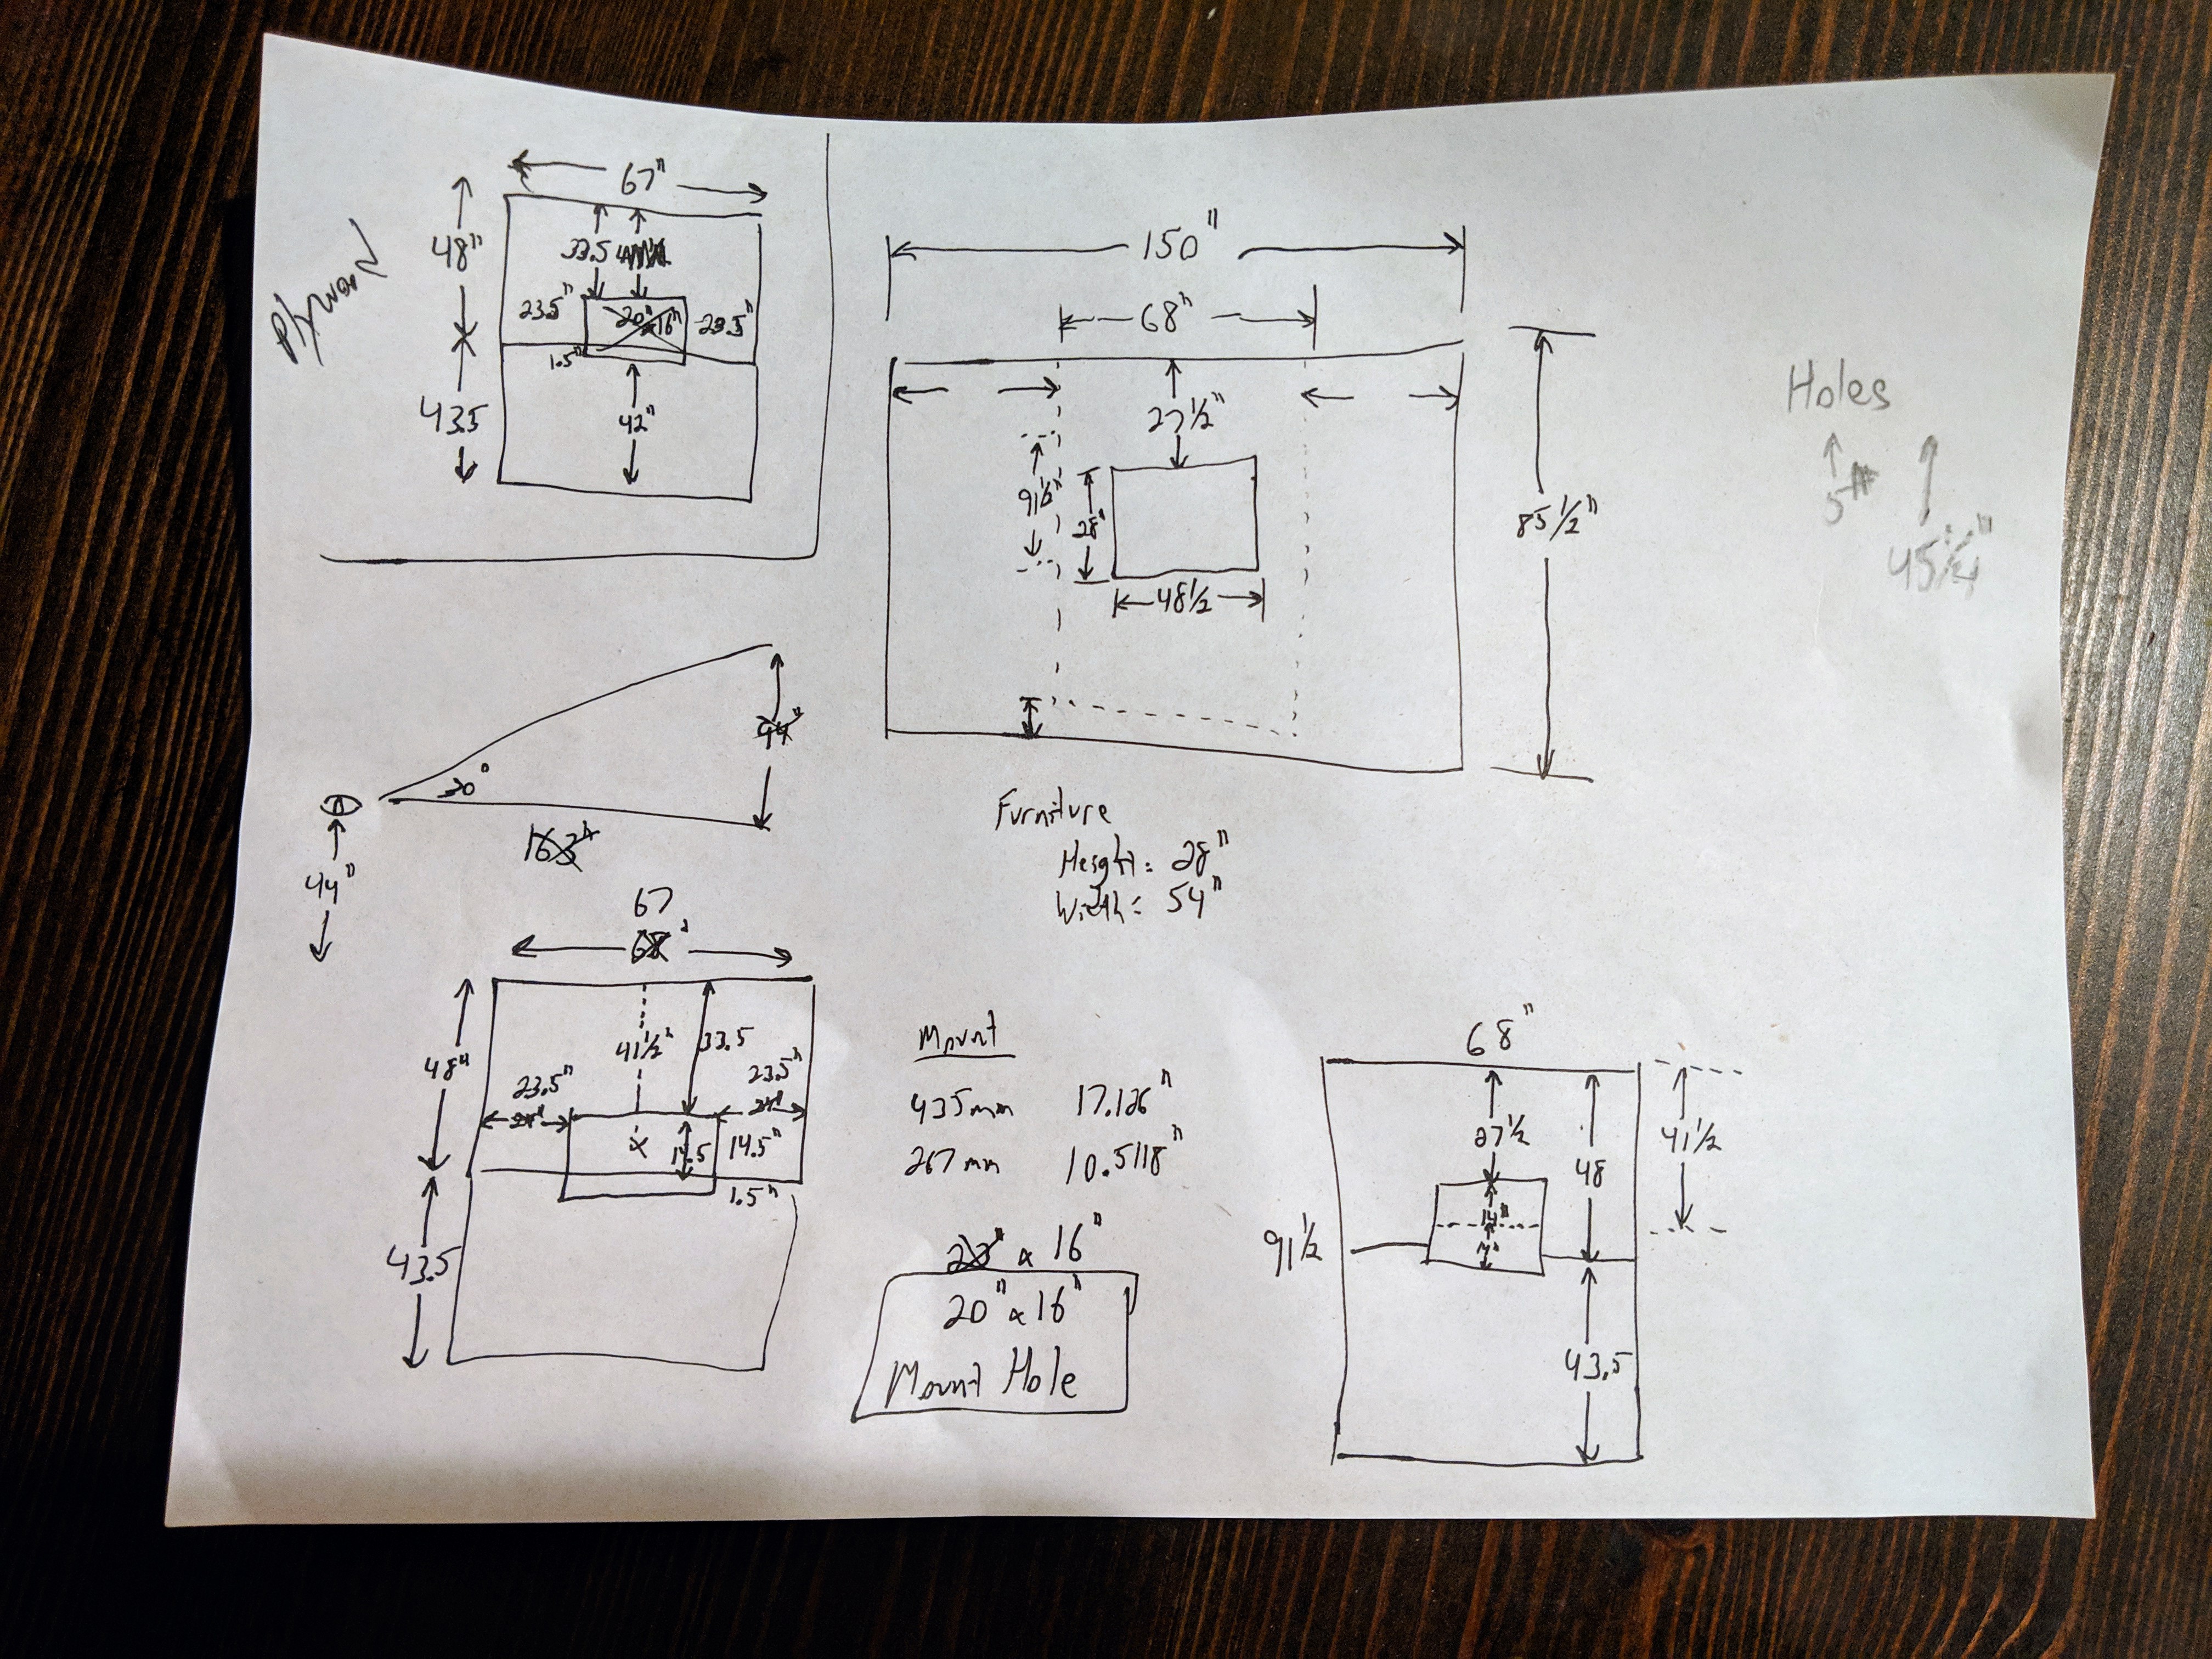
- Planning the project
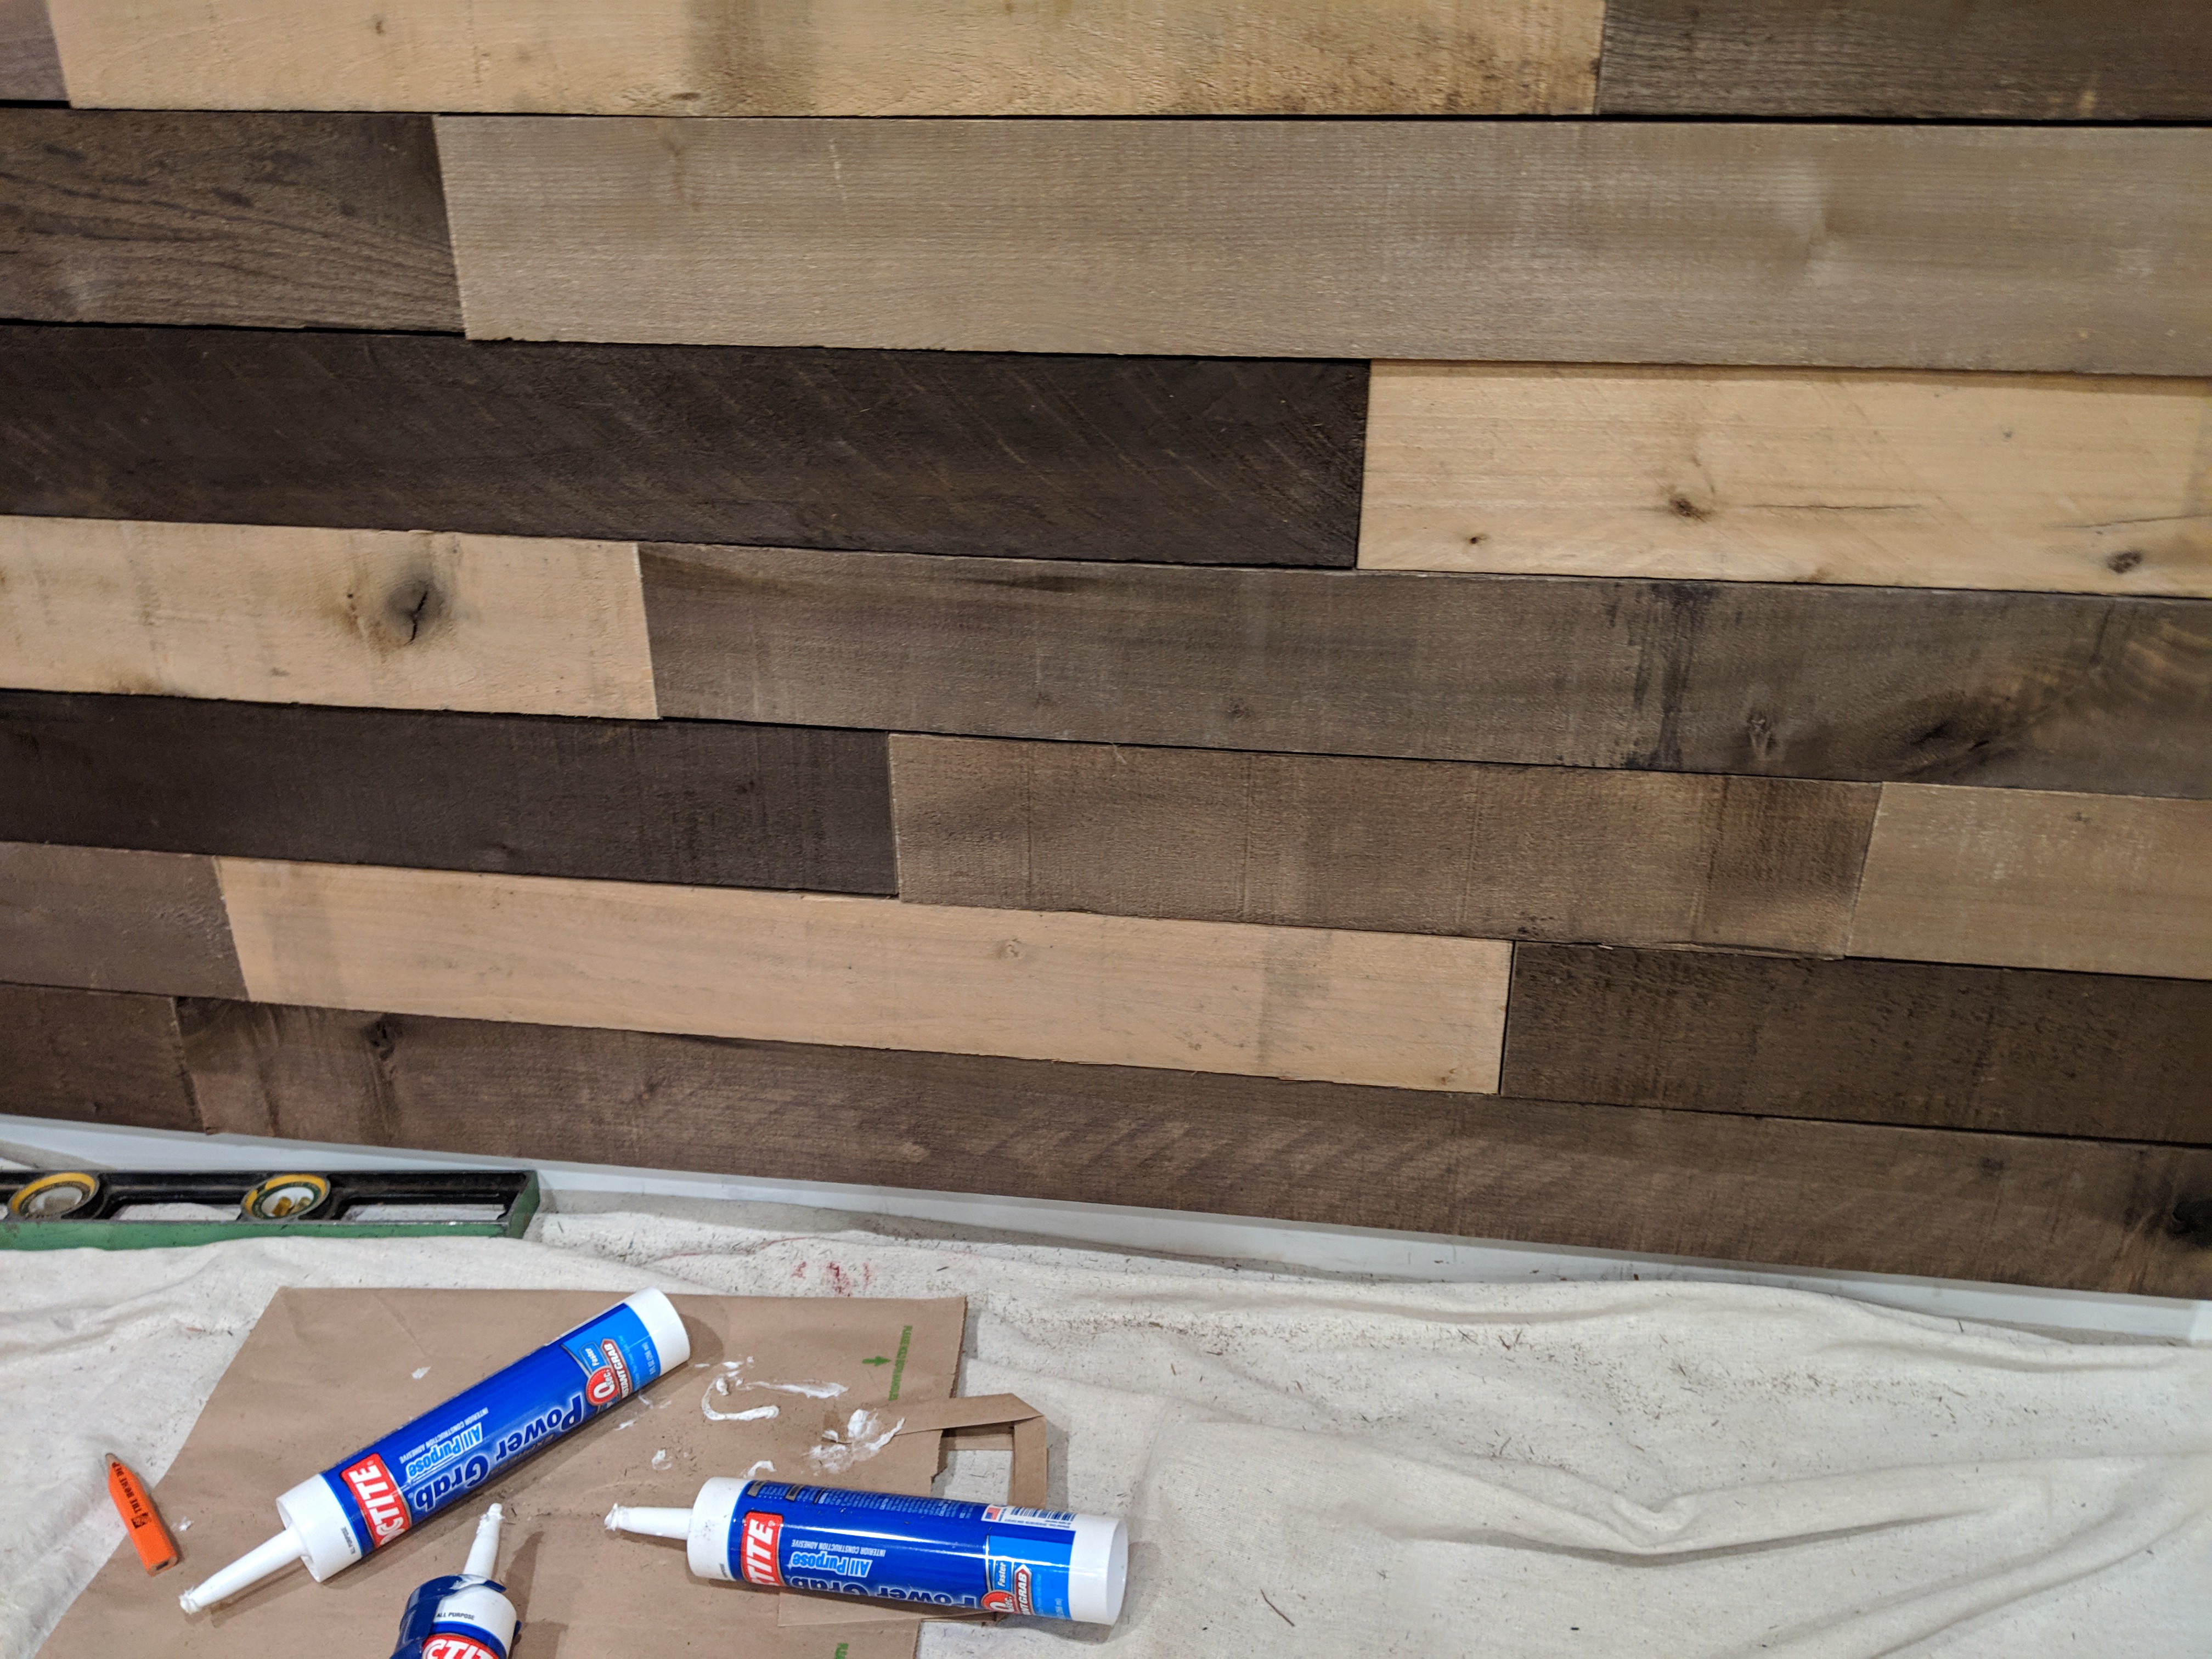
- Building it!
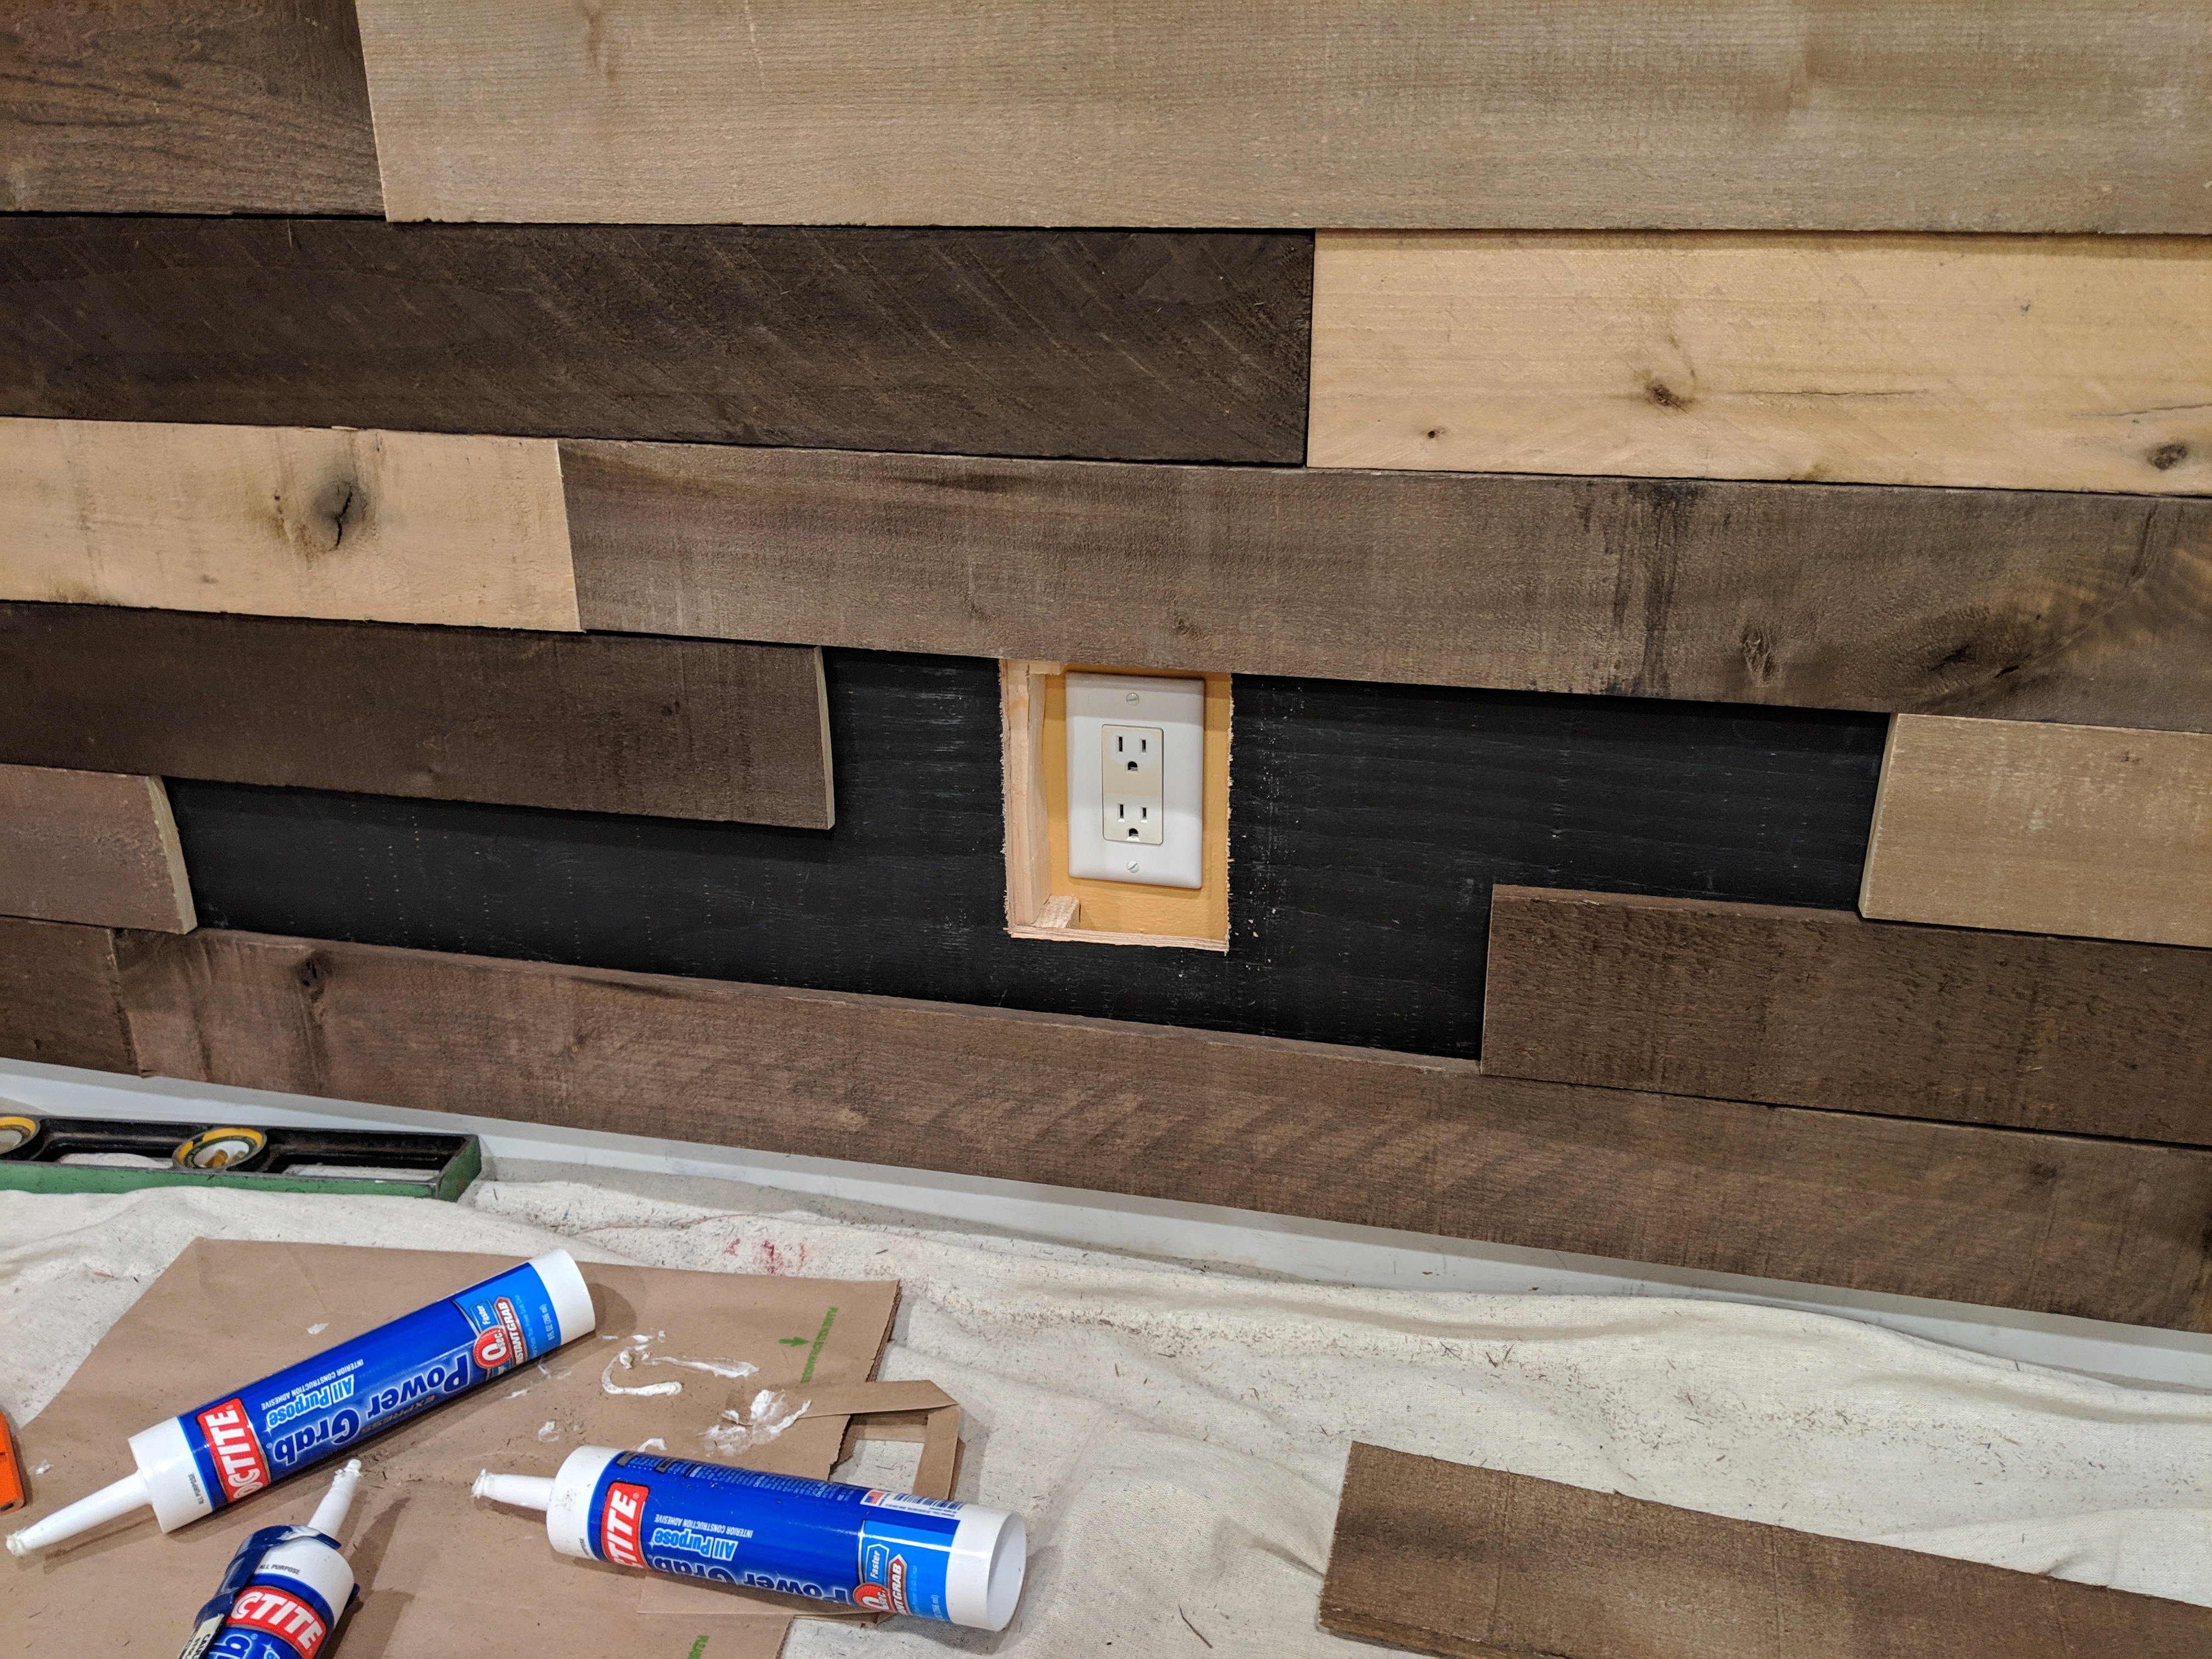
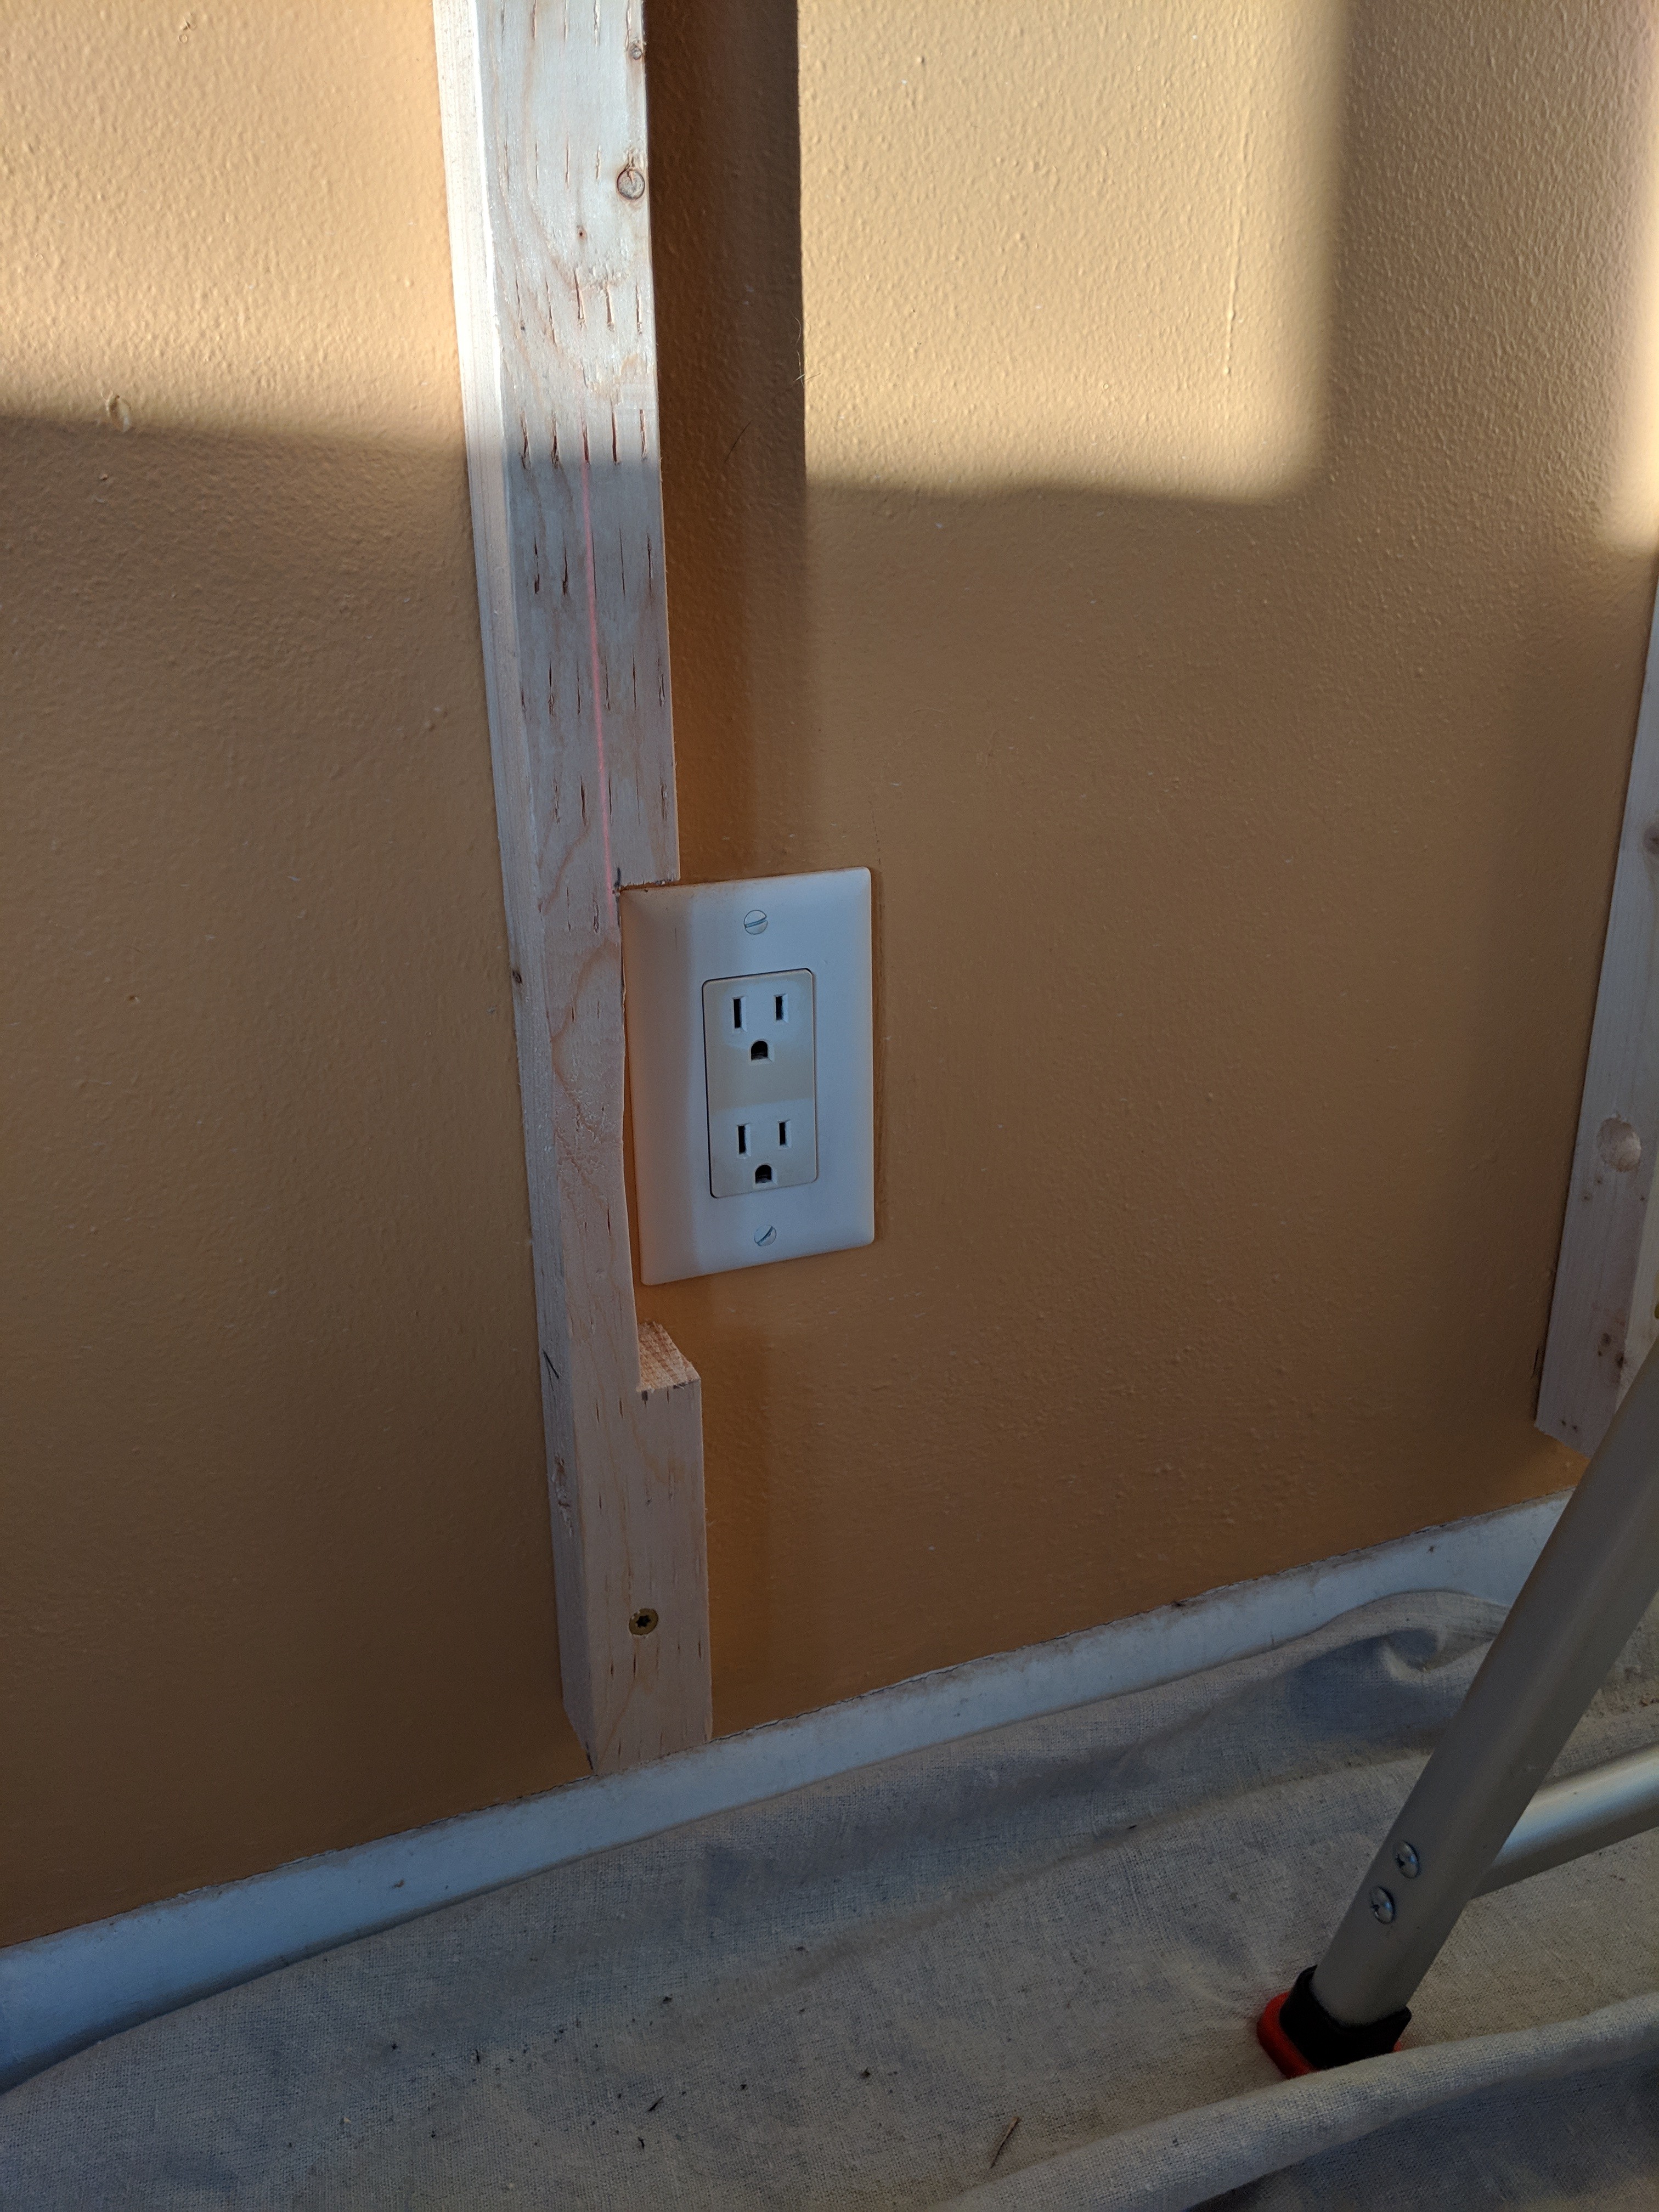
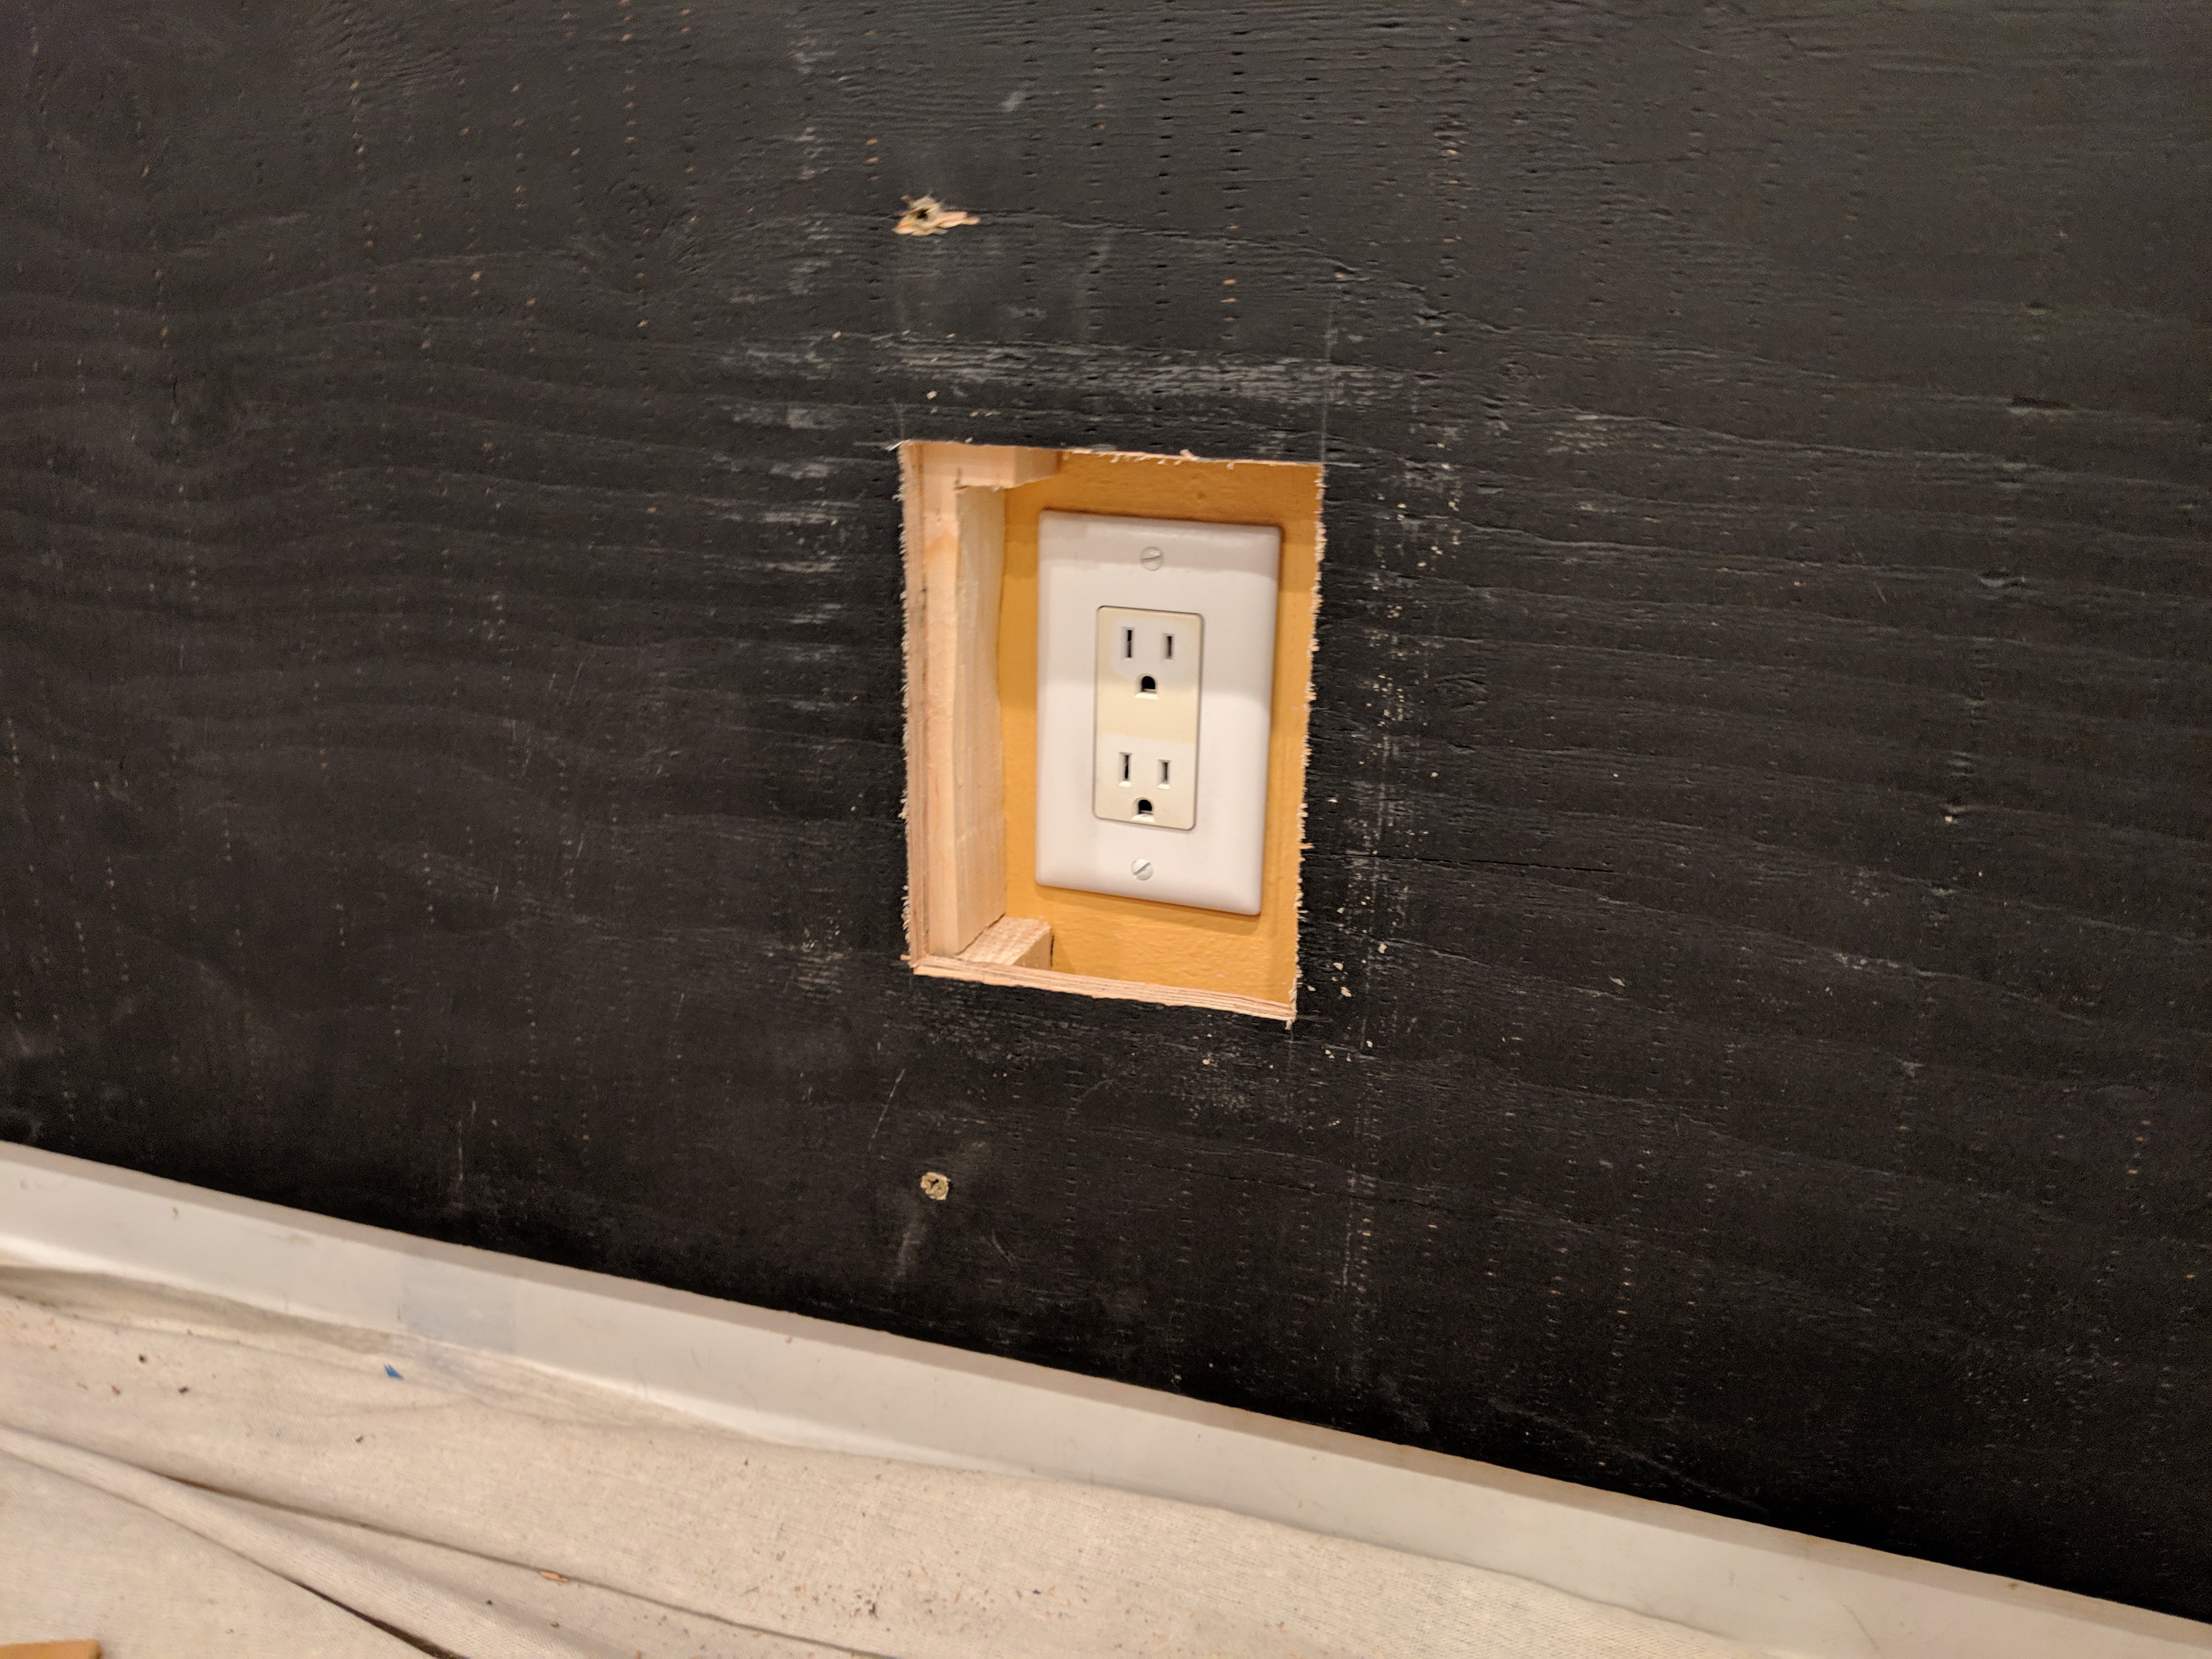
- Access panel for the outlet
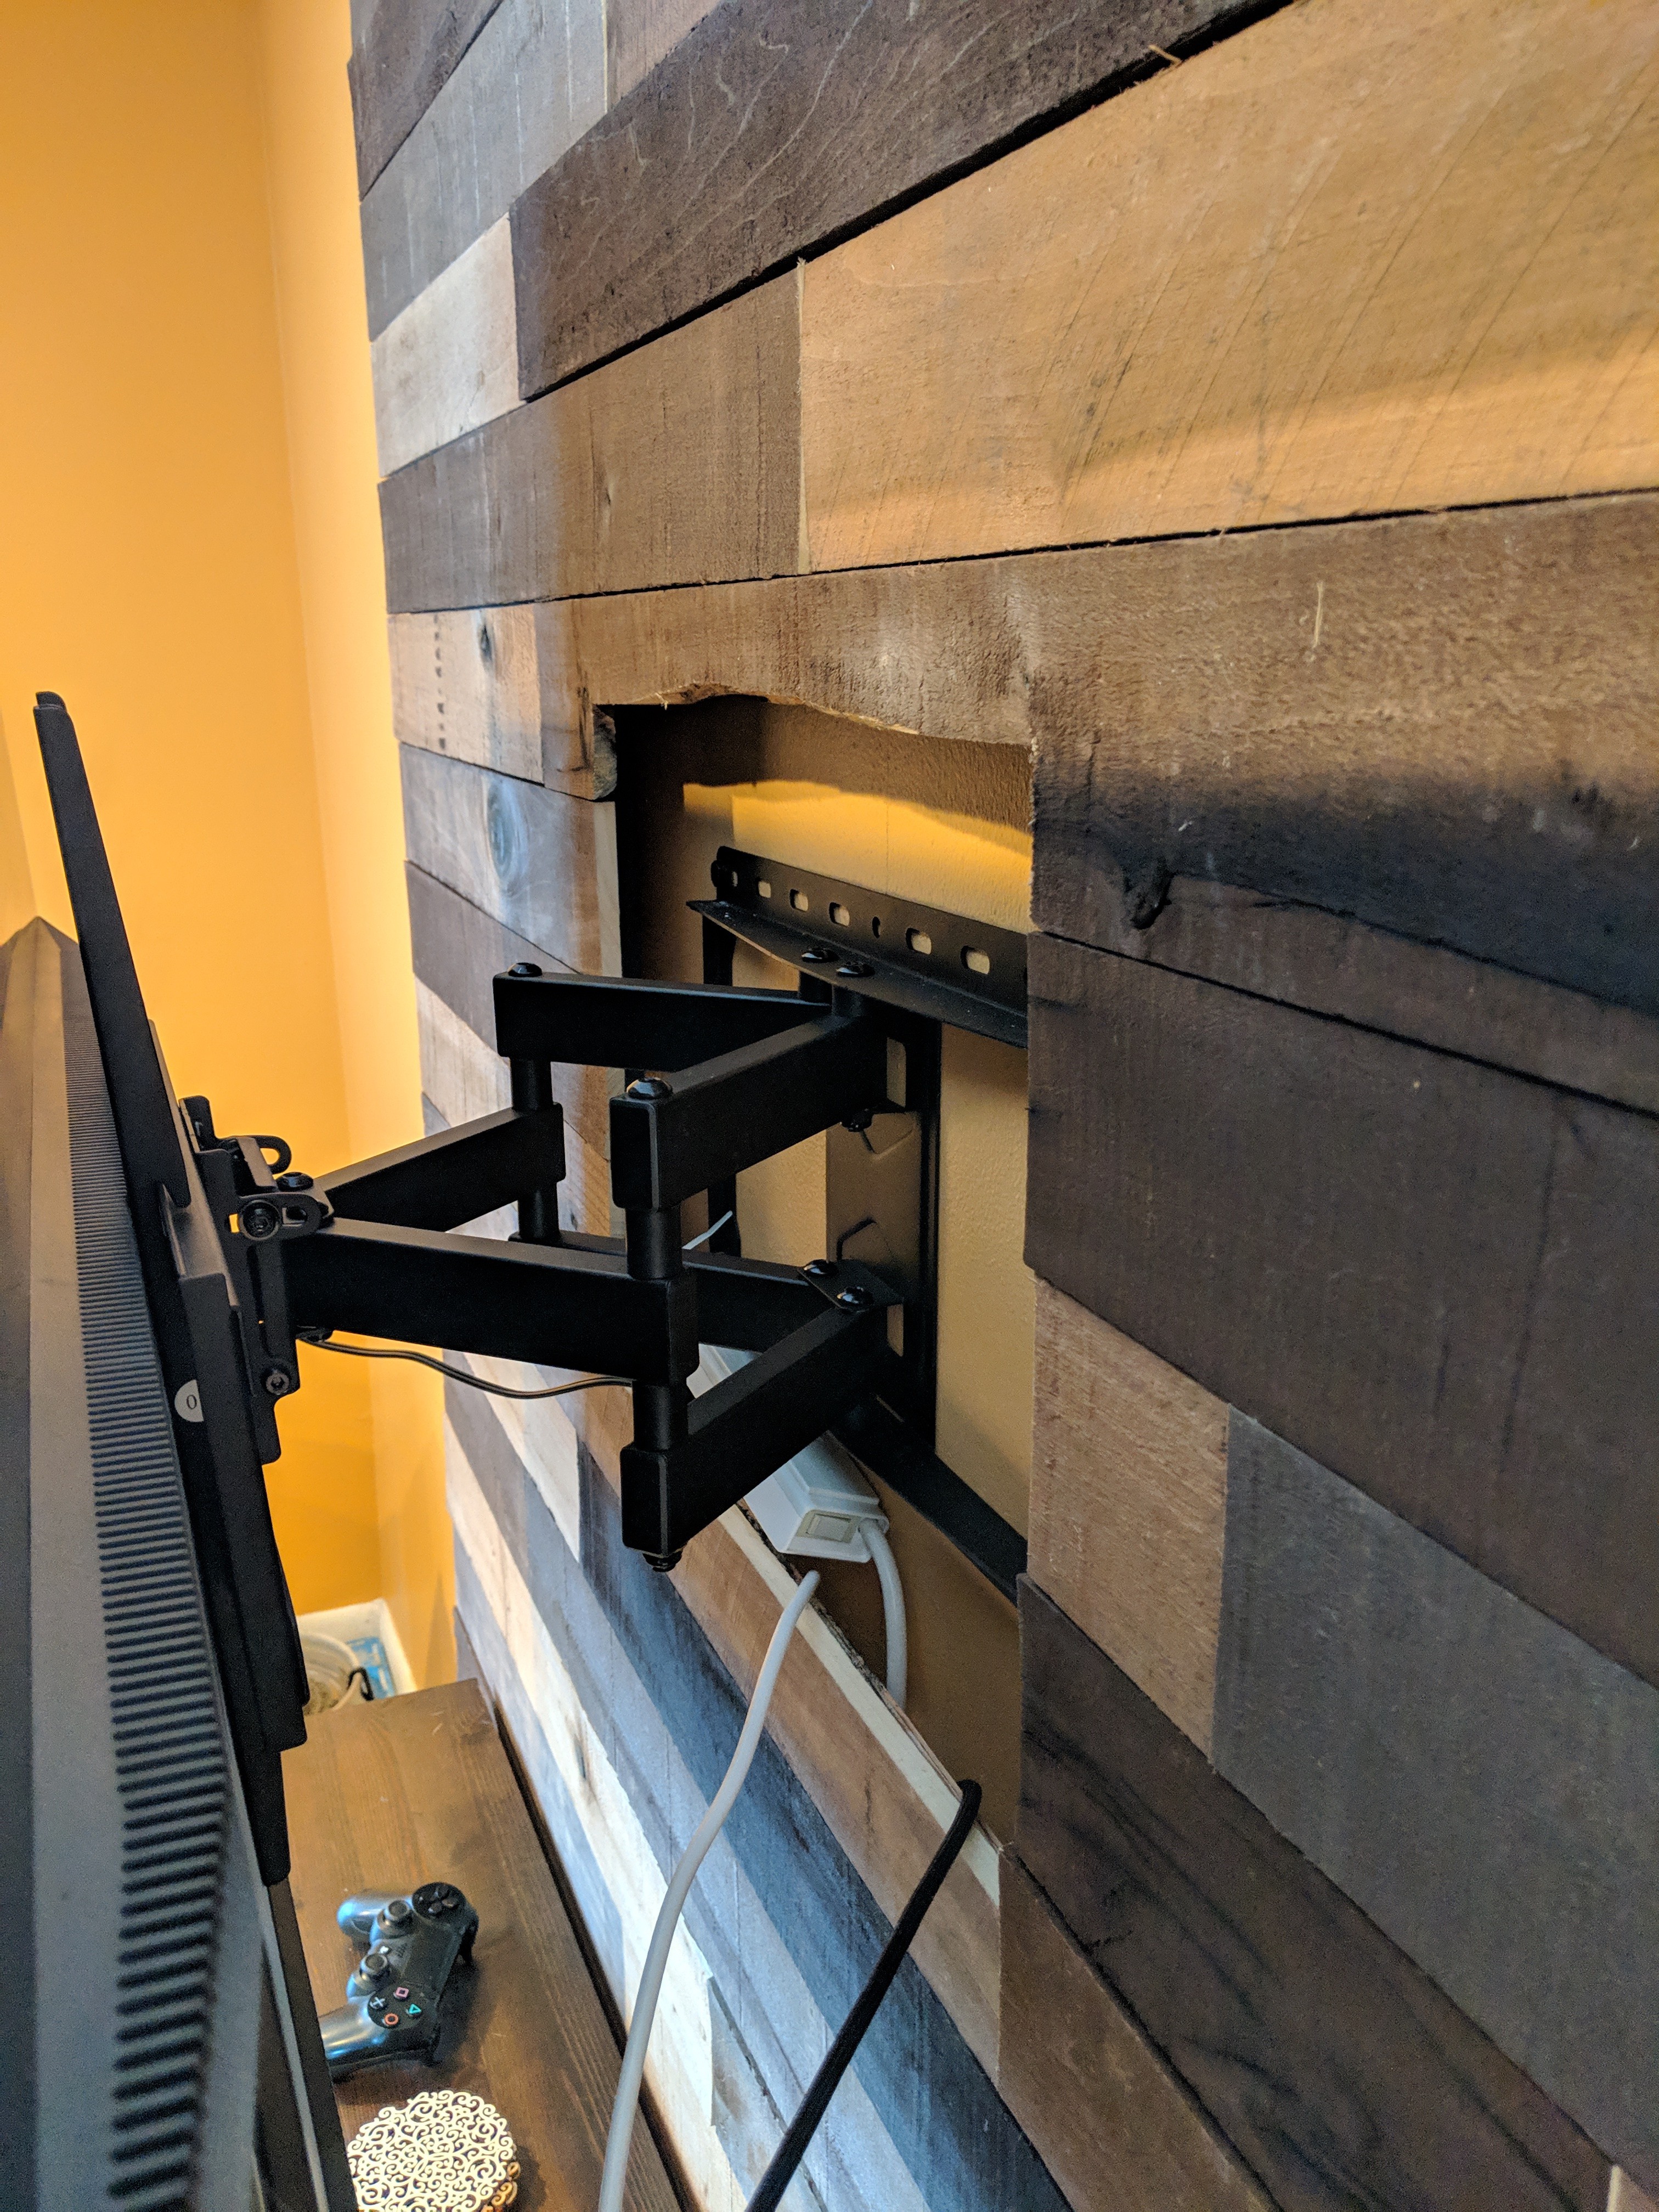
- Hanging the TV
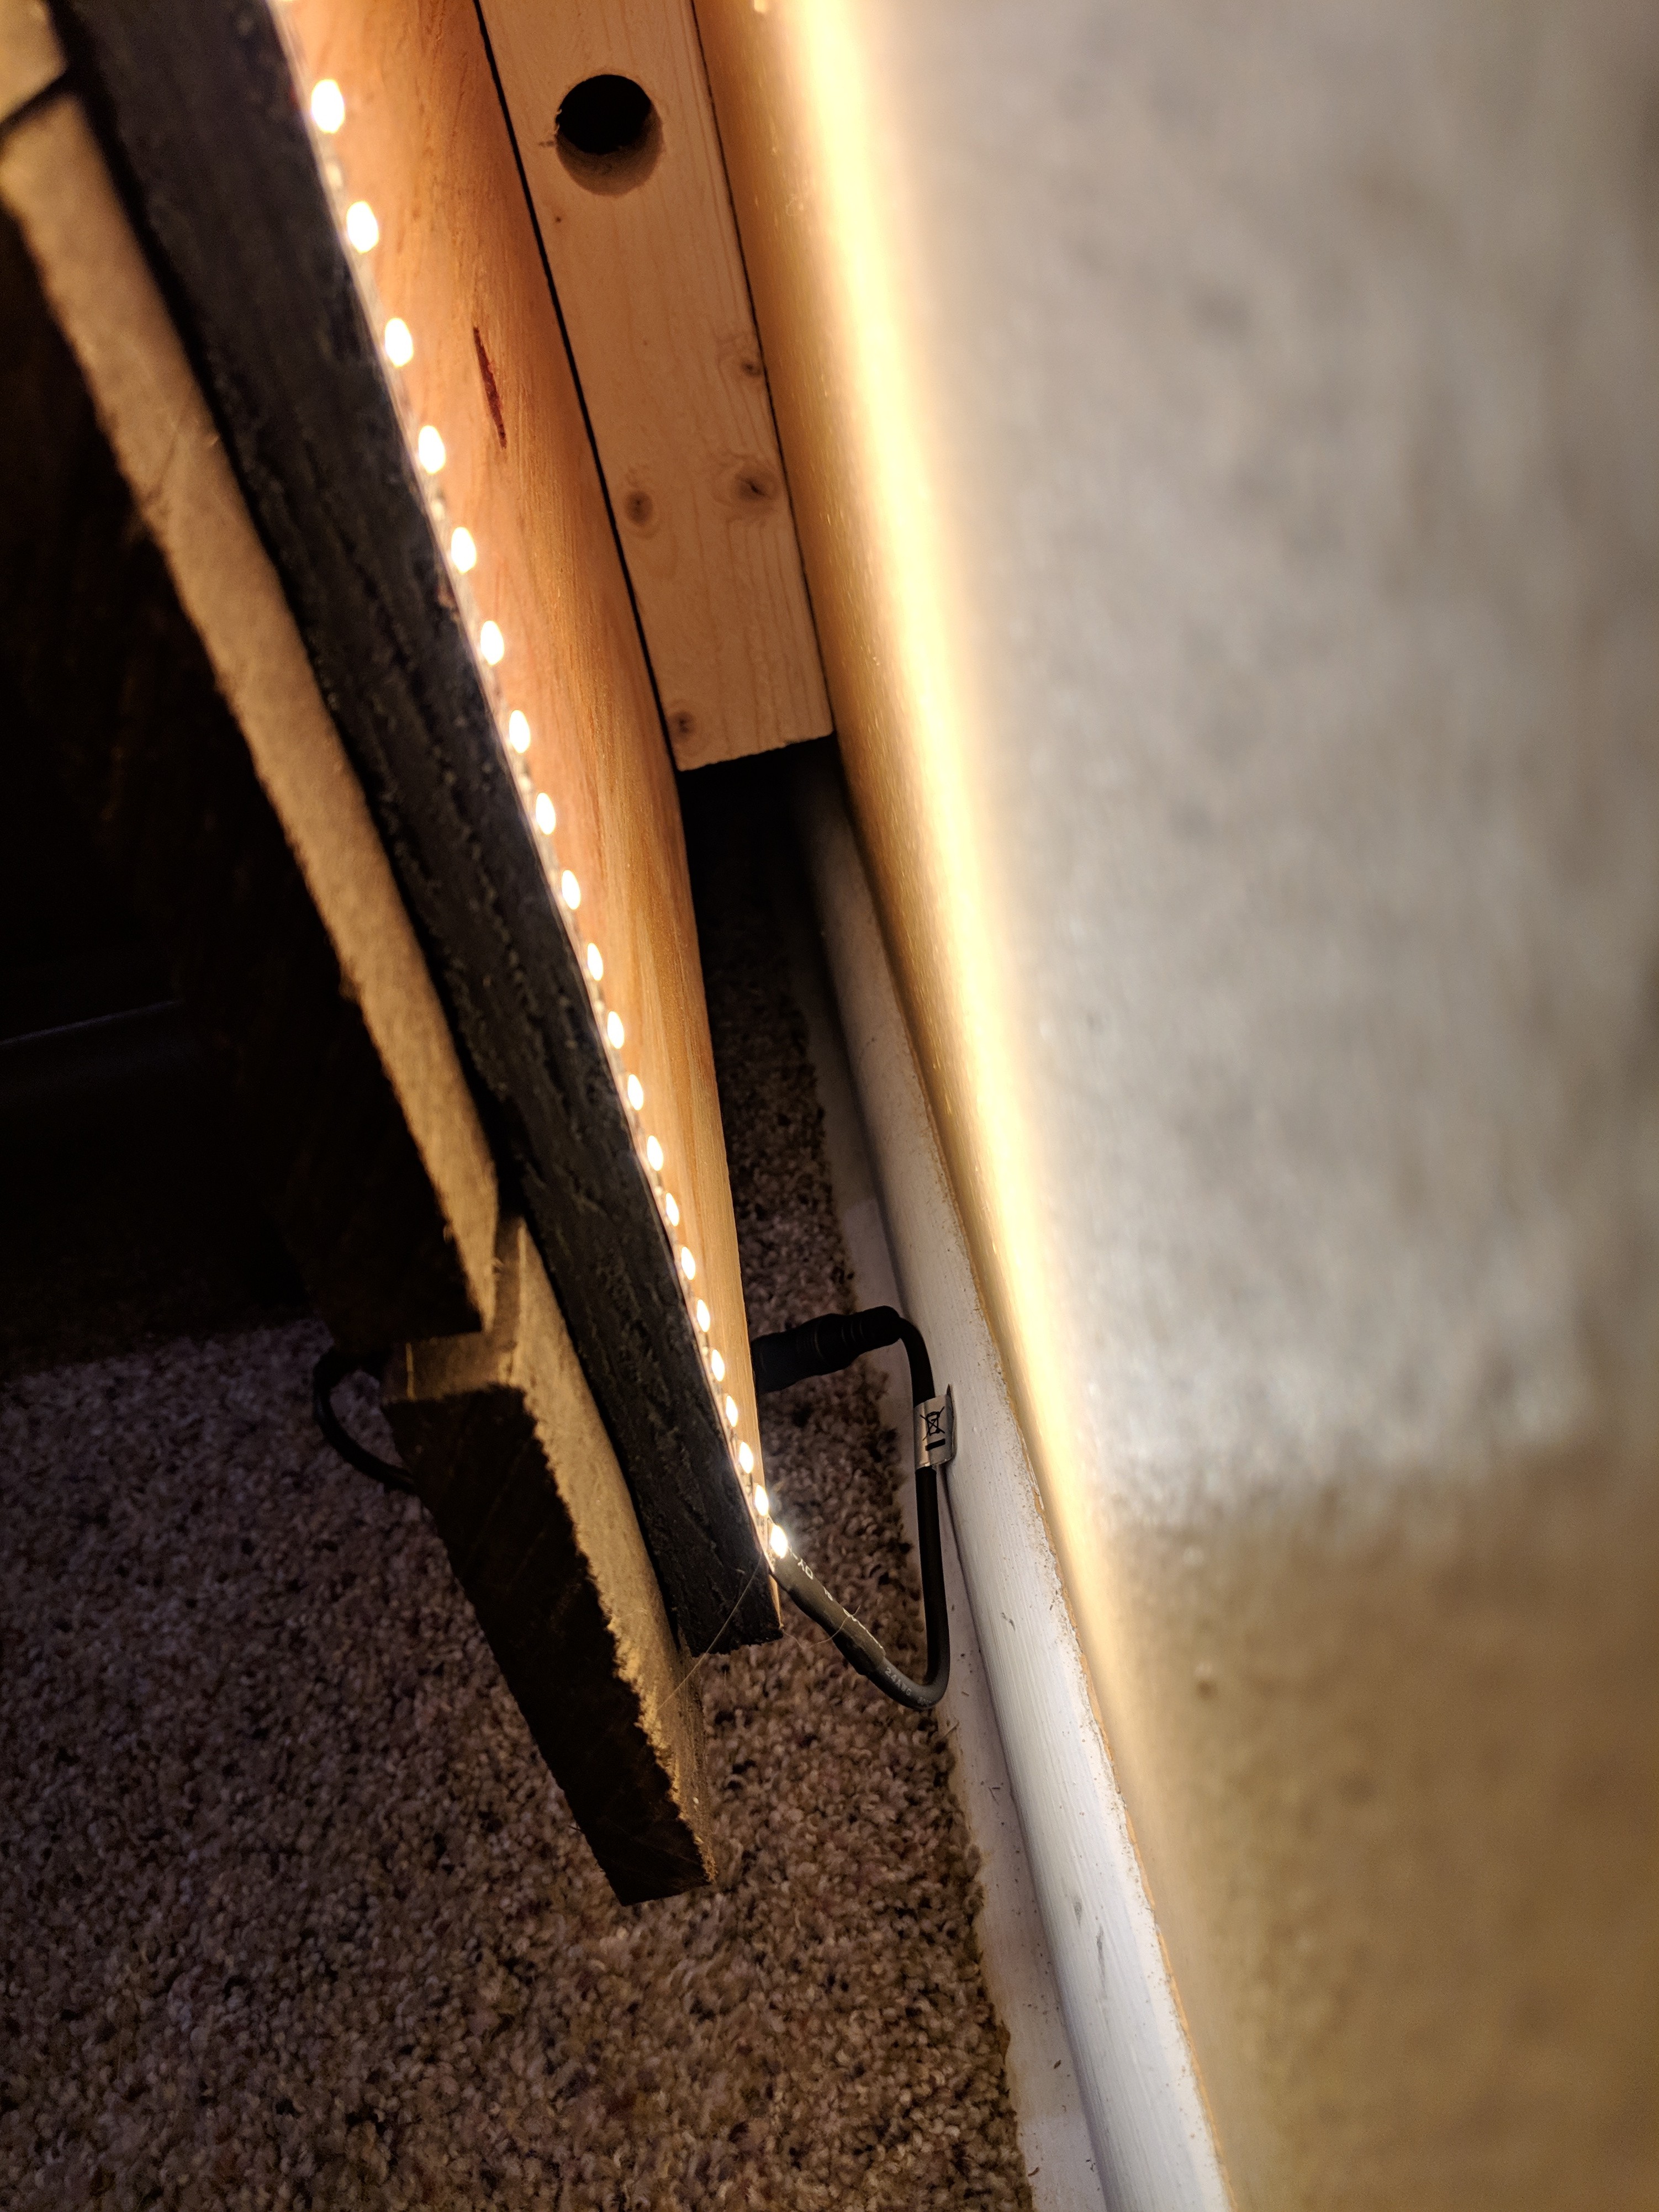
- Adding the LED backlight
Gist of the Project:
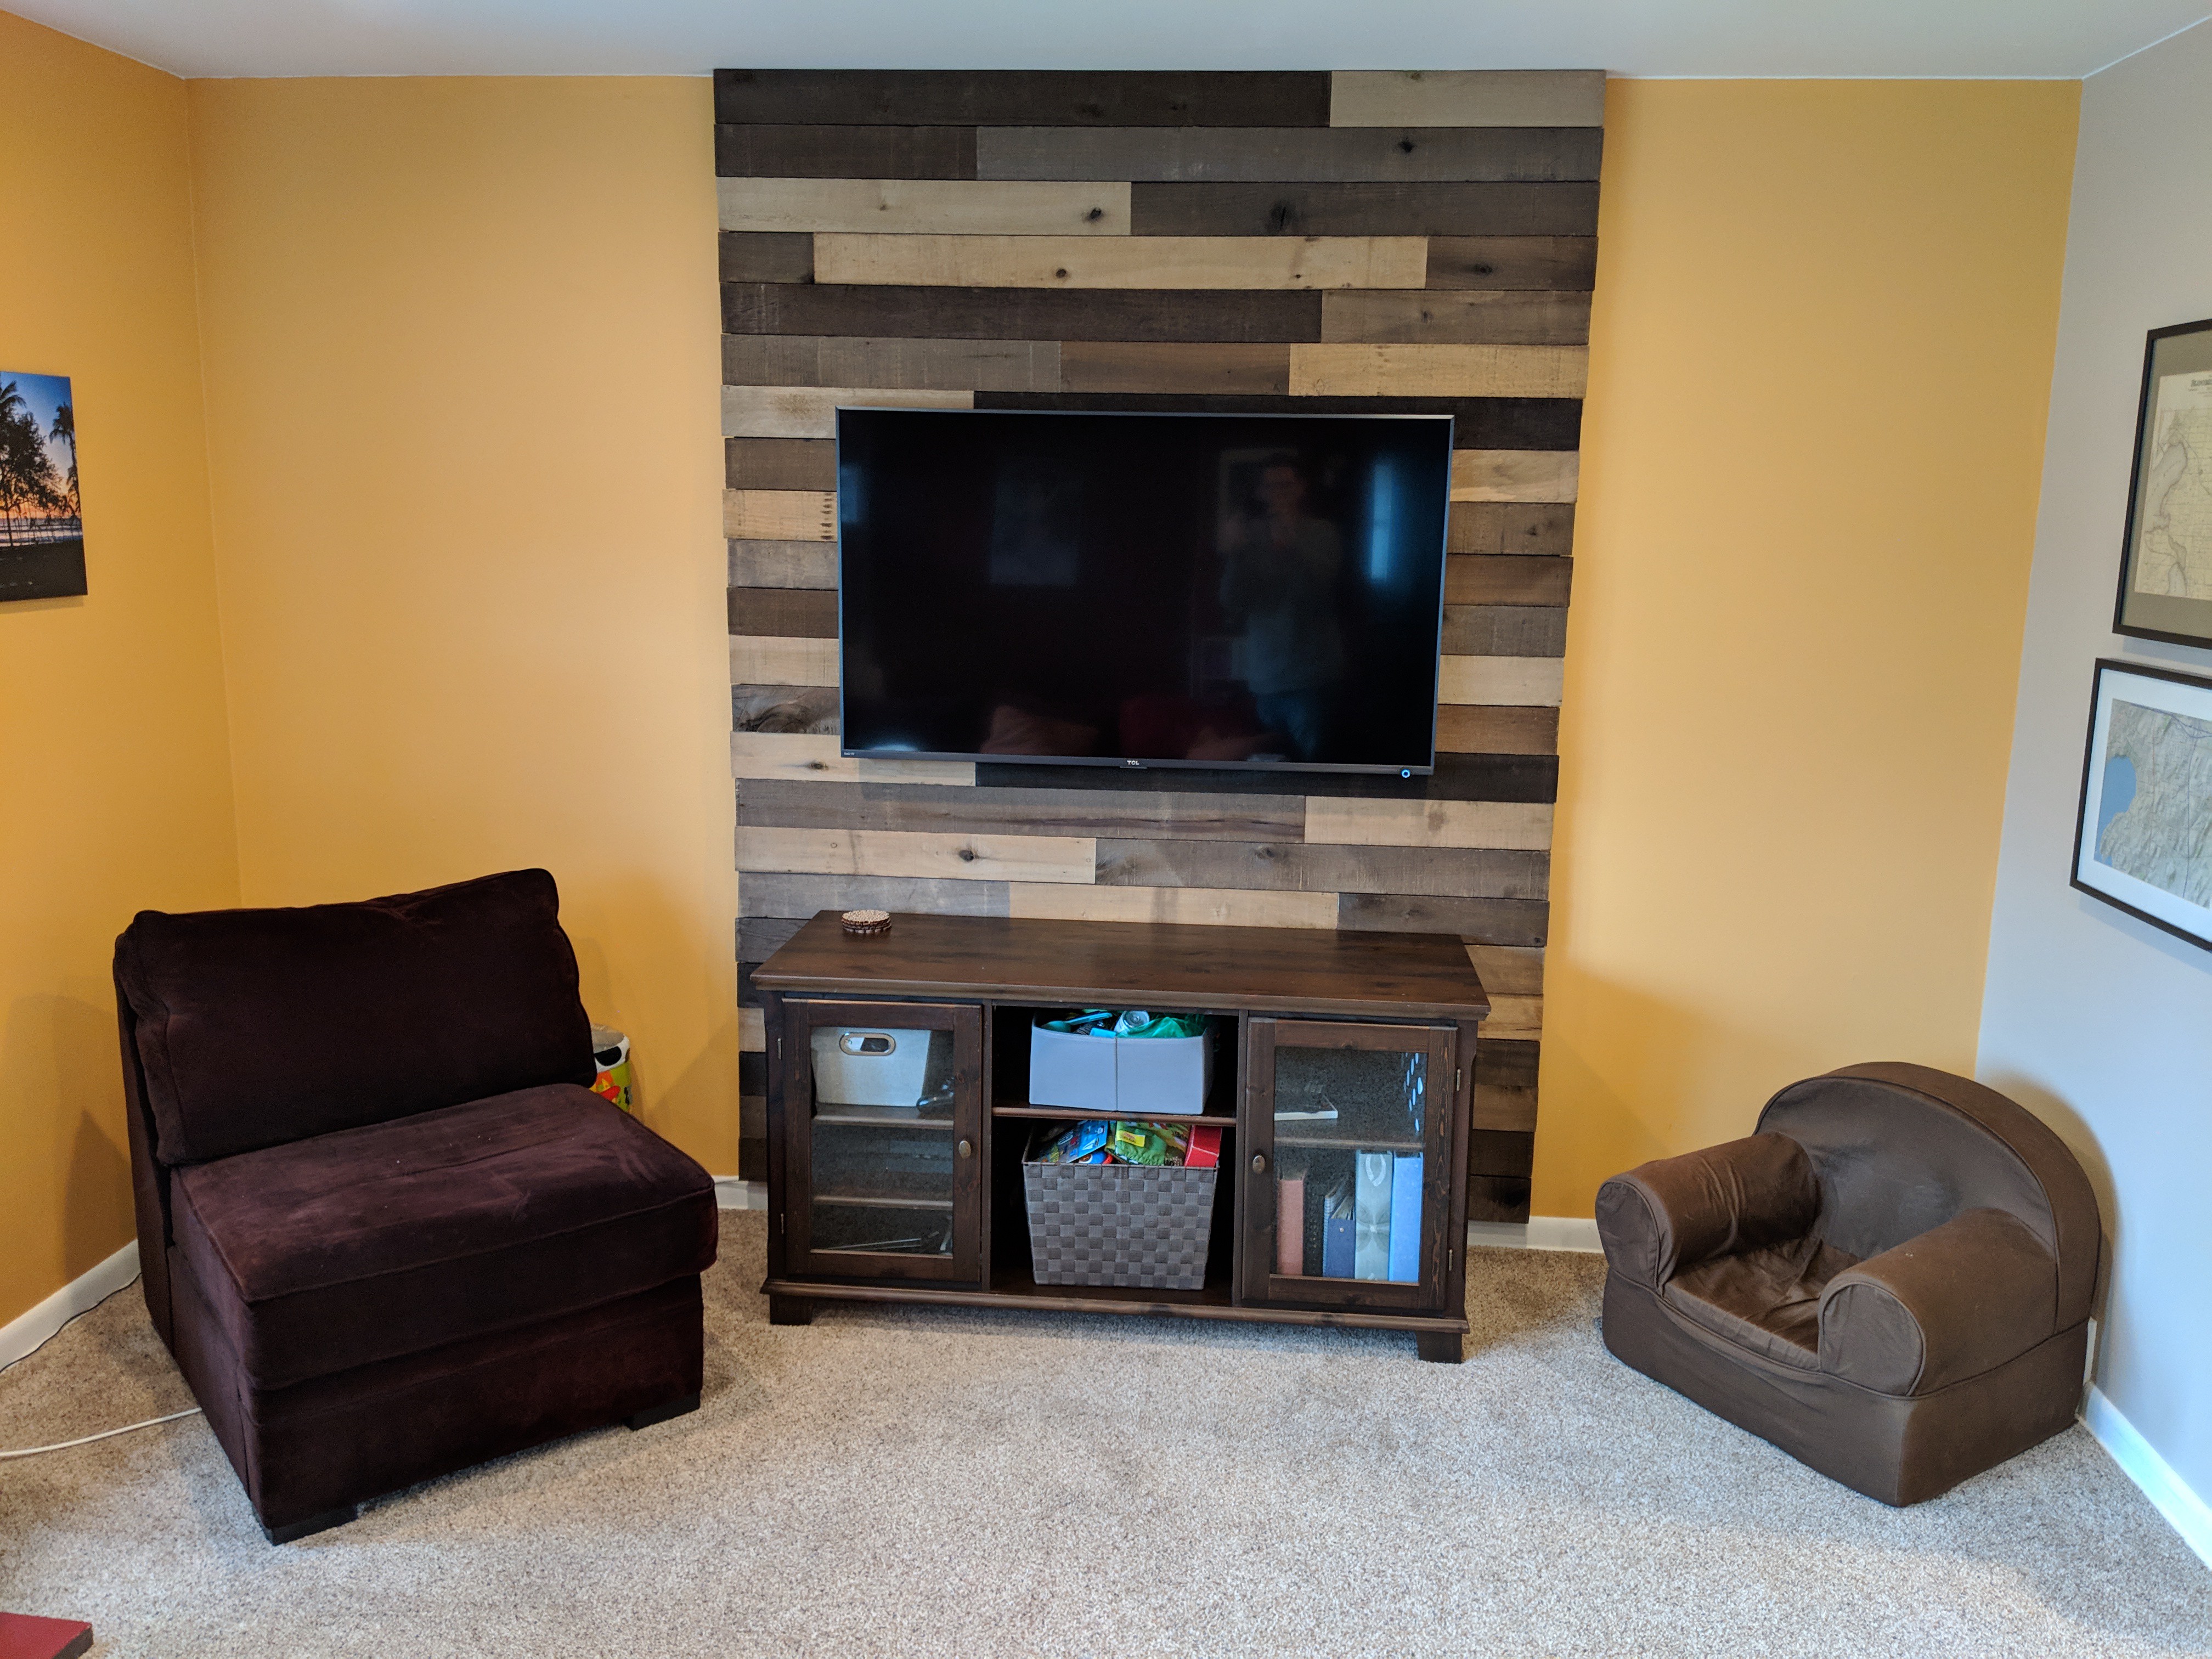
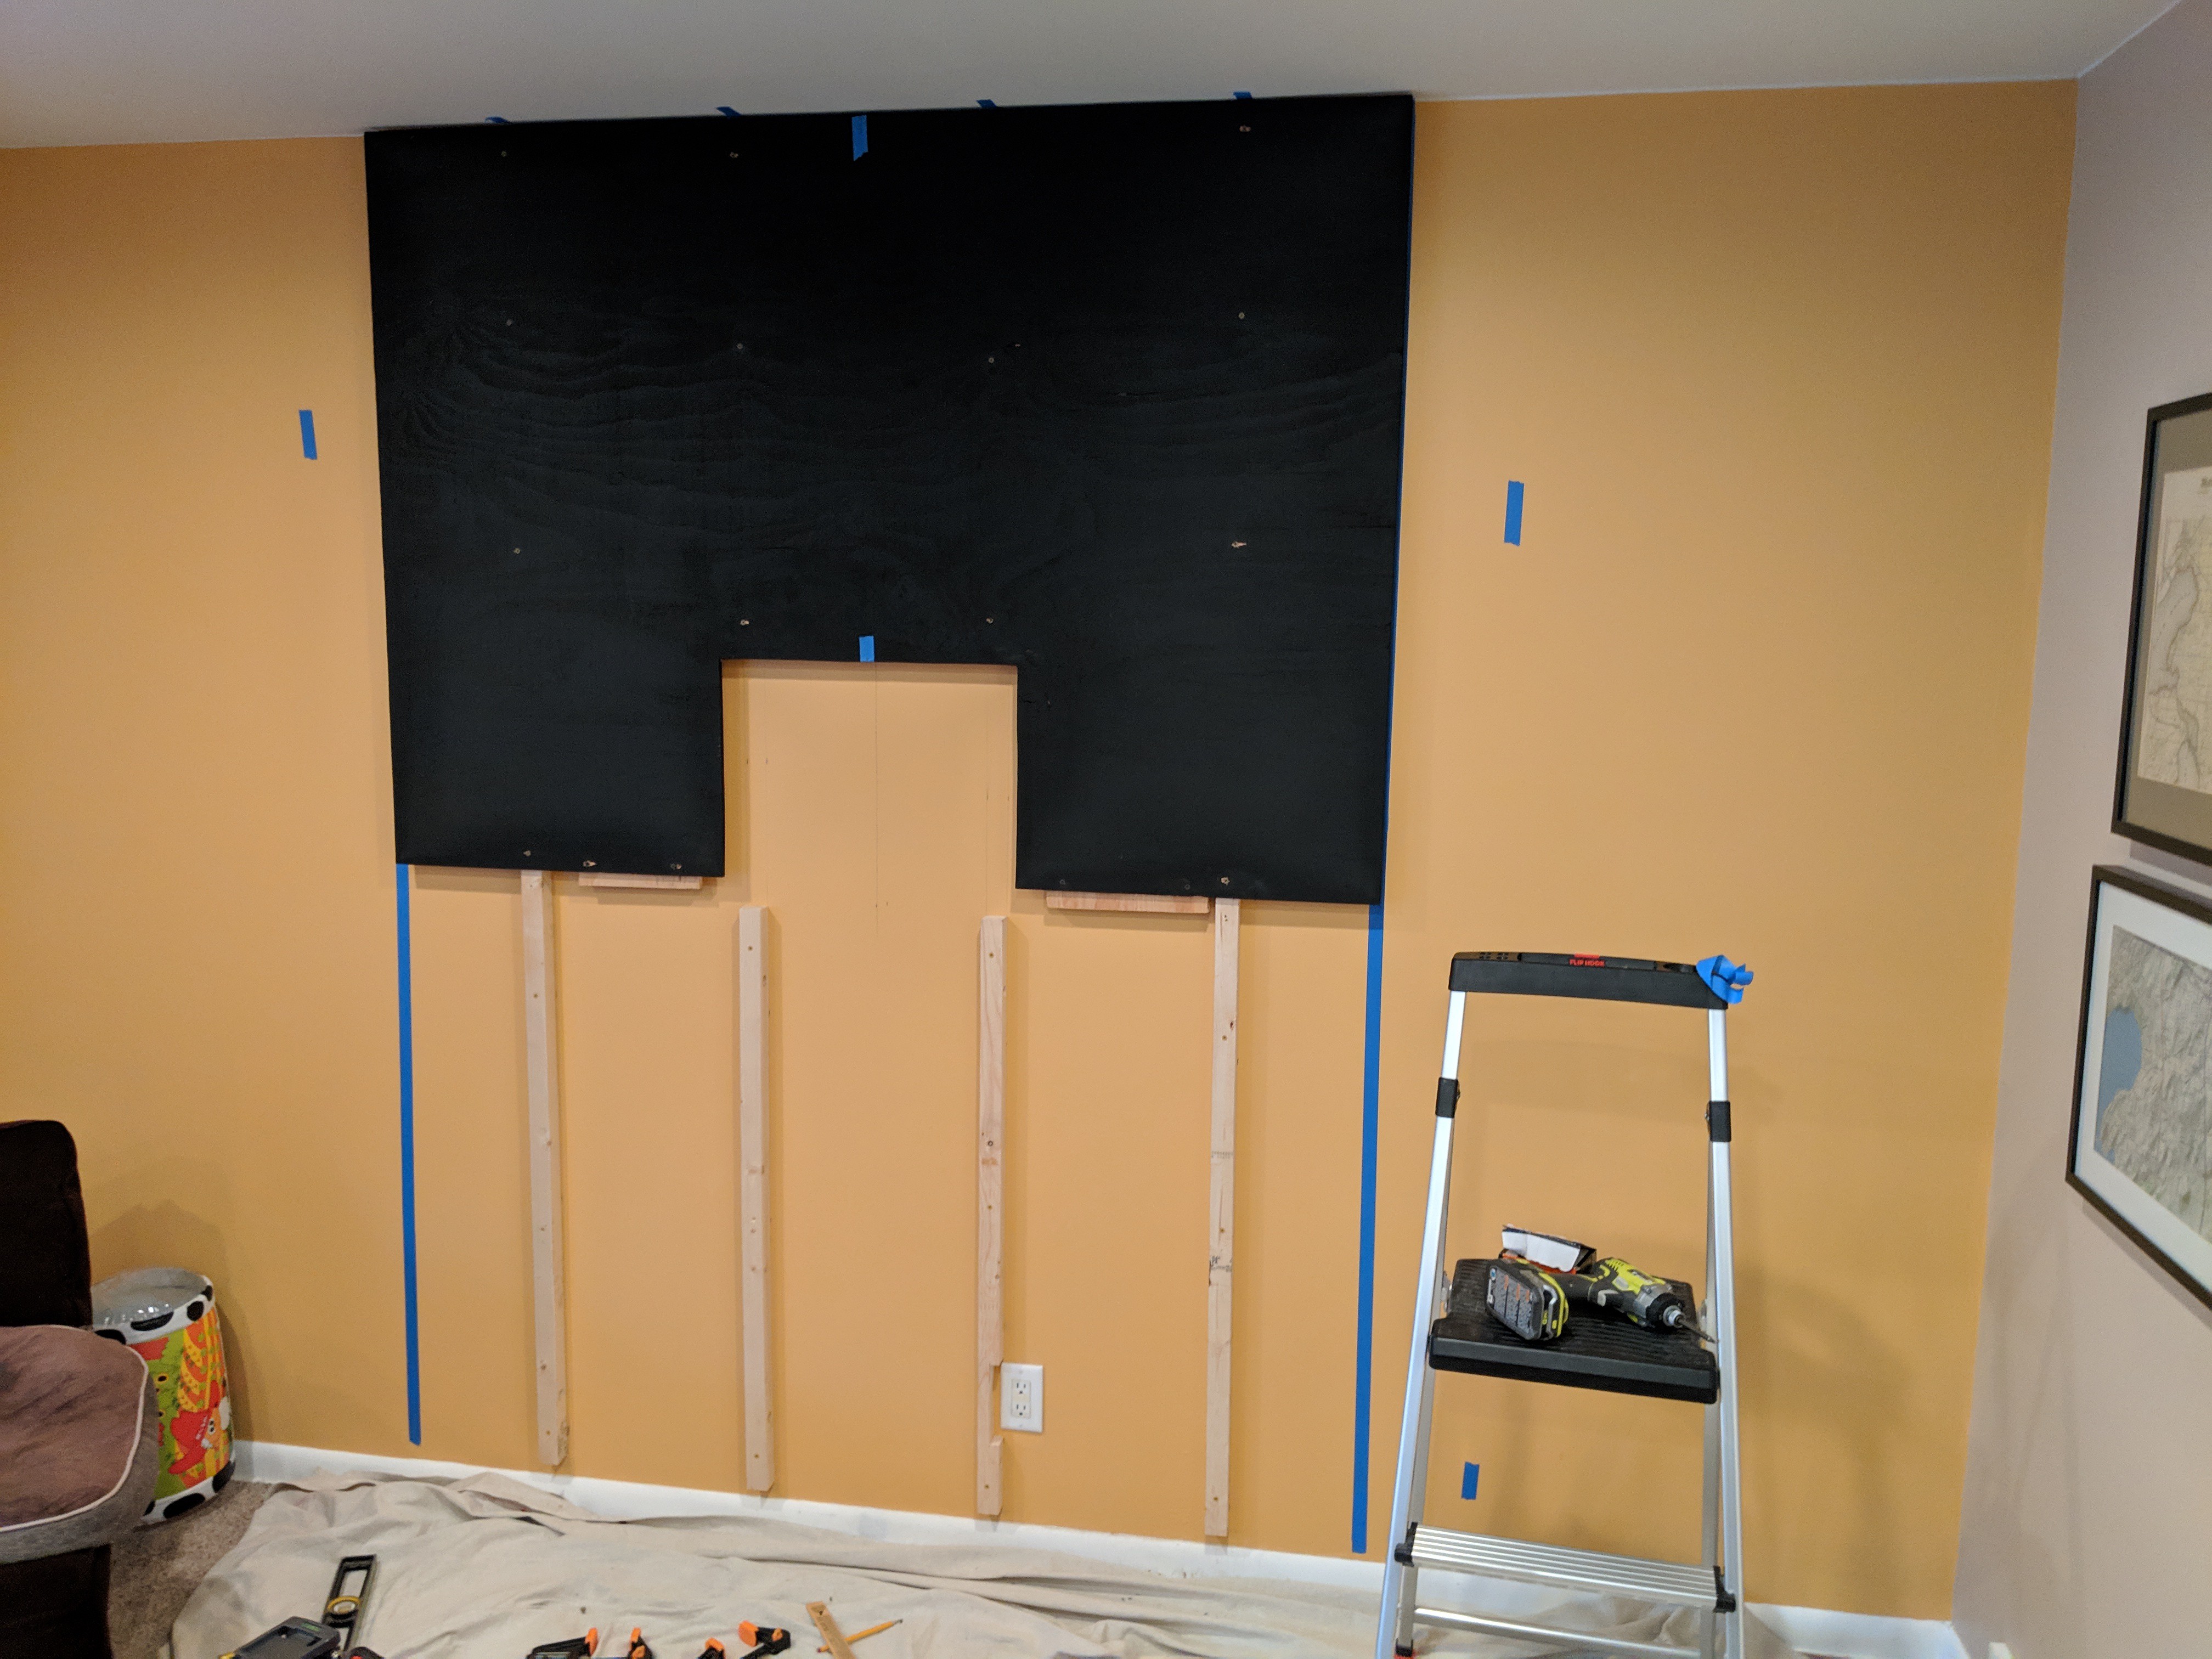
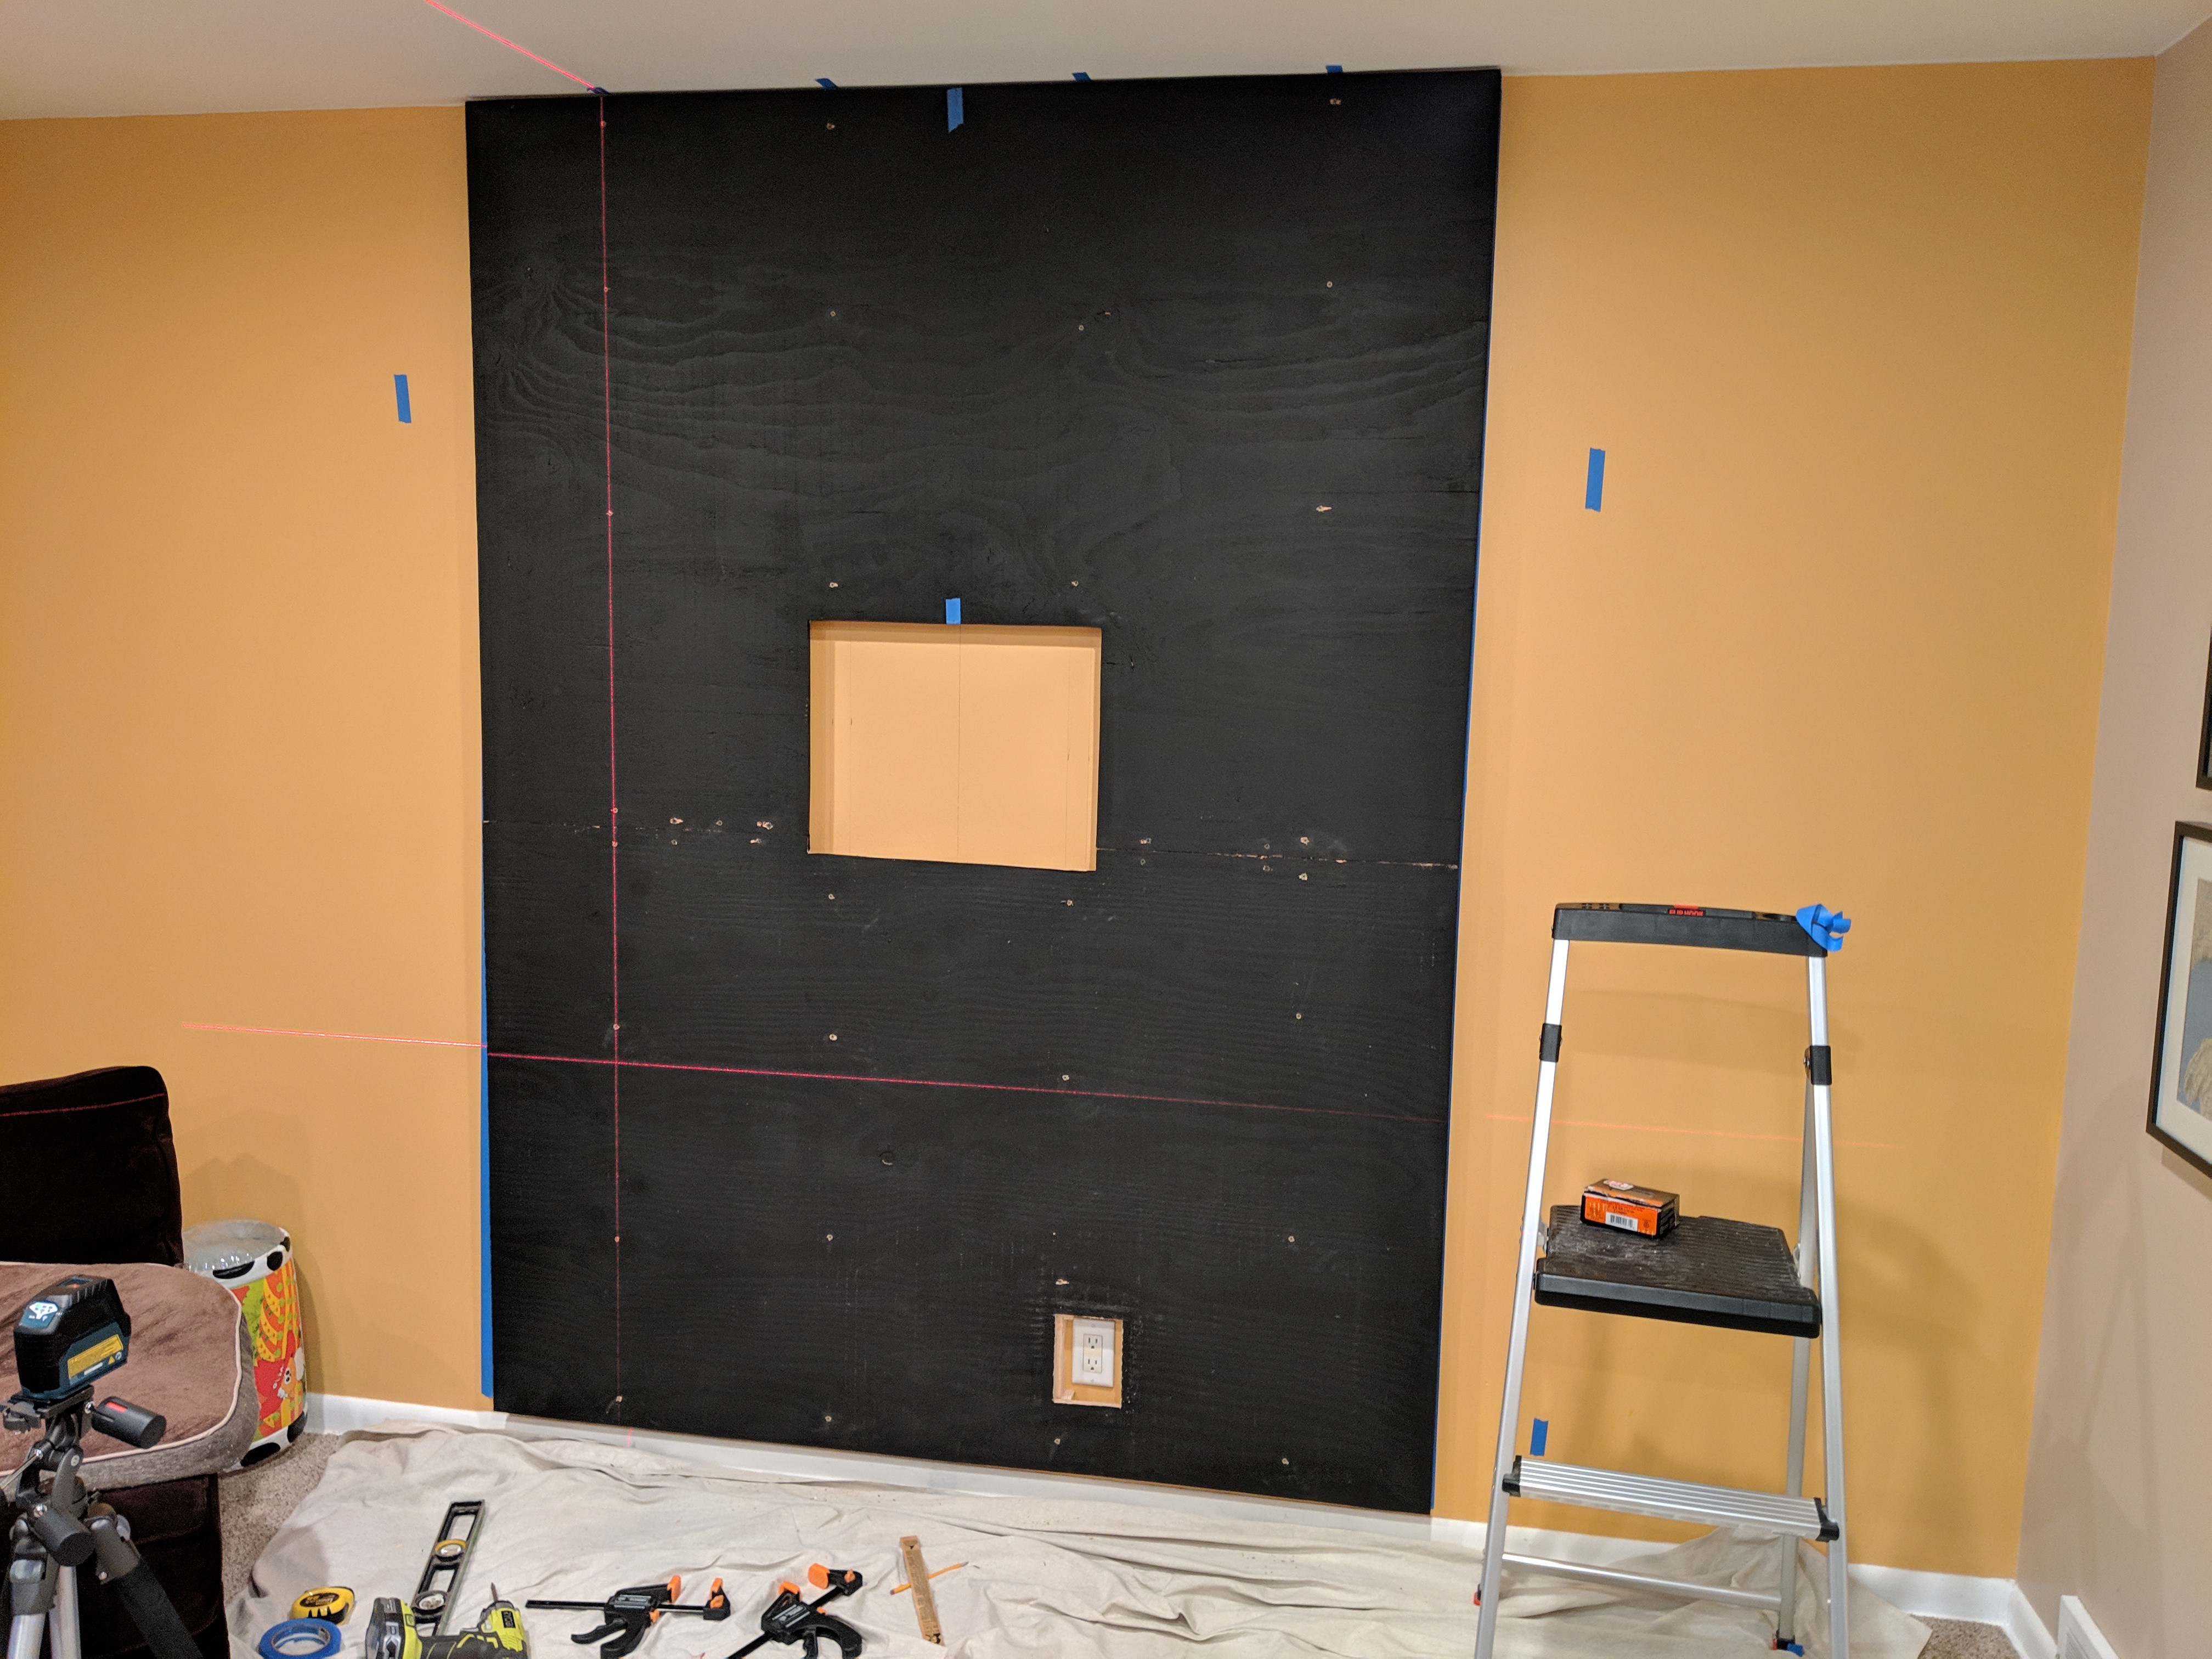
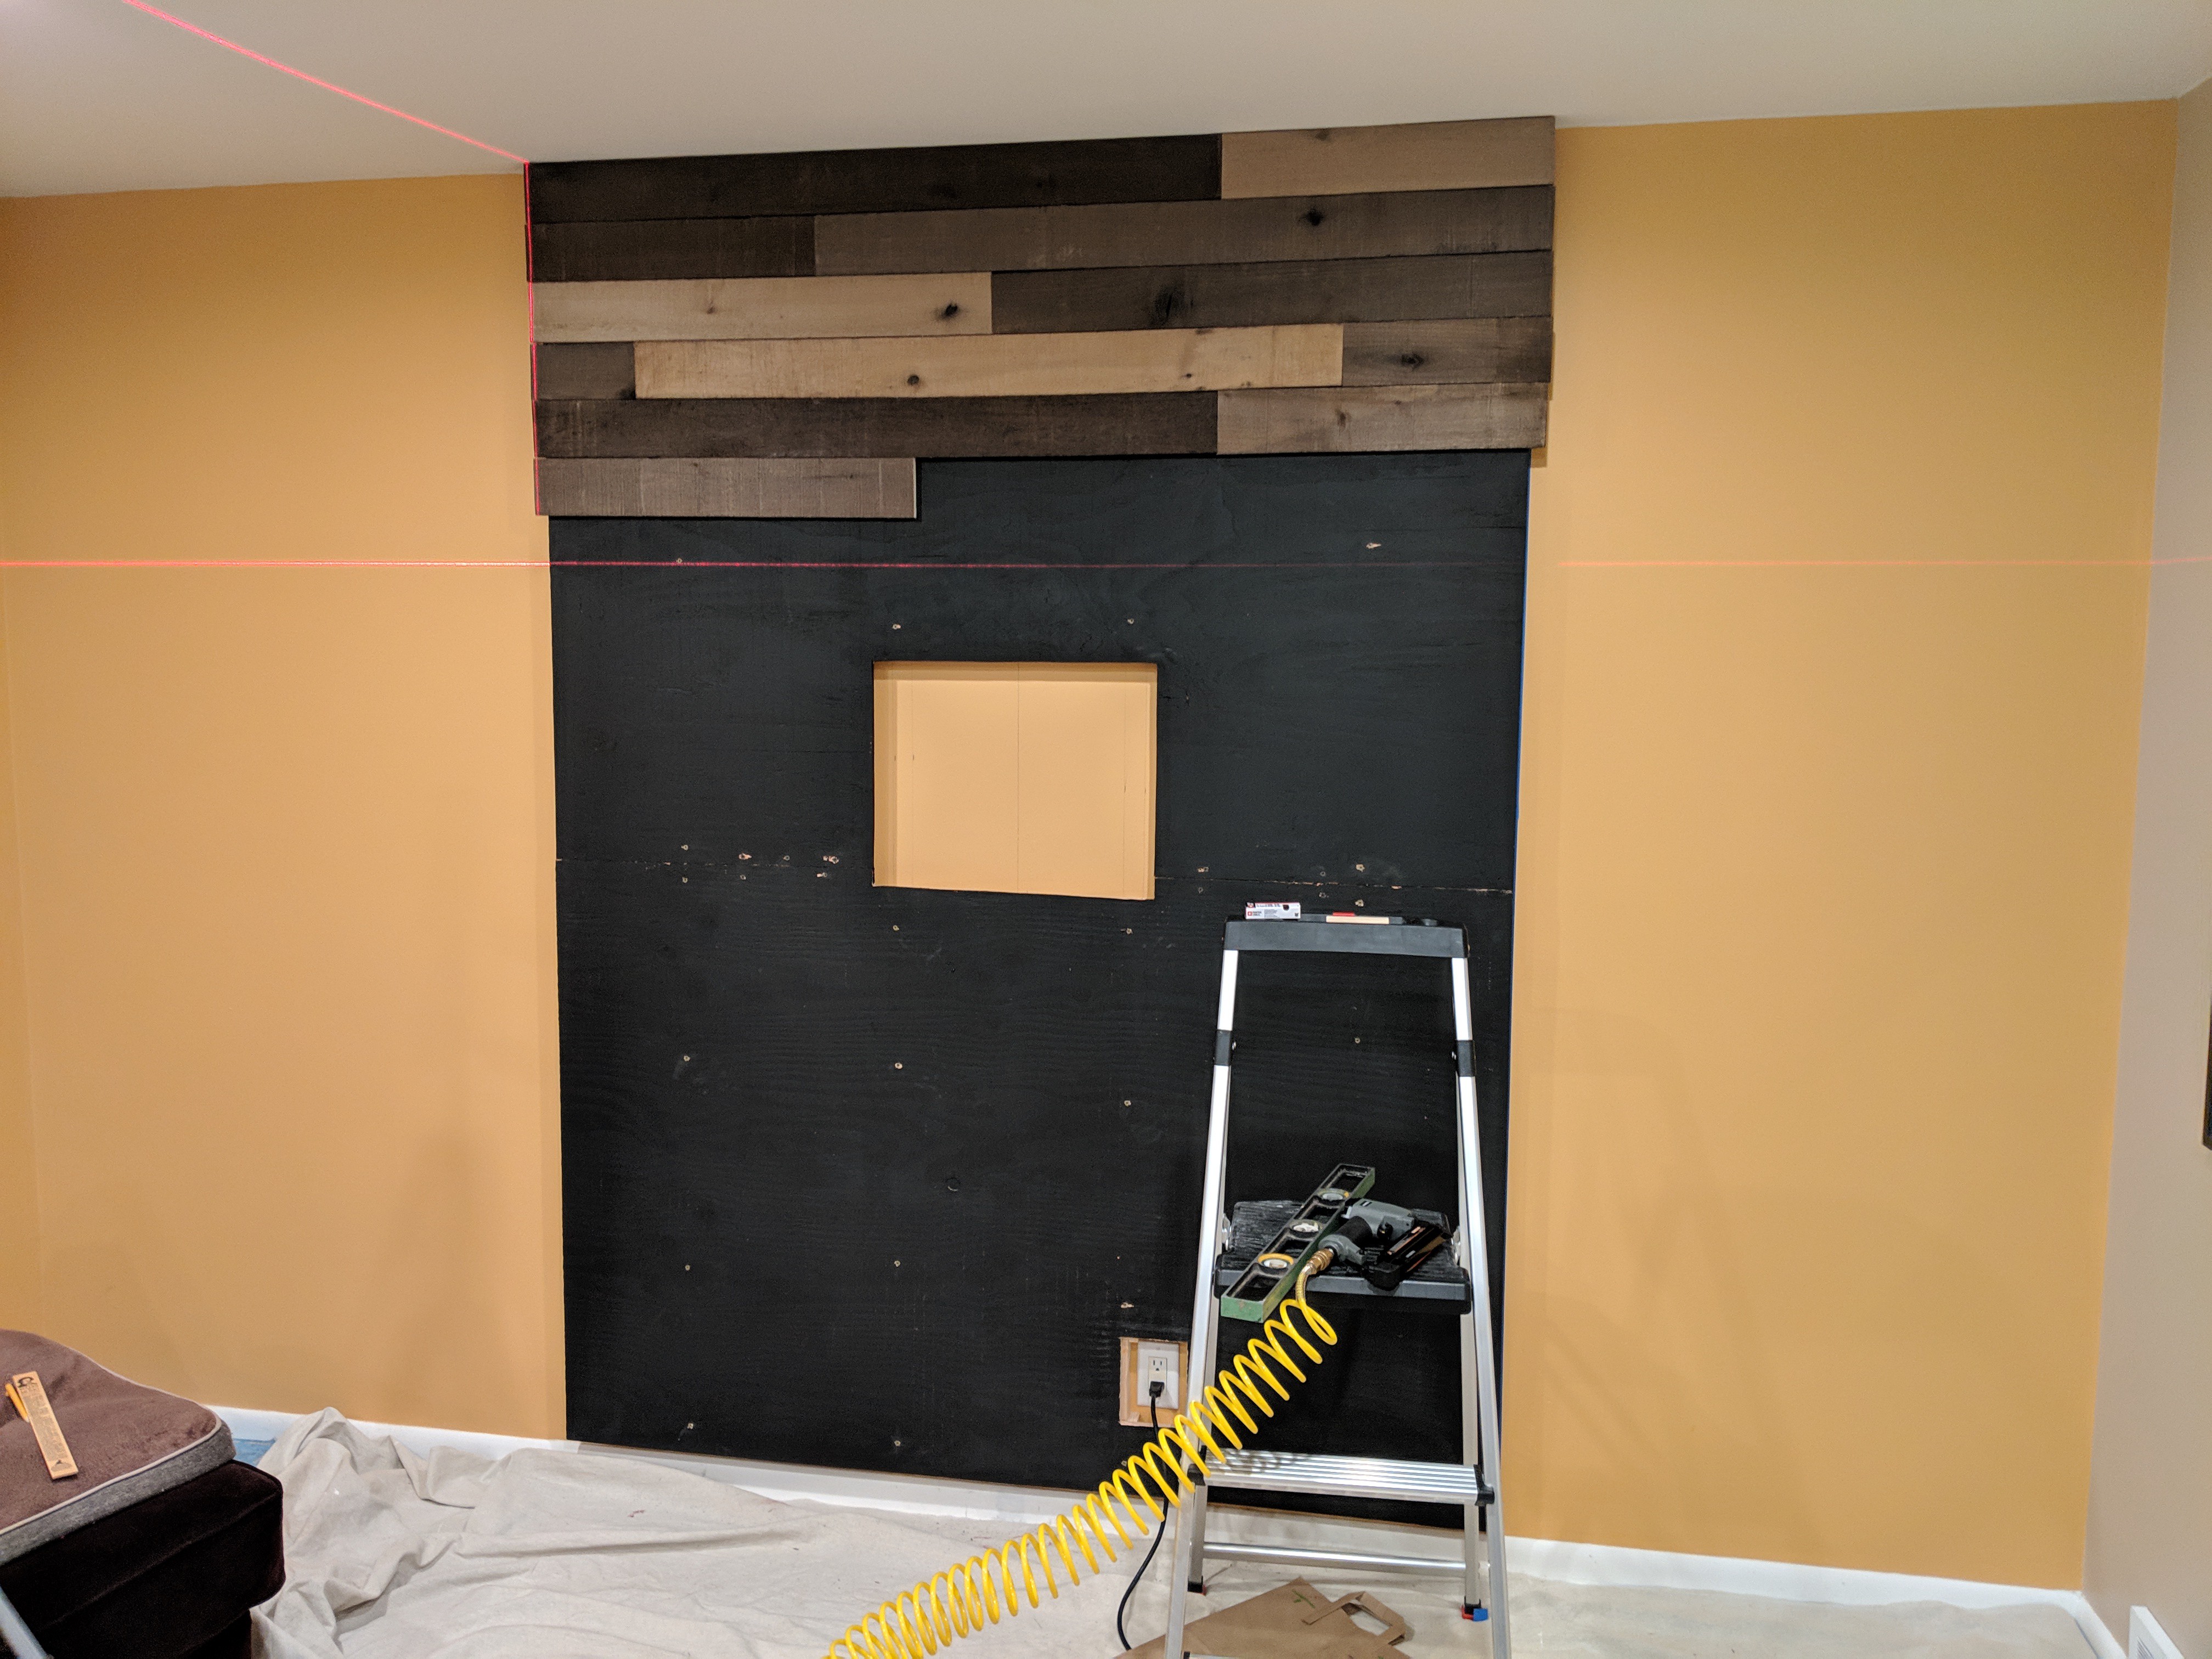
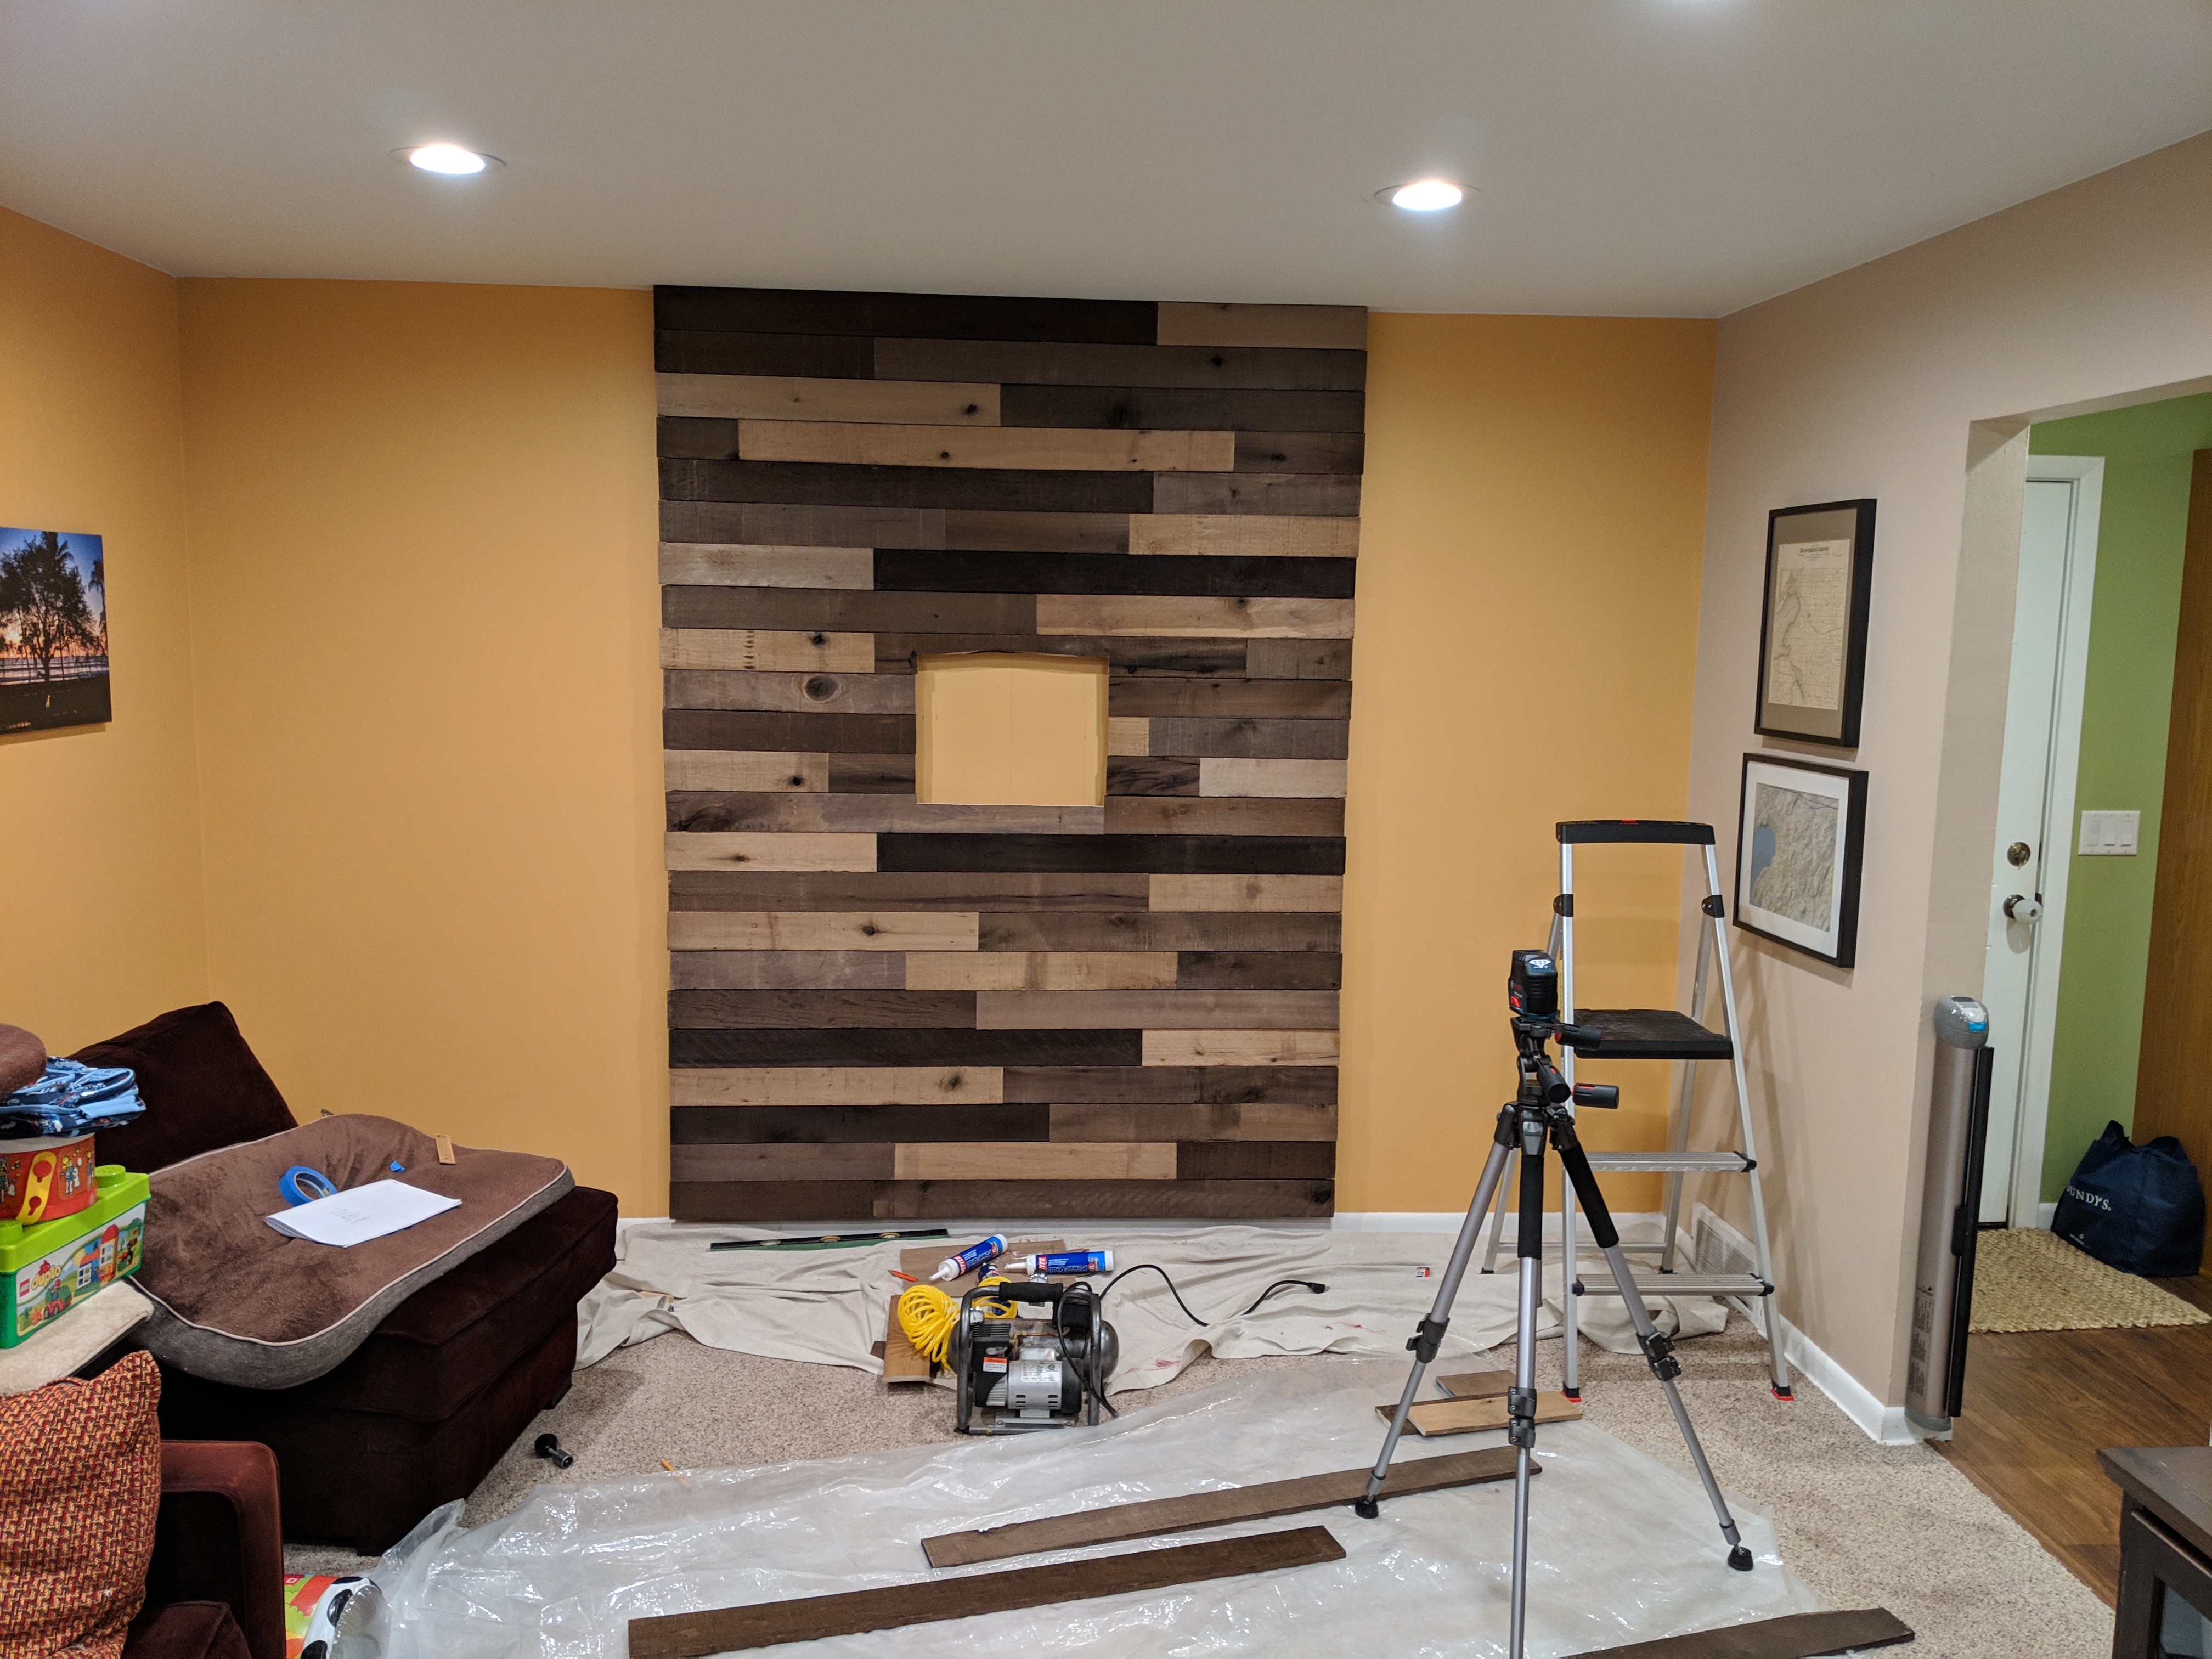
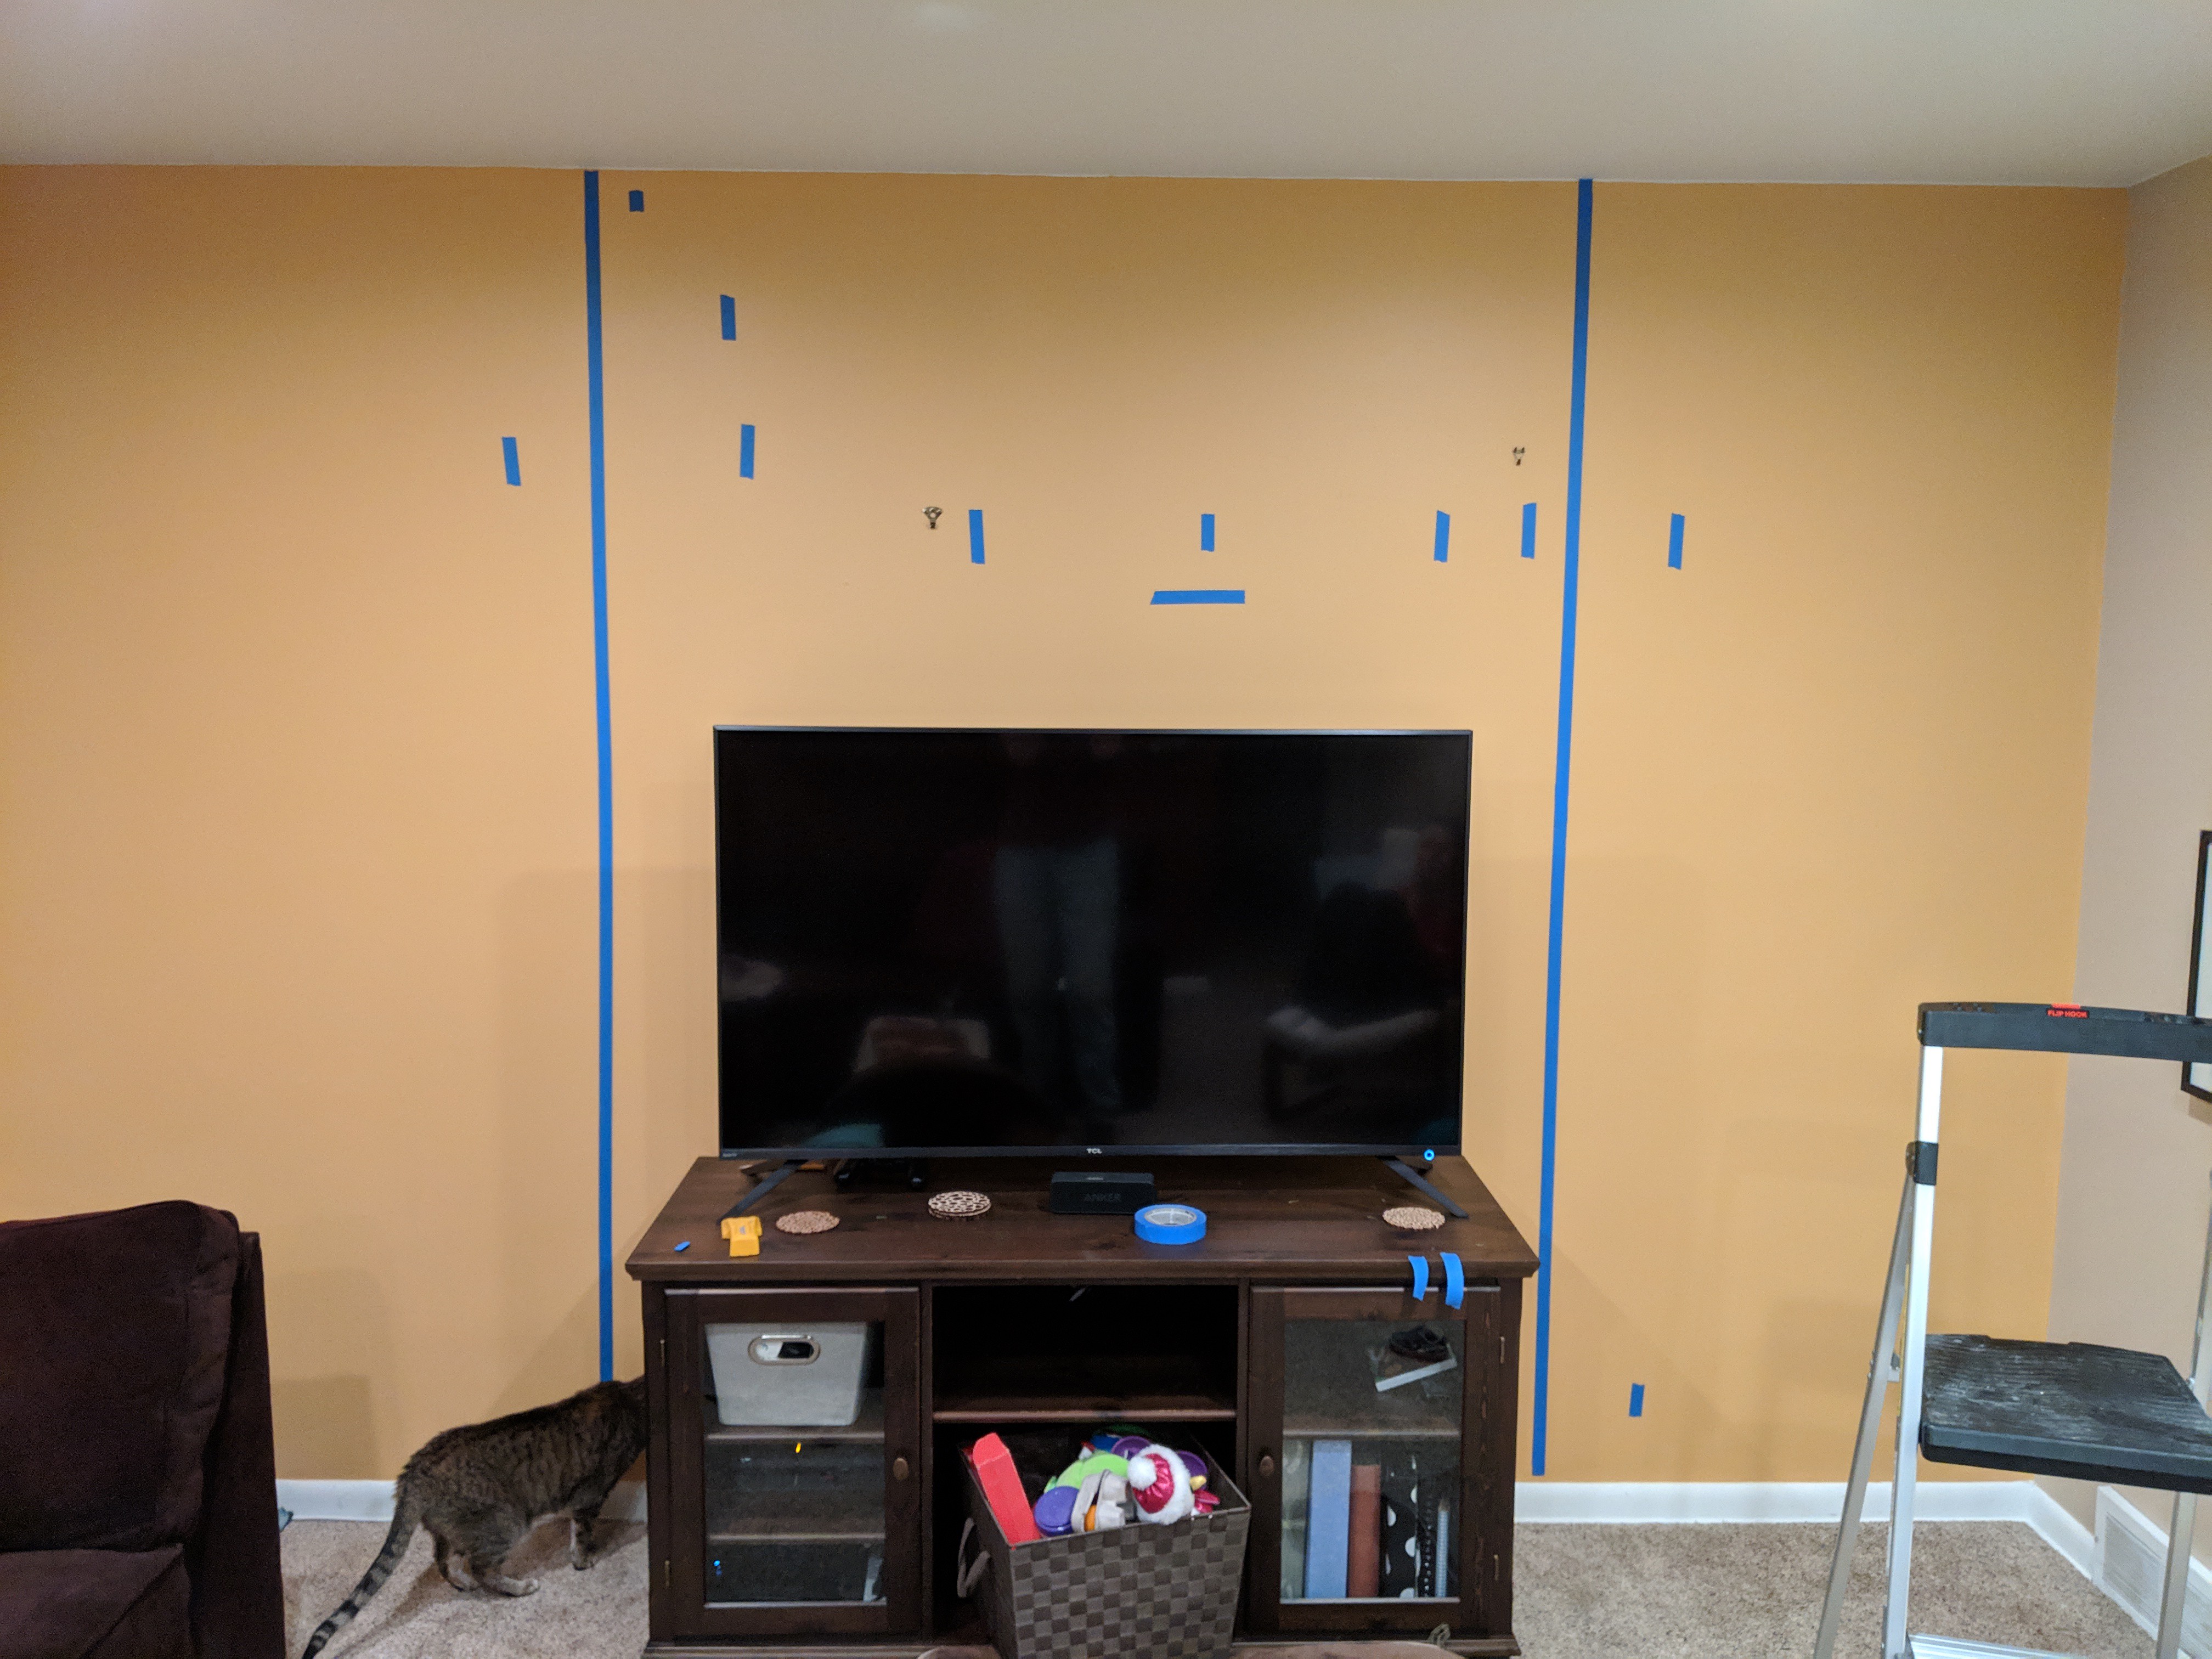
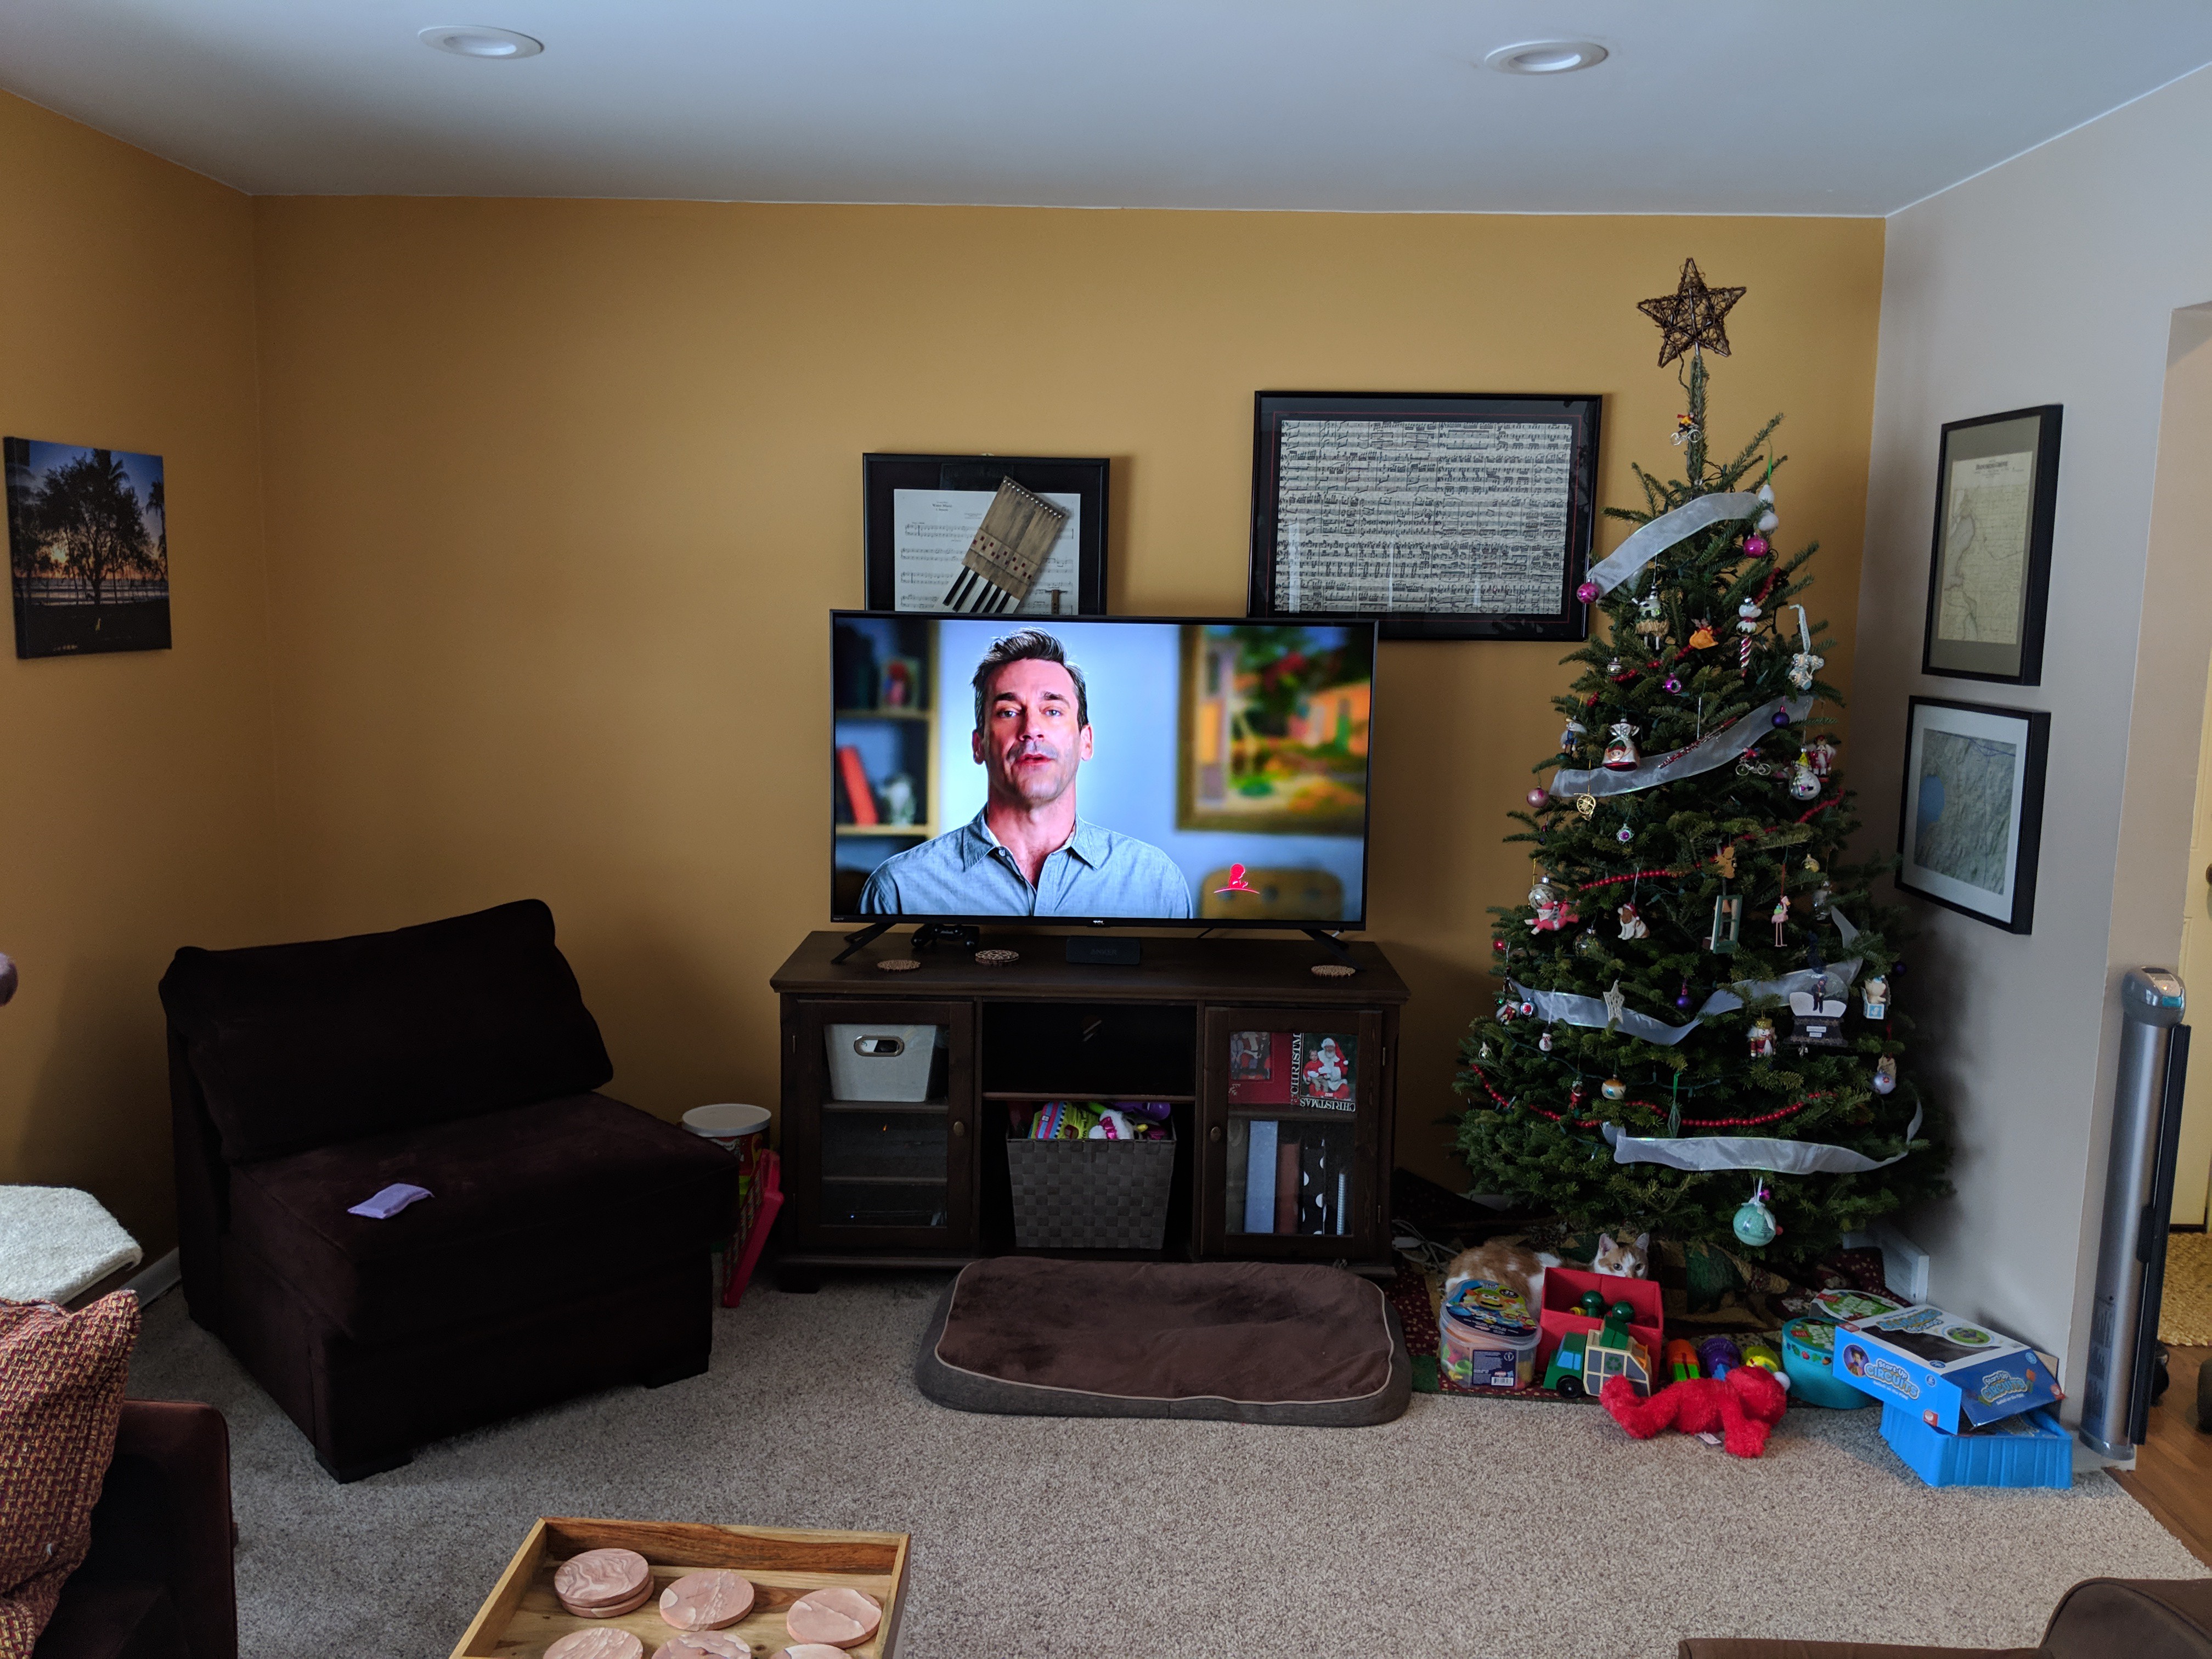
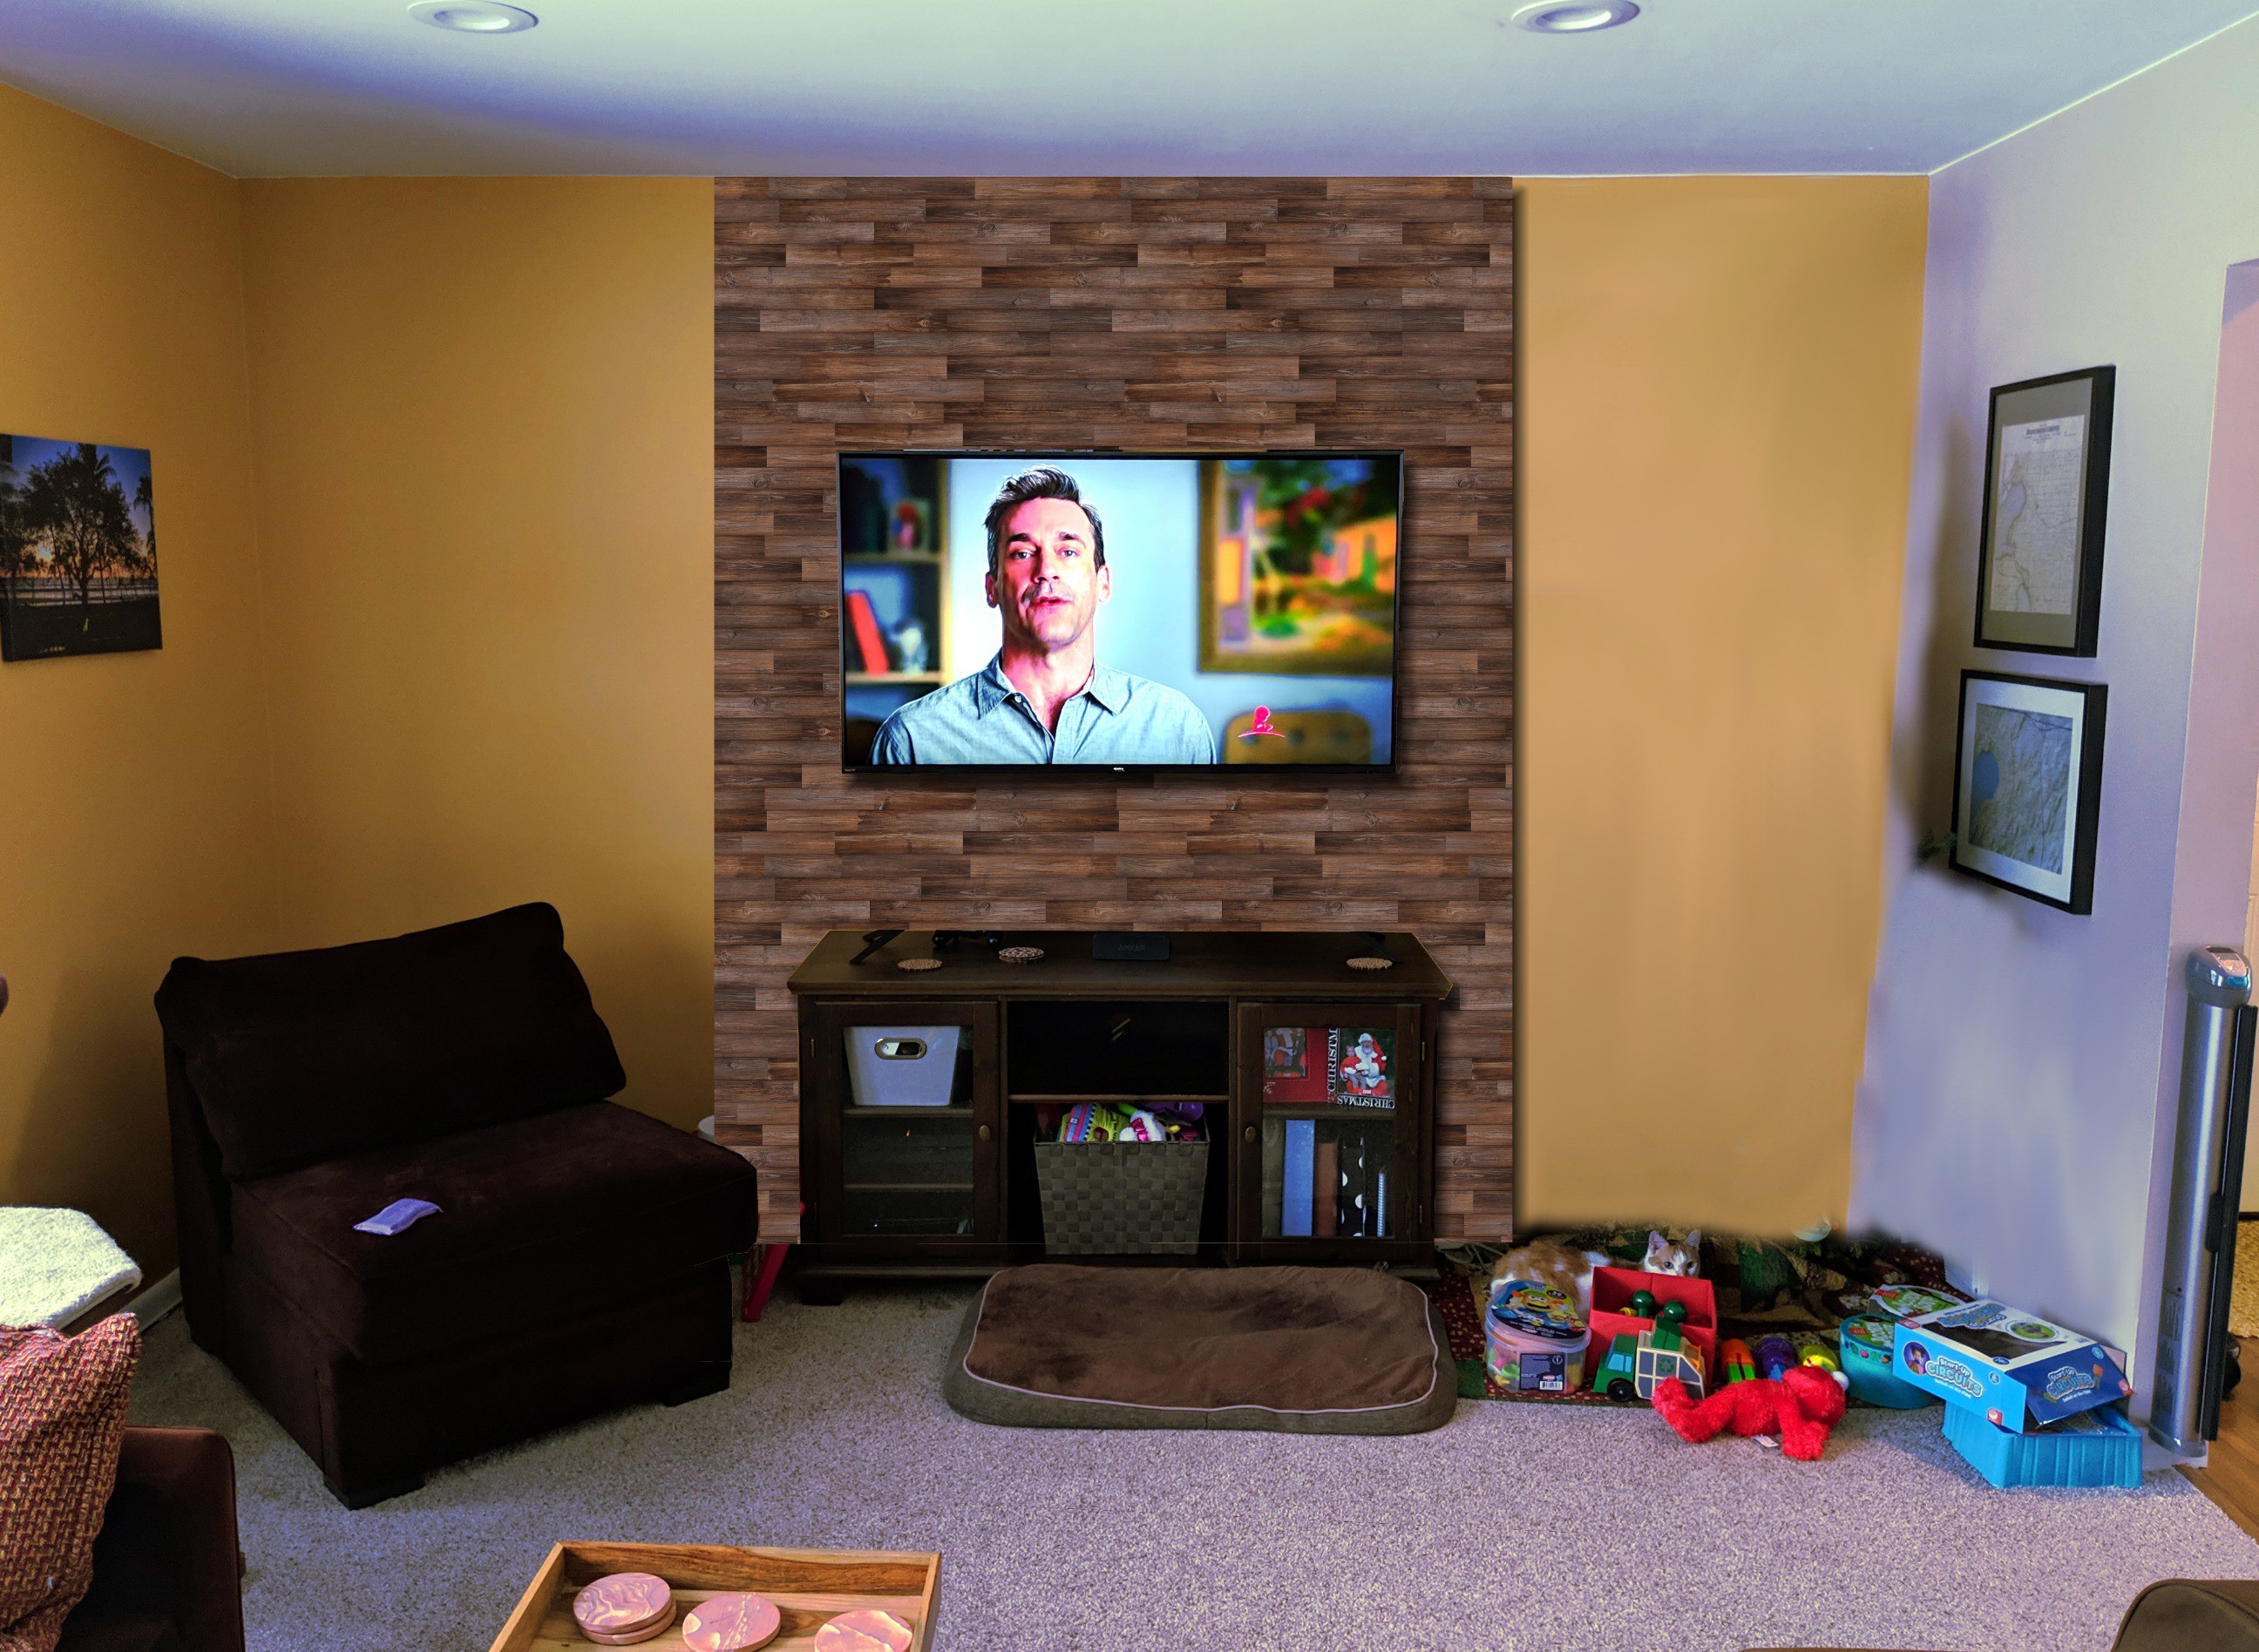
This TV wall surrounds the TV mount and provides a cable chase to hide the cords. It stands out from the wall about 1.5" inches, which also makes room for the TV mount itself.
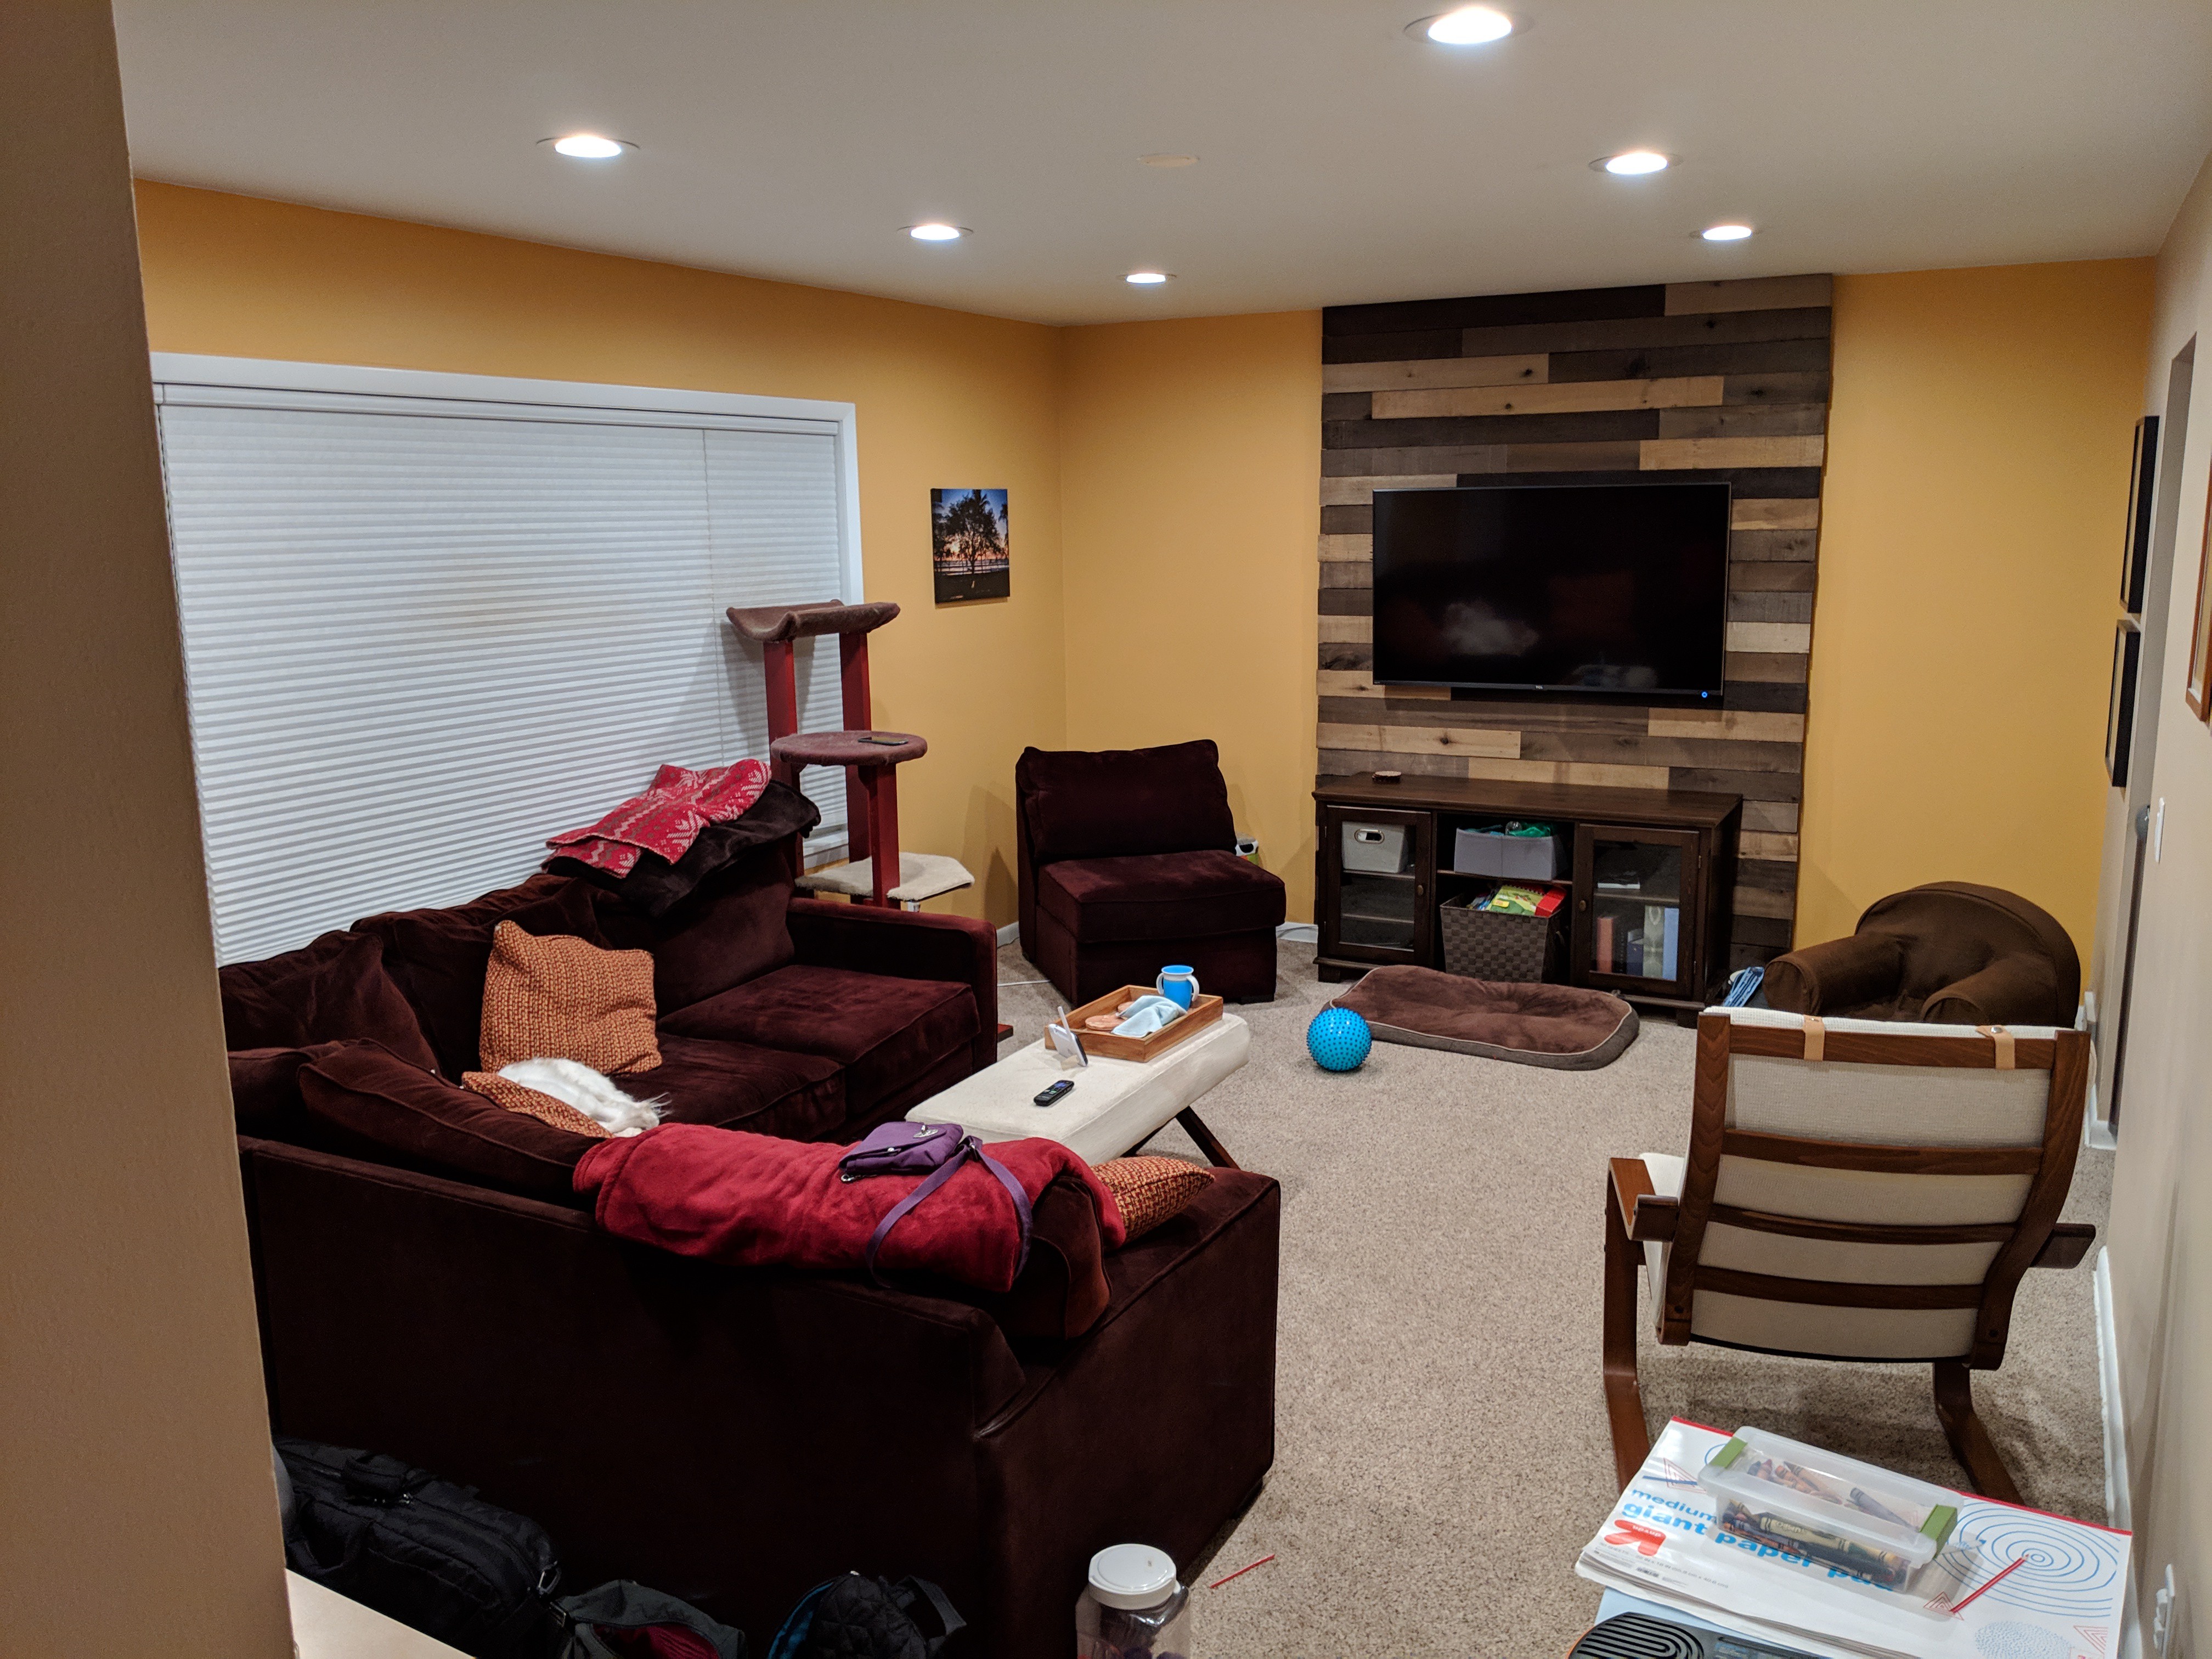
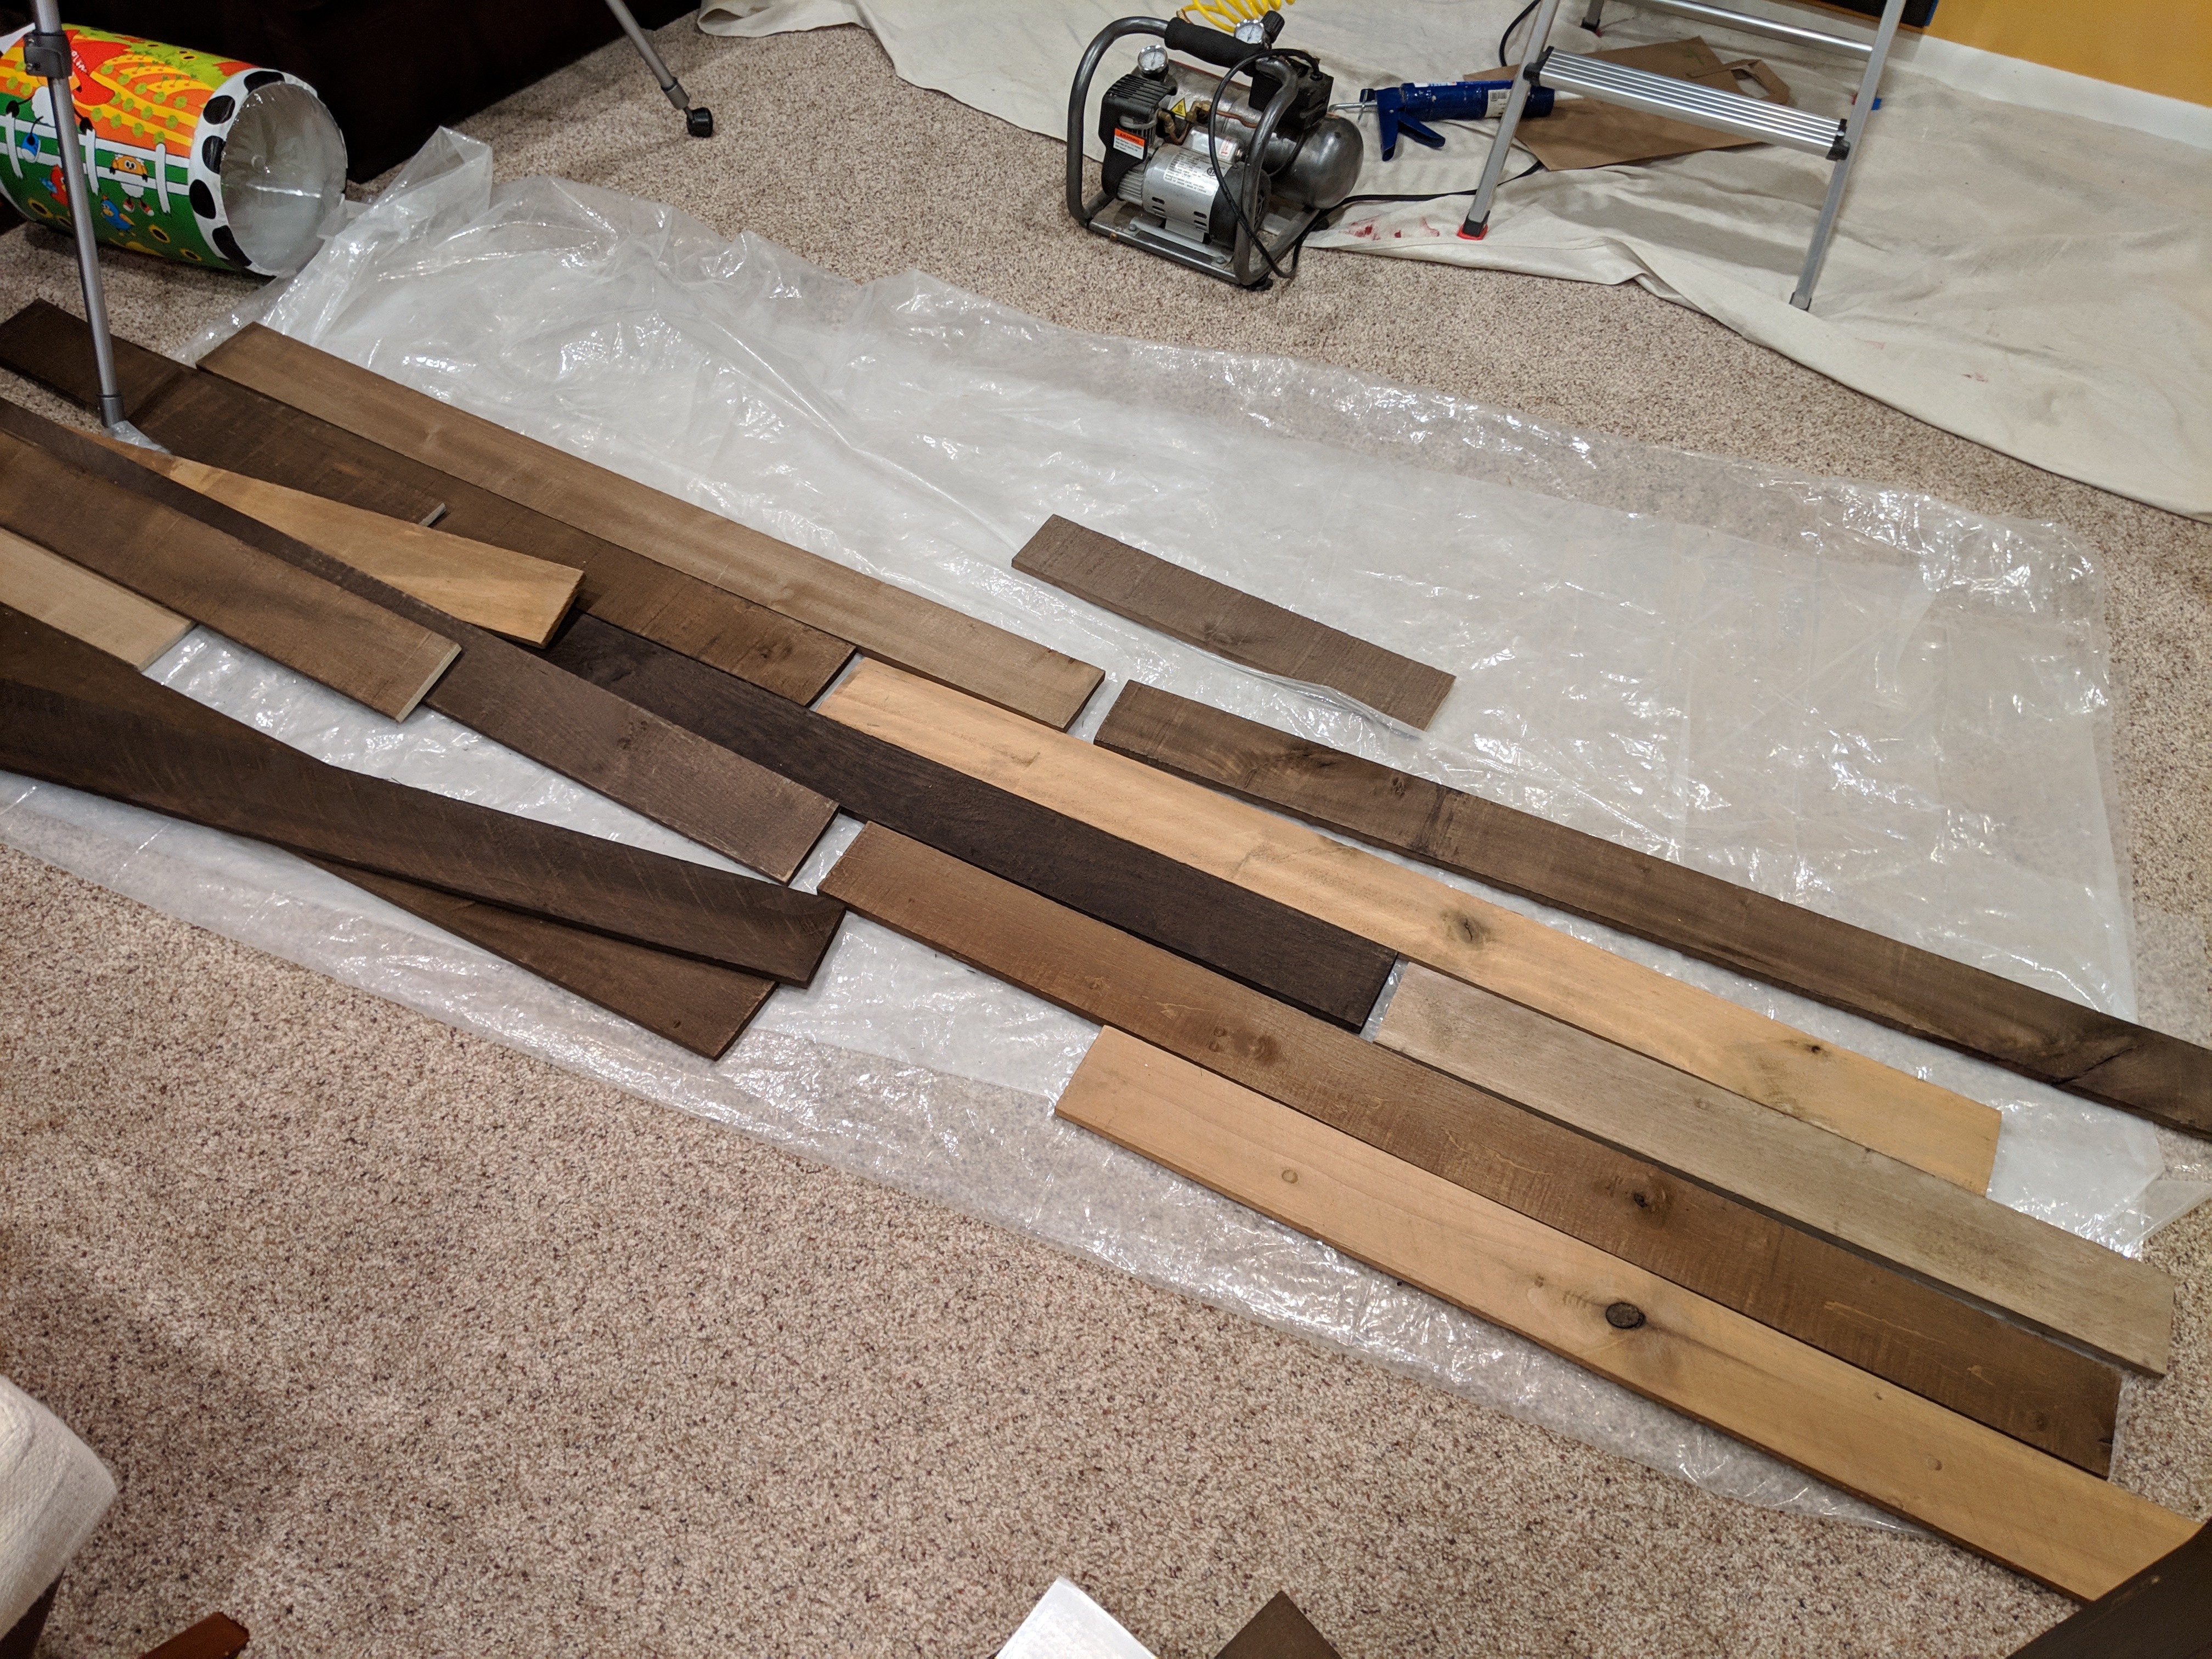
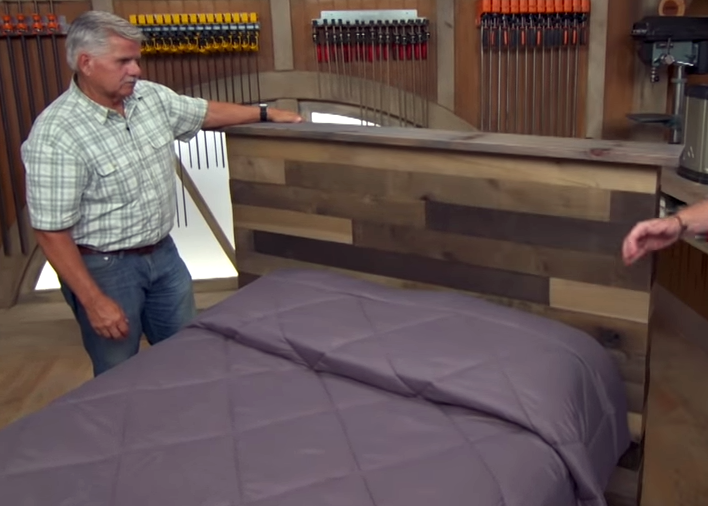
I was lucky to find a project on Ask This Old House where they used weathered boards that are easy and inexpensive to source. This way we didn't have to do any finish work on the project which saved us days of work.
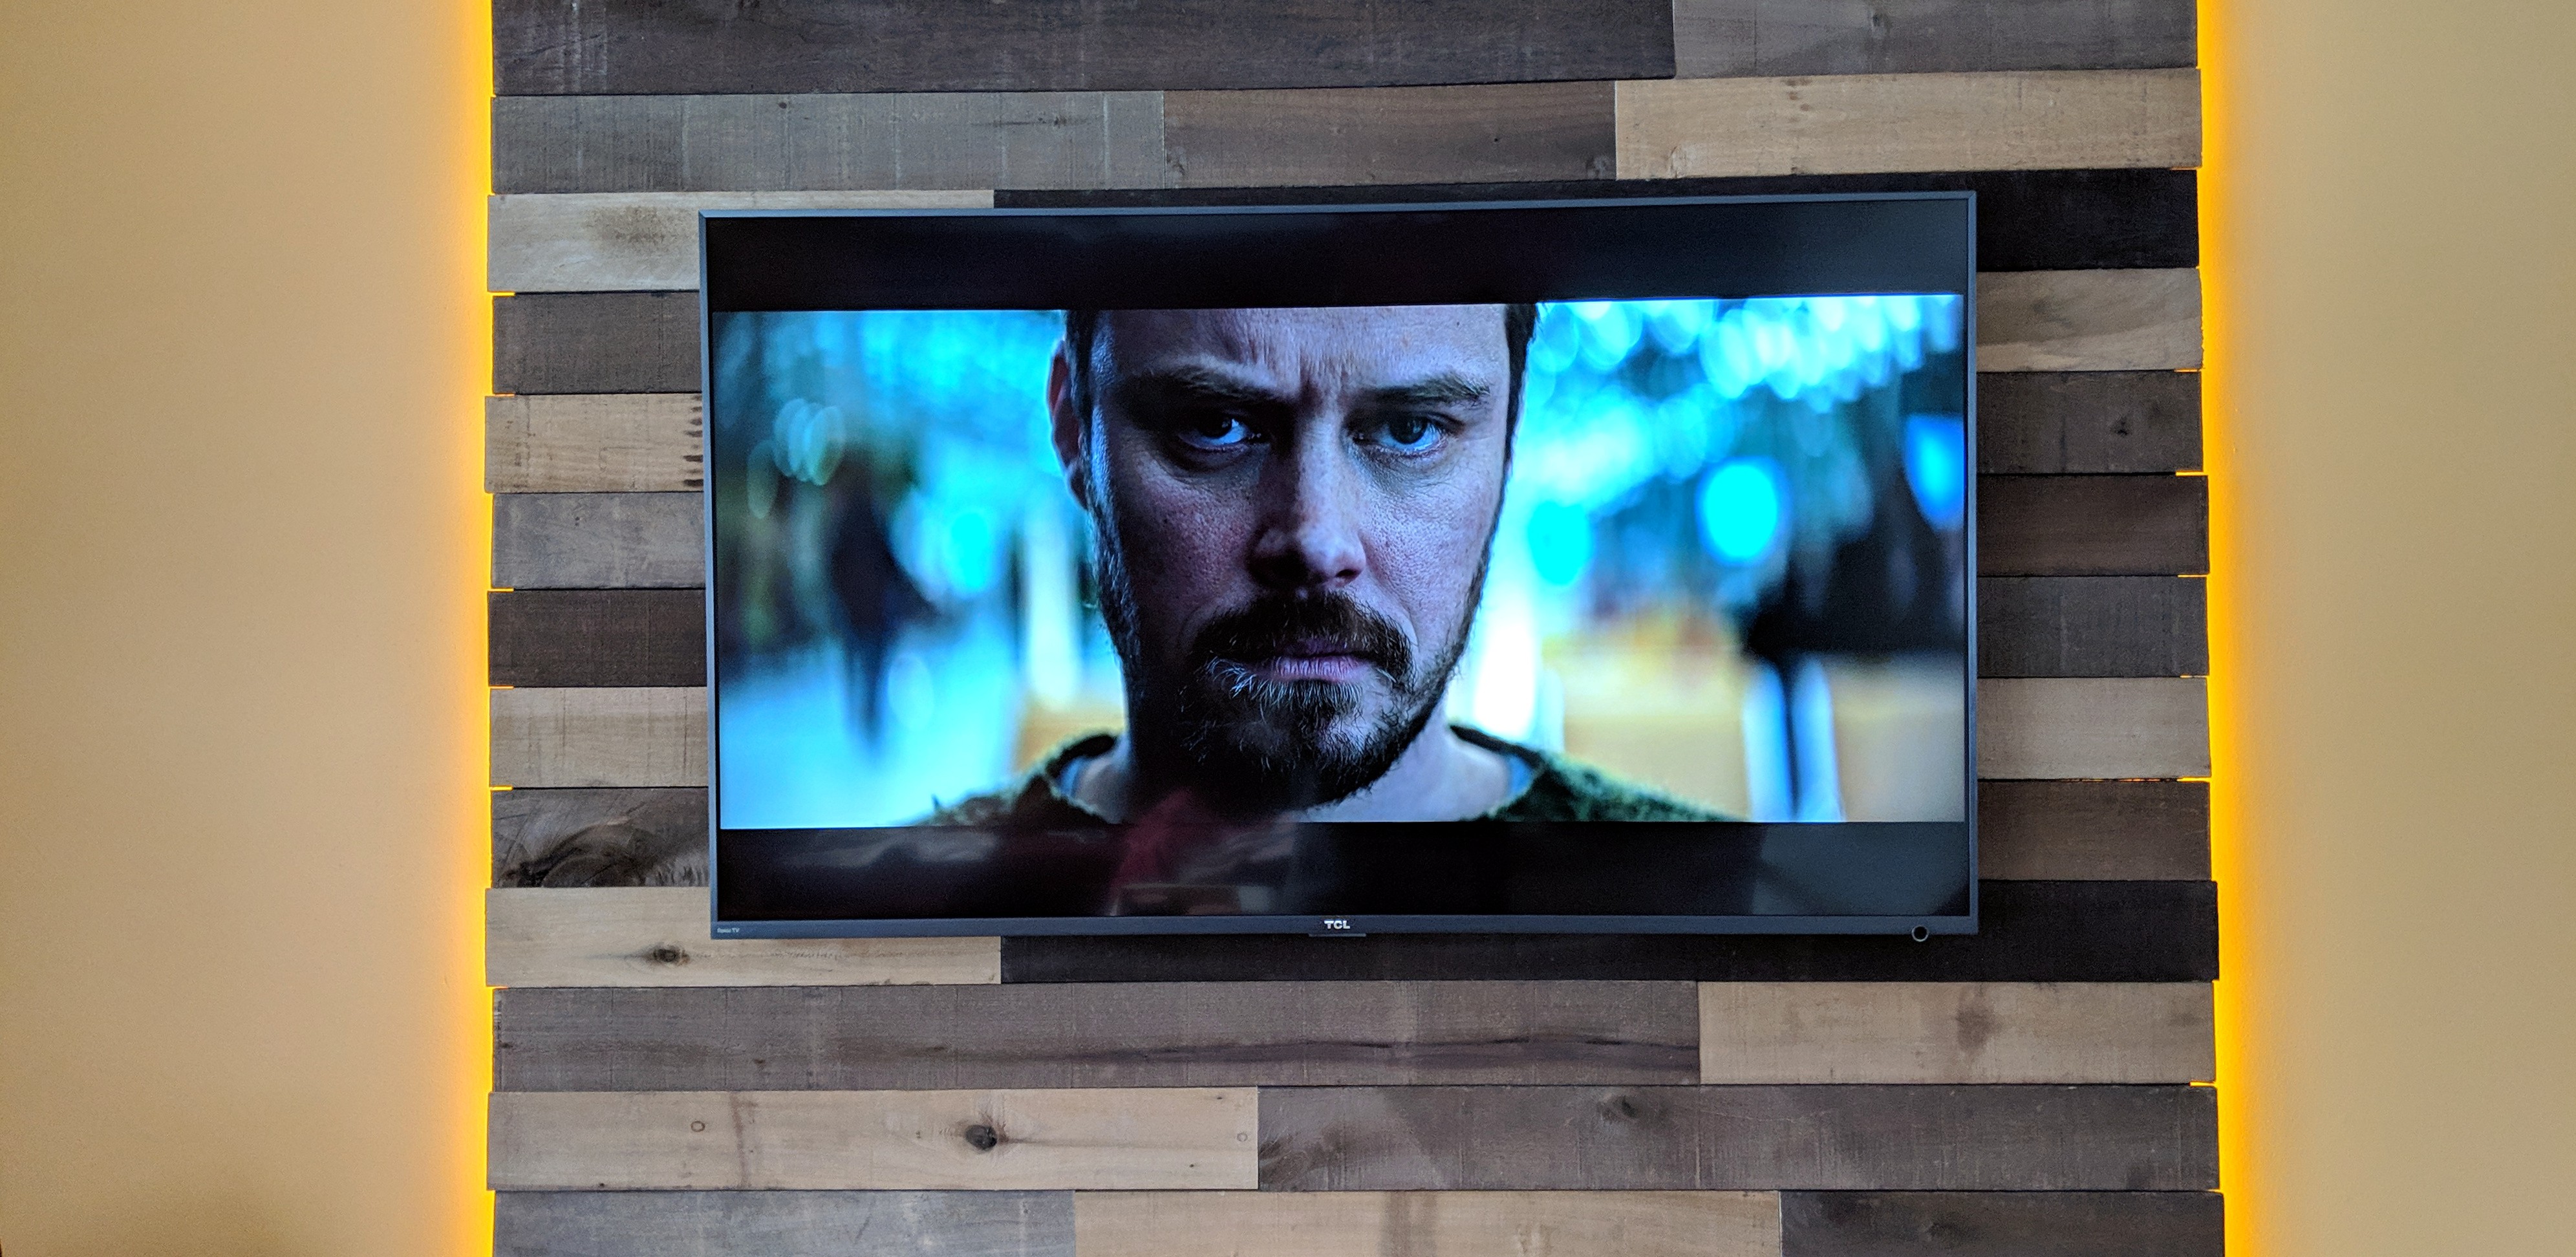
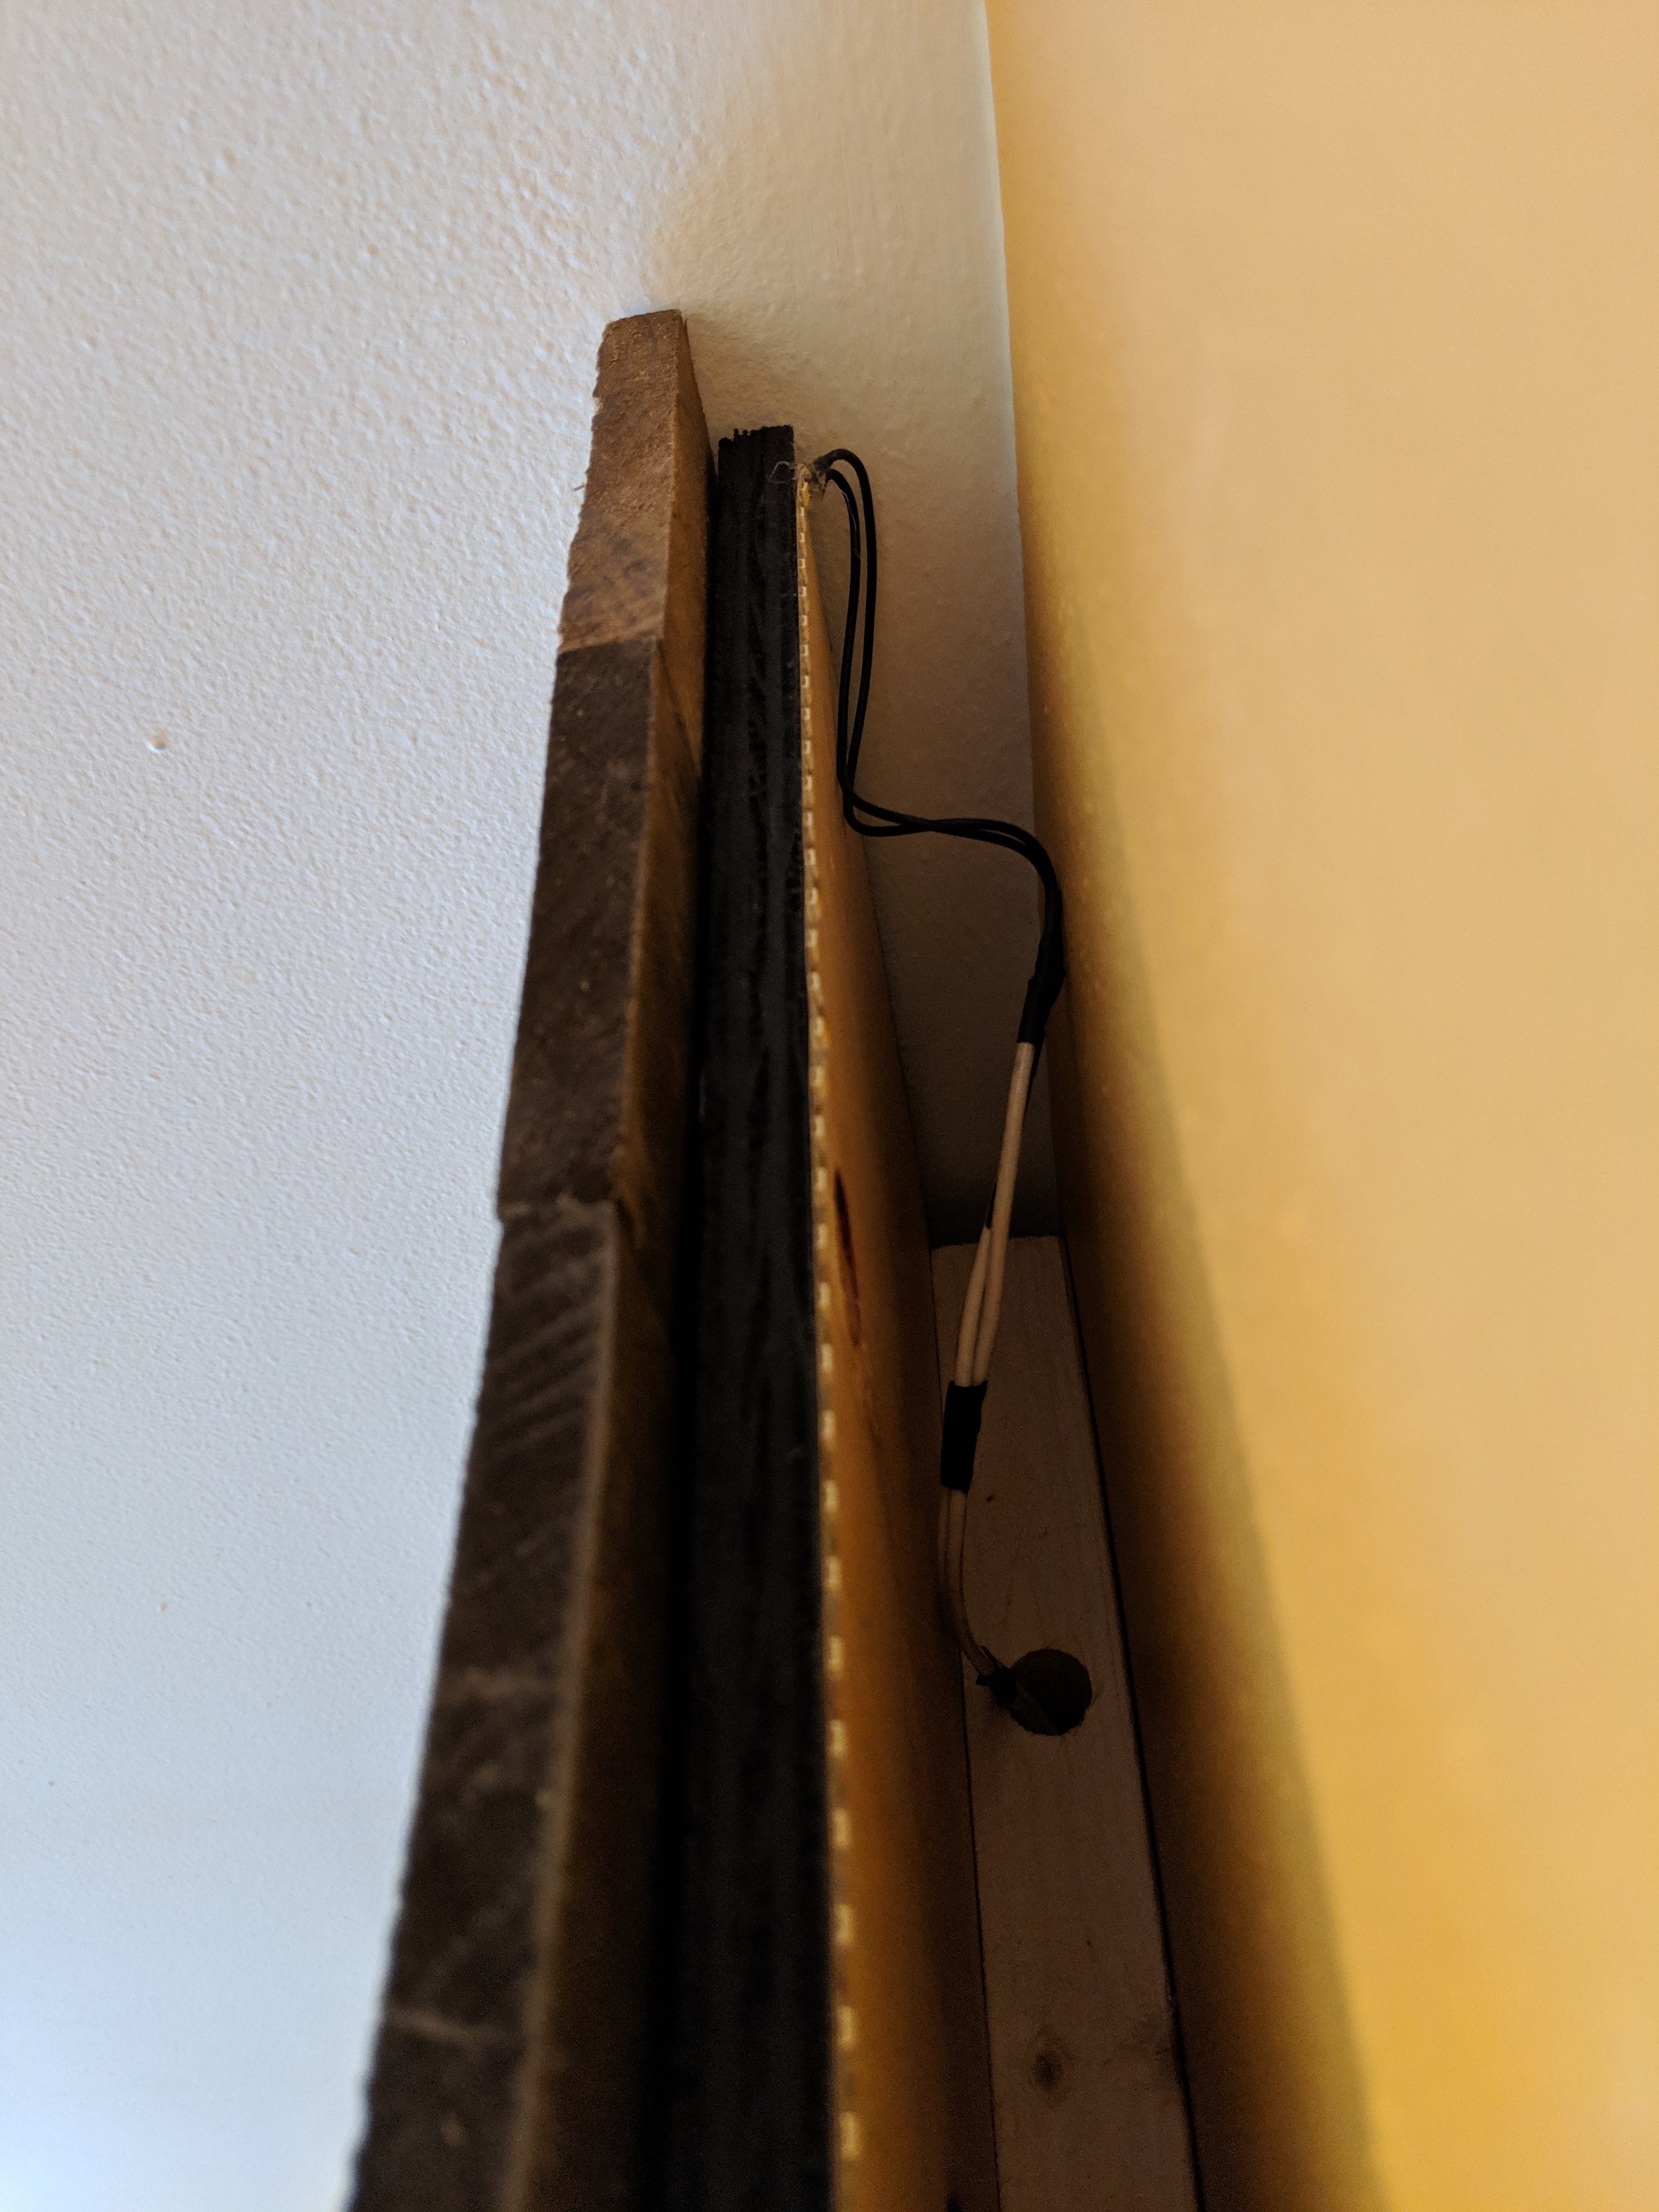
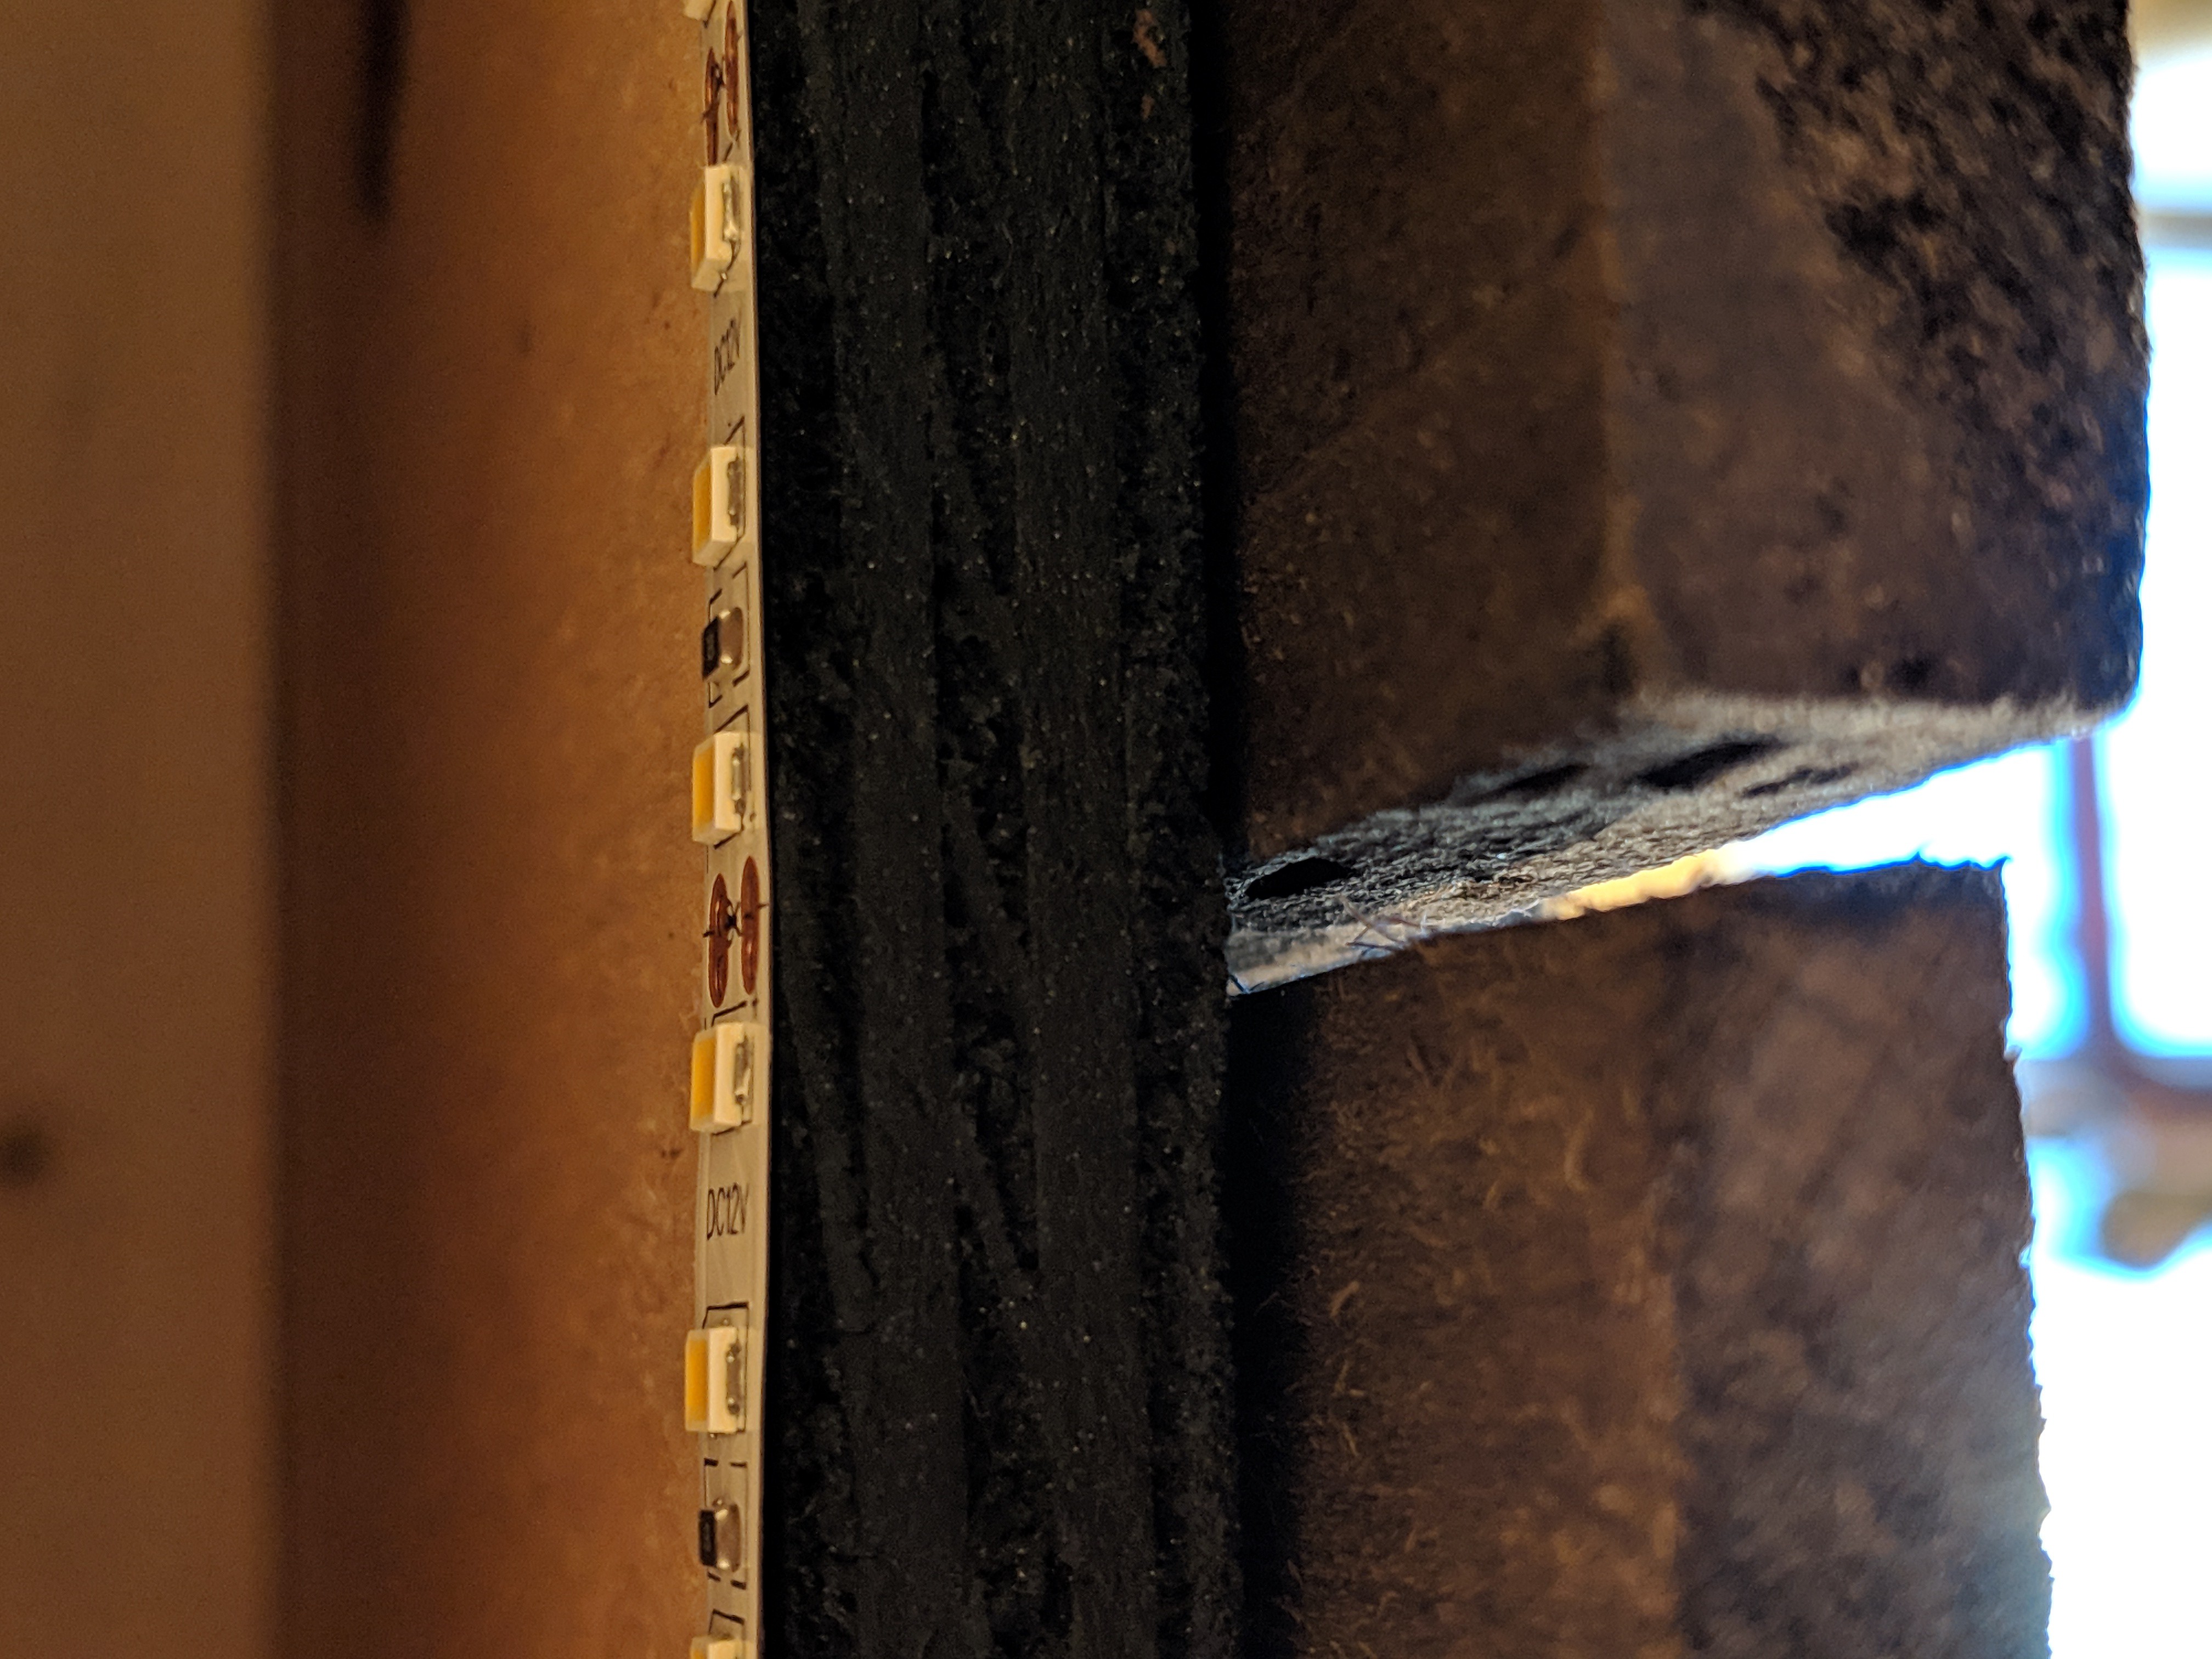
The final touch here is the backlight, which gives the left and right side a nice glow. It's okay when the light is off, but having it on really gives life to this wall.
Tools Used:
- Circular saw
- Compound mitrebox saw
- Jig saw
- Hand saw
- Hand drill
- Impact Driver
- pin nailer (and compressor)
- caulking gun
- laser level
- 4 foot level
- stud finder
Cost:
- Lumber: $61
- Weathered Boards: $125
- Fasteners and Adhesive: $23
- Paint: $13
- TV Mount: $39
- LEDs: $16
- Tools (saw blades, pin nailer): $57
- Total about: $334
Considering how cheap of a hold out I was on the TV, this is shockingly expensive. But it turned out really nicely, and as you can tell we don't have a lot of decorations on our walls as it is. This makes the room look much nicer, and solved the problem of how to mount the TV without unsightly cords!
 Mike Szczys


 matthewkleinmann
 WJCarpenter
 Tina Belmont
My father did a similar thing adding a black backsplash/background piece to our TV cabinet in 2009, he'd think this is pretty cool, same basic idea but I like how you used lights and the wood planks, we did plywood covered in black fabric.