Close
0%
0%

A TV Wall to Hide the Cords

Building an elaborate (possibly stylish) way to hang a TV without visible cords

Similar projects worth following
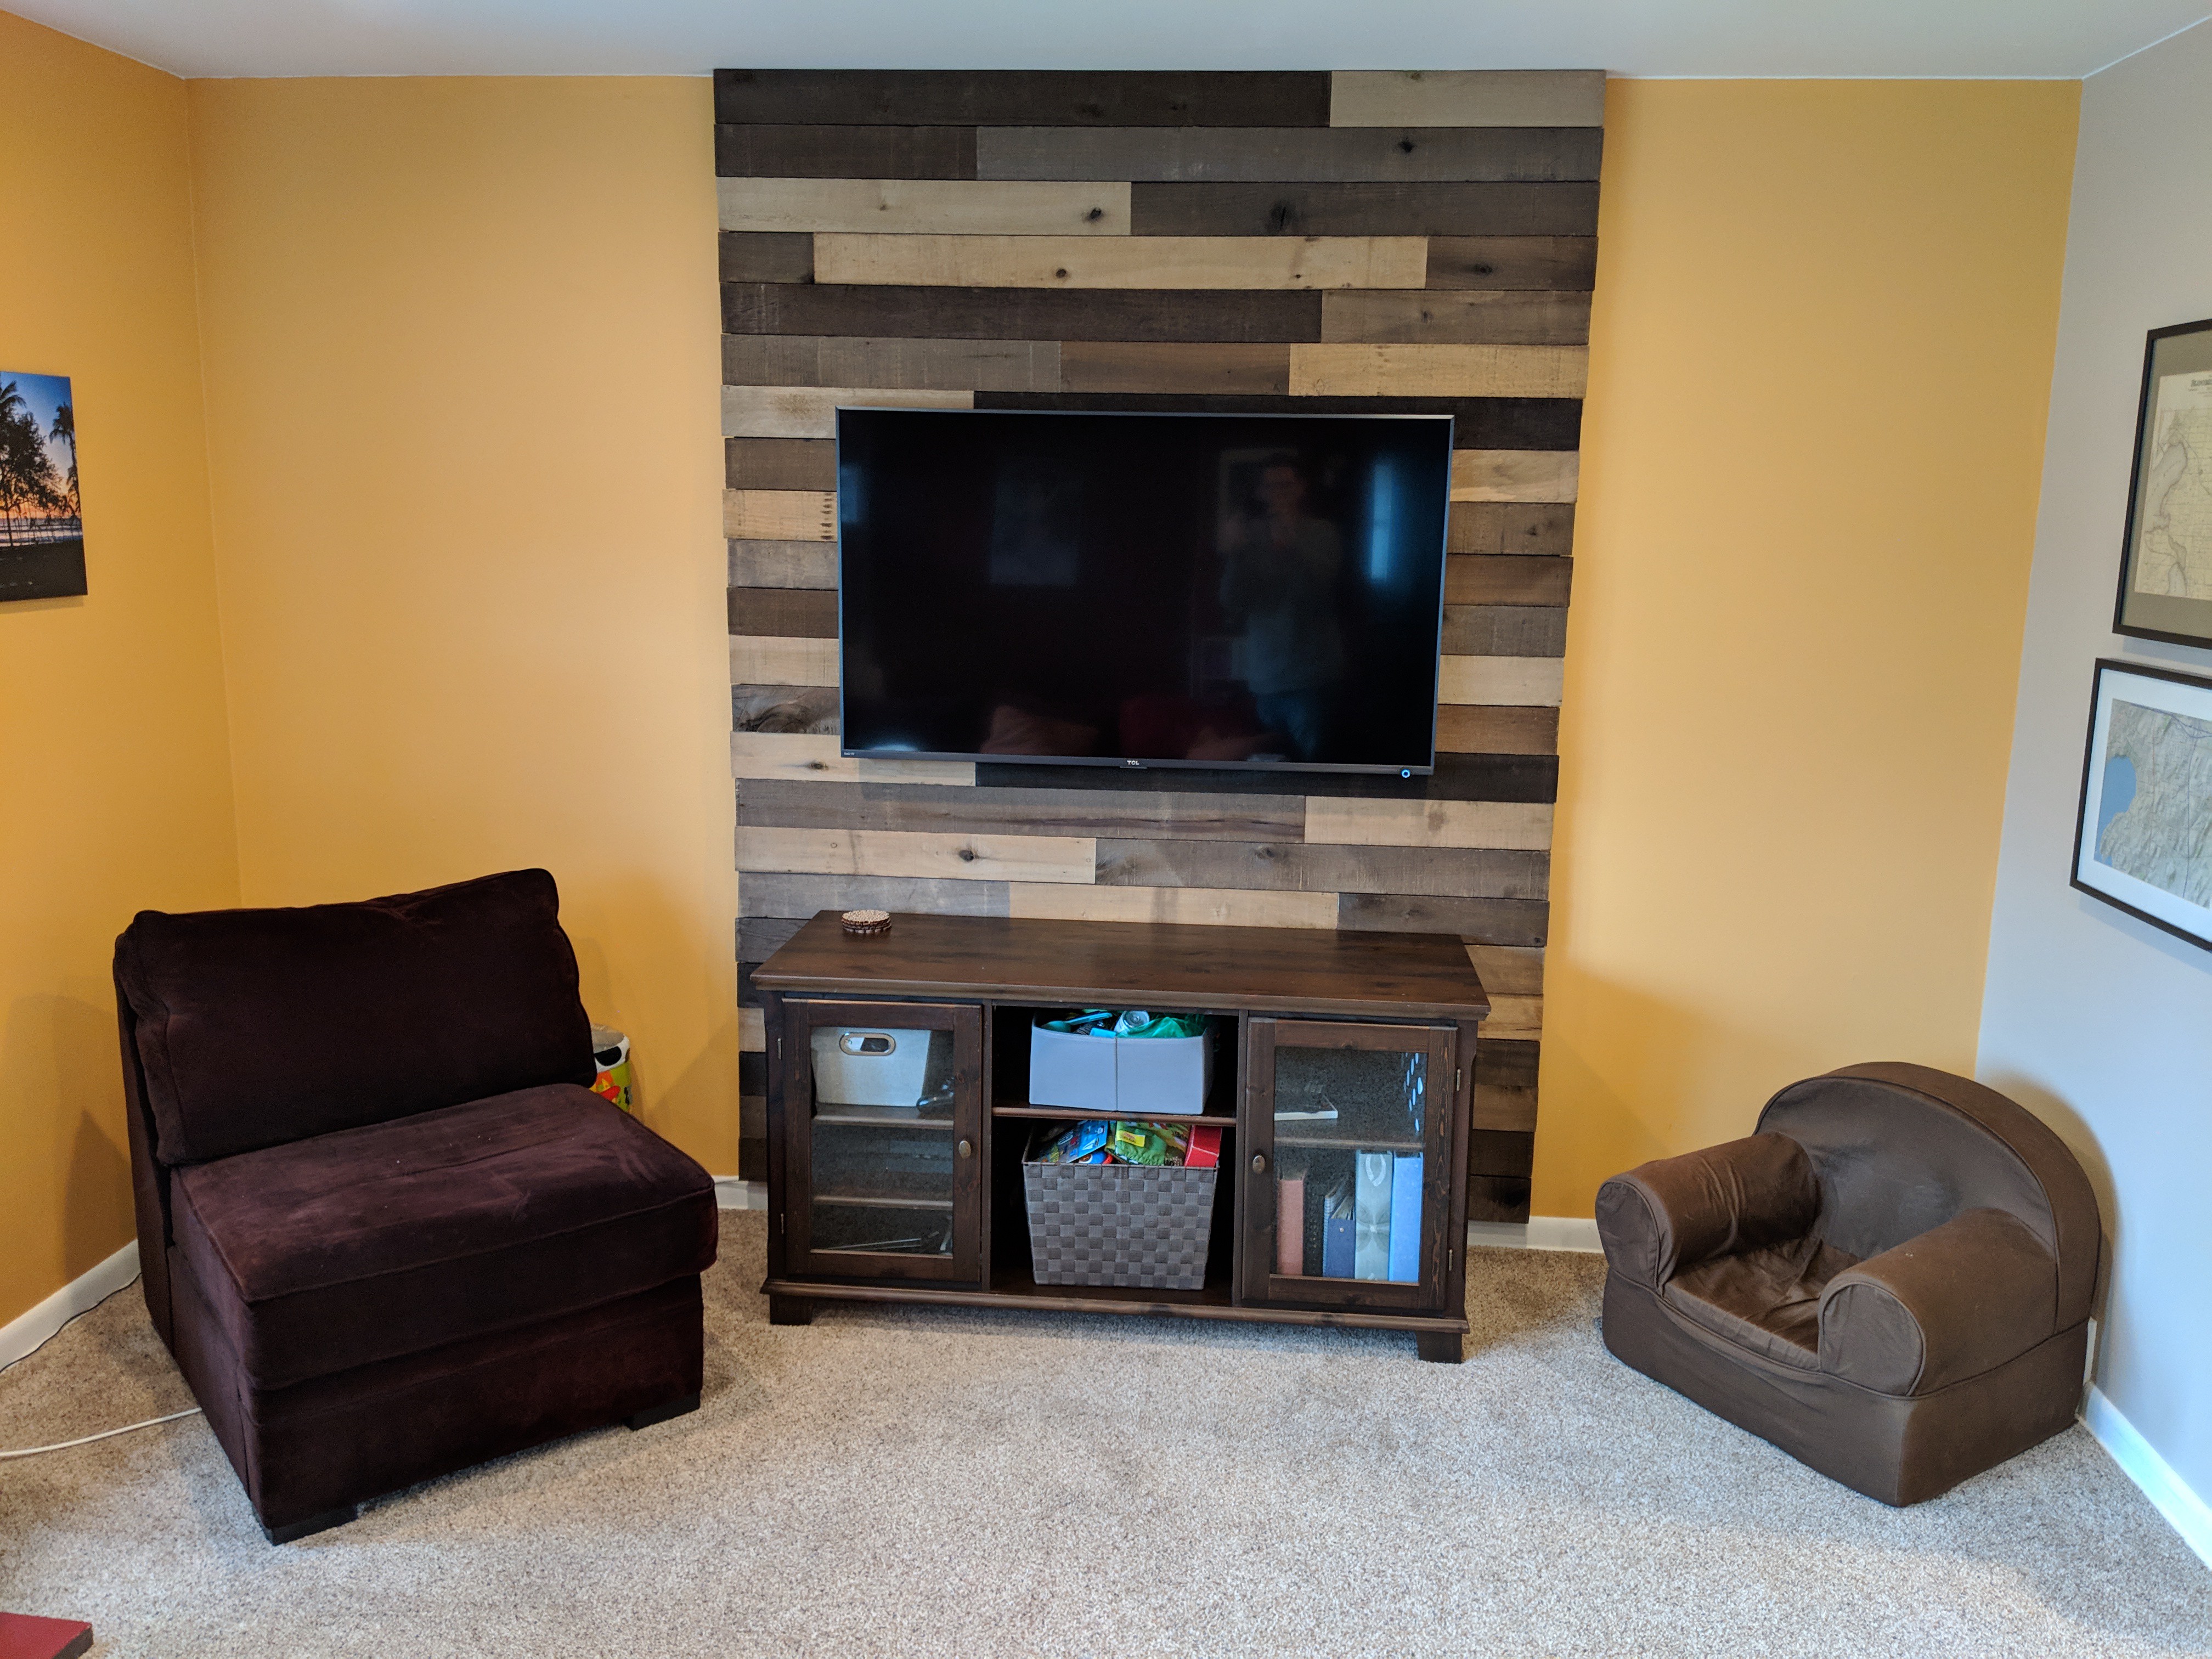
I scored a great deal on a TV during Black Friday. The goal was always to hang it on the wall, but that brings with it the problem of how to hide the cords. What we ended up doing is building a decorative facade that has room for the cords, accounts for the offset of the TV mount, and is backlit!

This was a spontaneous project that actually went according to plan, on time, and under budget. Go figure!

I recommend you work your way through the project logs as it tells the whole story (although I'll give you the gist below):

Gist of the Project:

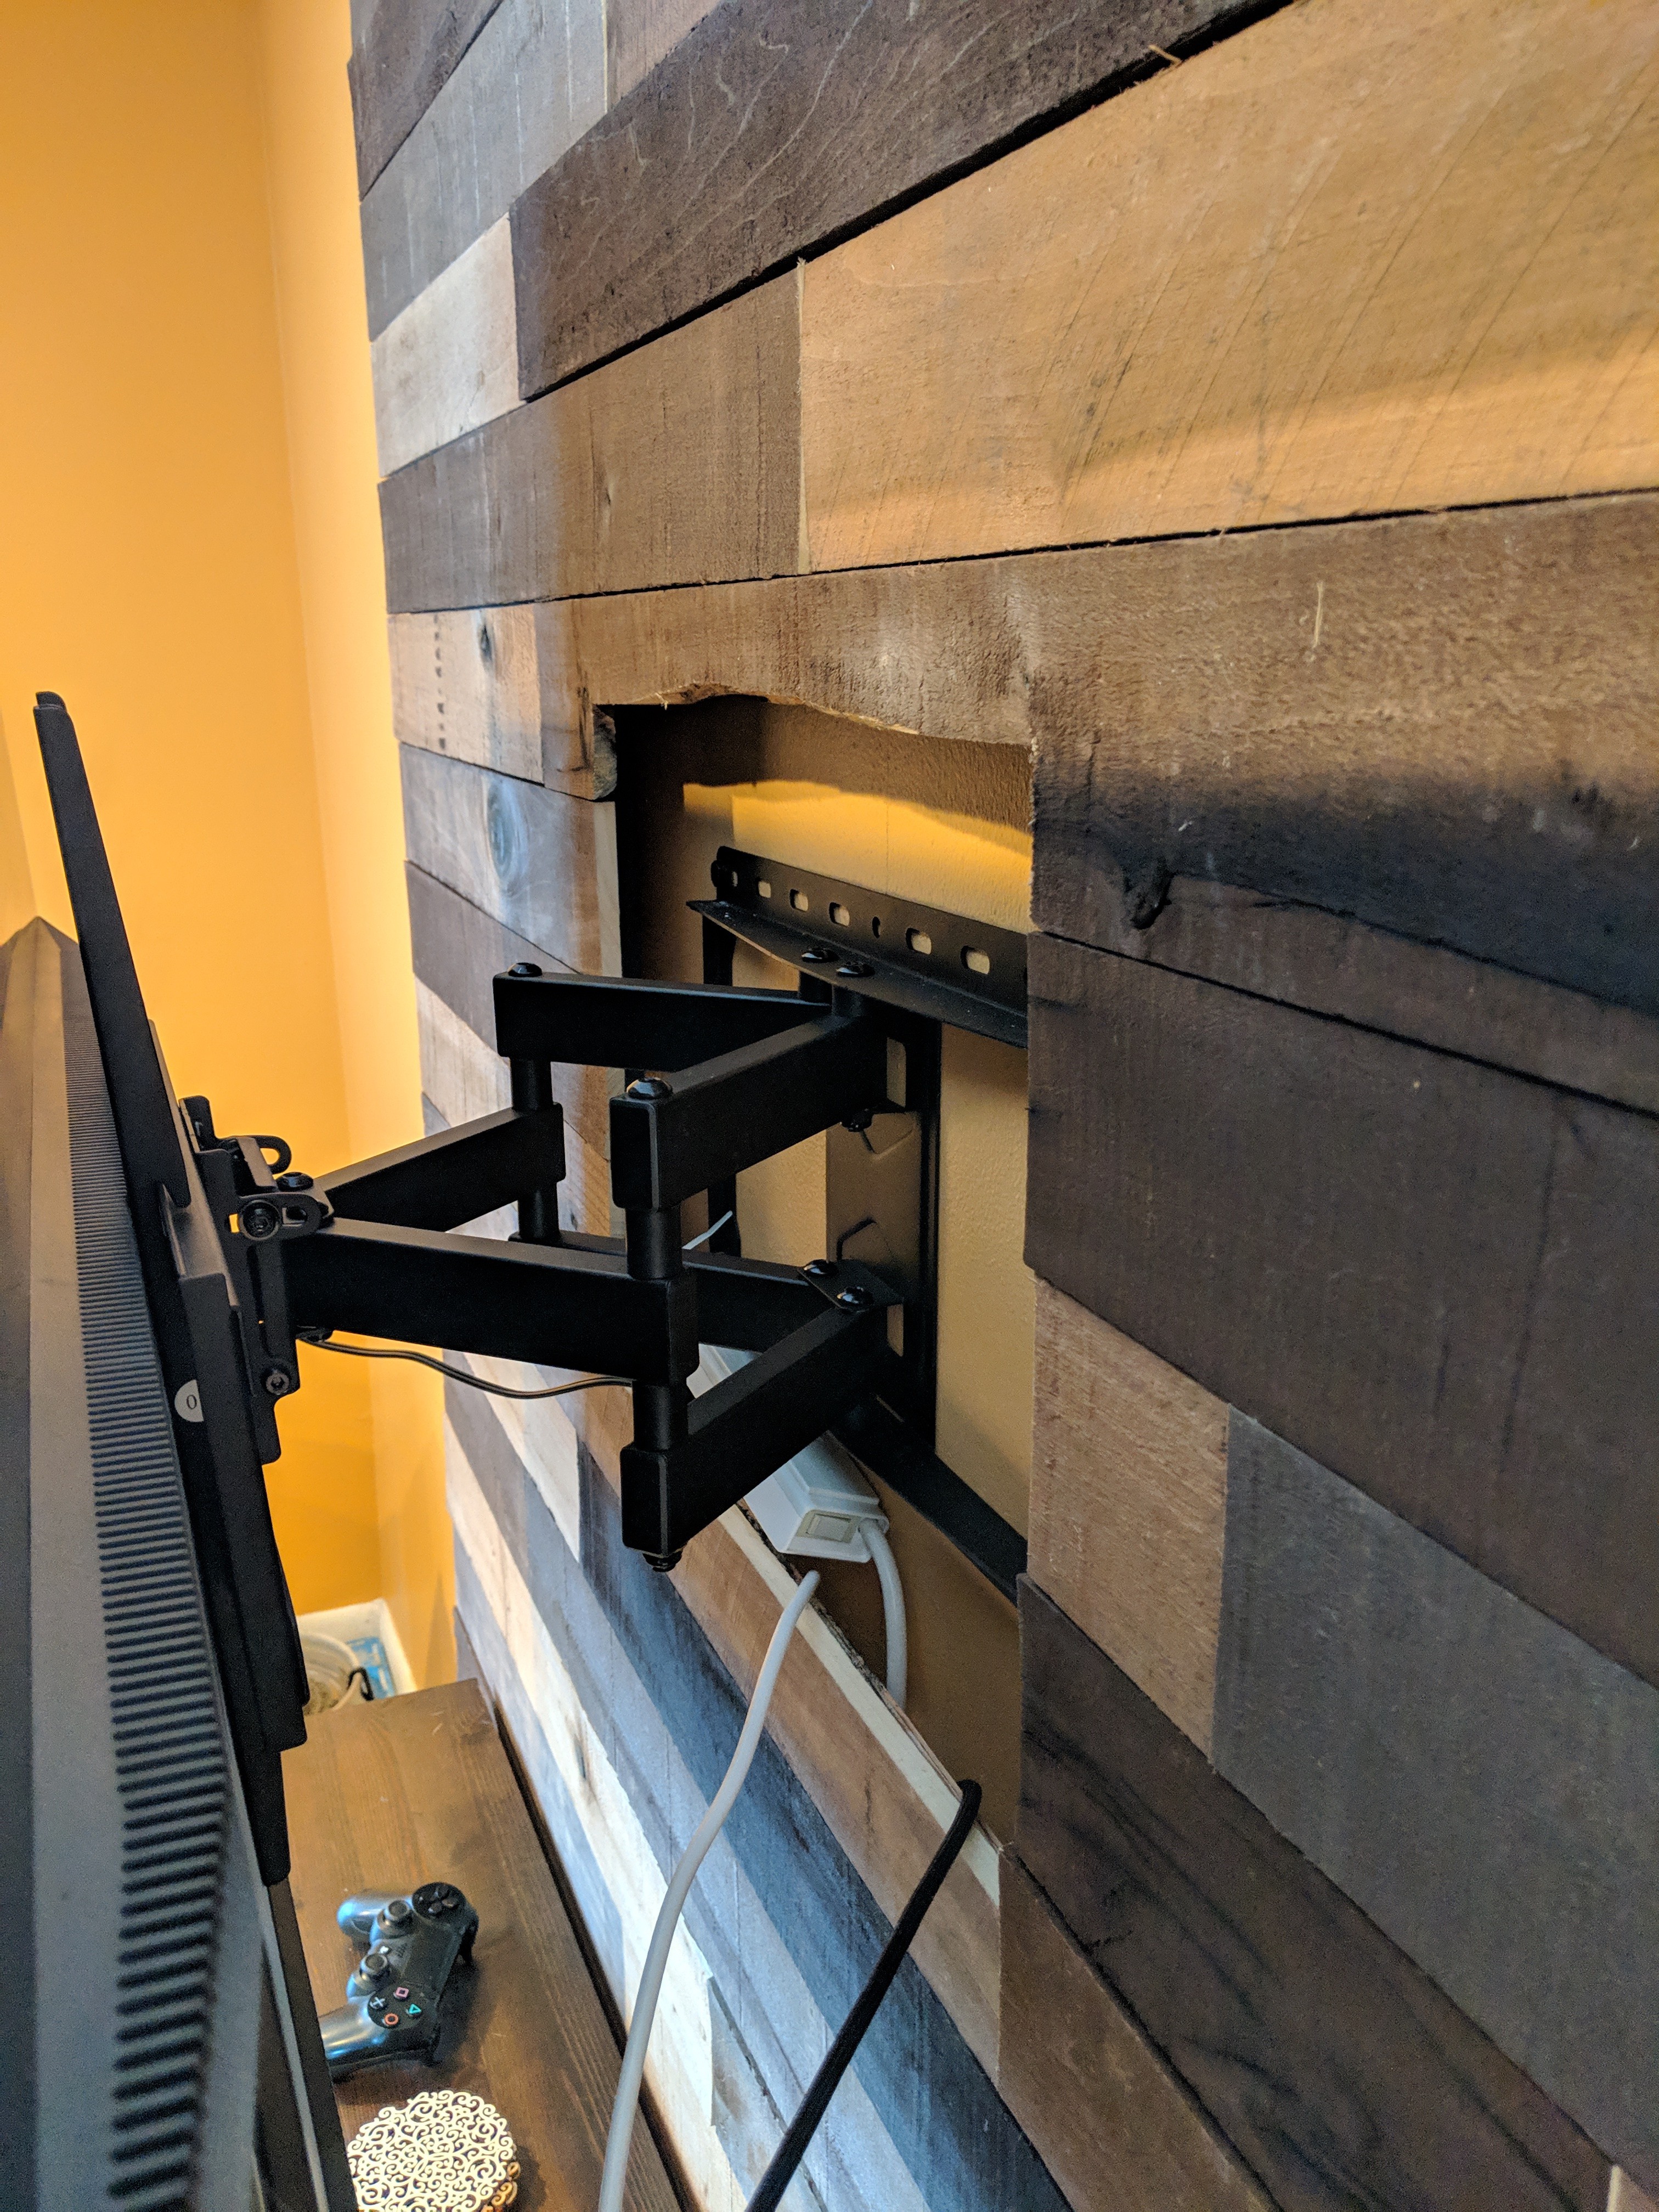
This TV wall surrounds the TV mount and provides a cable chase to hide the cords. It stands out from the wall about 1.5" inches, which also makes room for the TV mount itself.
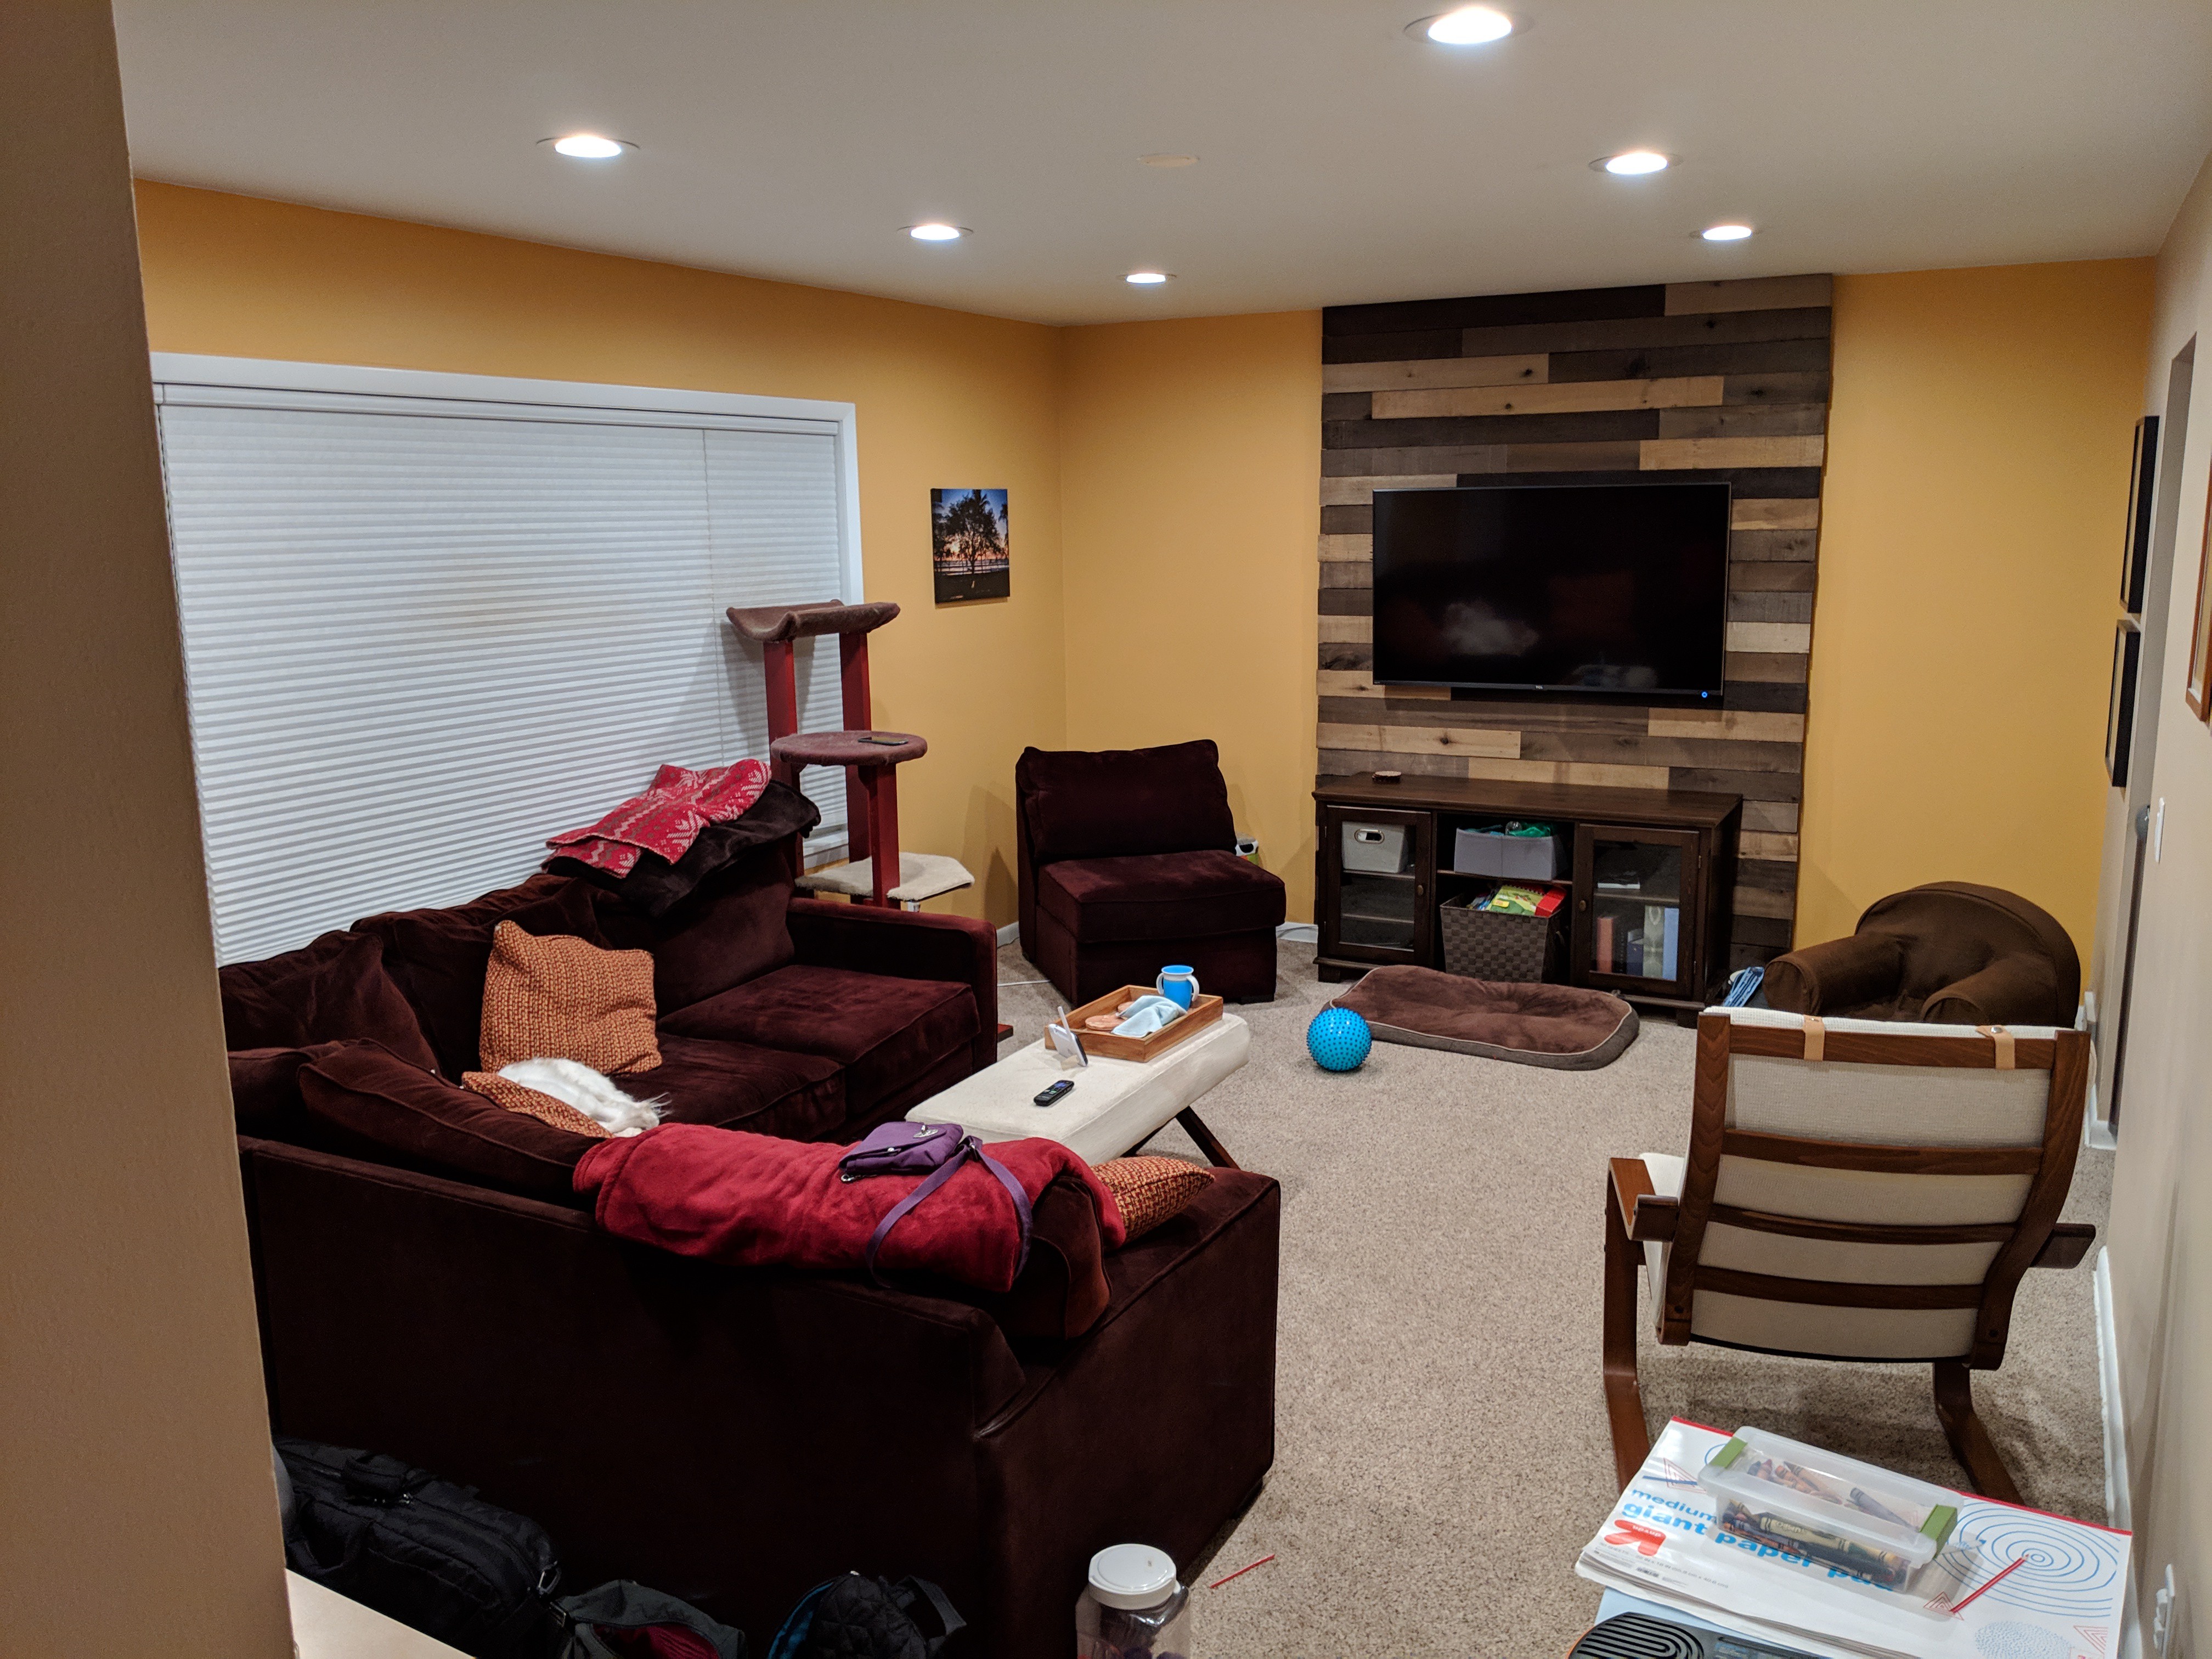
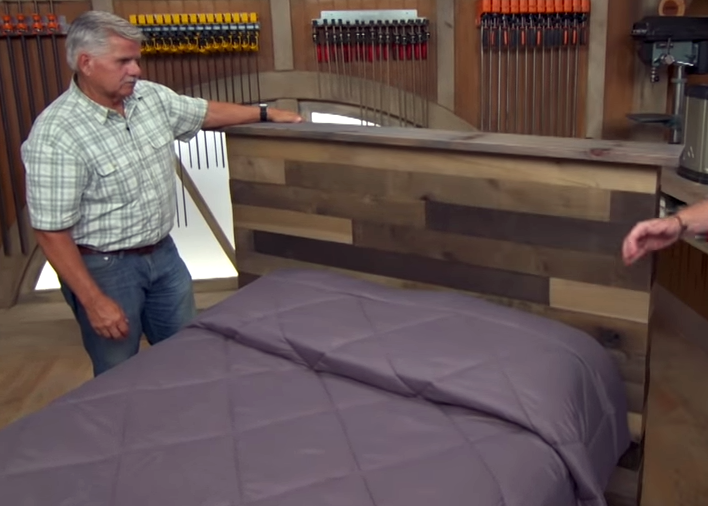
I was lucky to find a project on Ask This Old House where they used weathered boards that are easy and inexpensive to source. This way we didn't have to do any finish work on the project which saved us days of work.
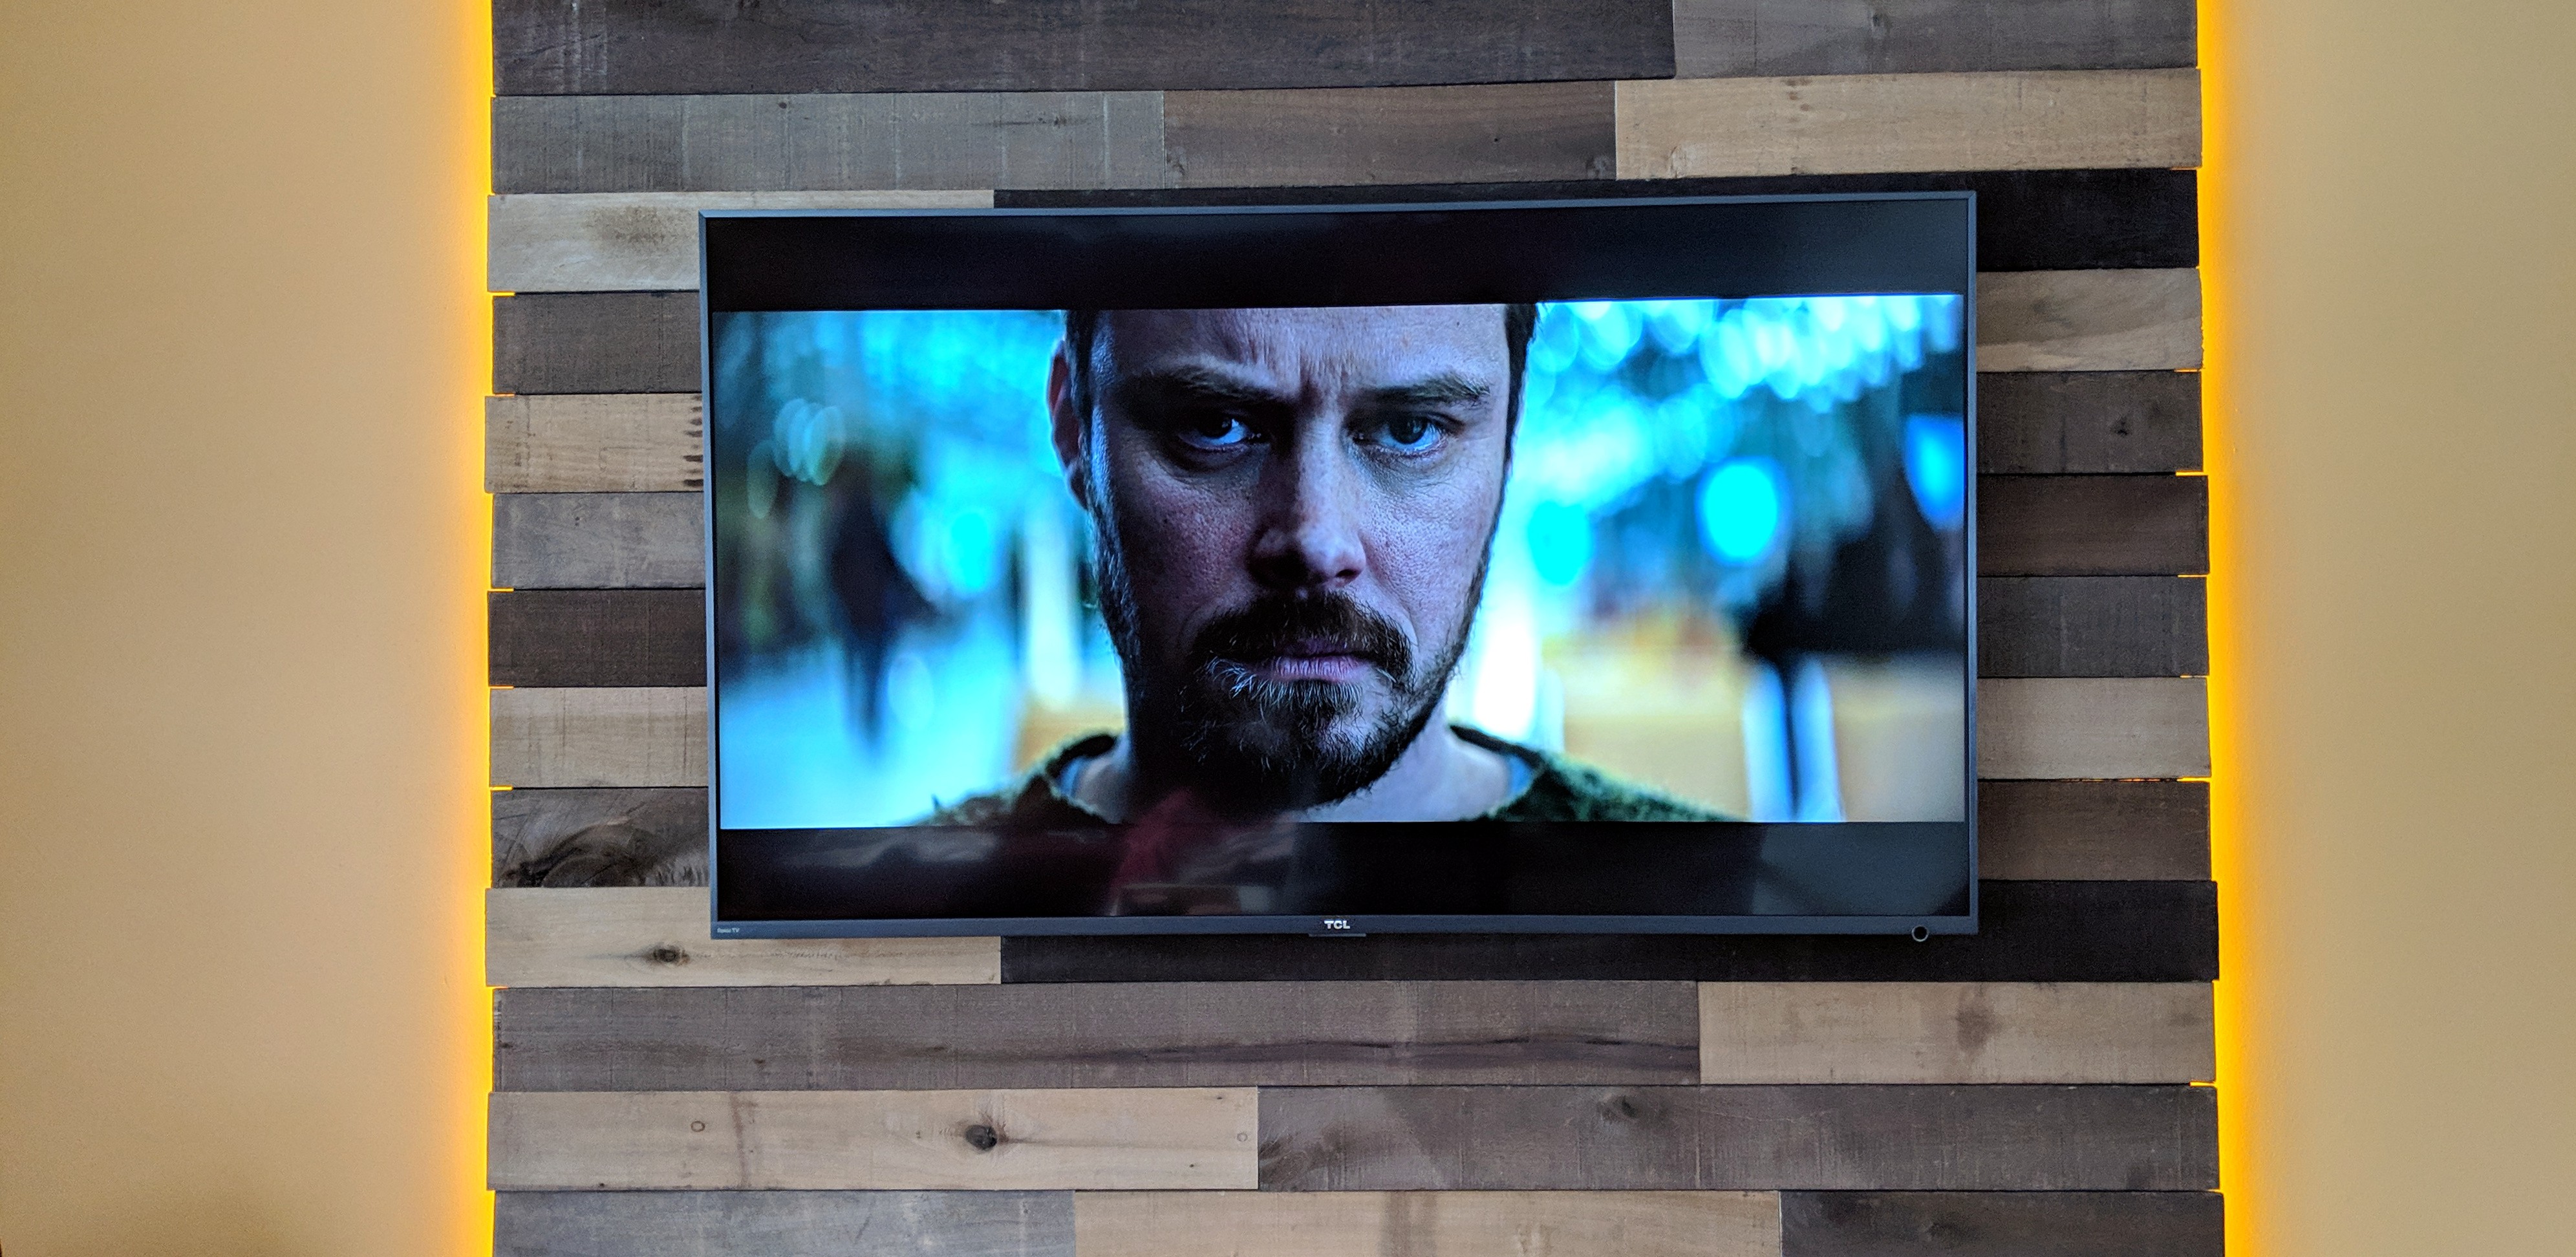
The final touch here is the backlight, which gives the left and right side a nice glow. It's okay when the light is off, but having it on really gives life to this wall.

Tools Used:

  • Circular saw
  • Compound mitrebox saw
  • Jig saw
  • Hand saw
  • Hand drill
  • Impact Driver
  • pin nailer (and compressor)
  • caulking gun
  • laser level
  • 4 foot level
  • stud finder

Cost:

  • Lumber: $61
  • Weathered Boards: $125
  • Fasteners and Adhesive: $23
  • Paint: $13
  • TV Mount: $39
  • LEDs: $16
  • Tools (saw blades, pin nailer): $57
  • Total about: $334

Considering how cheap of a hold out I was on the TV, this is shockingly expensive. But it turned out really nicely, and as you can tell we don't have a lot of decorations on our walls as it is. This makes the room look much nicer, and solved the problem of how to mount the TV without unsightly cords!

  • 2 × 4x8 Sheets of CDX Plywood
  • 4 × 8' 2x2 Lumber
  • 5 × Boxes of "Weathered Poplar" Home Depot - 8 pieces of 1/2"x4"x4' Boards
  • 1 × Box of 3" deck screws
  • 1 × Box of pin nails

View all 9 components

  • Adding LED backlighting

    Mike Szczys01/25/2019 at 22:16 0 comments

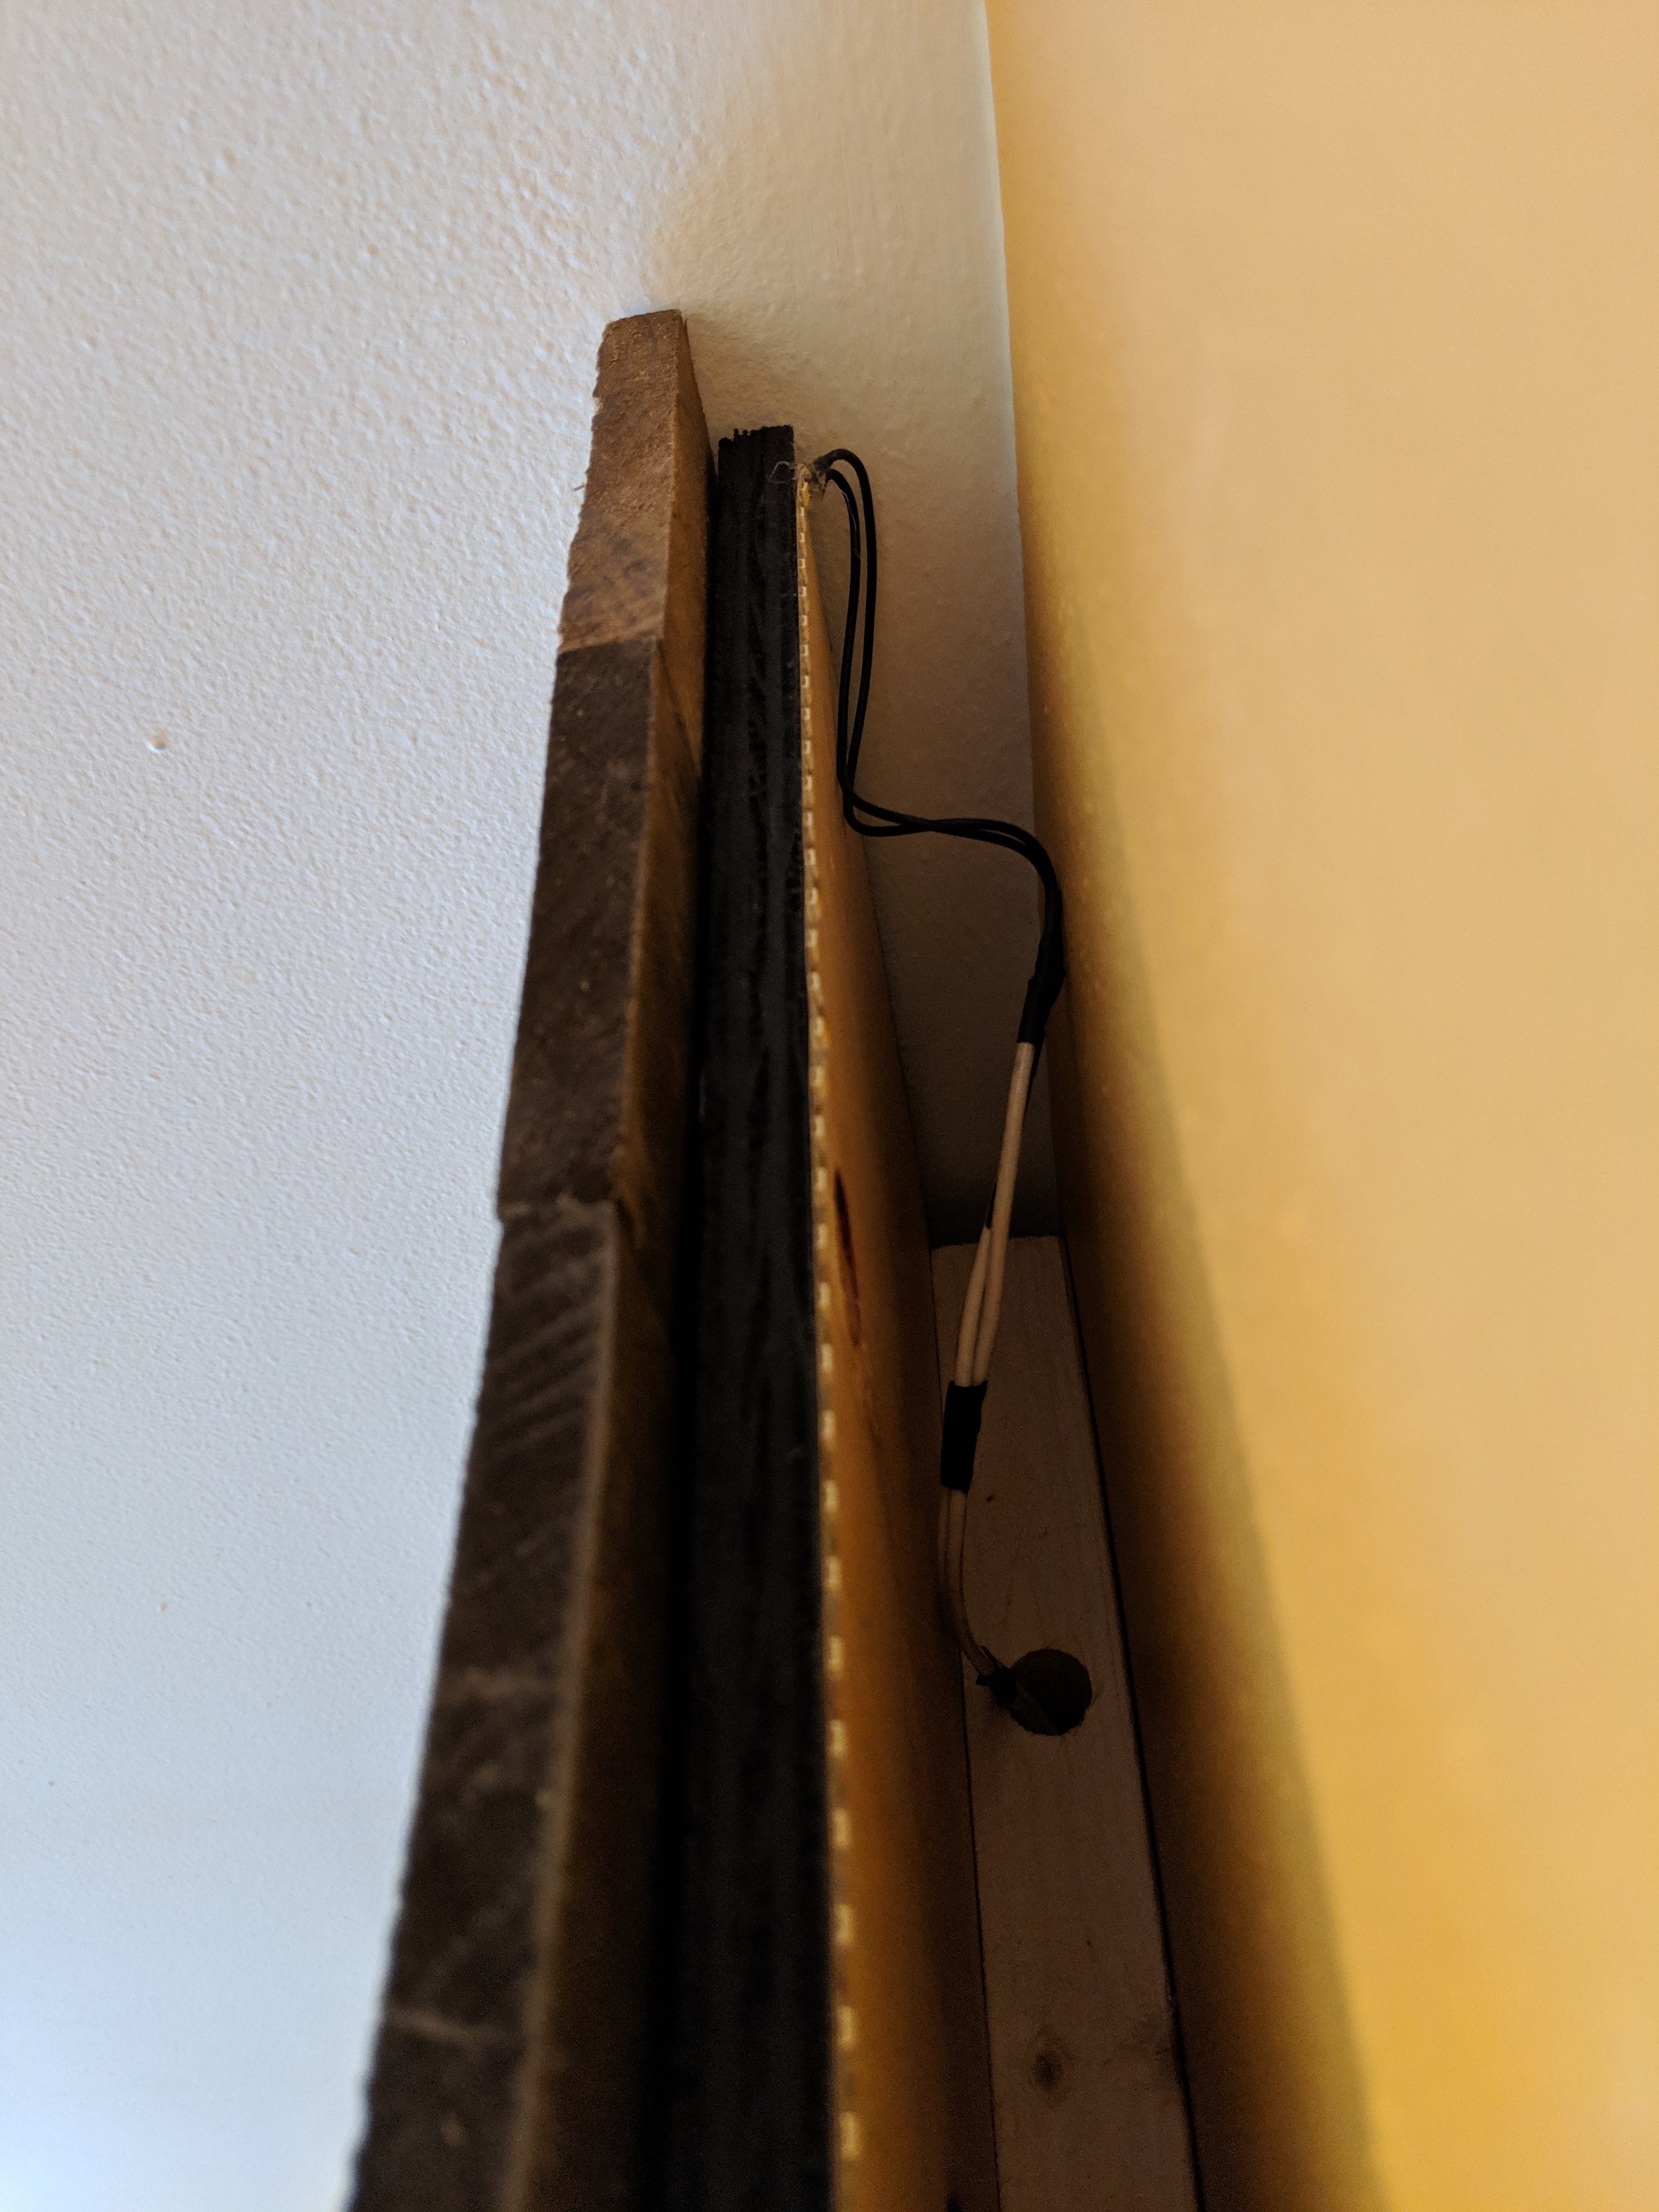
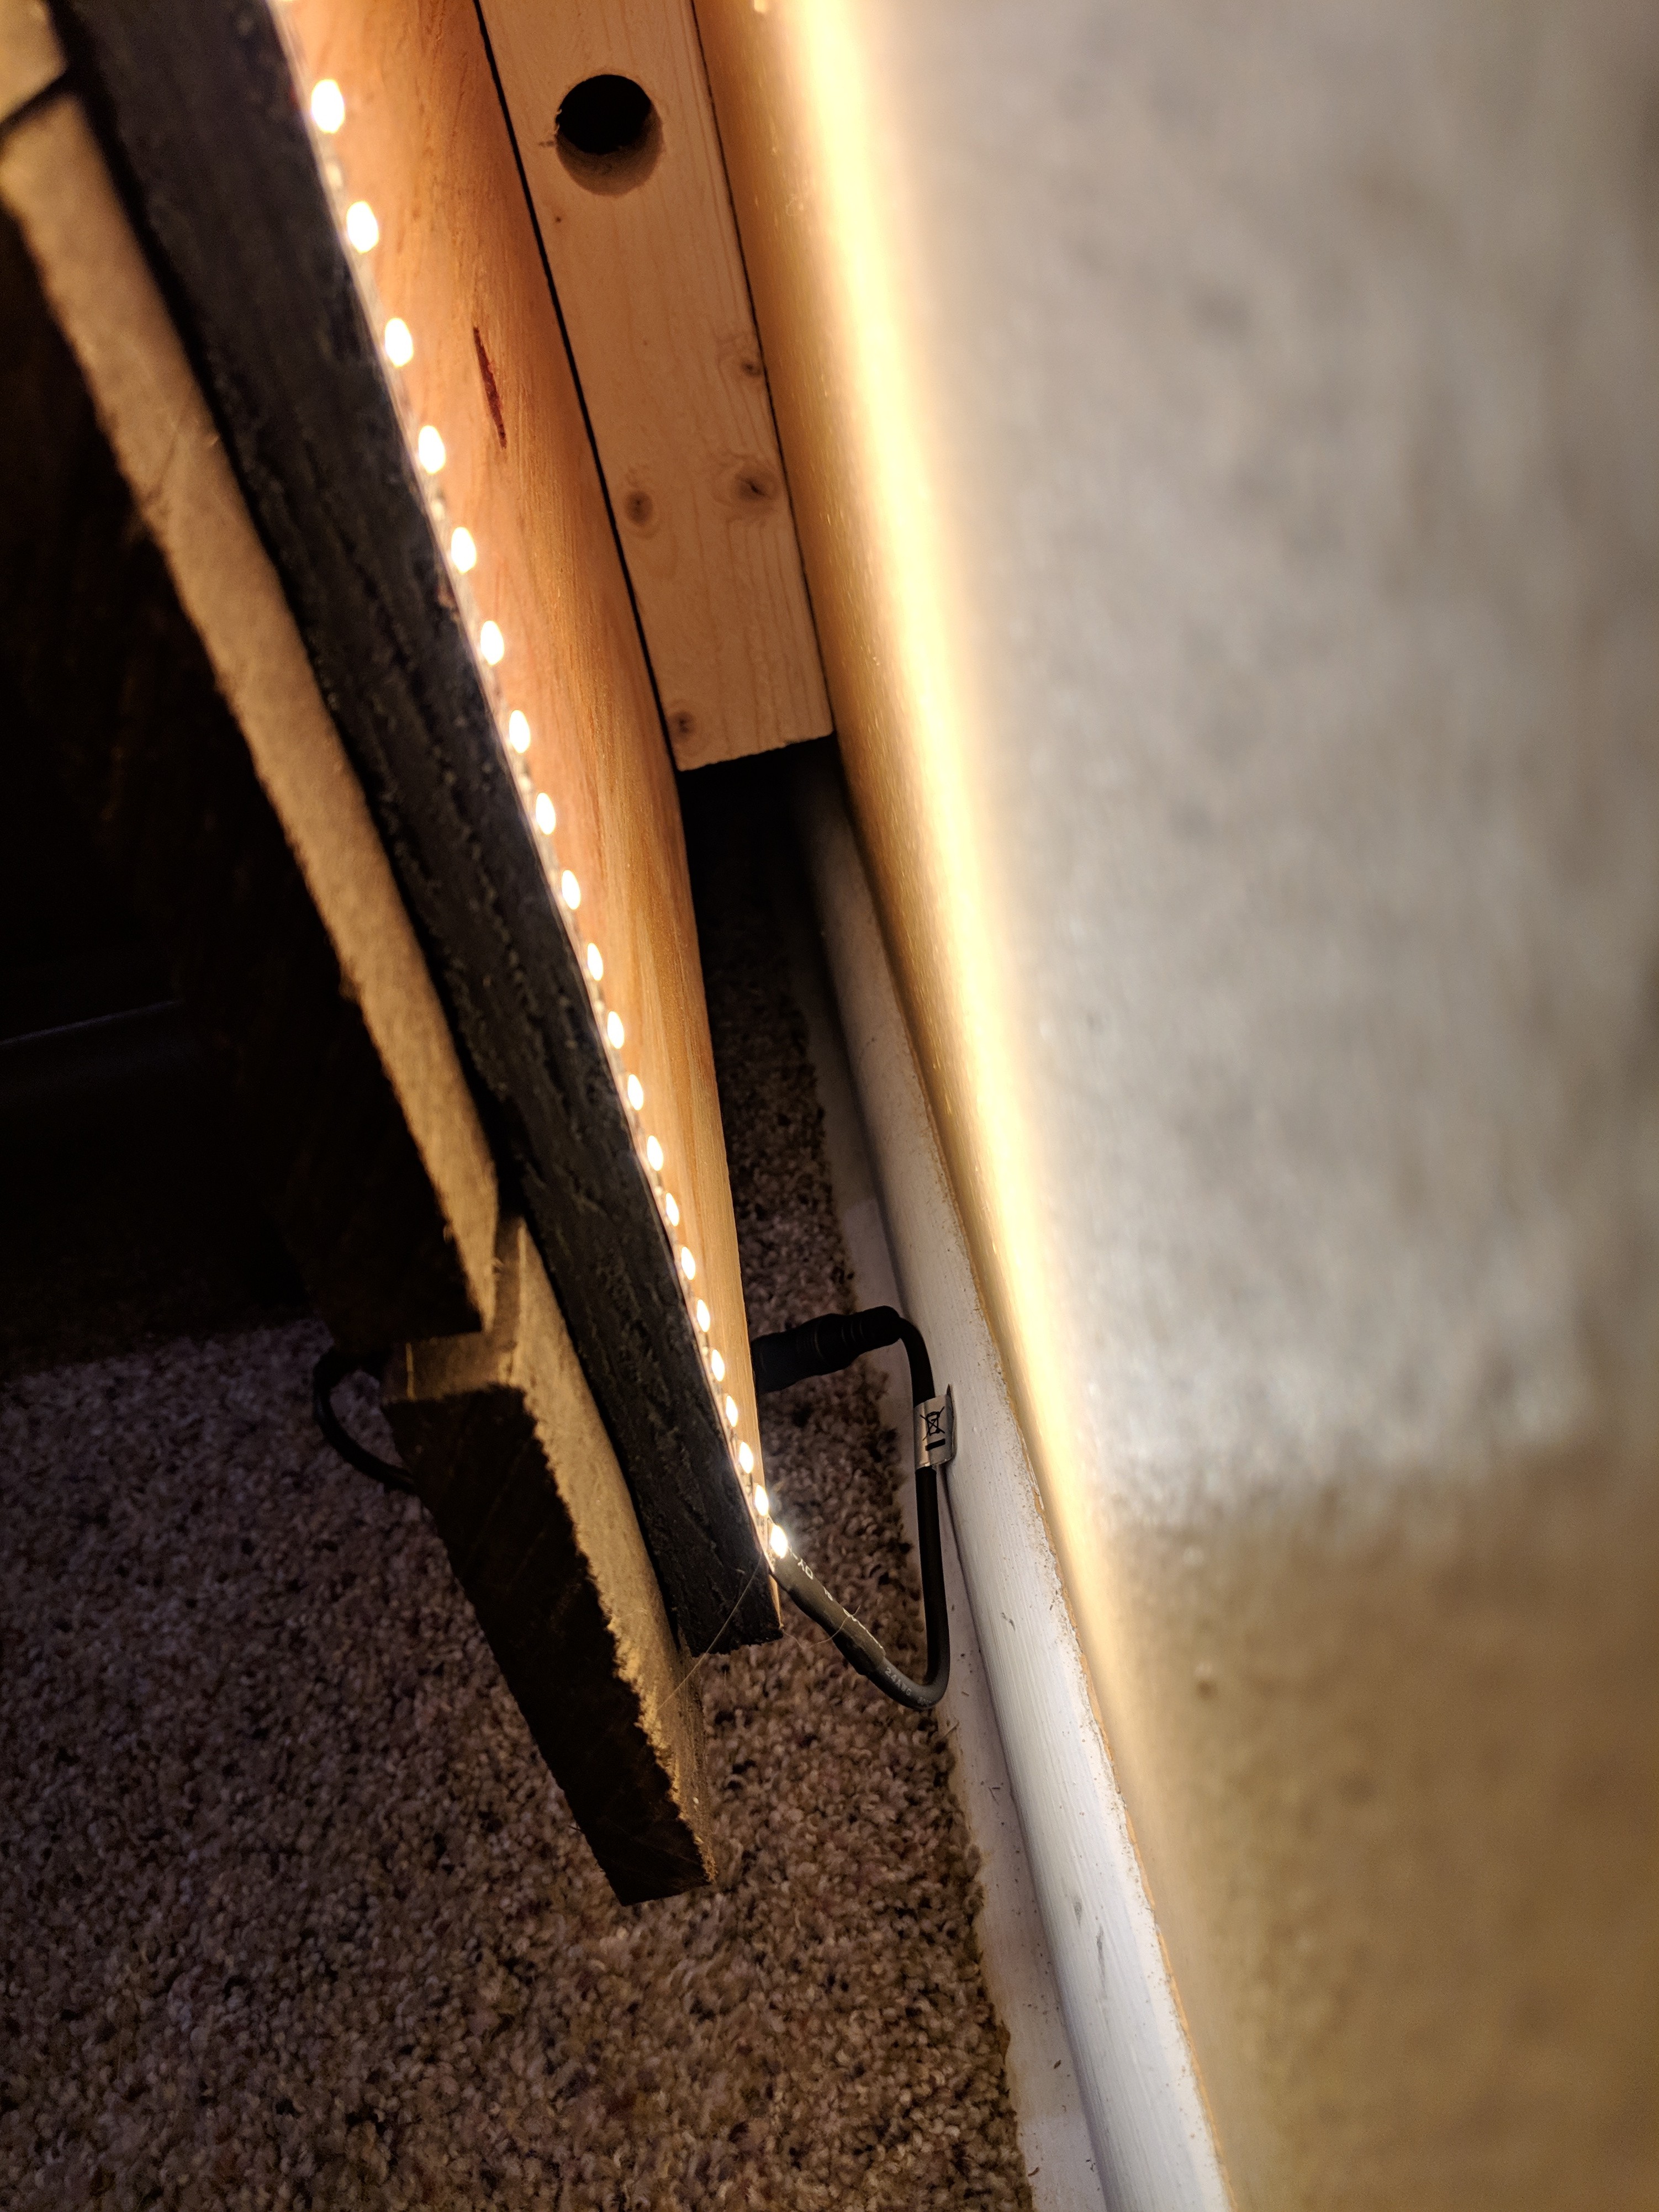
    When conceptualizing this I realized dark wood in a corner of a living room isn't going to bring life to the space. A bit of backlighting goes a long way in situations like this. Since this was planned from the start, I actually drilled 3/4" holes through the furring strips to act as low-voltage pass-through. I ordered the lights but they didn't come until later in the week.

    Here you can see the 12 AWG wire I had removed form the house on a previous project. It works fine for reuse on the to pass 12V from one side of the wall to the other.

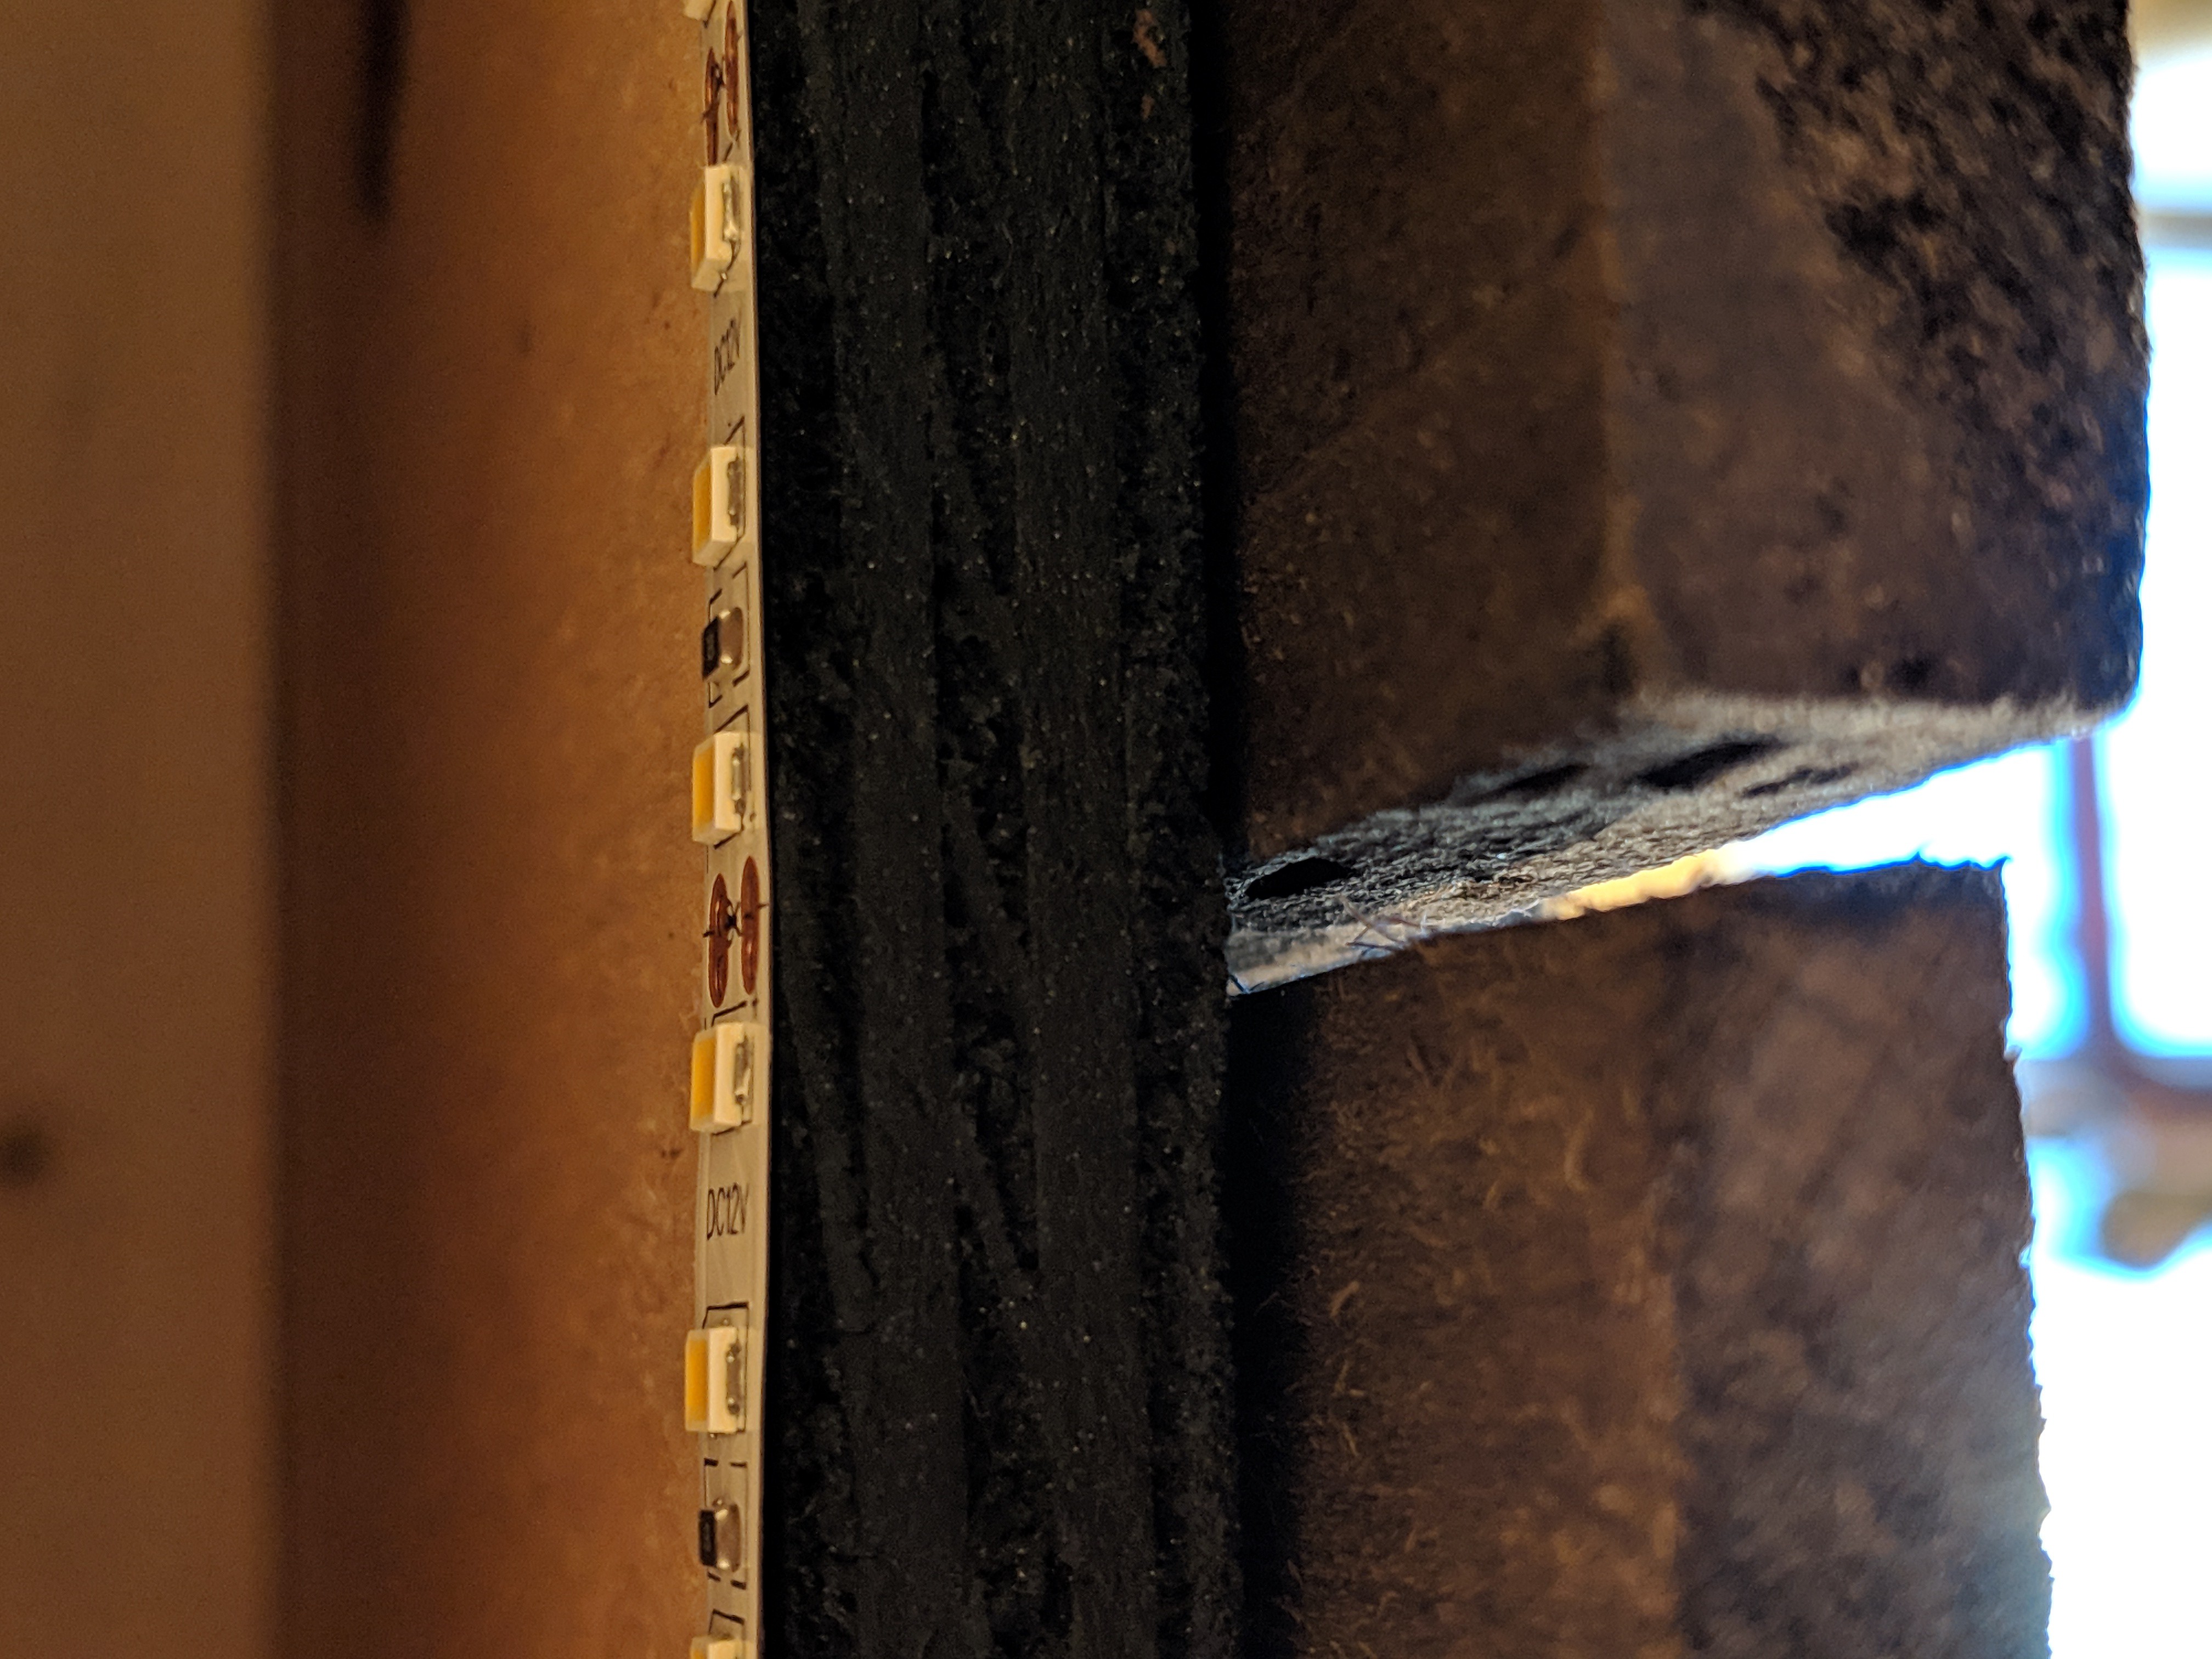
    The adhesive on the back of the strips stuck a lot better than I thought it would. I bolstered it with hot glue at the top and bottom, and every few feet along the way.

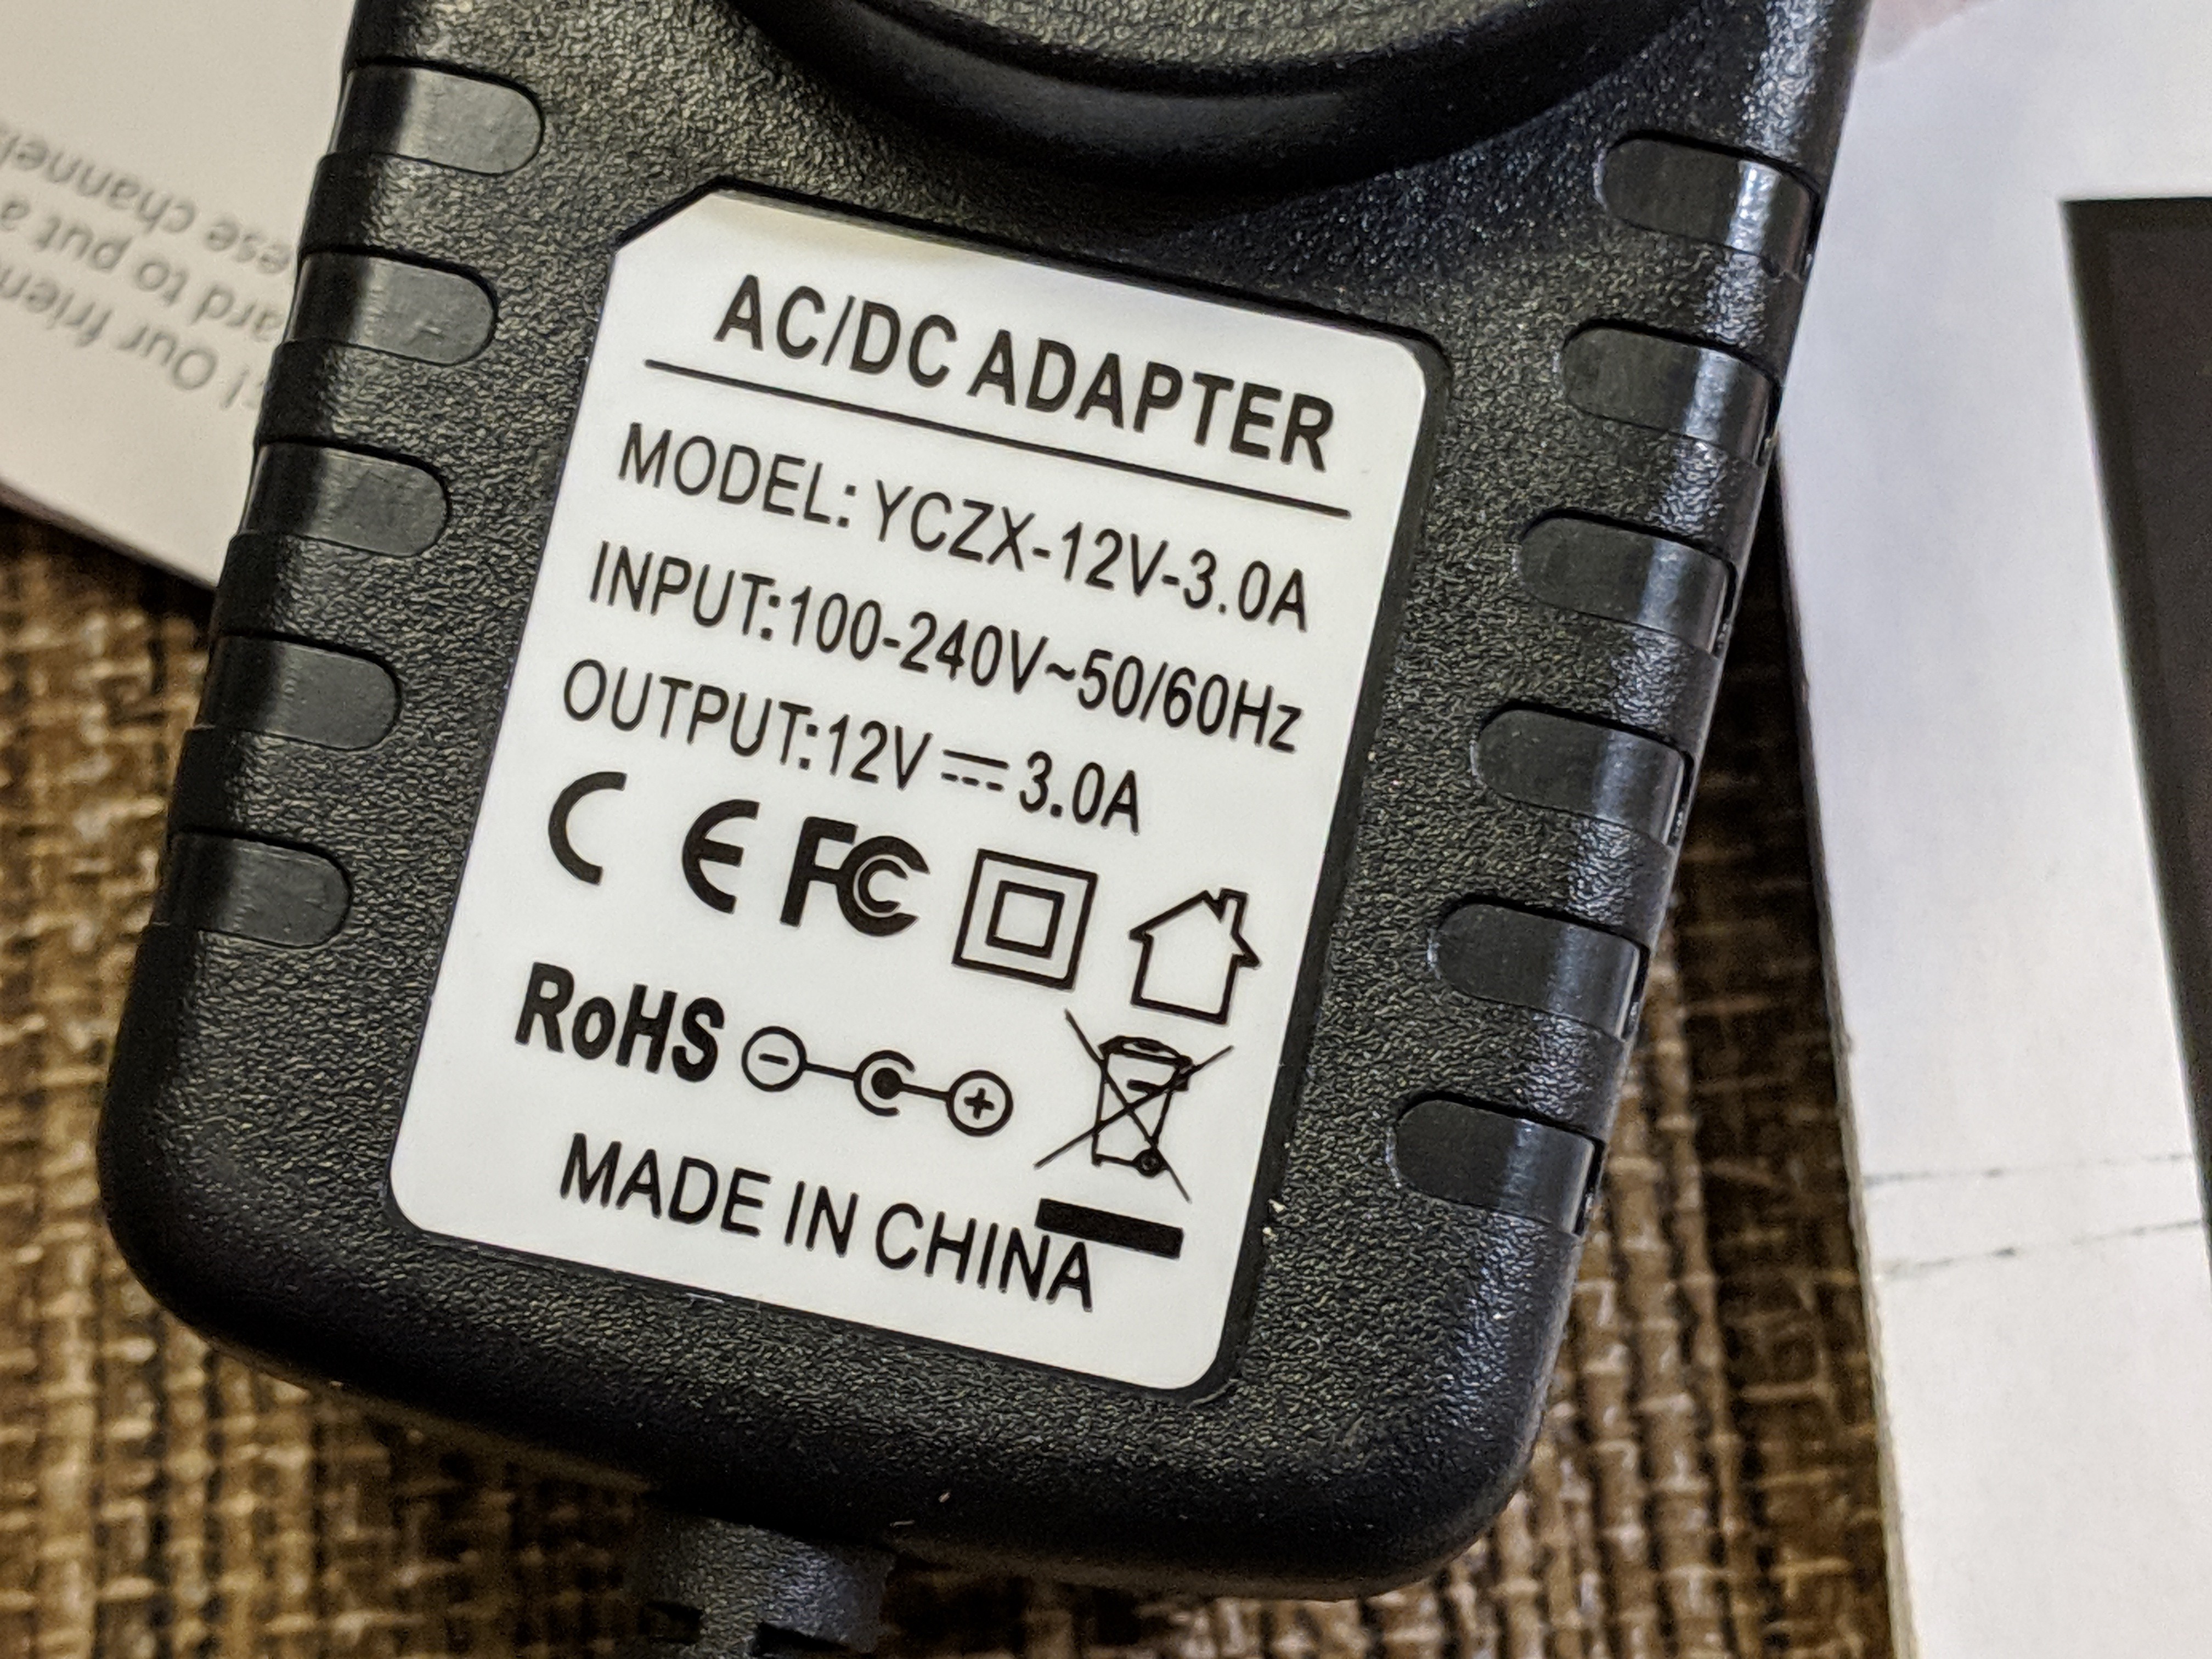
    These are warm-white LEDs, 600 of them on a 5 meter strip. The whole thing cost me $22 on Amazon. I suspect the power supply is horrifying inside but it's welded shut so I didn't look. The CE rating looks suspect to say the least!

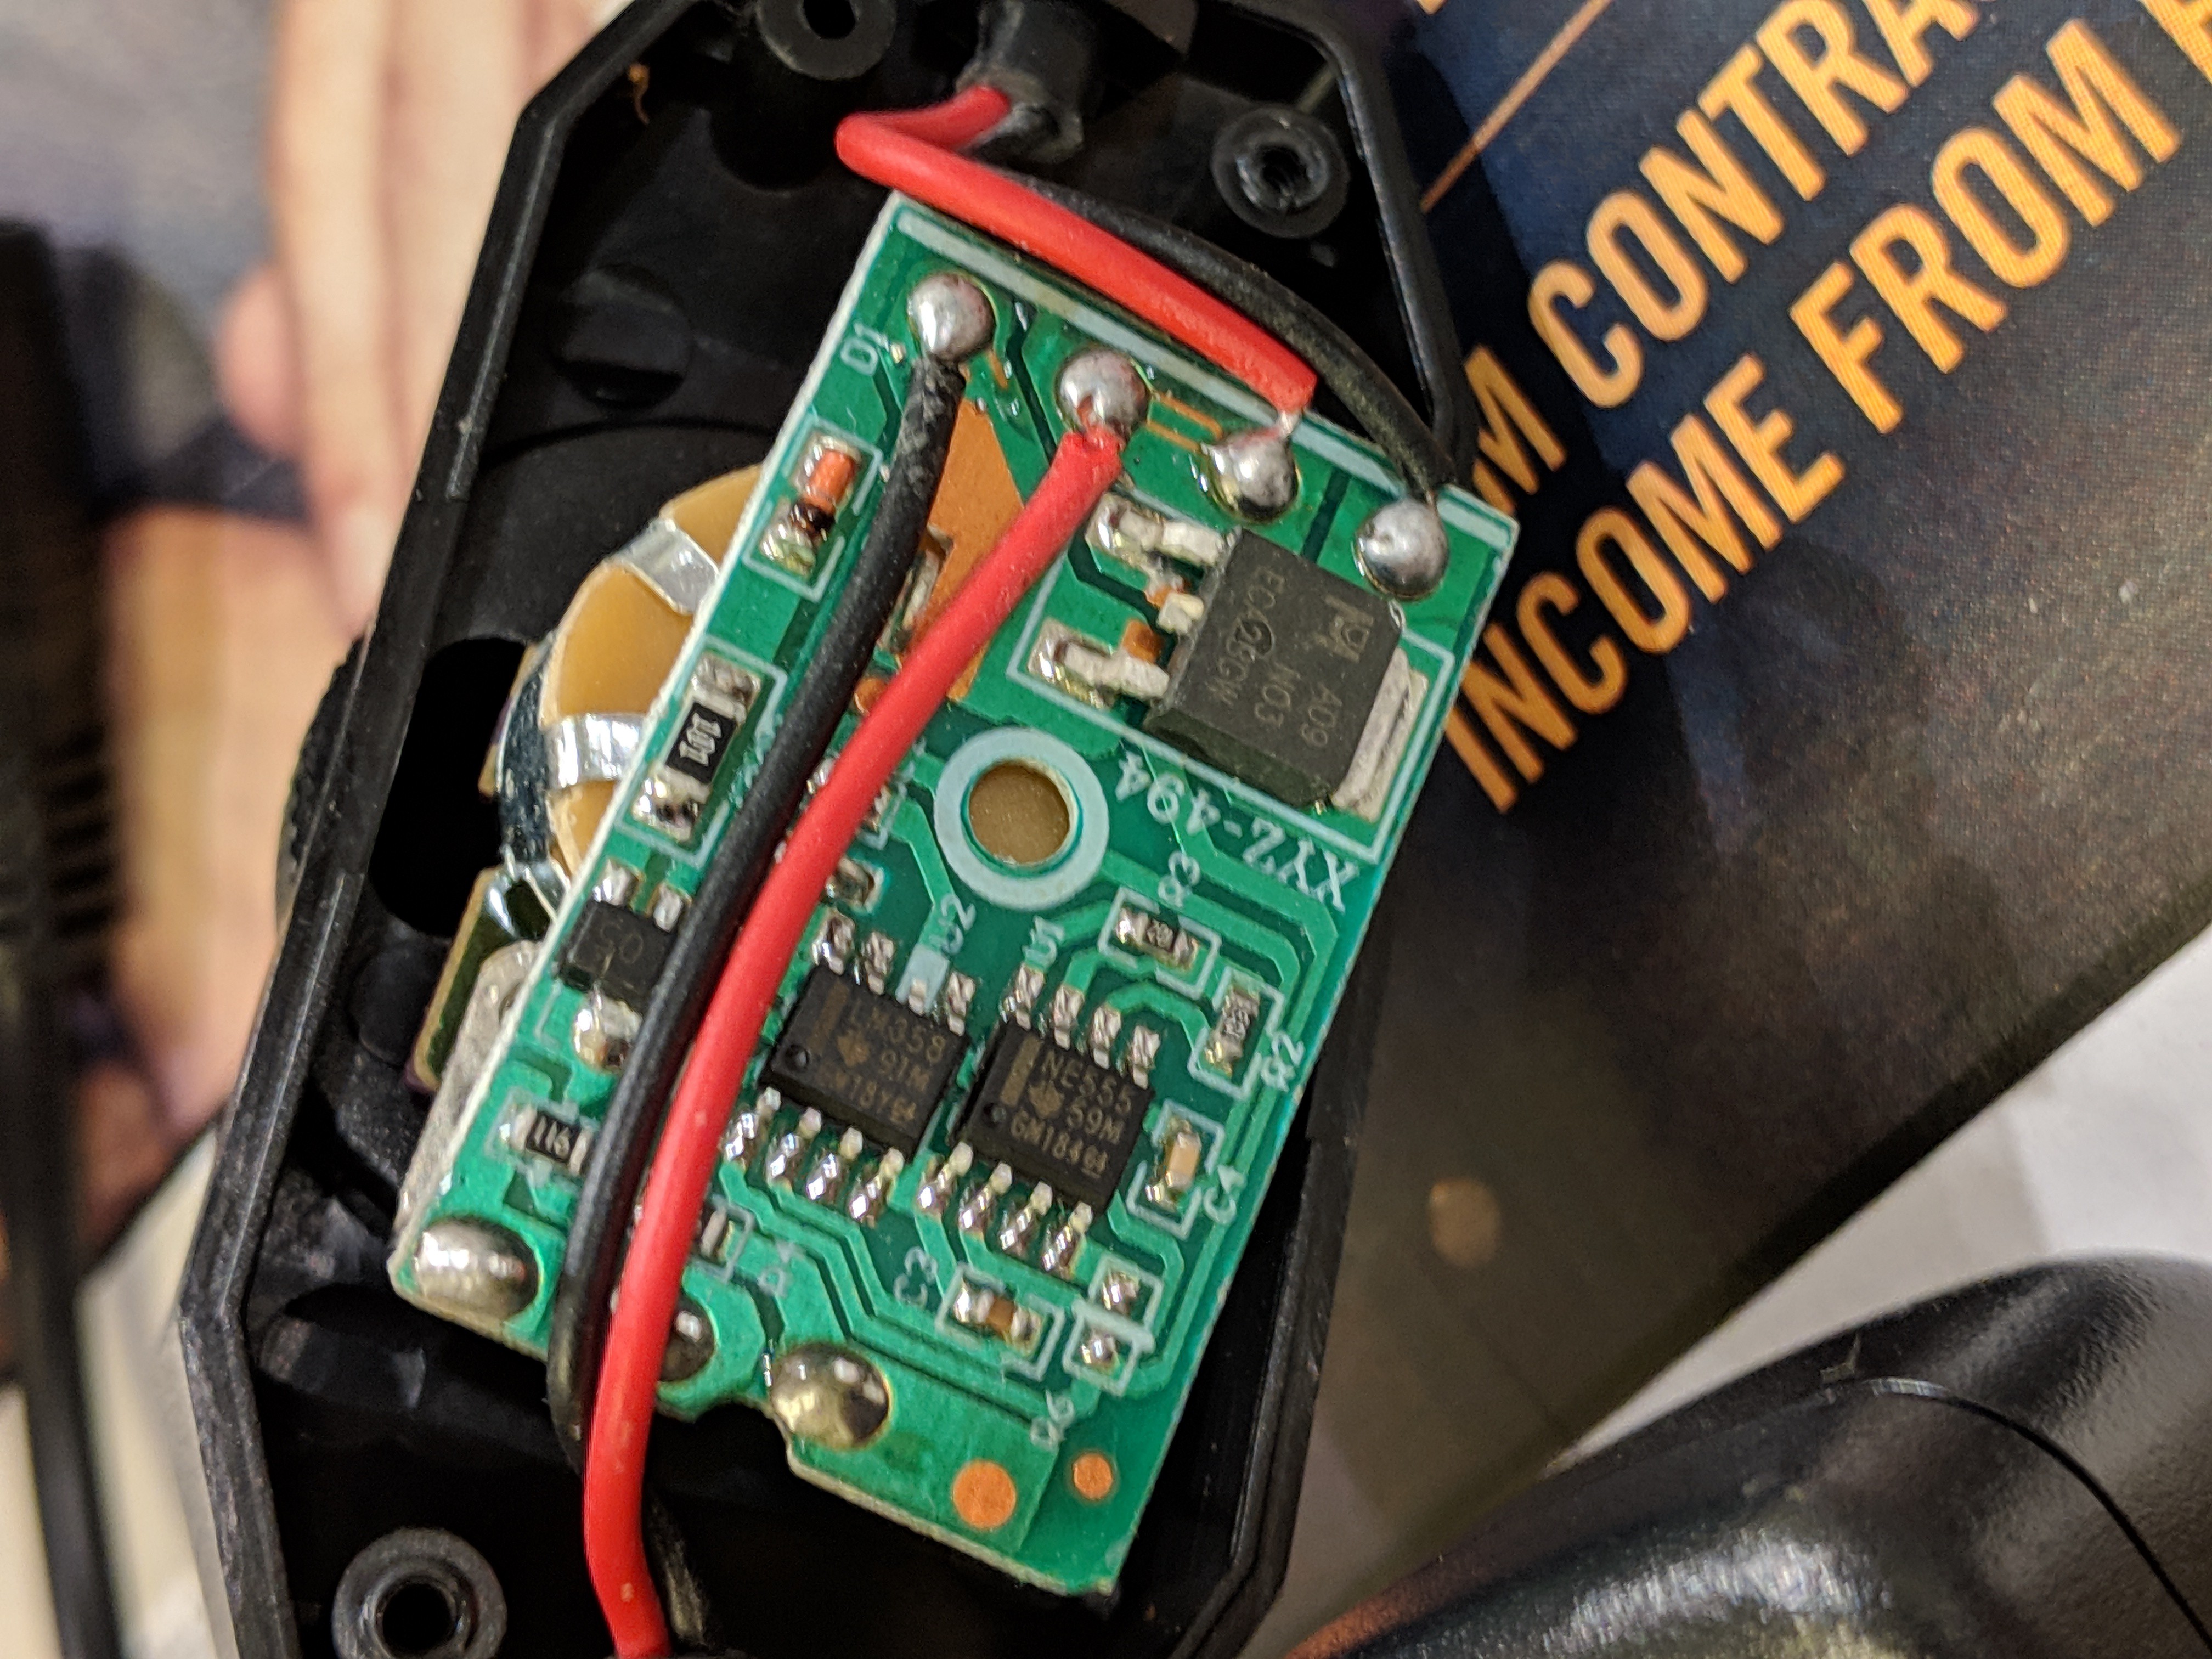
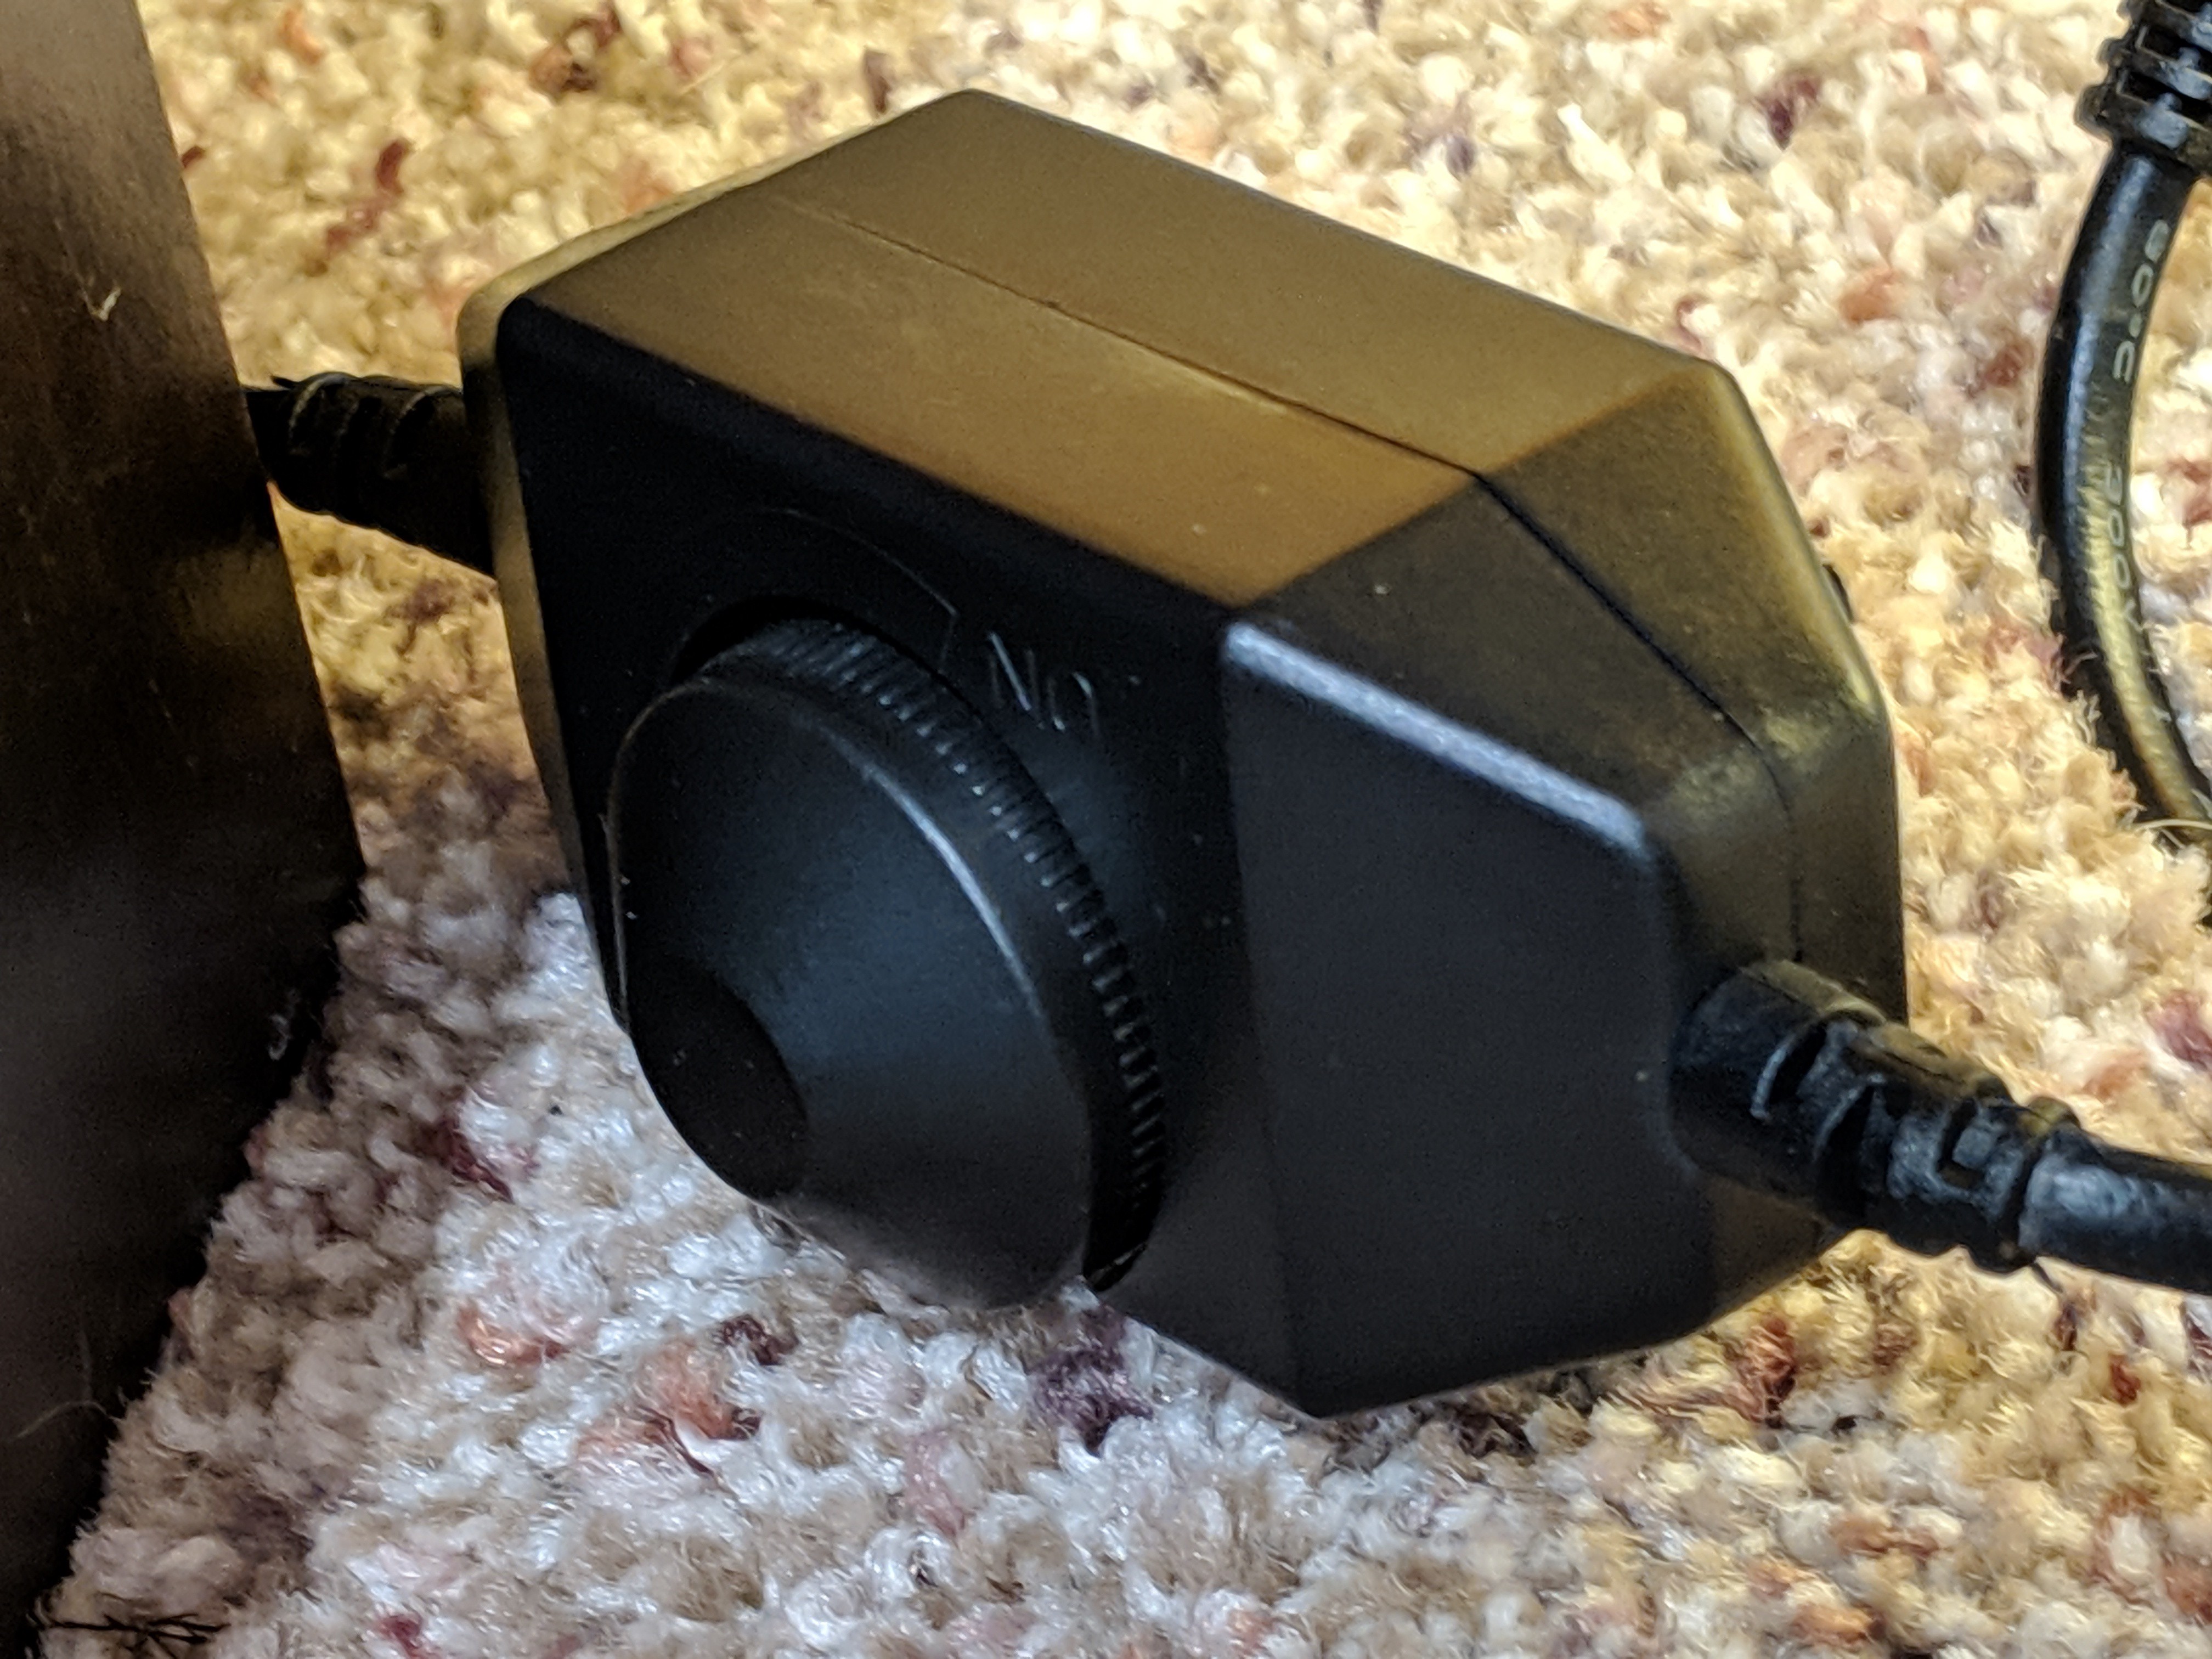
    I was able to crack open the dimmer and that seems legit. It's a 555 timer driving a power MOSFET. I run it near the lowest brightness setting and get the effect I'm looking for.

  • Hanging the TV

    Mike Szczys01/25/2019 at 22:06 0 comments

    There's not much to say here. The TV mount arrived and was lag-bolted to the studs. I used a right-angle power strip to run power up to the void.

    With the TV in place things are really looking great!

  • Access panel for the outlet

    Mike Szczys01/25/2019 at 22:01 0 comments

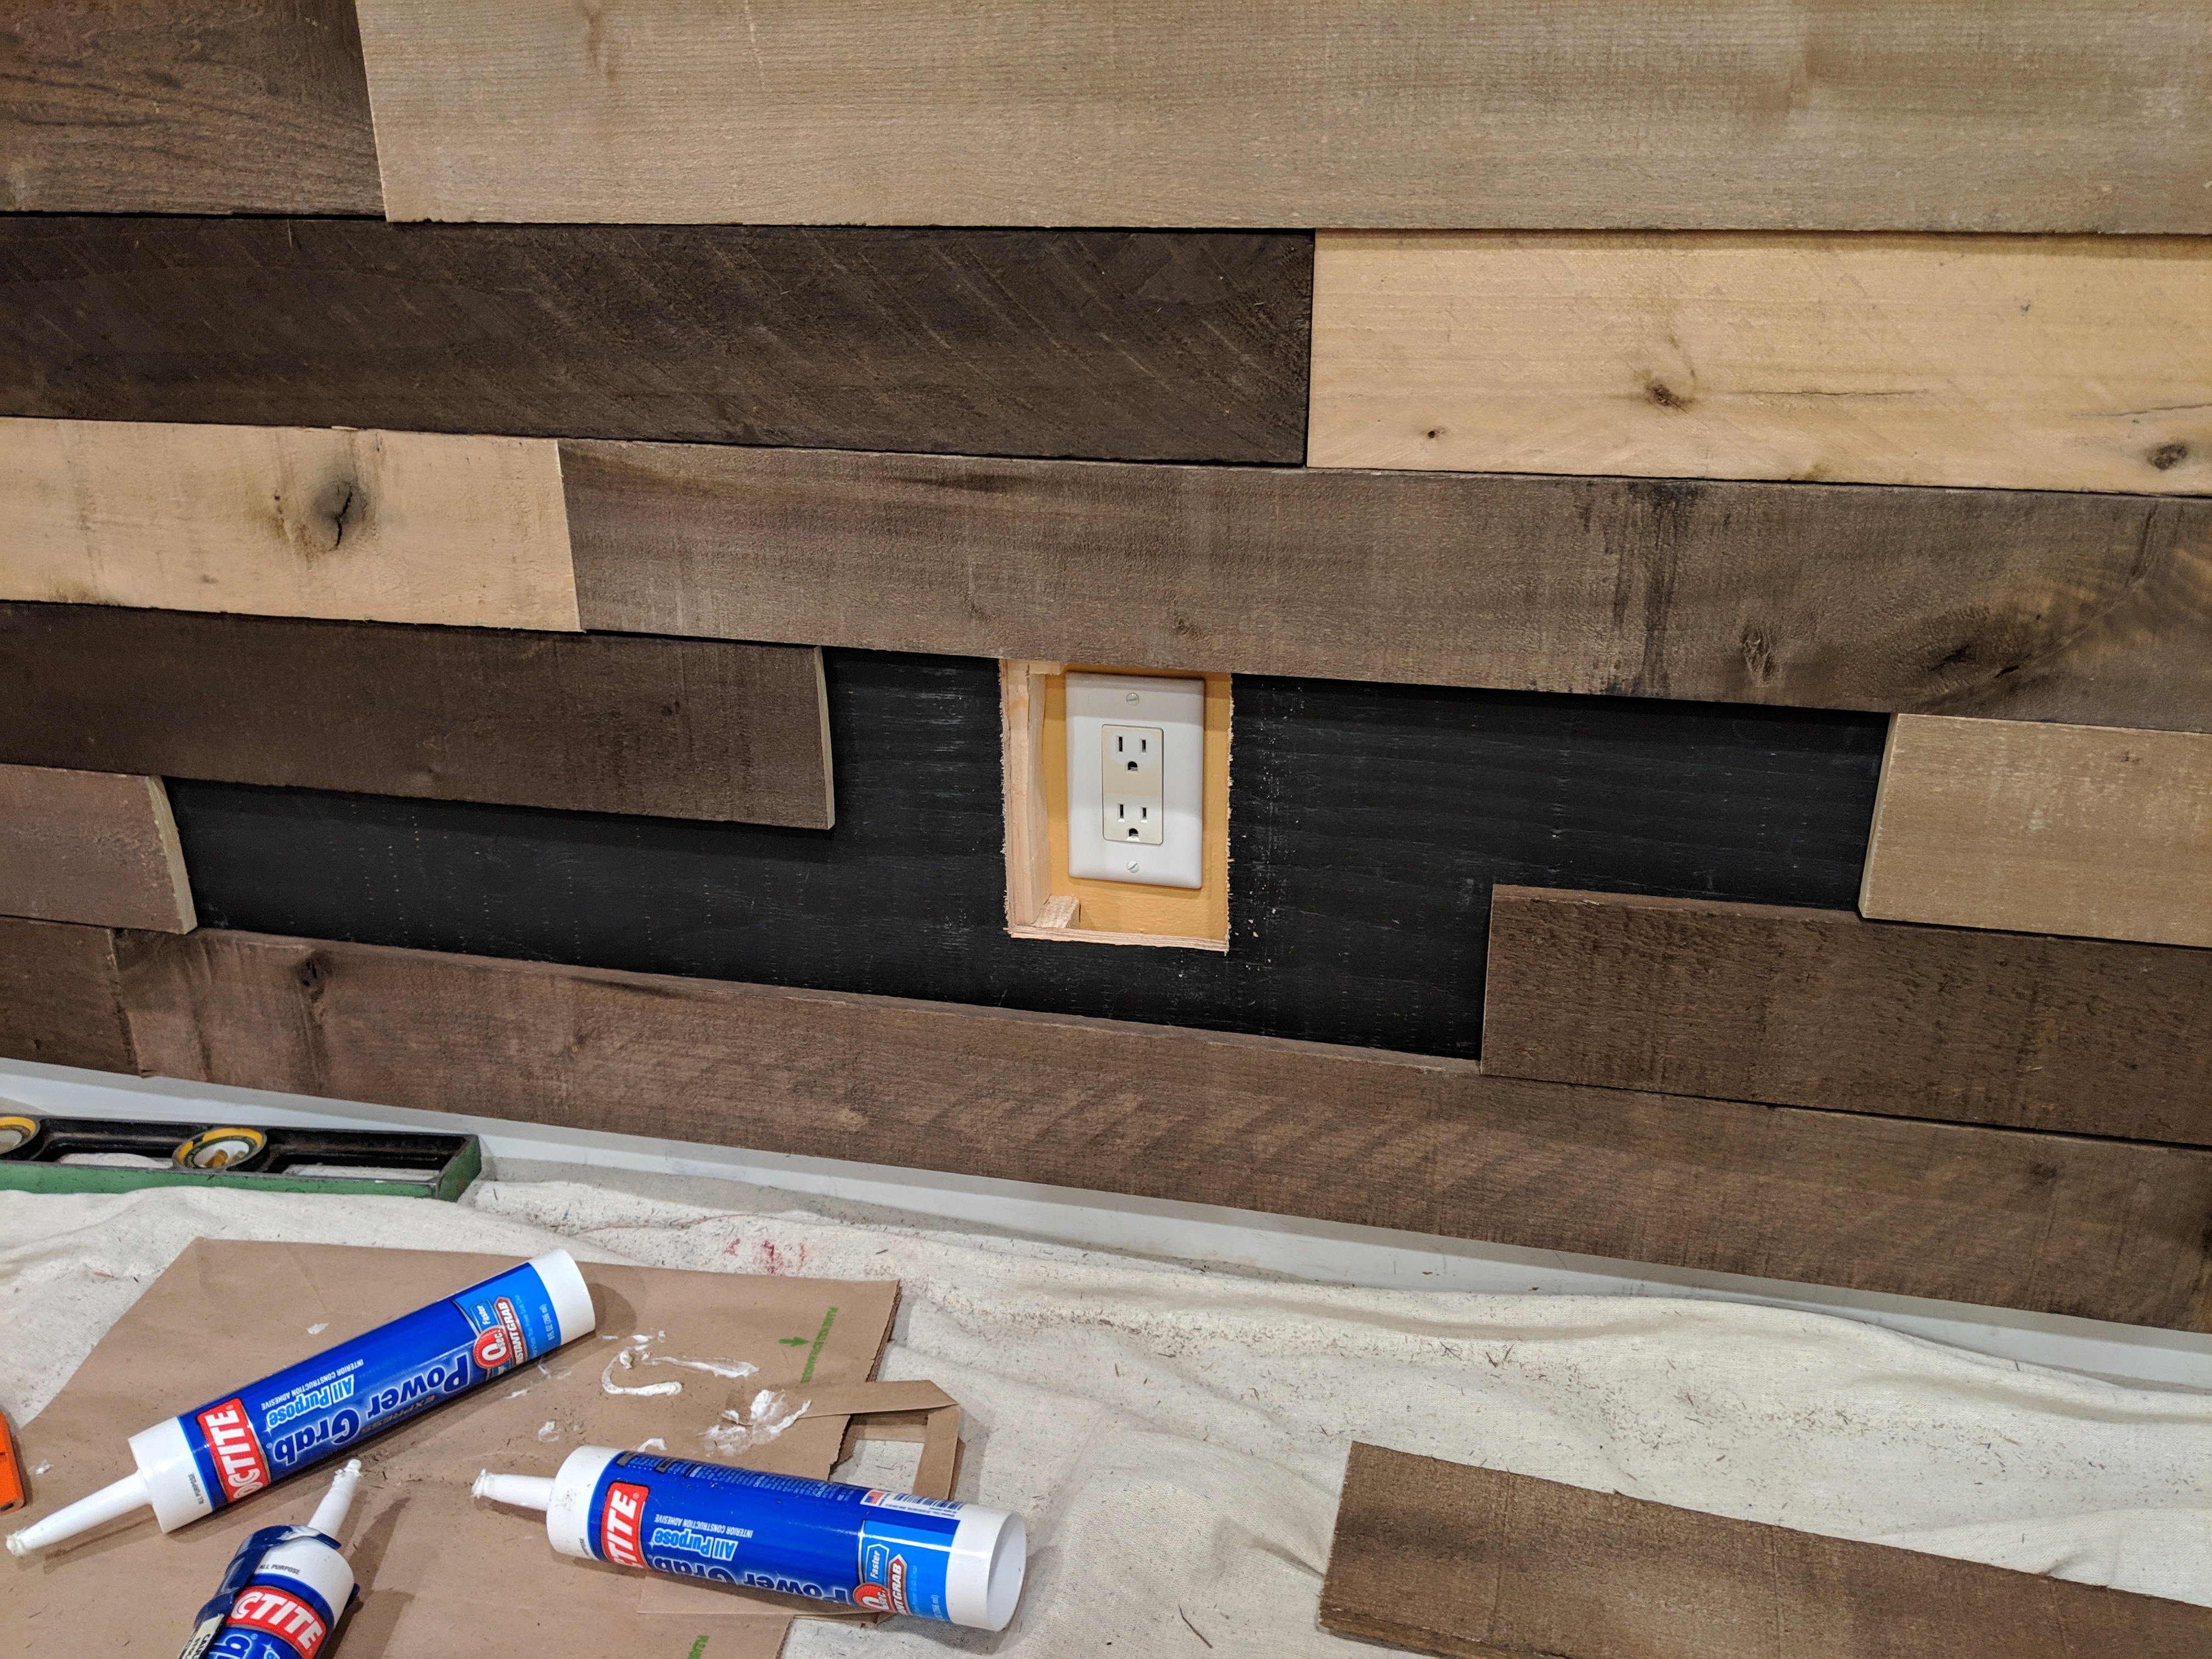
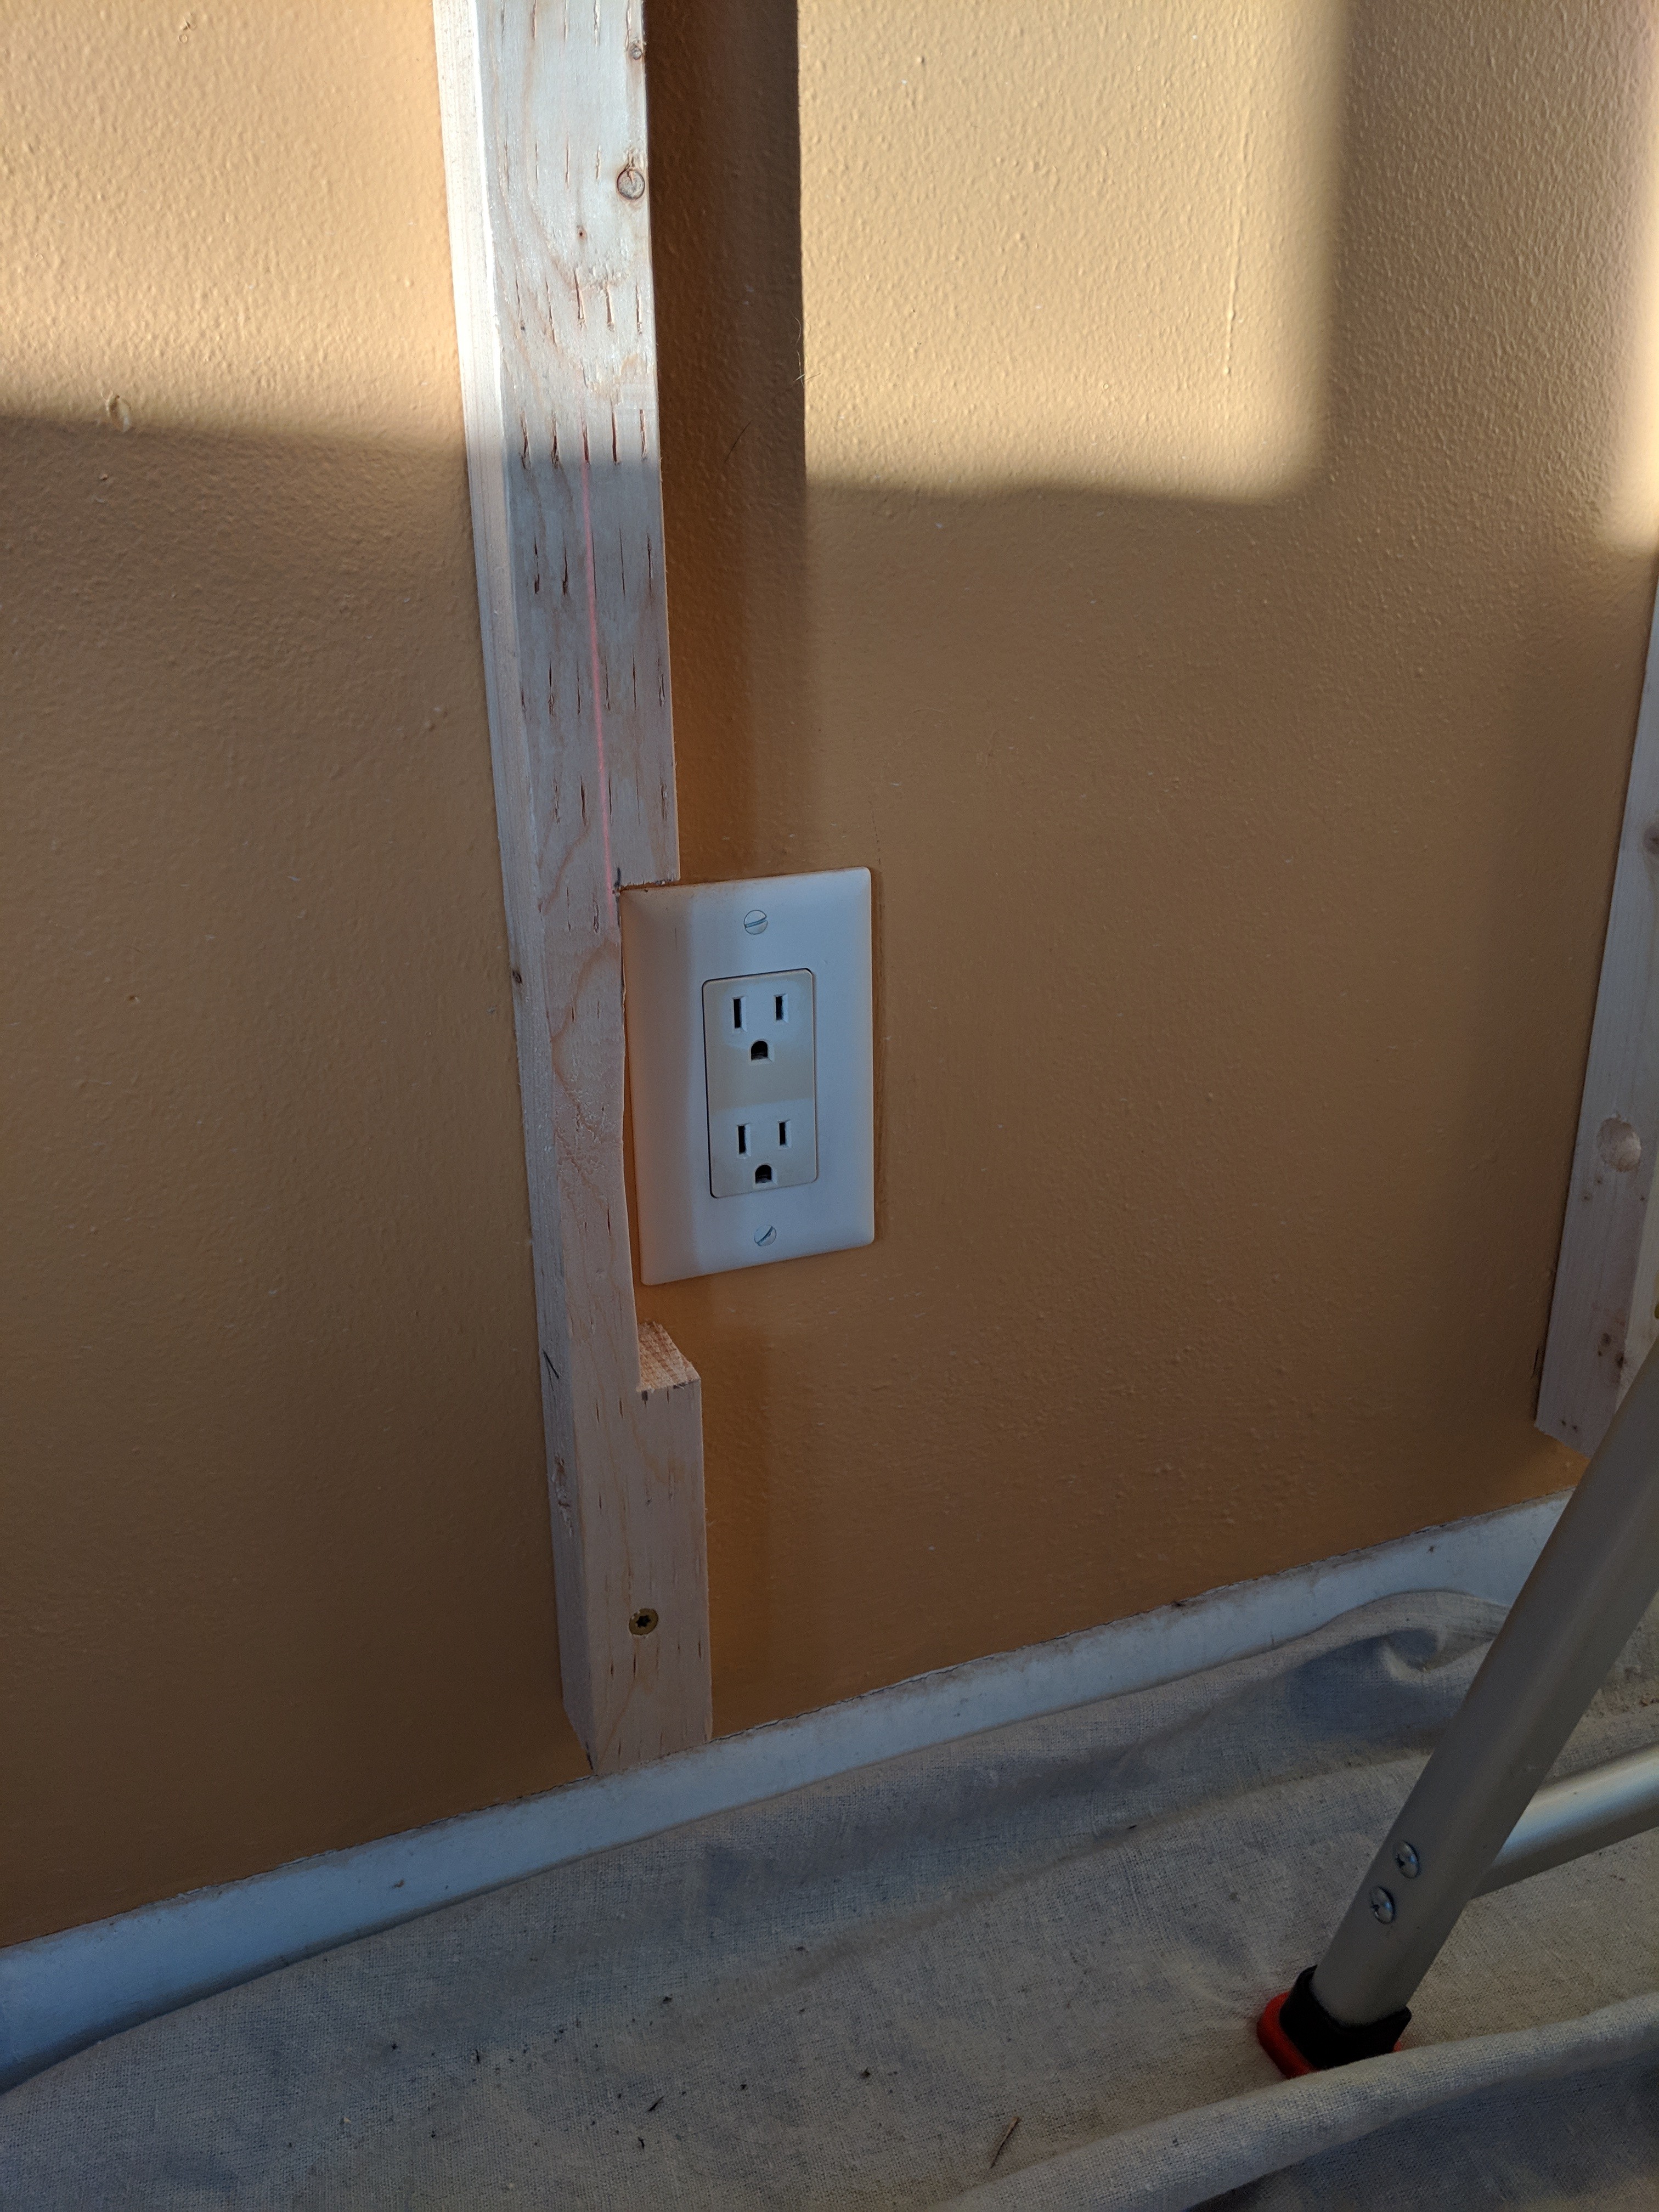
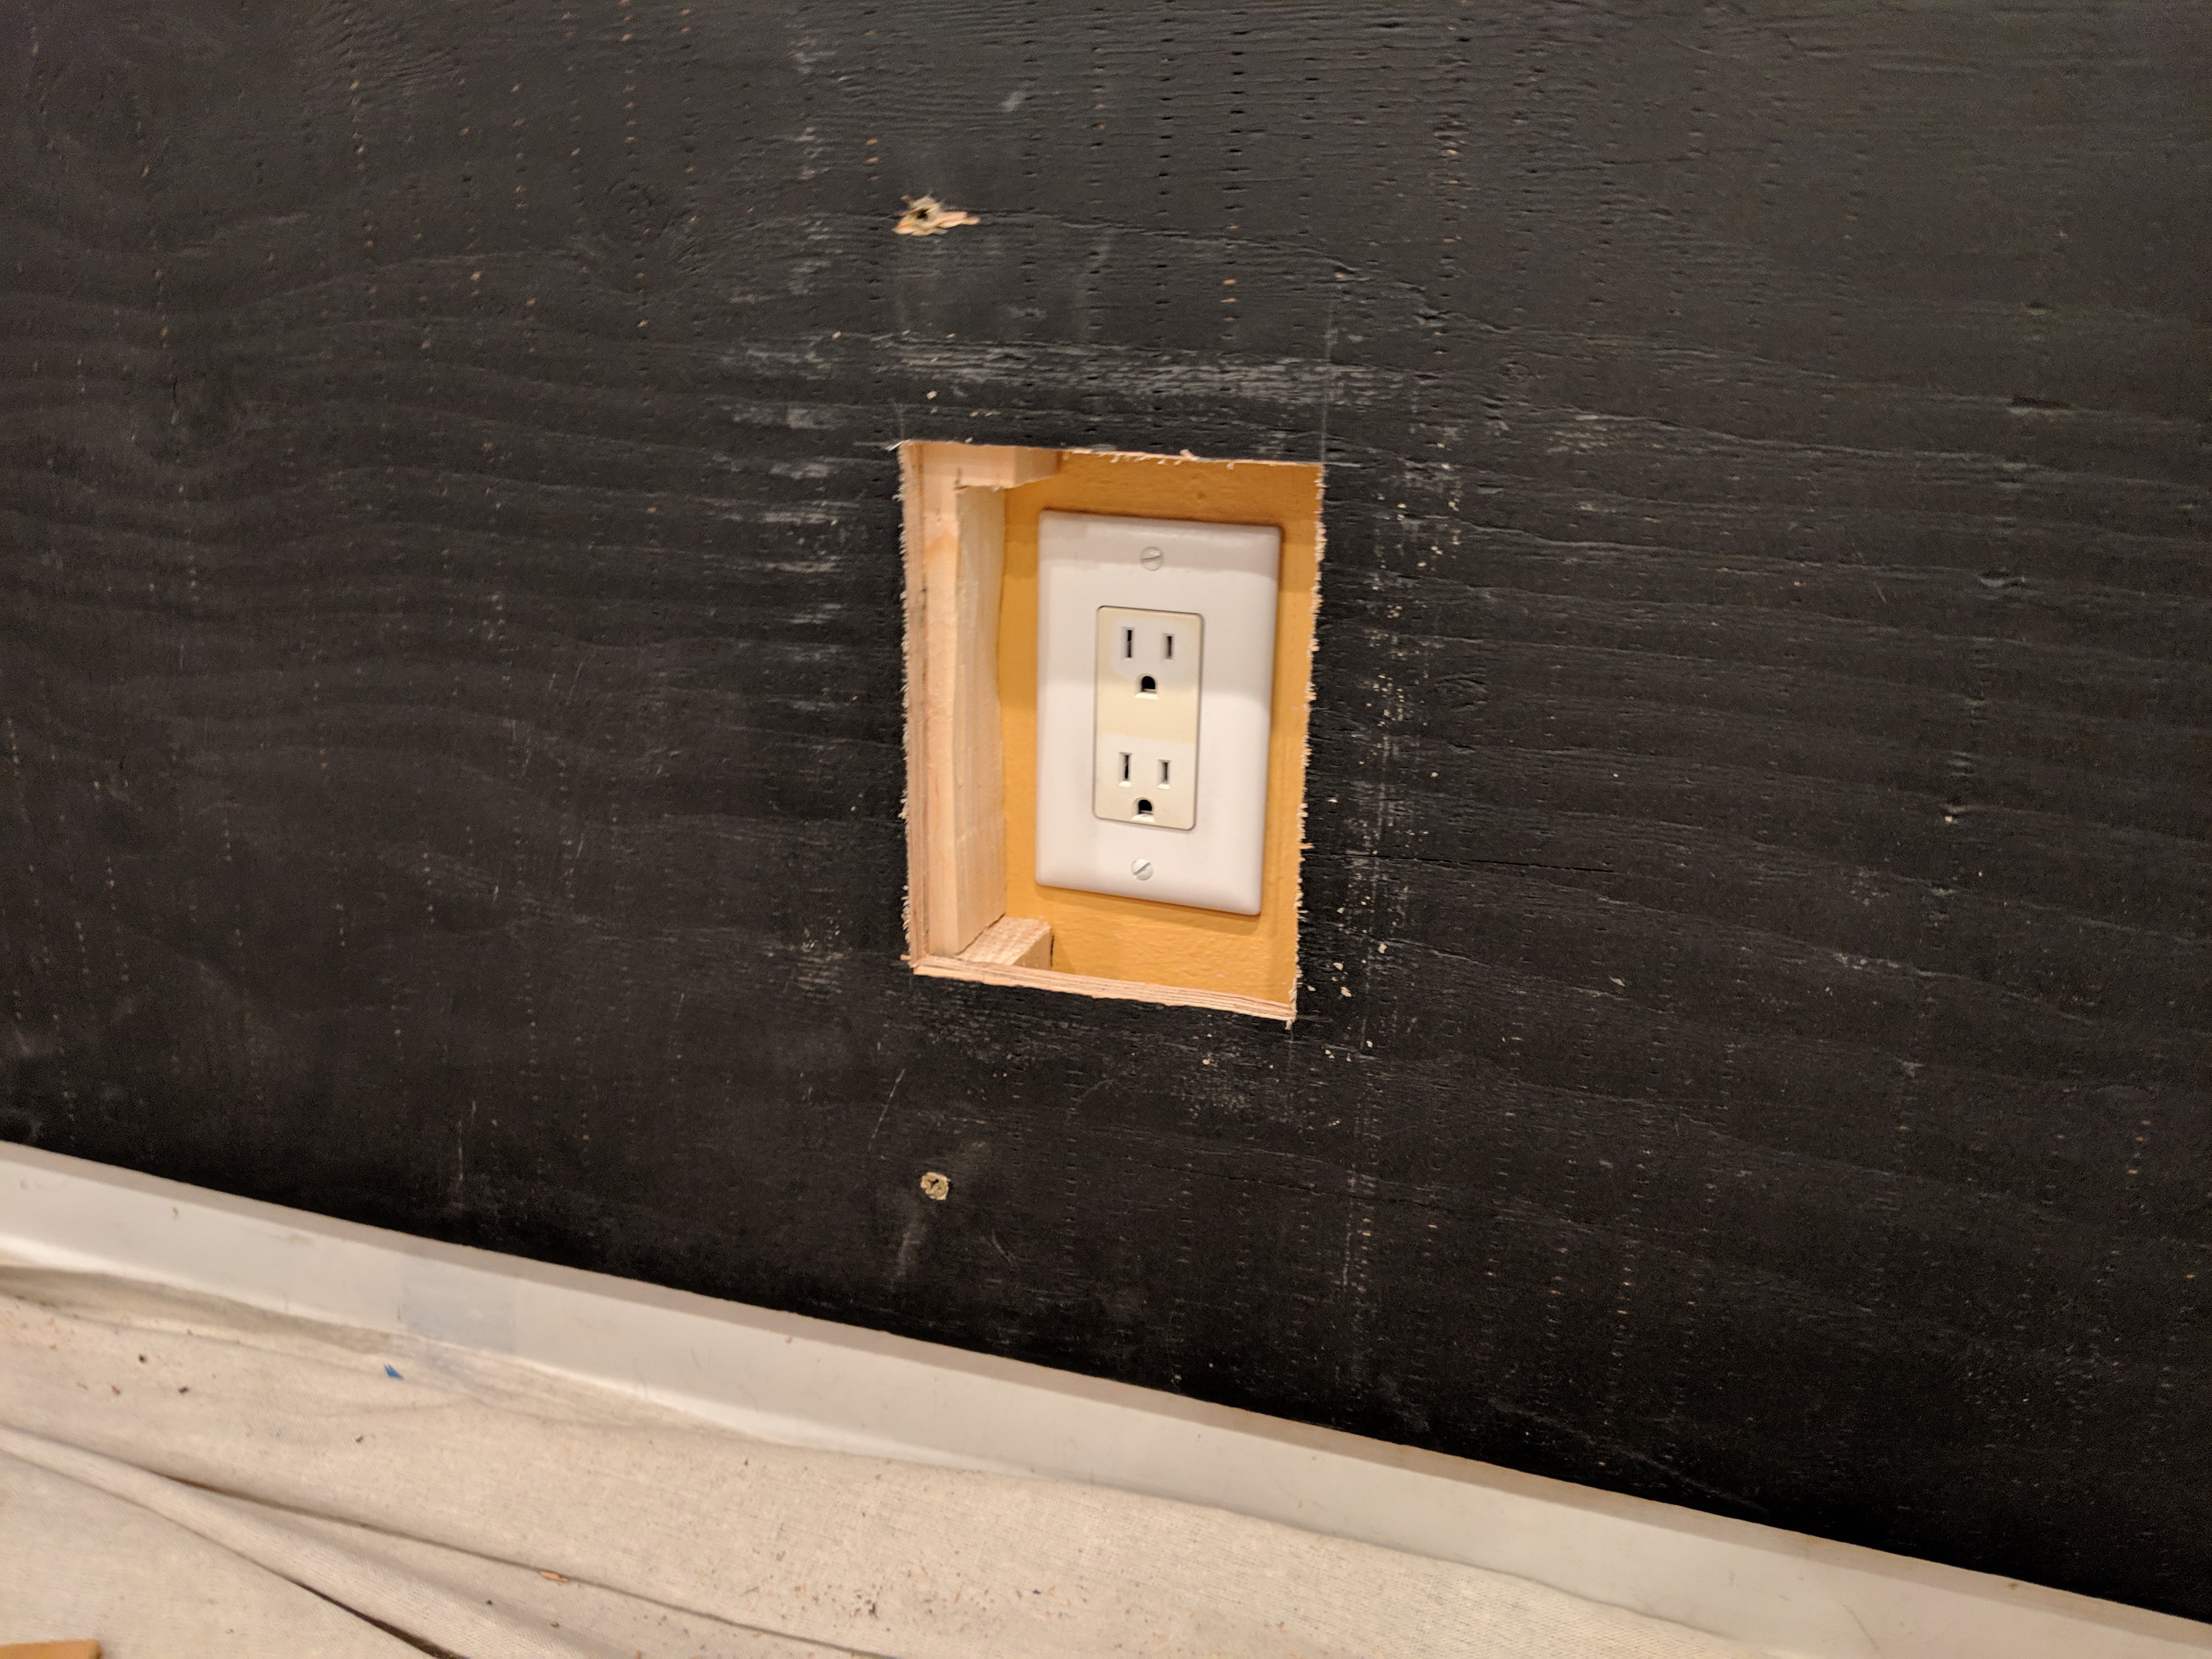
    When mounting the plywood I cut a hole for the outlet, but I don't want it to actually show through the facade. When laying out the bottom few layers of boards I made sure that two of them lined up well for access and I didn't glue these in place.

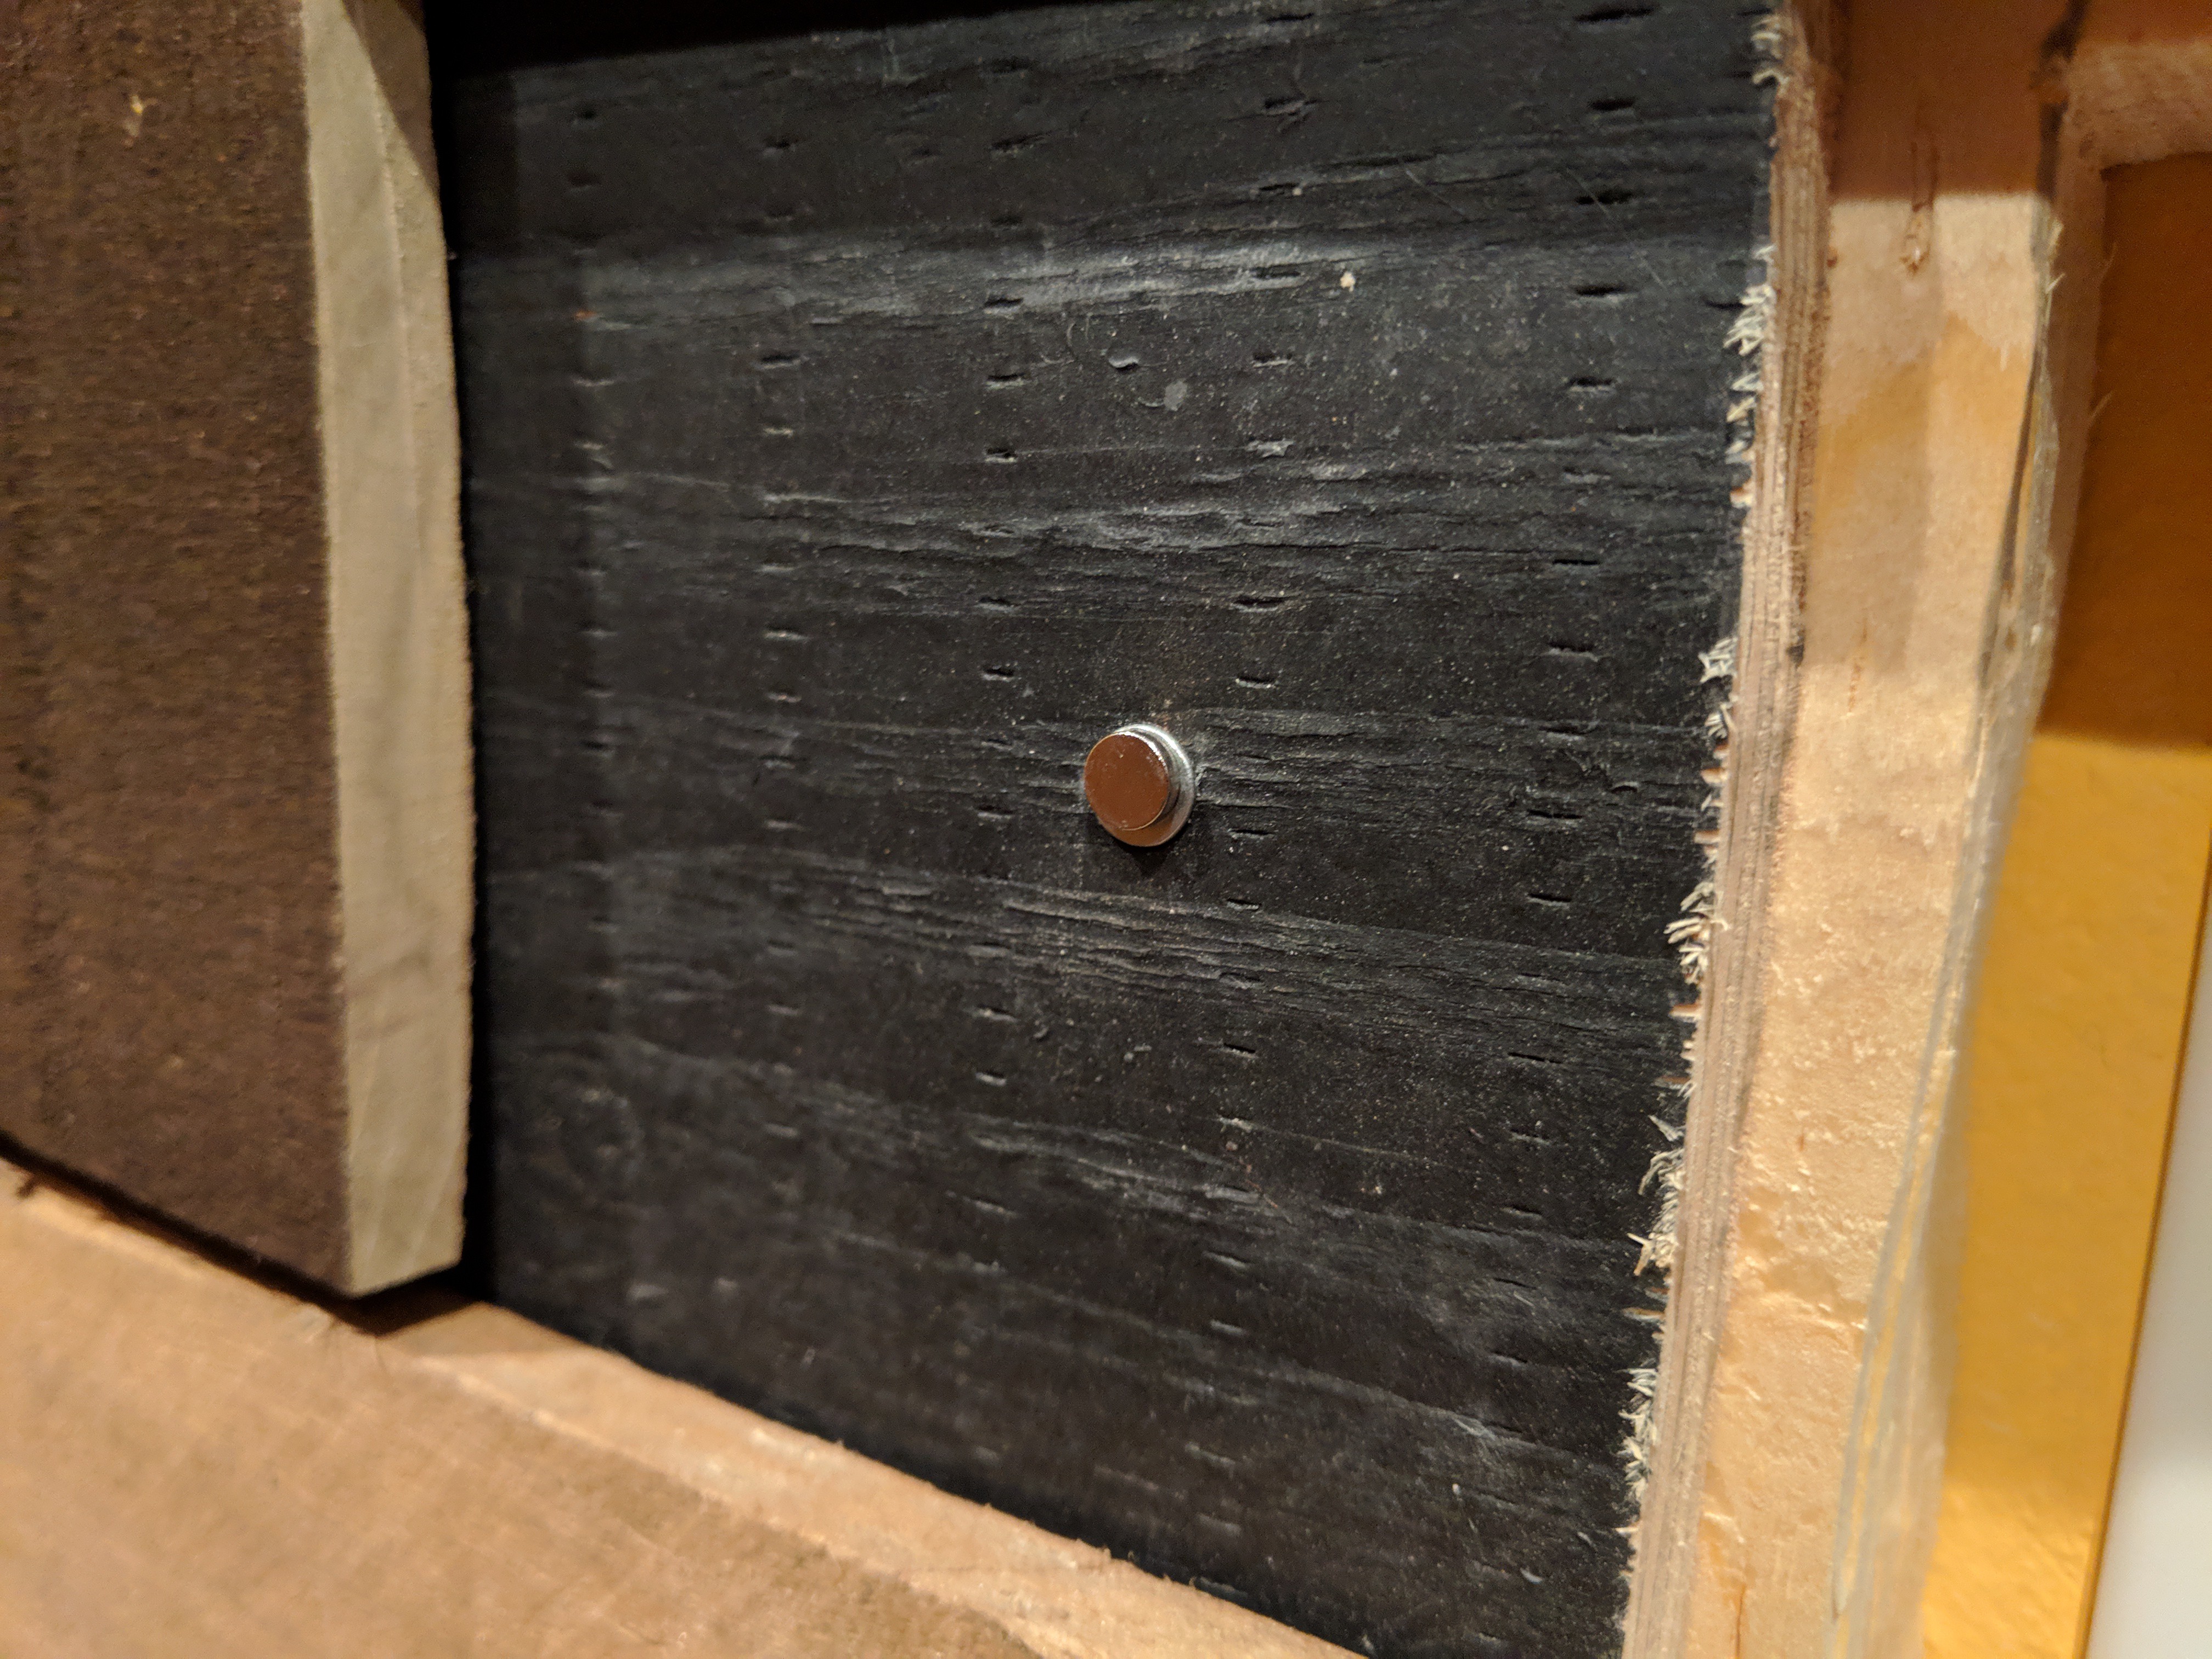
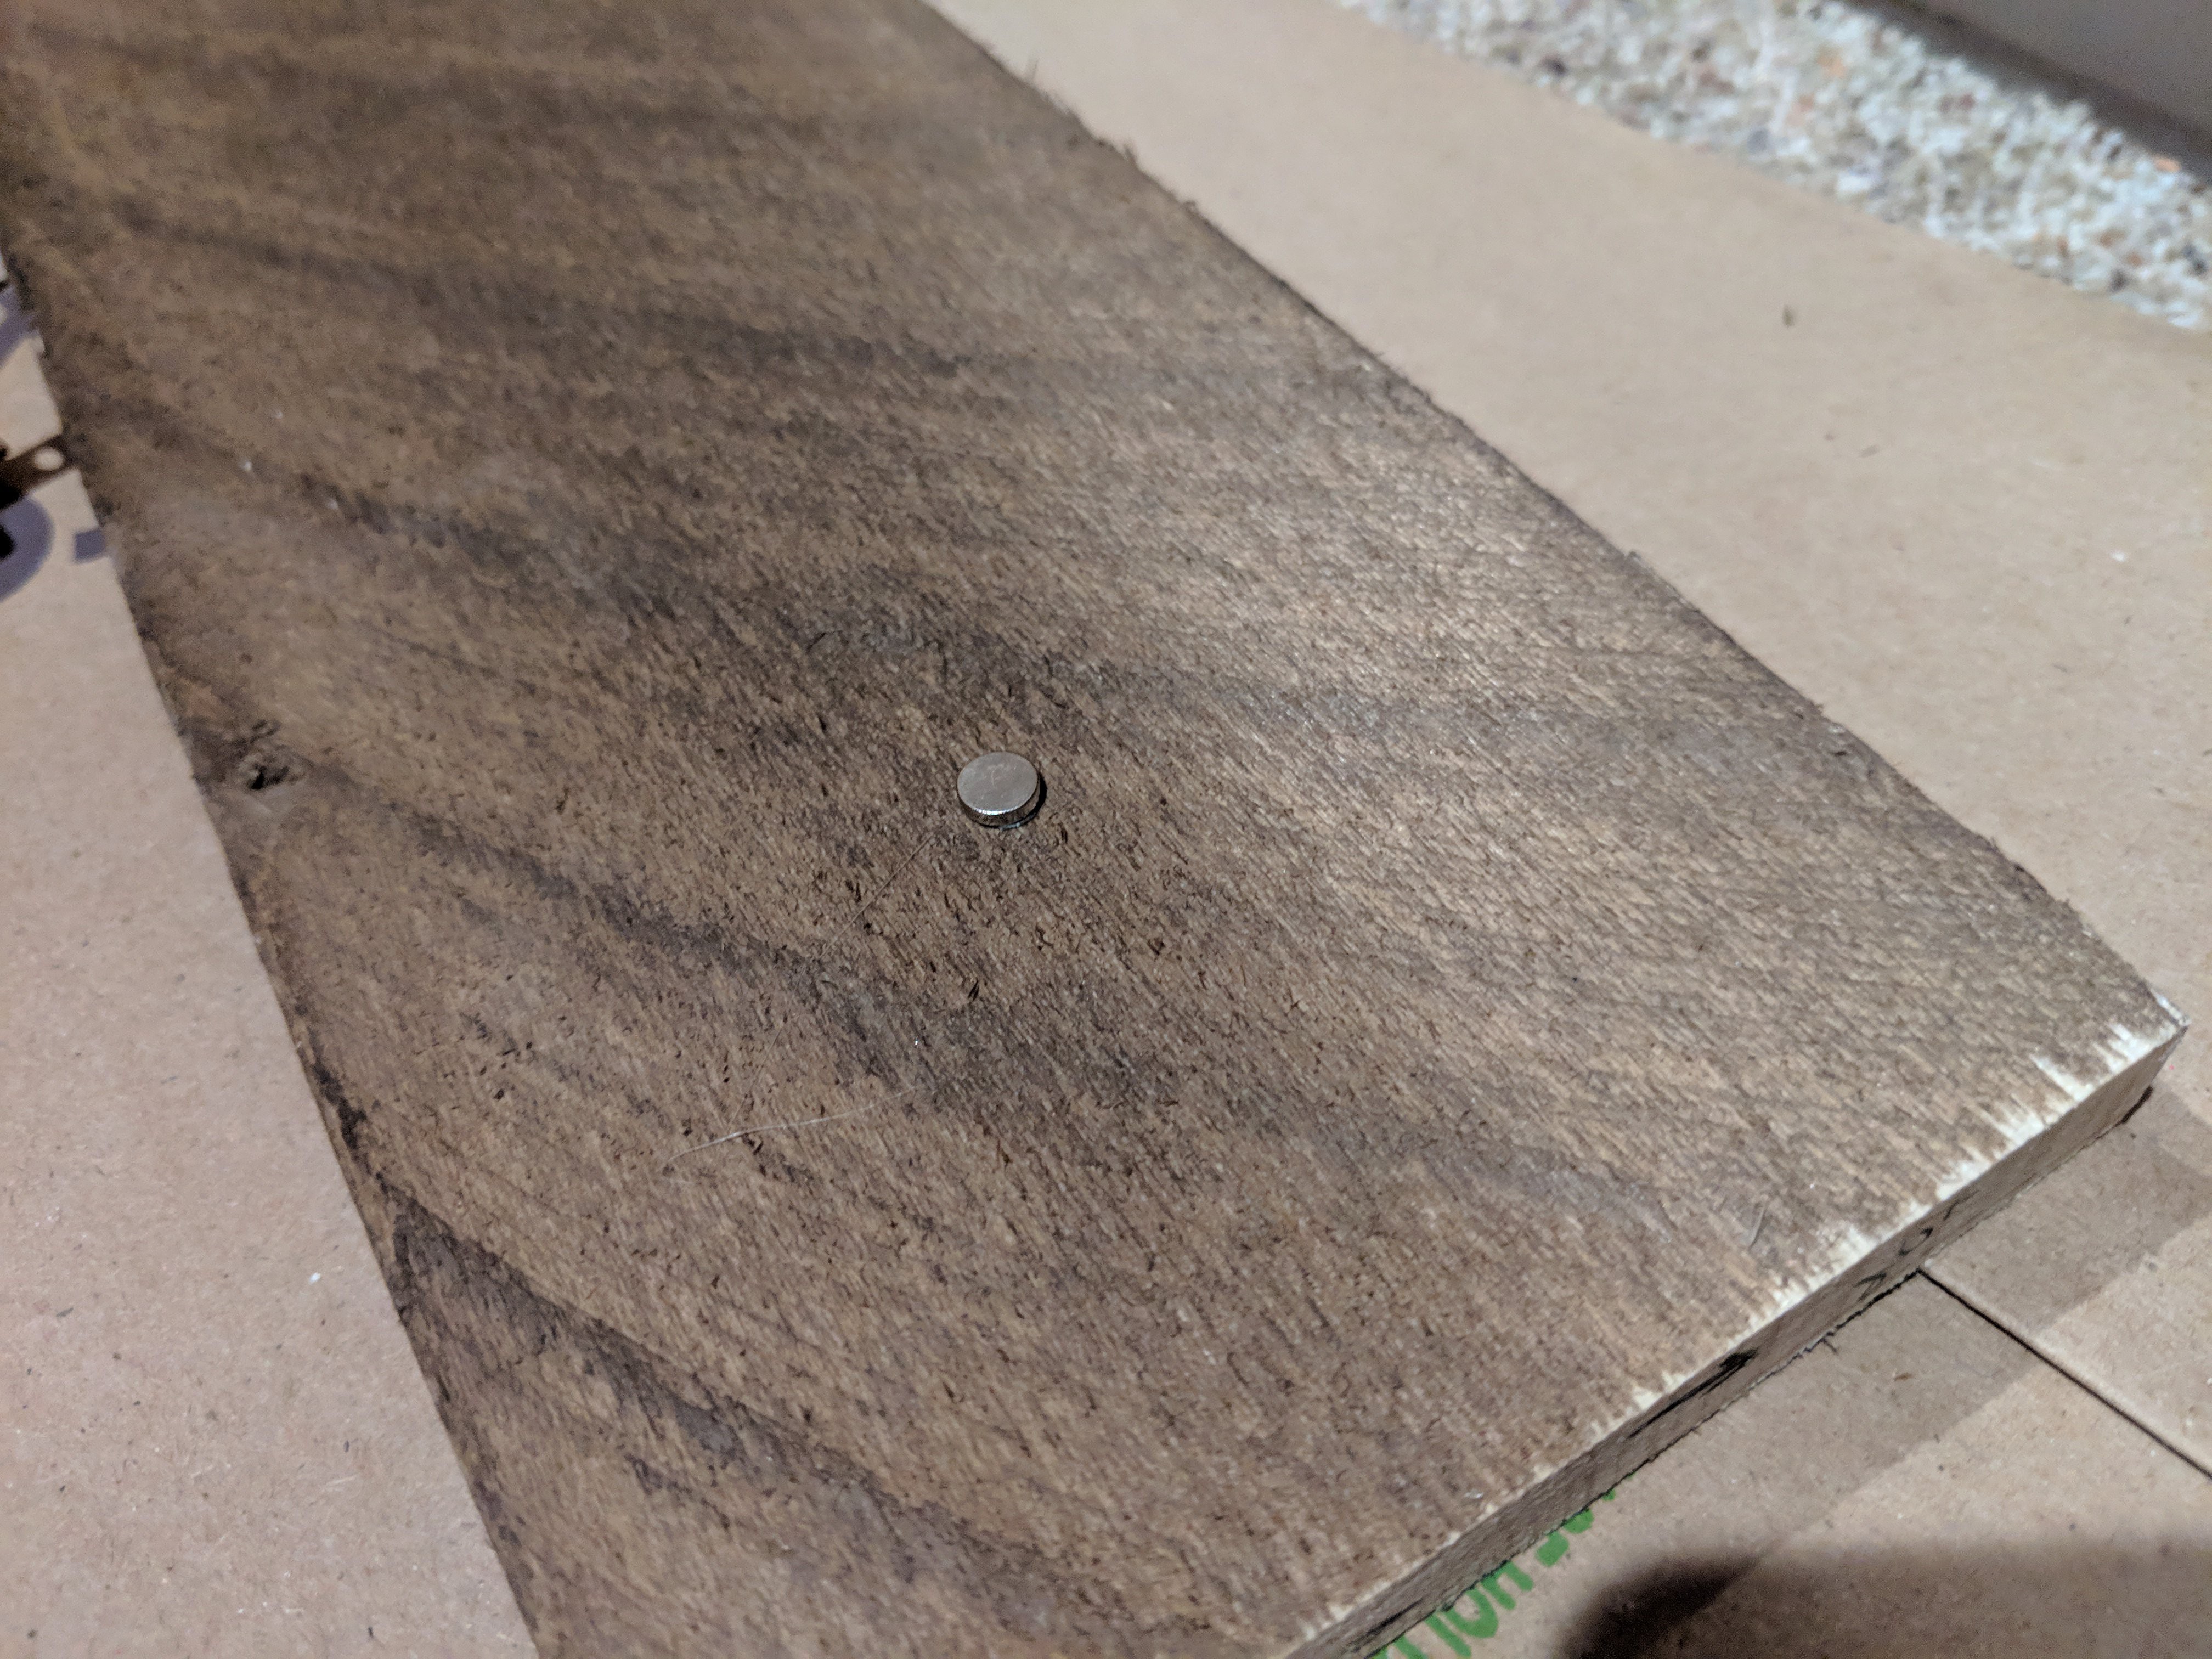
    These stay in place okay by themselves, I really just need to make sure they don't fall out if someone bumps the wall, or walks by with heavy feet. I had some rare-earth magnets hanging around and set out to make them work as follows:

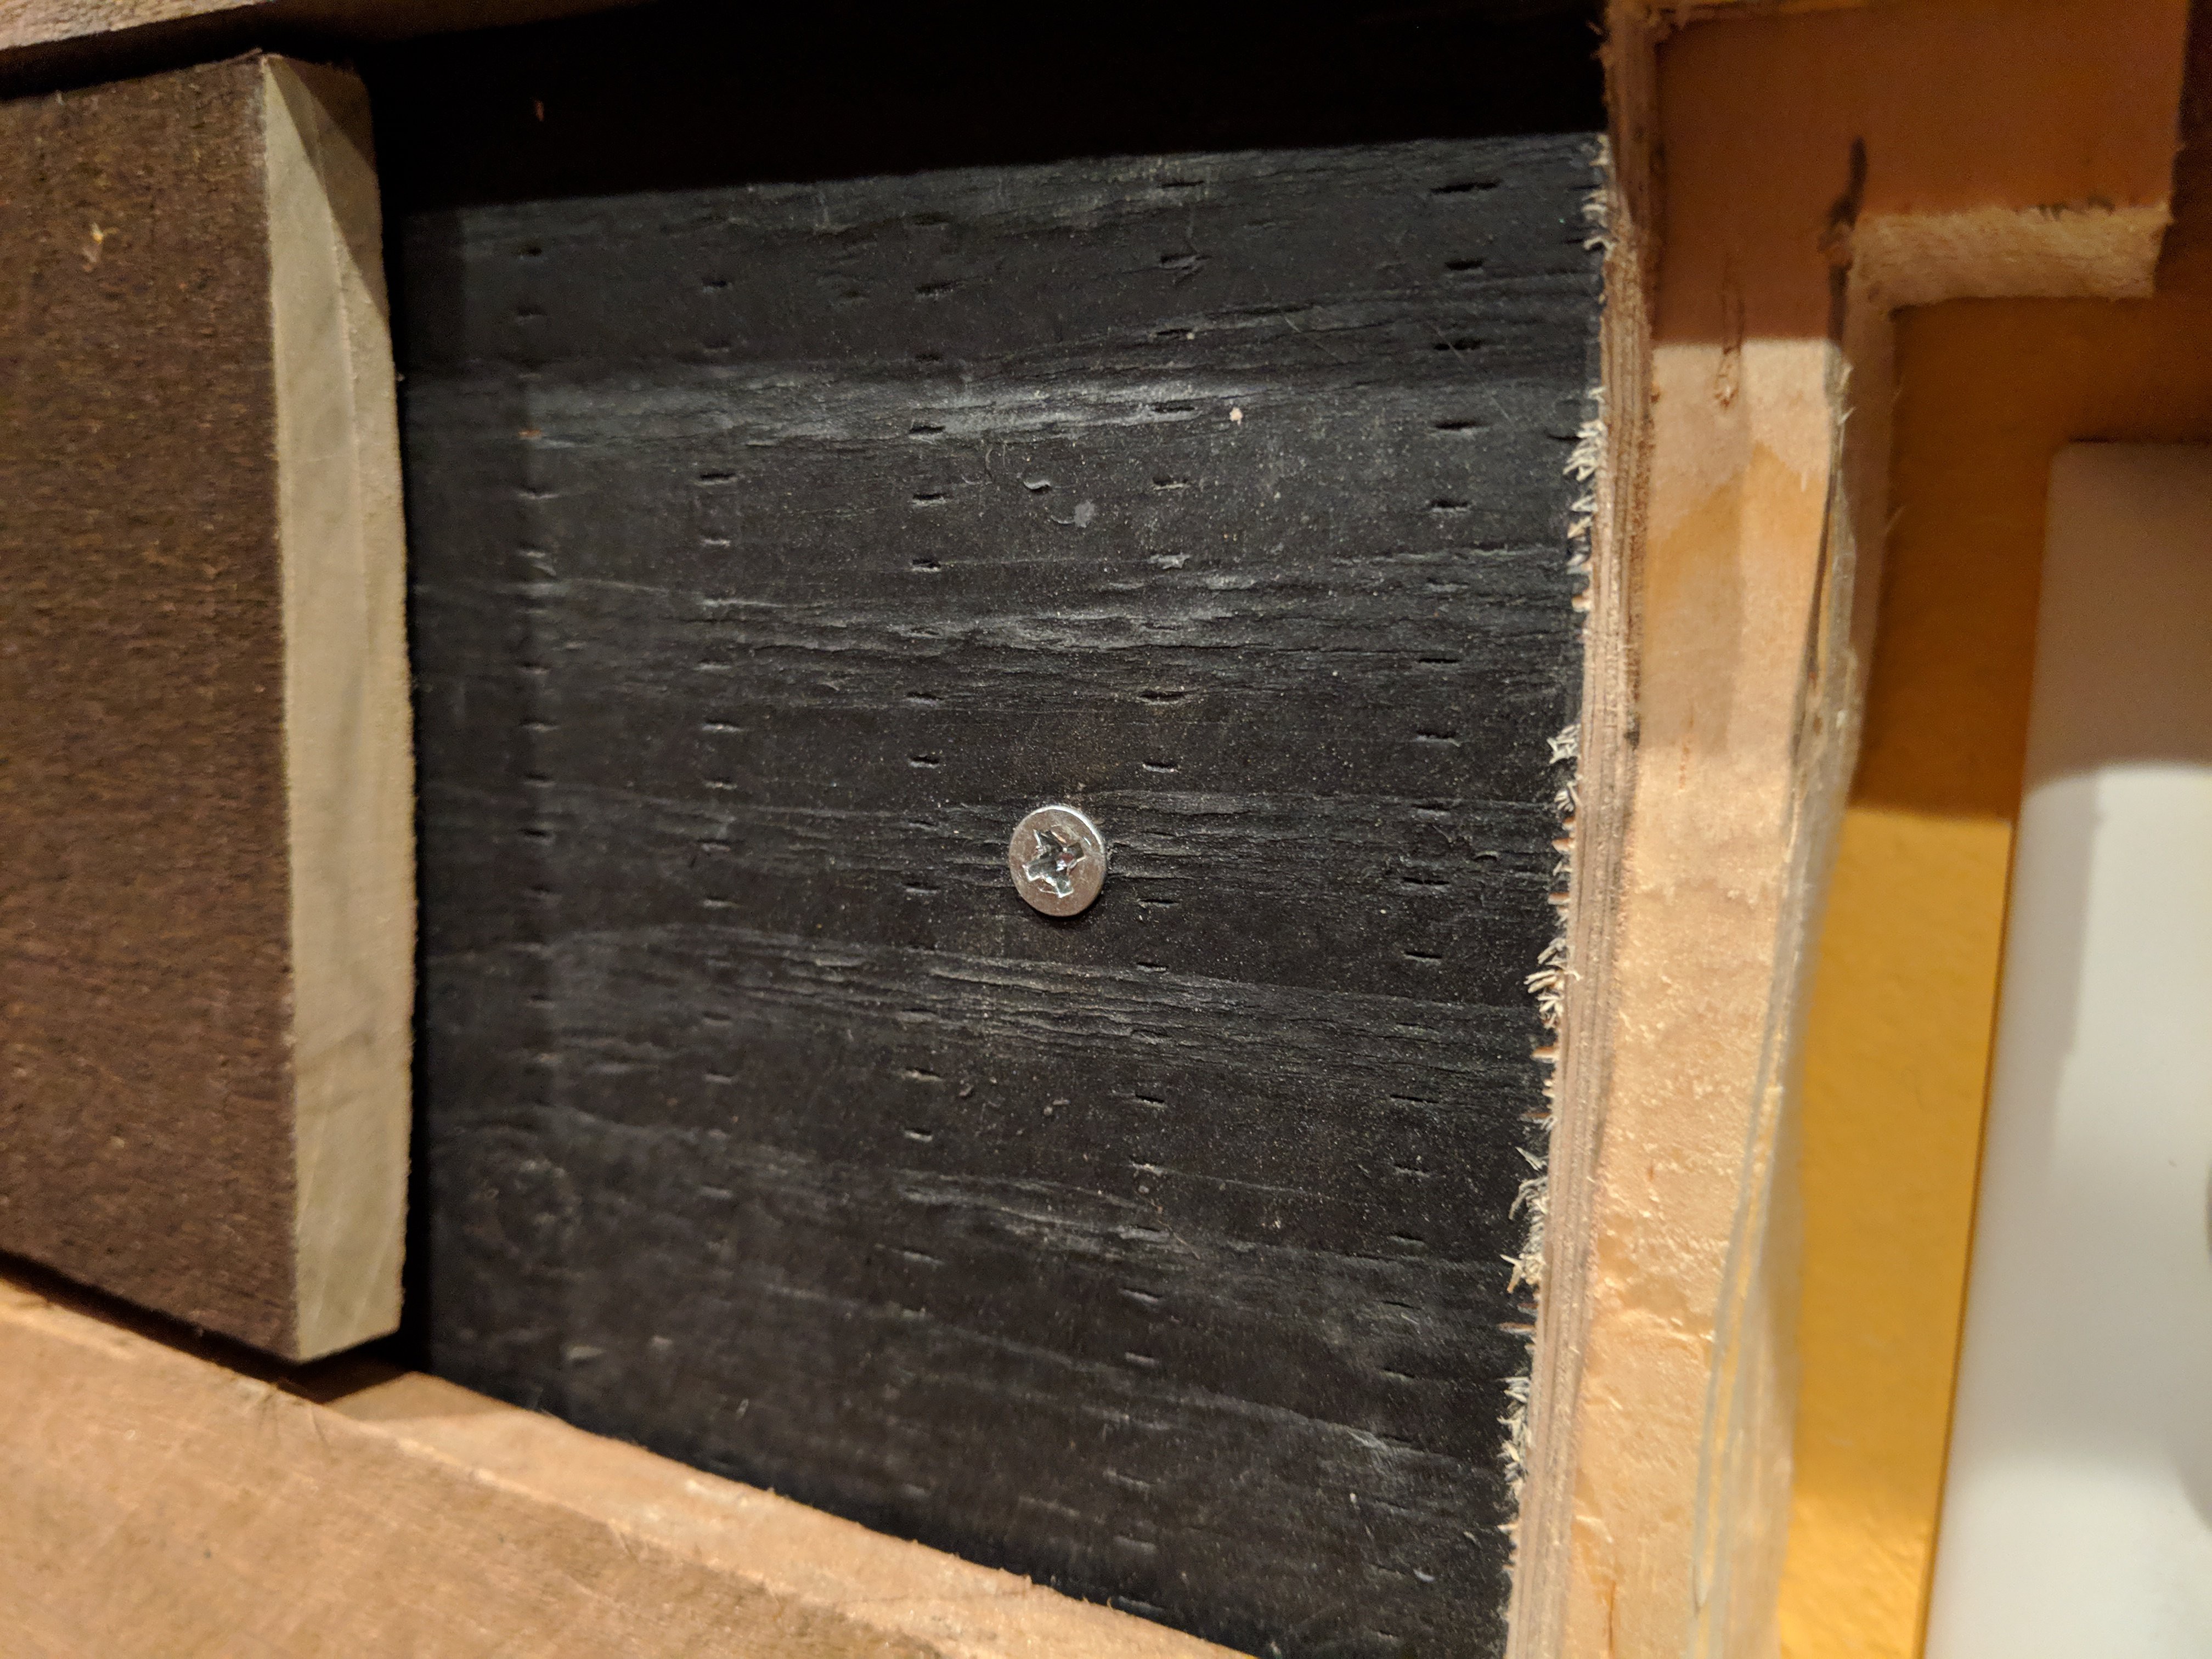
    • Flat screw heads in the plywood will give the magnets something to grip, and this allows for a bit of adjustability
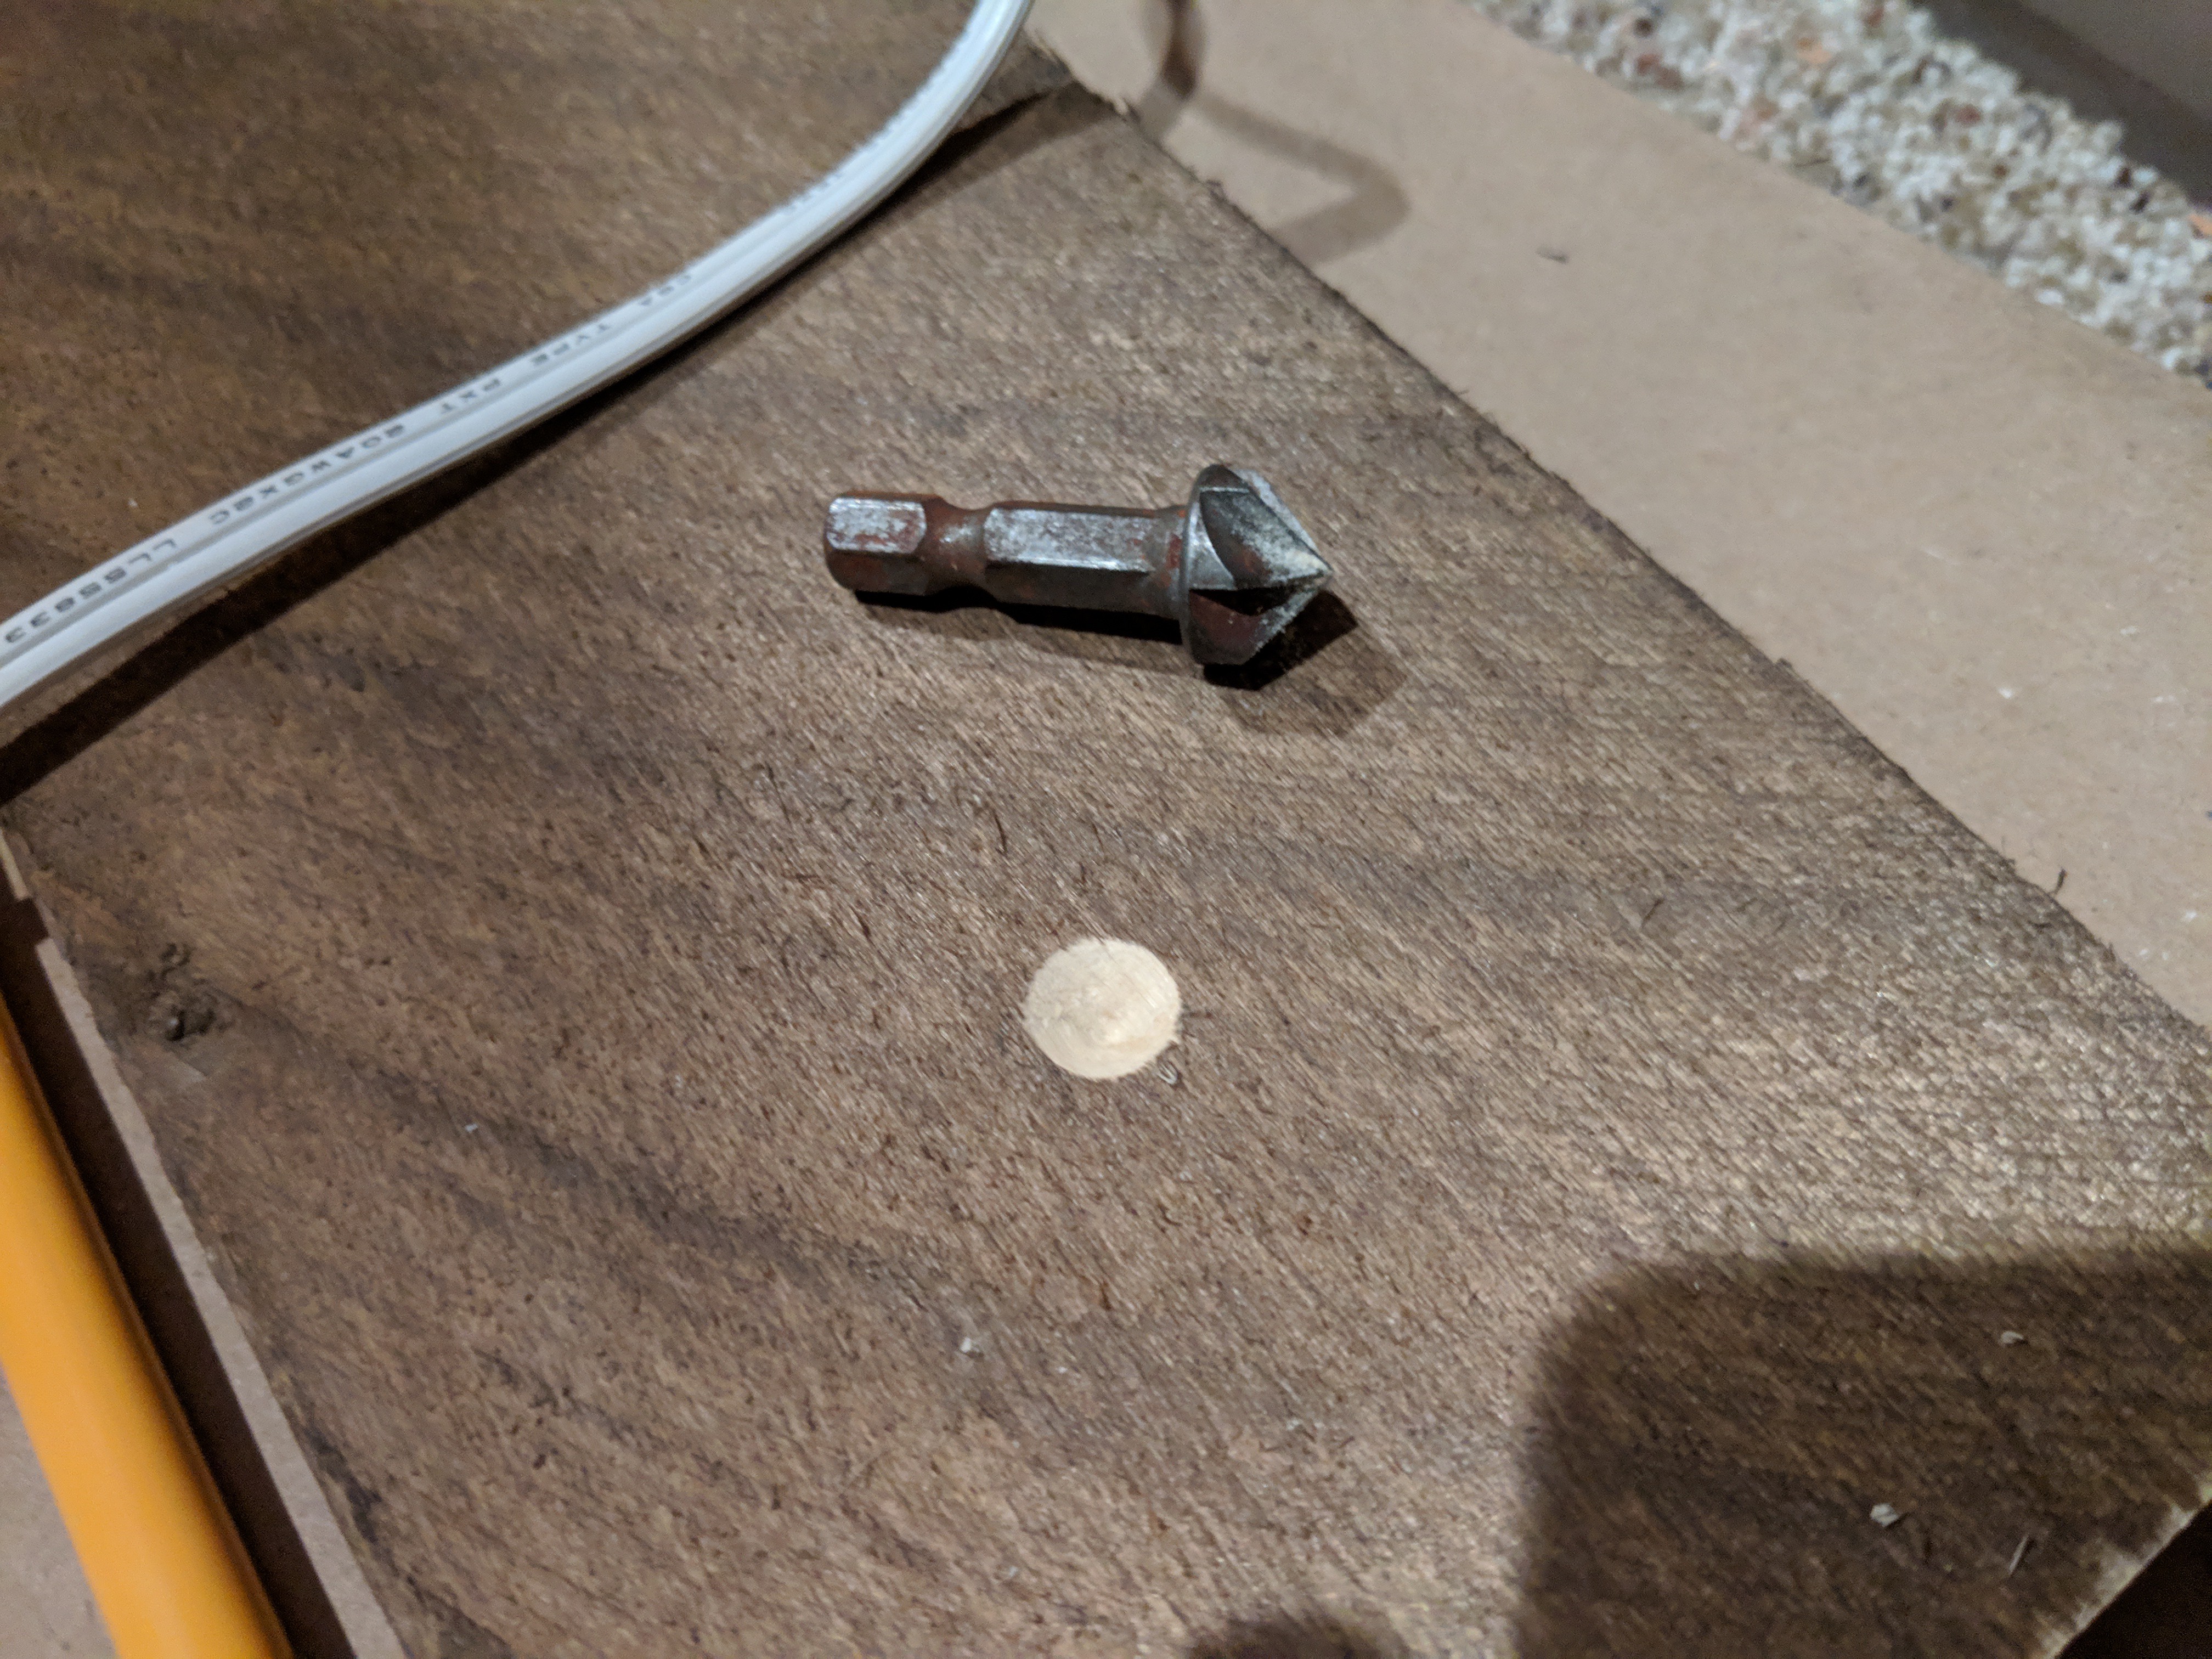
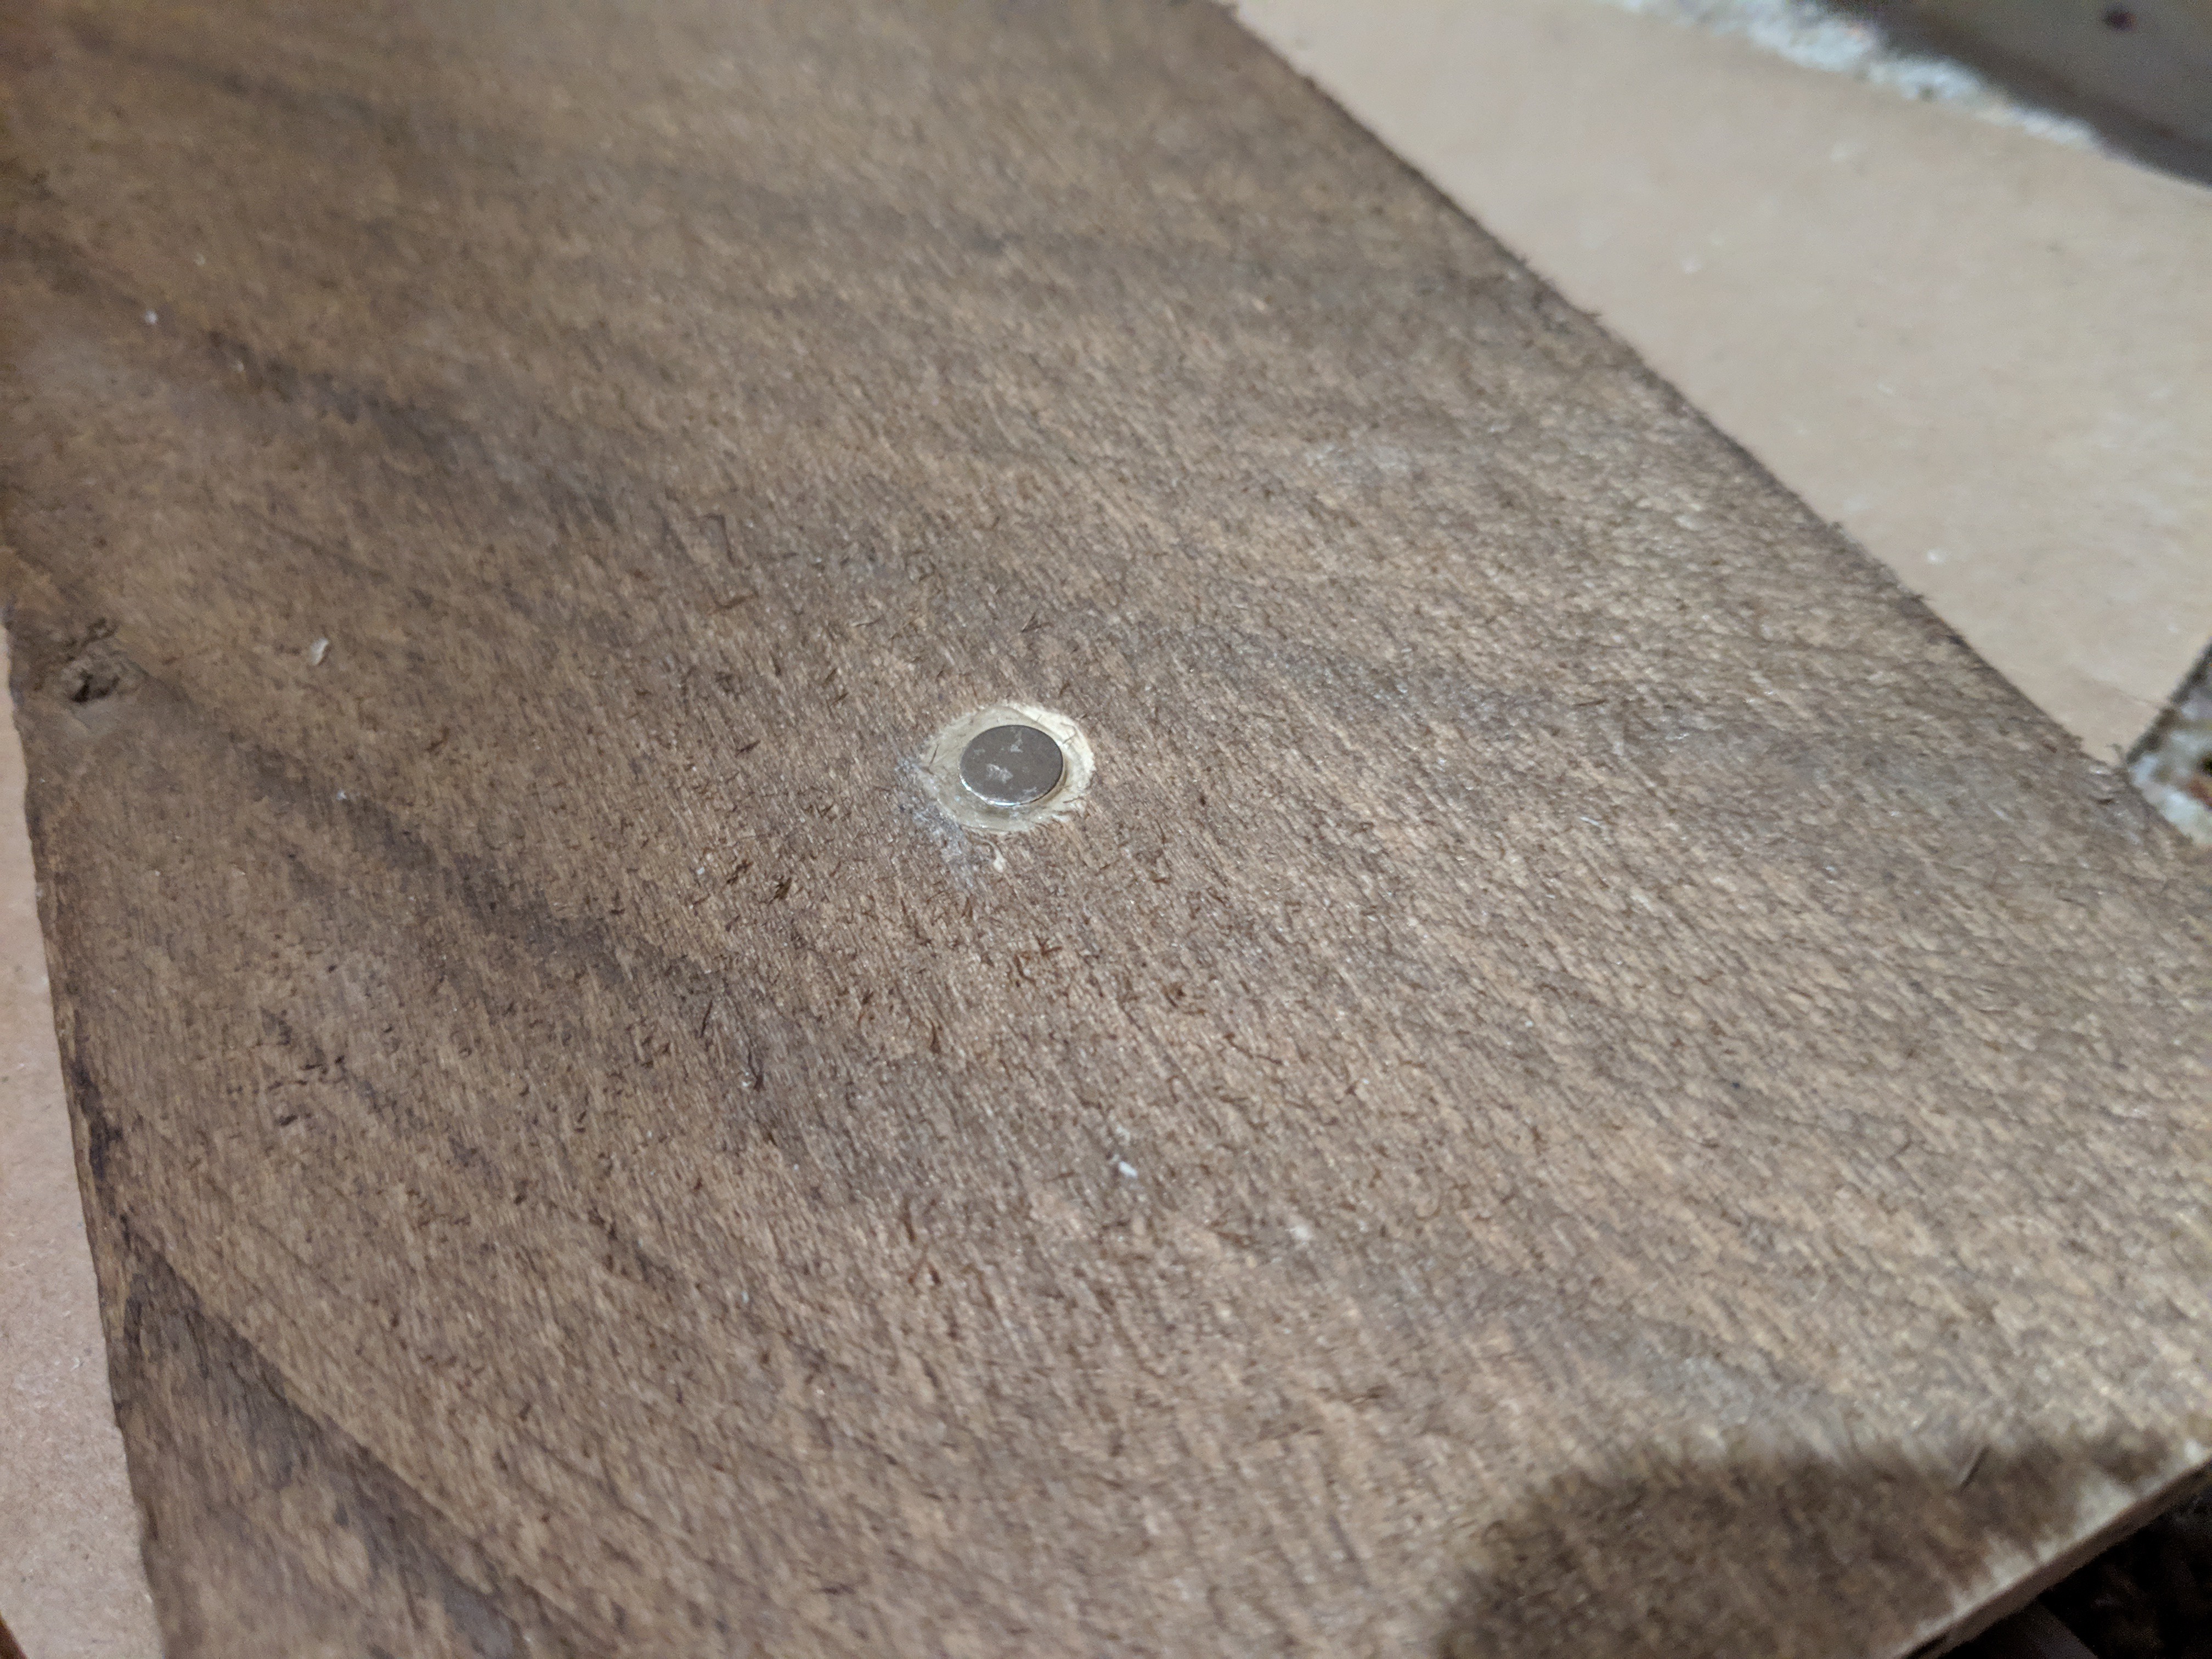
    • Magnets should be countersunk in the back of the weathered boards.

    Installation technique:

    Drill and countersink the screws:

    Place magnets on the screws:

    Dab hot glue on magnets and press boards into place to find the location of magnets

    Draw outline around magnet with a pencil. Remove the magnet, countersink, and hotglue into place:

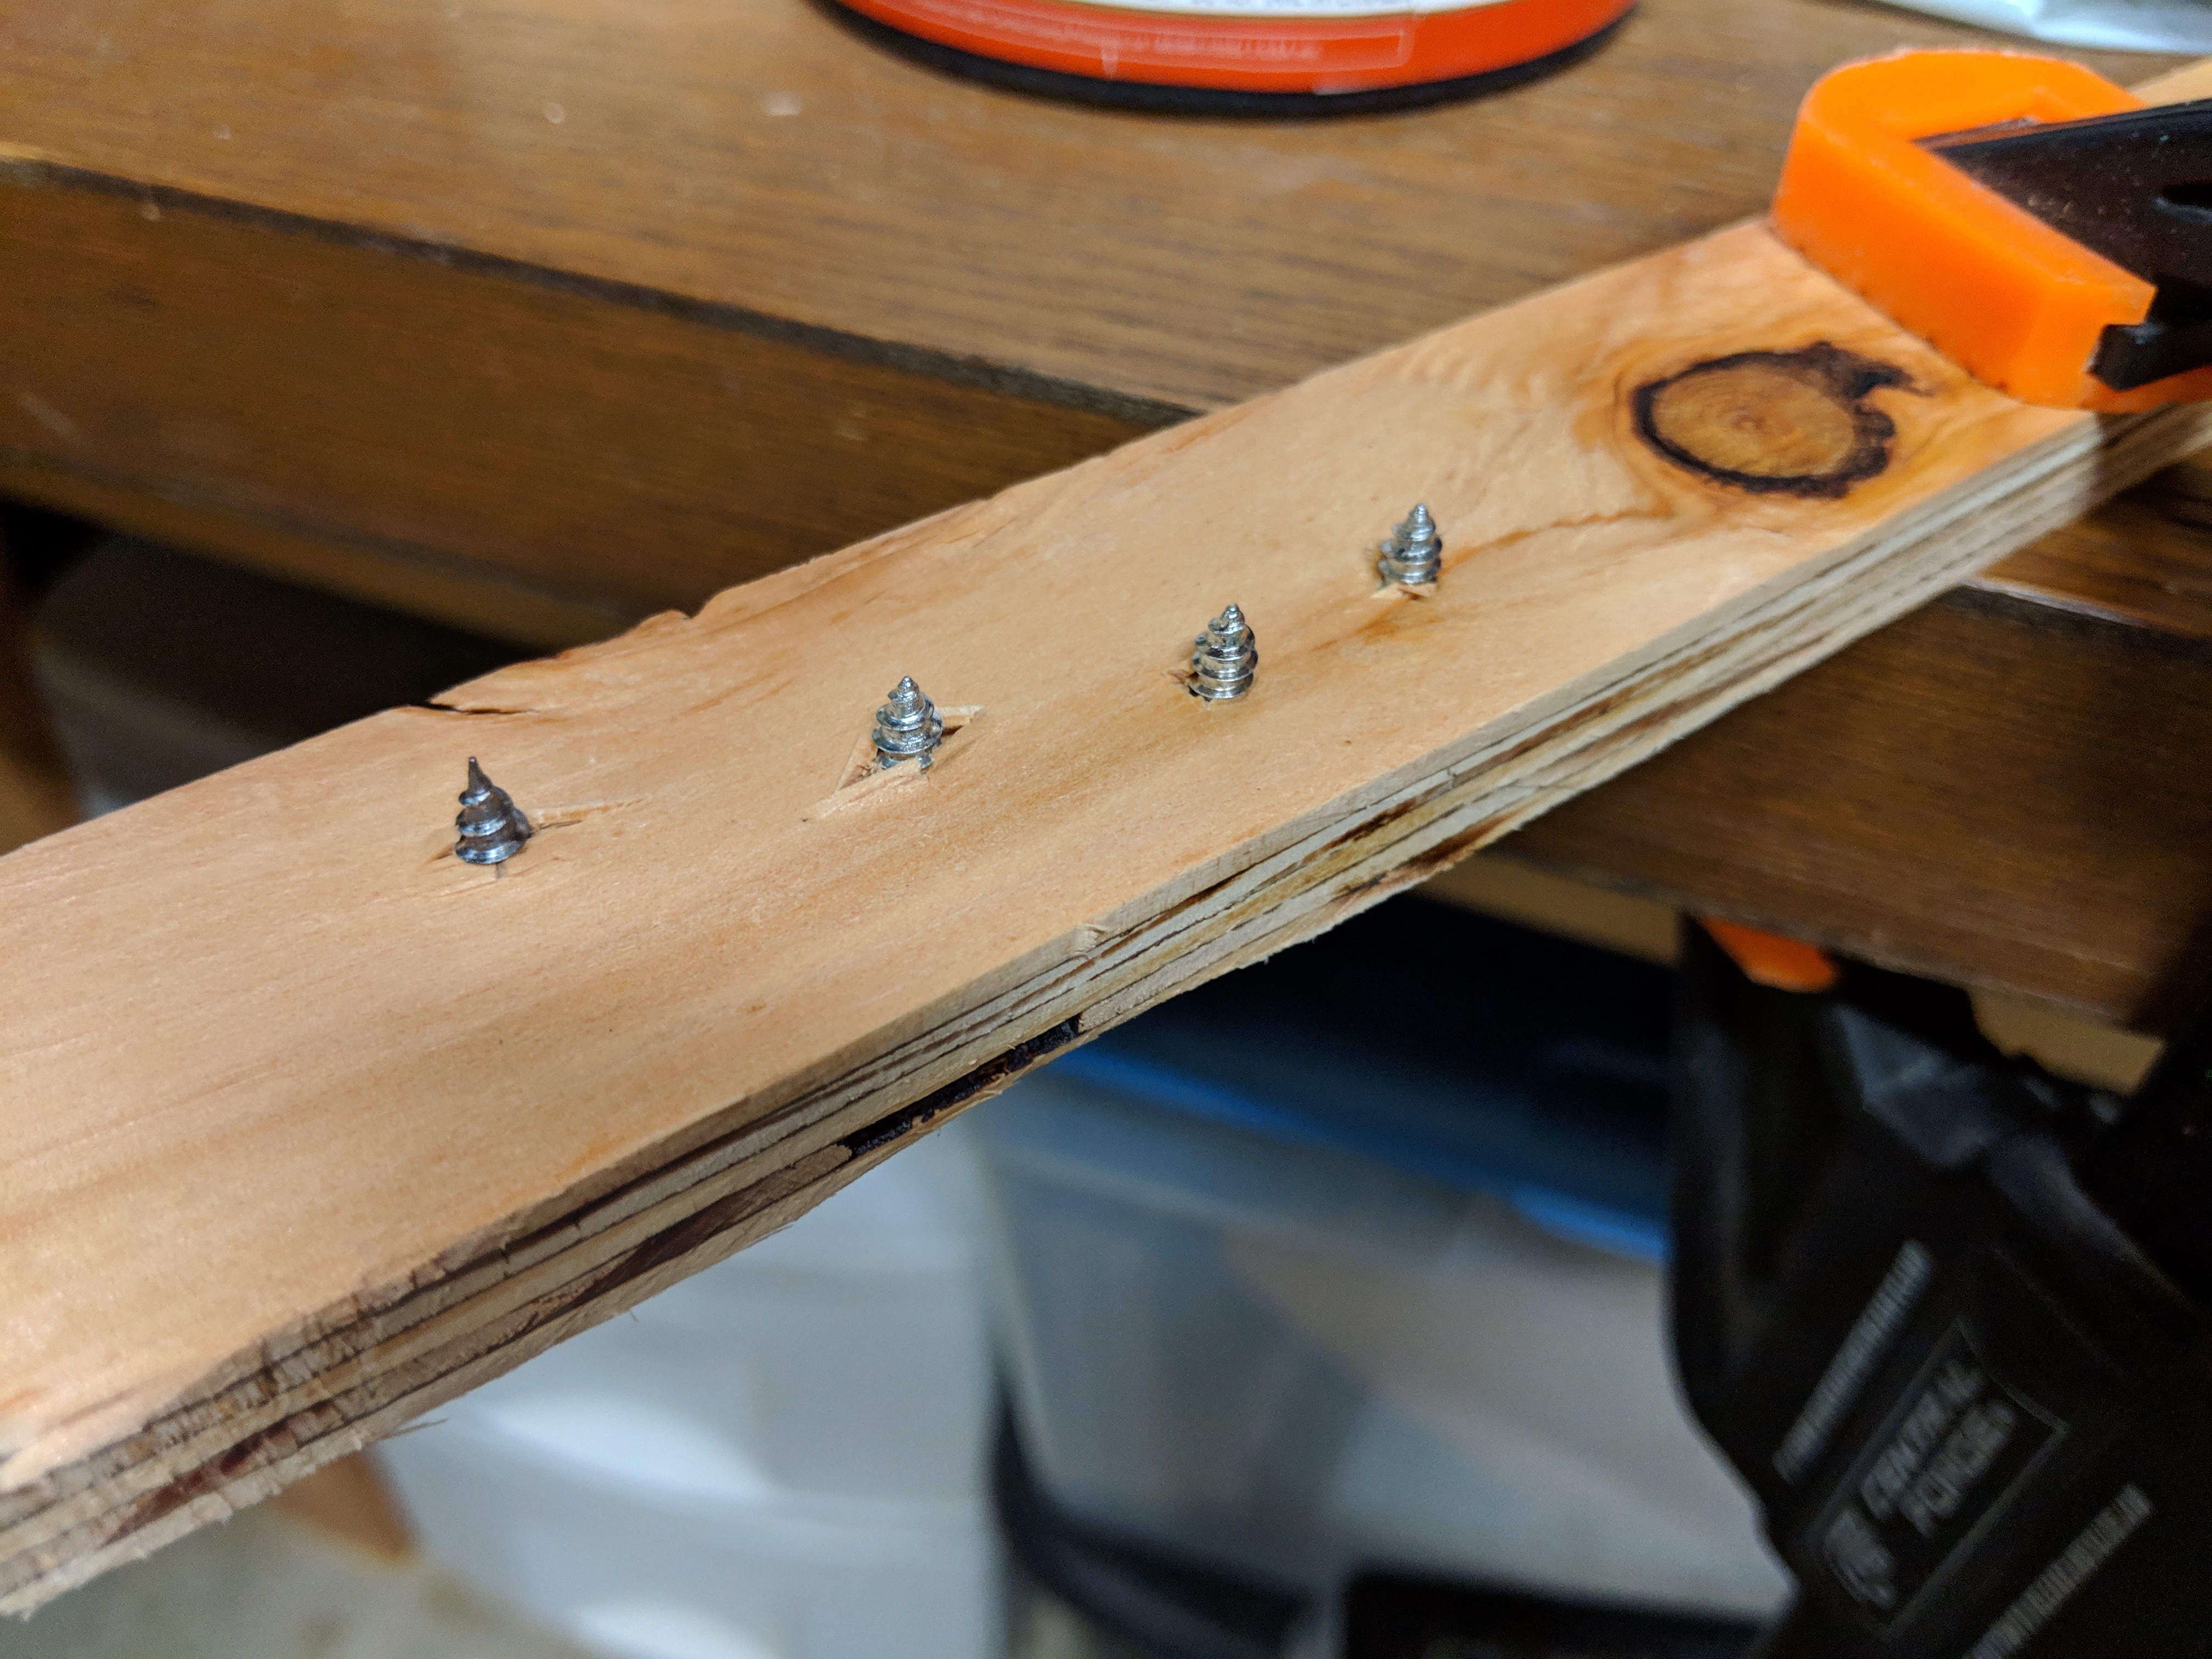
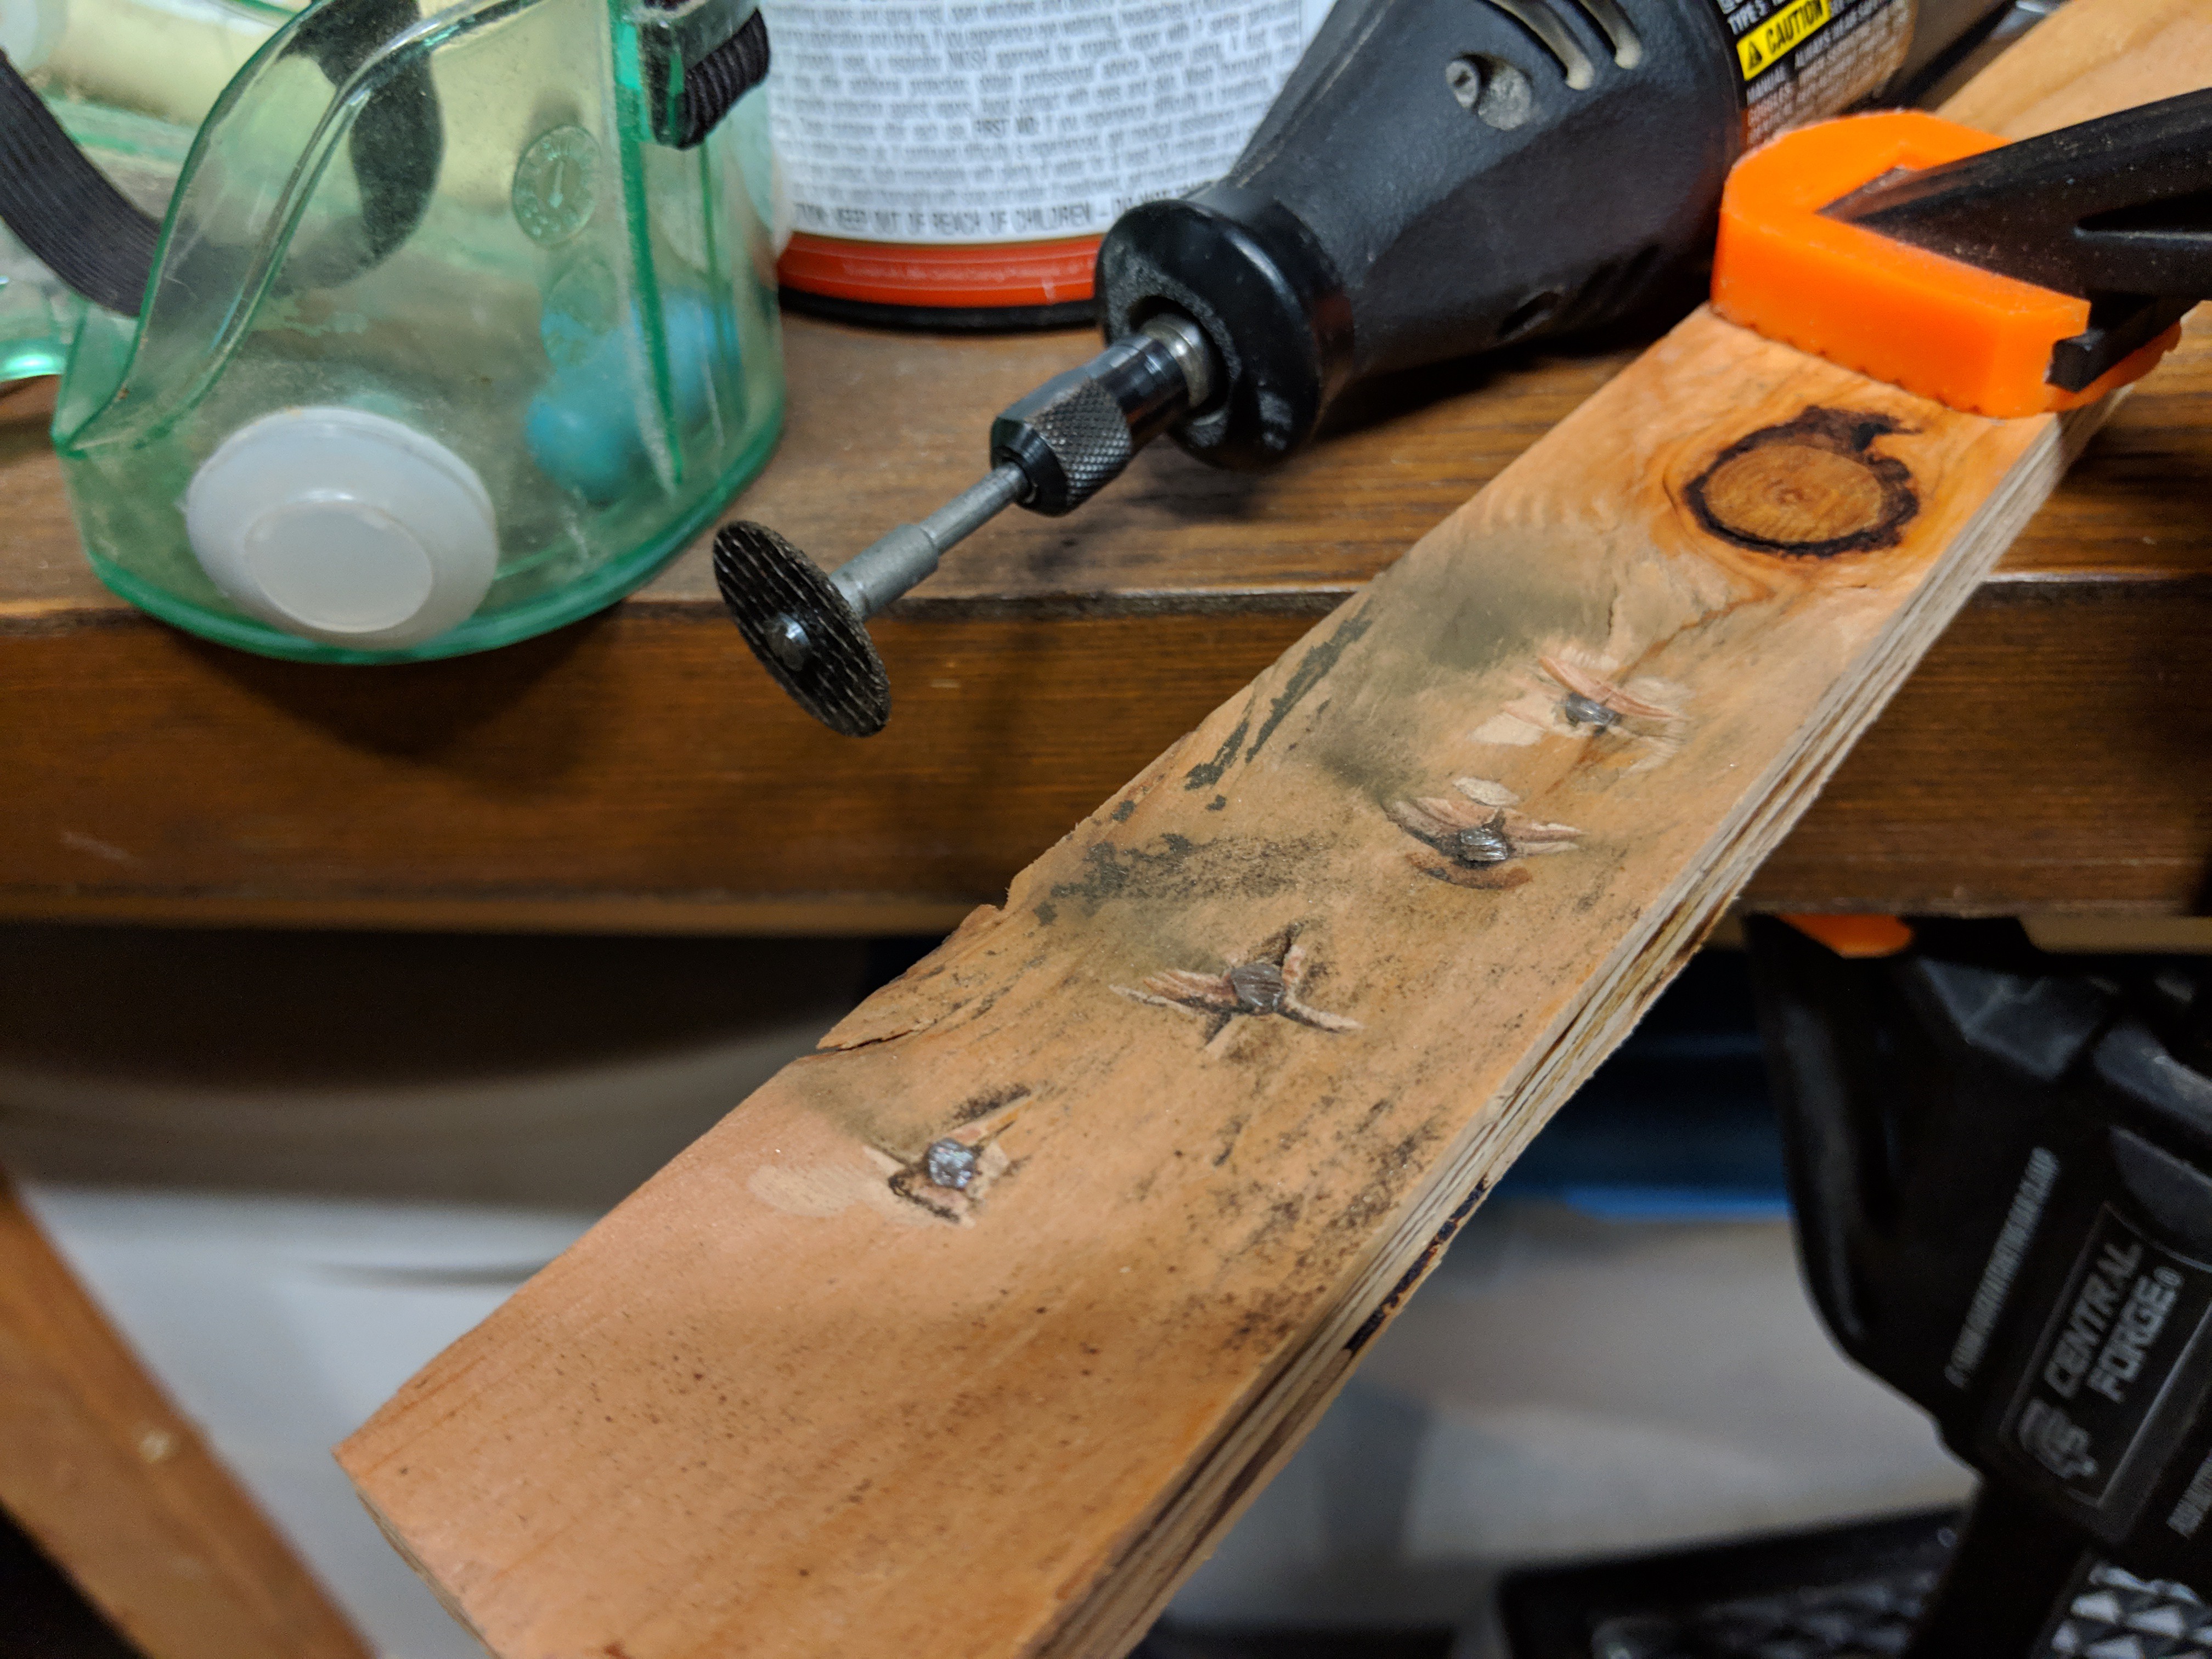
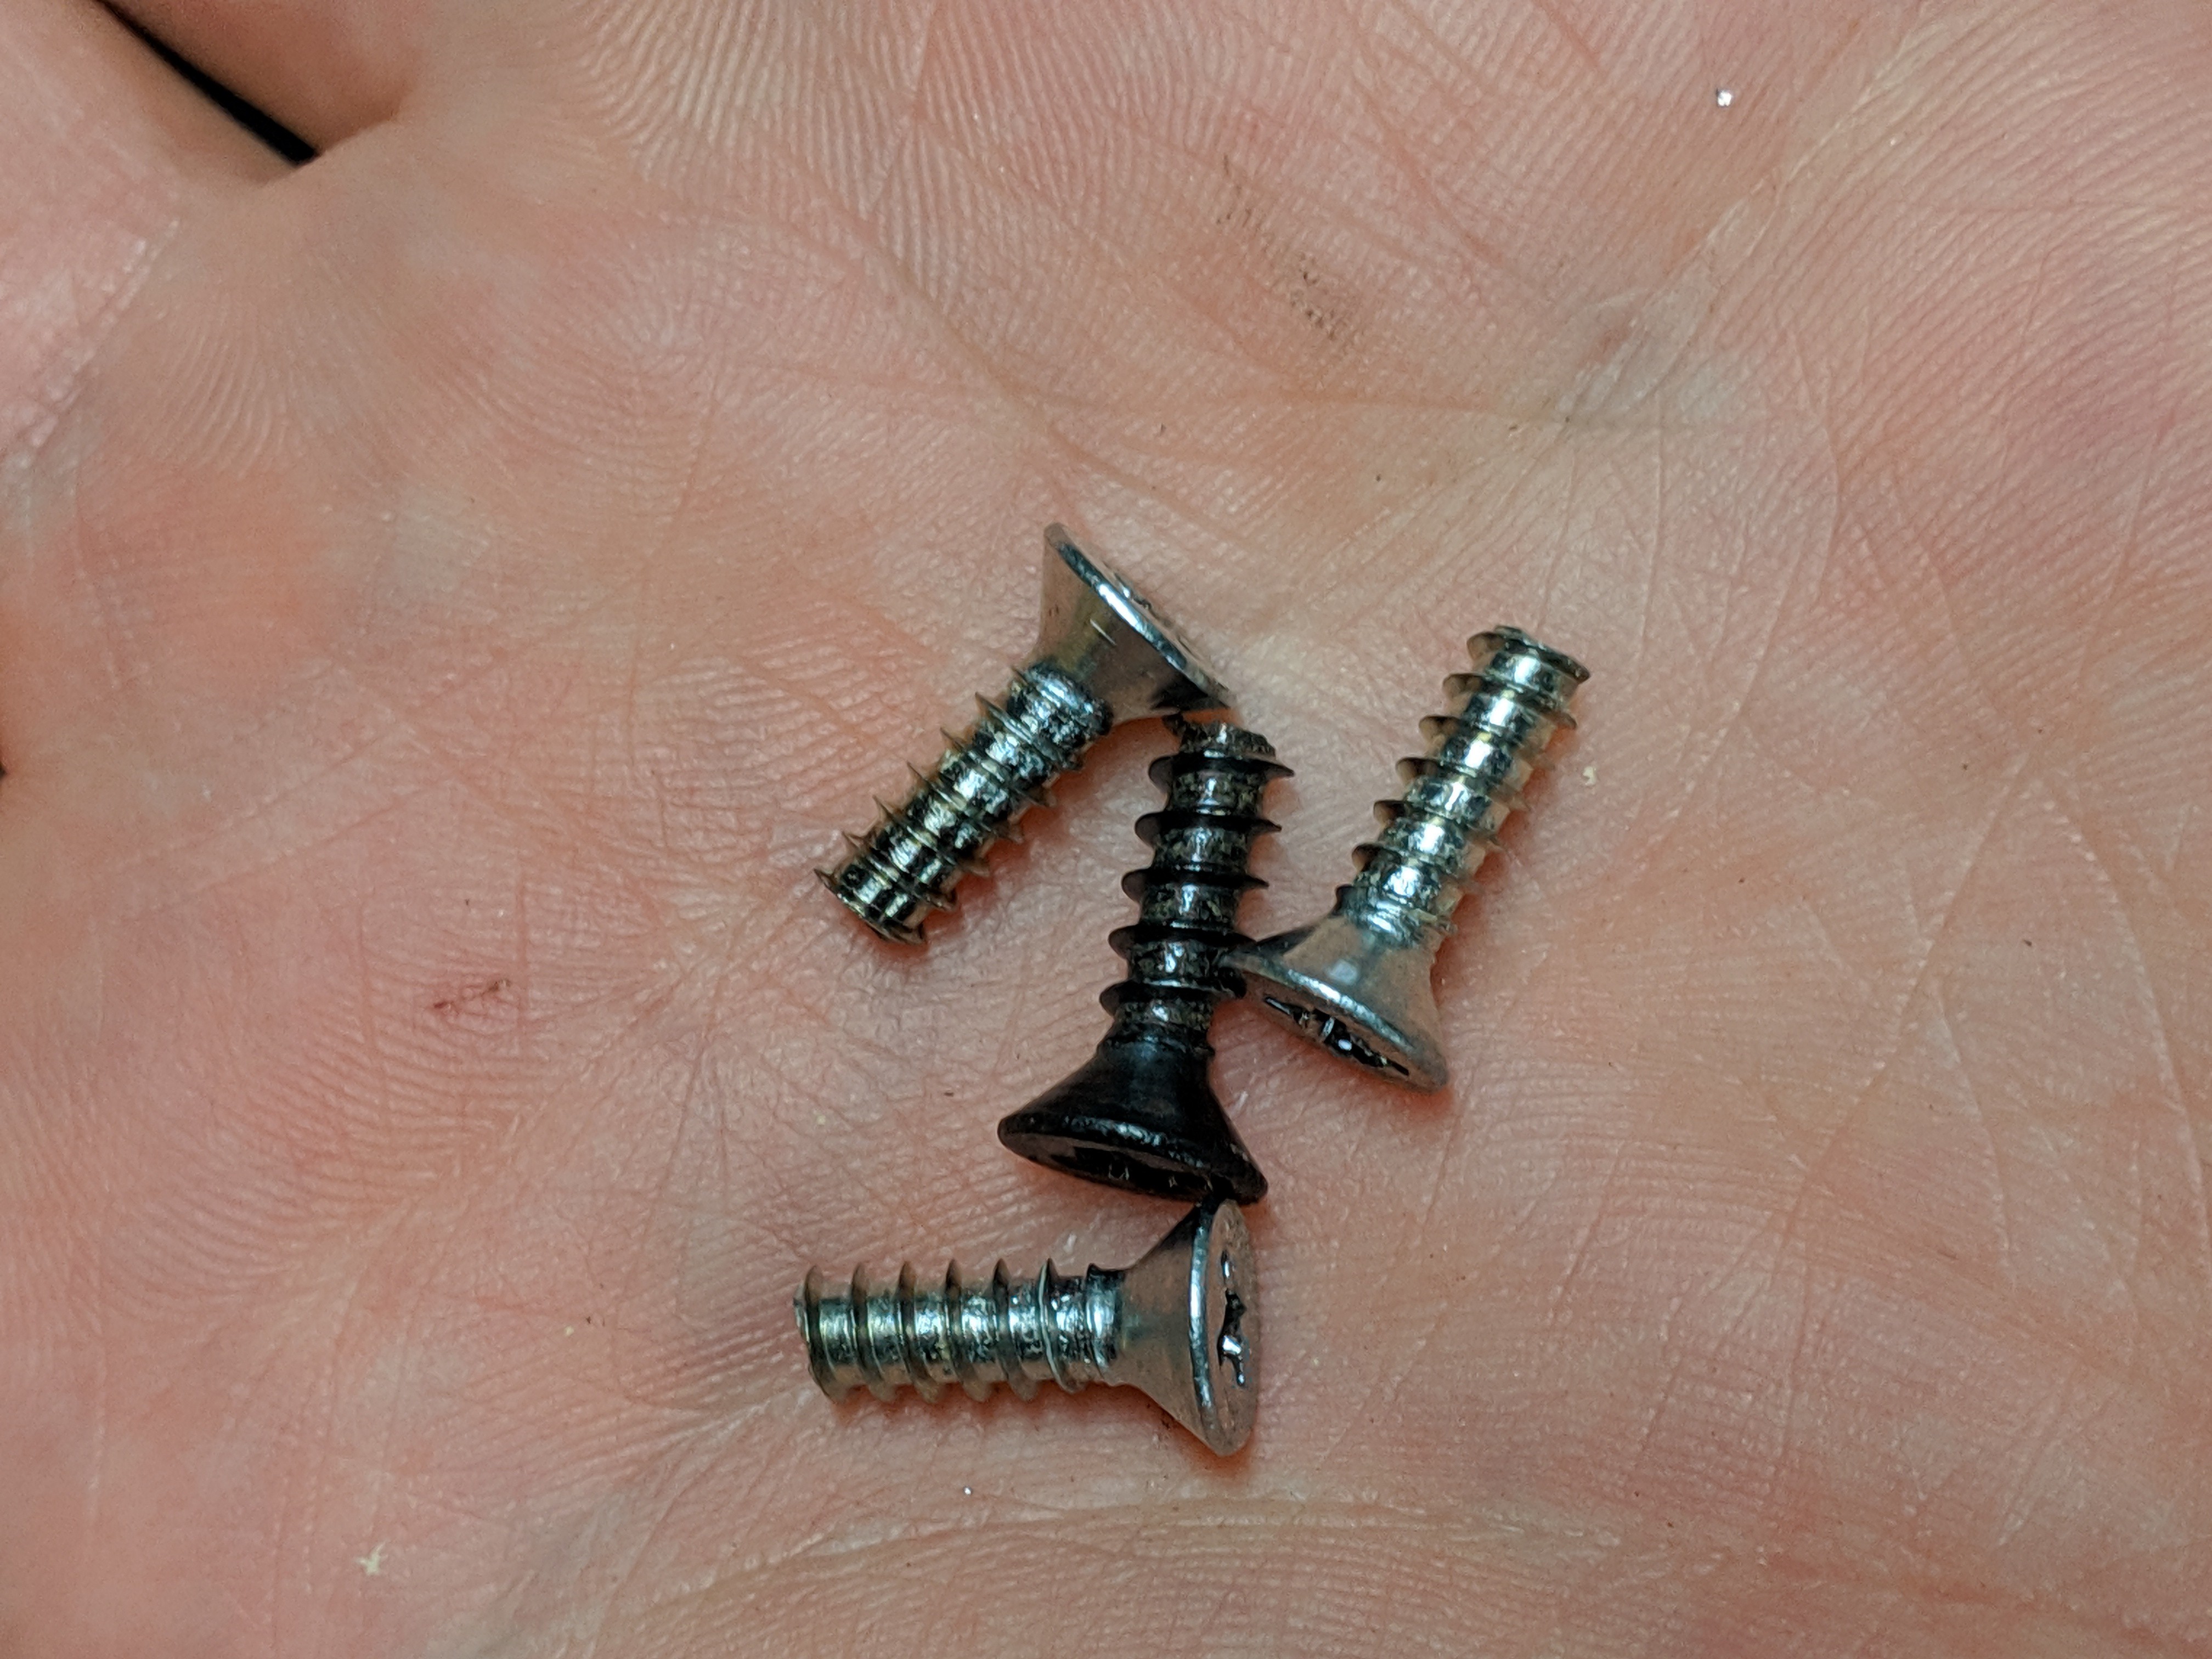
    This worked quite well, there is just one other touch to consider. These screws are wider than the plywood and so there is a sharp point on the back. That area is meant to be a cable chase so I can't leave it that way.

    I took out all the screws, screwed them into a scrap piece of the same plywood, then cut them with a Dremel cutoff wheel. Once they were back in the wall, this part of the project is done!

  • Construction

    Mike Szczys01/25/2019 at 21:50 0 comments

    Saturday evening we cut the two sheets of 1/2" CDX plywood to size and painted it black. Sunday morning the actual build began.

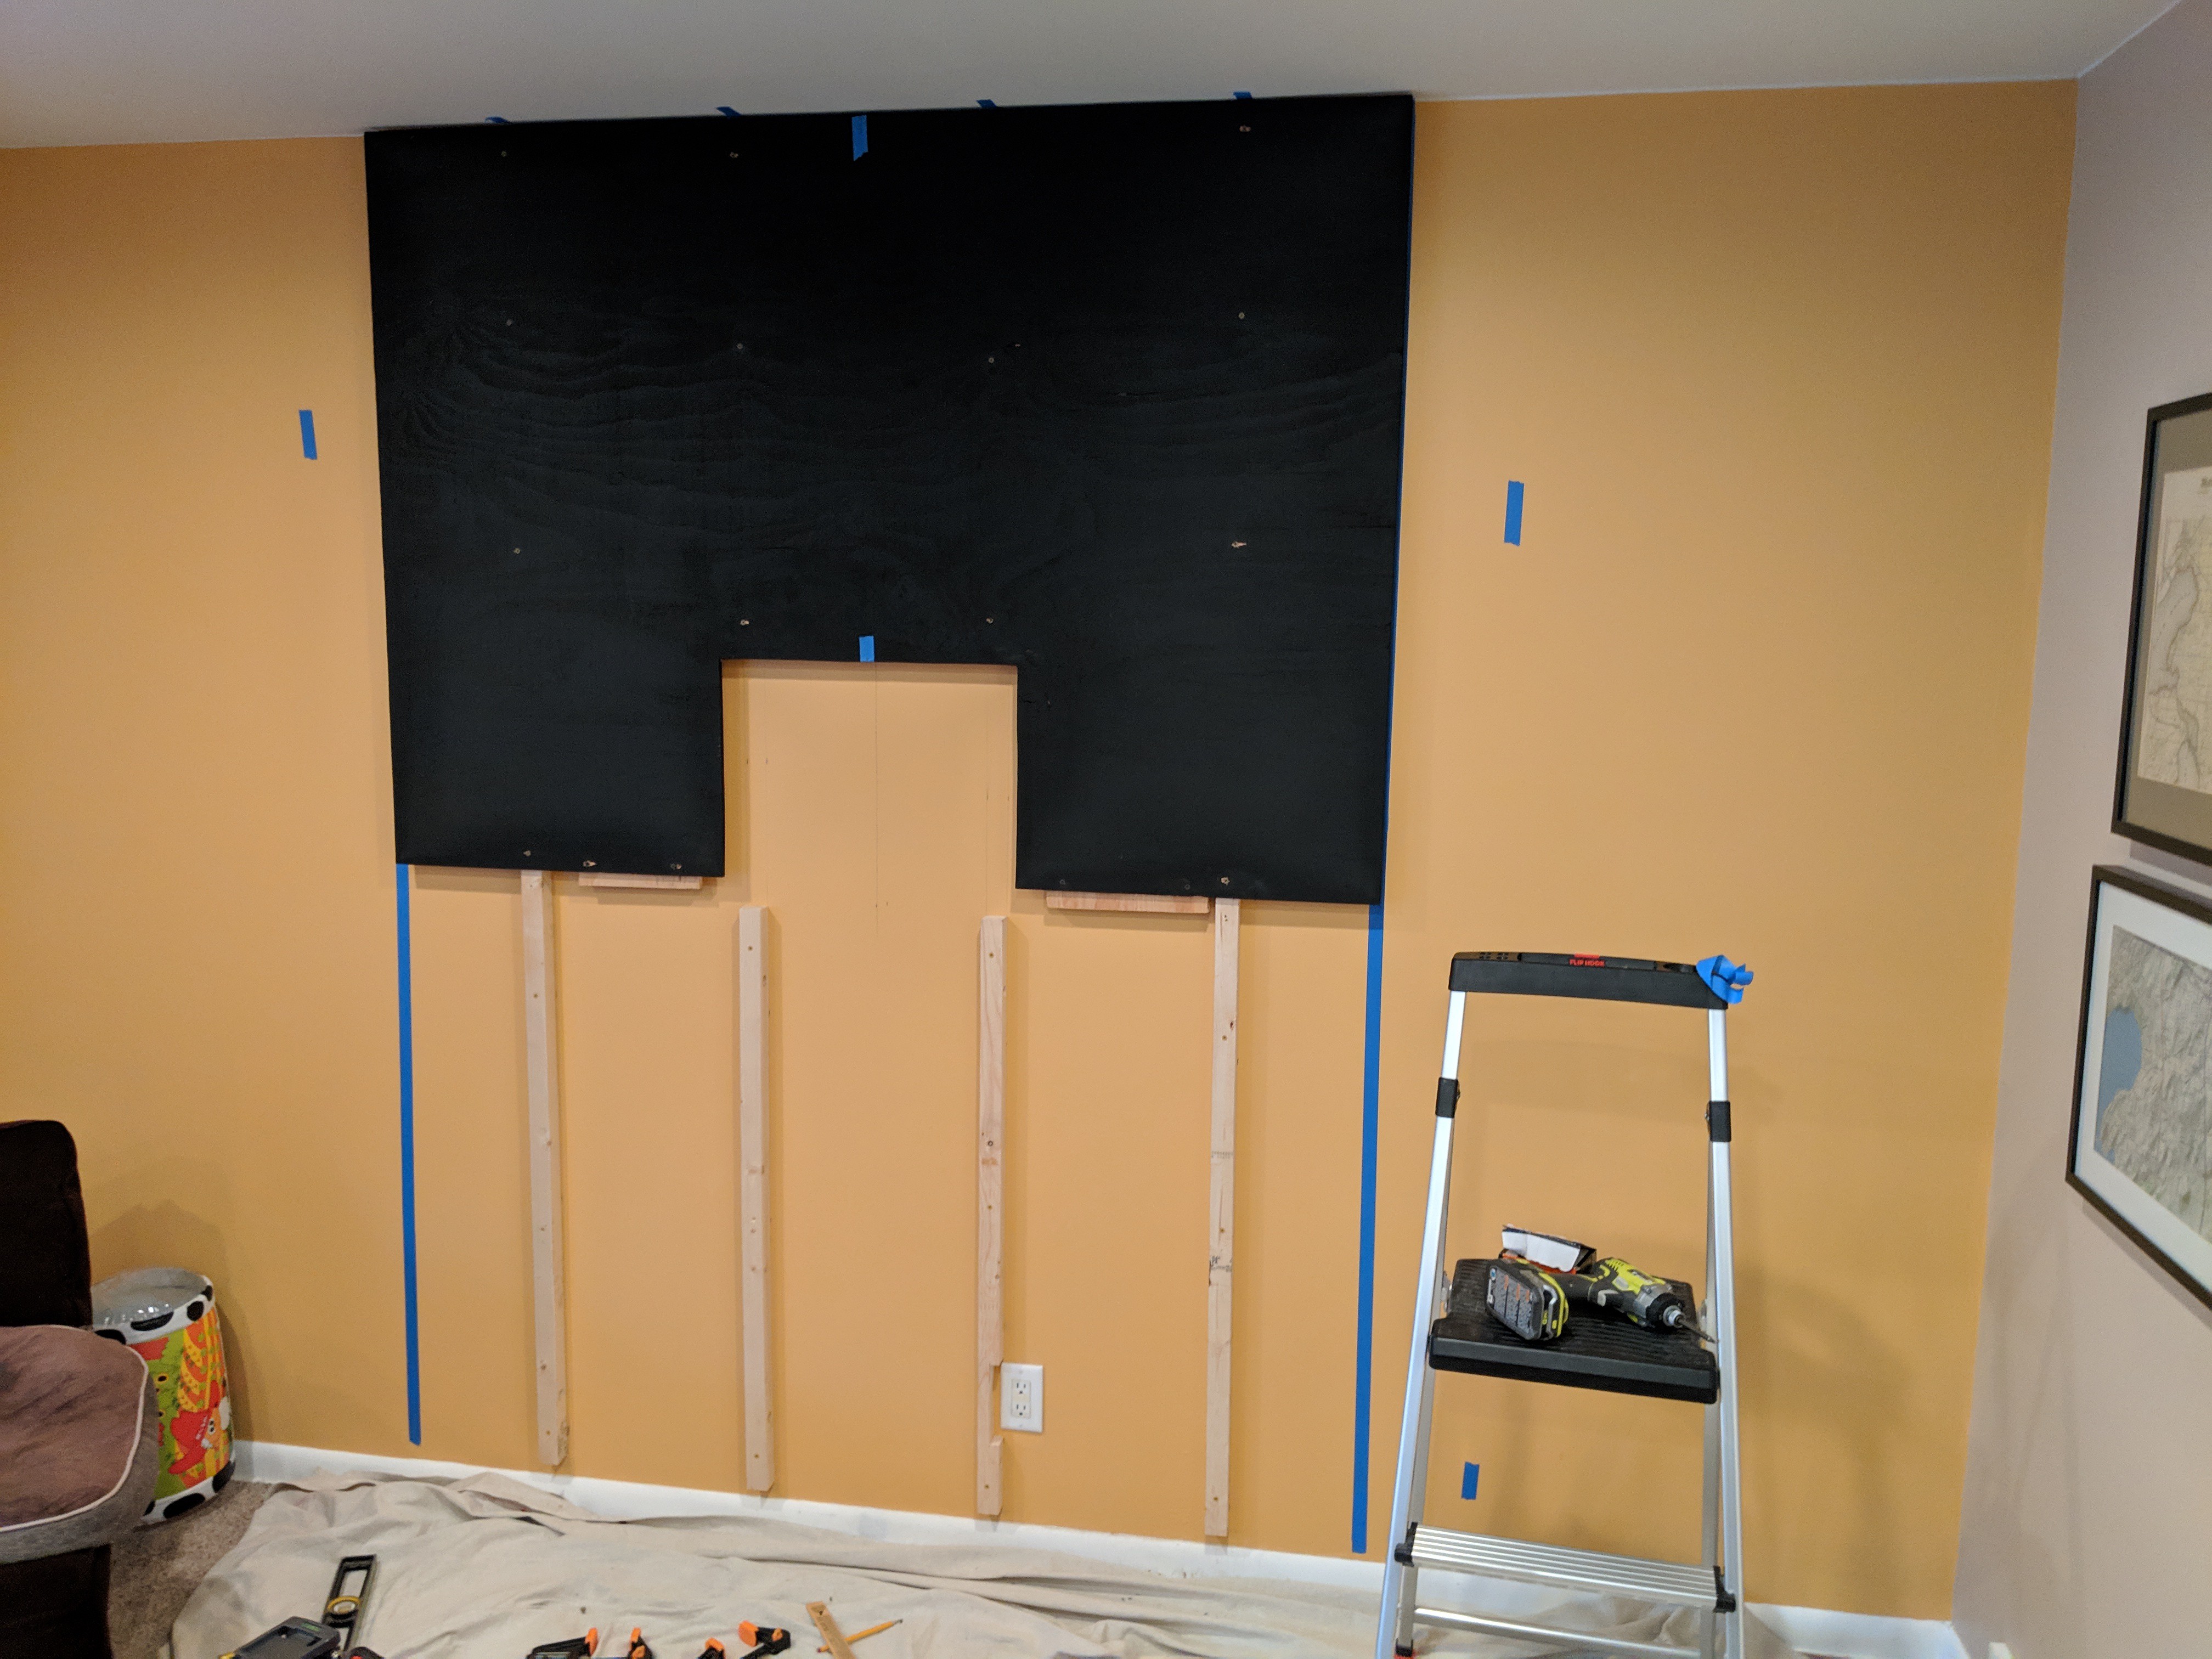
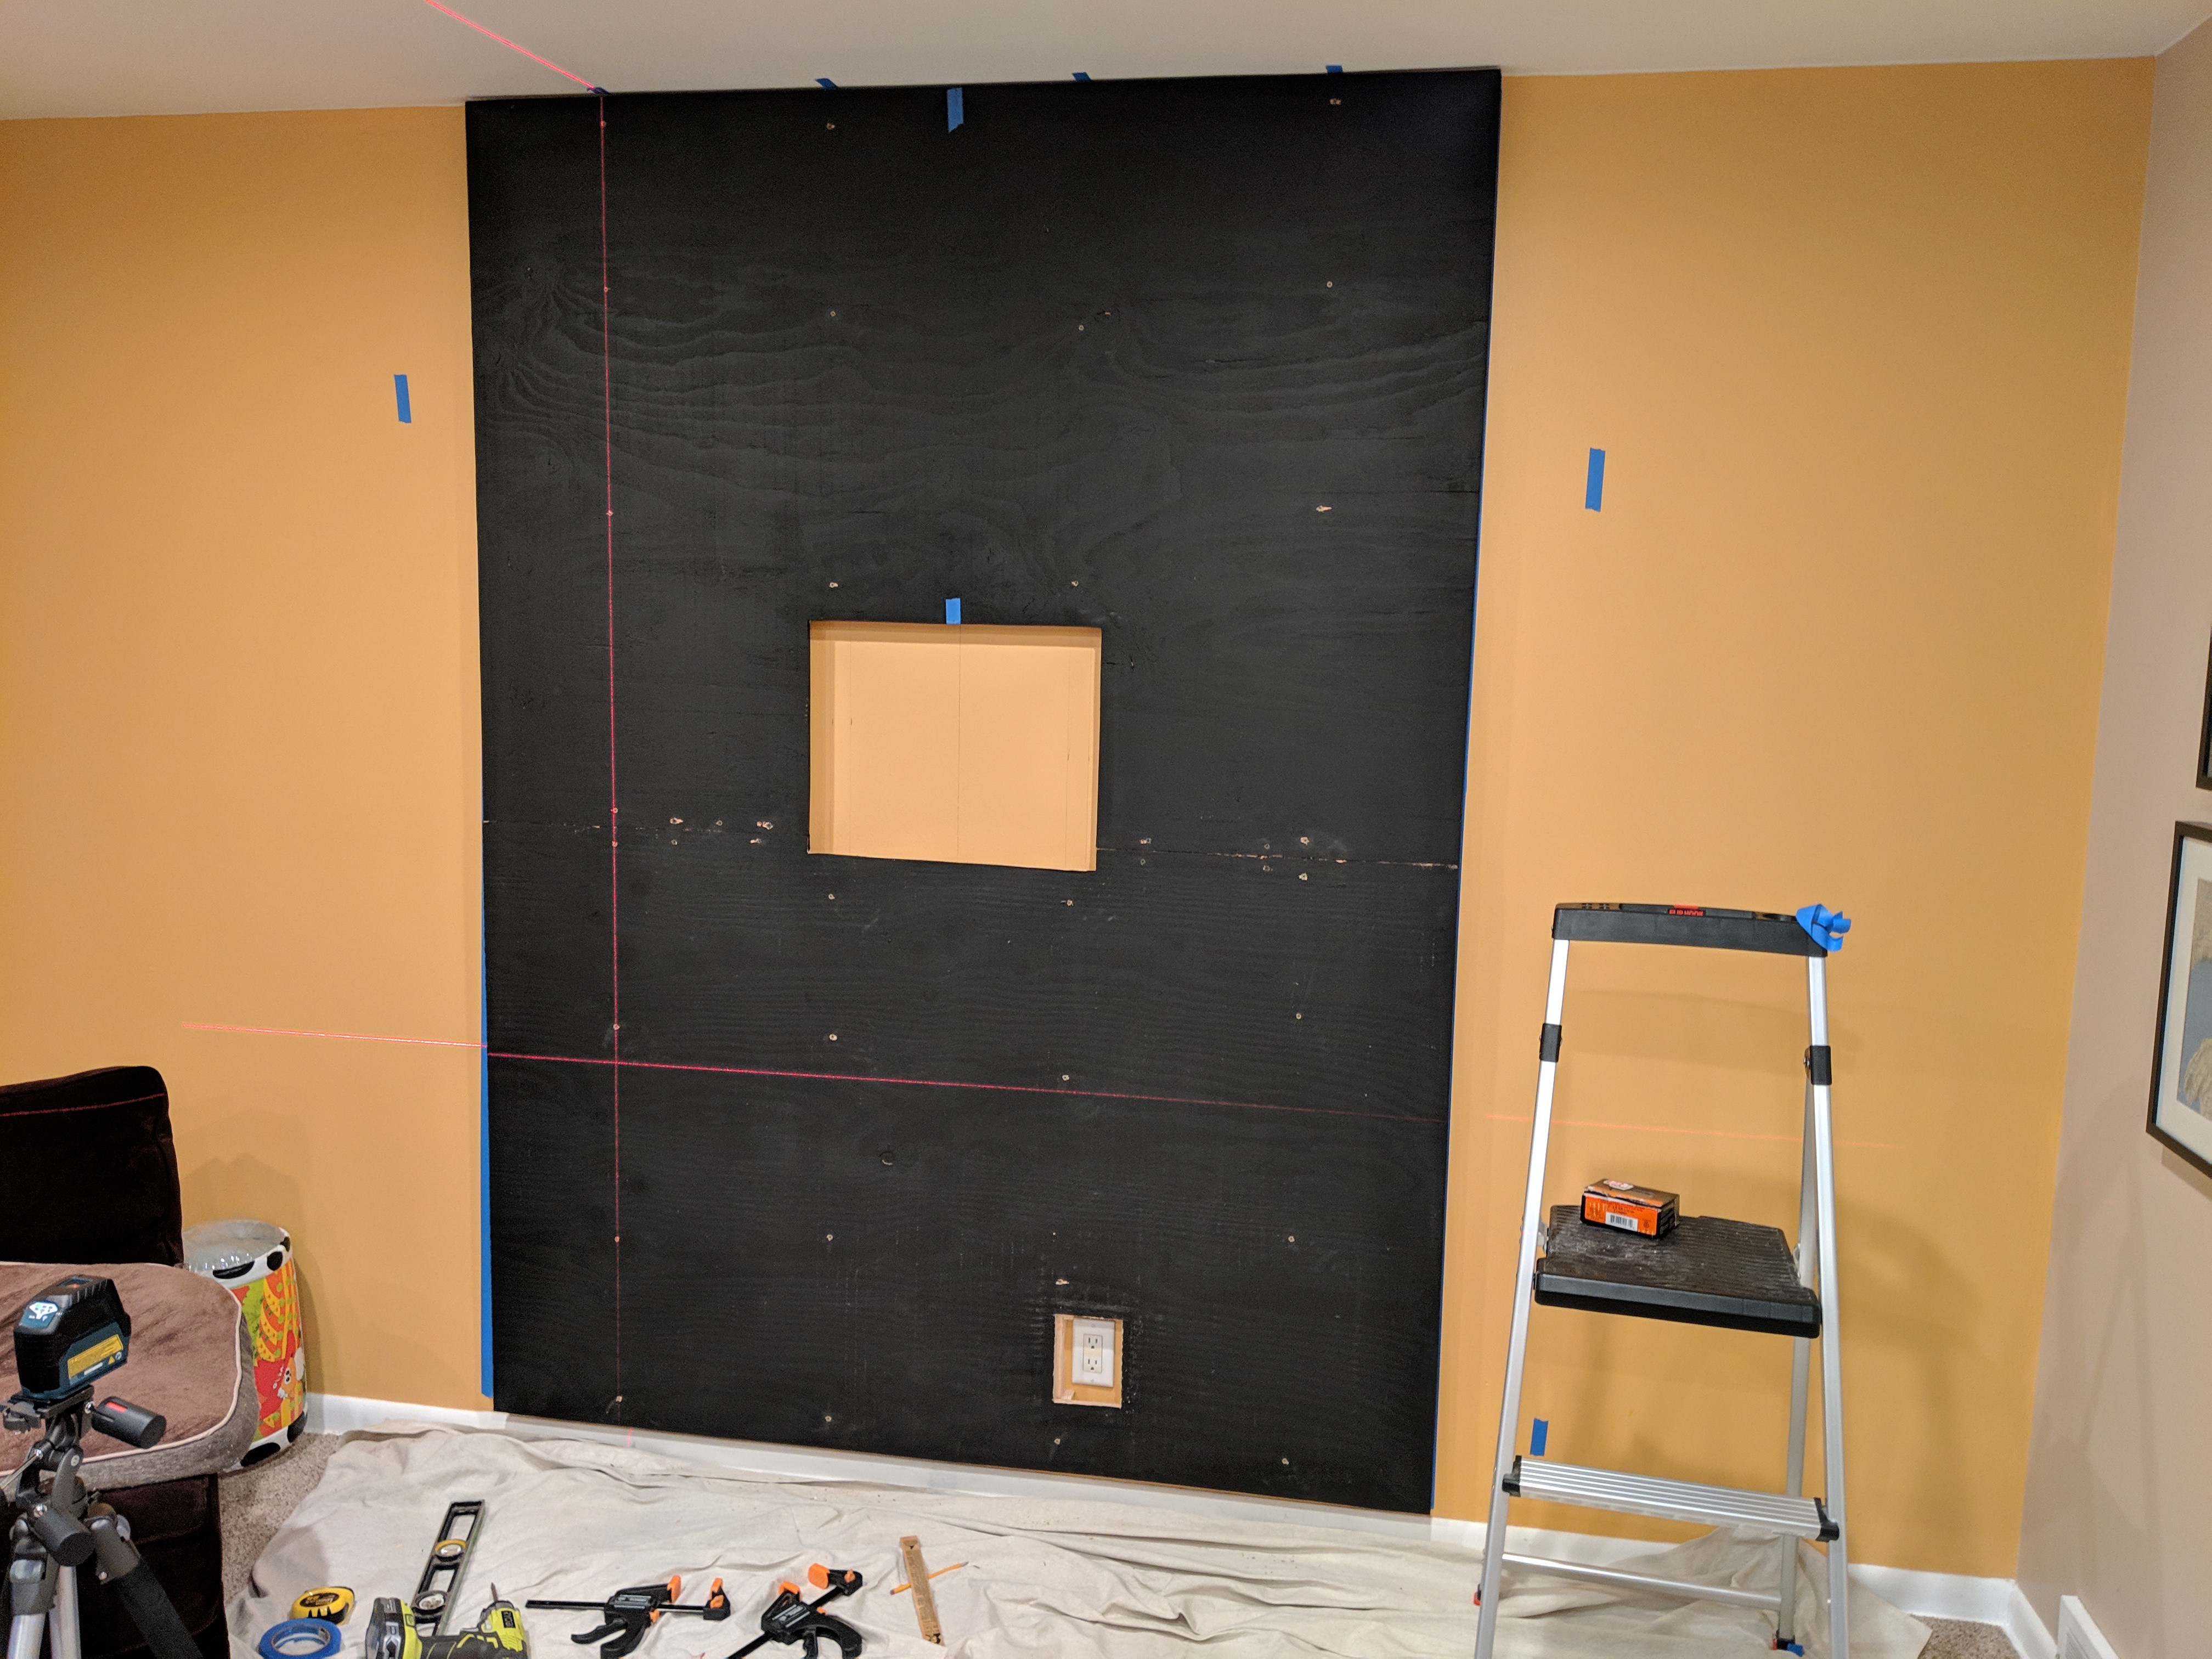
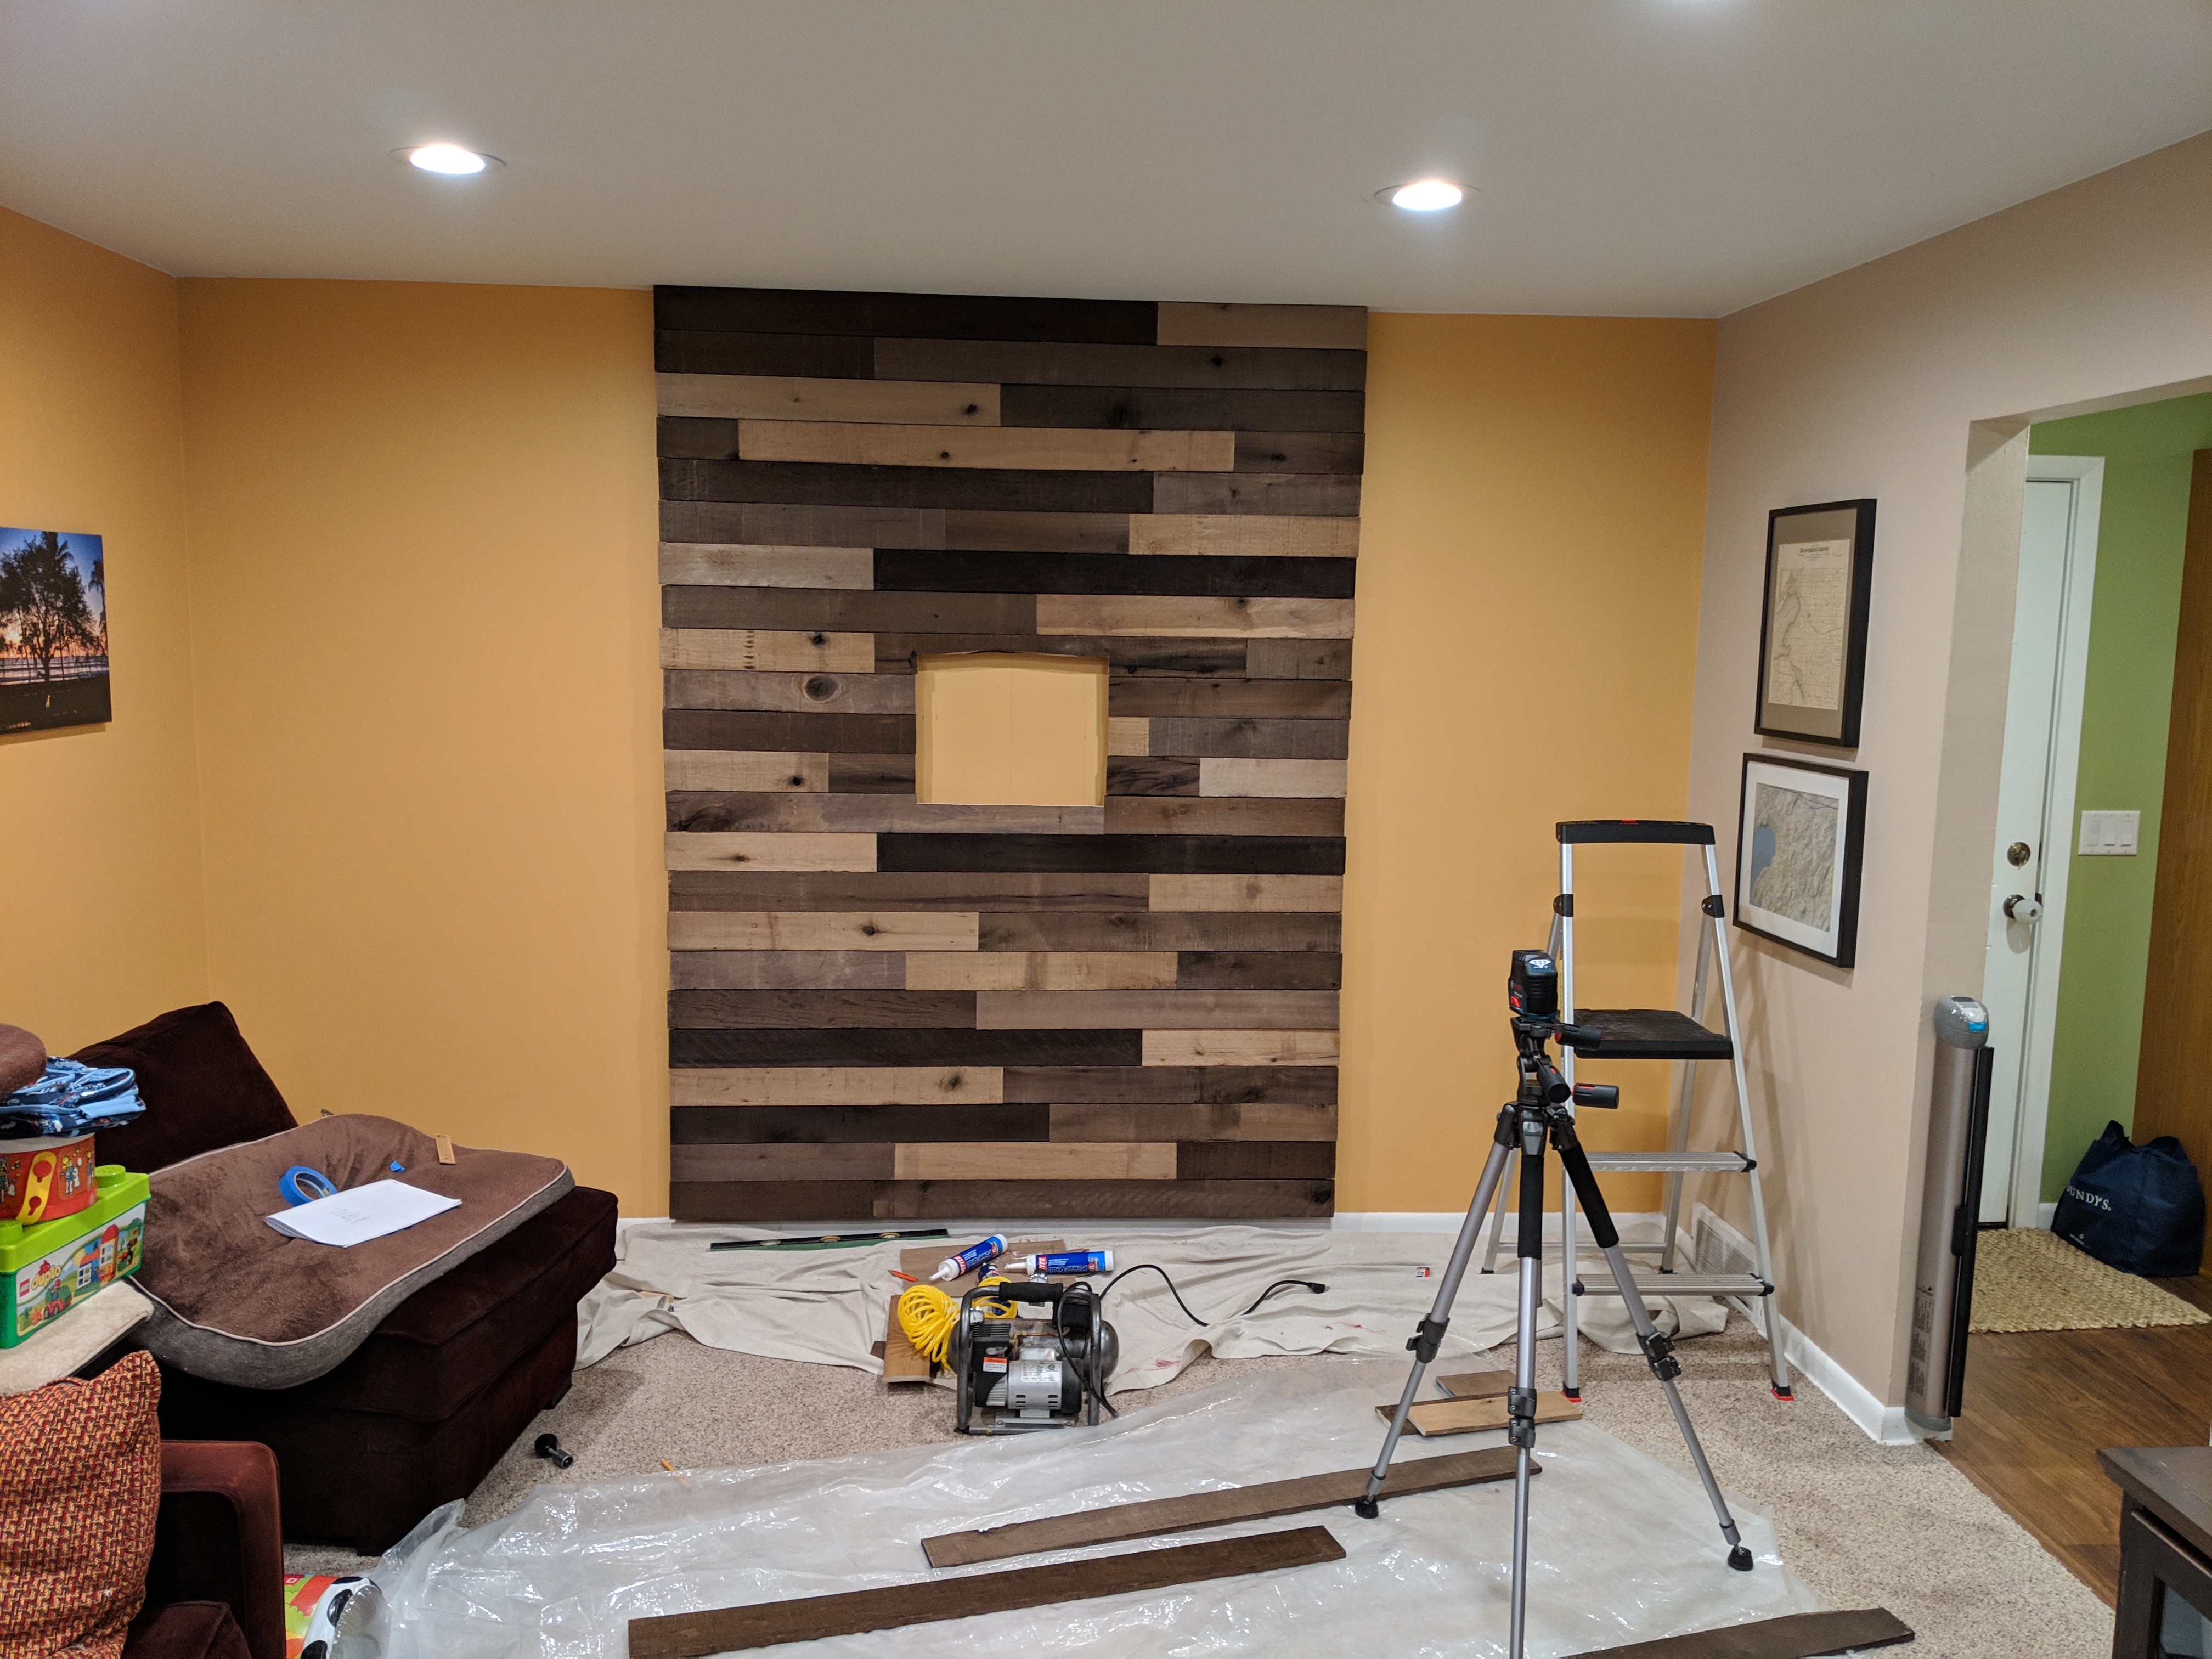
    We screwed the 2x2 lumber to the studs (3" deck screws) and then screwed the painted plywood to those (5/8" deck screws). A laser level and a 4' level were handy here.

    I didn't think about this outlet until we began mounting the furring strips. This complicates things a bit but it really just means there needs to be an access panel. I left the wall plate in place and made a cut for clearance.

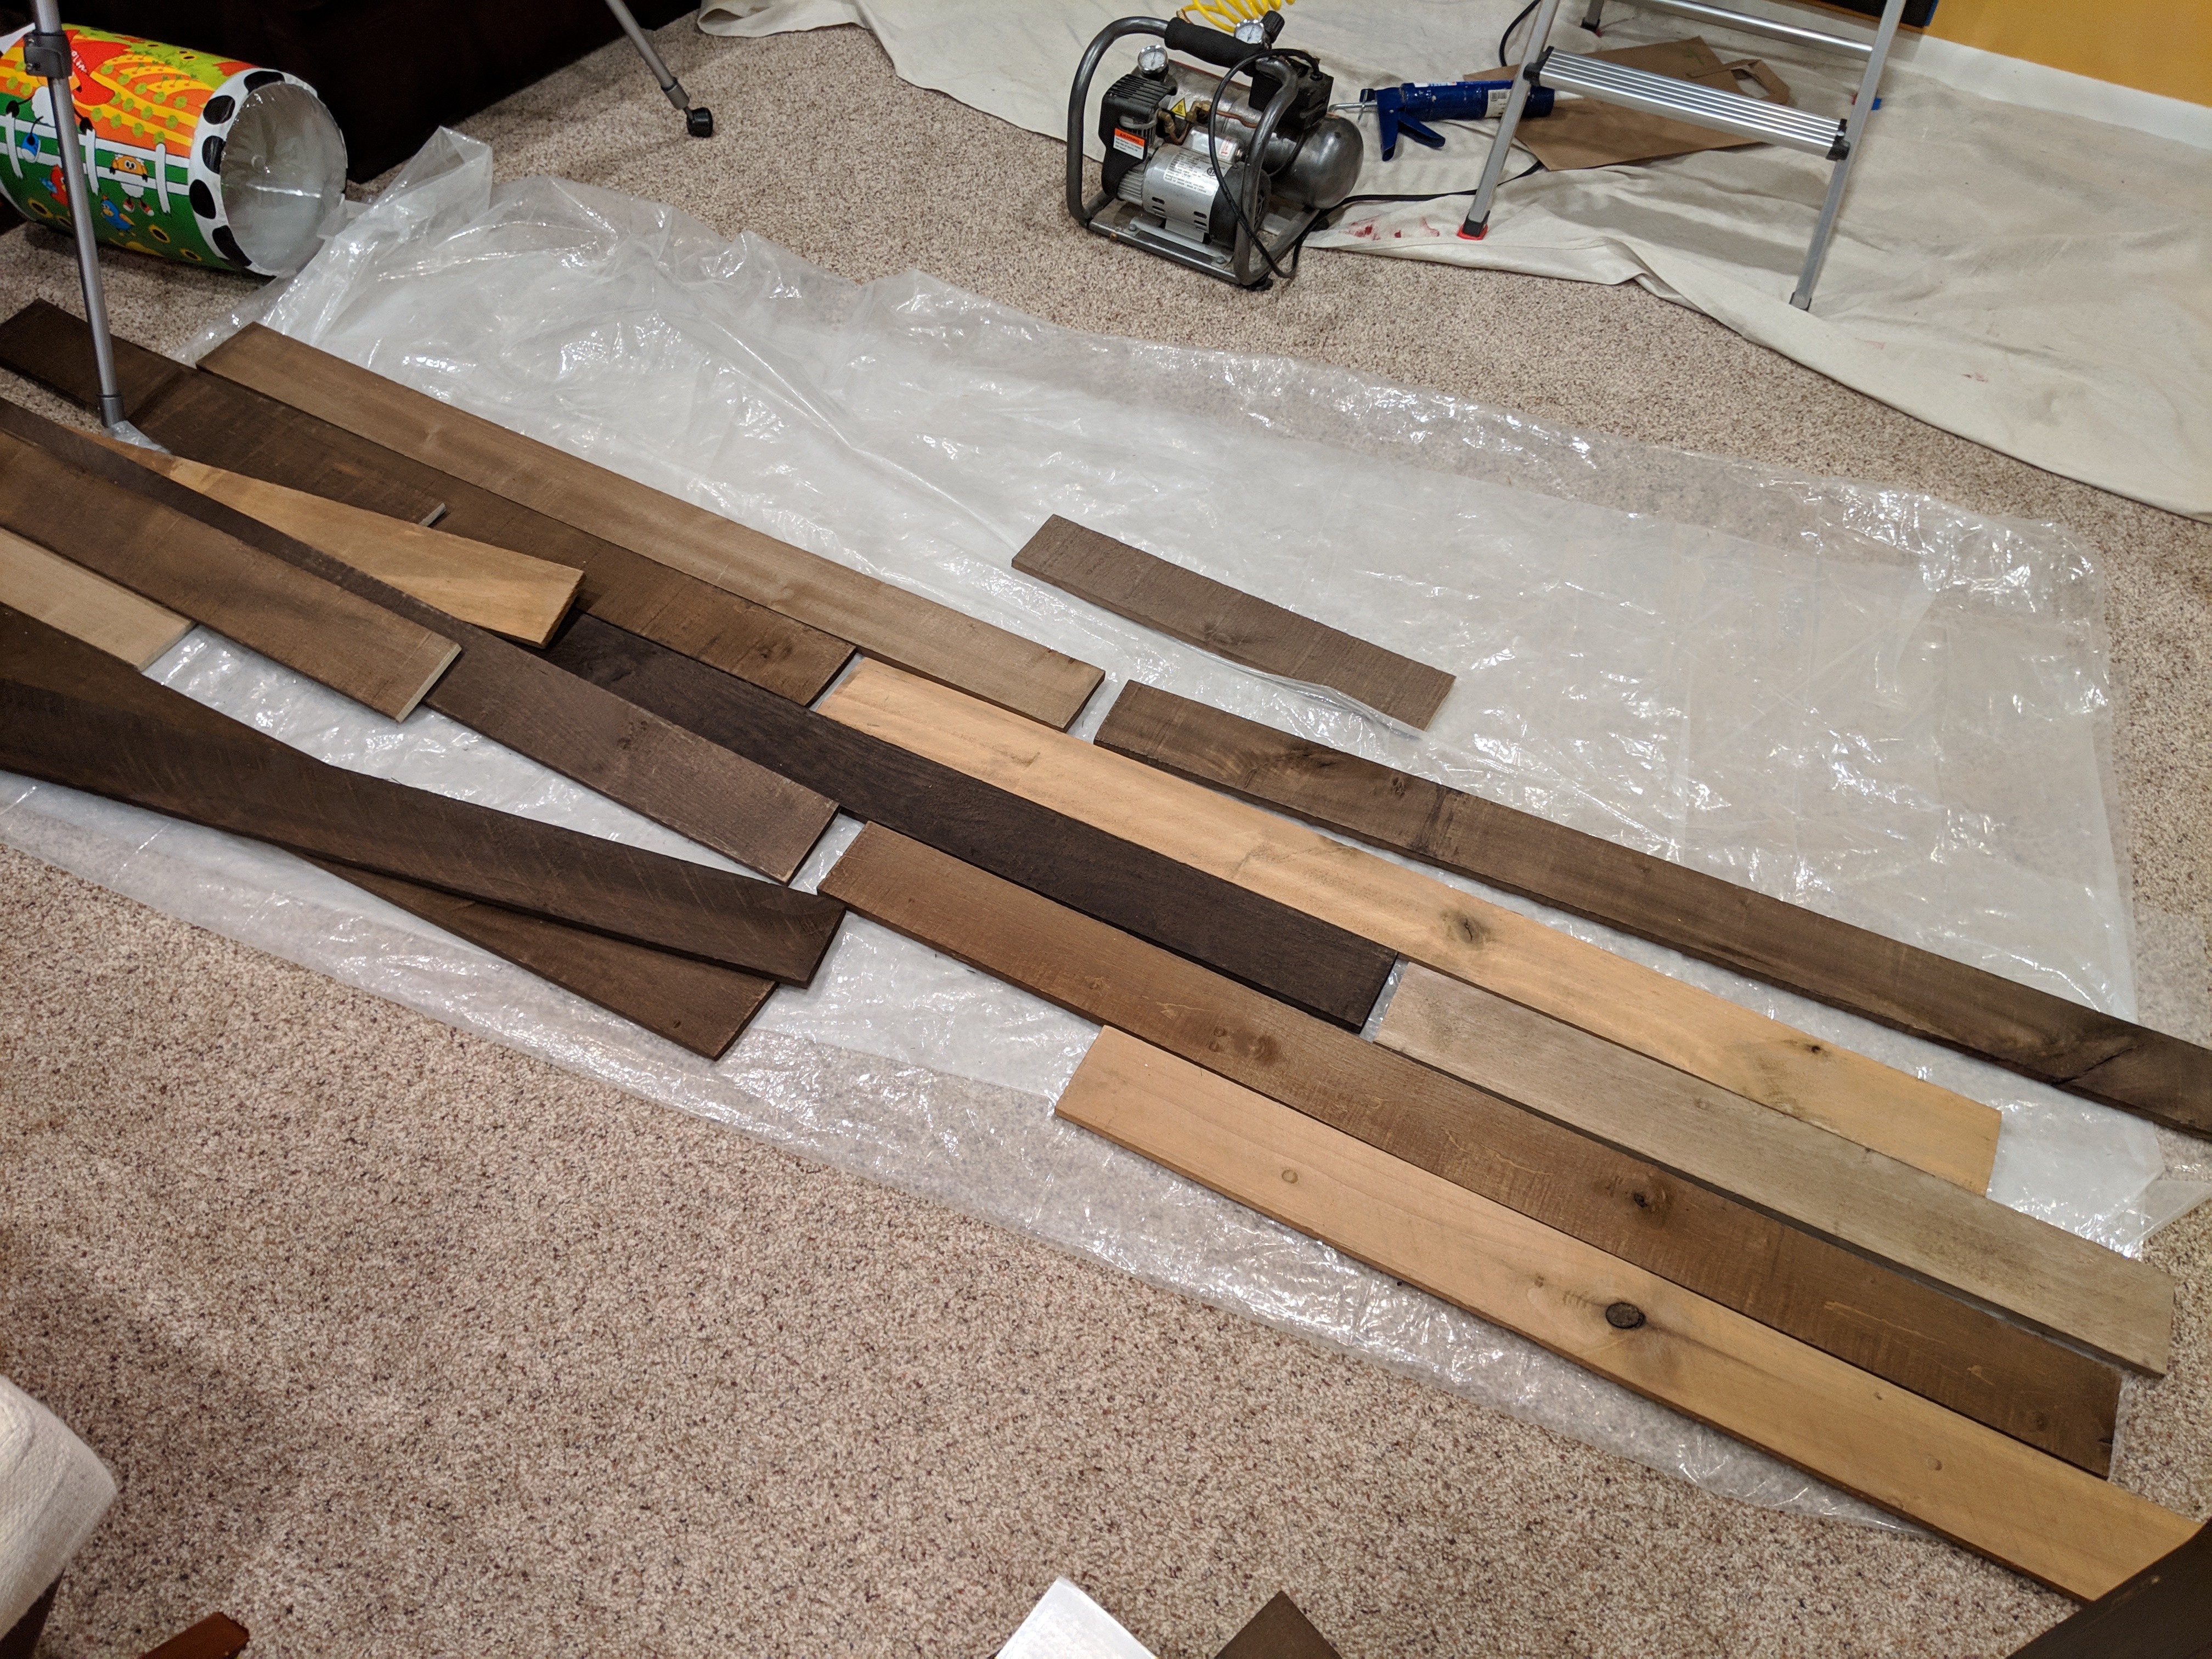
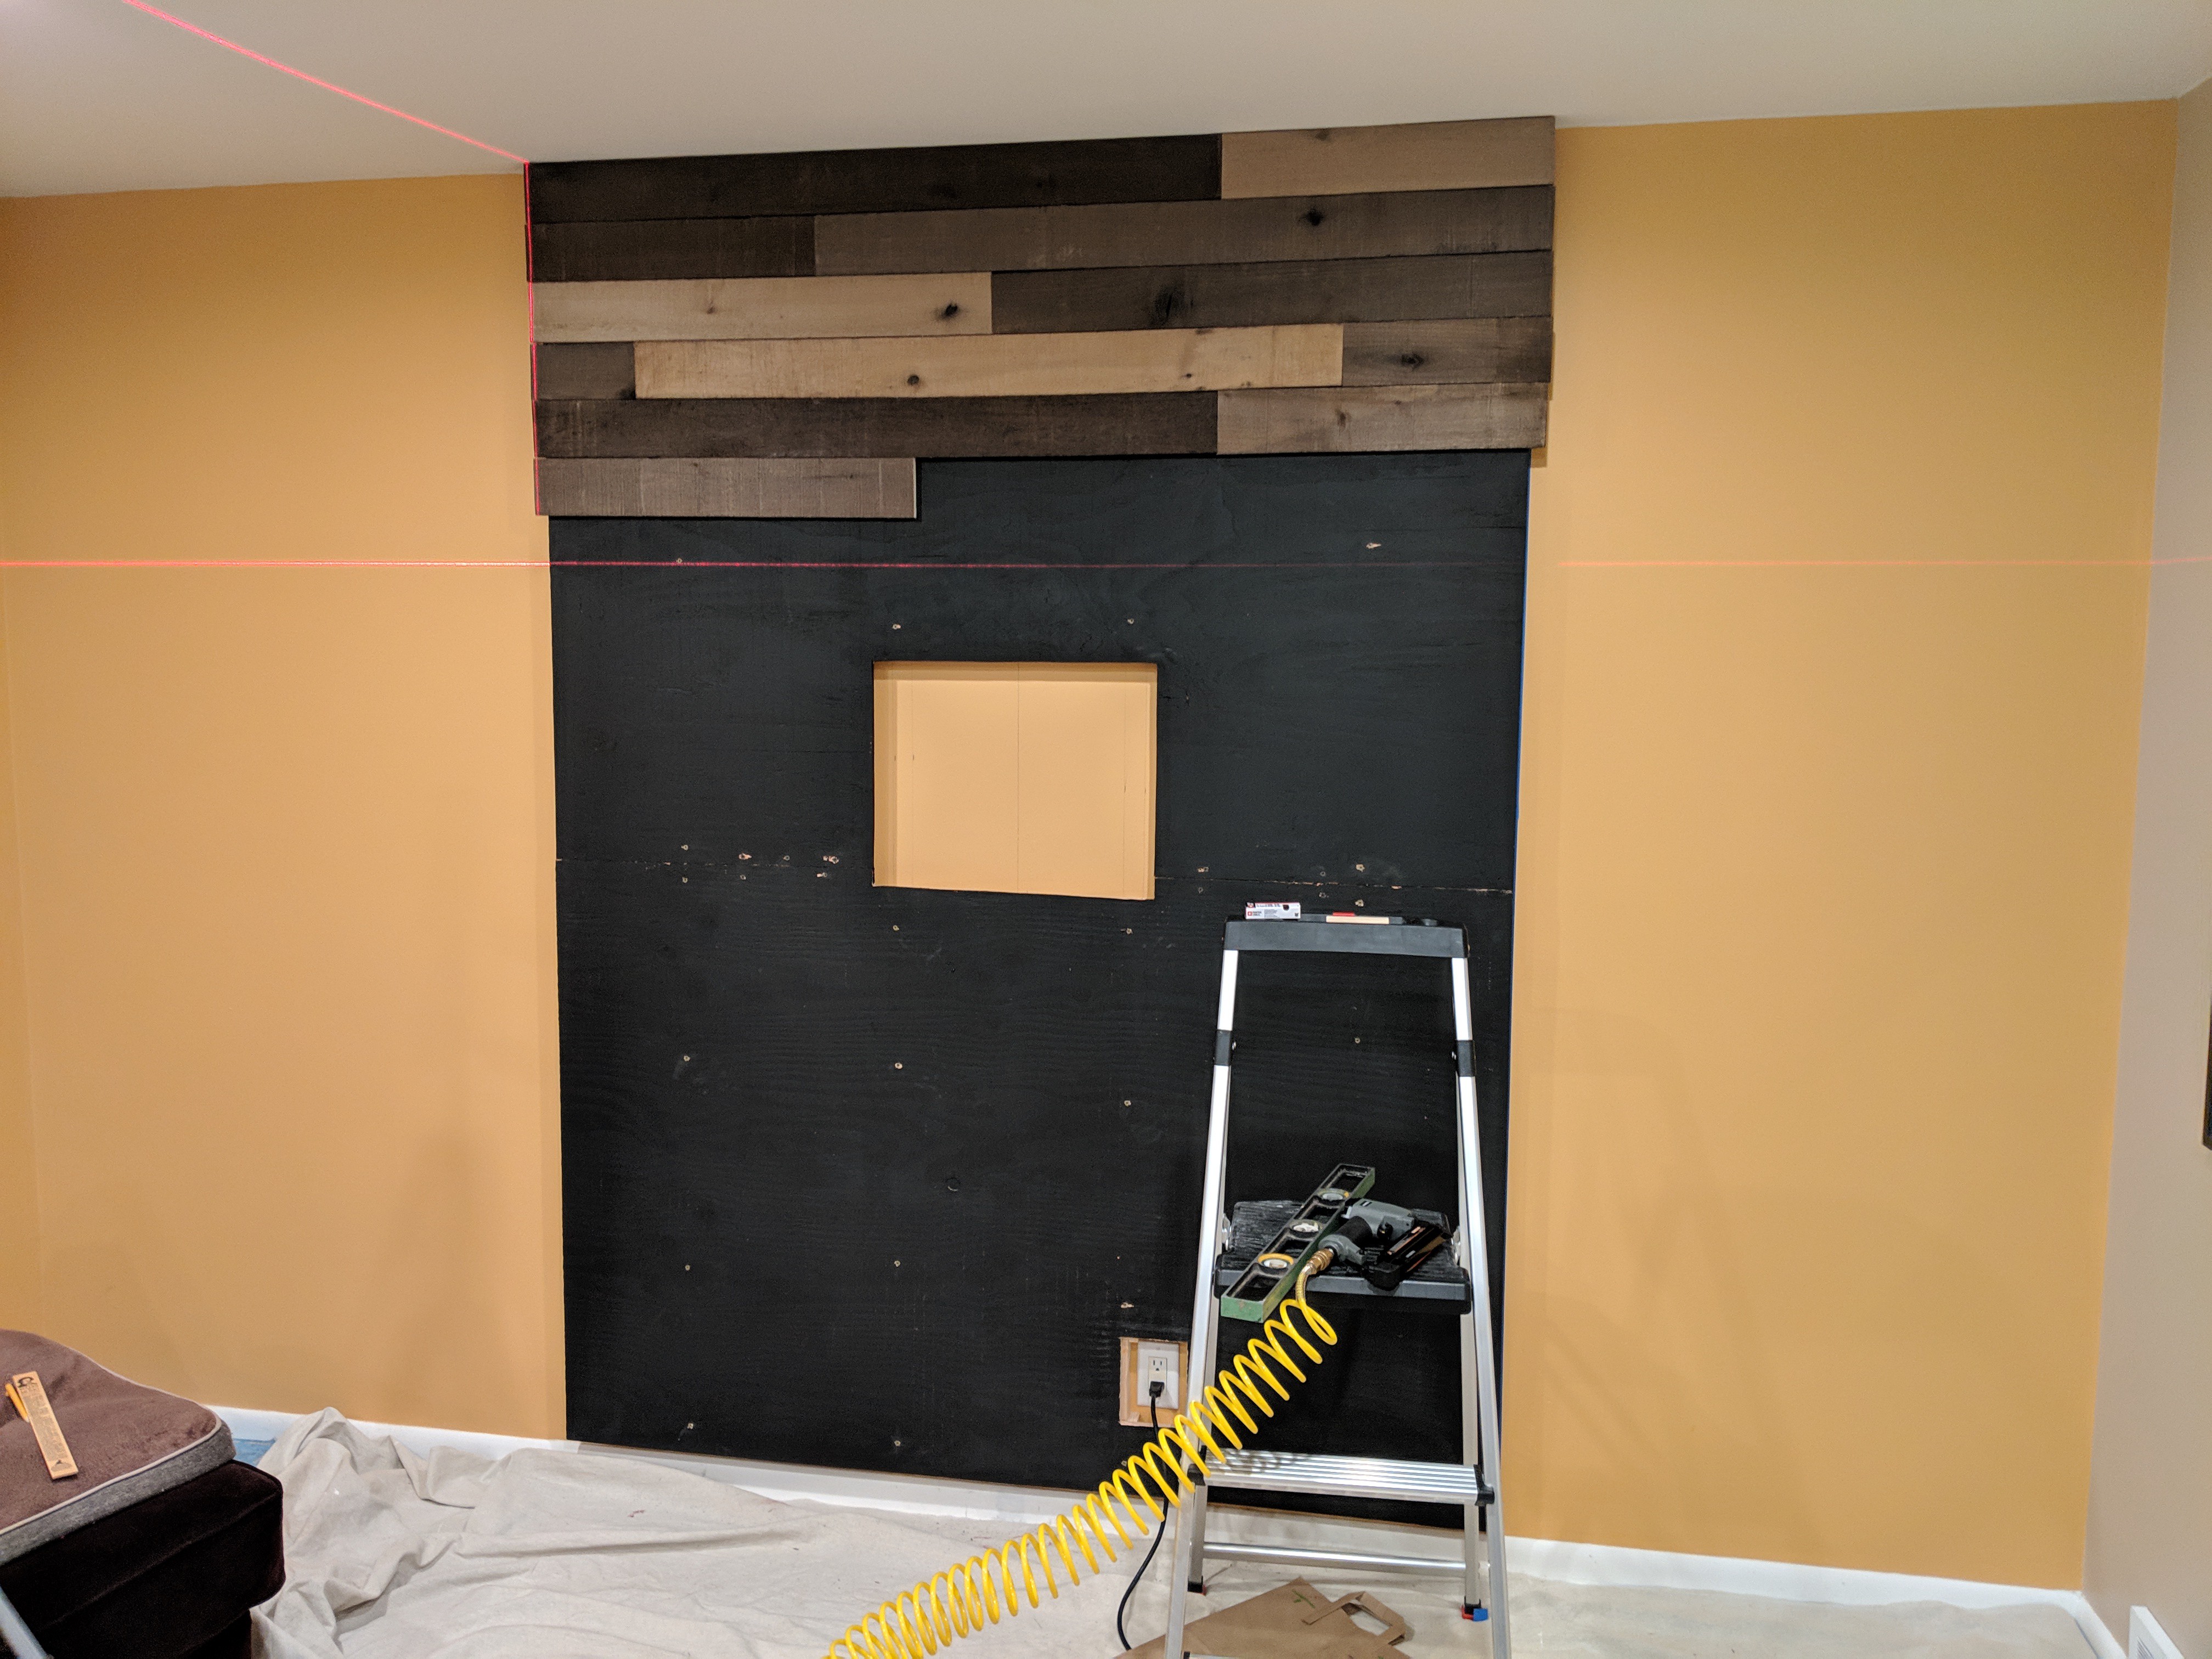
    Laying out the facade boards was the place I felt a bit uneasy. It was hard to know exactly how things were going to come out so we tried to mock up several rows at a time on the floor ahead of time.

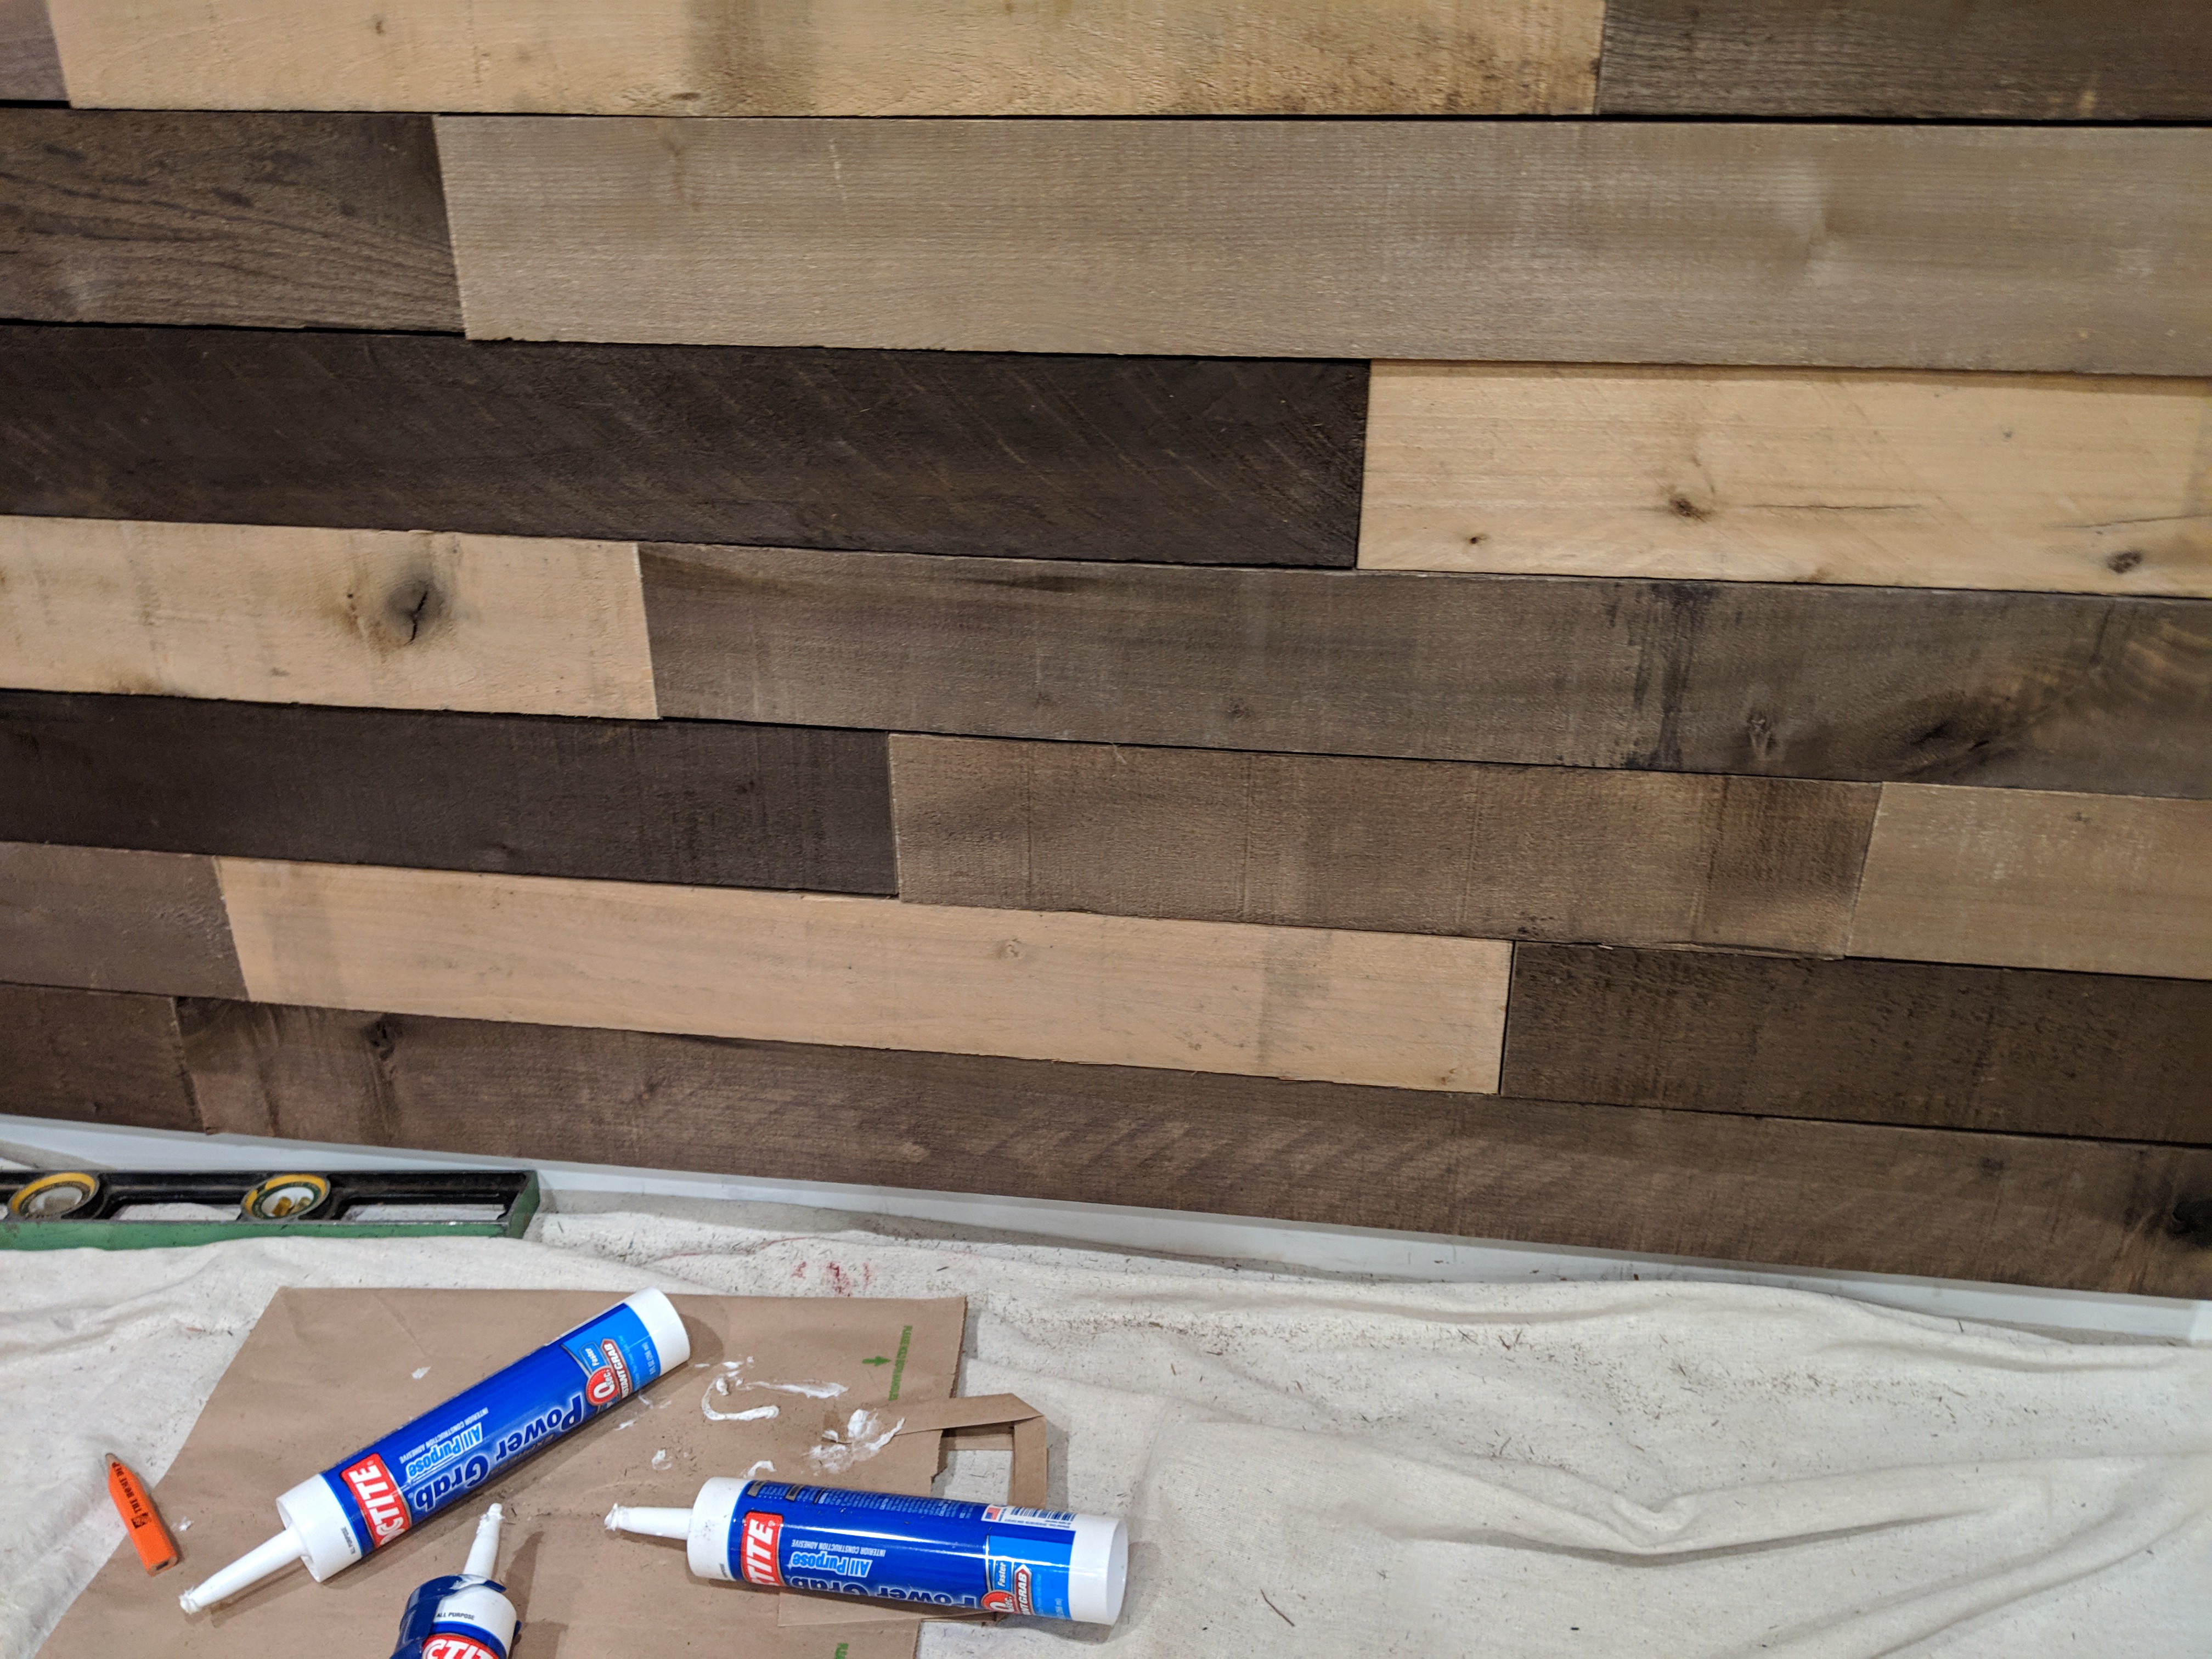
    I used the laser level to shoot a line for where the boards will end. I want this to feel quite rustic so instead of a perfectly straight edge I tried to vary by up to 1 cm on either side of the line. Securing boards was easy, just slap some construction adhesive on the back and pin nail them (you can't find the holes even if you try). Edges should be weathered so the cut edges always go to the inside.

    By Sunday evening, the wall was in place. This is as far as we could go, the TV mount ordered Saturday morning should arrive on Monday.

  • Planning the project

    Mike Szczys01/25/2019 at 21:40 0 comments

    There's no substitute for laying out a project ahead of time so you can see what it will look like in real life.

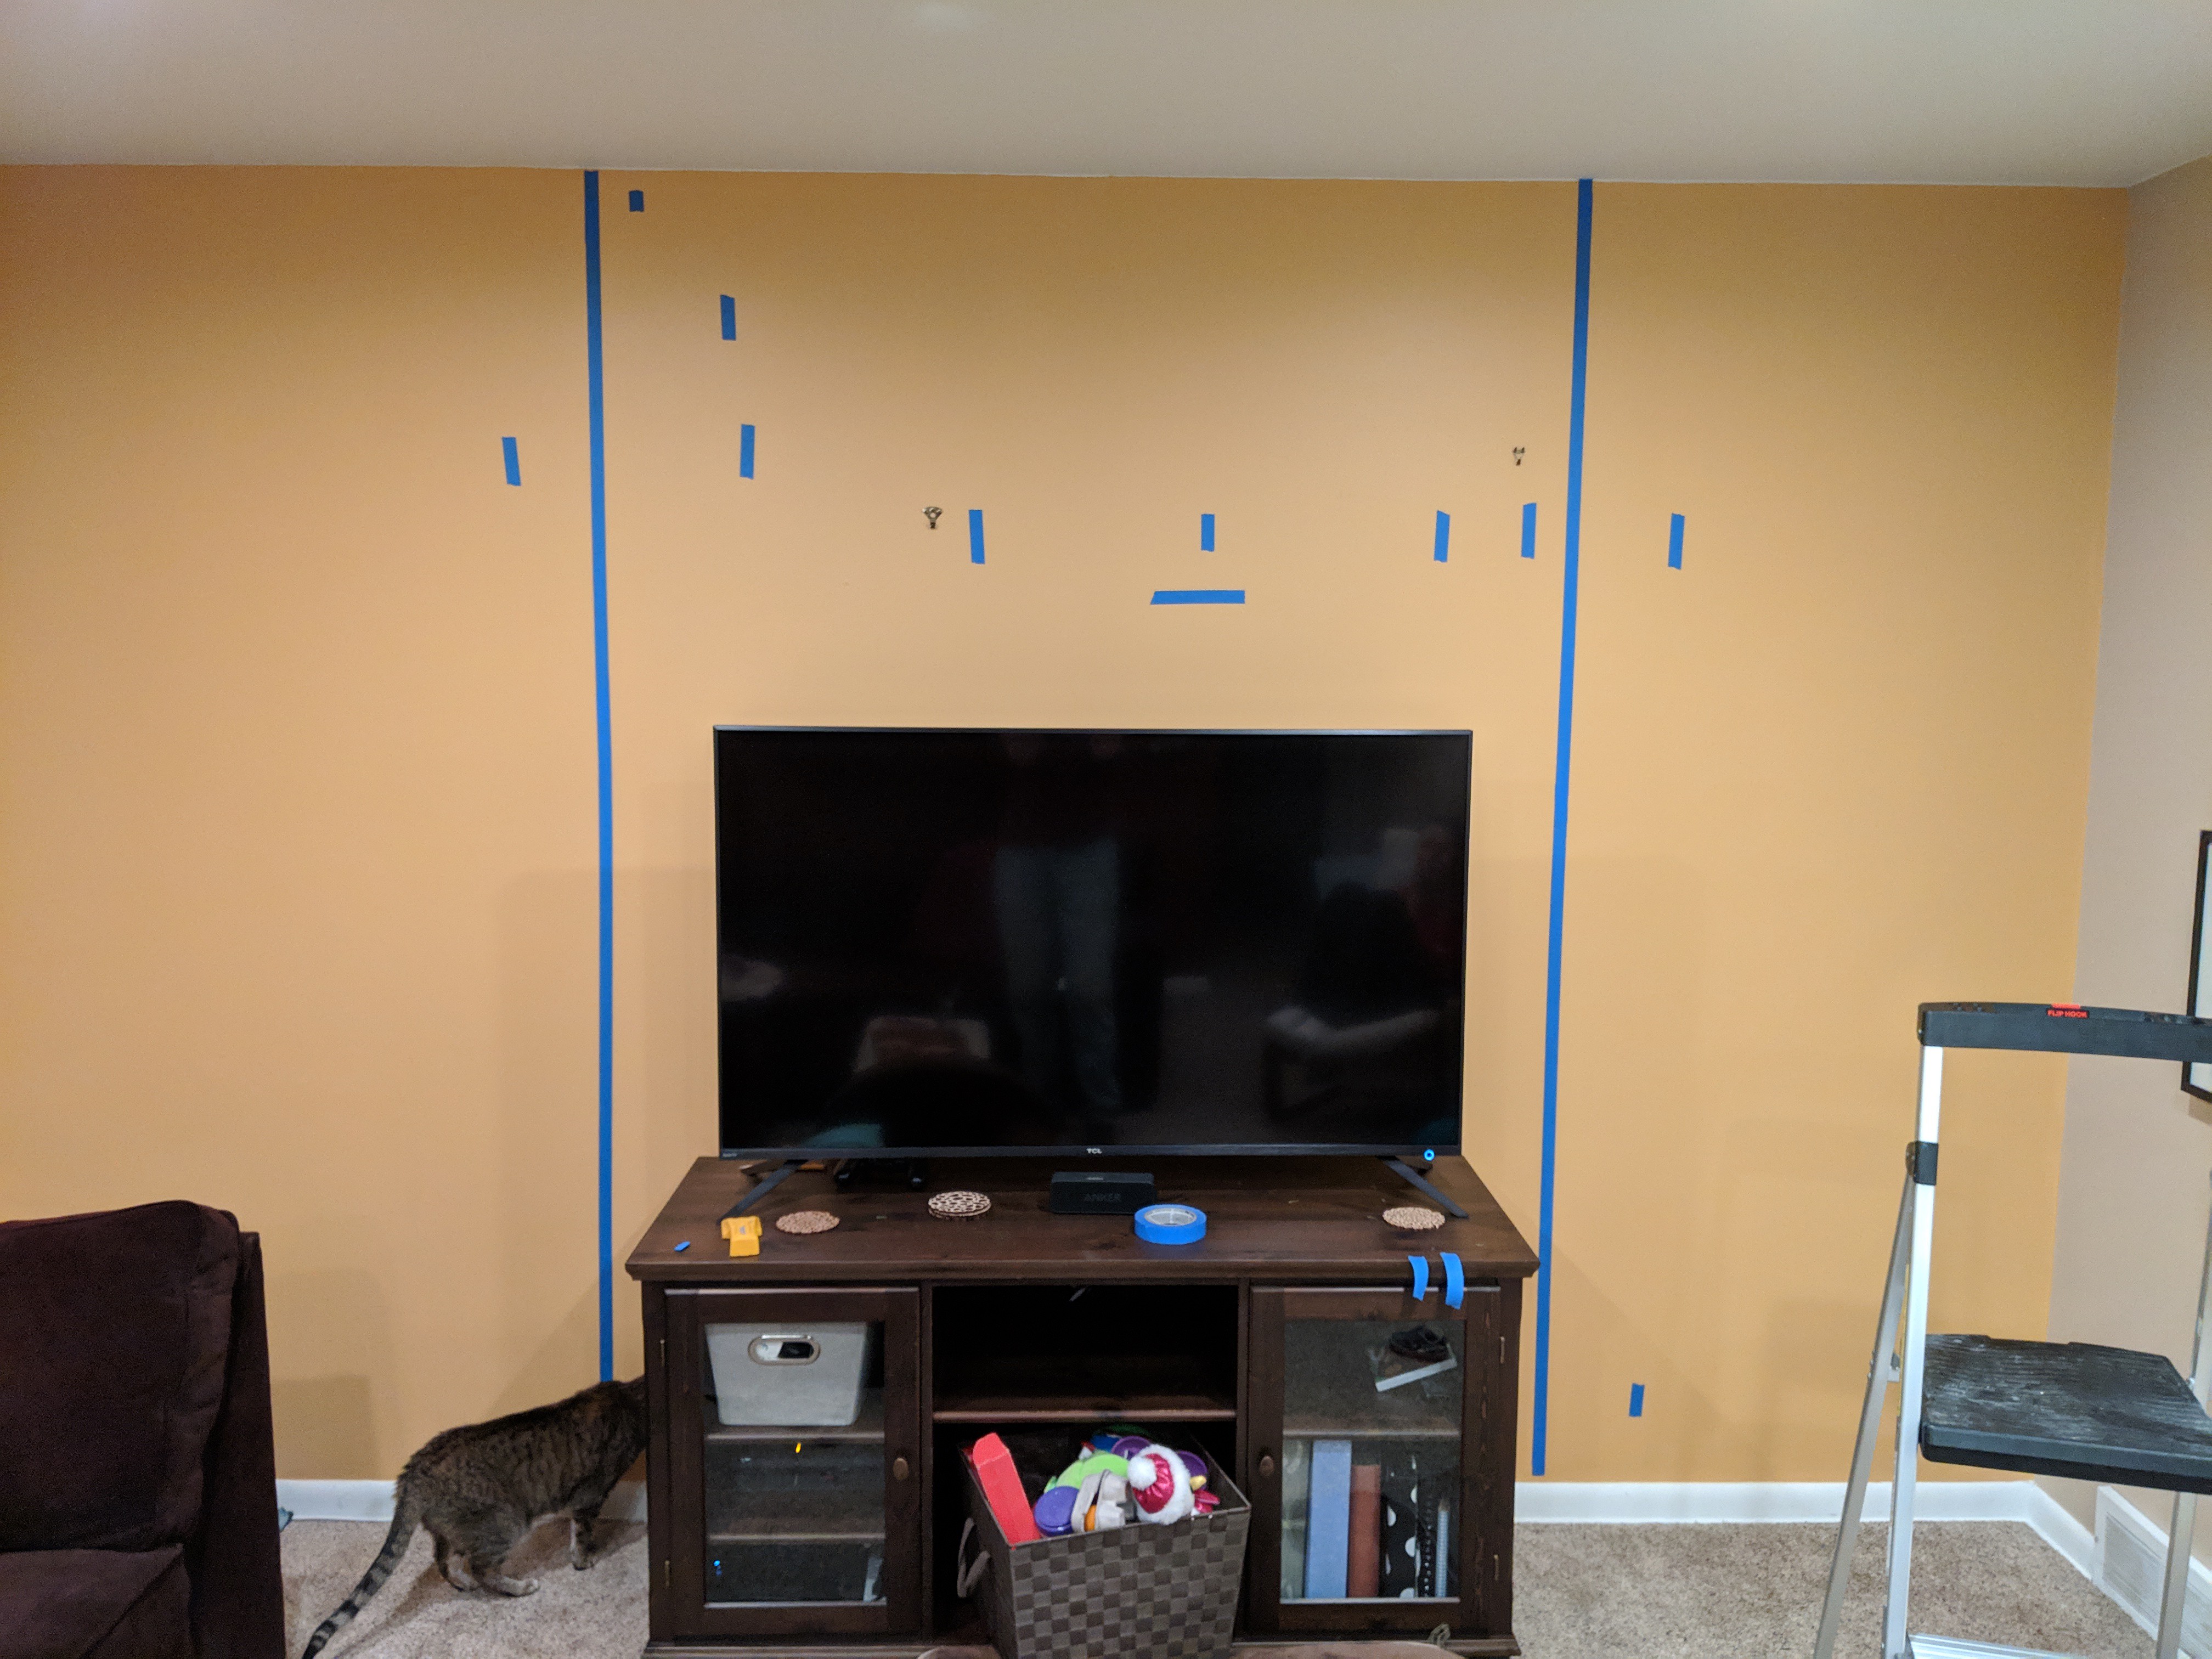
    The small blue tape is (mostly) showing where studs are located. The long strips of blue are where the edges of the facade will rest. Having laid it out my wife felt it was too narrow and she was correct. Before even purchasing materials we re-adjusted to be six inches wider on each side -- discovering this early is key!

    The TV mount will need to be anchored to two studs. Our studs are not quite centered on the wall, but they did almost perfectly line up with where we had the TV in the first place so we went with it.

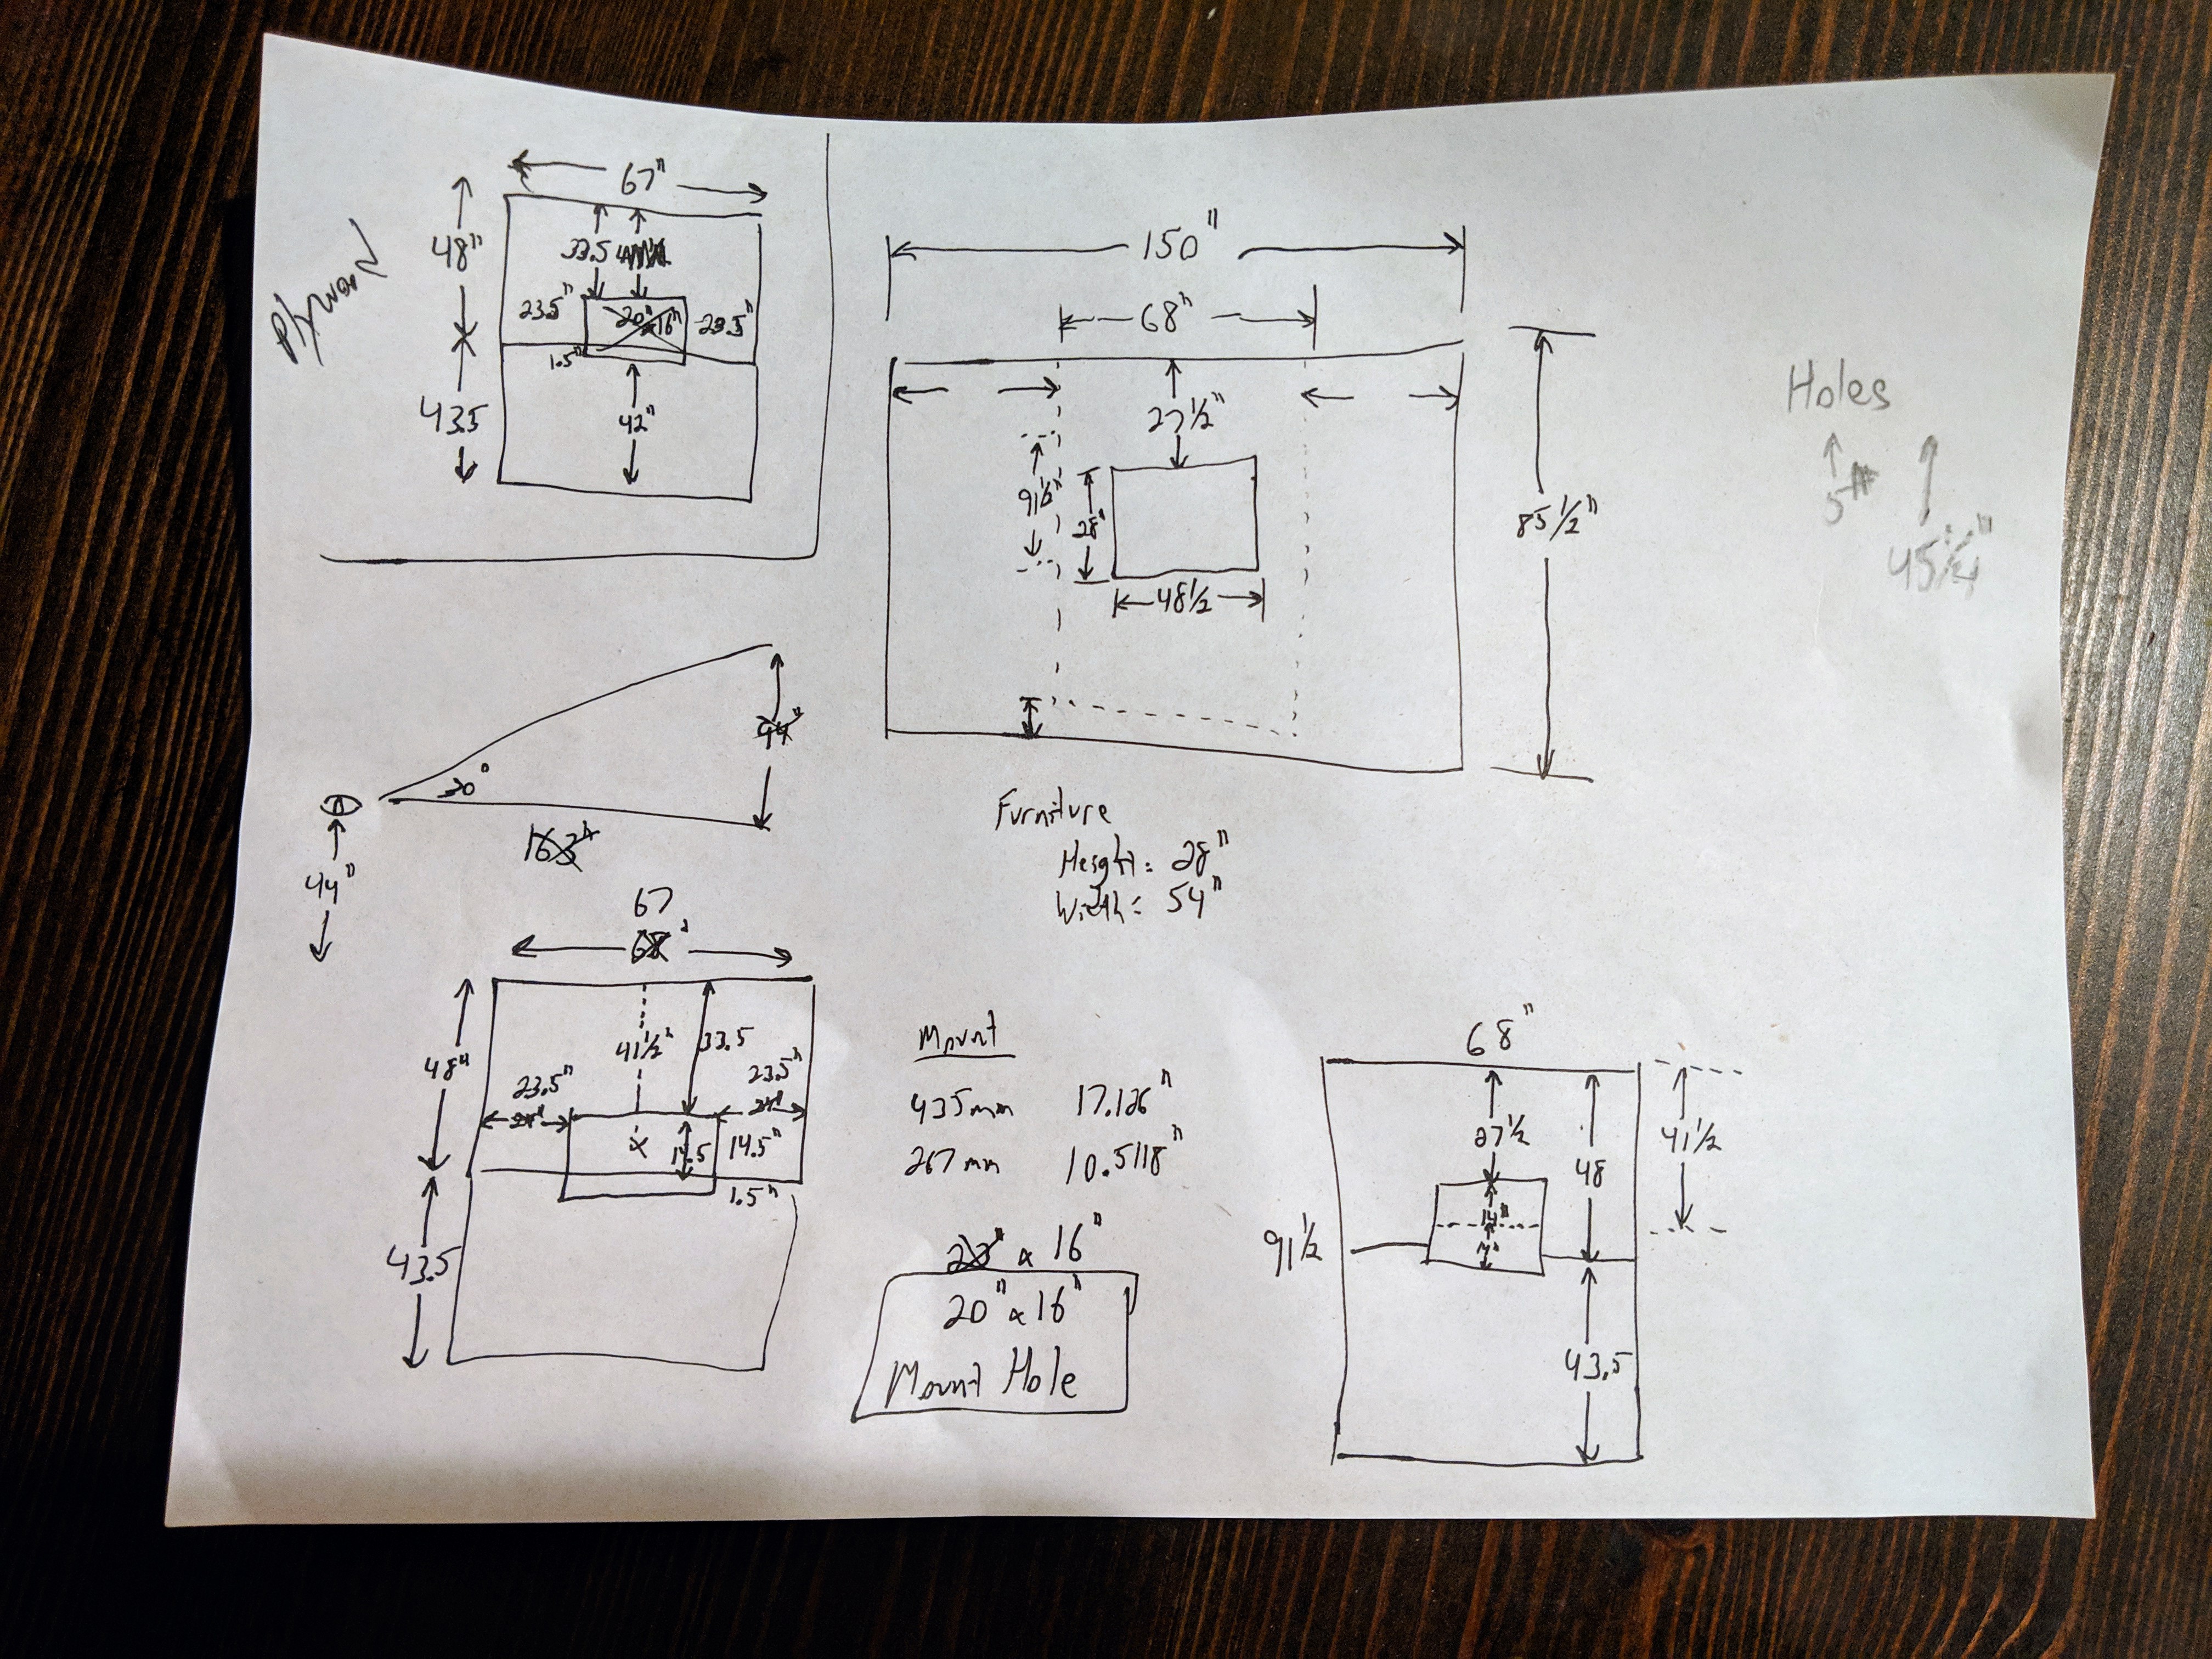
    Here are my notes form planning. You can see some angle calculations to help determine how high to mount the TV. These didn't work out and there doesn't seem to be a rule of thumb here. Good luck.

    The rest of it is planning for sheets of plywood to serve as the mounting surface for the weathered boards. The plywood will be about 1" narrower than the finished facade. I've planned to use 2"x2" lumber running vertically along each stud. Nominally this will deliver a 1.5" chase for cords.

  • An accidental weekend project

    Mike Szczys01/25/2019 at 21:33 0 comments

    On the last Saturday of the year I was sipping my morning coffee and looking at the new television sitting on the TV stand in our livingroom. I picked up a nice 55" model for a great price during Black Friday but I wanted it to hang on the wall.

    The problem is that this is an exterior wall. Our house was built without insulation and when someone resided it, they drilled holes in the outside sheathing and sprayed in some type of expanding insulation. Now, if you do anything in this wall cavity (I previously ran coax for and antenna), the chalky insulation just disintegrates. I don't want to mess with it at all.

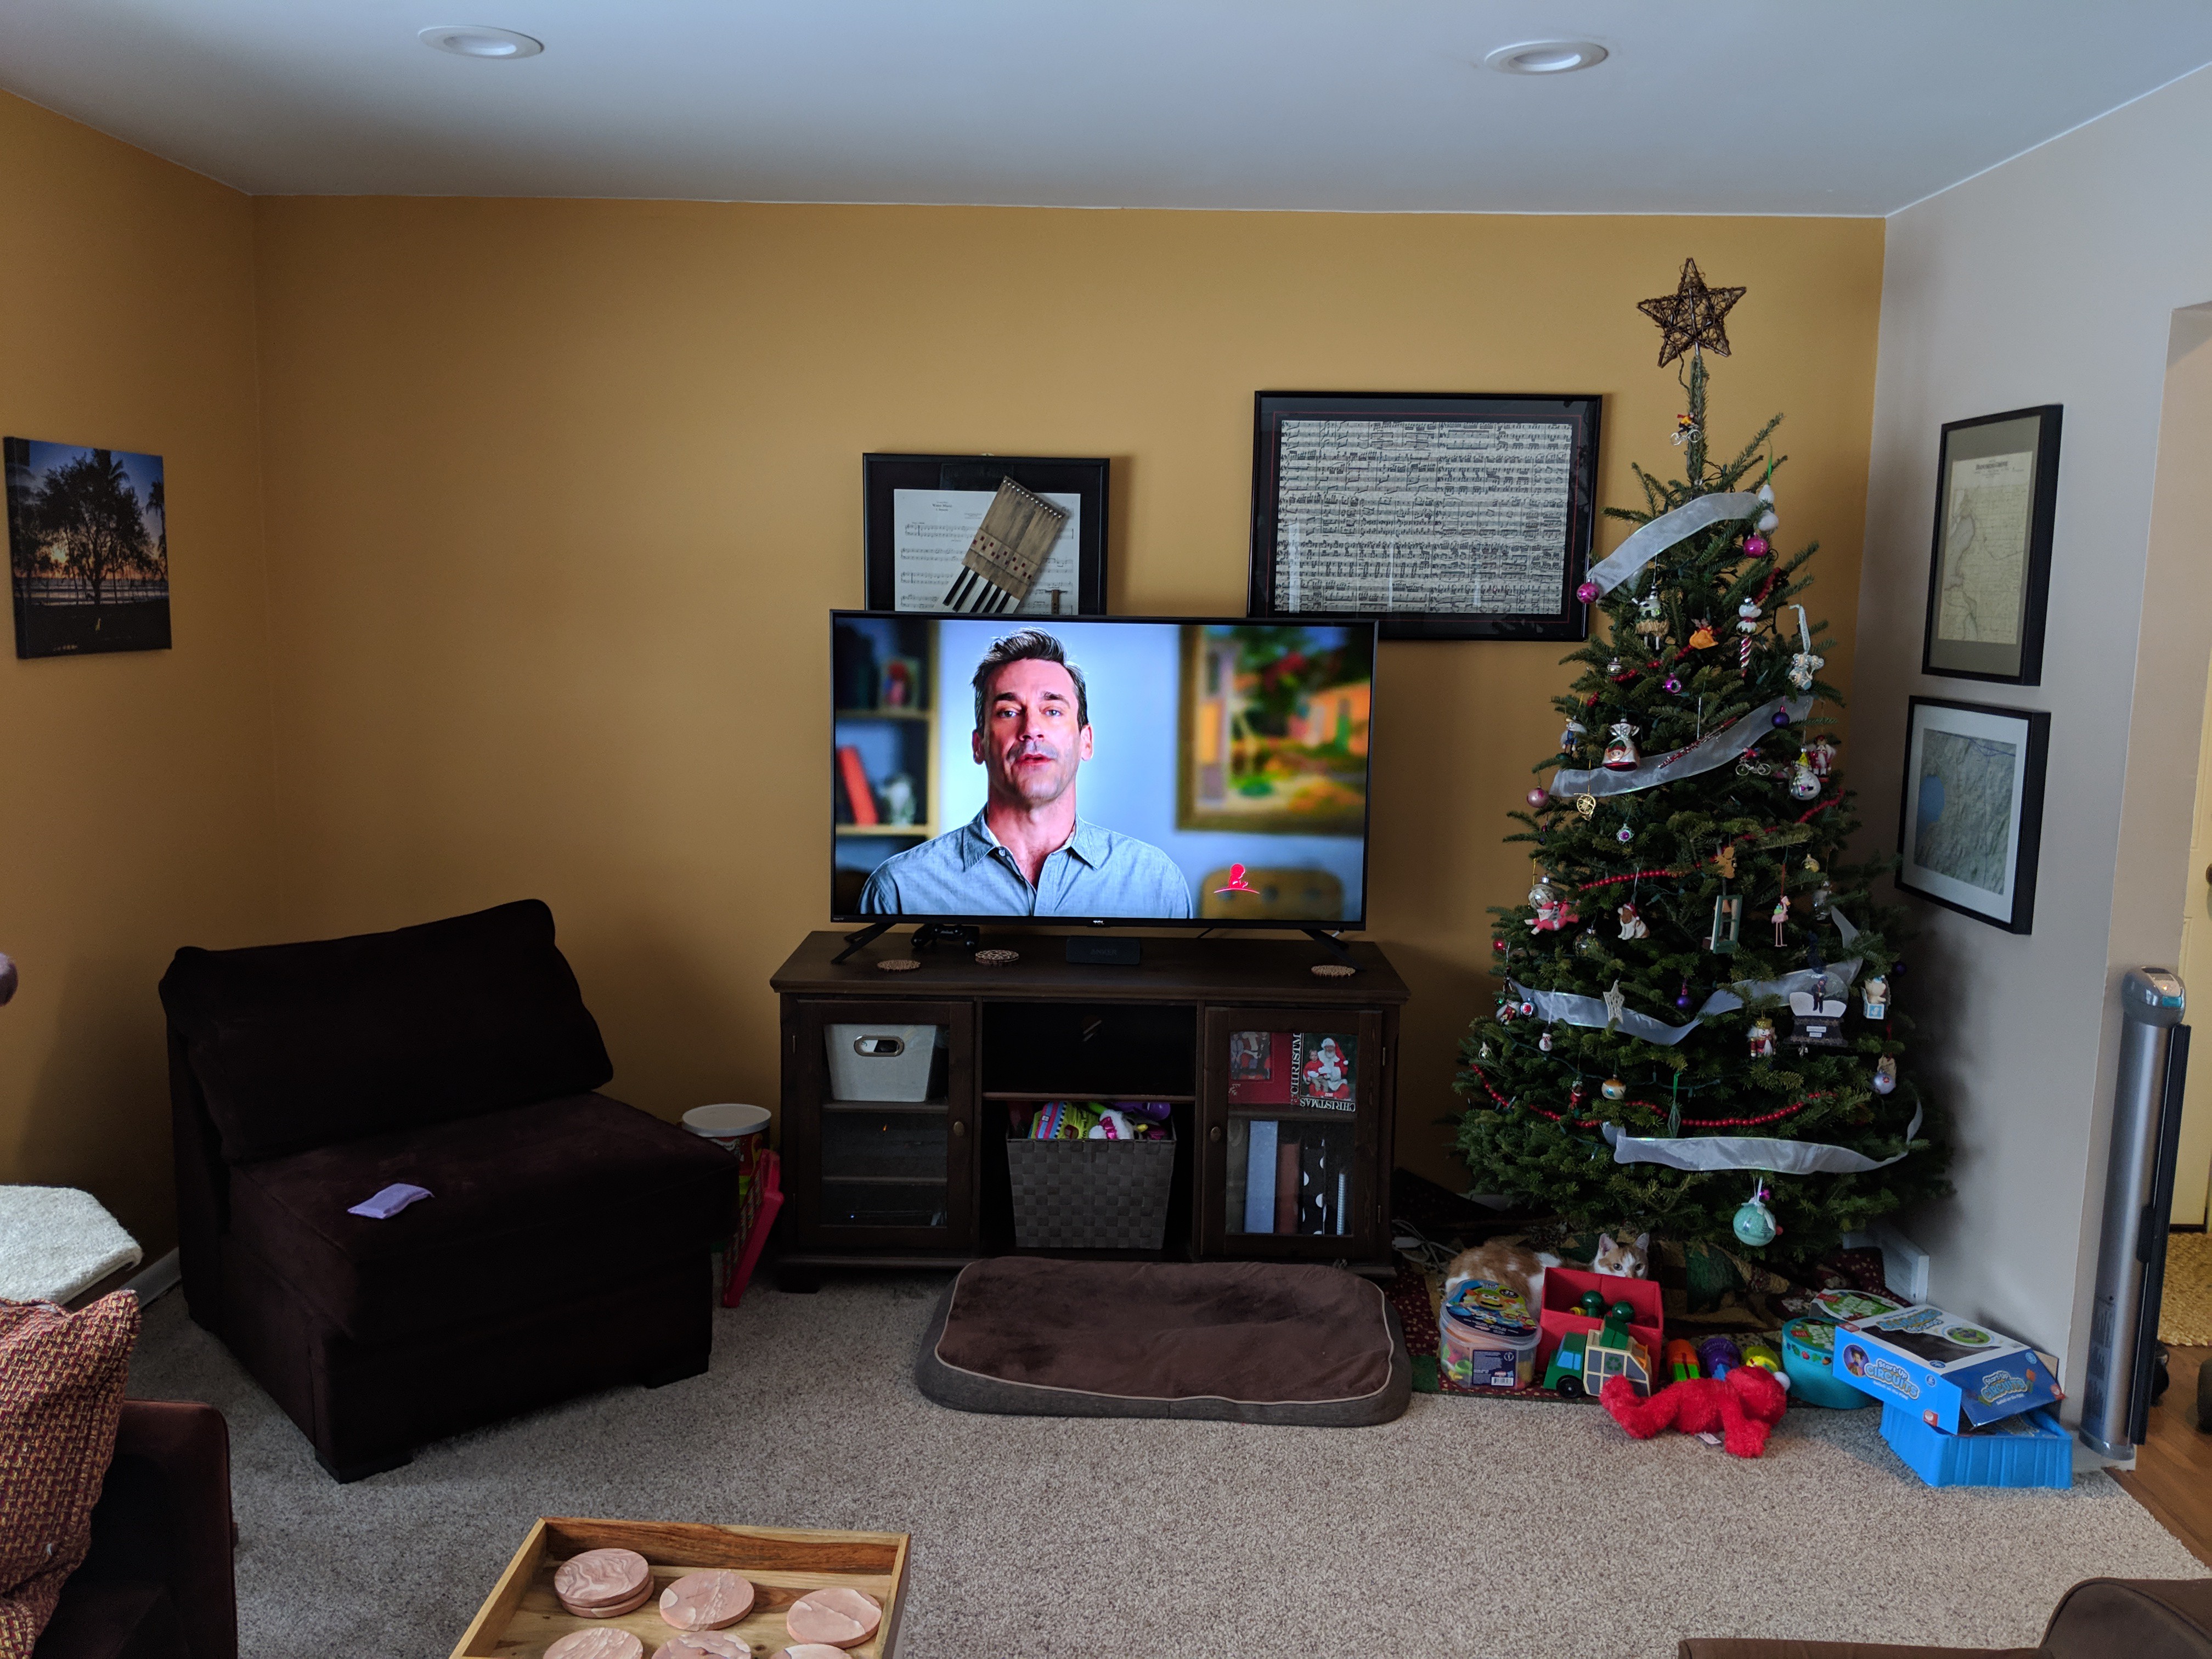
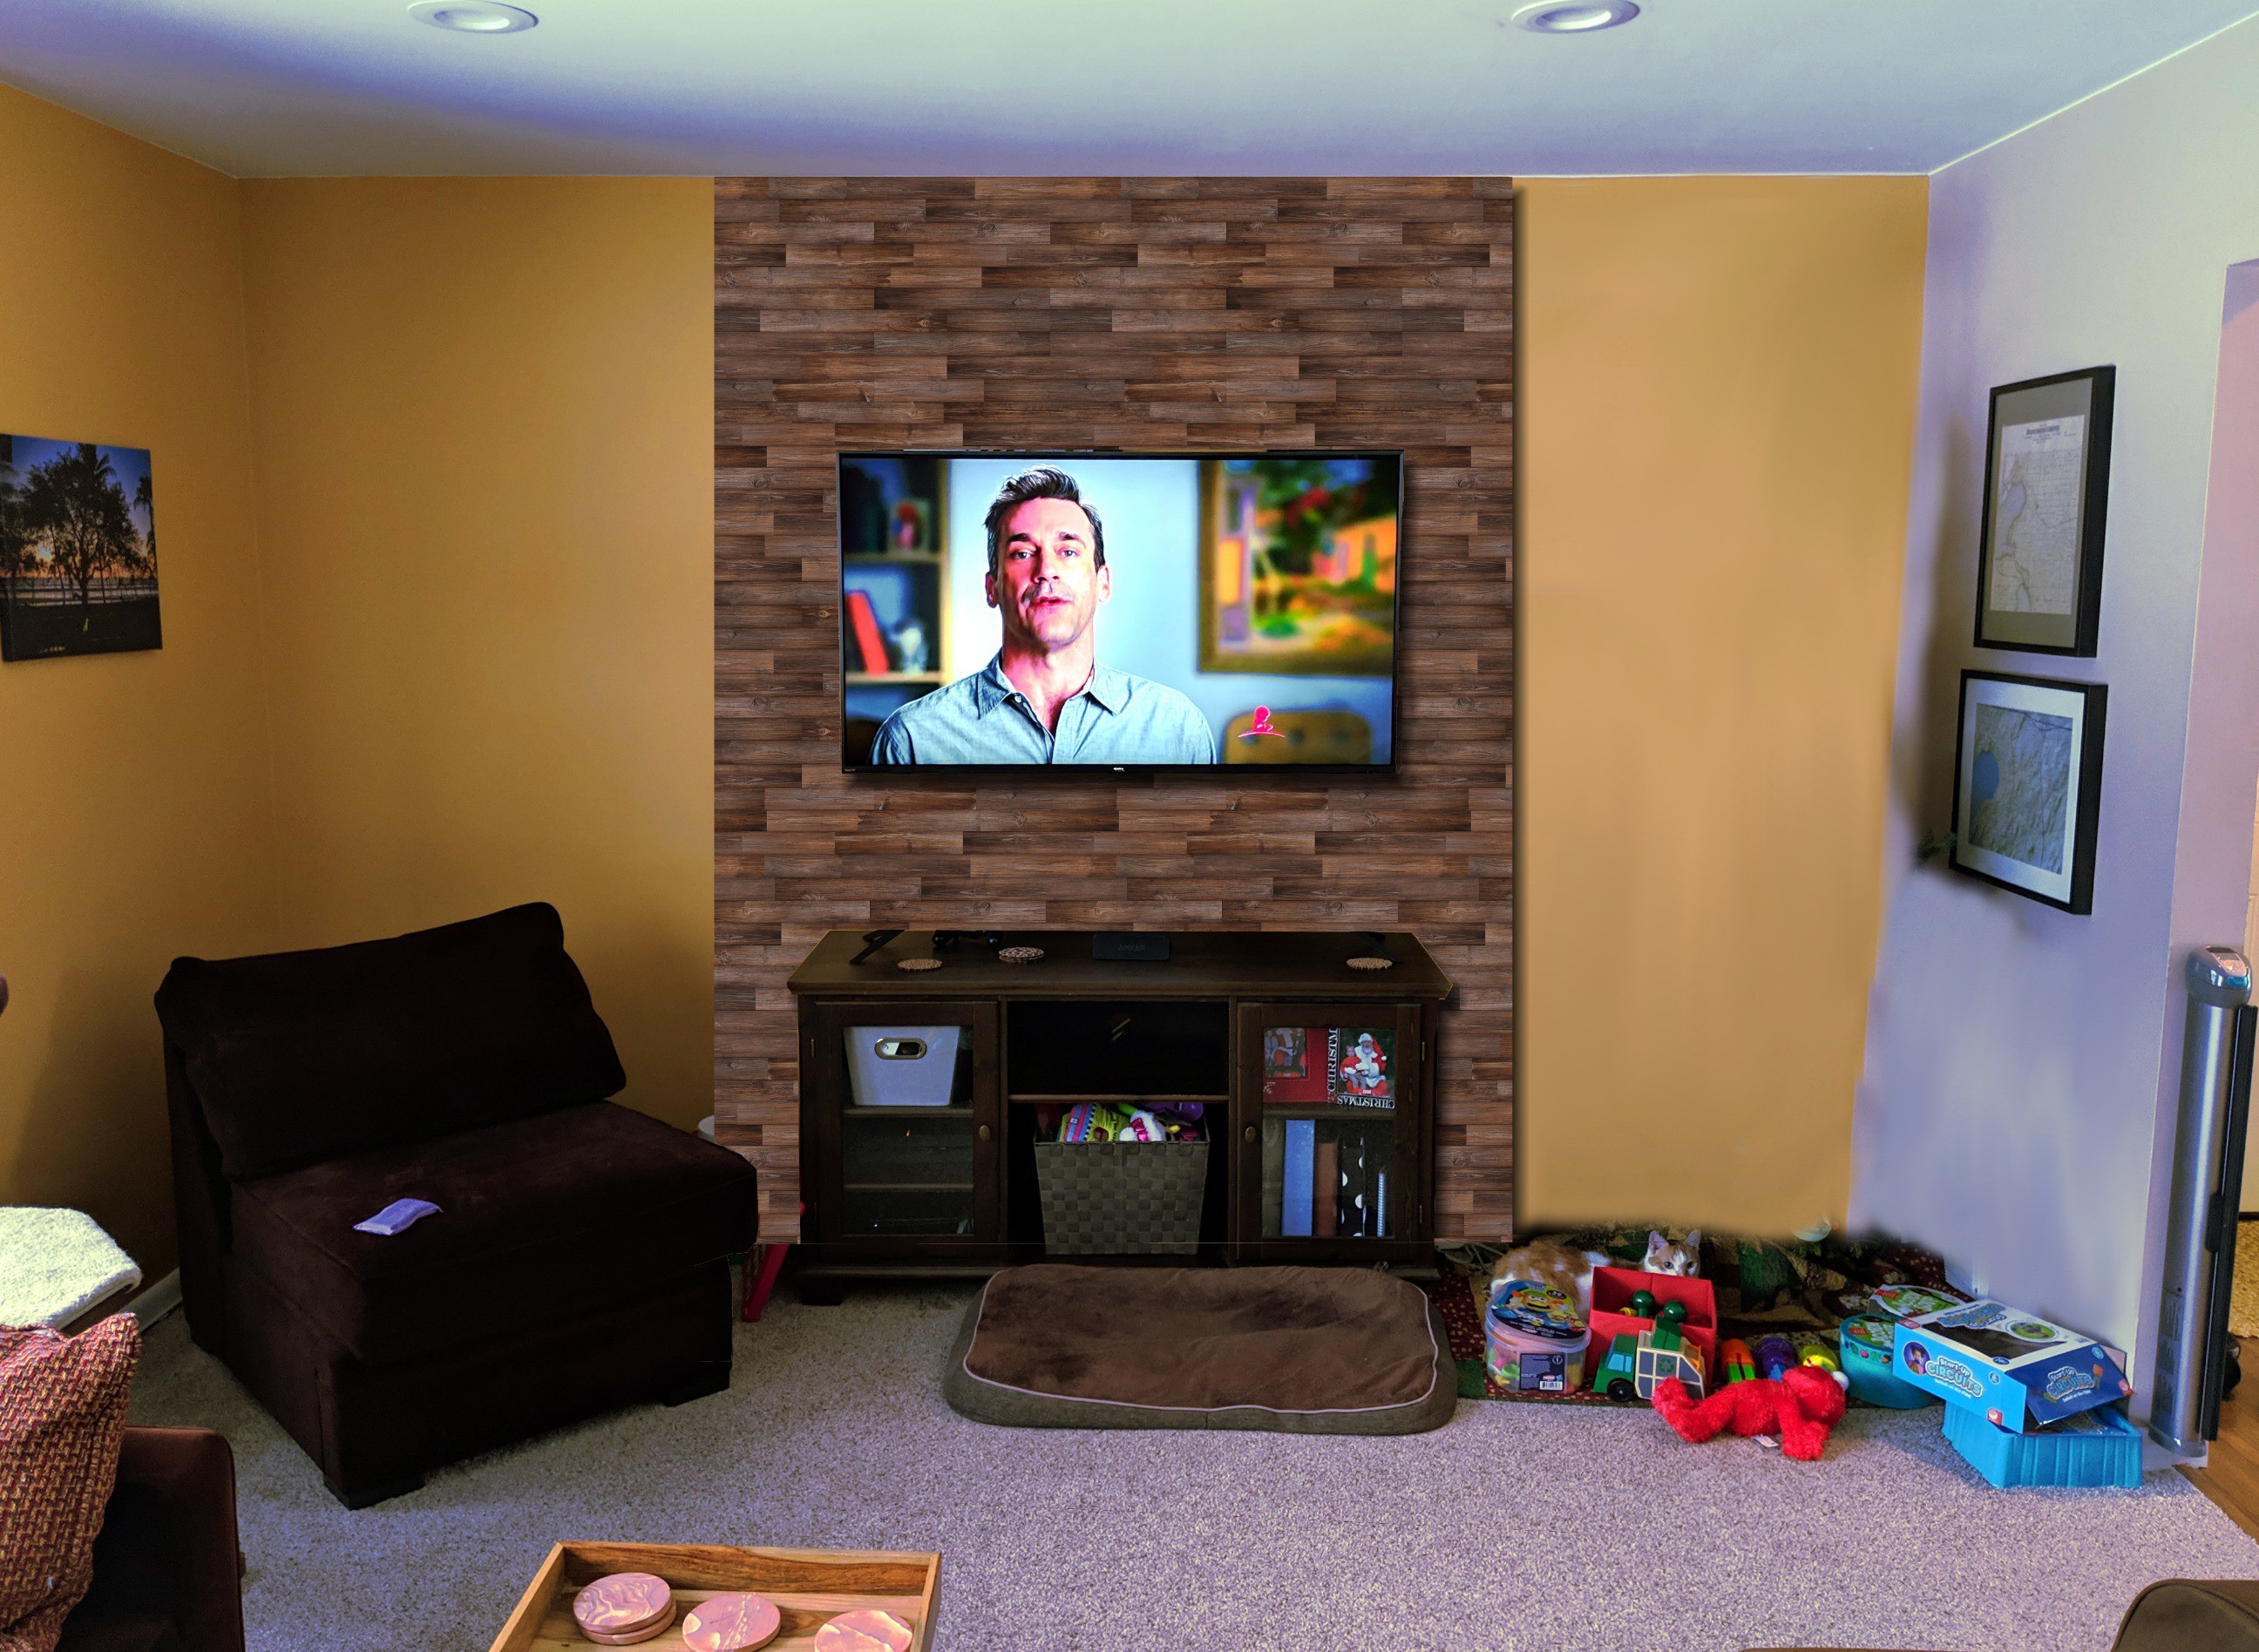
    So I began thinking about some way to run cable chase, and the idea of a decorative facade came to mind. I snapped the image above, poorly edited out the xmas tree, and made a mockup of how I thought things might look:

    Looks pretty good, right?

    With this in mind I started looking around at materials. Flooring is the most obvious, but that is going to require finishing, unless we get pre-finished and that will cost more. After a half hour of searching around I came across an Ask This Old House episode where Tommy is building a headboard from weathered rough-sawn wood:

    These boards are available and Home Depot in boxes of 8. The cost isn't horrible, and installation is as easy as cutting to length, gluing, and pin nailing.

    It was 1pm on a Saturday. I ordered a pin nailer overnight on Amazon. My buddy has a little compressor for finish work like this, I called him up to borrow it and asked if he could help me pick up some sheet goods before the lumber yard closed at 3pm (he has a van). Boom, off to the races.

View all 6 project logs

Enjoy this project?

Share

Discussions

AVR wrote 01/27/2019 at 17:24 point

My father did a similar thing adding a black backsplash/background piece to our TV cabinet in 2009, he'd think this is pretty cool, same basic idea but I like how you used lights and the wood planks, we did plywood covered in black fabric.

  Are you sure? yes | no

Mike Szczys wrote 01/27/2019 at 17:32 point
It's a really good solution if you are willing to commit to the look for a long time. Does his wall still look nice these days or is the style getting to be dated?

  Are you sure? yes | no

ziggurat29 wrote 01/25/2019 at 22:56 point

"I was able to crack open the dimmer and that seems legit. It's a 555 timer driving a power MOSFET."

Jesus, that chip will outlive us all, and manifold times.

They really do need to to a Star Trek episode wherein the ship is saved by a plucky adolescent who crufts together a decoy bomb replete with doomsday countdown blinking light by quickly rewiring his erstwhile science fair project involving a NE555, giving the adults that critical moment of confusion during which they could finally take action against the devishly cunning adversary, and by such means his own megalomania plays him for the fool.

  Are you sure? yes | no

Mike Szczys wrote 01/25/2019 at 23:21 point
Yeah, then again what else would you use there?

  Are you sure? yes | no

ziggurat29 wrote 01/25/2019 at 23:28 point

IDK, an ne-2, some resistors, and a triac?
Lol; I suppose that's why that chip's been around 48-or-so years!

Beautiful build on the wall, btw.

  Are you sure? yes | no

Similar Projects

Does this project spark your interest?

Become a member to follow this project and never miss any updates