Yihui
Yihui-
The end of 2019 & the start of 2020
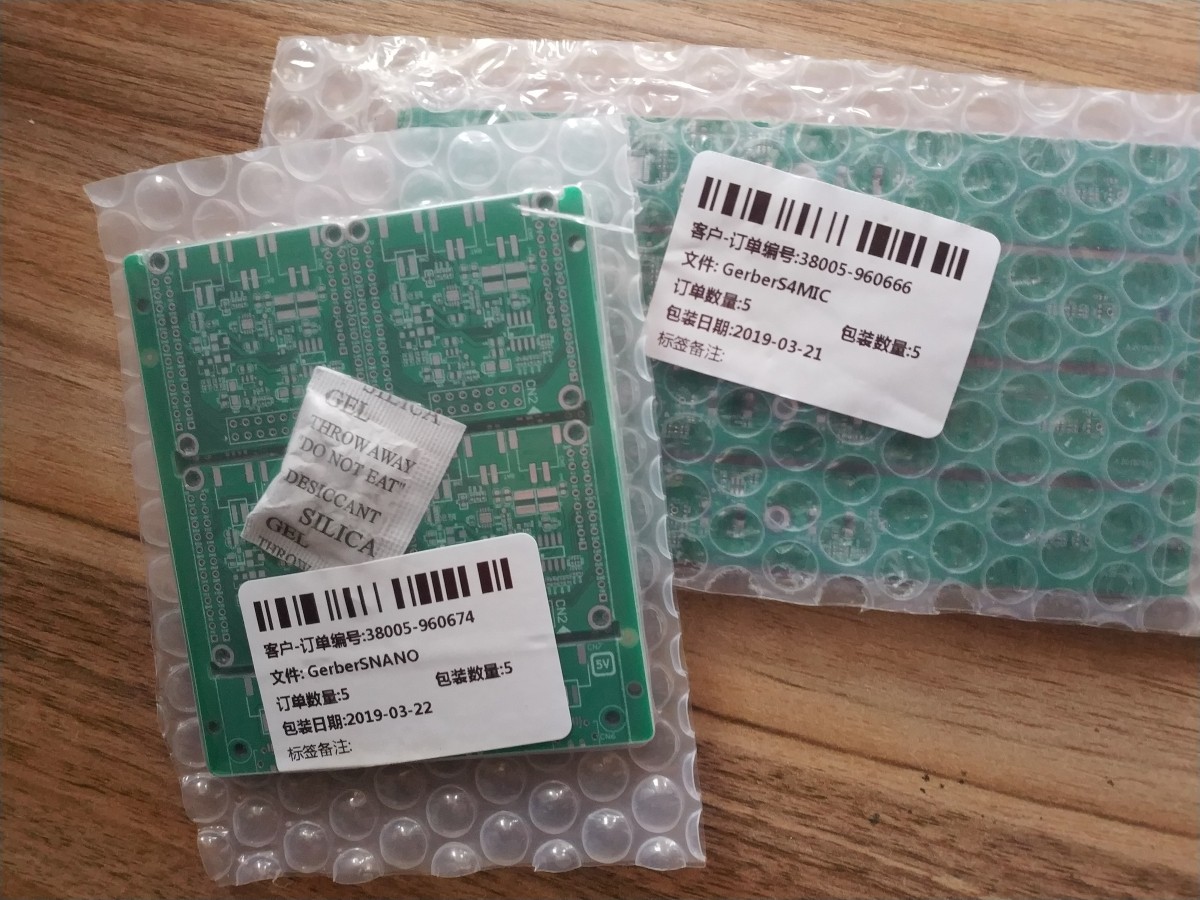
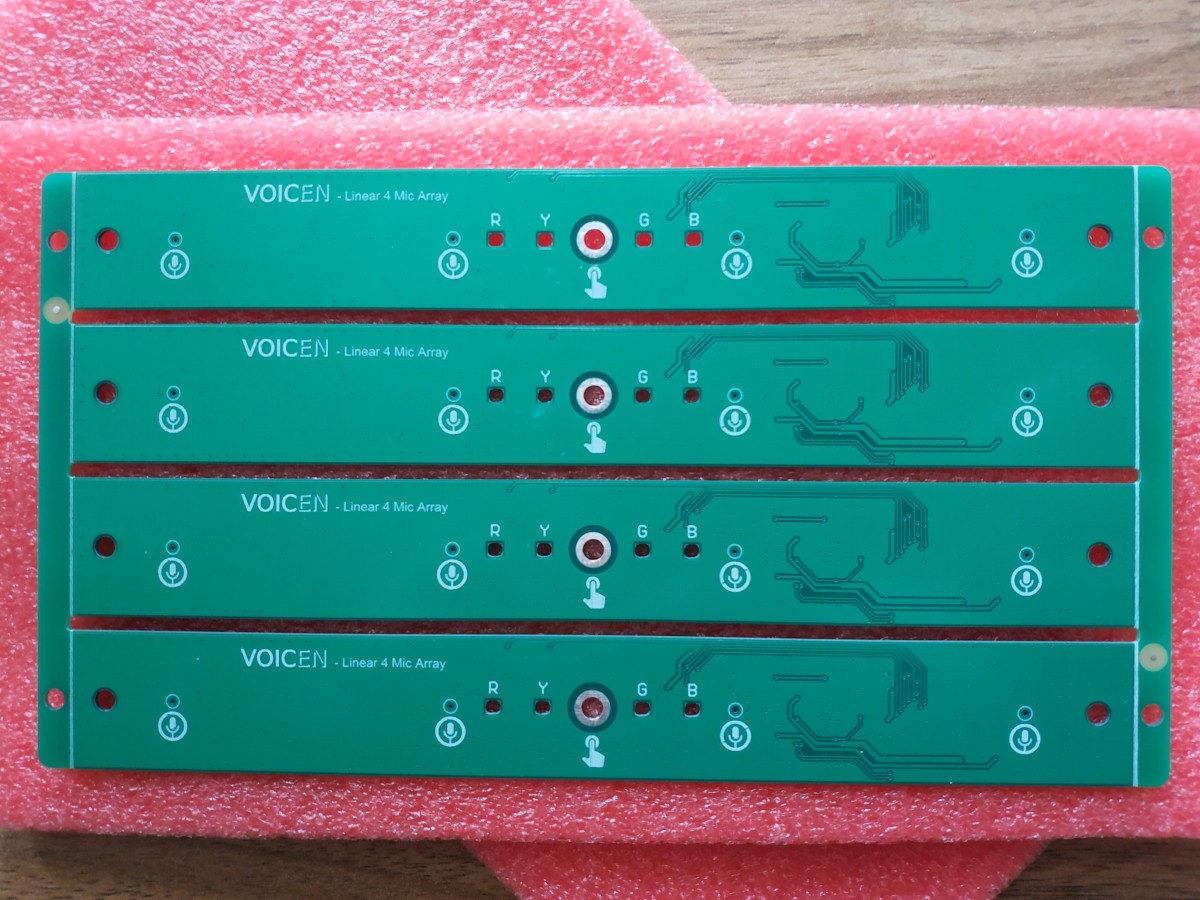
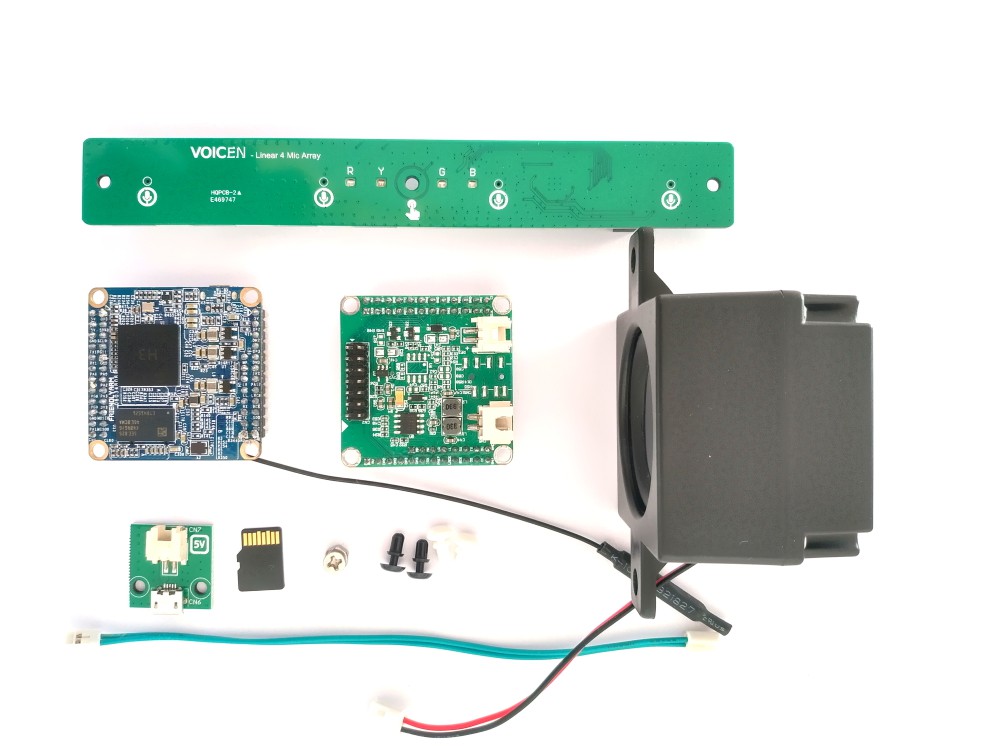
12/31/2019 at 19:09 • 0 commentsI started the project from March of 2019. It took much longer time than I expected to make the VOICEN Linear 4 Mic Array. At the end of 2019, the hardware kit is available at Makerfabs. You can also find the hardware design resources including schematics and gerber files at https://github.com/voice-engine/hardware.
The project is not finished yet. At 2020, I will focus on writing more documents of how to build a smart speaker from scratch. There are some lessons I learned from this project. Hope it will help me do a better job at the next project.
-
Make a smart speaker paper case by hand
11/11/2019 at 04:40 • 0 commentsPreviously, I had a brief introduction of using LibreCAD and Python to design a CAD file for a paper case. When we get a CAD file, we need a laser cutter o cut a paper case. However, not everyone has access to a laser cutter, so it would be cool if we can make a paper case by hand with our daily tool.
Tools & Materials
- scissors
- knife
- ruler
- pencil
- screwdriver
- 400g kraft paper
- double-sided tape
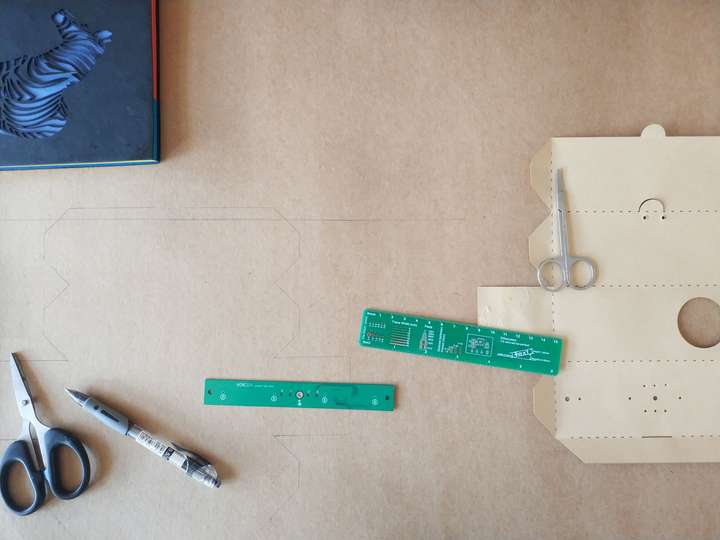
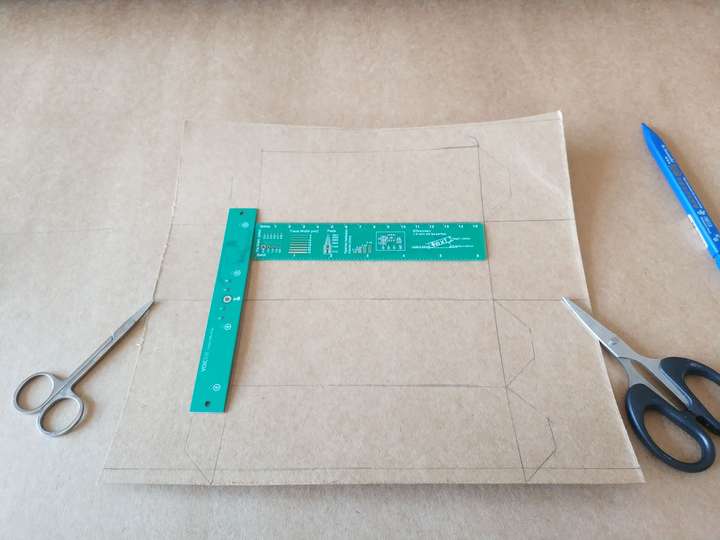
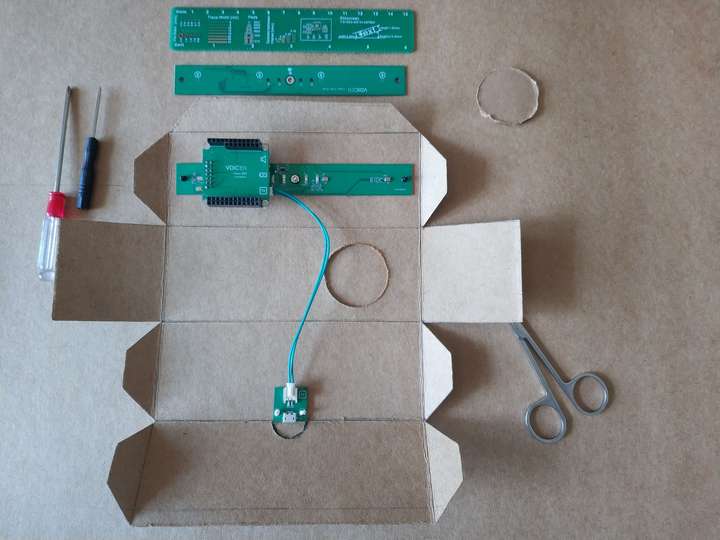
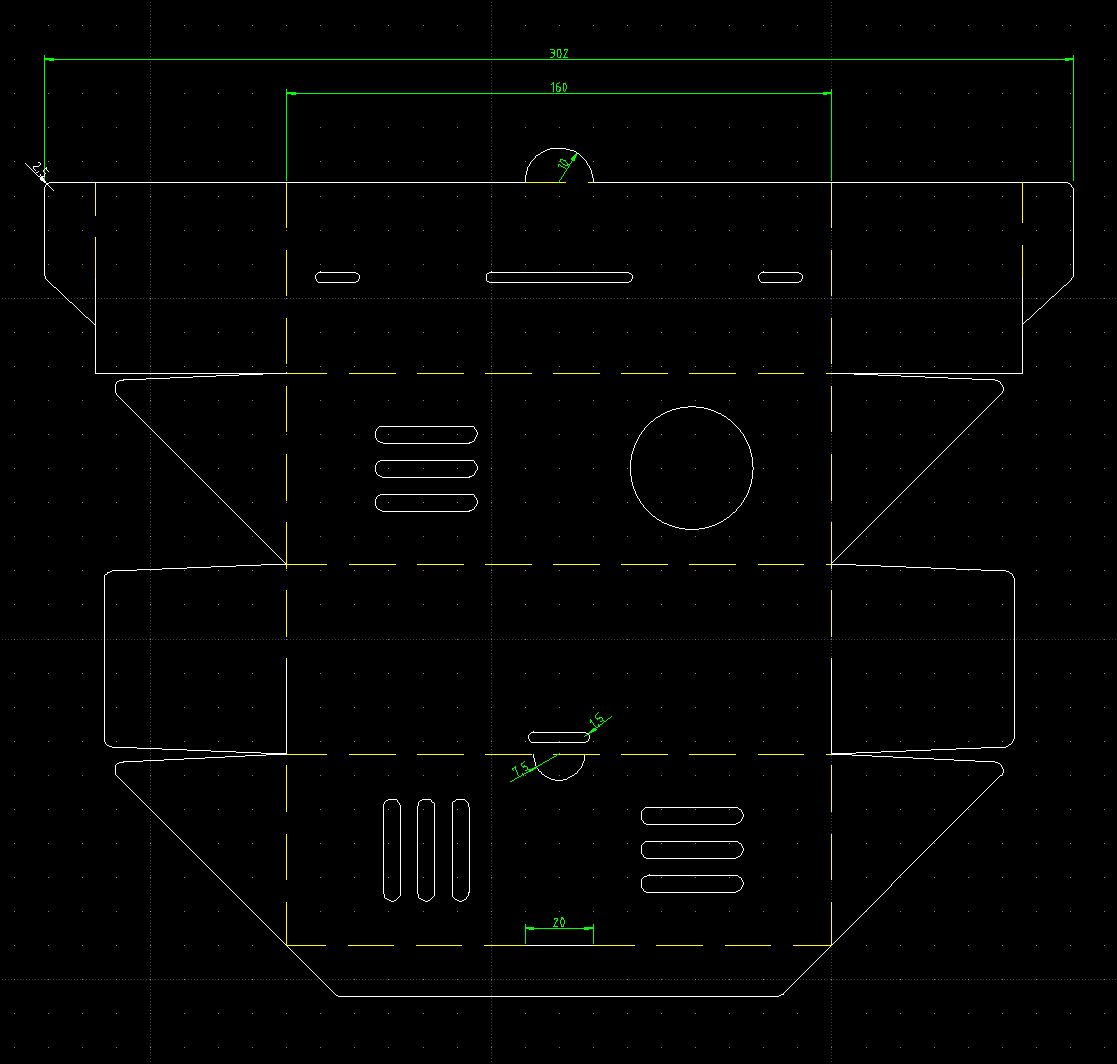
Steps1. Draw the outlines of the paper case
The design is quite simple. It's just a box with a lot of holes for a speaker, 4 microphones, 4 LEDs, 1 screw and 2 rivets. We can get the dimensions from the CAD file, then use the pencil and ruler to draw the outlines.

The CAD file I have a laser cutting paper case, so I can use it to draw the outlines.
We can use the blunt scissors head to re-draw the contours, which makes it easy to fold the paper to 90° .
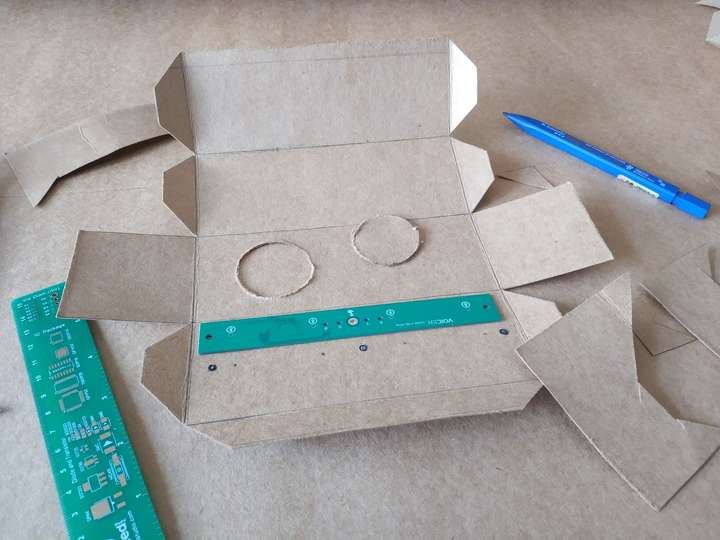
2. Cut the outer frame
Use the scissors to cut the frame following the outlines. To cut the speaker hole, we can use a similar size bottle cap to help.
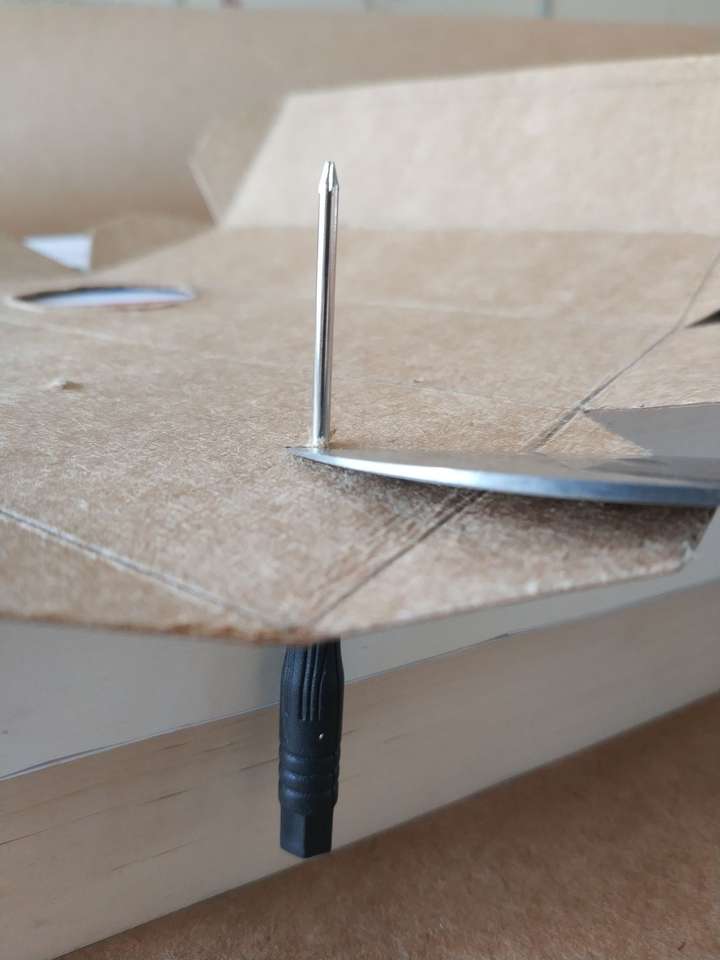
3. drill the small holes for microphones
It's the most difficult part to do, as we have 4 microphones, 4 LEDs, 1 screw and 2 rivets.
Drill a hole with a screwdriver. Part of paper will be extruded. Use a knife to cut the extruded paper.
To make it easy to drill holes, we can use small puncher from taobao or ebay.
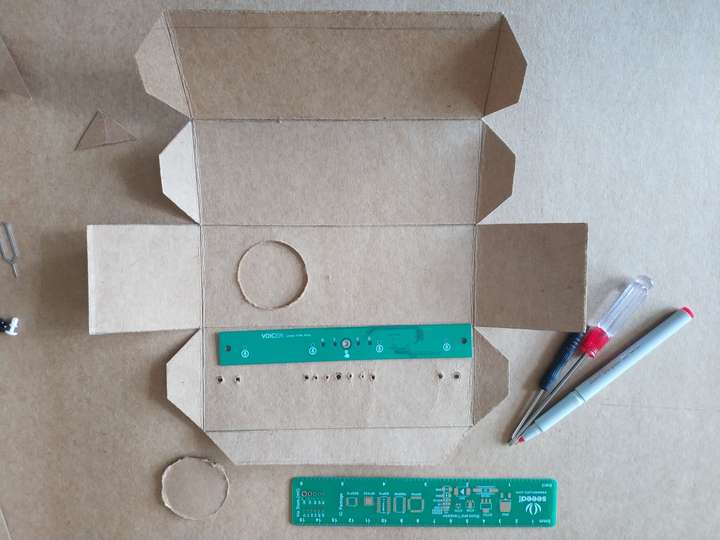
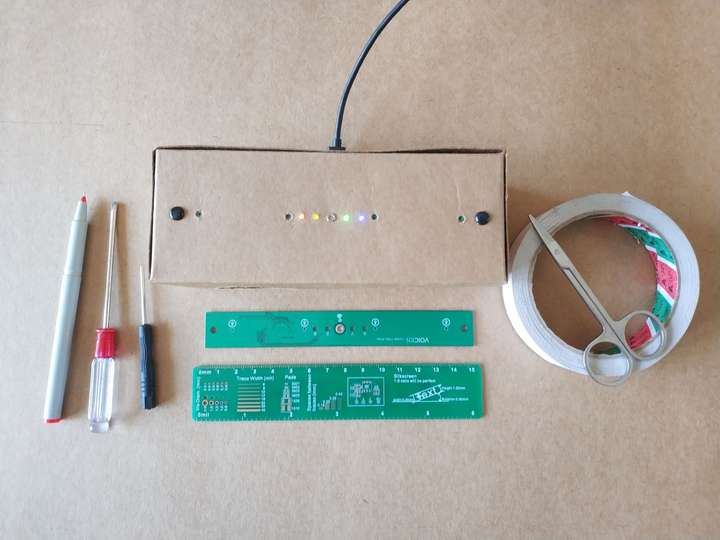
4. assembling
Use rivets to mount the circuit boards on the paper, and then fix the box with double-sided tape.
After this process, I made a new design to reduce small holes and avoid using double-sided tape.
Enjoy the process and have fun!
-
Pre-order now! The first 100 pcs will be available at the end of November
11/04/2019 at 02:50 • 0 commentsThe first hardware kit of the project is coming! You can pre-order it at https://www.makerfabs.com/voicen-linear-4-mic-array-kit.html
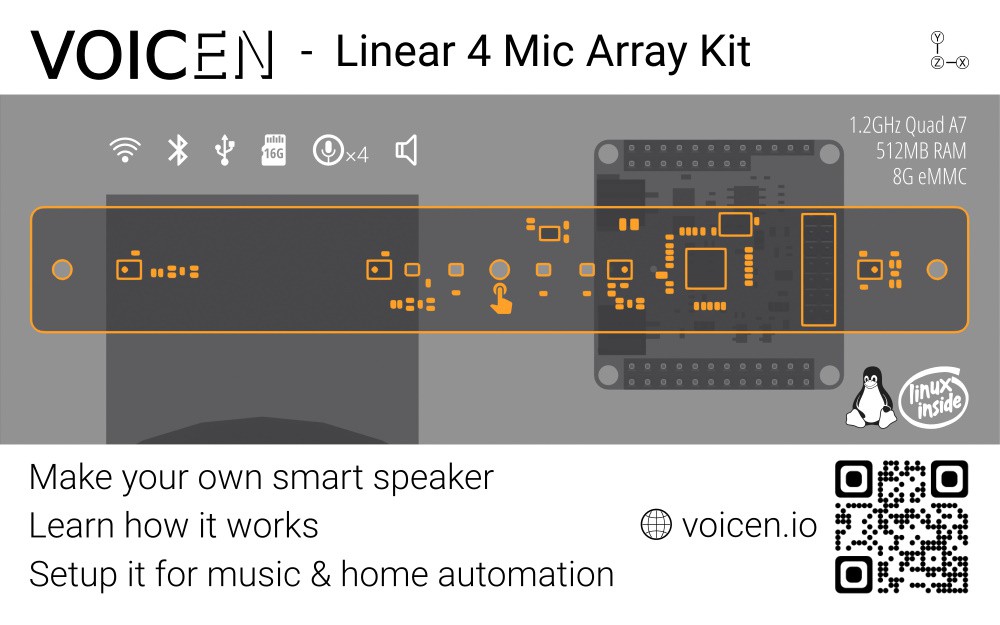
The kit named VOICEN Linear 4 Mic Array lets you build a smart speaker from scratch. It can run a variety of voice assistants such as Amazon Alexa, Google Assistant, MyCroft, Snips Offline Voice Assistant and Baidu DuerOS. It supports AirPlay and UPnP/DLNA. You can turn it into a music box with Mopidy and MPD, or use it to automate your home with Home Assistant.
Specifications:
- AllWinner H3 (Quad-Core ARM Cortex A7 @ 1.296 GHz)
- 512MB RAM
- 8GB eMMC Flash
- 16GB Micro SD Card
- 4 Channels ADC AC108
- 4 MEMS microphones (64dB SNR, -38dB Sensitivity)
- 4Ω 3W Loud Speaker
- 4 LEDs (R, G, B, Y)
- 1 Touch Key
- 1 Paper Case
- 1 Micro USB Cable
- Built a smart speaker with multiple voice assistants
- Make a Wi-Fi speaker with AirPlay and UPnP/DLNA
- Setup a multi-room audio system
- Automate your home with Home Automation
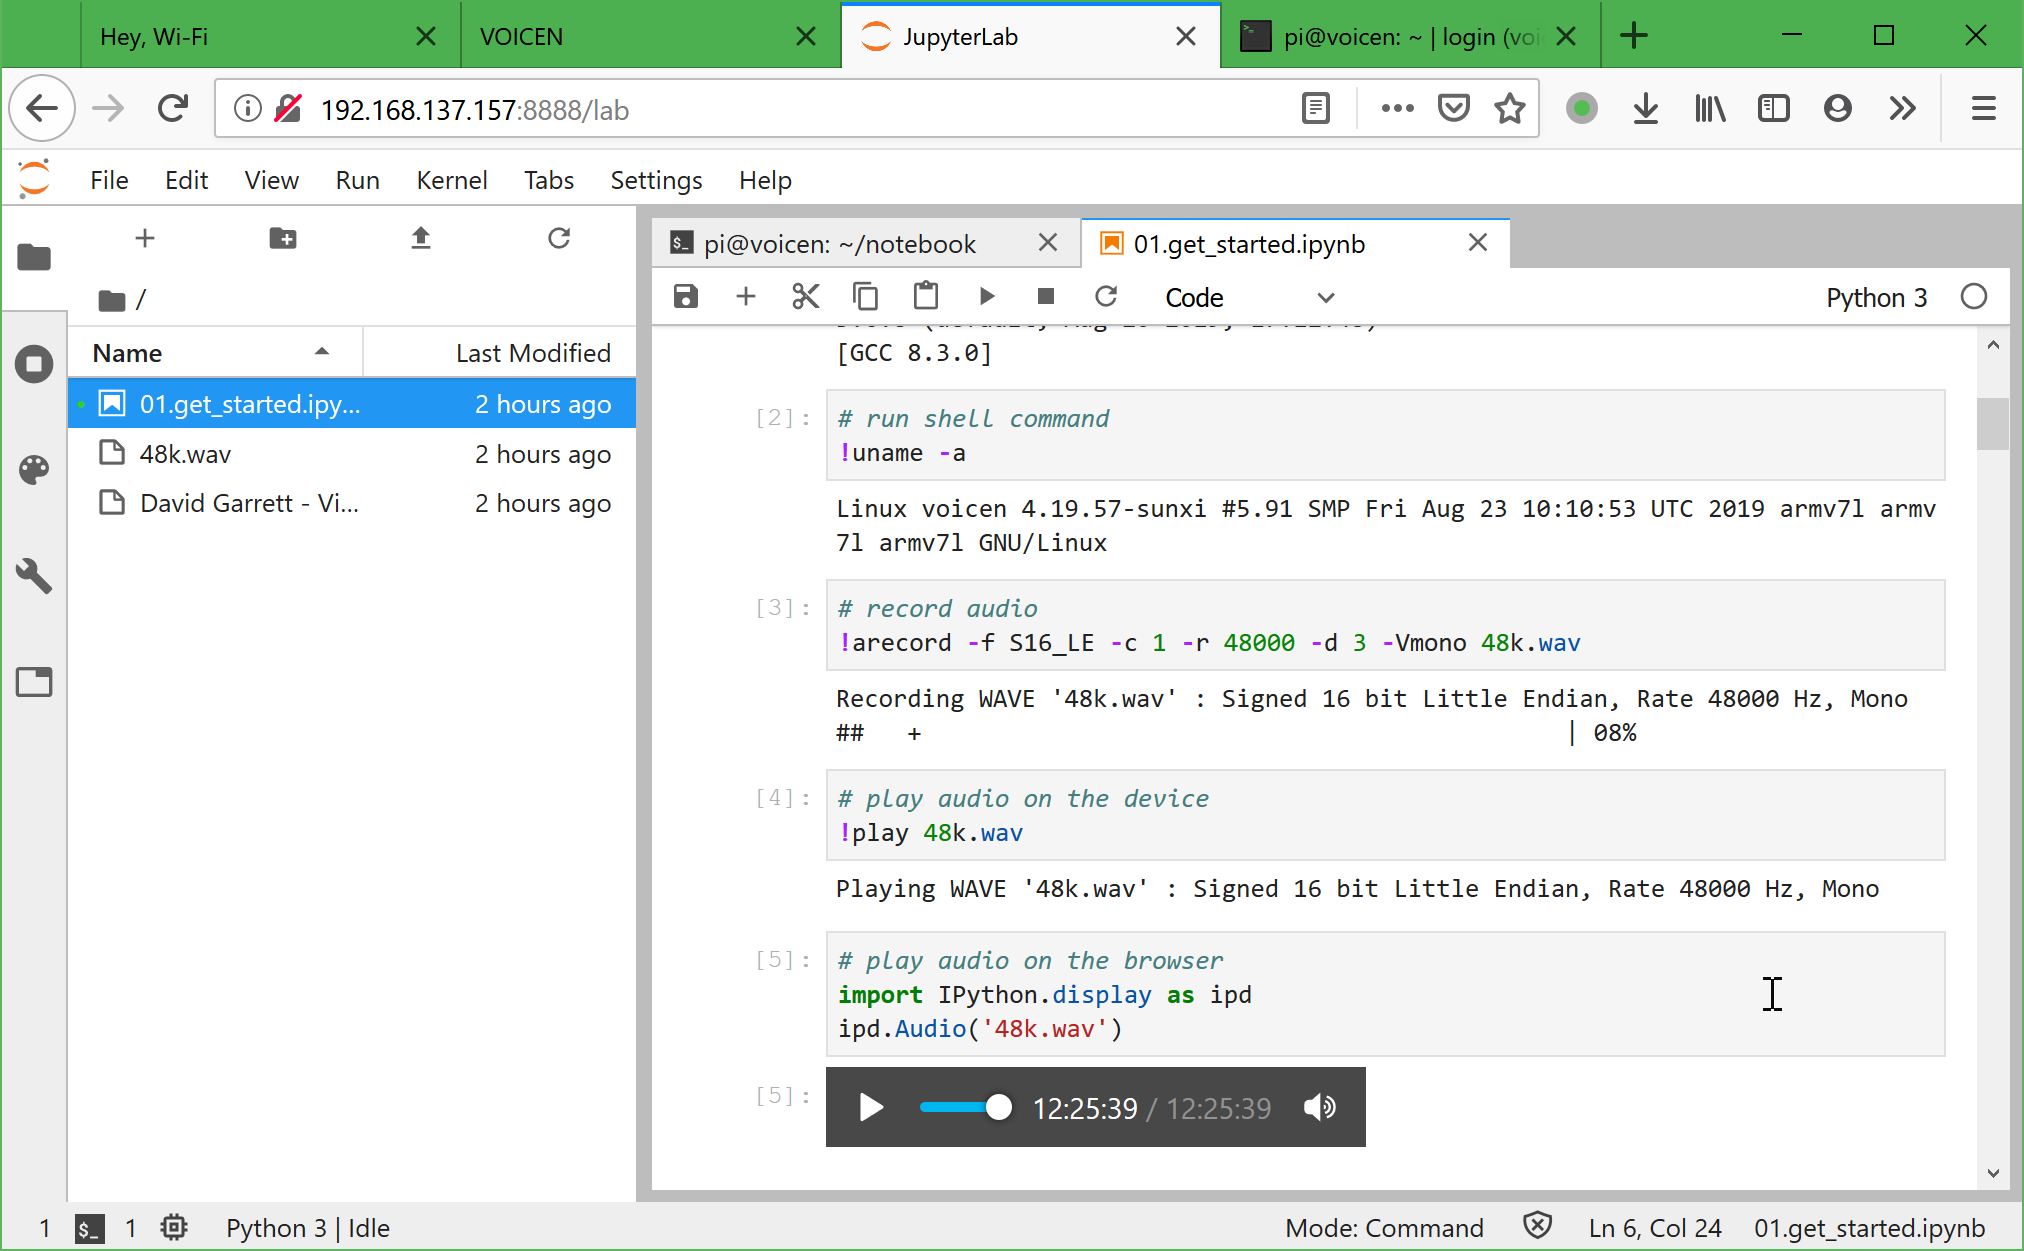
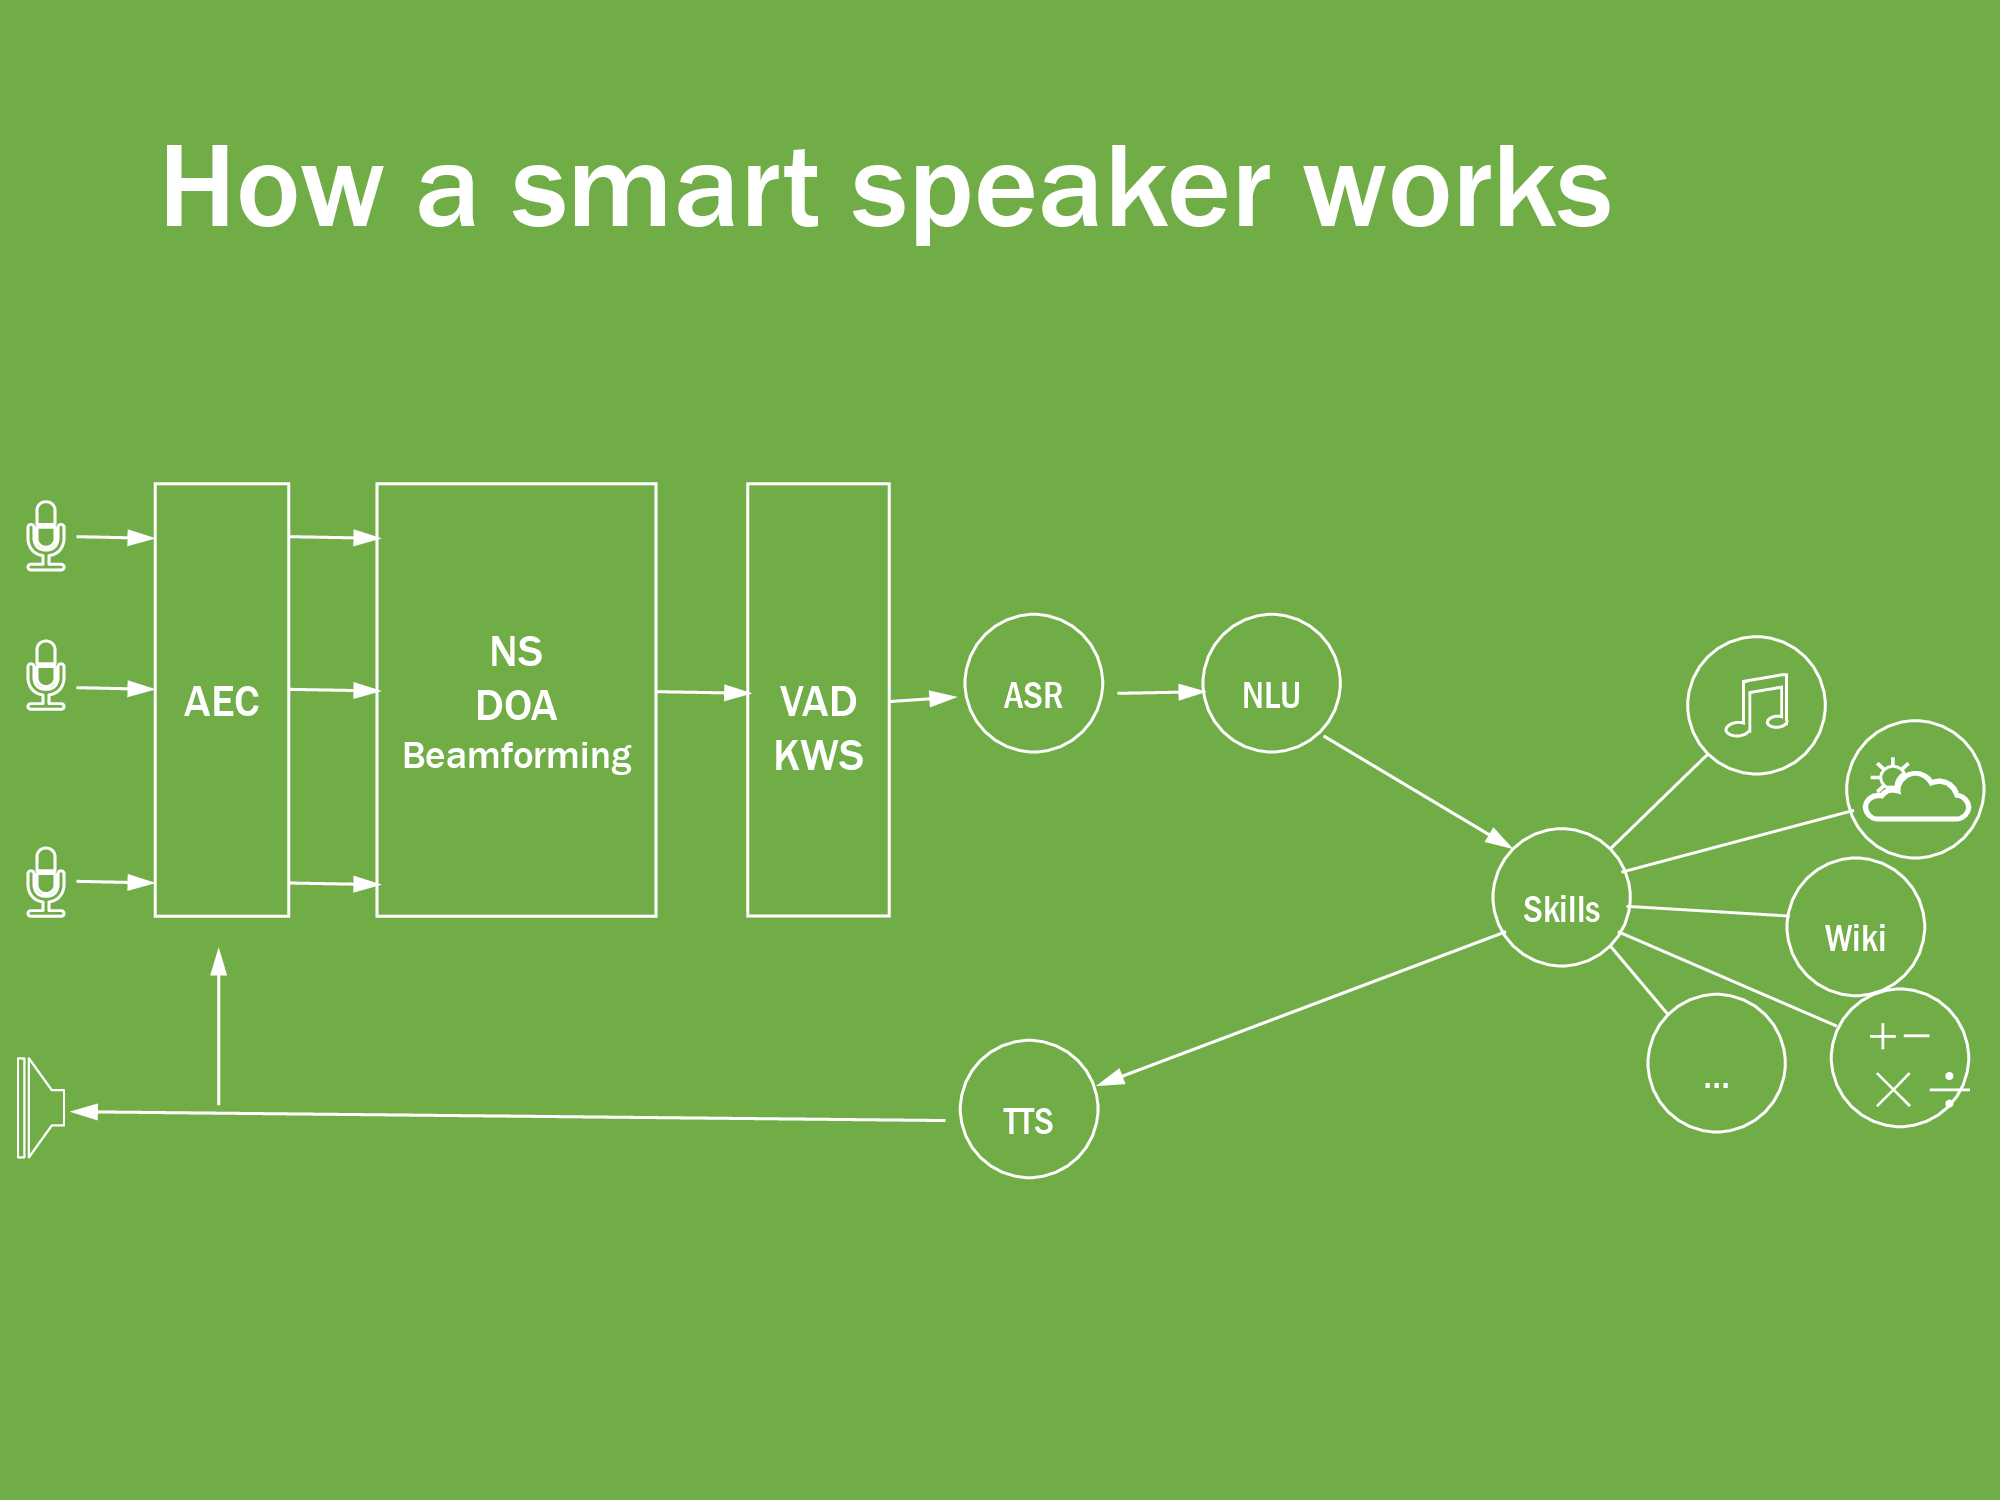
- Learn to use a variety of audio processing algorithms such as AEC, DOA, NS and Beamforming
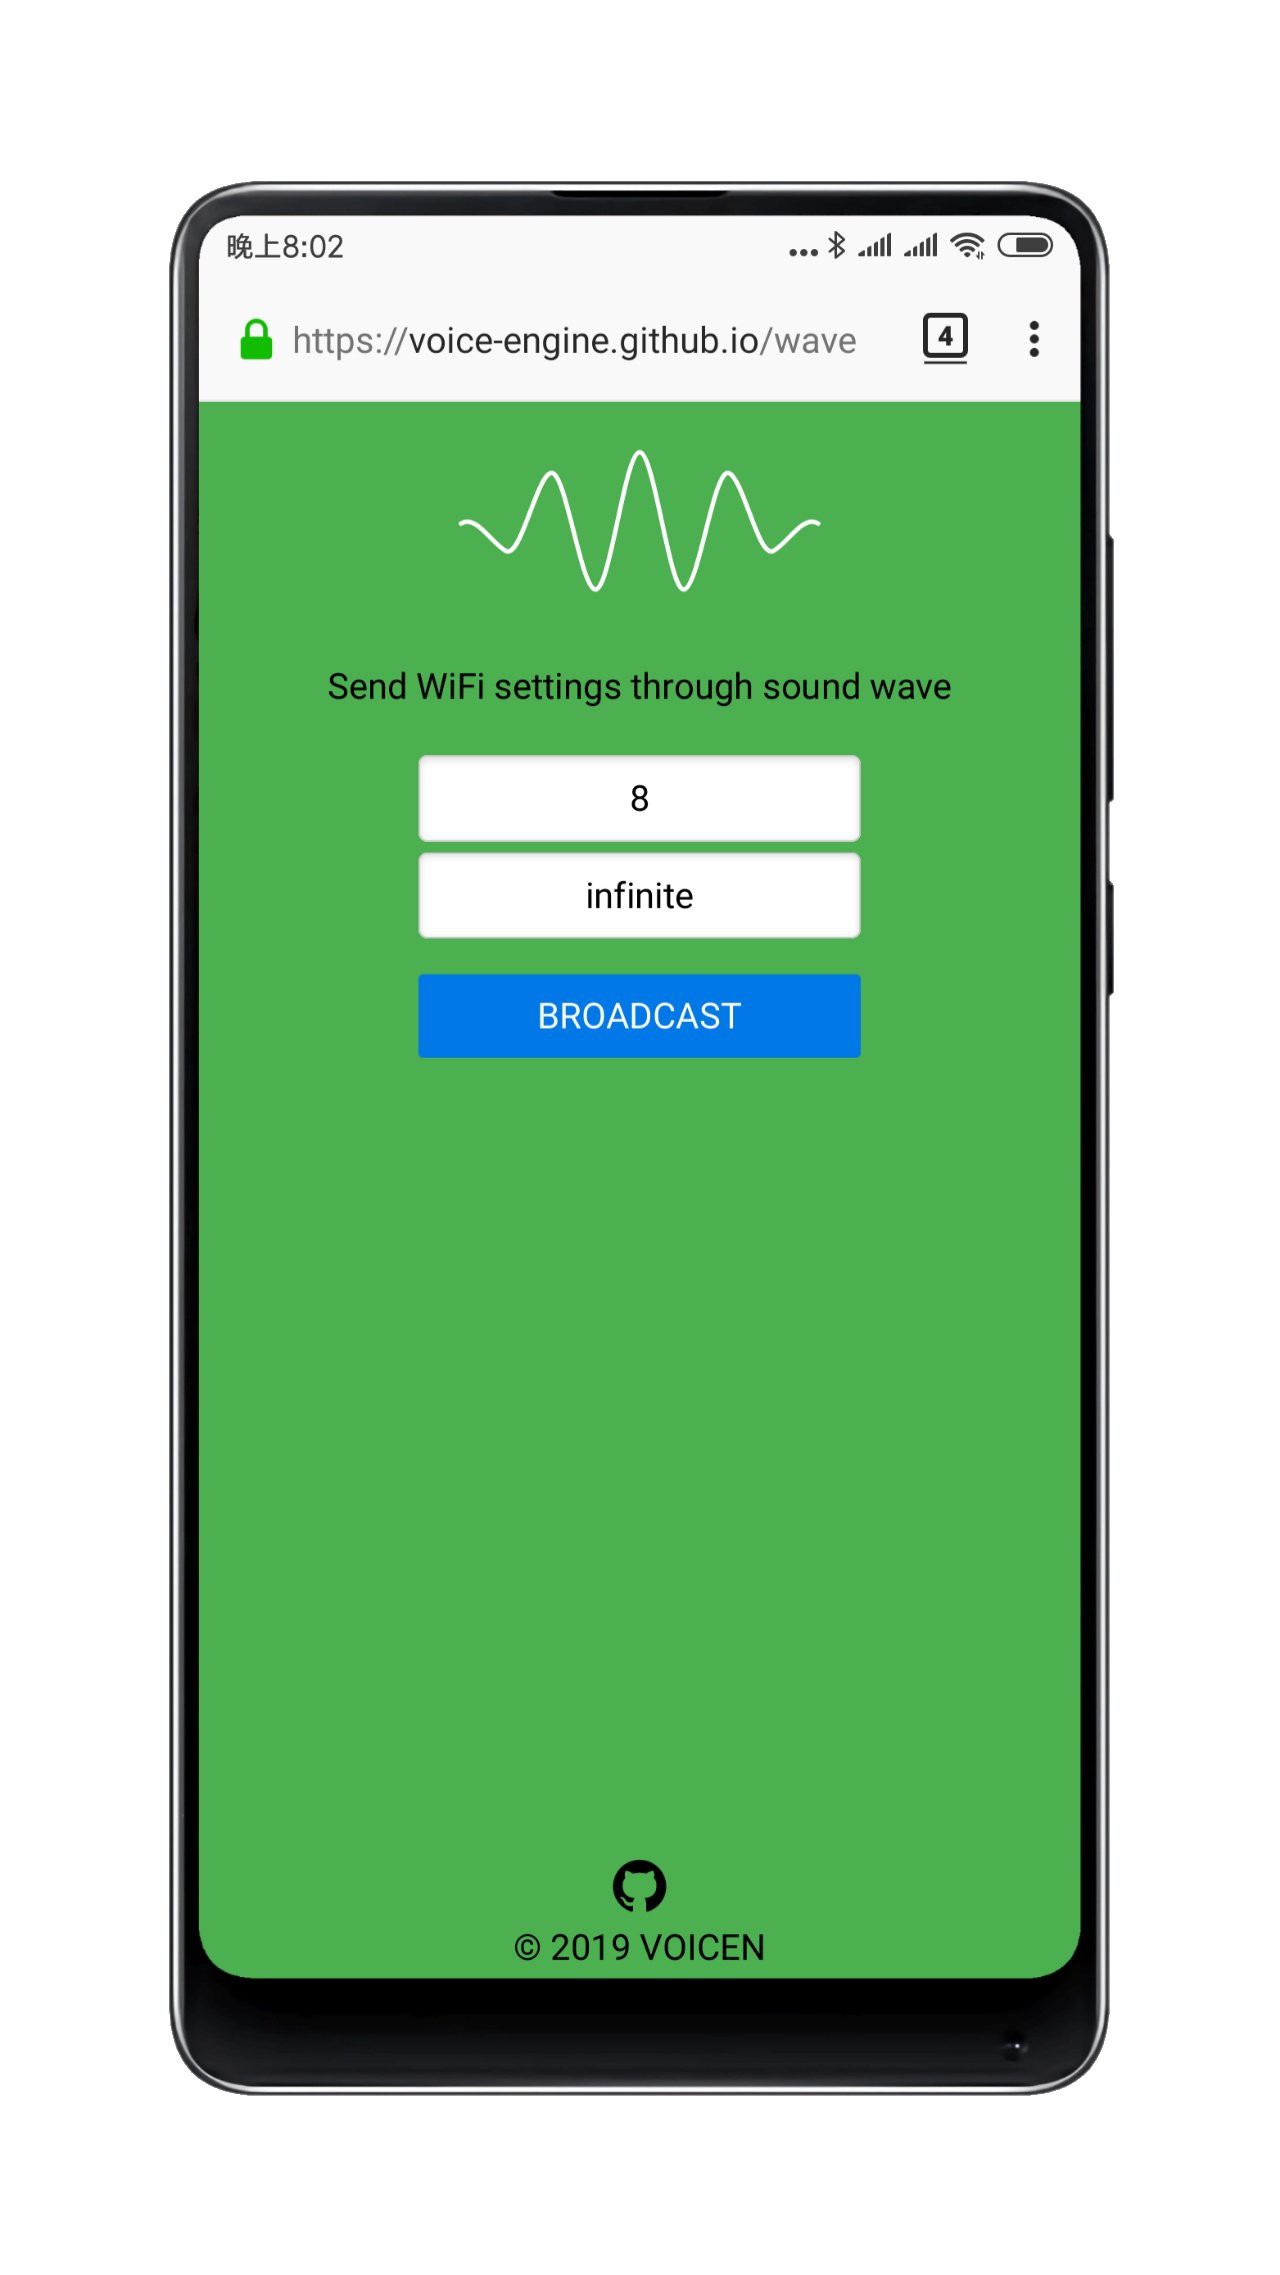
- Learn how to send data over audio


Applications:


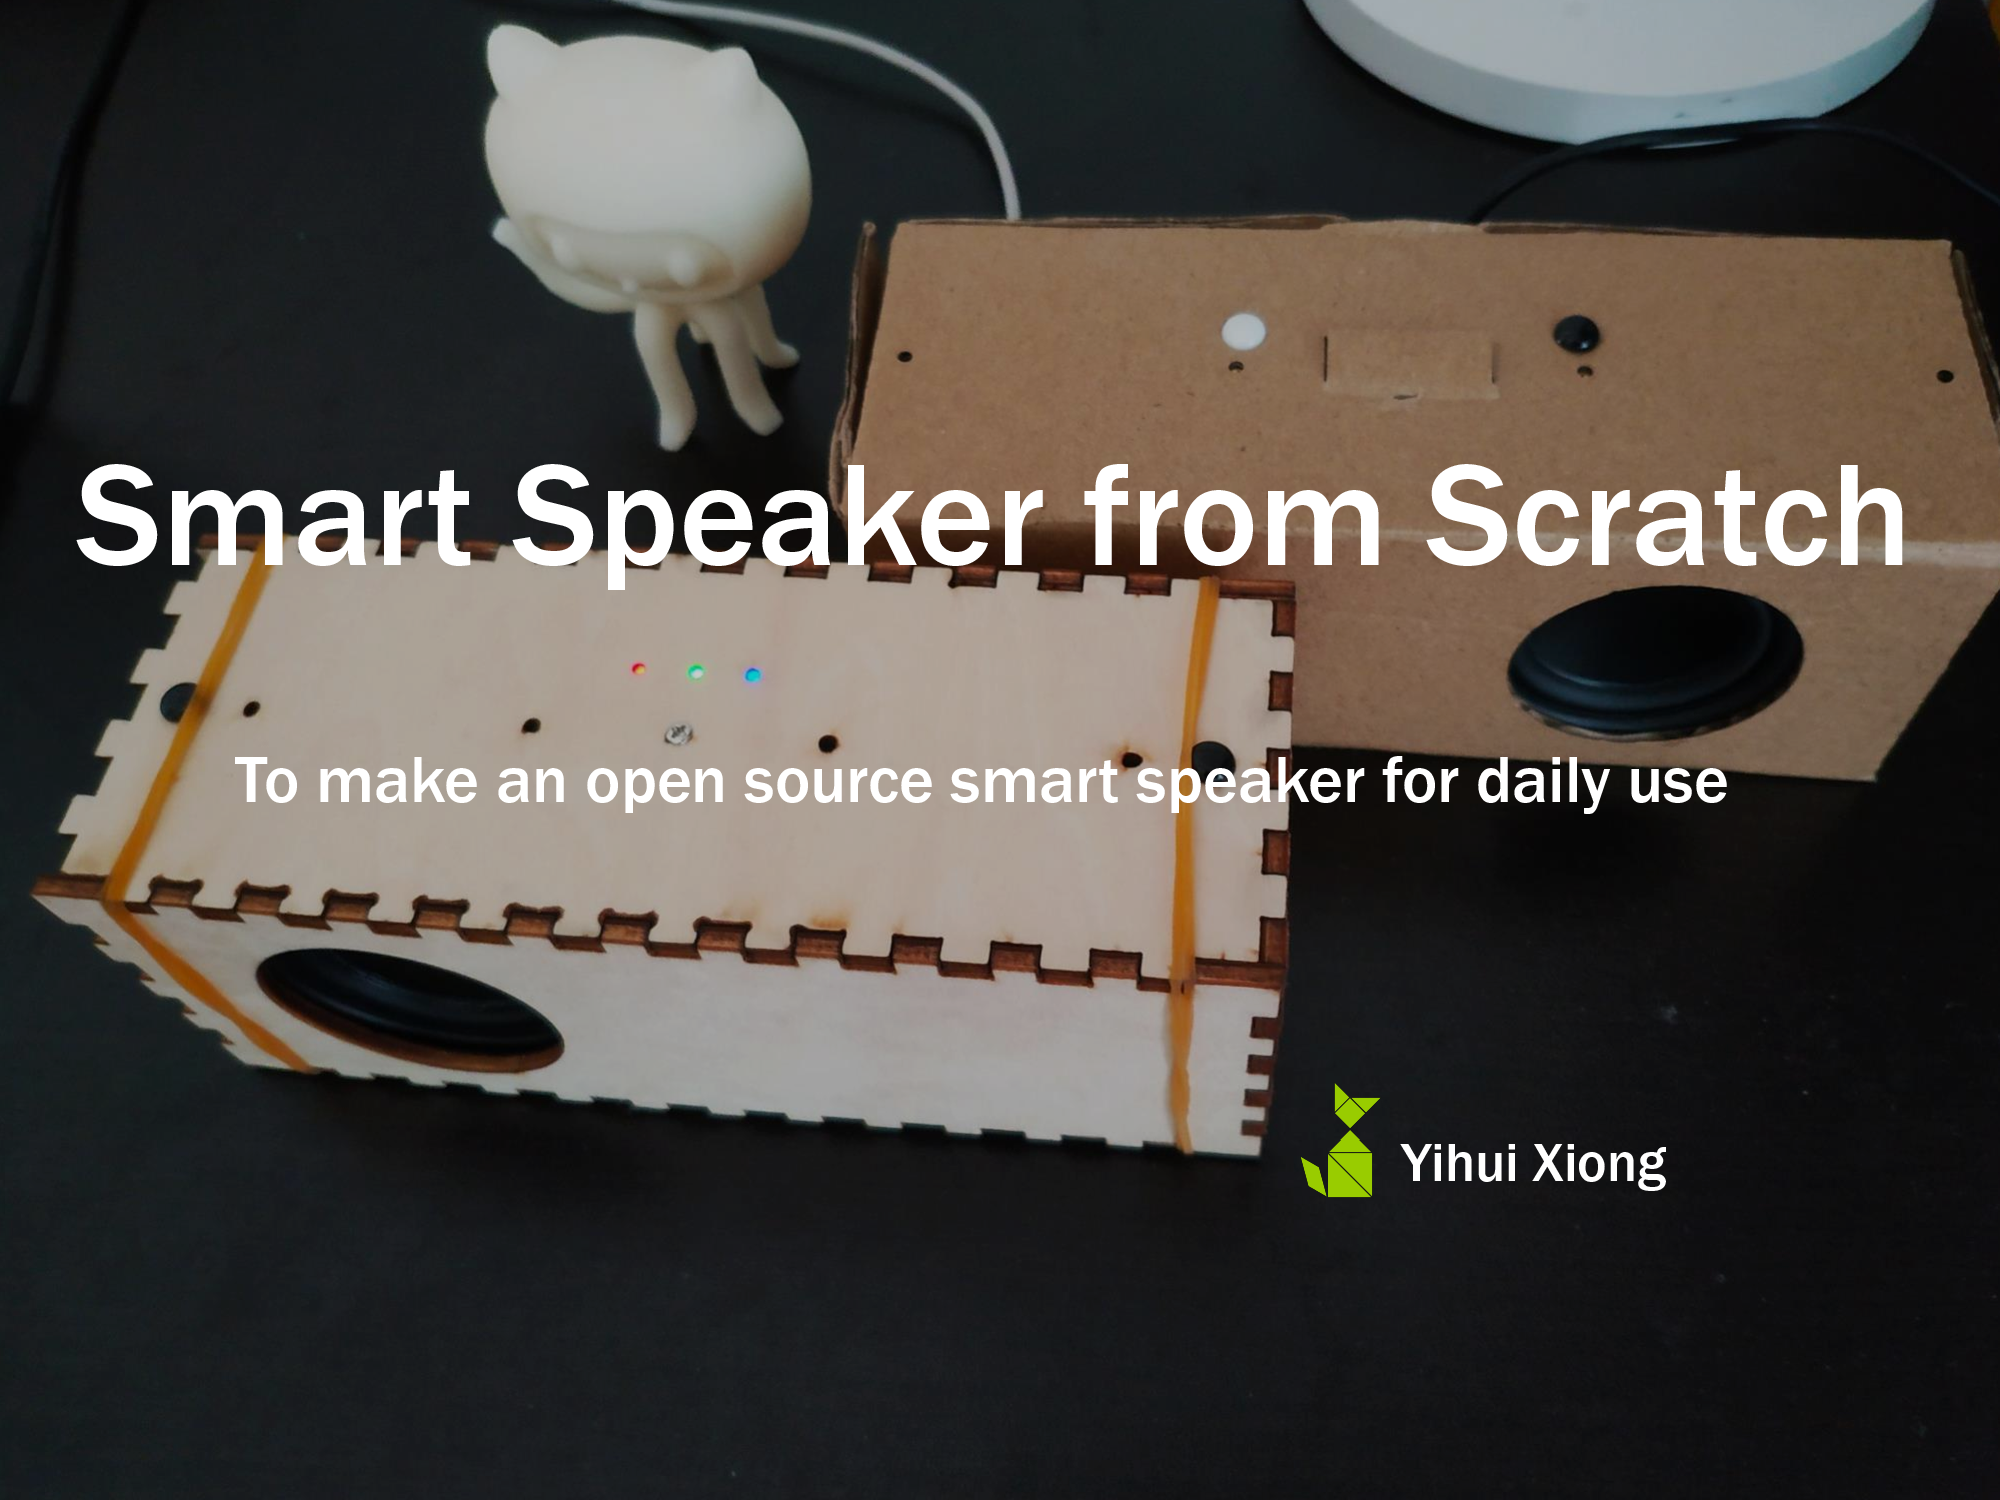
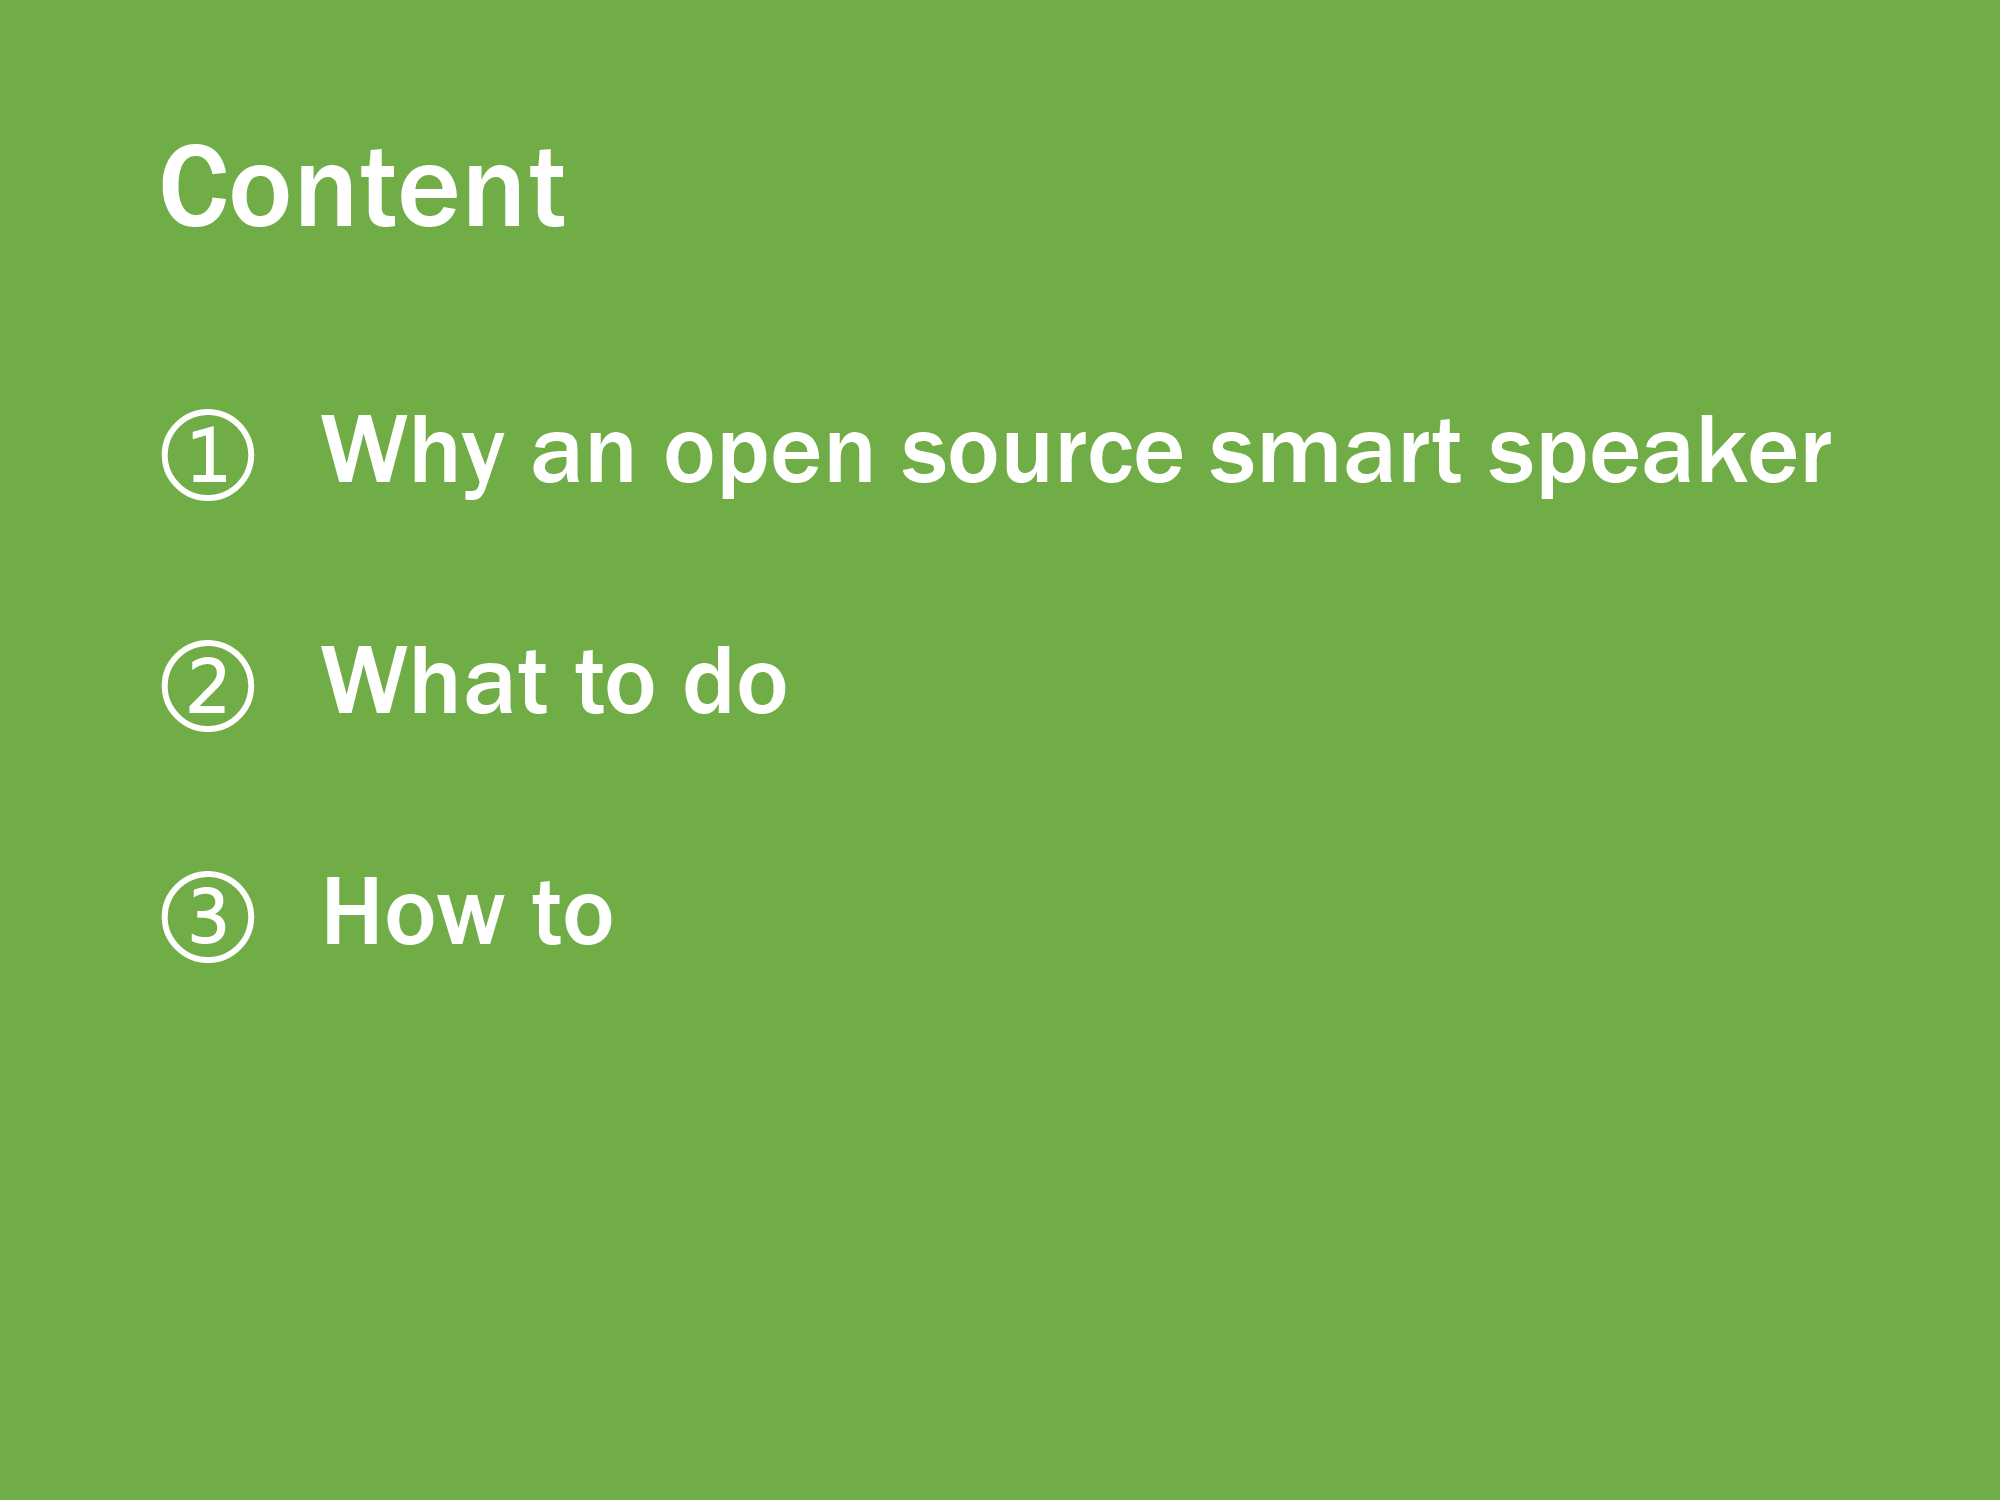 Why we should make an open source smart speaker? What's the to-do-list? How to make it? The presentation is to answer these three questions.
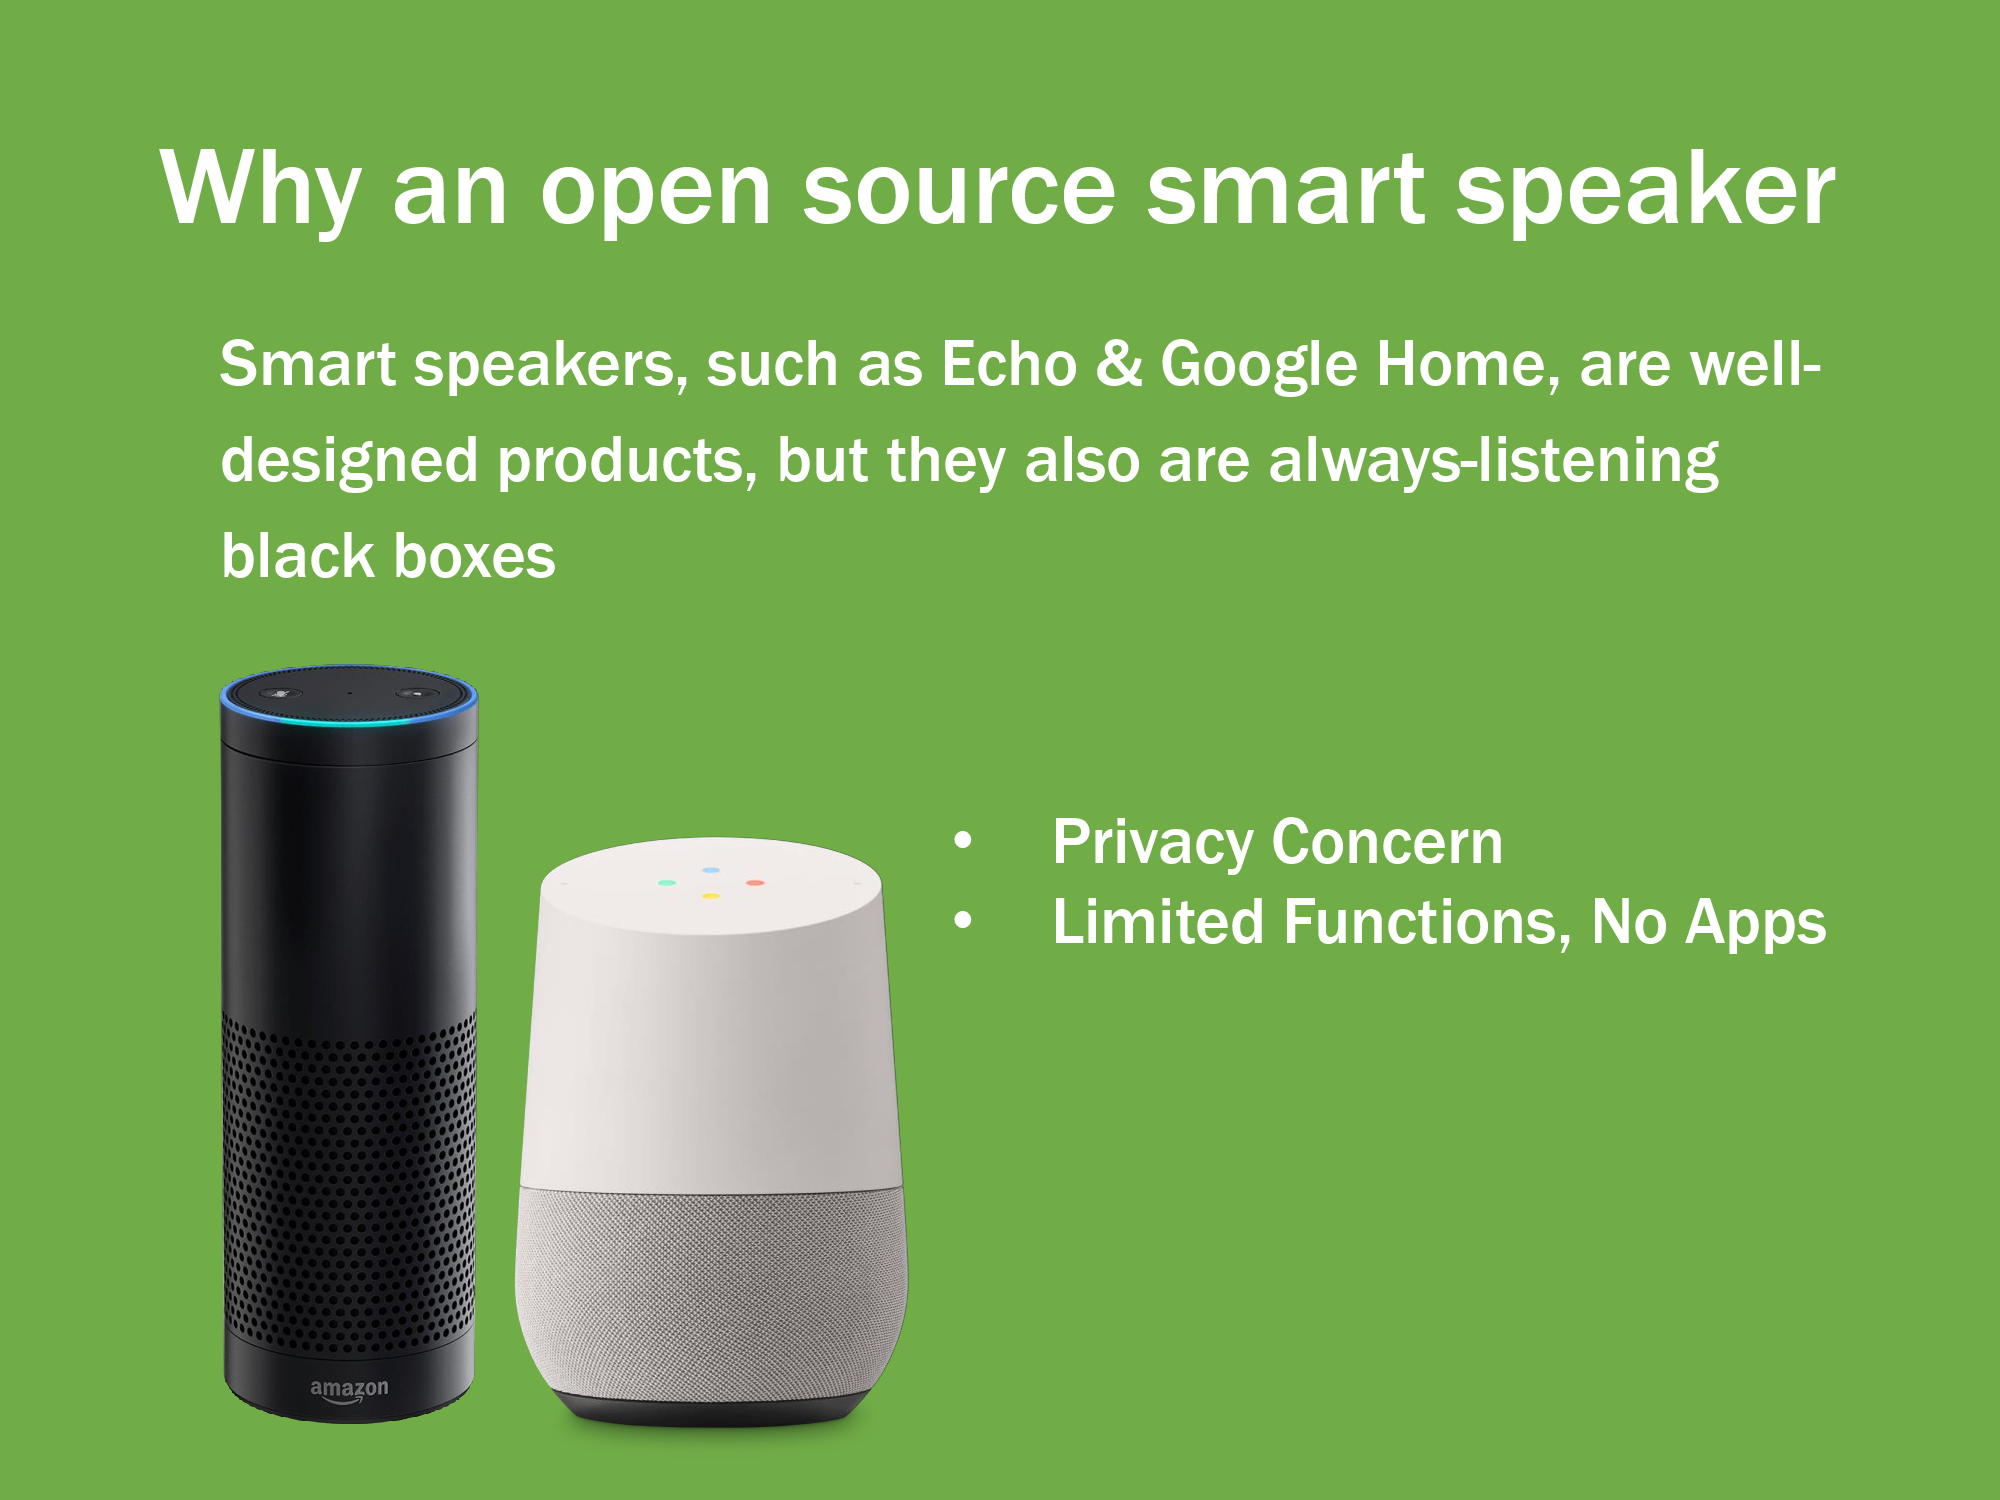
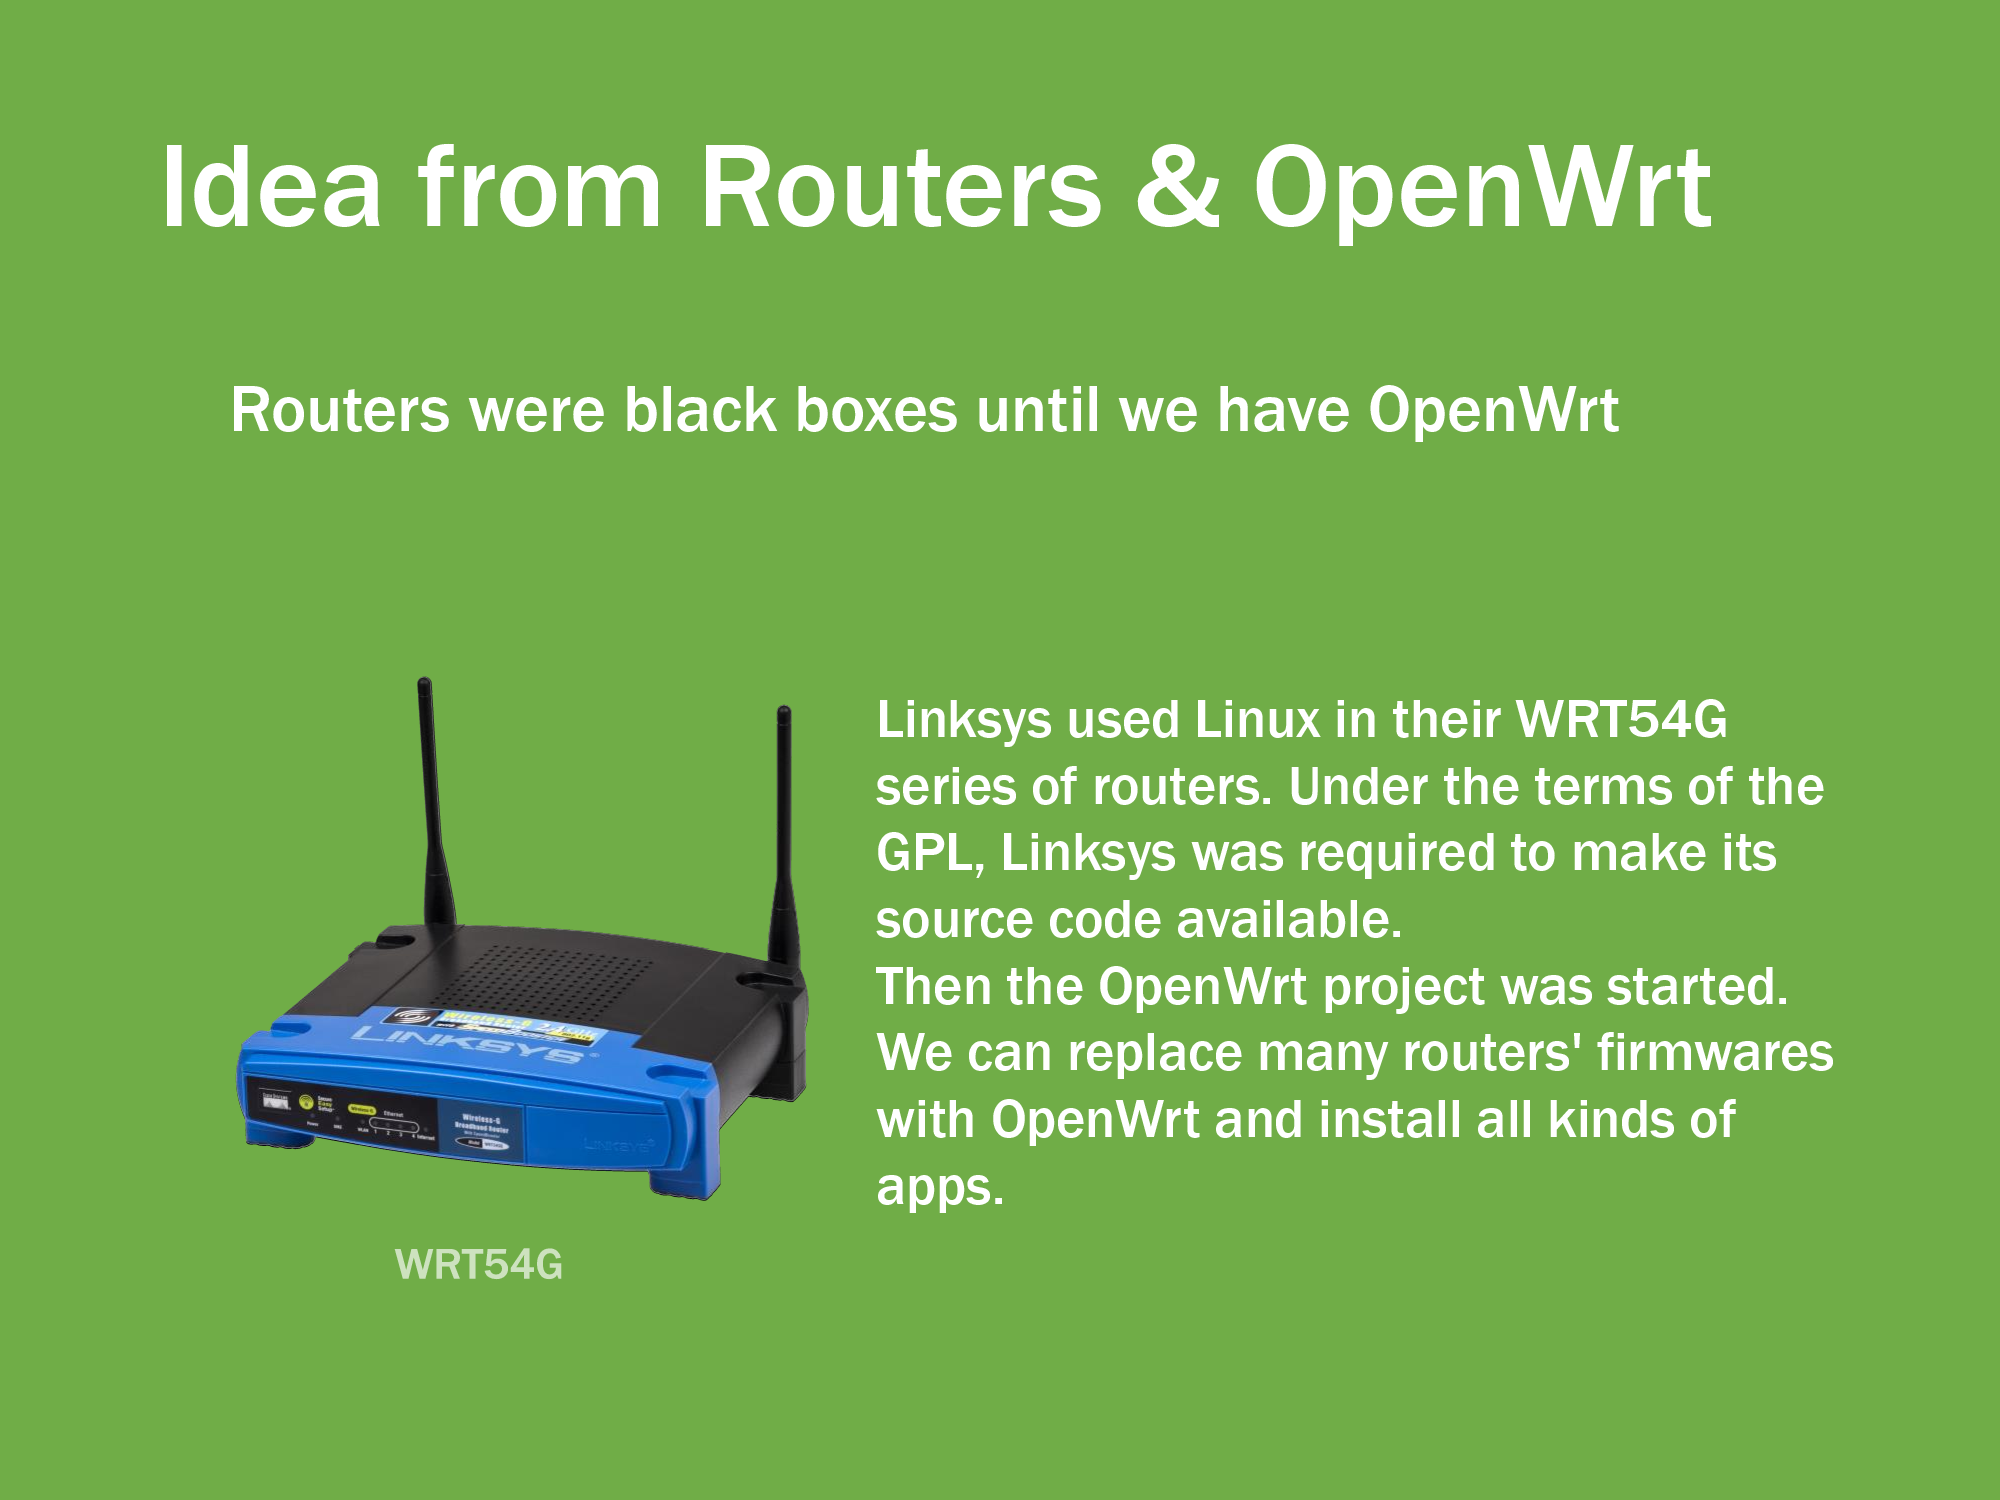 Maybe we can get some ideas from the history of routers and the OpenWrt project. Before we have OpenWrt, routers were just black boxes. After that, we replace routers' firmware with OpenWrt, and then install a variety of apps, such as web servers, proxies, file storage and etc.
 But it's a little bit different. Although Amazon released Echo's source code, it's extremely hard to hack a Echo device. For the 2015 and 2016 edition of the Echo,
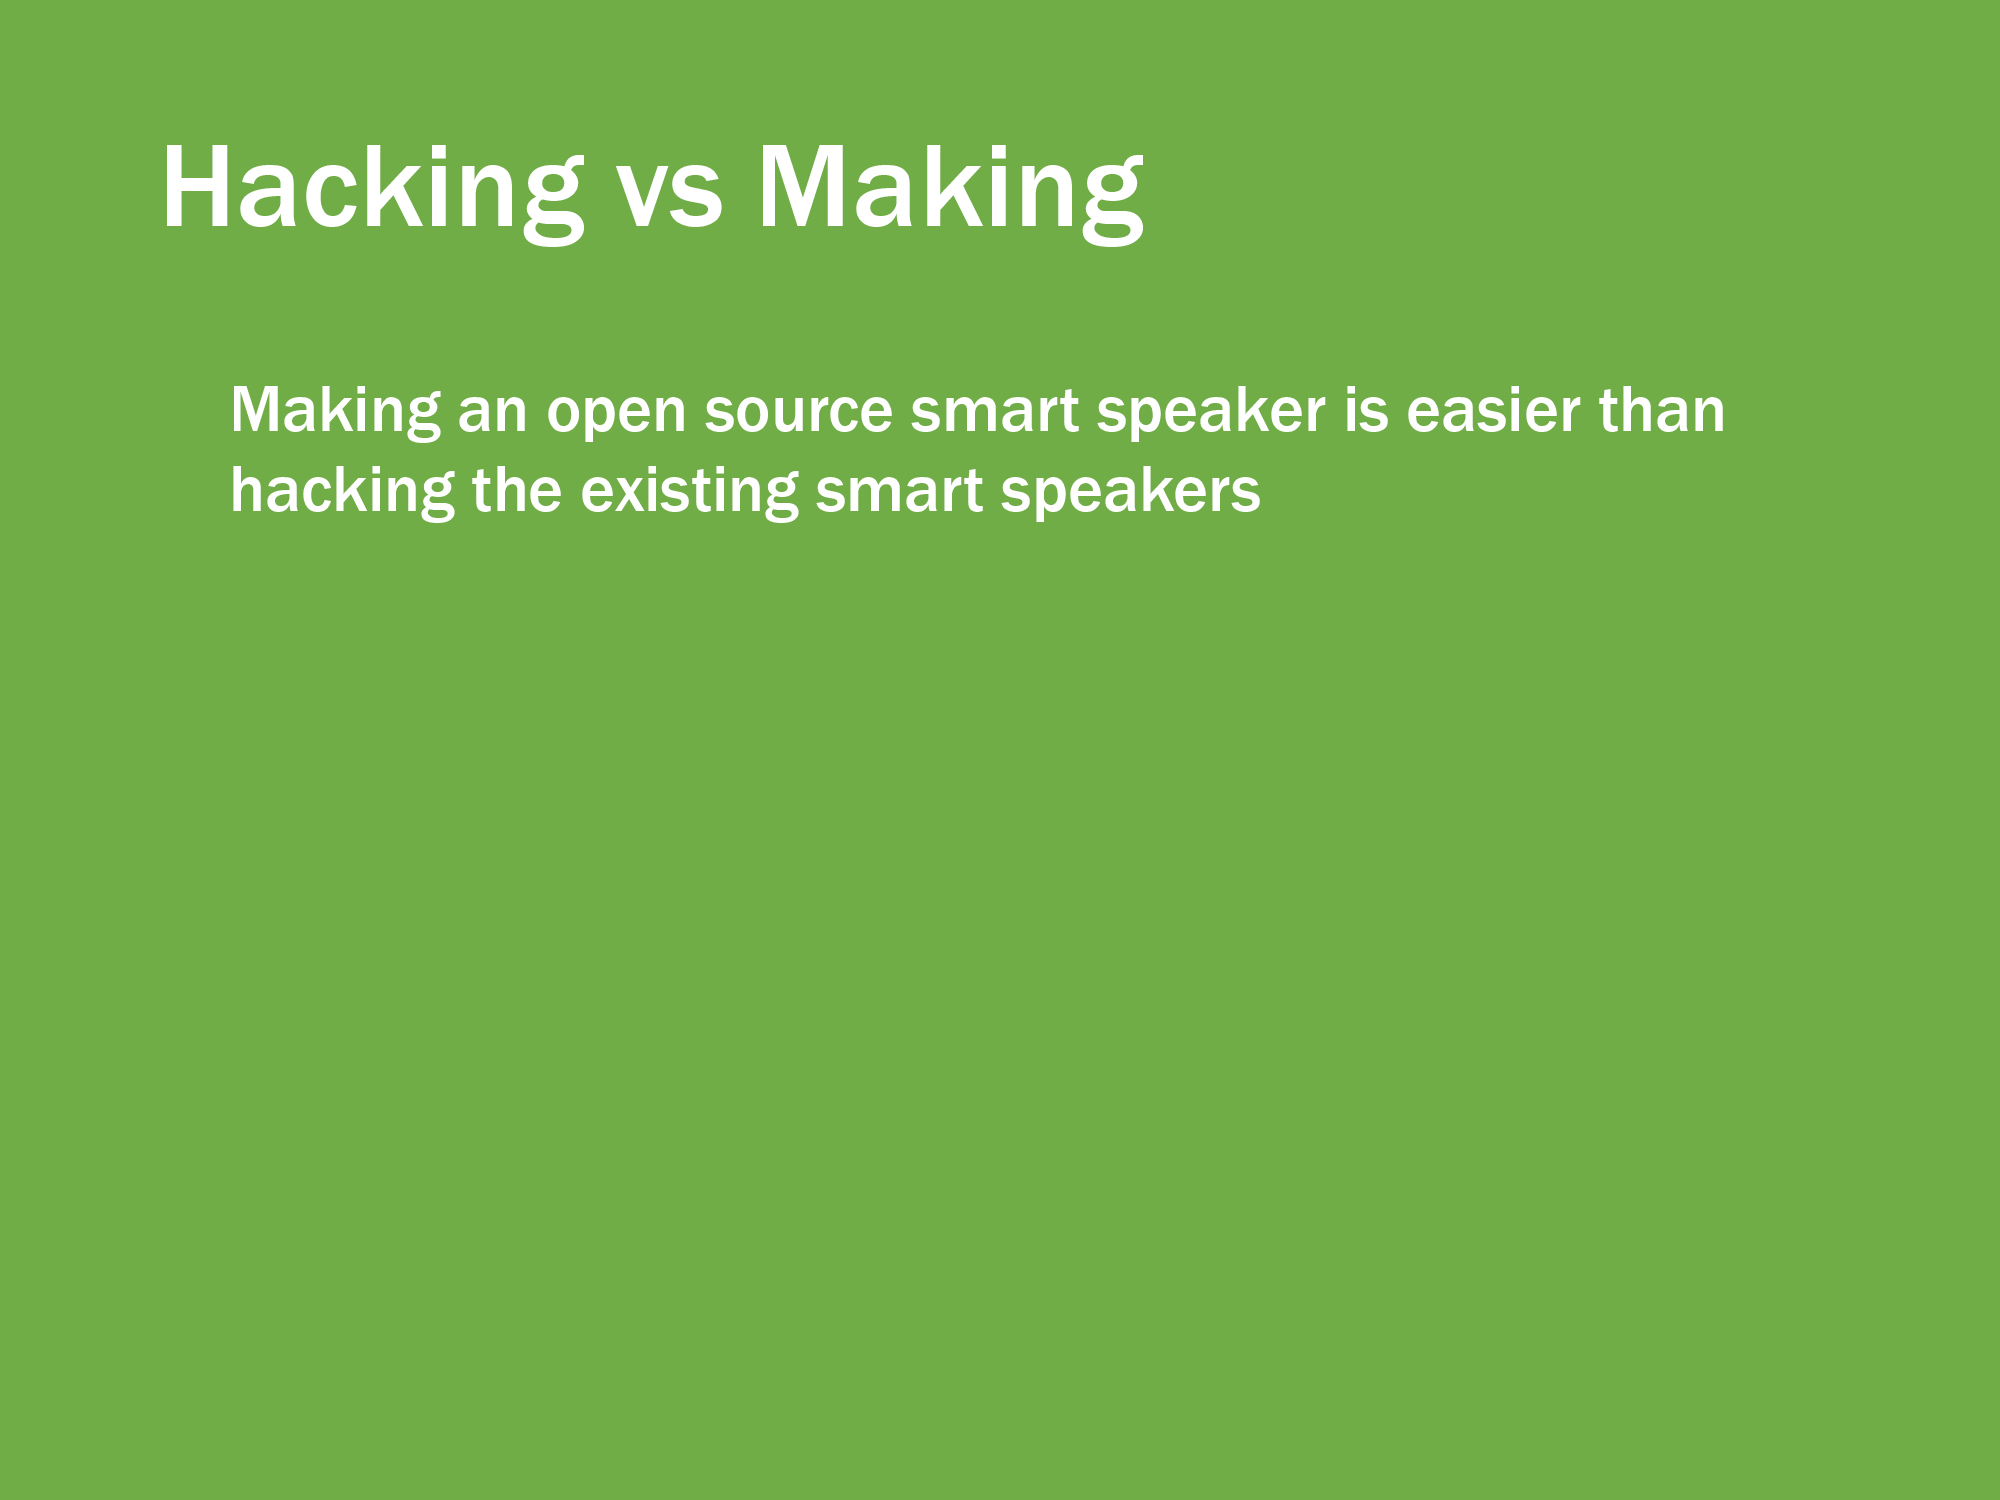
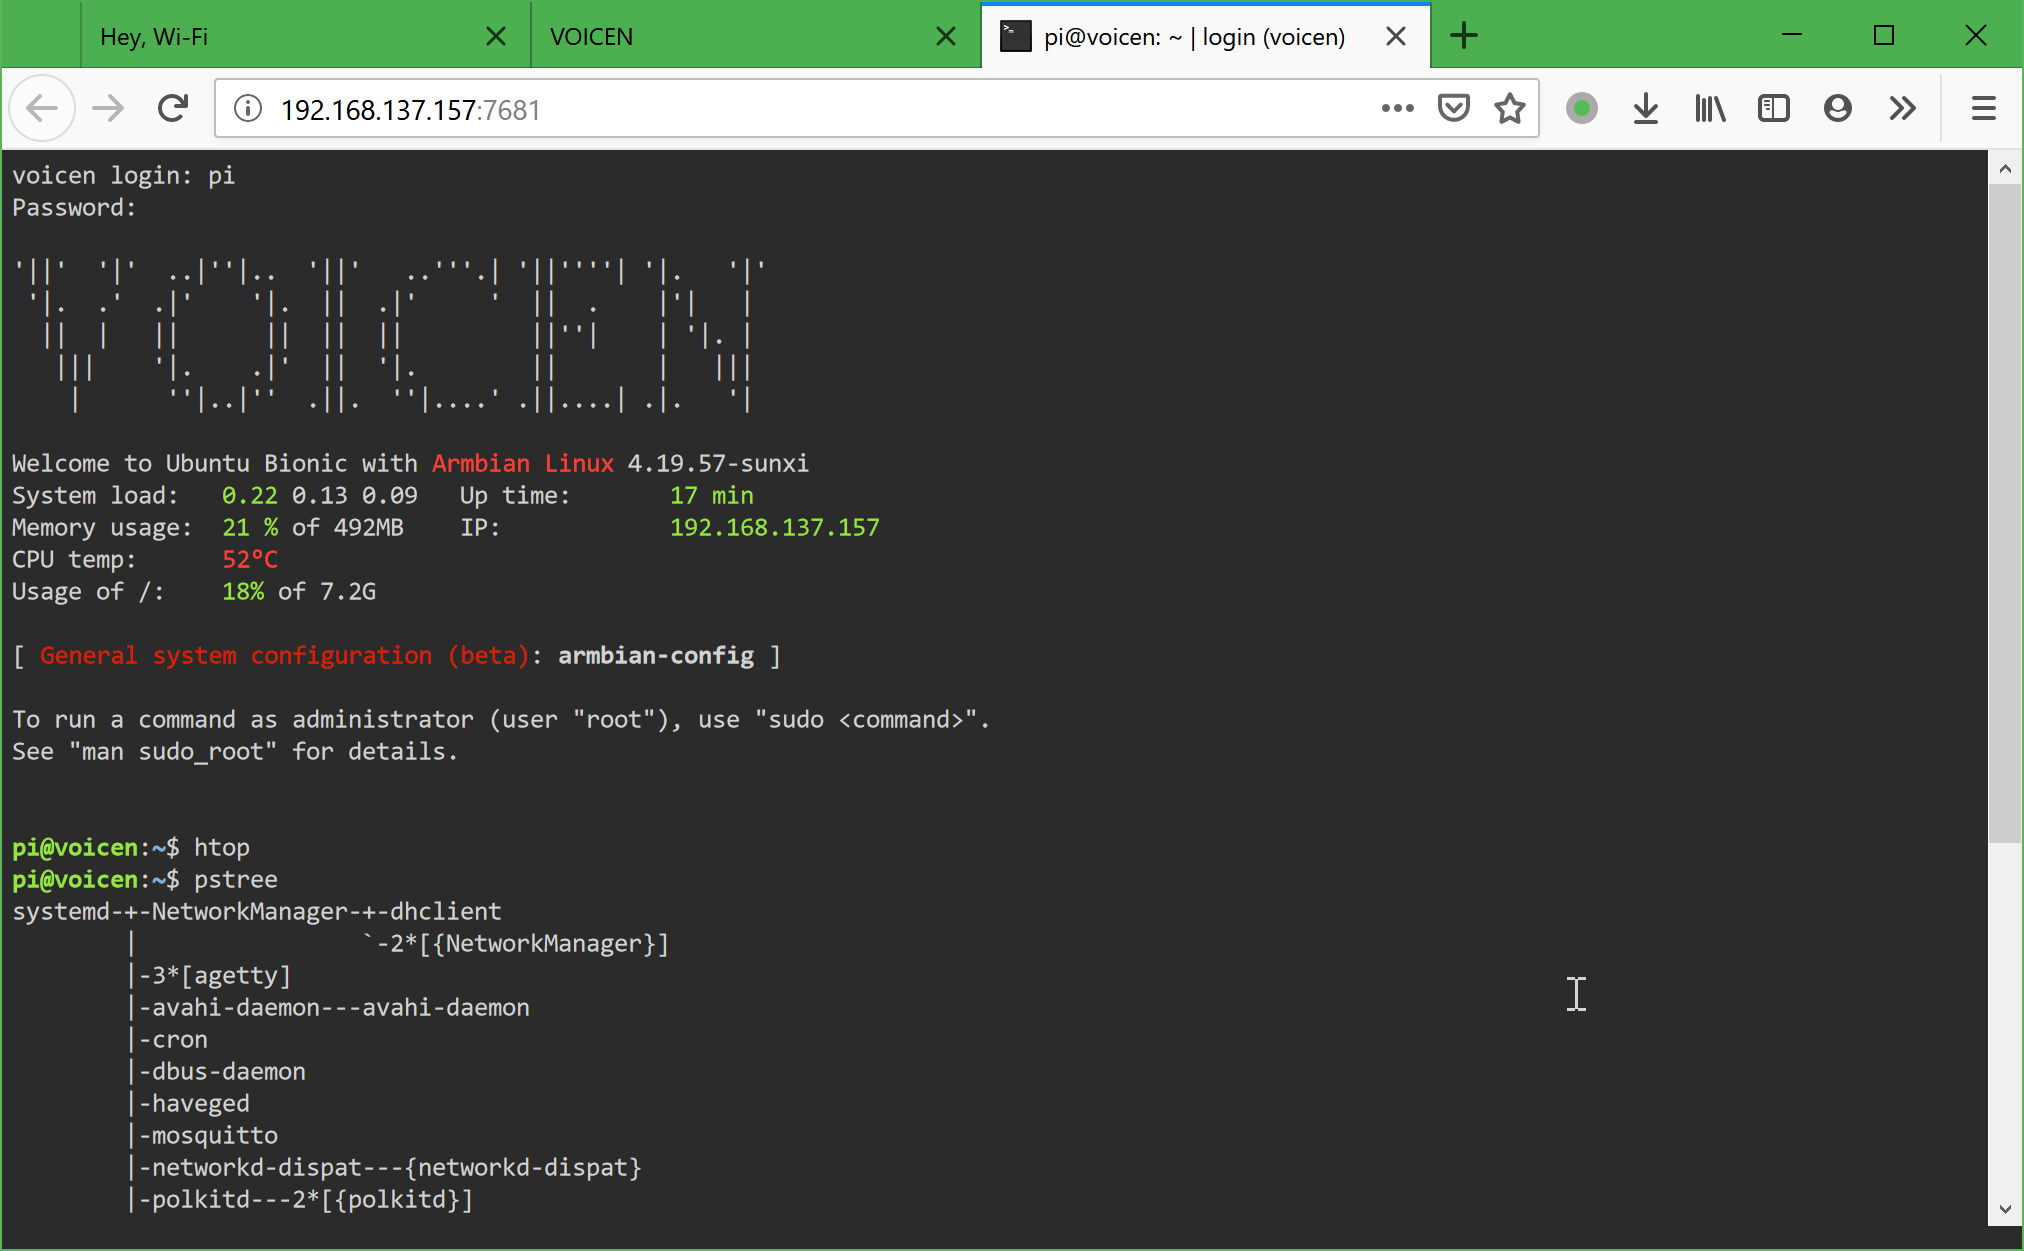
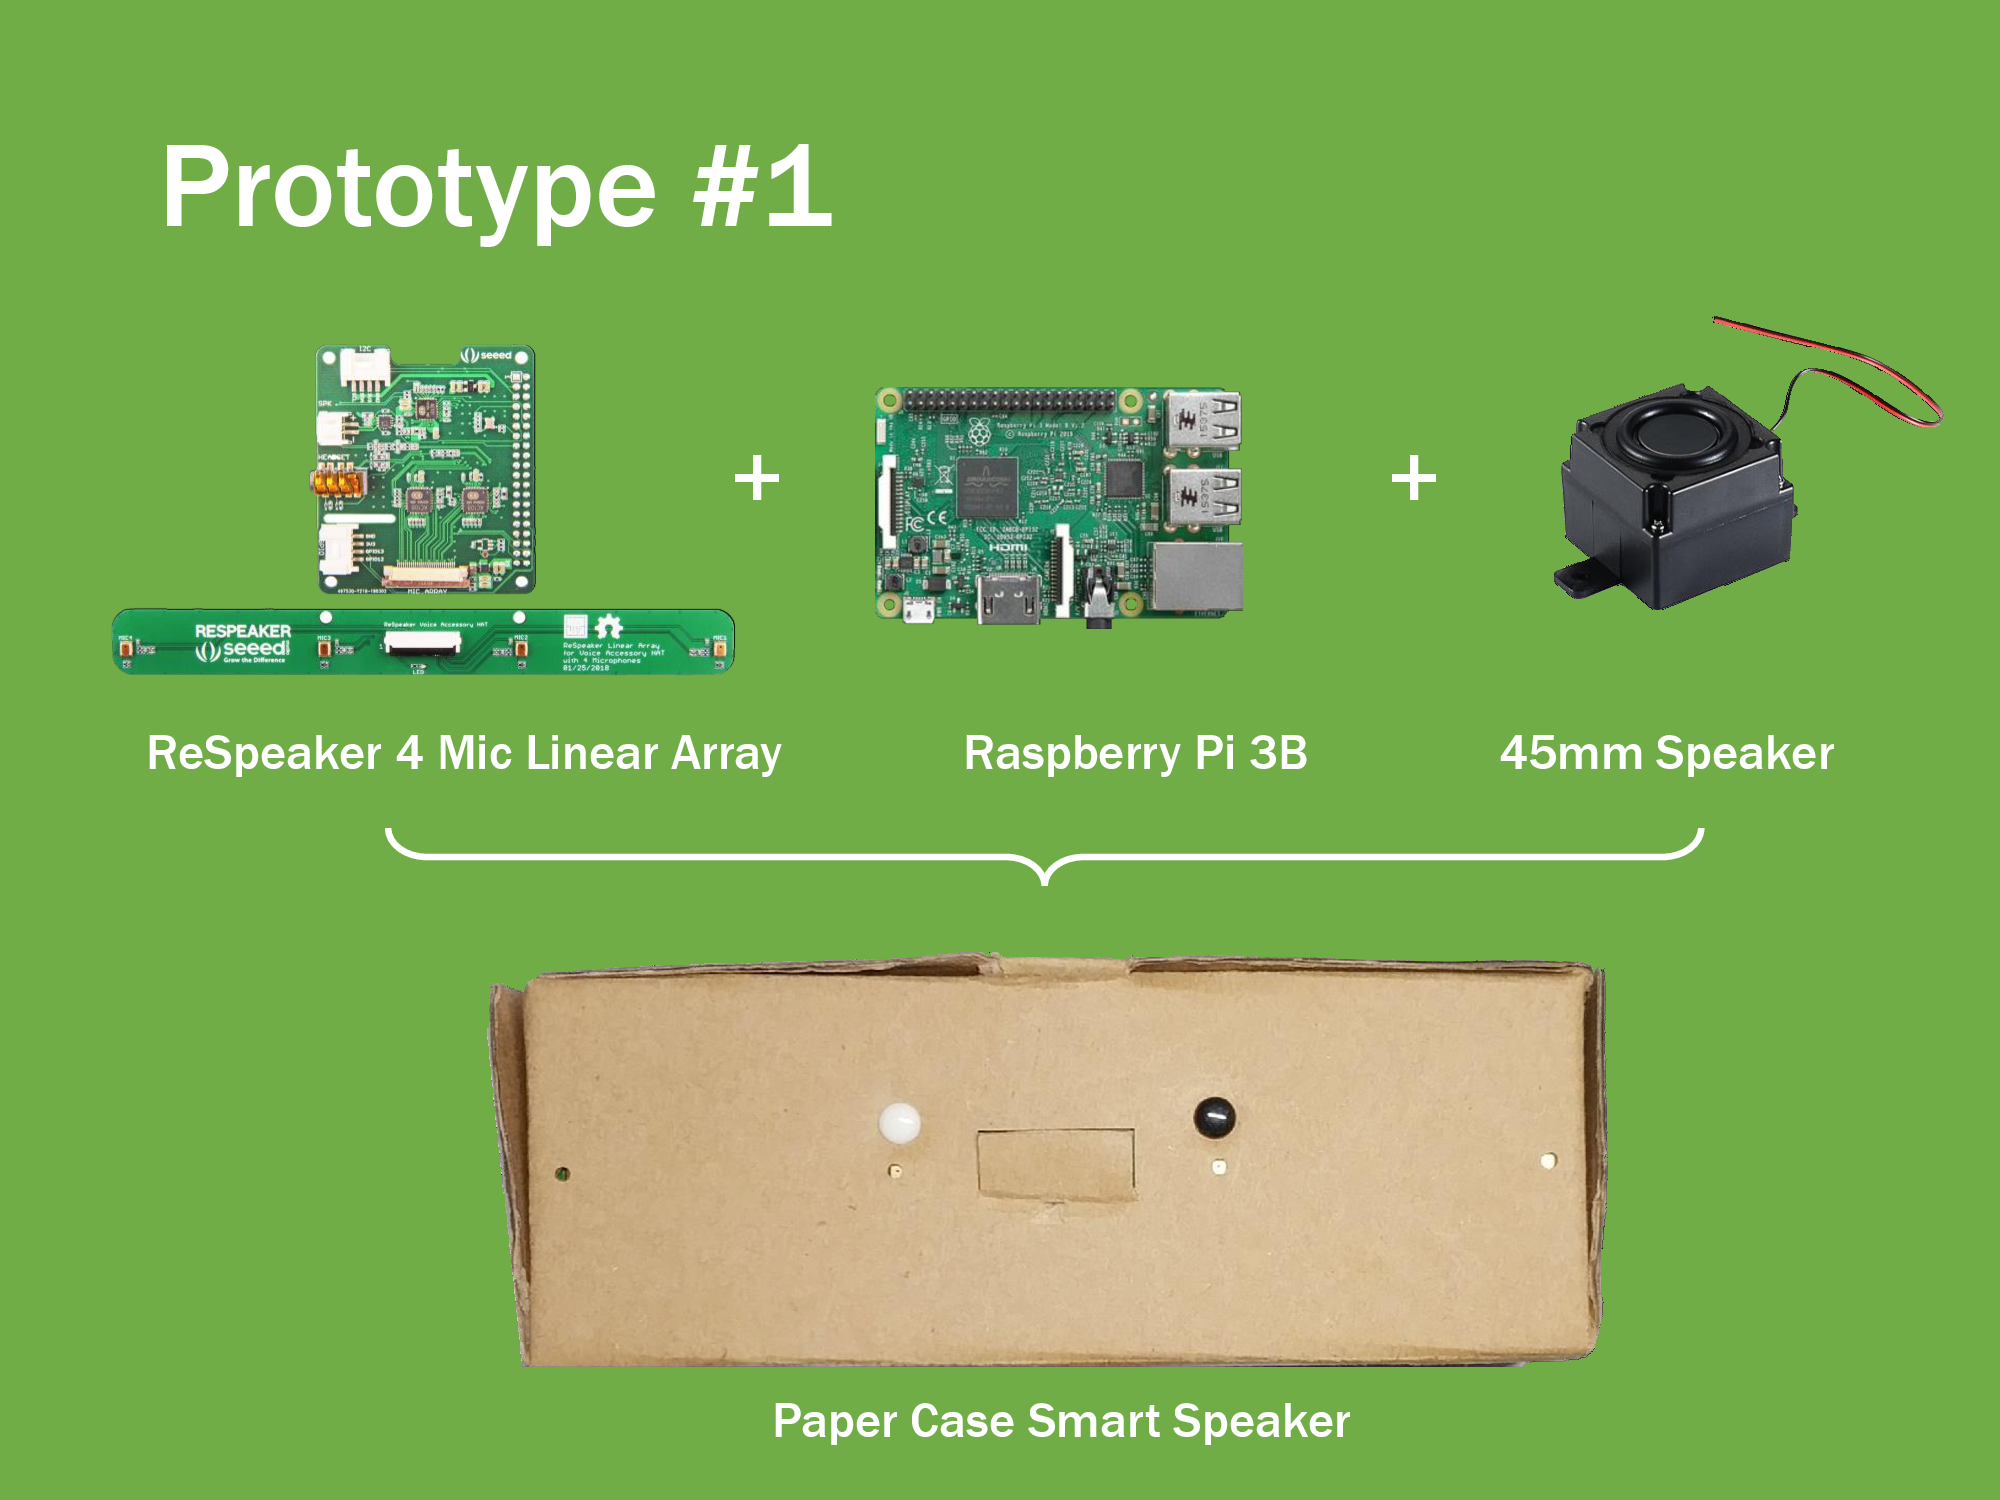
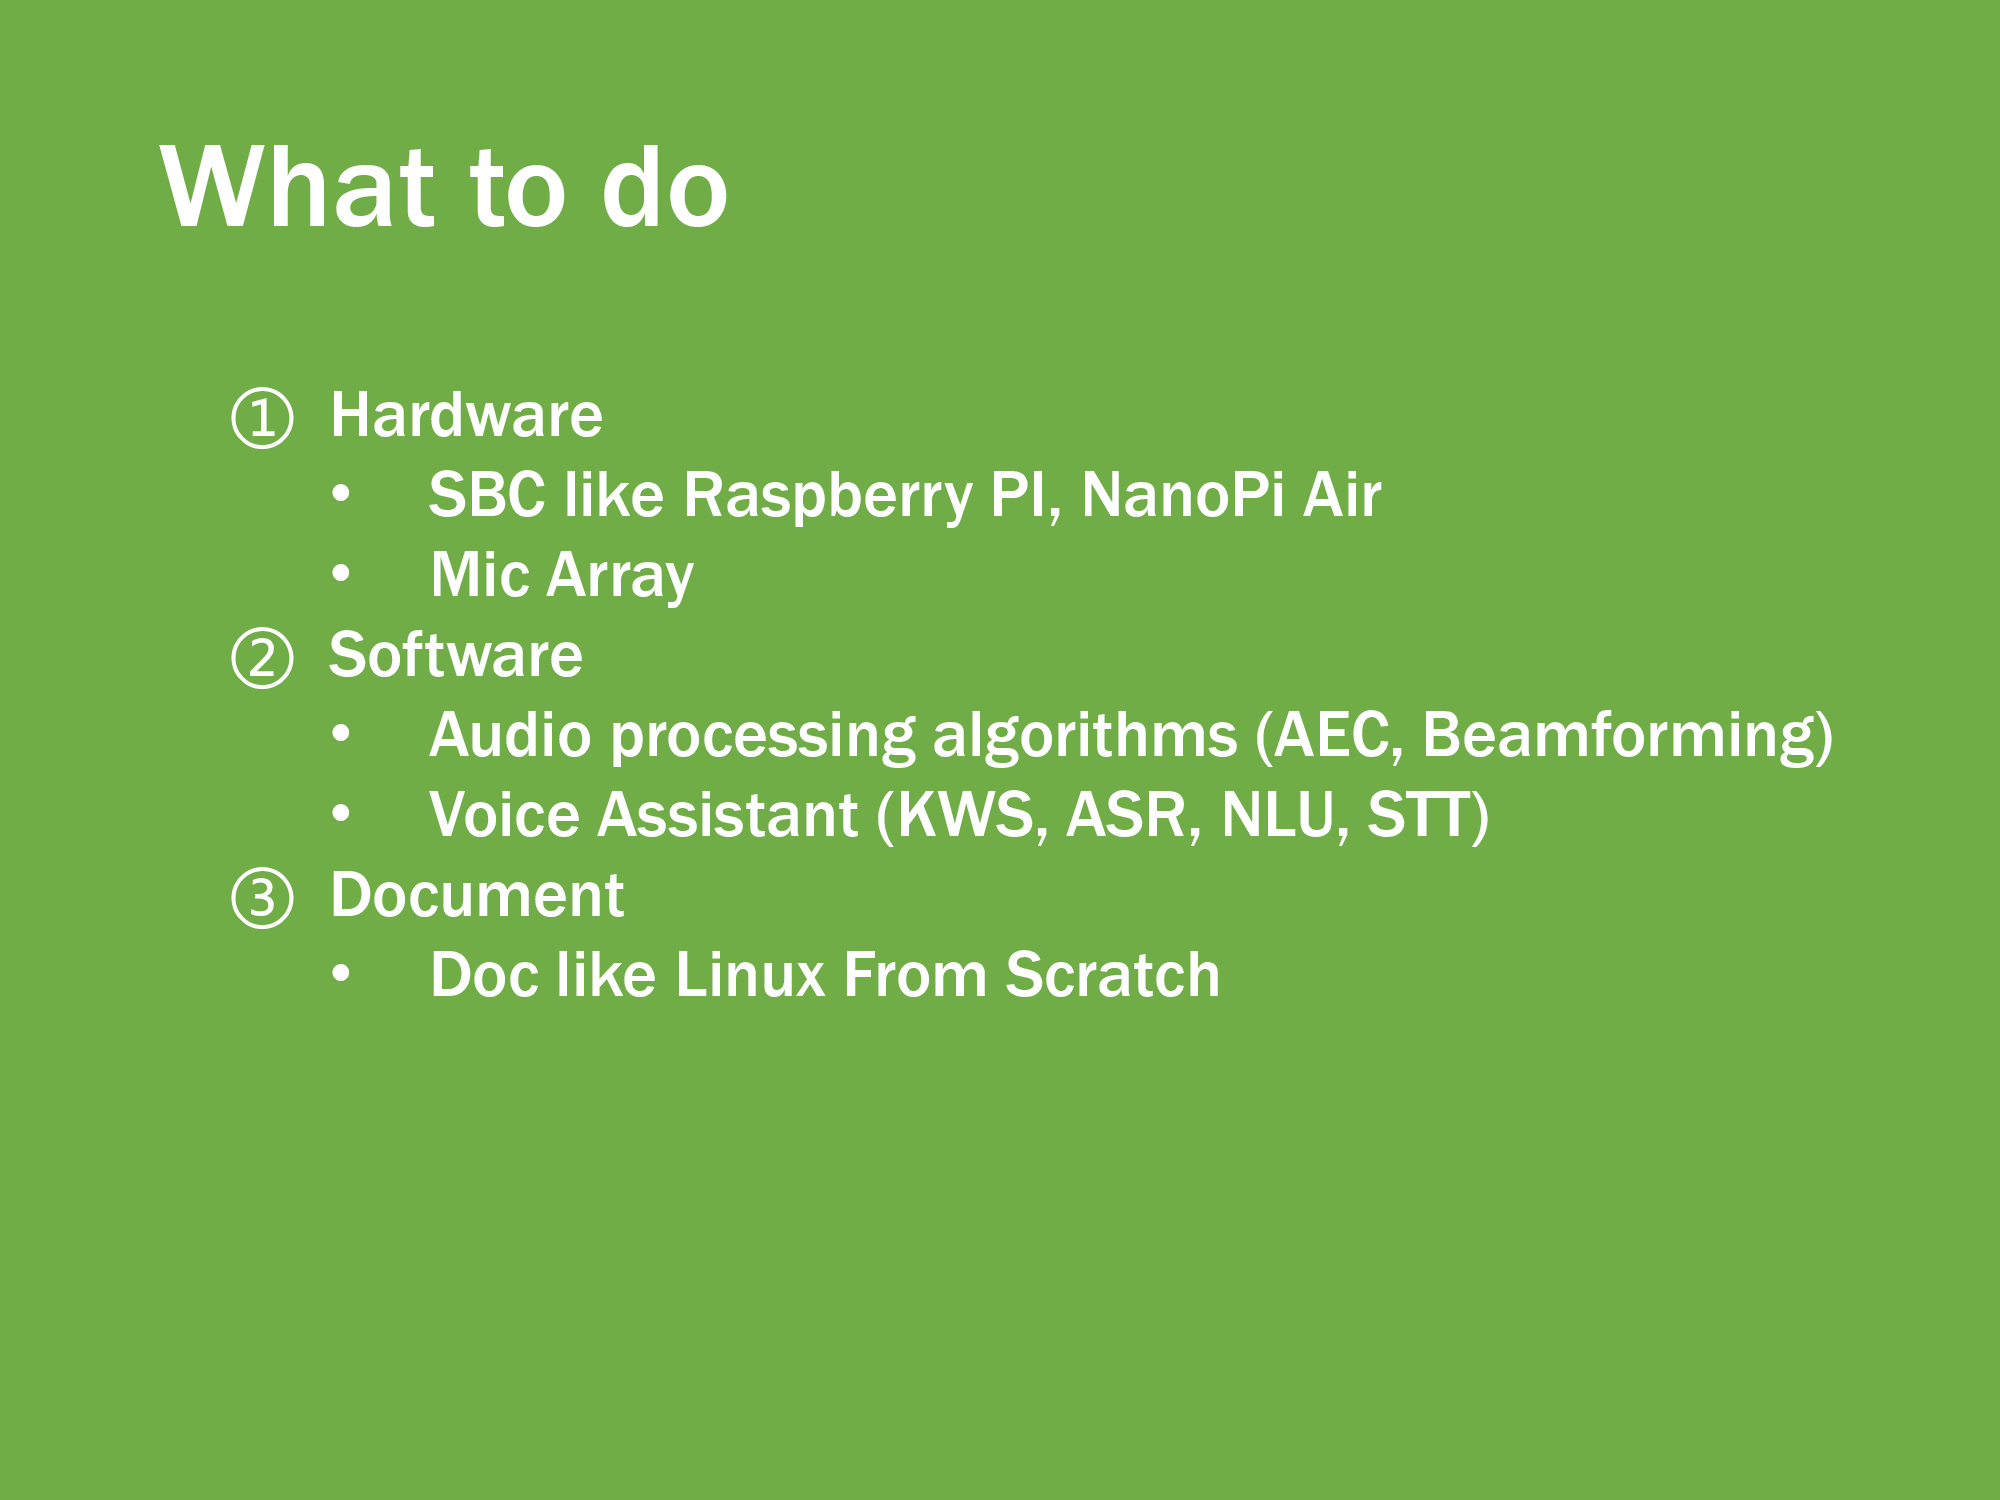 Hardware is kind of simple. We need a Single-Board-Computer (Raspberry Pi, ...), a mic array and a speaker. Software is the main part. Fortunately, there are lots of open source resources we can use.
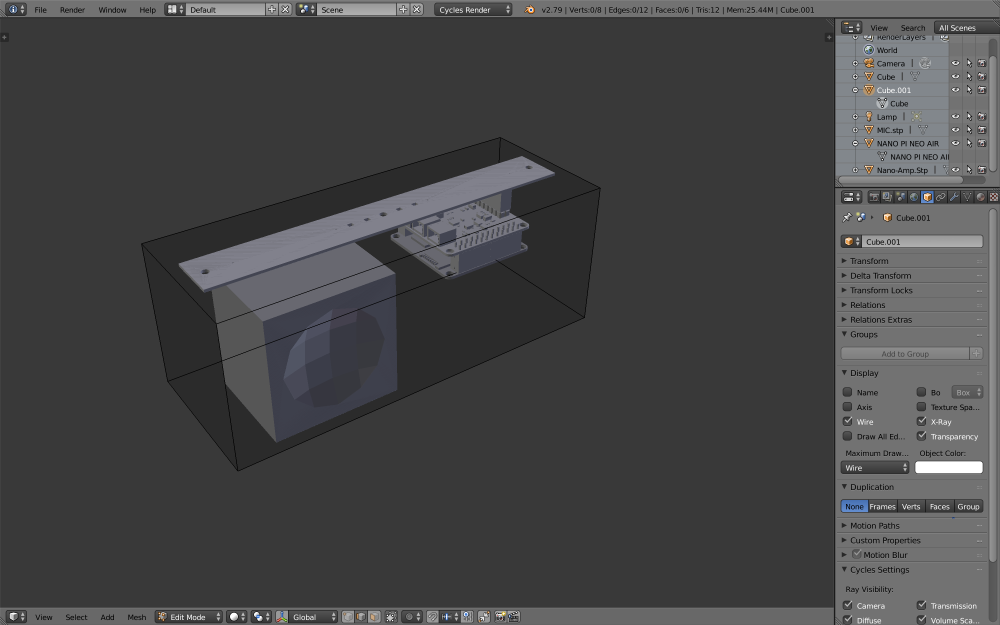
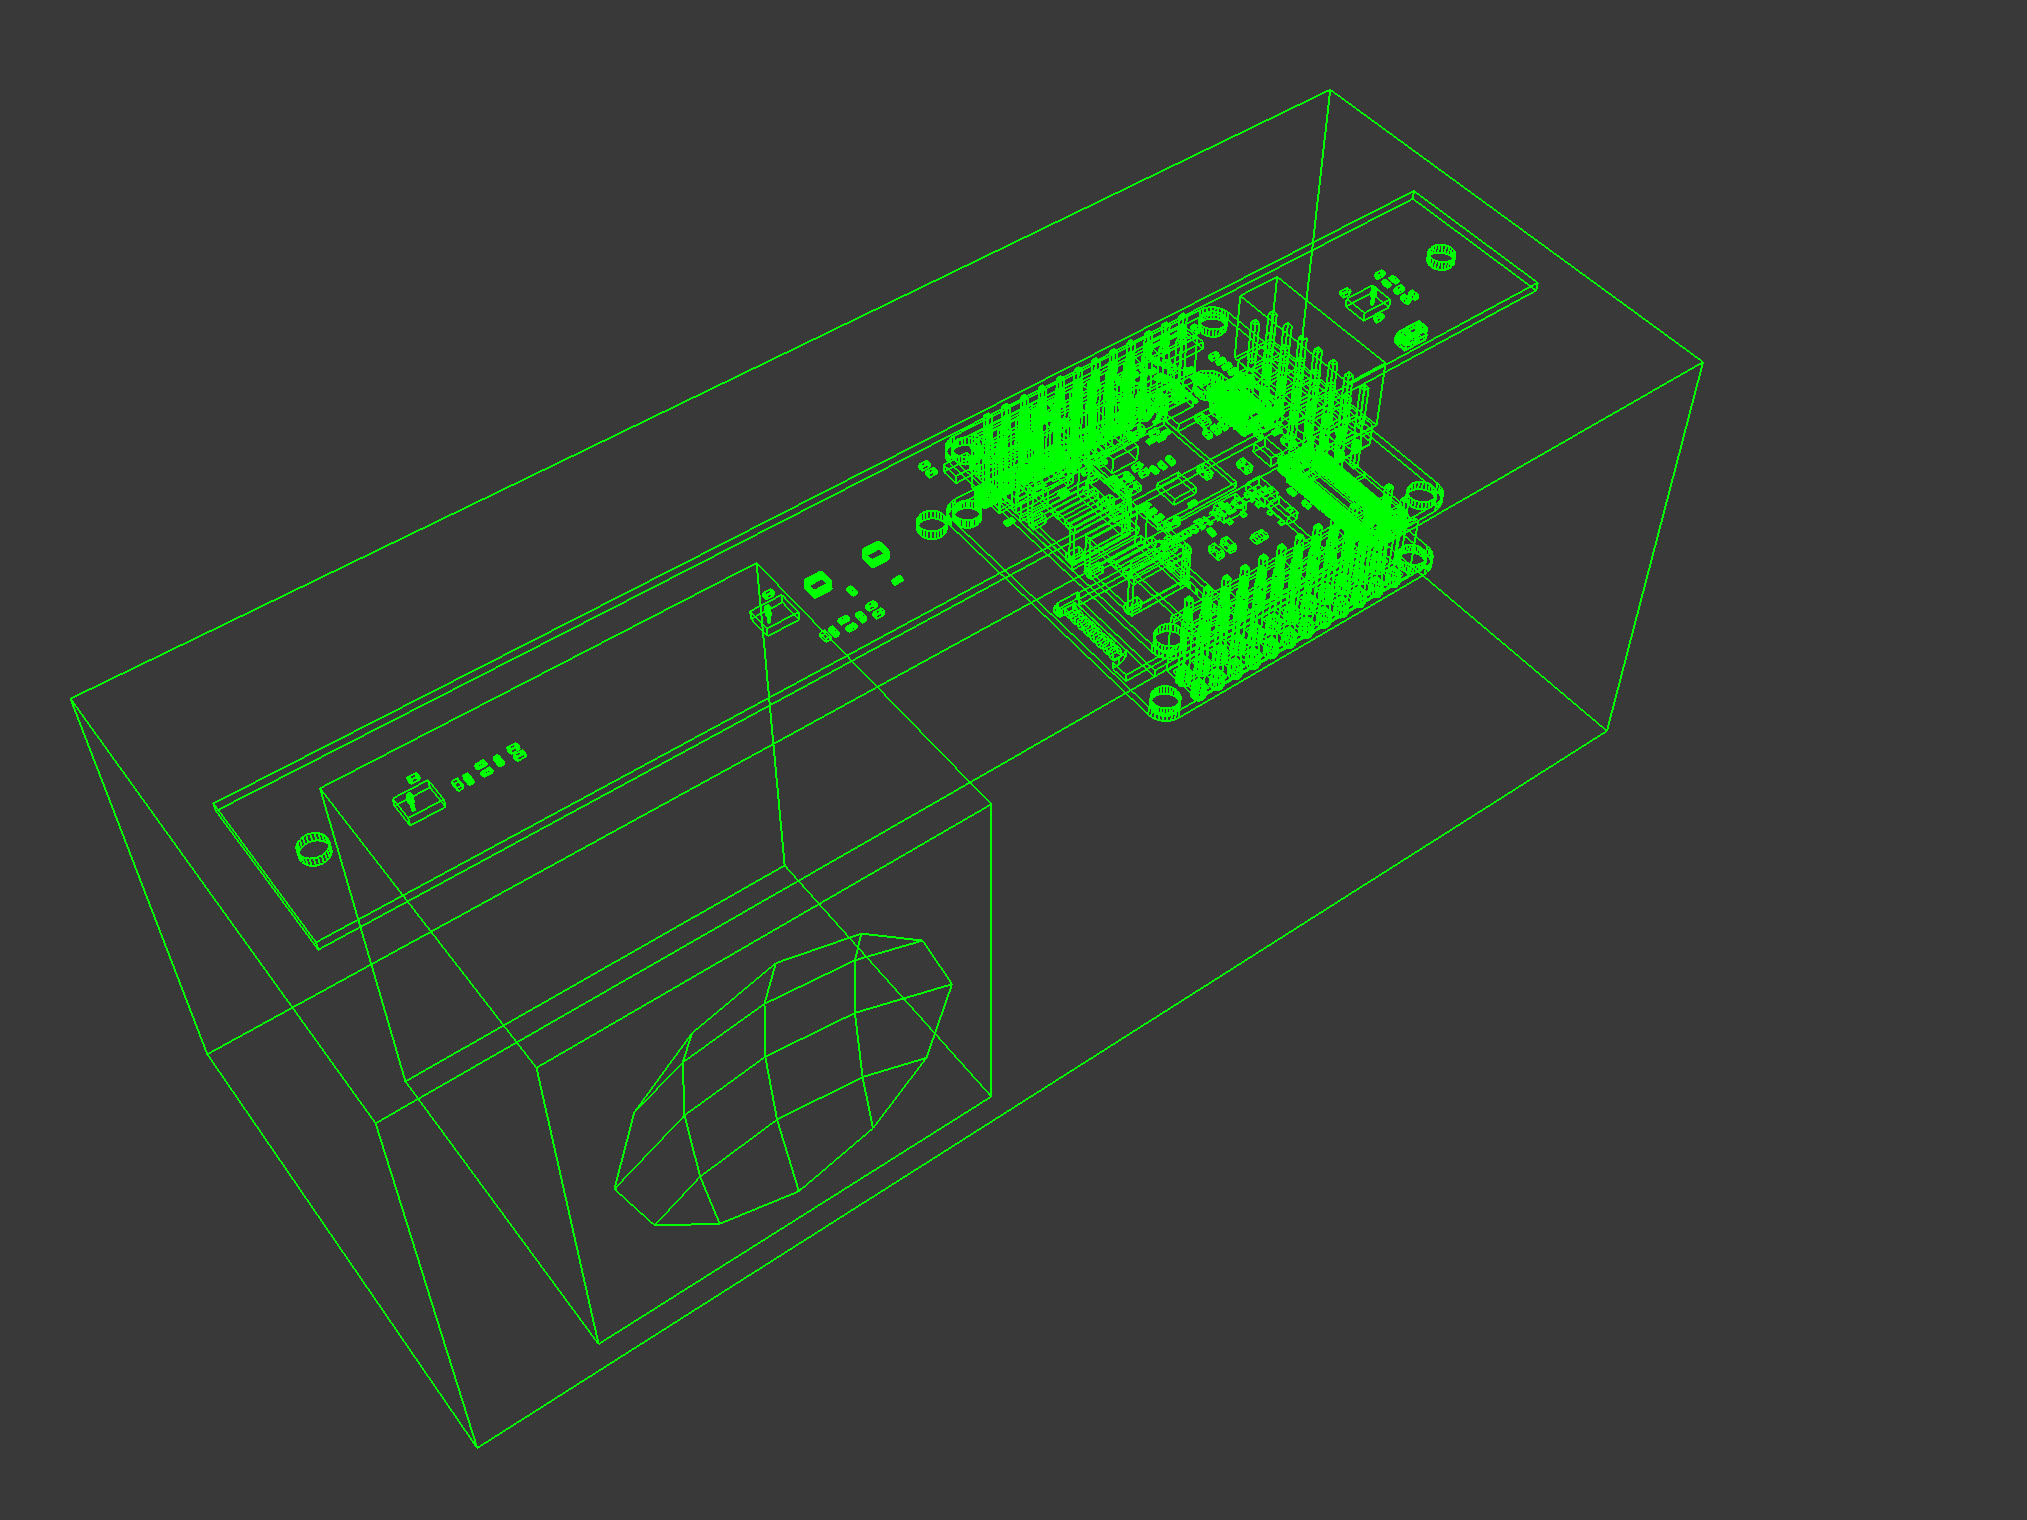
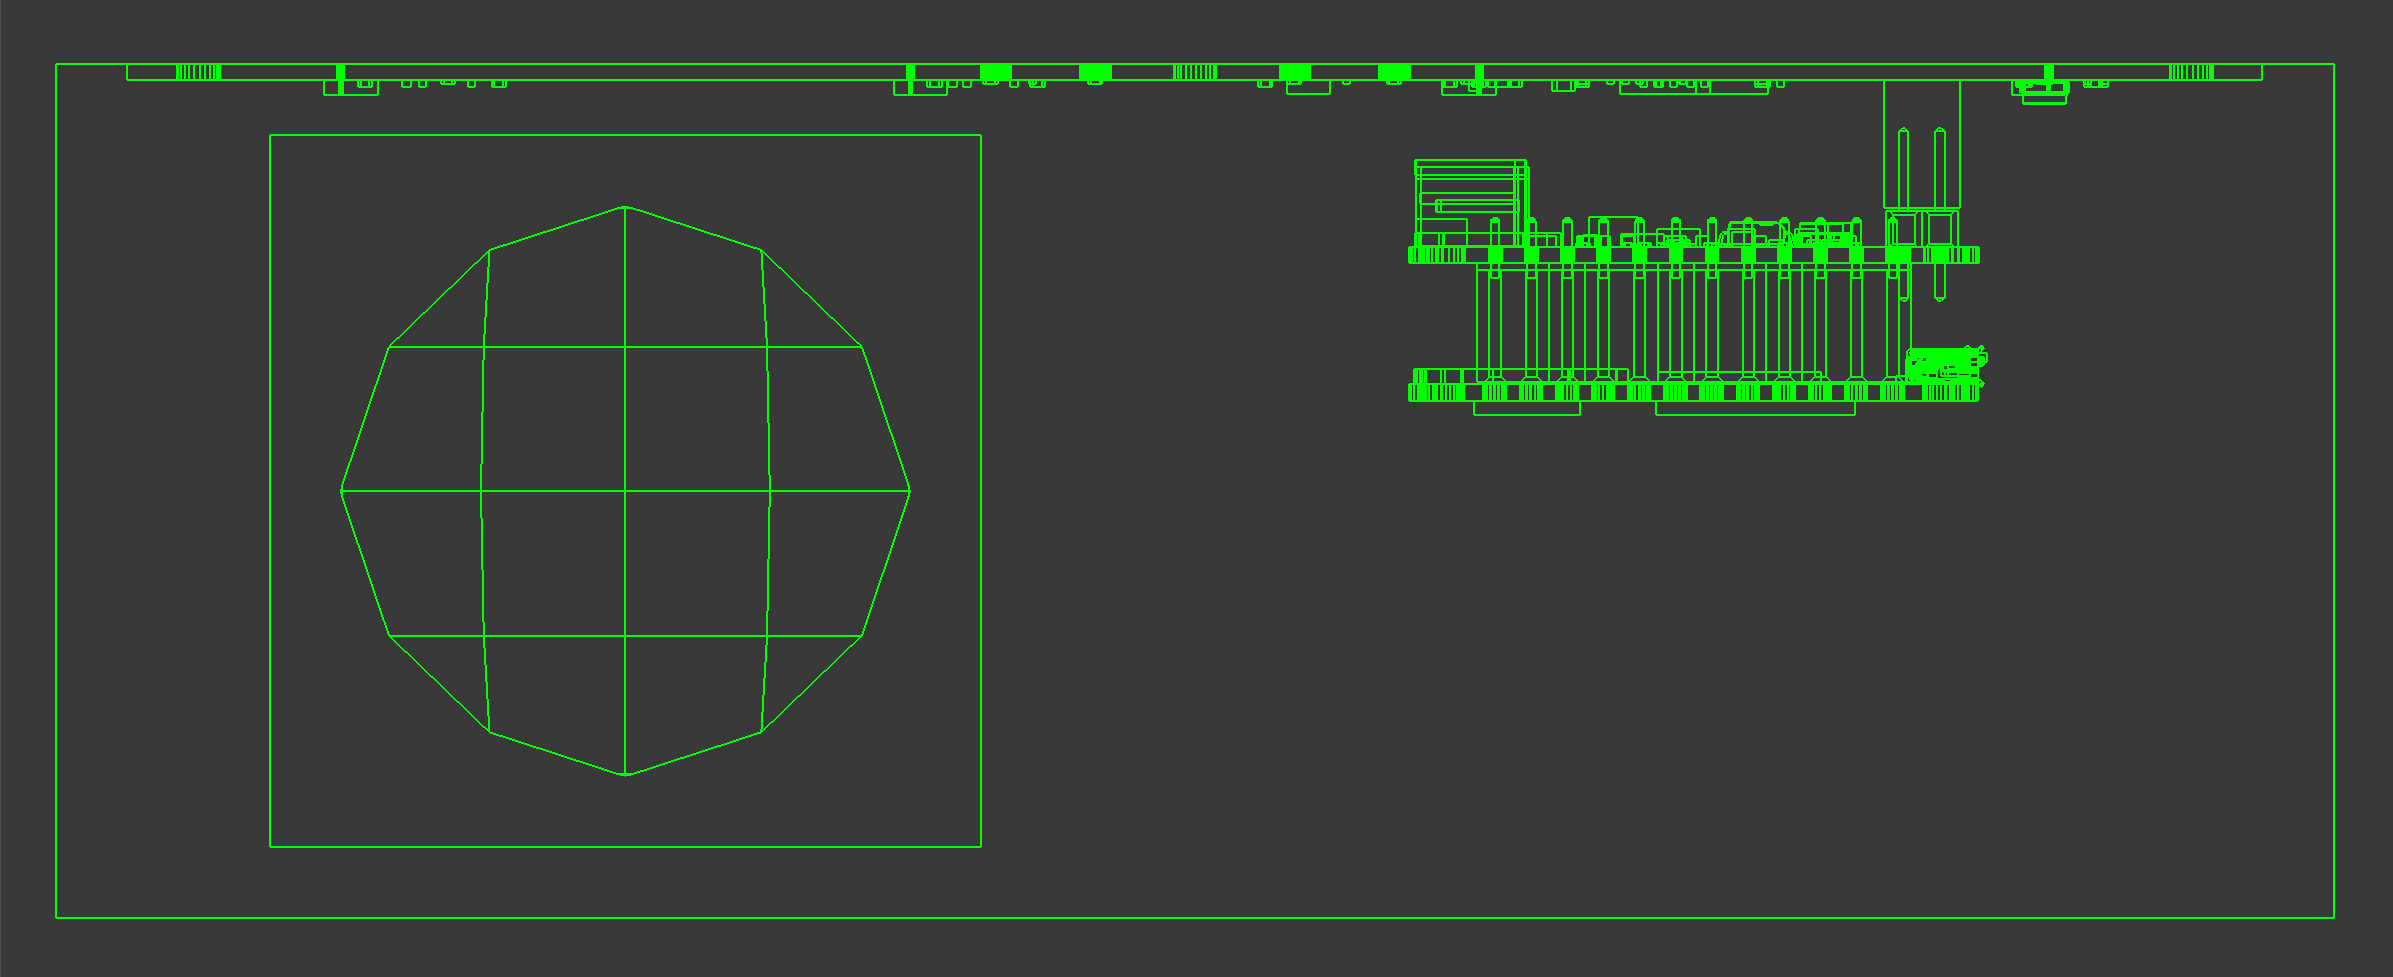
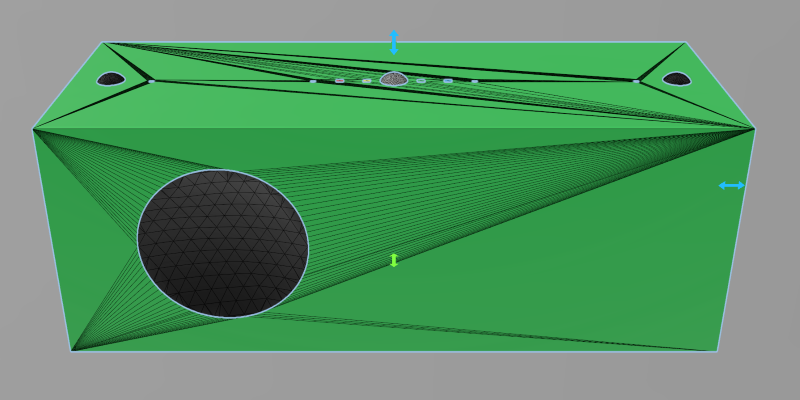
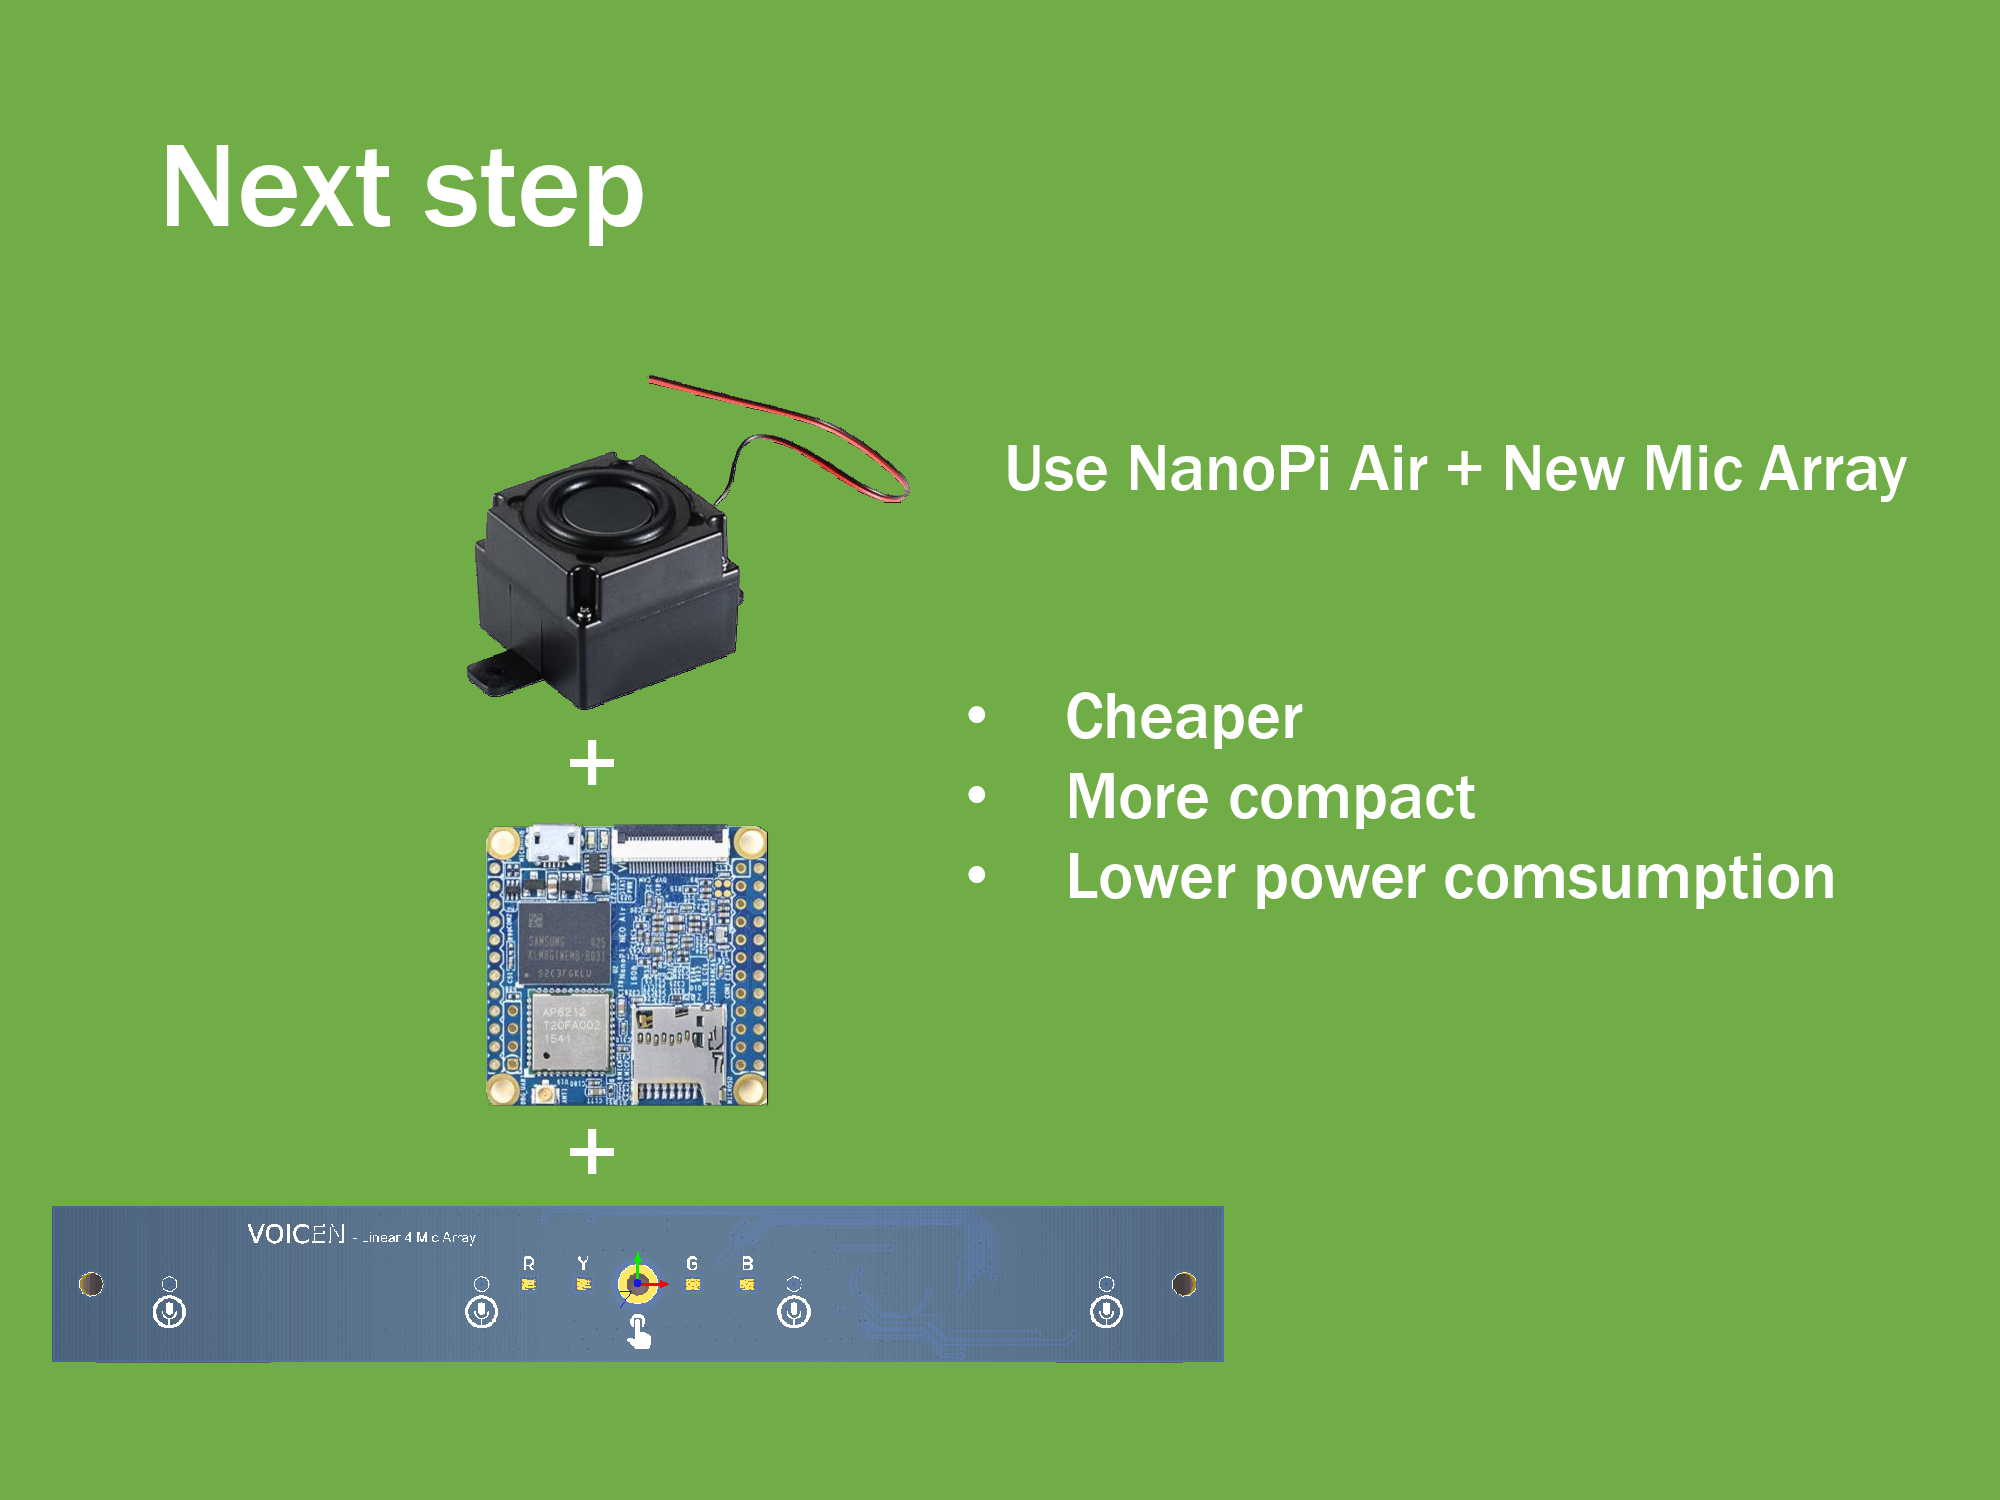 So next step is to find some more affordable hardware. It seems NanoPi Neo Air is a good choice. It runs Armbian which is based Debian and is very similar with Raspbian. A new mic array is being designed to reduce the cost.