Close
0%
0%

Split 58

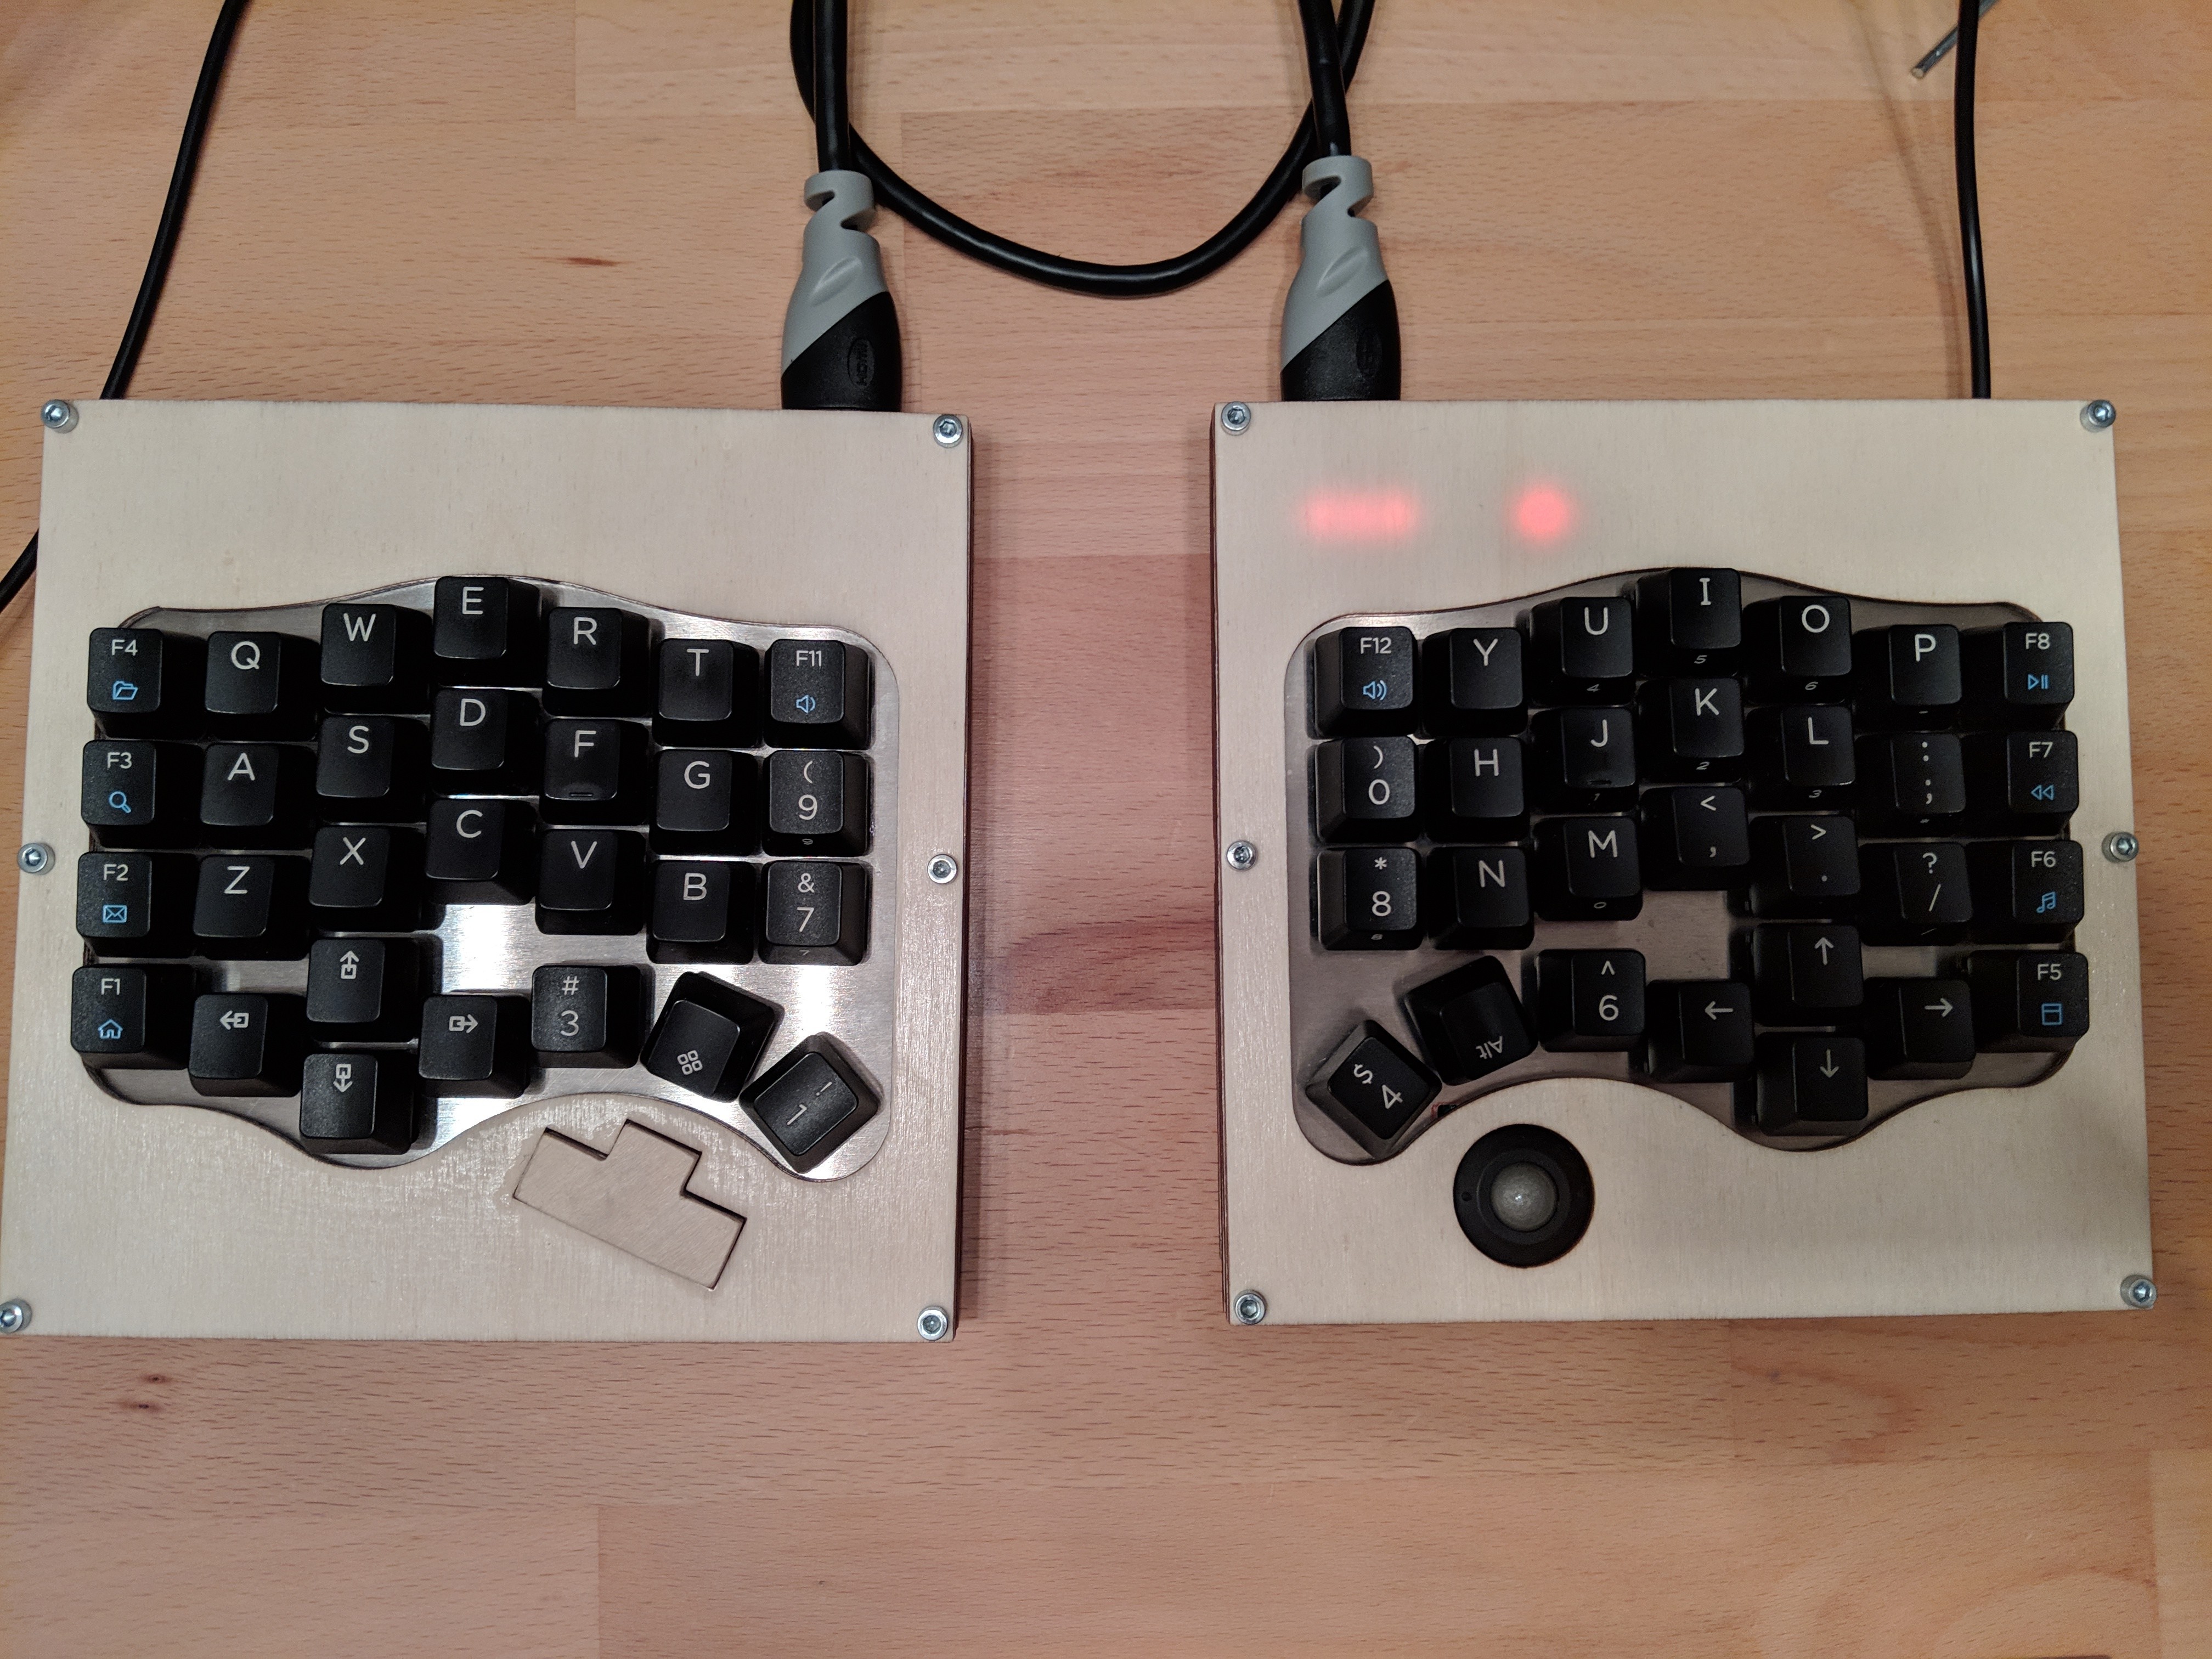
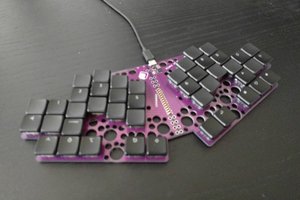
My custom split keyboard with integrated trackball and mouse buttons.
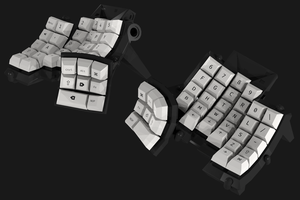
Inspired by Ergodox and Keyboardio (https://shop.keyboard.io)

Public Chat
Similar projects worth following
The projects started as a personal challenge and ended up in a real device.
I've used a TEK for a while, but some keys started to have problems. Since a while I was looking for a new keyboard, but, fairly, none of them was what I wanted to have. So, I've done my homework and I've developed the keyboard exactly as I wanted to have it.

So, here is it: the Split58.

I've started this project because the actual keyboard, a TEK, started to miss key presses here and there. I've looked around to find a keyboard that fits exactly to my needs, but, at the end, there're always some compromises to accept. 

On the other side I always think that having to move from the keyboard to the mouse and back is a kind of waste of time. It should be for sure a better configuration that requires a minimal movement of the hands. 

So I've started to think about a custom hand built keyboard. The device should join a keyboard and a mouse. At the beginning I've thought about a trackpoint, but I find it unusable, so I went for a trackball. It should be simple to repair and change in case of failures. That's why all the cables are not directly soldered to the Teensy but, instead, they use wire connectors. It should have enough keys to map all the main characters, all the extra ones should be achieved by the use of layers. Imperative, at least for me, was to have direct access to the navigation keys (4 on the left and 4 on the right, as in the TEK). 

Building went through of challenges. I've had to design all the DXFs files for the laser cuts. At the beginning I've thought to build a case from a wood block, but it would have been too much expensive and it requires a 3D model of the case. So I've laser cut also the case. 

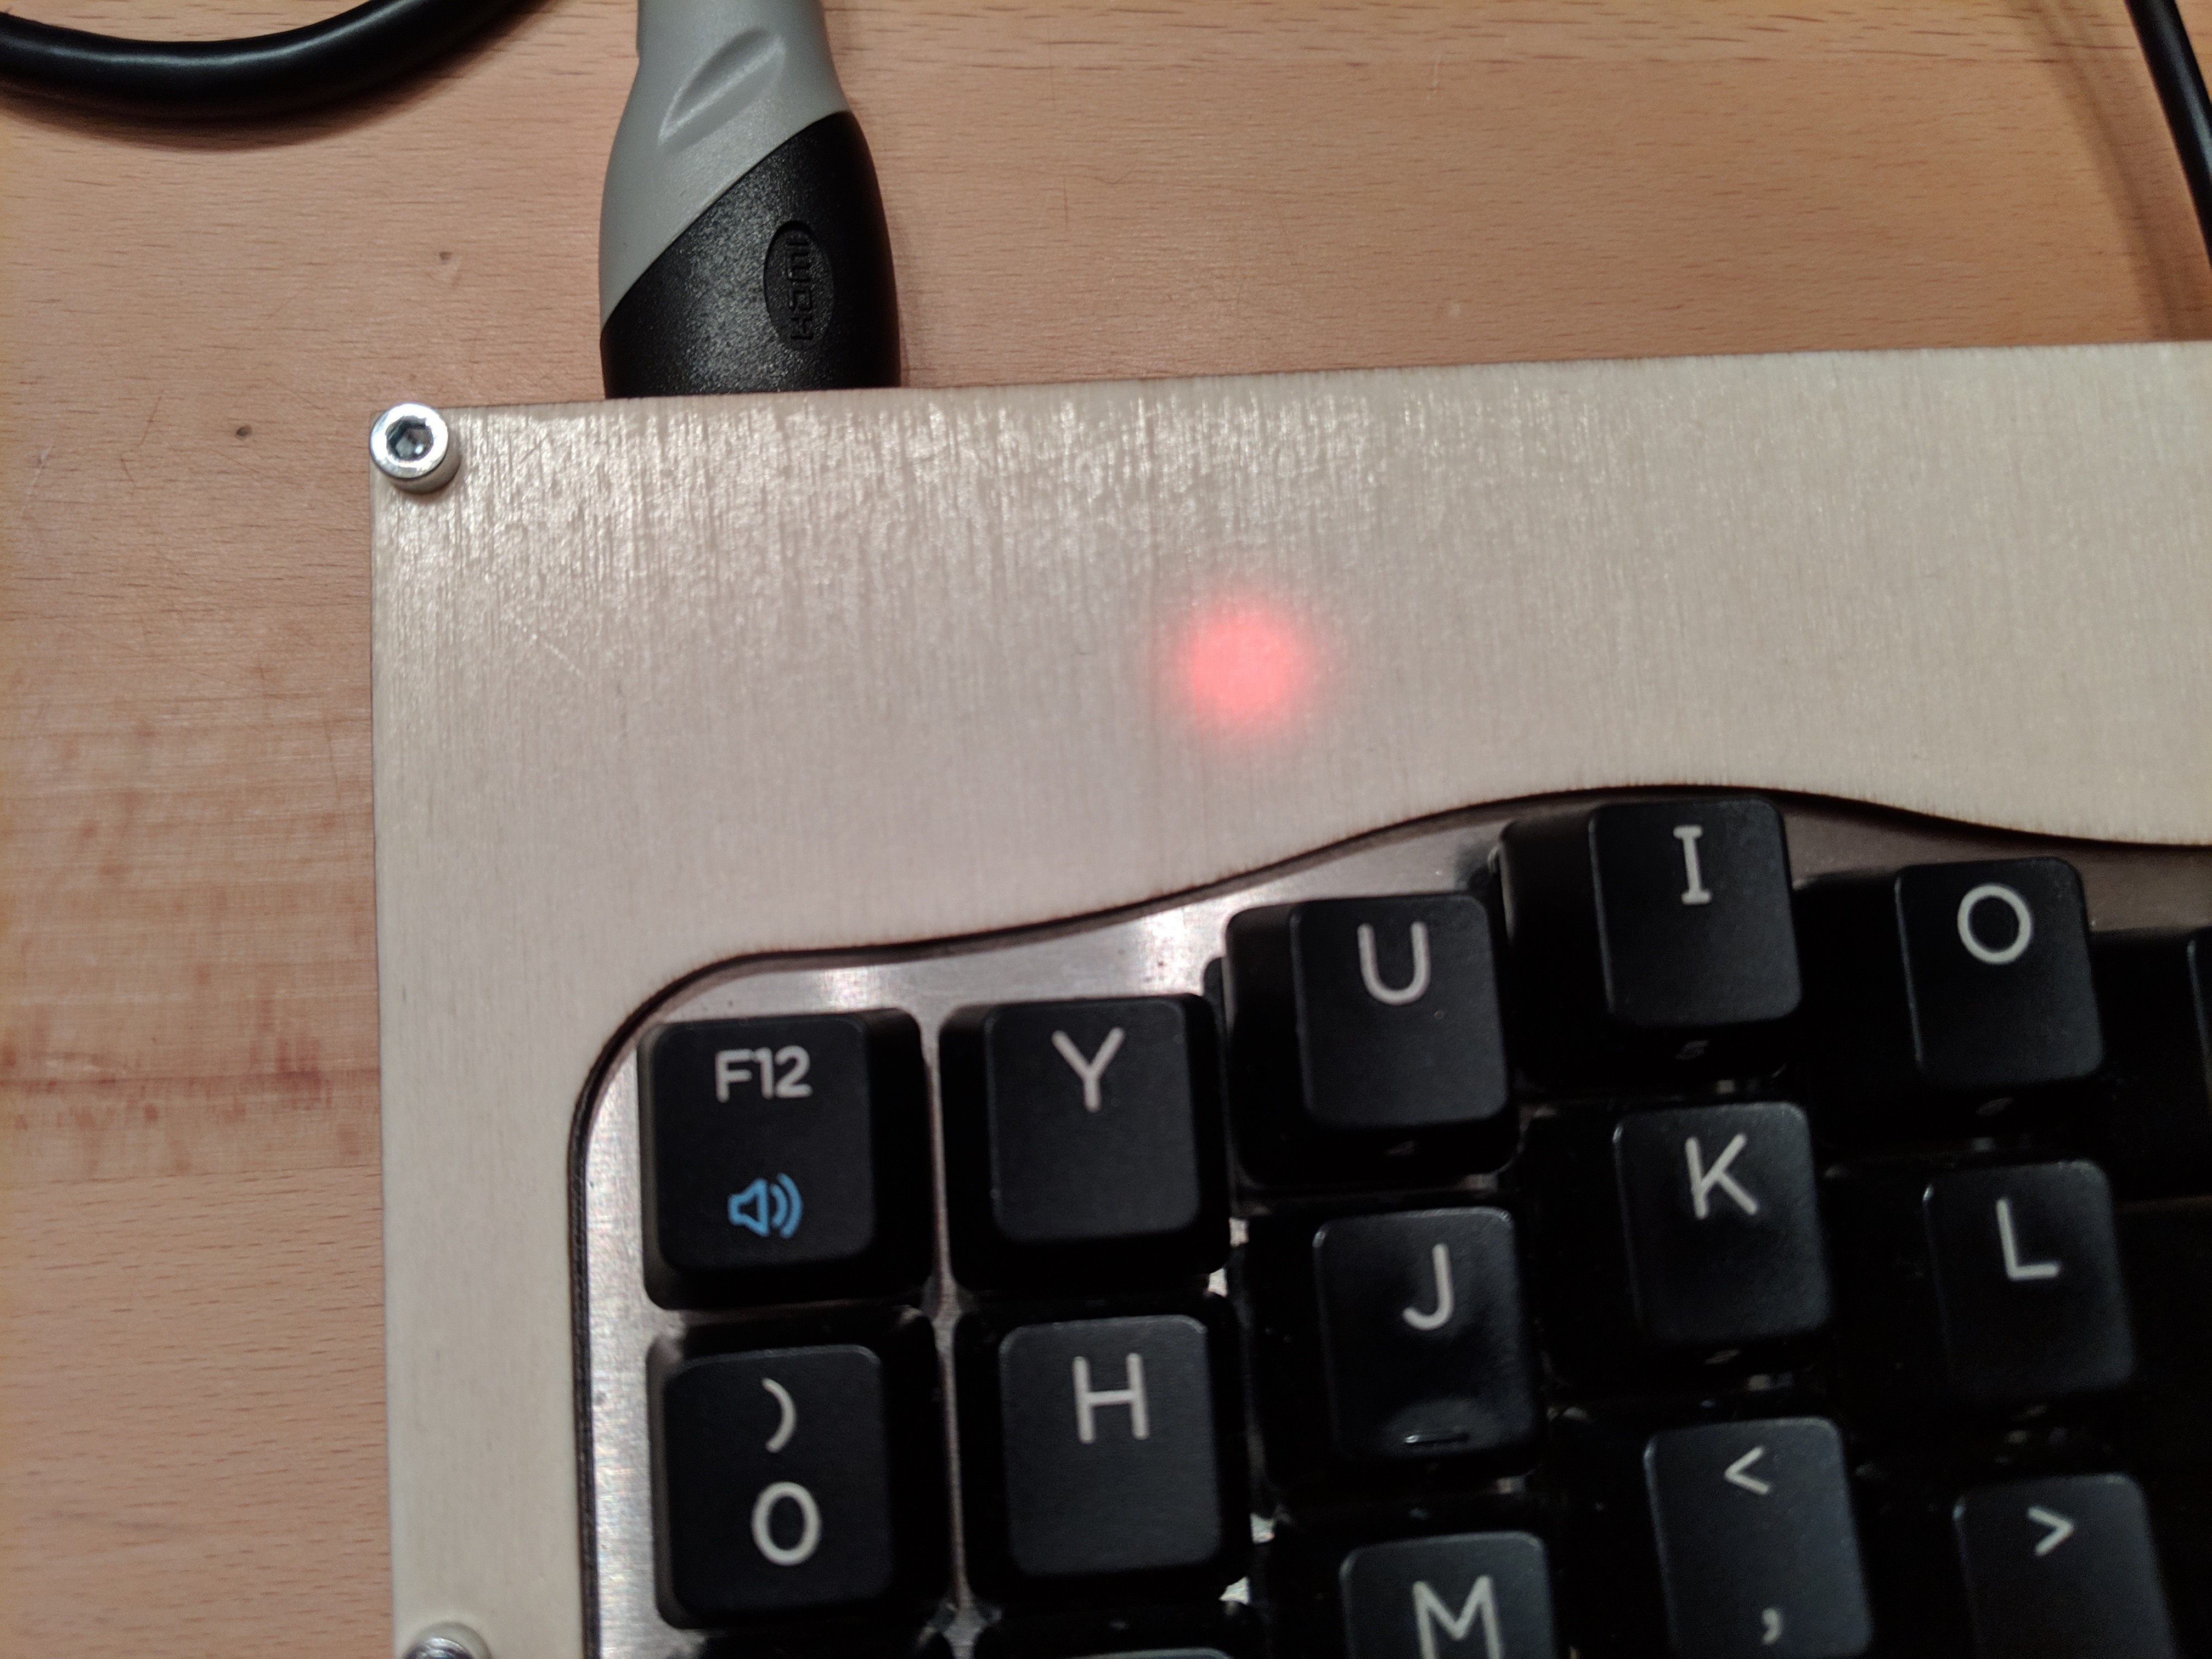
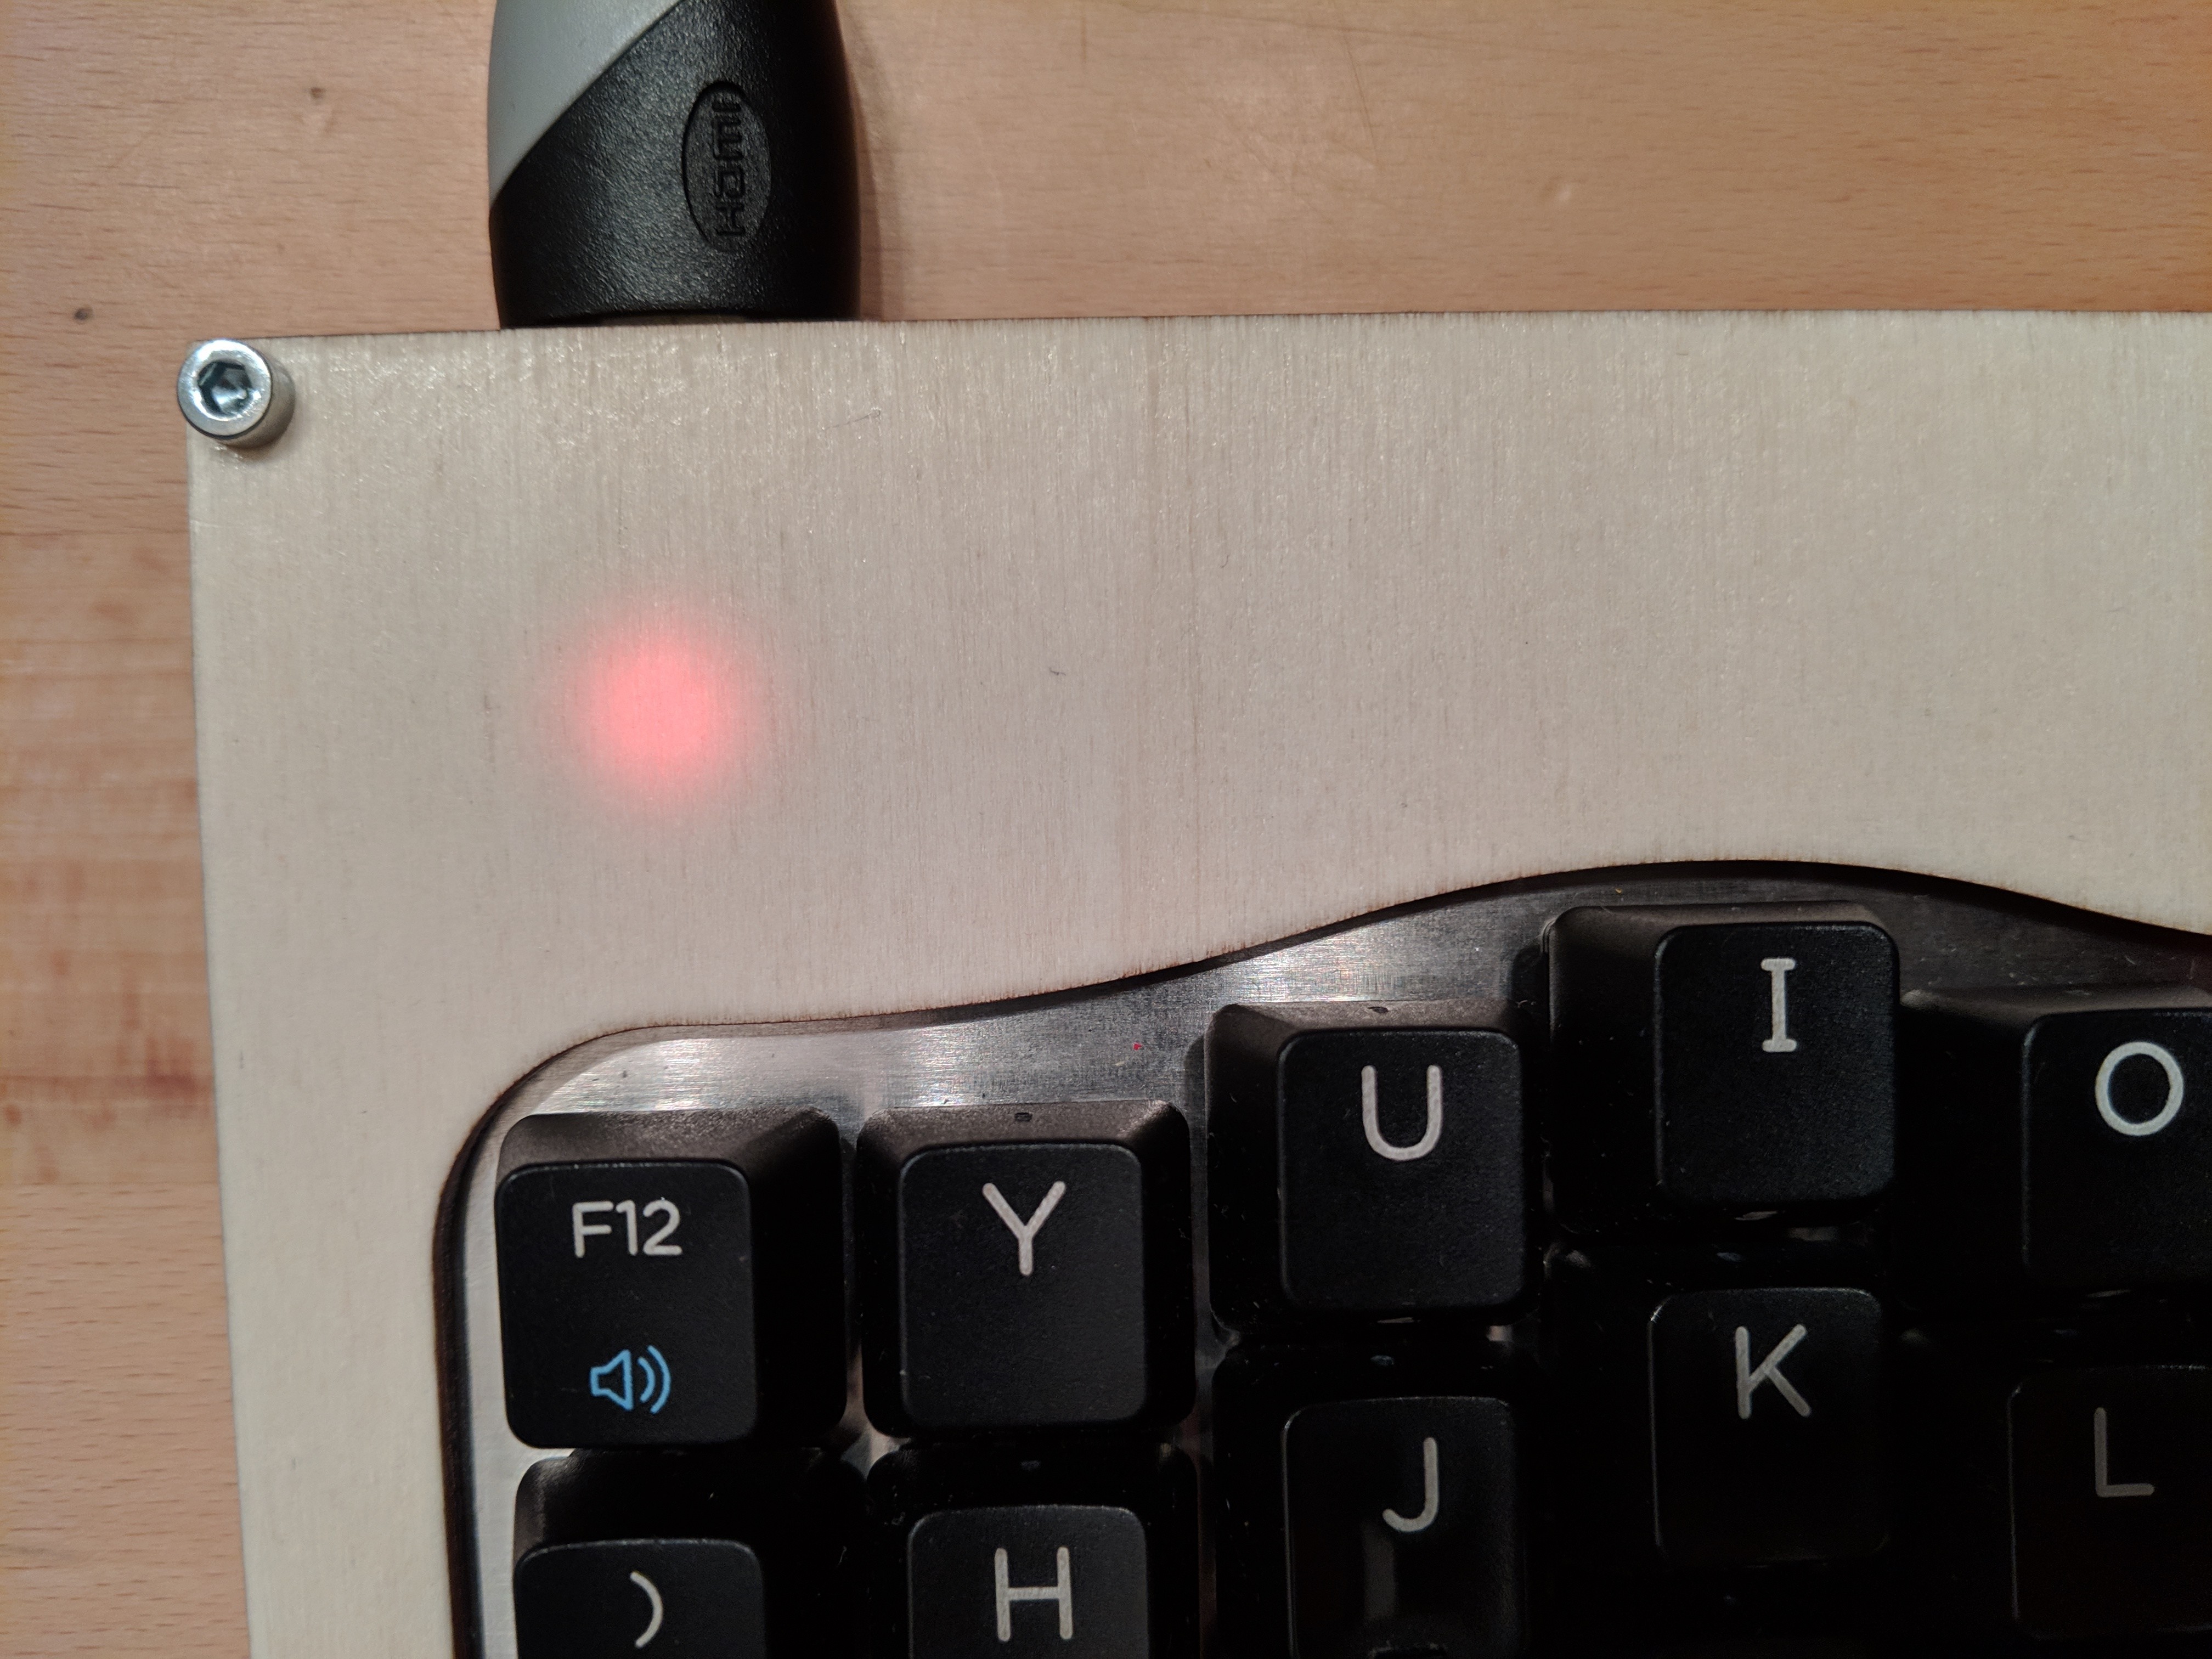
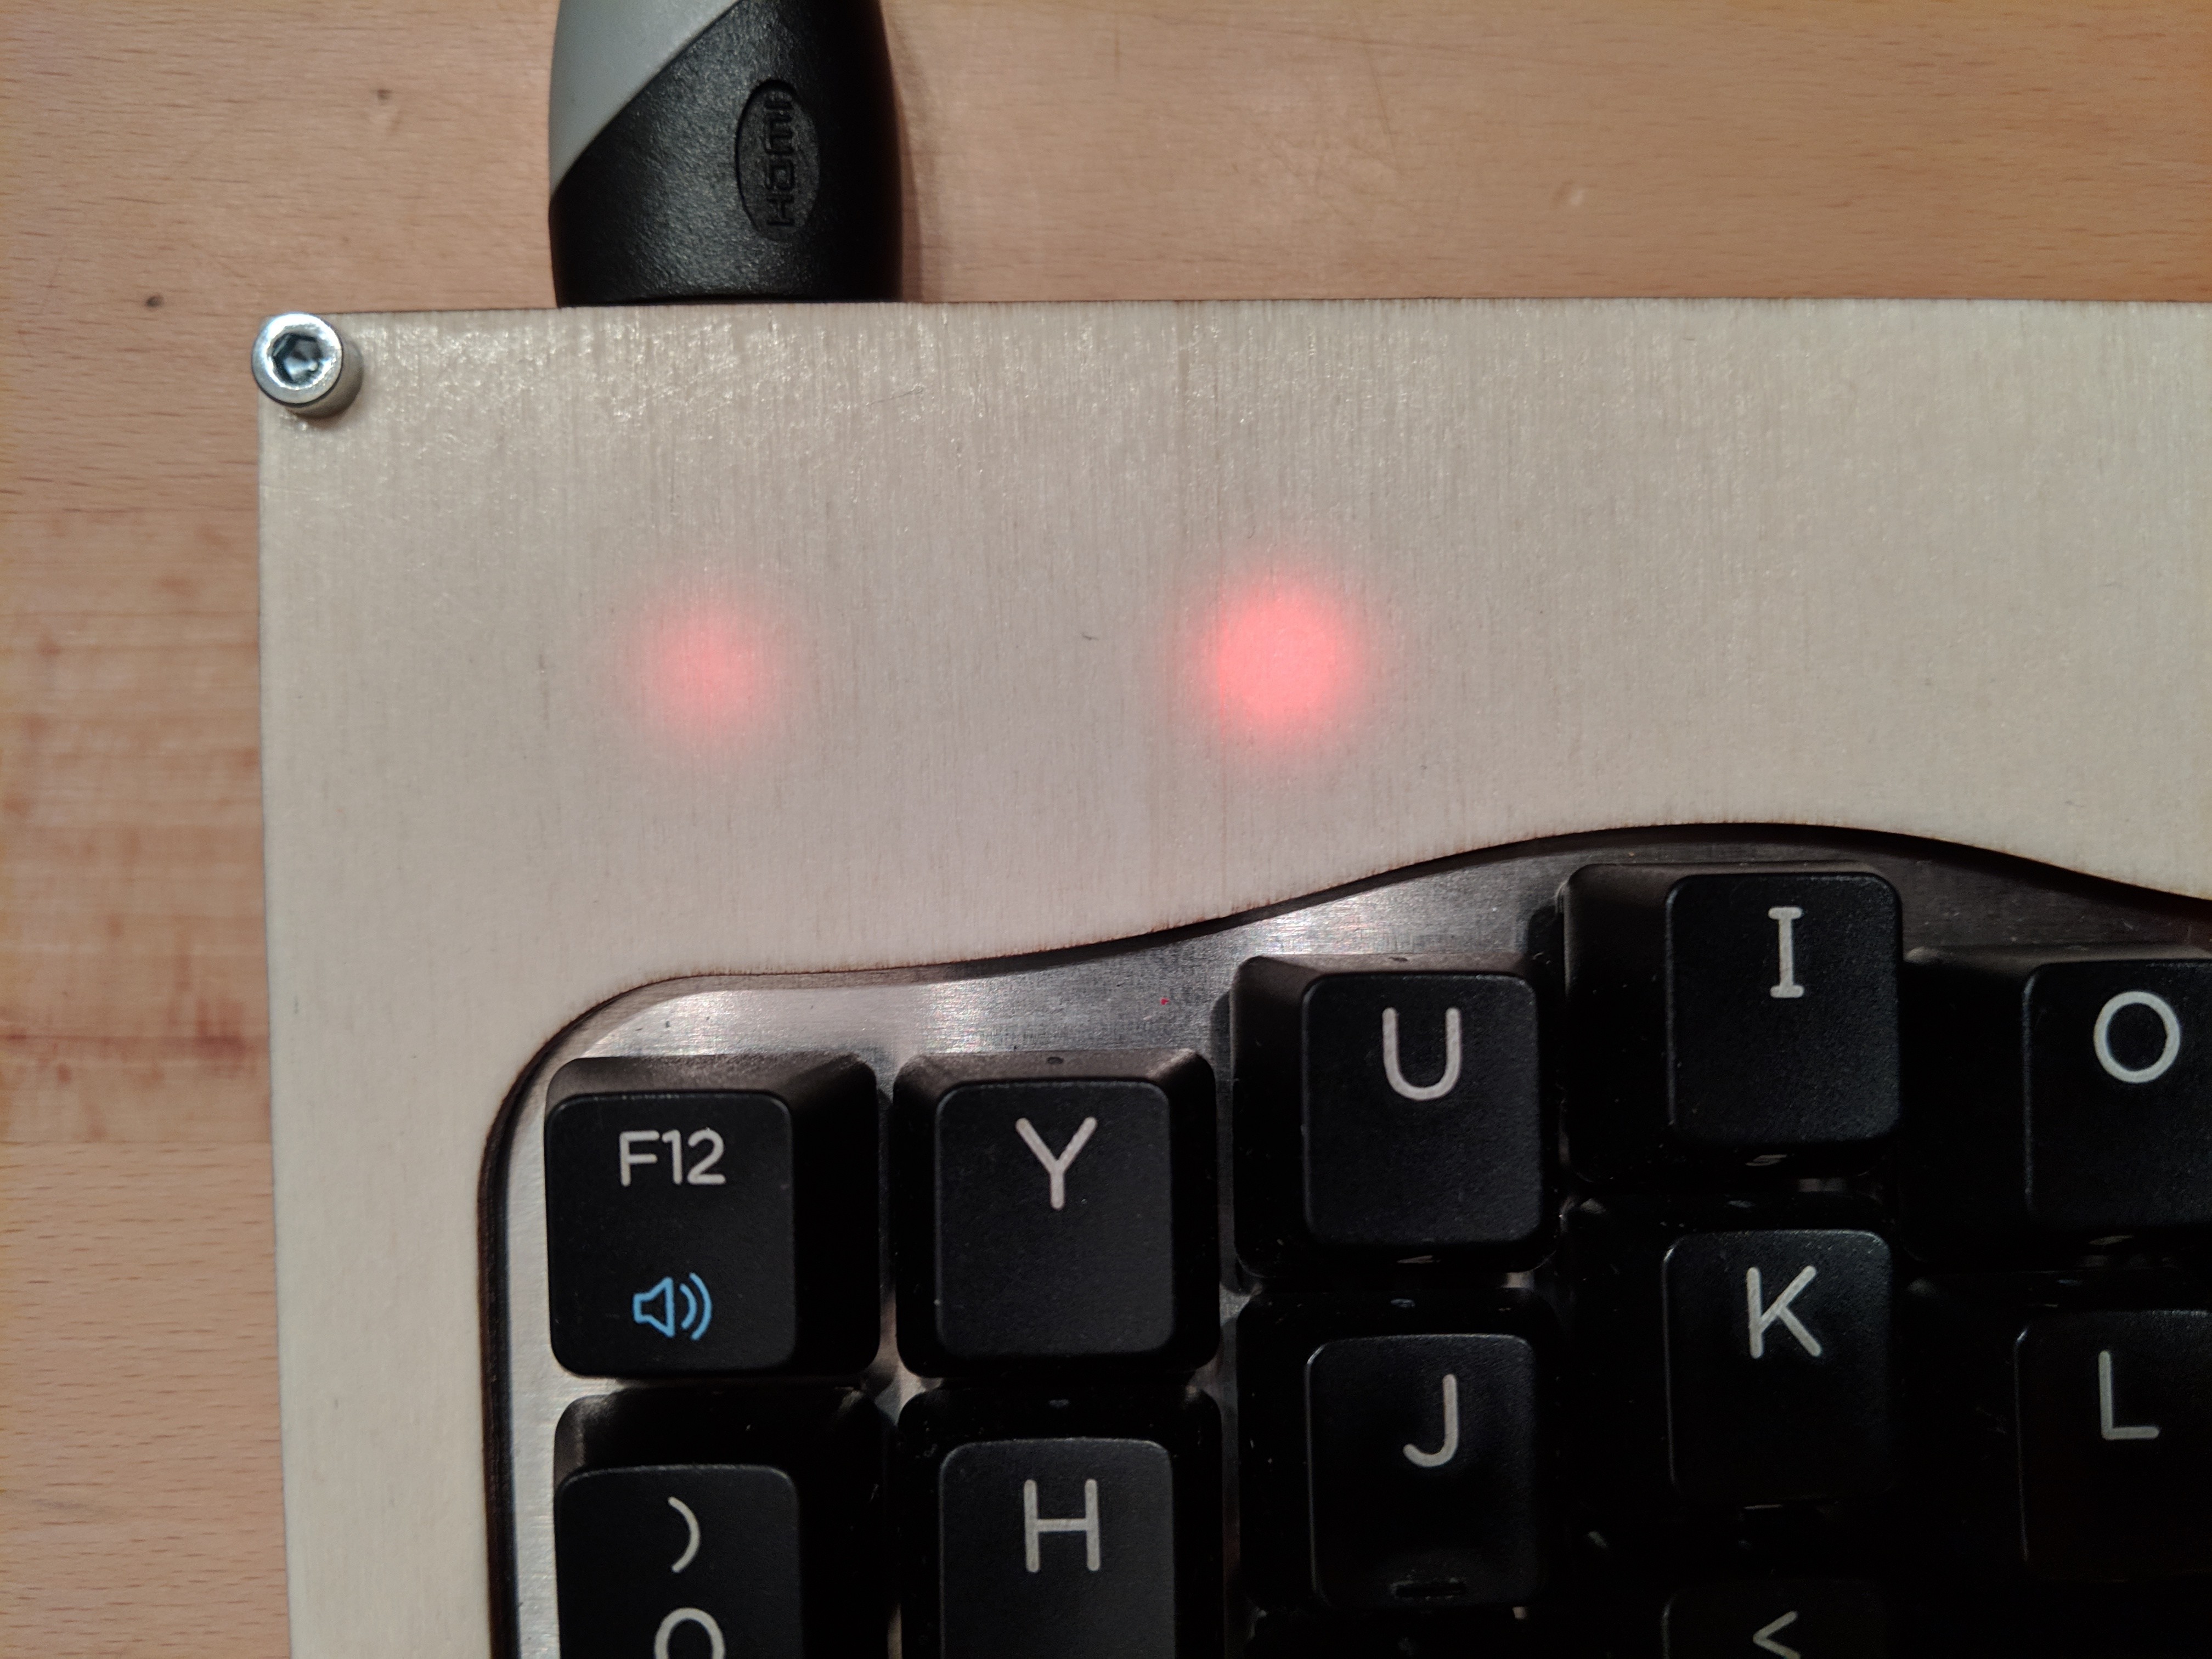
I wanted to use LEDs to keep track of the actual state of the keyboard. Hence, the wood plate for the cover could have been a problem. So I've made some tests and I've found out the light is strong enough to glow through the wood plate. In this way the cover has no extra holes except the ones really needed. 

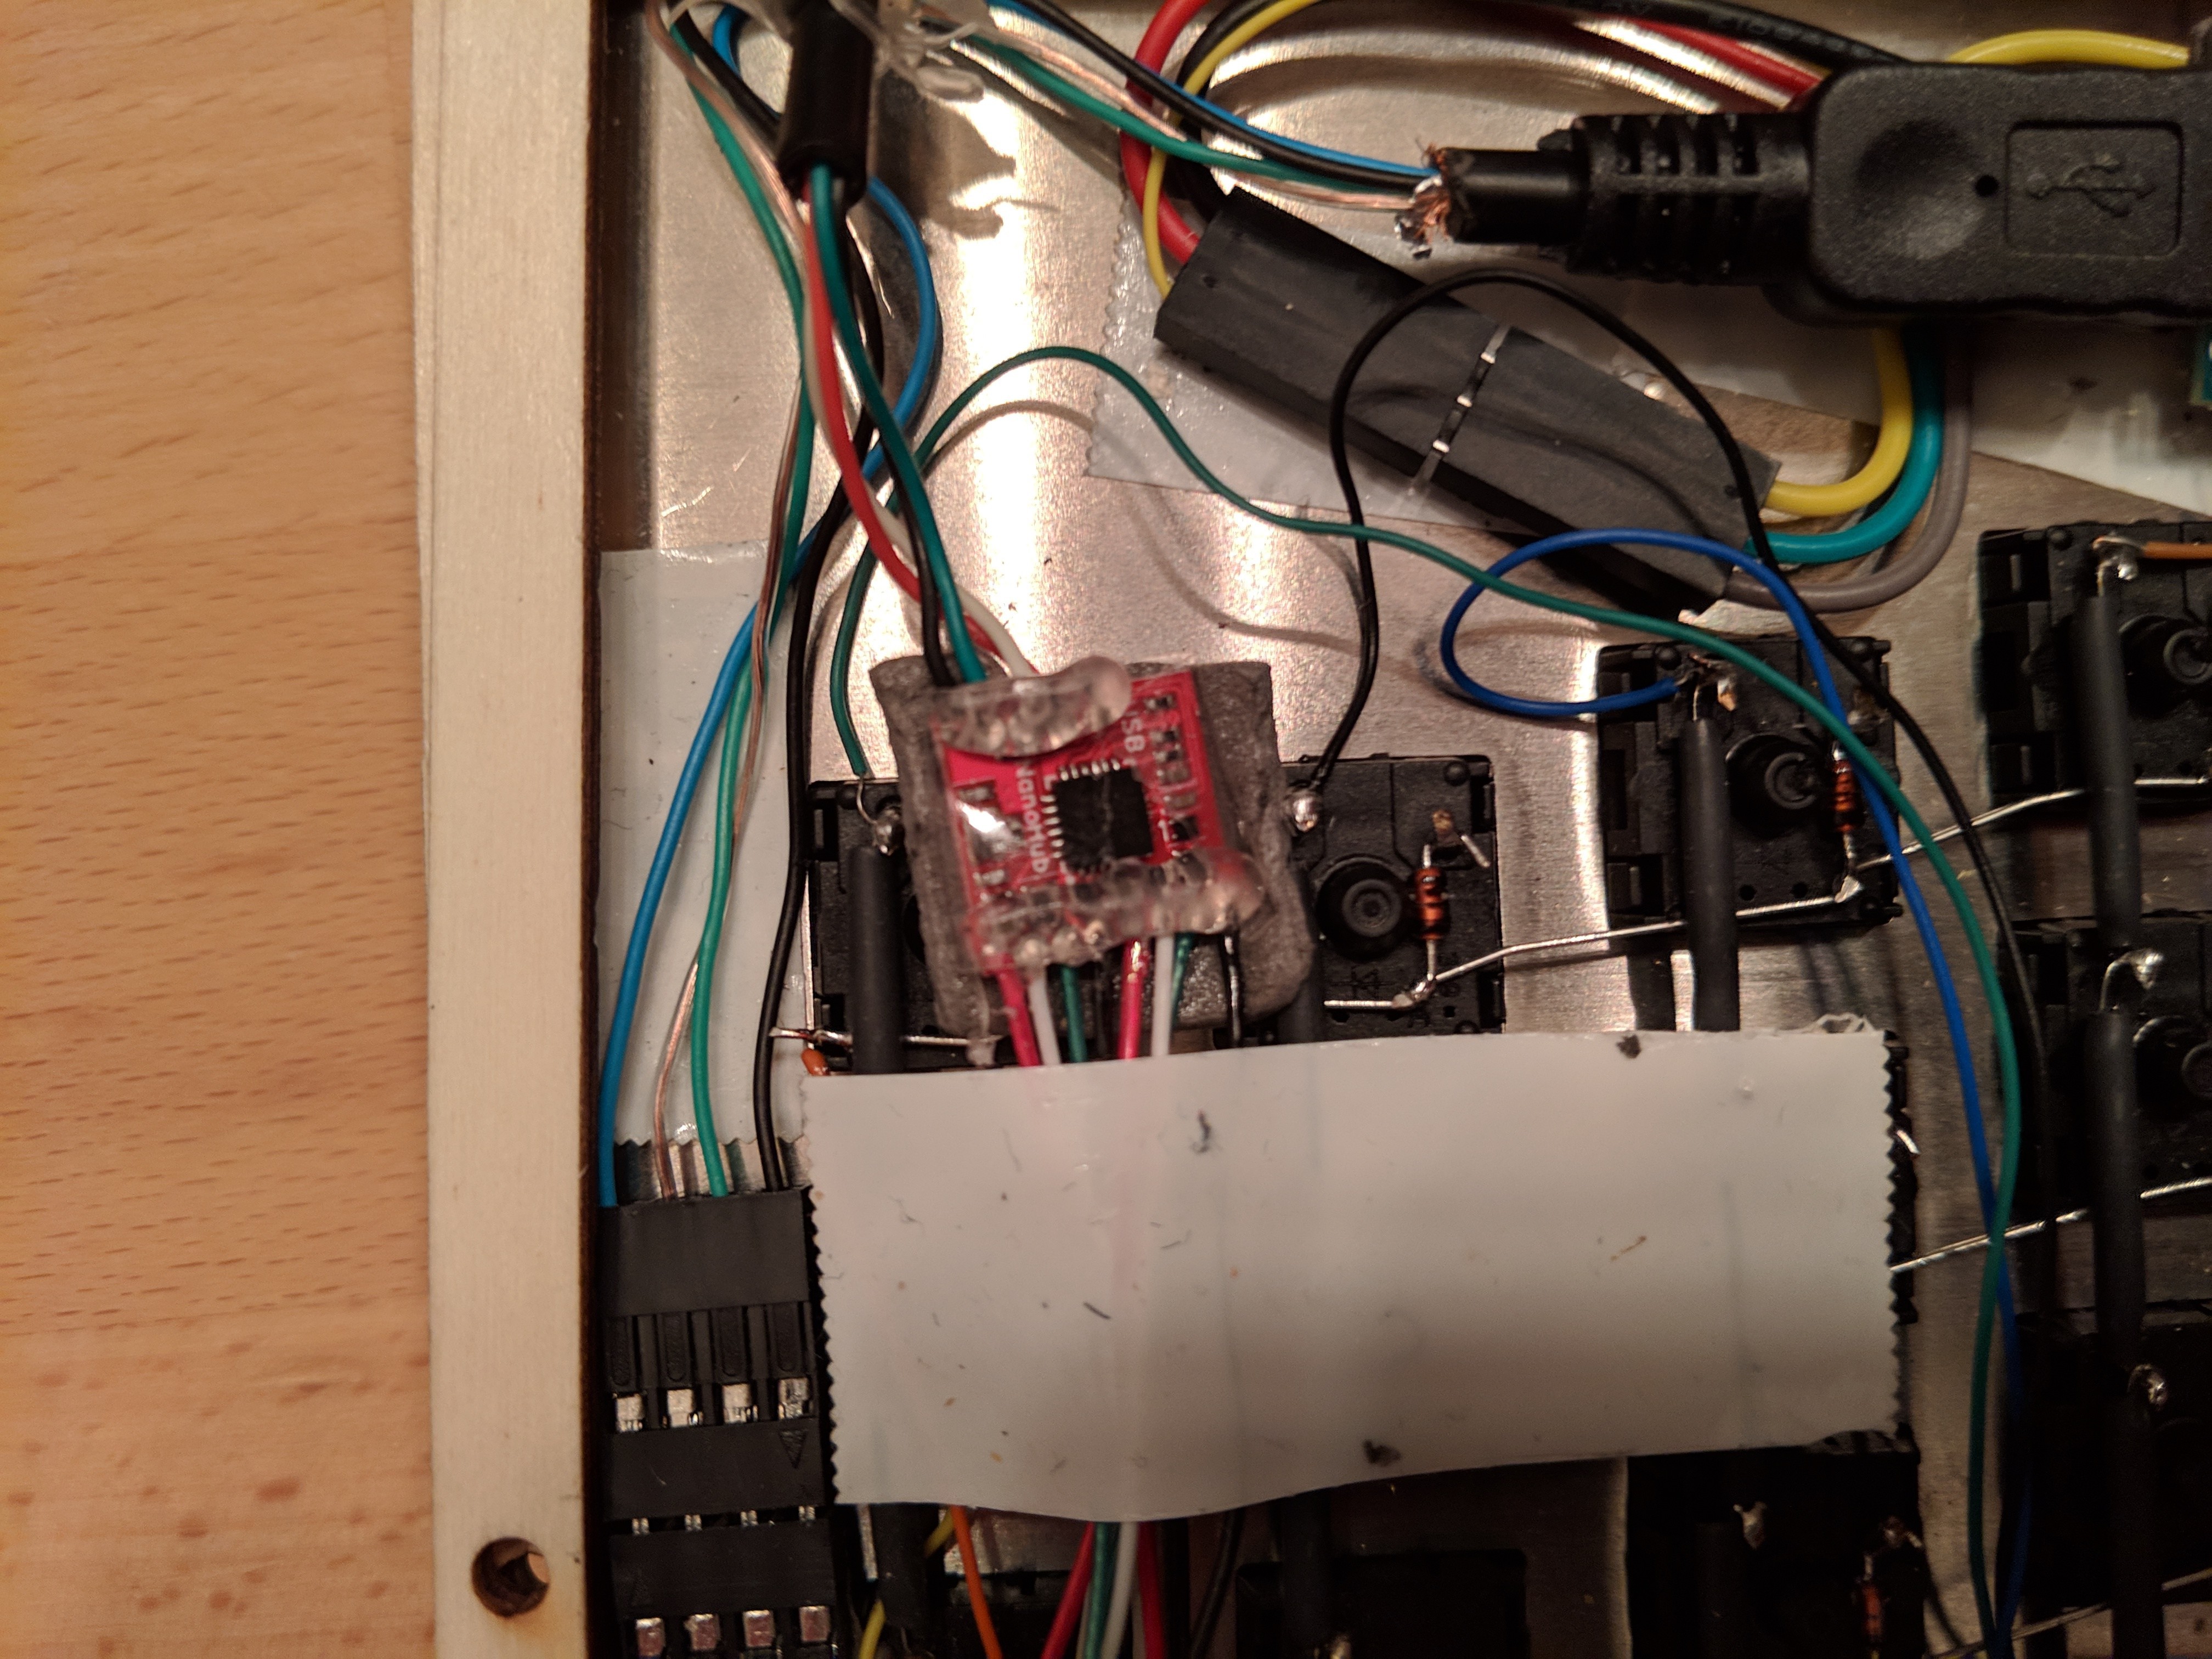
For the firmware, I've started with QMK. It's one of the most known and used firmwares for keyboards. It offers also the support to handle a PS/2 device (a mouse)/ In my tests the Teensy and the test mouse were working flawlessly. Unfortunately, once the trackball arrived, it was impossible to make it working. Here went to help the tiny and useful NanoHub. It allows to connect 2 USB devices directly and it uses just a bit of space. Connecting the two devices with USB allowed to use different firmwares. So, I've started to do some tests with the firmware used in the Keyboardio 01 keyboard.  

For the keycaps, I've used the ones of TEK. They are sculpted and the feeling that they give is superlative.

PlexyCuts.dxf

DXF with stacked layers for the various components of the keyboard

AutoCAD DXF - 81.01 kB - 03/06/2019 at 23:28

Download

PlexiCutsFinal.dxf

DXF for laser cutting the wood pieces

AutoCAD DXF - 151.39 kB - 03/06/2019 at 23:27

Download

Cutouts.dxf

DXF for laser cutting the metal panels

AutoCAD DXF - 32.76 kB - 03/06/2019 at 23:25

Download

  • Completed Keyboard

    Luca03/06/2019 at 23:17 3 comments

    The keyboard completed and in use.

    Here is possible to see that the 3 LEDs for the modifier keys (CTRL, ALT and SHIFT) are set for the "one key", hence the LEDs are at 50%; a layer is also active, hence the LED is to 100%. 

    Fist draft of the layouts of the keyboard. 

  • LEDs

    Luca03/06/2019 at 23:02 0 comments

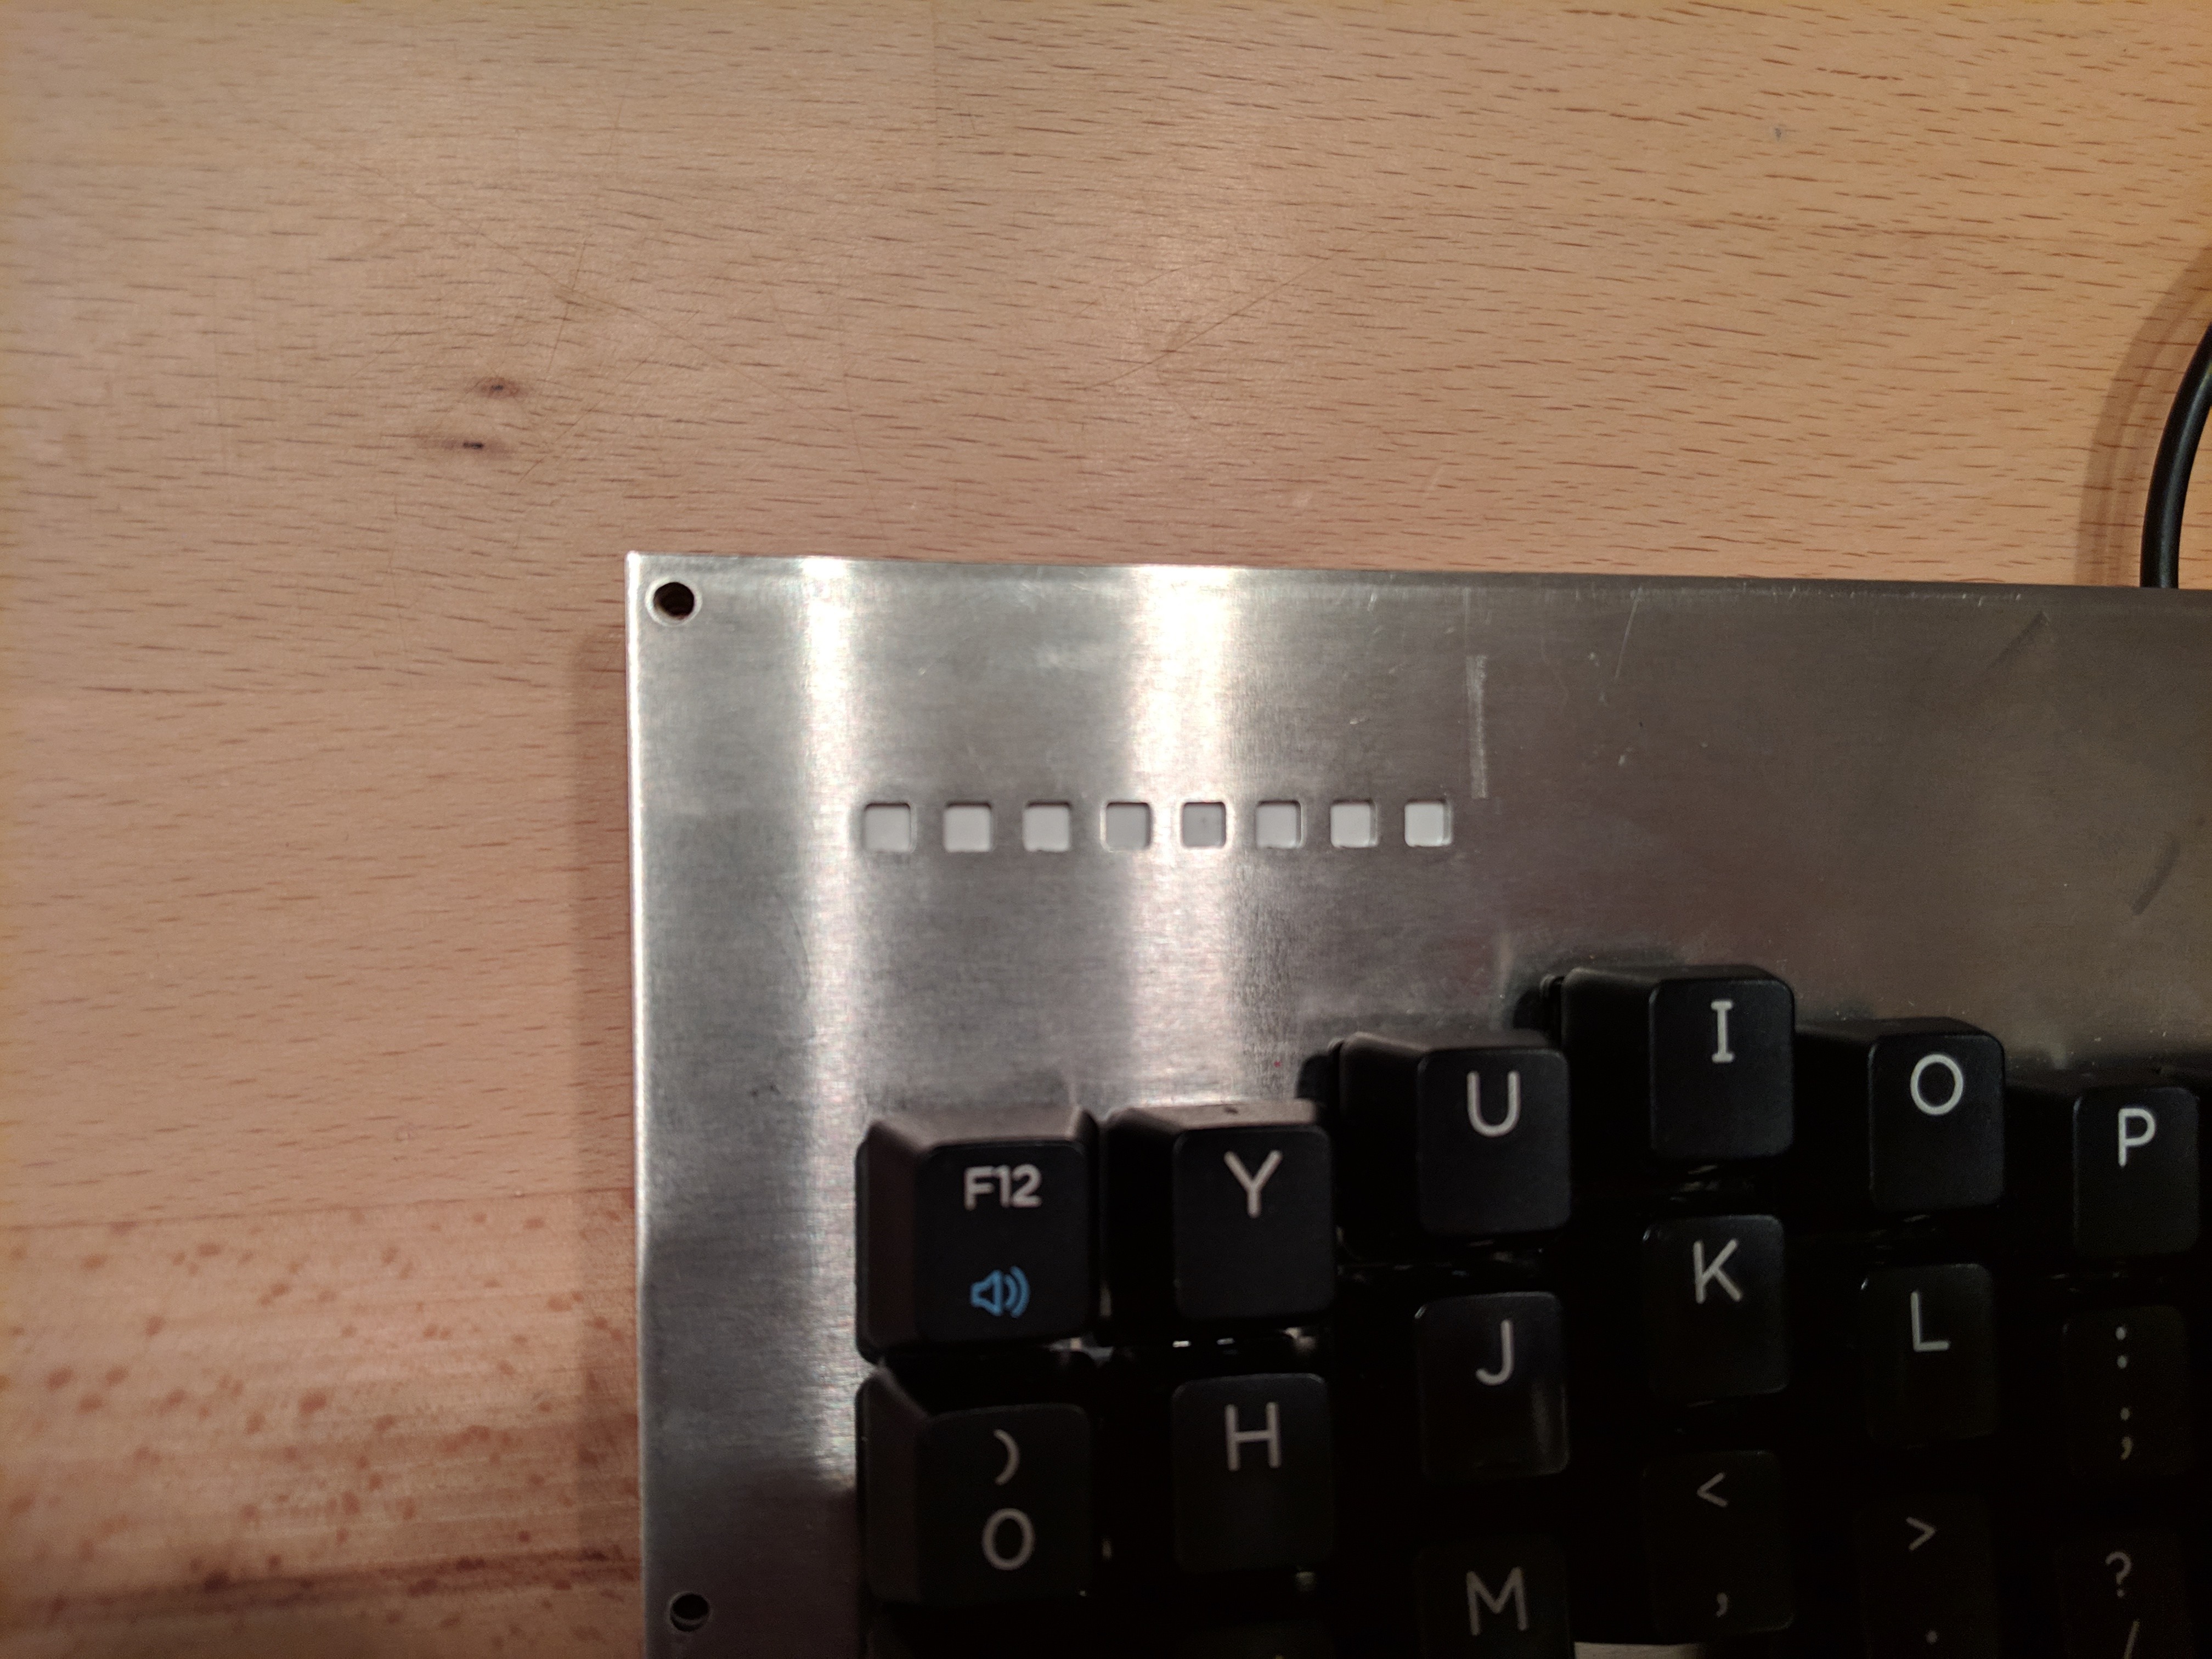
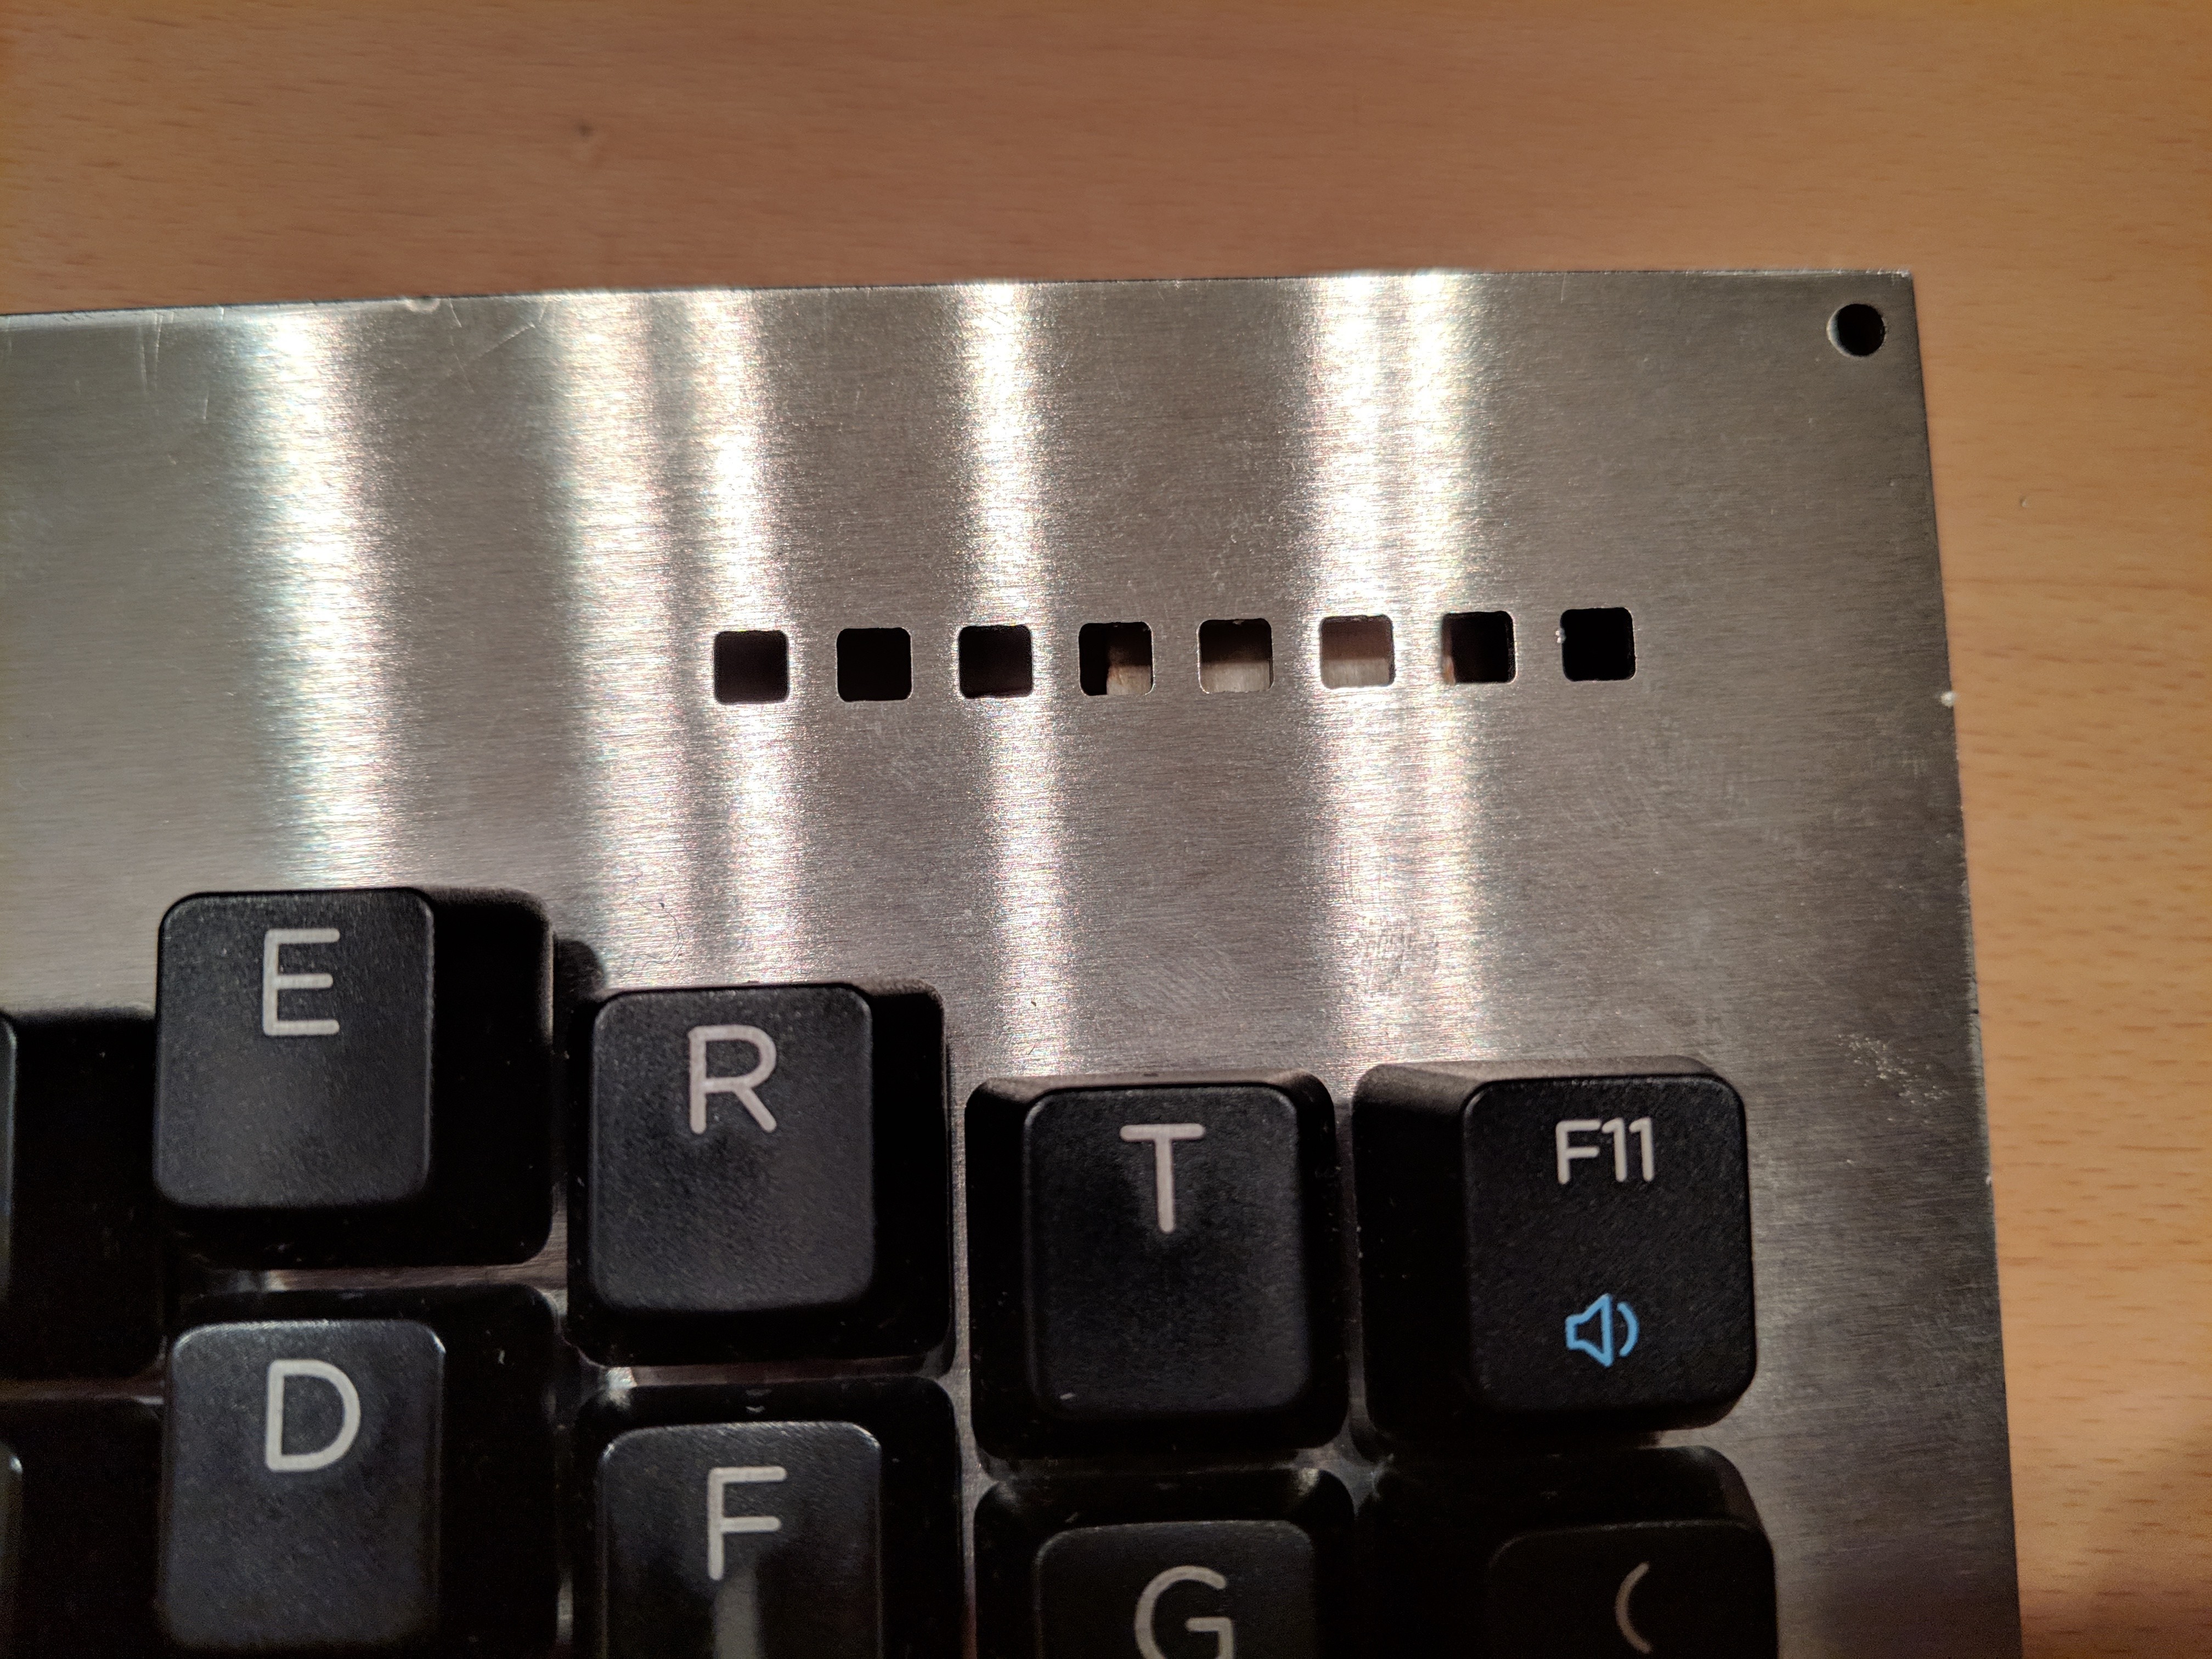
    The top of the right metal plate has holes for the light of the LEDs. The white is the double side tape. In the back is placed the strip. 

    Also the right side has the holes, but no LEDs have been installed. The 8 ones of the other side are enough.

    Some LEDs have just 2 states: 0% or 100%. They are used to inform which layer is currently active. 

    Others could have 3 states: 0%, 50%, or 100%. They are used for the One Shot Modifiers.
    More informations about this feature could be found in the help pages of the firmwares that I'm going to use, QMK and Kaleidoscope. For example here the modifier is in the fixed state, hence at 100%.

    Here, instead, the modifier is in the "one key" state, hence just 50%. On the other side, an extra layer is active, hence the other LED is to 100%. 

  • Connecting the wires

    Luca03/06/2019 at 22:56 0 comments

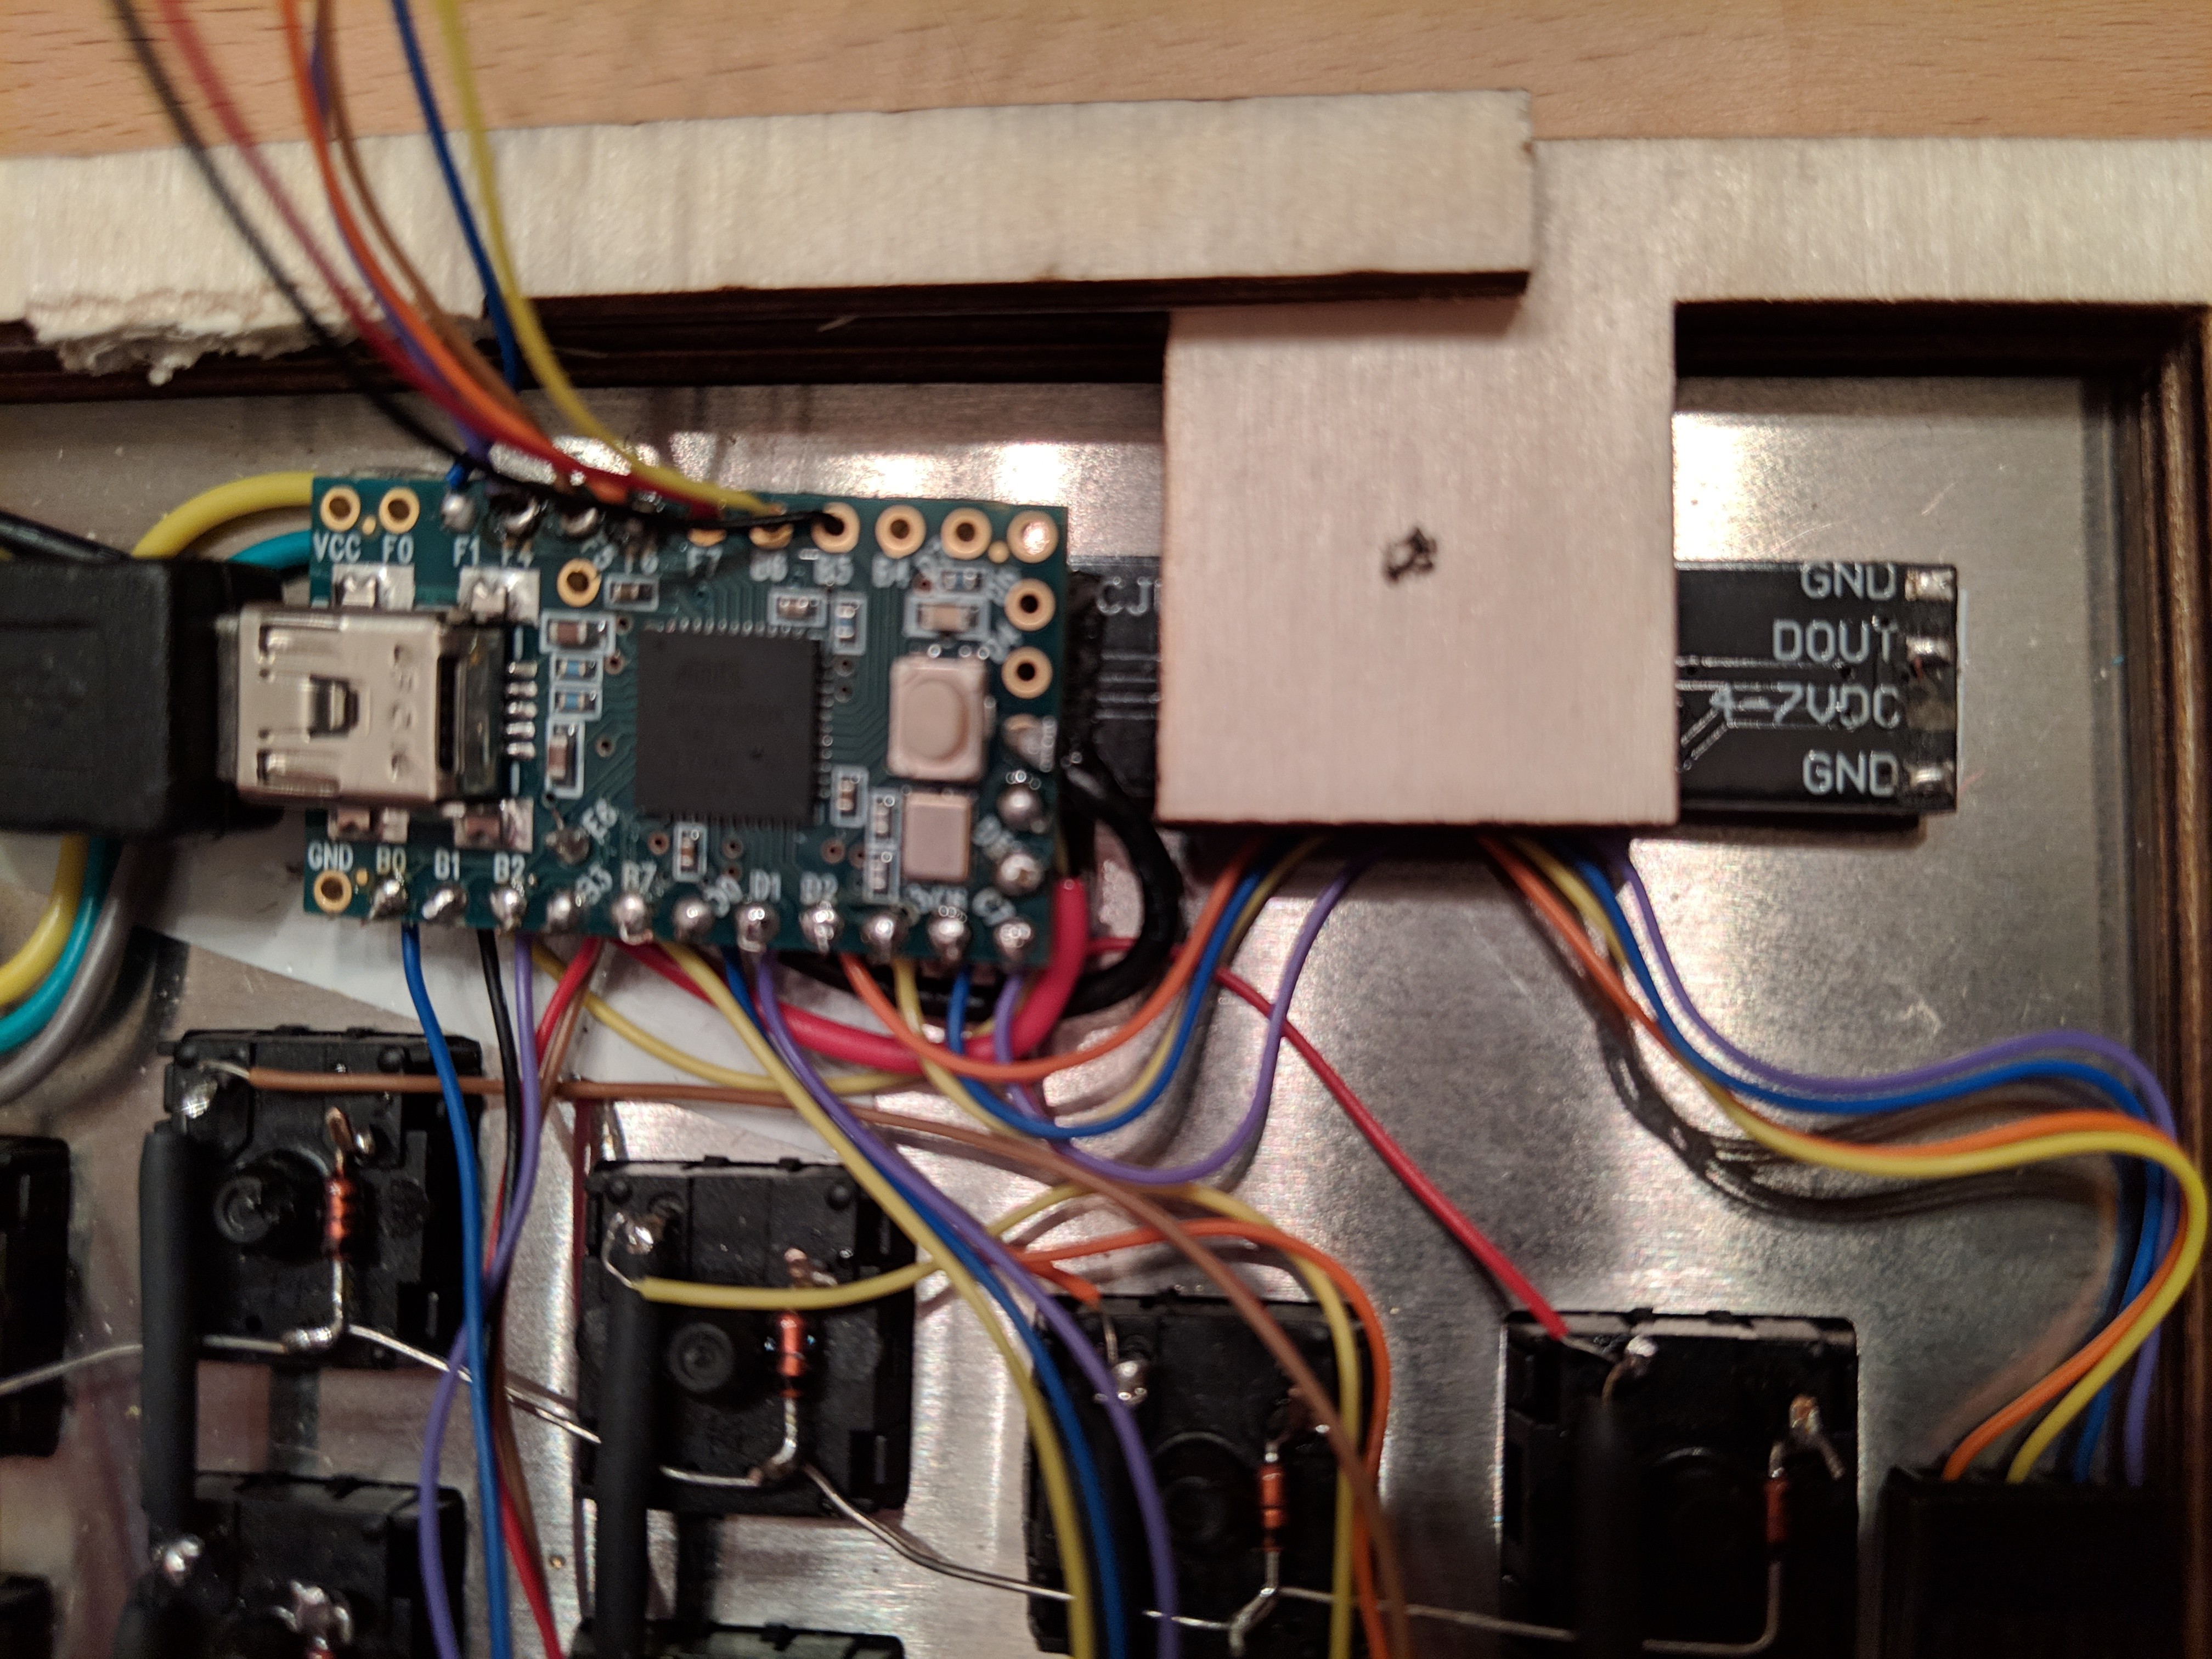
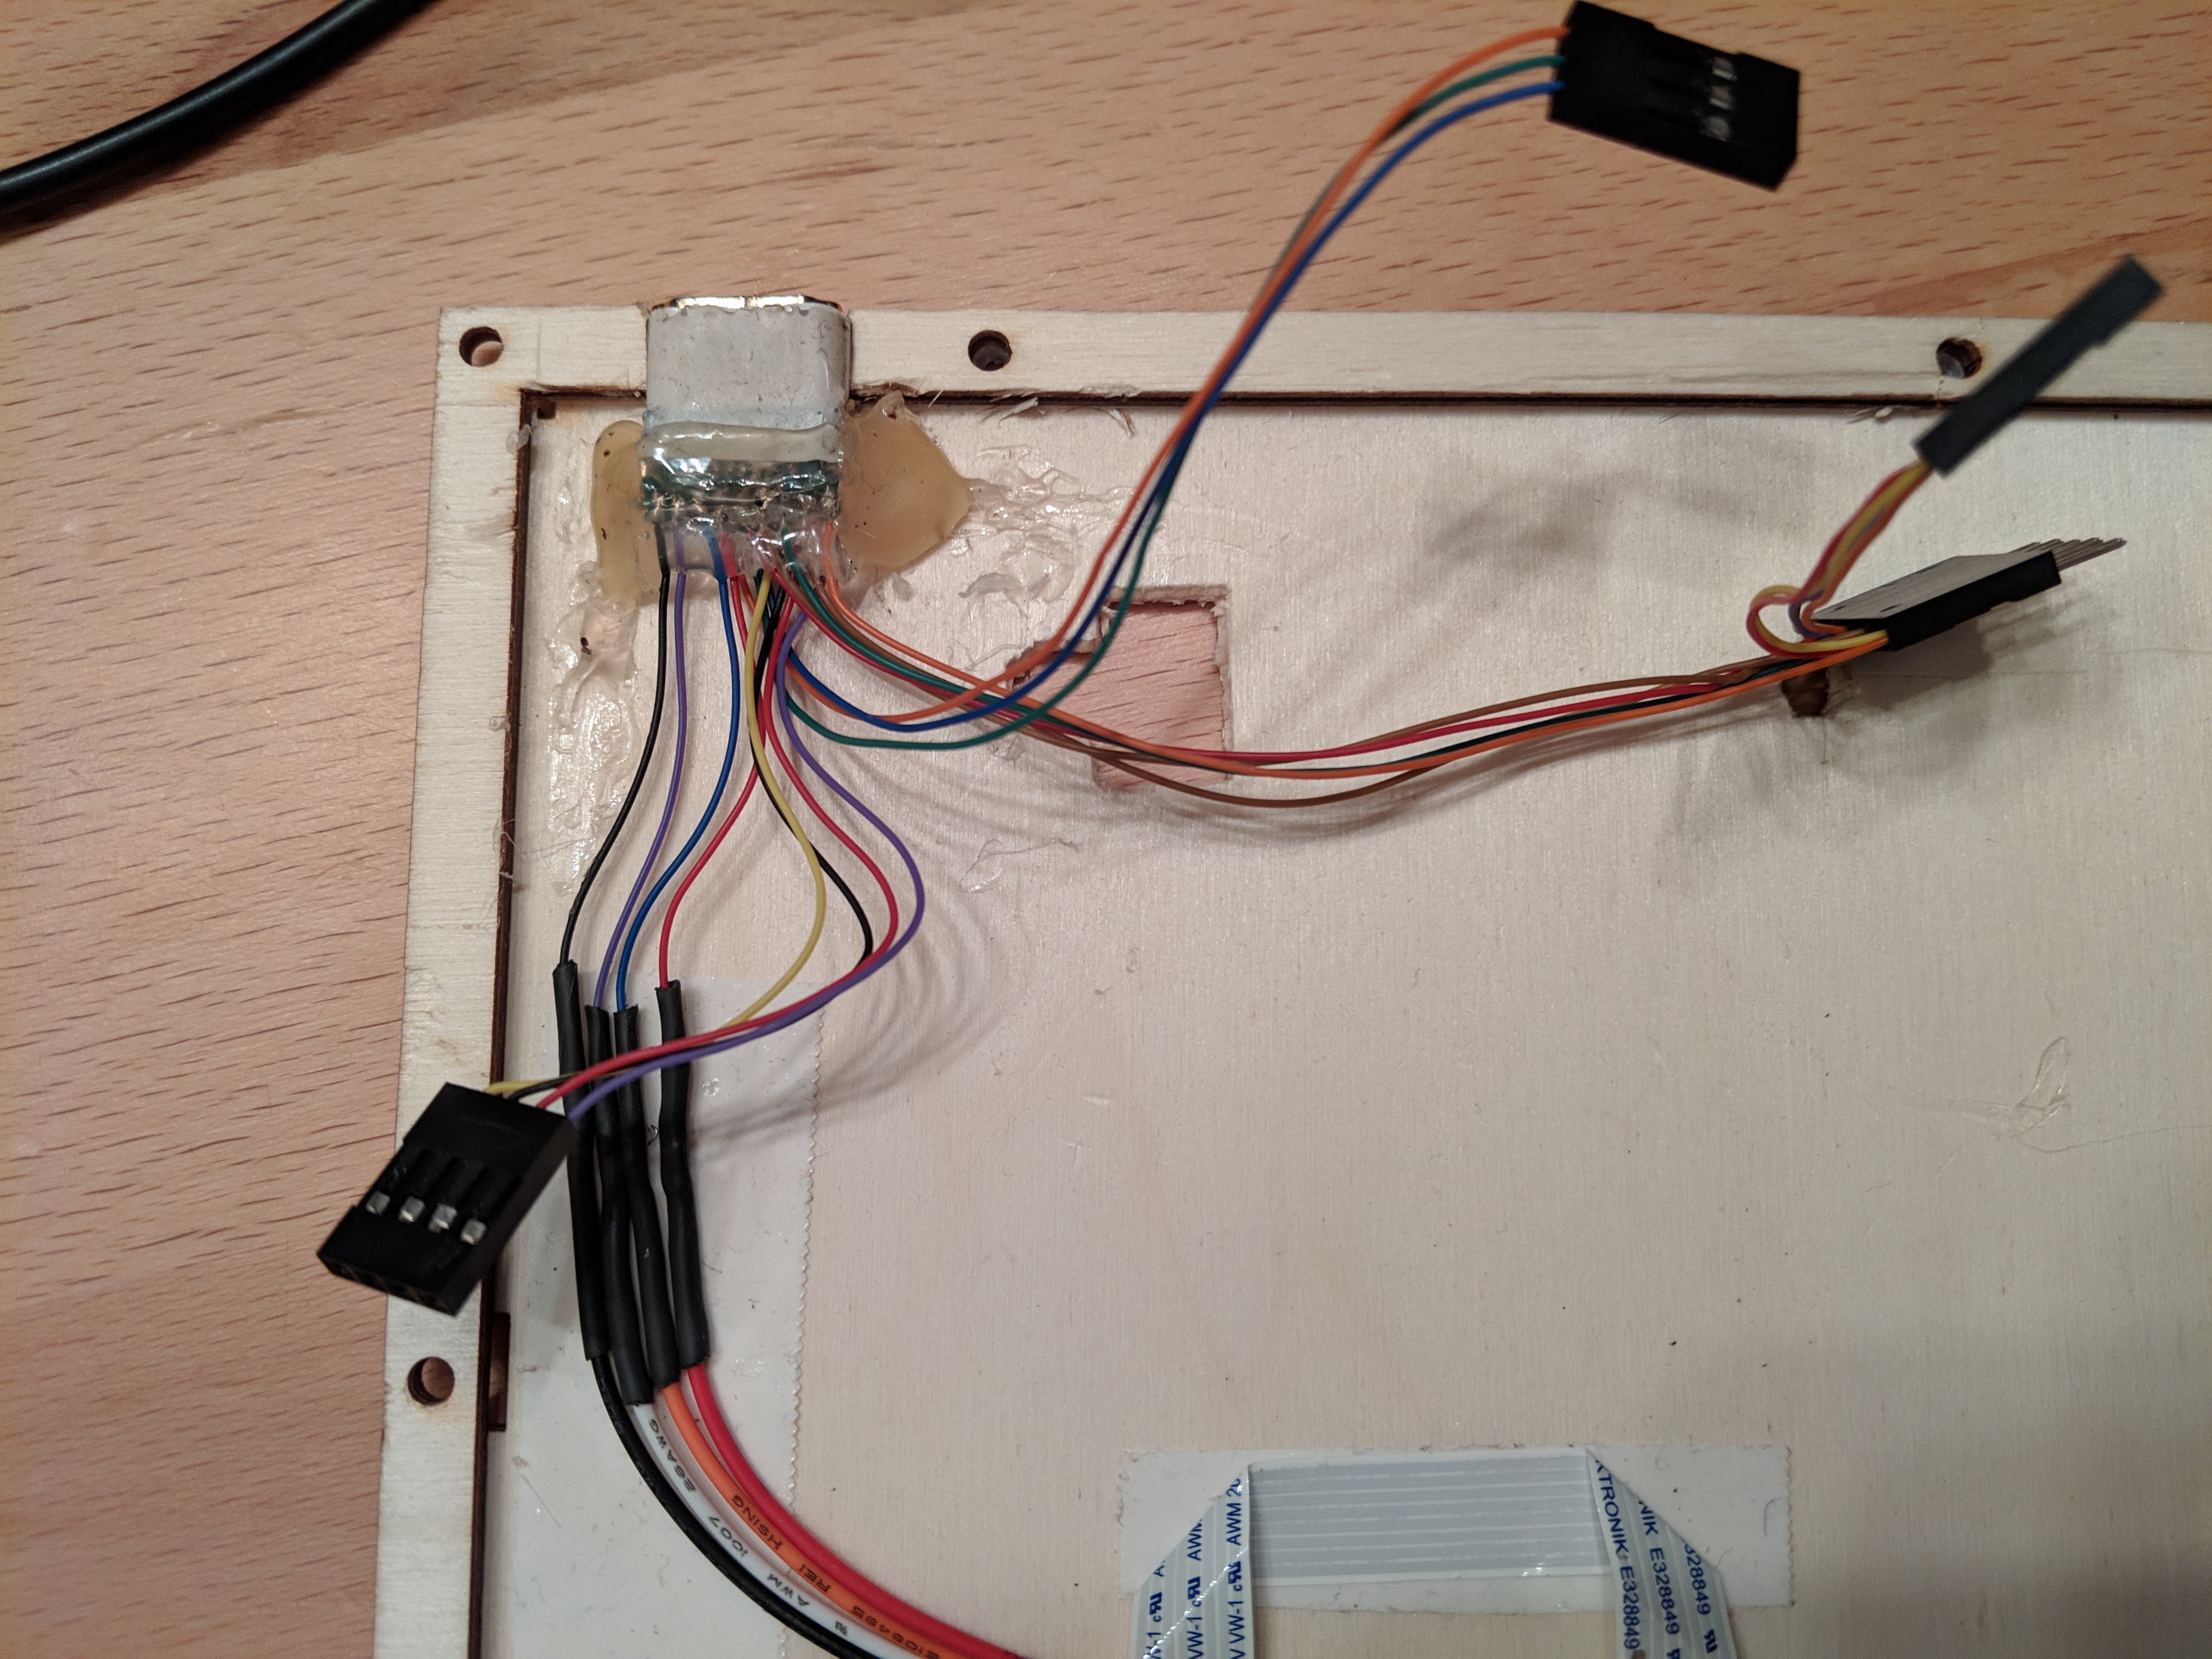
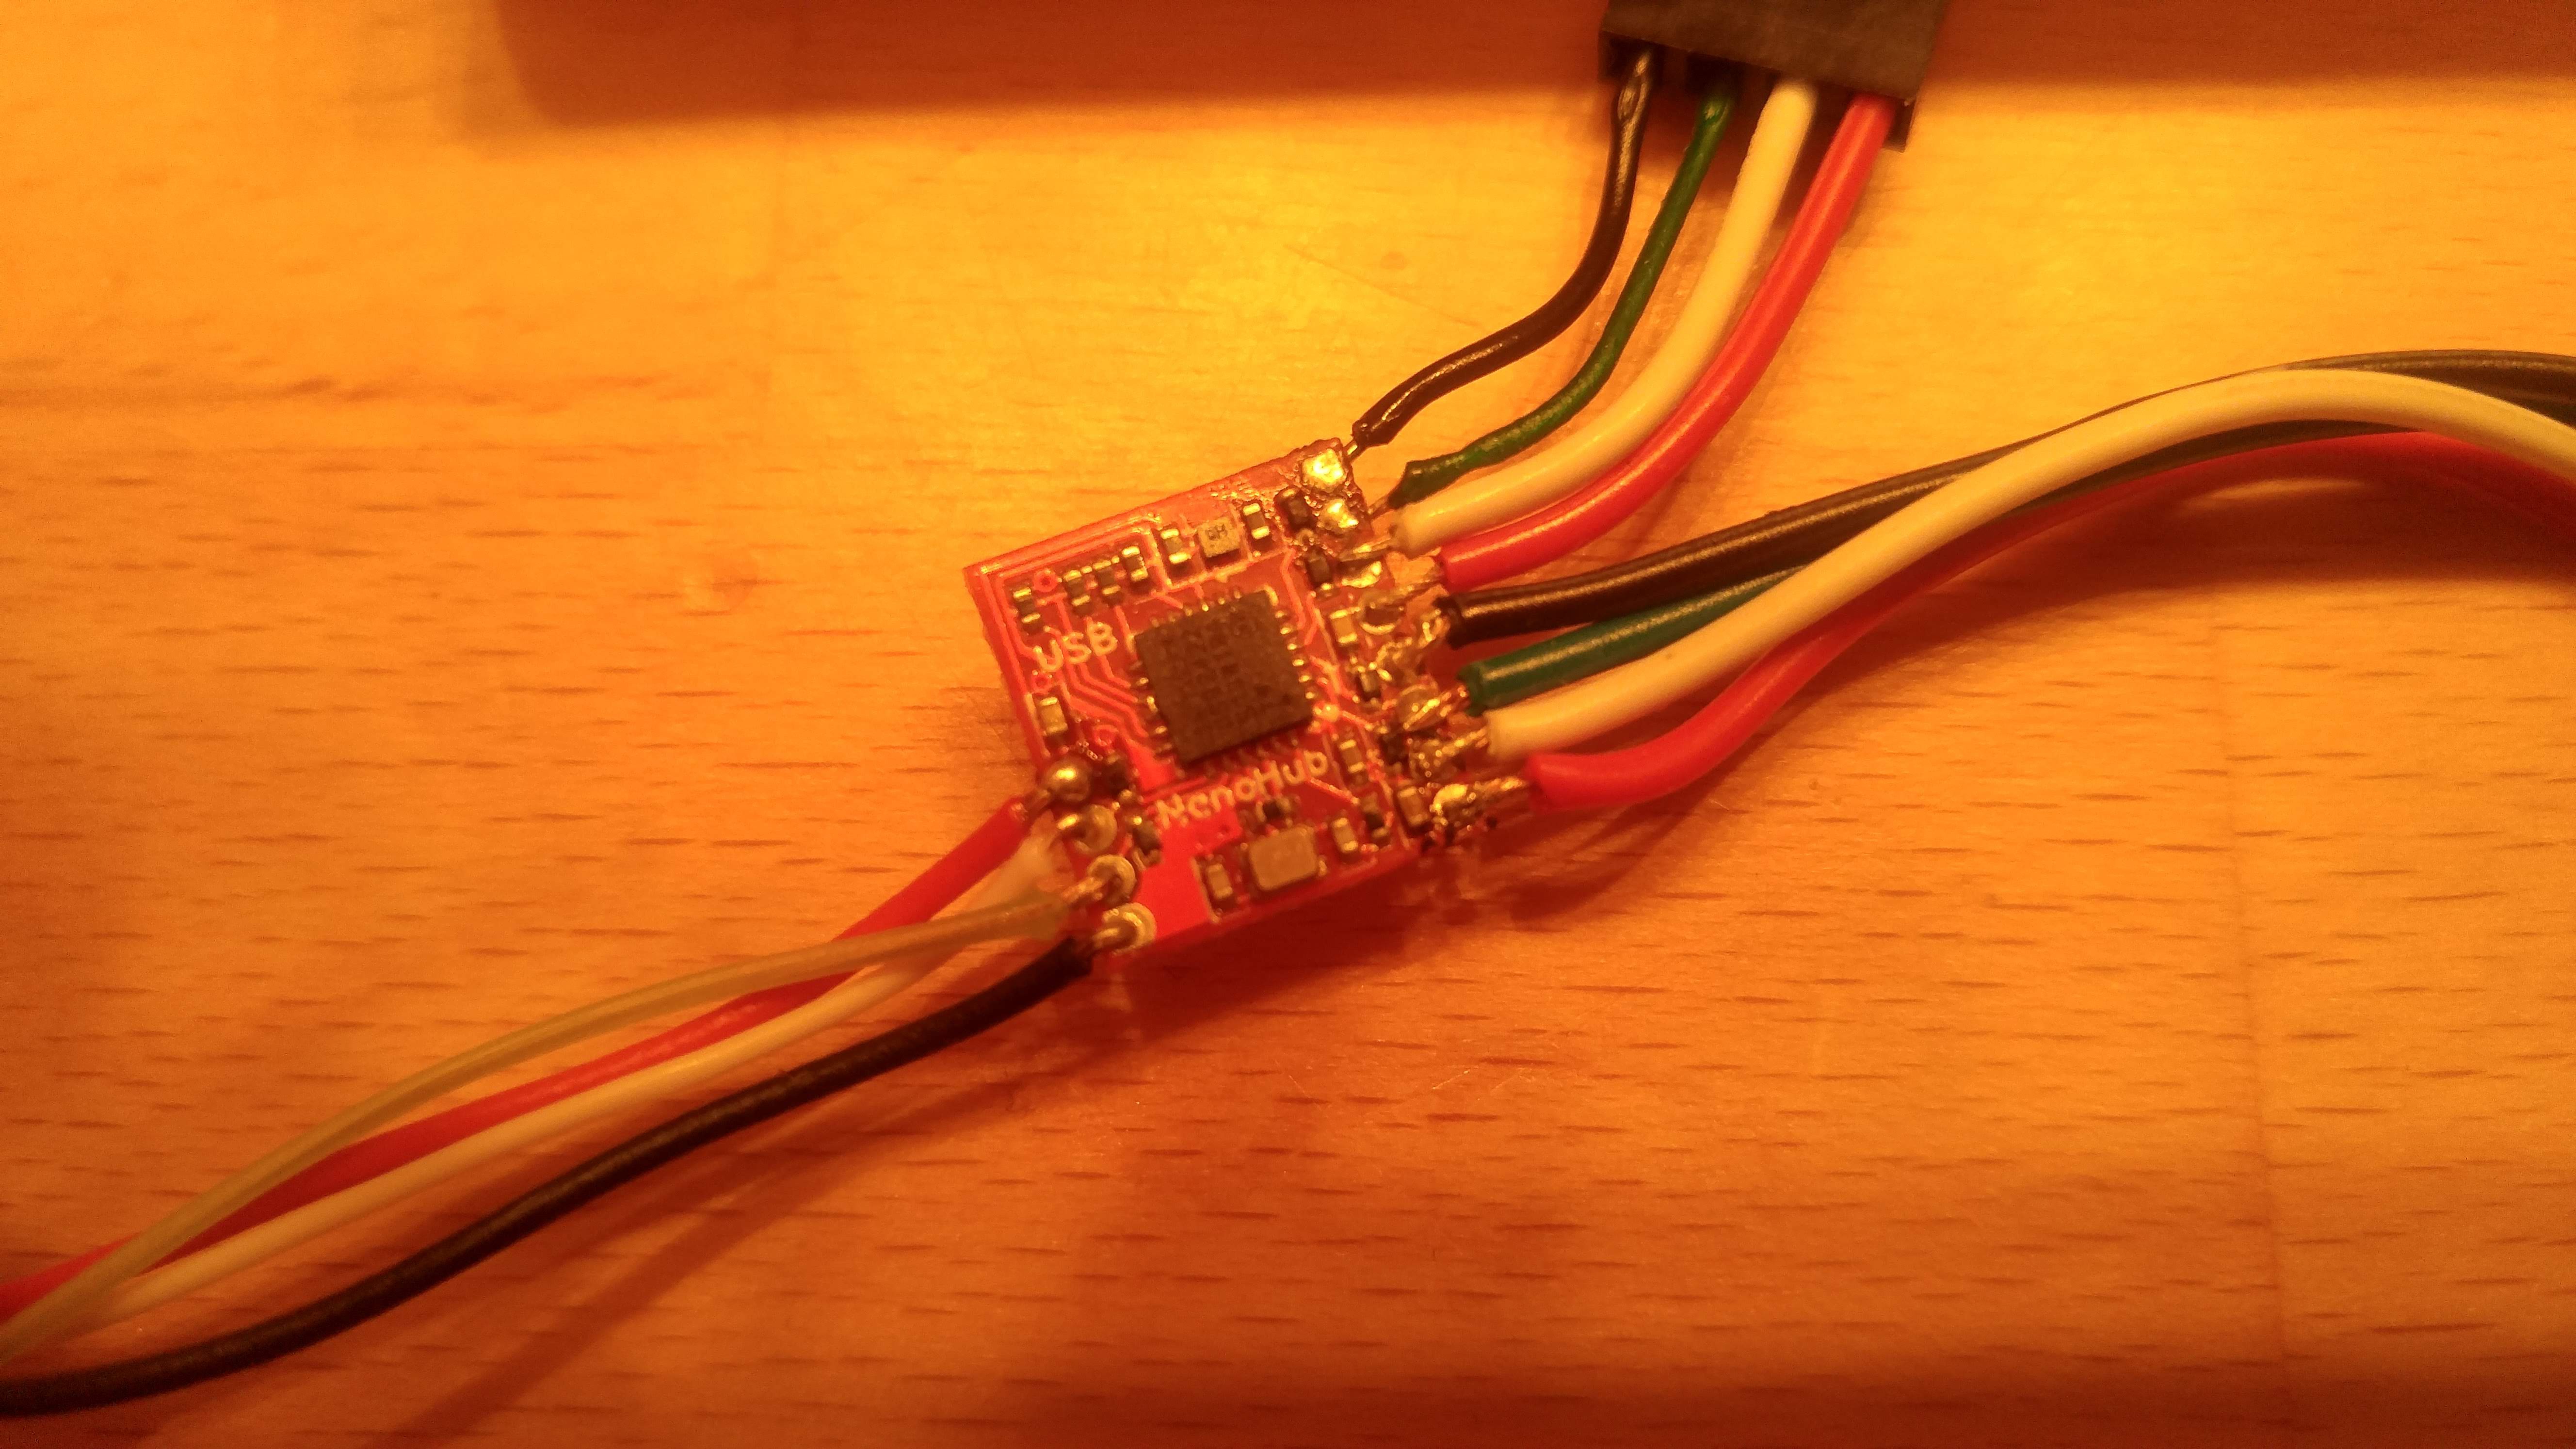
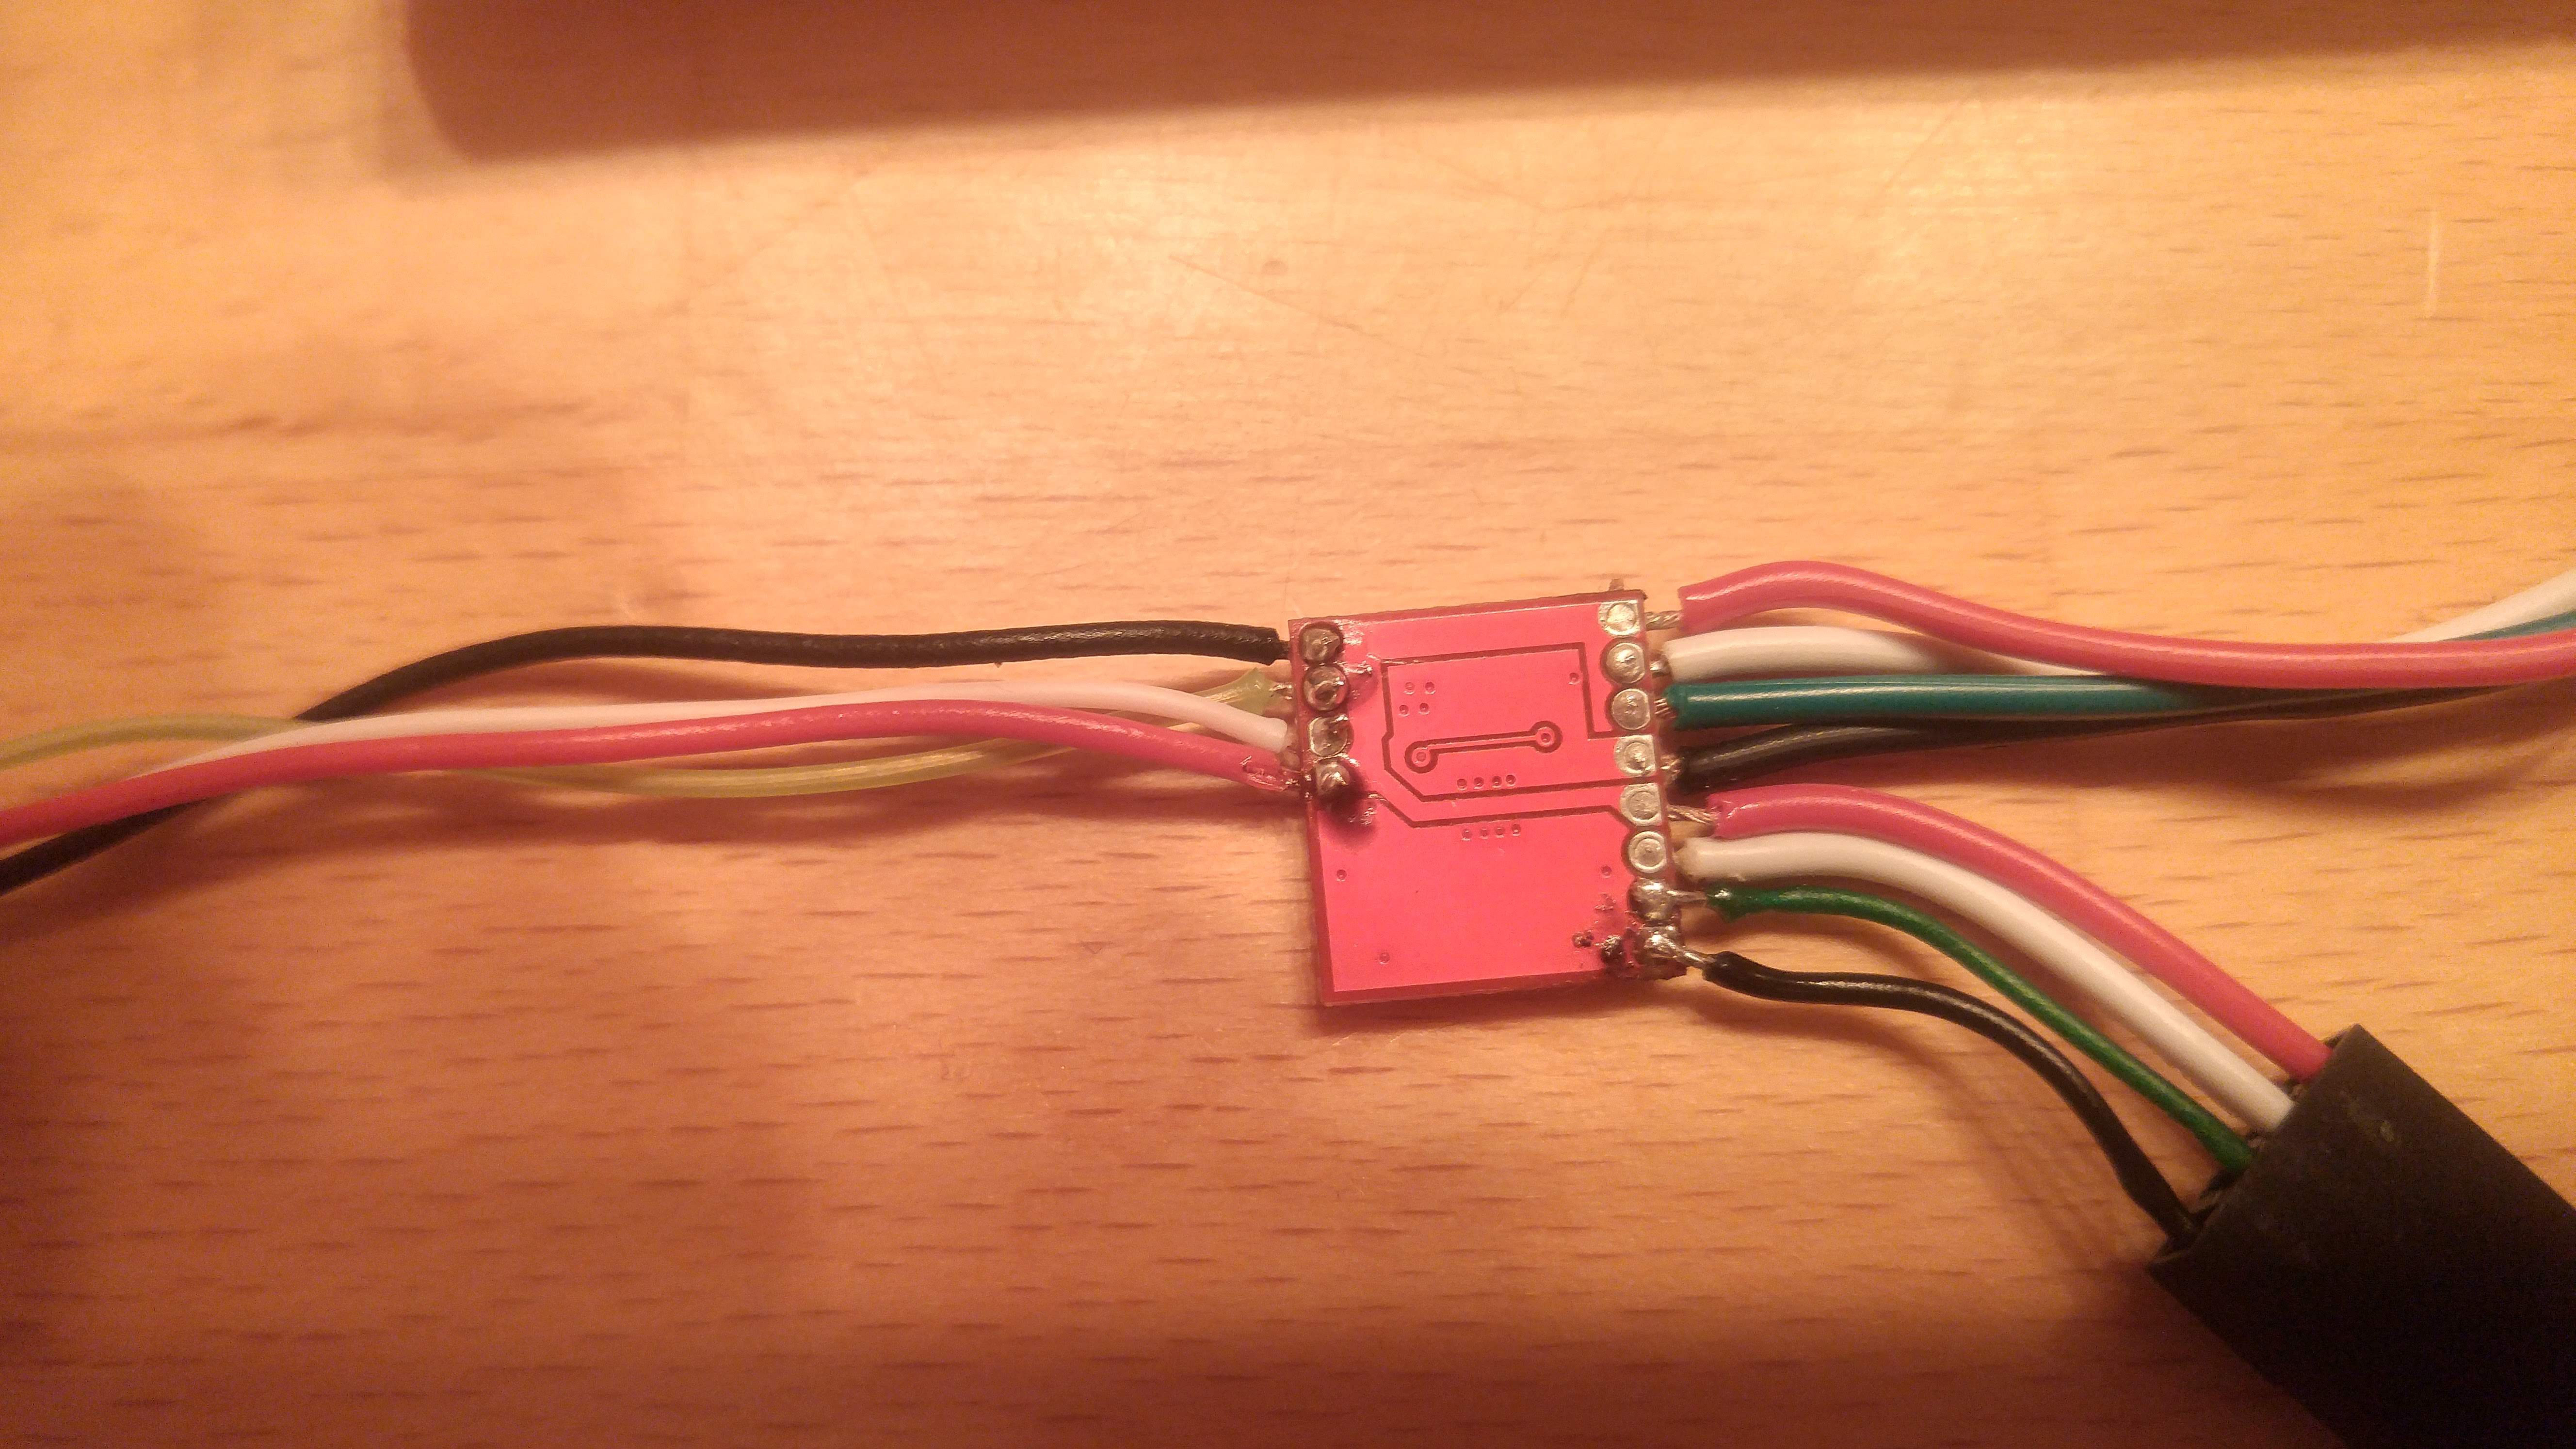
    Detail of the NanoHub used to connect the devices. This is one of the several boards I've bought. Some went destroyed because I've had a too big soldering device (they're really really small - then I've took a smaller one and things went better); in some others I've broken the cables during the several connect/disconnect actions working on the sample wood case. 

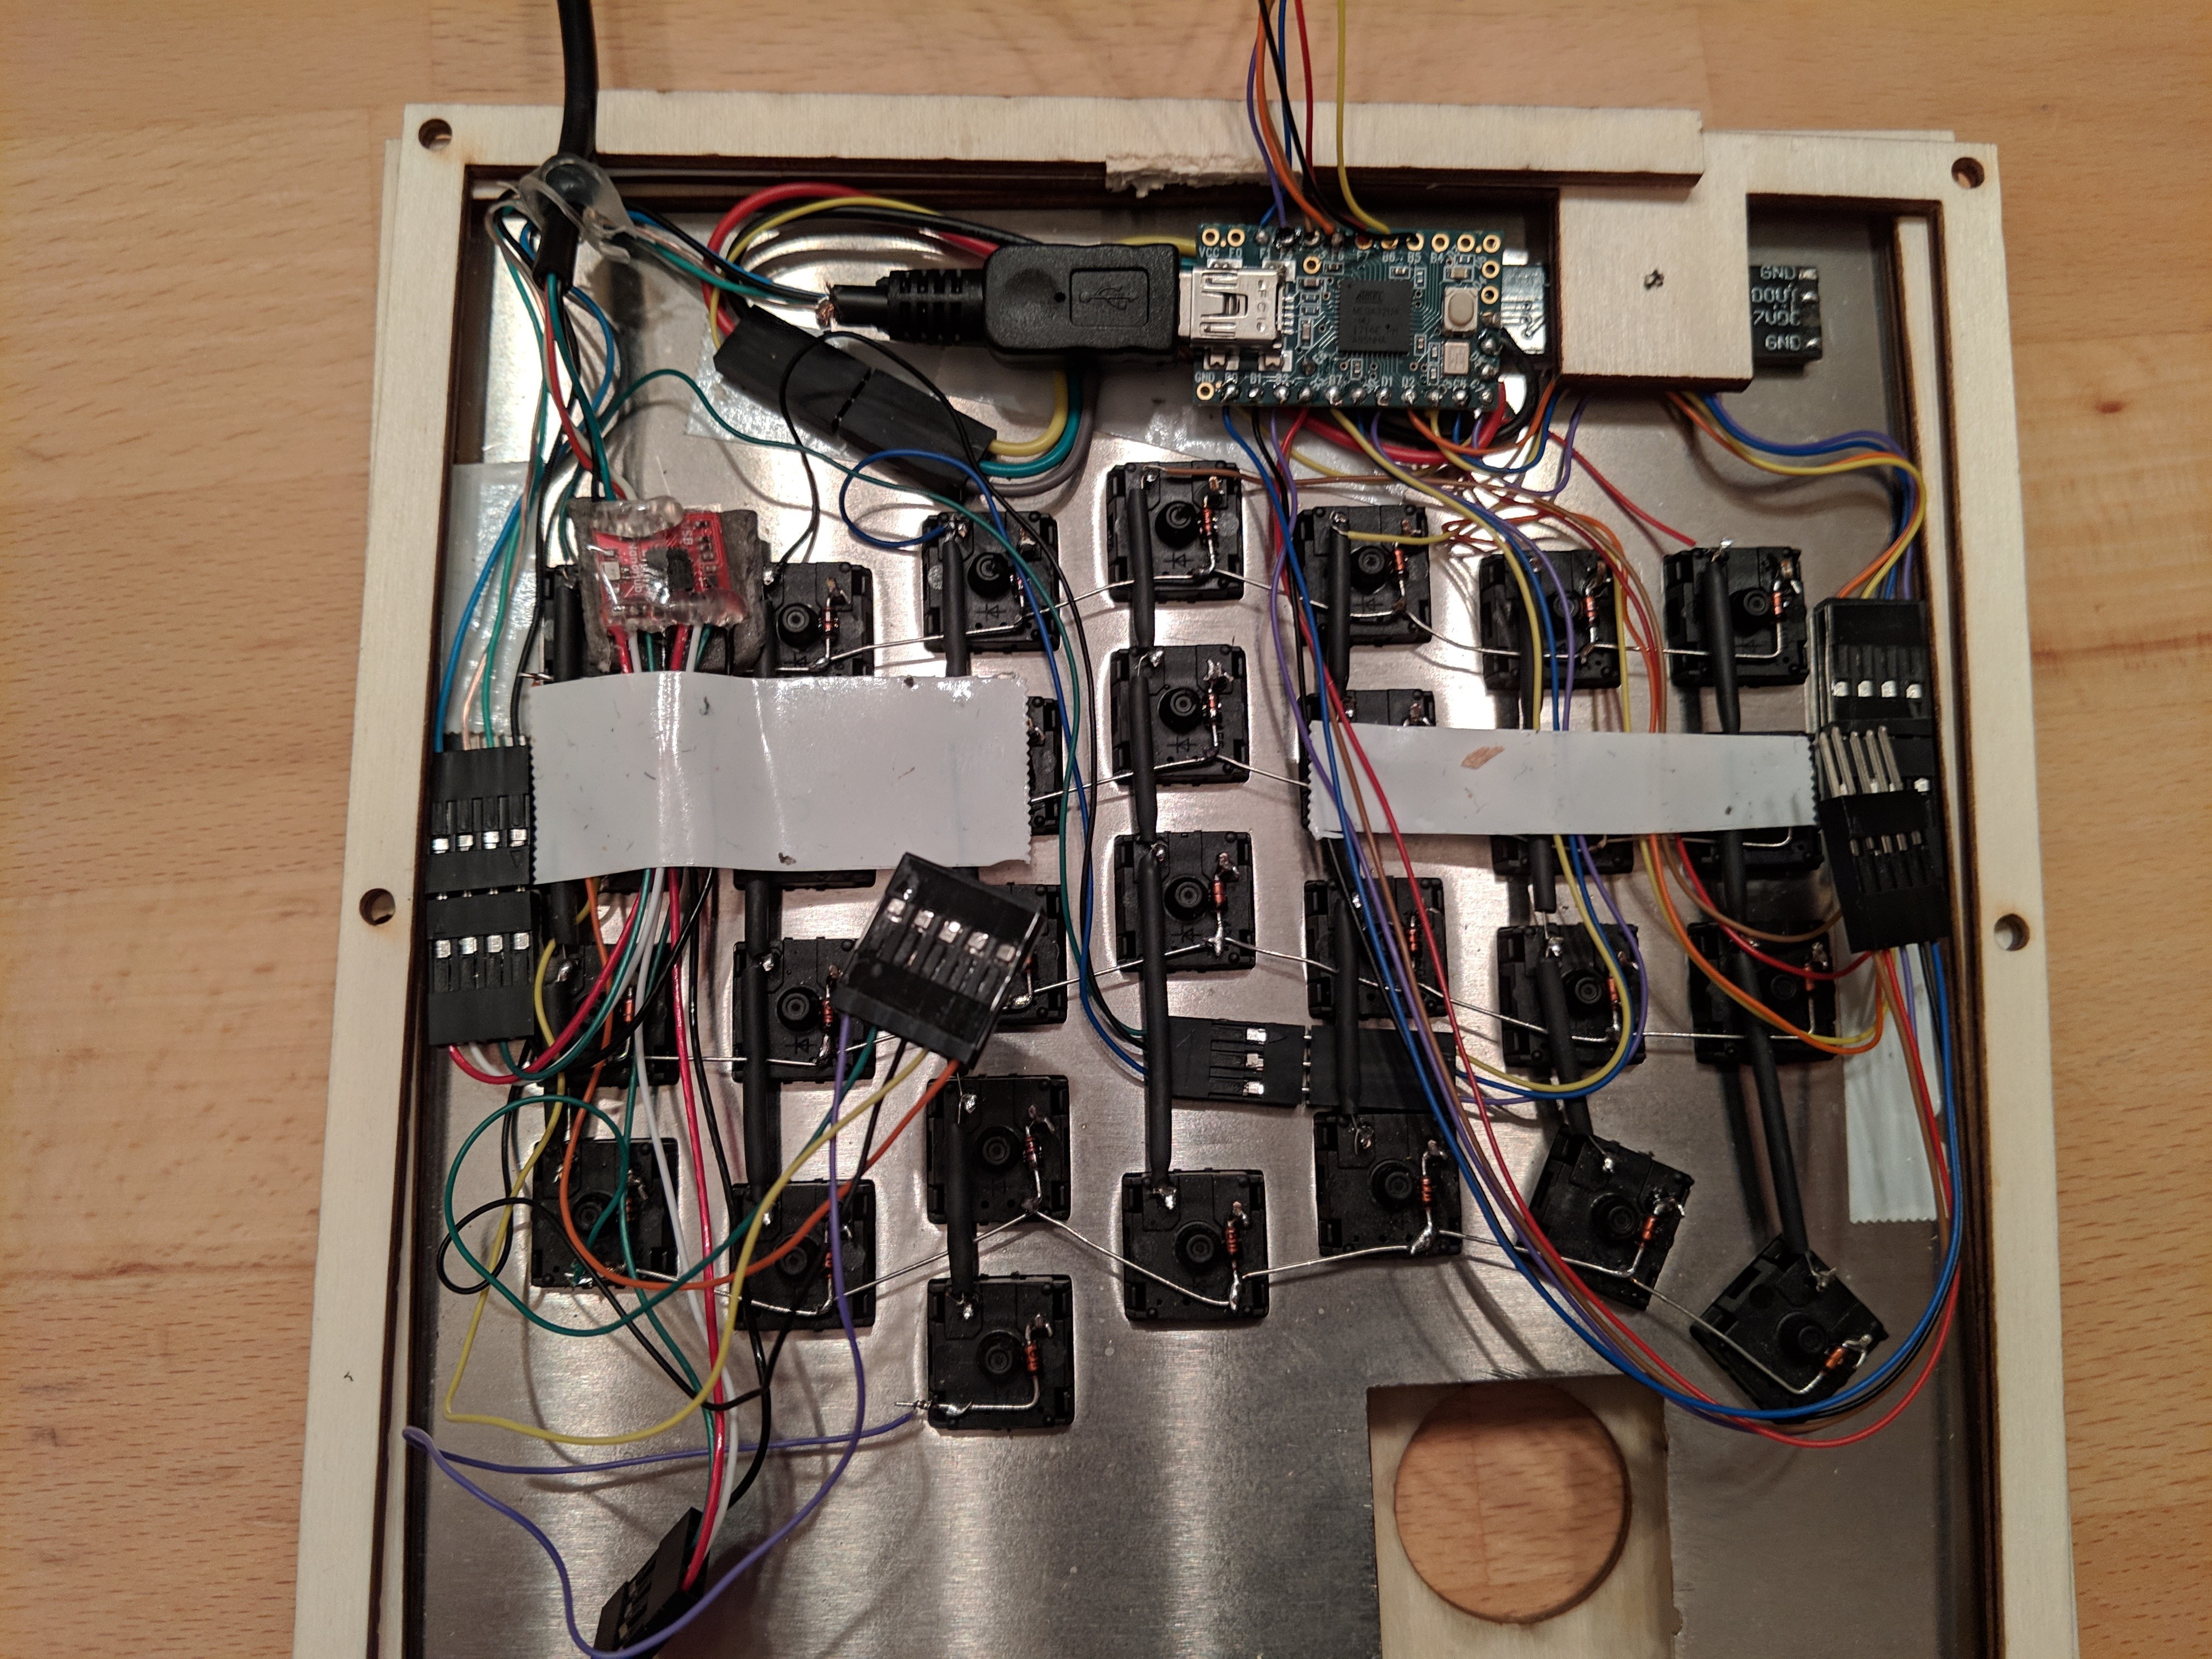
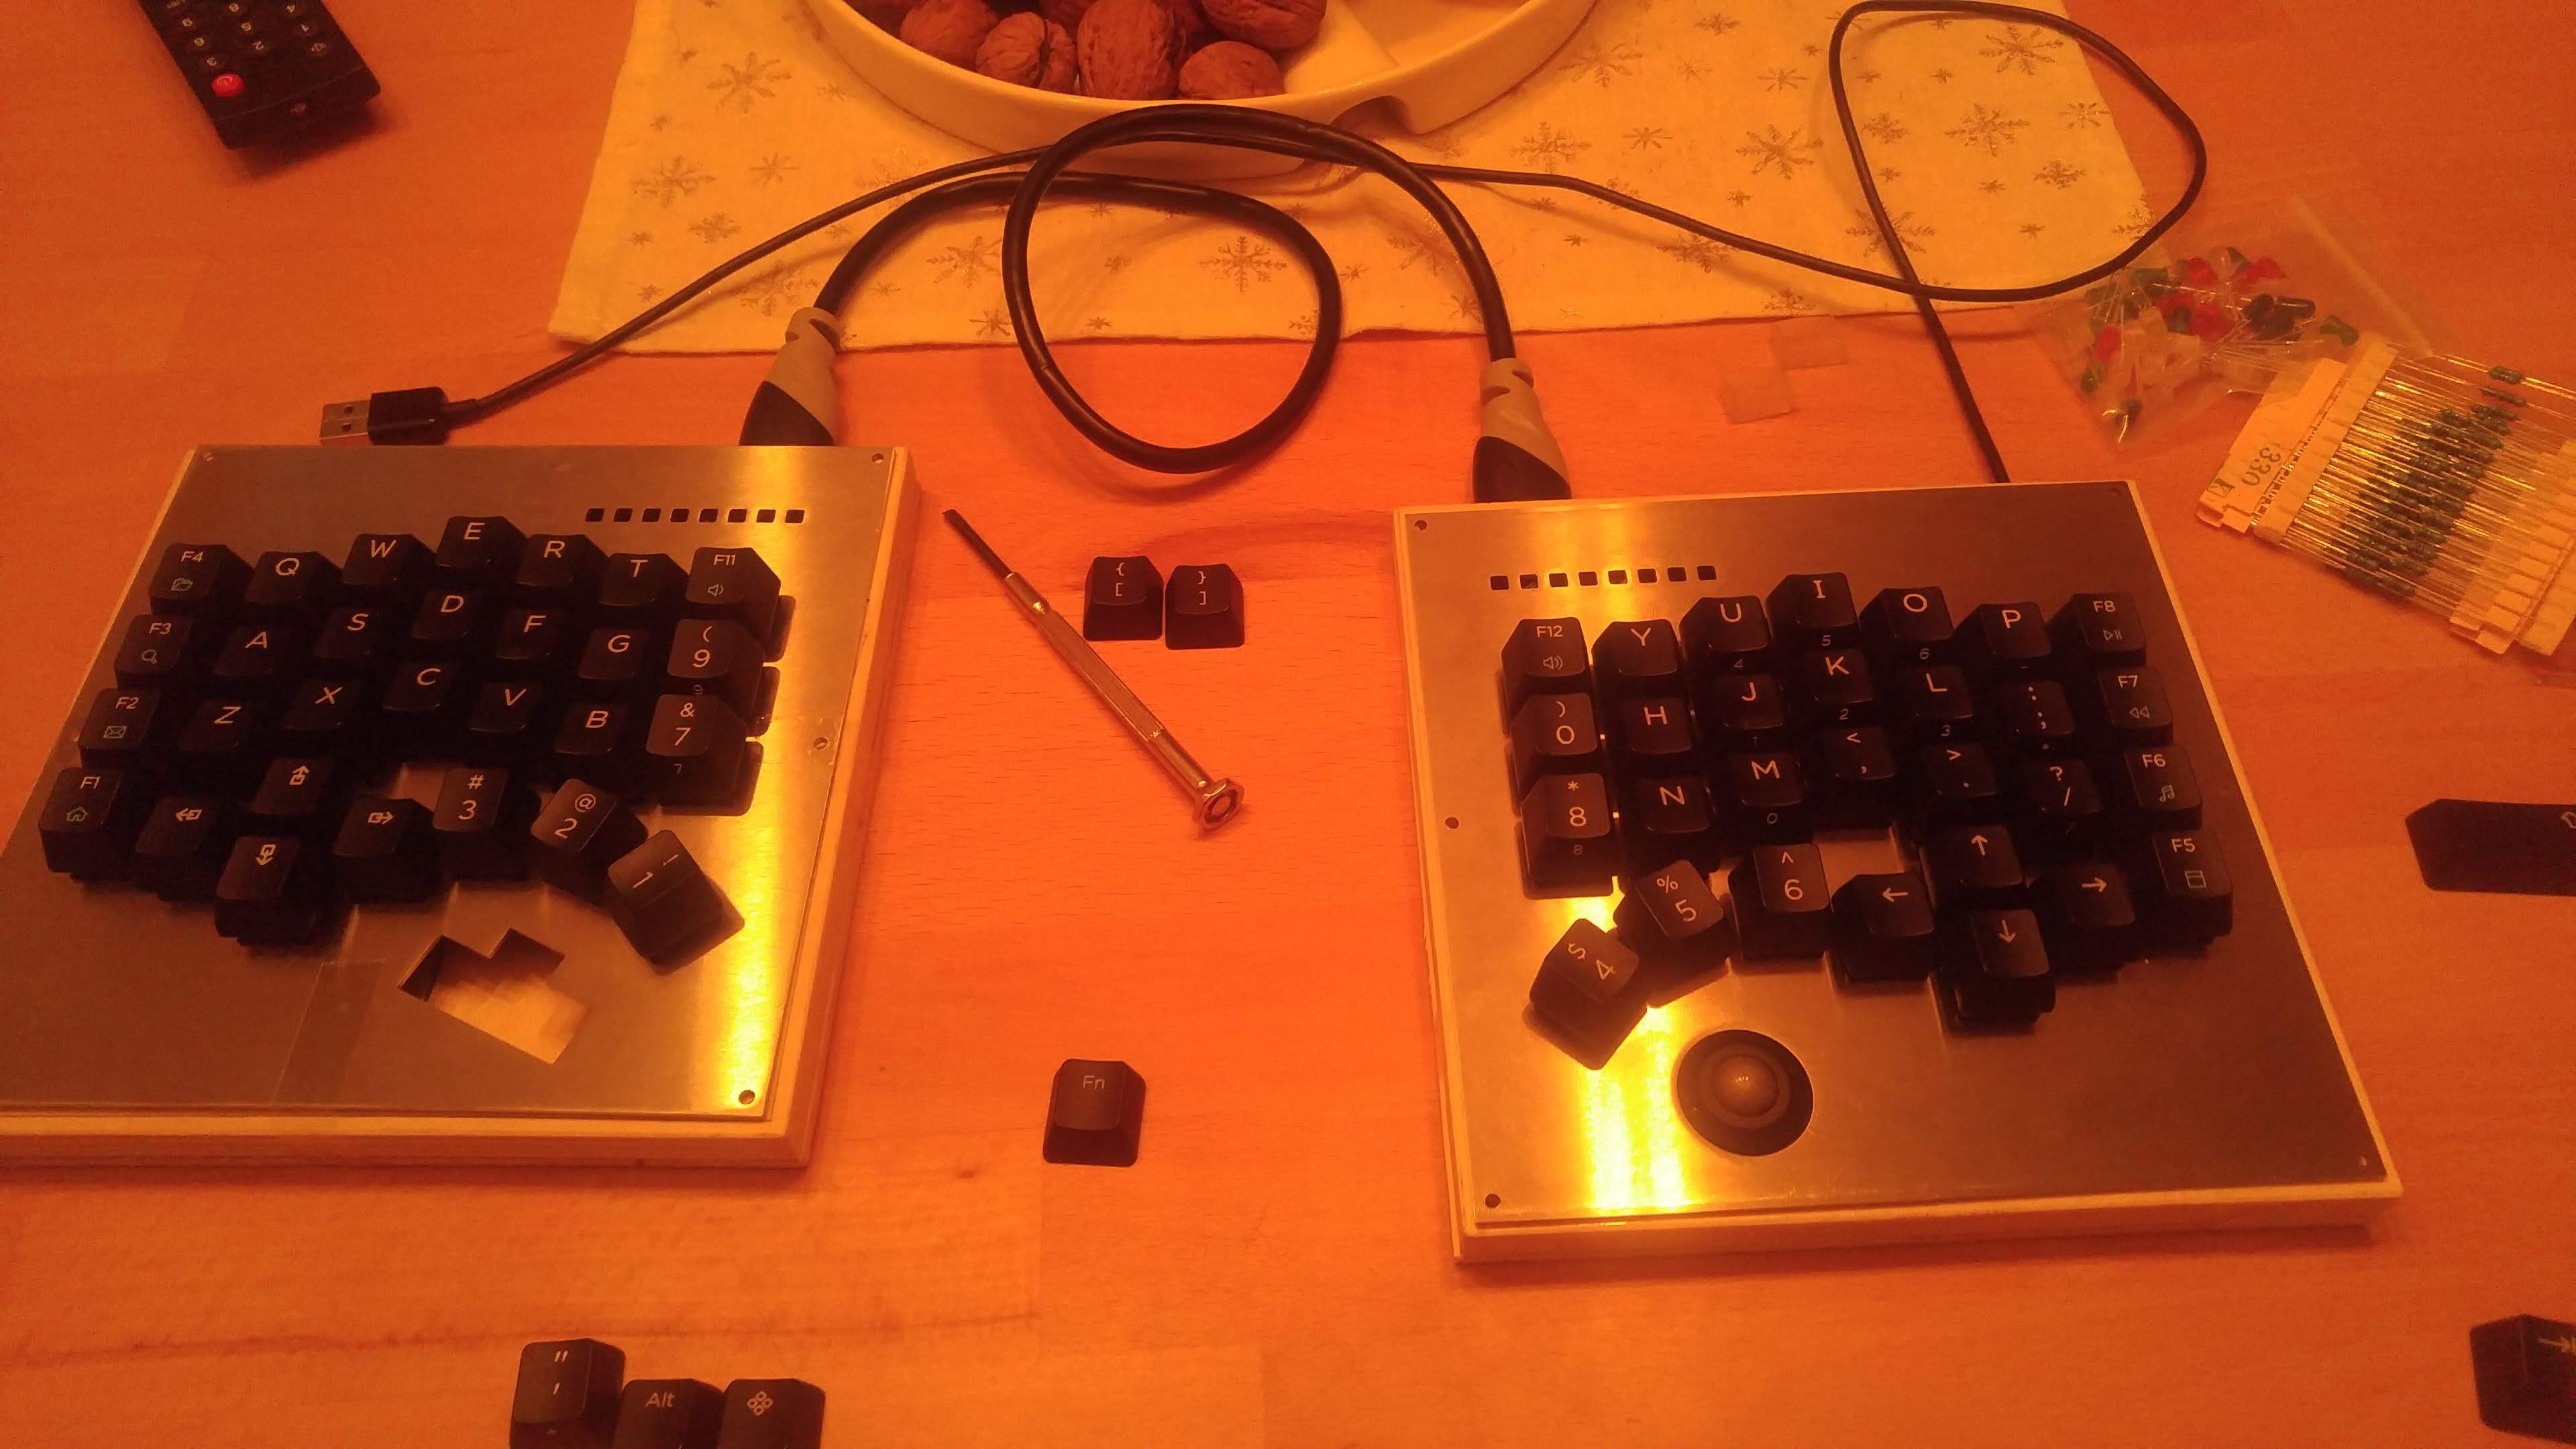
    Overview of the back of the right side. I've had to cut a bigger hole in the metal plate, the trackball was too deep inside and it was almost impossible to use it. 

    Detail of the LEDs strip. It's blocked by a wood piece and double side tape on both sides. 

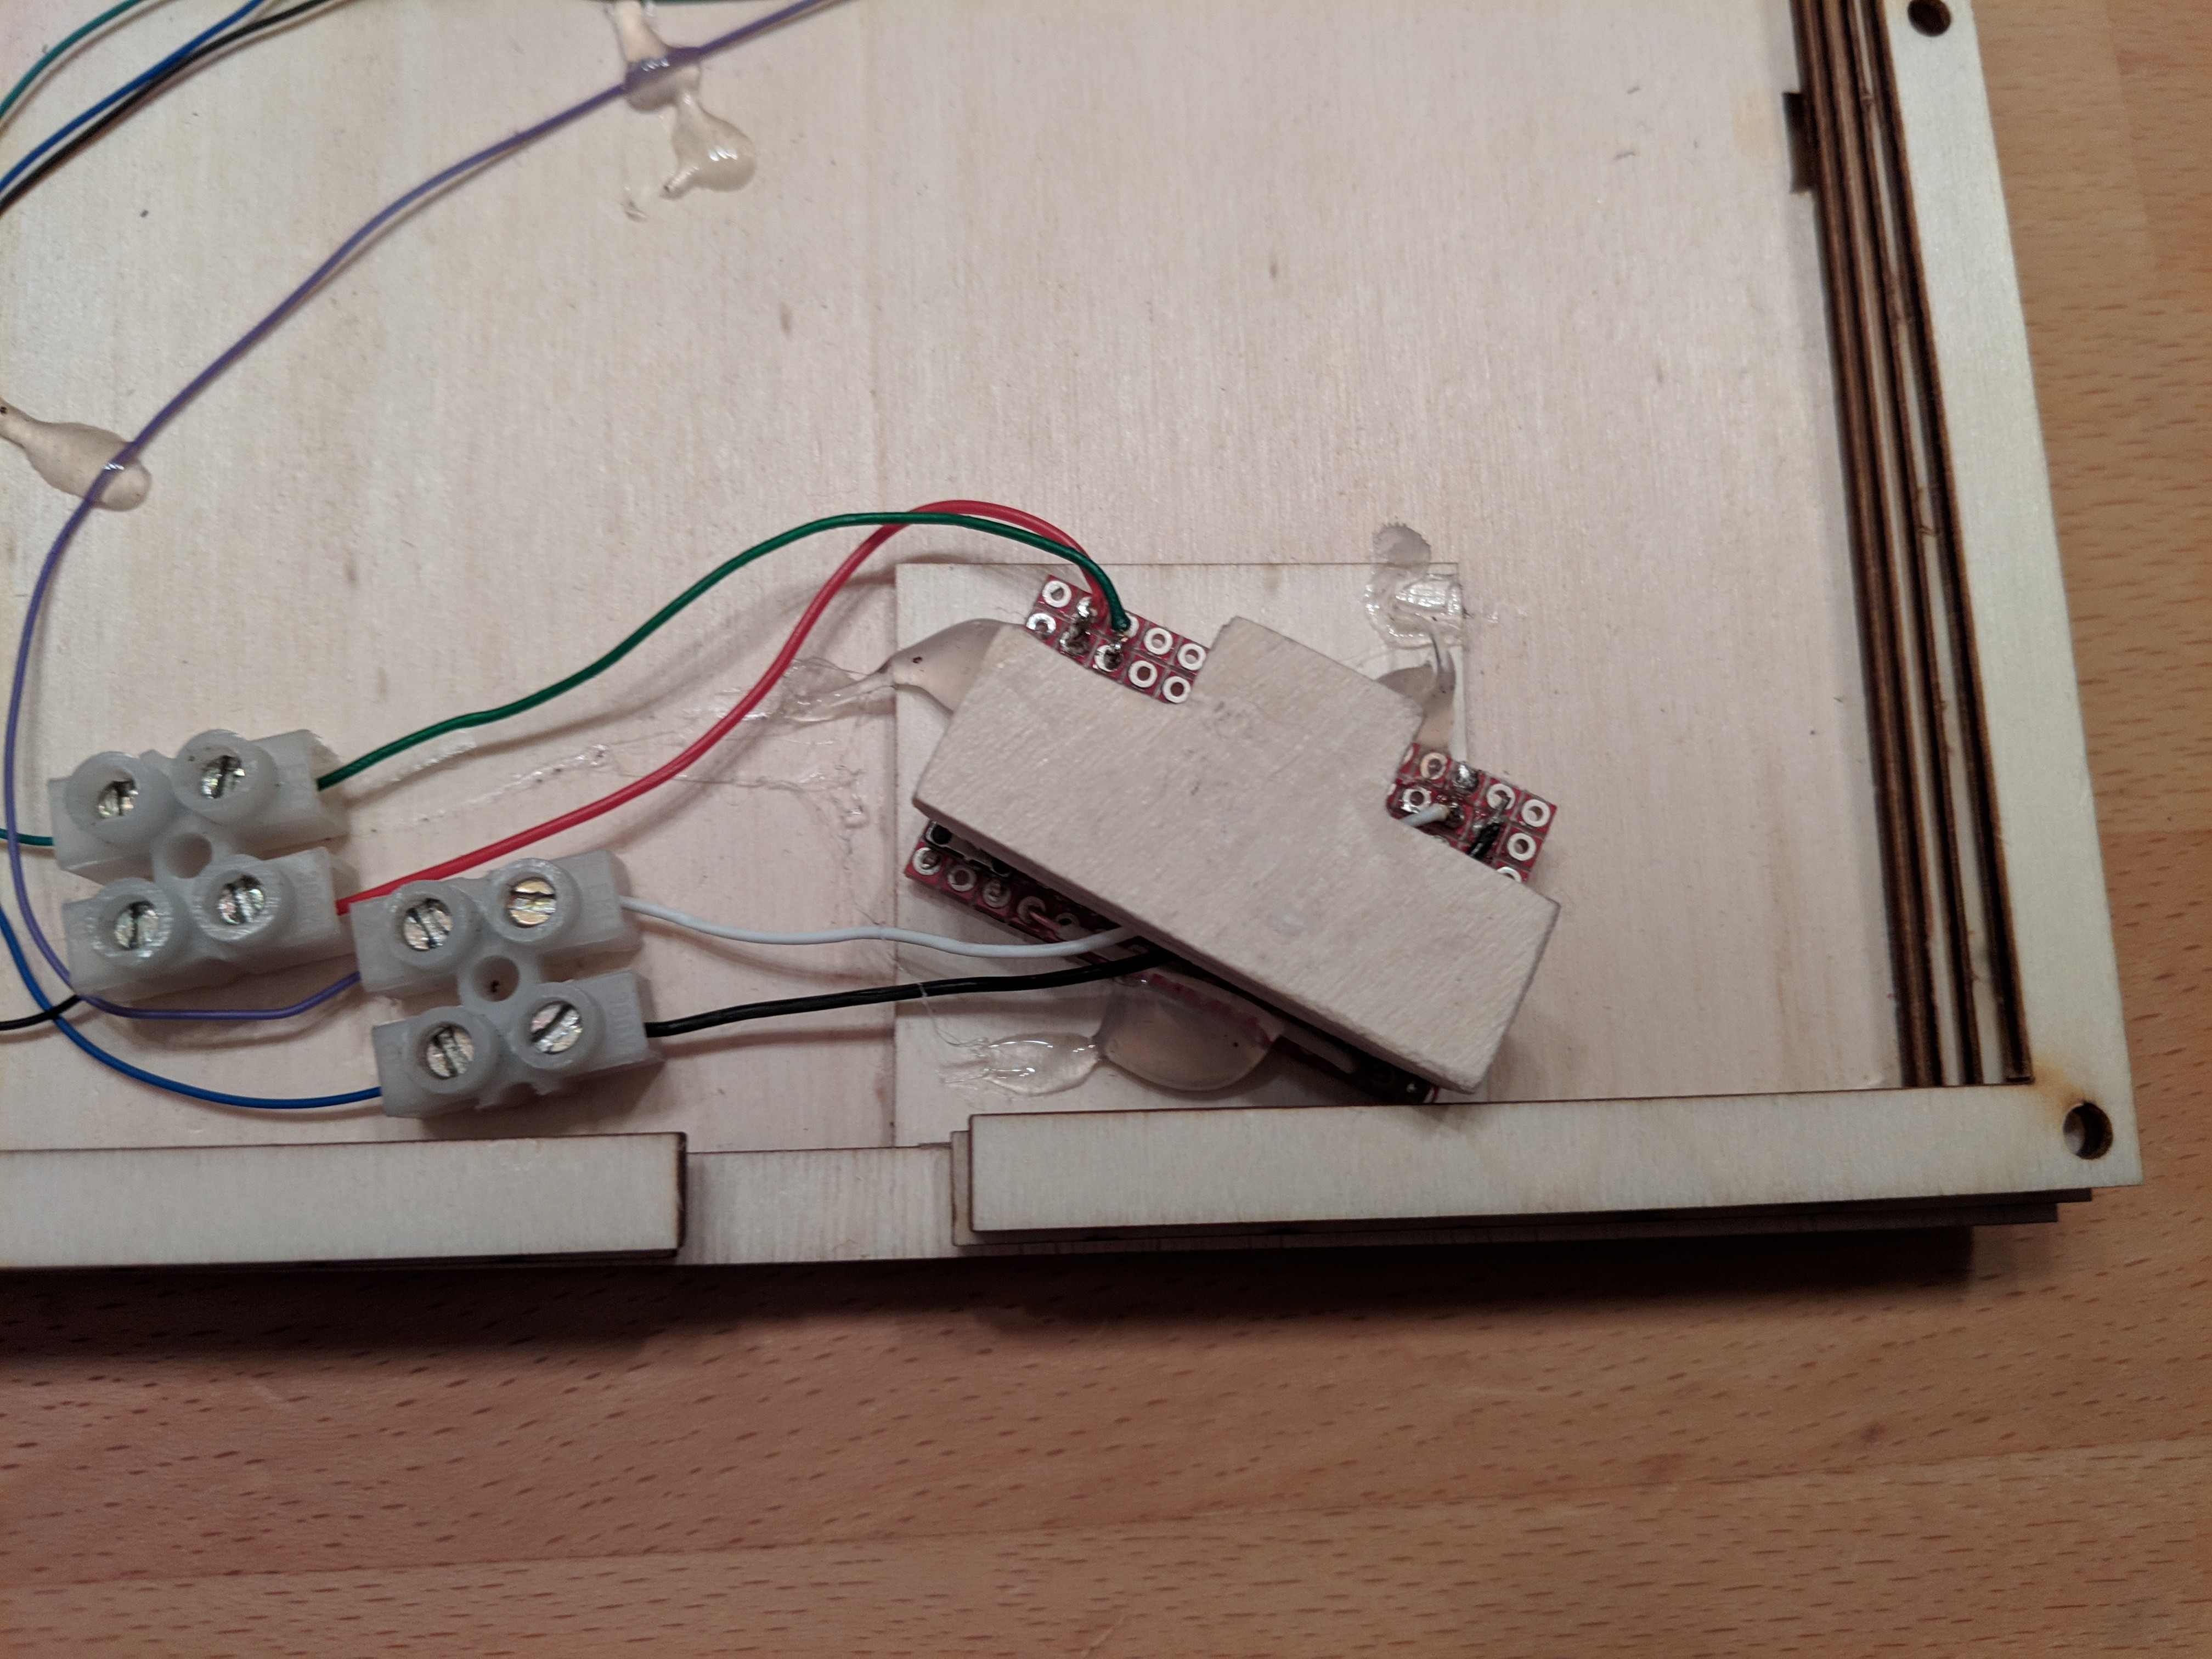
    The "protection" layer that keeps all the cables and joints in the back. Just the ones needed to connect the HDMI cable and the Trackball are still free. 

  • HDMI to connect the two sides

    Luca03/06/2019 at 22:42 0 comments

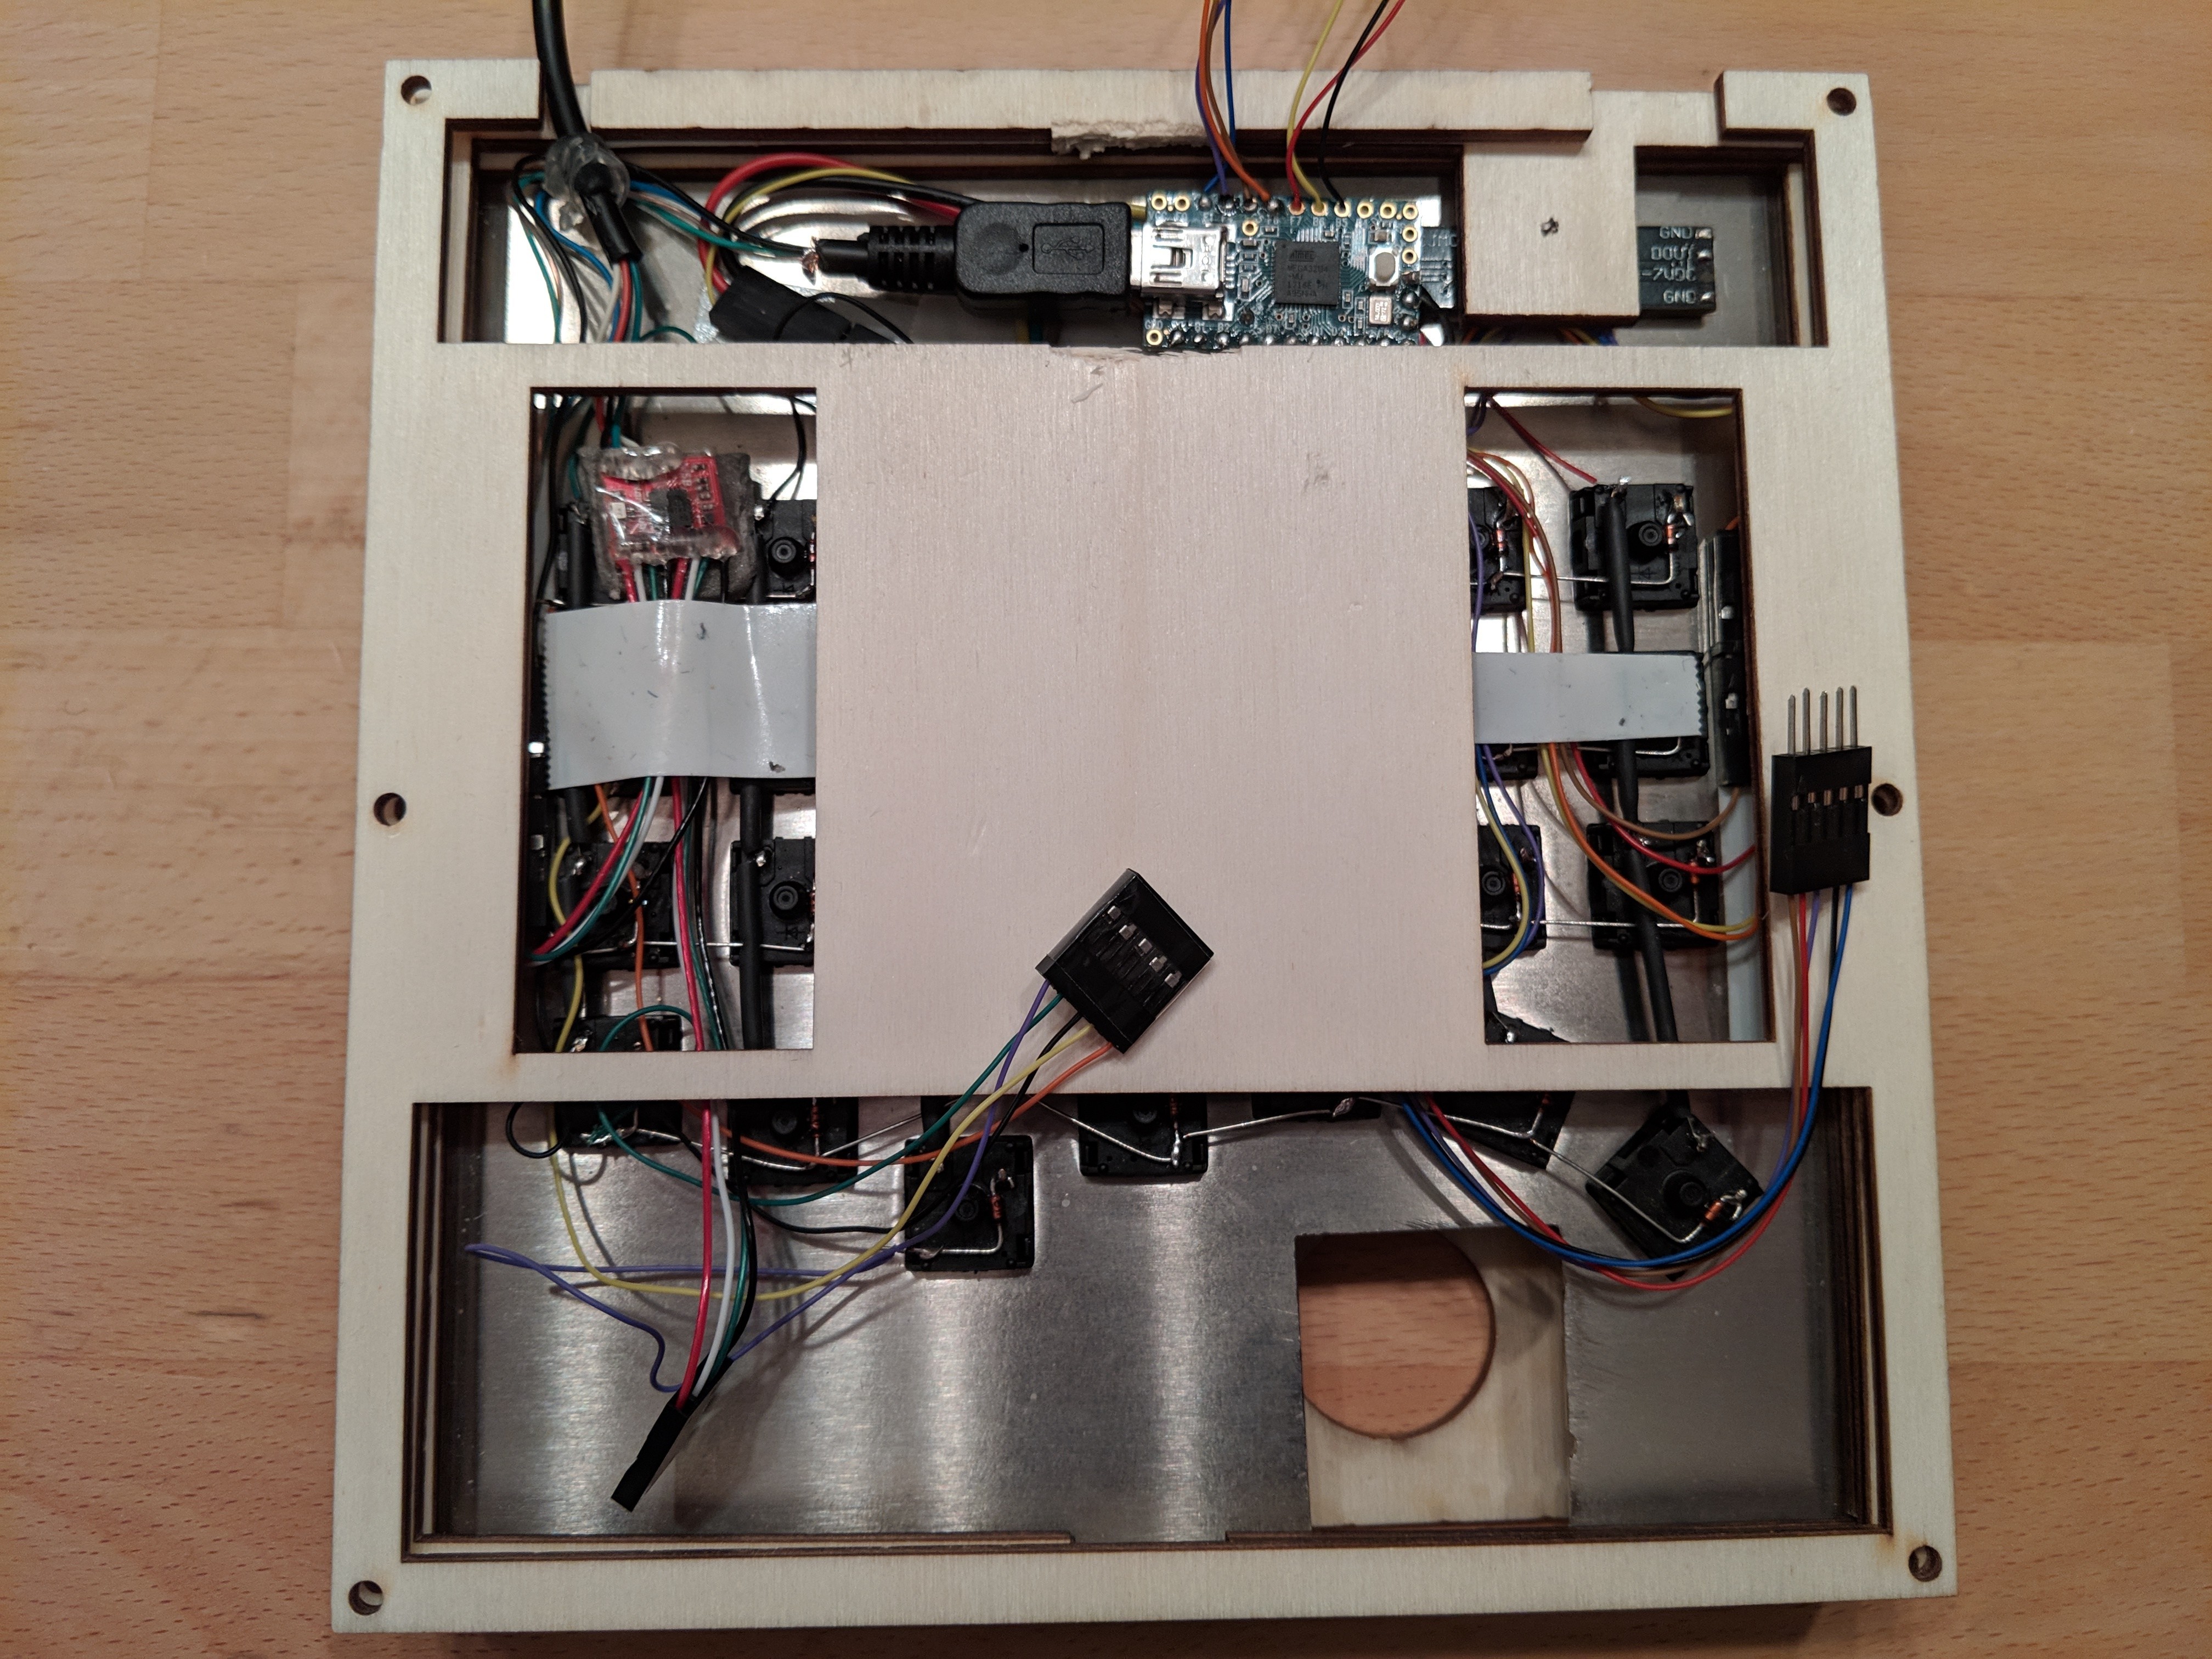
    I use HDMI connectors to join the two sides. In this way I've enough wires to connect directly the left side to the Teensy and also some extra space for the three mouse buttons.

  • Installing the Trackball

    Luca03/06/2019 at 22:33 0 comments

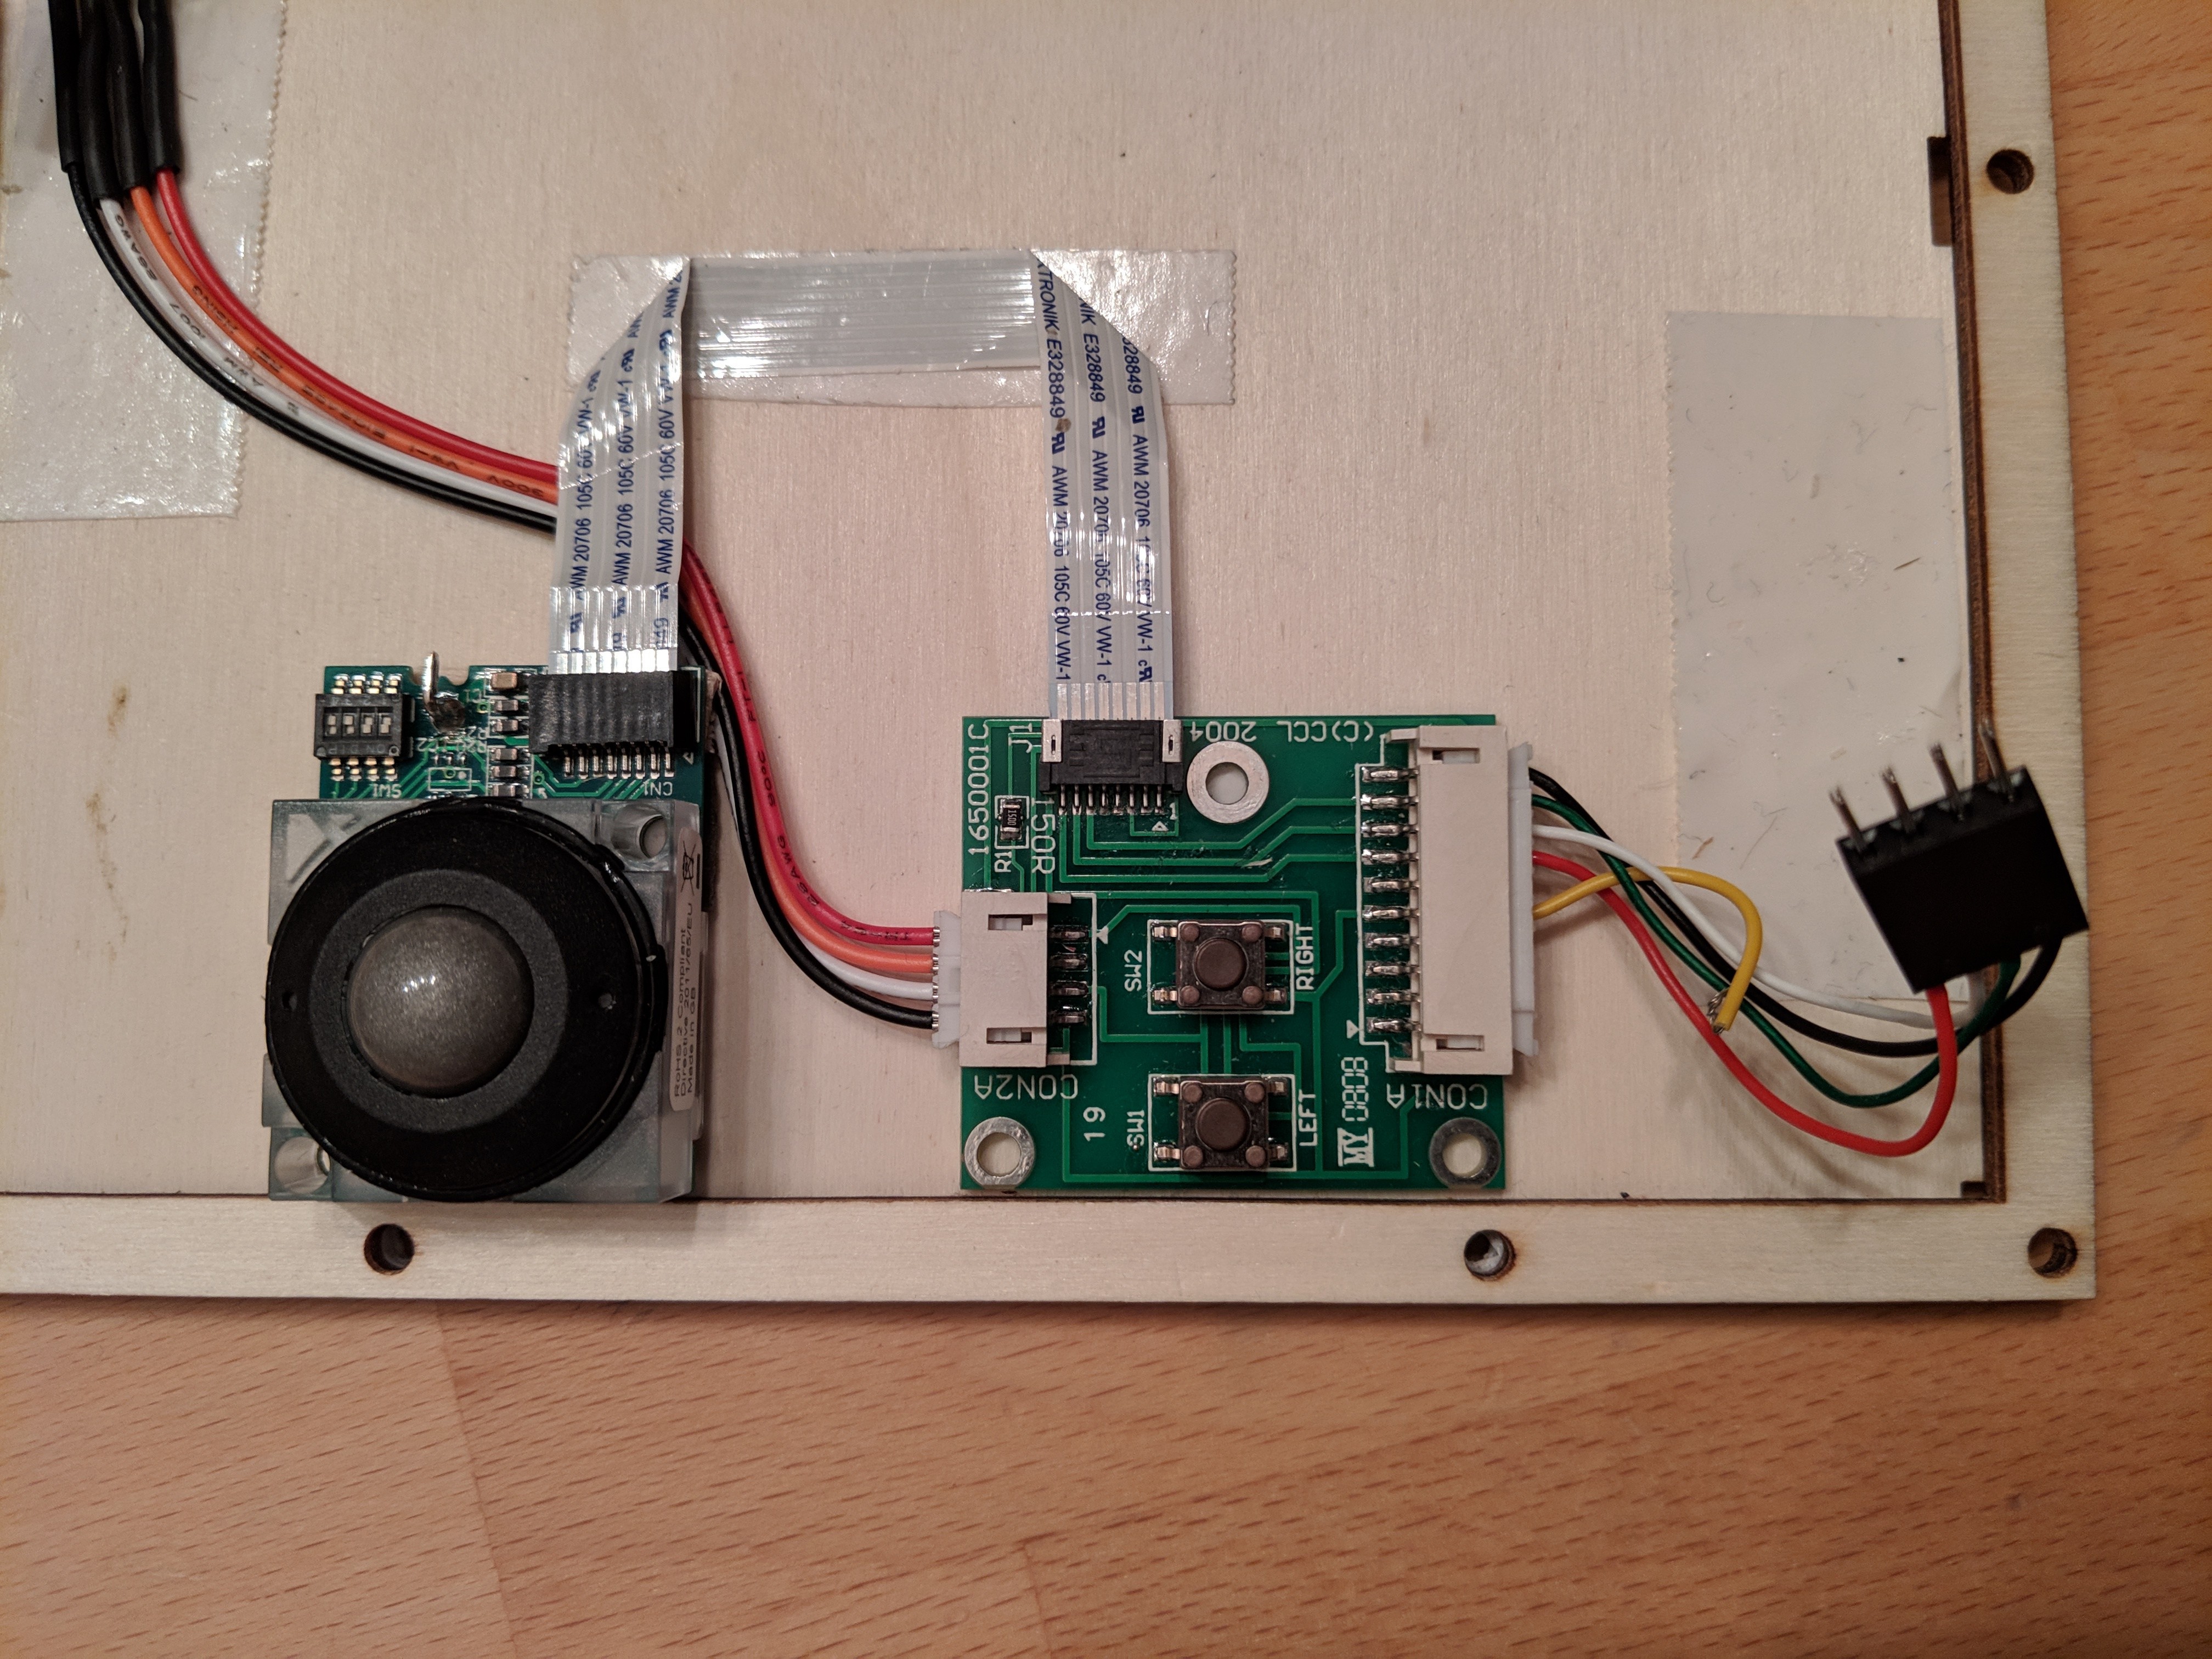
    The Trackball at the bottom of the right side. The Trackball uses a small PCB to handle the USB connection and the mouse buttons.

  • Mouse buttons

    Luca03/06/2019 at 22:21 0 comments

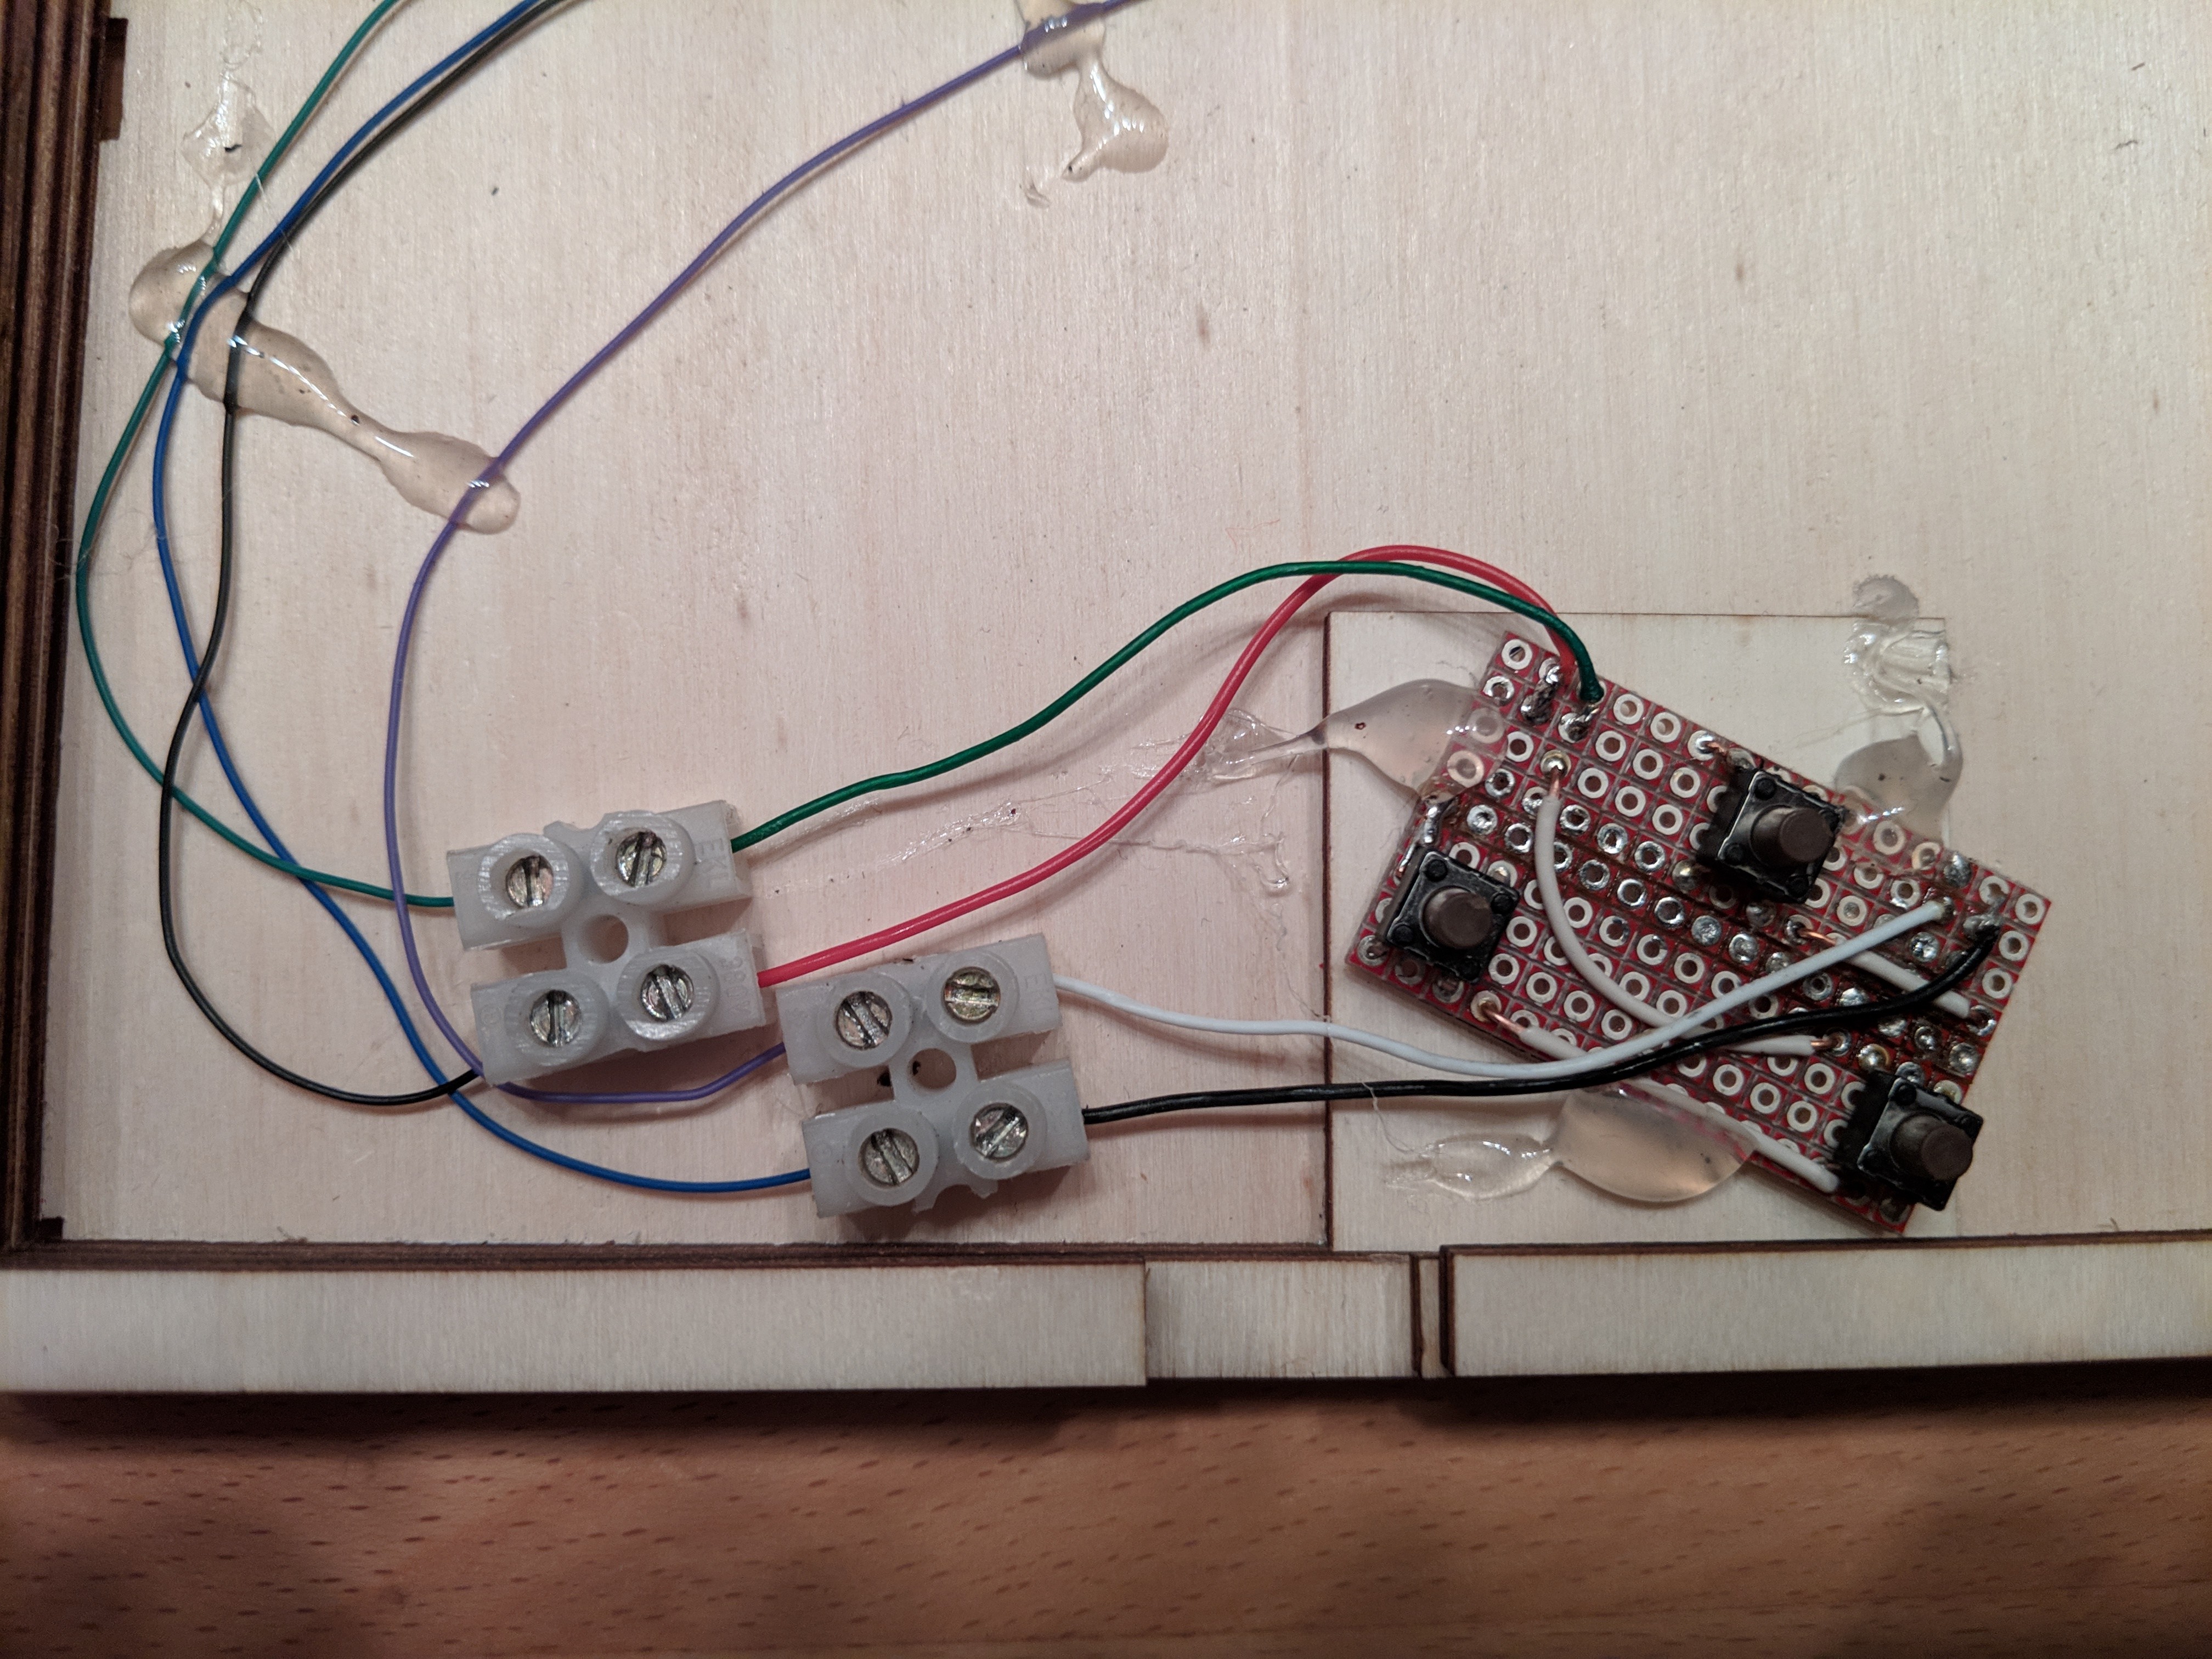
    The PCB for the three mouse buttons. The wood parts are ready. 

    The hole in the middle is "per design". I've left an empty space that later I can use to fix a palmrest if needed. 

    The wood piece used for the three buttons.
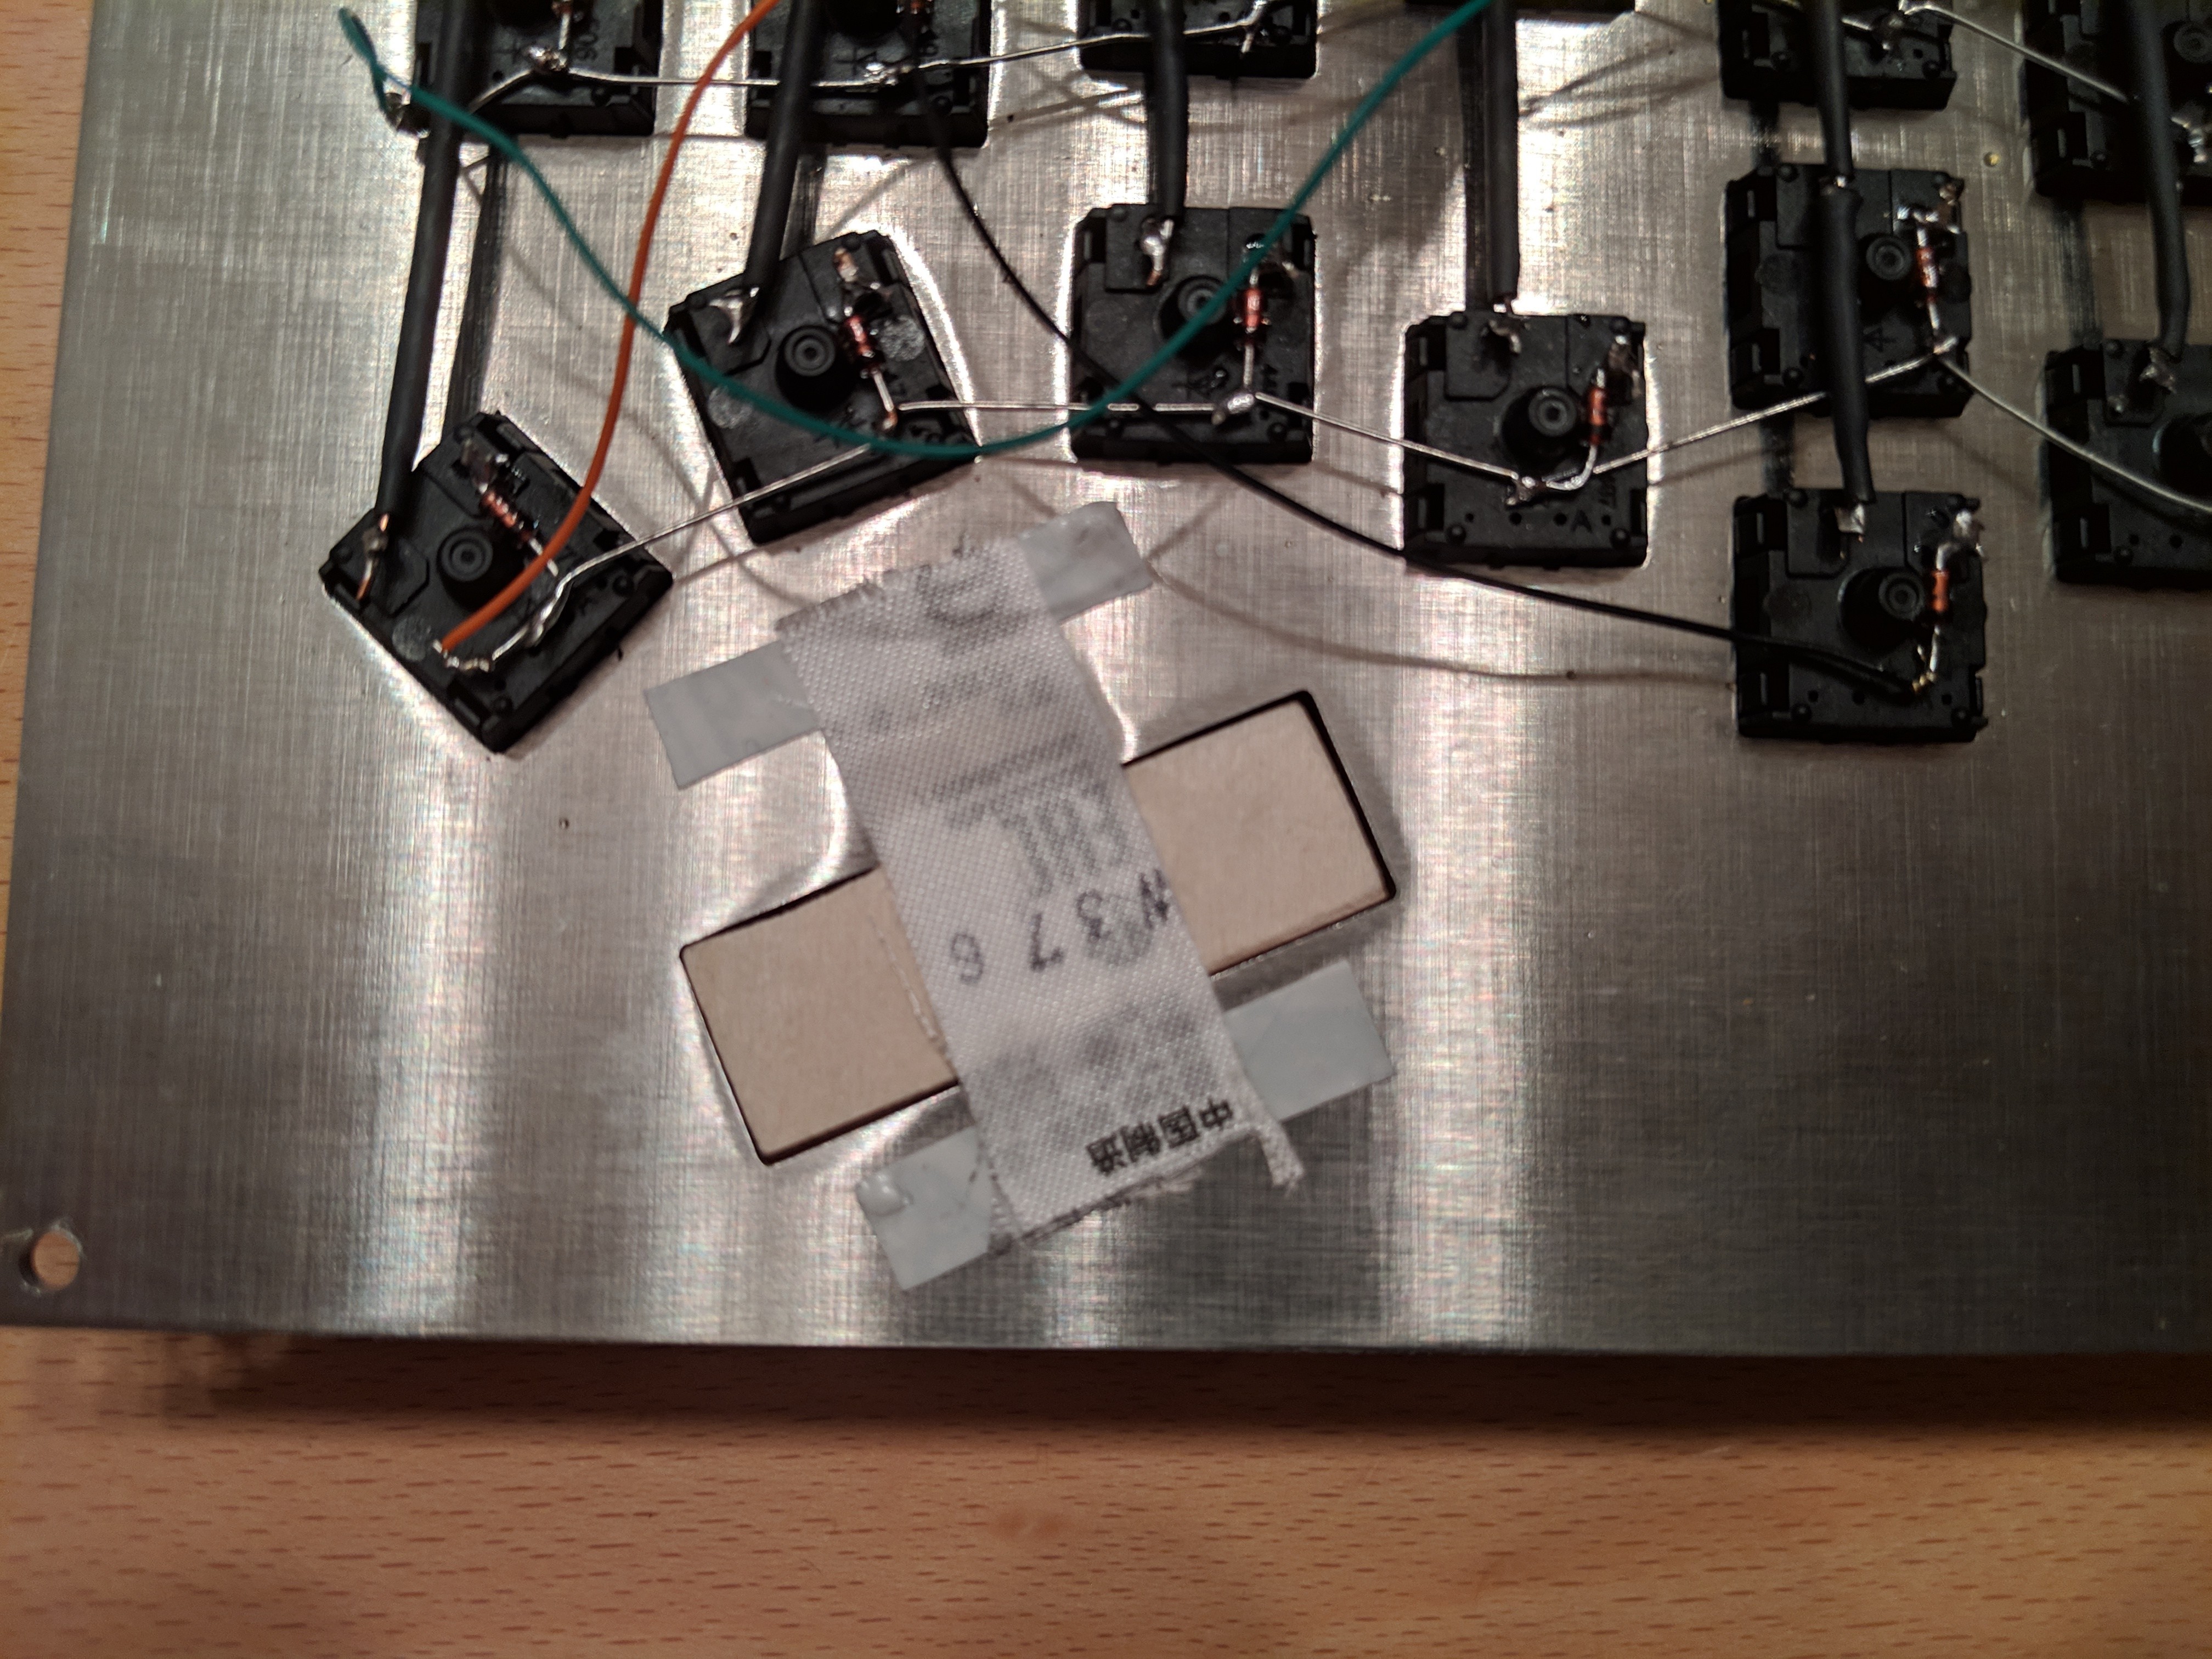
    The wood piece fixed on the metal plate. Double side tape and a part of a label. Stable and flexible enough. 
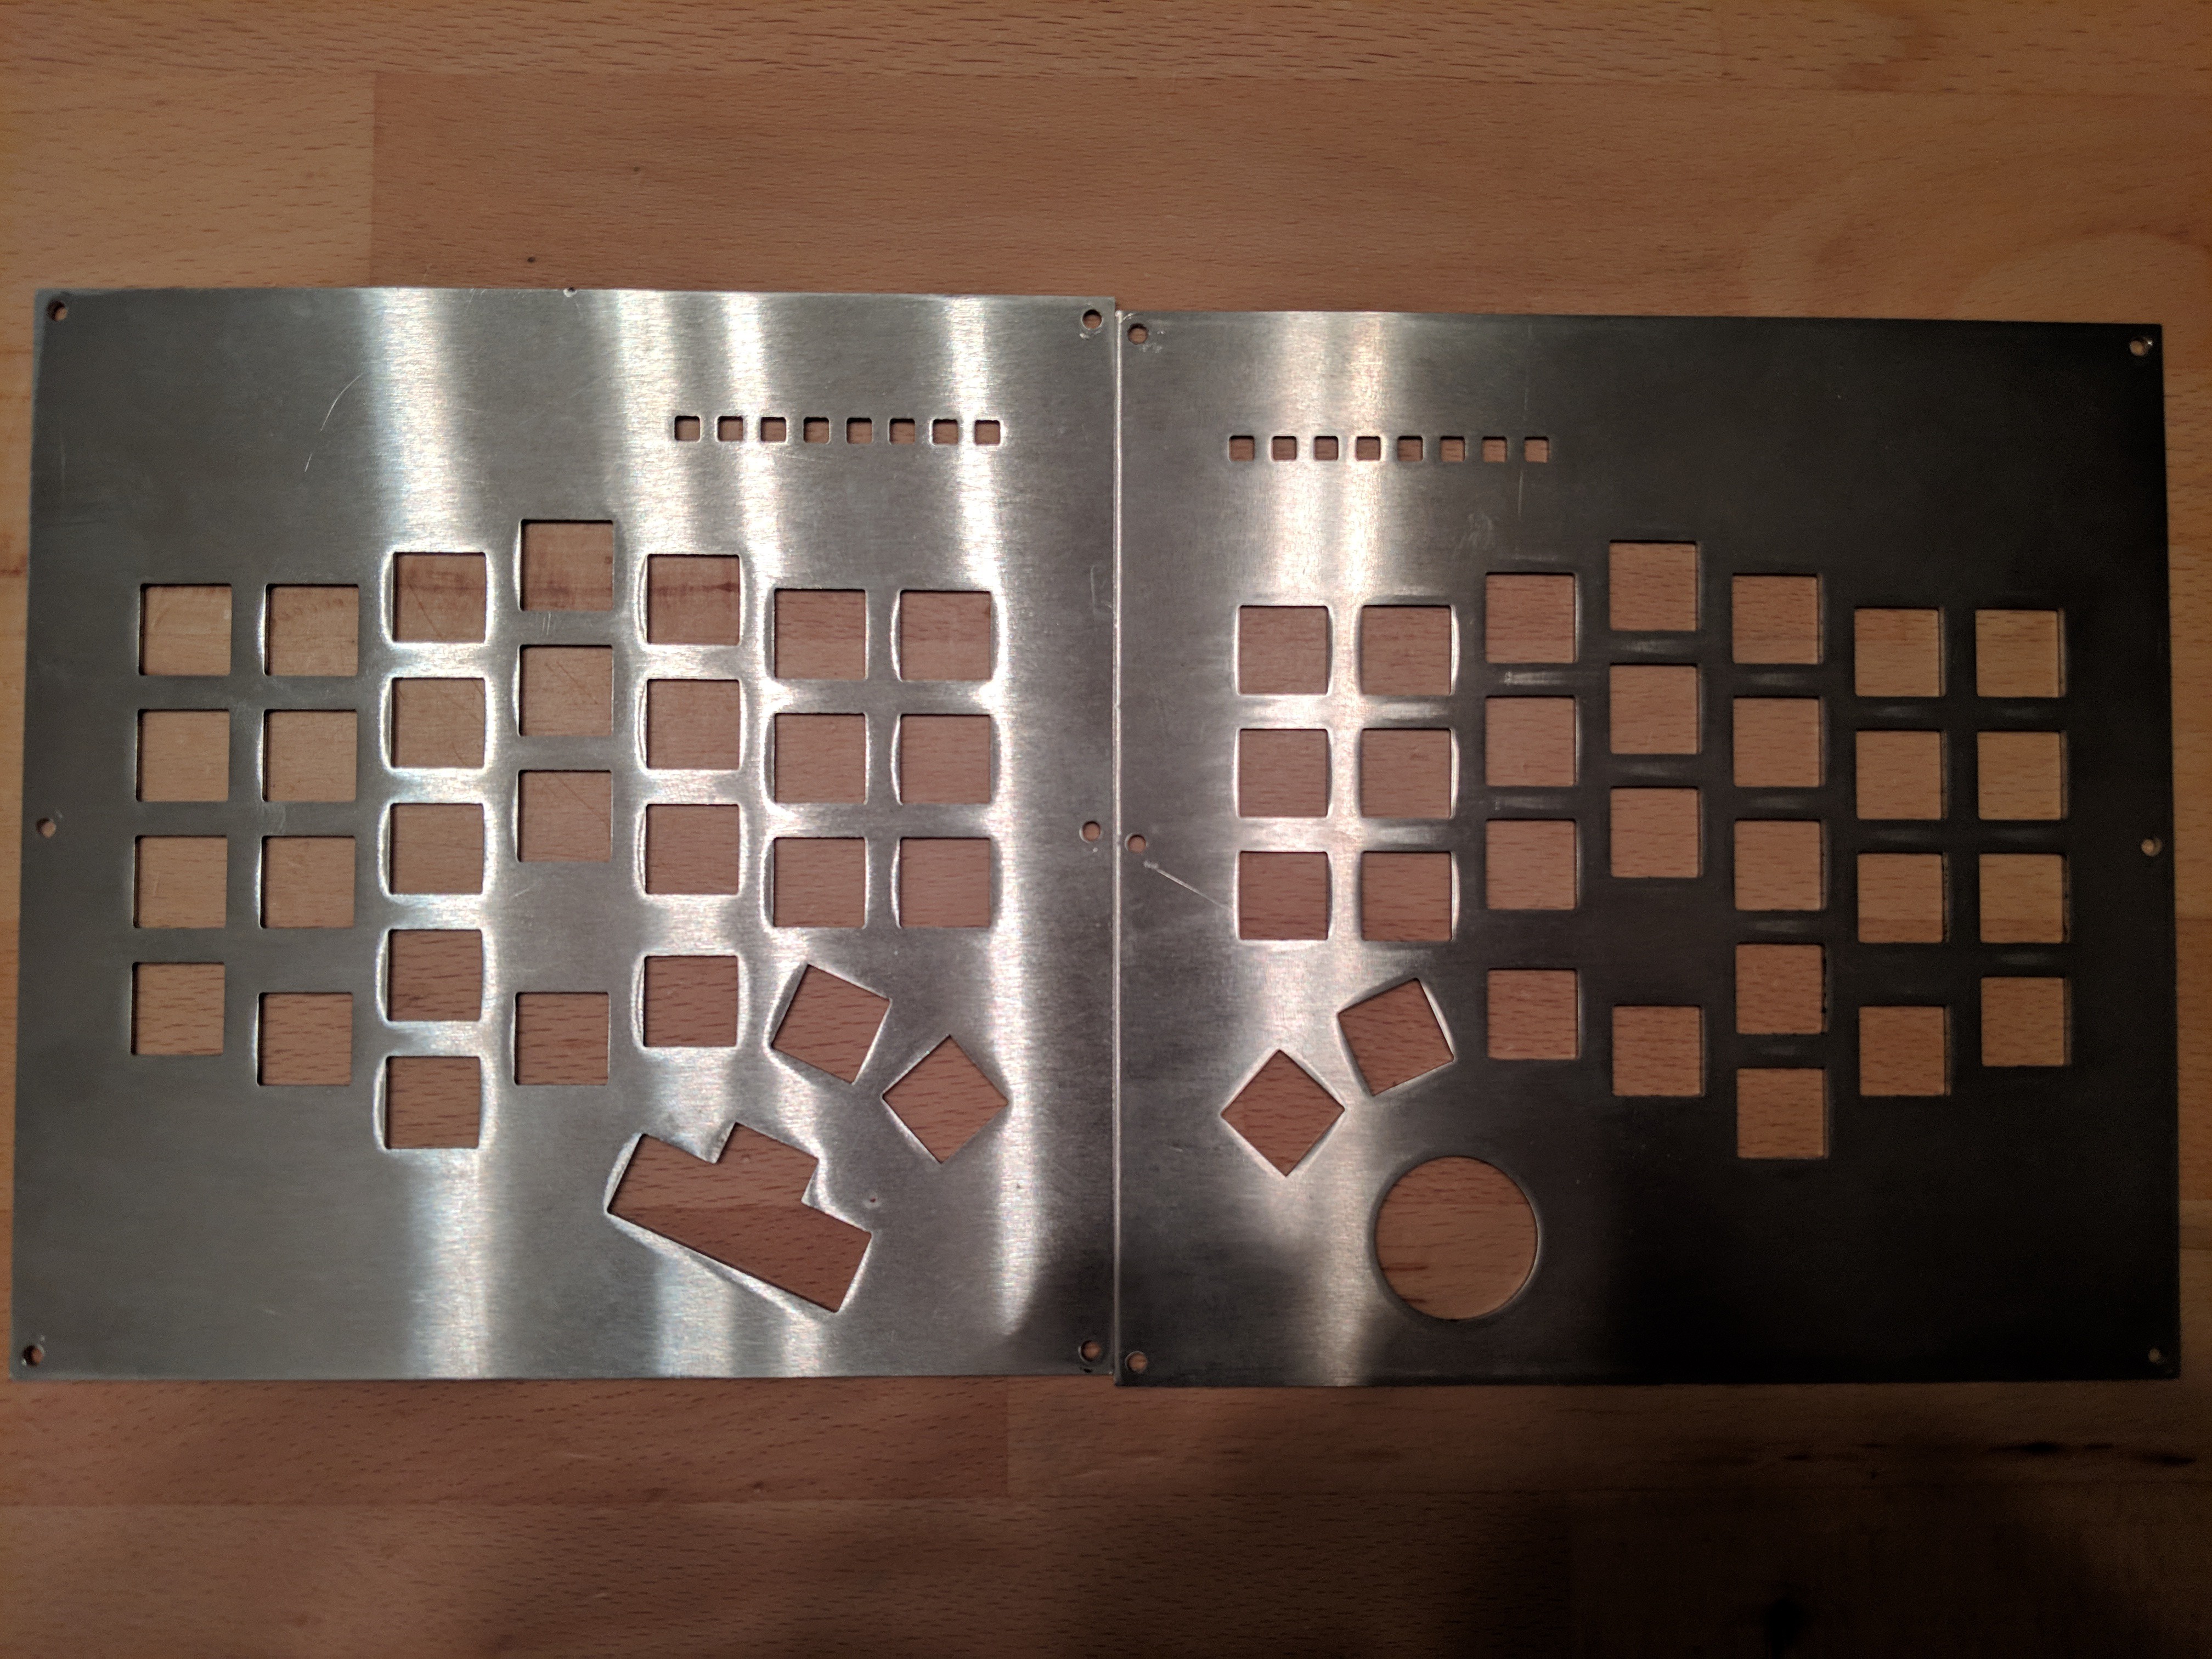
  • Both sides ready

    Luca03/06/2019 at 22:05 0 comments

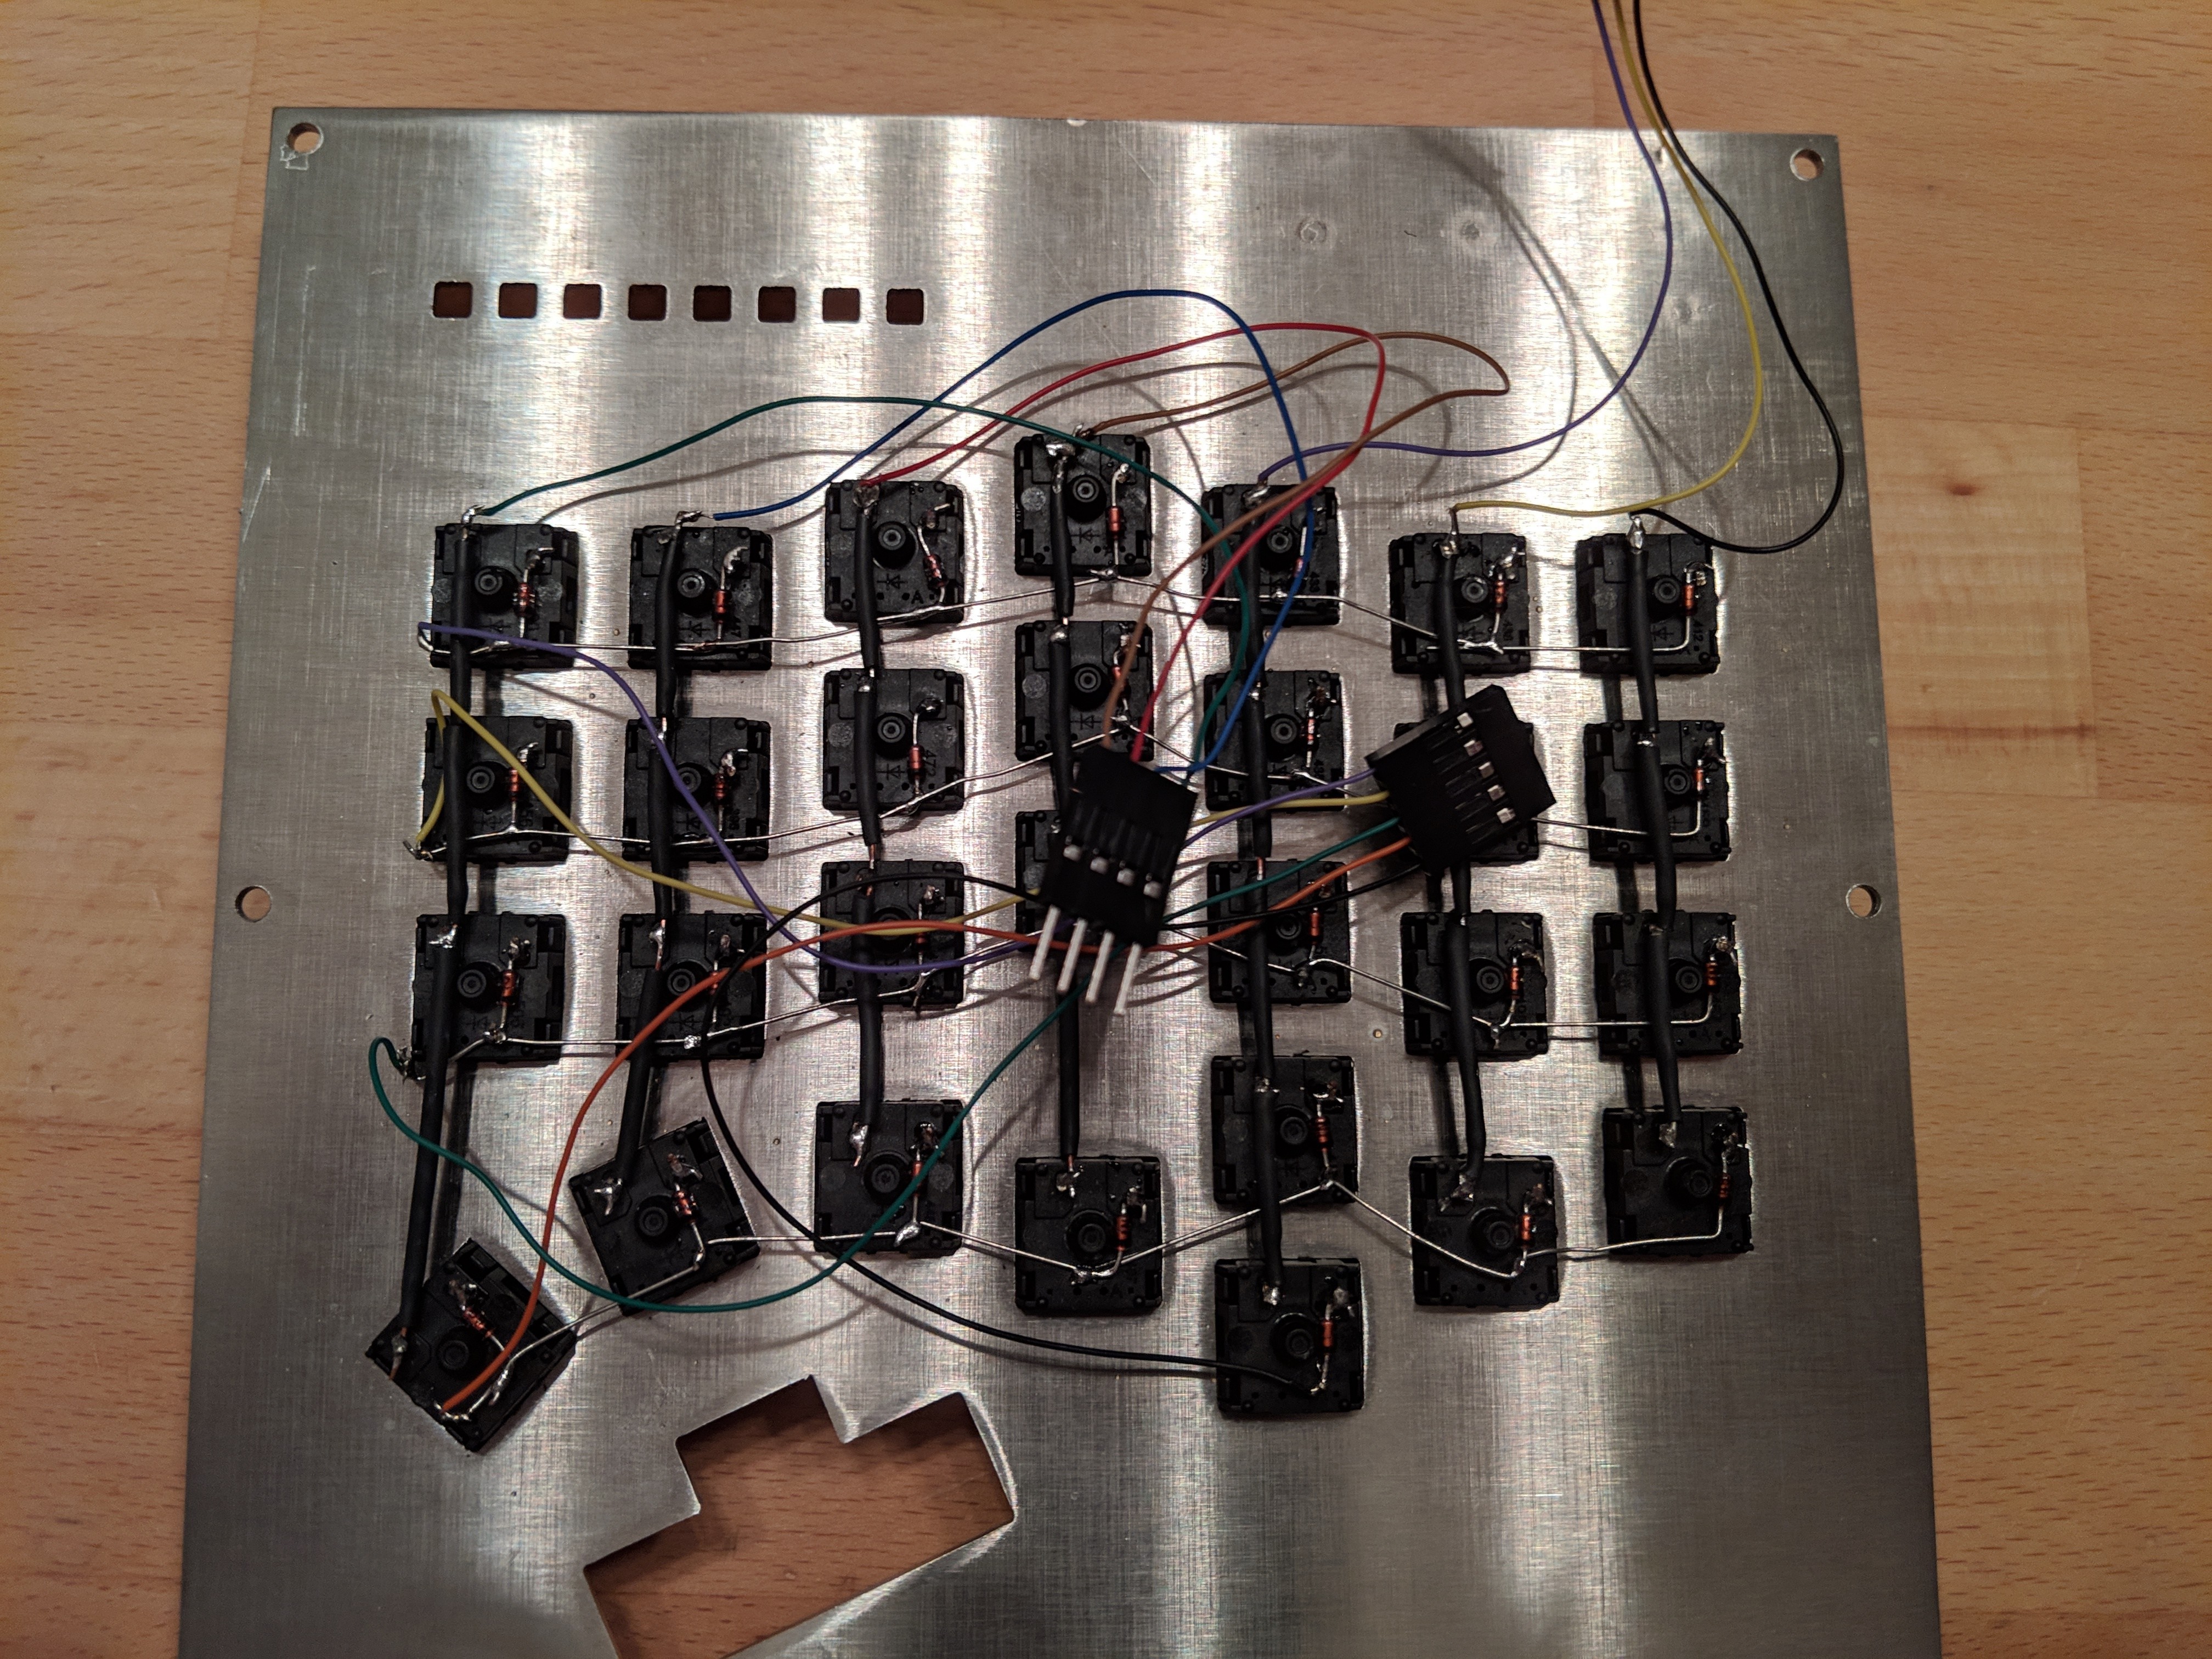
    Finally also the right side is readly. 

    Wiring and connecting the two side. I'm using a sample wood case, later I'll use a set of laser cut pieces. 

  • Connecting the NanoHub

    Luca03/06/2019 at 21:58 0 comments

    The NanoHub used to connect the Teensy2 and the Trackball. 

    I've had to use it because with the firmware the mouse was working, but the trackball was totally ignored. At the end this solution is much better, it makes the two devices independent and it allows the use of any firmware.

  • Wiring left side

    Luca03/06/2019 at 21:48 0 comments

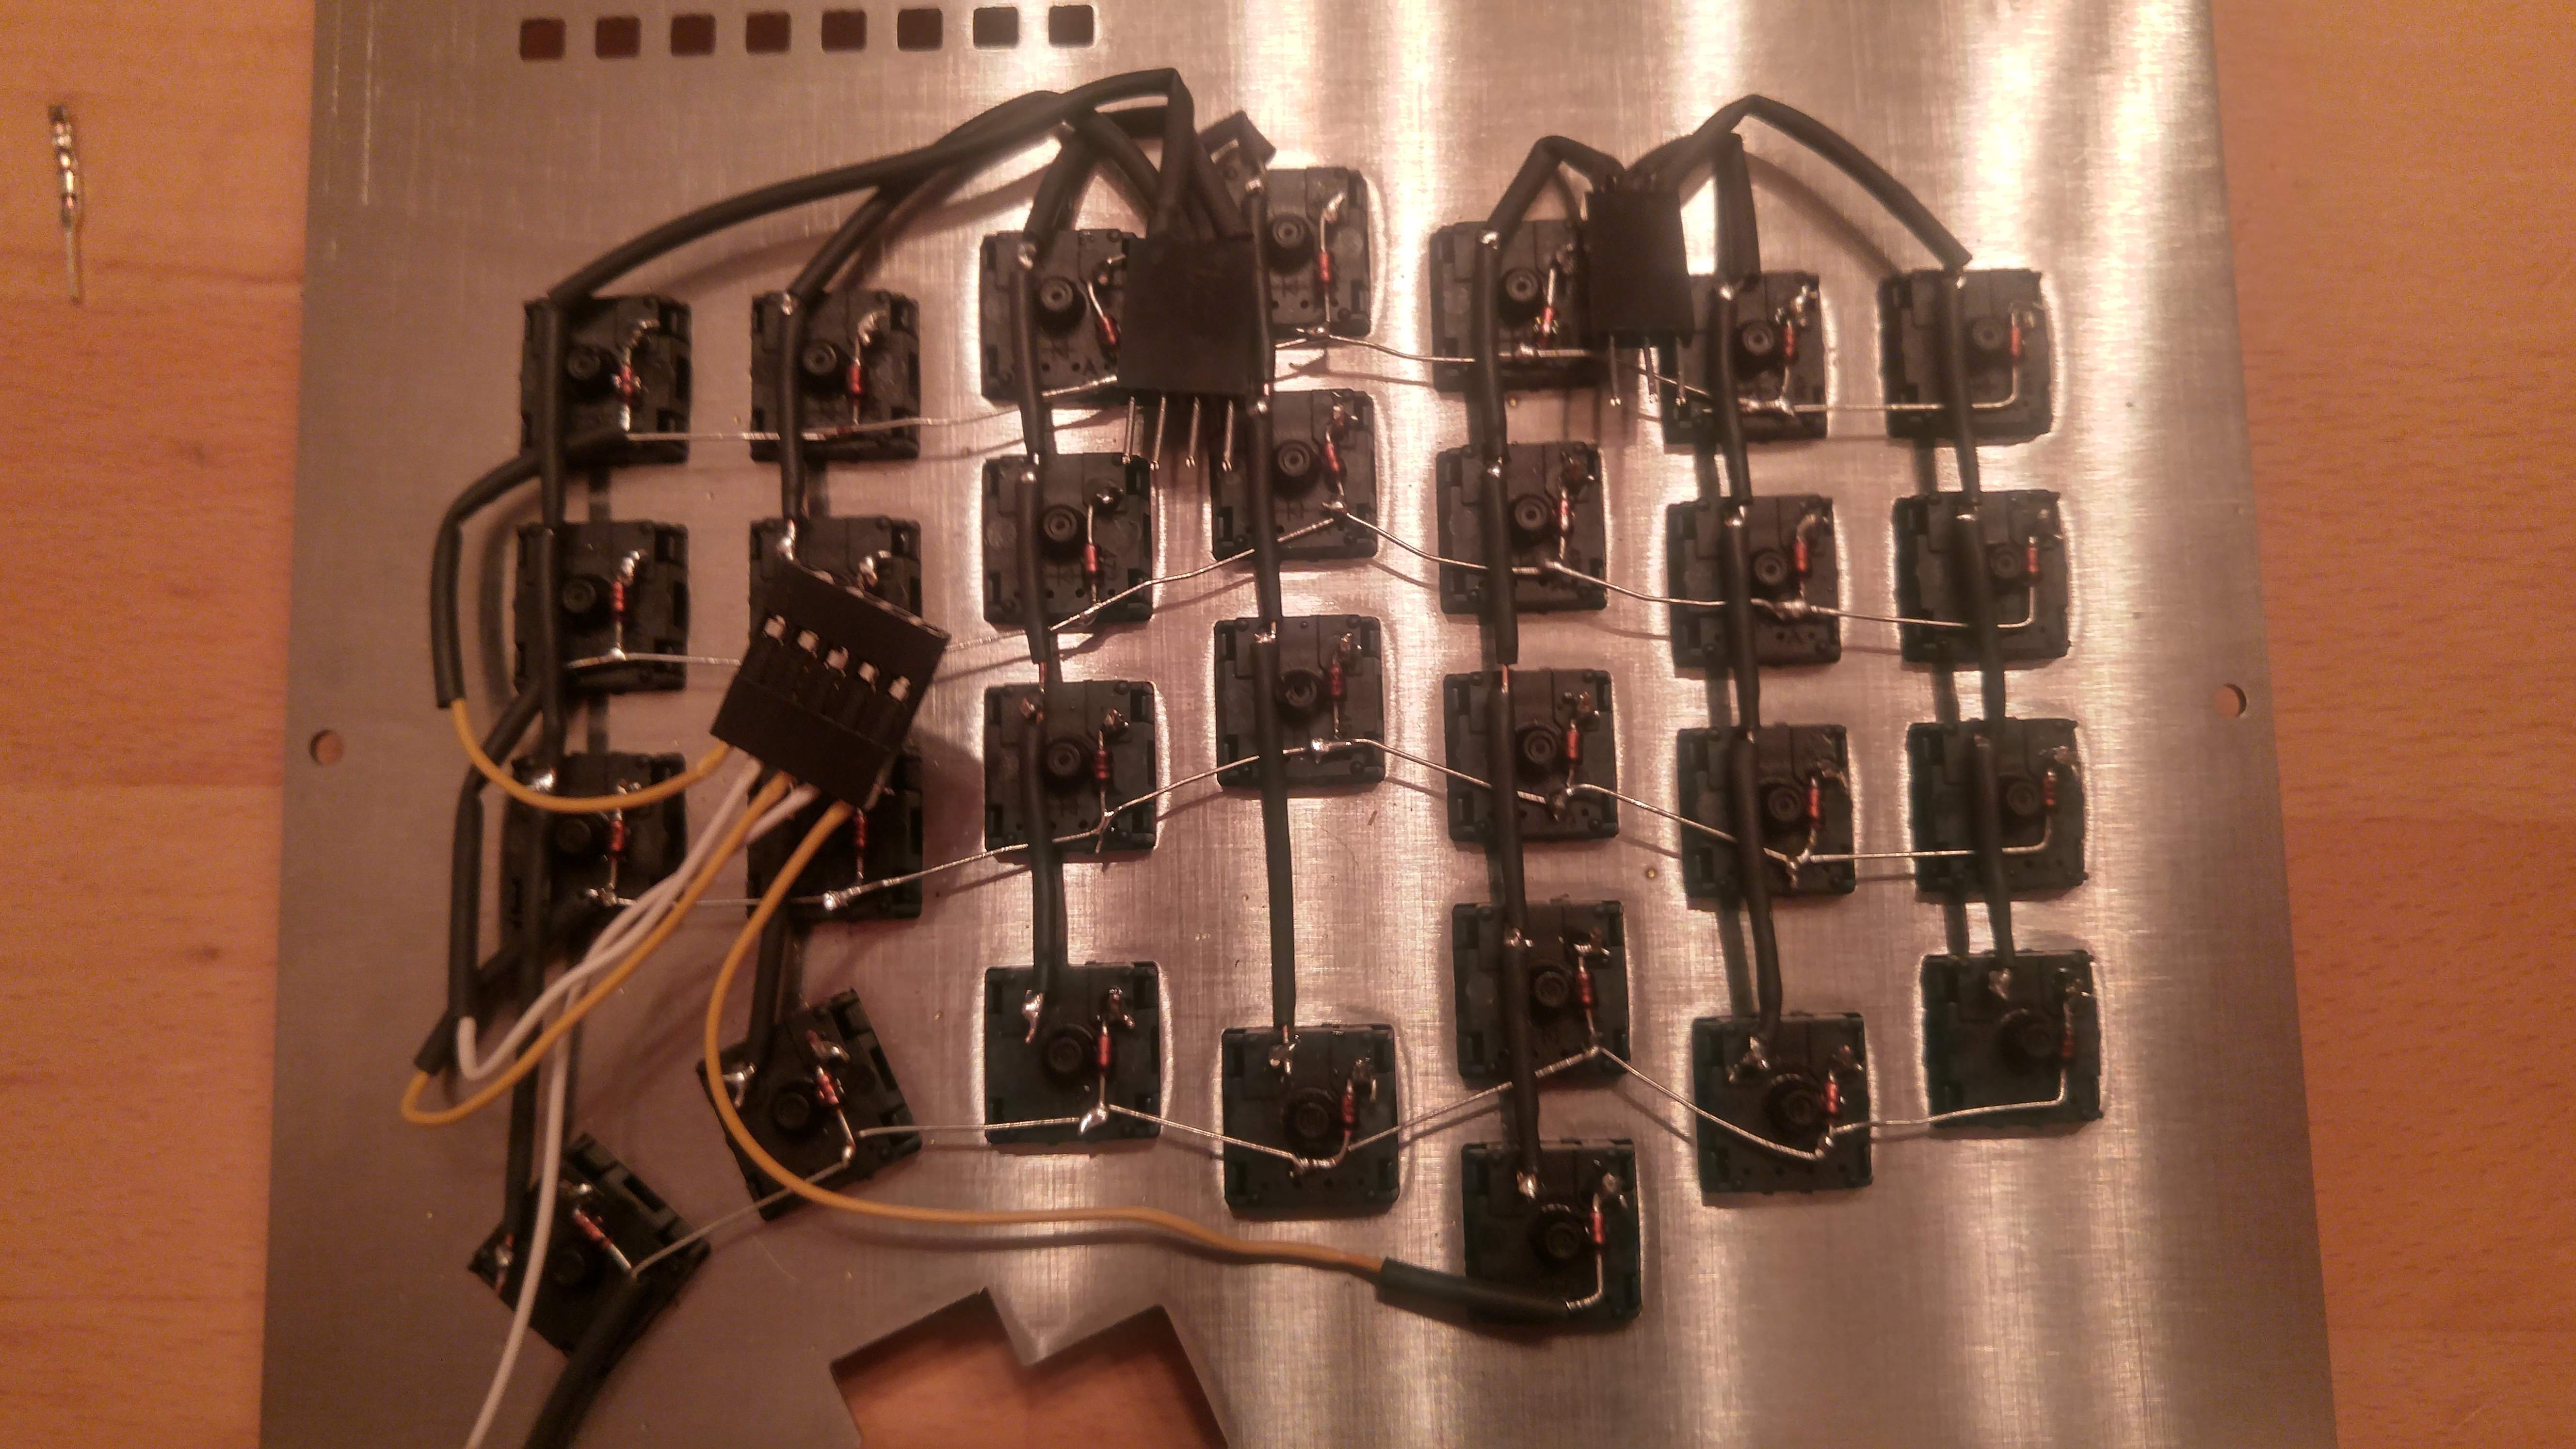
    Wiring the left side of the keyboard. 

    Wiring completed for this side. I've used a hard wire, but later I'll do it again with soft and smaller wires. 

    Final wiring of the left side. 

  • PCB attempts

    Luca03/06/2019 at 21:36 0 comments

    Just an attempt to see what a PCB for the keyboard requires. A PCB would make the things really clean. But, this was just a test. The design of a PCB is not so simple and I've no experience. Better wiring directly. 

View all 15 project logs

Enjoy this project?

Share

Discussions

ptrav wrote 03/18/2019 at 08:43 point

Nice board! Could you elaborate what trackball you are using? Do I understand correctly it's a separate USB wire into the PC?

  Are you sure? yes | no

Luca wrote 03/18/2019 at 08:58 point

It's listed in the components. It's built from NSI. 

Inside there's a really tiny USB hub. I've just one wire connected to the PC, but two different devices inside the keyboard. 

  Are you sure? yes | no

Henlo Birb wrote 03/11/2019 at 03:25 point

how dare u say trackpoints are unusable

  Are you sure? yes | no

Luca wrote 03/11/2019 at 09:11 point

It's a personal opinion. Pushing that small thing stresses the tip of my finger after 5 minutes. I've tried a lot of options before going for the trackball. 

With a trackpoint the design would have been much simpler, but I've to use it. ;)

  Are you sure? yes | no

Alexander wrote 03/10/2019 at 05:31 point

My wrists are getting really bad -- I seriously need to look in to getting a keyboard like this... or maybe I will build my own! That'd be a lot of fun.

I really like the design! I prefer silent keys myself, usually membrane (: I get a lot of hate from the mechanical keyboard people :P

  Are you sure? yes | no

Luca wrote 03/10/2019 at 05:38 point

Thanks, for the design 😉

Mhhh... No worries, I don't think we will be colleagues 😊

  Are you sure? yes | no

Joshua Broekhuijsen wrote 03/09/2019 at 00:51 point

Hello, fellow keyboard enthusiast!
I like your take on it - I was trying to accomplish the same objective with my project here:

https://hackaday.io/project/160704-dichotomy-keyboard-and-mouse

  Are you sure? yes | no

Luca wrote 03/09/2019 at 06:27 point

Hello you too! Your project looks really cool! Compared to yours, mine is like a kids project 😄

  Are you sure? yes | no

Sophi Kravitz wrote 03/07/2019 at 20:49 point

Nicely done! Would be fun to hear an audio file... are they clicky?

  Are you sure? yes | no

Luca wrote 03/07/2019 at 20:58 point

Thank you! Unfortunately not, they're the brown ones. If I would have been alone in the office I would have gone with the blues. 

  Are you sure? yes | no

Similar Projects

Does this project spark your interest?

Become a member to follow this project and never miss any updates