-
Alpha V1
03/23/2019 at 20:56 • 0 comments![Alpha V1 open-source arduino compatible remote controller Alpha V1 open-source arduino compatible remote controller]()
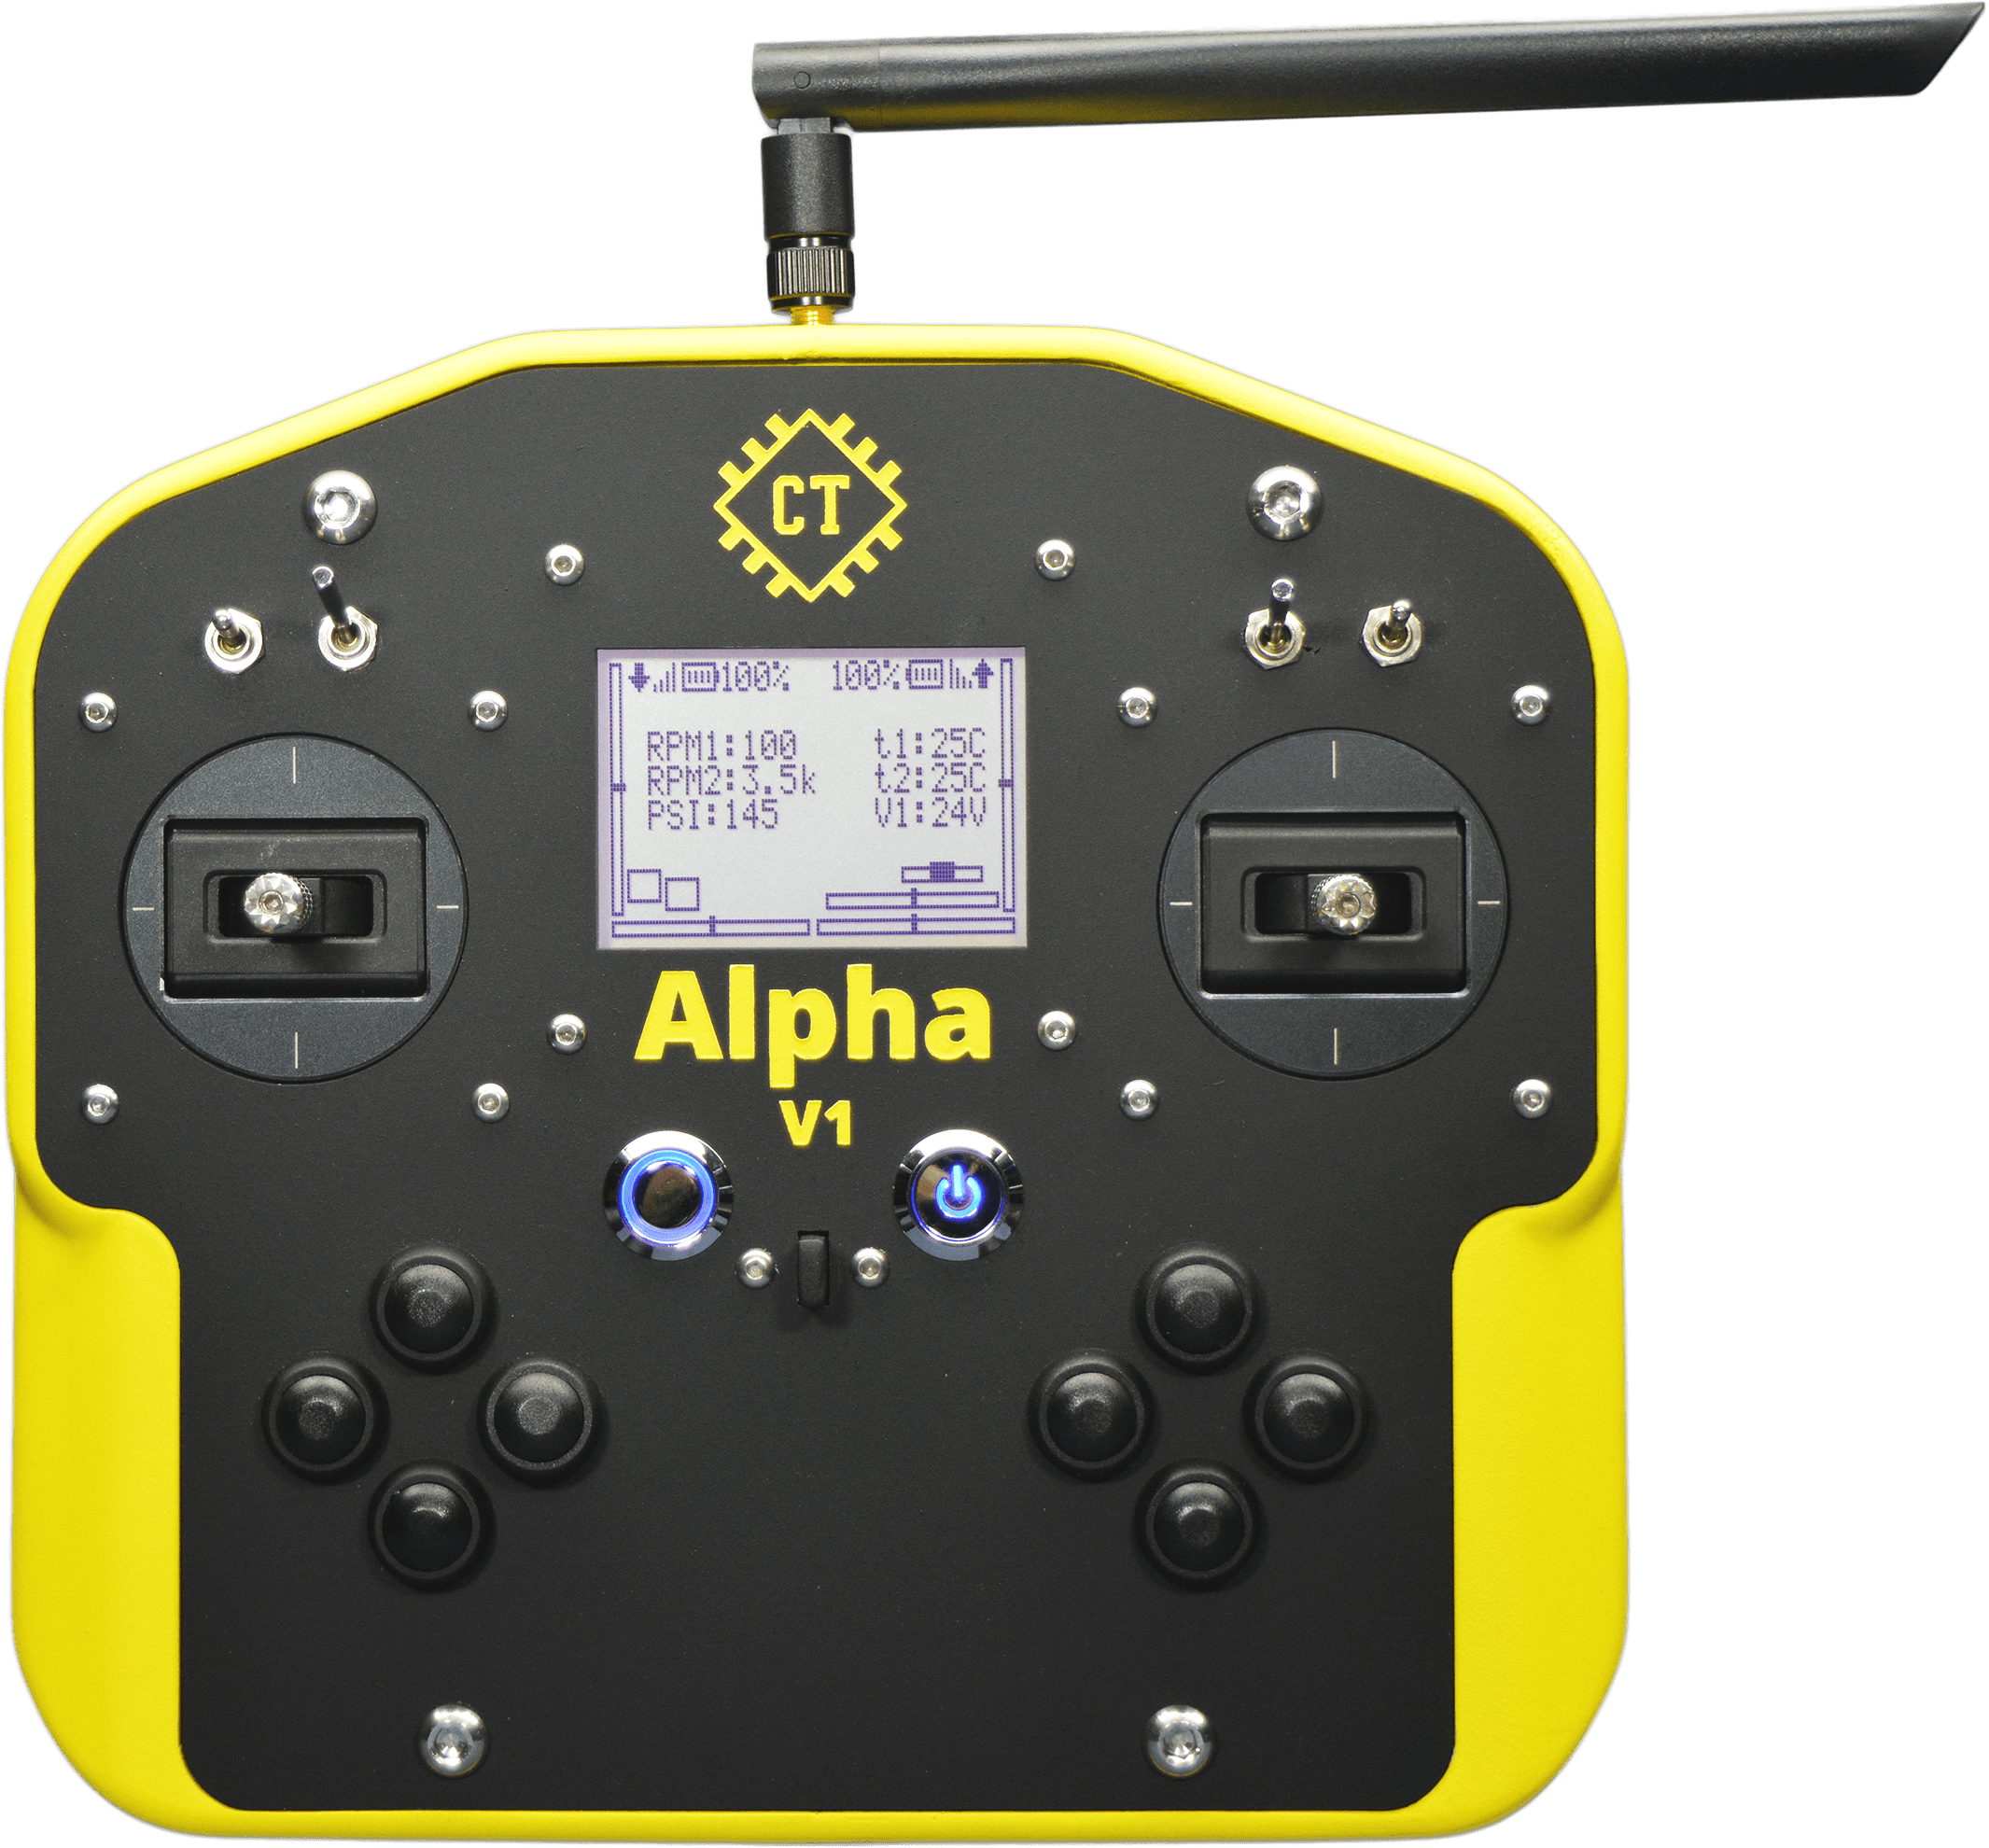
We have completed most parts of Alpha V1, but we are still open to suggestions. Let us know what you.
Currently 80% of the firmware for the controller is completed.
90% of mechanical design and fabrication has been sorted out.
85% of the electronics hardware design is completed and we are adding hardware for far future features.
-
Alpha V1's First Prototype
03/23/2019 at 20:39 • 0 comments![Alpha V1's first prototype Alpha V1's first prototype]()
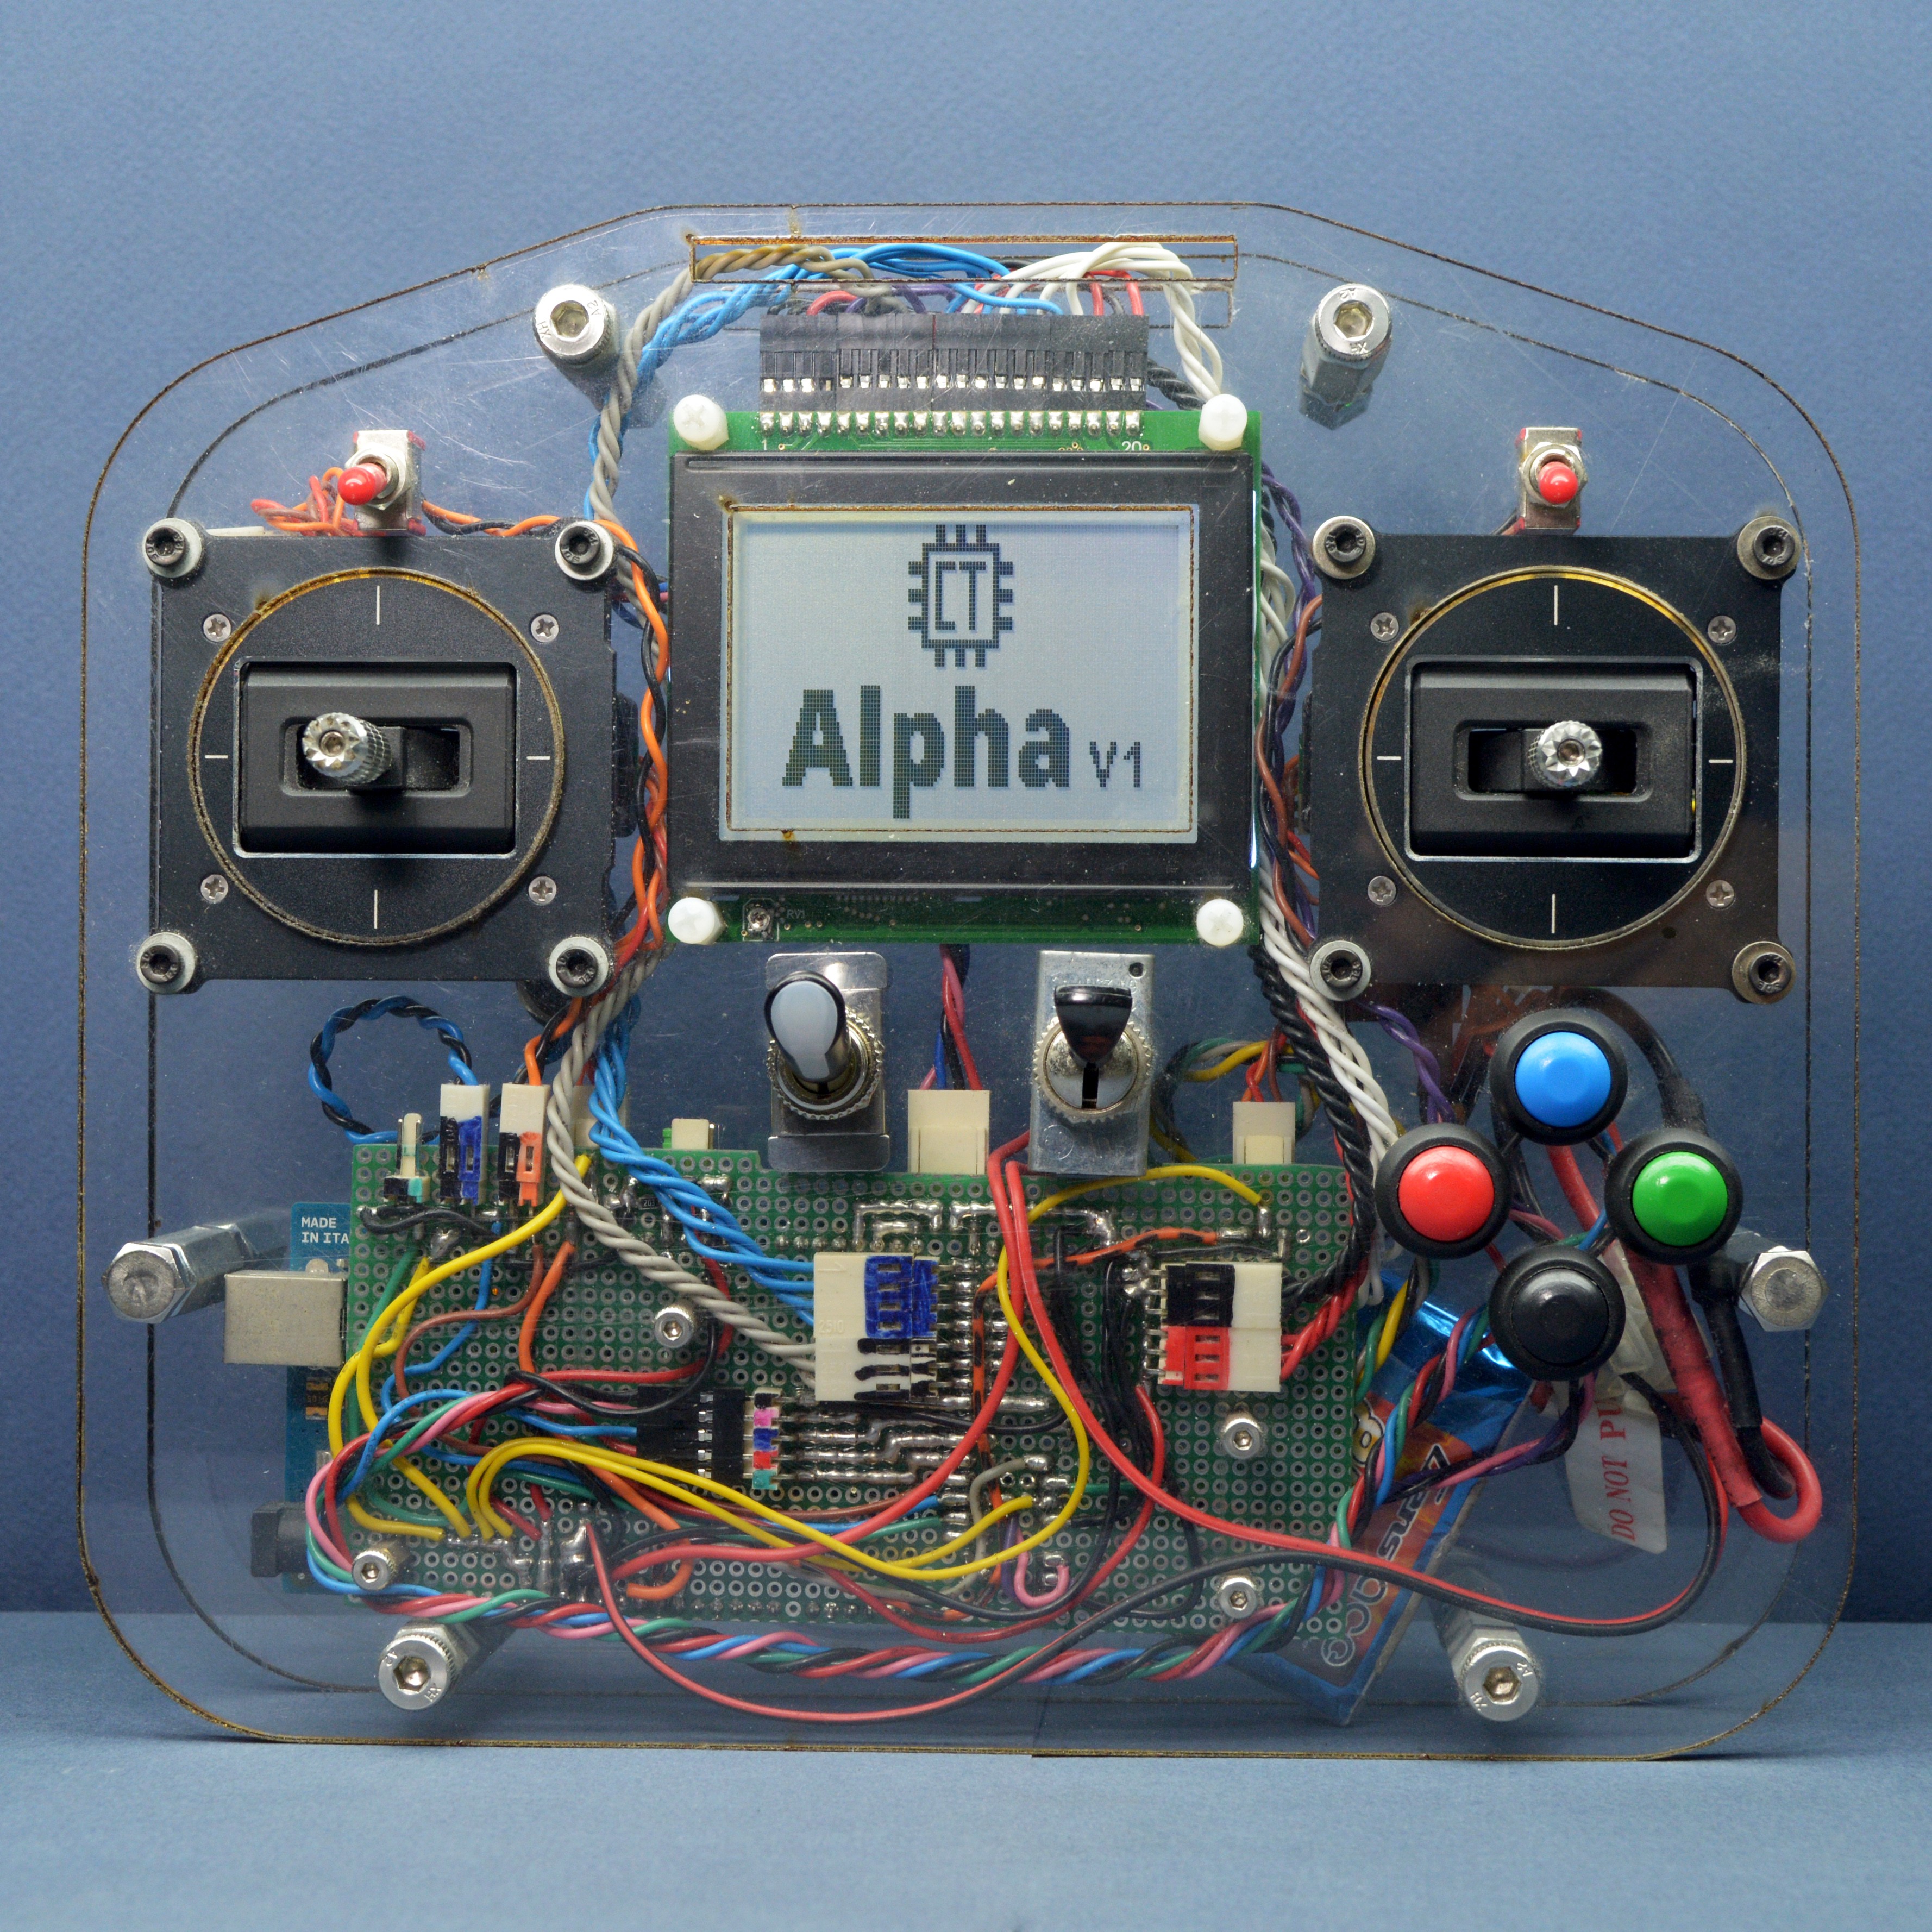
Years later after making the last remote controller and graduating from university in 2017, we decided to do something interesting. We looked through our previous experiences to find something meaningful. We noticed the need for an open-source remote controller is still solid and market does not offer any appropriate solution.
So, we went to work again like the old days. But this time around, we decided to make one remote controller that can adapt to different robots and projects. Of course that would be possible if we would just make the product open-source but we wanted something more. We wanted easy adaption. So even folks without programming background still get the chance to tailor their remote controller to their project. There was only one way to achieve that goal and as you may guessed it, we had to write a lot of code.
We wanted to make sure everyone can customize their remote controller by adding the switches, joystick and many other inputs devices. That means we had to allow code-free customization through the menus which was a huge challenge.
Our previous hardware and firmware would not allow any sort of adoption/customization unless you start writing a lot of code, so we had to think about everything. The user interface, the software architecture and the hardware design.
On the bright side we had a lot of experience and as a result we had clues on what to do and what not to do. But even then we spend a lot of time to develop and test the system all together to make sure users can easily use it. In fact we fabricated the first prototype only for firmware development.
We wrote more than 500,000 lines of code. We made many libraries and many testing automation to make sure our libraries are working correctly. Sometimes we even decide to rewrite the library to make sure it scale better with the project. It was a challenging time but eventually we managed to complete a very large portion of the firmware (80%) in 2018. The firmware gave us the confident to prepare for the next stage, face lifting of the controller.
-
Alpha V1's Grandparent
03/23/2019 at 19:04 • 0 comments![Alpha V1's Grandparent Alpha V1's Grandparent]()
It was 2014 and we stepped up the engineering game with this remote controller :) We were experienced and familiar with fabrication processes and CAD design (both for mechanical parts and PCB), so we had a very systematic approach this time around.
We wanted to make sure the remote controller can be fabricated at low cost, therefore we decided to laser cut all parts. Laser cutting acrylic seemed to be the best option because acrylic is widely available and it is very laser cutting friendly.
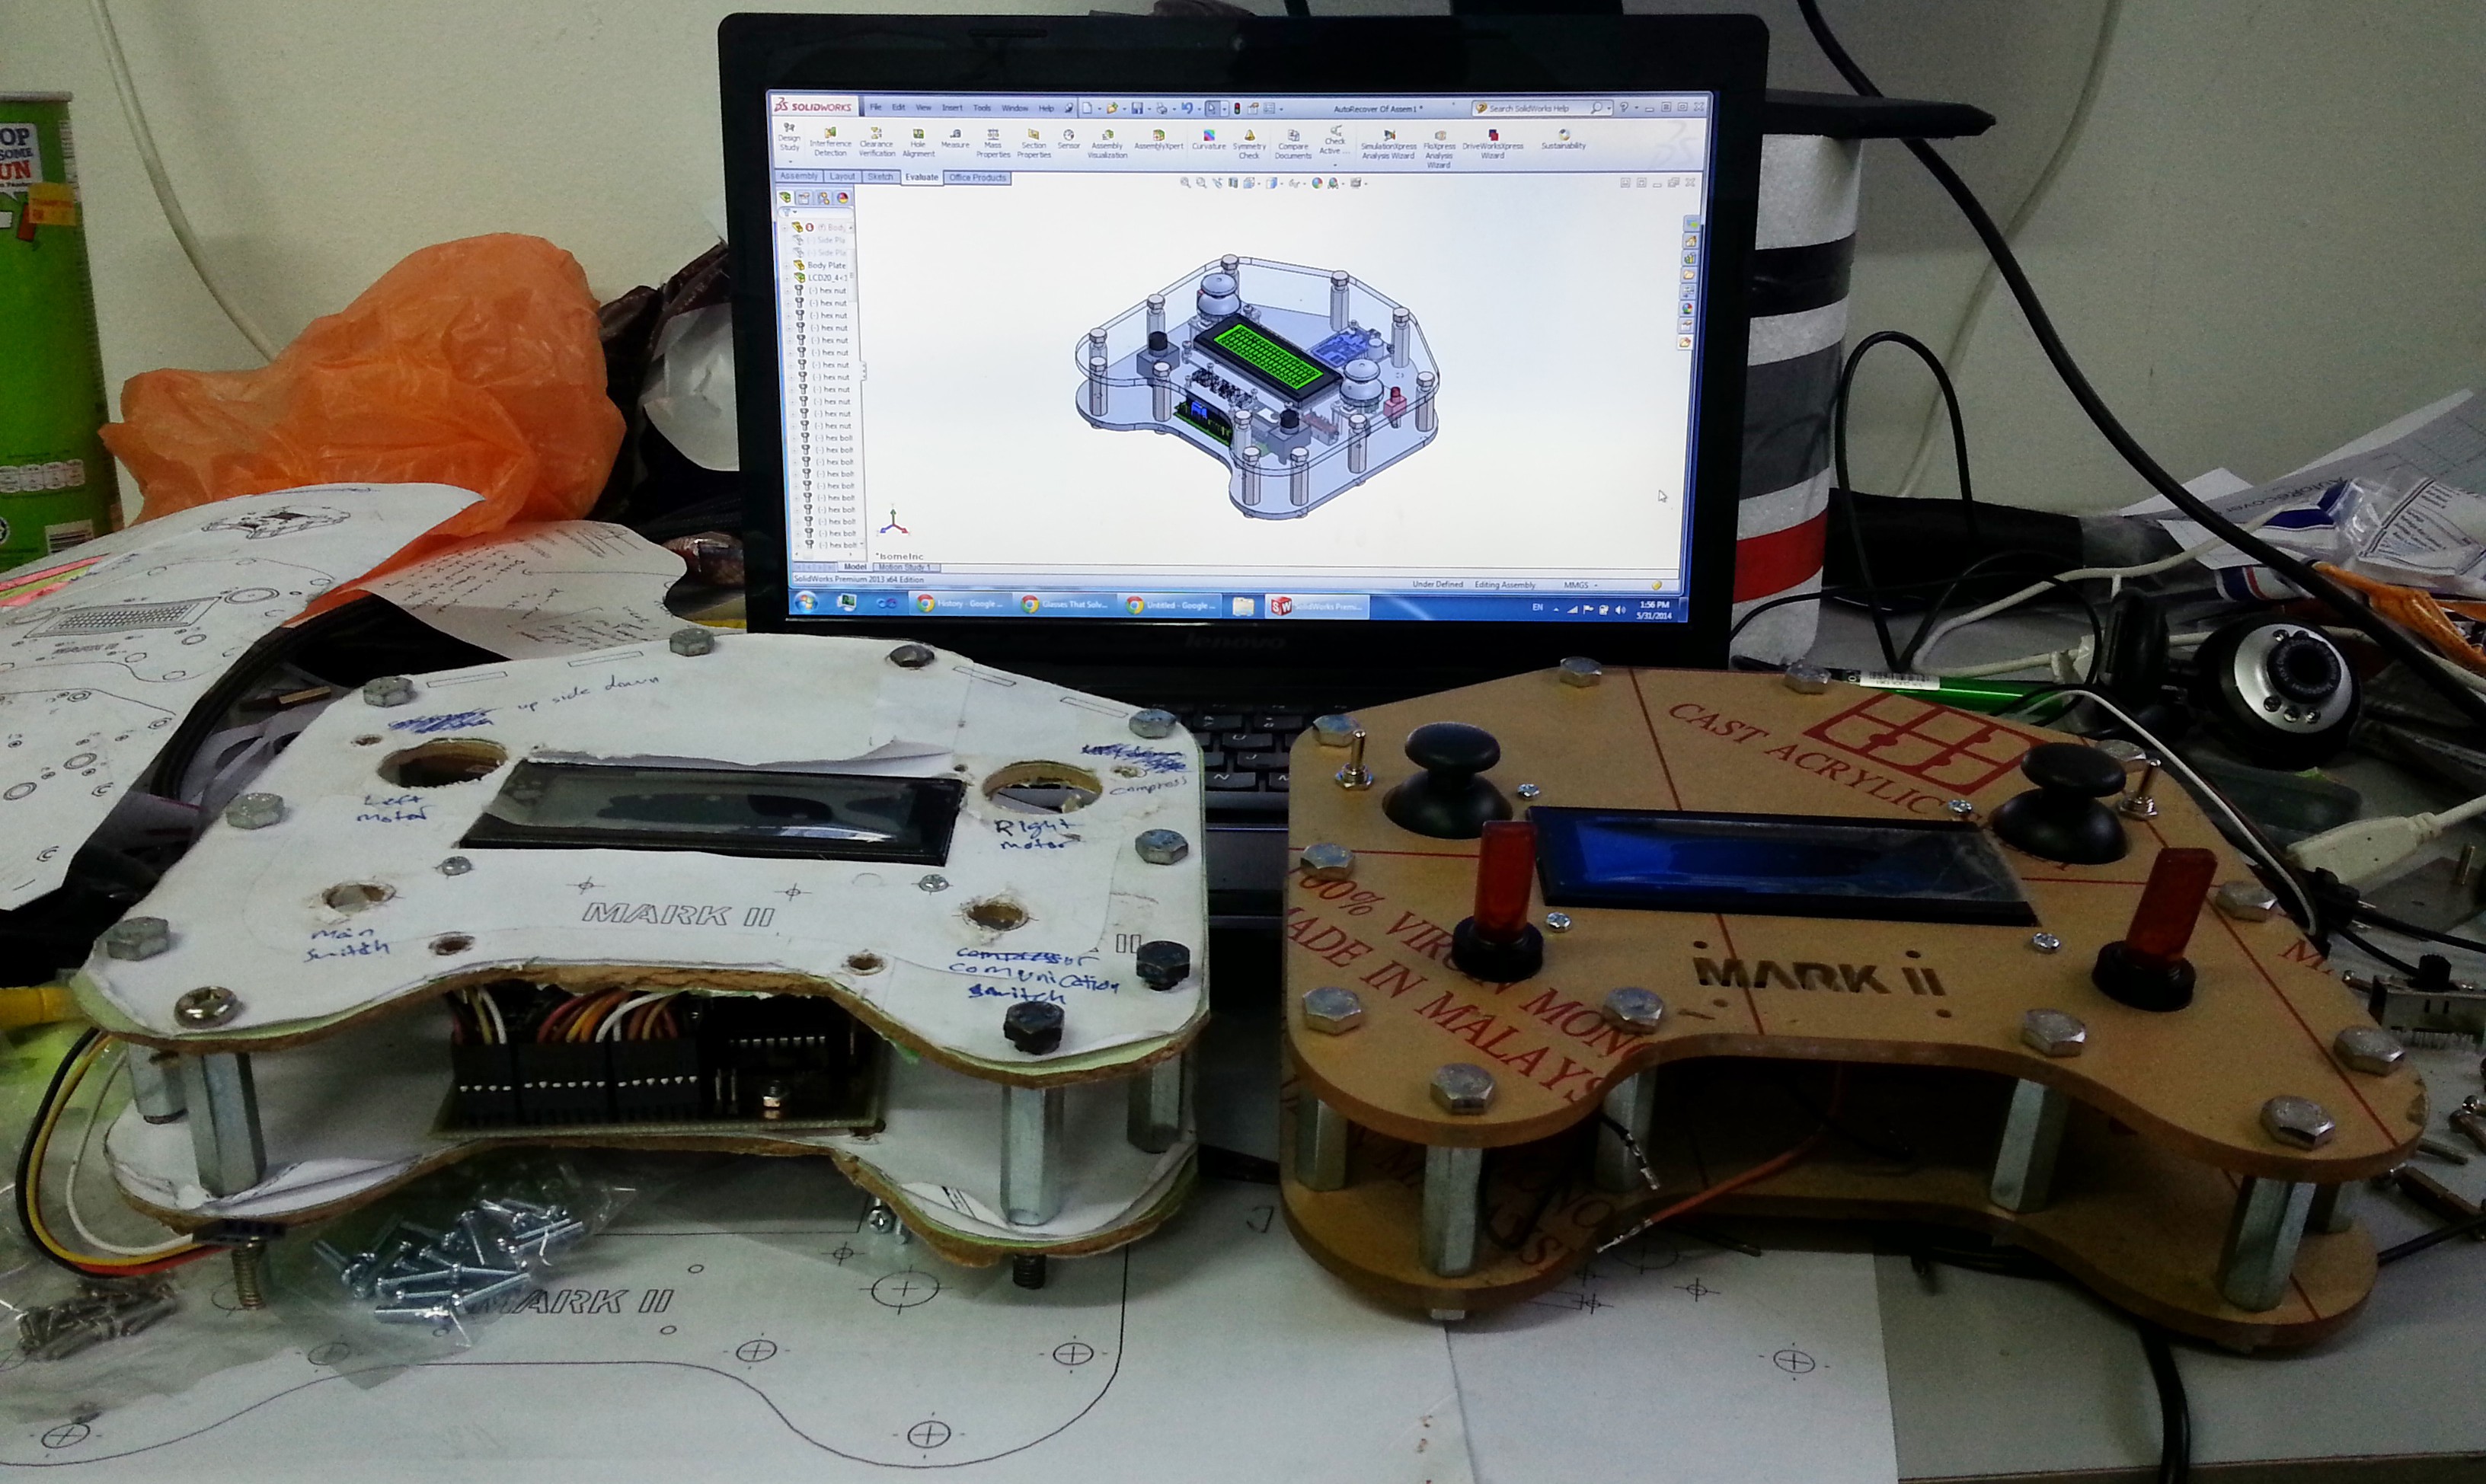
We first designed the remote controller in SolidWorks and then build a paper model. Once we were satisfied with the paper model we fabricated the first actual remote controller. The picture below show all the 3 stages next to each other.
![Alpha V1 Grandparent in 3 different design stage: CAD, paper model, actual model Alpha V1 Grandparent in 3 different design stage: CAD, paper model, actual model]()
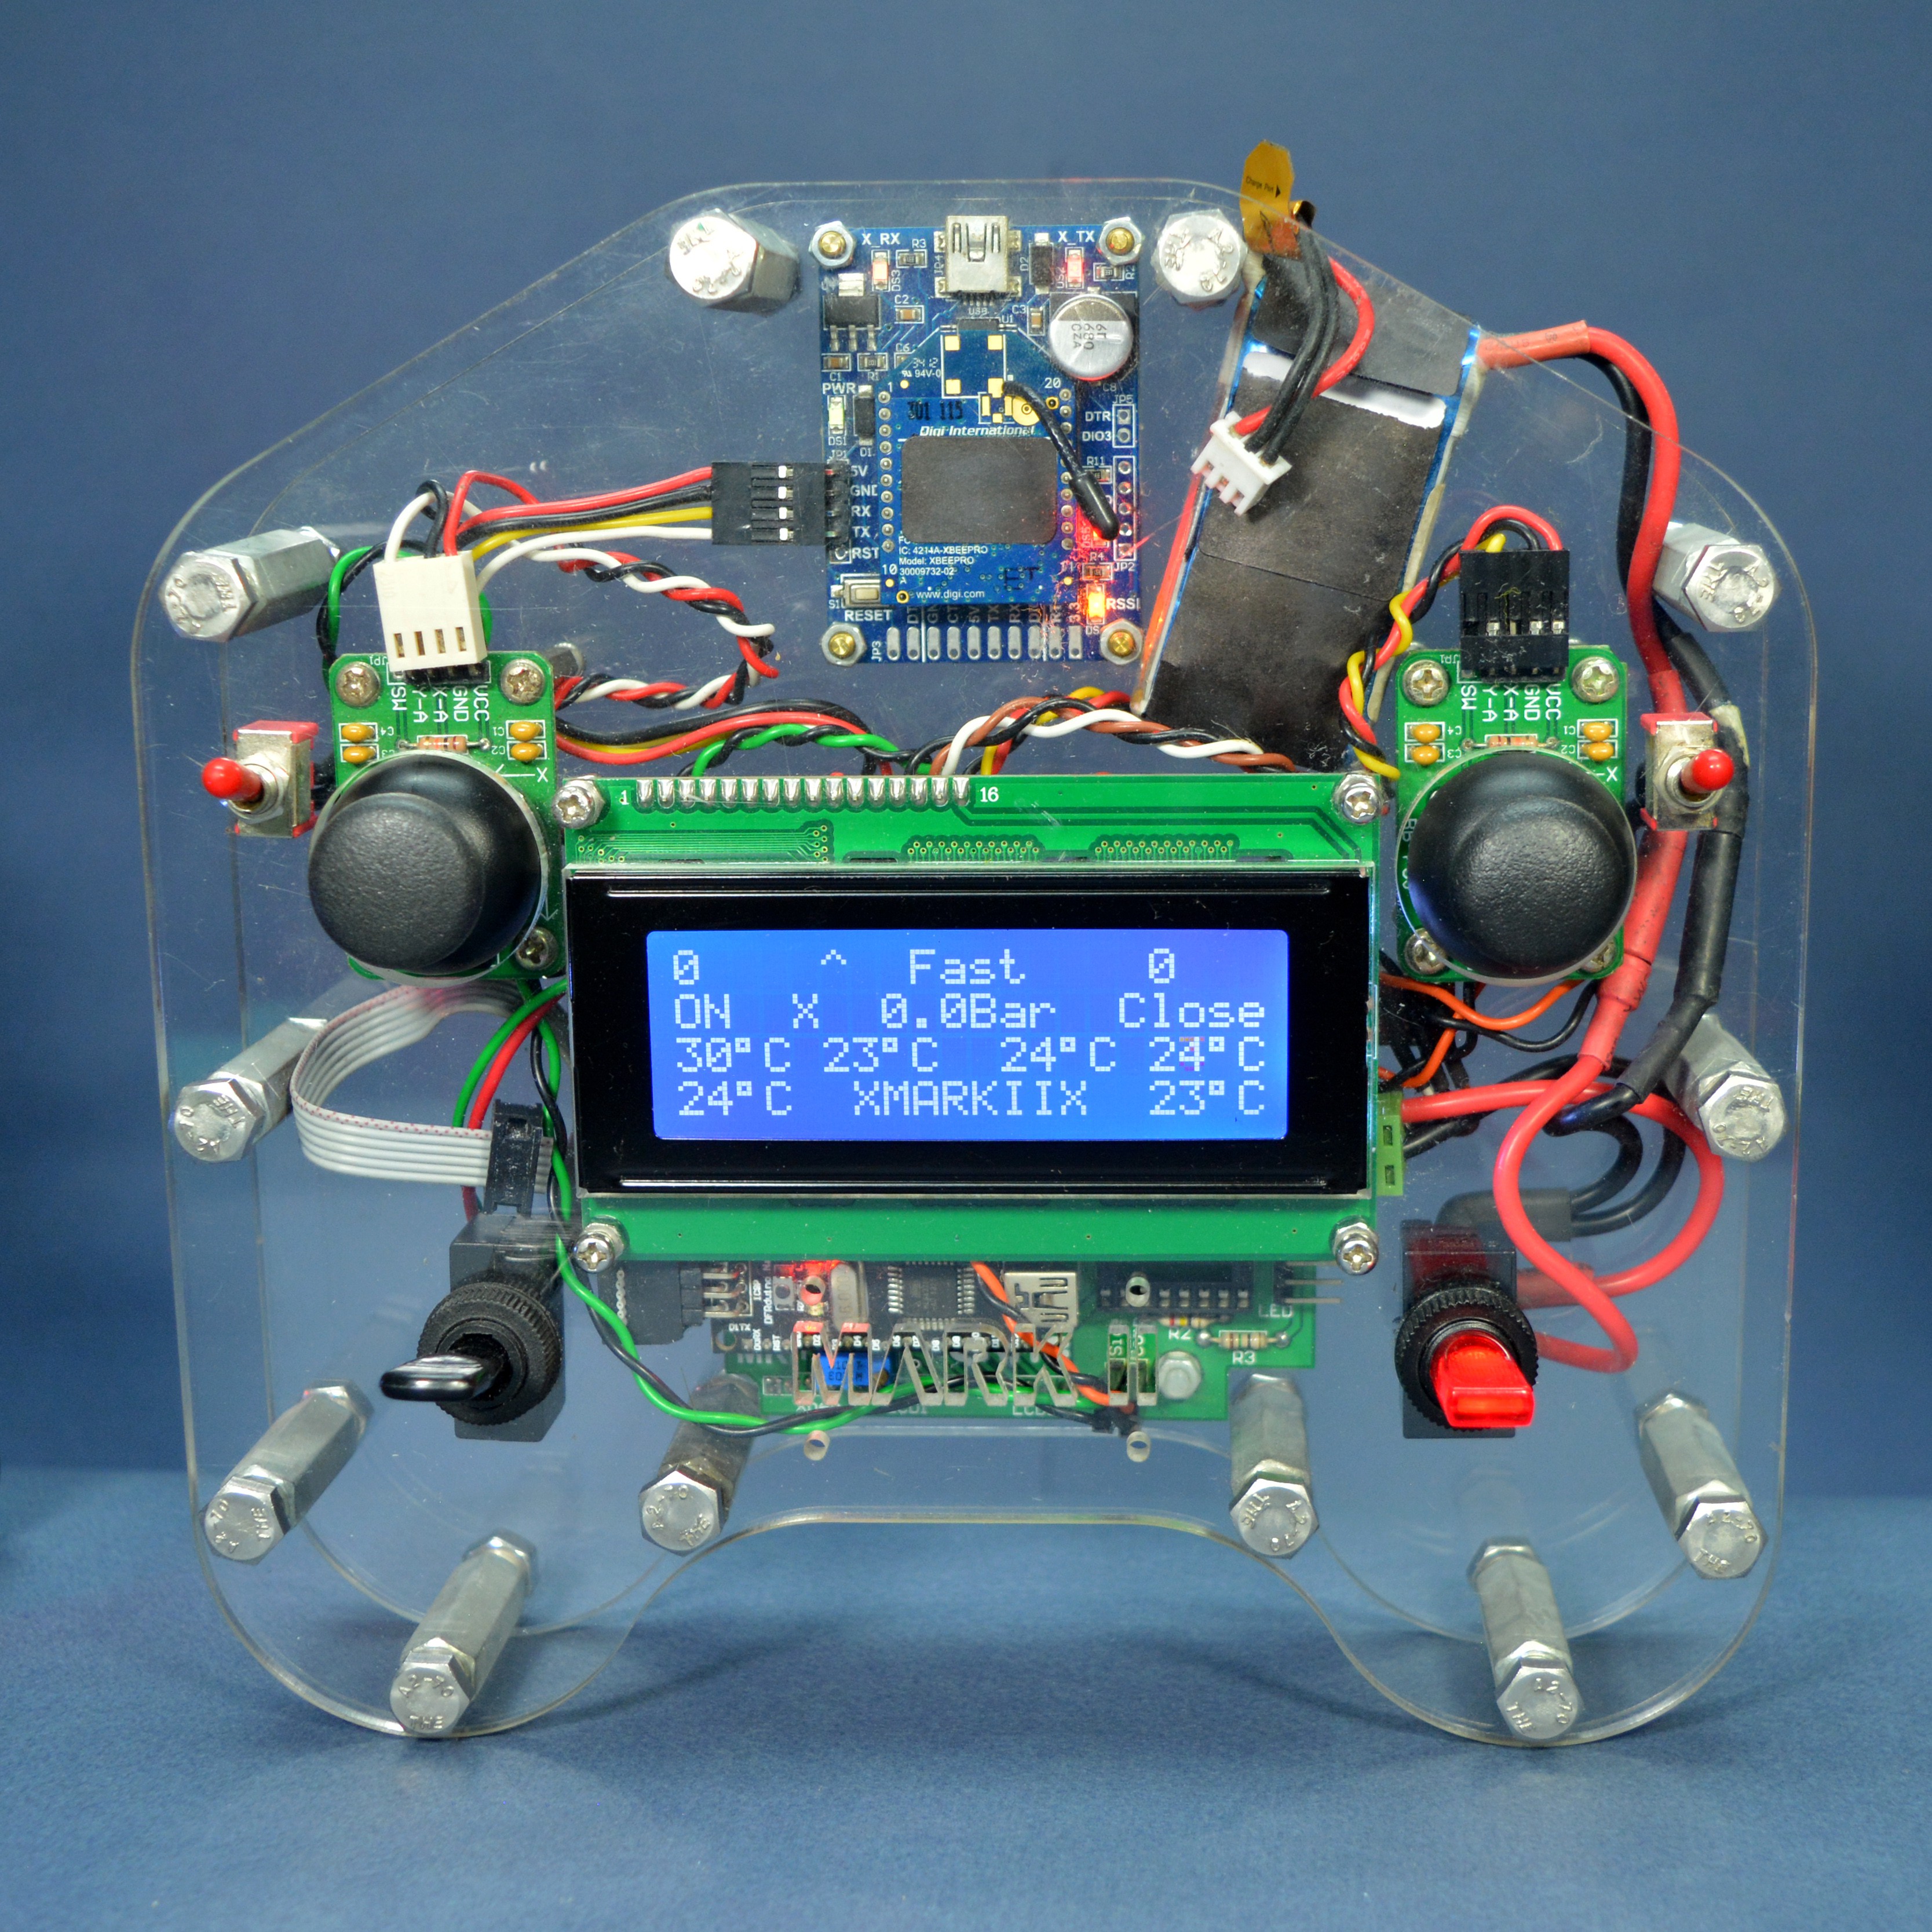
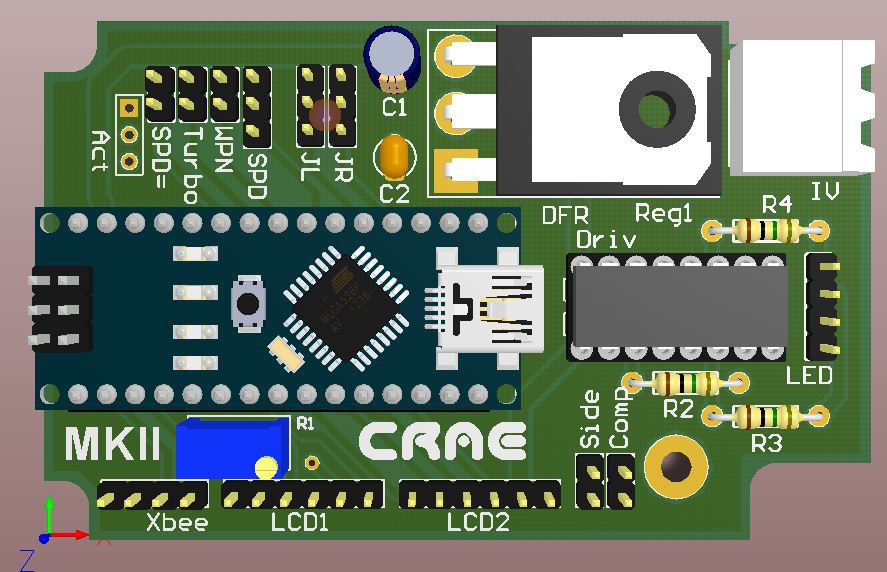
As mentioned in the previous log, we made the remote controller as modular as possible so that we can swap parts easily. The first step was using an Arduino board as the main processor. We picked an Arduino Nano for the job. We designed a PCB to act as a motherboard for Arduino Nano as well. The picture below show the 3D design.
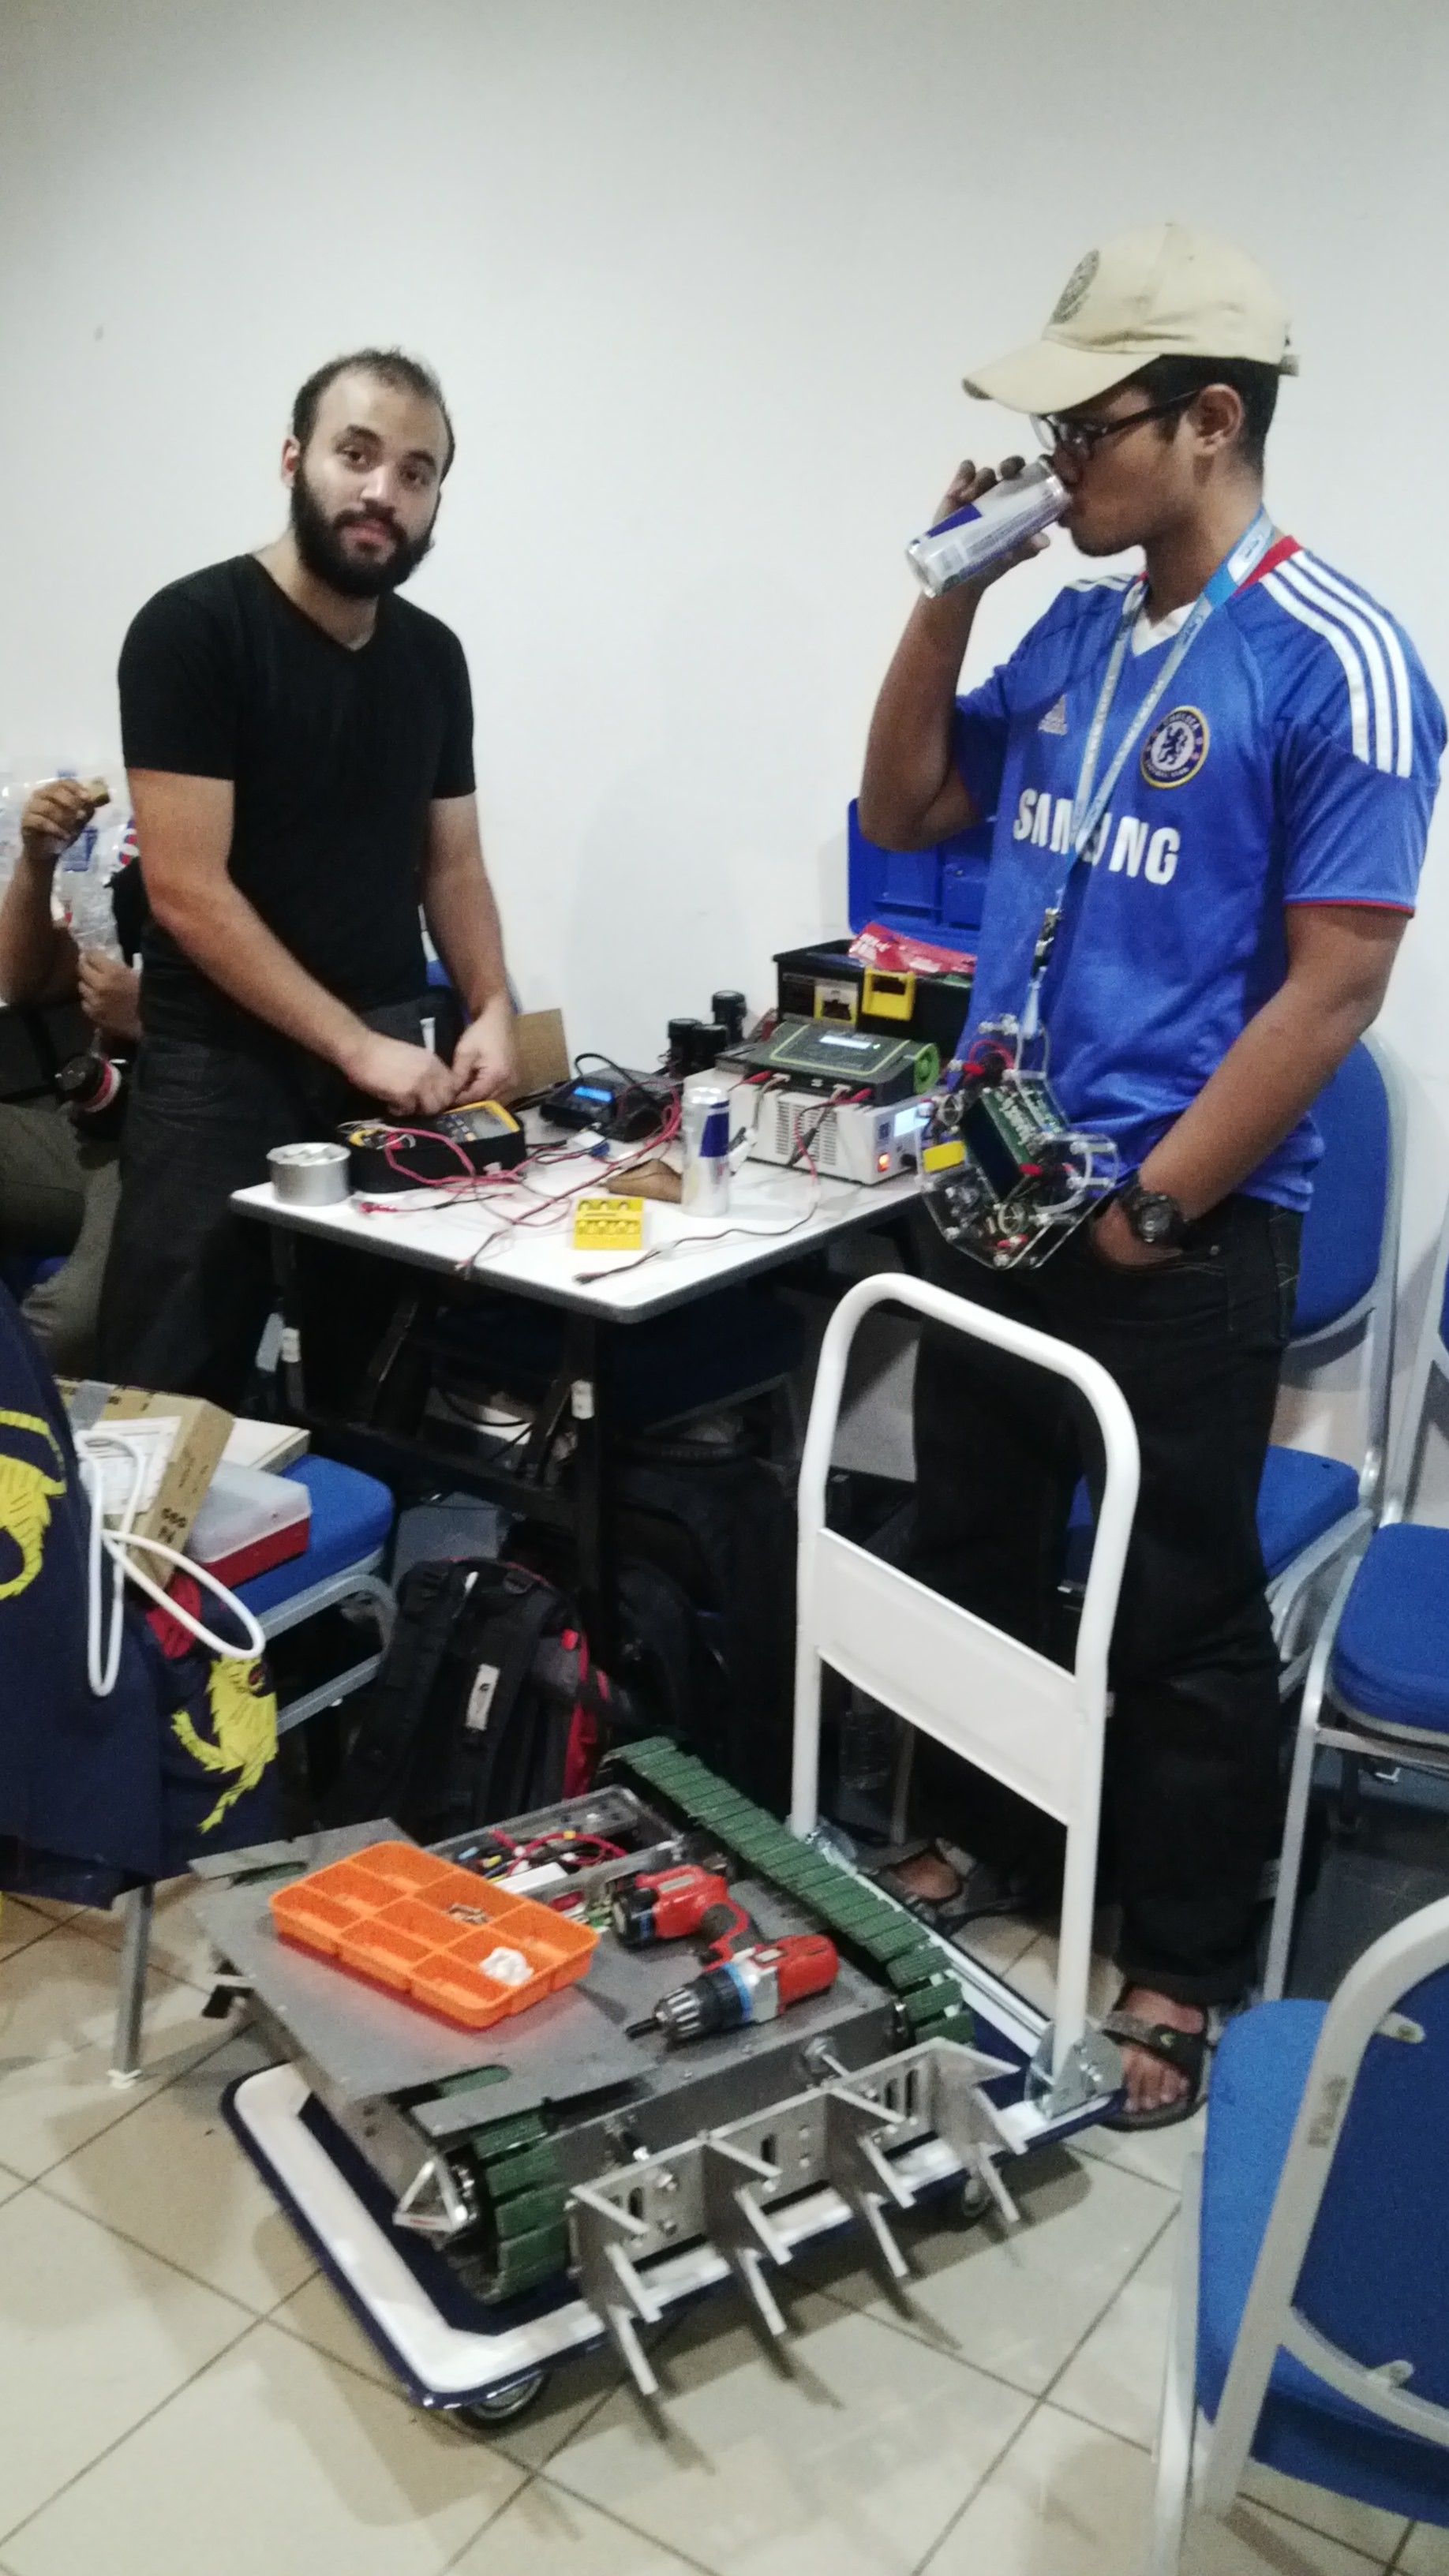
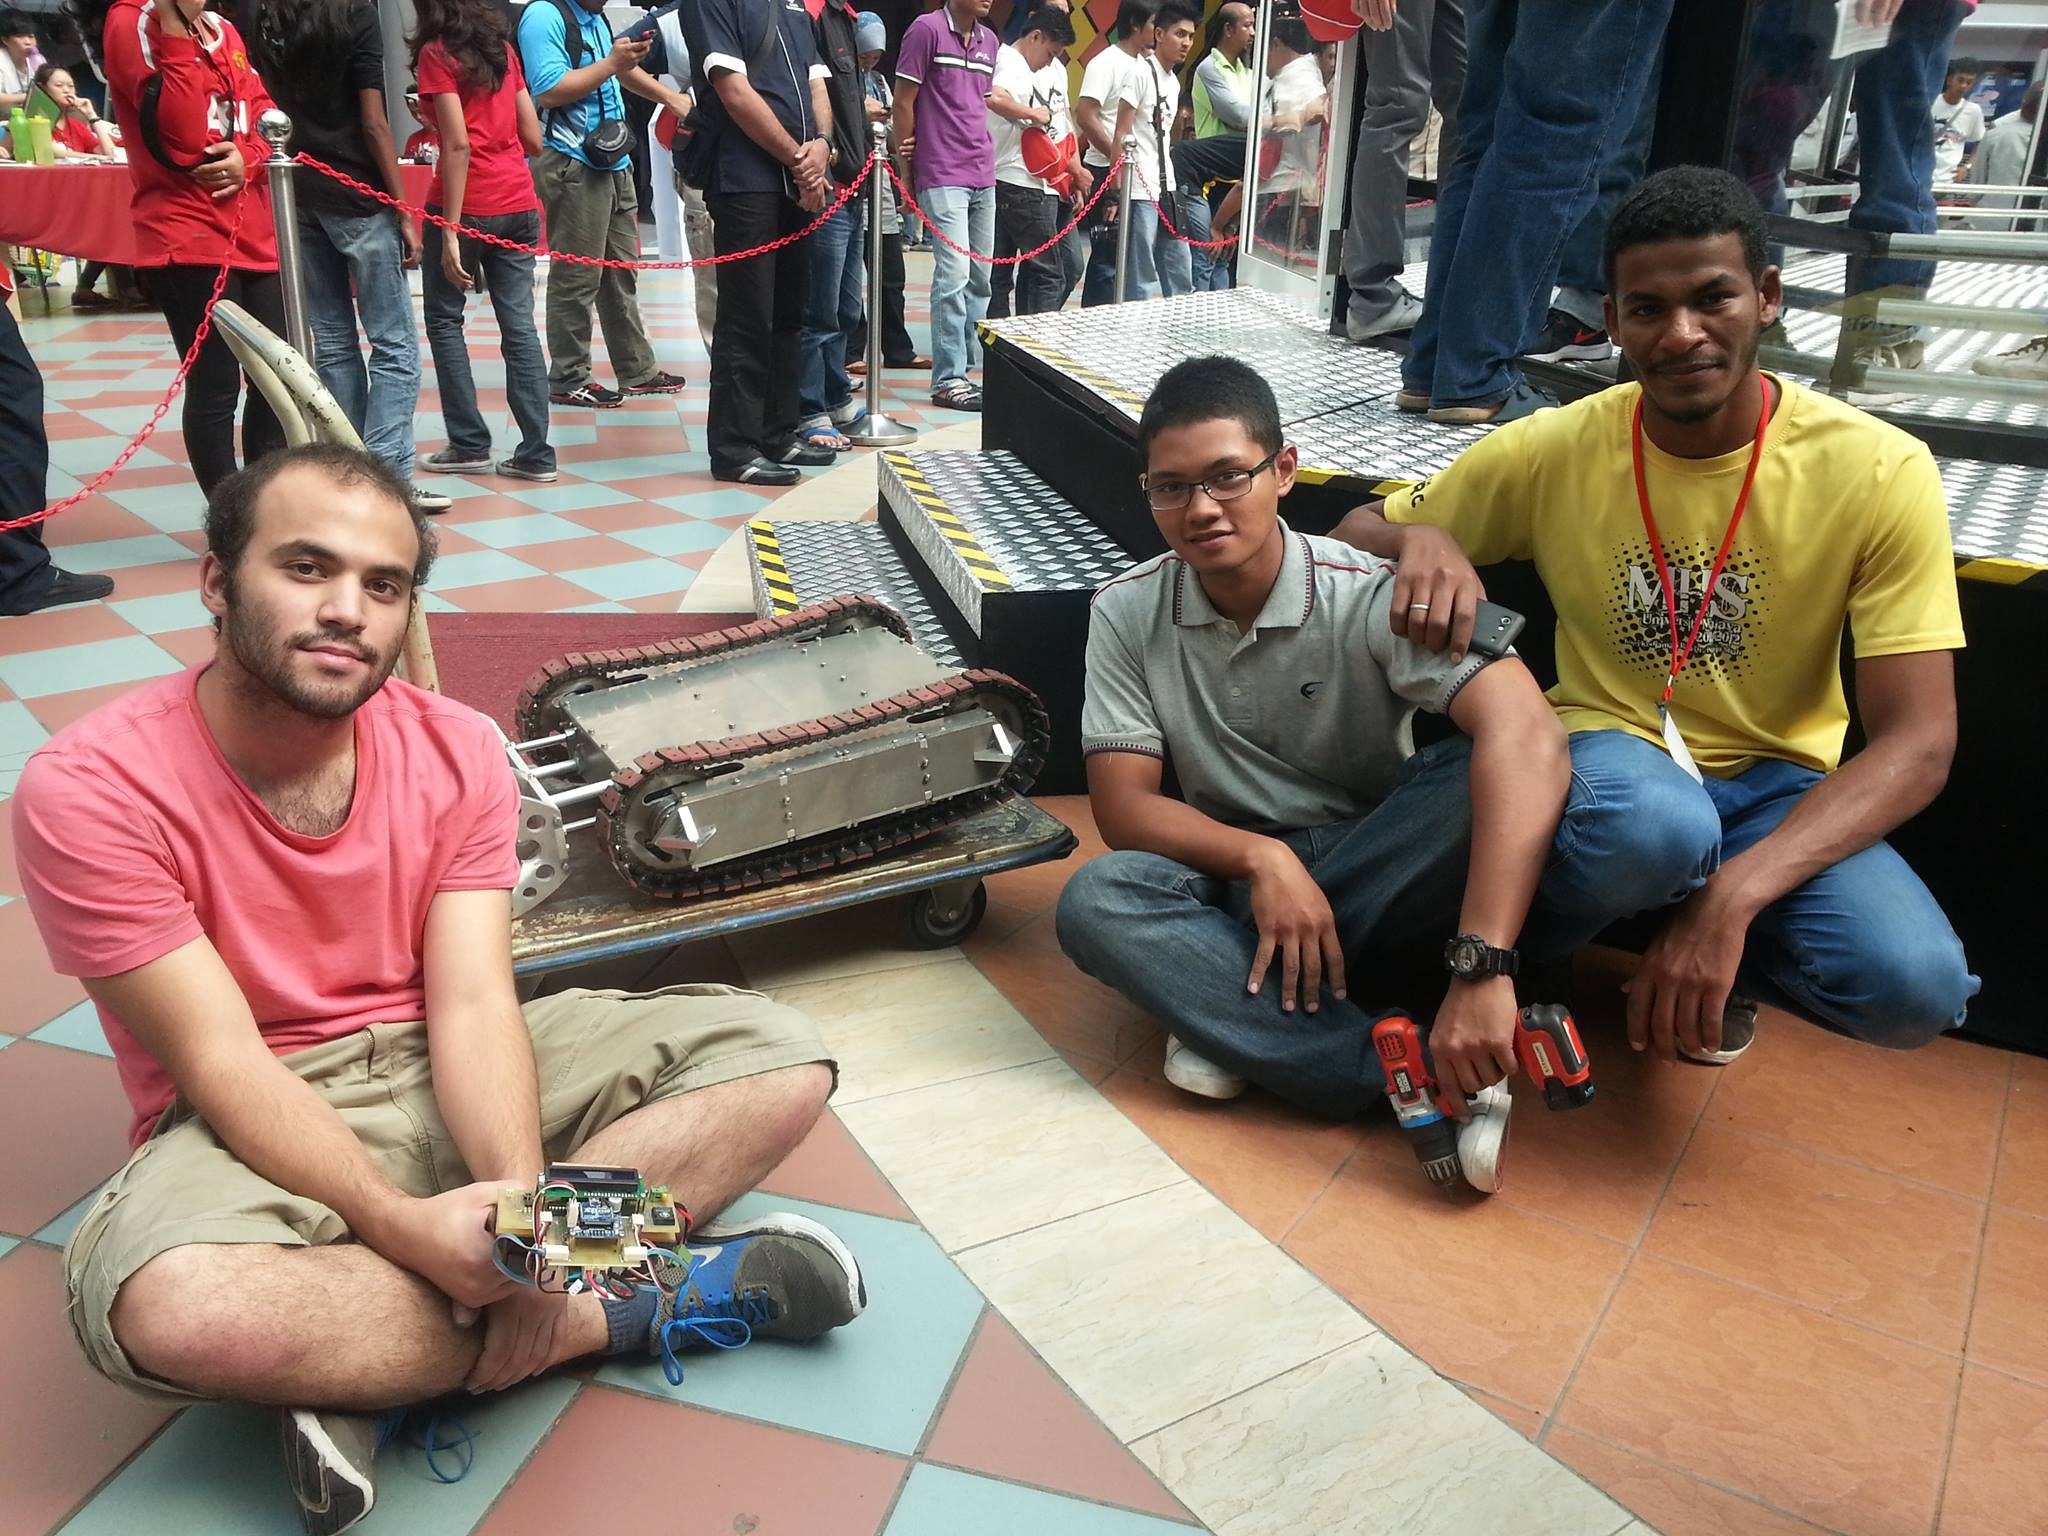
This controller was mainly used with our combat robot (Mark II). We also took part in few competitions with this remote controller. The picture below is from Combat Robot Malaysia. God knows how many Red Bull cans we drank. :)
![We were at combat robot Malaysia with our remote controller We were at combat robot Malaysia with our remote controller]()
This remote controller served us well till the end of our studies. We have a website page dedicated to this remote. If you want to see more pictures check it out (https://www.craetech.com/project/customized-remote-controller/).
Alpha V1 is heavily influenced by this remote controller and if it was not because of all the love this remote controller received at various events we would never think about coming this far with it.
-
Our Second Remote Controller (Alpha V1's ancestor)
03/23/2019 at 17:15 • 0 comments![Alpha V1's ancestor based on PS2 controller Alpha V1's ancestor based on PS2 controller]()
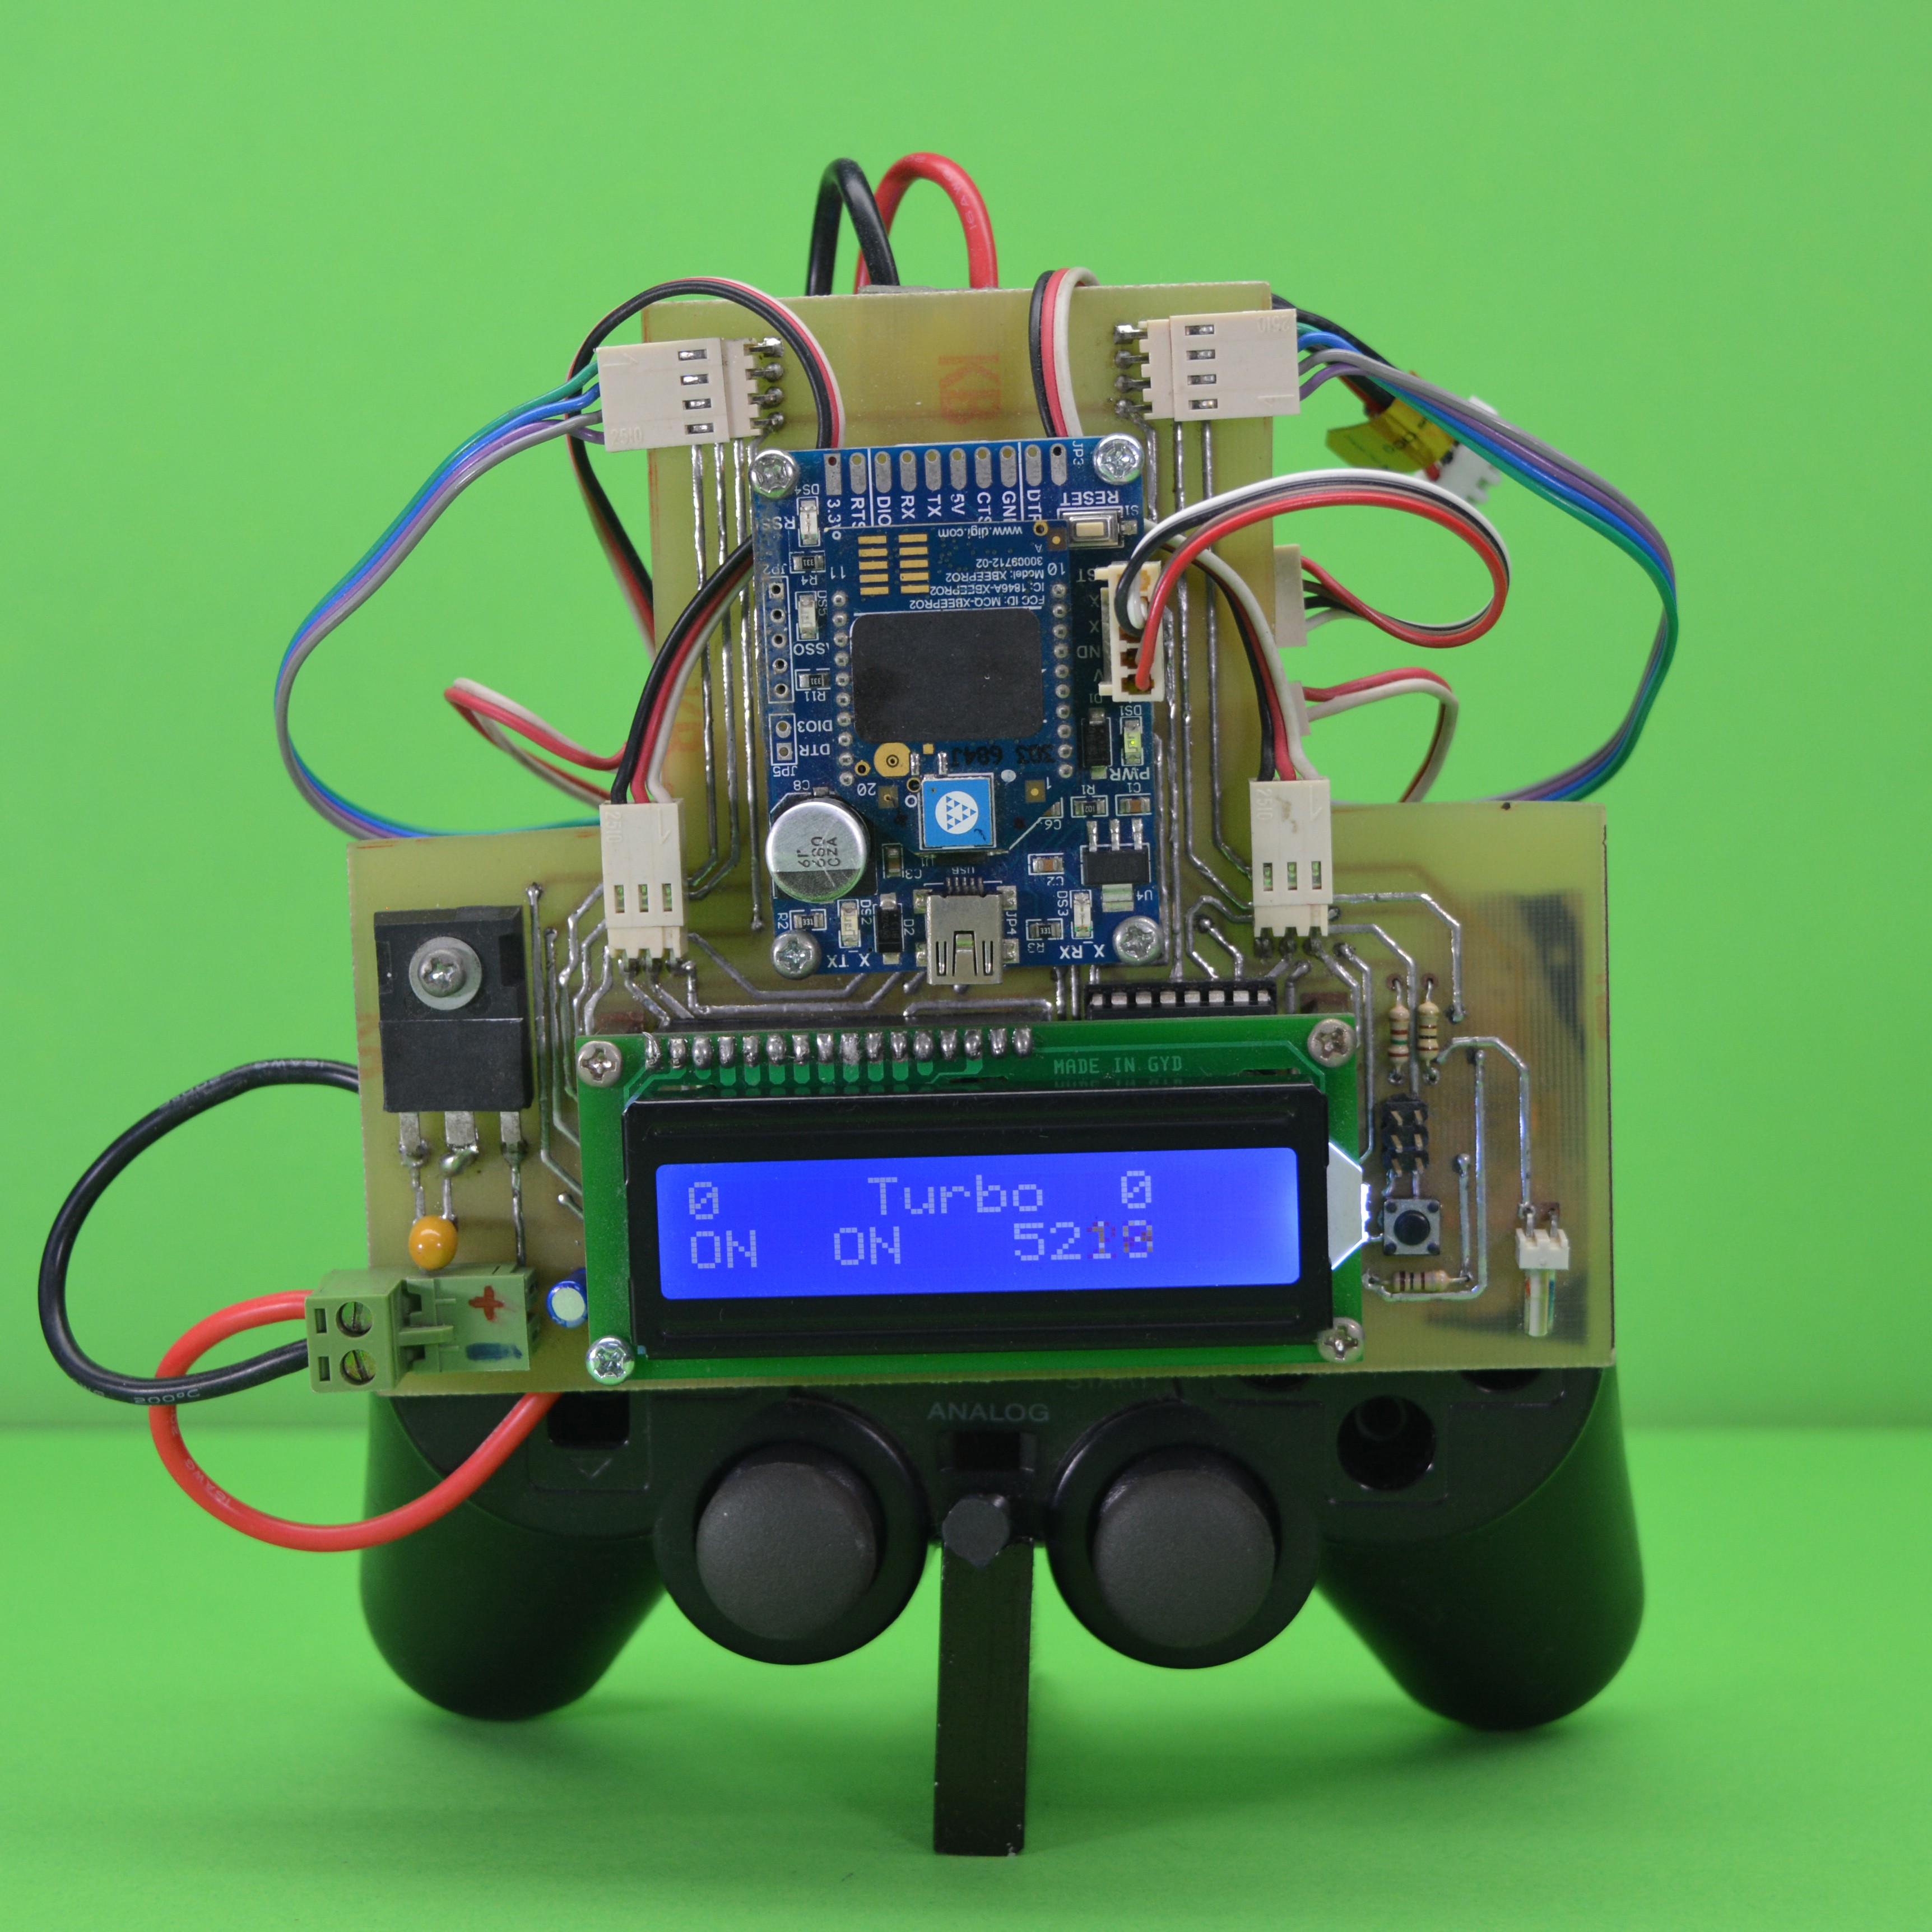
We built our second remote controller of the PS2 controller hoping that the end result will be more ergonomic than the last one. Well, let's say we were very wrong. :)
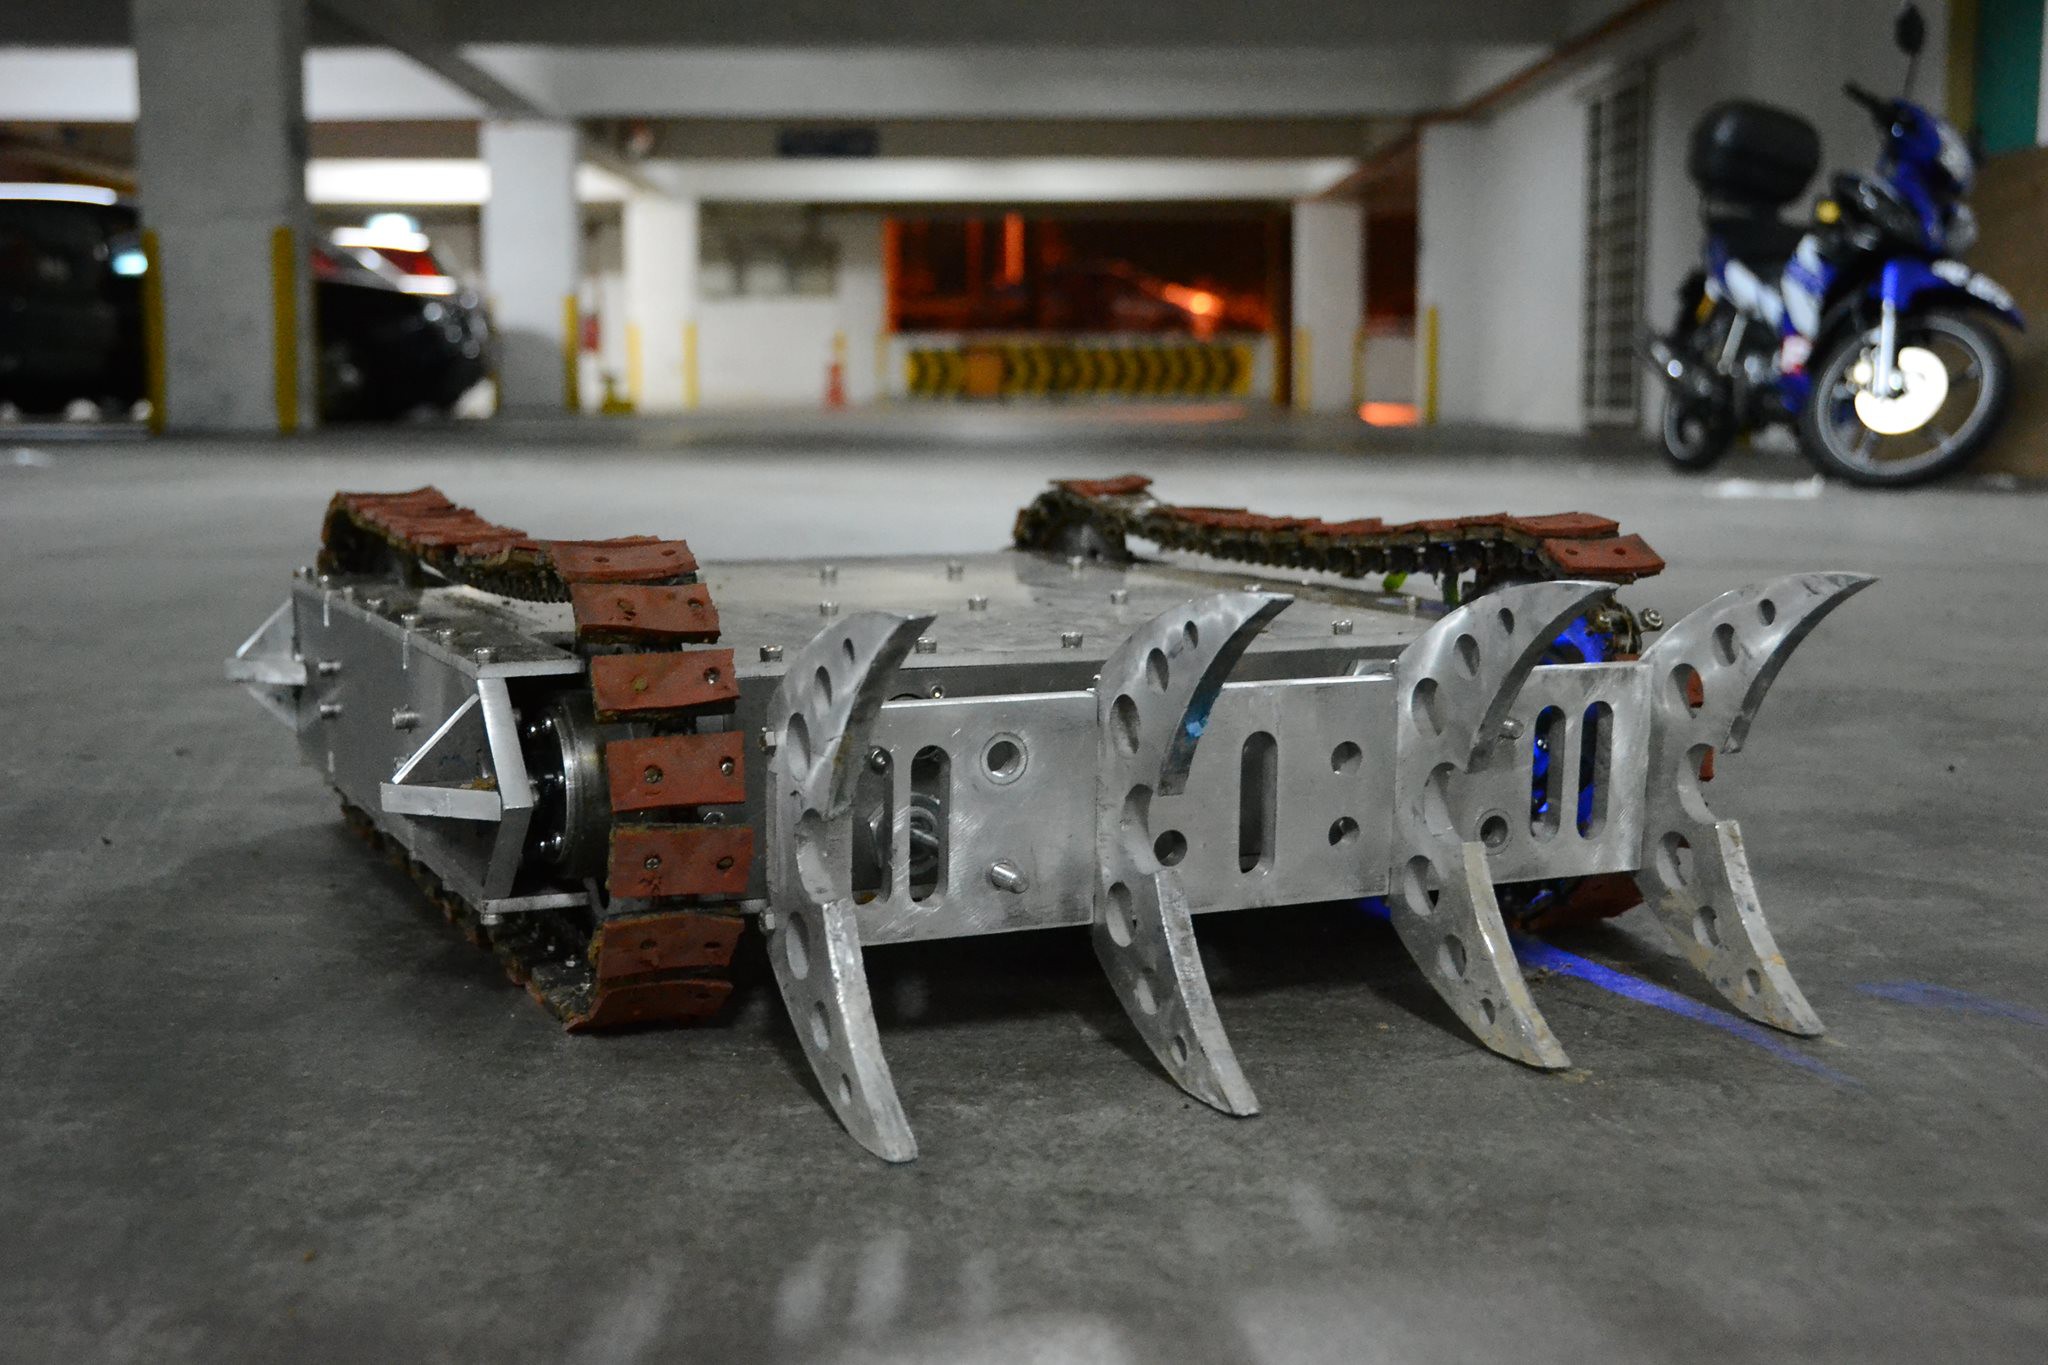
We used this remote controller with our combat robot Mark II. Each joystick was controlling one side of the robot, so it was controlled like a tank.
![Mark II combat robot Mark II combat robot]()
Mark II had an internal compressor and 2 cylinder to move its front shield. So we added buttons to the PS2 controller to make sure we can control everything. We also added a 3 position radio switch to control the speed of the robot. The sensitivity of the joystick were affected by the position of the radio switch.
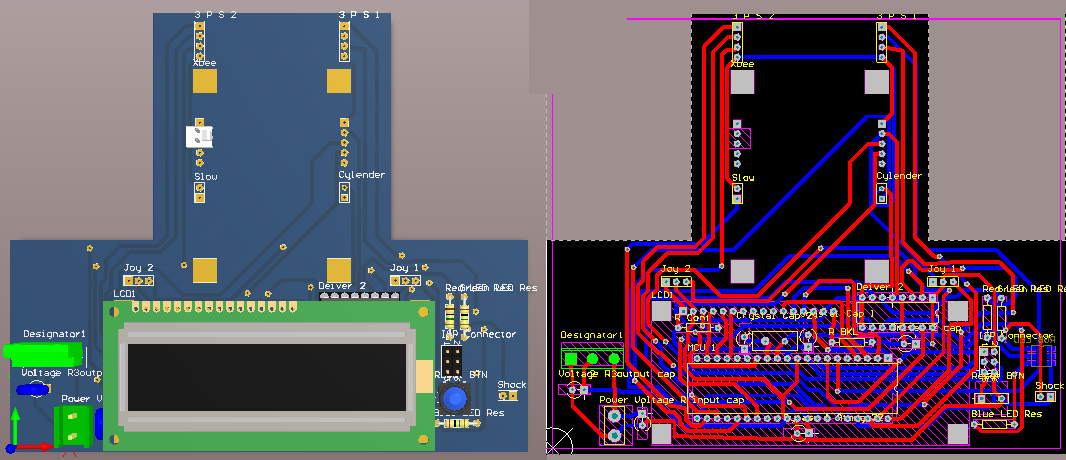
We also designed and fabricated a PCB for this remote controller. The PCB was fabricated at university and they it was milling based. The PCB was not beautiful and the via holes had to be soldered from both side, but overall it was better than nothing.
![Alpha V1's ancestor's PCB Alpha V1's ancestor's PCB]()
We learned a lot in the process but we were never happy with the end result and soon enough we started working on a new remote controller. The remote was not ergonomic and building a second unit would be very difficult because we first needed to modify a PS2 controller and then we could build on top of it. Even though we did not want to commercialize the controller at the time, we could understand how important it is to have a modular and easily replaceable parts specially for competitions and when everything goes wrong :). In fact this was our main motive to use Arduino board on all our projects rather than any processor suitable for the job.
We took part in 1 competition with this remote controller.
![Mark II and Alpha V1's ancestor at combat robot competition Mark II and Alpha V1's ancestor at combat robot competition]()
-
Our First Remote Controller (Alpha V1's First Ancestor)
03/23/2019 at 11:53 • 0 comments![Alpha V1's first ancestor Alpha V1's first ancestor]()
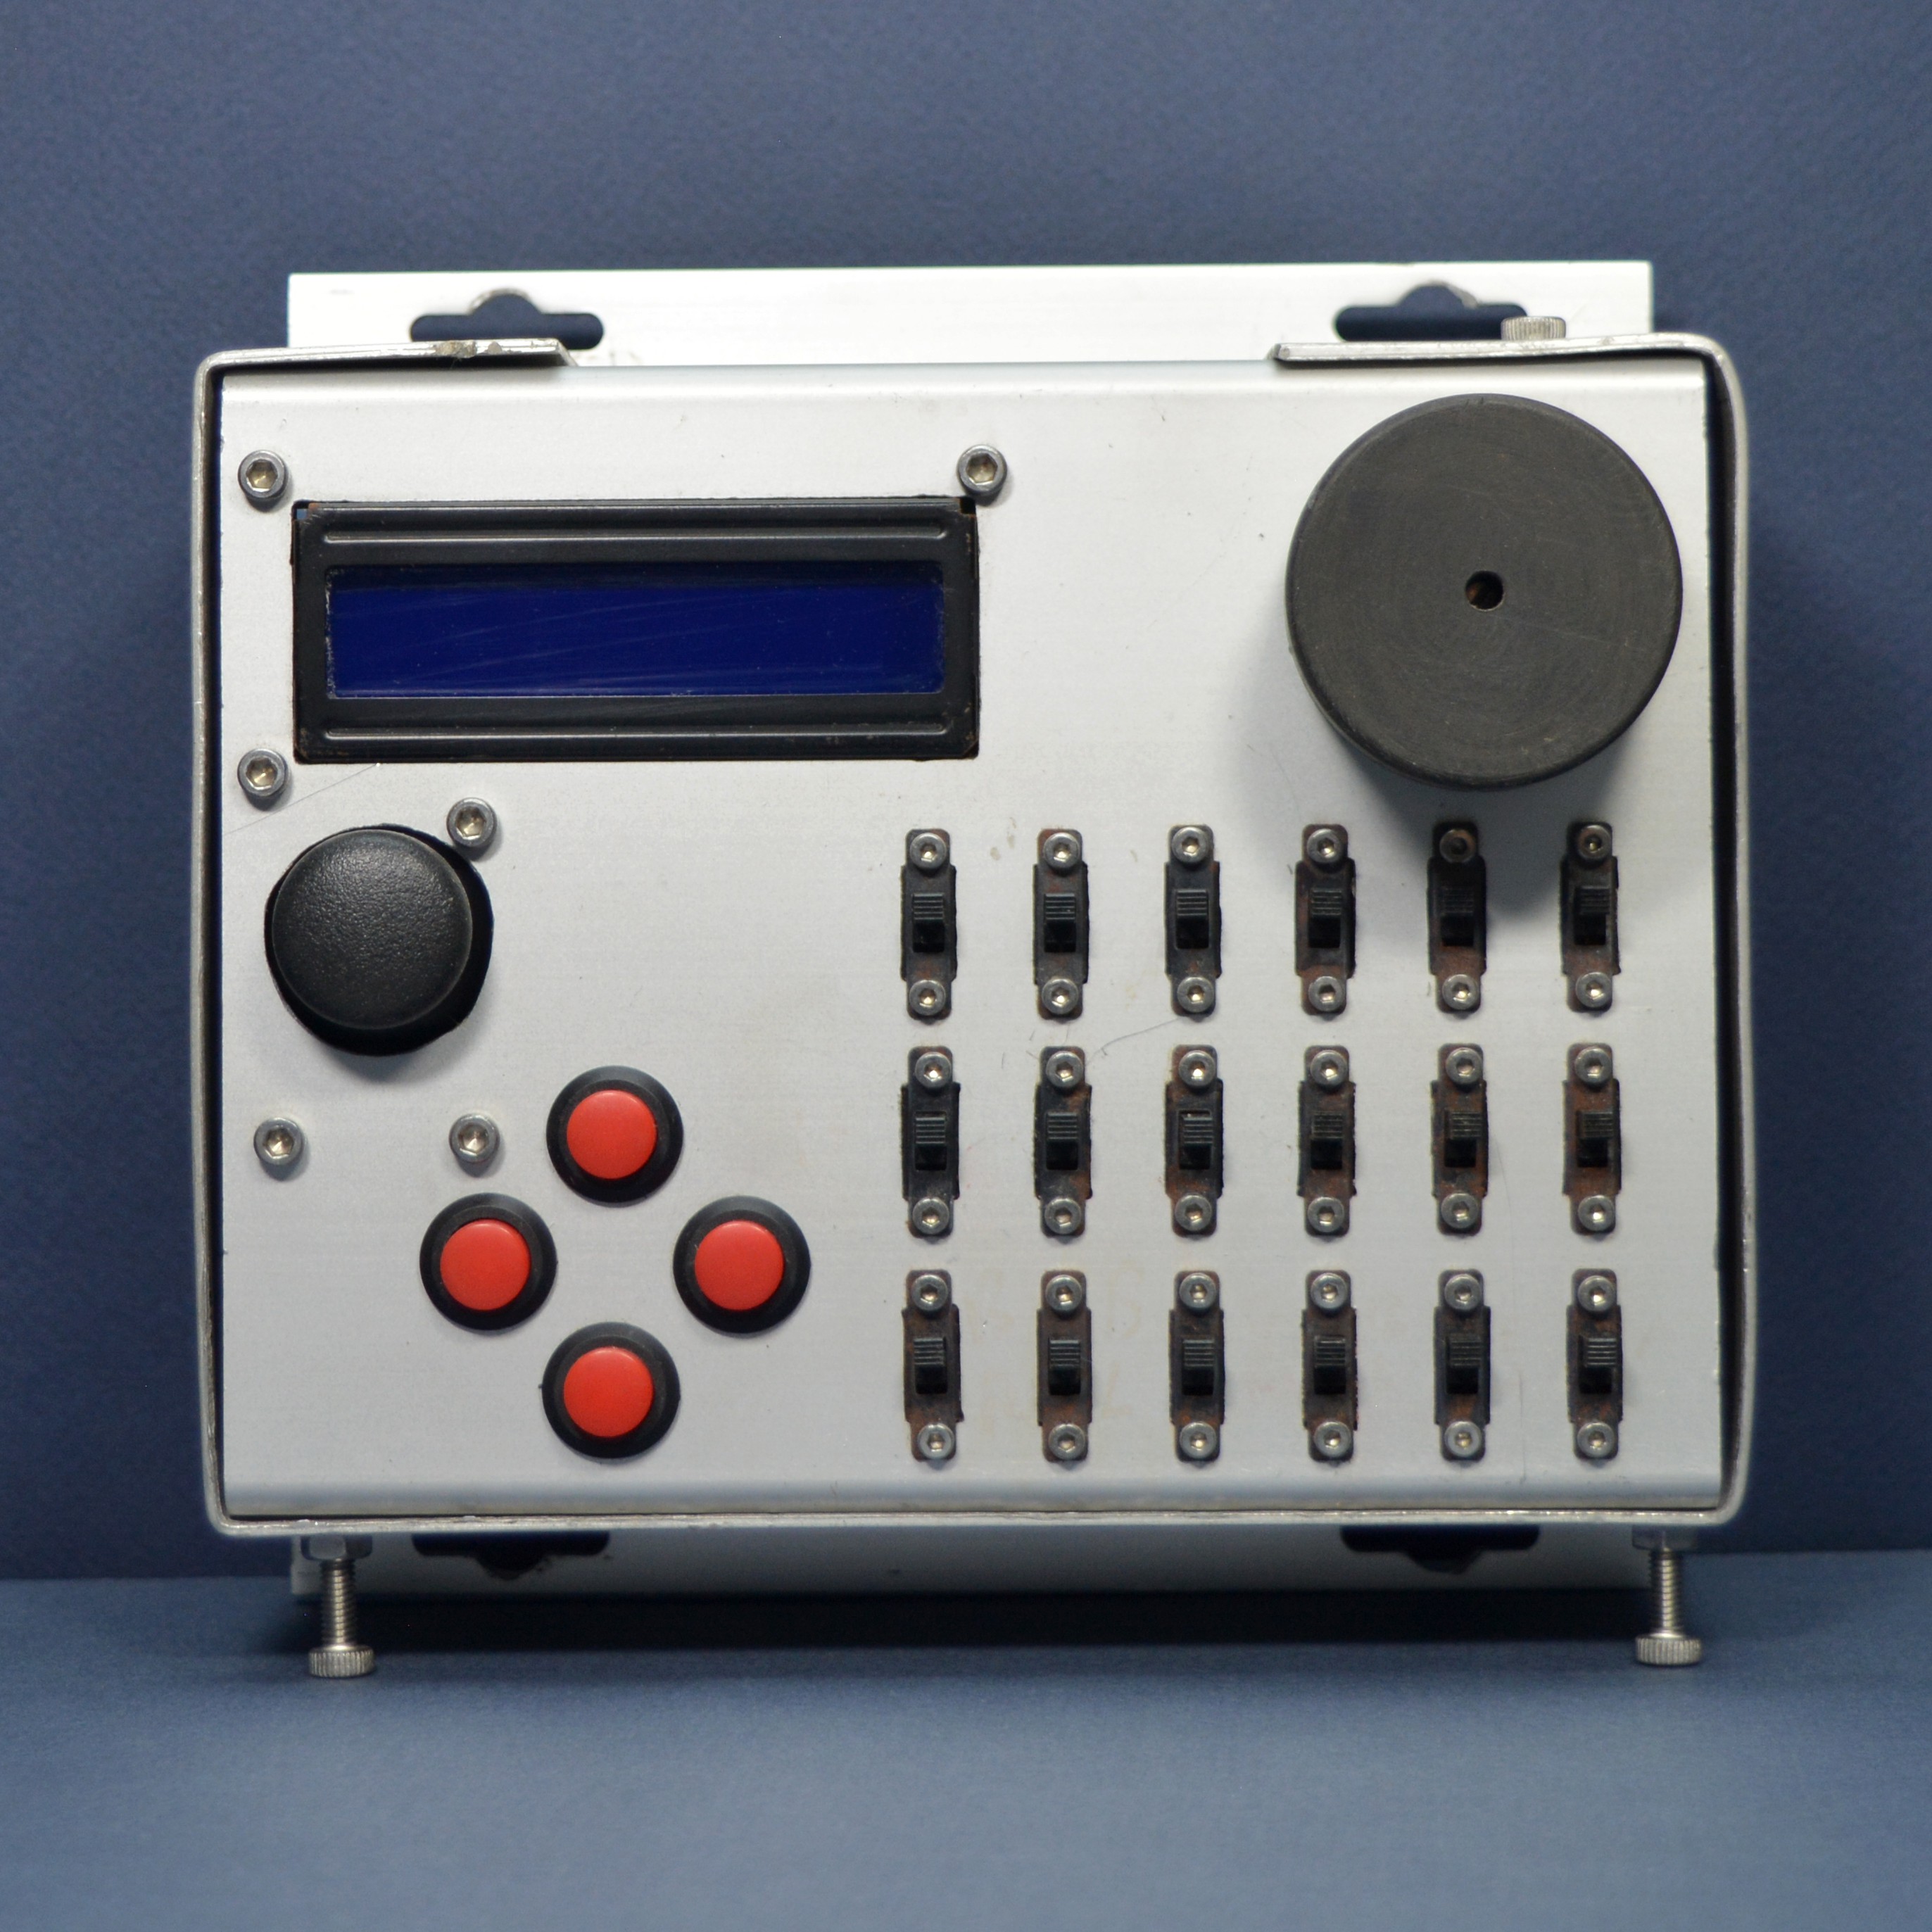
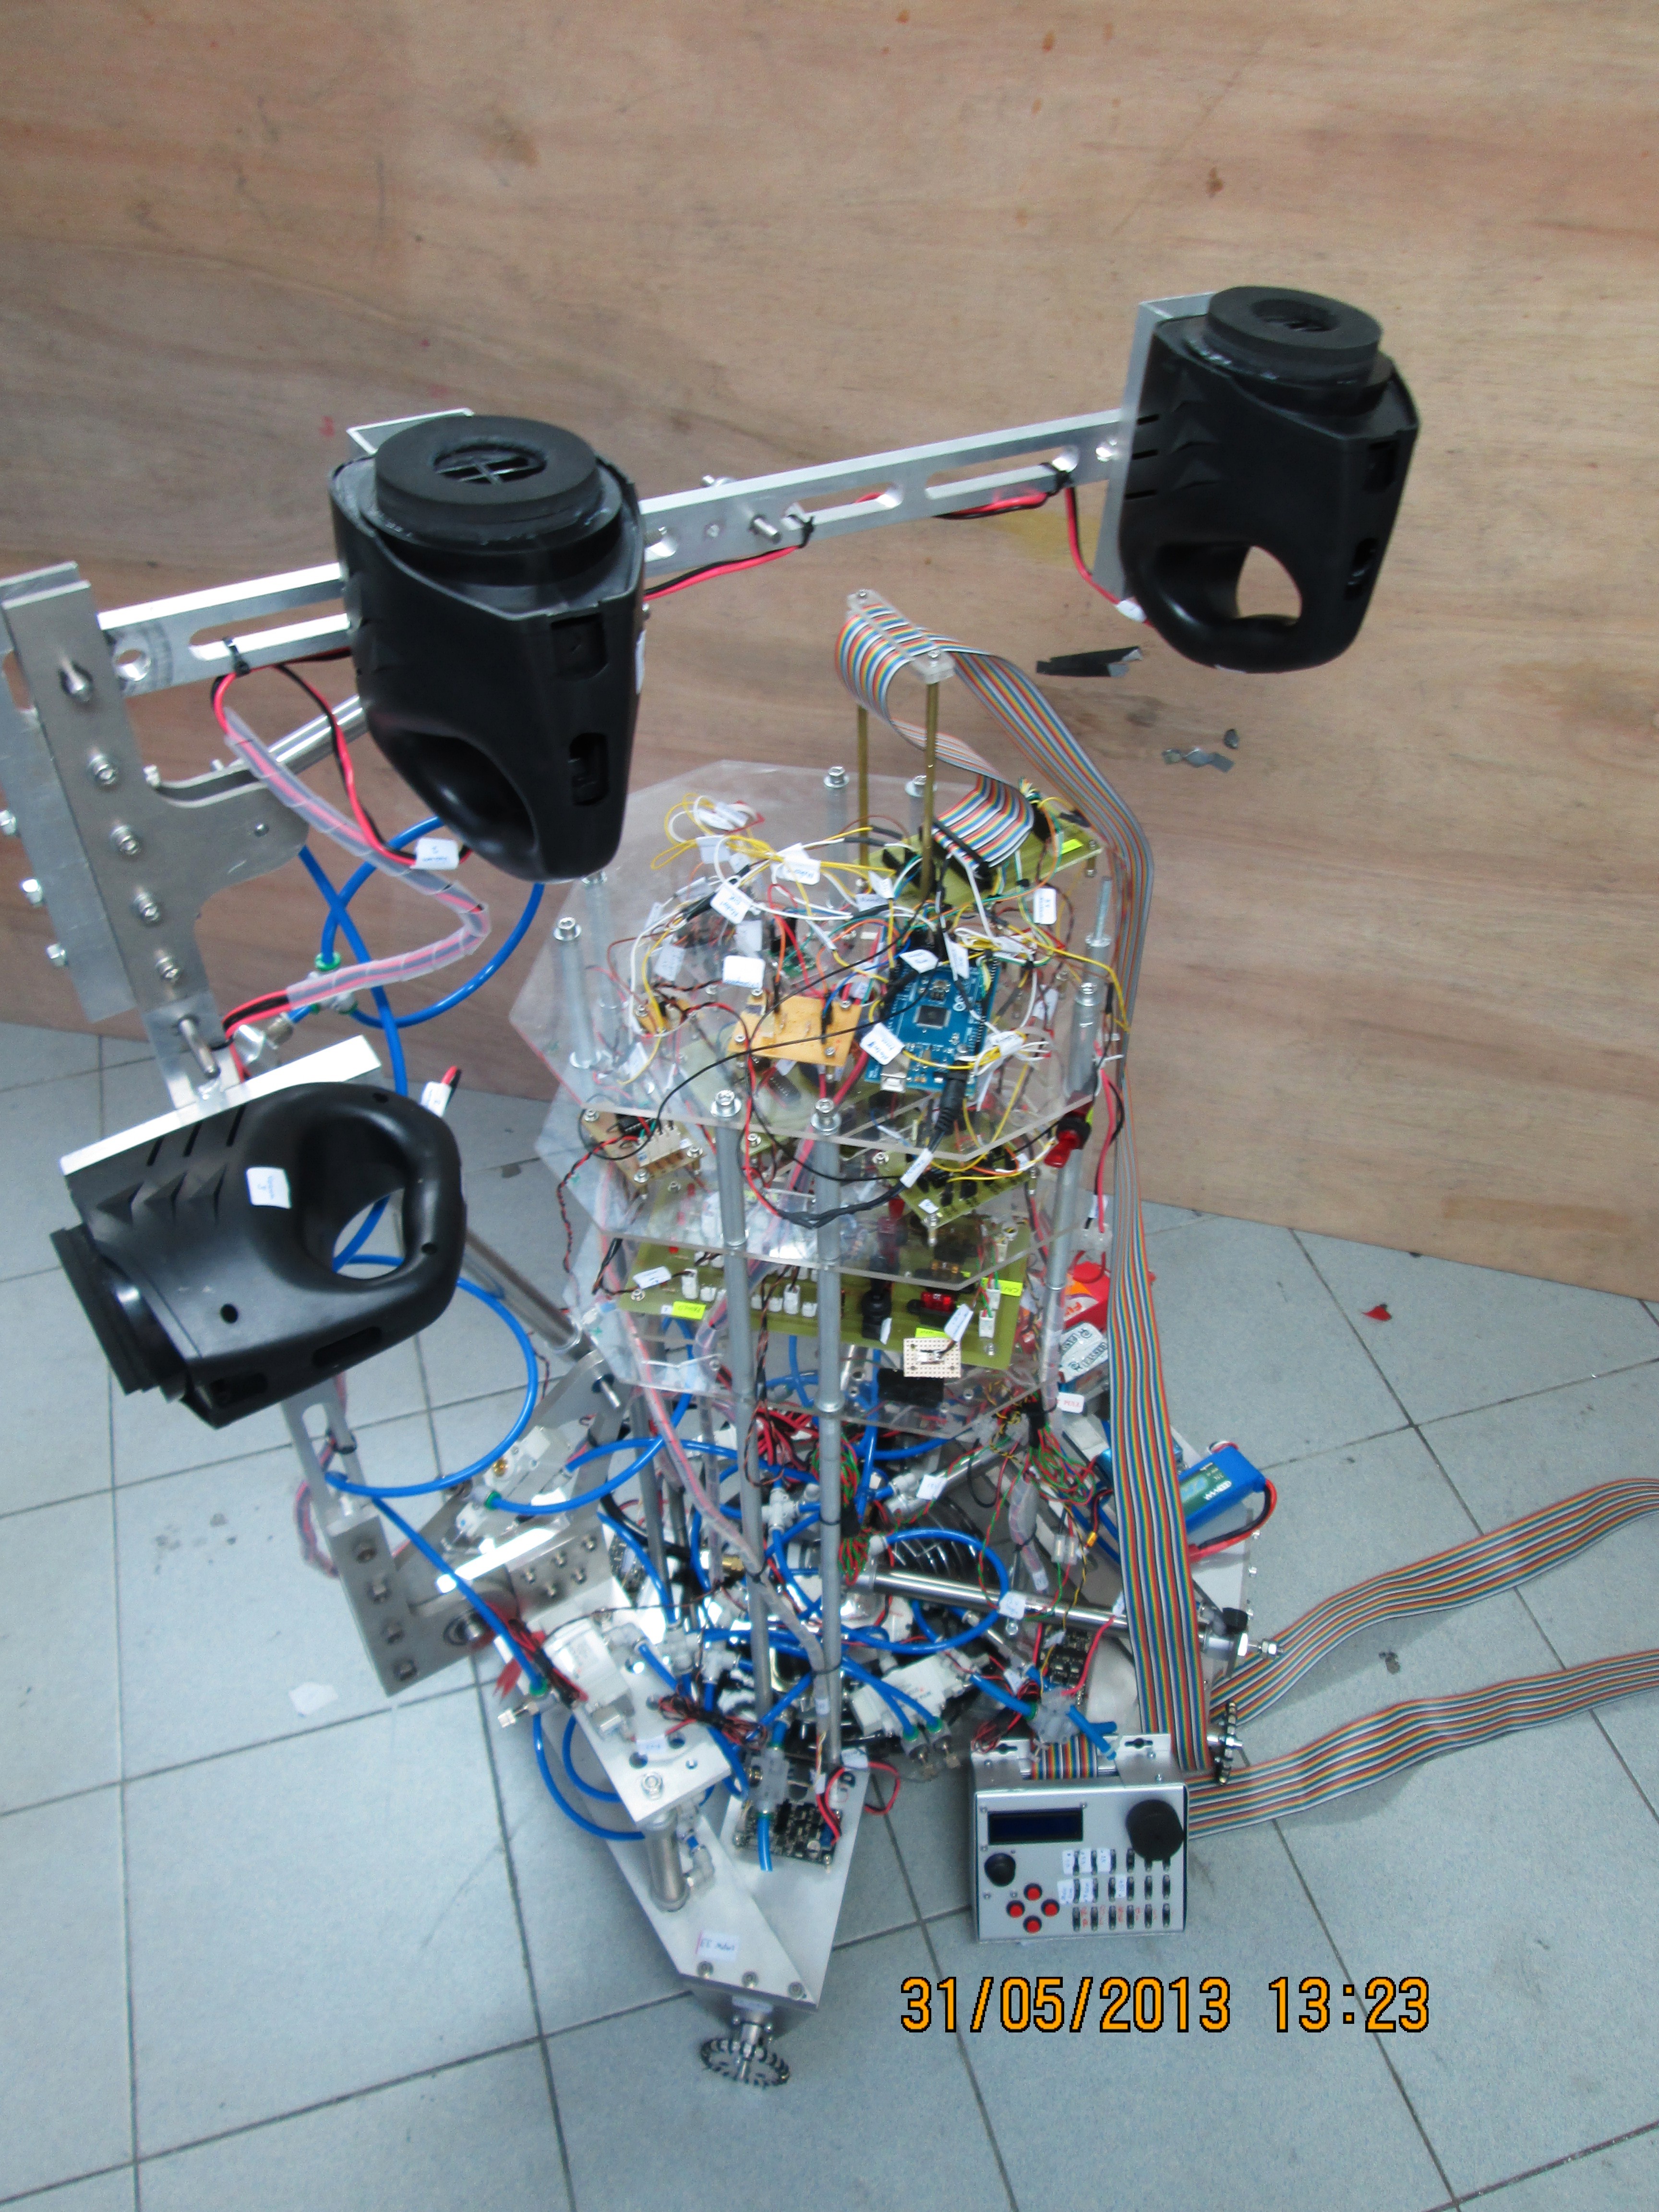
In 2013, we were in our second year of university and we were building a robot for Robotcon 2013, Malaysia (not to be confused with the US Robocon). The robot had many moving parts and no RC remote controller could have handled all those movements. So, we had to build our own remote controller.
Back then our engineering knowledge was very limited, so we thought the easiest solution was to purchase an aluminum box and attach all the switches, joystick and LCD to the front face. Our fabrication knowledge and skills were very limited as well, so we ended up drilling holes and filing for many hours to get everything in place.
Then we did the wiring for the remote, which took ages too. We did not have enough budget for PCB printing, so we made a PCB out of doughnut boards. It was a lot of wiring but eventually it was all done.
Our robot had 3 omnidirectional wheels so we could control its position and its orientation independently, The joystick was used to control the position and the knob on the top right was used to control the orientation of the robot. The knob was attached to a +4 rounds (+1440 degree) potentiometer that we managed to find in one of the local shops and it was their display unit. Took us a lot of negotiation to get the display unit but it was all worth it.
The switches on the remote were controlling various pneumatic valves to move the cylinders used on the robot and also to switch the vacuum cups on and off. The vacuum cups were made by handheld vacuum cleaners and only activated when the vacuum cleaners were powered.
One of the main problems with this remote was its design, it was very hard to hold the remote and access the joystick, knob or the switches at the same time. Moreover it was pretty heavy. We learned our lessons for the next remote controller.
![Robocon 2013 robot with Alpha V1's ancestor as remote controller Robocon 2013 robot with Alpha V1's ancestor as remote controller]()
Alpha V1: Open-Source Remote Controller
An open-source Arduino compatible remote controller (transmitter) with many customization options for robots and drones.
 alireza safdari