 Xavi Cano
-
1Summary
Assembly steps
- Printing and removing support material
- Fingers assembly
- Thumb assembly
- Inserting the motors on the palm
- Inserting the motor on the thumb
- Fingers and palm assembly
- Casting silicone in the molds
- Gluing the silicone “skin” in the fingers
- Mounting the electronics and electrical components in the palm
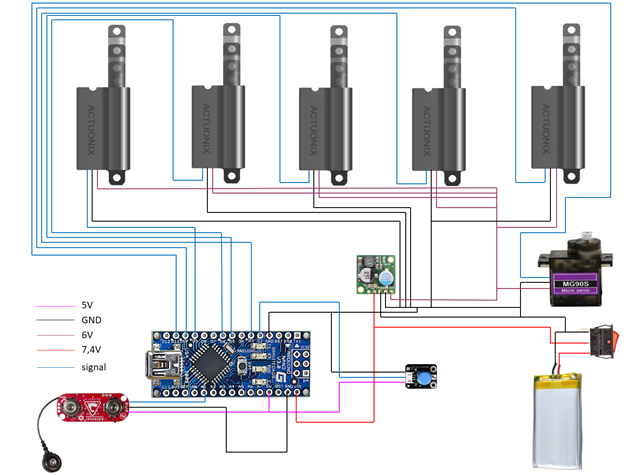
- Electric conections
- Assembling the covers
- Upload the firmware
- Start exploring!
Tools
- Micro USB cable
- M3 allen key
- Little flat blade screwdriver
- Phillips (star) screwdriver
- M3 drill bit with driller
- Lime
- Super glue
Bill of materials
- 5 x Micro linear servos motor Actuonix PQ12R
- 1 x Rotary servo motor Tower pro MG90S
- 1 x Arduino/Genuino Nano
- 2 x DFRobot OYMotion SKU:SEN0240 EMG analog sensor or Mioware EMG analog sensor
- 1 x Pololu DV2425F6 Voltage regulator
- 1 x Pololu Switch ON/OFF
- 1 x Grasp PCB board (optional)
- 1 x Tournigy Nano-tech 6000 mAh or other Li-po 7.4 V power supply
- 1 x Li-po battery charger
- 1 x DFRobot 0029-B Pushbutton module
- 10 x M3 allen screws 10 mm long
- 12 x M3 allen screw 16 mm long
- 1 x M3 allen screw 20 mm long
- 4 x M2 blade screw 8 mm long
- 2 x M4 star screw
- 1 x M10 allens screw 30 mm long
- 1 x MG90S servo screw
3D printed parts
- 4 x Finger distal phalanx
- 4 x Finger proximal phalanx
- 4 x Joint
- 1 x Palm
- 1 x Thumb core
- 1 x Thumb distal phalanx
- 1 x Top cover
- 1 x Bottom cover
- 1 x Finger grip mold
- 1 x Thumb grip mold
-
2Printing
- Printing and removing support material
Once you have the downloaded files you can use any SLS or FDM printer to print the parts in PLA, ABS or resin, a tough resin is recommended for their mechanical propierties.
As an example the hand can be printed in a FDM printer (BQ Hepsteros 2) using the following settings:
- Material: PLA 3D850.
- Wall thickness: 1.2 mm.
- Filling percentage : 20 %.
- Filling pattern: Lines.
- Printing temperature: 230 ºC
- Printing speed: 60 mm/s
-
3Fingers assembly
-
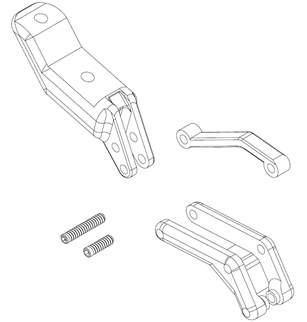
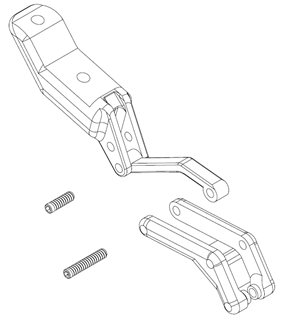
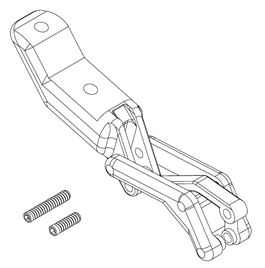
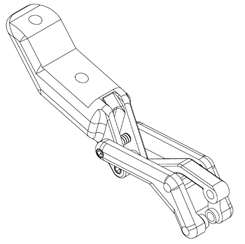
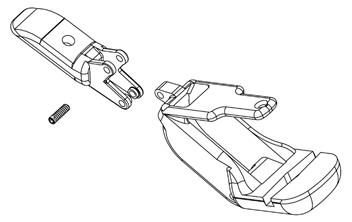
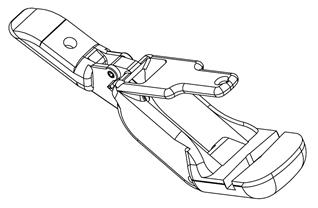
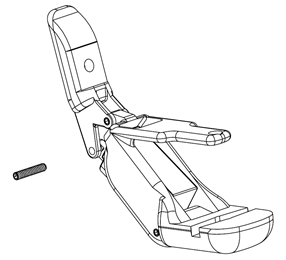
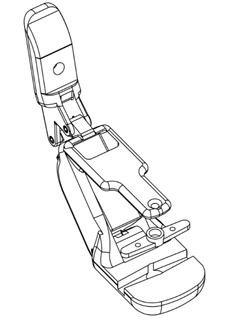
4Thumb assembly
-
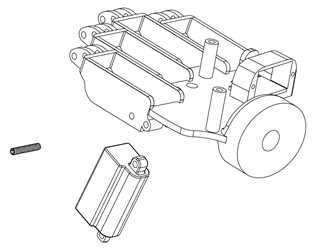
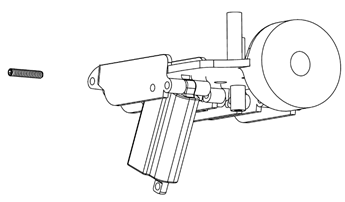
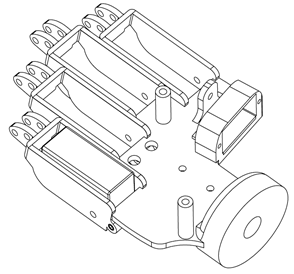
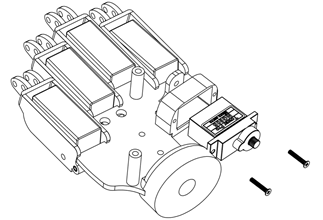
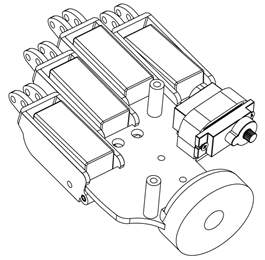
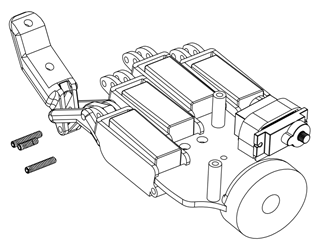
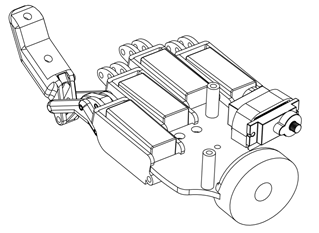
5Inserting the linear actuators on the palm
-
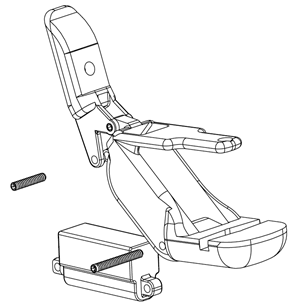
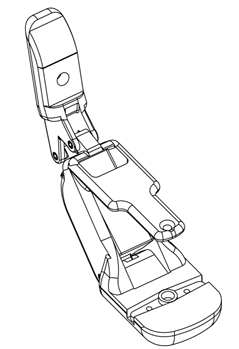
6Inserting the linear actuators on the thumb
-
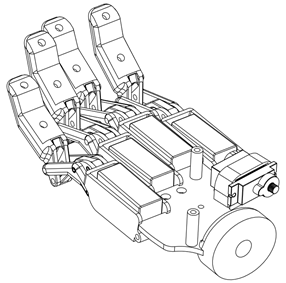
7Fingers and palm assembly
-
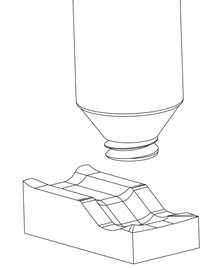
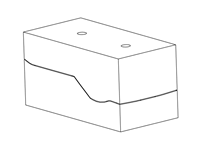
8Casting the silicone in the molds (wait for 72h)
-
9Gluing the silicone “skins” on the distal phalanx
-
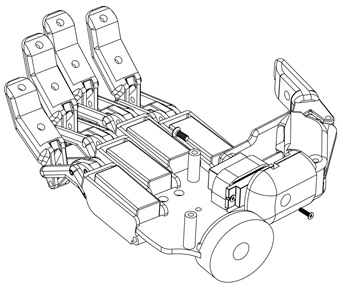
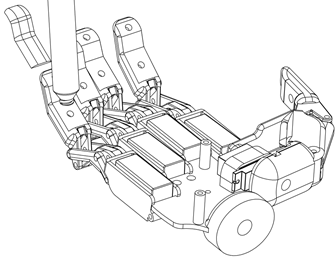
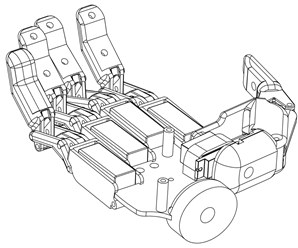
10Electronics
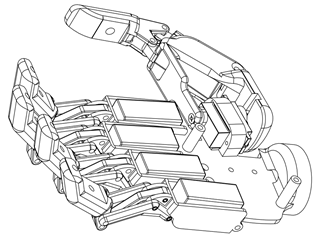
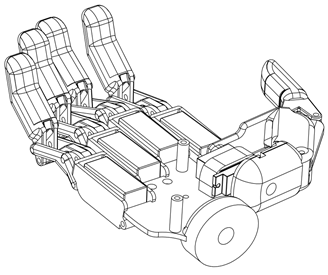
Grasp Bionic Hand
Grasp is a robotic hand designed to to be assembled by a non experienced user and can be useful for different applications.

Discussions
Become a Hackaday.io Member
Create an account to leave a comment. Already have an account? Log In.