Close
0%
0%

Mini vending machine

A well documented miniature vending machine. It uses login/password or RFID to "sell"

Similar projects worth following
I designed this project as a programming exam to my students, but I really enjoyed doing it and wish to share it with you guys.

This project still ongoing and I really want to escalate it adding some parametric design features, if somebody is up to help, I'll really appreciate!

What I have so far is a simple vending machine, 2 rows by 2 columns 3 products per cell, payment by rfid or login/password.

The offline version is done, now I'm looking for some online features to aad users and check their identity over the internet.

Current status

Currently I have a full offline working version as following:


I'll start briefing what is the status of this project and later will explain step by step how I designed and how can you replicate it, just don't forget to mention this page as reference!

If you agree with some improvement point and want to cooperate, just send me a message.

Mechanical design:

  • Fusion 360 project is stable and works, but doesn't have any assembly, only 2d project;
  • Second version cut on laser, has a sliding door that can be locked;
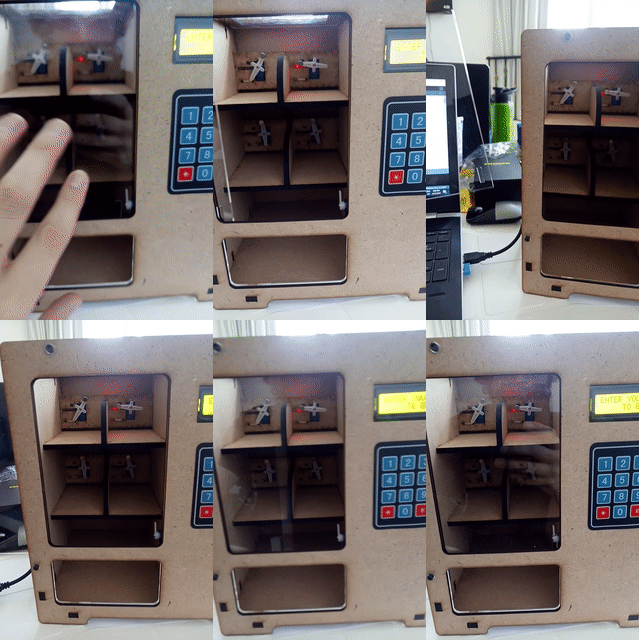
  • Didn't find a reliable solution to the delivery spring;
  • Improvement points:
    • Match Arduino connector cuts, currently they are a bit decentralized and big;
    • Center display, so far it's decentralized and it freaks me out;
    • Finish 3d design;
    • Automatically change the project creating all mechanics (3d and dxf) based on the following parameters:
      • n rows of product cells;
      • n columns of product cells;
      • n products per cell;
      • payment method (coin, rfid, login/password);

Electronics hardware design:

  • Shield designed compatible to Arduino and WordSkills STM32L board, both work;
  • Be careful with the continuous rotation motors! At the detailed description session there is a better explanation;
  • Improvement points:
    • Would be way better if the motor were i2c (or any other addressed communication), specially if this project escalate to a parametric design. Currently there are no available pins and a parametric design would increase the number of necessary motors;
    • Shield isn't compatible to a coins reader;
    • There are no available pins to control the LEDs;
    • Add some network to access a web database, W5100 or ESP;

Embedded software design:

  • So far the basic offline system works fine in Arduino. I'll release the complete solution as soon as I finish it. The issue with continuous motor were unexpected and I spend more time than I wanted to solve it;
  • I didn't have time to finish the STM32 version code;

Alright, now let's finally start!

Introduction

I made a small research and found a couple vending machine projects:

  1. https://blog.arduino.cc/2016/06/29/venduino-is-a-diy-arduino-vending-machine/
  2. https://howtomechatronics.com/projects/diy-vending-machine-arduino-based-mechatronics-project/

I really enjoyed the first project proportions, but didn't like the number of bolts and internal electronics/cabling. The second one is really better for escalating in size, but I was looking for something simpler, more similar to the first option (the one isn't fully open source).

At the end my decision was to start from scratch and I came up with the following features list:

  • Small size;
  • 2 rows by 2 columns and 3 products per cell, every product allocated in 3cm threads;
  • No motor apparent from outside;
  • A "lockable" front door;
  • Arduino uno and WorldSkills STM32L boards compatible;
  • Login/password to "buy"
  • RFID to "buy"
  • Mechanics reliable and digitally fabricated.

First design decisions

As a first step after deciding the project features, I like to choose which tools I'll use to design. Usually for those non profitable designs I rather selecting software, devices and technologies that I never used before and want to learn, so if you're specialist in some of those tools and could give me some tips, I'll be glad to hear.

I might update this list in the future (after adding network for instance) but to do stuff as it is now I've used the following:

  • Fusion 360 to the mechanics;
  • InkScape...
Read more »

vm02.rar

Full offline version

RAR Archive - 4.83 kB - 05/25/2019 at 10:56

Download

vm01.rar

Hardware test code

RAR Archive - 3.12 kB - 04/22/2019 at 13:46

Download

Vending Machine v102.f3d

Fusion 360 file

fusion - 19.55 kB - 04/21/2019 at 18:55

Download

Vending machine shield_2019-03-28.zip

Gerber file, ready to manufacture the PCB. File tested and 100% functional.

x-zip-compressed - 315.90 kB - 04/21/2019 at 18:51

Download

6mm-mdf-pg1.svg

Vector file compatible to Inkscape from 6mm mdf cuts, pg1. Sheet size is 40x80cm

svg+xml - 63.39 kB - 04/21/2019 at 18:46

Preview

View all 15 files

  • 2 × 6mm MDF plate 40x80cm This size is the sheet size on the files, less material is needed
  • 1 × 3mm MDF plate 40x80cm This size is the sheet size on the files, less material is needed
  • 4 × Neodymium magnet 5x2mm
  • 4 × Cable tights
  • 1 × Cables for extensions

View all 18 components

  • Simple RFID implemented on offline version

    Gabriel D'Espindula05/25/2019 at 10:54 0 comments

    Finally I've got some time to implement the RFID and it's quite simple now.

    I still didn't try any coding on STM32 and honestly think I have no time for it. Anyway still compatible...

    Hope to do the networking soon and maybe print some springs to the next version.

  • The spring

    Gabriel D'Espindula04/22/2019 at 09:15 0 comments

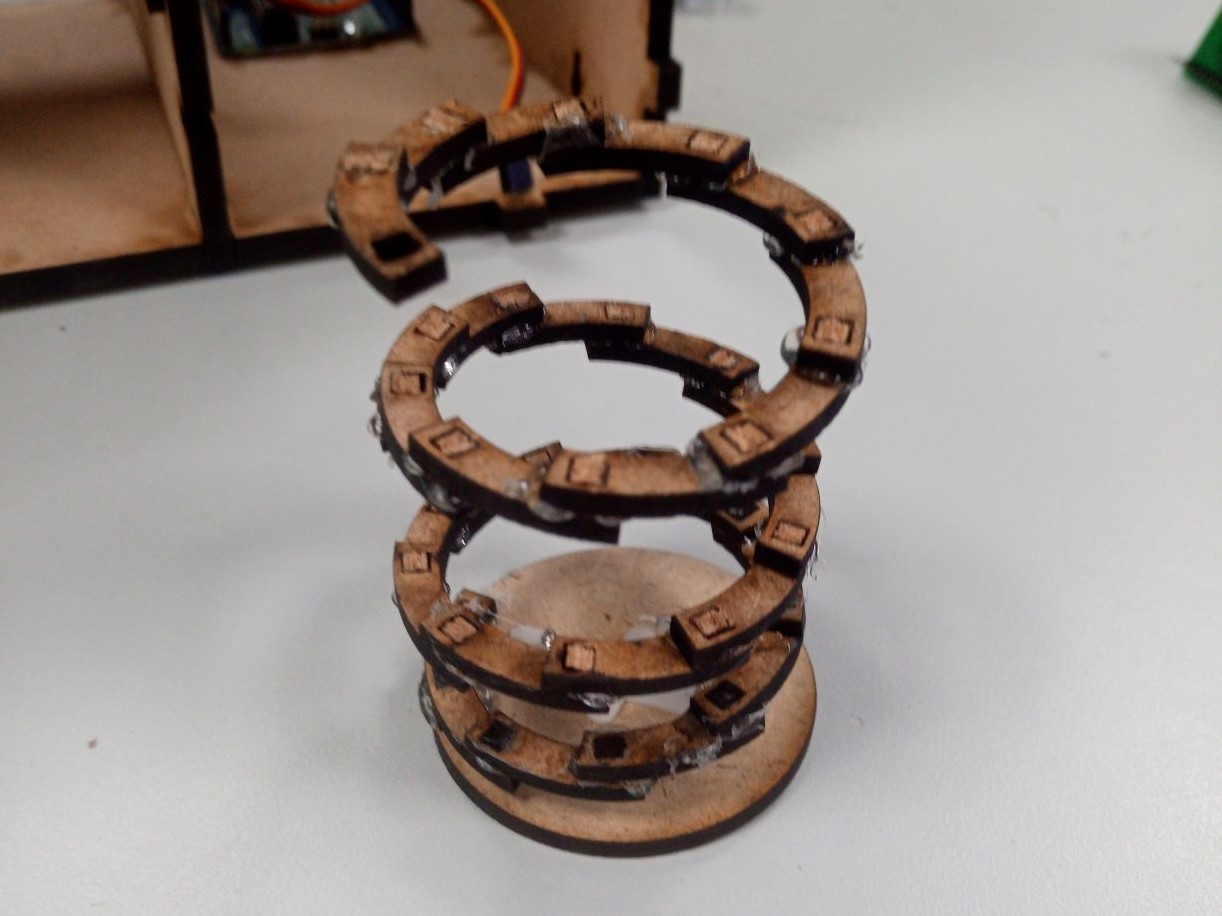
    It supposed to be simple and actually can be super simple, but my personal challenge here is create some reliable method to fabricate this spring. To be more precise, I want the following features:

    • Functional to fabricate different thread sizes;
    • Somehow fabricated, without any craft work. Let's find some reliable fabrication method.
    • Heading the parametric design, this spring can reach a long size and should be tough.
    • The material cannot wobble.
    • Can be fabricated in some Fablab or makerspace, not industrially manufactured.

    Well, so far I've got a few options and didn't like none of them.

    The first one would be using some steel wire and wrap in some sort of tube.

    This is quite obvious but as pointed, my goal is something more reliable and not crafted. And to properly make it, the wire must be ticker to avoid wobbling or bending over time. May even be necessary a heat treatment to "save" the wire format and increase the hardness of the spring.

    A possible solution would also fabricate a mold or template to facilitate this wire wrapping, but I didn't try that yet. I admit that it might be my final solution, but I still looking for a better solution.

    The second option would be doing some mdf or acrylic spiral

    Issue is the limited size for it. May be good for this small version, but a parametric design should consider some bigger versions using the same method. I also believe this is quite easy to break.

    The third option is my next try. Basically would be 3d printing a spring. 

    I think about some modular spring that can be connected if the design required a long length. I'm afraid of the fragility of the print and wonder to coat after print to increase the layers bond, I'll update this log after trying out.

    Well, the fourth method was my first and terrible try.

    I was trying to somehow assembly laser cut parts to create a spring, but it didn't work at all. I still believe laser cut parts could assembly a spring, but couldn't think about a good shape.

    If somebody has a good suggestion, I still up to hear it, I'll also try my best to keep it updated and finish it as soon as possible!

View all 2 project logs

  • 1
    Preparing all material
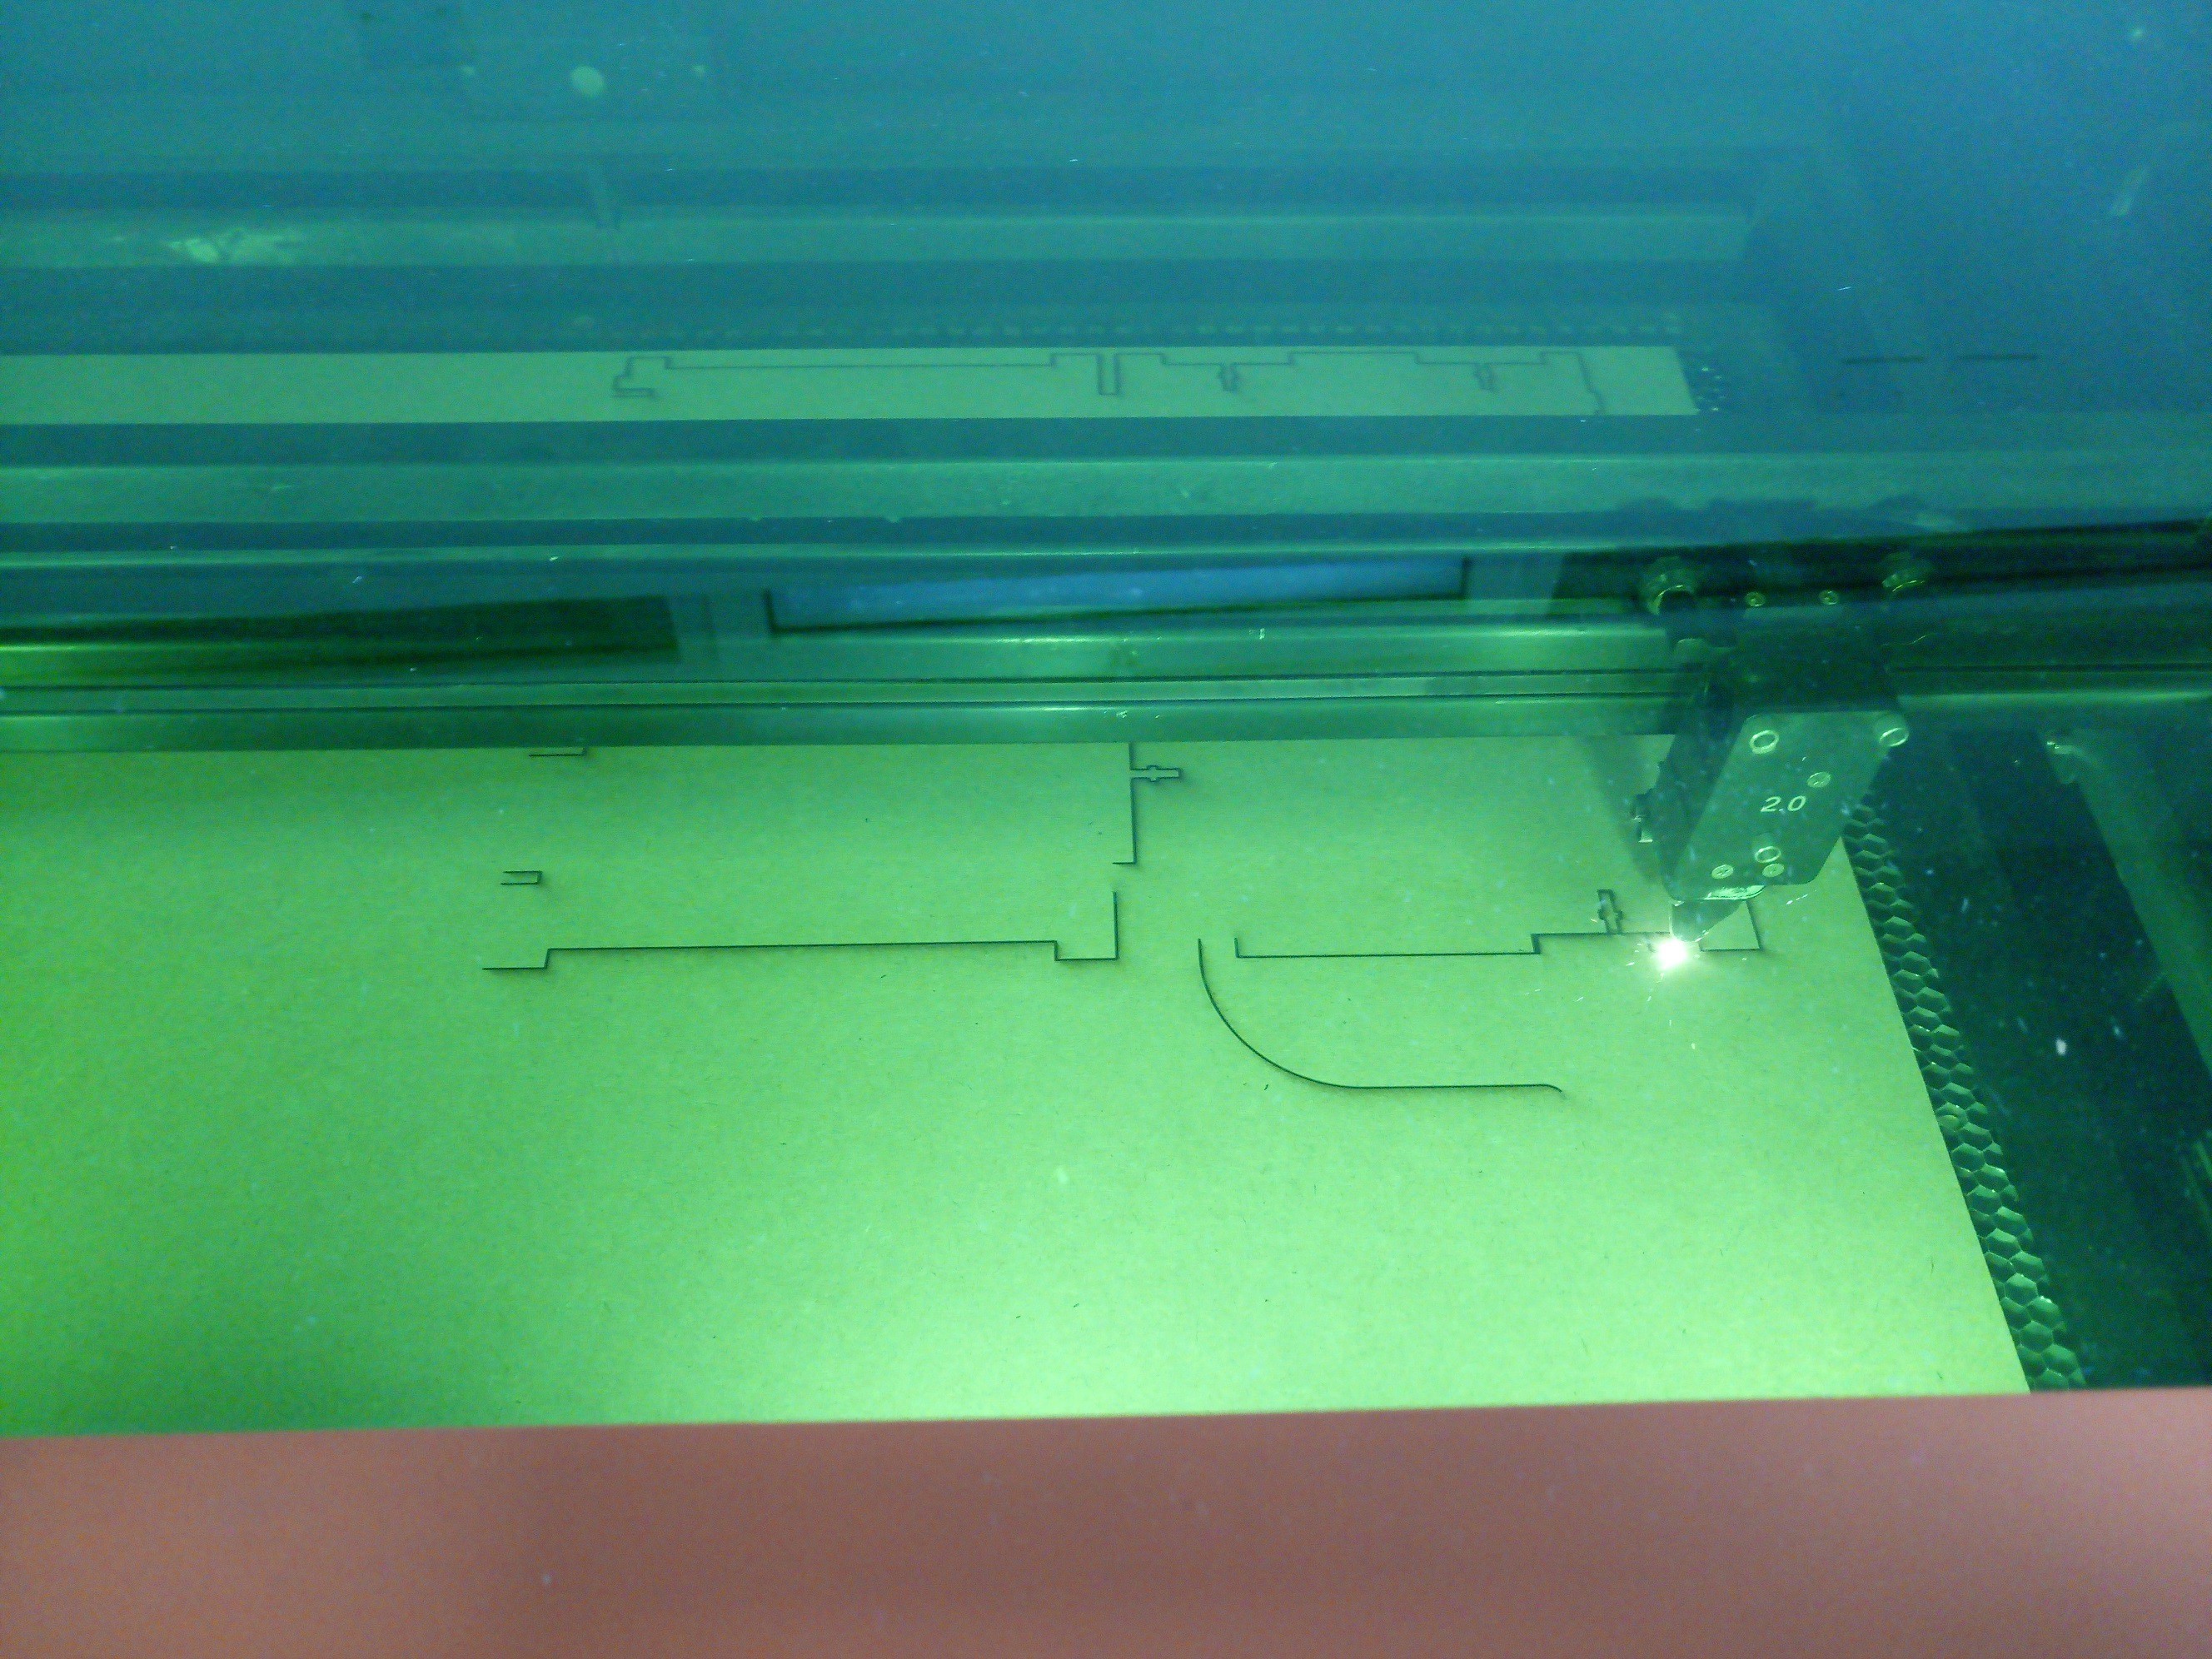
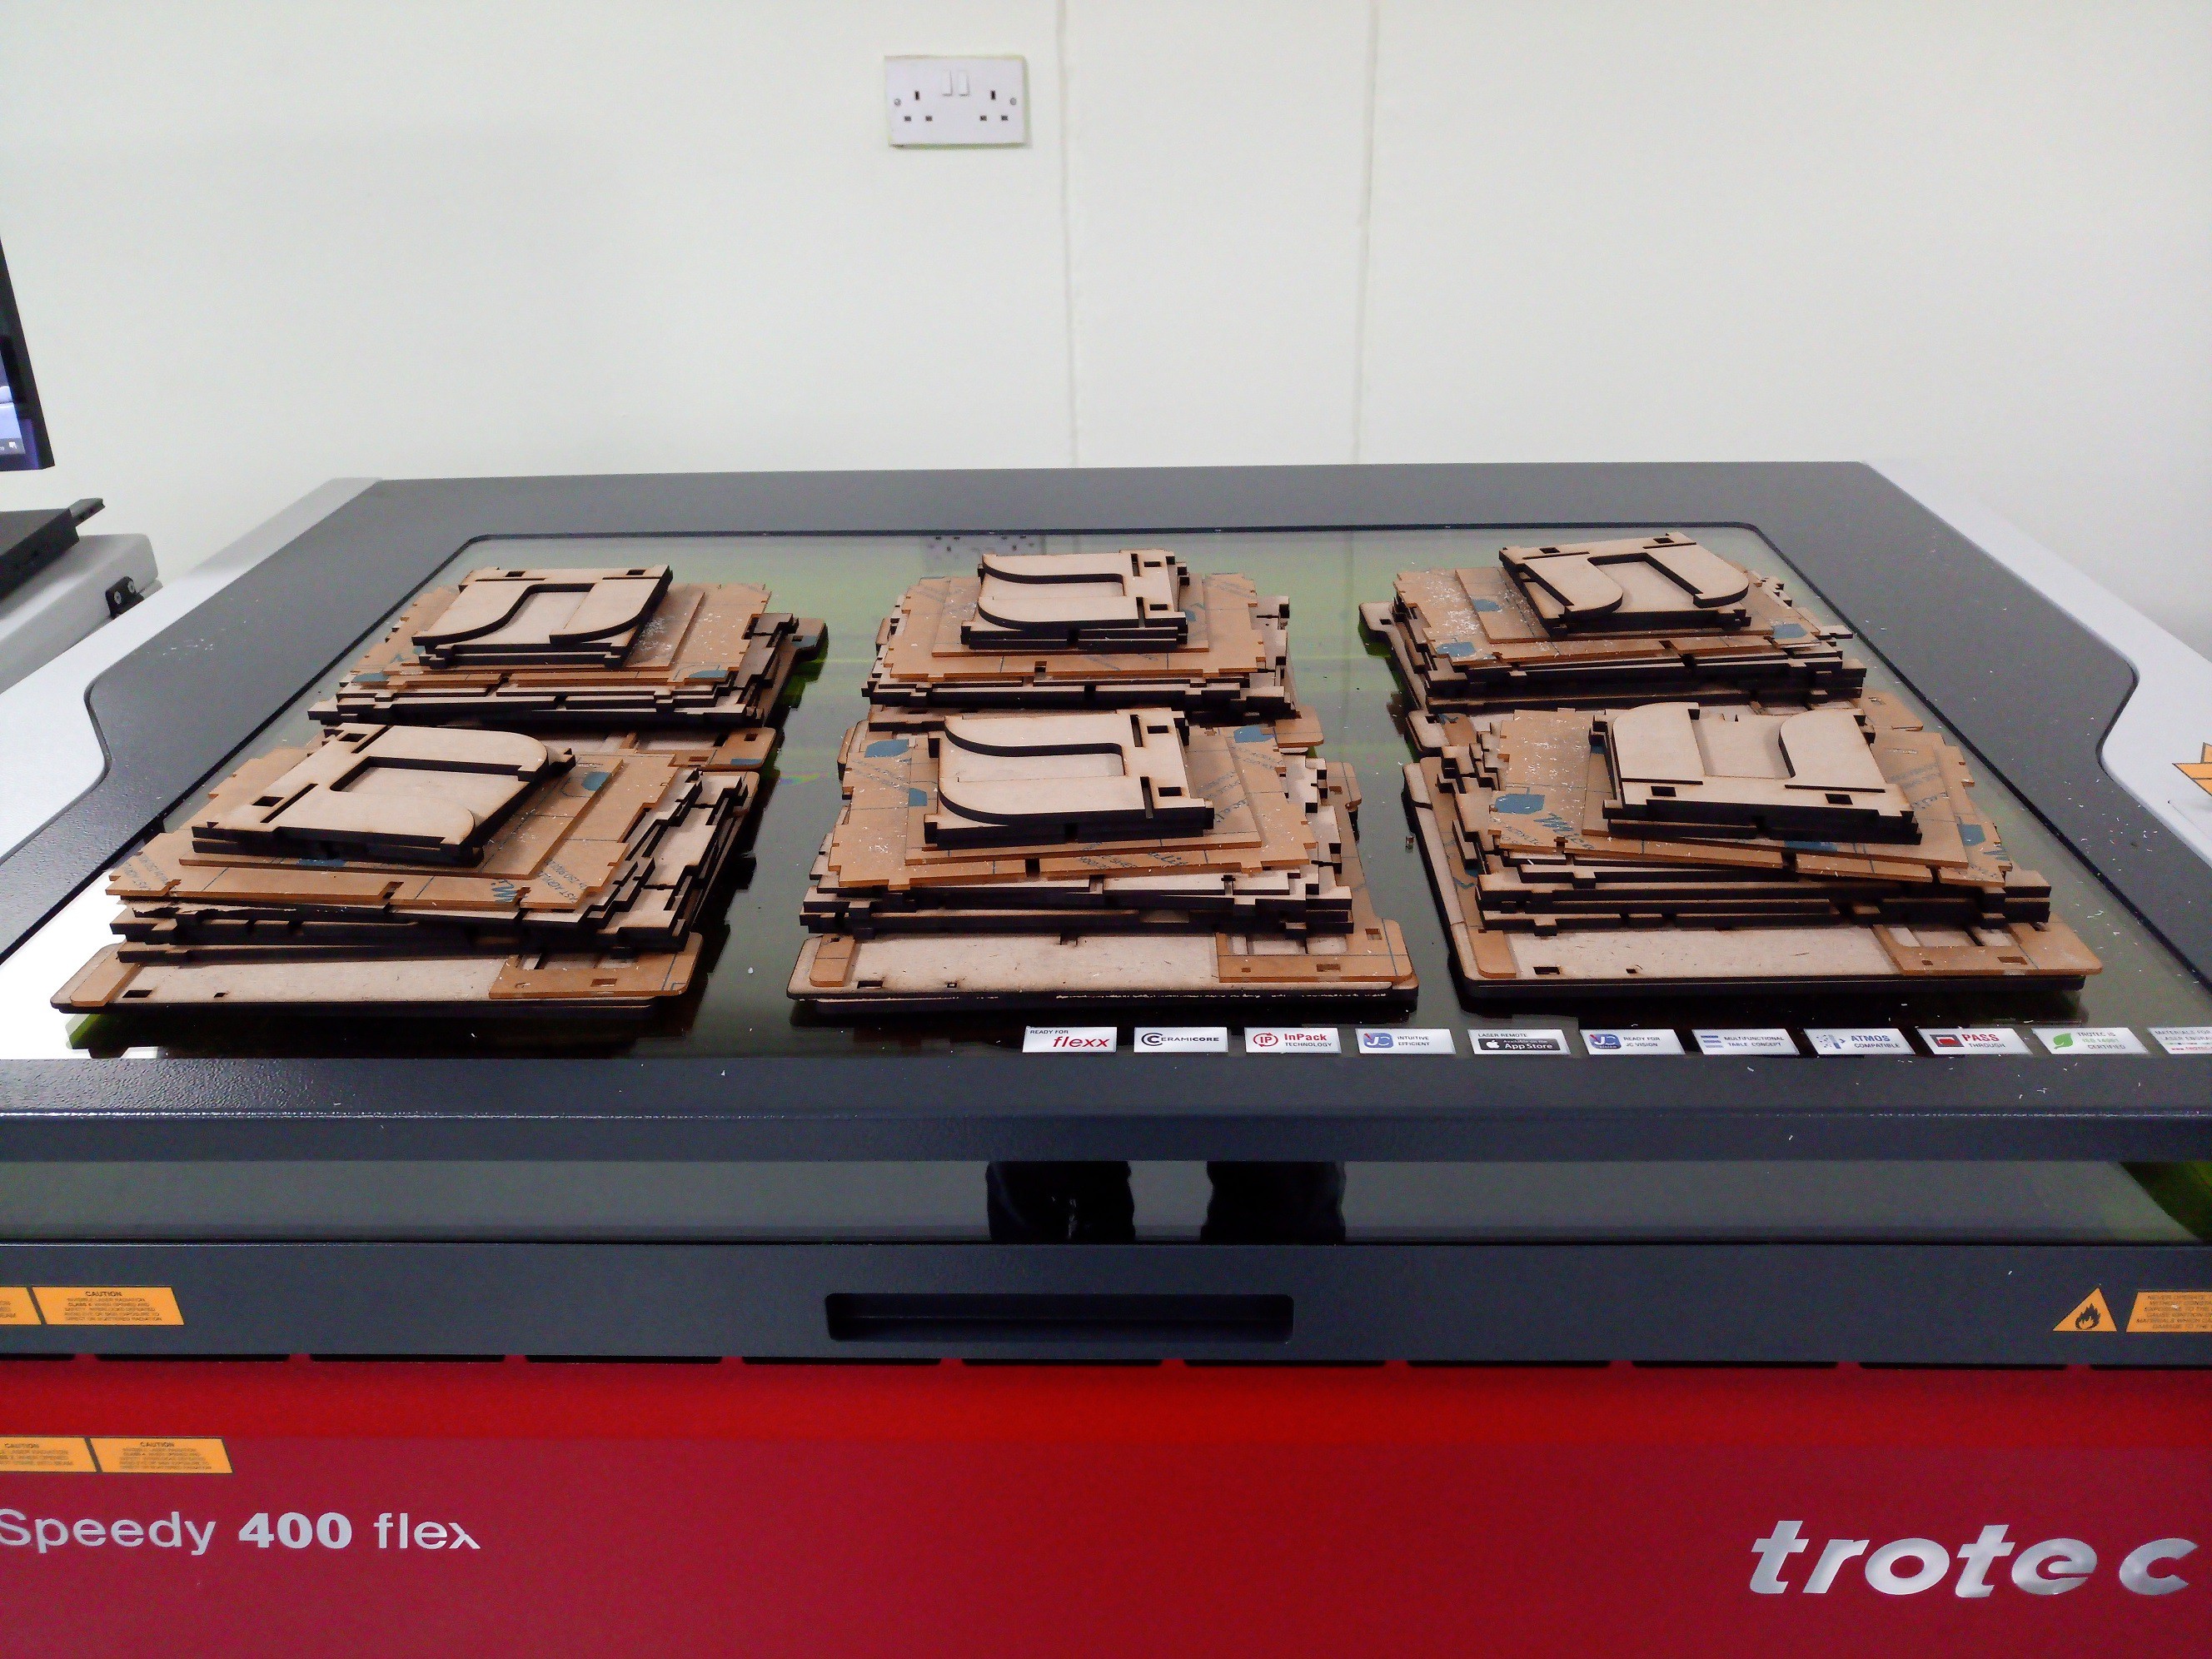
    • Laser cut

    Download the pdf file, arrange some 3mm and 6mm mdf then 2.8mm acrylic and cut the parts!

    I've organized the files in a bed of 40x80cm because is the size of the machine I had.

    Hardware parts

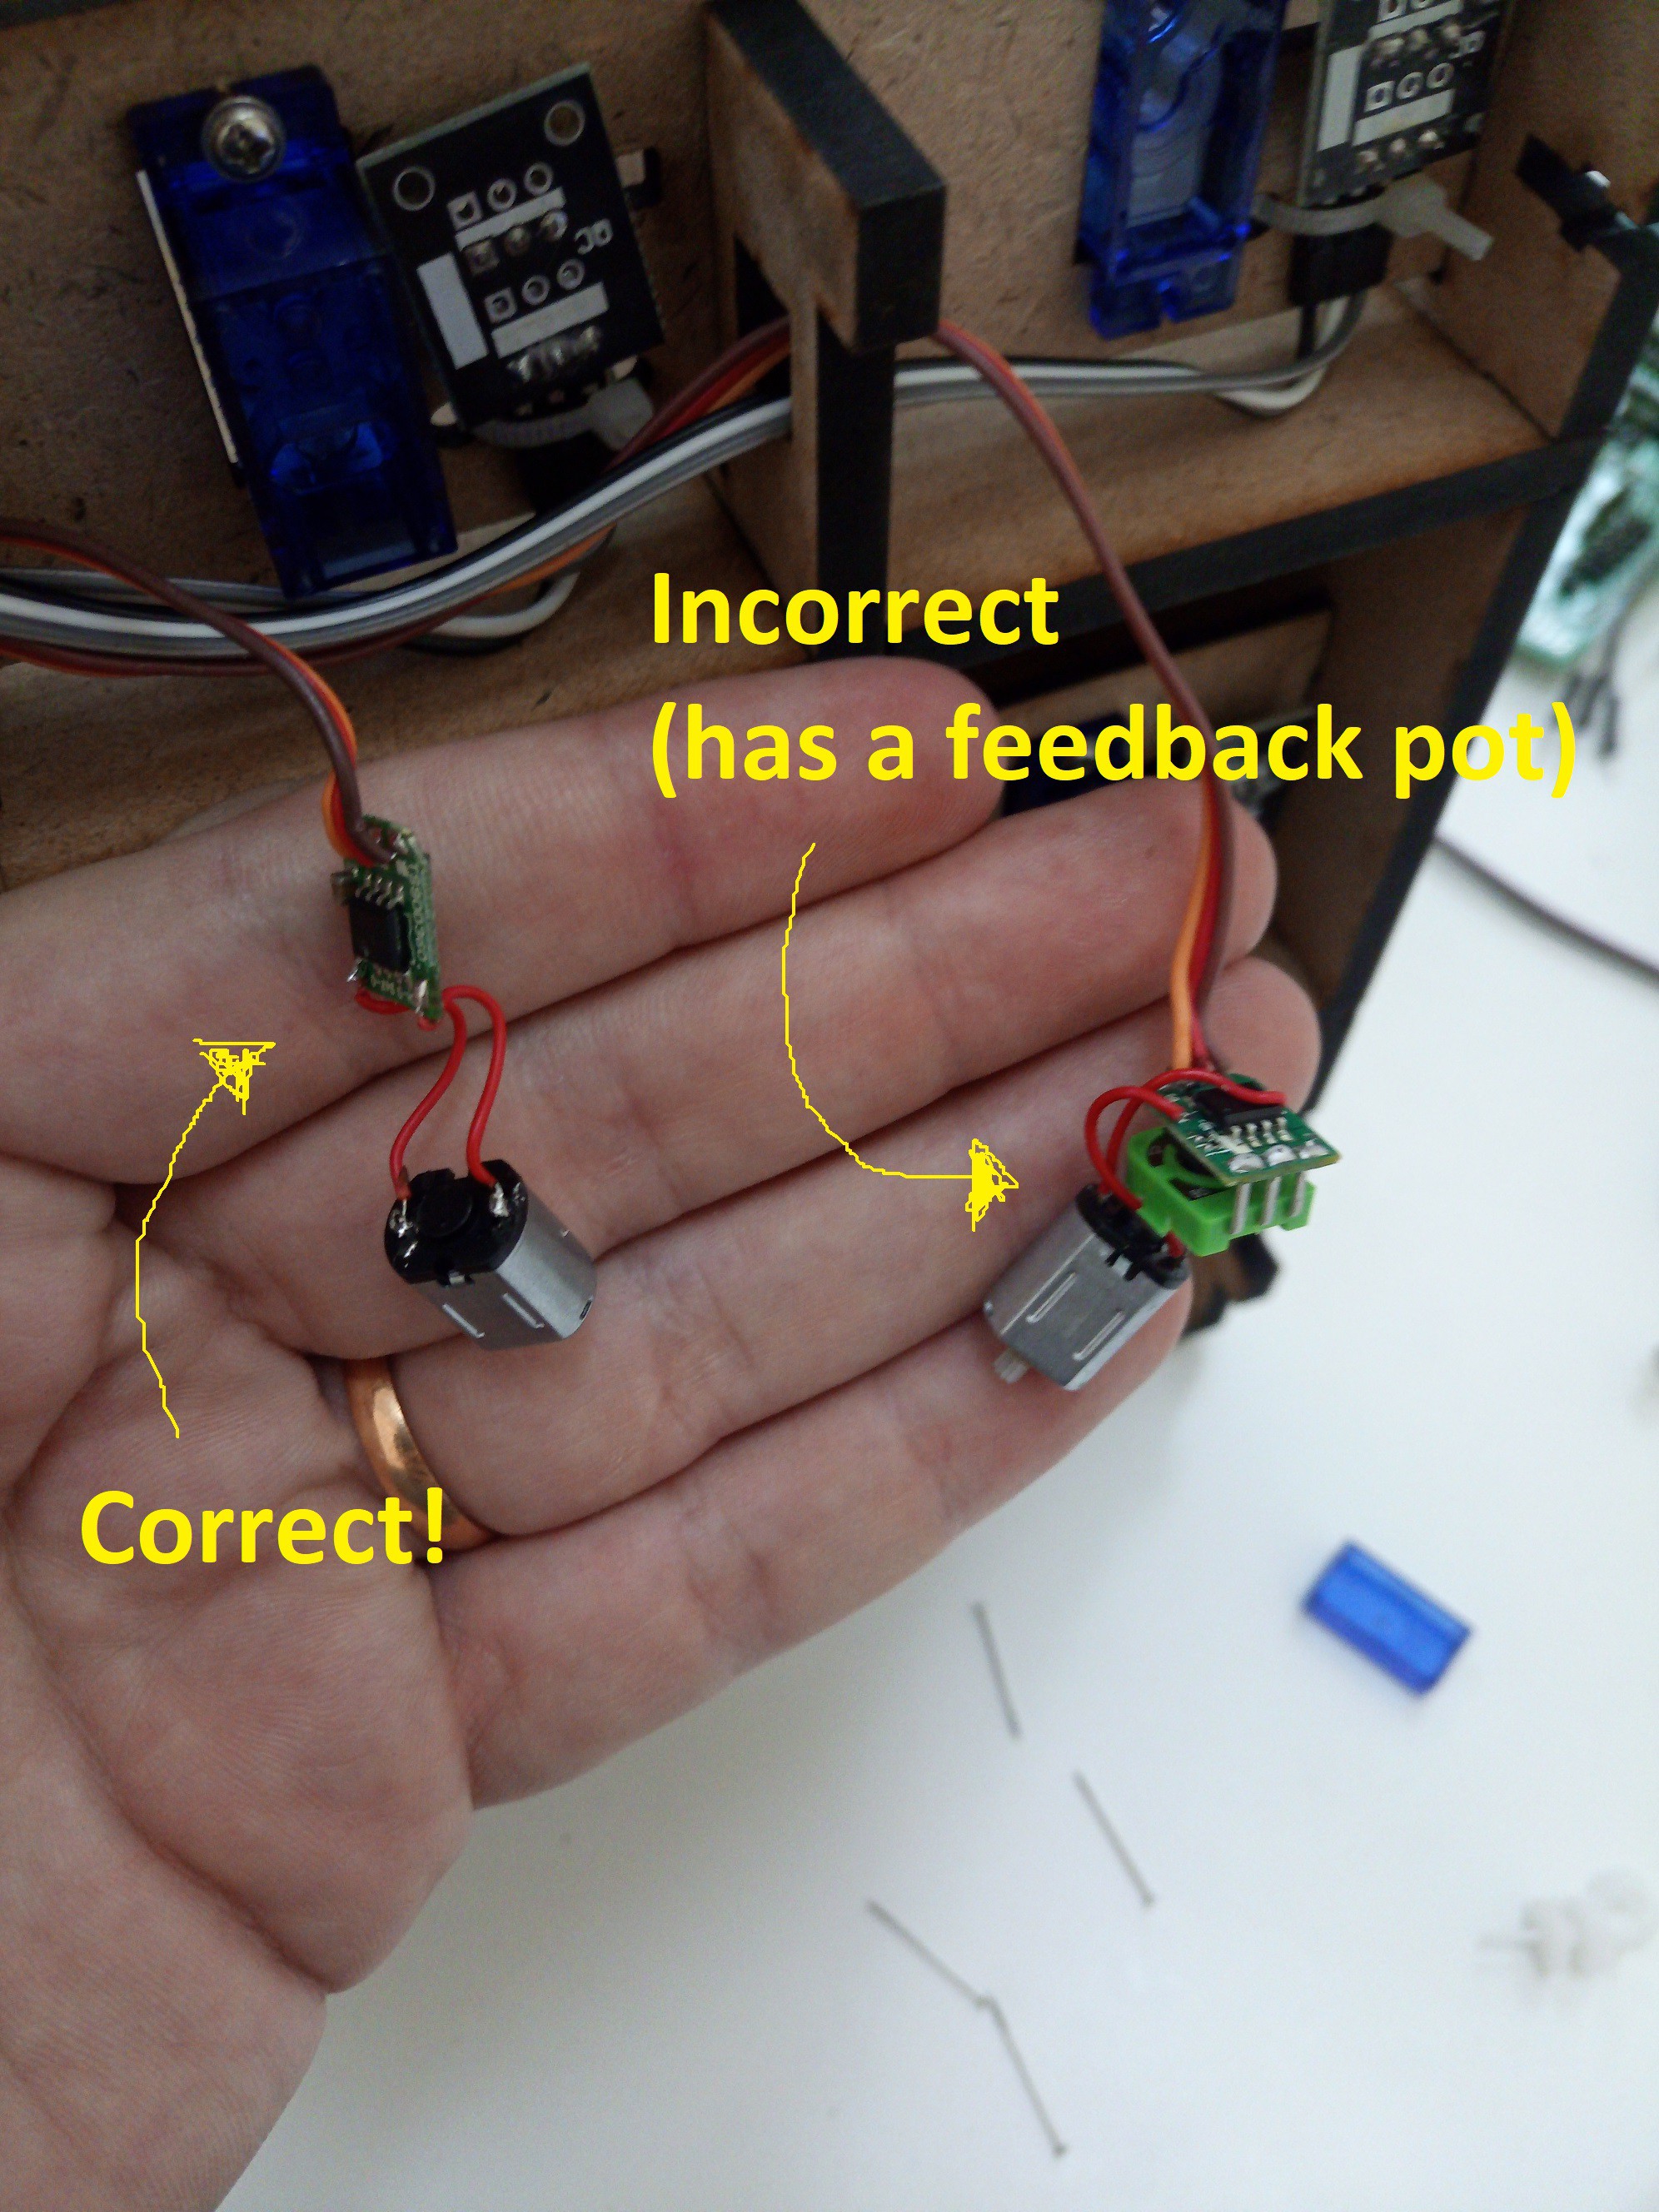
    All other hardware parts are pretty easy to find according to the description at the BOM. The only item easy to mistake is the continuous rotation motor.

    I've bought 28 motors to assembly 7 machines, turns out they delivered 19 motors of a model and 9 different ones, so be careful!
    The motor we're looking for works rotating in one direction when receiving a signal equivalent to 0deg (1ms high and 19ms low), to the other direction when receiving 180deg (2ms high and 18ms low) and stops when sent a 90deg (1.5ms high and 18.5ms low) signal. It means it doesn't have any feedback control.

    It's possible to use the version with feedback, but in this case the software is different and there is no need for the Hall sensor. Actually would be even easier to use only the version with feedback, but for me was harder to find, so I've preferred to use only the one without the pot.

    Issue here is that suppliers don't rely on two different versions, they sell as the same product.

    I've tried to remove the pot and add two resistors with same value to cheat the feedback system, but it didn't work well. This motor takes longer to understand a new value and is hard to rotate a single turn. Beyond that even using 1% resistor it doesn't fully stop when sending a 90deg signal. A simpler solution would be just make a different code for this feedback motors, but I was trying to avoid this solution because I needed 7 machines with exactly identical hardware.

    Anyway, this issue has several solutions, just be aware of it. If you want to follow this project as it is, choose for the non feedback version.

  • 2
    Mechanical assembly

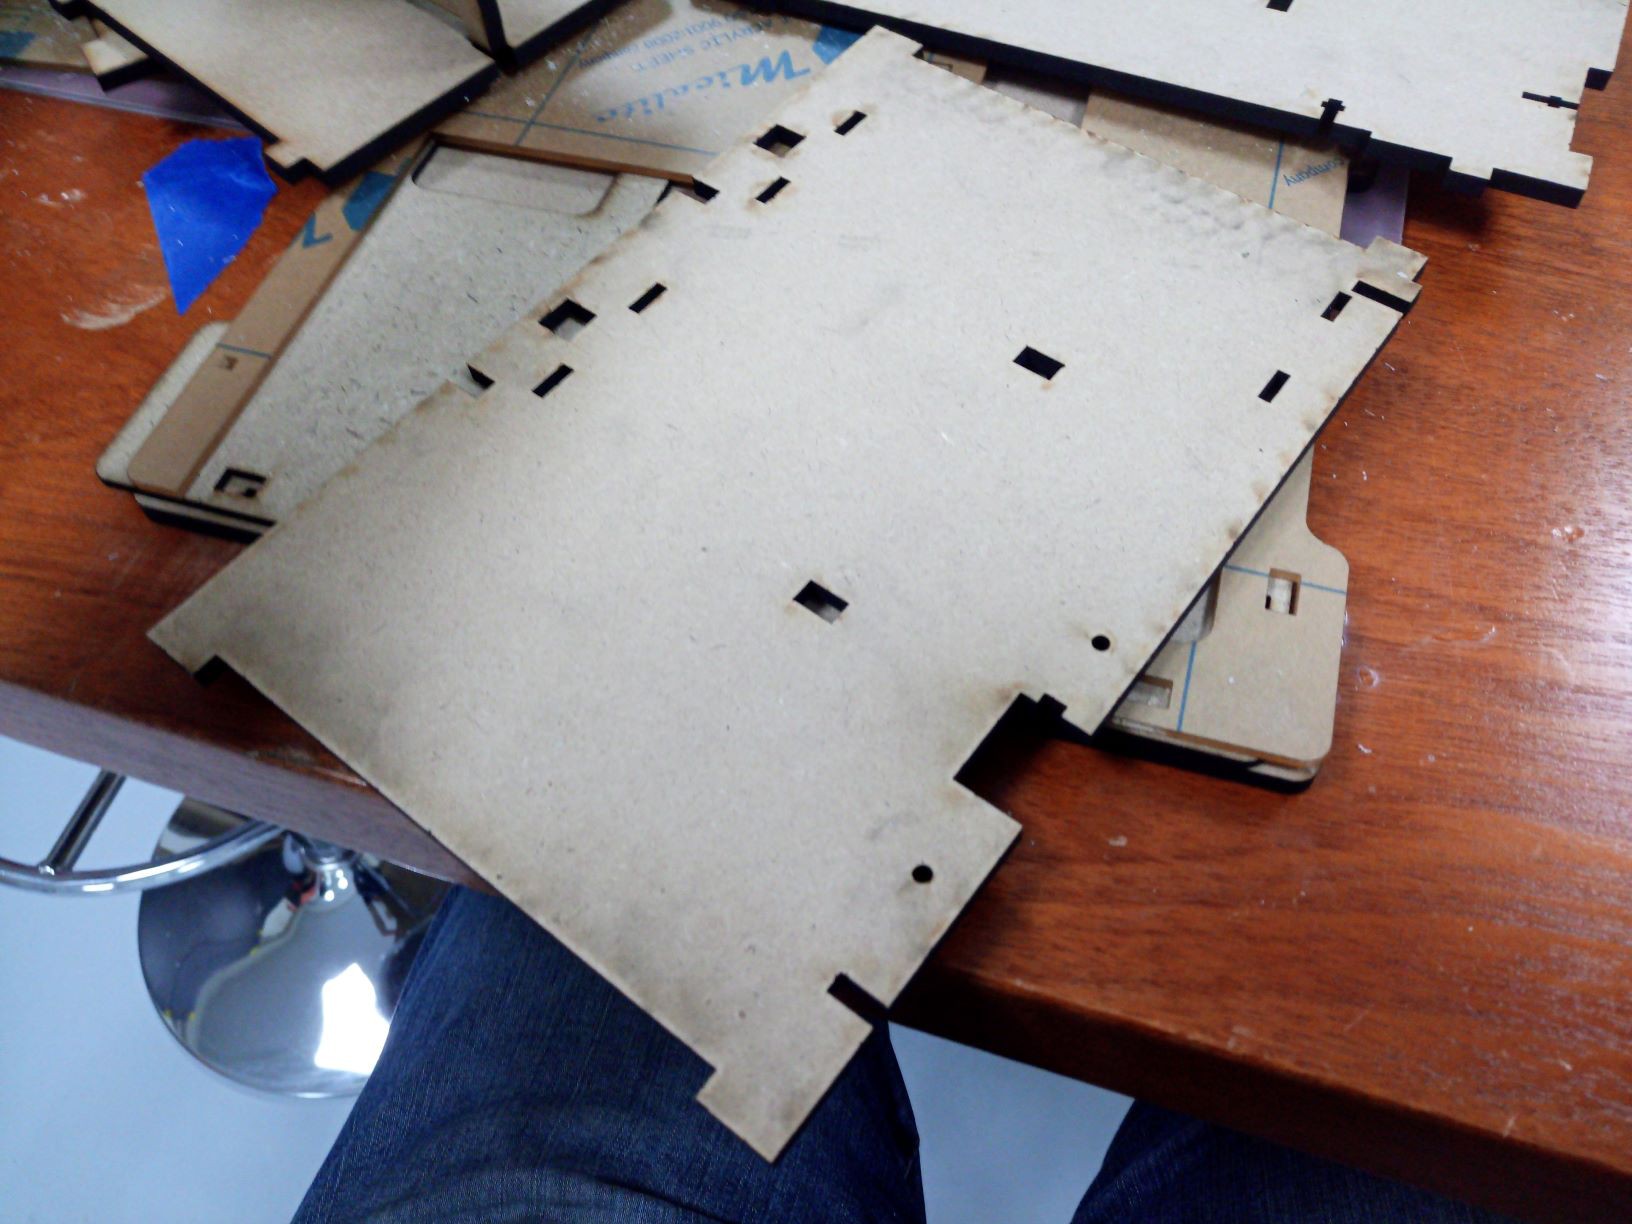
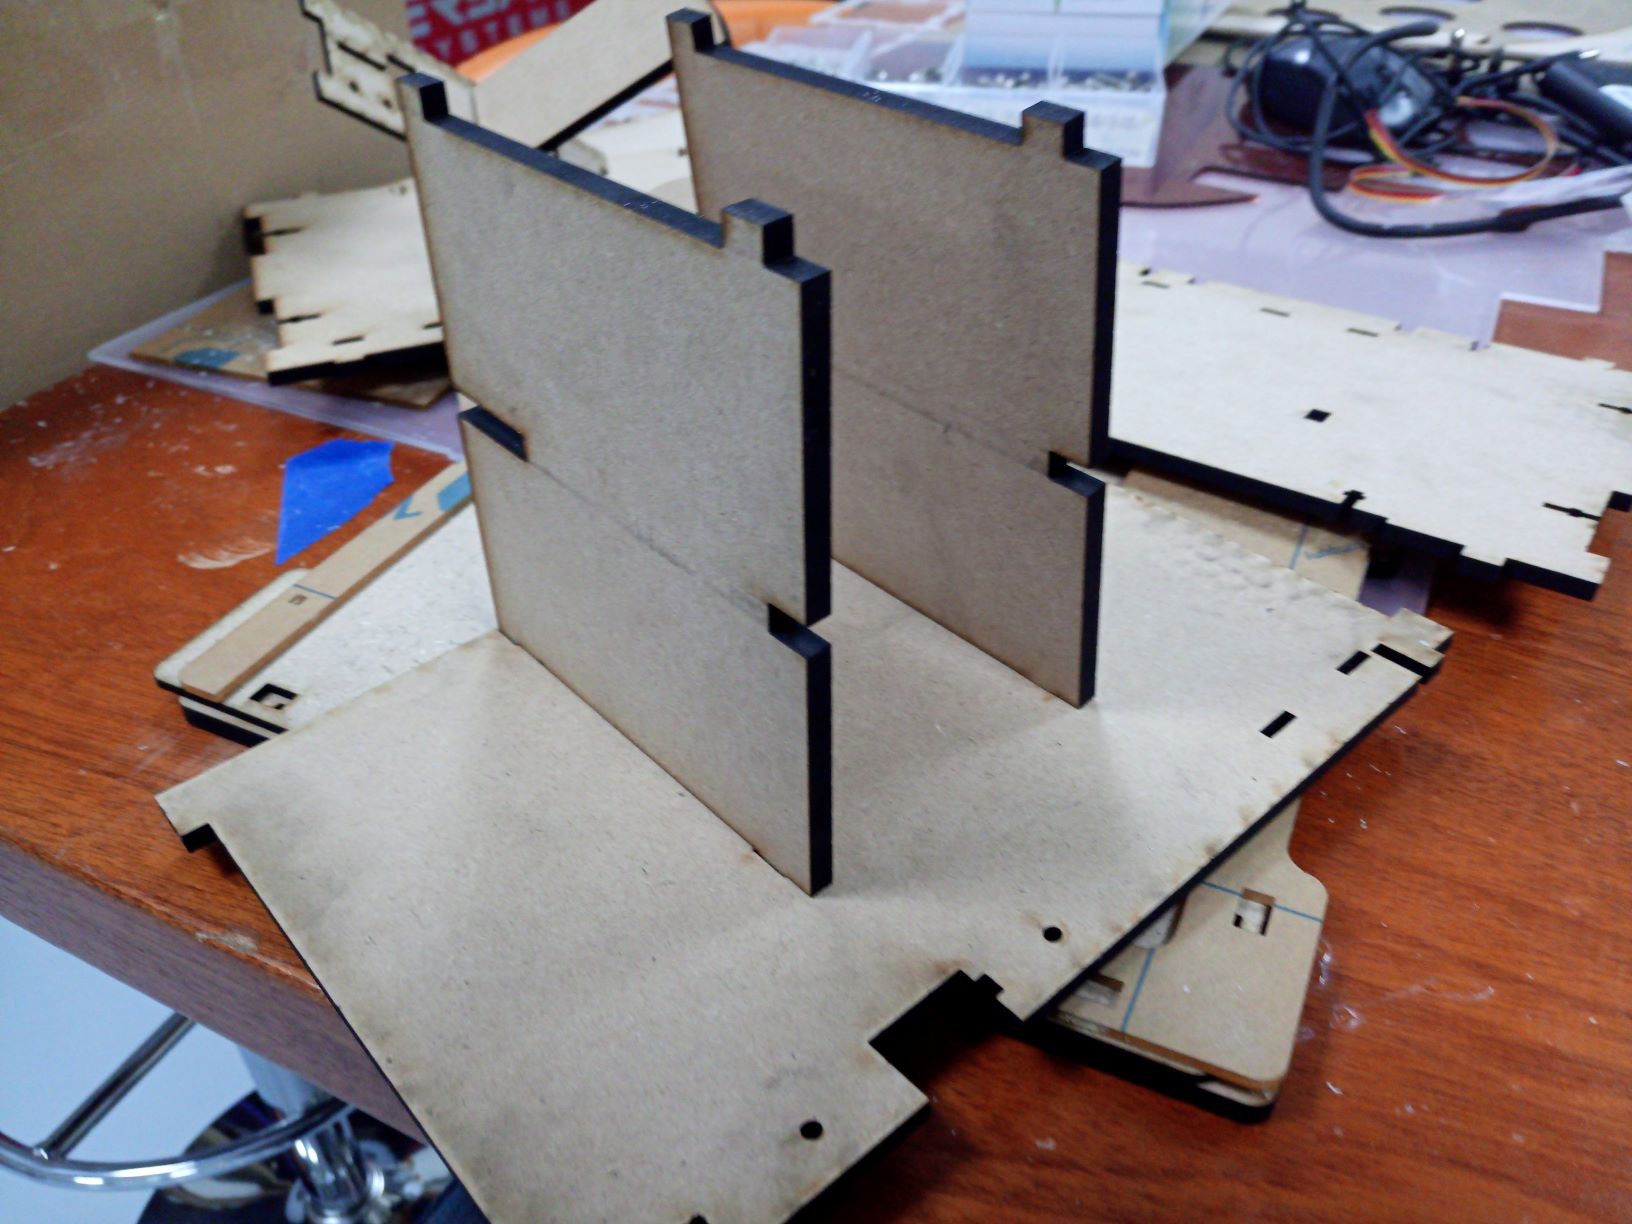
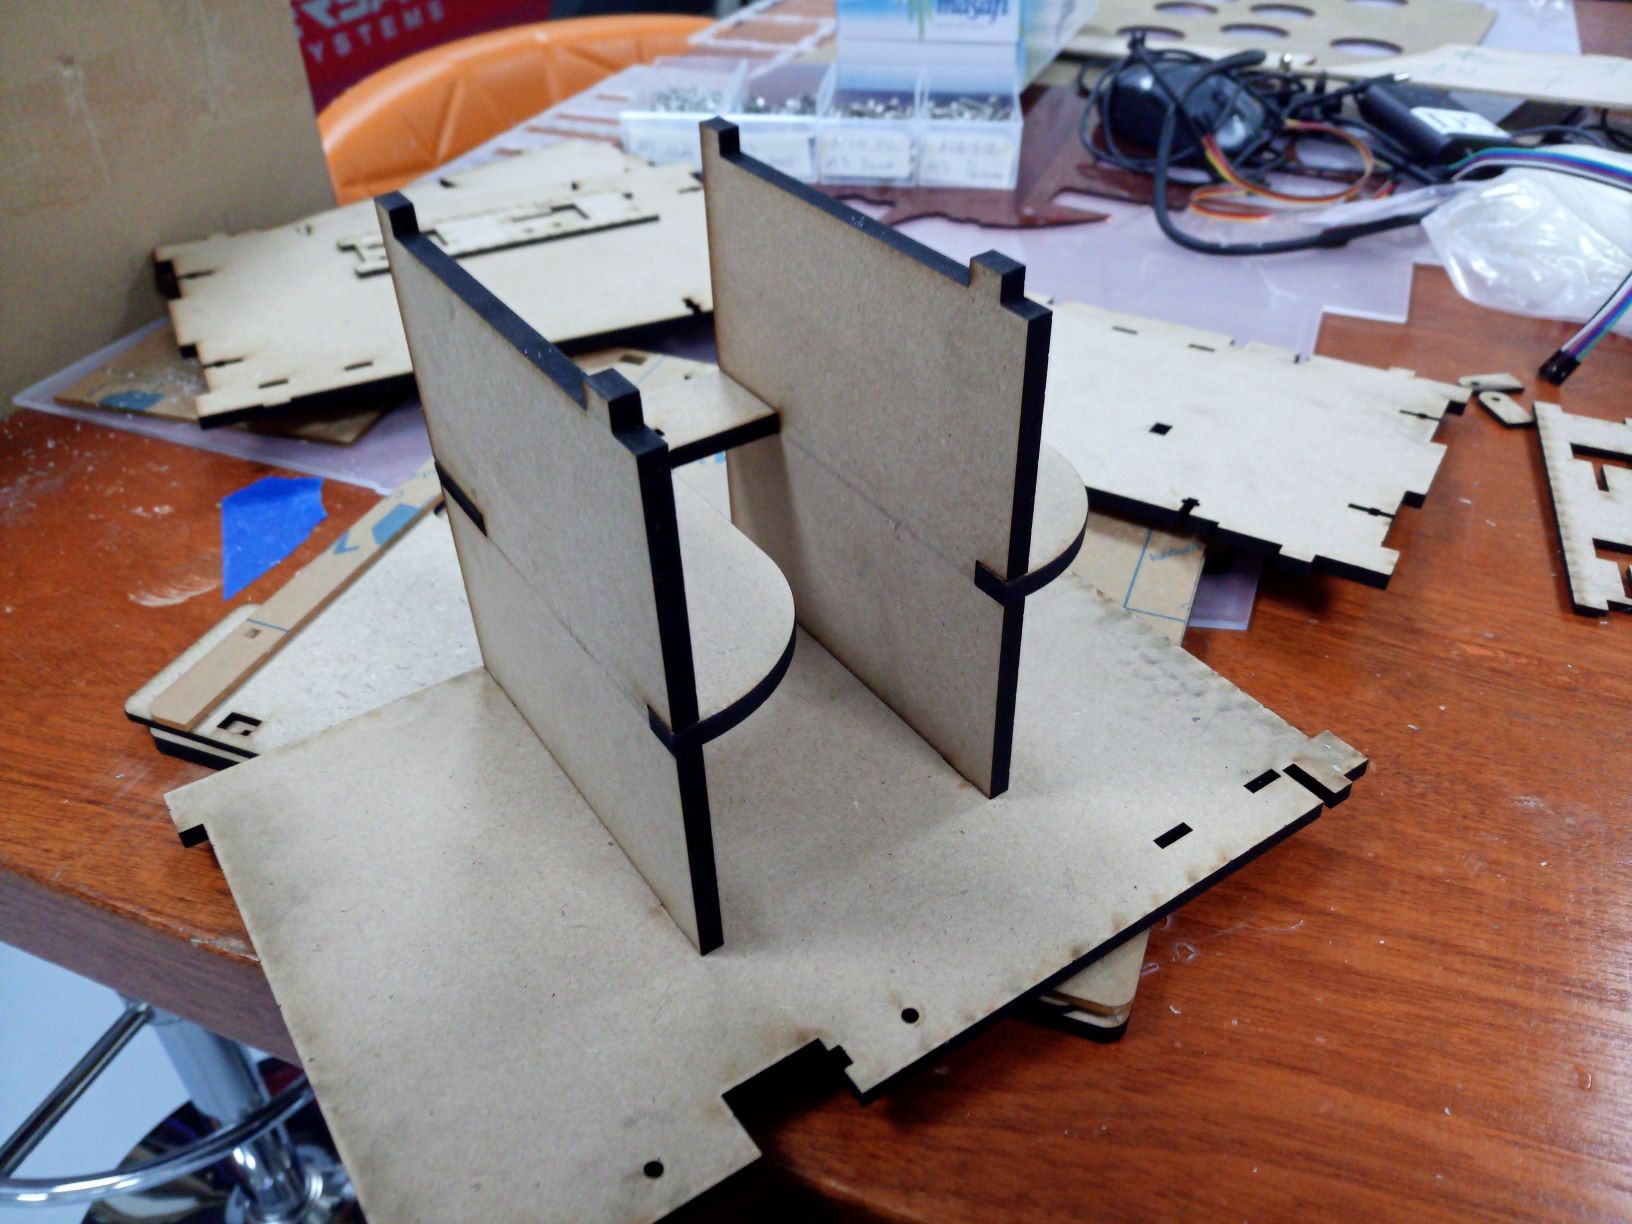
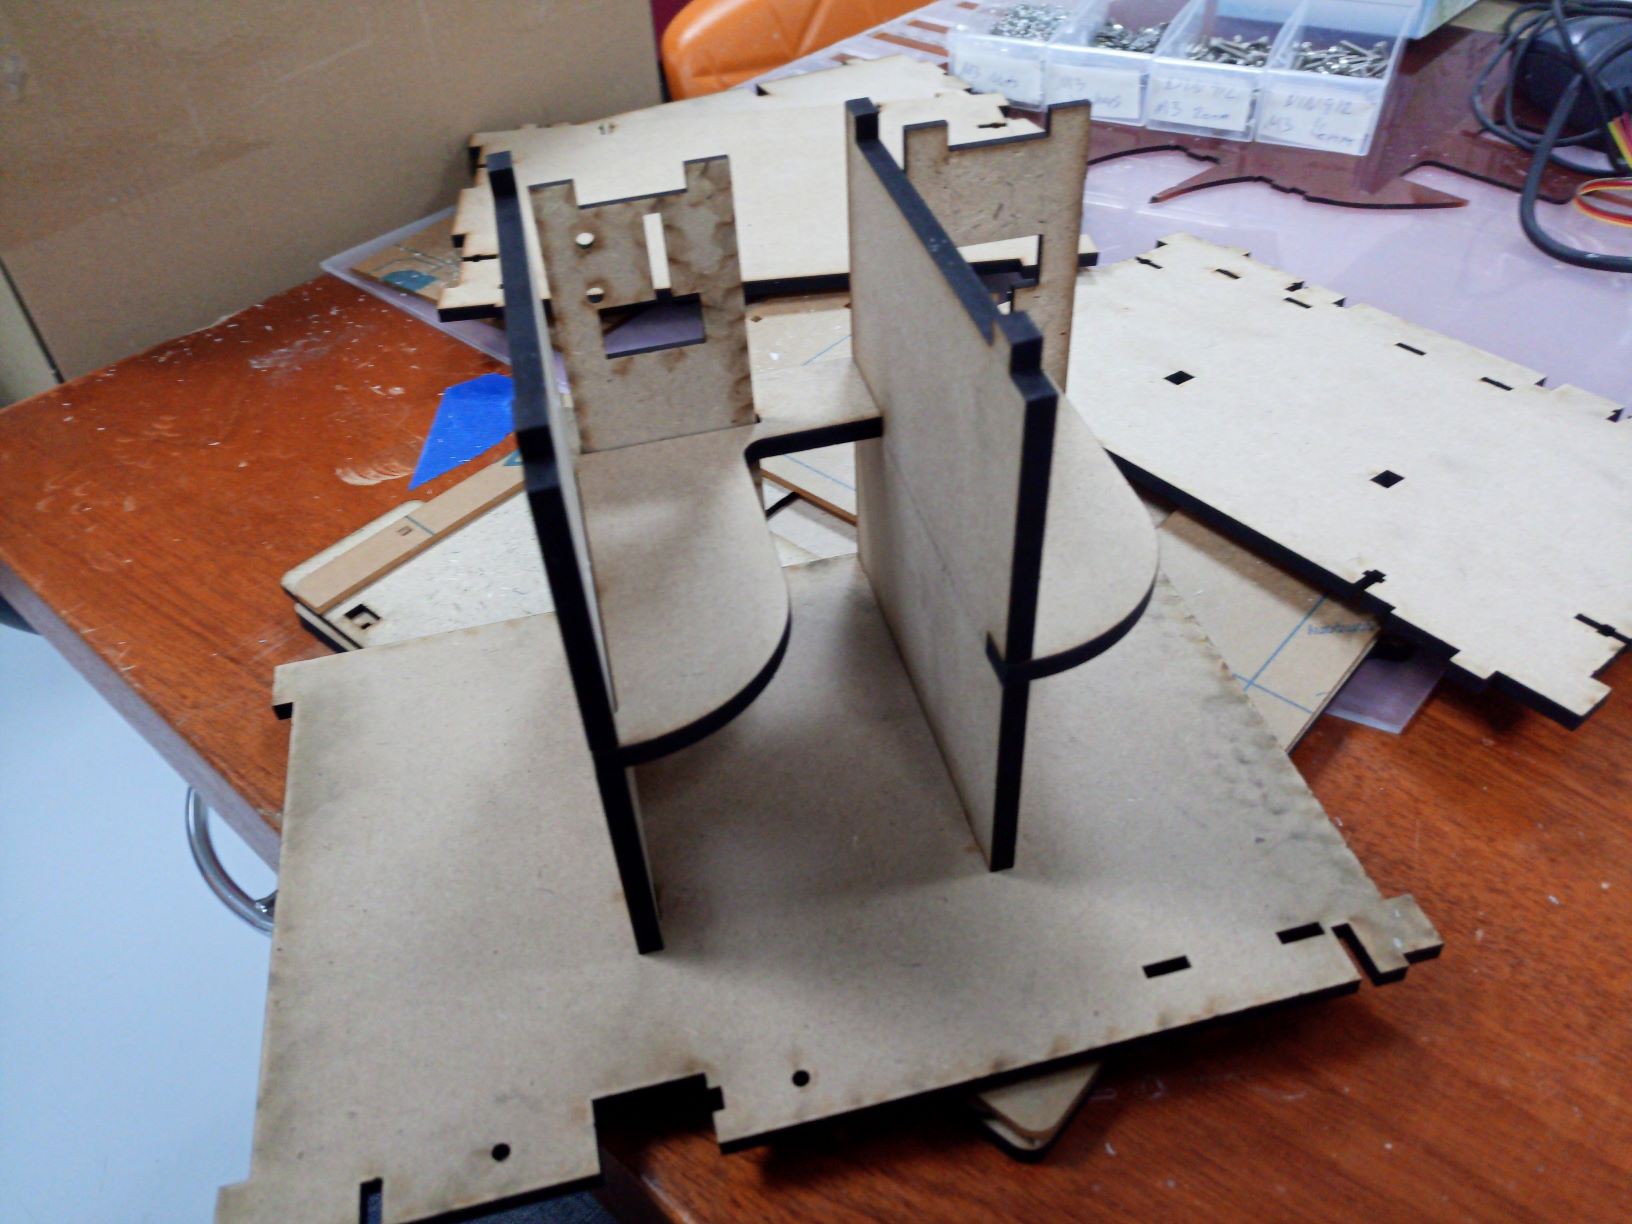
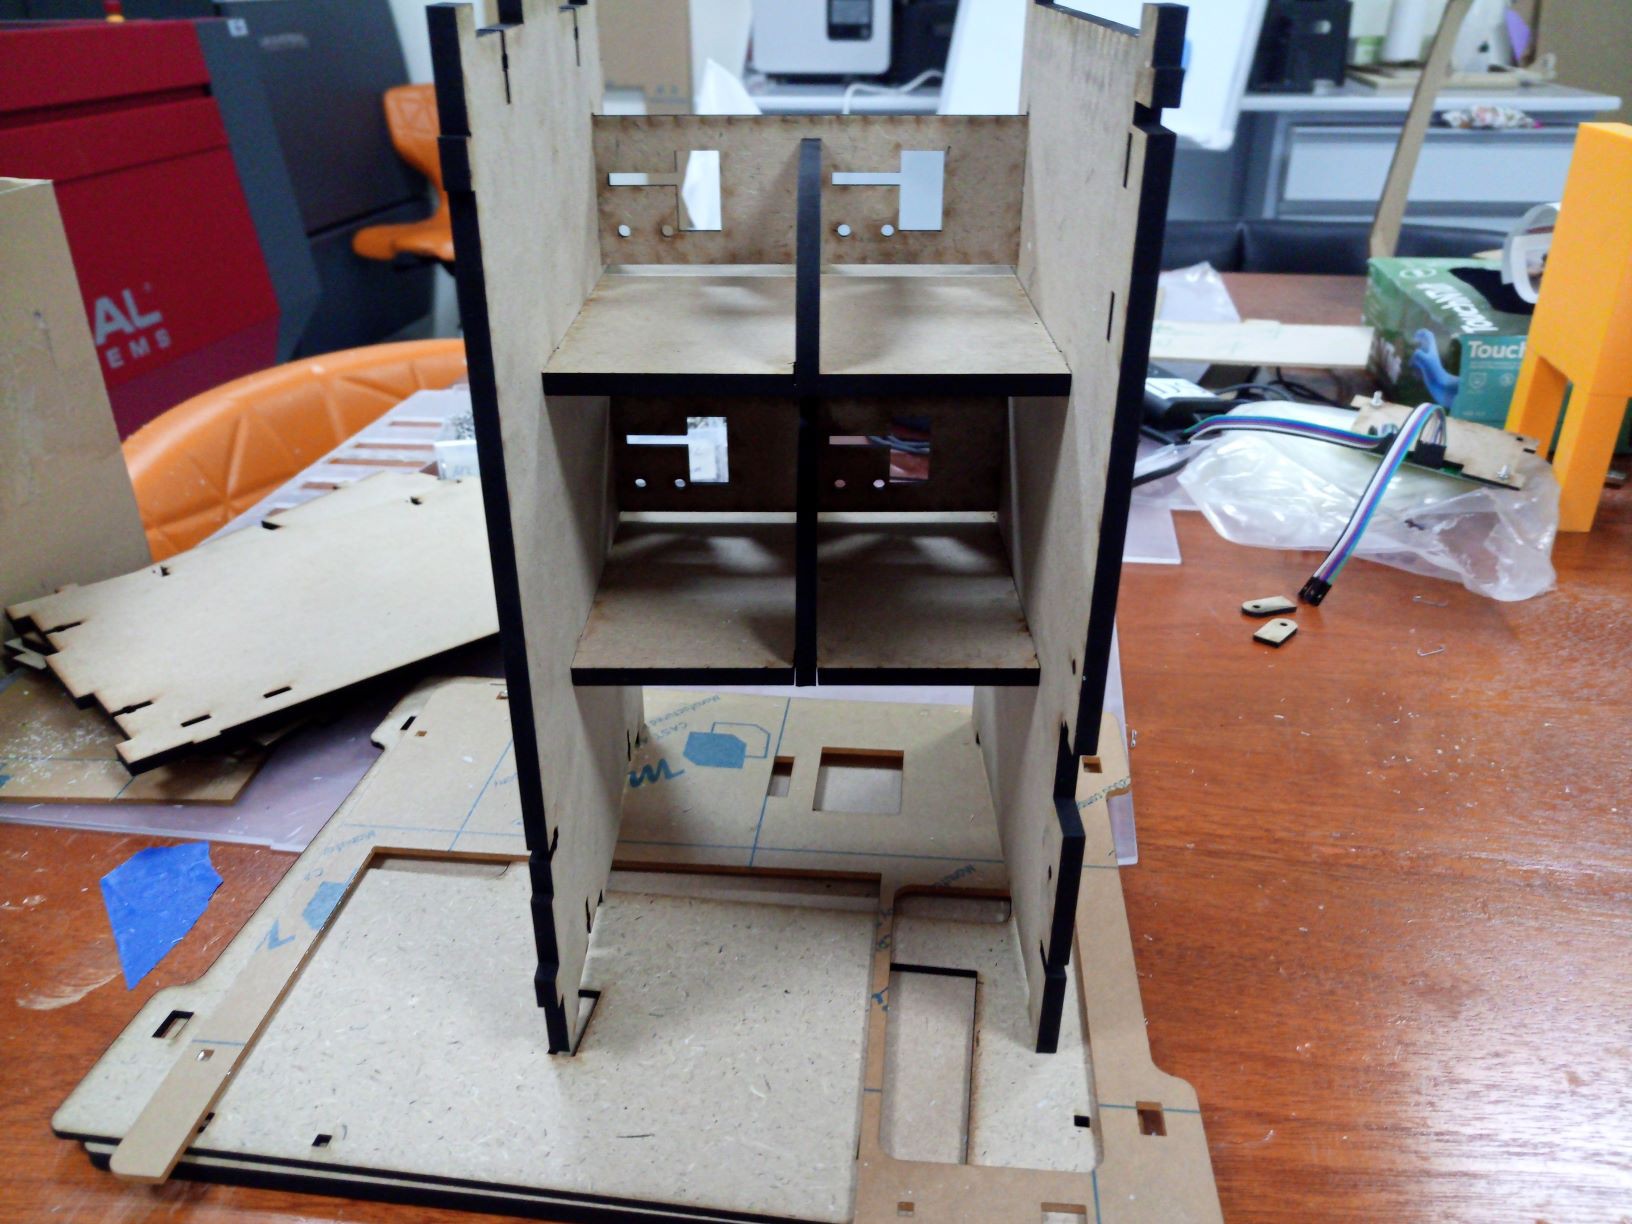
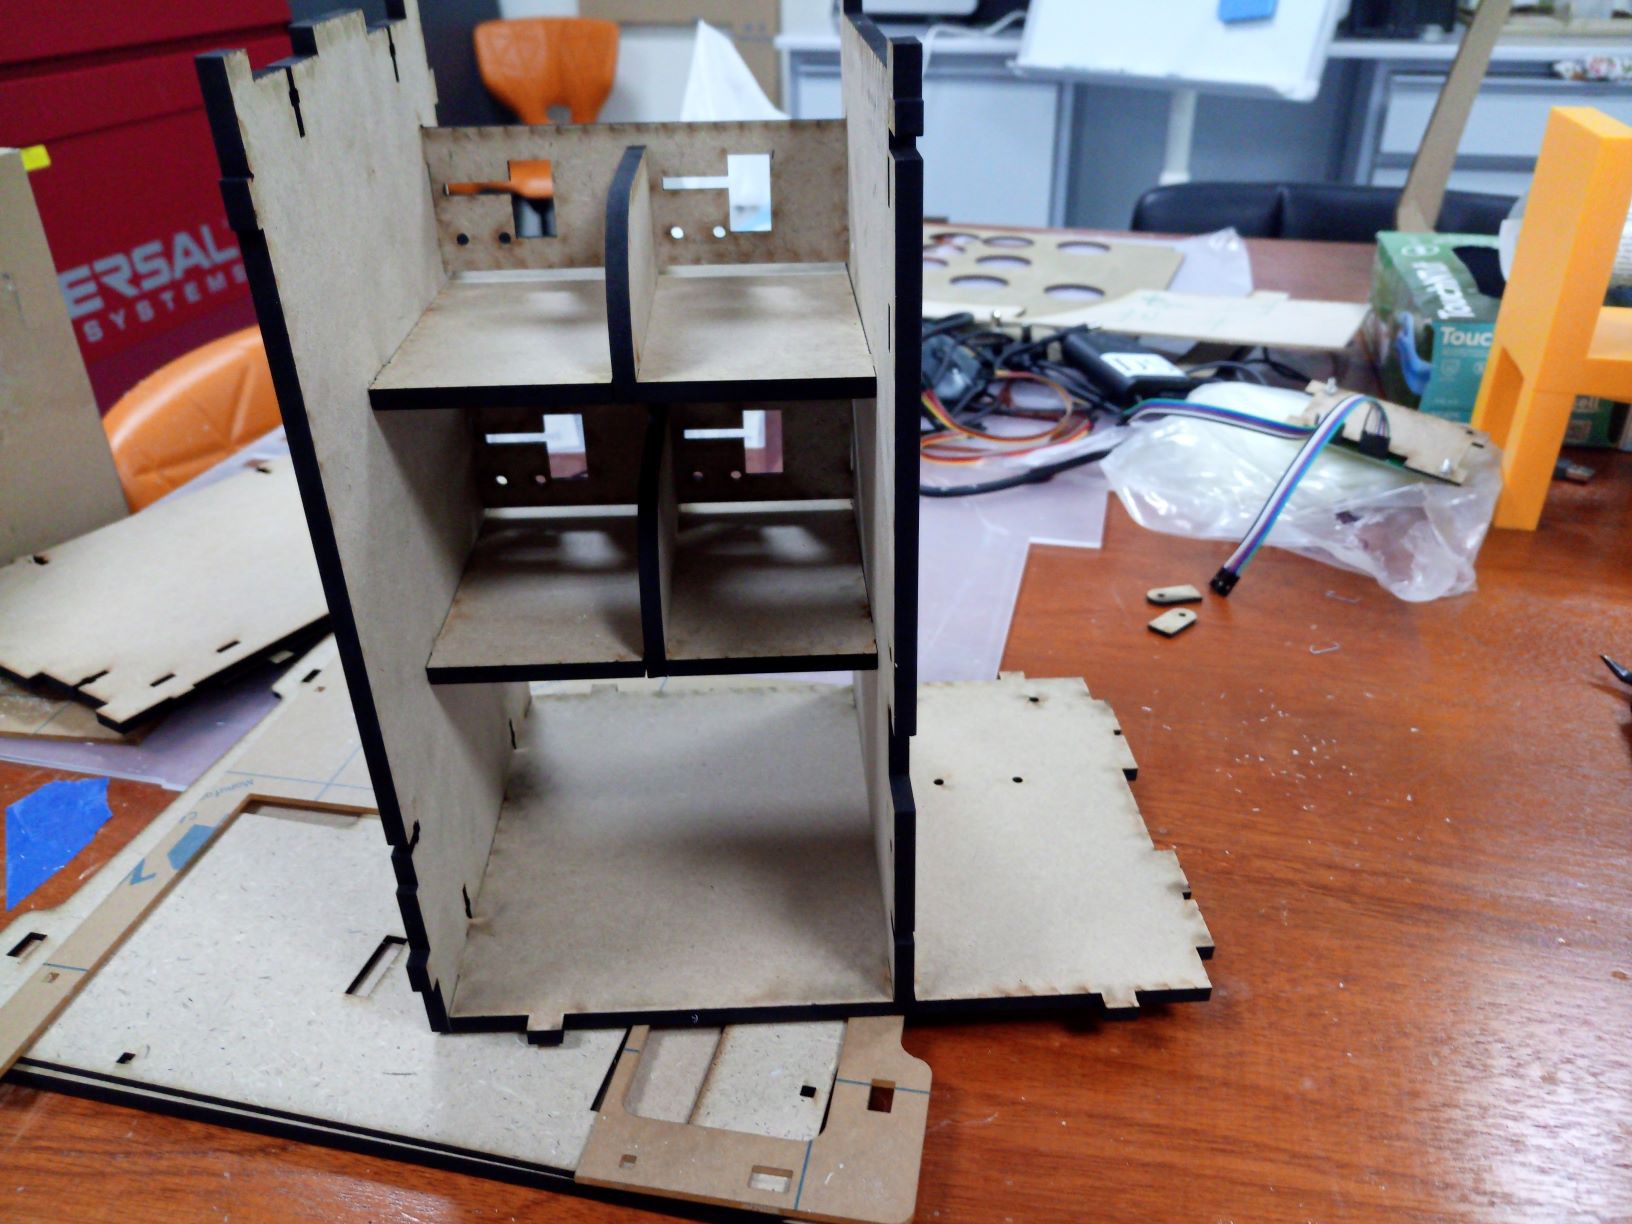
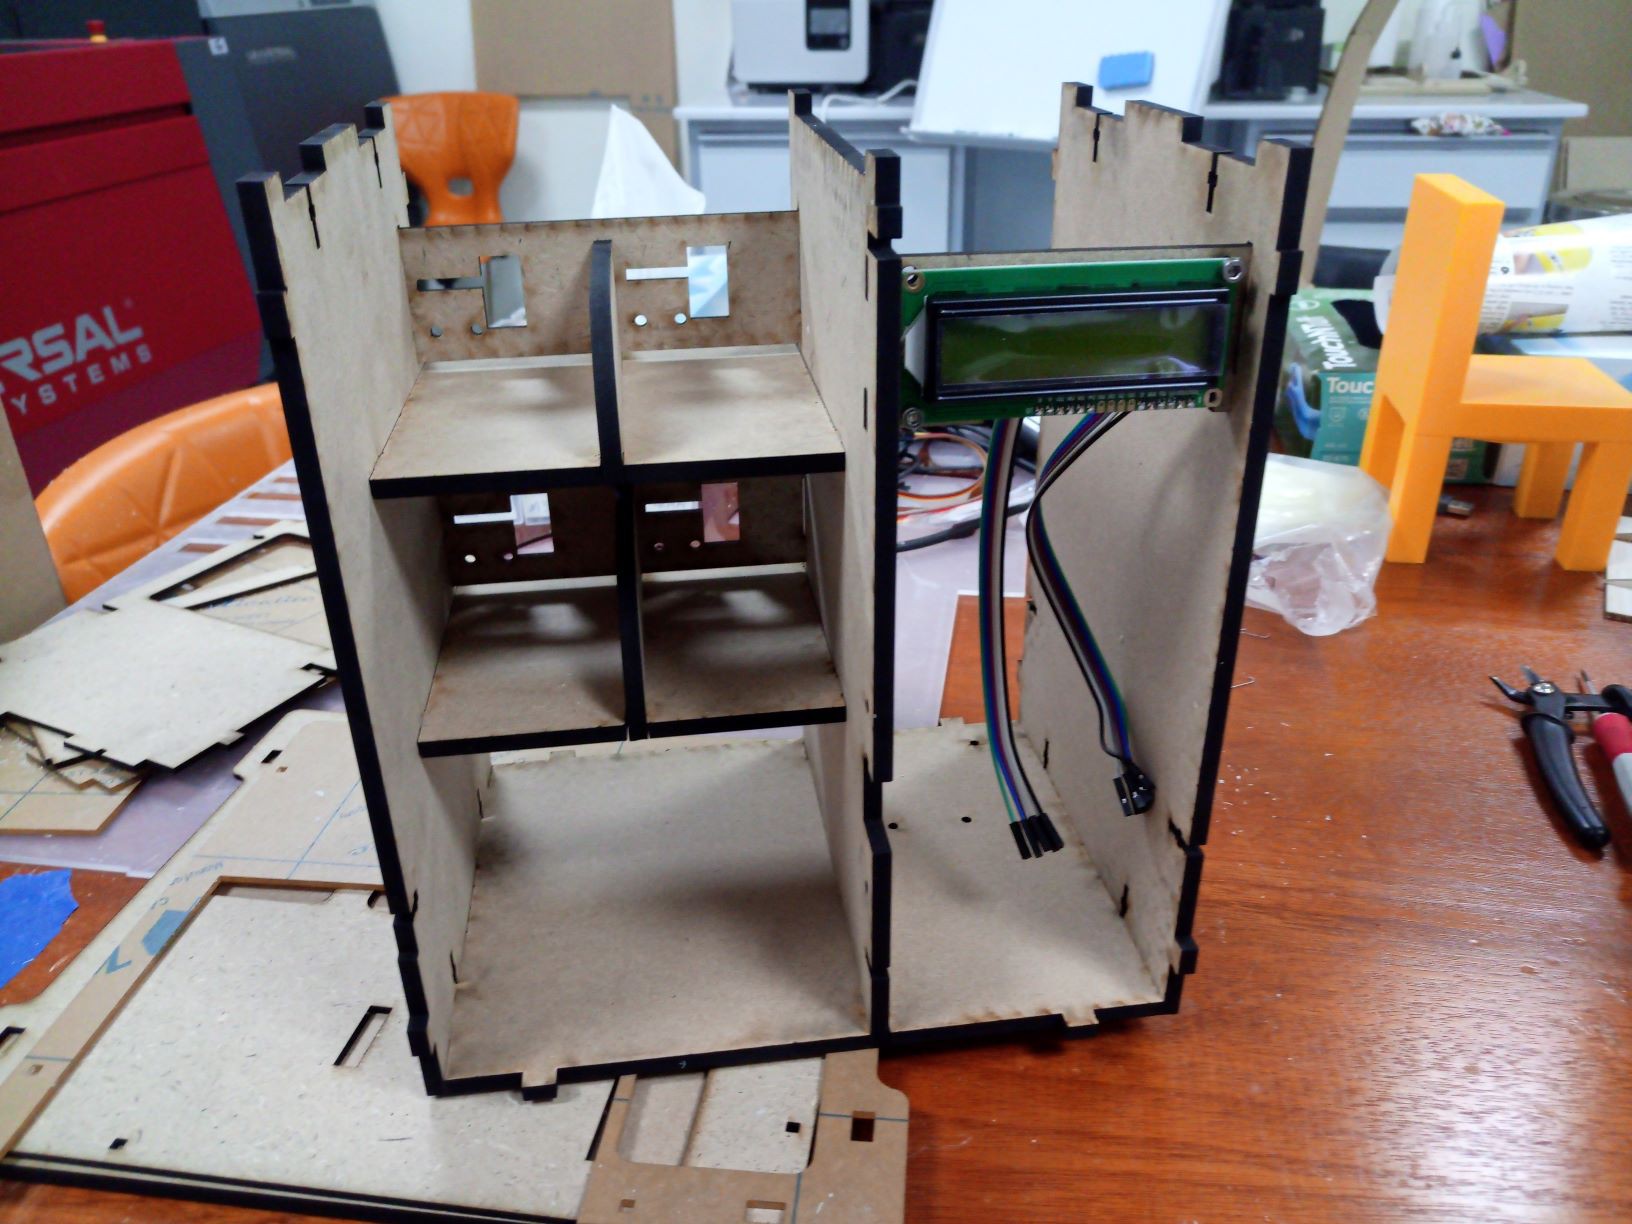
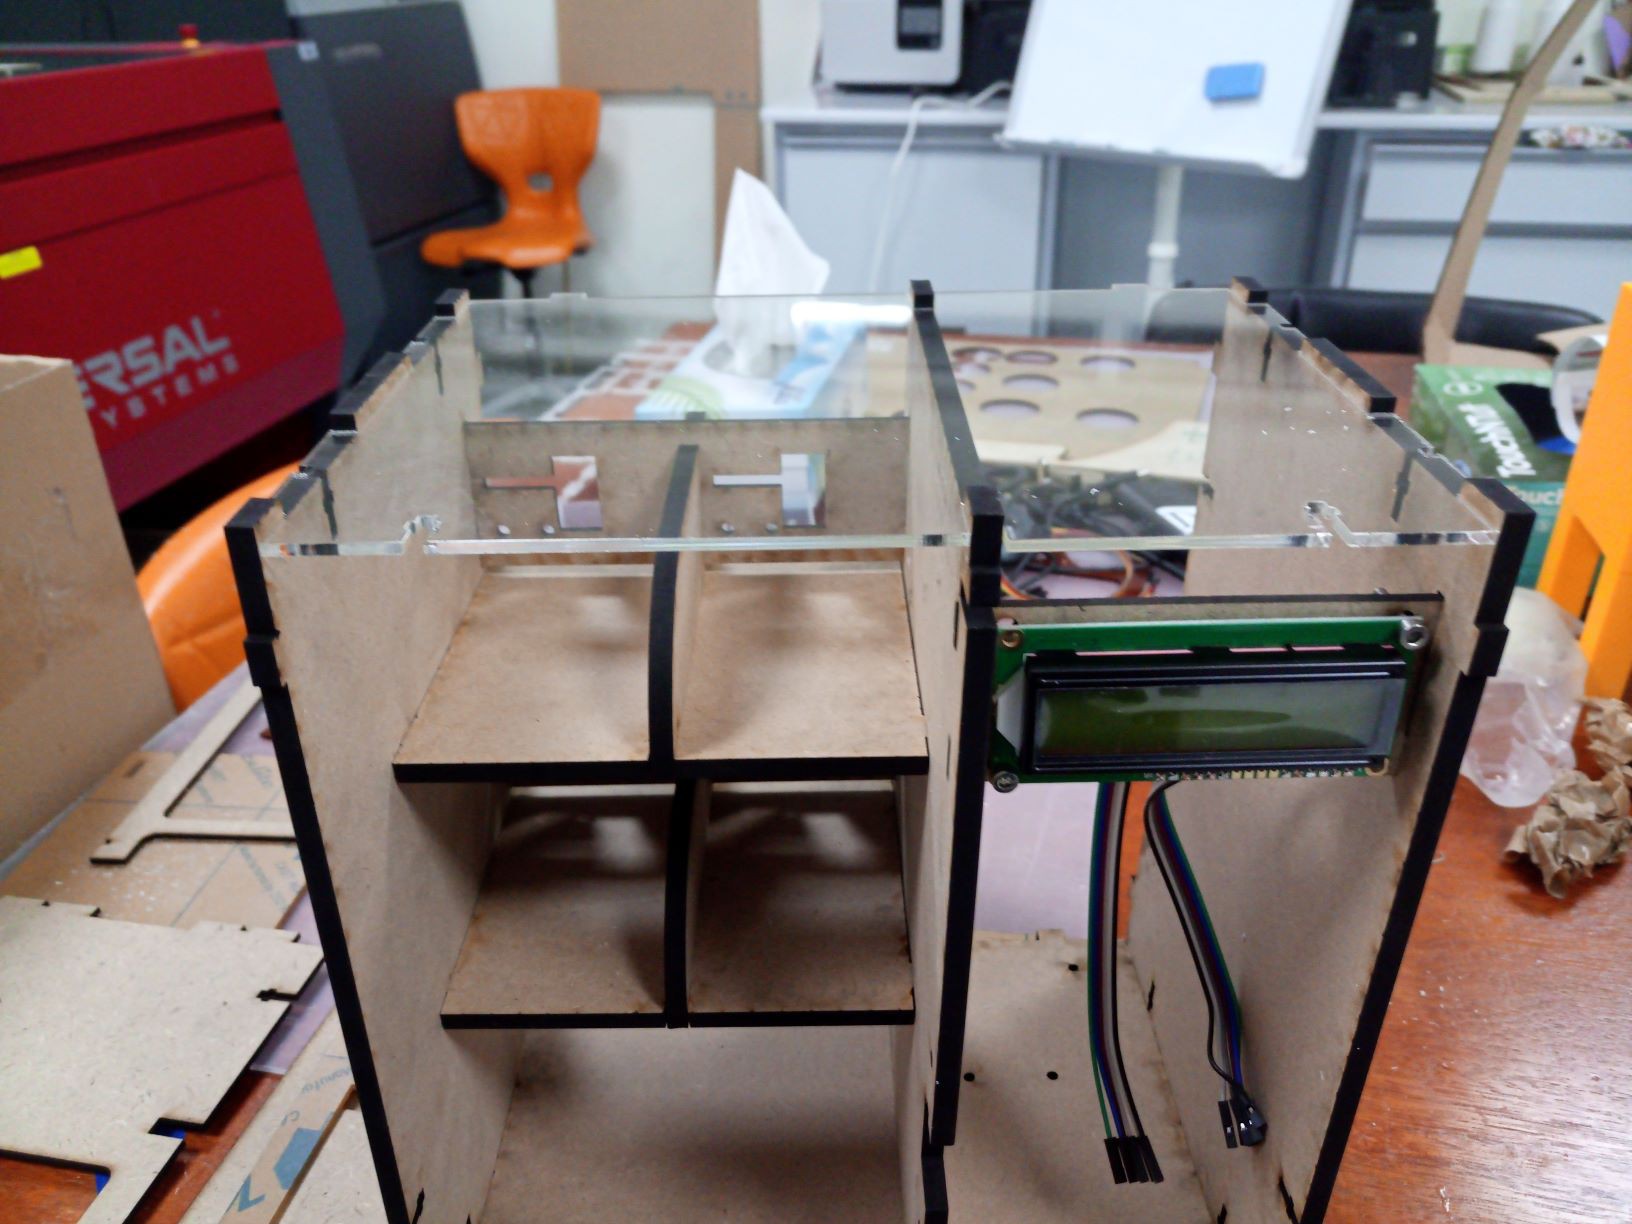
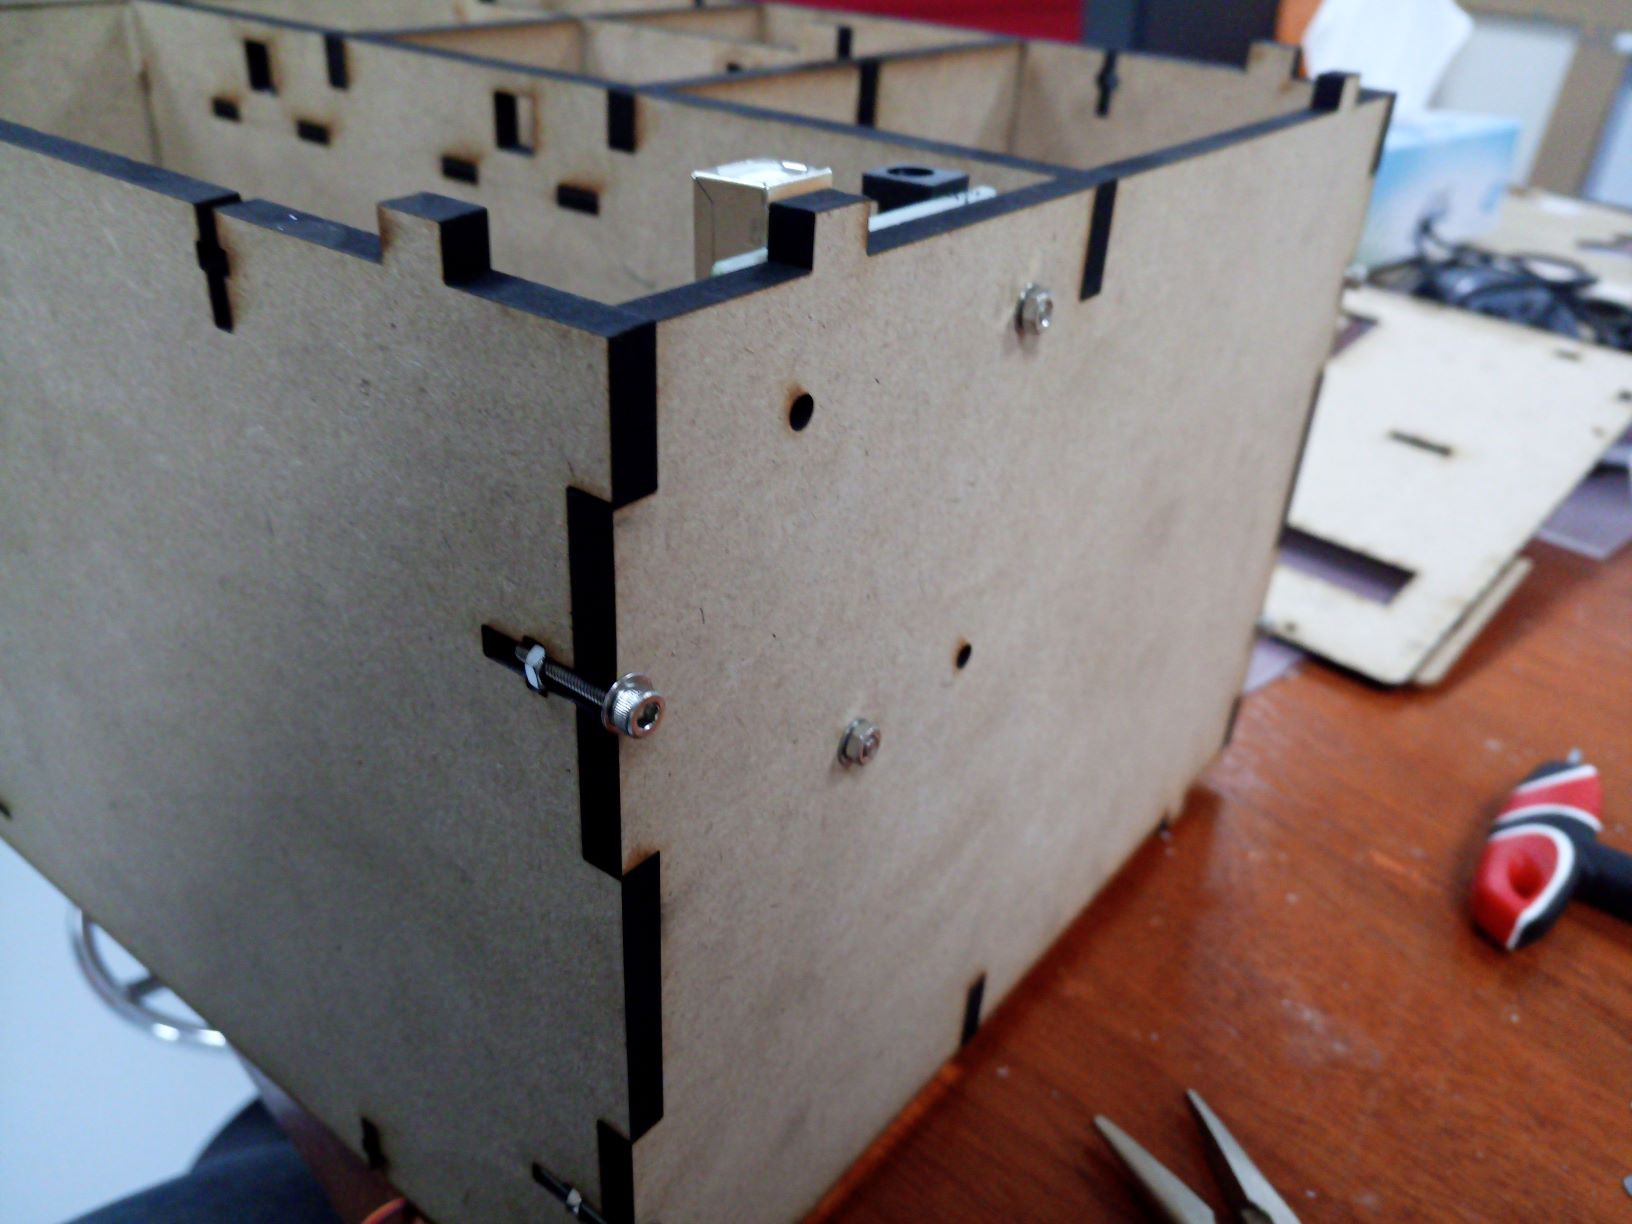
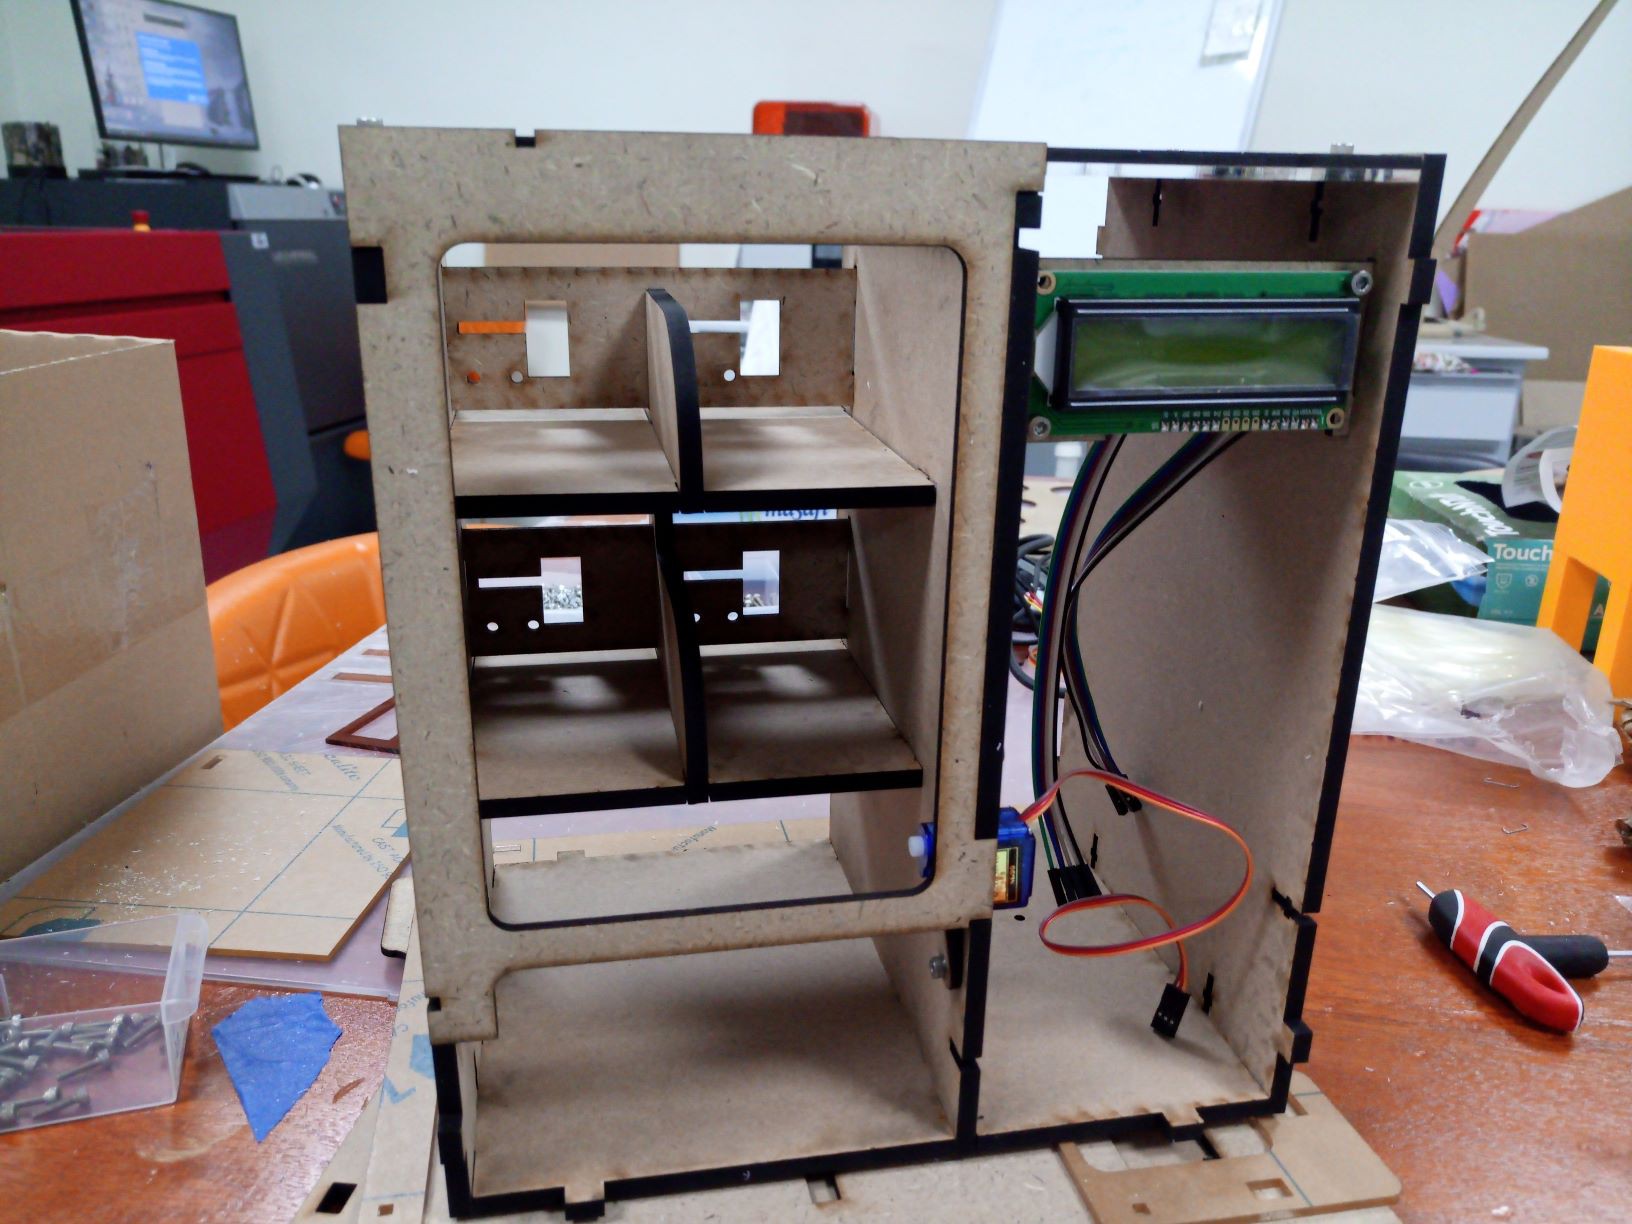
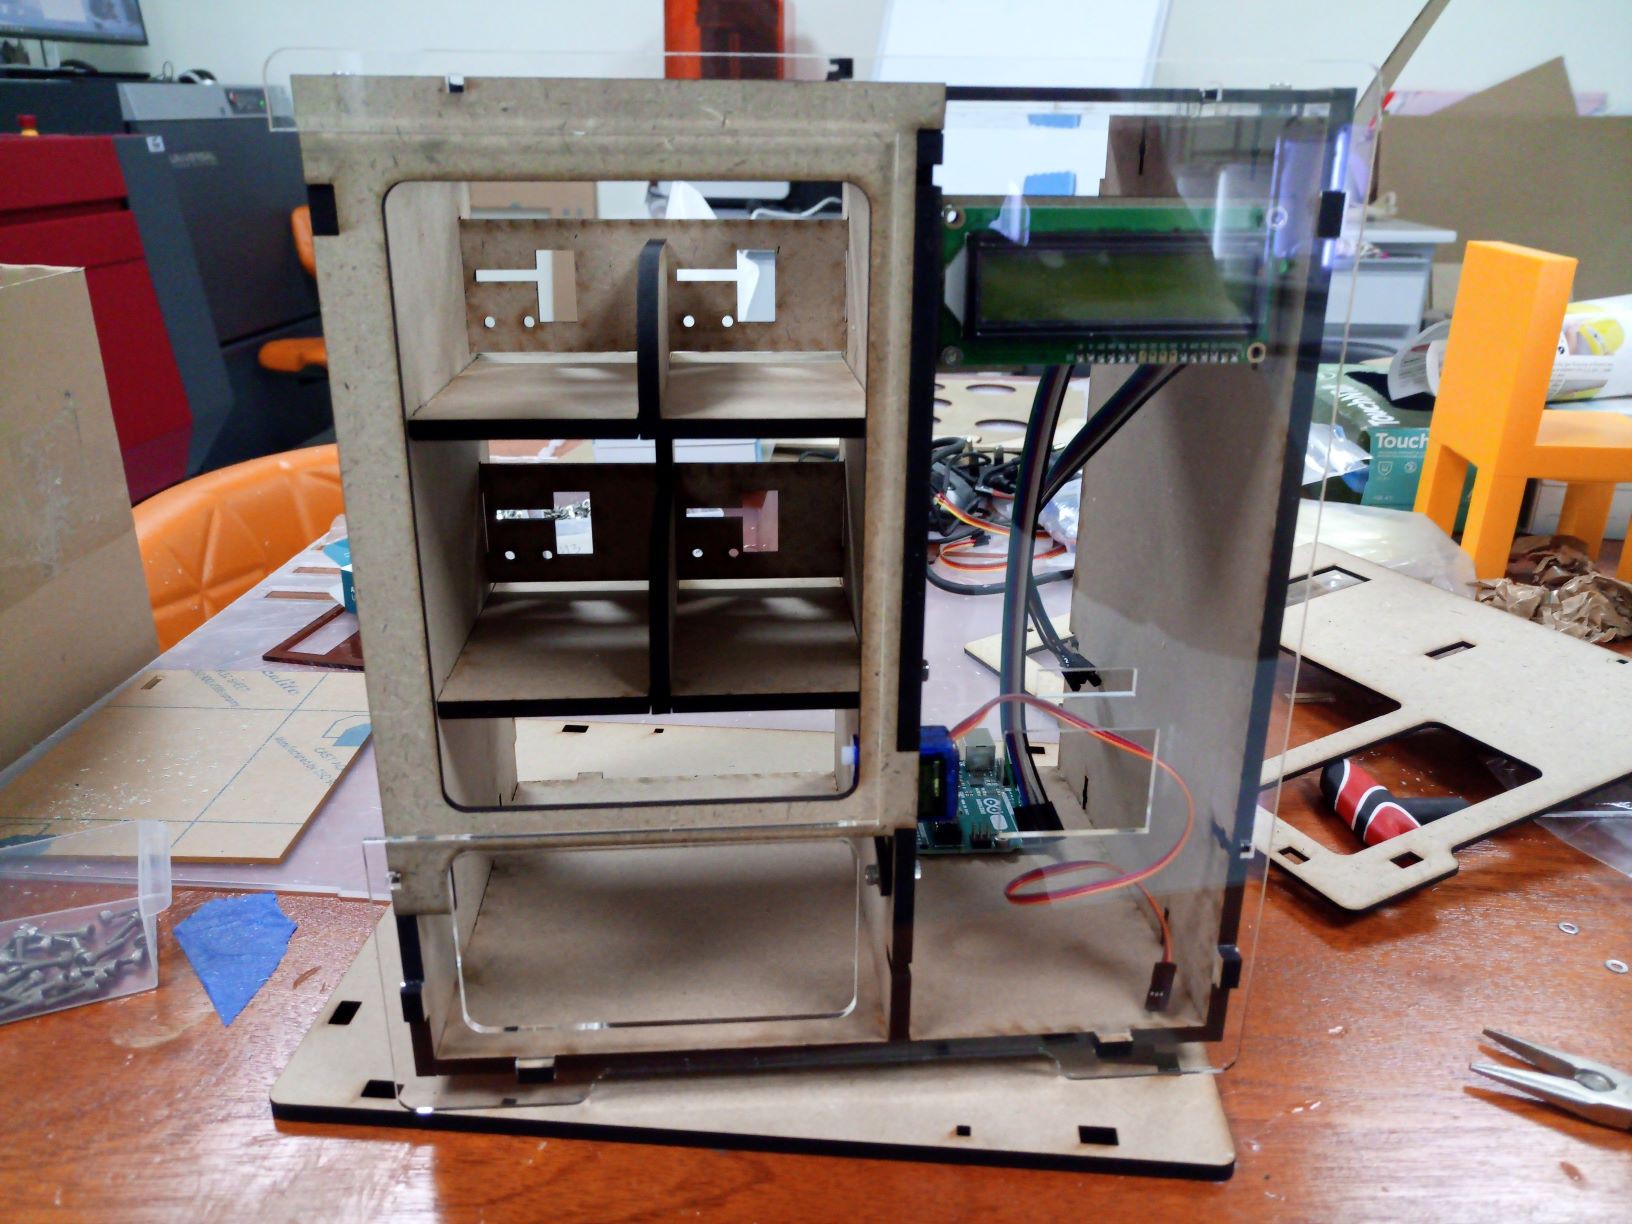
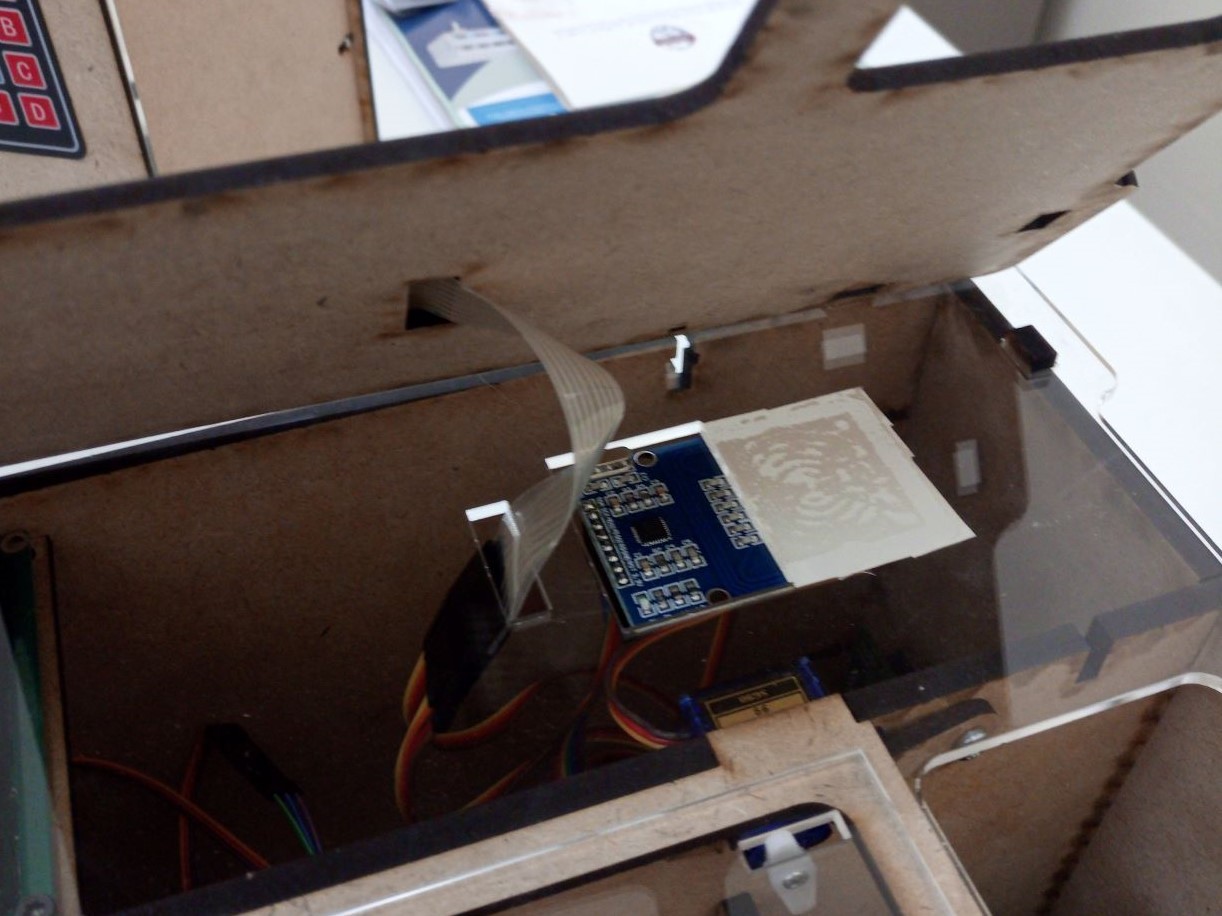
    An image says more than 100 words, so I'll post some images about the proper order to assembly it, but isn't hard at all.

    1. Start by the middle wall, pay attention on the parts orientation, is quite easy to assembly in the wrong side.

    2. Put the horizontal divisions.

    3. Now the vertical divisions.

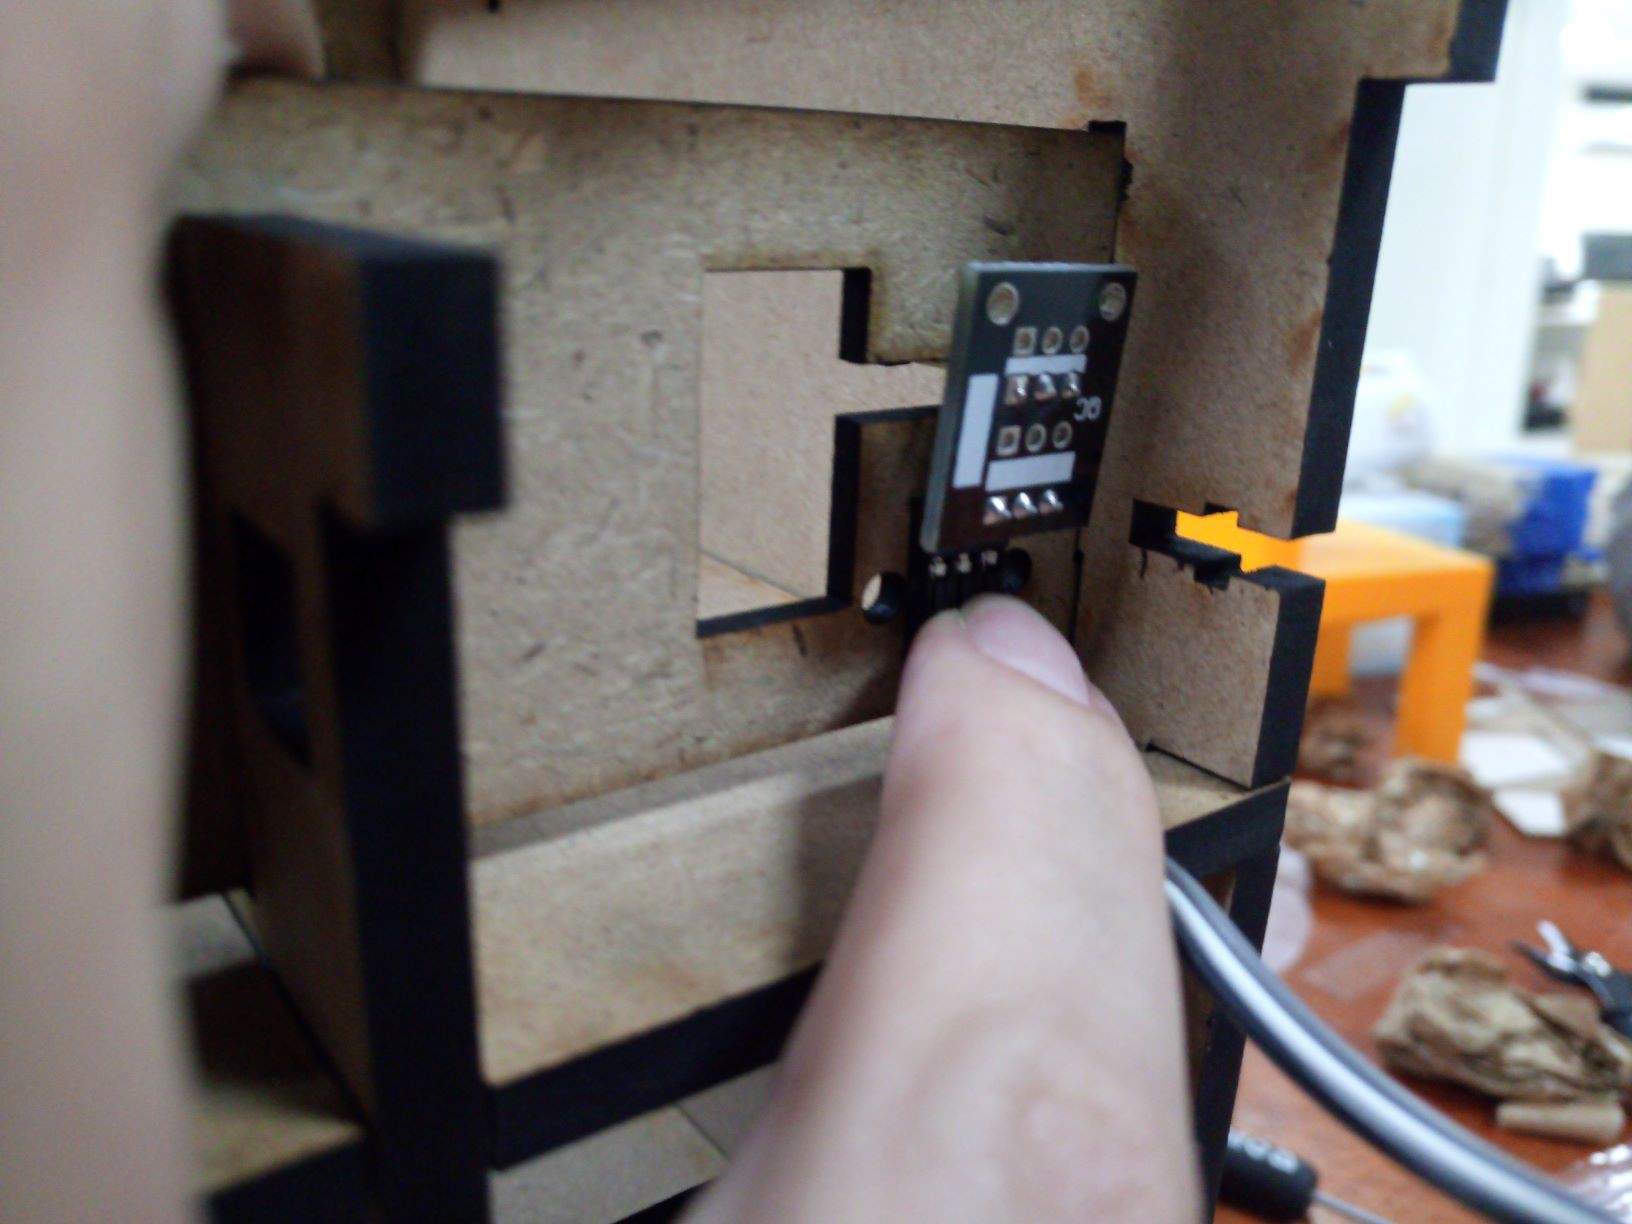
    4. Add the motor and sensors support.

    5. Connect one of the sides.

    6. And the base (keep the Arduino holes at the back).

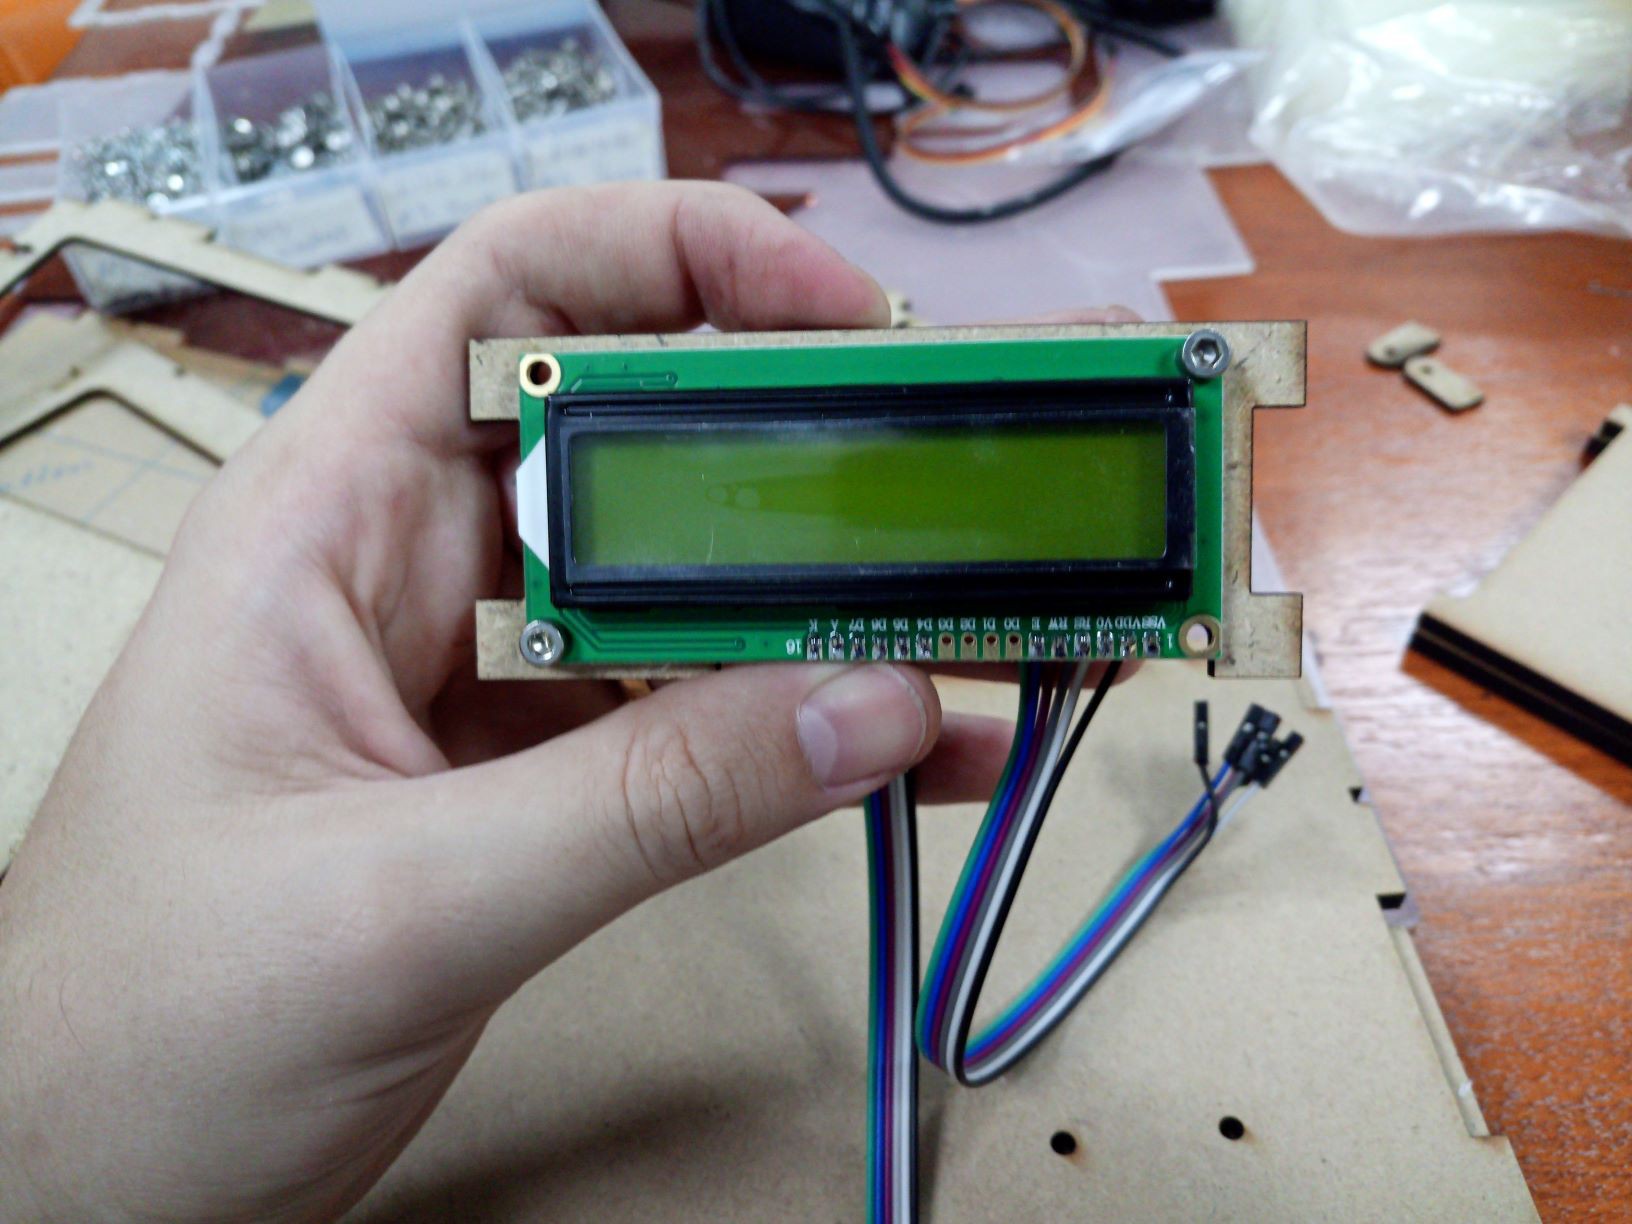
    7. Use two M3x16 screws, nuts and washers to secure the display. At this point is good to notice what is the display orientation, some have the cable up, some down, some at the side. In this case the cable were down.

    8. Connect the other side and hold the LCD.

    9. Now the top clean acrylic.

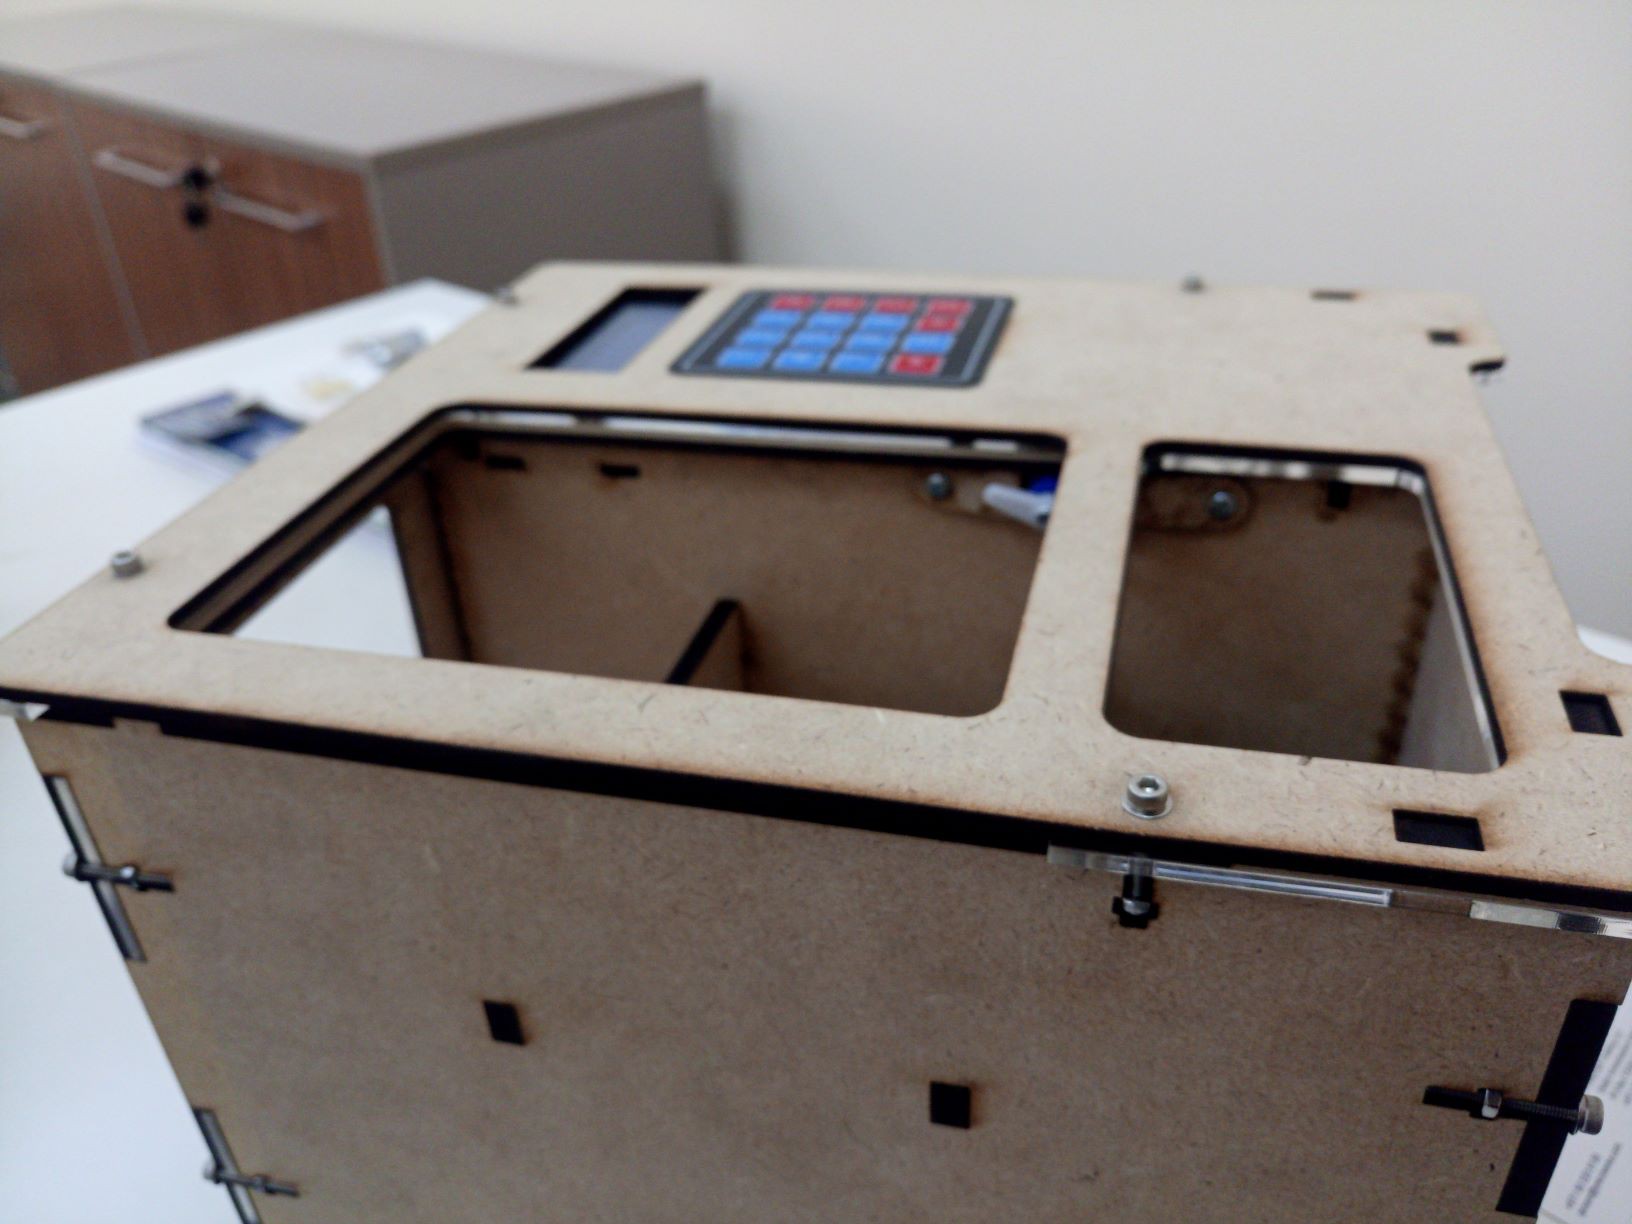
    10. And the top mdf.

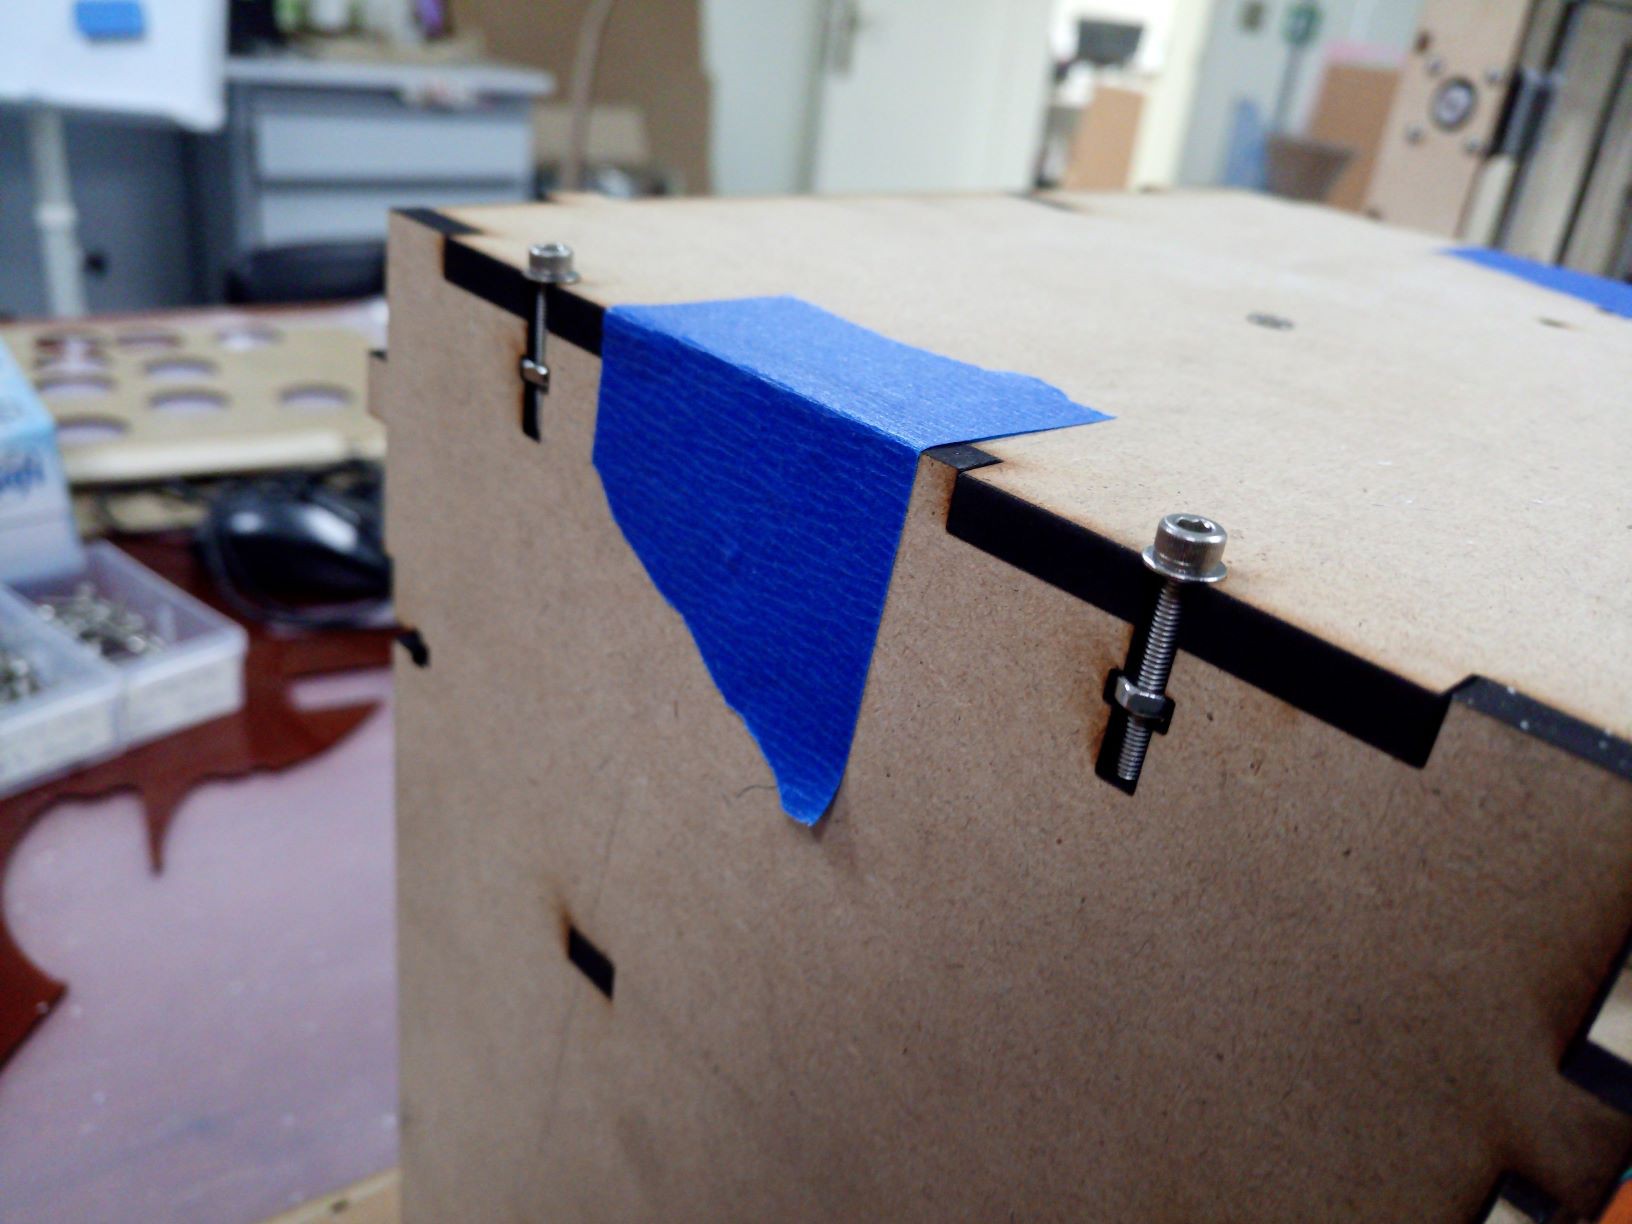
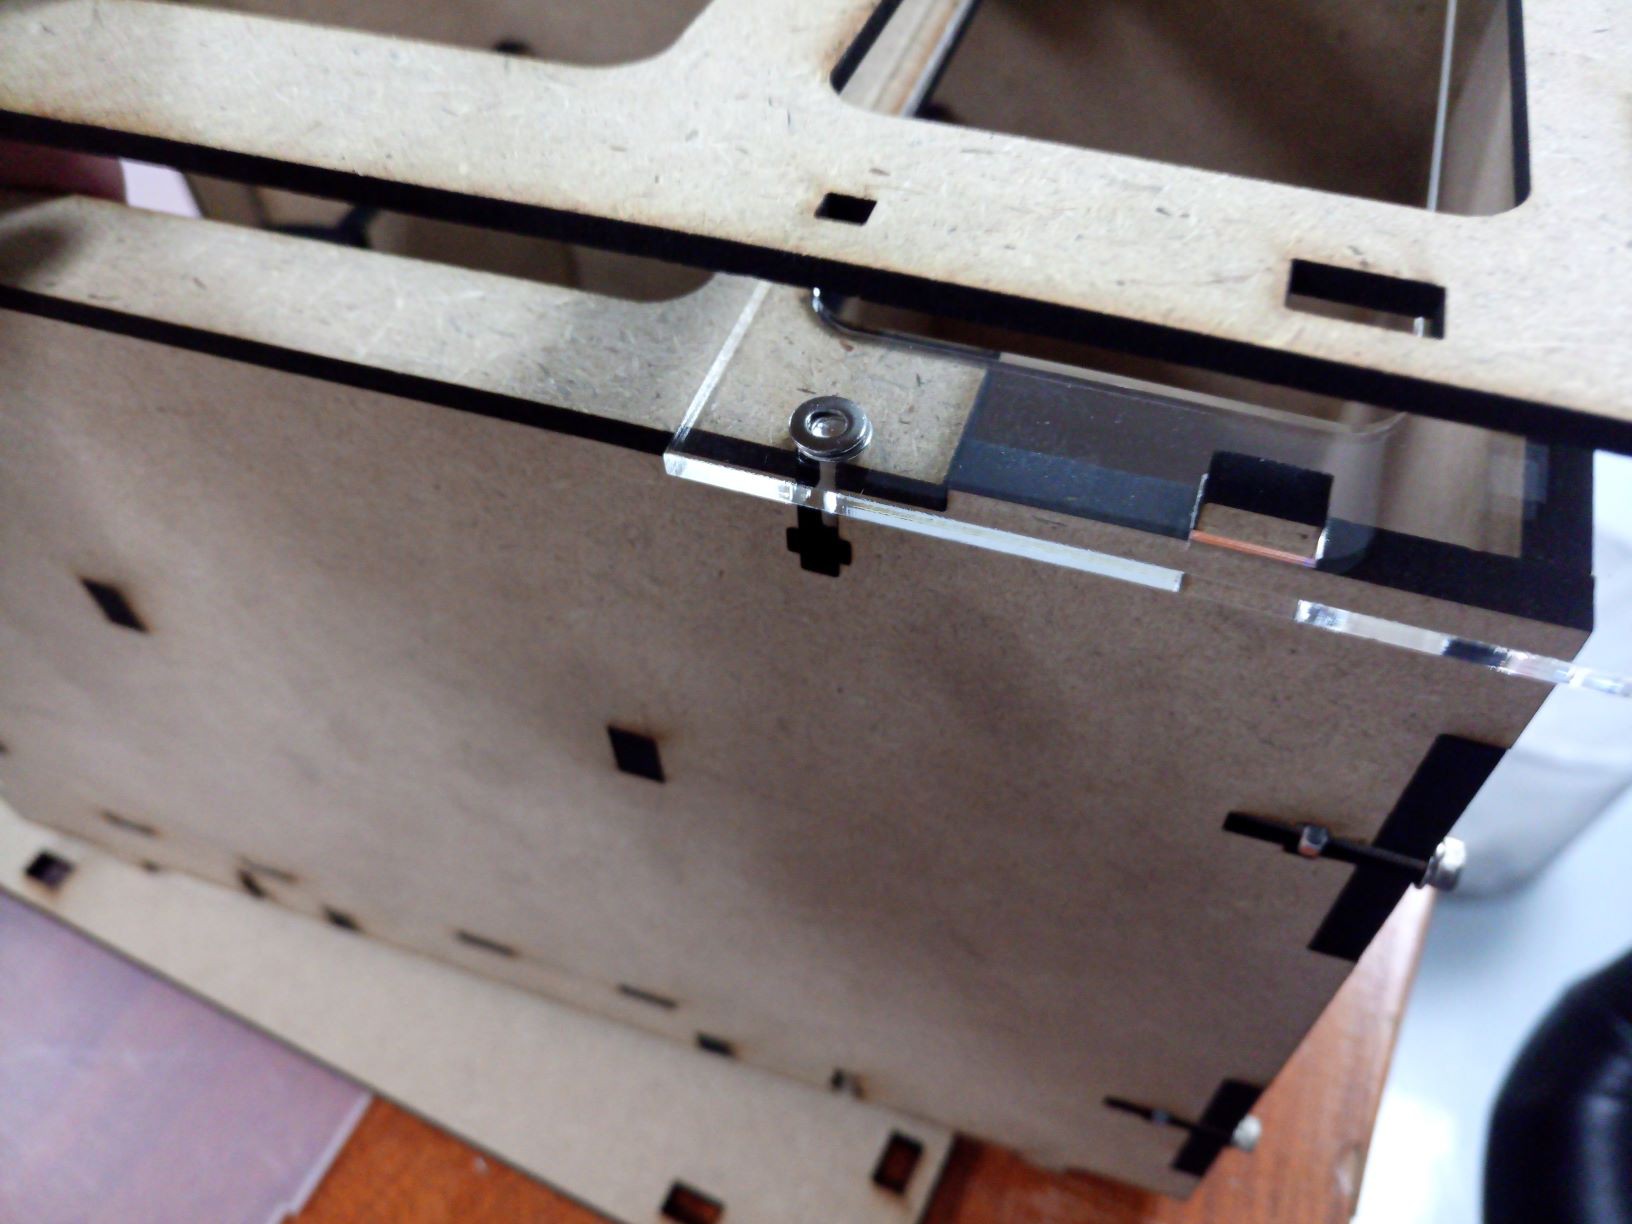
    11. Now add some tape just to hold it and put all M3x20, nuts and washers.

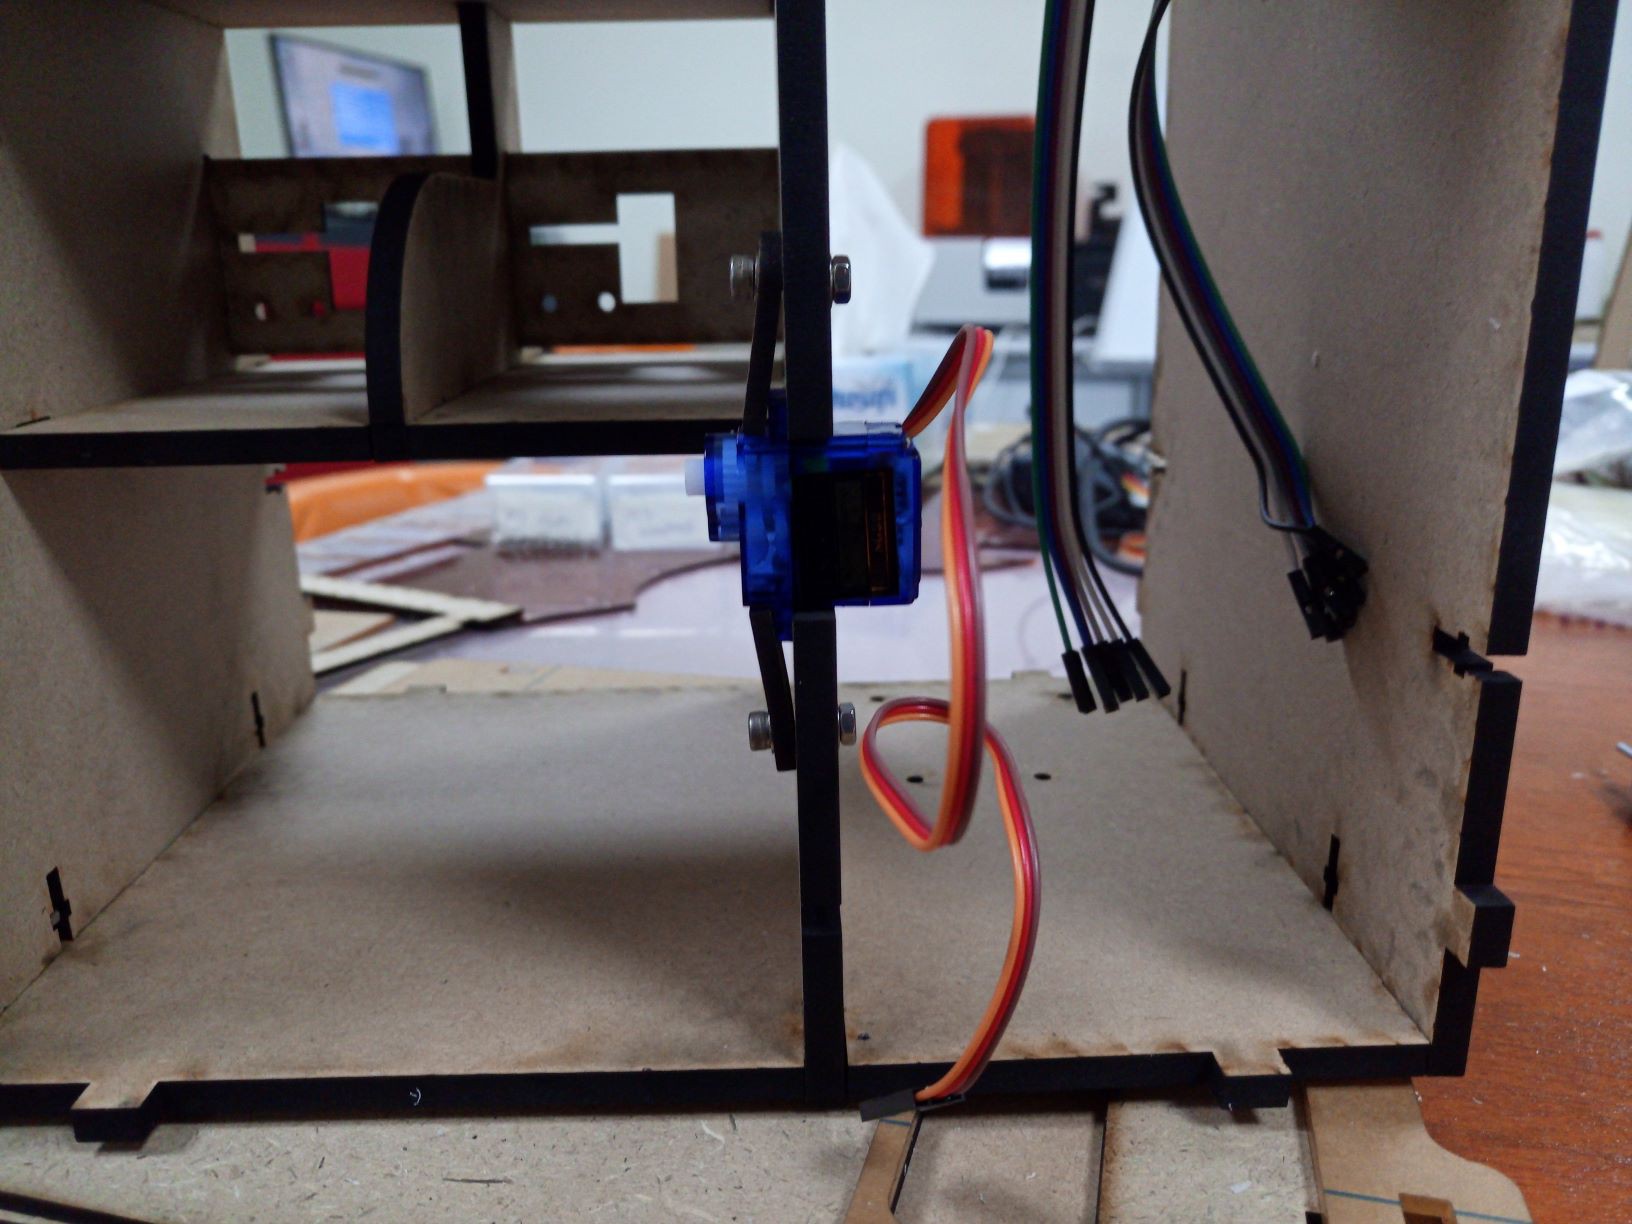
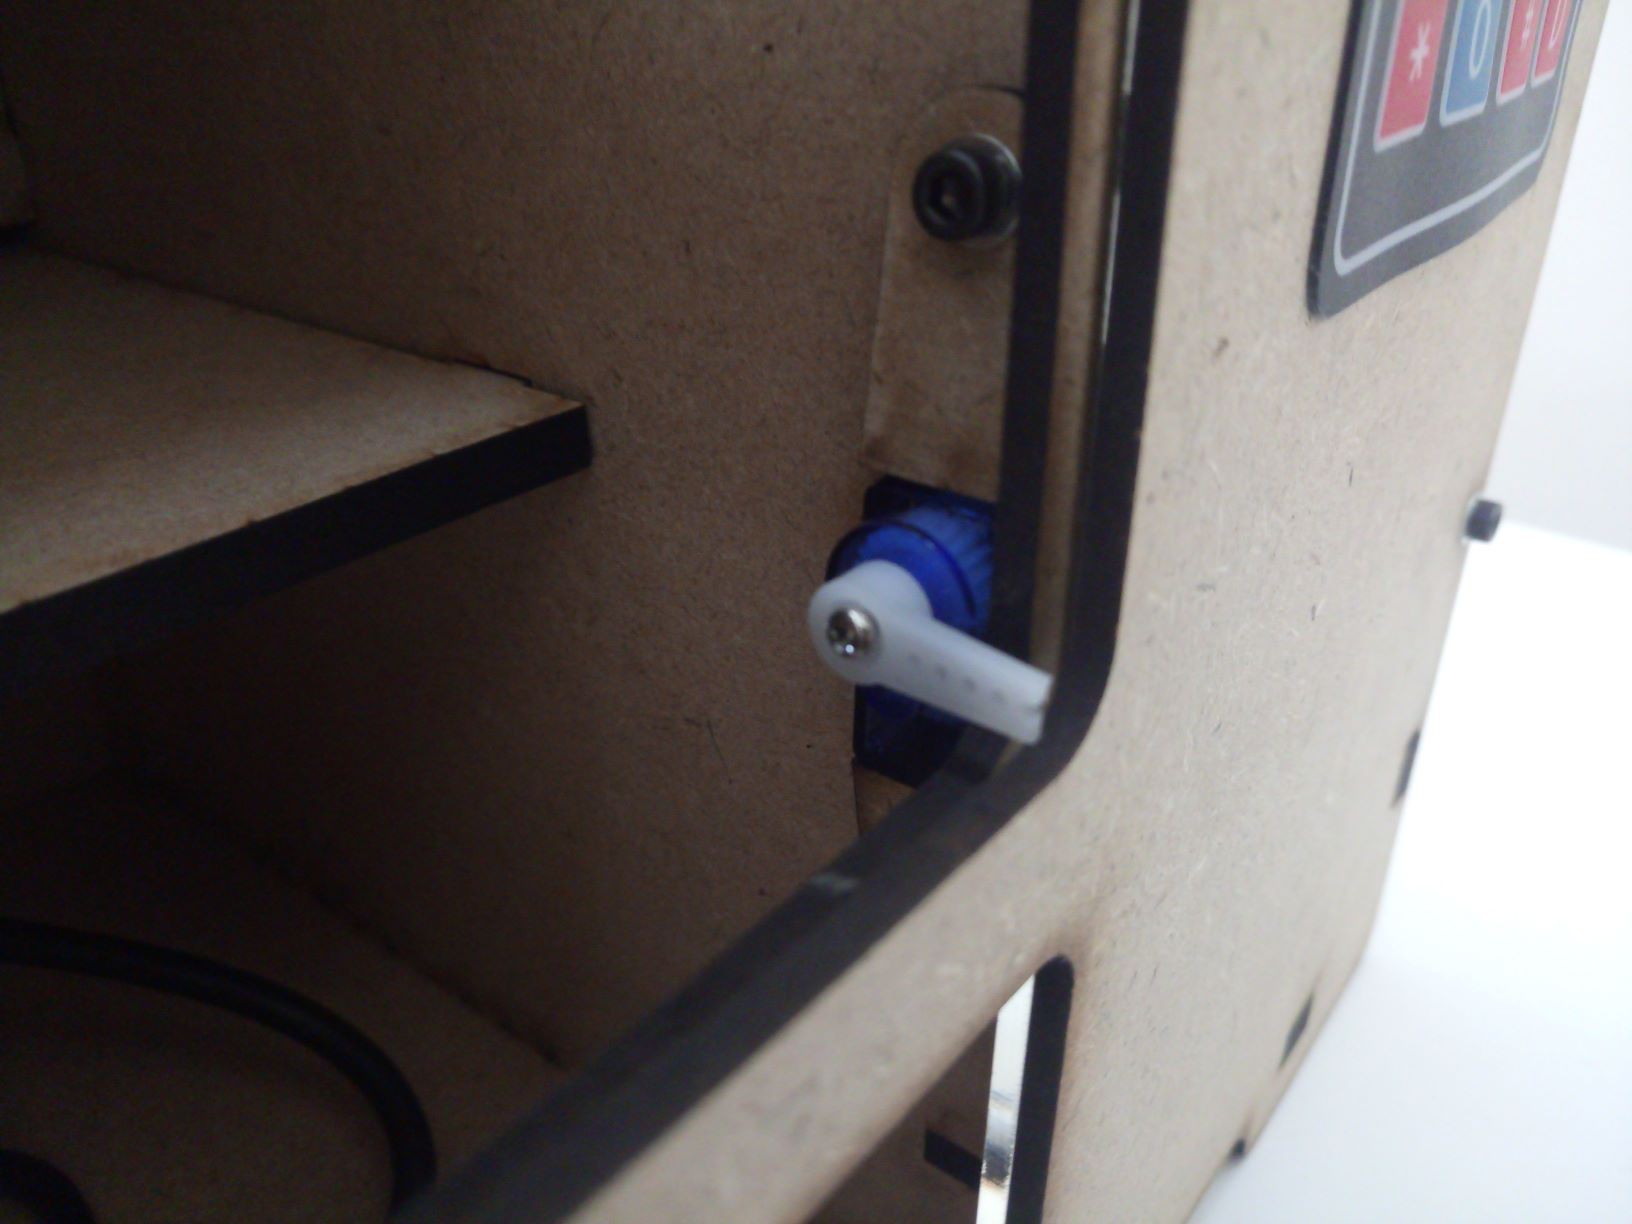
    12. Use the servo support and fixate the regular 9g servo (not continuous rotation).

    Tip: Set the maximum angle clockwise as the picture bellow and screw up the plastic part as the photo bellow. I did that later and was way harder to screw.

    13. Use two M3x16, nuts and washers to hold the Arduino.

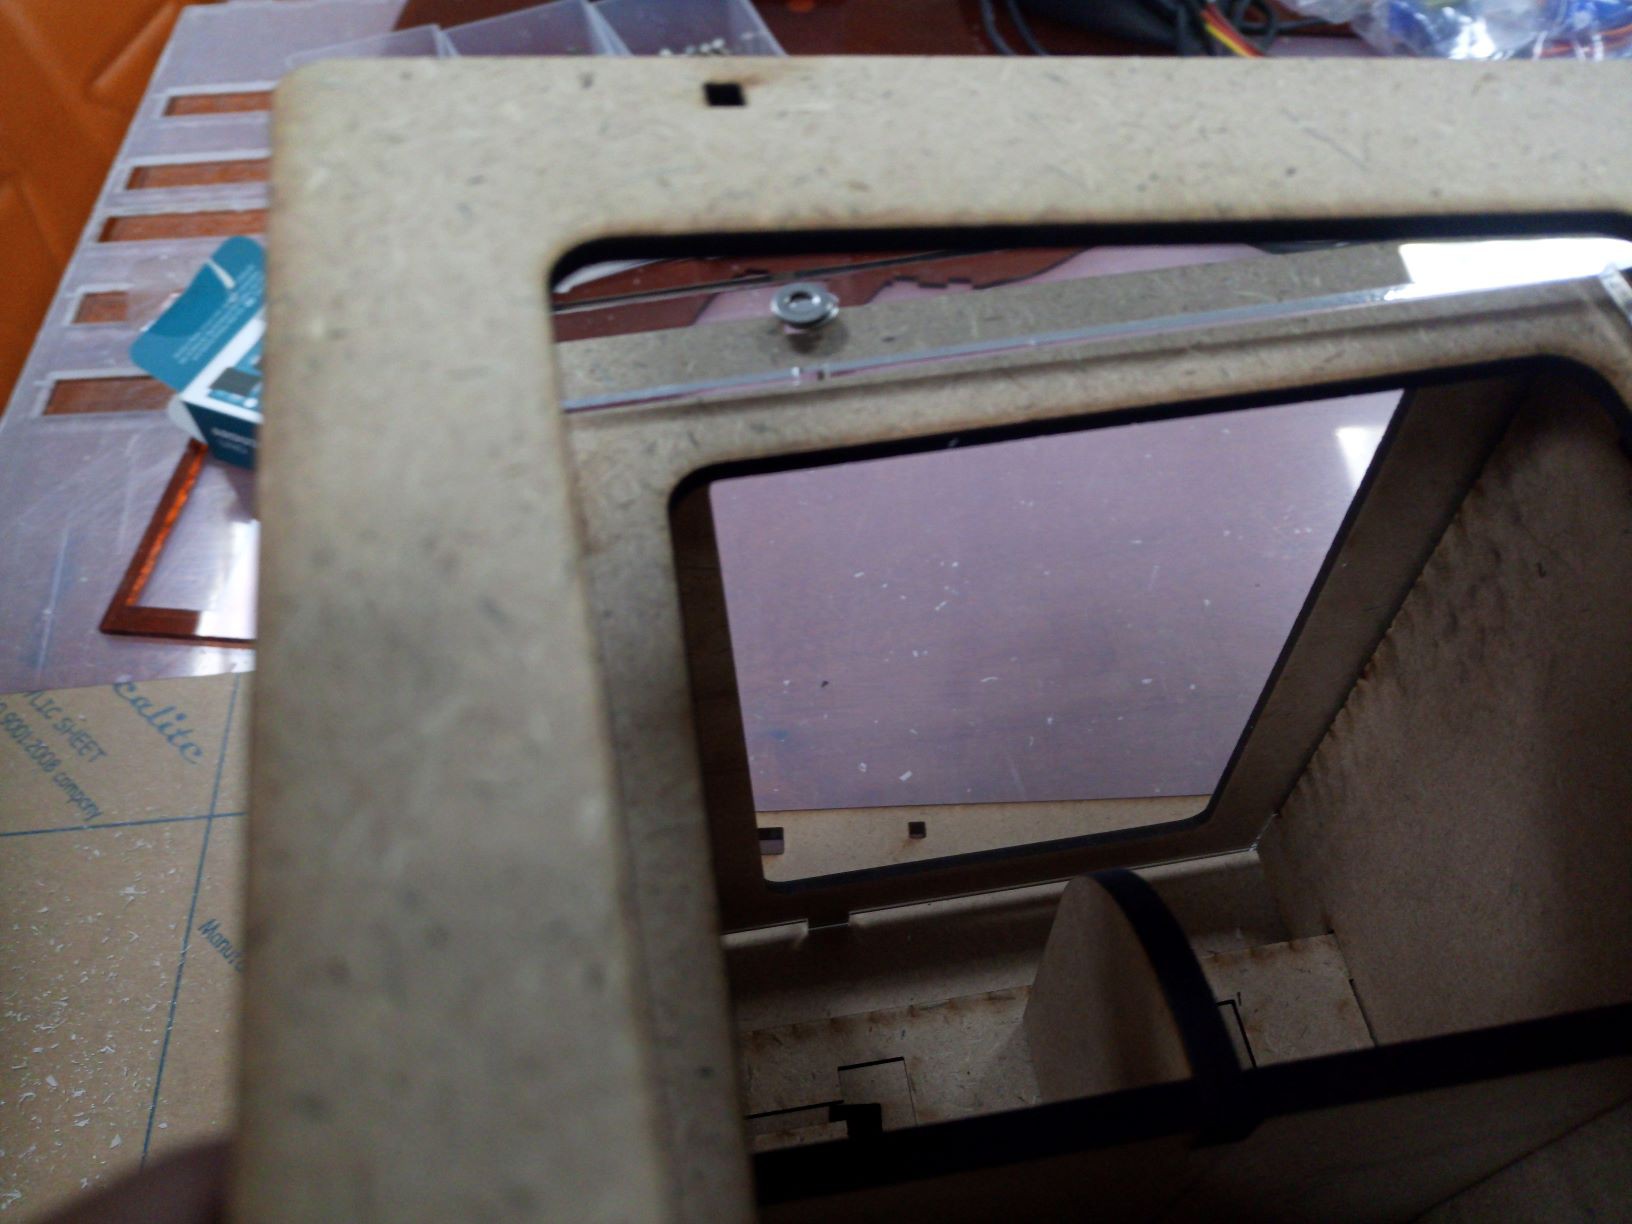
    14. Add the mdf window frame and acrylic front plate.


    15. Stick the keypad, put some good quality double faced tape in the RFID. I also preferred to extend the cables at this point, later will be hard to put the hand inside the machine to connect it.

    16. Use some washers as spacers to add some tolerance for the sliding door, then screw the front mdf place using M3x20 screws, nuts and washers.

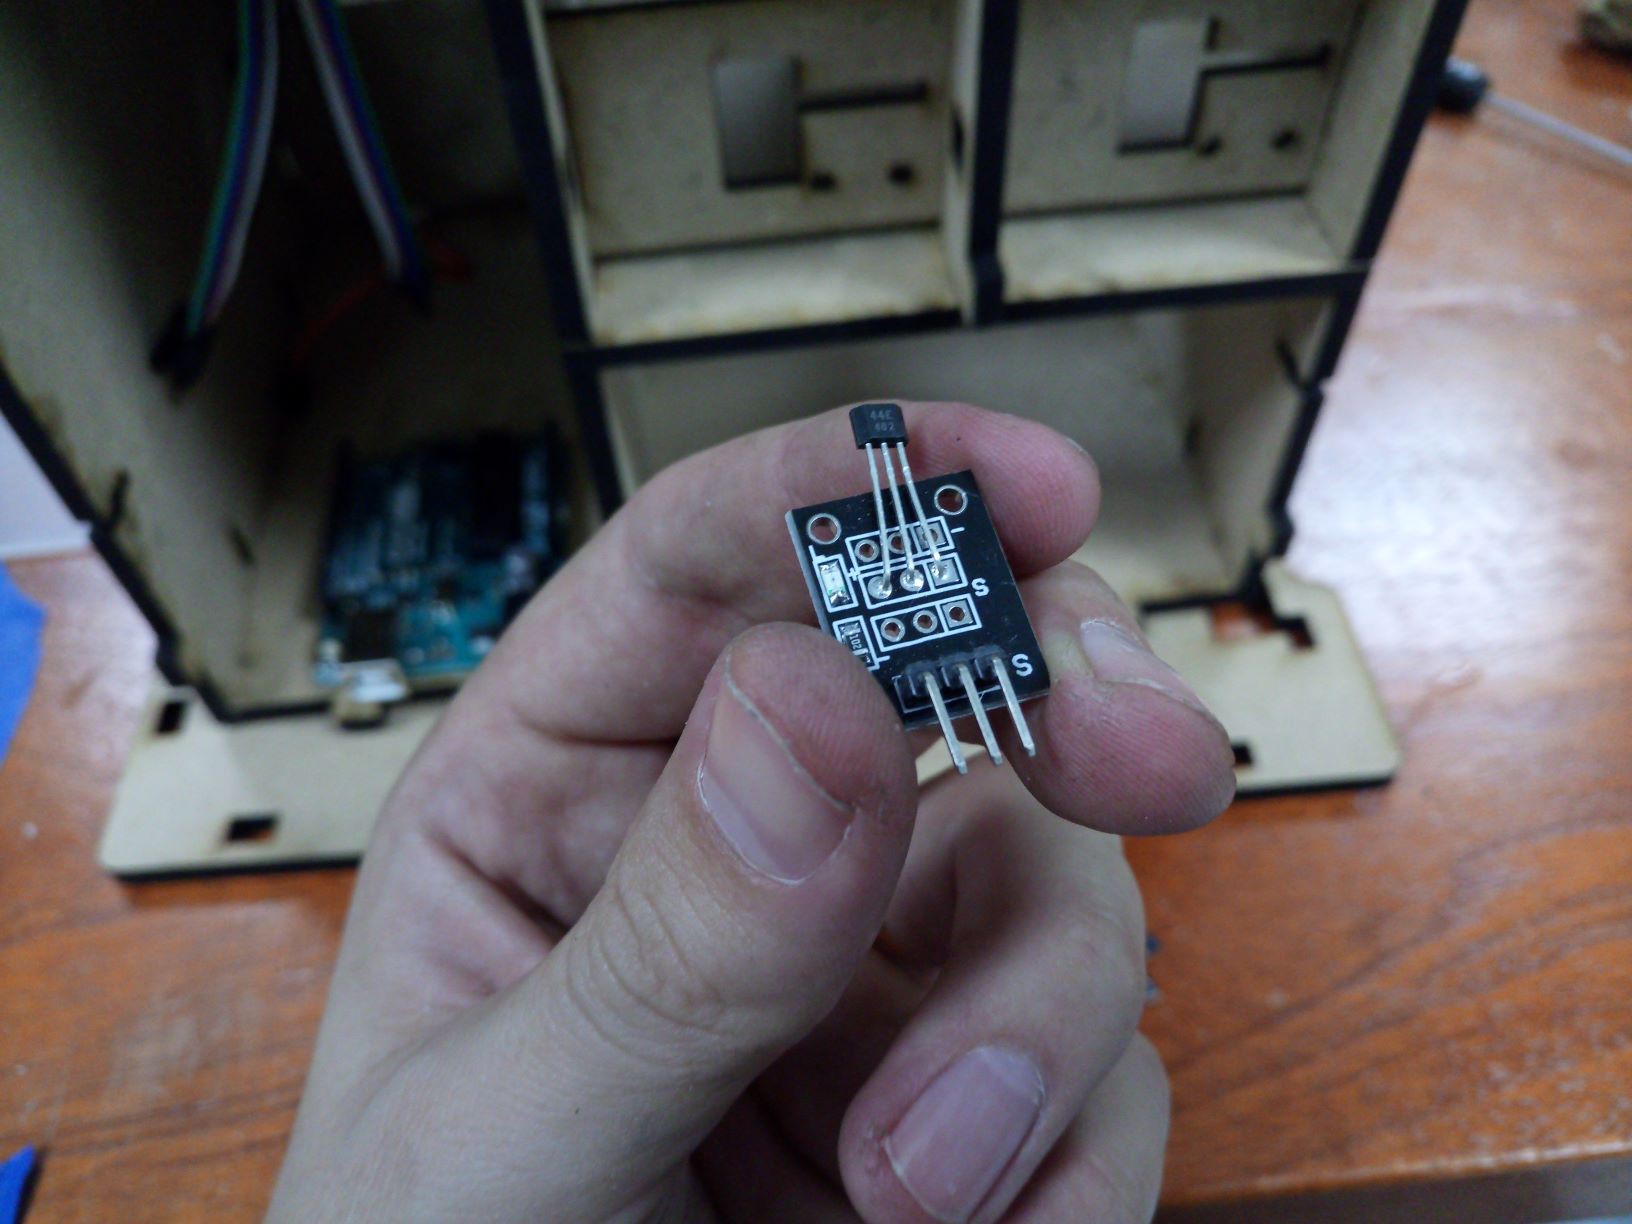
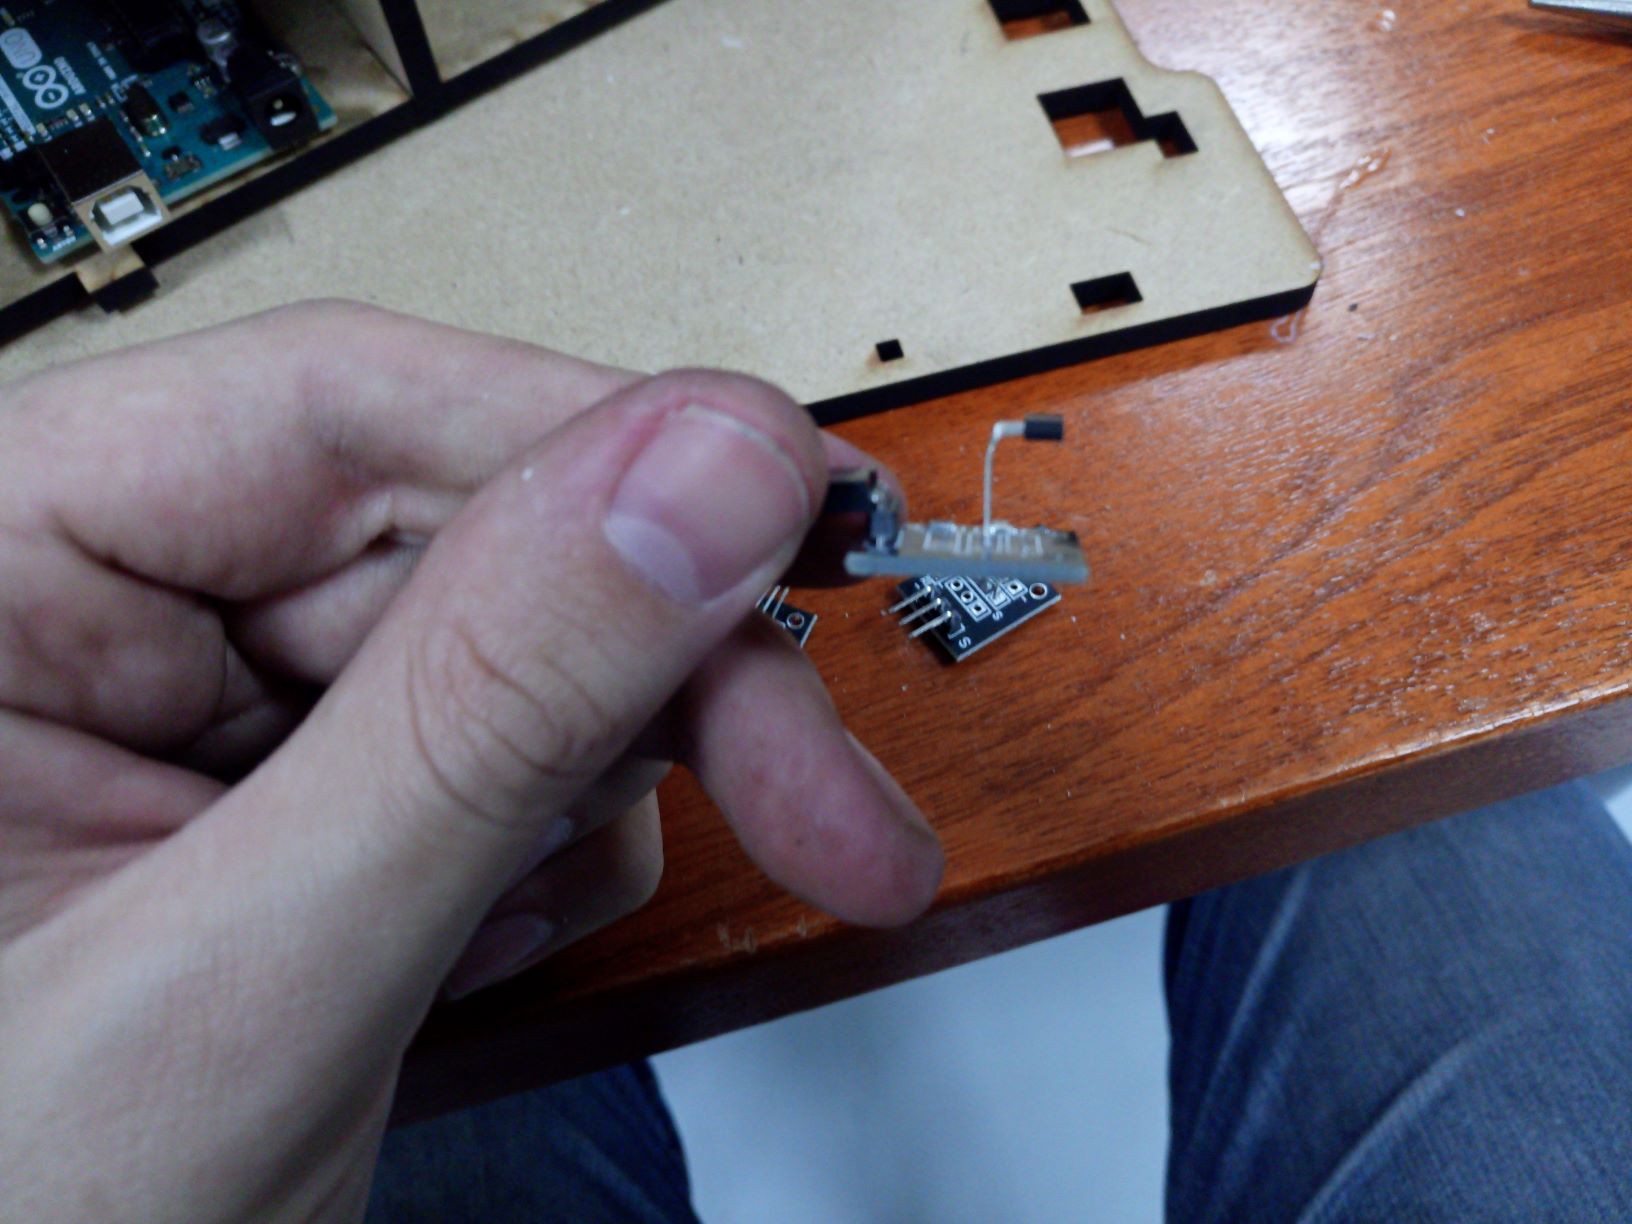
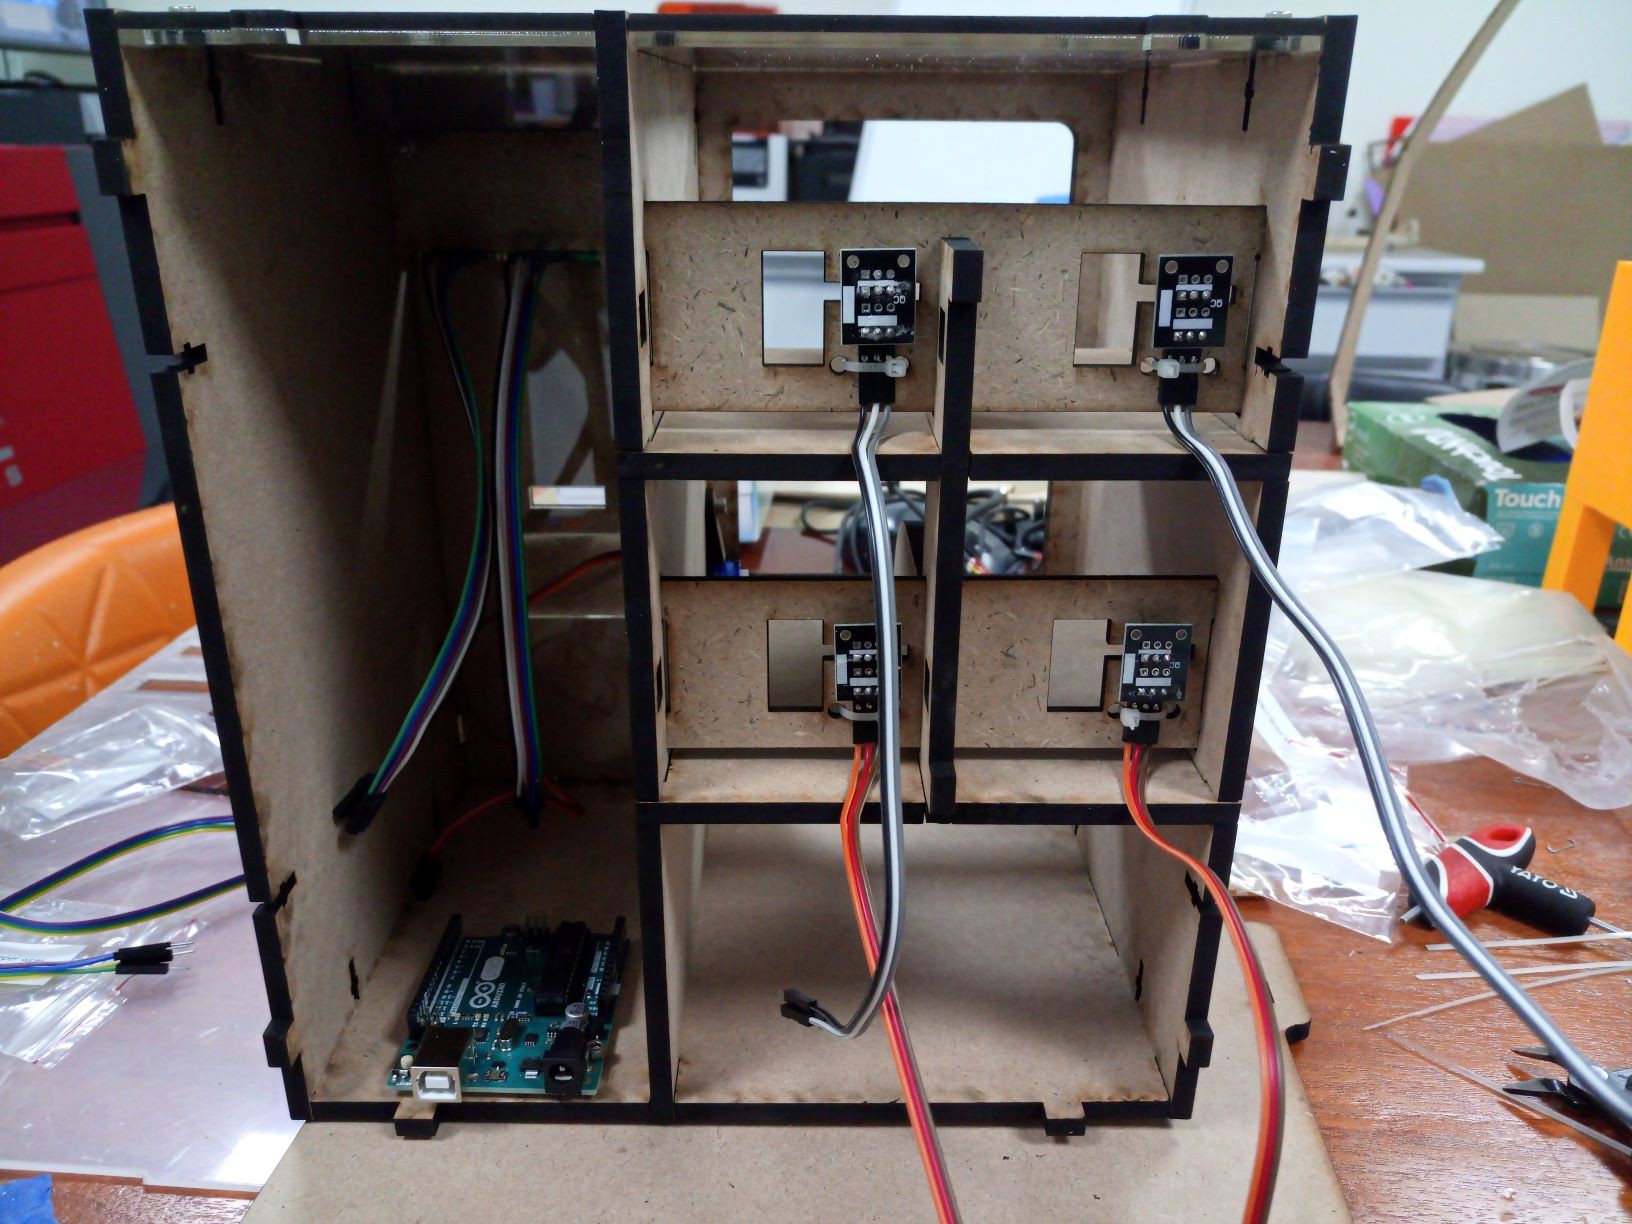
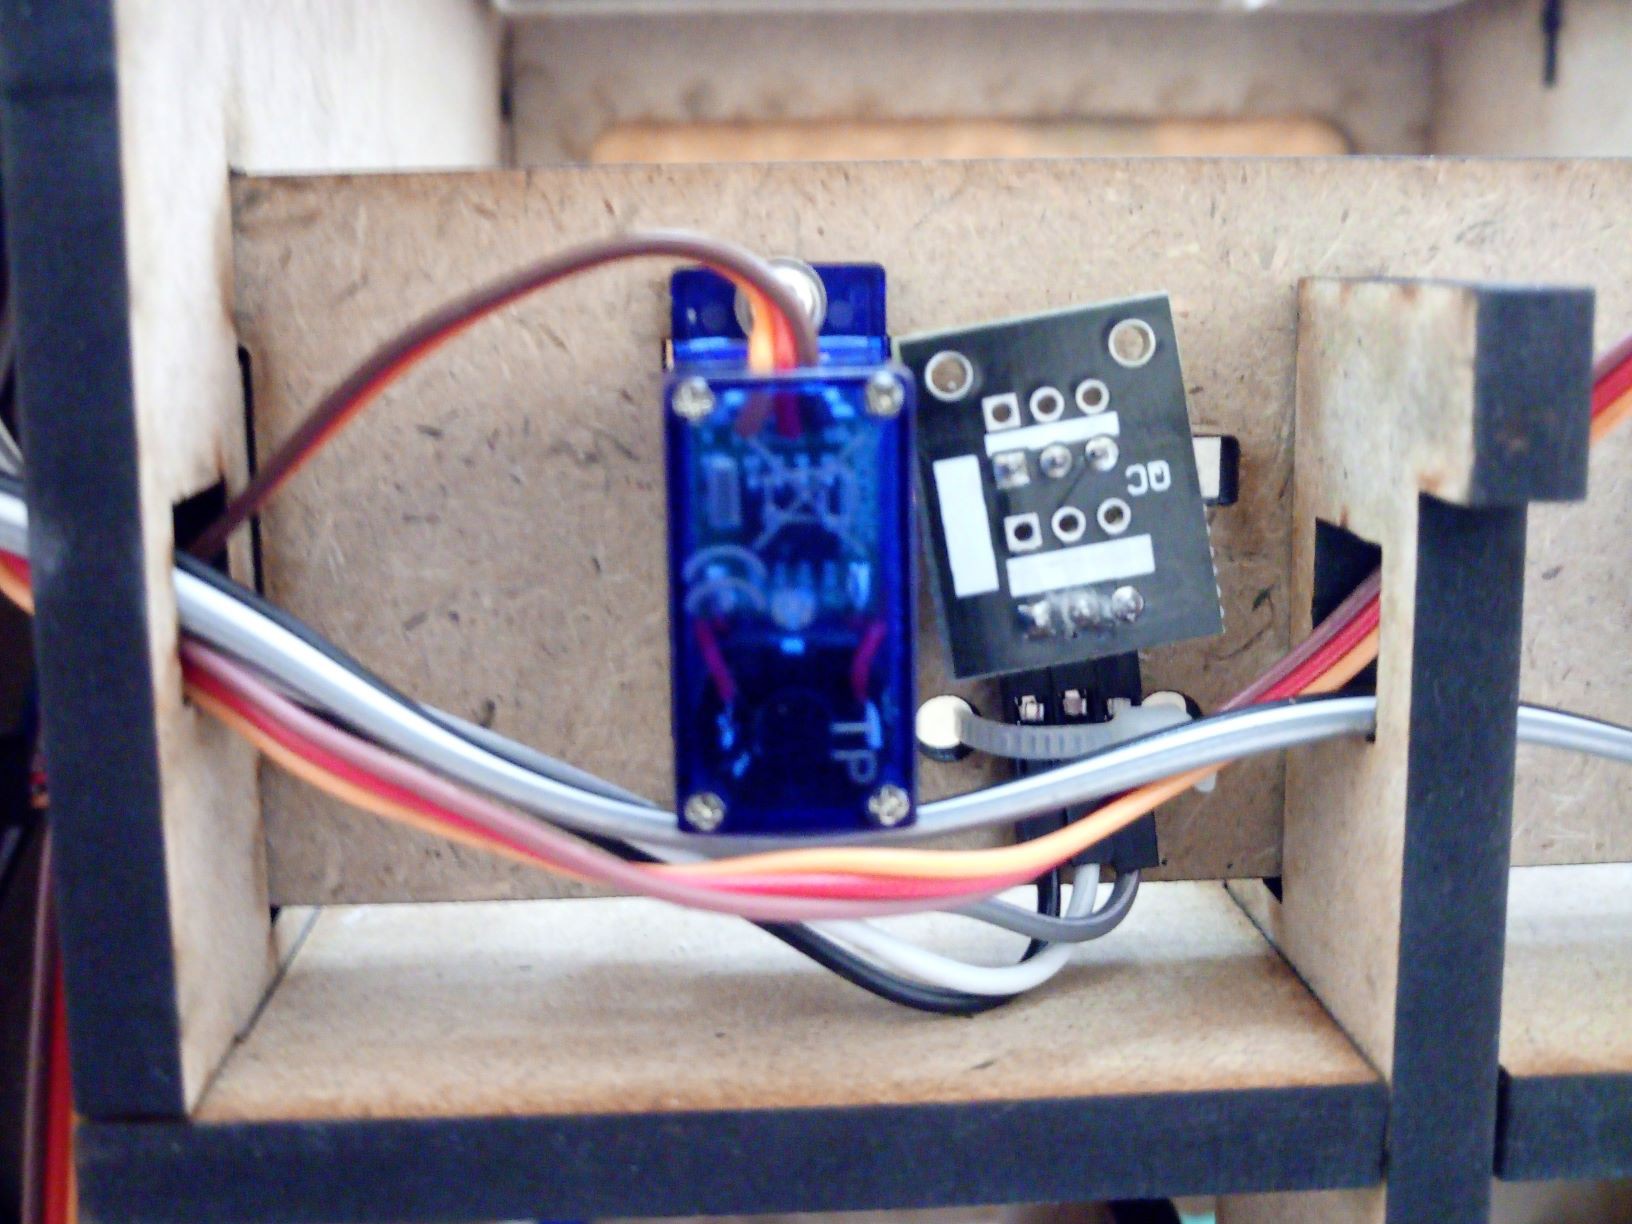
    17. Bend the Hall sensor, hook up some cables and use plastic tights to keep them in place.

    18. Use one of the screws that came along with each servo and fixate all four continuous rotation motors.

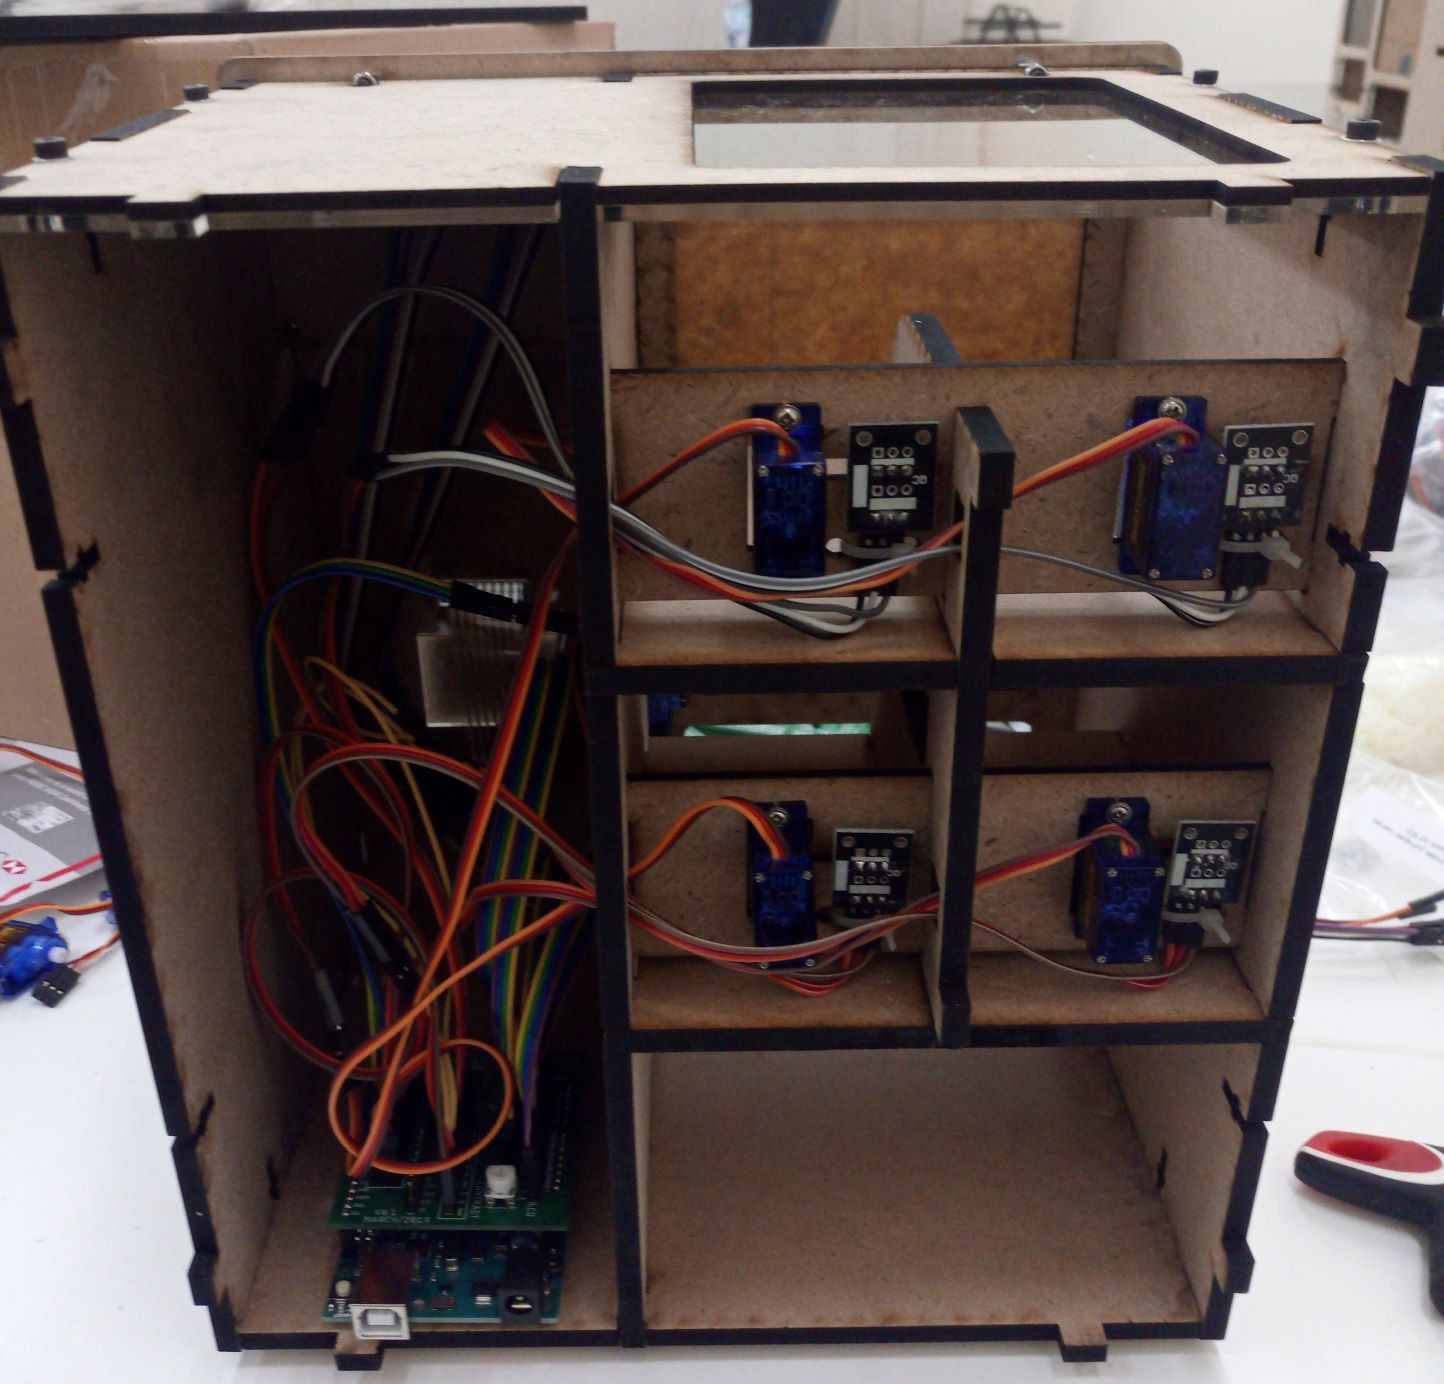
    19. Assembly the PCB and connect it all!

    • If you're willing to use my pcb and code, connect as the image.
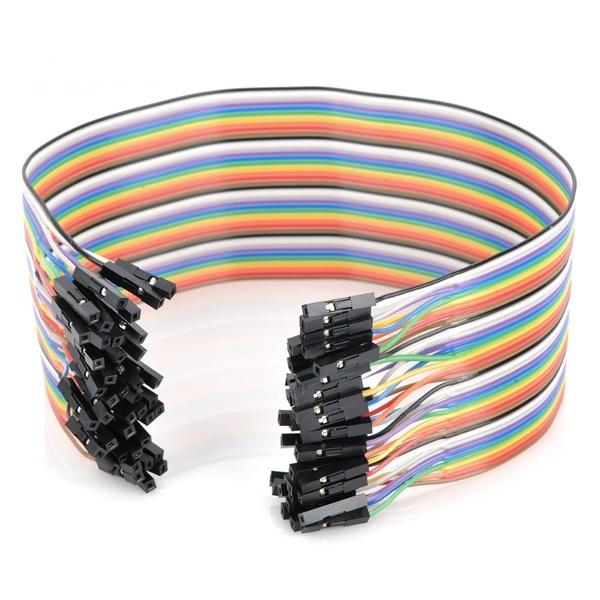
    • If you're lazy as me to crimp connectors I advice you to buy some ready made Arduino cables, female-female and male-female, I needed to assembly 7 machines and I'm glad I bought those ready to use cables.

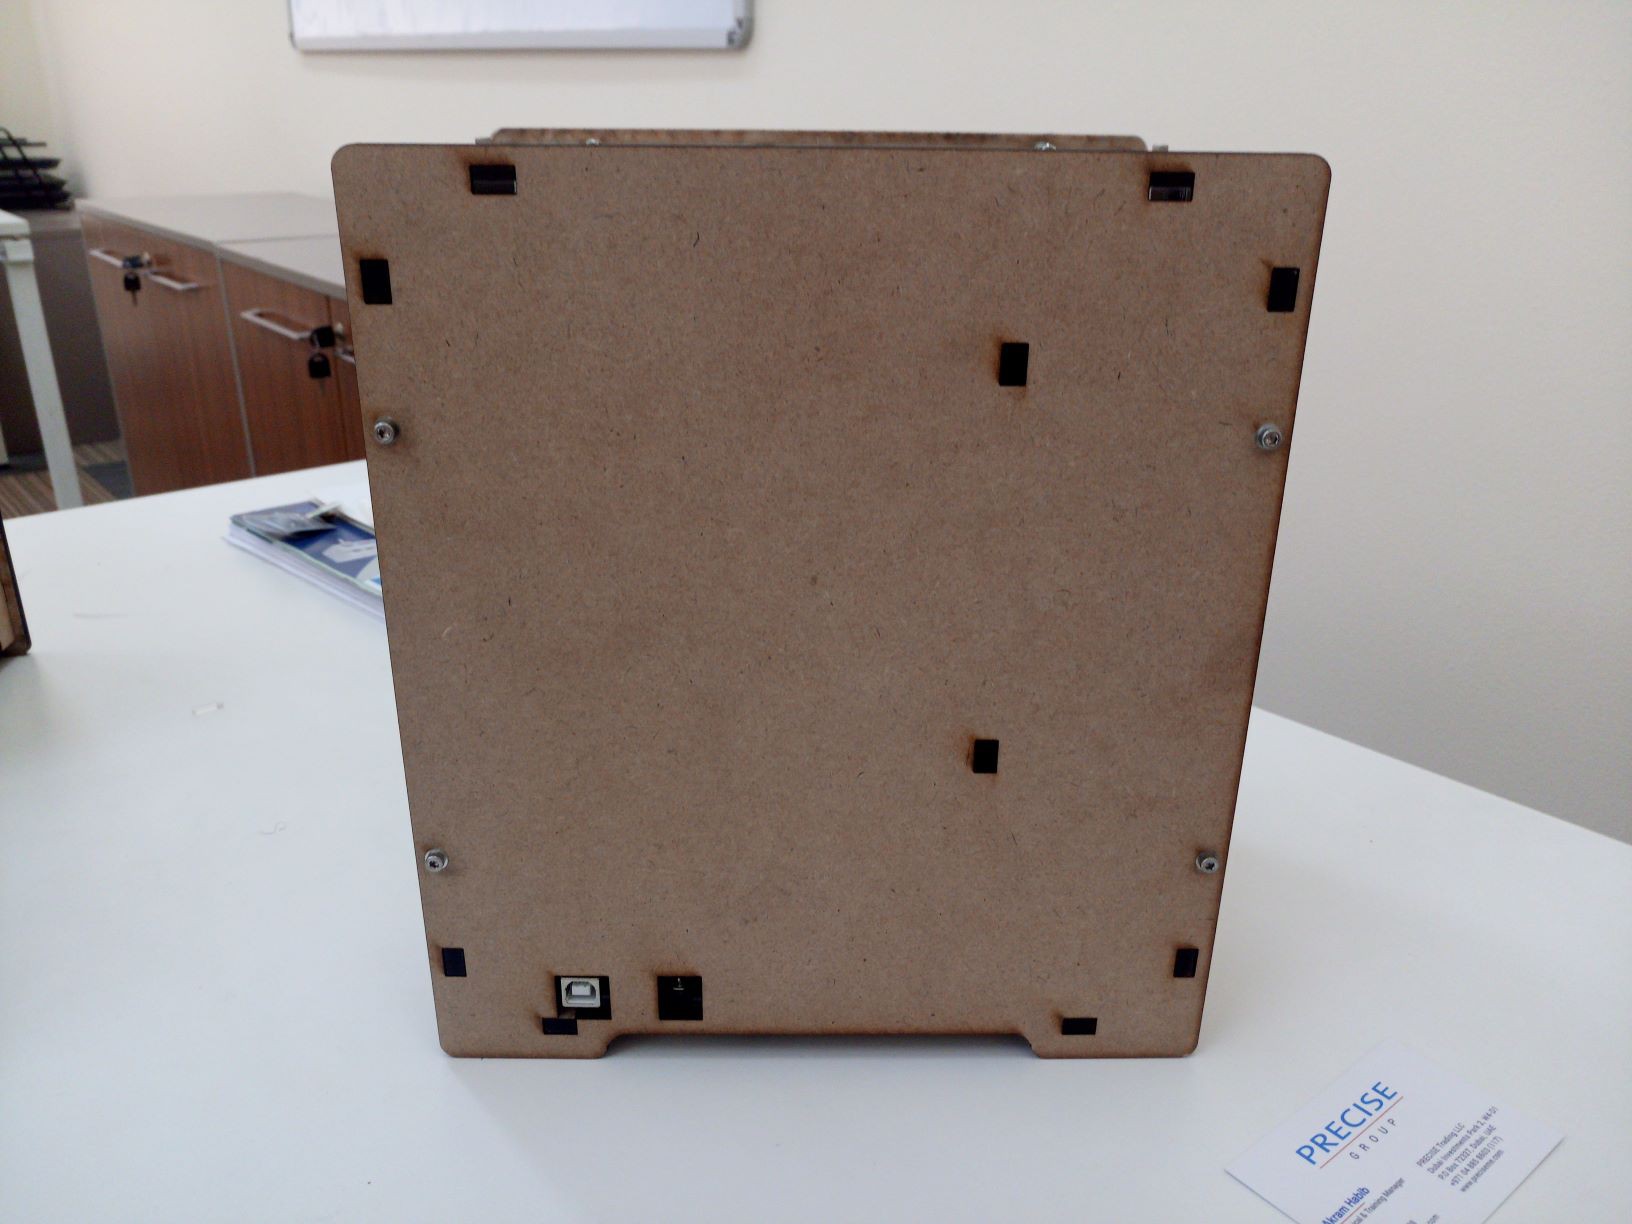
    21. Finally add the back cover.
    Note: I highly recommend you go to the programming step and assure all hardware is functional before tightening this back cover.

    22. Put a spring in the servo holder, add the magnet and screw all springs to its servos.

    Note: this step still not complete because I didn't find a good reliable and digitally fabricated spring. I'm working on it.

  • 3
    First code test

    For Arduino UNO control board

    1. First download the compressed folder called "vm01" which is the hardware test code;
    2. Install the MFRC522 library on the Arduino IDE;
    3. Download and run.

View all 3 instructions

Enjoy this project?

Share

Discussions

Similar Projects

Does this project spark your interest?

Become a member to follow this project and never miss any updates