Hackaday.io Hackaday.io
Projects
Discover Contests Courses Stack
More
Courses Tutorials Events Hackerspaces Hackaday.com Tindie Marketplace
Sign up Log in
Close
0%
0%

Nano Z30 a Numbers Only Enigma Machine Simulator

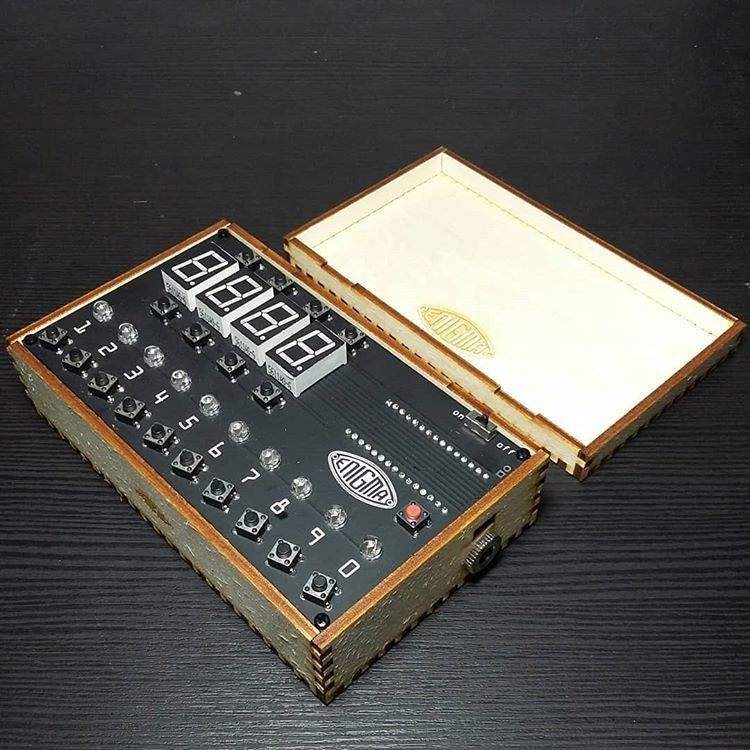
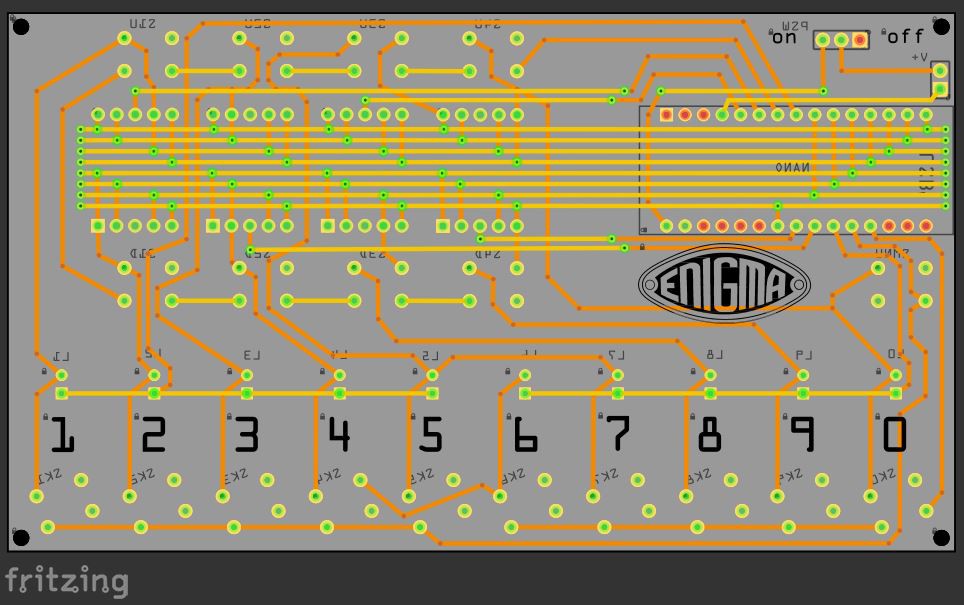
A minimalist 130x74mm Numbers Only Enigma Z30 Machine Simulator using an ATMega 328 powered Arduino Nano and a custom PCB

arduino-enigmaArduino Enigma
Following Follow project
Liked Like project

Become a Hackaday.io member

Not a member? You should Sign up.

Already have an account? Log in.

Sign up with Github
Sign up with Twitter
OR
Forgot your password?

Just one more thing

To make the experience fit your profile, pick a username and tell us what interests you.

Pick an awesome username
hackaday.io/
Your profile's URL: hackaday.io/username. Max 25 alphanumeric characters.
Pick a few interests
Projects that share your interests
People that share your interests
We found and based on your interests.

Choose more interests.

OK, I'm done! Skip
Join this project
Similar projects worth following
2.6k views
11 comments
21 followers
21 likes
  • Description
  • Details
  • Files 0
  • Components 14
    • View all
  • Logs 11
    • View all
  • Instructions 0
  • Discussion 11
  • Hackaday Prize 2019
View Gallery
2.6k
11
21
21

Team (1)

  • arduino-enigmaArduino Enigma

Join this project's team
  • Enigma Simulator Blog
  • Enigma Z30 Description (cryptomuseum)
  • Source code at GitLab.com
  • Operating Instructions
ongoing project
2019hackadayprize

This project is submitted for

  • Hackaday Prize 2019

This project was created on 05/22/2019 and last updated 5 years ago.

Starting from
$
Buy on Tindie
has orders / reviews
Ships from

Description

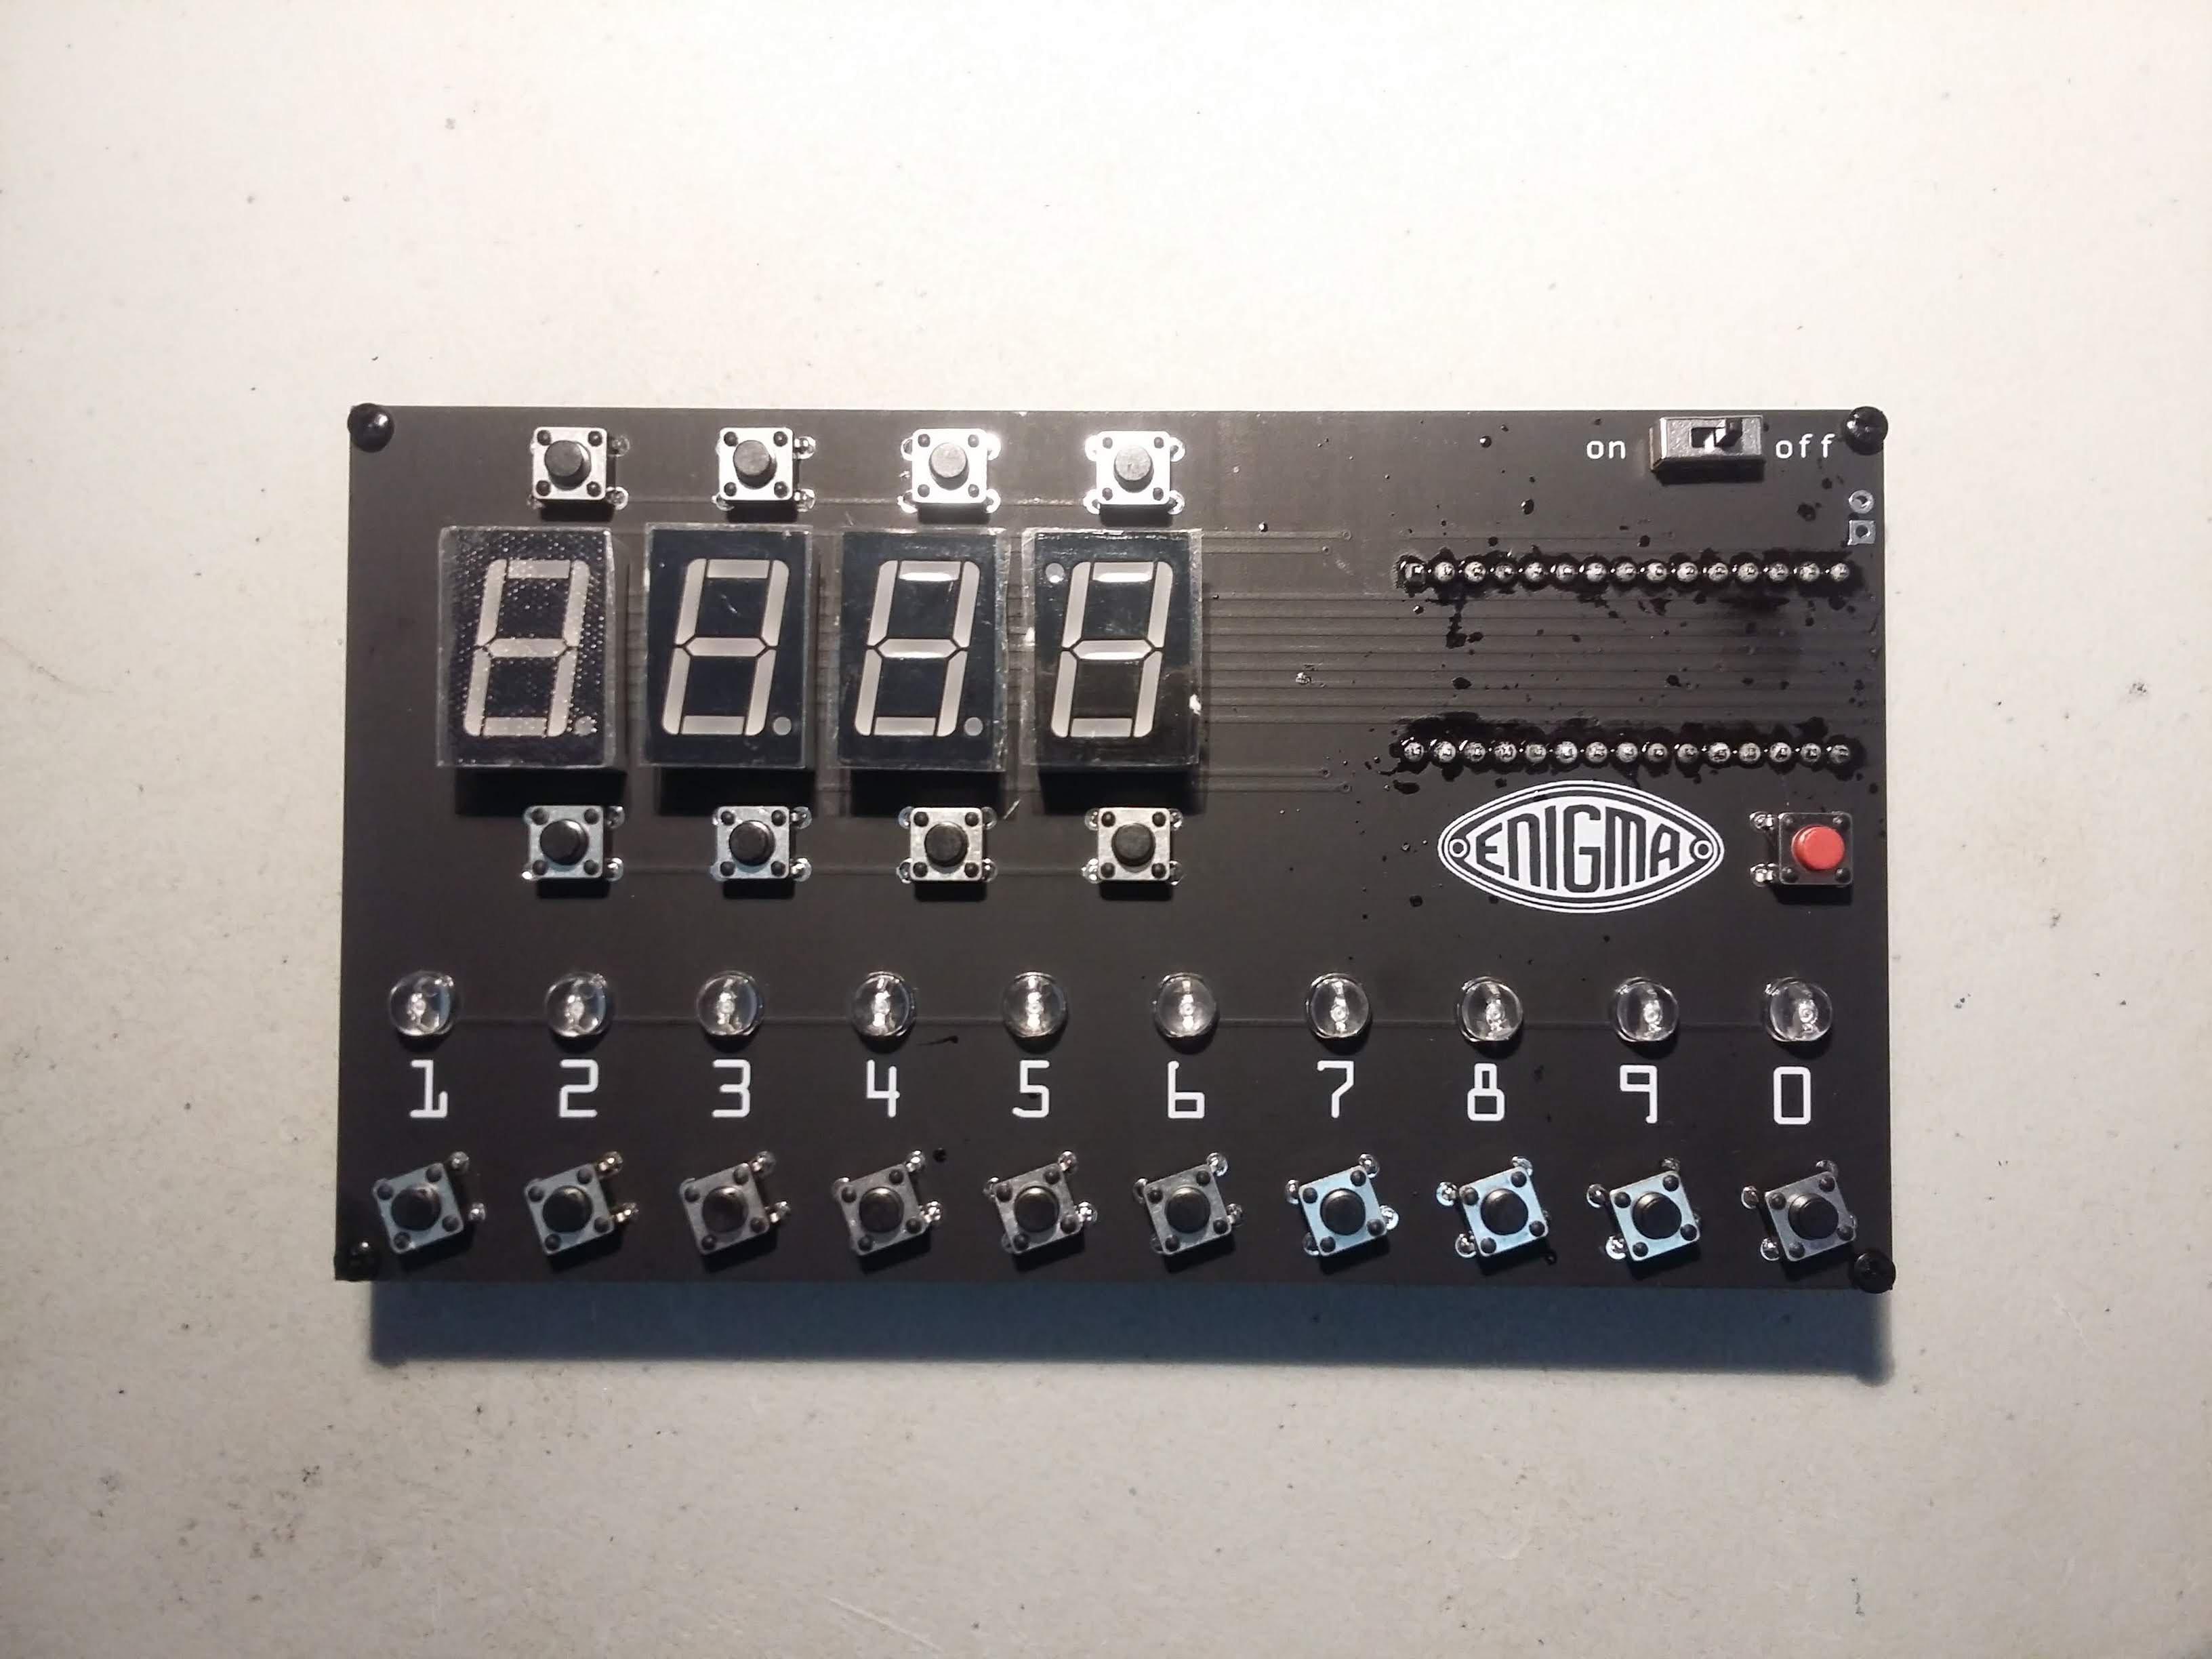
While waiting for parts for the bigger Mega-Enigma project project, I decided to make a another simulator. The Enigma Z30 is a strange machine that uses rotors to encrypt only the numbers 0 through 9

One thing led to another and in 3 hours, the initial version of the board was routed.

Components

  • 1 × Enigma Z30 PCB https://oshpark.com/profiles/ArduinoEnigma
  • 1 × Arduino Nano
  • 4 × 0.56 inch RED 7 SEGMENT LED DISPLAY COMMON CATHODE.. Either 5161AS or 5611AH https://www.ebay.com/sch/i.html?_nkw=5161as
  • 10 × 5mm Straw Hat LED (YELLOW) https://www.ebay.com/sch/i.html?_nkw=straw+hat+5mm+yellow+led
  • 18 × 6mm x 6mm x 5mm Momentary Tactile Pushbuttons (BLACK) For 0..9 keys and Rotors

View all 14 components

Project Logs
Collapse

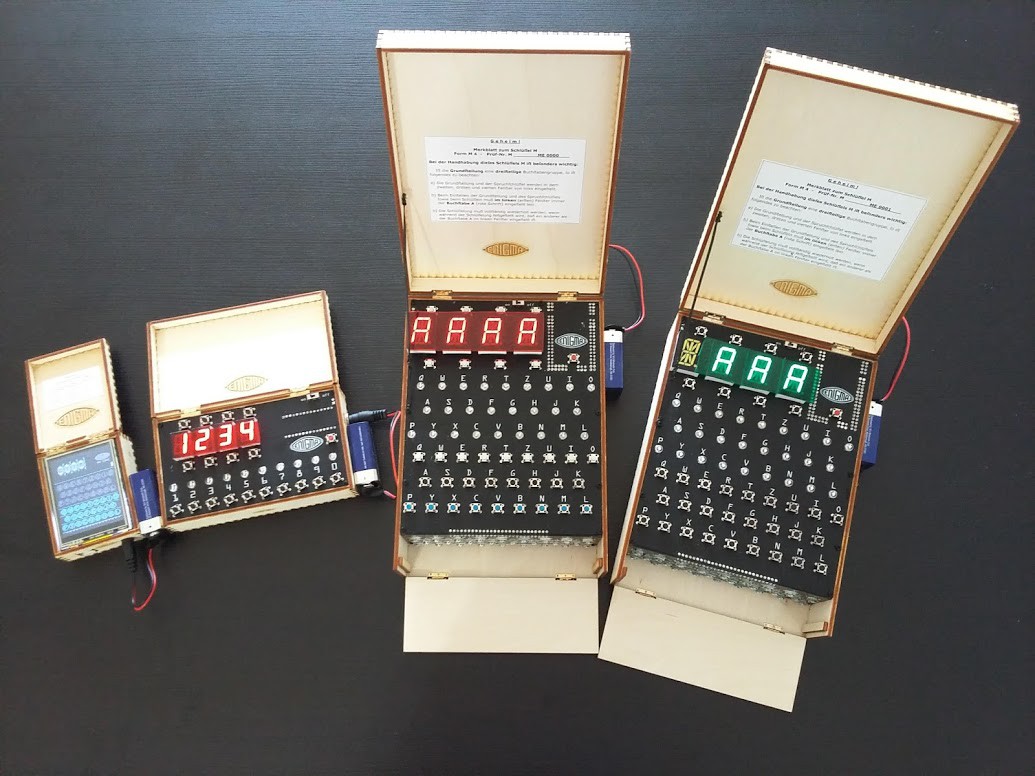
  • The whole family

    Arduino Enigma • 05/25/2020 at 22:55 • 0 comments

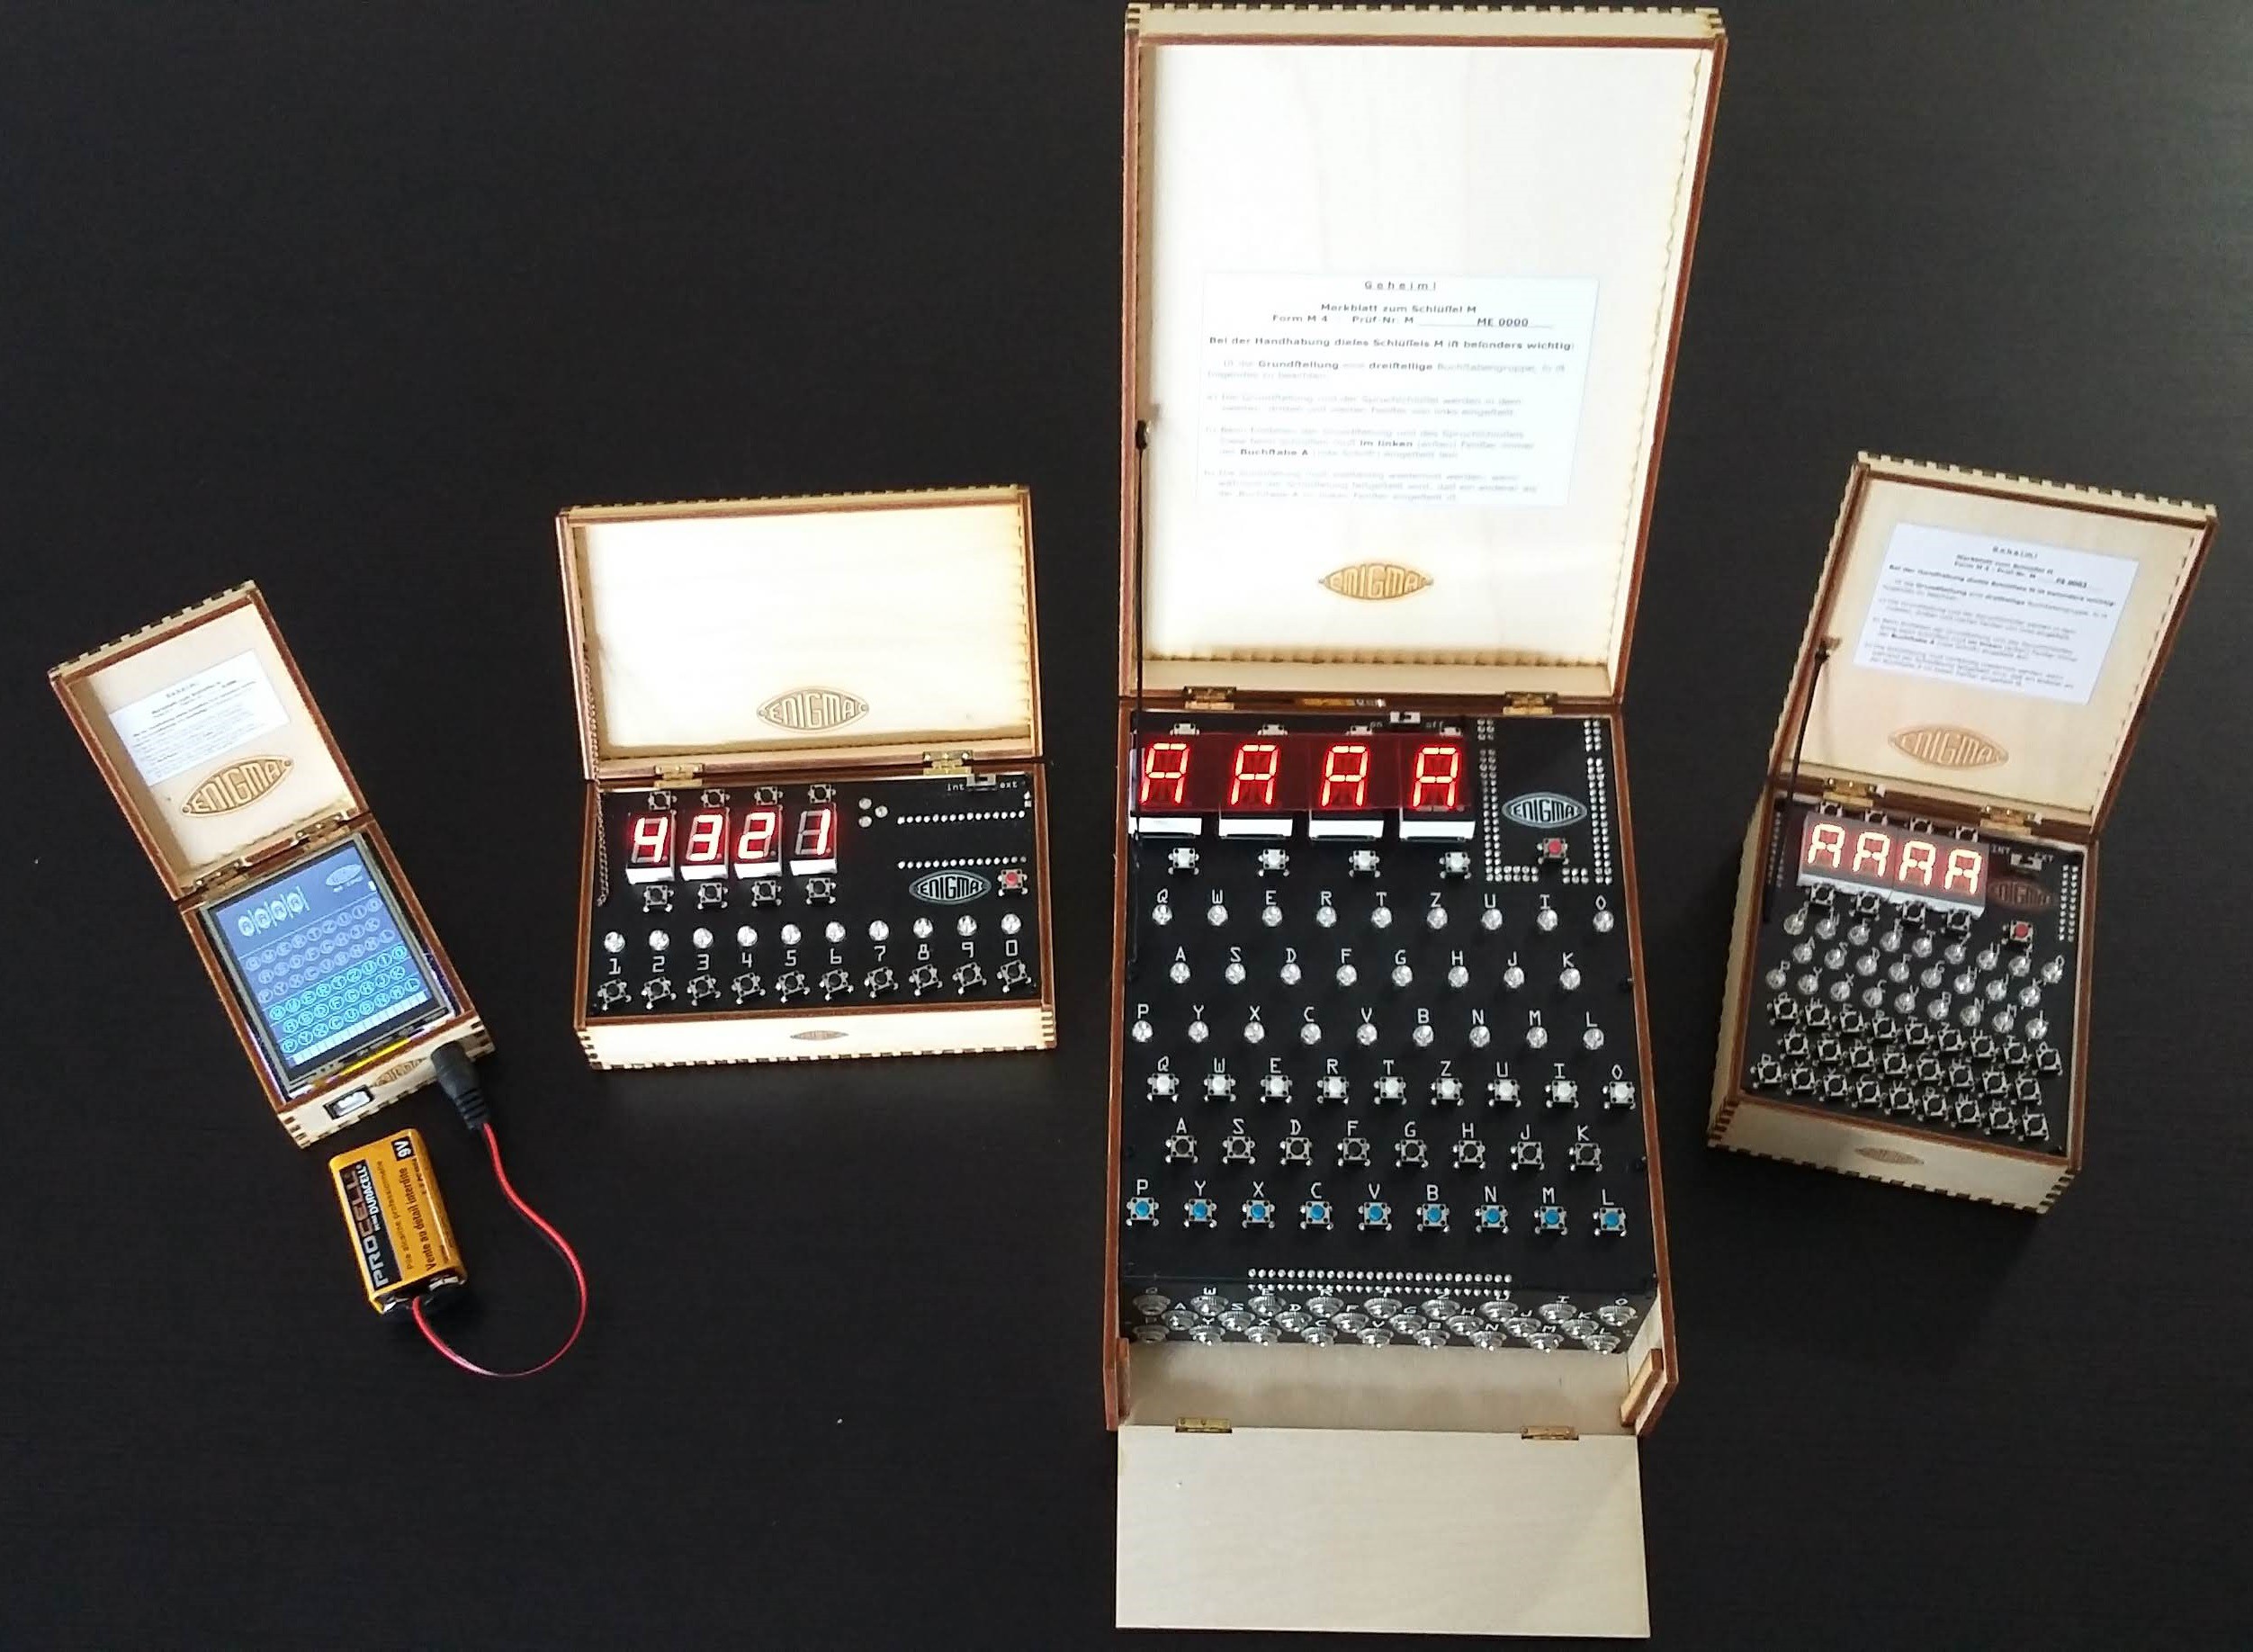
    And finally, here is a picture of completed units:

    Enigma Uno:

    https://www.tindie.com/products/arduinoenigma/arduino-enigma-i-m3-m4-machine-simulator-w-case/

    NanoEnigma:

    https://www.ebay.com/itm/114230592101

    PicoEnigma:

    https://www.ebay.com/itm/114219267074

    https://www.tindie.com/products/arduinoenigma/picoenigma-a-universal-enigma-machine-simulator/

  • Putting batteries inside the enclosure

    Arduino Enigma • 01/14/2020 at 05:18 • 0 comments

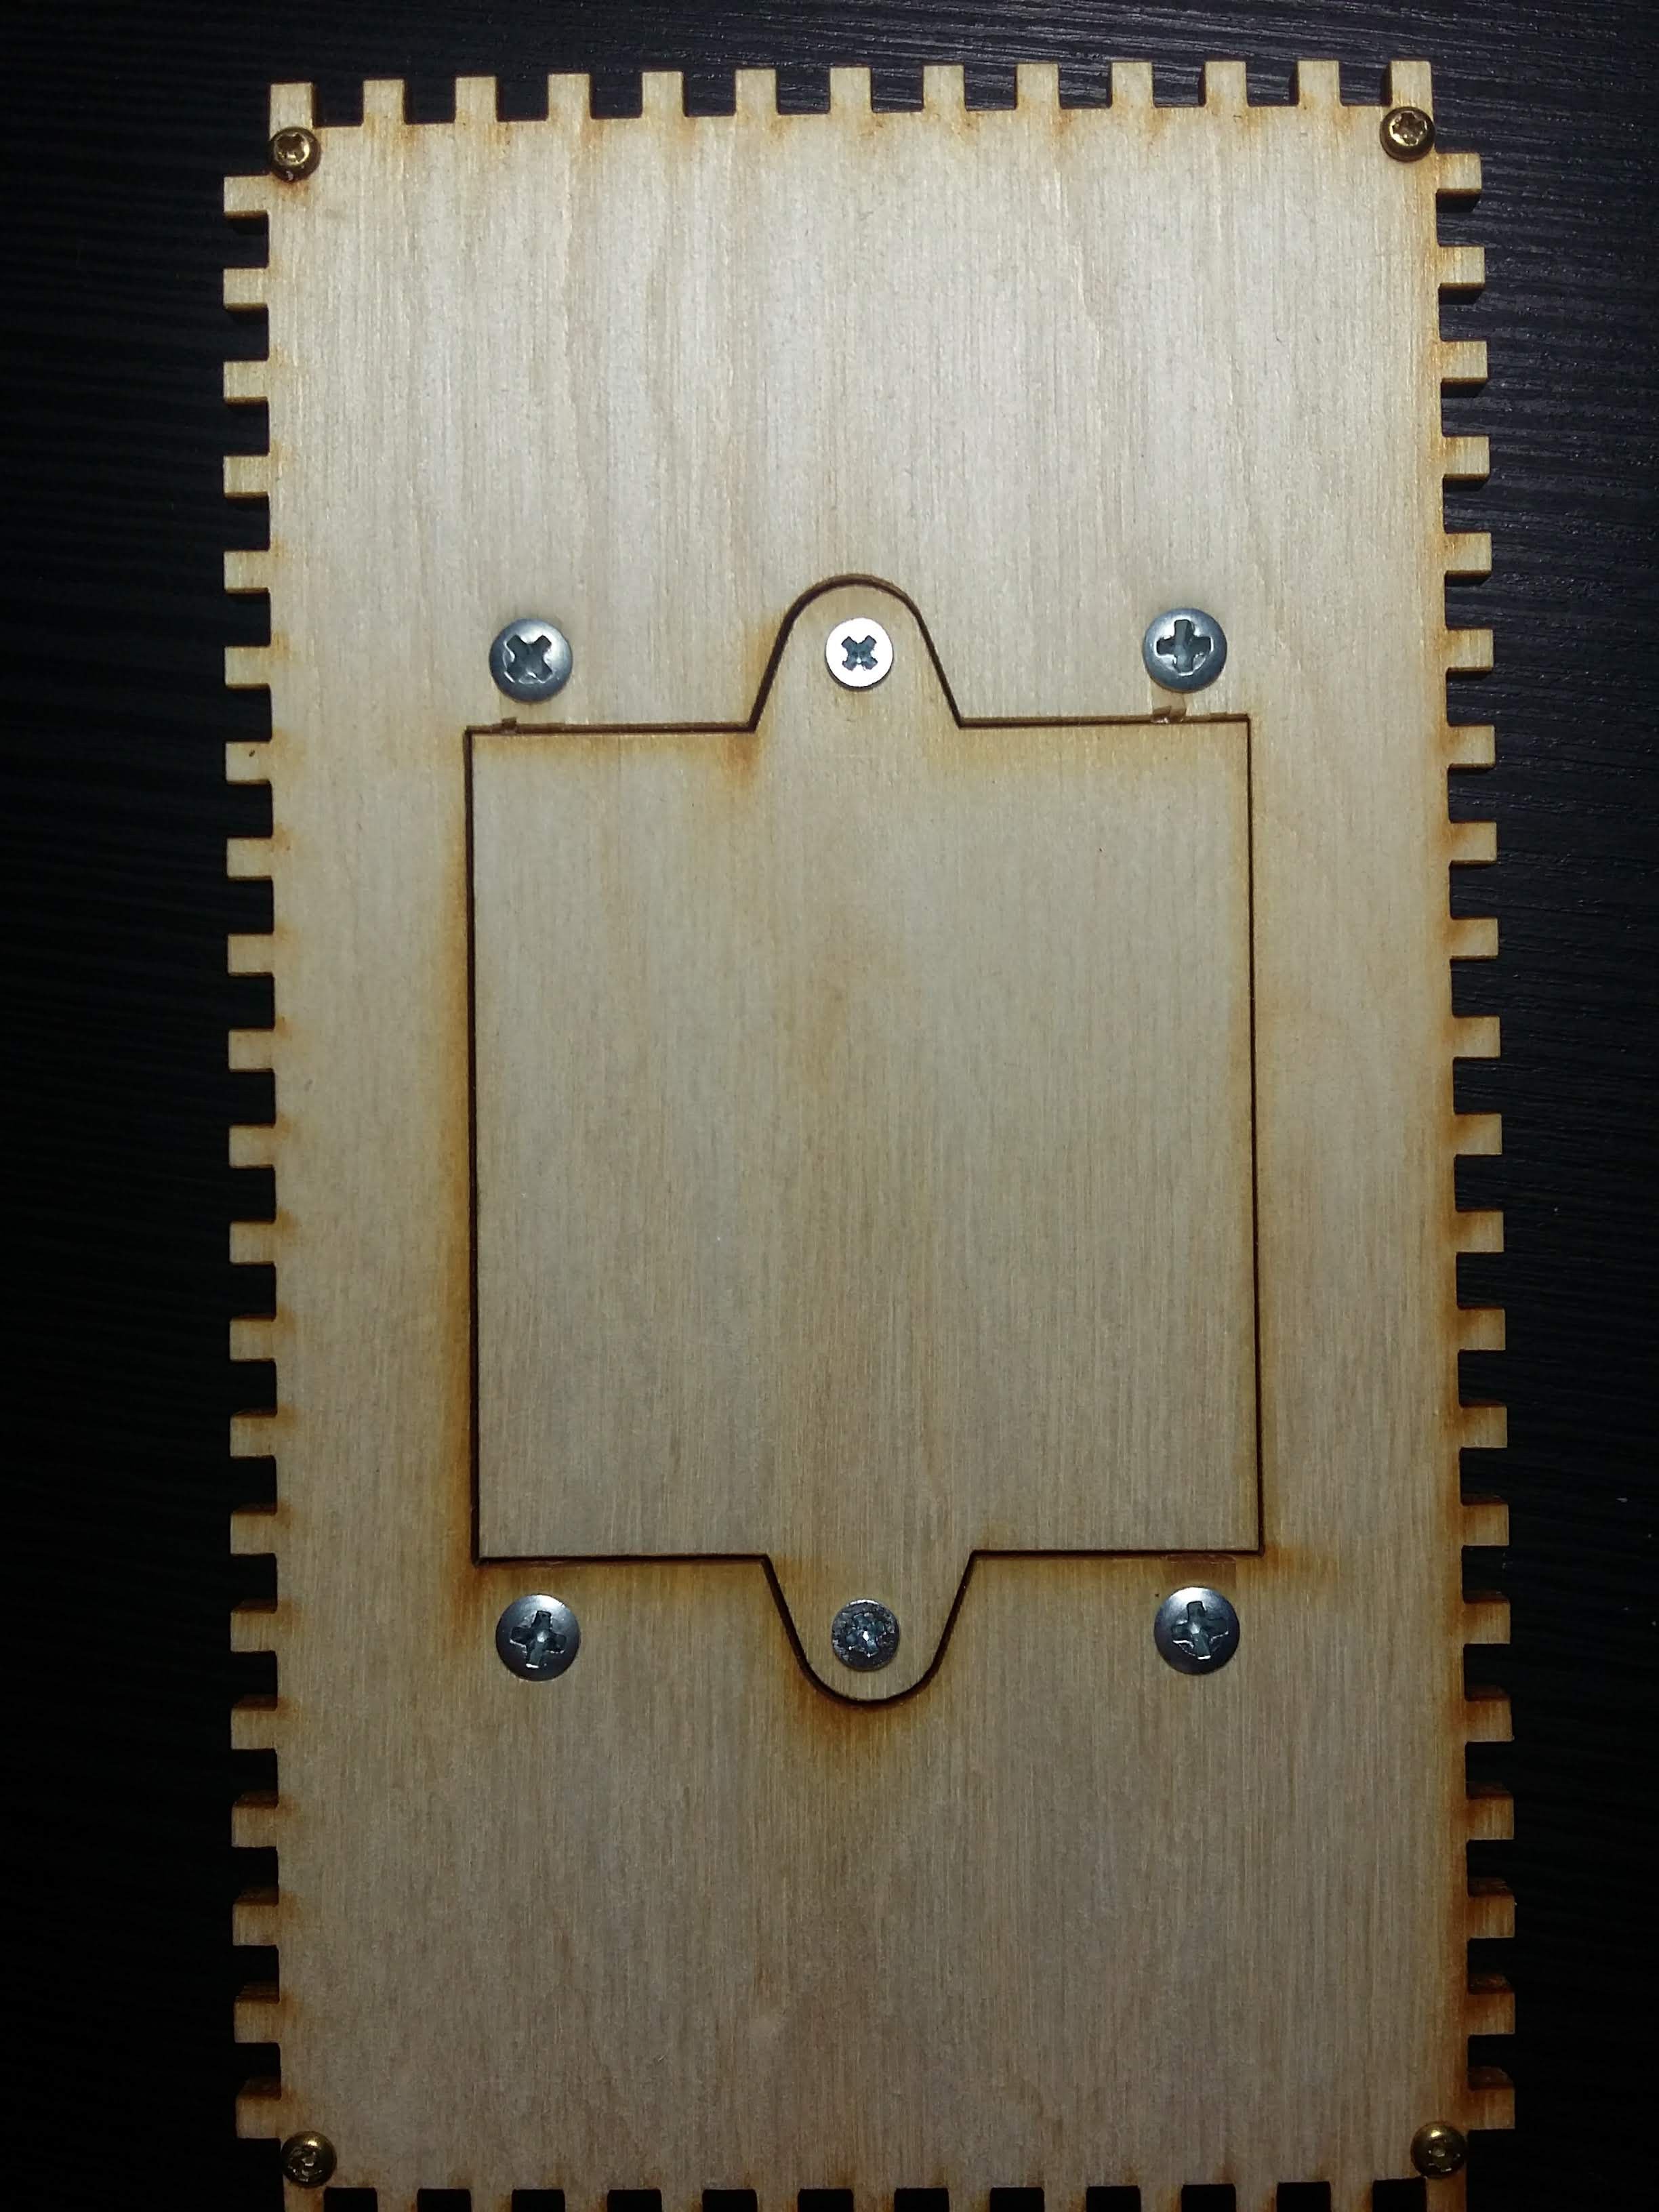
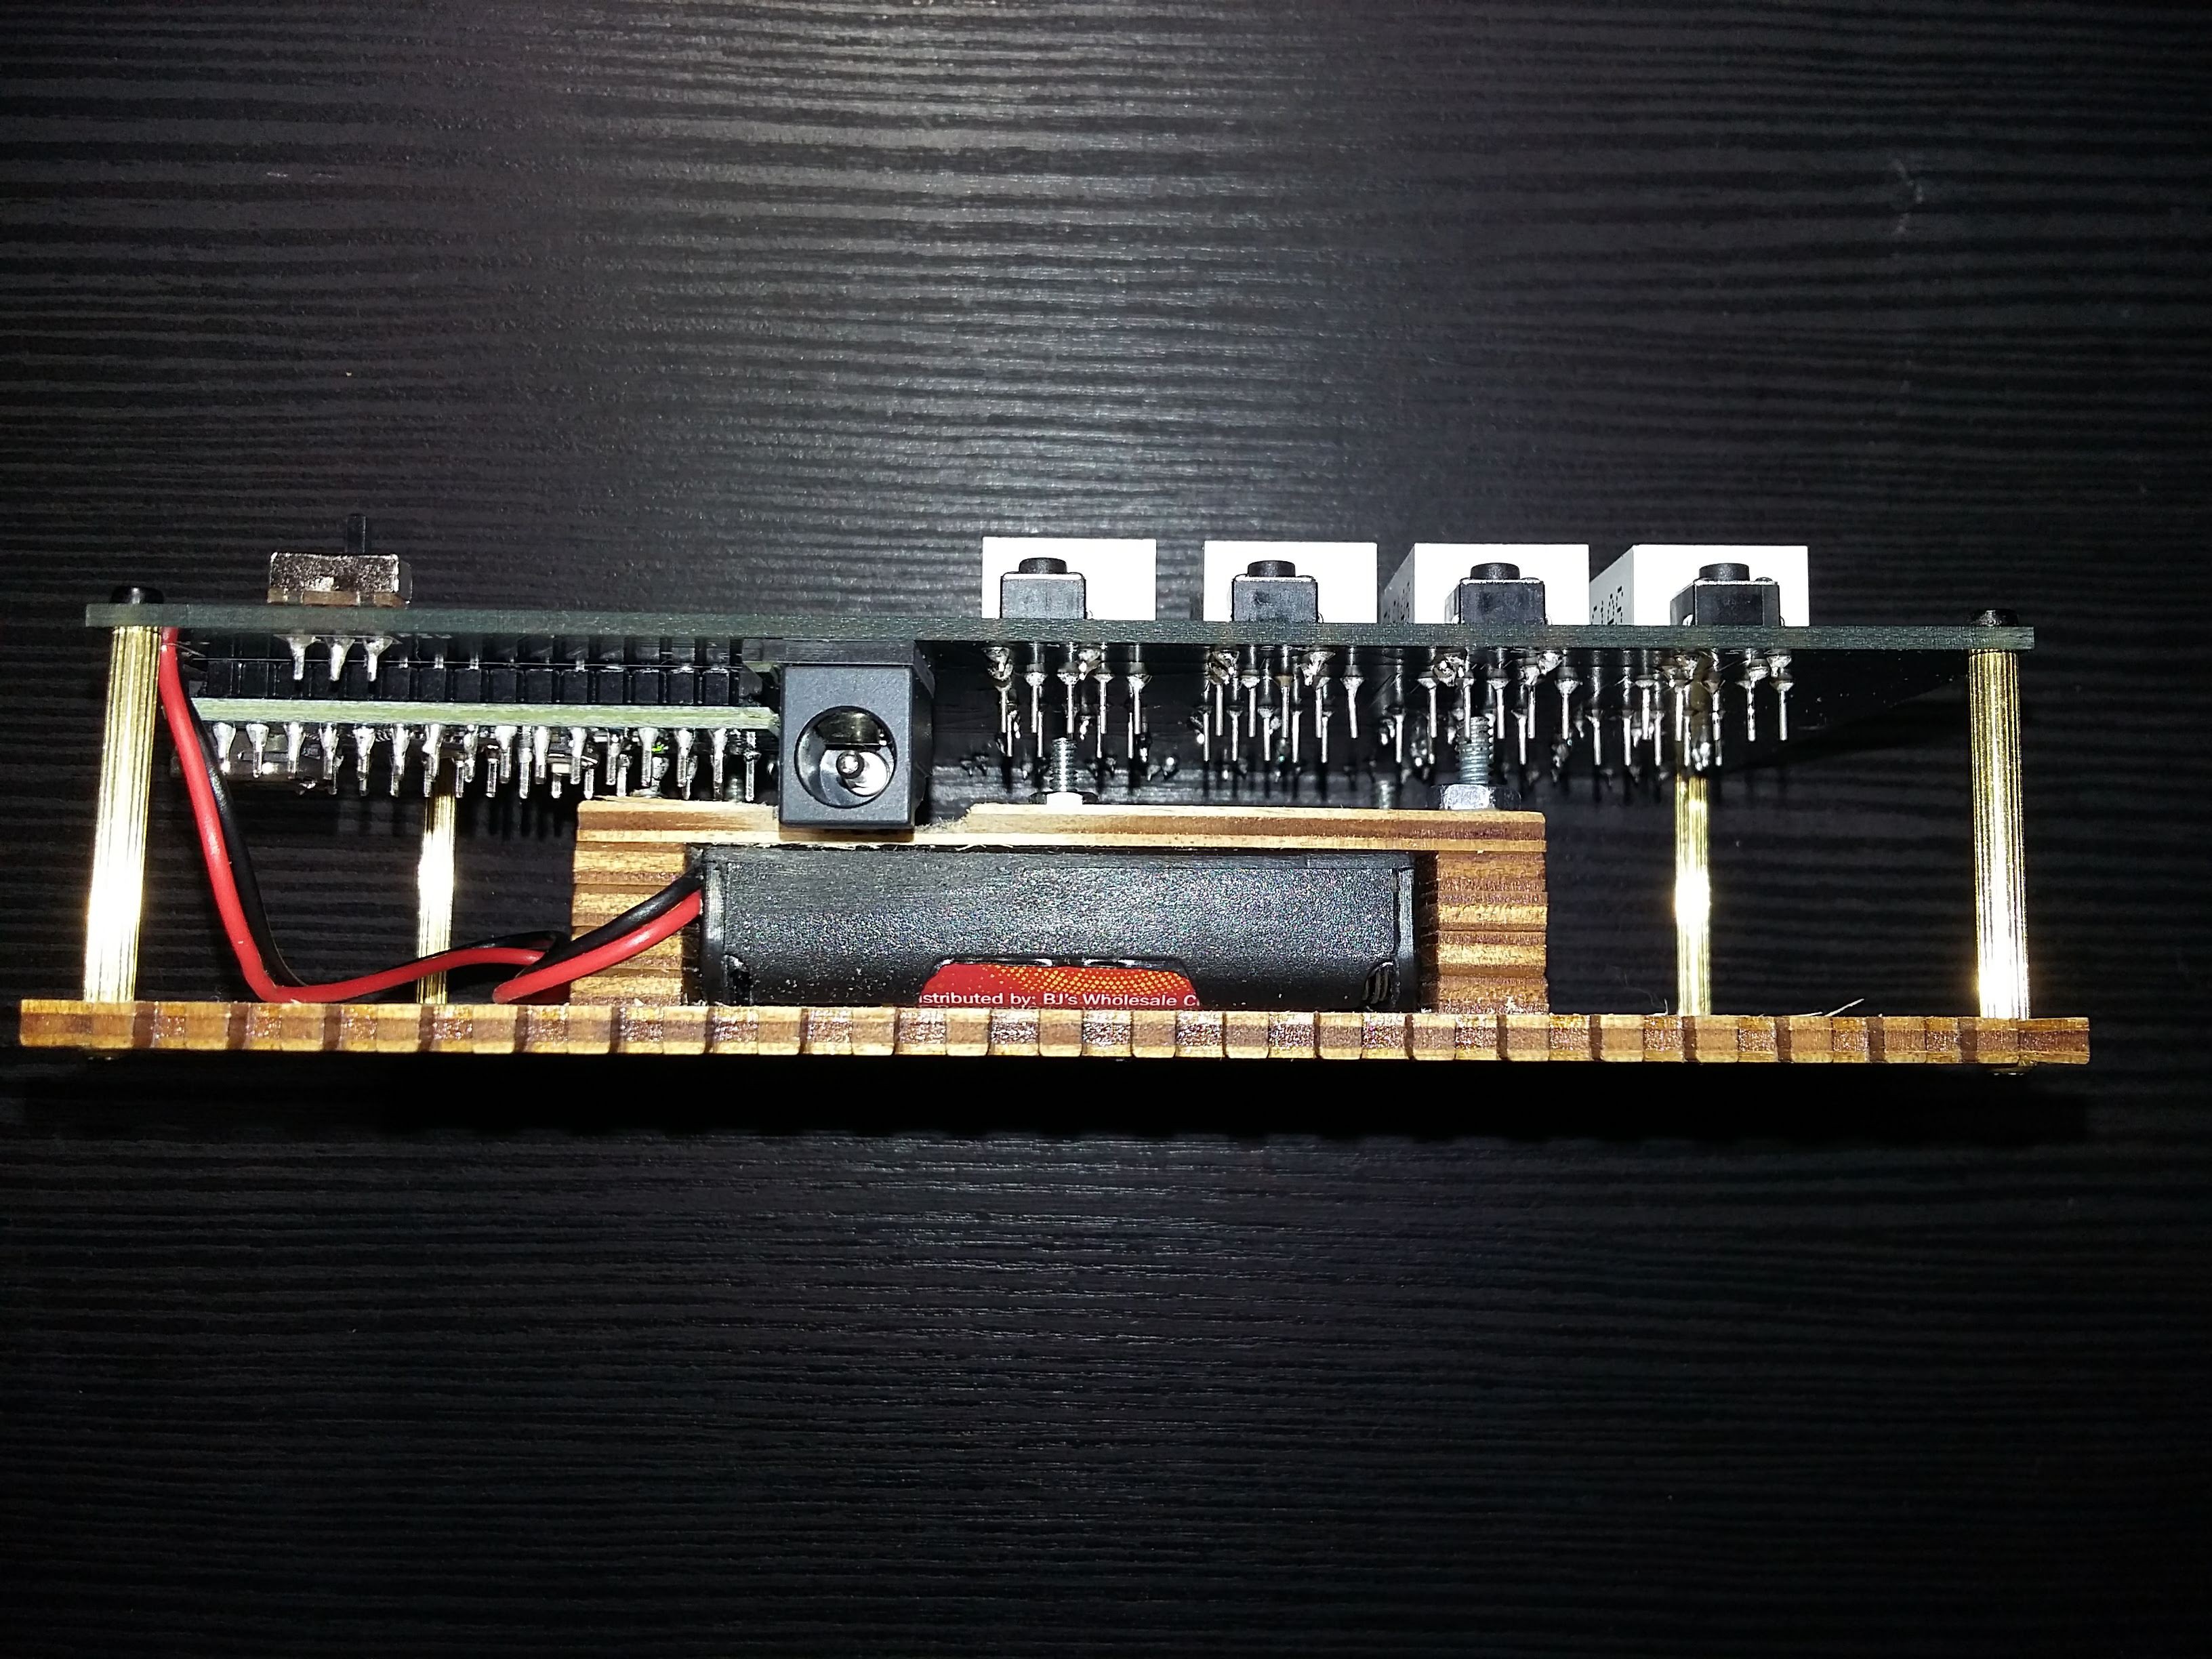
    To put batteries inside a laser cut enclosure, one has to think in 3D using 2D:

    The pictures in this article will show how:

    https://arduinoenigma.blogspot.com/2020/01/how-to-put-battery-compartment-inside.html

    And now that there is a built in battery compartment, then the question of how long will it run on batteries becomes more important.

    The following article shows a method of measuring run-time by writing timing checkpoints to EEPROM, no external components needed.

    https://arduinoenigma.blogspot.com/2020/01/measuring-battery-run-time-by-writing.html

  • The current state of the simulators

    Arduino Enigma • 10/22/2019 at 04:50 • 0 comments

    I always wanted an Enigma-E...

    Editing of UKWD pairs has been added to MegaEnigma

    https://hackaday.io/project/165559-at-mega-enigma-a-2560-pro-mini-enigma-simulator/log/170163-added-menu-to-edit-ukwd

  • Lots of Progress

    Arduino Enigma • 09/24/2019 at 04:21 • 0 comments

    The universal enigma engine seems to be working correctly

    Here are a couple of posts with the current project status:

    https://www.instagram.com/p/B2dJO-4n6Dr/

    https://www.instagram.com/p/B2dJO-4n6Dr/

    https://www.instagram.com/p/B2HatohnKy1/

  • The State of Both Machines

    Arduino Enigma • 07/28/2019 at 17:04 • 0 comments

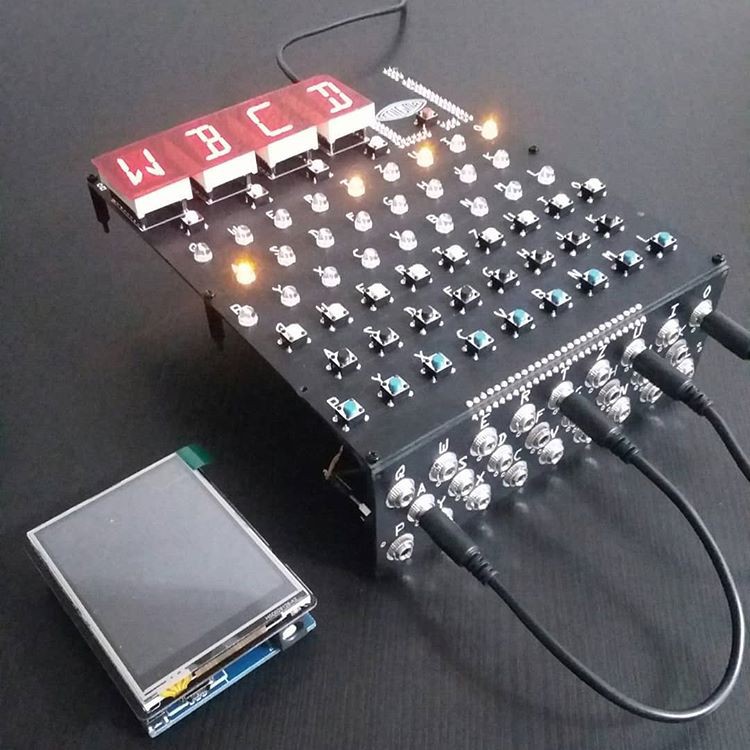
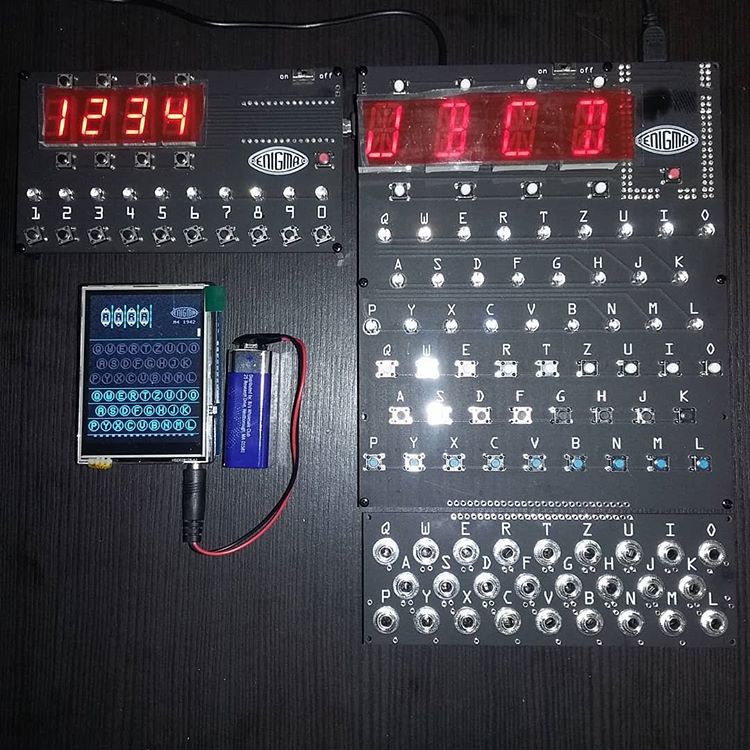
    Current pictures of the machines:

  • Started Soldering Both Machines

    Arduino Enigma • 06/07/2019 at 11:05 • 0 comments

    Started to solder both enigmas.

    What's wrong with this picture?

    The answer and more pictures here:

    https://hackaday.io/project/165559-at-mega-enigma-a-2560-pro-mini-enigma-simulator/log/164379-arduinos-and-keyboards-soldered

  • The boards are here!

    Arduino Enigma • 06/05/2019 at 10:40 • 0 comments

    Head over to the Mega Enigma Simulator project to see them:

    https://hackaday.io/project/165559-at-mega-enigma-a-2560-pro-mini-enigma-simulator/log/164310-the-boards-have-arrived

  • LED and Keyboard Pin Assignment Completed

    Arduino Enigma • 05/25/2019 at 17:09 • 0 comments

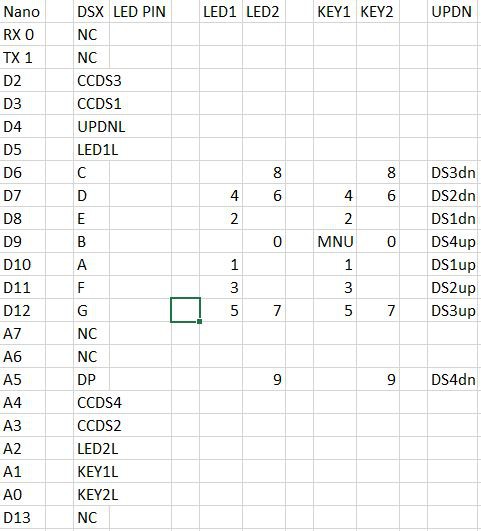
    Here is the pin assignment for the Z30. Fundamentally it is the same circuit in the Mega Enigma, just smaller.

    To understand how this will be illuminated and read, see the following log on the Mega Enigma project page:

    https://hackaday.io/project/165559-at-mega-enigma-a-2560-pro-mini-enigma-simulator/log/163886-led-and-keyboard-pin-assignment-completed

  • The importance of double checking, part 2

    Arduino Enigma • 05/24/2019 at 05:13 • 0 comments

    Here we go again:

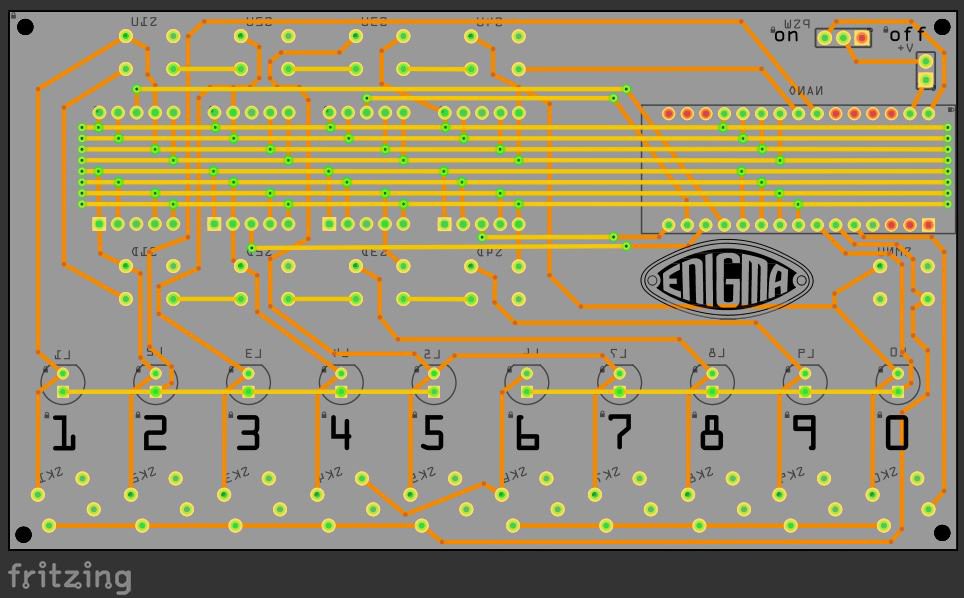
    Here is an almost finished design, all it needs it a little tweaking of the bottom silkscreen. Time to add a USB label indicating which way the Arduino Nano is supposed to go.

    Uh Oh...

    The footprint for the Nano has been placed with the USB connector facing towards the LED displays. While this design will technically work, the USB port is concealed.

    Time for a quick re-design:

    Now the USB connector is facing left. Notice the location of the VIN pin, fed from the power switch. The cost of this redesign was two more horizontal traces in the front to get power to the right location now that is away from the power switch.

    Time to check all the connections carefully.

  • The importance of double checking

    Arduino Enigma • 05/22/2019 at 00:38 • 0 comments

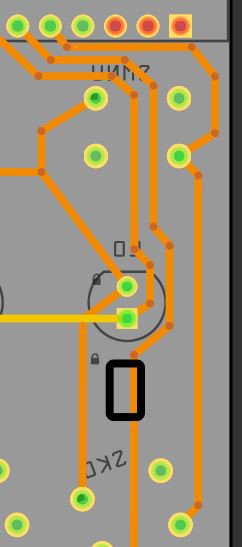
    Witness the importance of double checking wiring. The menu key (above the 0, is wired to the same select/return line combination as the 0 key (bottom of image). Luckily, another return line passes by and is just a matter of switching the bottom of the pushbutton to a different return line.

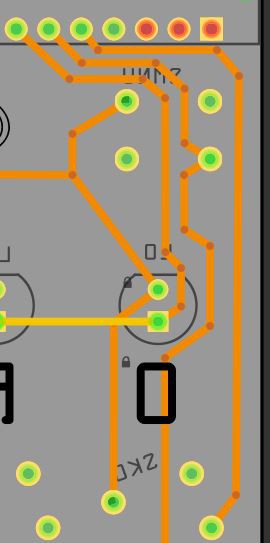
    By simply connecting the bottom of the key to another return line, the menu key now has a unique select/return line combination.

    Since these circuits are wired without using a schematic, very careful checking is needed at the end to make sure everything is wired correctly.

View all 11 project logs

Enjoy this project?

Share

Discussions

Log In/Sign up to comment

Become a Hackaday.io Member

Create an account to leave a comment. Already have an account? Log In.

Sign up with Github
Sign up with Twitter
OR
Rik Moore wrote 06/13/2022 at 12:36 • point

Fantastic thing - and well have to say I've built my own version of this.  Many thanks for this.  

  Are you sure? yes | no

Arduino Enigma wrote 06/15/2022 at 04:59 • point

Great to hear. Any pictures of your project?

  Are you sure? yes | no

Rik Moore wrote 06/16/2022 at 07:14 • point

Well as it's basically just taking what you did - the pcb files and working through your component list and code, so it's just yours.  Although I went down the 3D print route for the enclosure - which was fun as i've never designed an enclosure from scratch before.  Had to learn all kind of interesting design skills like how to do hinges.  My aim with the Z30 I'm building is to deploy it as part of a geocaching field puzzle.  

As to pictures of my unit well you can see one here:

https://www.tsiolkovsky-creations.co.uk/things/z30-01.jpg

As you can see I went for a blue rather black PCB and the mode key is black, as that was all I had on hand at the time.  

As I also built an Kim UNO I next intend to spend the afternoon converting that into a Z30 in line with your code too.. That should be a lot of fun as well.  

  Are you sure? yes | no

Arduino Enigma wrote 06/19/2022 at 17:32 • point

It's a very good looking build. I always enjoy seeing motivated people replicate these projects. 

On a separate note, I do not know why this project is not getting any love:

https://hackaday.io/project/168713-ciphersaber-a-simple-rc4-cipher-for-arduino

  Are you sure? yes | no

Arduino Enigma wrote 06/19/2022 at 17:33 • point

And links in comments are broken, tried plain links, html and markdown, nothing works.

  Are you sure? yes | no

Tom Nardi wrote 06/04/2019 at 21:45 • point

Fascinating, I'd never even heard of the Z30 before this. Seems like a great "on ramp" for getting into Enigma simulators.

  Are you sure? yes | no

Arduino Enigma wrote 06/05/2019 at 10:43 • point

It is an interesting little machine, it grows on you. I have written a Z30 simulator in 6502 assembly for the KIM Uno based on the description and wiring found on Wik Anders article. This was part of the #1KbChallenge and #RetroChallenge2017

  Are you sure? yes | no

Arduino Enigma wrote 06/19/2022 at 17:34 • point

Links in comments do not seem to work anymore. Tried plain link, html and markdown. Nothing works.

  Are you sure? yes | no

Arduino Enigma wrote 05/23/2019 at 23:04 • point

The 2019 Competition entries will all be listed on @Tindie 

Once the parts for the Enigma Simulators are ordered, a batch of Sinclair Kits will also be made available.

At the beginning of the year there were no plans to make any new enigma simulators, but it looks like we are going to have three different ones available soon. Happy.

  Are you sure? yes | no

Arduino Enigma wrote 05/23/2019 at 23:04 • point

@Oscarv 

  Are you sure? yes | no

Oscarv wrote 05/23/2019 at 10:32 • point

Spectacular! Will you make them as a kit, or should we order the PCBs ourselves?

  Are you sure? yes | no

Similar Projects

The 2018 Hackaday Prize
The Redox project is an open-source, QMK (Quantum Mechanical Keyboard Firmware) powered, ergonomic split mechanical keyboard.
Project Owner Contributor

Redox keyboard

mattia-dal-benMattia Dal Ben

The 2016 Hackaday Prize
Resurrecting a Psion Series 5 PDA with modern innards
Project Owner Contributor

Psioπ

rasmusbRasmusB

Lattepanda IOTA-based Steam Machine running Bazzite.
Project Owner Contributor

STEAM MACHINE Iota

arnov-sharmaArnov Sharma

The 2018 Hackaday Prize
A register level TMS0805 CPU emulator on an Arduino Nano runs the original 320 instruction calculator program. A custom PCB houses it all.
Project Owner Contributor

Sinclair Scientific Calculator Emulator

arduino-enigmaArduino Enigma

Does this project spark your interest?

Become a member to follow this project and never miss any updates

Going up?

About Us Contact Hackaday.io Give Feedback Terms of Use Privacy Policy Hackaday API

© 2026 Hackaday

By using our website and services, you expressly agree to the placement of our performance, functionality, and advertising cookies. Learn More

Yes, delete it Cancel

Report project as inappropriate

You are about to report the project "Nano Z30 a Numbers Only Enigma Machine Simulator", please tell us the reason.

Send message

Your application has been submitted.

Remove Member

Are you sure you want to remove yourself as a member for this project?

Project owner will be notified upon removal.