-
Enclosure - Final Part
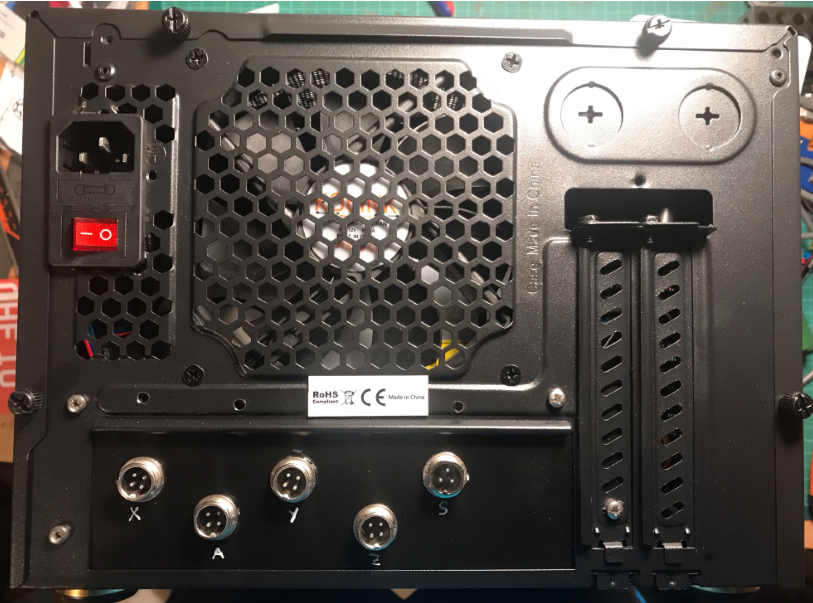
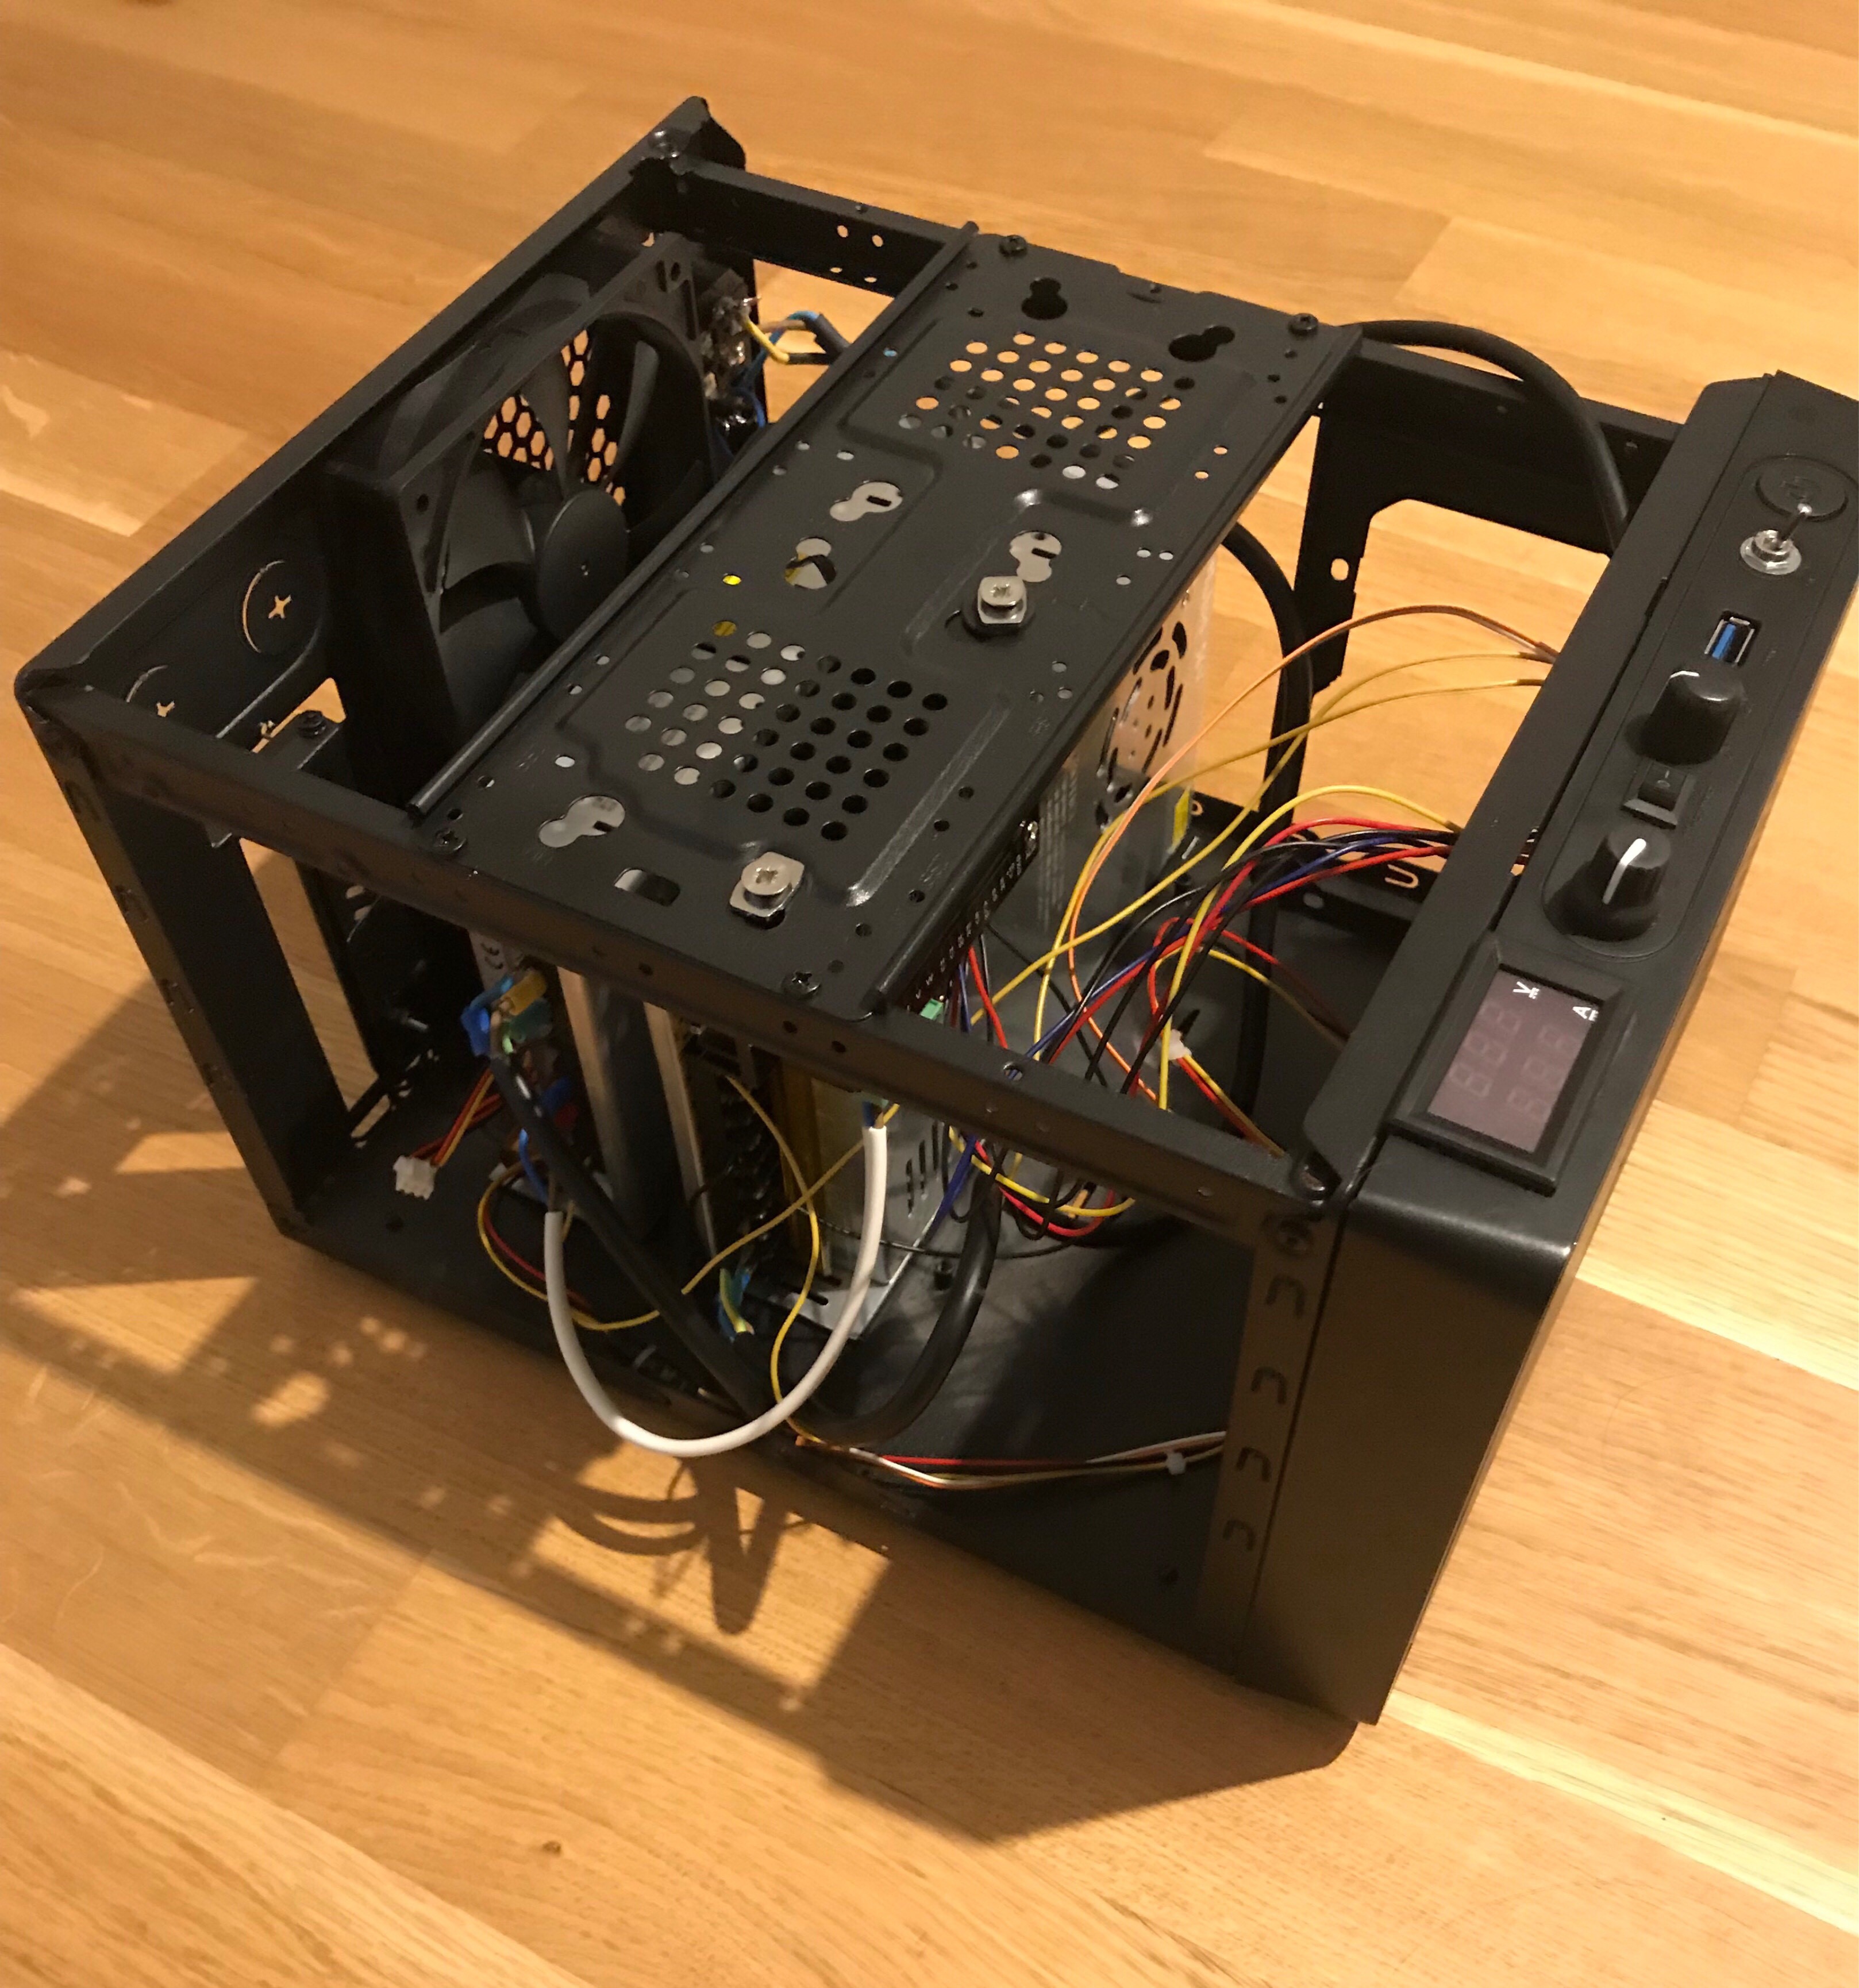
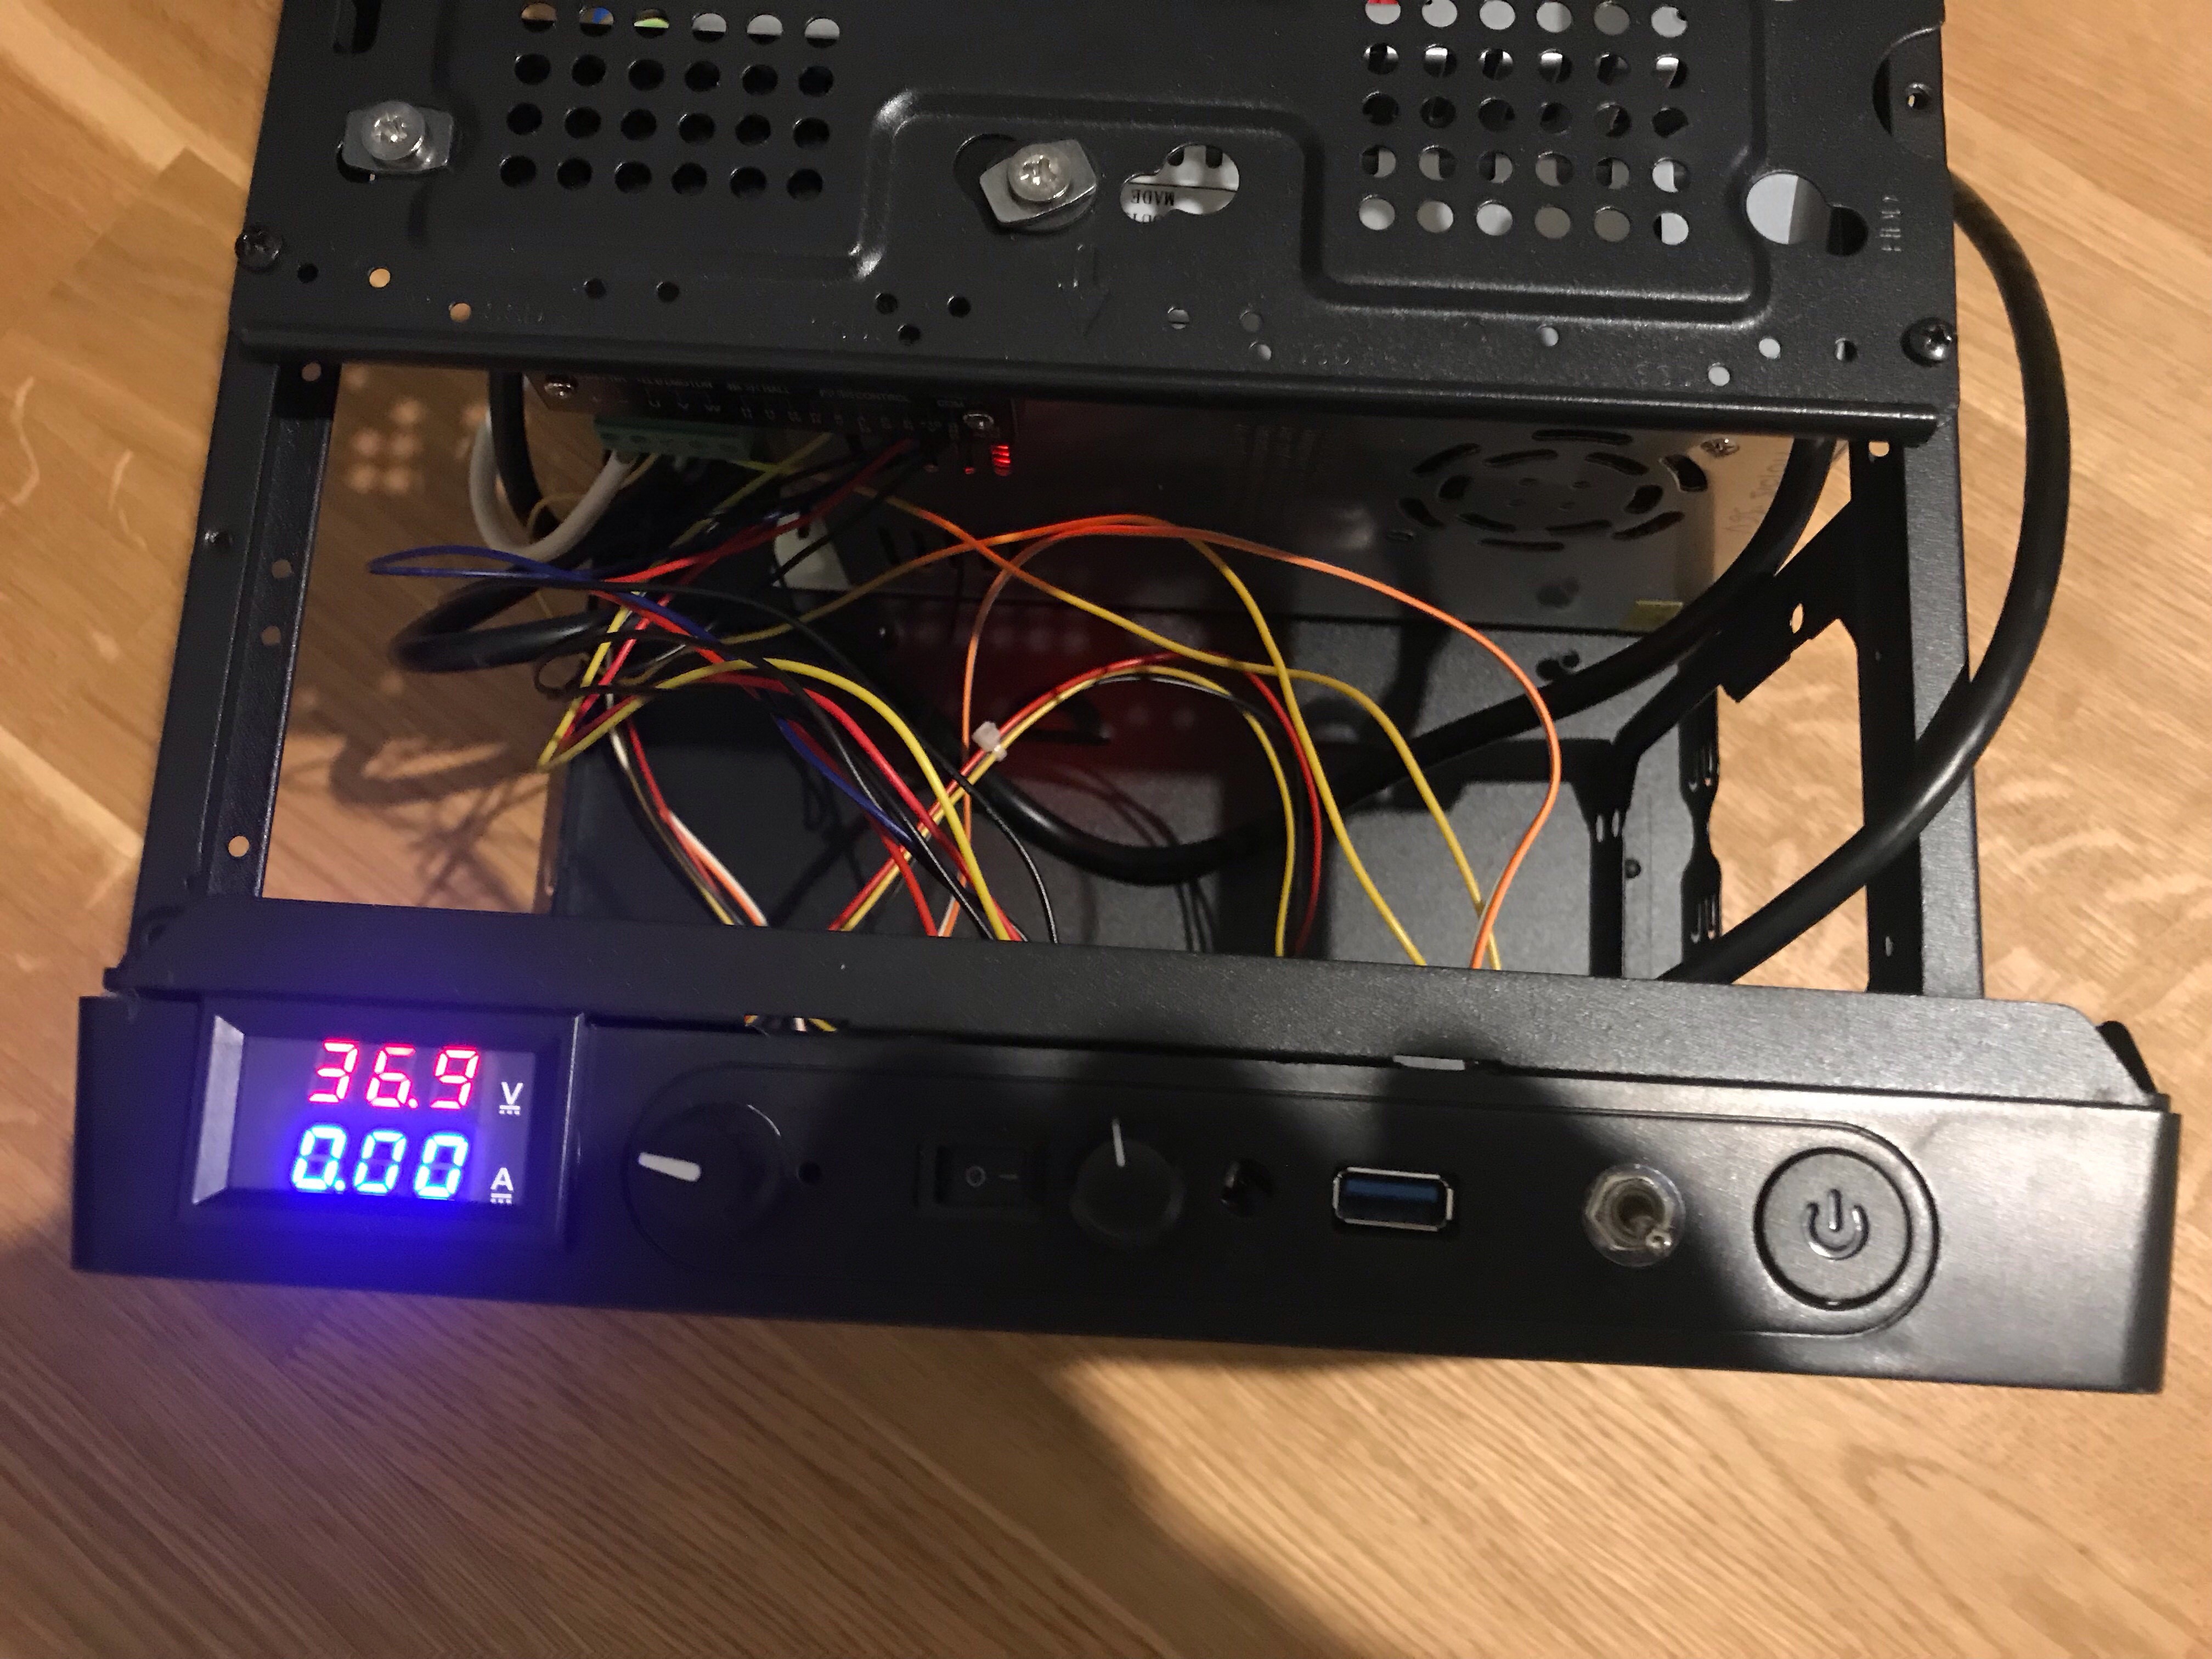
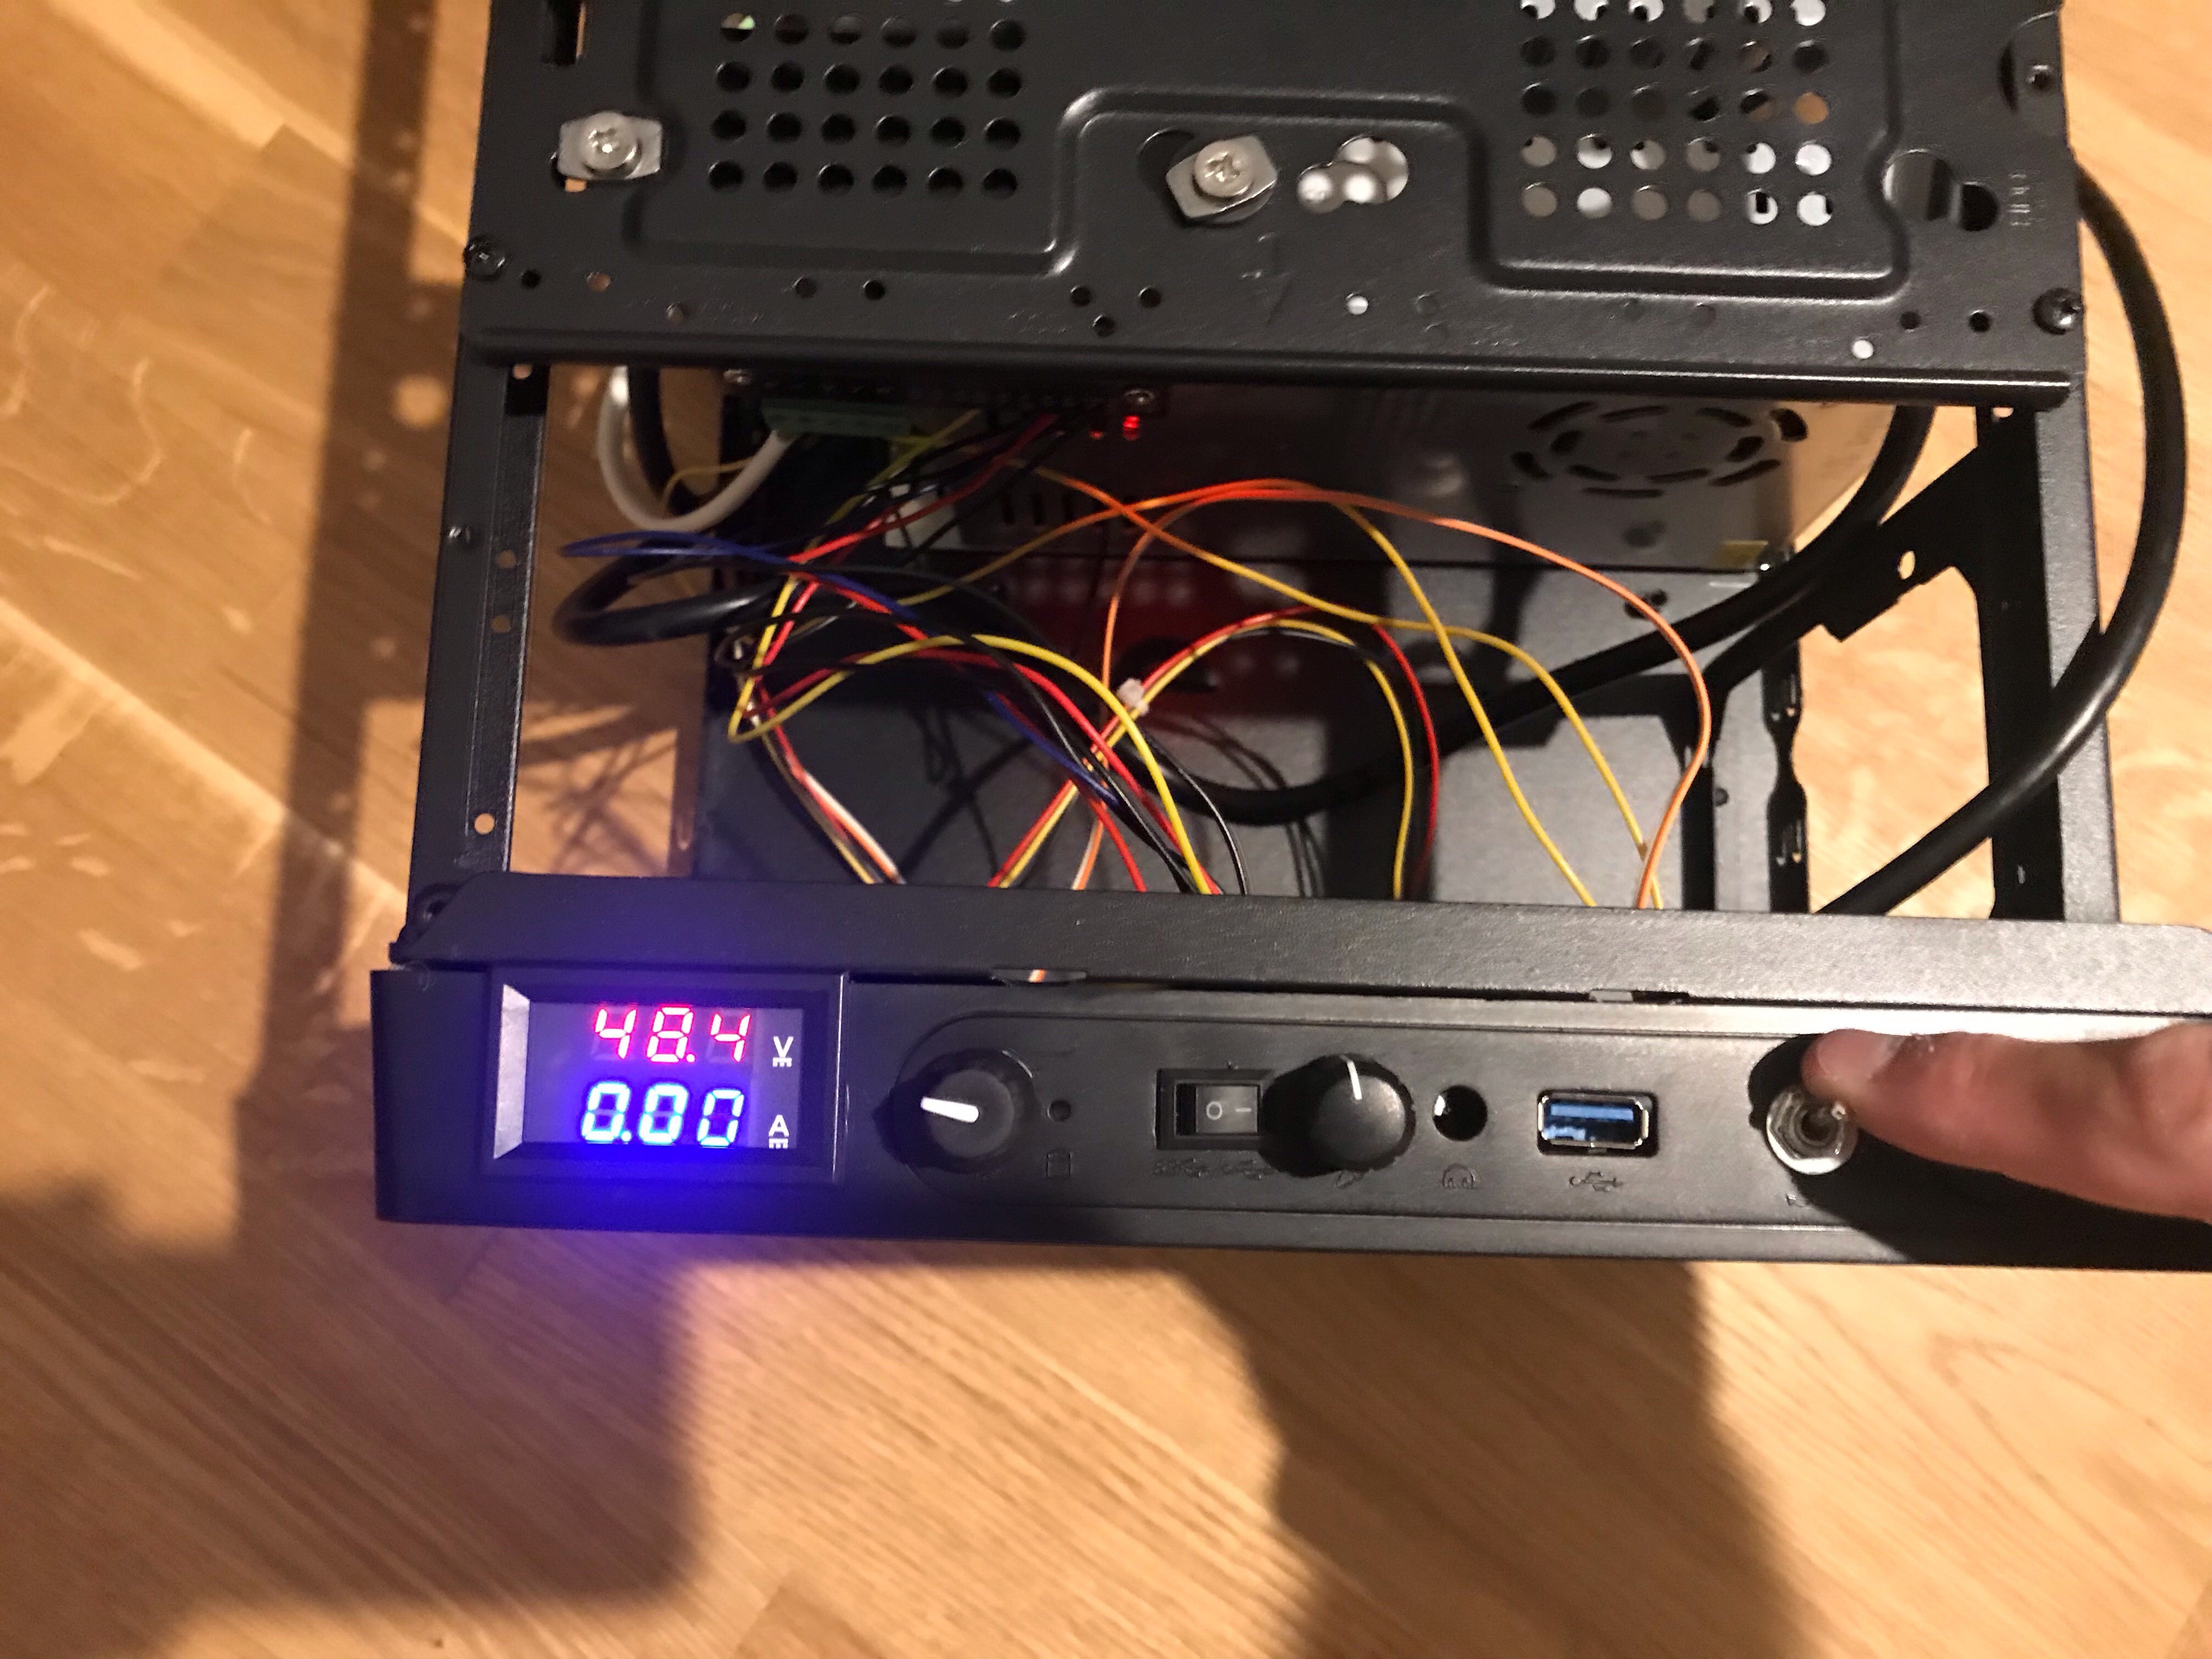
07/25/2019 at 07:18 • 0 commentsThe enclosure is now completed: I added the connectors for the spindle, motors and power supply in the back and wired everything inside, including the ATX fan.
Here's few pictures
![]()
![]()
![]()
![]()
-
Enclosure - Part 3
07/22/2019 at 07:28 • 0 commentsI made good progress on the wiring: the front is completed, and the power has been connected to the back.
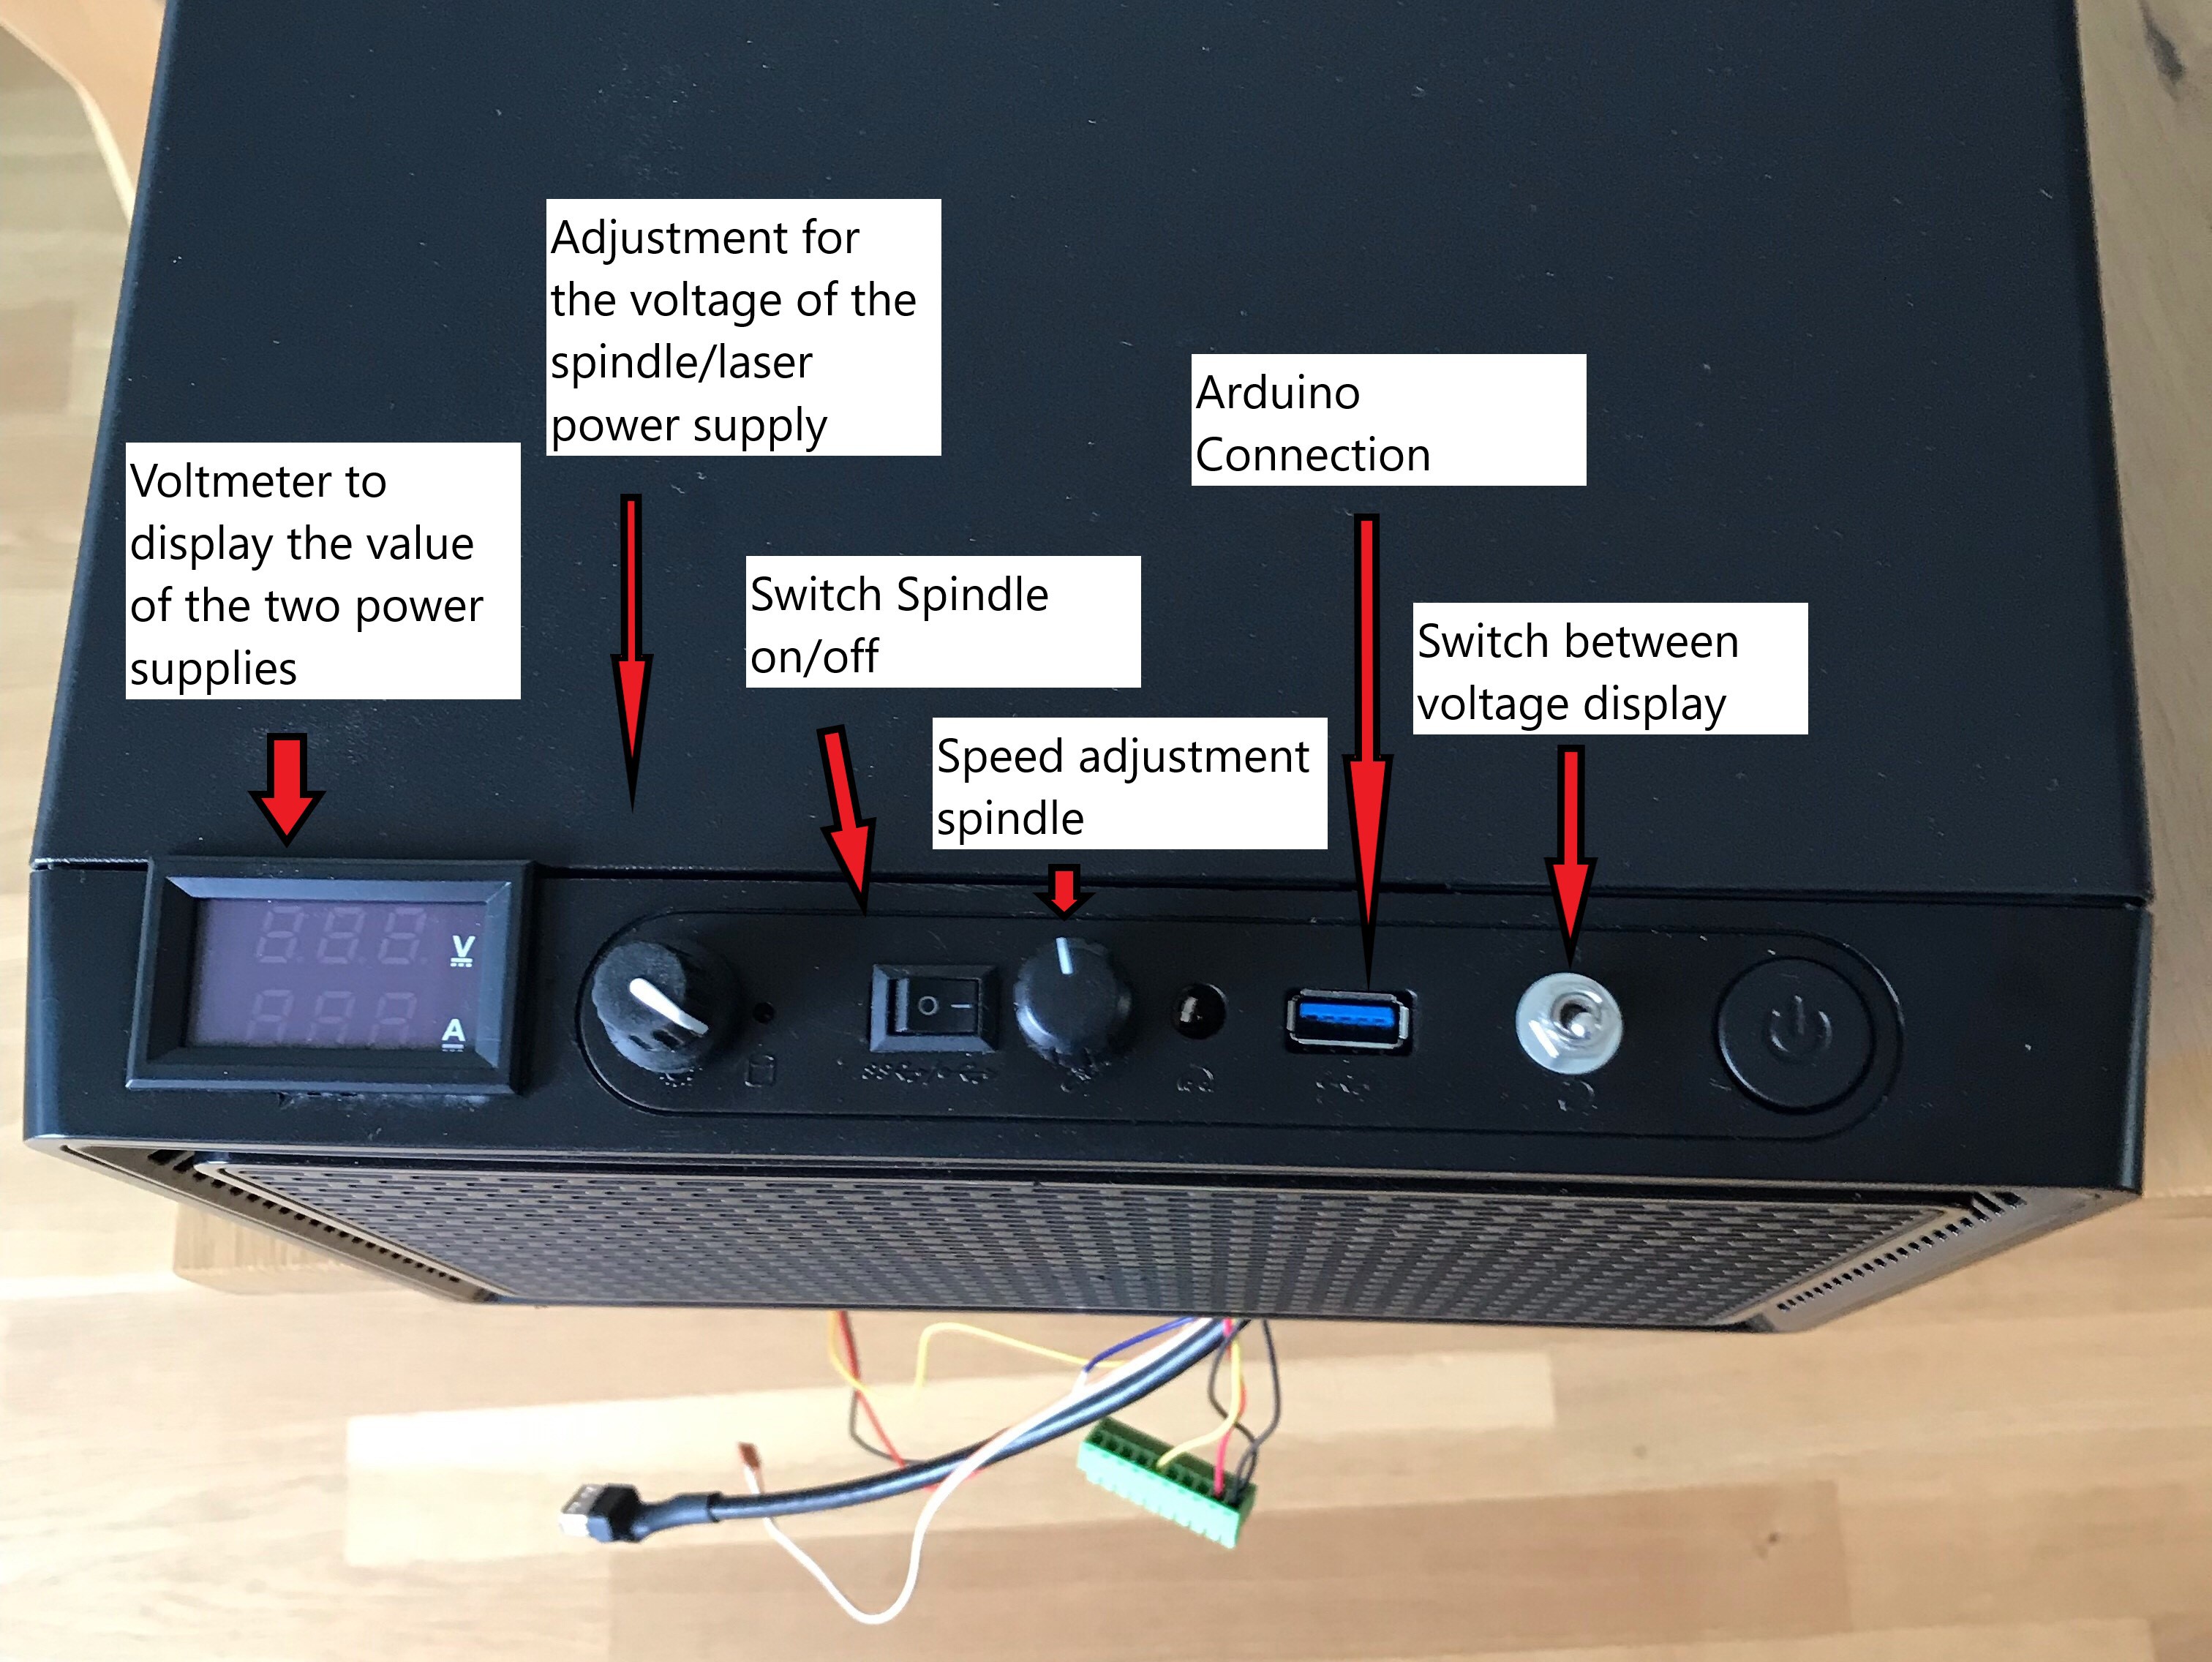
As you can see in the pictures below, the voltage of the two power supplies are displayed on one panel and the lever allows to switch between the two while a potentiometer allows to adjust the voltage of the one for the spindle/laser.
The power supply for the motor is not meant to change and while it can be adjusted it is not necessary to have an easy access to do it.
![]()
![]()
![]()
-
Enclosure - Part 2
07/19/2019 at 07:07 • 0 commentsI finalized the front of the enclosure and replaced or added a few knobs and features as below.
![]()
I'm still thinking about what I can do with this power button on the right. It triggers a pulse switch, so maybe I can make an emergency stop or a hold button ?
Next steps are to finalize the wiring of those features, then I will move to the back of the case to add the connectors for the motors/spindle/lasers and the power supply outlet.
-
Enclosure
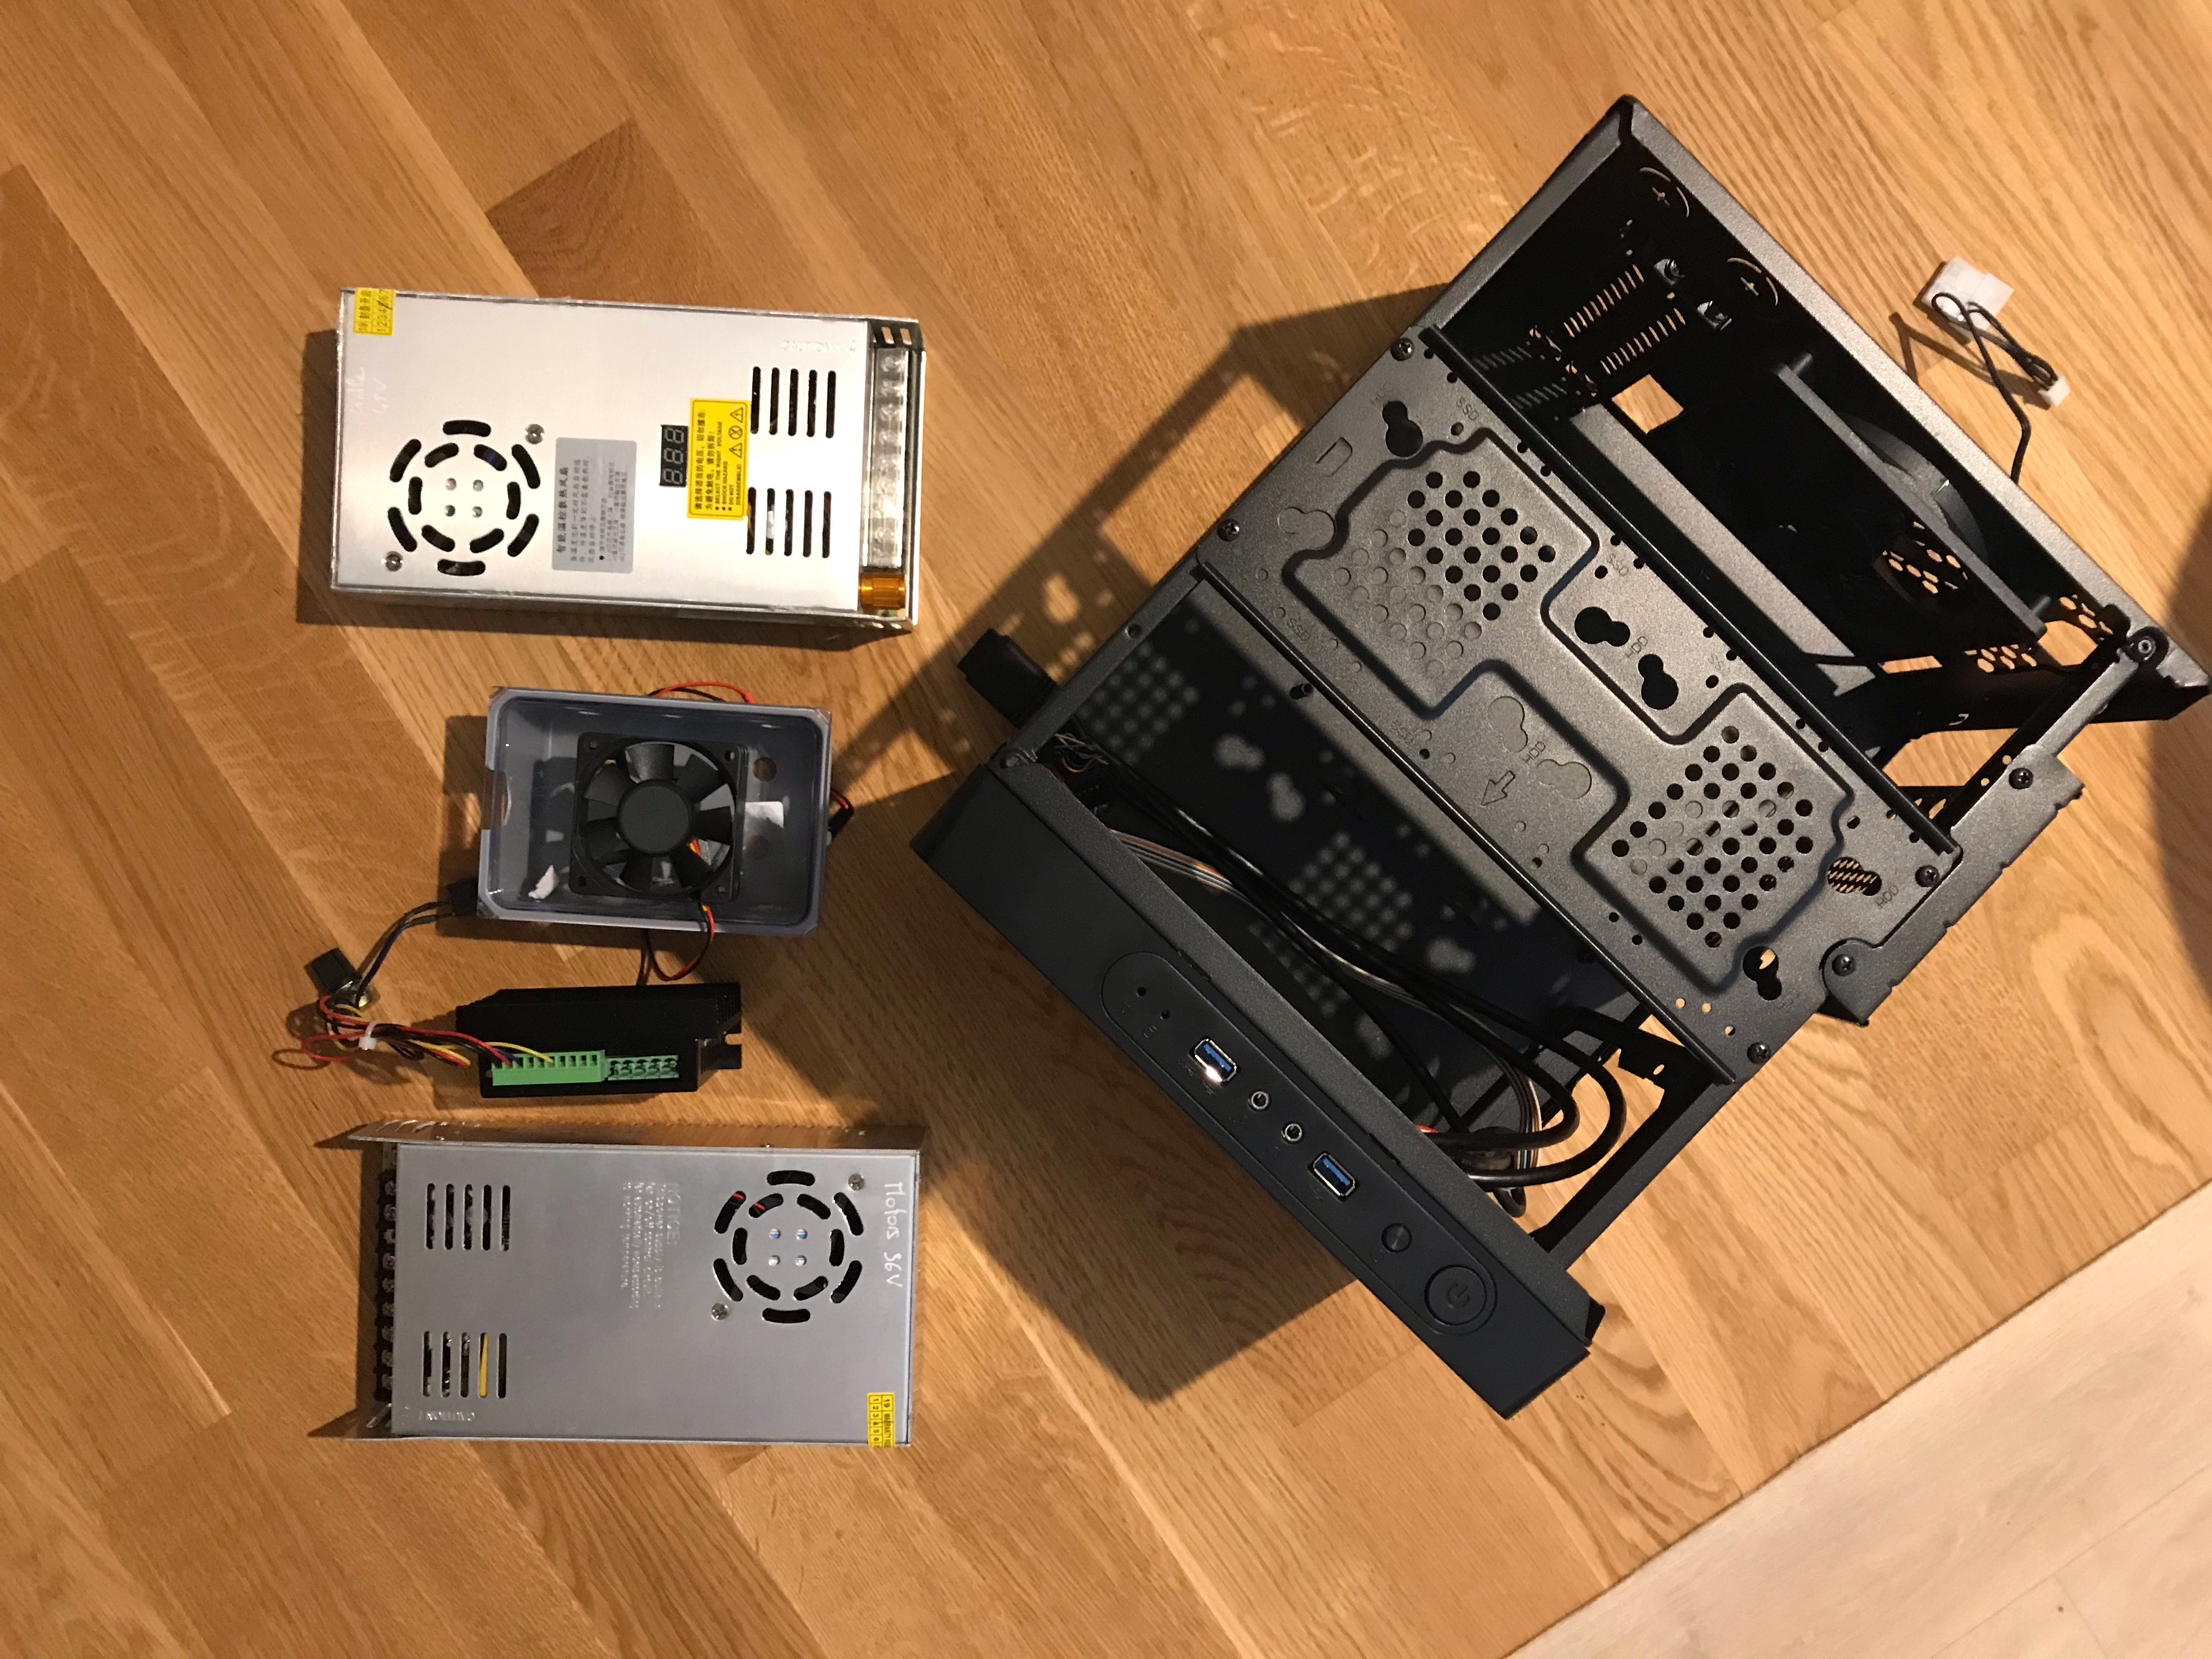
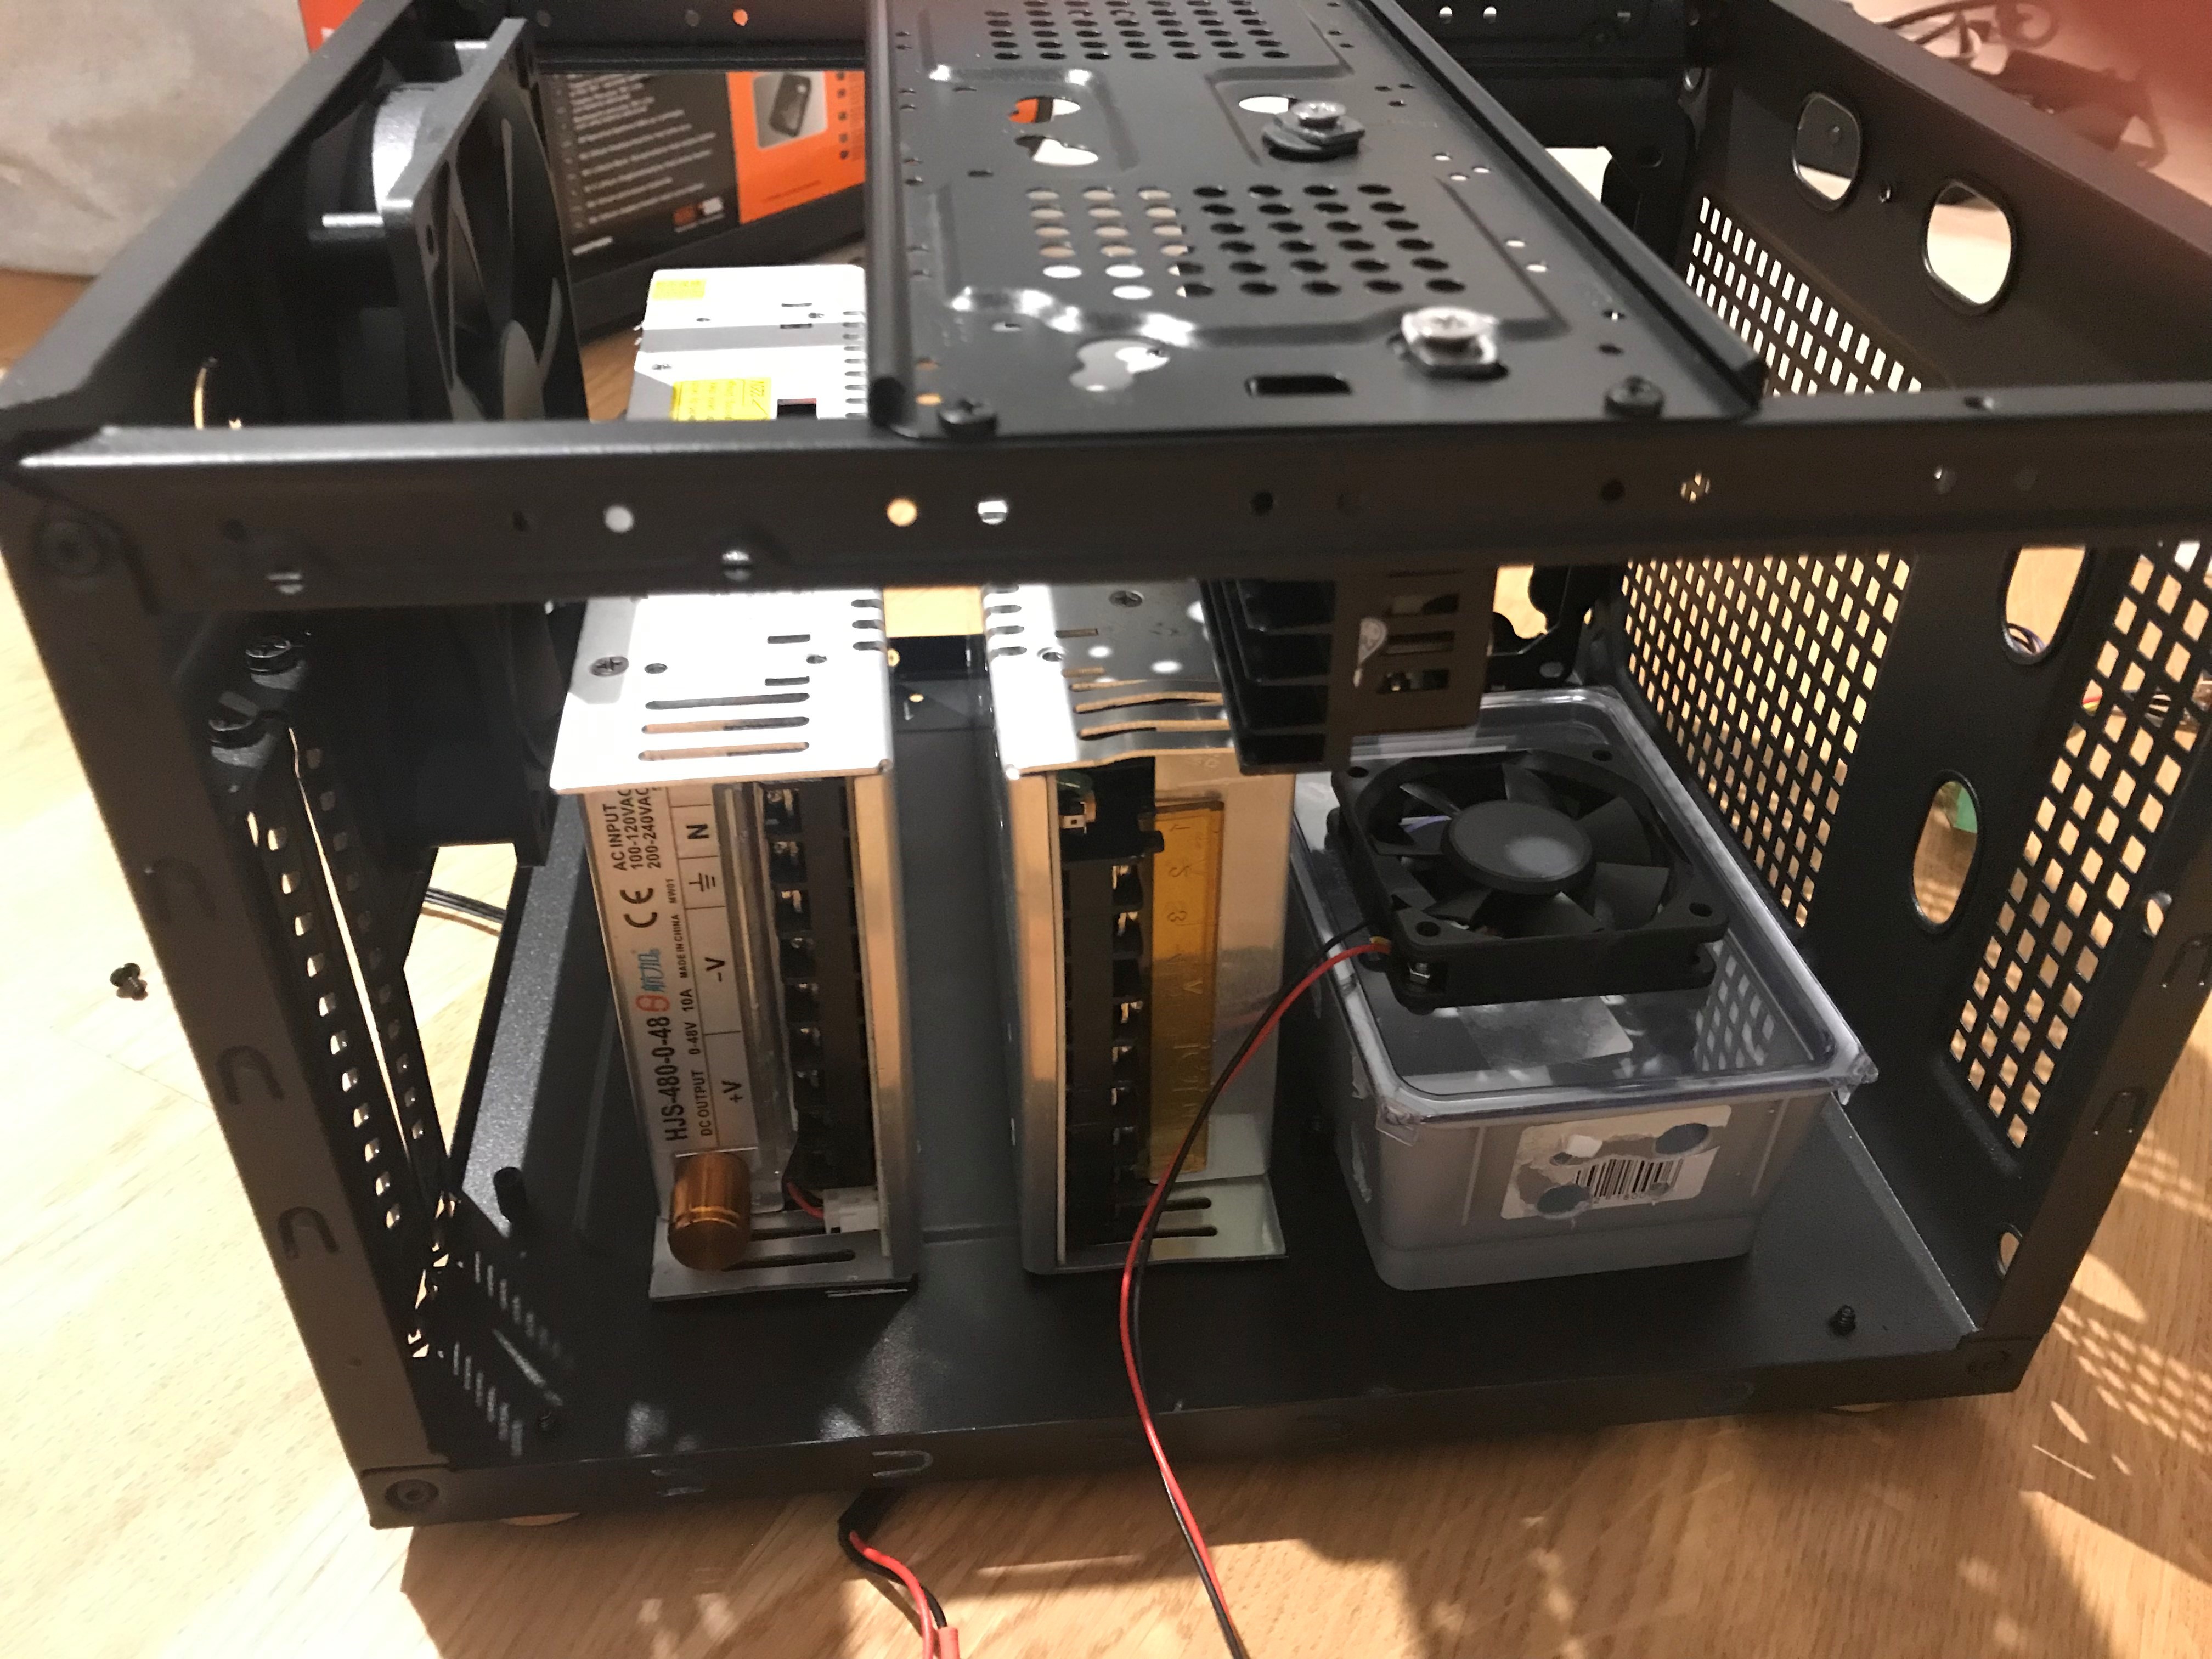
07/10/2019 at 08:00 • 0 commentsI got a cheap mini ATX case and turned it into an enclosure for all the electronics.
The front also has a few usb port and buttons. I will keep one USB port for the Arduino, insert a voltmeter for one of the power supply and add 2 potentiometer knob to adjust the voltage and the speed of the spindle. One of the usb port will be removed to insert the spindle switch. The back will have the two power supply outlet with a switch as well as 5 outlets for the motors and the spindle.
The main fan of the case will be wired to the +10V of the spindle controller.
Here's a first snapshot with the components before wiring
![]()
![]()
-
It Works !
07/08/2019 at 06:29 • 0 commentsGood progress were made over the weekend:
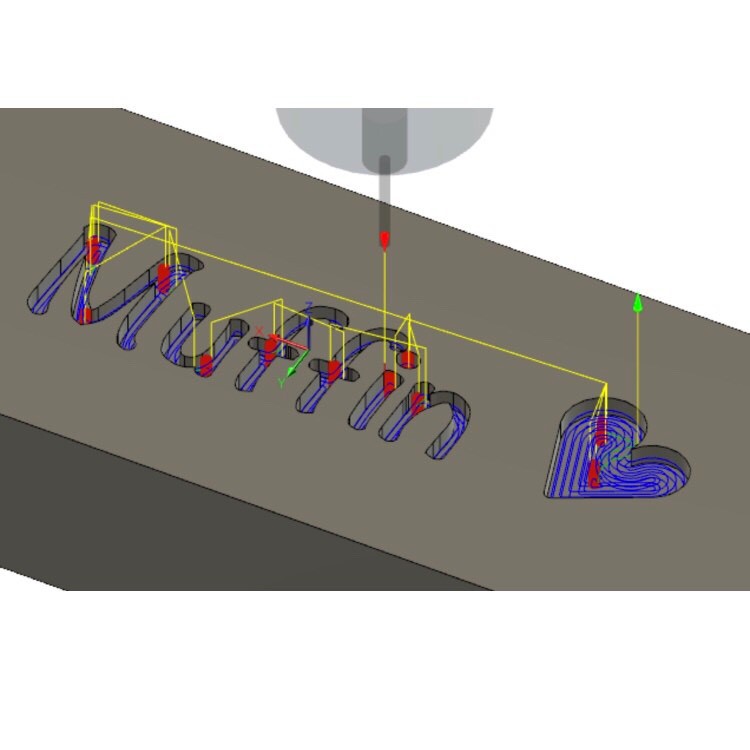
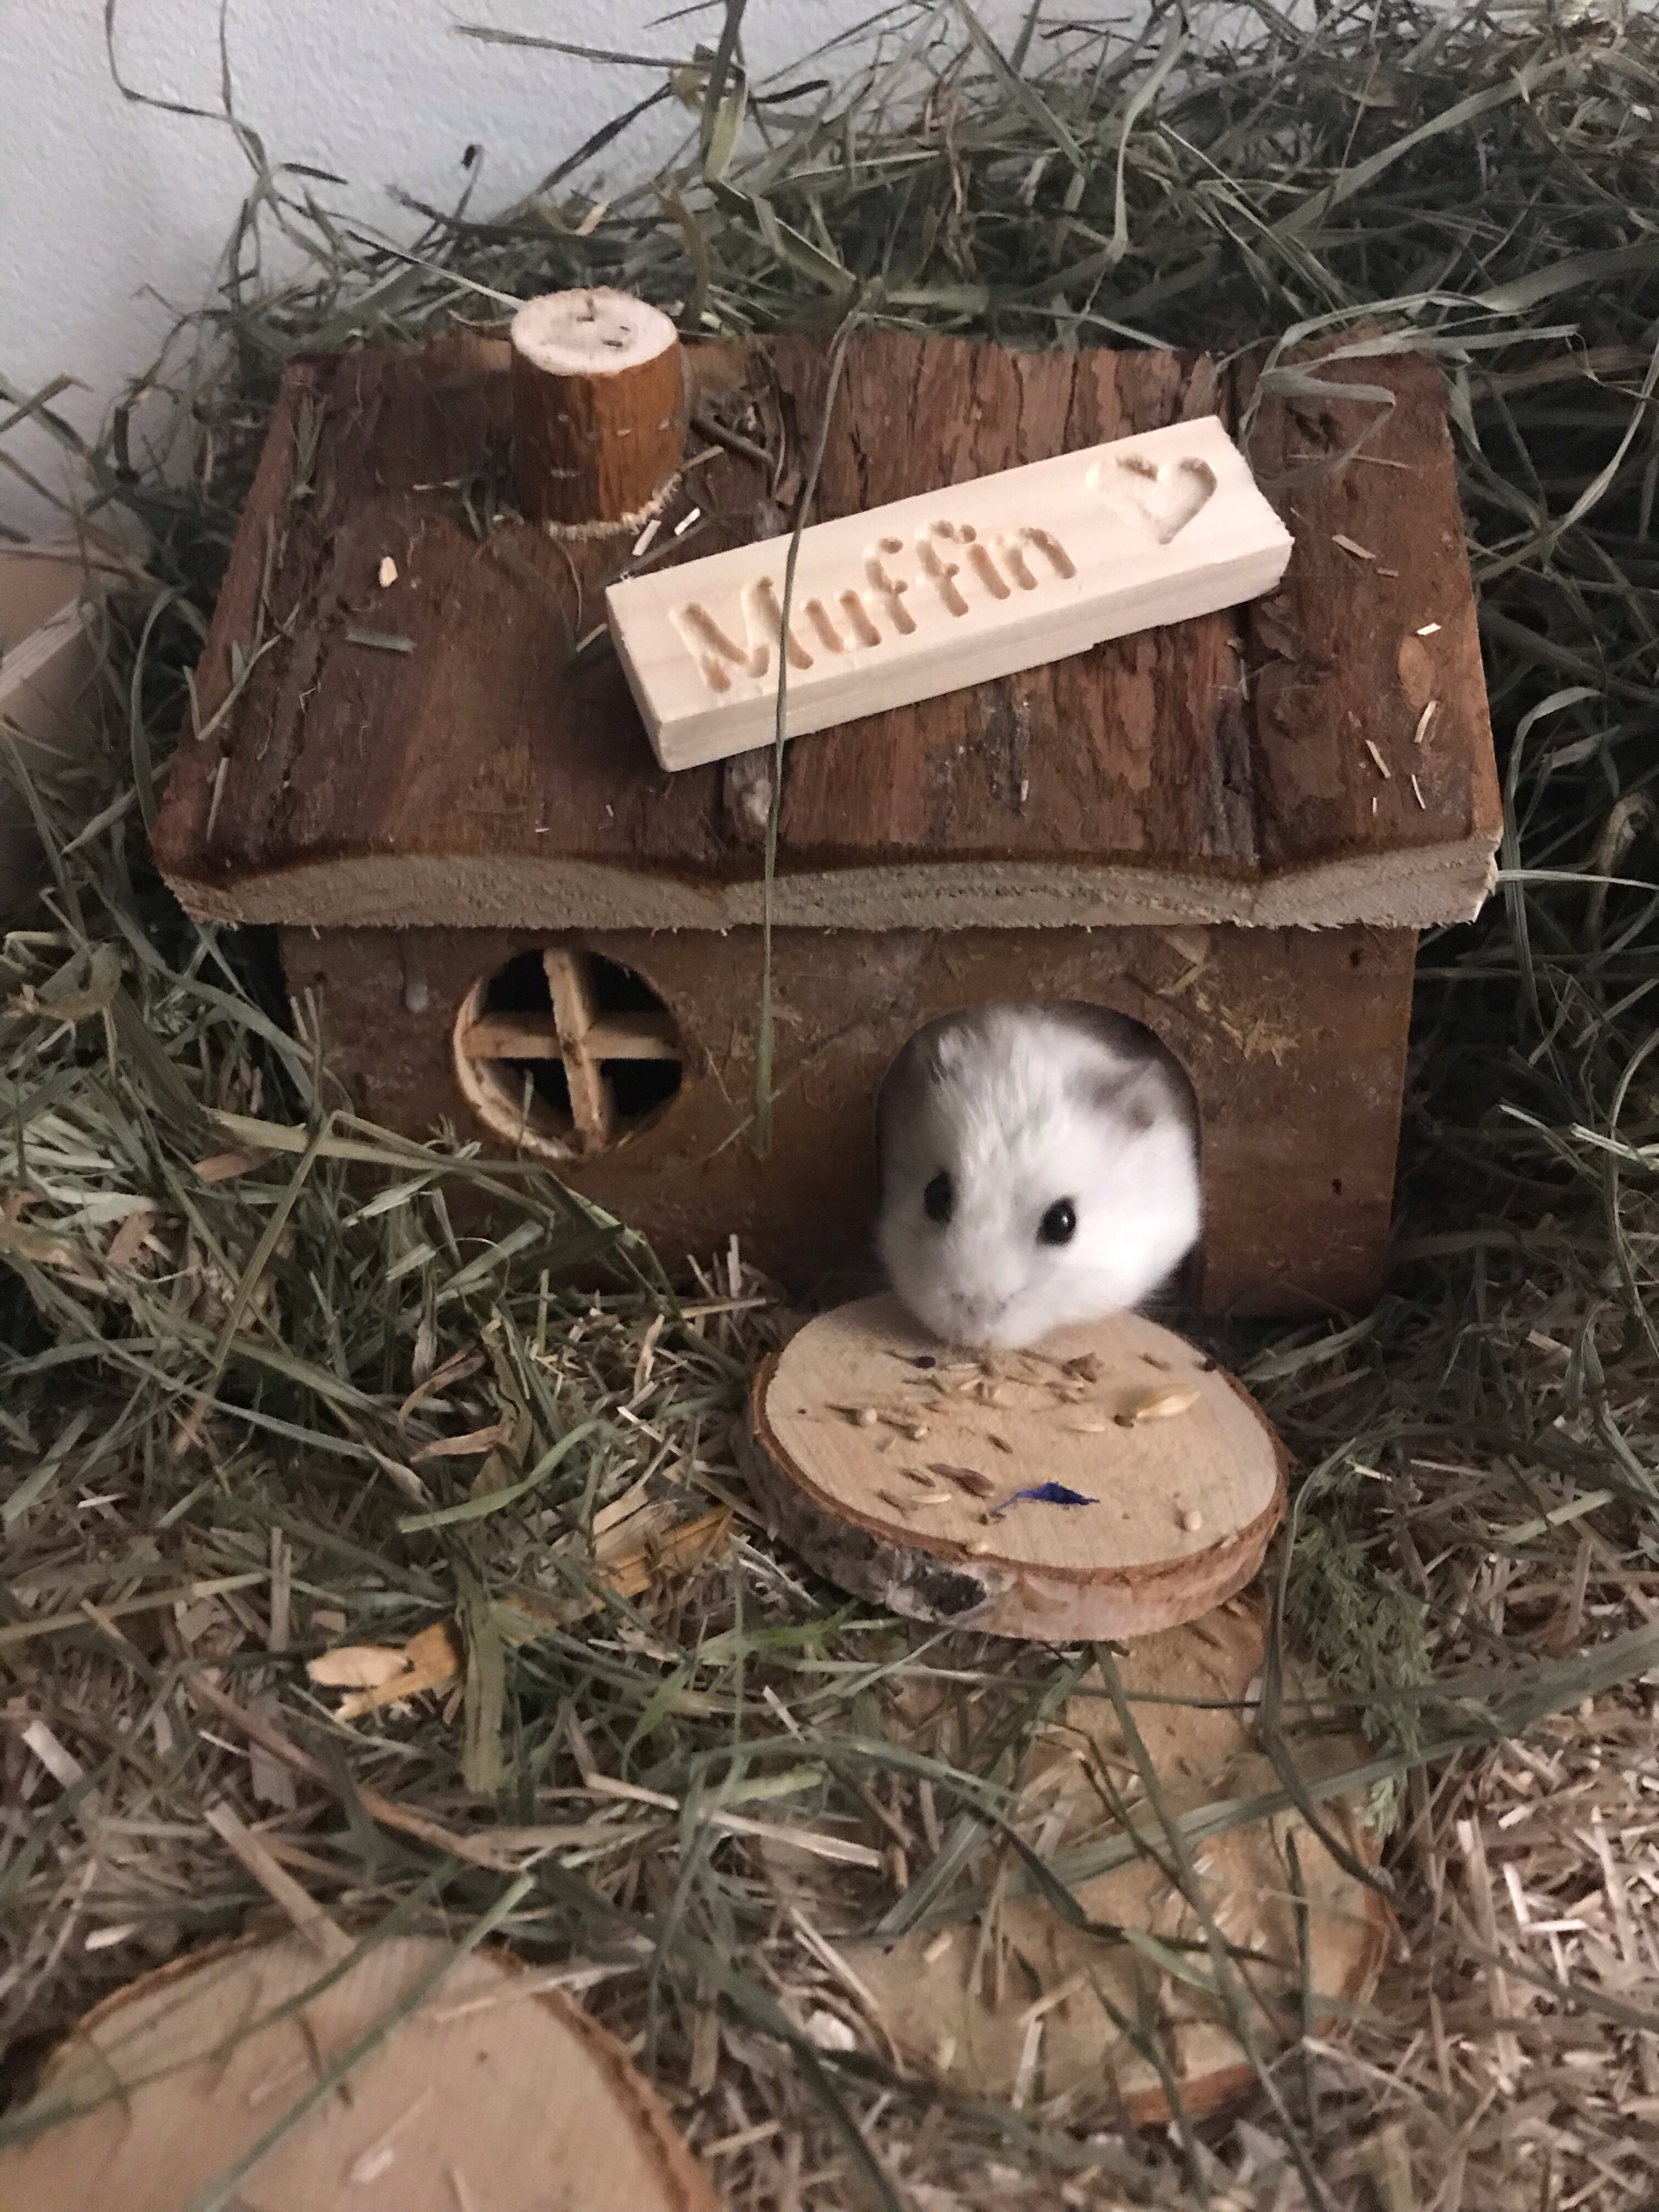
After replacing the Arduino it simply worked. Below is an engraving test for Muffin, our hamster, who is absolutely thrilled about this new sign as you can see.
![]()
![]()
I did further tests with harder material such as acrylic but clearly the Z axis shows its limit and there was too much bending. I will replace that one with something stronger.
The next steps are also to tidy up everything and put the power supplies and the controller in an enclosure
-
First tests
07/04/2019 at 09:07 • 0 commentsTime to put the machine to the test. I tried to engrave our hamster's name on pine wood with limited success.
1. I'm getting a lot of error when using the knock off Arduino Uno. It fails randomly and I wasn't able to fully engrave the text. it seems that some instructions are not sent correctly or completely to the device. I had the same result on a dry run (no CNC shield attached)
2.When using an old original Arduino, it works without error on a dry run however when connecting everything the Y axis doesn't move physically despite having the same parameter in the firmware. Bummer. Not sure if I damaged this board in a previous project so just to be sure I will try with a brand new one again.
If all fails, I will try to reduce the baud rate or check if I need to uninstall the driver I had to install for the knock off Arduino.
![]()
On the few letters I manage to engrave, it does the job however the Z axis has a lot of flex and that shows so I will replace that one with something more sturdy (similar to the other axis)
-
Frame Assembly Part 3
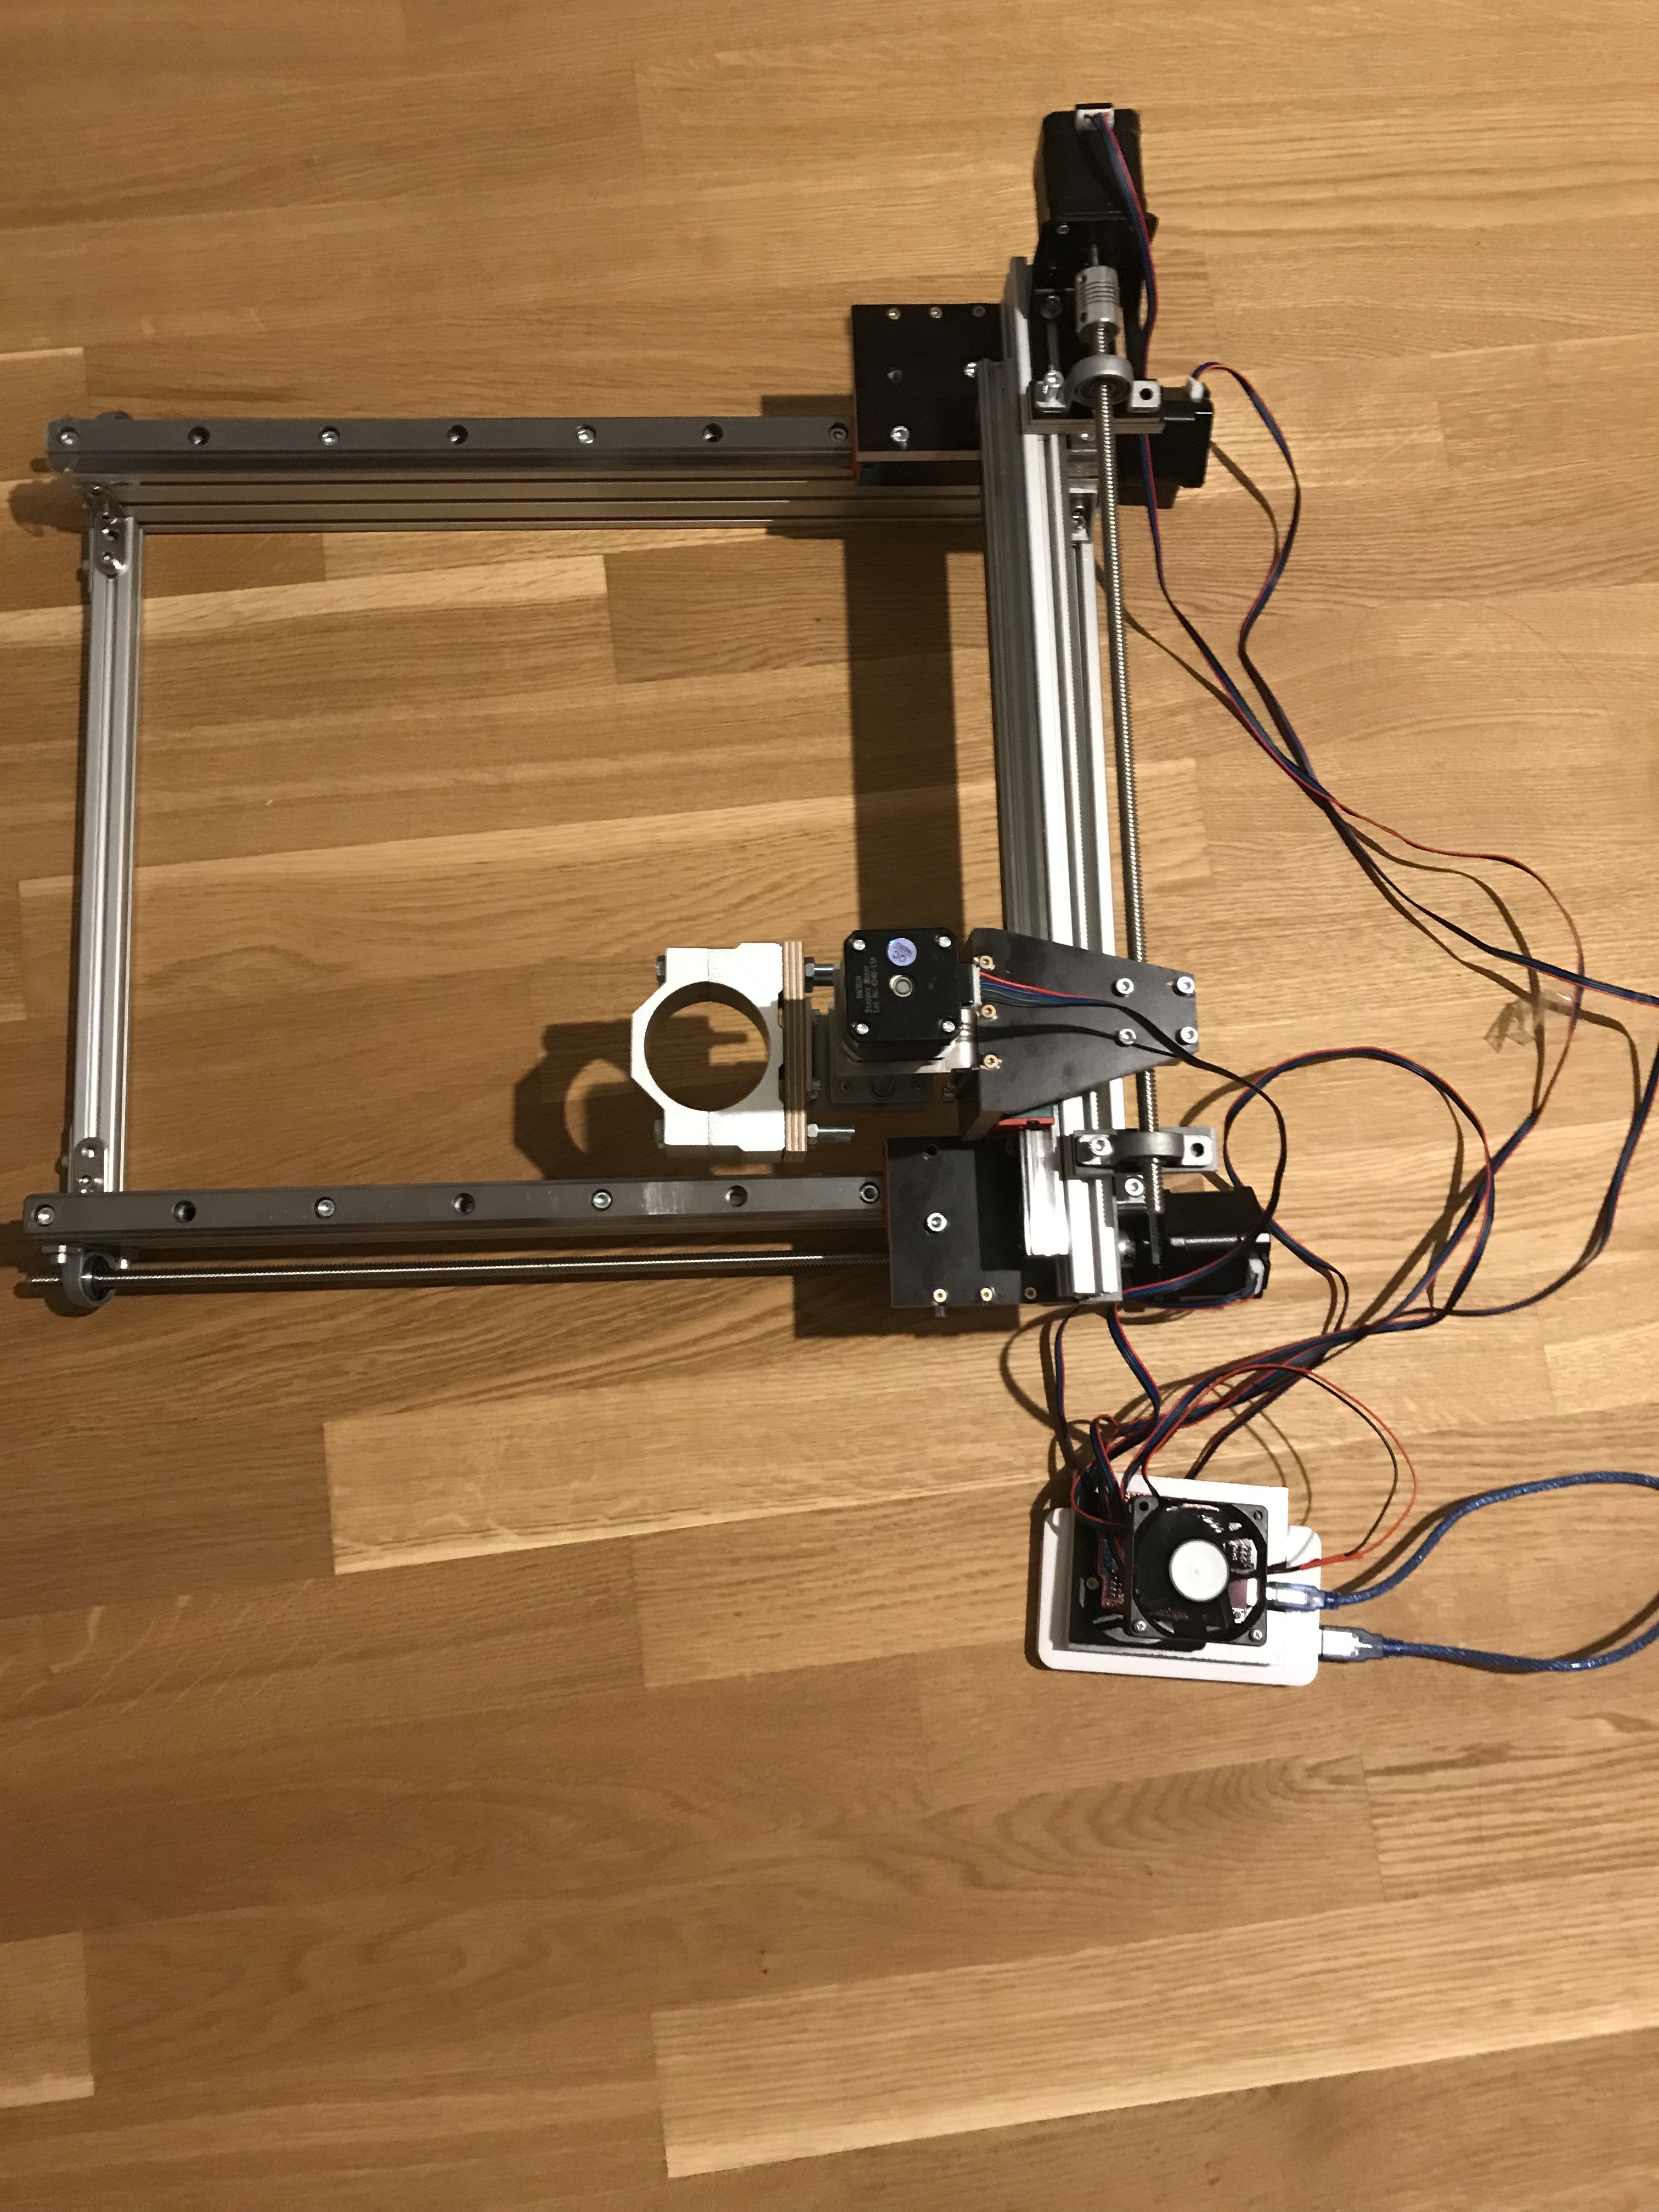
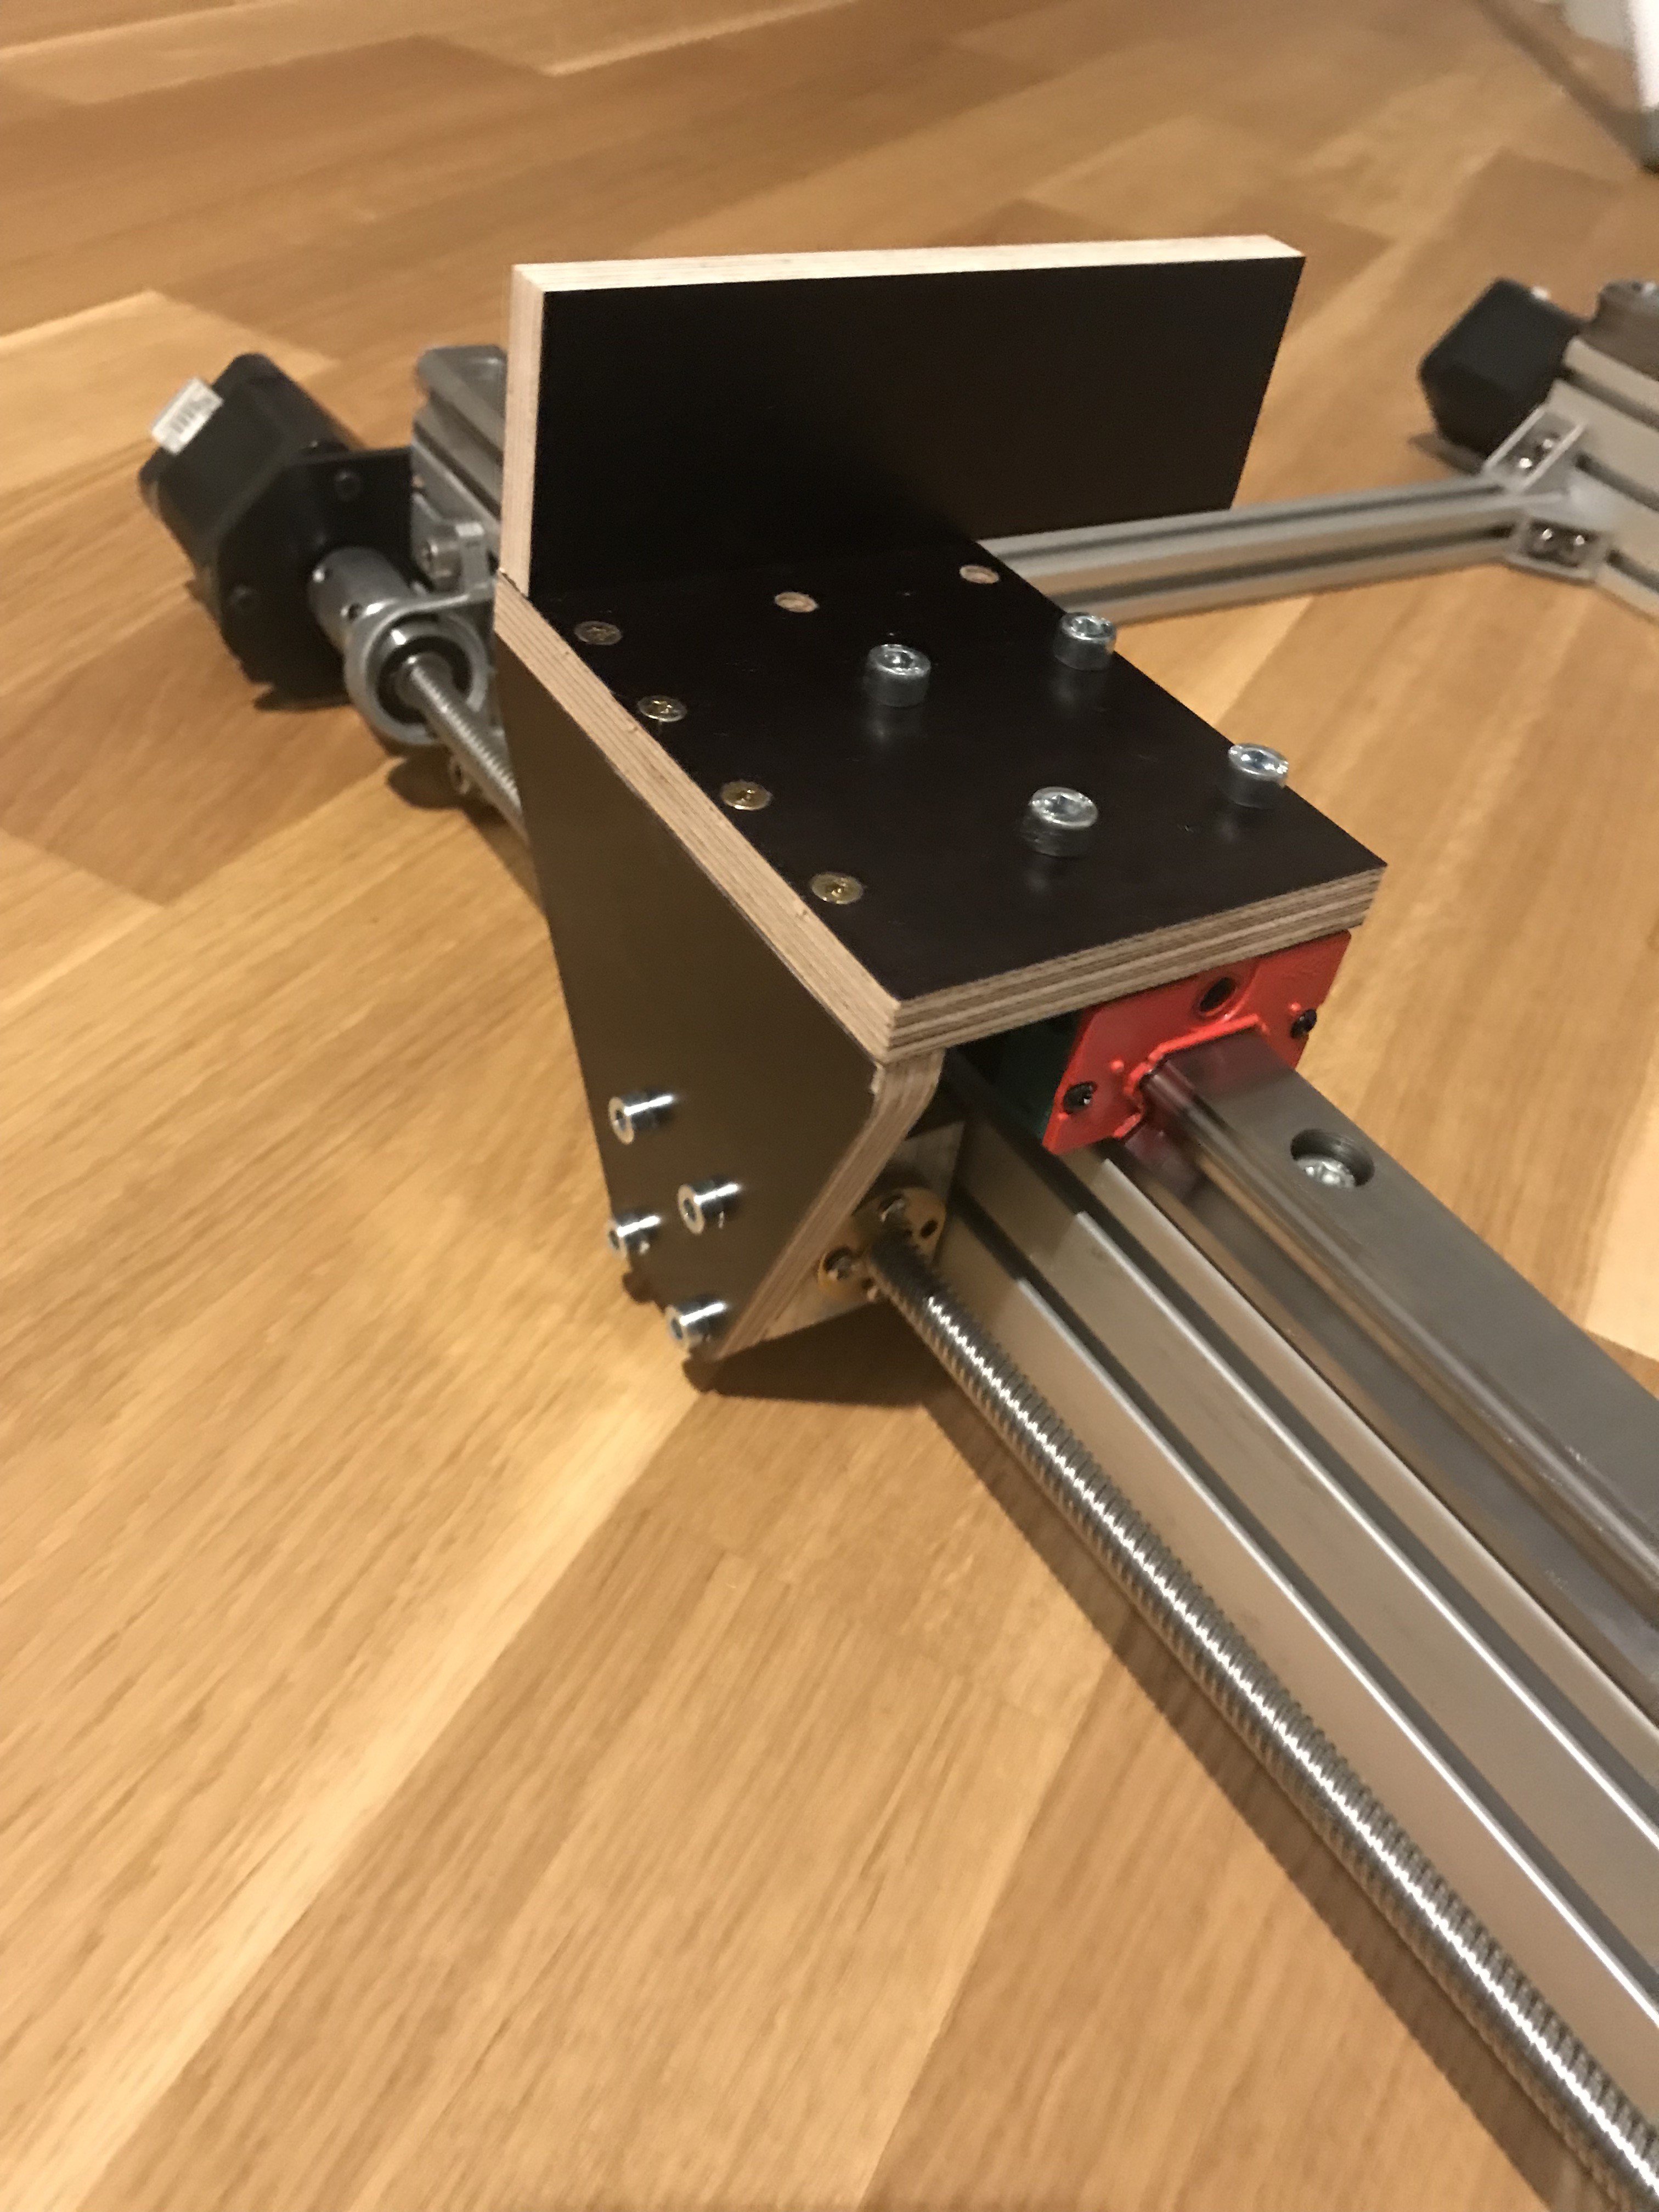
06/29/2019 at 20:05 • 0 commentsI basically finished the assembly, although there are still some hard points that needs to be solved. The pieces for jointing are square but I missed my measurements in some area by a couple of mm. Making bigger bores for the screws seemed to make it up for the accuracy and this is going the right way overall.
However the Z-axis ready made I bought seems to have a bit of flex in the X direction. I'll see what's the consequence of that when milling and can fix it by attaching the bottom of the sub assembly to the frame with a custom bracket.
![]()
![]()
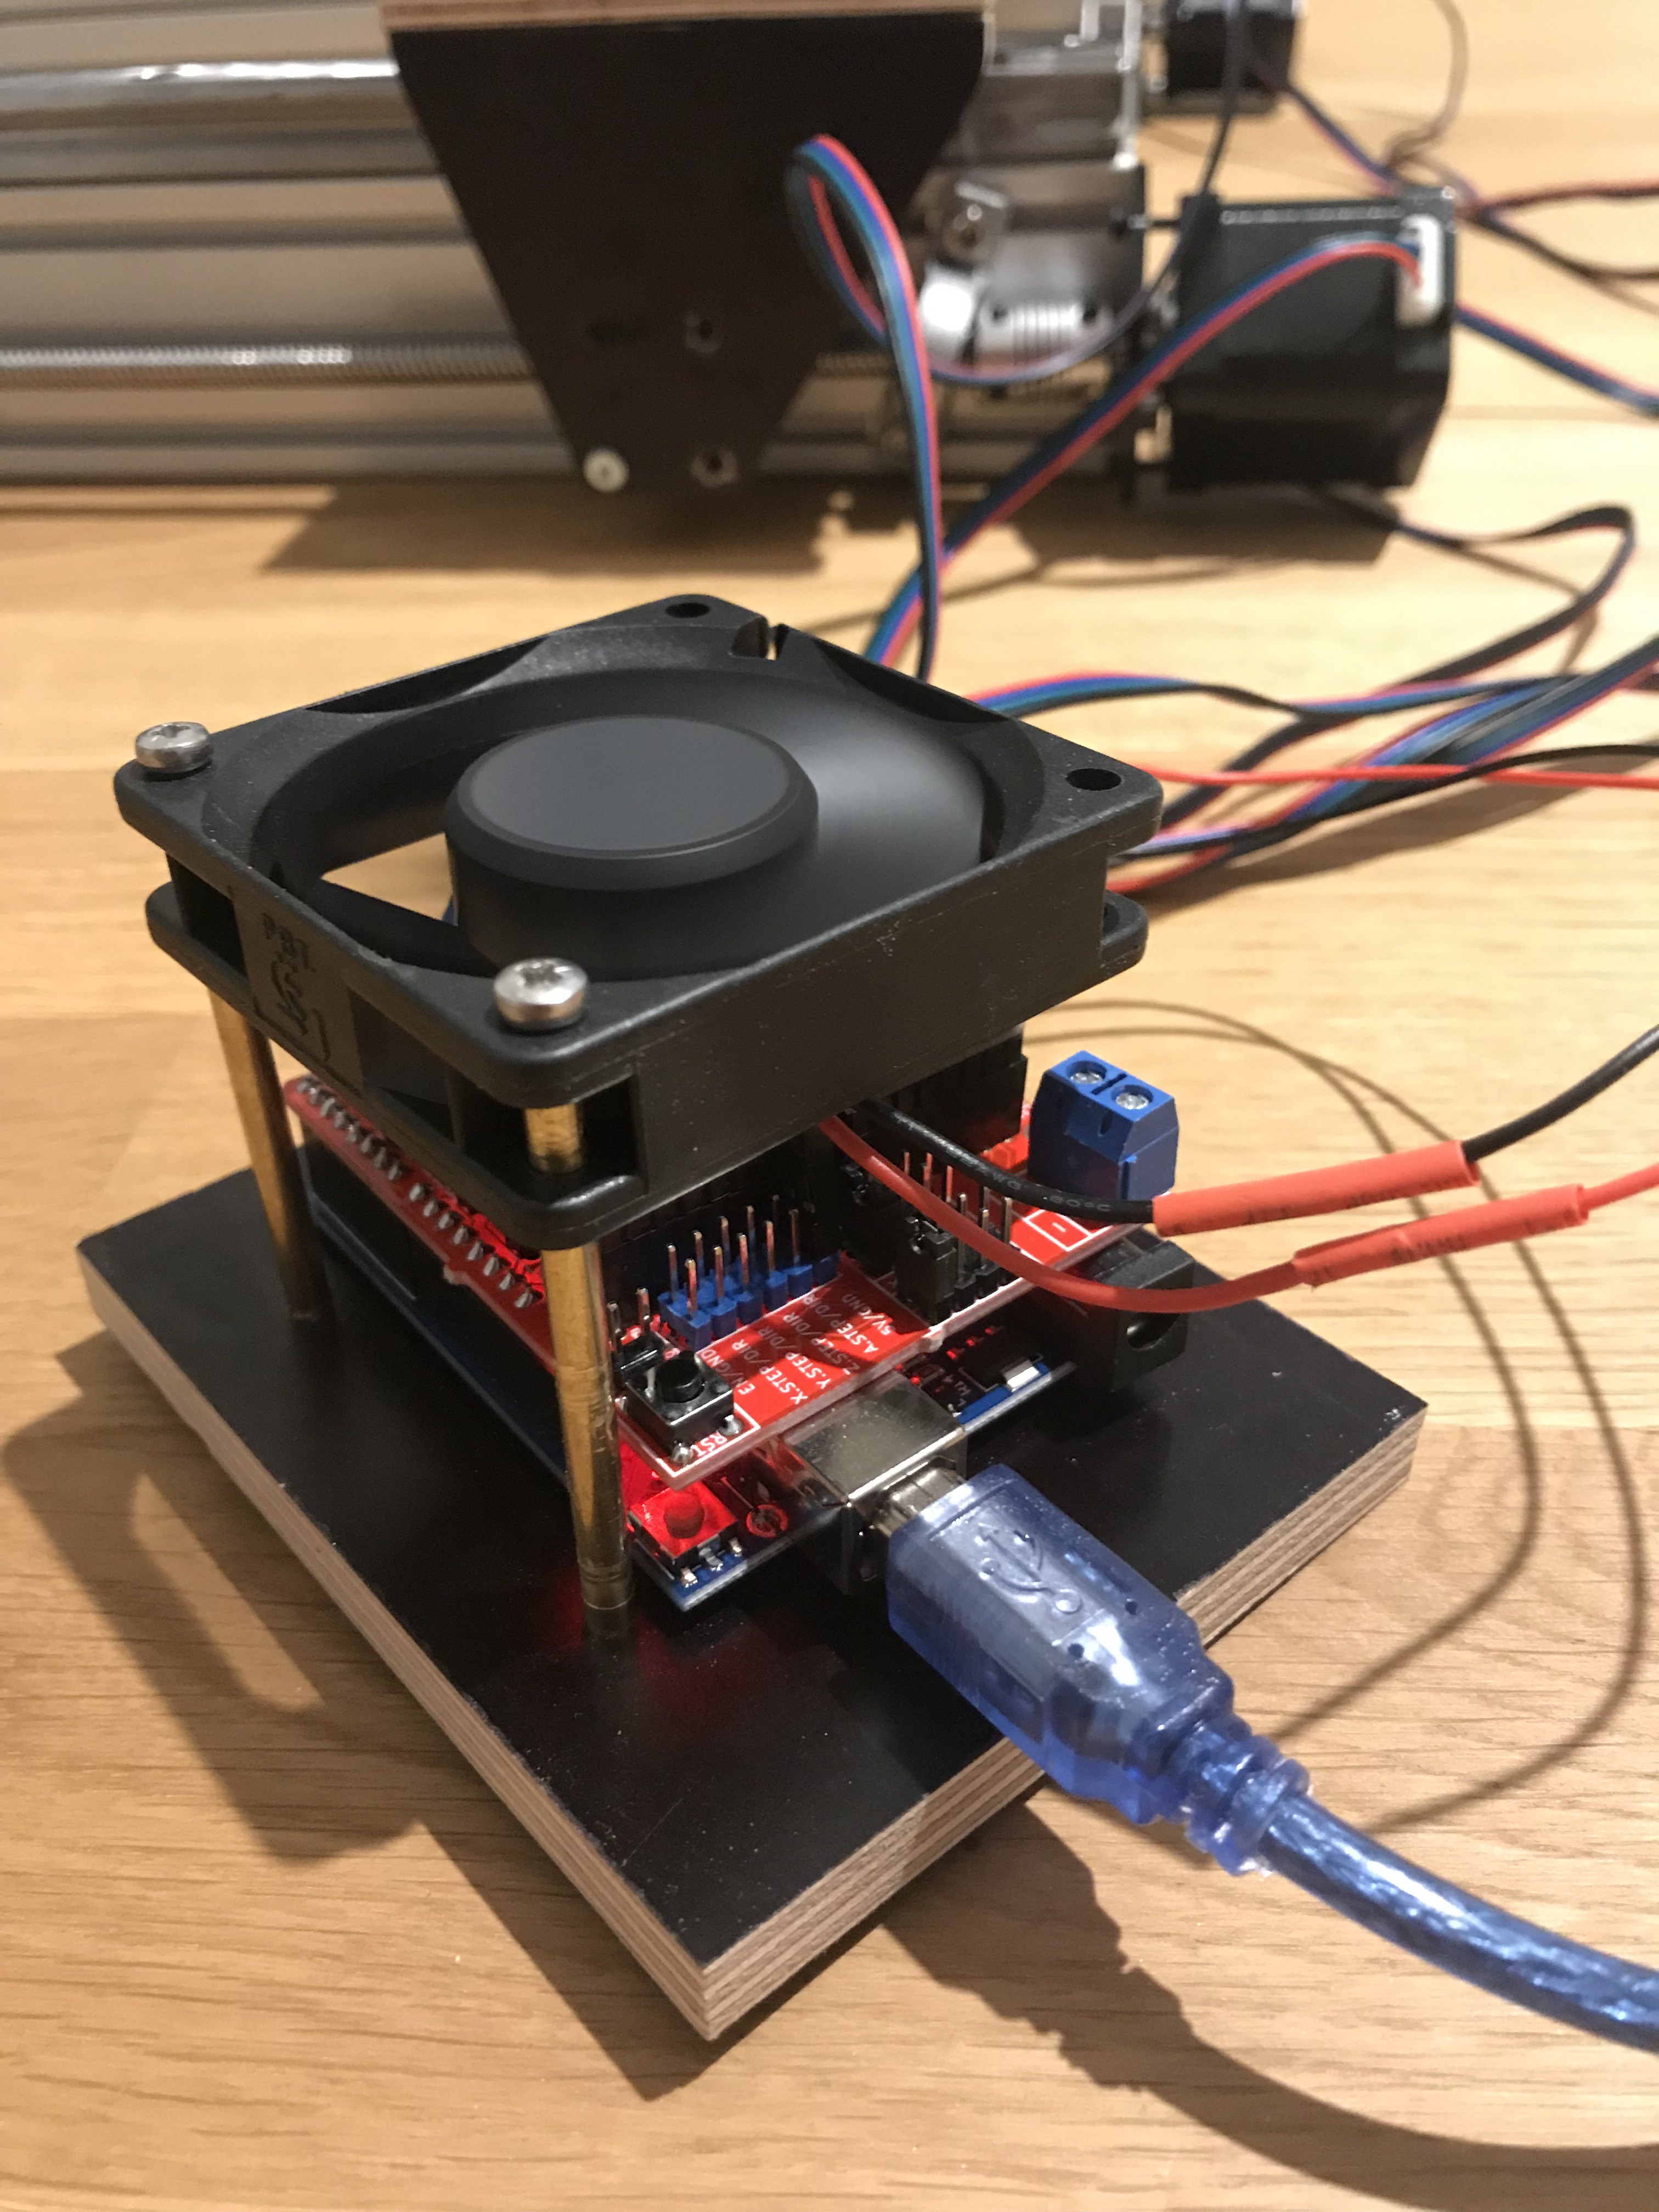
And I added a fan on top of the CNC Shield, self powered by the 5V from the board. This is plenty enough to cool those drivers which are regularly burning my fingers
![]()
-
Frame Assembly Part 2
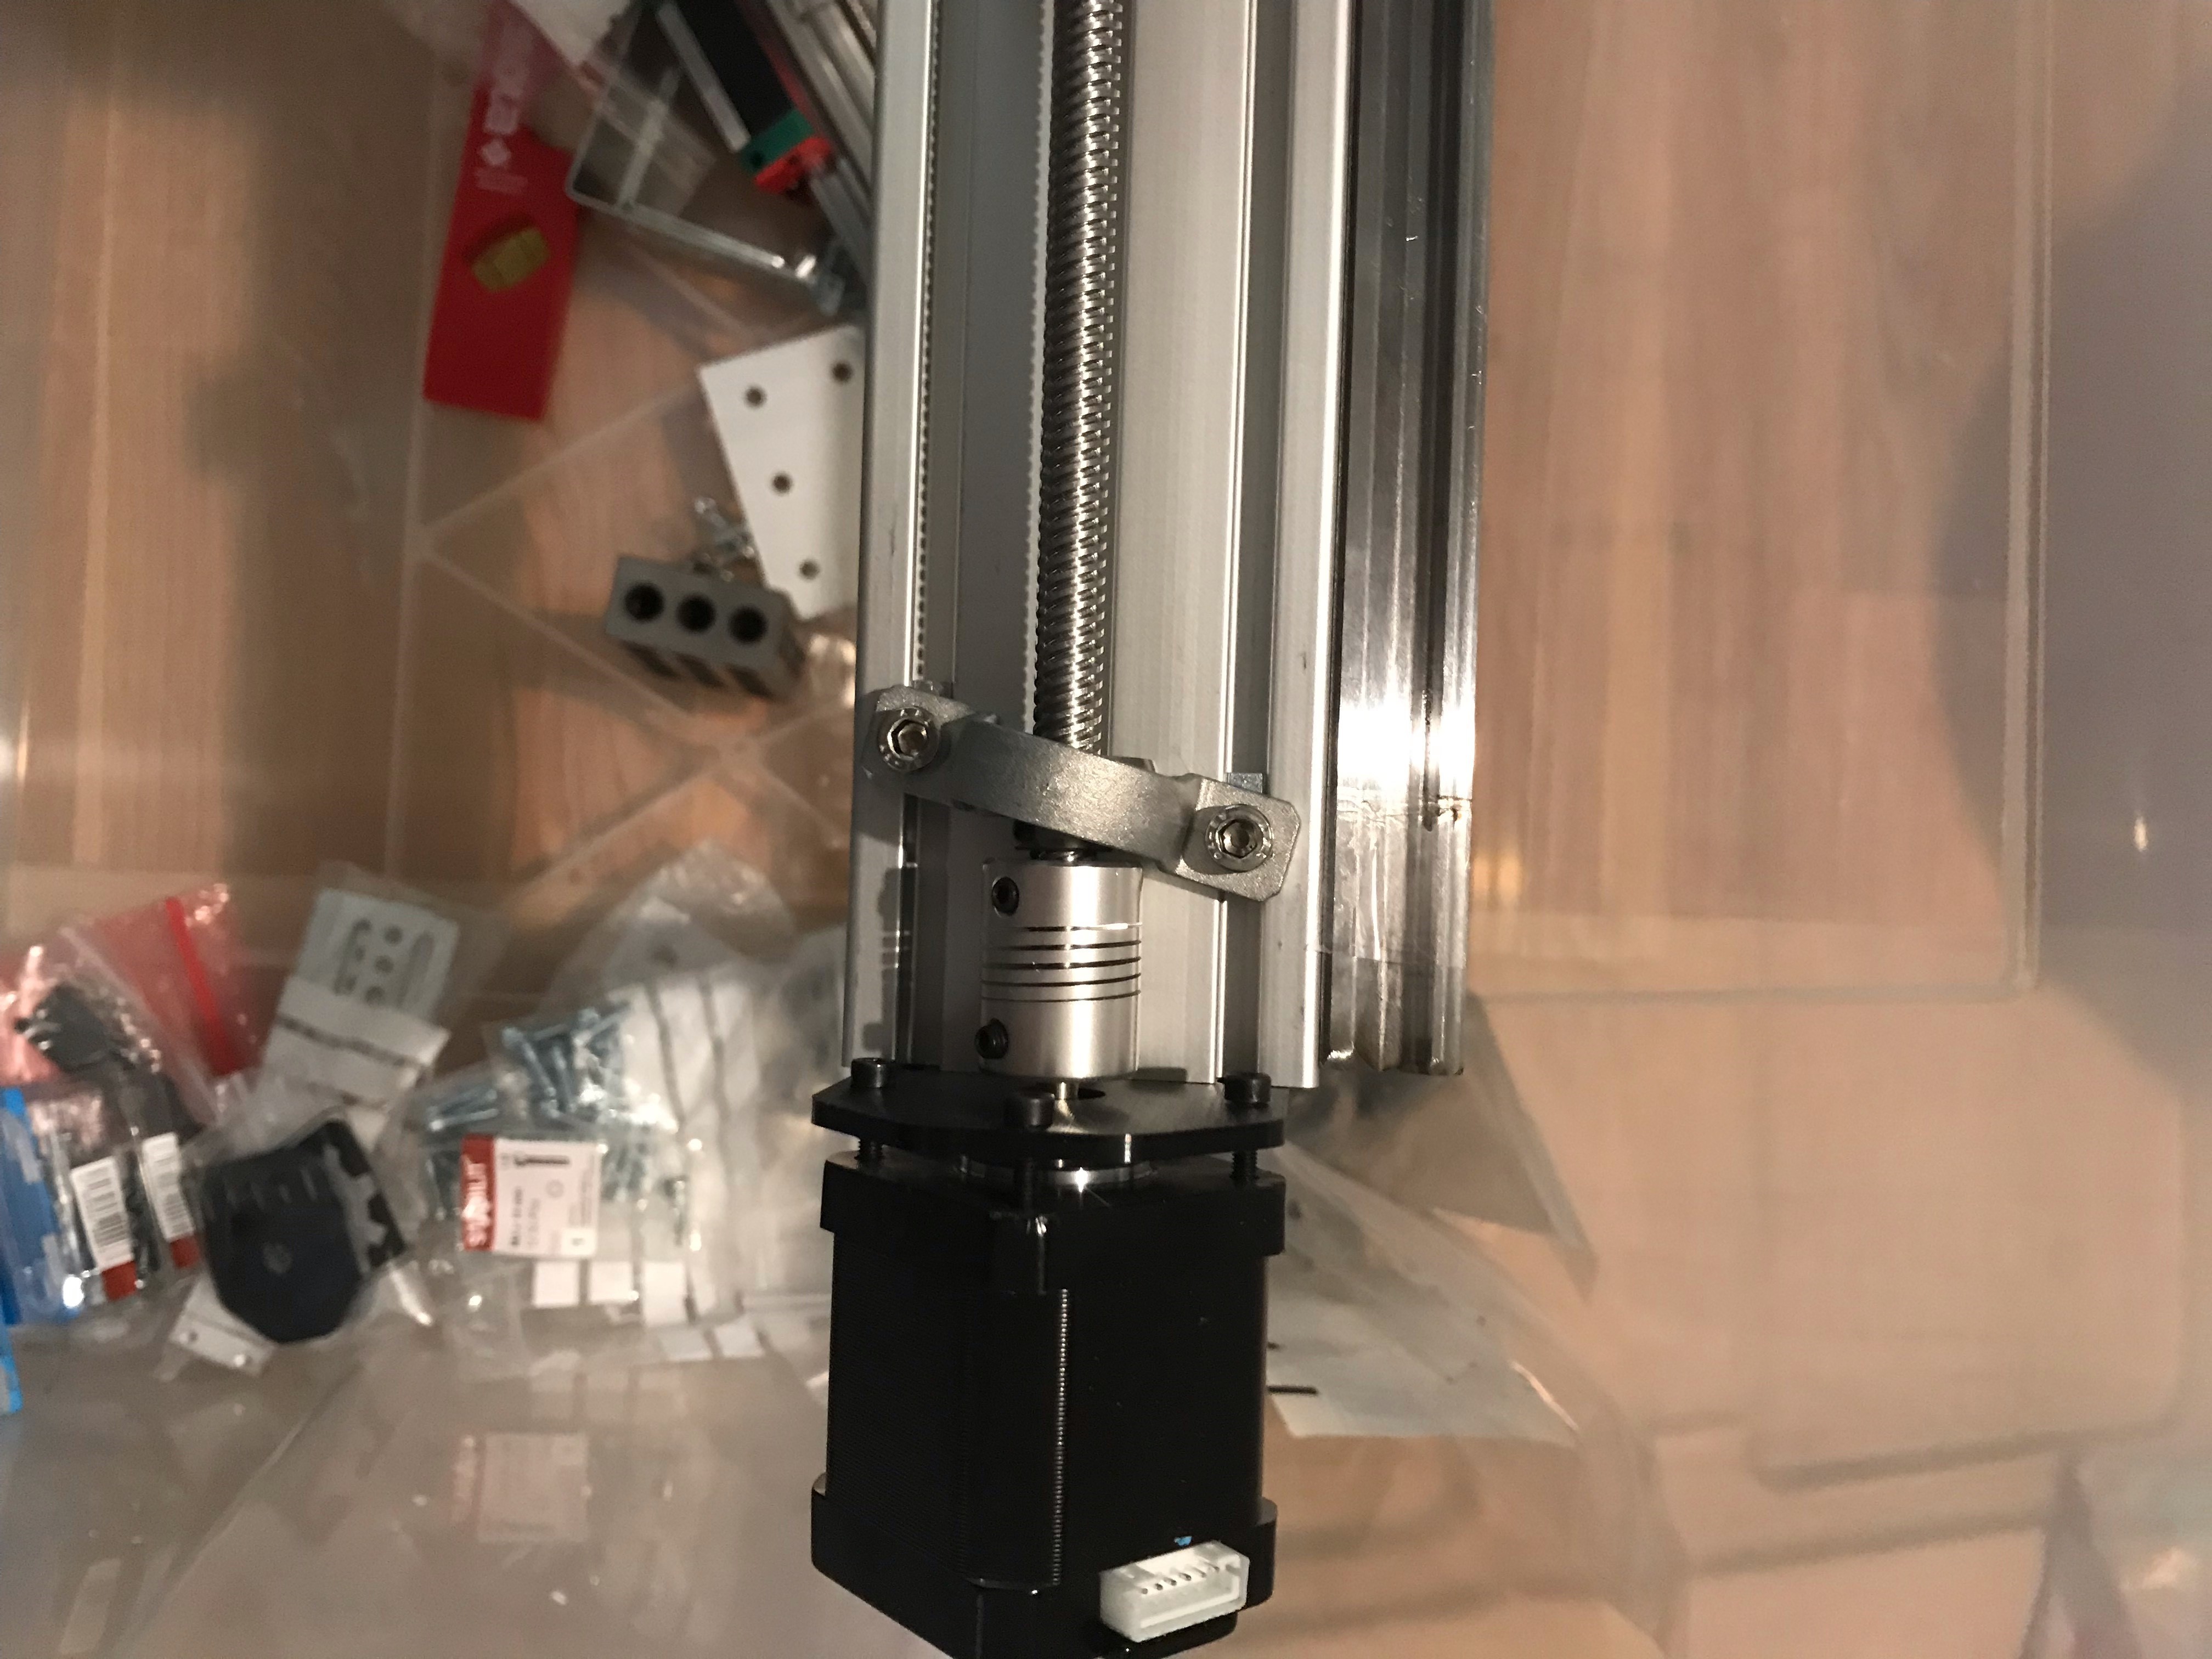
06/19/2019 at 07:09 • 0 commentsI have mounted the motors on the X axis using the Openbuild flat brackets as they seem to fit quite well. I have also started to put together the Y axis but will have to do some adjustment and make new spacers underneath the KP08 bearings in order to accommodate to the motor height. I will have brackets made of plywood to mount the other side of those bearing as well as the motor bracket.
Here's a picture of the Y axis in progress
![]()
-
Frame Assembly Part 1
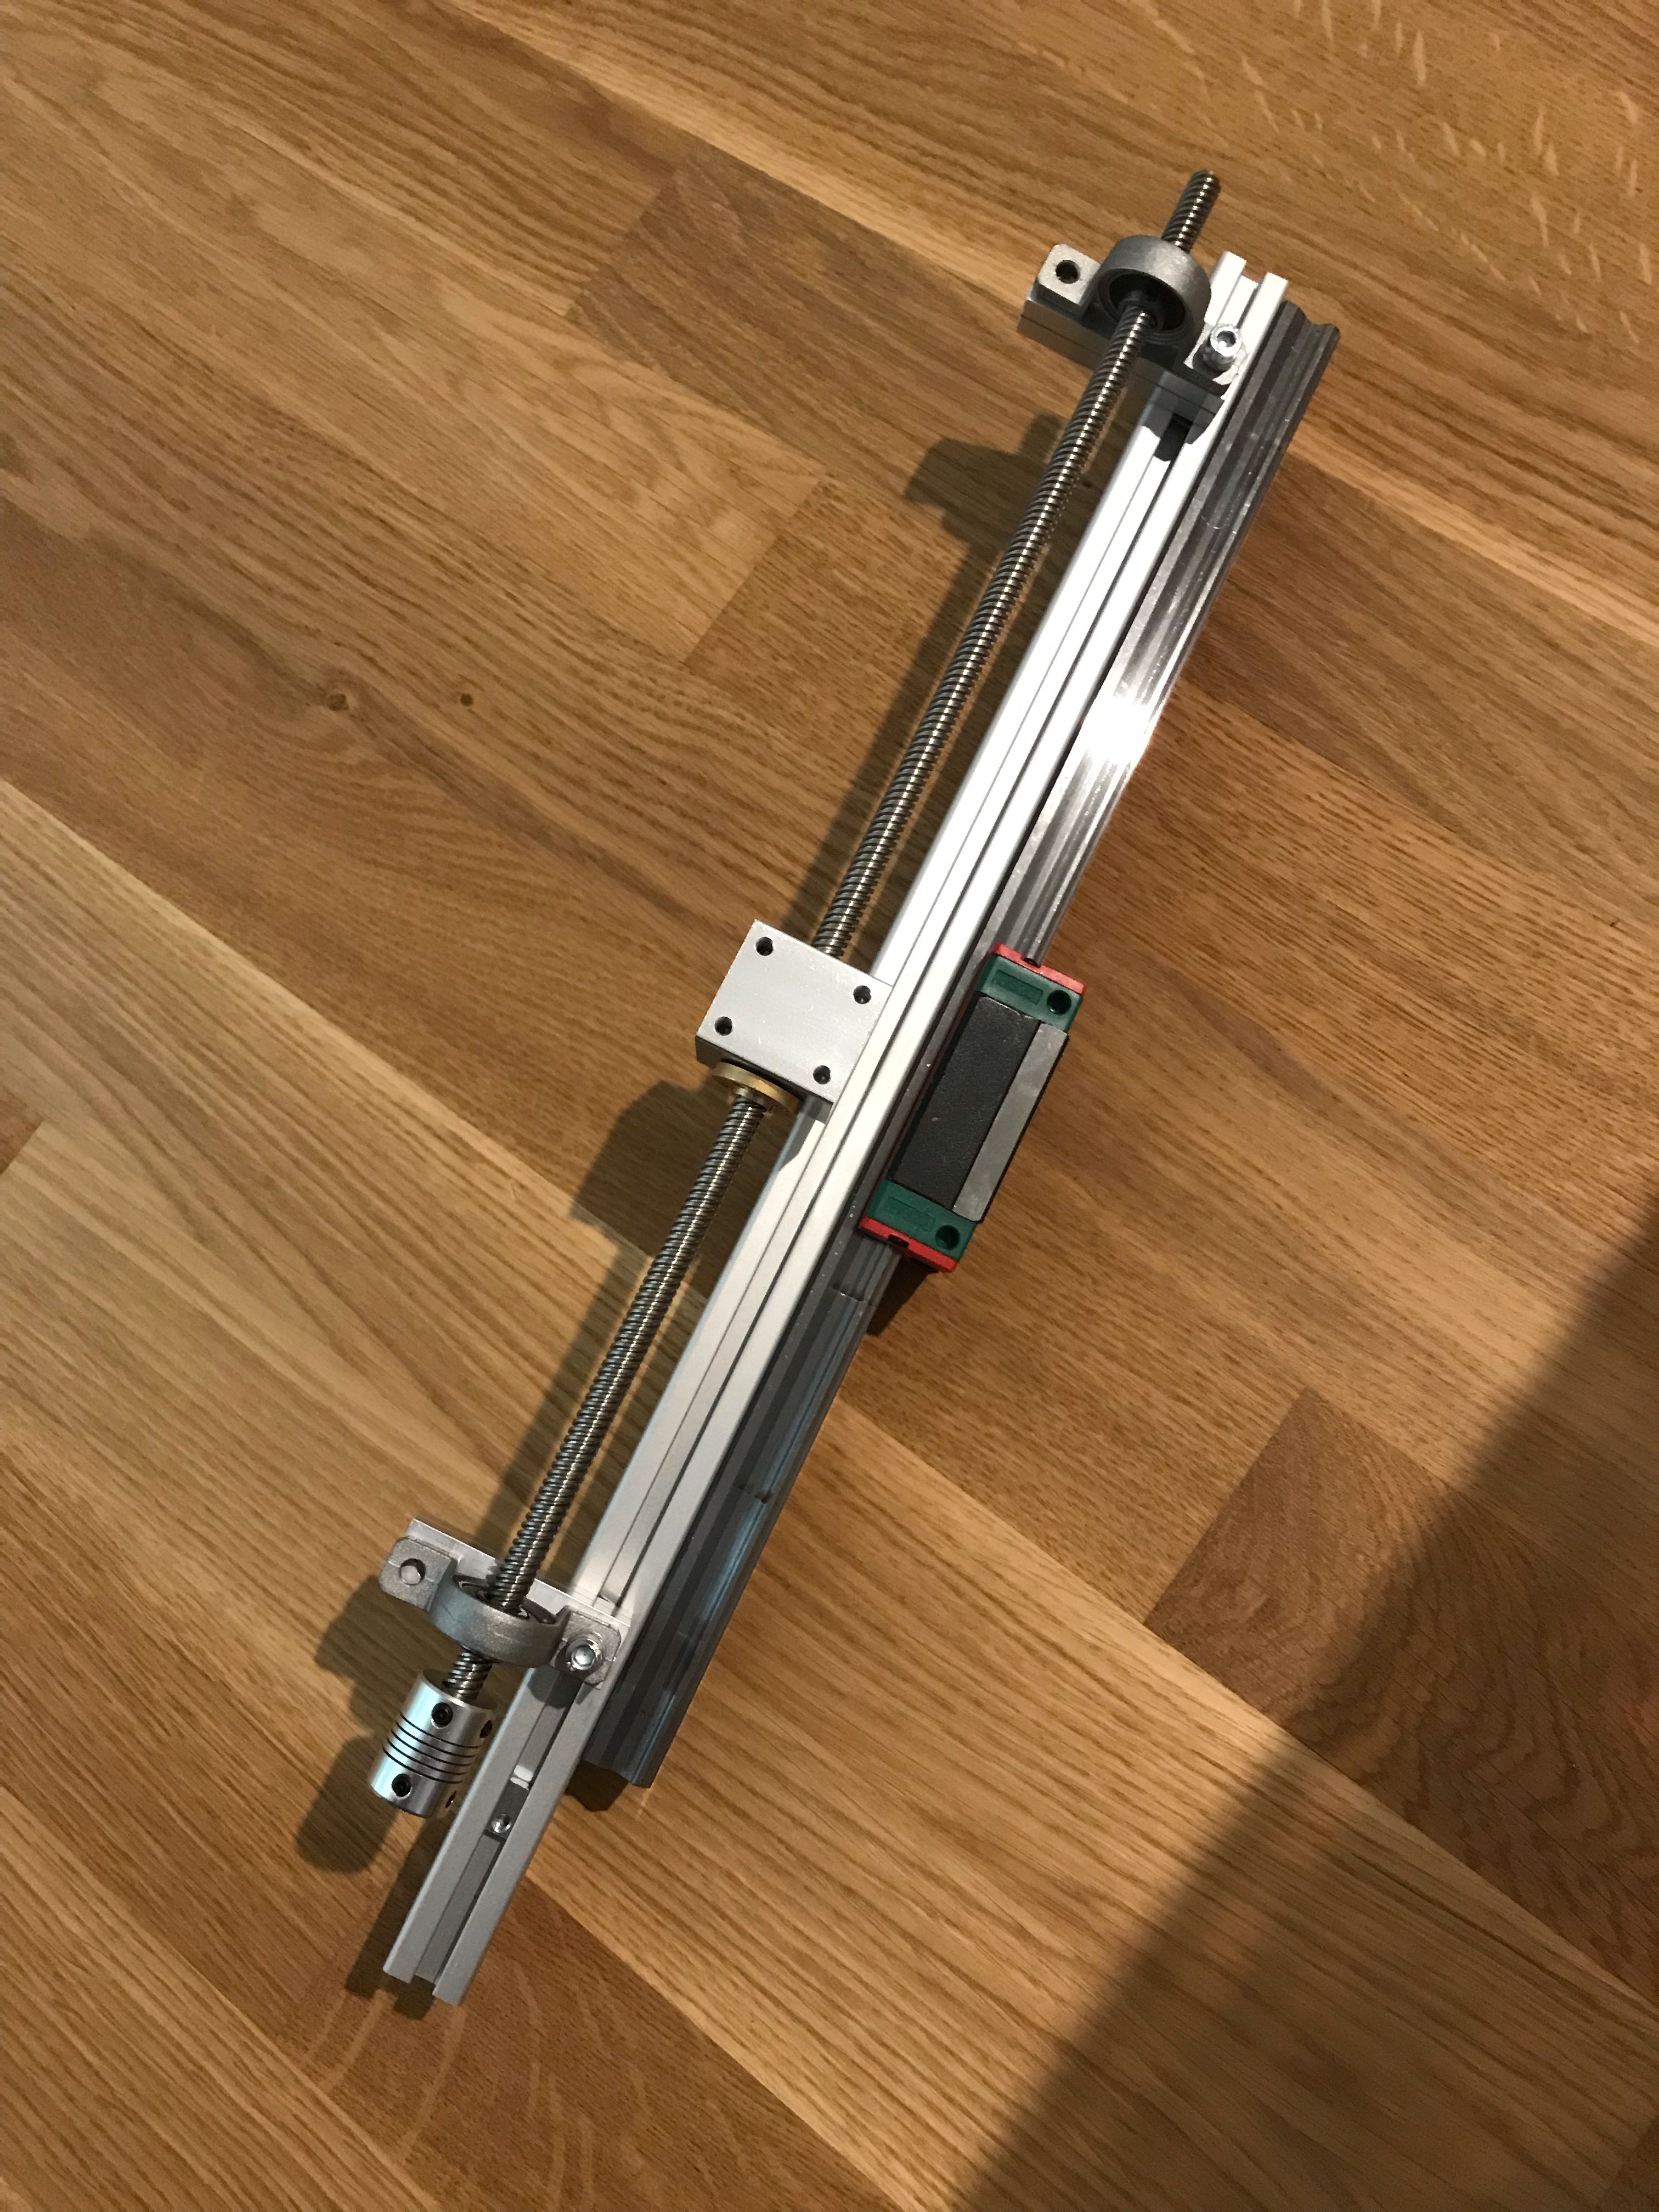
06/17/2019 at 07:18 • 0 commentsI started to put together the frame. The between hole distance of the bearings KP08 doesn't match the rails of the aluminium profile. However, those bearing have also a ball joint in order to compensate for any misalignement so I took advantage of it and 'tilted' the bearing till it was matching the rails. The result looks a bit strange and crooked but it looks like it will work
![]()
![]()
-
Initial tests + setup of the stepper motors and CNC Shield
06/11/2019 at 08:47 • 0 commentsI received the controller as well as the stepper motor and did some tests with them.
CNC Shield v3.0+Arduino Knock Off from Banggood
I used the CNC shield v3.0 from Banggood as well as some DRV8825 stepper drivers. I'm using GRBL v1.1 for the firmware which seems to work well so far. I'm using a Macbook and a knock off of an Arduino Uno. The knock off keeps crashing my laptop and I thought it was due to a shortcut but is in fact a well known issue that only requires to install a driver.
I have ordered in parallel an official and recent CNC shield from Protoneer. The main reason is the new board has some capacitors integrated to filter any noise which is nice because the steppers are generating a lot of it.Precautions
There are few precautions to take with the setup that I learned after burning one of the driver:
1. There's a trimpot on the driver board that needs to be adjusted before pluging in the stepper motors.
2. Do not plug/unplug the steppers or the driver while the power is on
As a precaution I have set the Vref (between the GND and the trimpot) at 800mV which means the current should be 1.6A. The steppers are rated at 2A but I will start at a lower value given the drivers are heating up a lot already.
Configuring GRBL:
The steps/mm (parameters $100,$101,$102) are calculated as following
The Nema 17 that I got are rated at 1.8deg/step which means there is 360/1.8= 200steps /revolution by default.
I have also setup the microstep of the driver to be at 1/8 which means the output is now 200*8=1600 steps/revolution
When I rotate the lead screw by 1 turn, it moves by 8mm which means the steps/mm is: 1600 steps/revolution / 8mm/revolution= 200steps/mm
This is enough to start with and I will do some more accurate measurement when everything is in place in order to calibrate the system.
 vincentmakes

