-
Back on the Track
03/20/2018 at 19:42 • 0 commentsHere's a video of Wheatley back on the track:
Since the last project log, I have finished and perfected the eye movement mechanism. Everything has been mounted again and Wheatley is up on the track. The track is made out of plywood and screwed into the ceiling.
The only things left to do are to put skin on Wheatley and program movements to go along with the quotes he says. I actually made one movement like this for when he says "I am not a moron!" It is at the end of the video above. If you want to know how I did this, download the "Wheatley_Master_Arduino.ino" code.
-
Eye Movement
01/08/2018 at 18:02 • 0 commentsI just finished building a mechanism to move Wheatley's eye around. Here's a video:
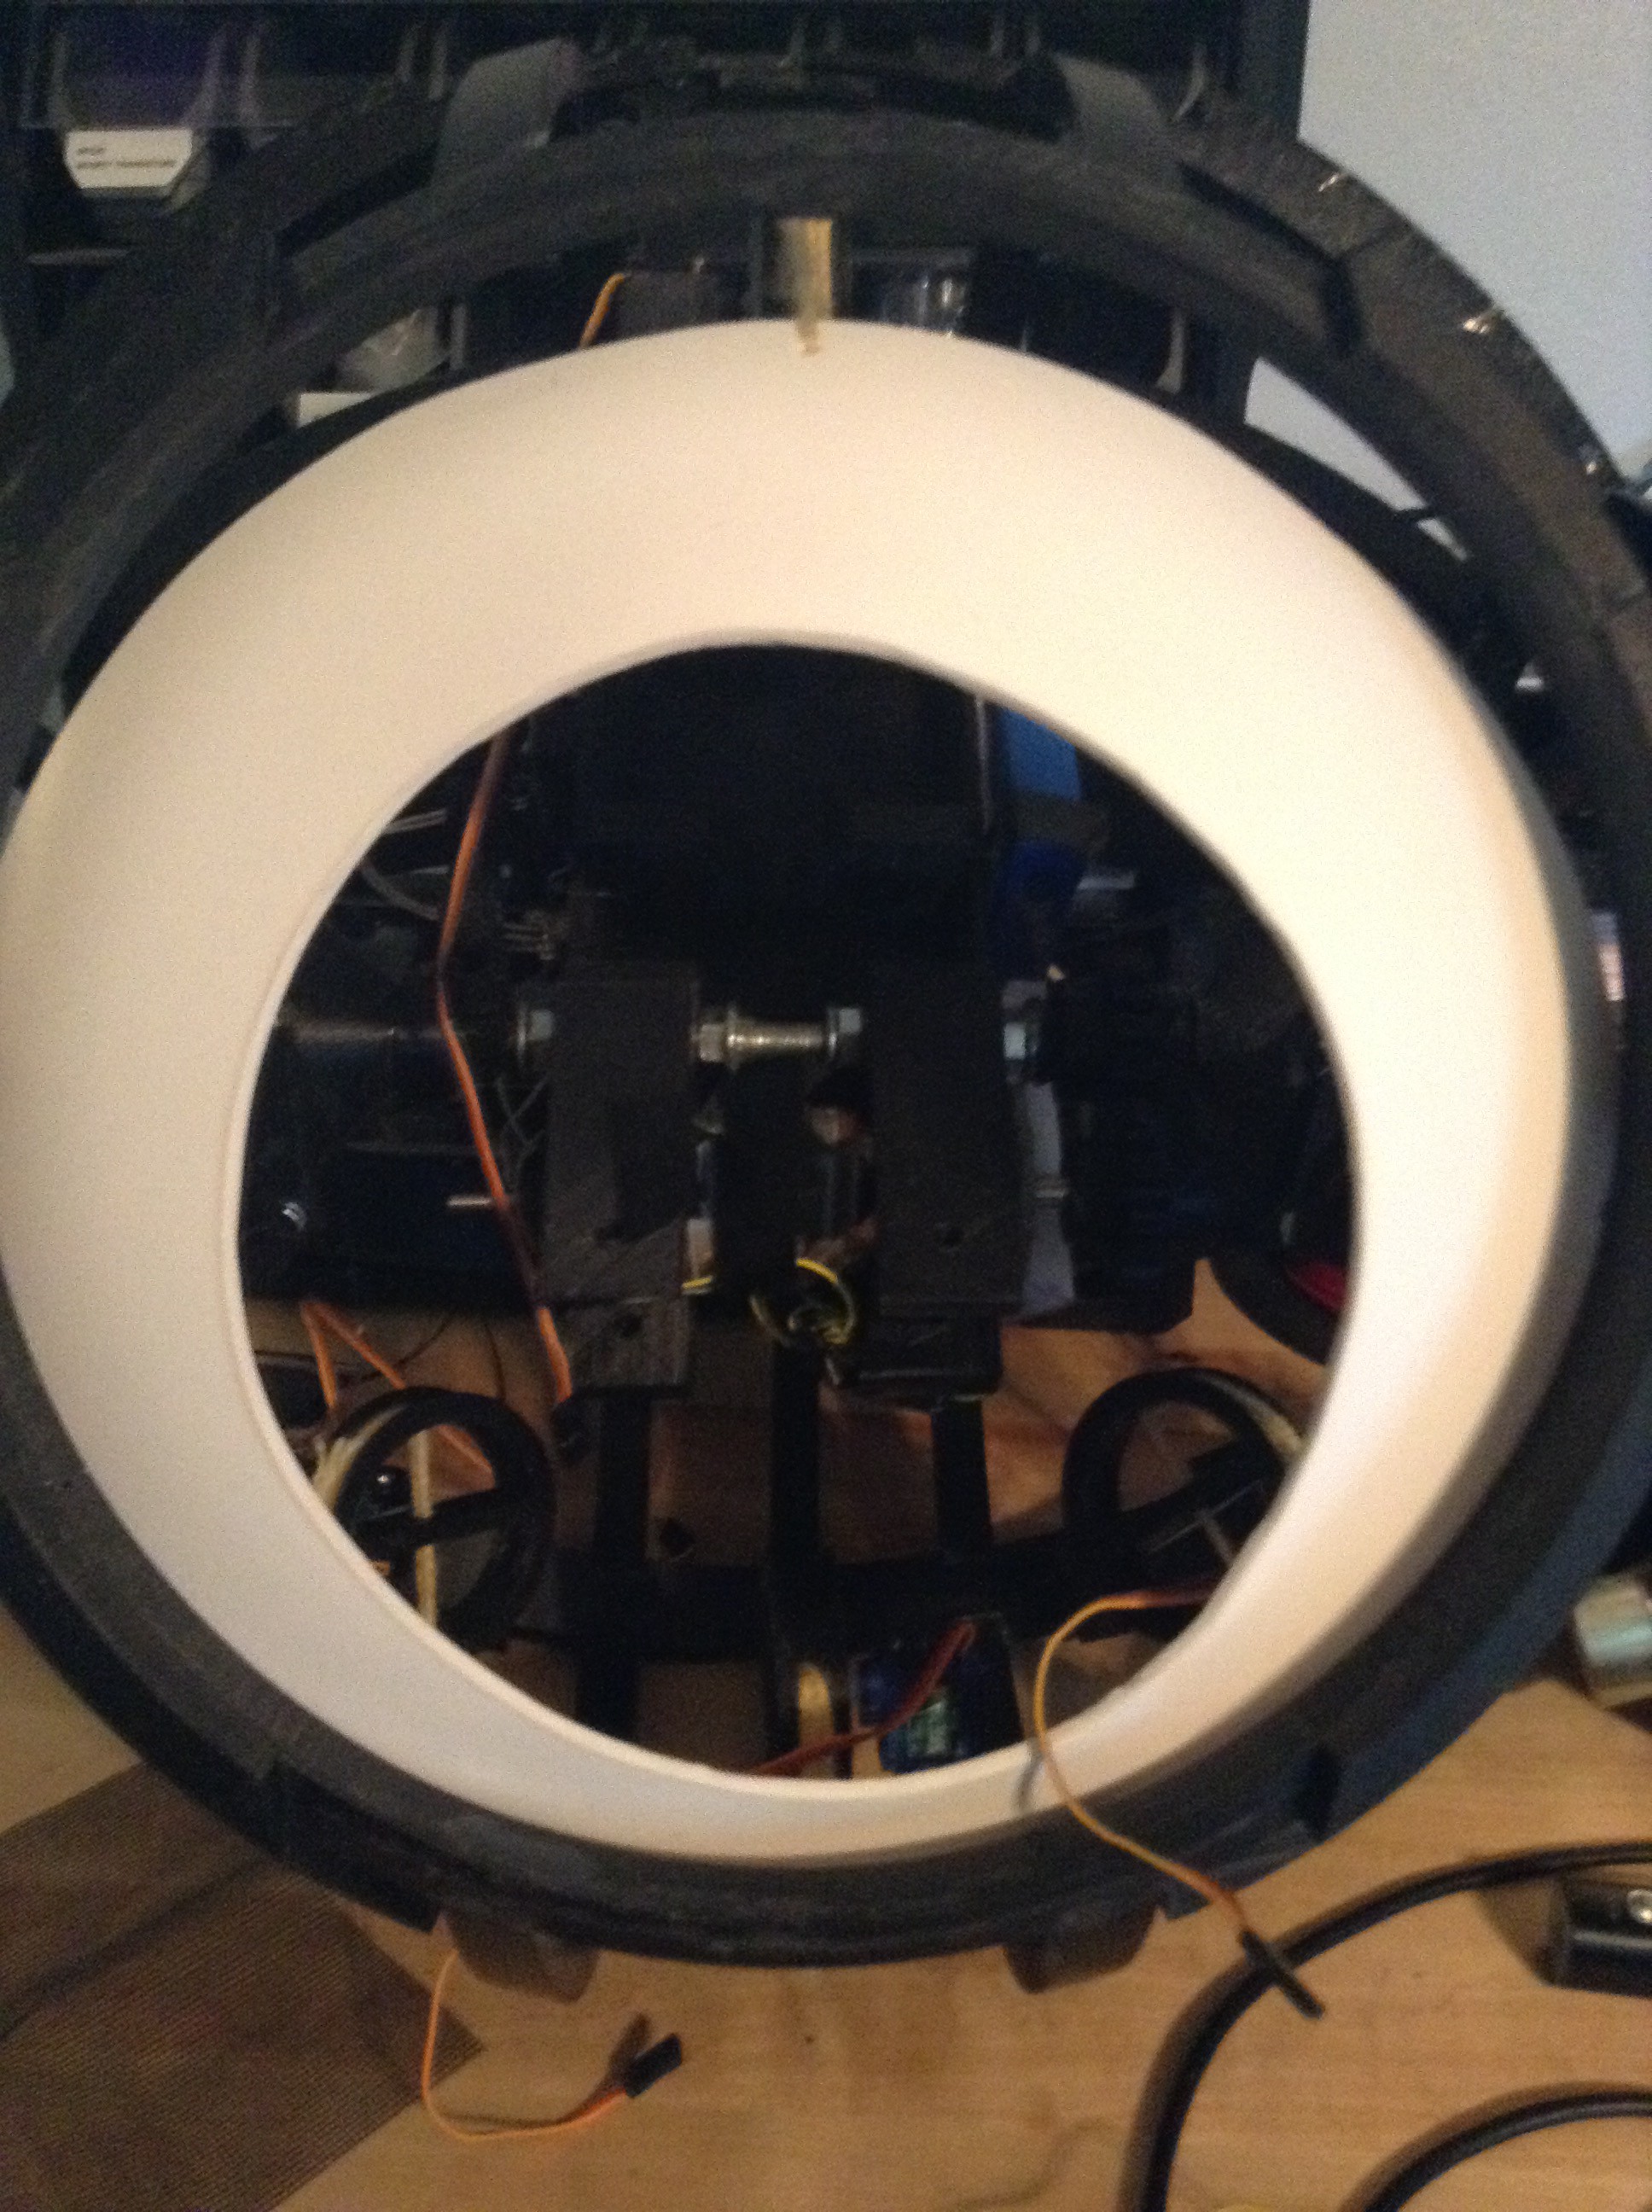
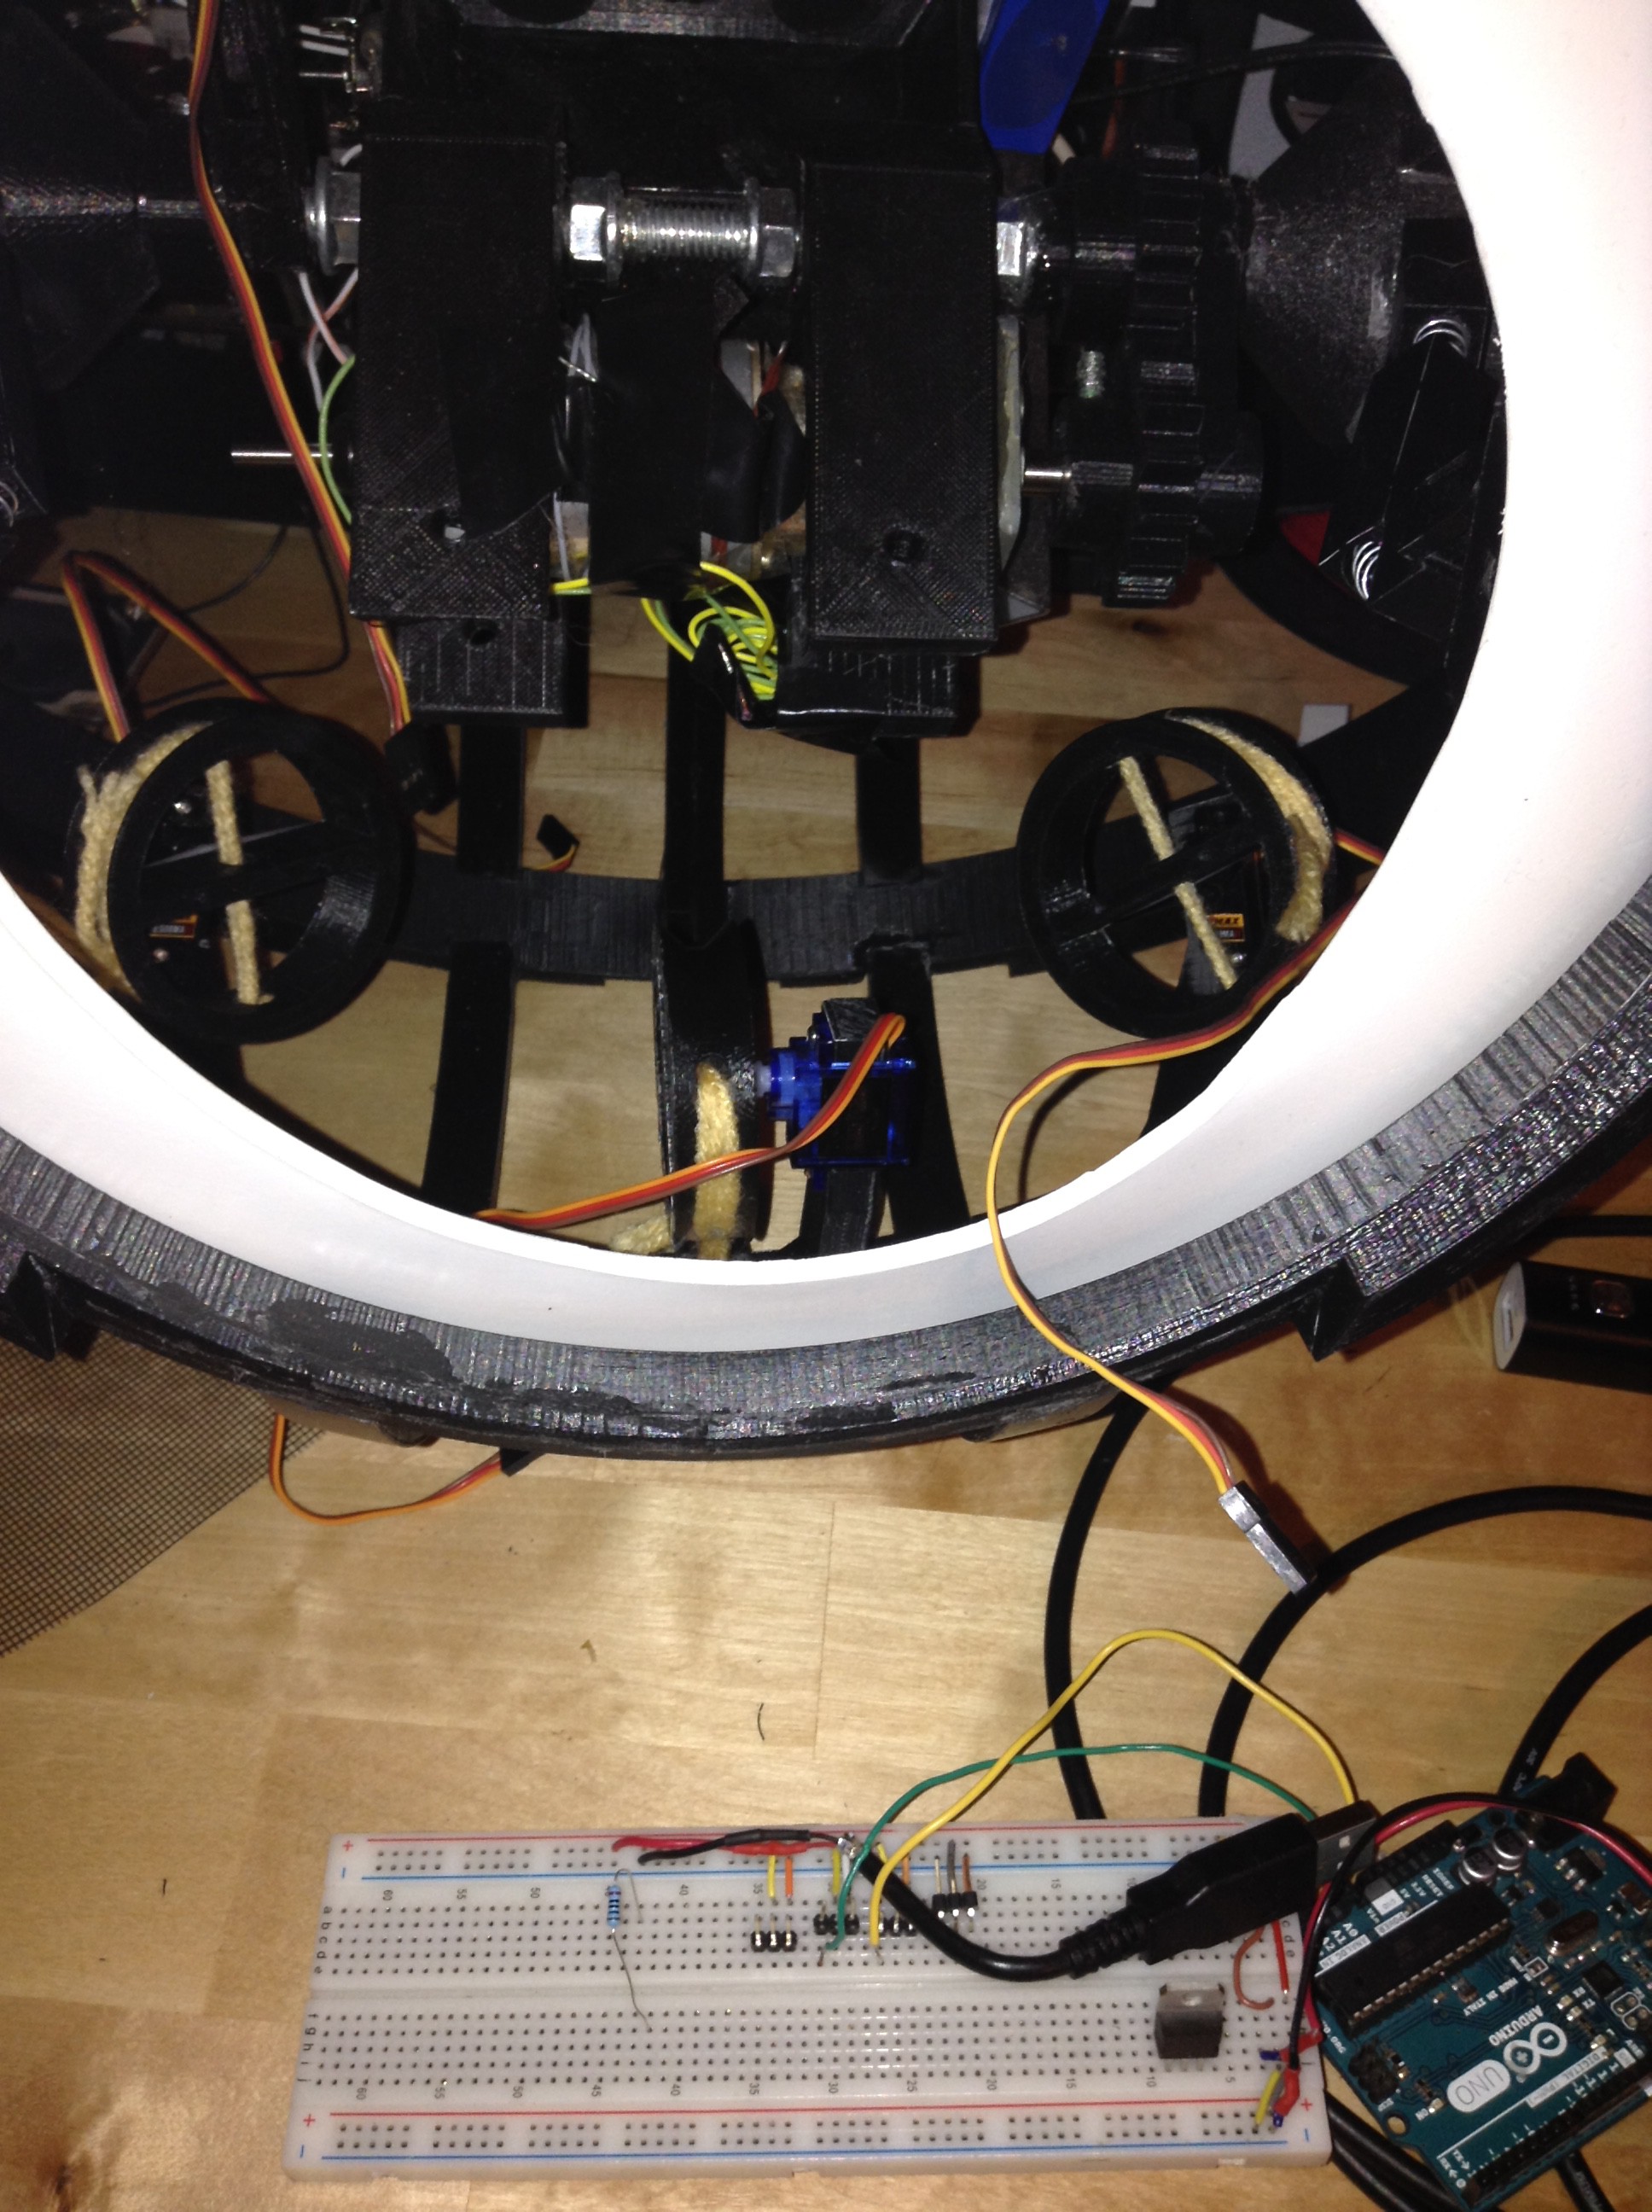
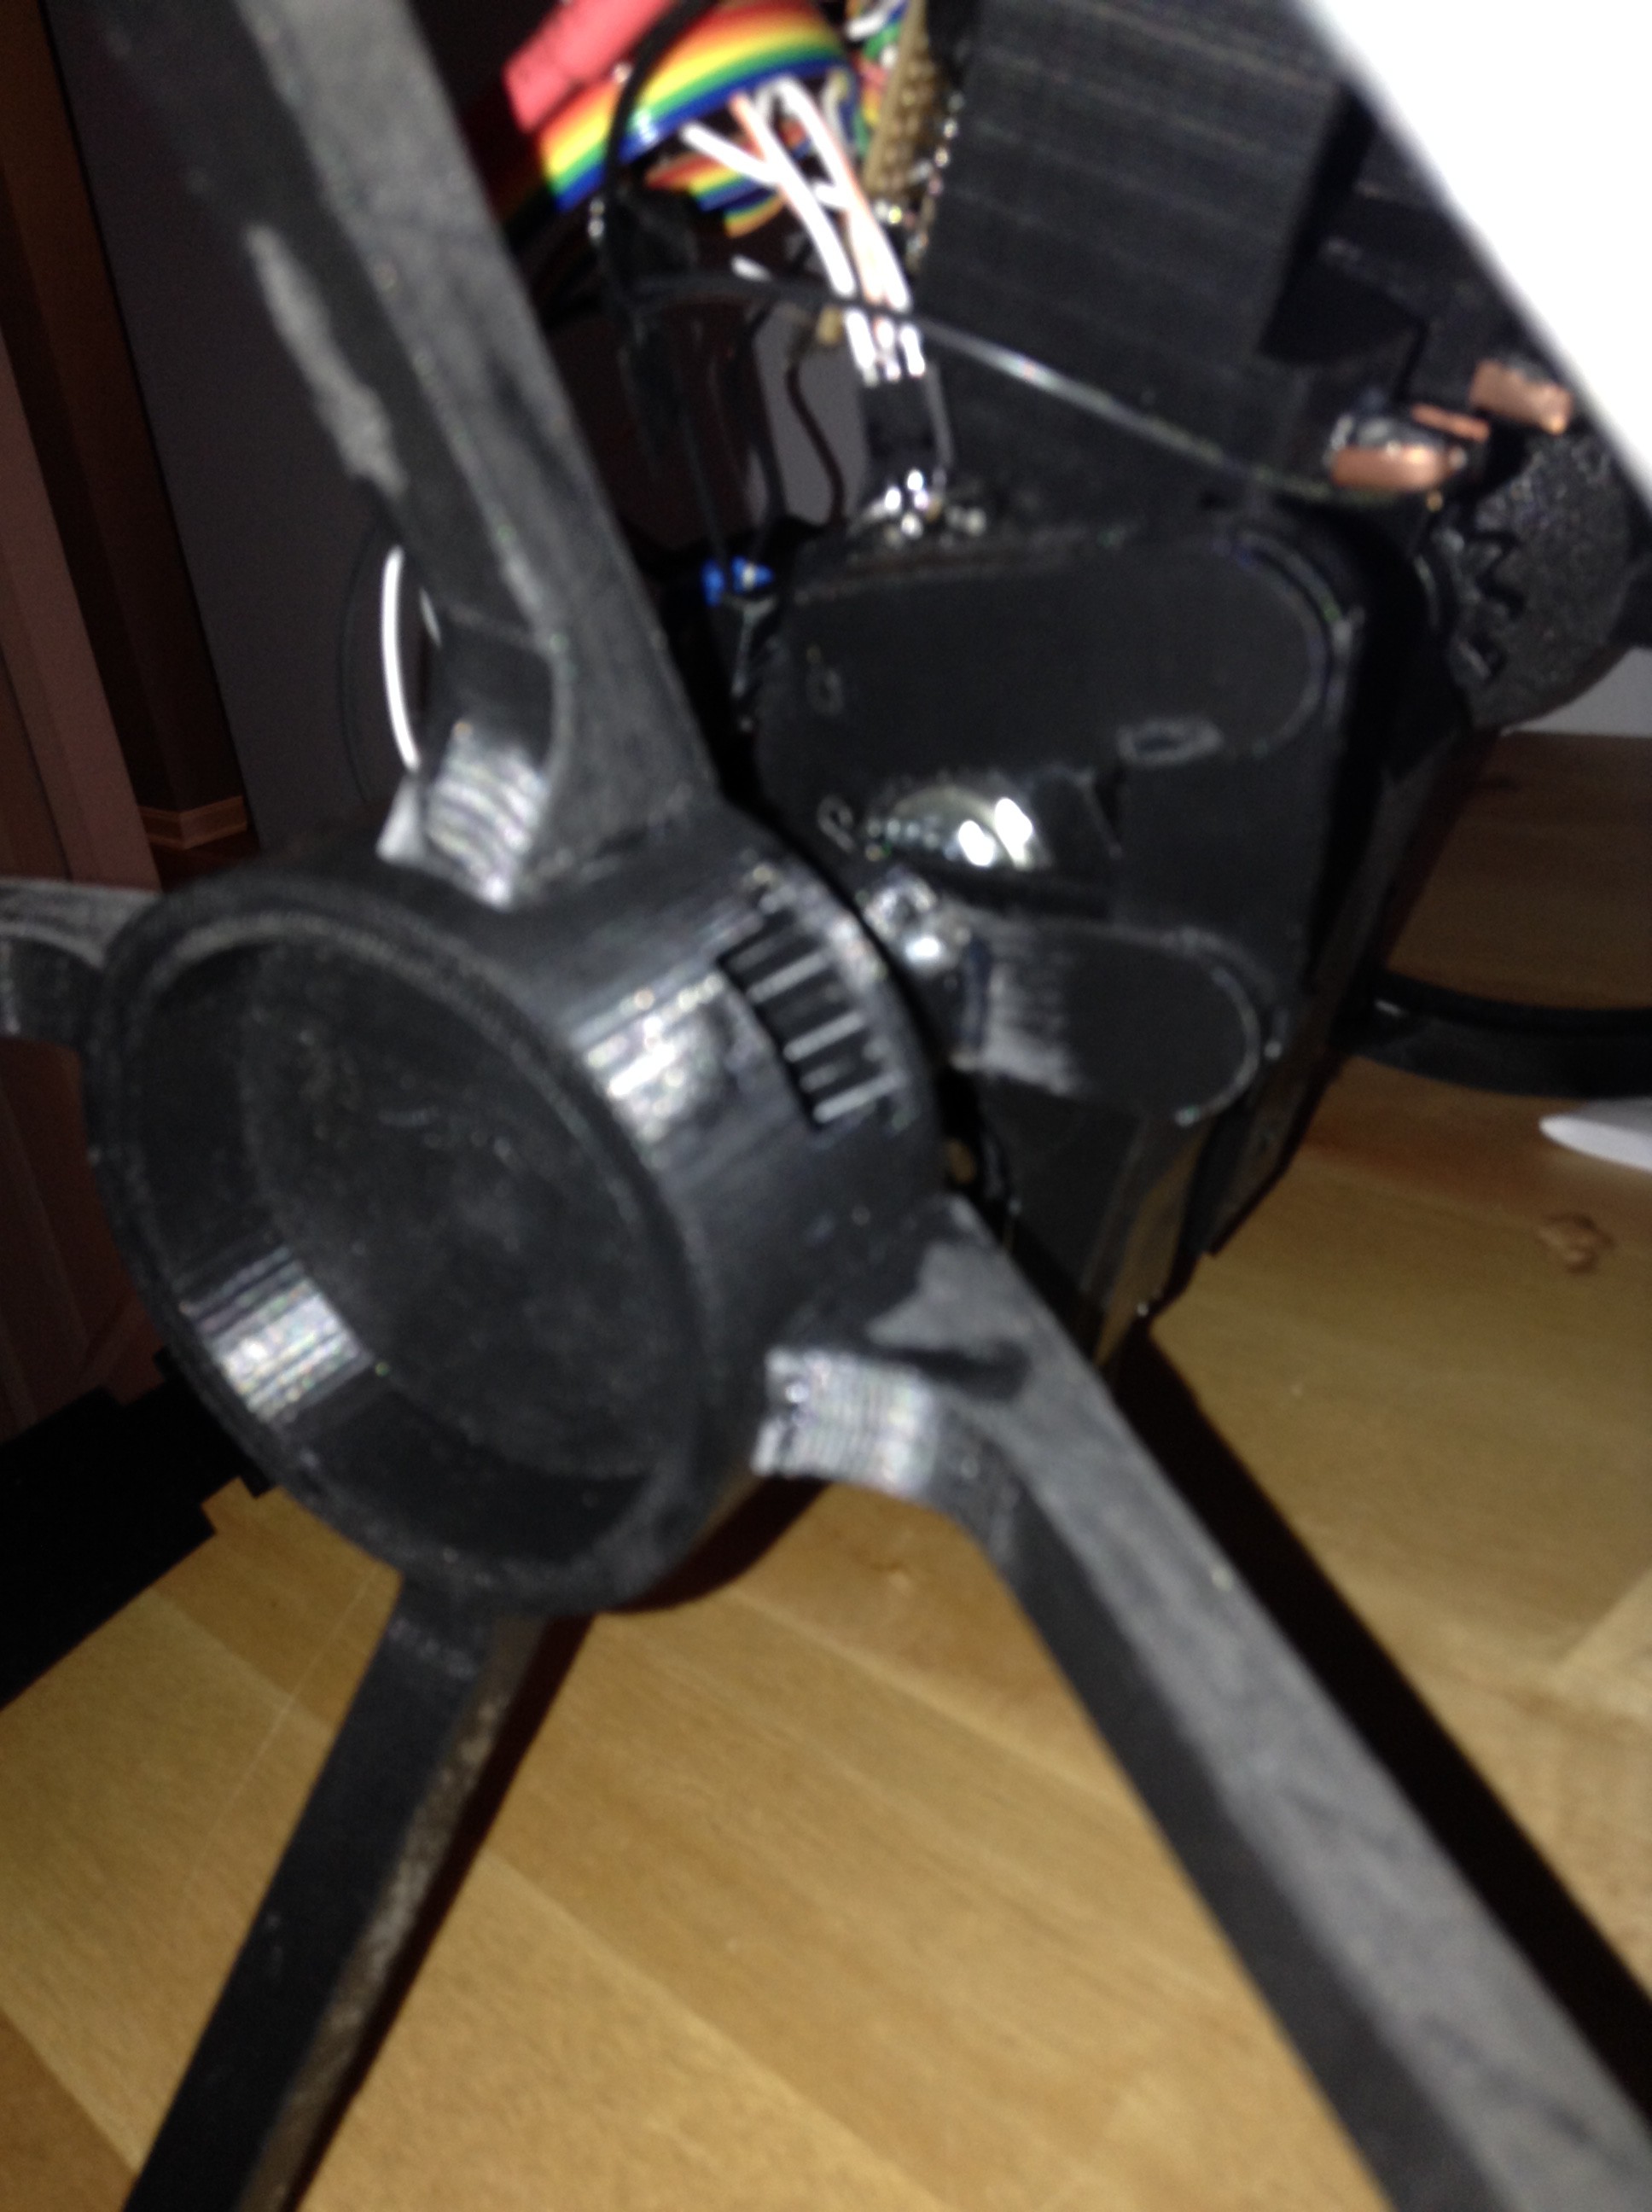
The eye piece that I build previously screws onto the black piece that moves. The eye is pushed by two different rods connected to servo motors. The motors are controlled by an Adafruit servo control board, just like the eyelid servos are.
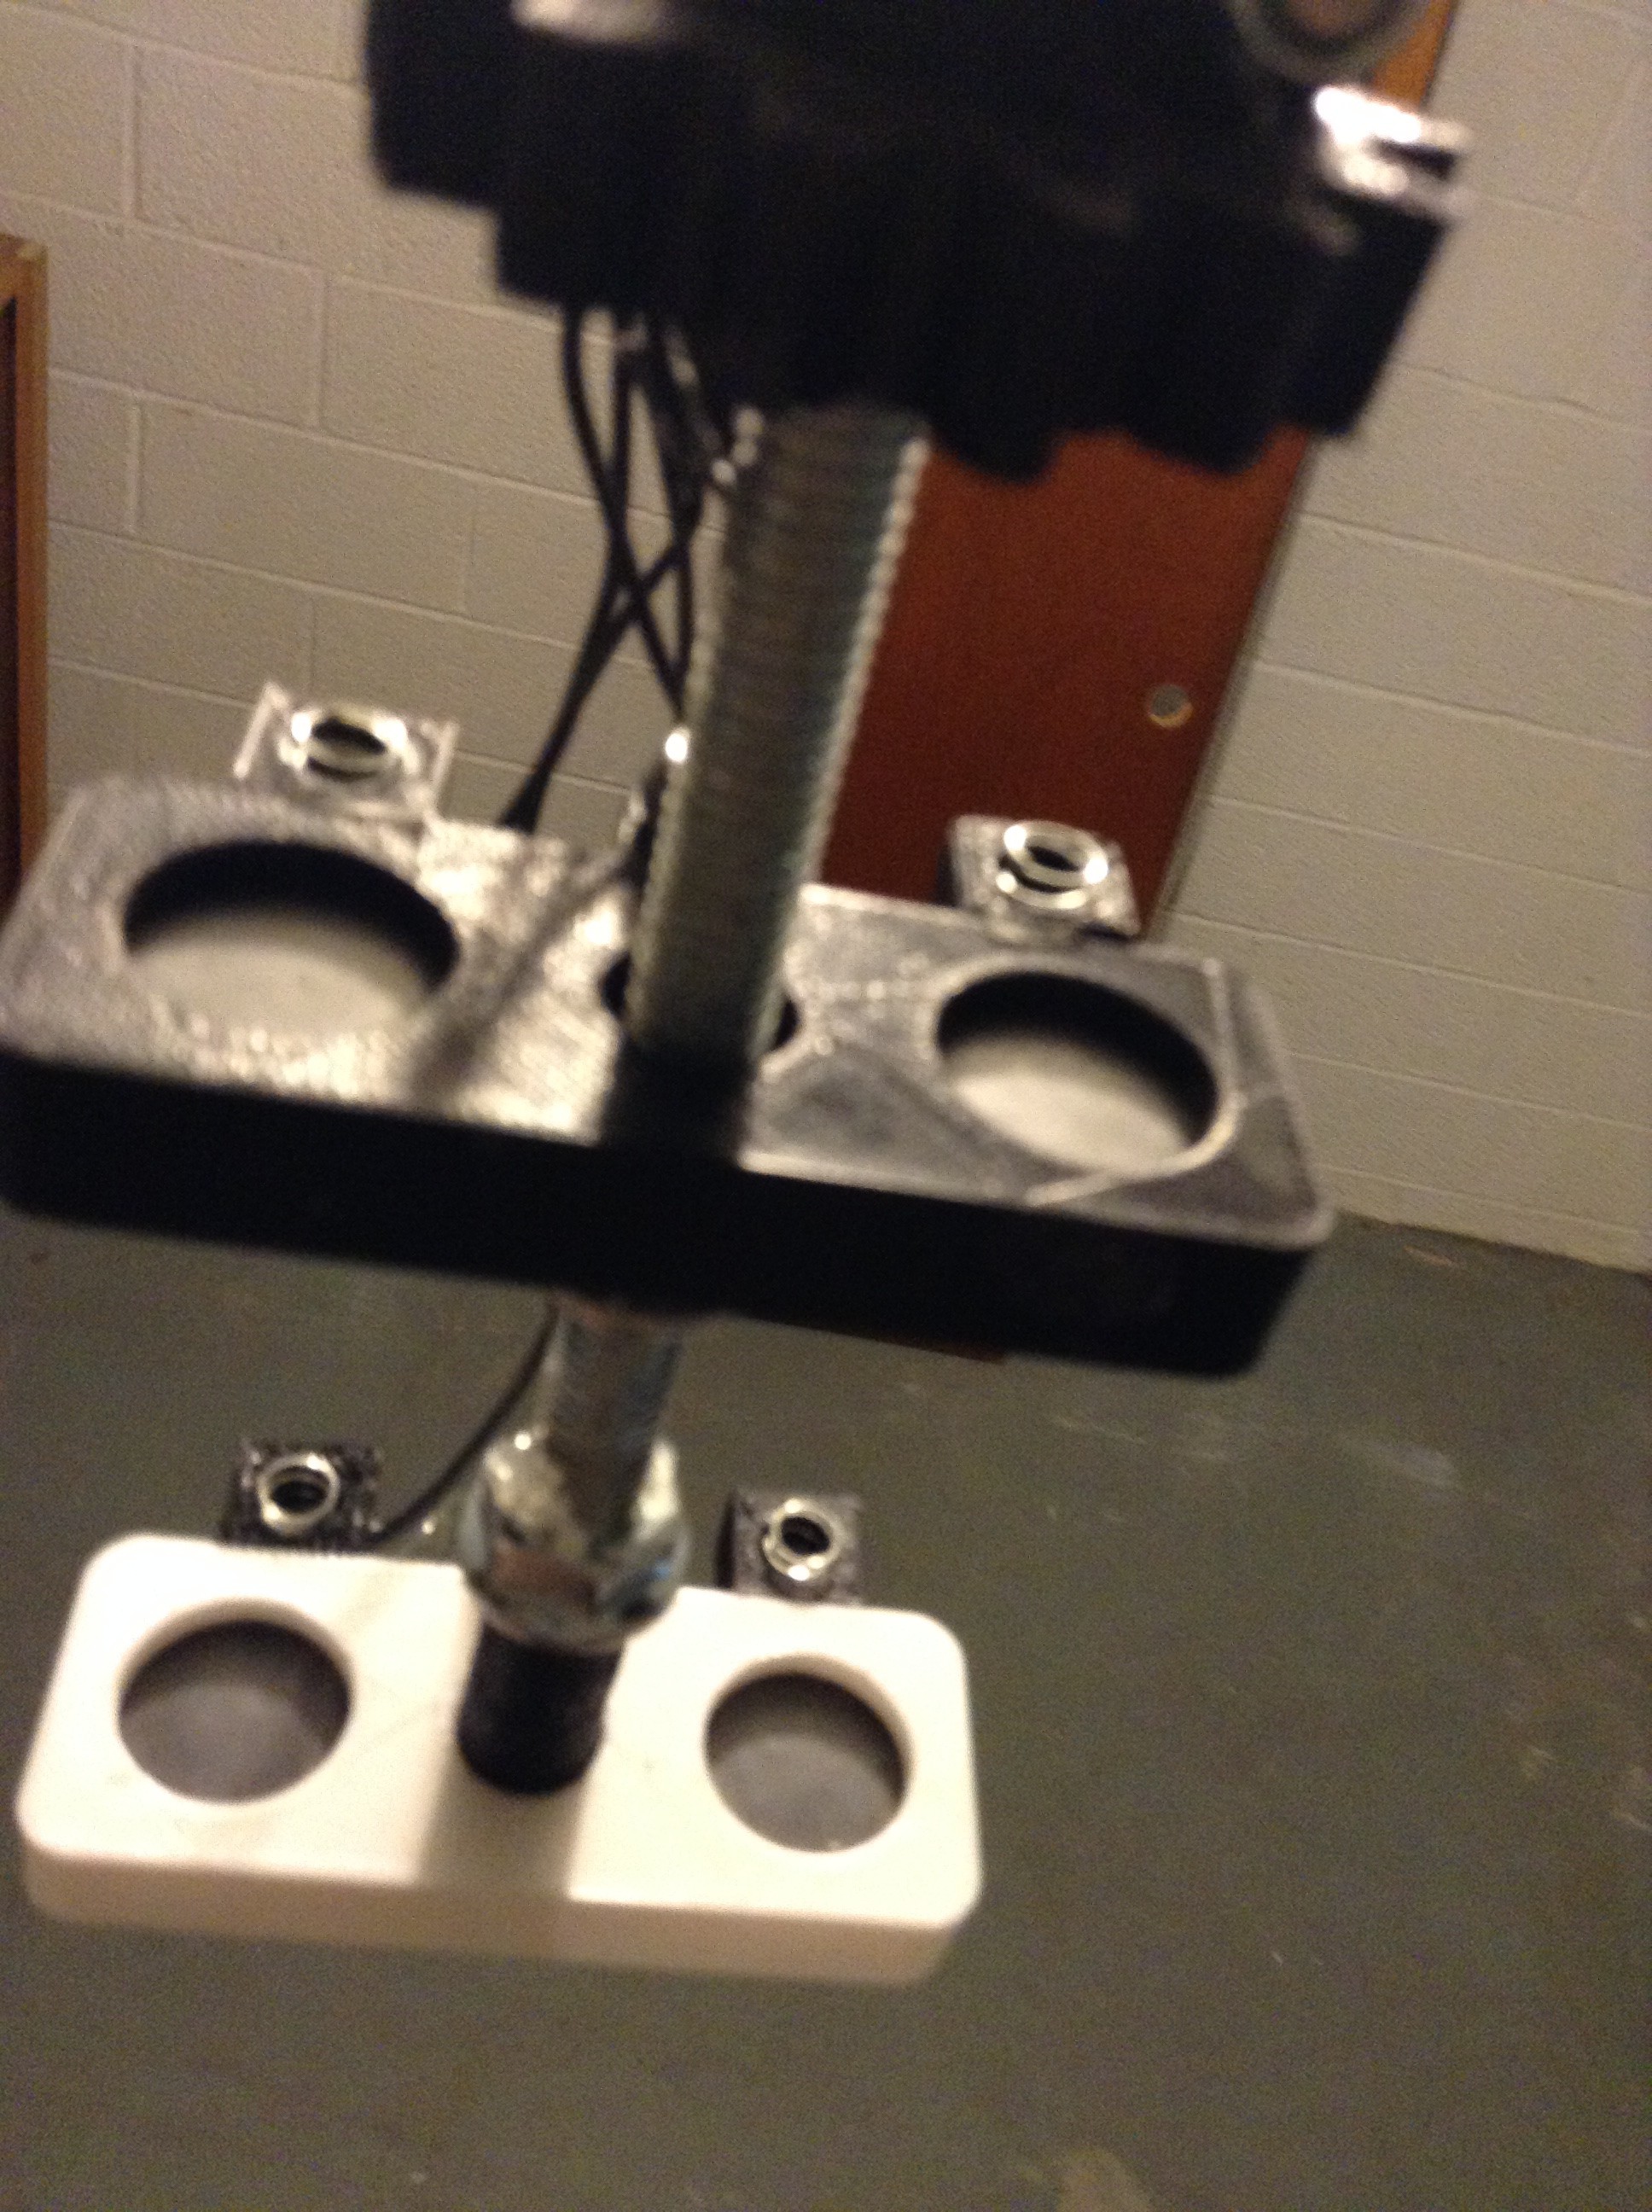
Here are a few more pictures: -
Eyelids
11/29/2017 at 23:26 • 0 commentsAfter a long break, I finally got around to building the eye for Wheatley. The eyelids are moved up and down by servos behind the eye. There is a track piece for them to run in. Here's a video of the eyelids in action.
The light in the middle is a neopixel ring from adafruit as well as a single LED in the center. The whole thing is connected to an arduino and powered by a 5v portable phone changer battery. The next thing (and almost the last thing) on the list of things to do is attach the eye and get it to move around. In case you're wondering, I hope to document all of the parts I used in more detail once the project is finished.
-
Building the Eye
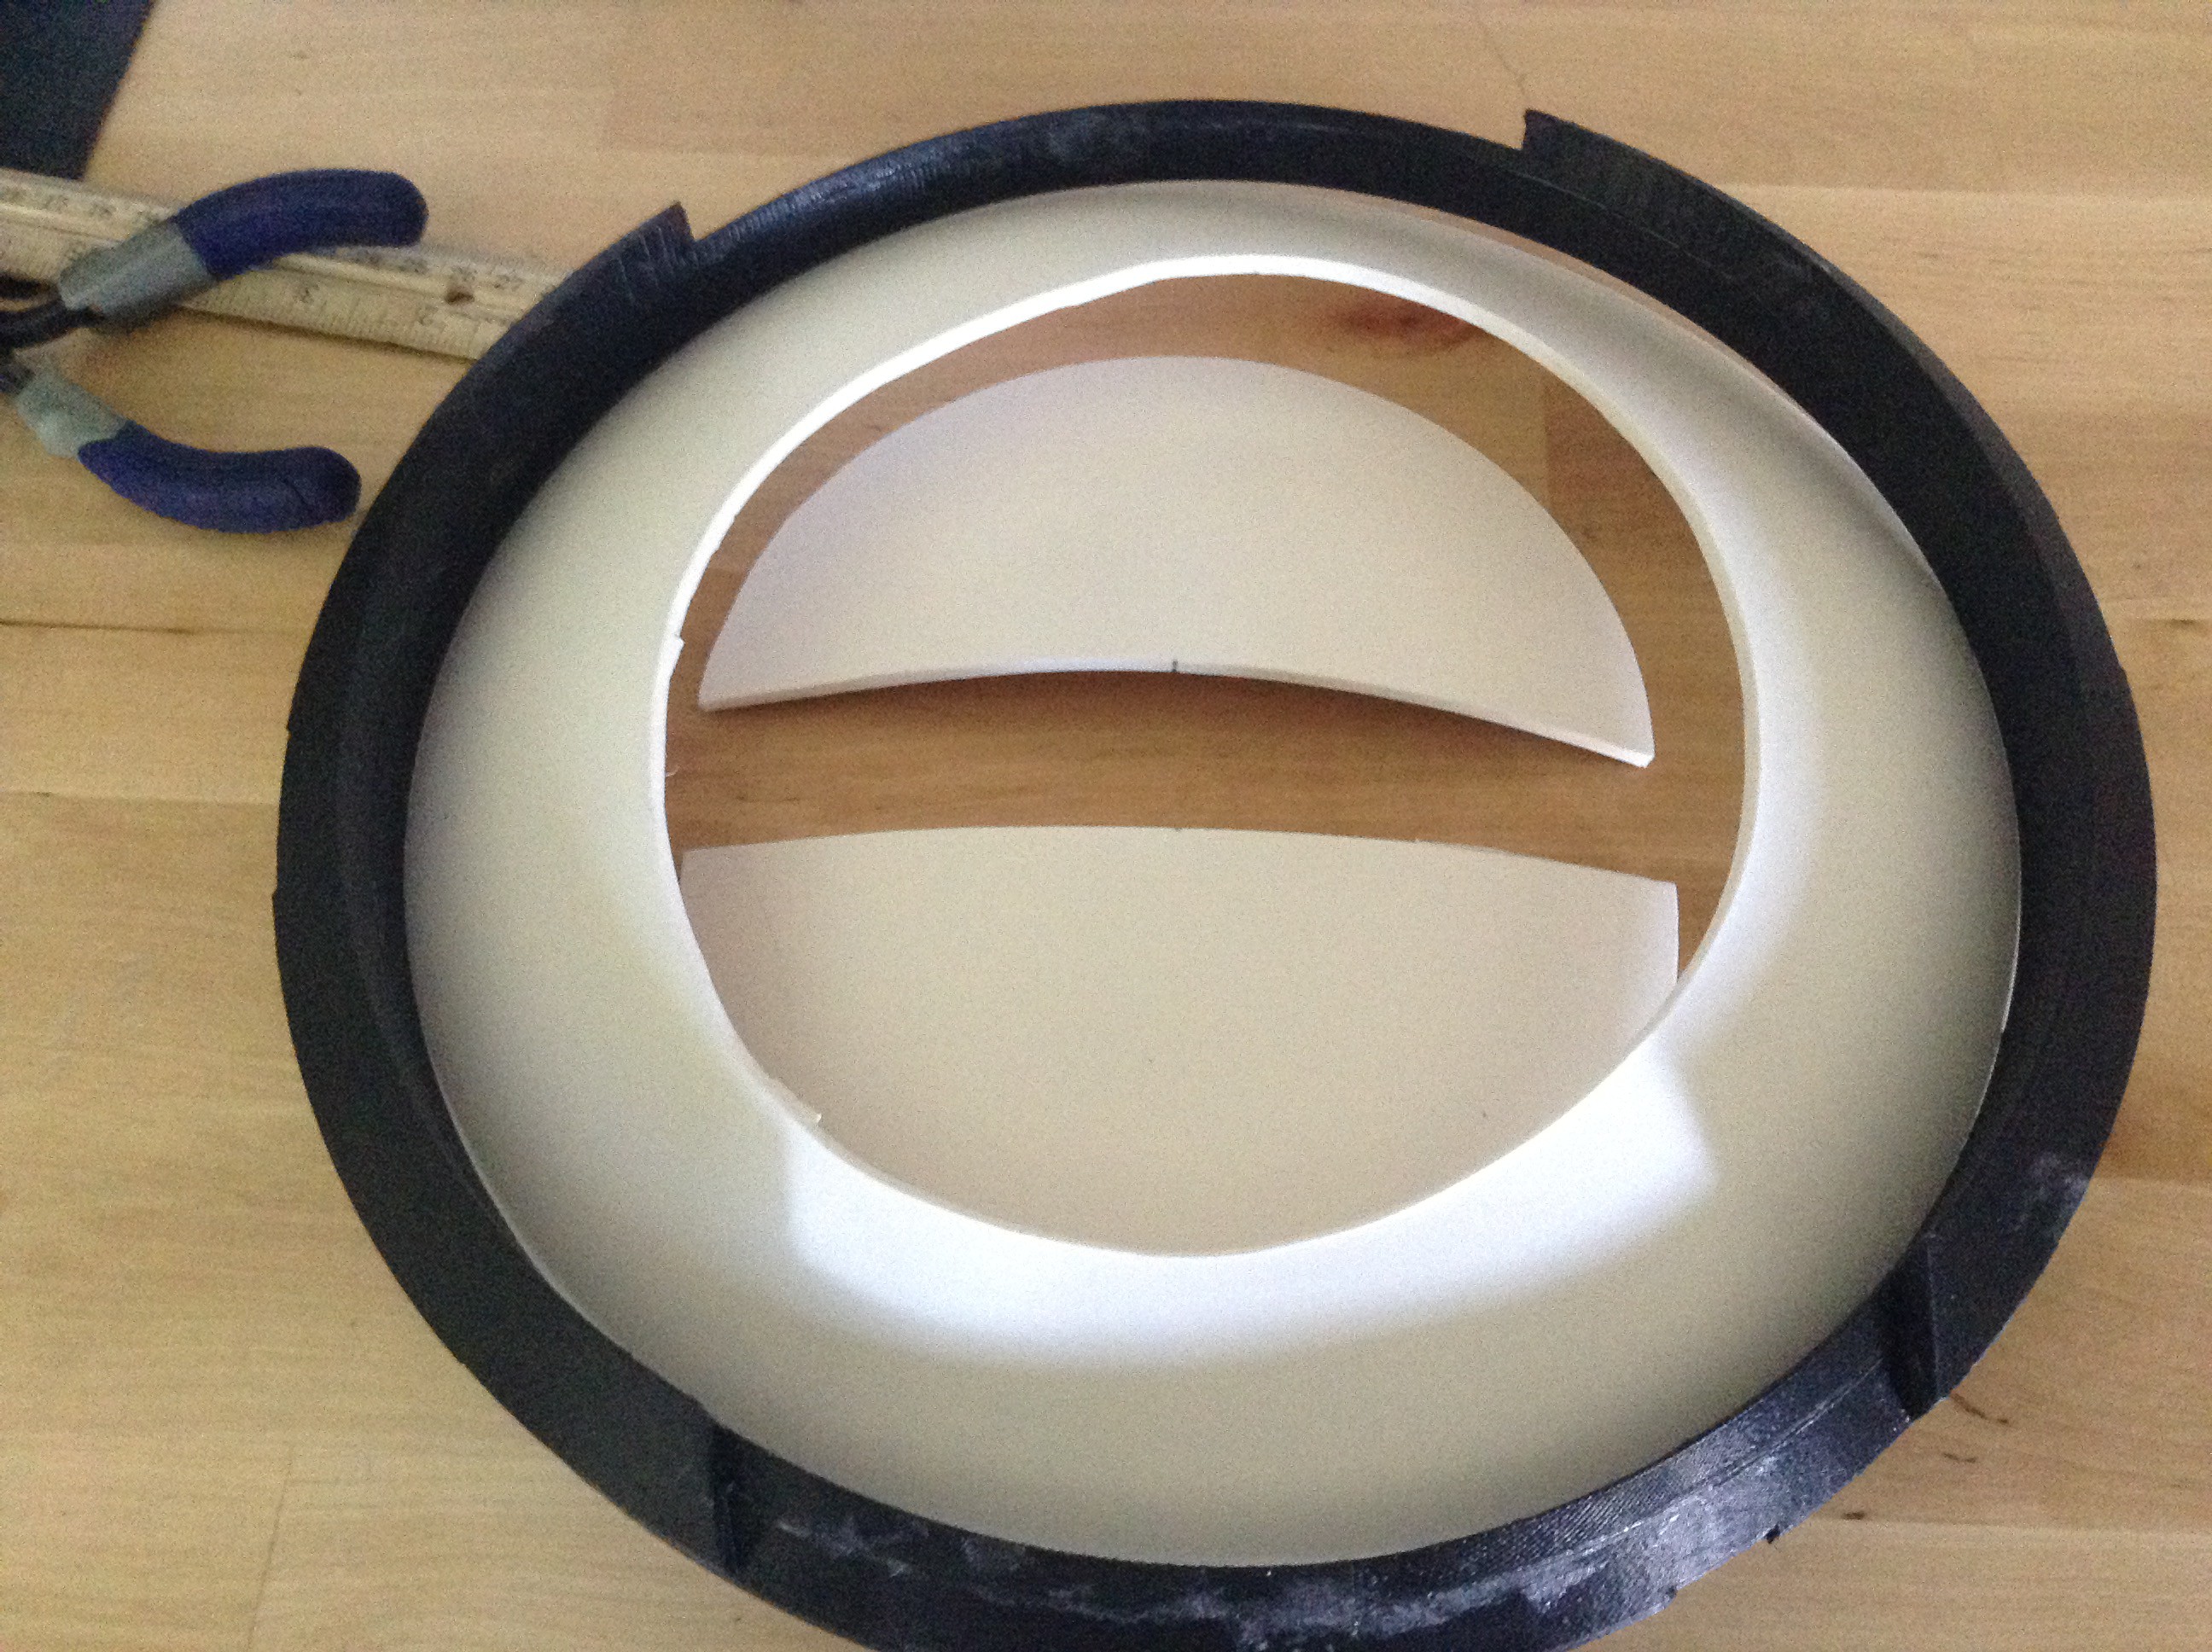
06/08/2017 at 23:28 • 0 commentsBuilding the eye for Wheatley has been a very slow process. I have been busy with a lot of things lately. It took me a while to figure out how I wanted the eye to move and I finally decided, after trying many other things, to use pulleys. I also have springs pushing the eye forward. The best way to move the eye would be for it to pivot around a set point, but there just isn't room.
The plastic piece for the eye is made out of foam-PVC board from Home depot. I heated it up with a heat gun, then molded it into shape.
I am still working on getting the eye to move. I got it to move up and down, but I don't have the right servo motors to make it move yet. I will have more time to work on Wheatley in the summer, so hopefully the eye will be done soon. The next thing to do is to attach the eyelids and lights for the eye. After that the only thing left is the skins and programming.
-
New Turning Mechanism
03/05/2017 at 18:23 • 0 commentsAfter weeks of trial and error, Wheatley can now turn round and round without any wires getting tangled up. The hardest part of figuring this out was that there wasn't much space inside Wheatley. I had to try many different designs before I finally got something to work, but it was worth it because having Wheatley turn around and around adds a lot to the effect. He can look all around, and programming in motions will be much easier.
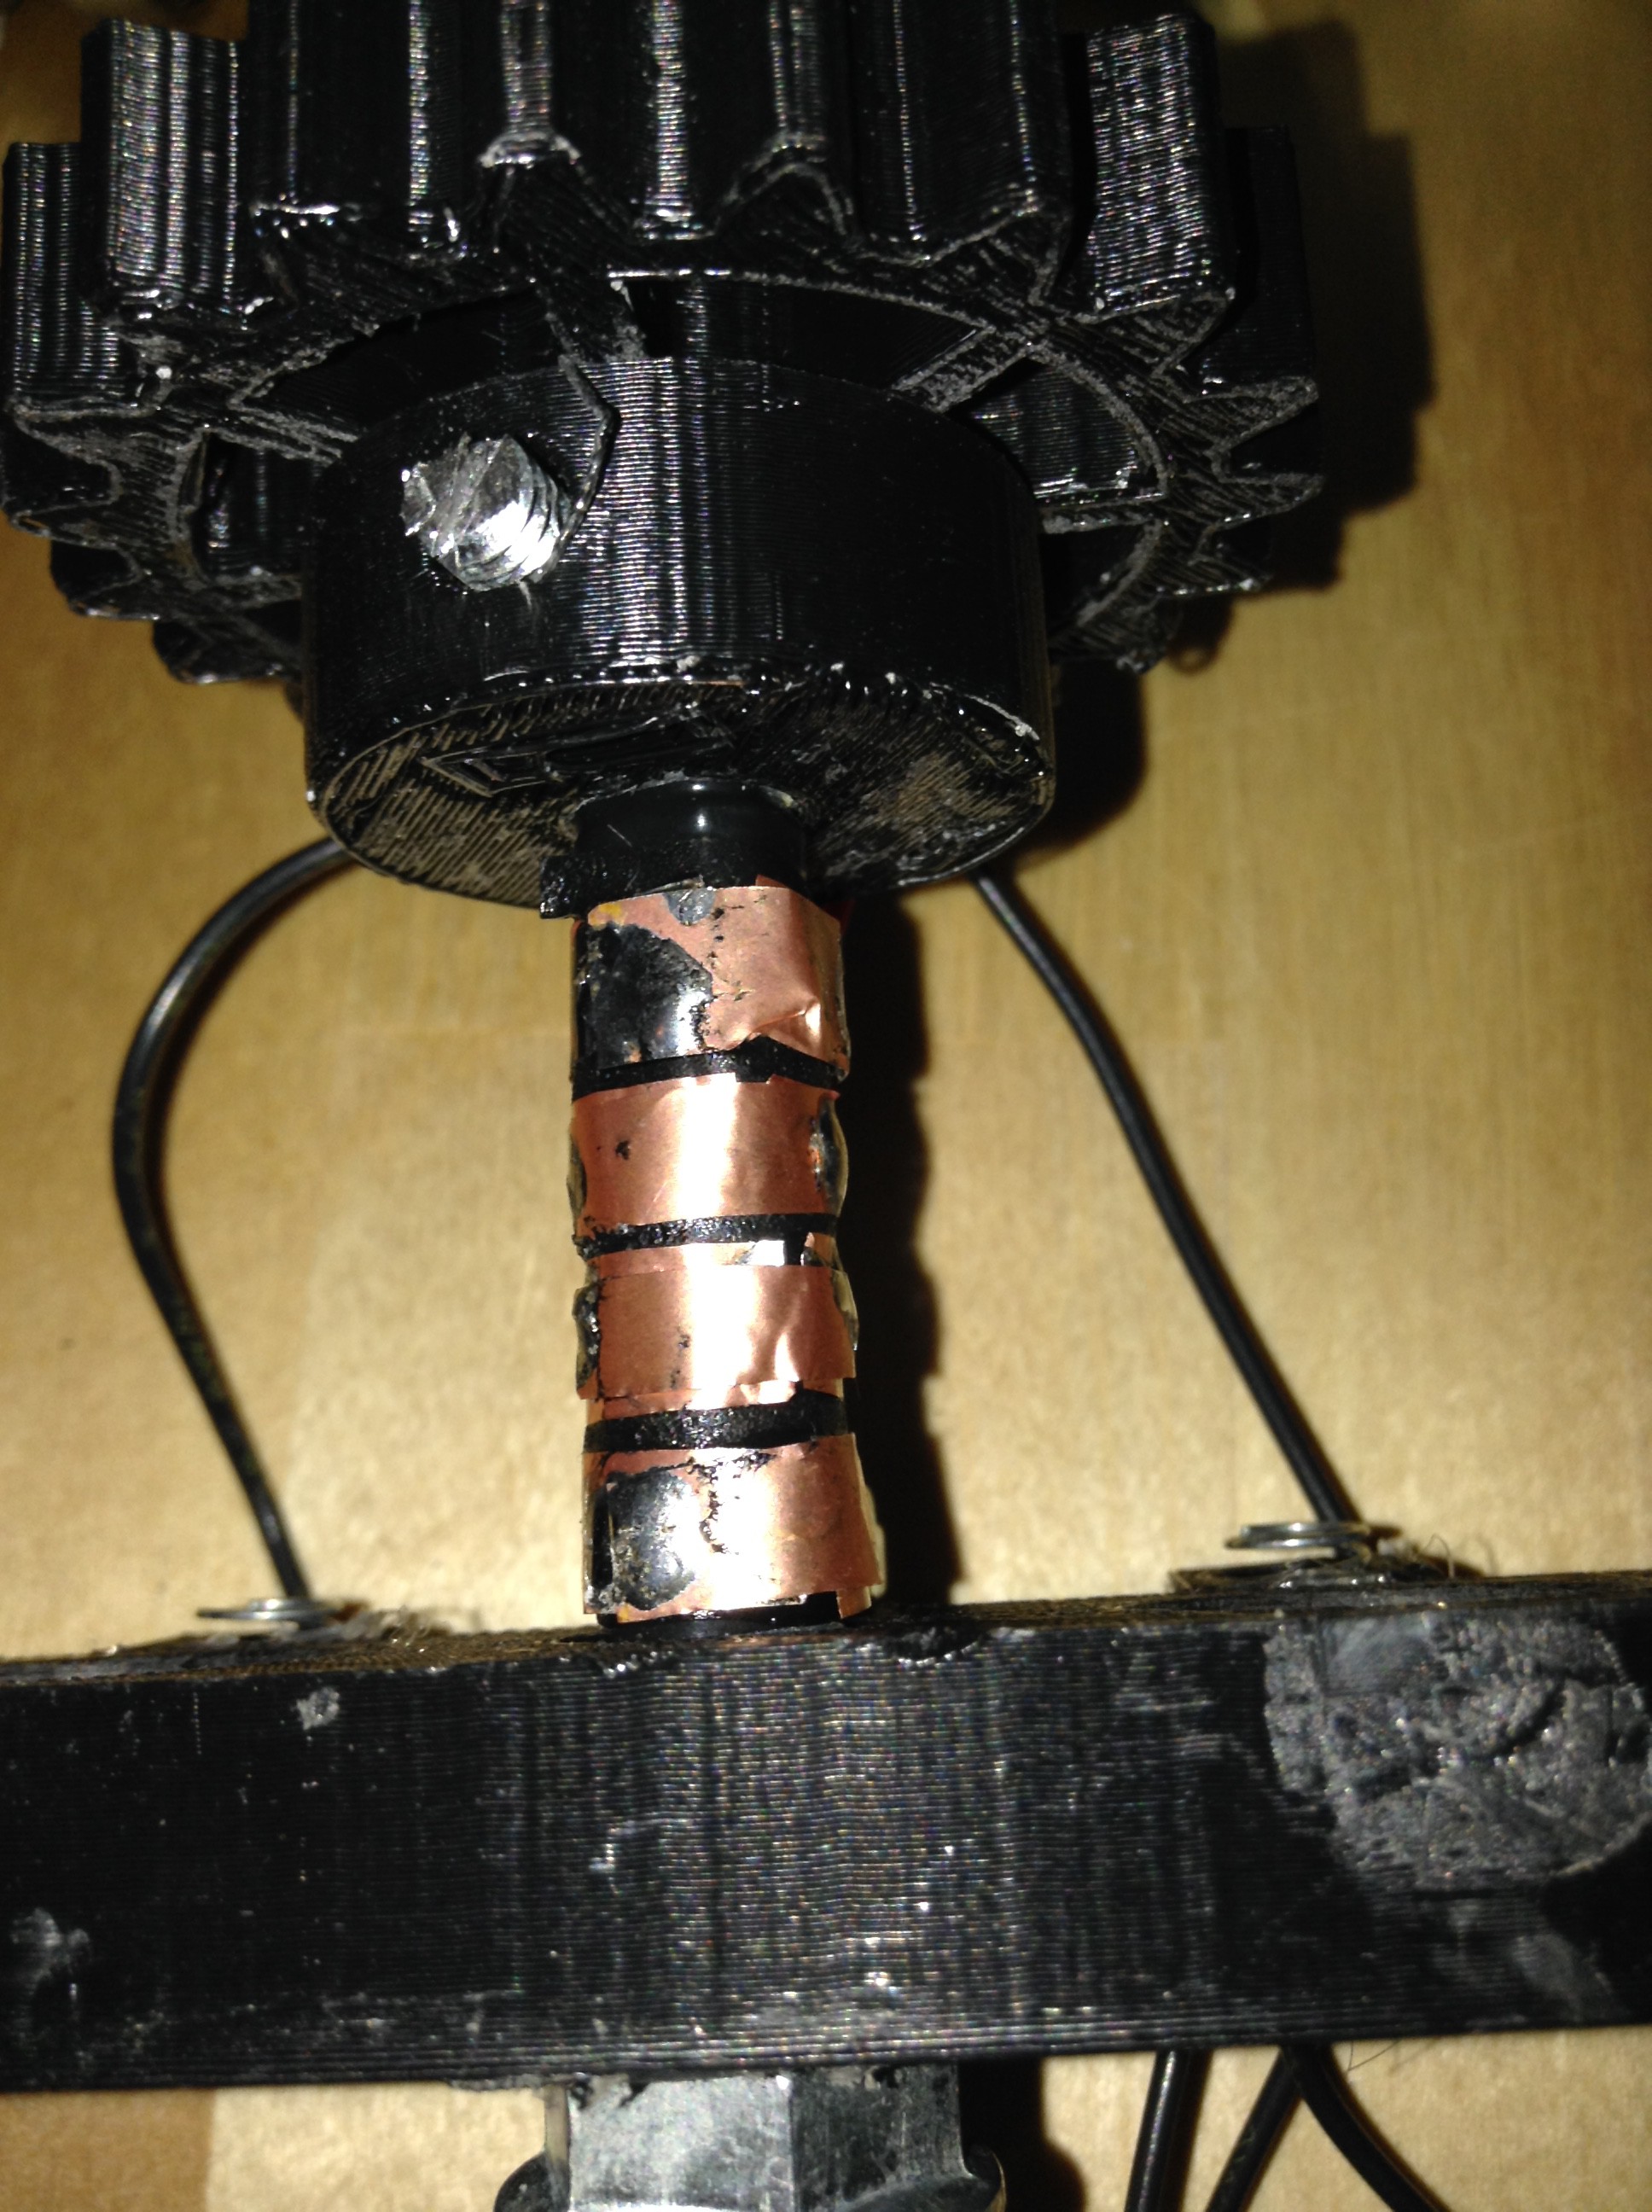
The way this works is by having copper sheets rub against each other as Wheatley turns so that there can still be a continuous flow of electricity to the motors on the TAD (Track Attachment Device). Here is a video of this mechanism.
Here is a video of Wheatley so far. The next step is to start working on the eye.
-
New Core
02/25/2017 at 13:20 • 0 commentsOver the past few weeks, I have built a new, stronger, core for Wheatley. As I said in my last project log, the old core wobbled a lot and even after having Wheatley on the track for a few days, things were starting to fall apart.
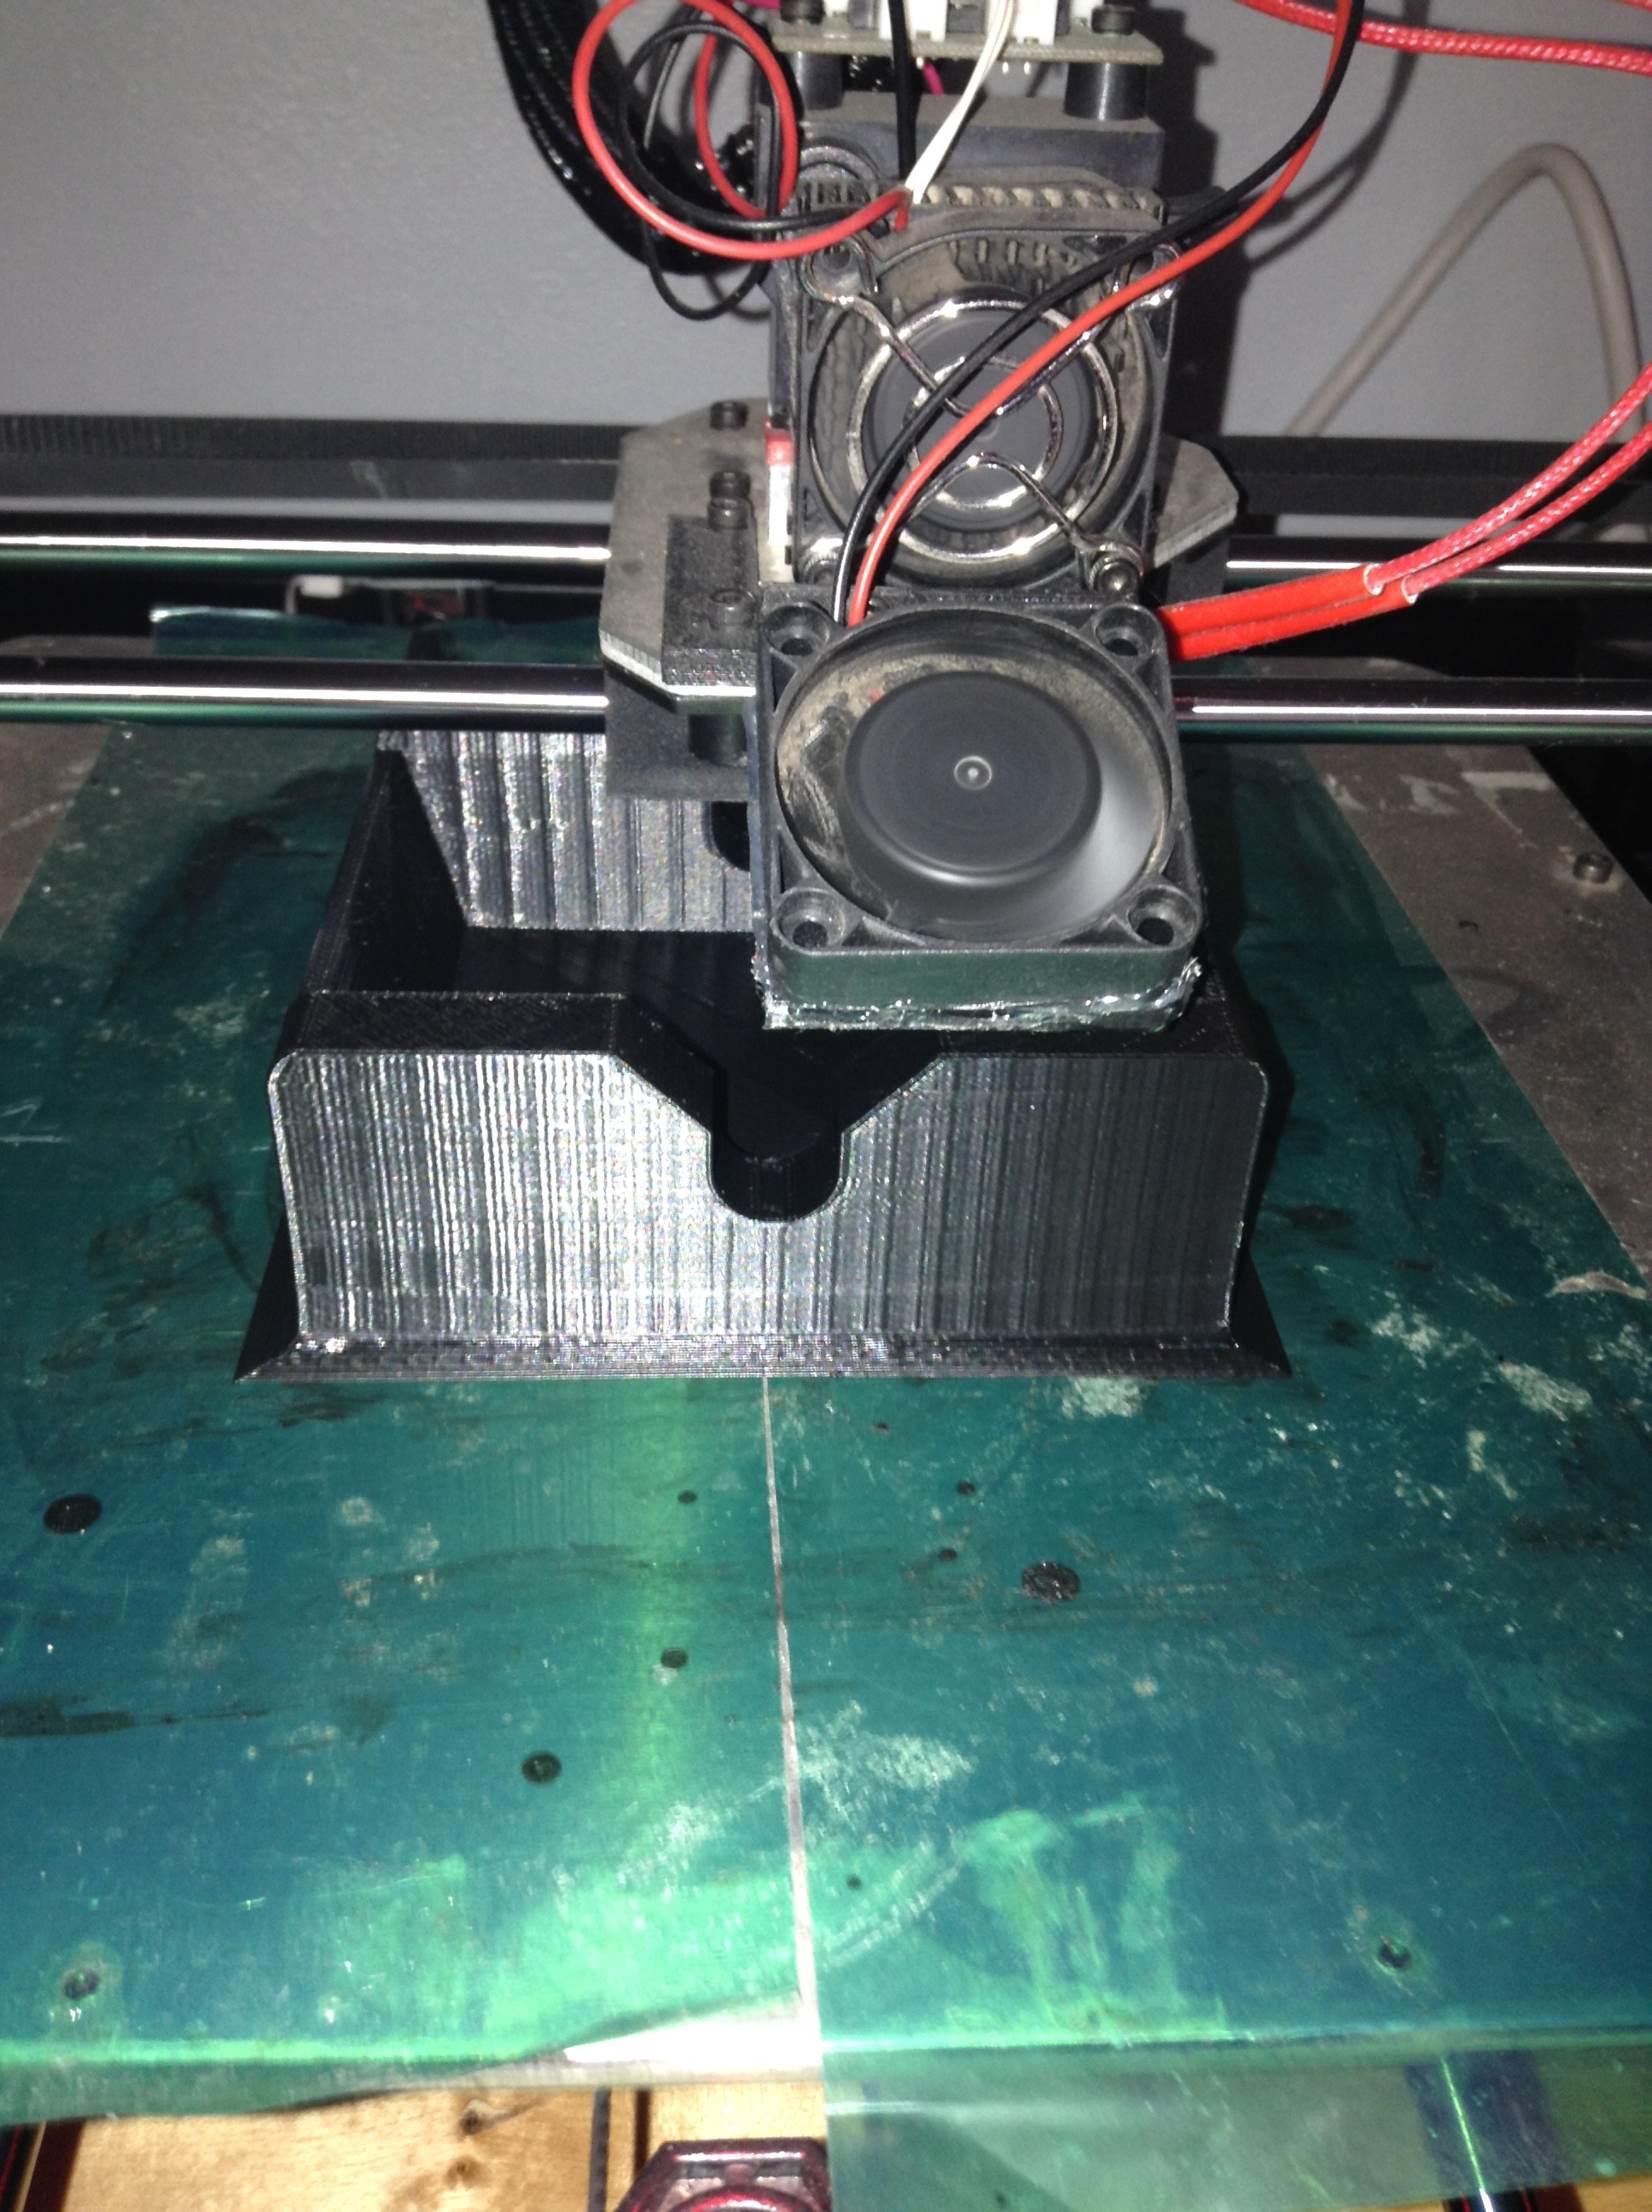
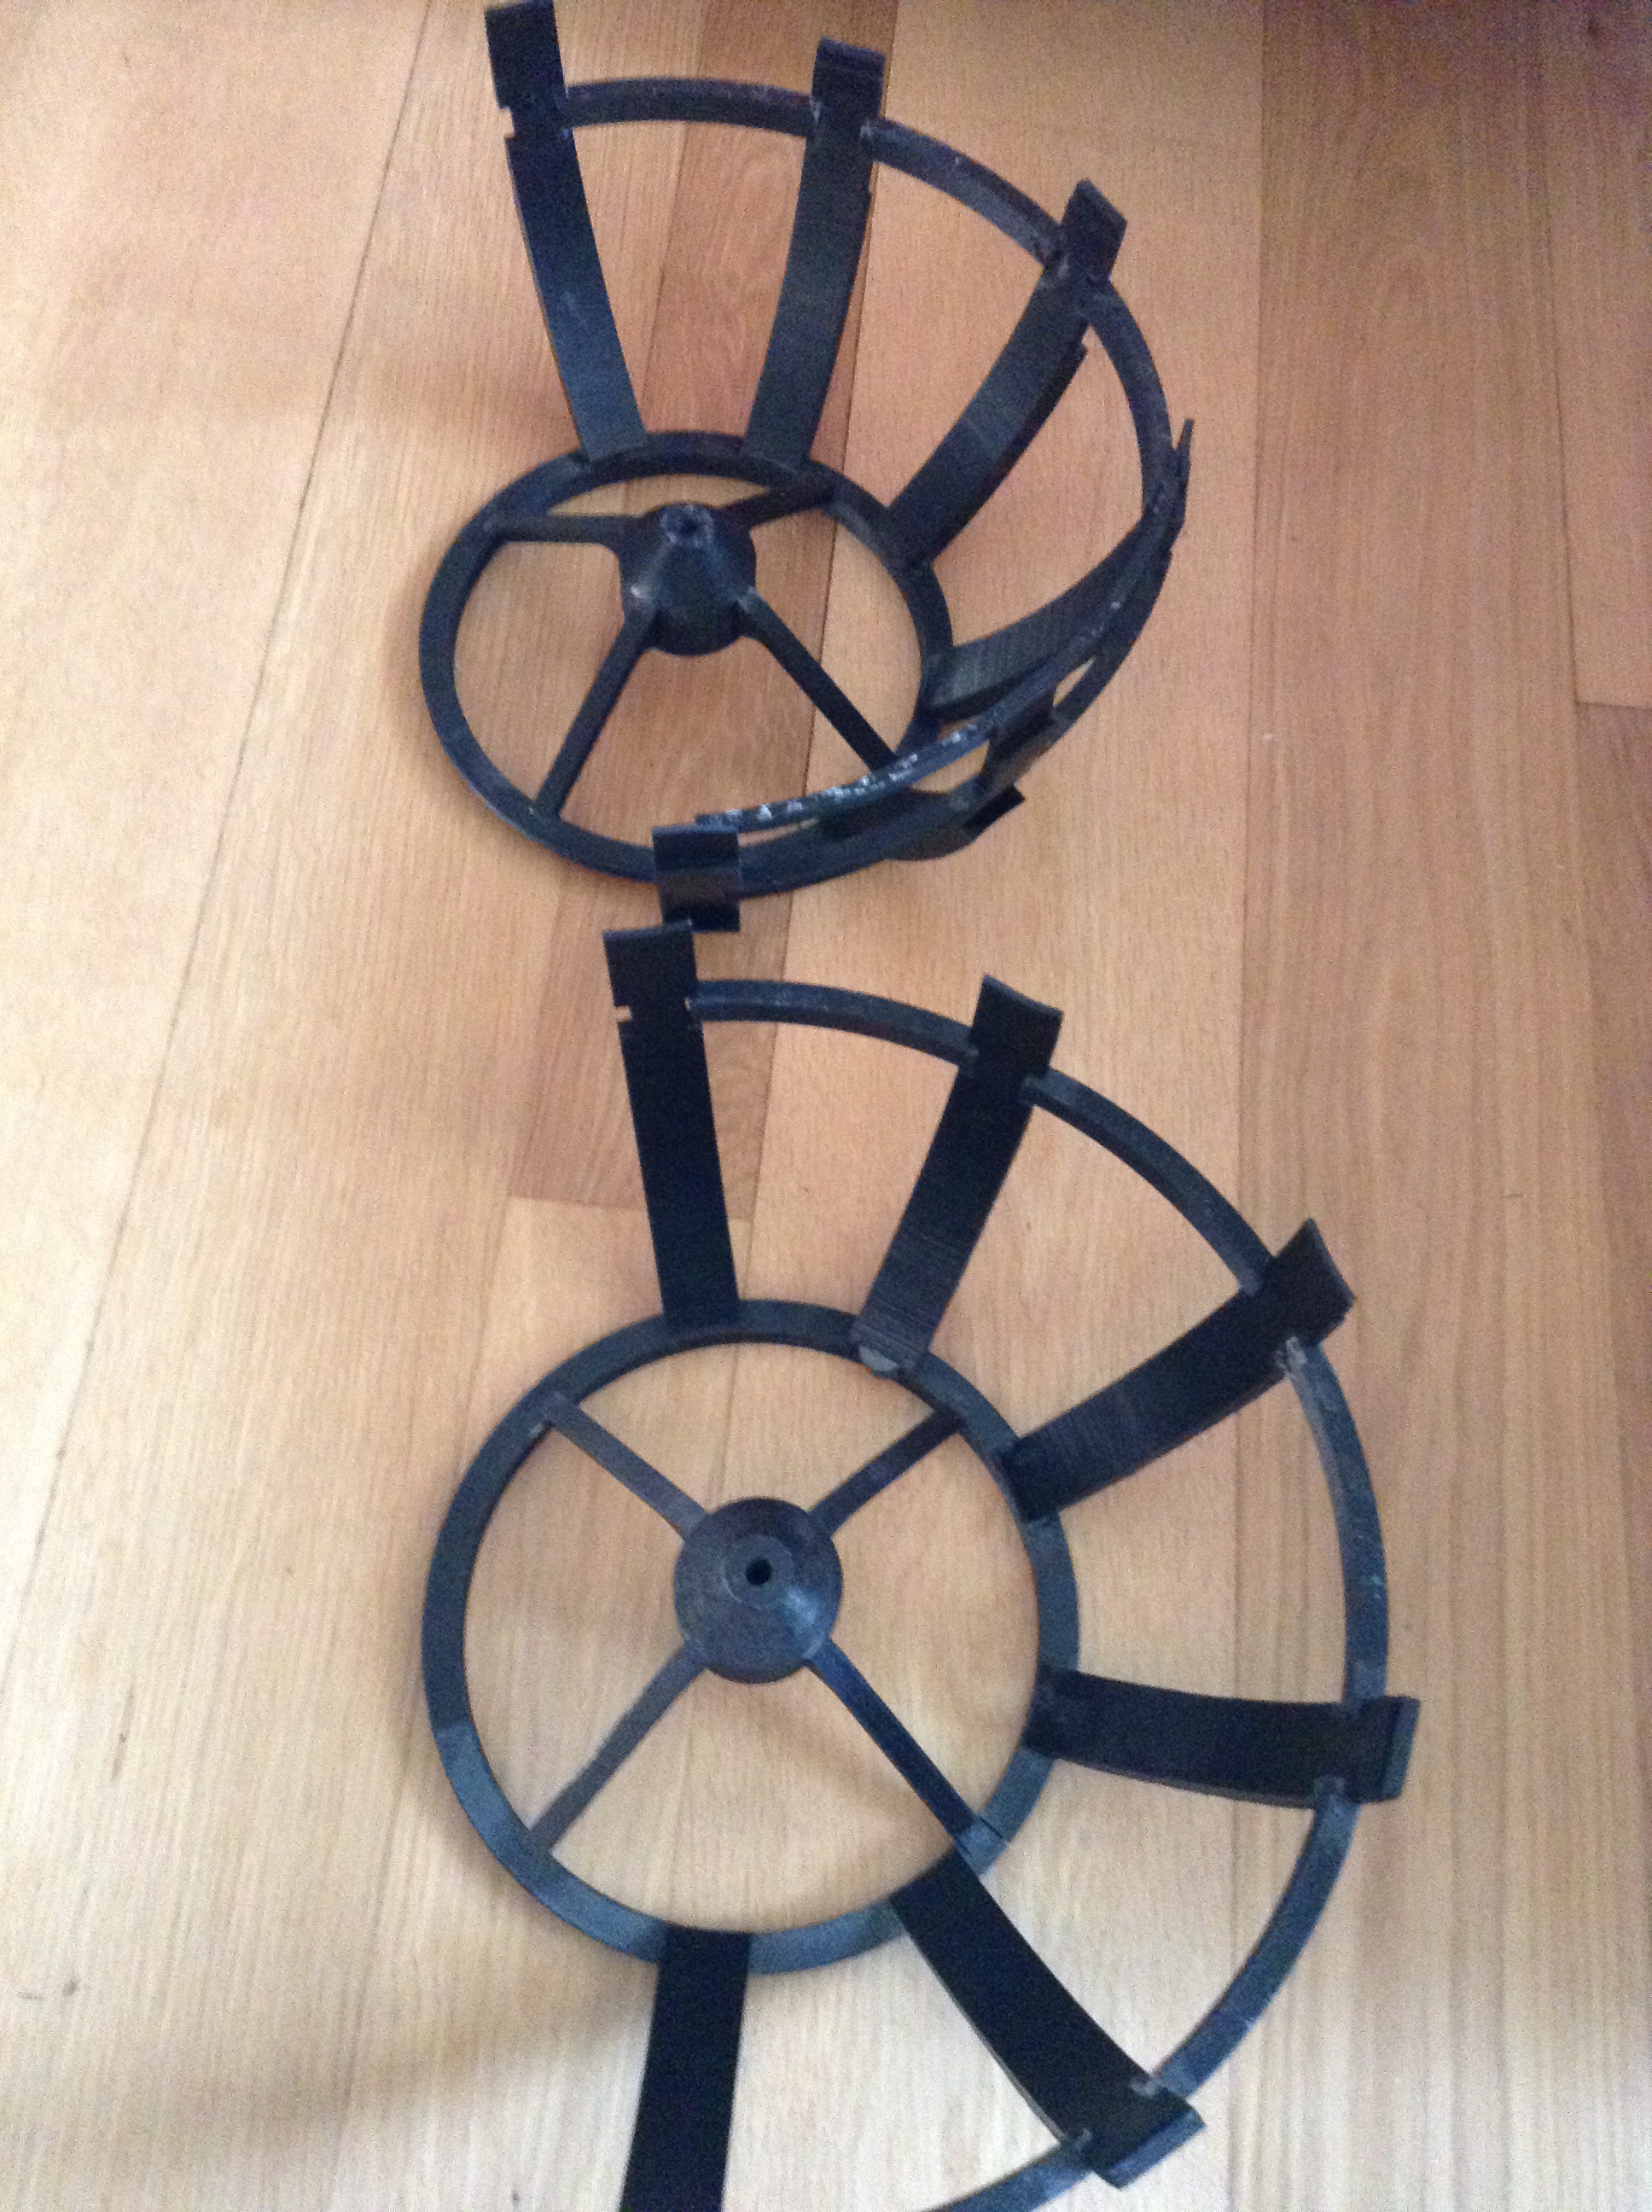
The new core is made up of two large 3D printed parts acetoned together. In total, these parts took about 20 hours to print.
This new core is a major improvement. Before, there was about 45 degrees of wobble up and down. Now there is only 5 degrees of wobble. Overall, the whole assembly is much stronger now. It is also much easier to mount electronics and the wiring looks much nicer than it did with my earlier core.
I have also added in a potentiometer and programed it so that Wheatley only looks up and down about 90 degrees and doesn't break himself. There is also a slight acceleration and deceleration programed in. I will upload my code to main page of this project.
Another thing that I started working on is making a mechanism so that Wheatley can rotate as many times as he wants while still having the wires connected to the TAD. I will explain this more in future project logs. Here is a pictures.
-
On the Track
01/07/2017 at 21:33 • 0 commentsI have finally gotten Wheatley up onto the track. Here is a video.
Here are the things I have done since my last update.
Printing and Assembling the Frame
After countless hours of 3d printing, I had all of the pieces for Wheatley's frame. I used acetone to chemically weld the pieces together.
Temporarily Gluing Electronics in Place
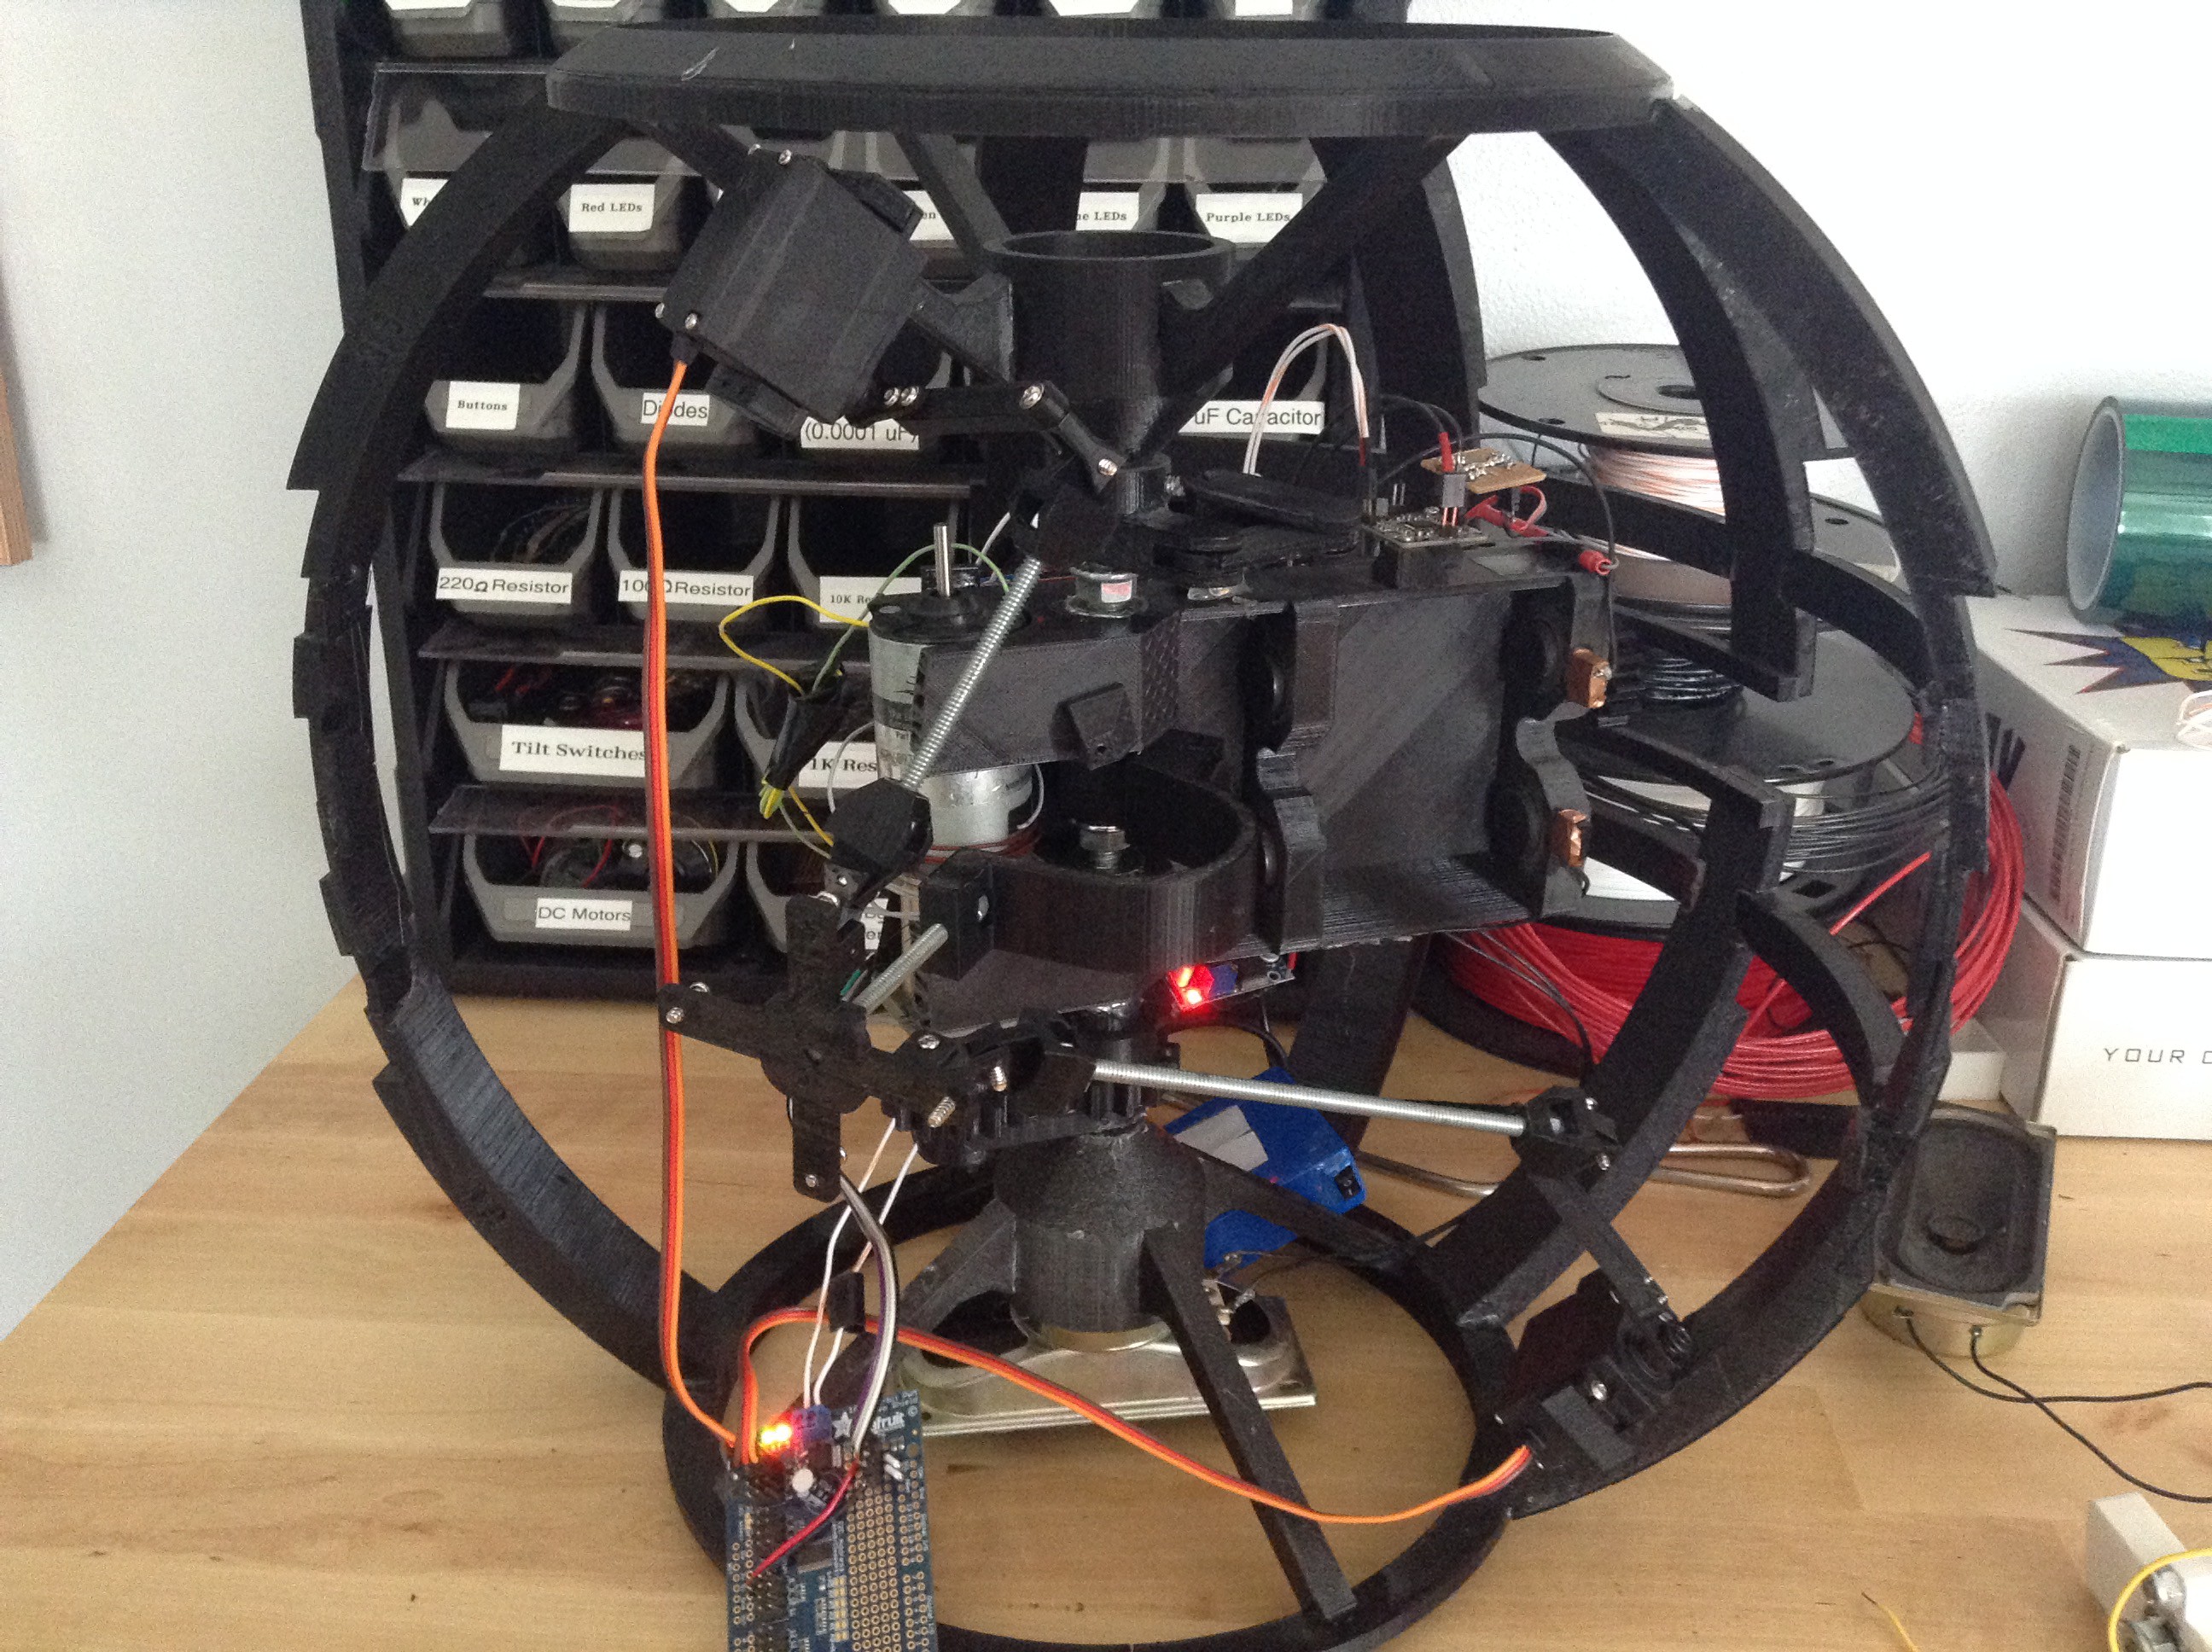
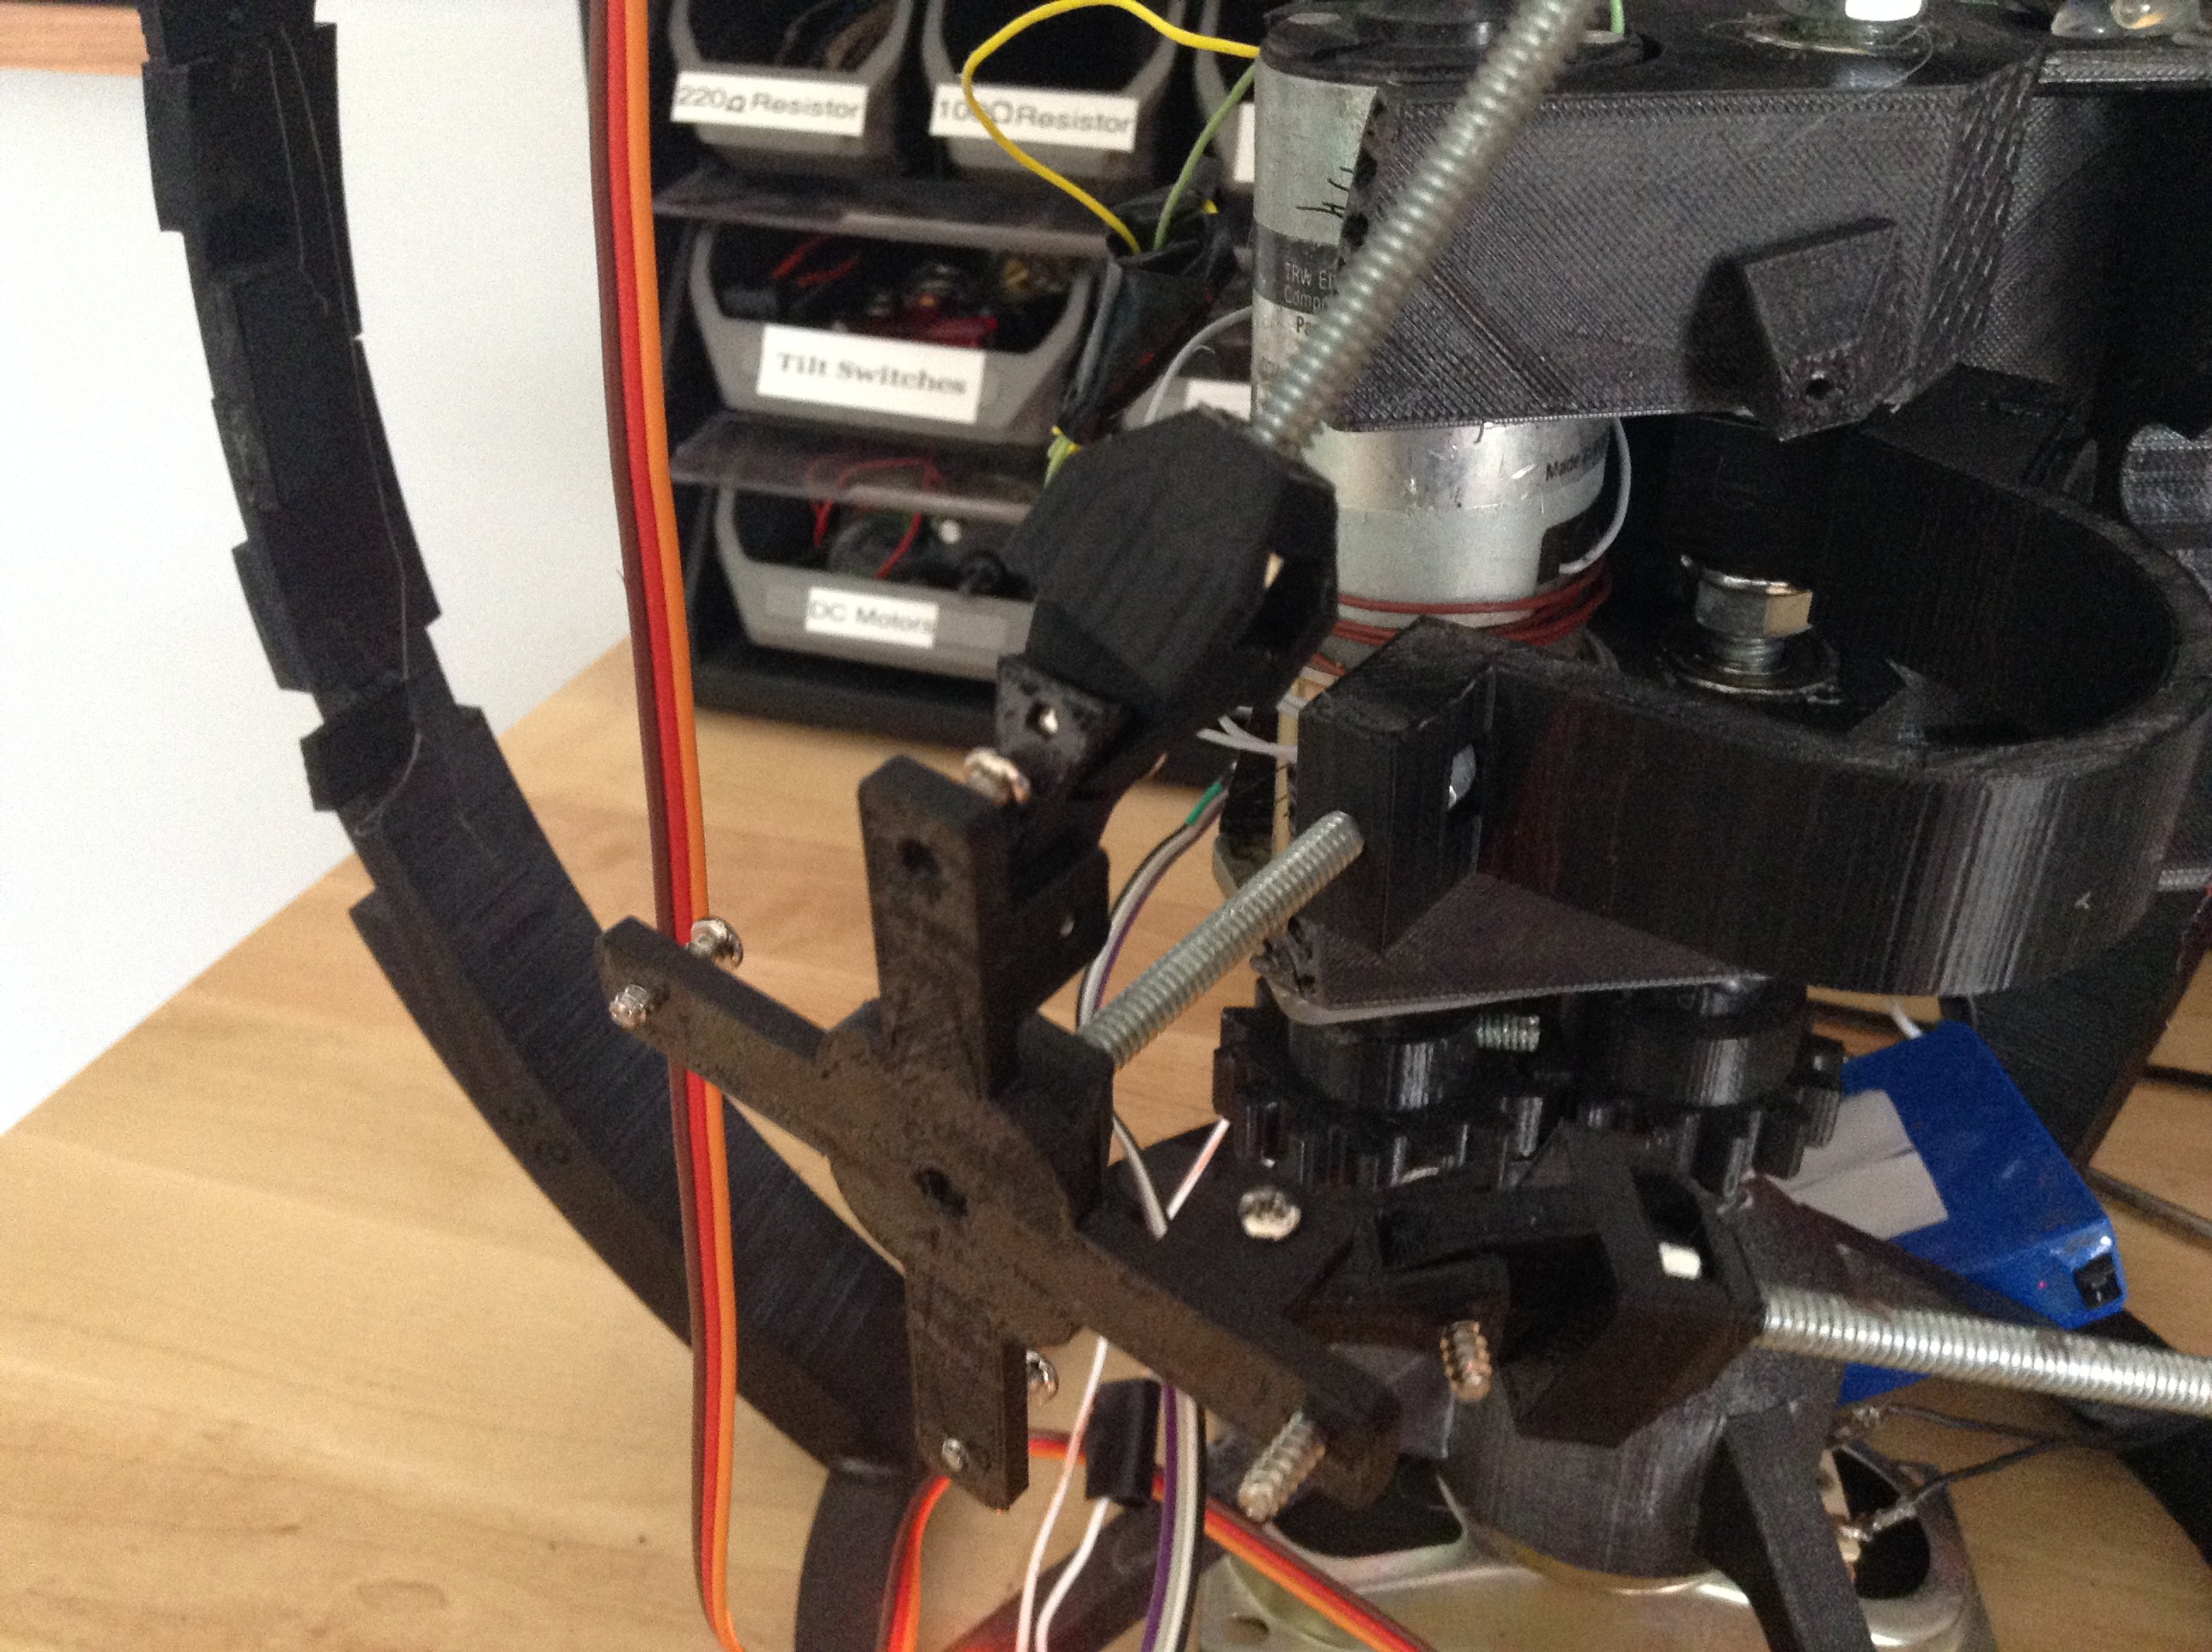
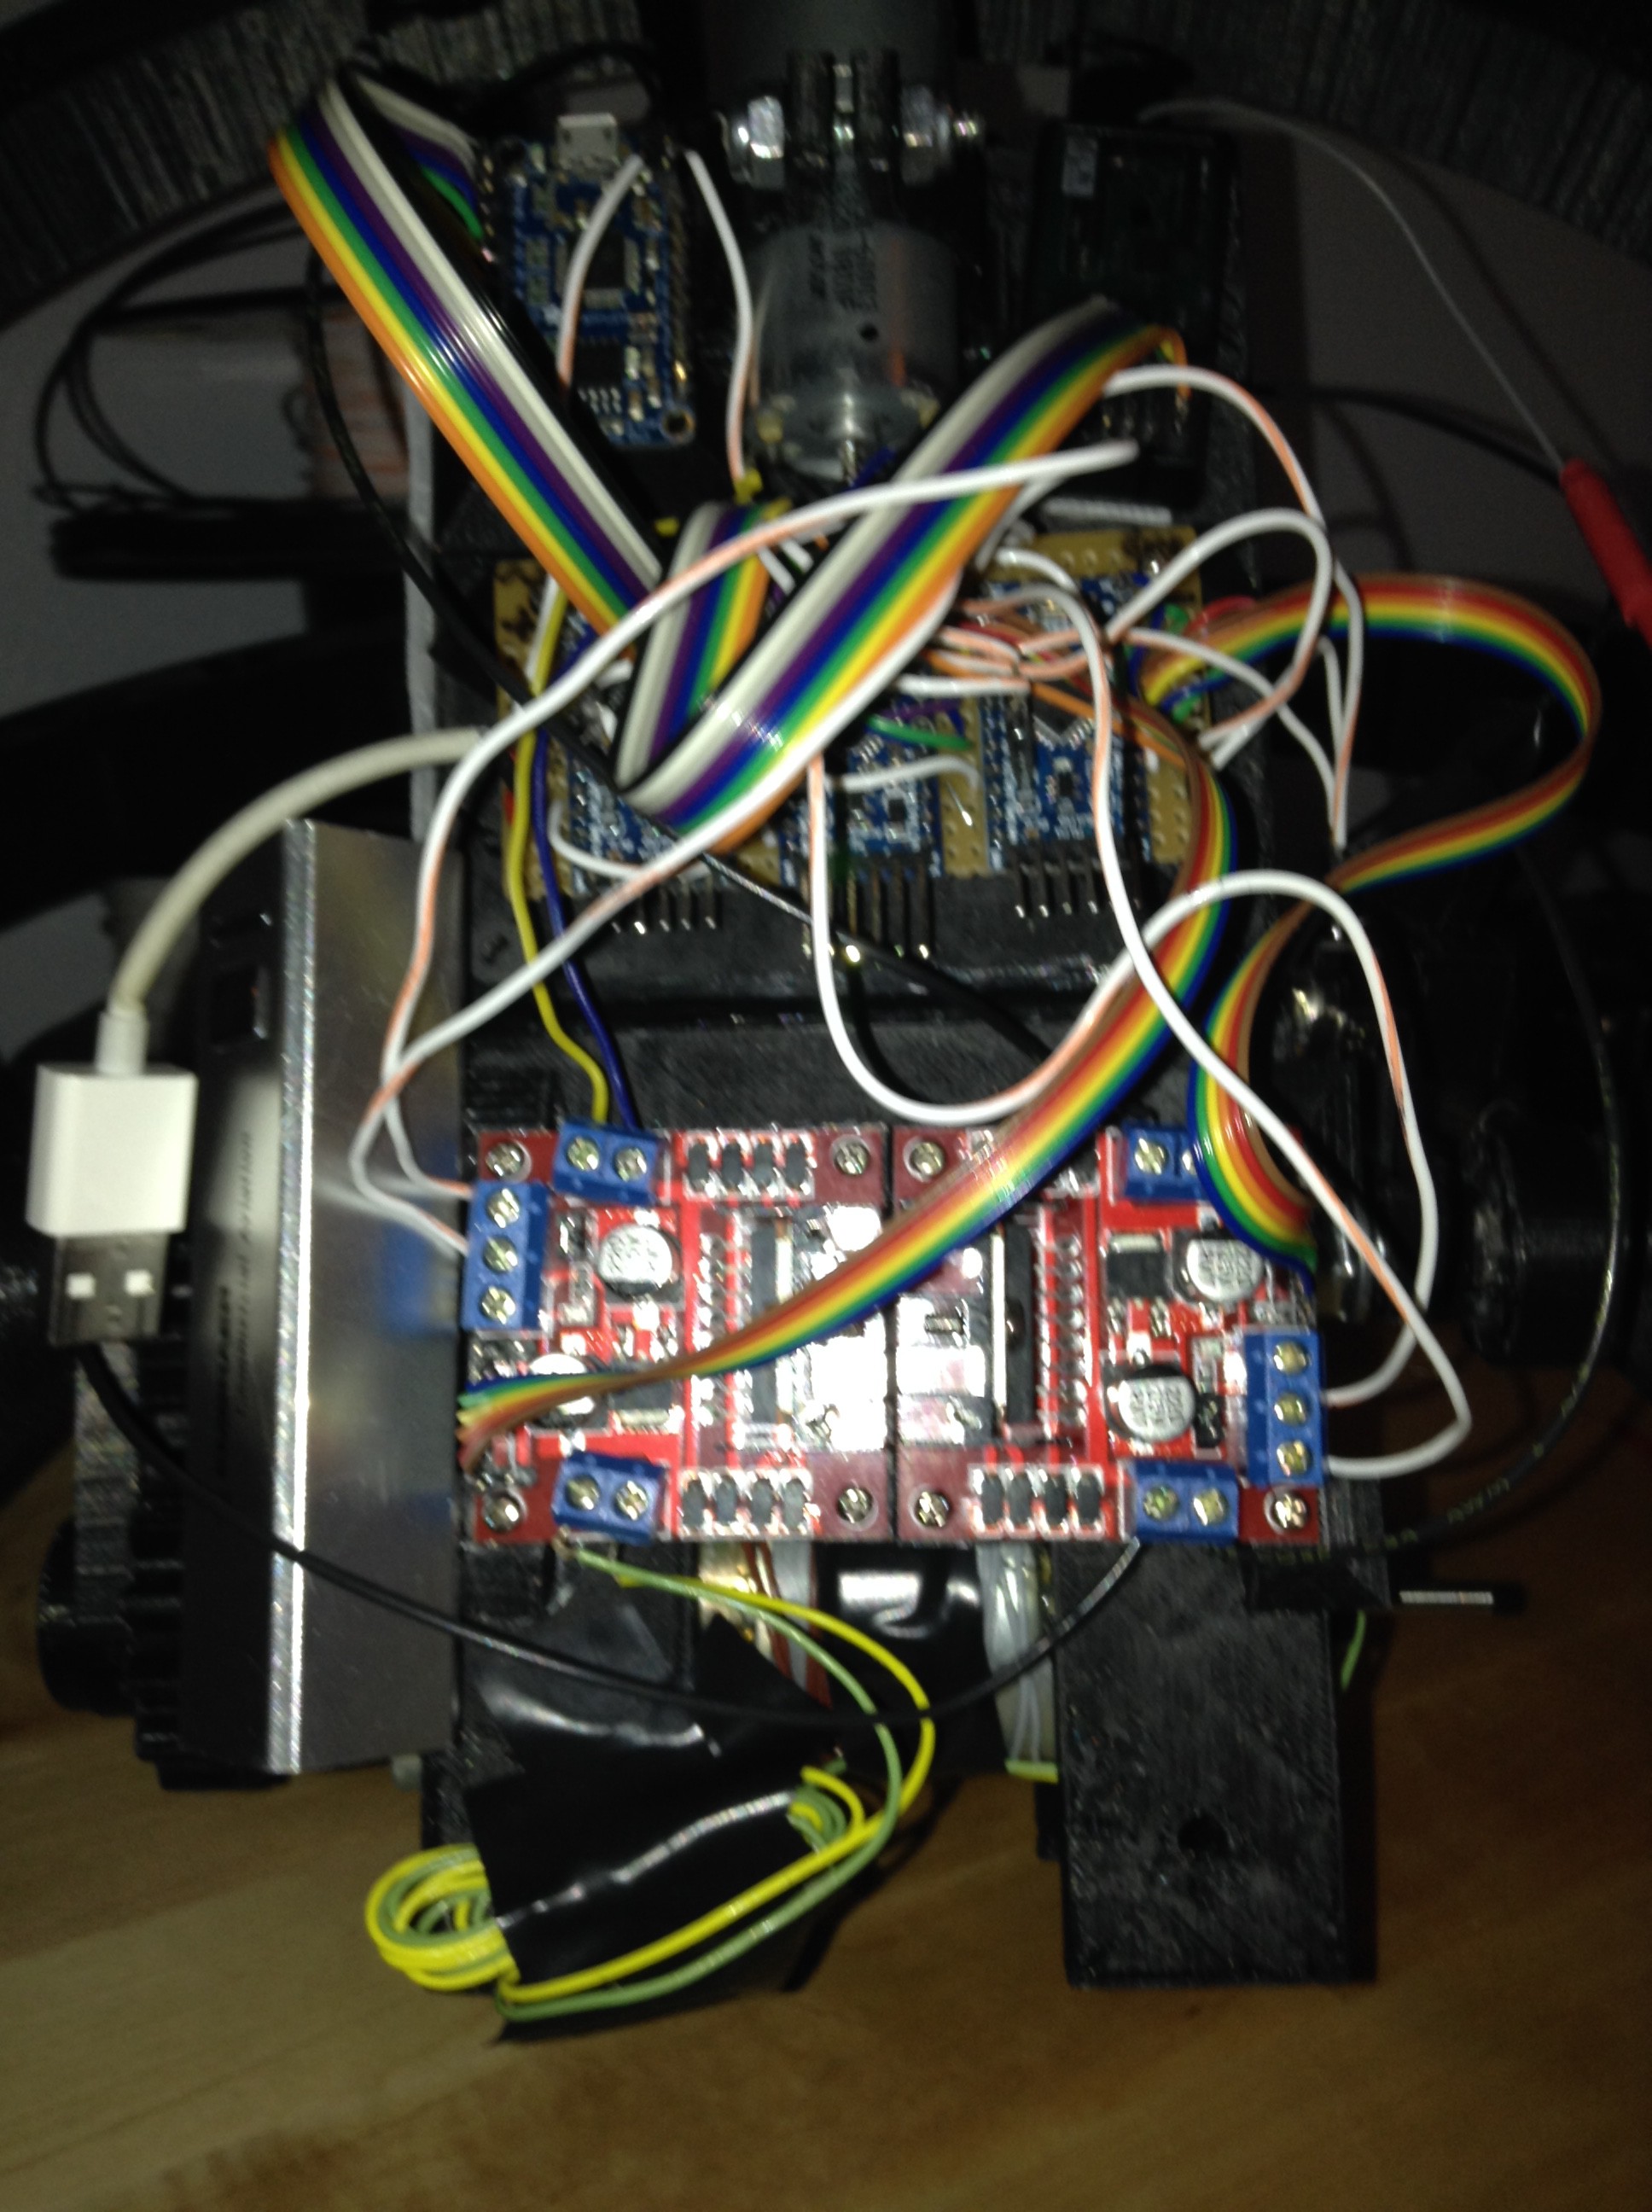
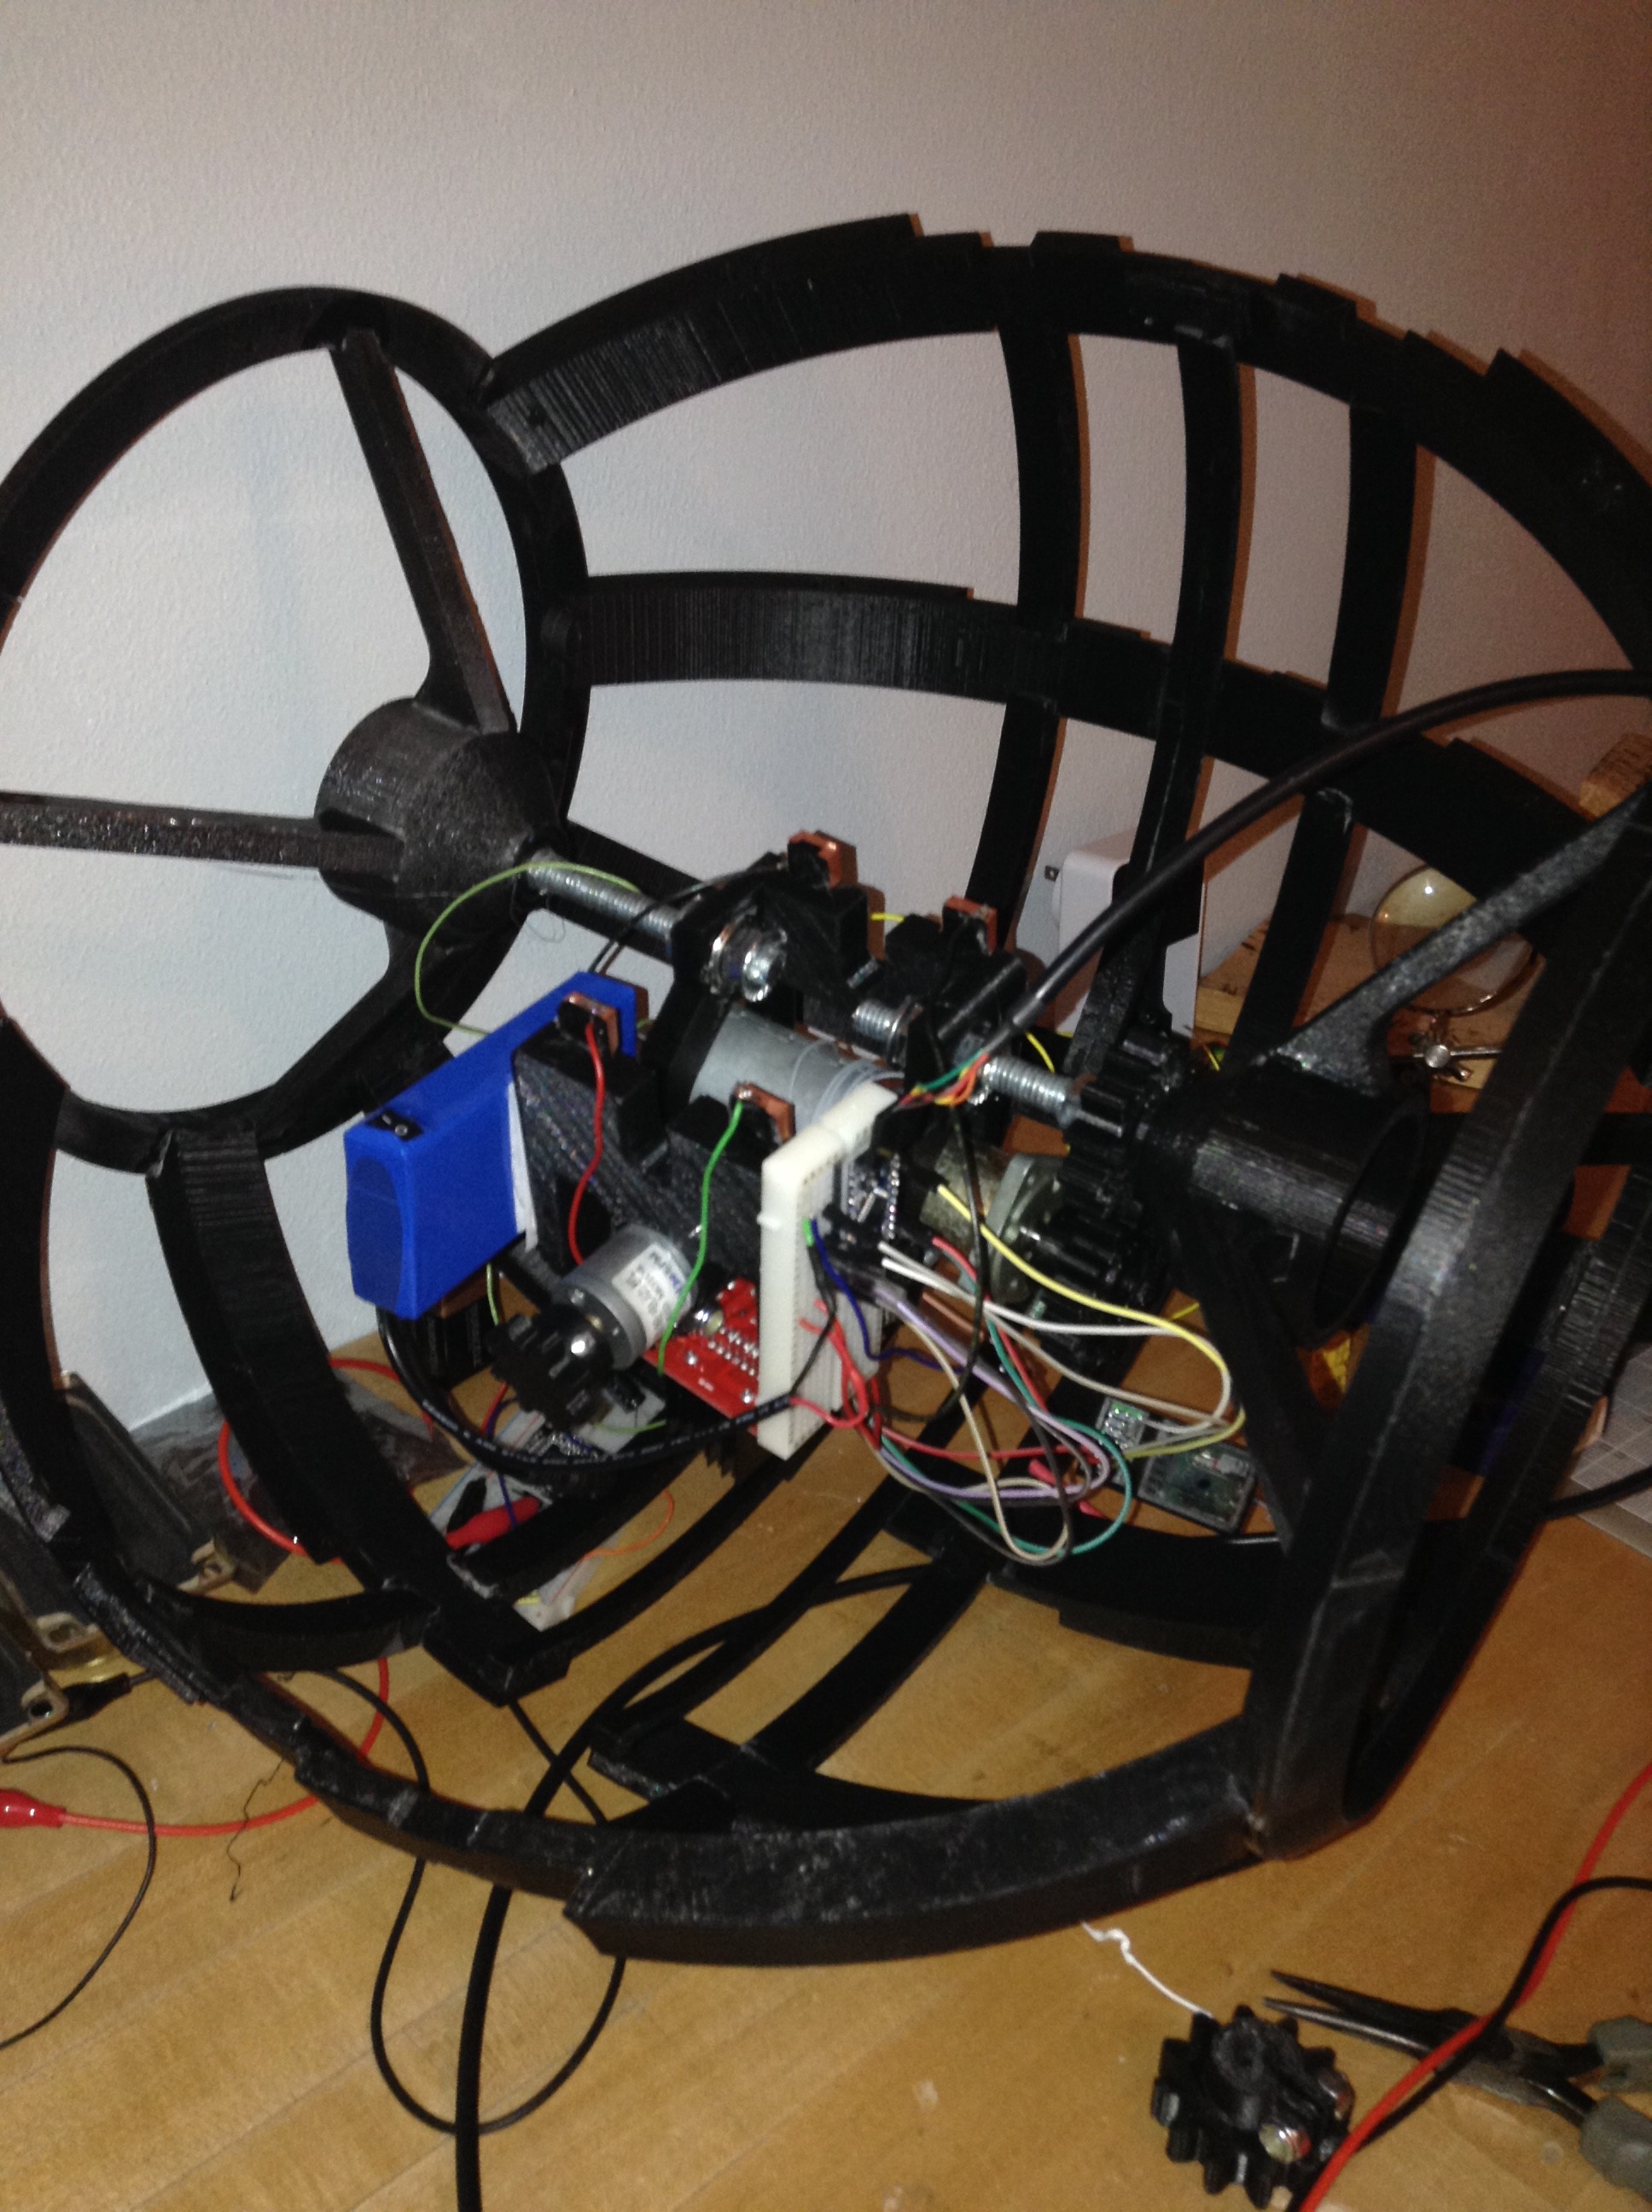
After assembling the frame, I hot glued all the electronics onto the middle for testing. My code is available for download on the main page of this project. I am using 2 motor controllers, 1 to control the up-down and left-right movement, and another to control the movement on the track. I wired up a RC remote so I could control him remotely.
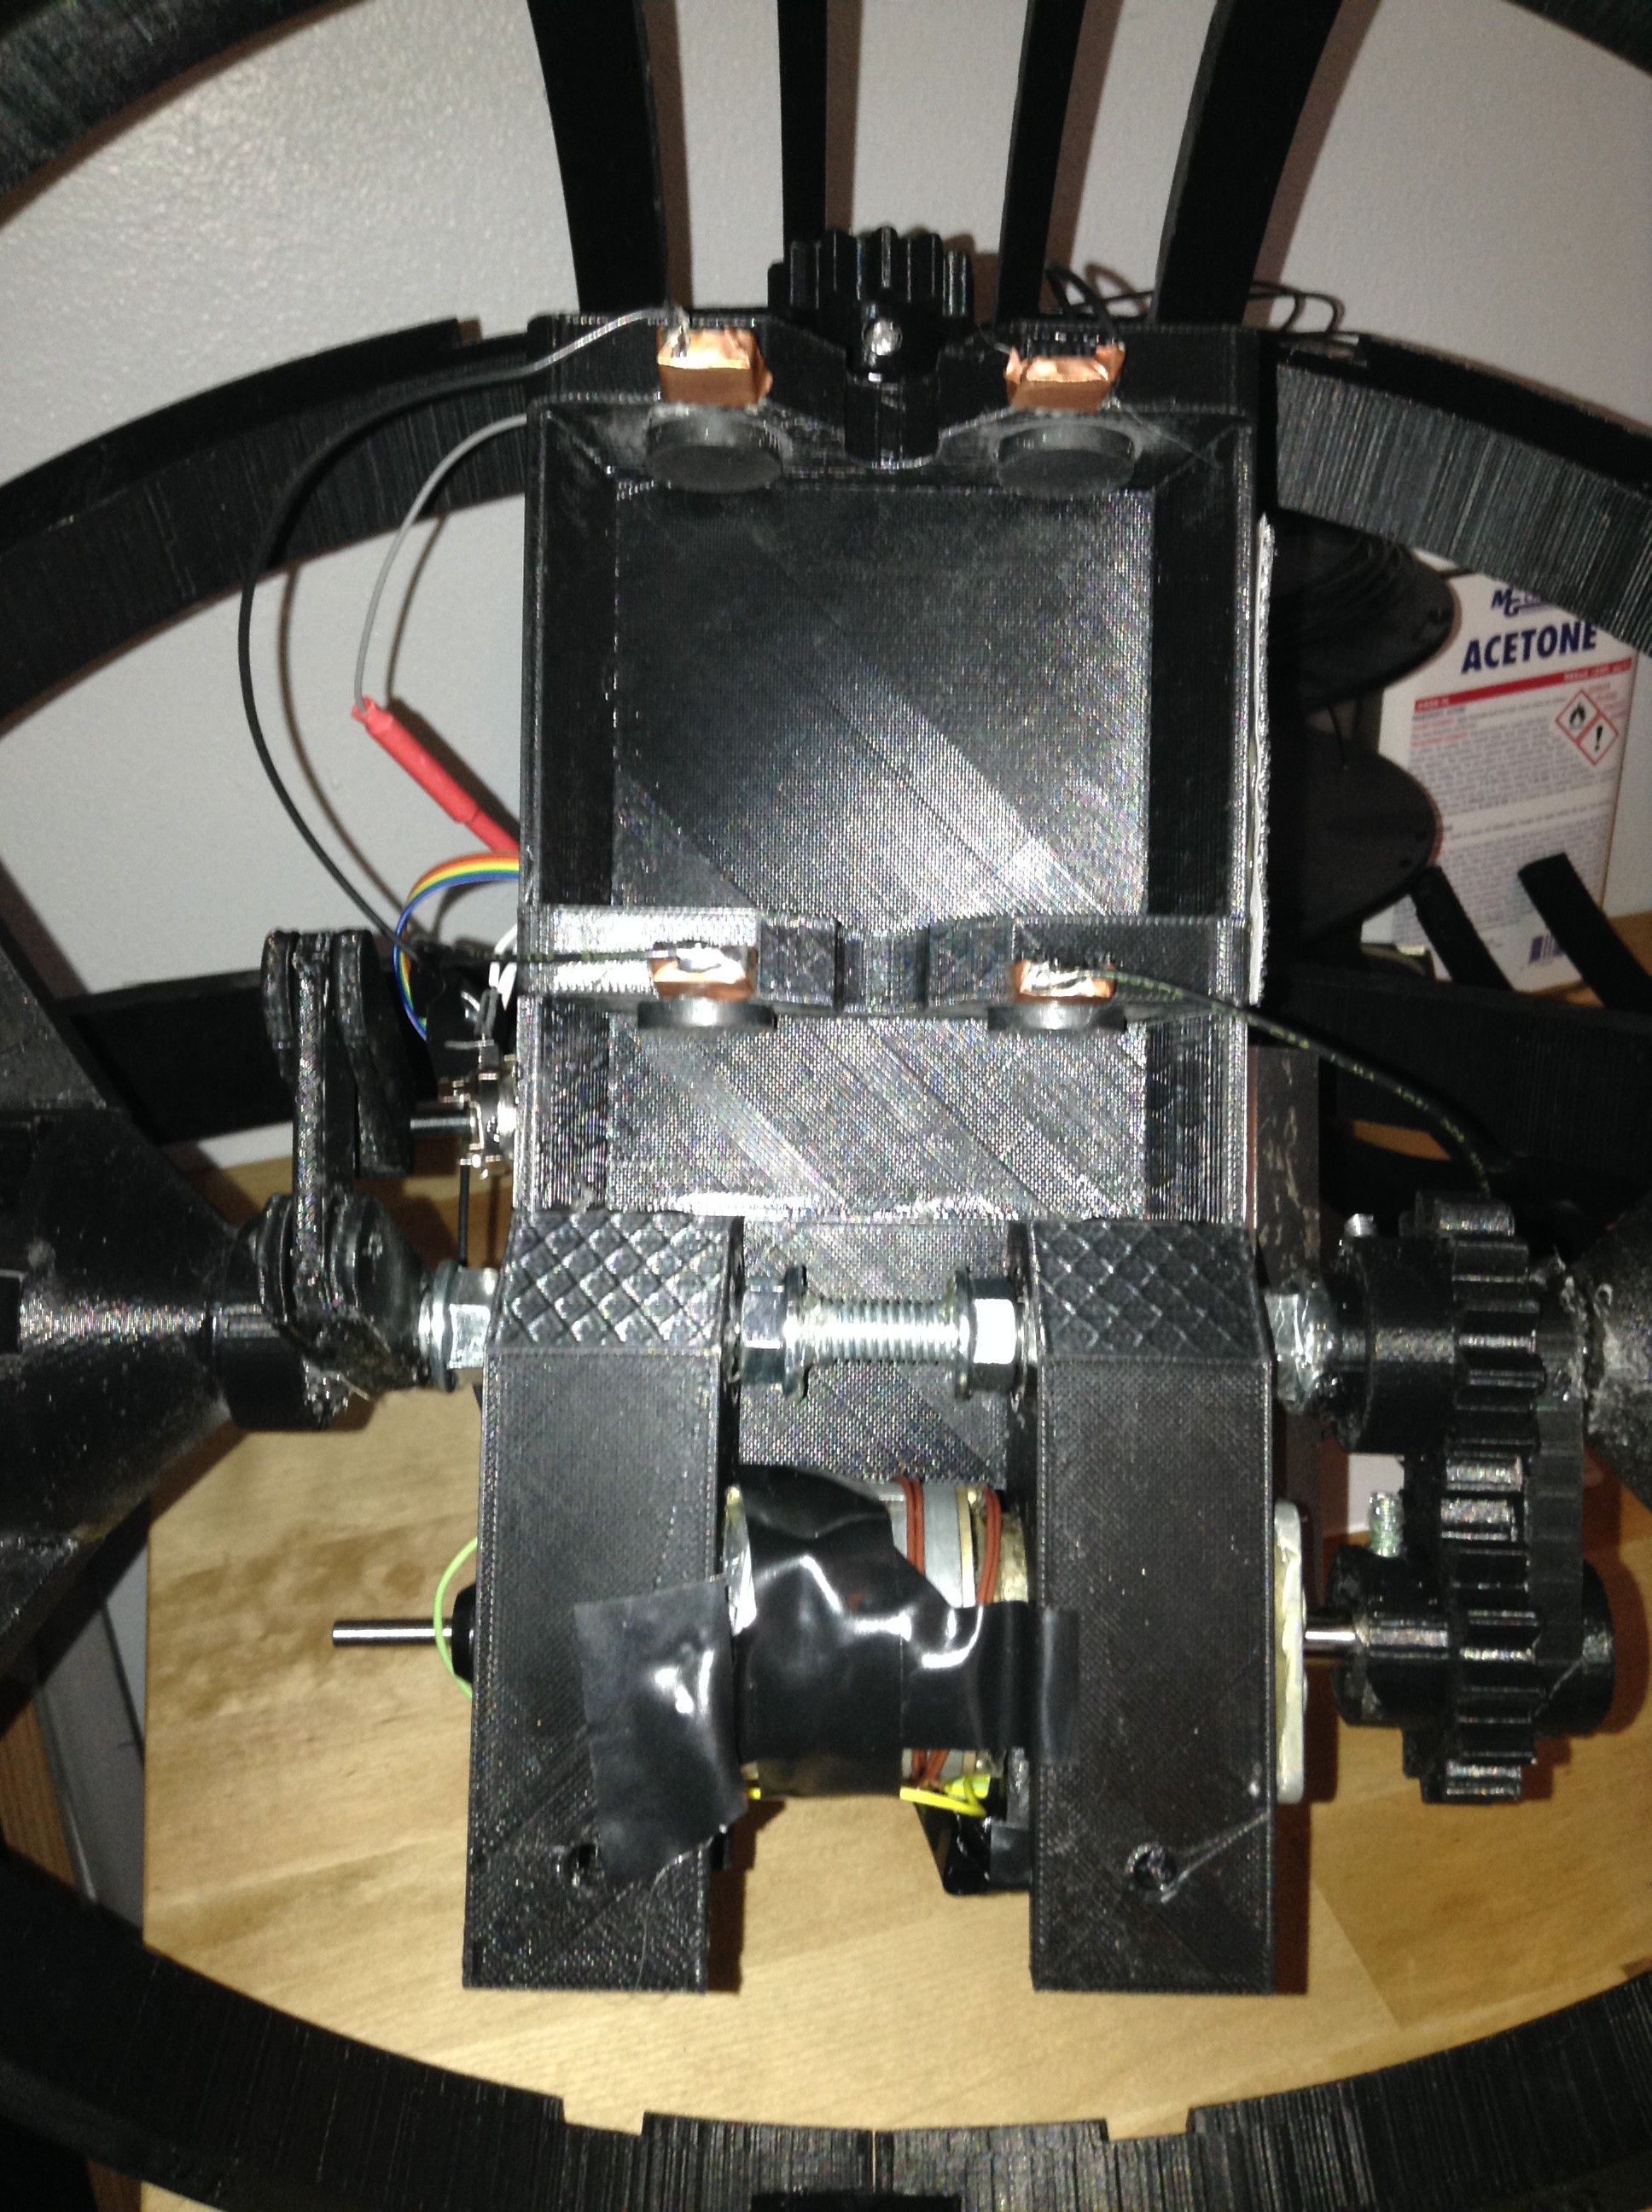
When he magnets onto the TAD (Track Attachment Device, talked about in the last project log), springs come into contact with copper plates so the signal can travel to the motors on the TAD.
As you can see, everything is very temporary and I am planning to redesign most of the core because the movement was sloppy.
Finishing up the Track Attachment Device
![]()
I finished designing and building the TAD. There are magnets that click into place when the TAD is connected to Wheatley. Connecting Wheatley to the TAD was harder than I wanted it to be, so I will also work on redesigning that so the two pieces connect easily without me having to wiggle them around and stand on a stool to line them up just right.
There are small springs on the part of the TAD that connects to Wheatley. These come into contact with copper plates on Wheatley so power can be transferred to the motors on the TAD. The motor controllers are on the main body of Wheatley.
Future Plans
The next thing I plan to do is redesign and reprint the core of Wheatley. As I mentioned earlier, the movement was very sloppy and there is lots of room for improvement.
When I started playing with the sounds, the sound had lots of static noise. I put a 100 ohm resistor in series with the speaker and that got rid of the static, but decreased the volume. I am working to try to get the most volume I can out of the speakers without static.
My current code is uploaded onto the main page of the project. I used two arduinos for this test, but in the future, I will control this with three mini arduinos.
-
Track Attachment Device
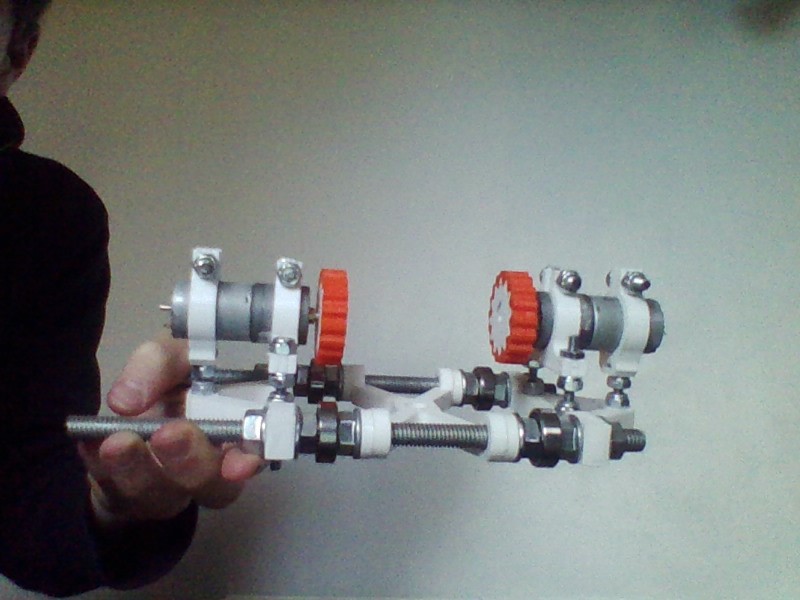
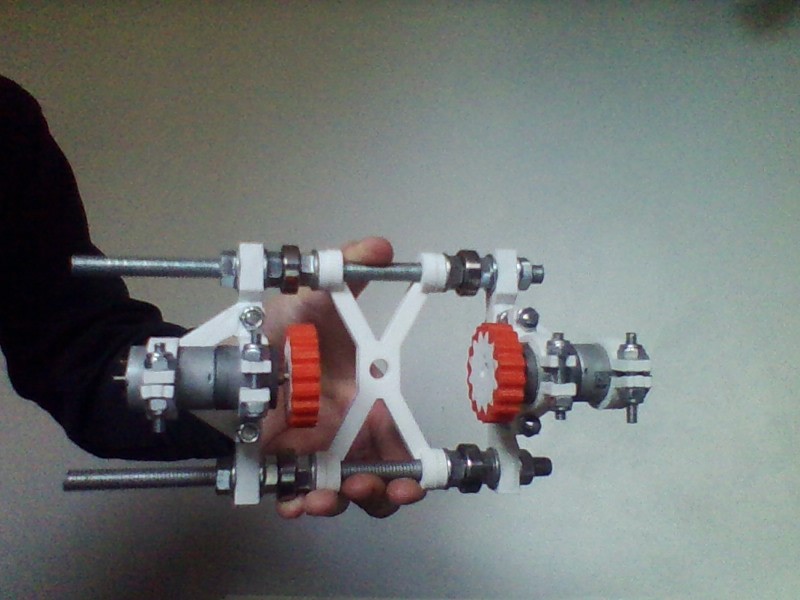
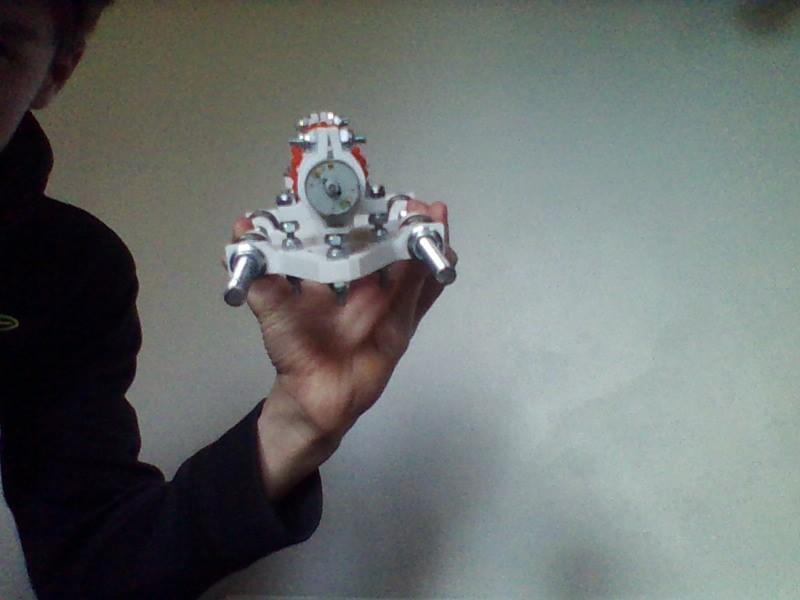
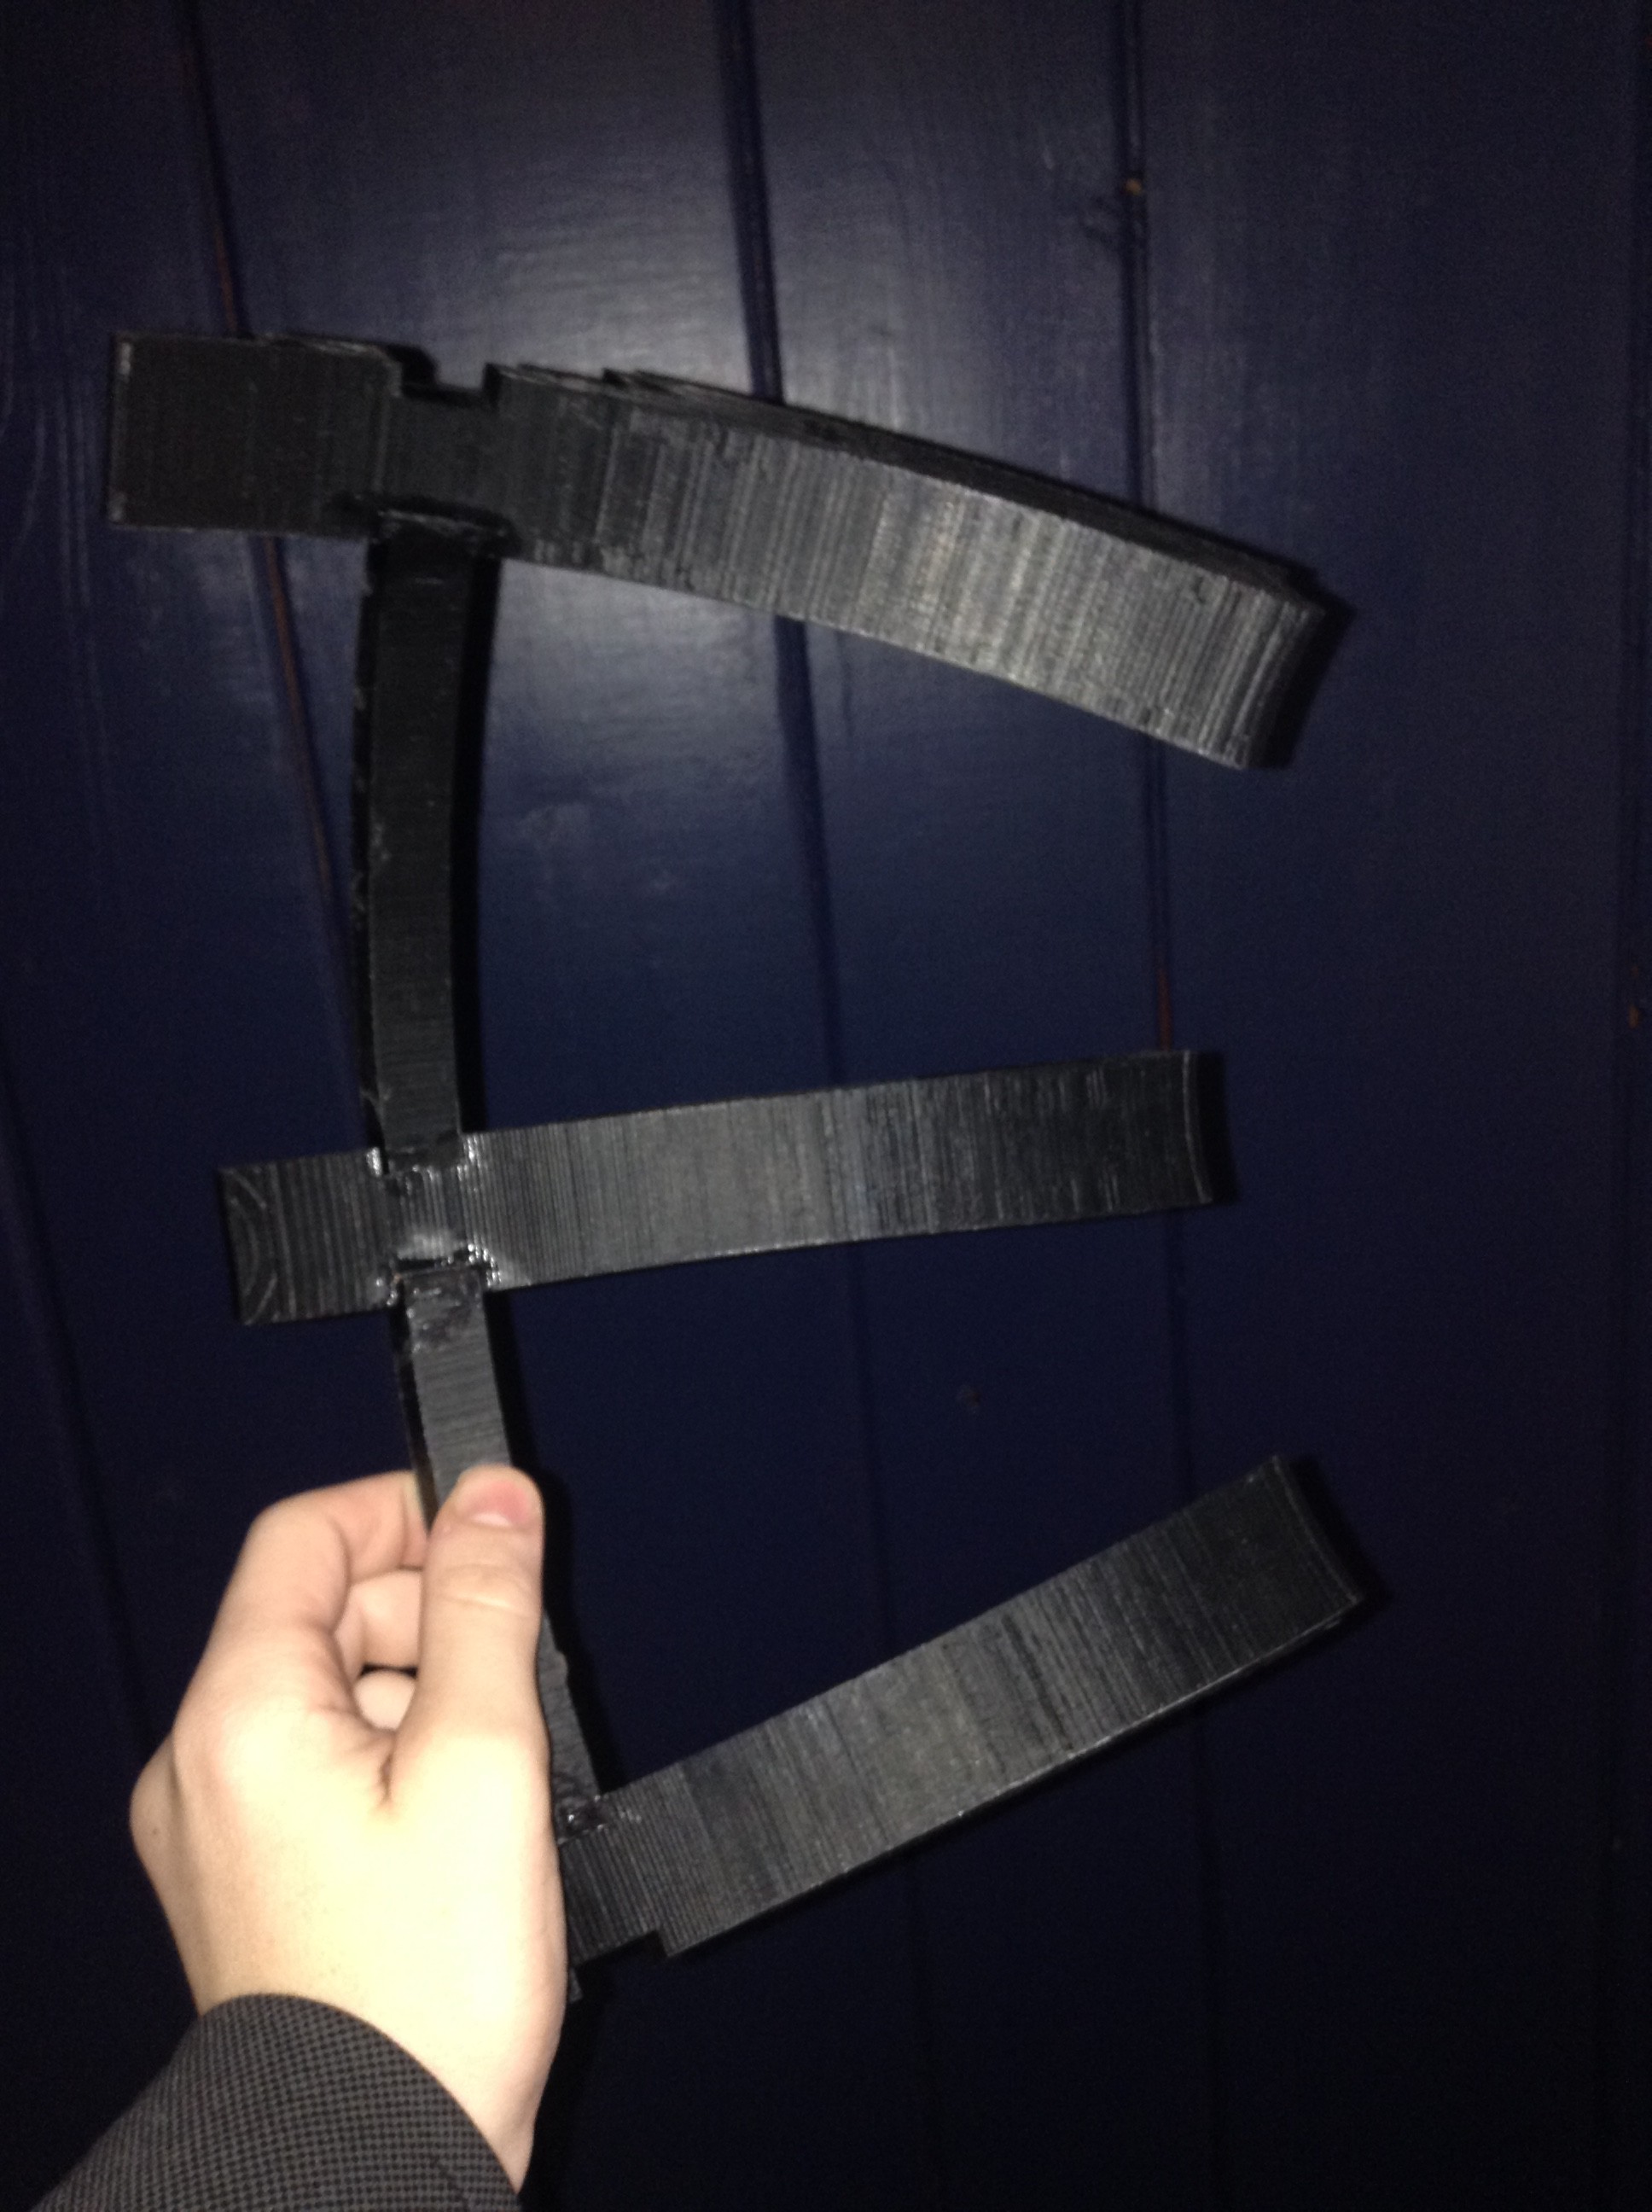
10/26/2016 at 22:11 • 0 commentsThe first part of Wheatly that I built was the TAD or Track Attachment Device. I wired up 2 12v motors to turn at the same time. I 3d printed a frame and used metal rods to attach everything. This way everything is adjustable so I can fit it to the wooden track. I cut the wooden track out of plywood with long strait pieces and 90 degree turns. After wiring everything up, it ran smoothly along the track. It guides itself around the turns so I don't even have to speed up or slow down one motor. Most of the parts are 3d printed. Here are some pictures:
![]()
![]()
![]()
I will upload videos of it running on the track that I made shortly.
You can view or download all of my design files on thingiverse: http://www.thingiverse.com/thing:1913433
The two motors I used were 12v 120rpm motors from amazon: https://www.amazon.com/Kohree-Torque-Gear-Replacement-Motor/dp/B00B1KZ8UU/ref=sr_1_4?ie=UTF8&qid=1479931907&sr=8-4&keywords=12v+120+rpm+motor
They will be powered by a 12v lithium ion battery.
Wheatley Model
Wheatley is a hilarious character from the game Portal 2. My project will run on a track on the ceiling, look around, and say funny quotes.
 Temporarily Gluing Electronics in Place