-
First complete model build
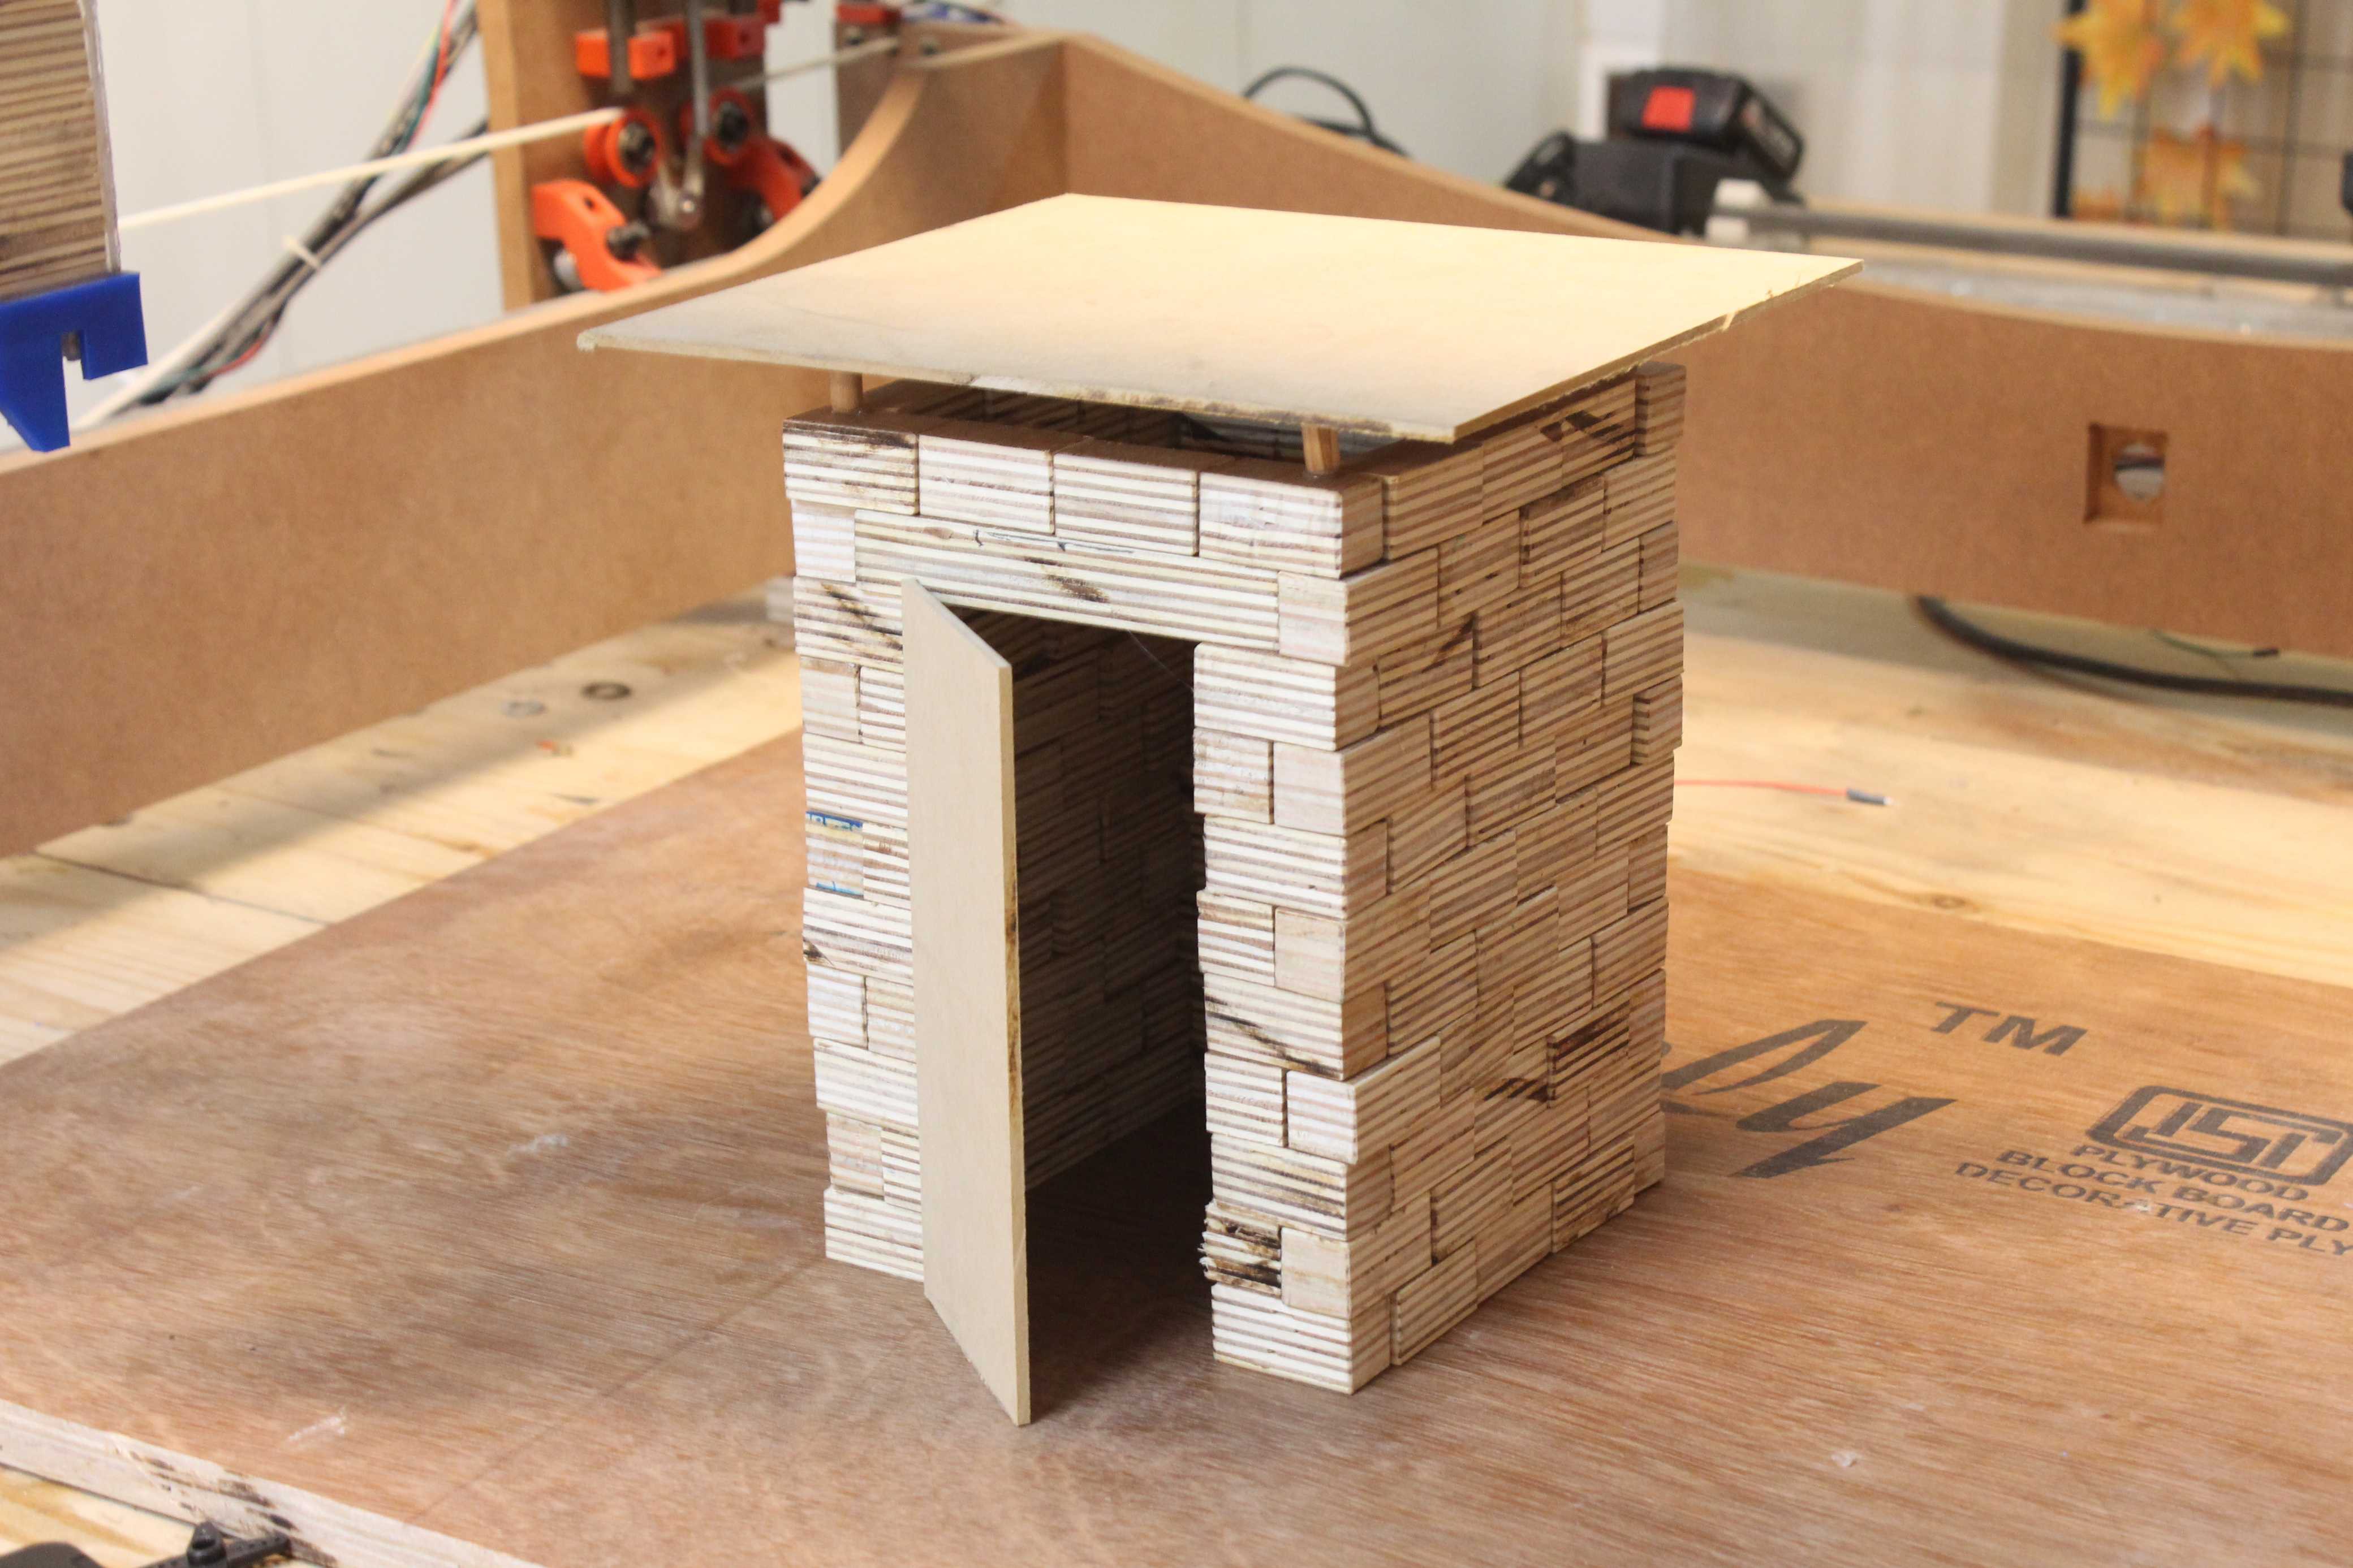
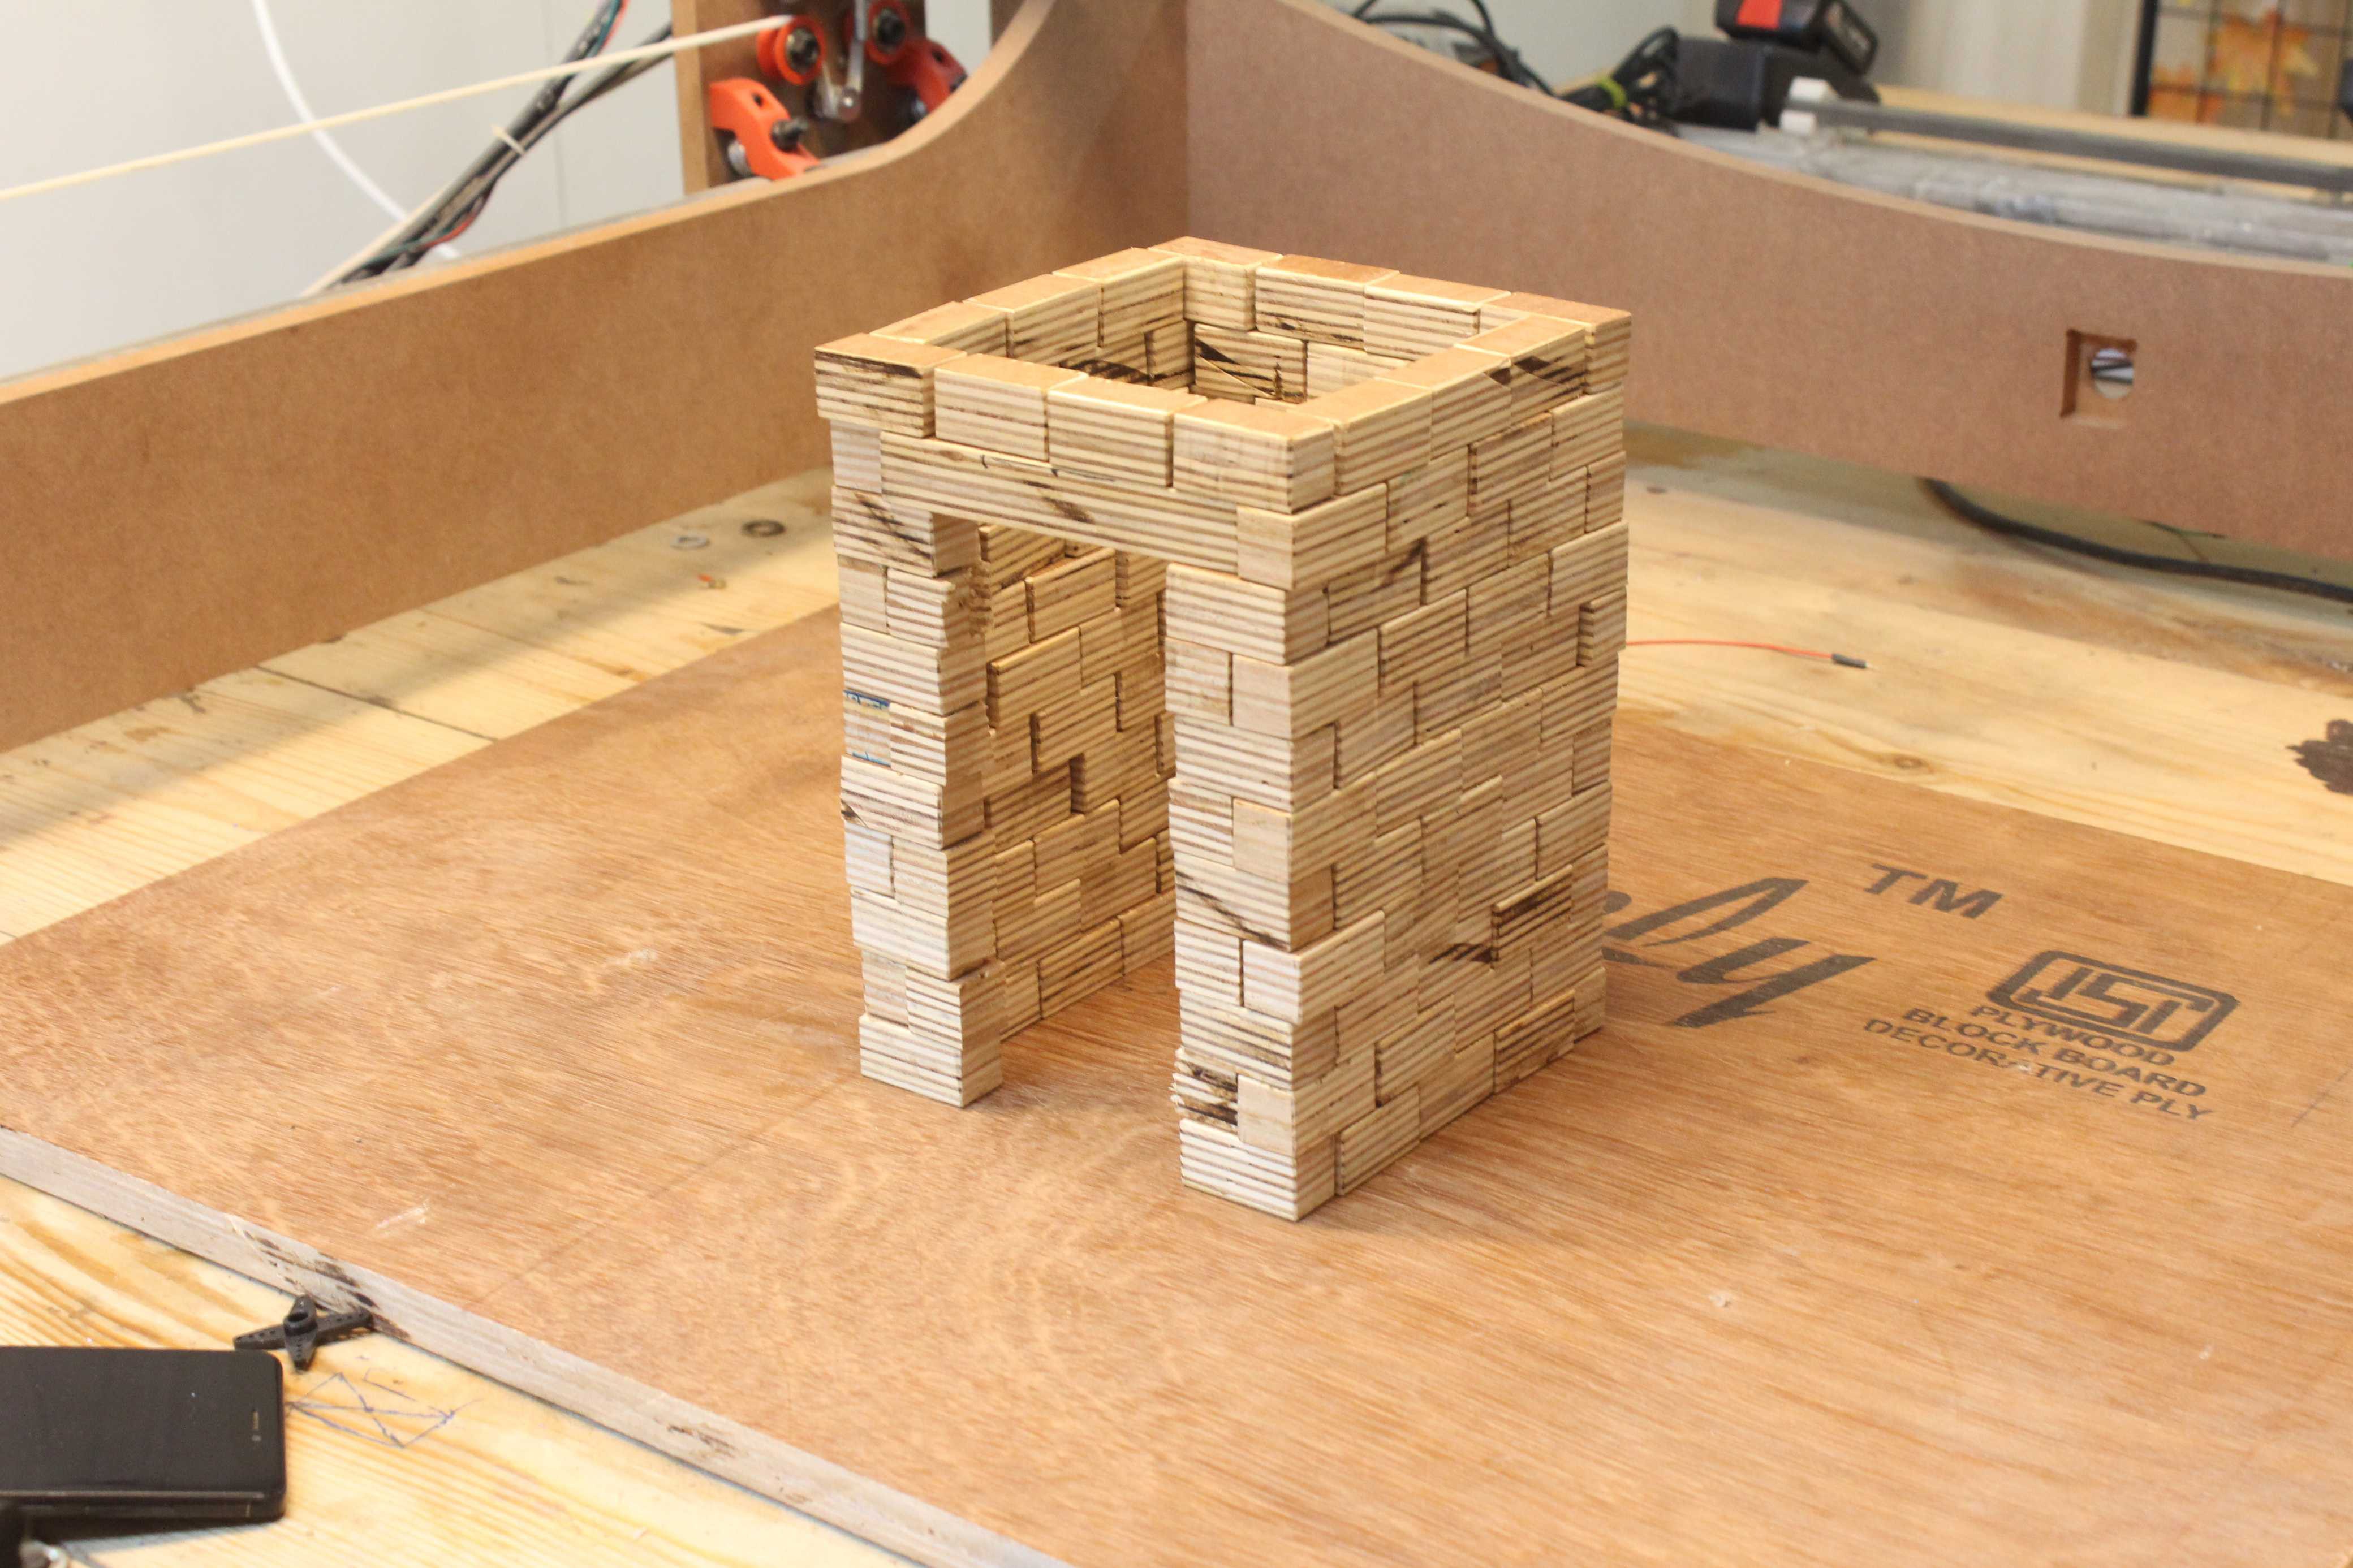
09/02/2019 at 11:37 • 0 commentsI did a first complete run for the structure of the toilet booth but without the application of the adhesive.
The mechanism is working well as intended but needs a little bit of calibration and tramming.
The machine took 18 minutes to finish the structure which averages out to a minute and a half for every brick course (not bad in my opinion). It will definitely take more time with the application of the mortar/adhesive but still would be very time efficient as compared to a standard 3d printing process. If my calculation are correct a full scale machine will be able to construct at least 6-8 such booths in under a day.
Here are a few photos of the the model structure created.
-
Progress with the real world prototype
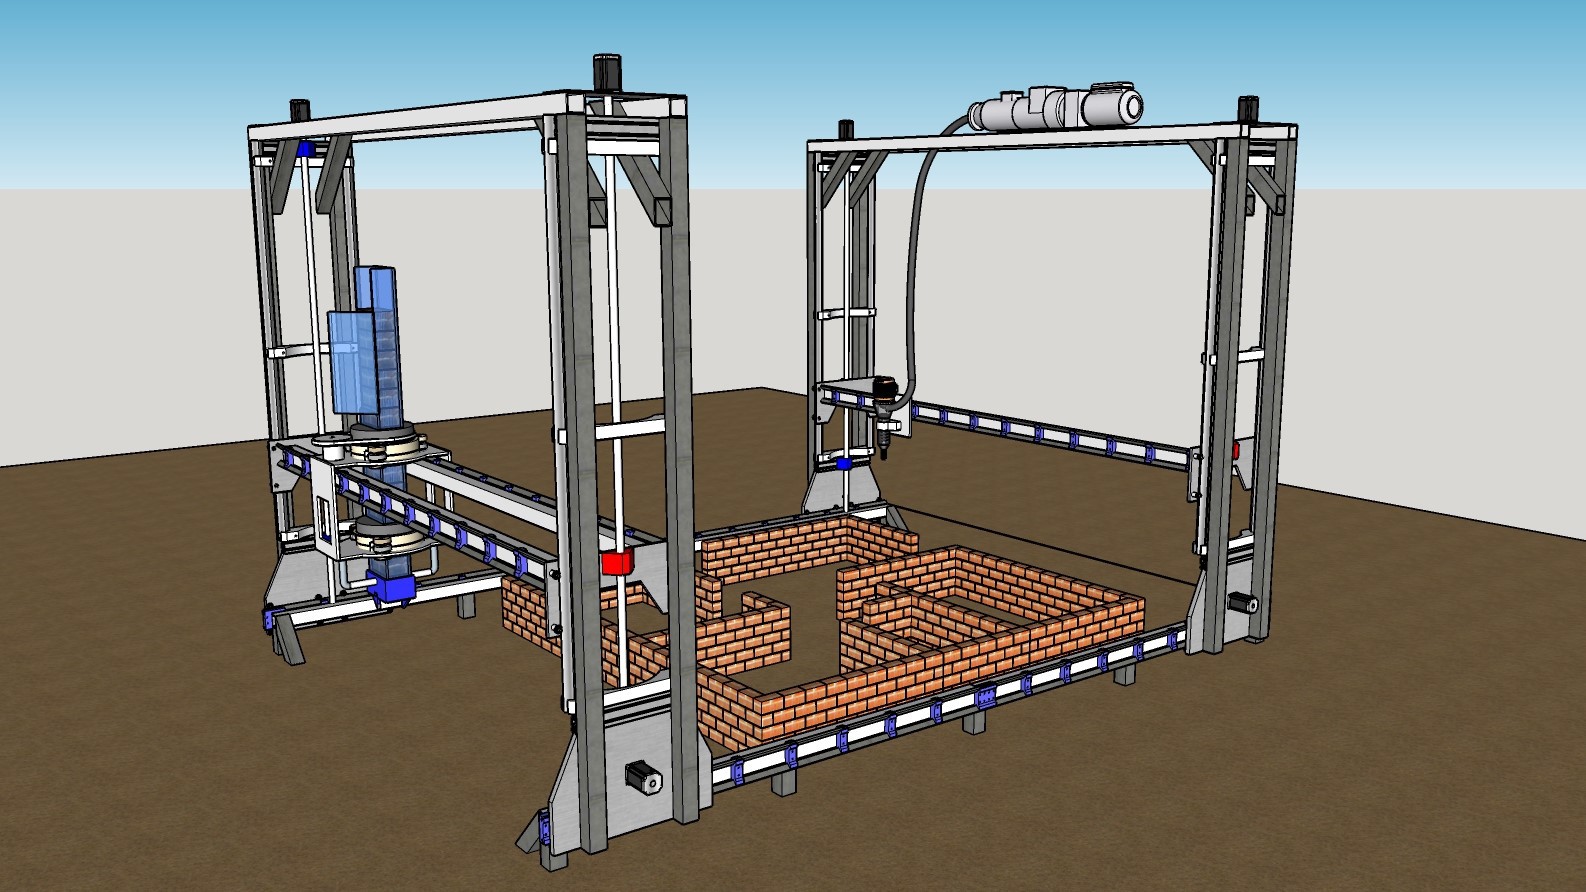
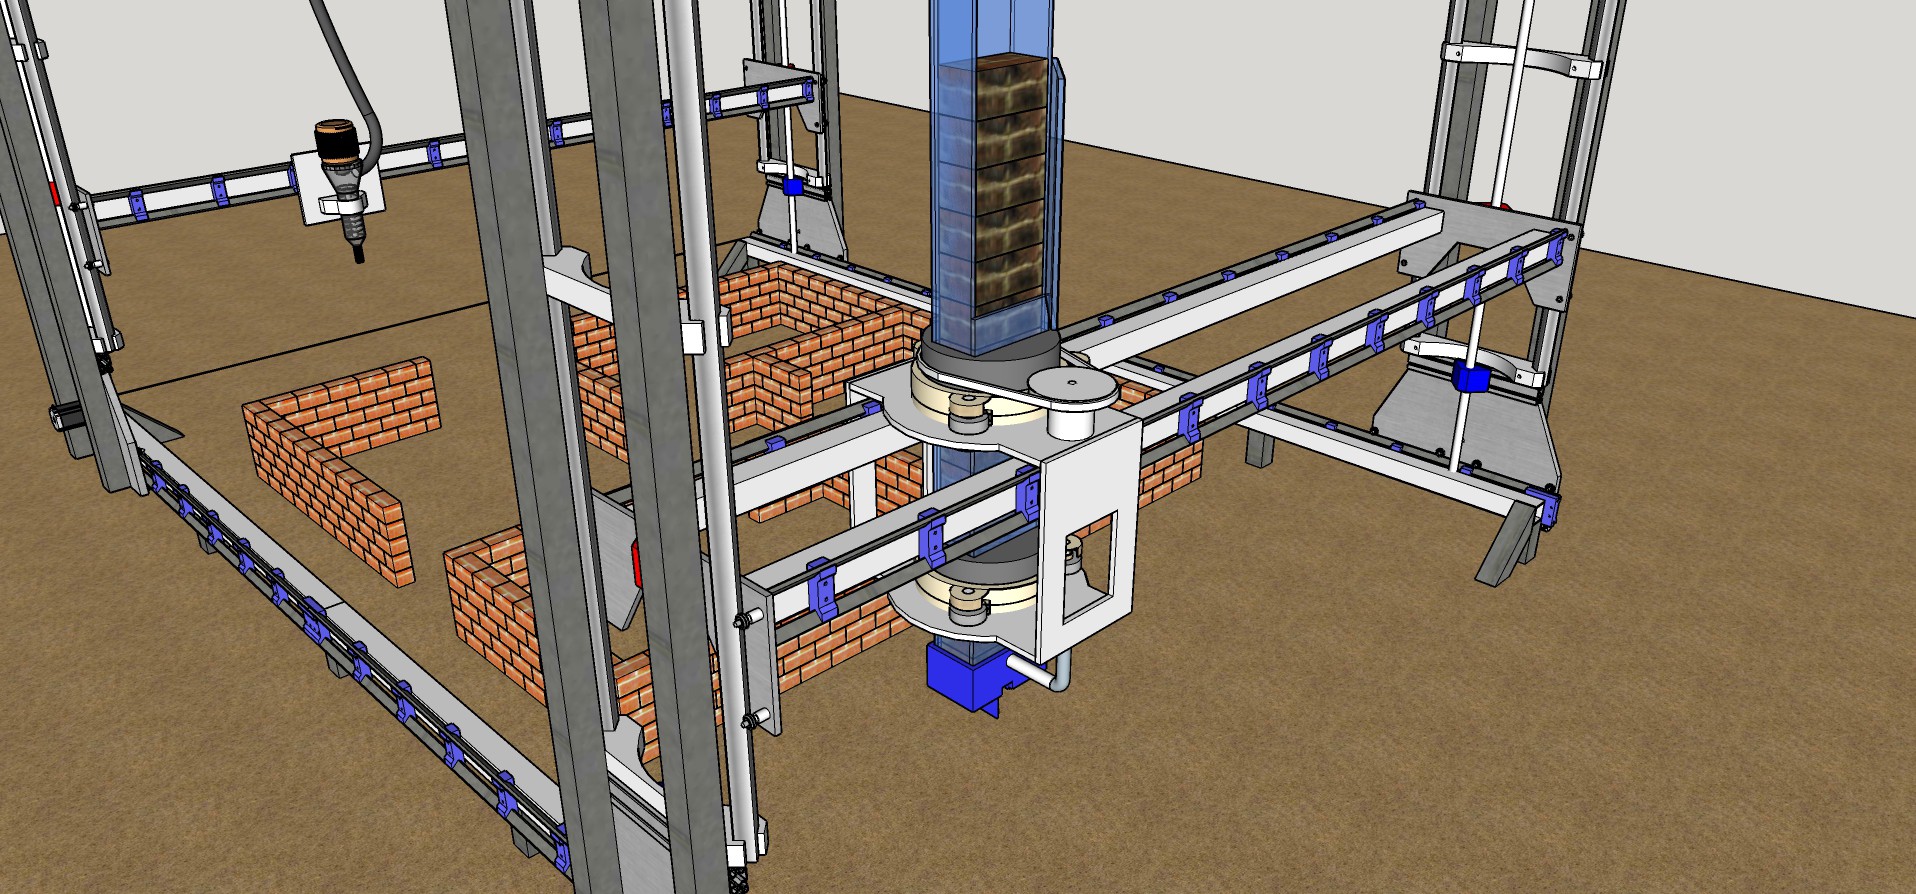
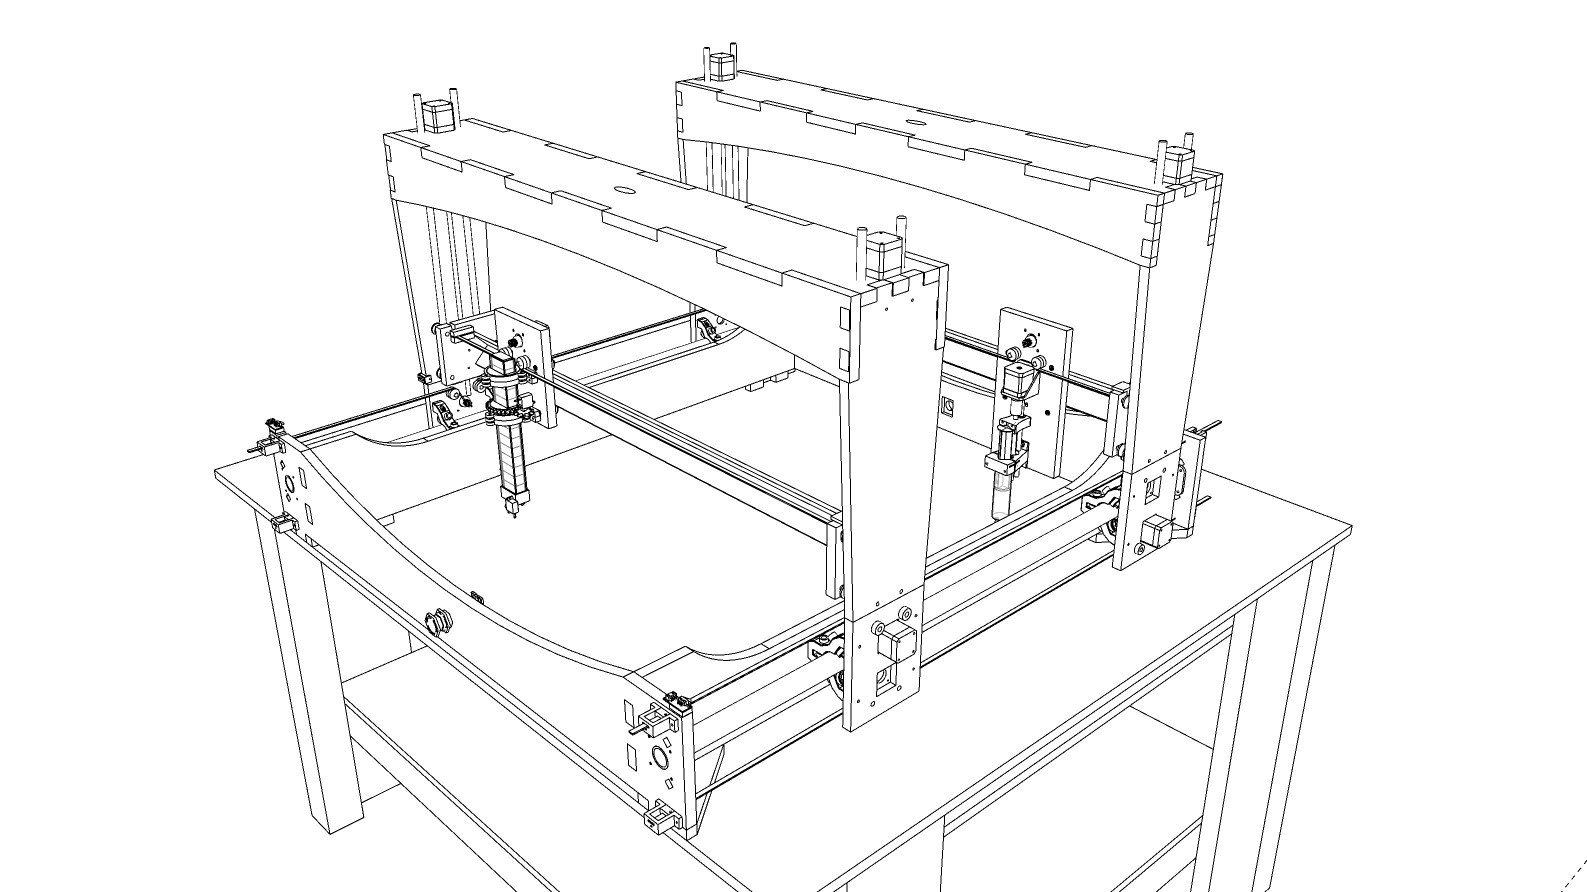
08/25/2019 at 13:29 • 0 commentsWhile working on the protoype I have been learning and taking points for my next prototype which will be a real world application machine. I have started working on the 3d model.
After seeing that my designed linear rail mechanism works very well in th prototype I have decicded to use it on all the axes of the final prototype just with bigger bearing and hardware.
The design of the brick dispenser and the extruder need to be worked on some more.
![]()
![]()
-
The extruder
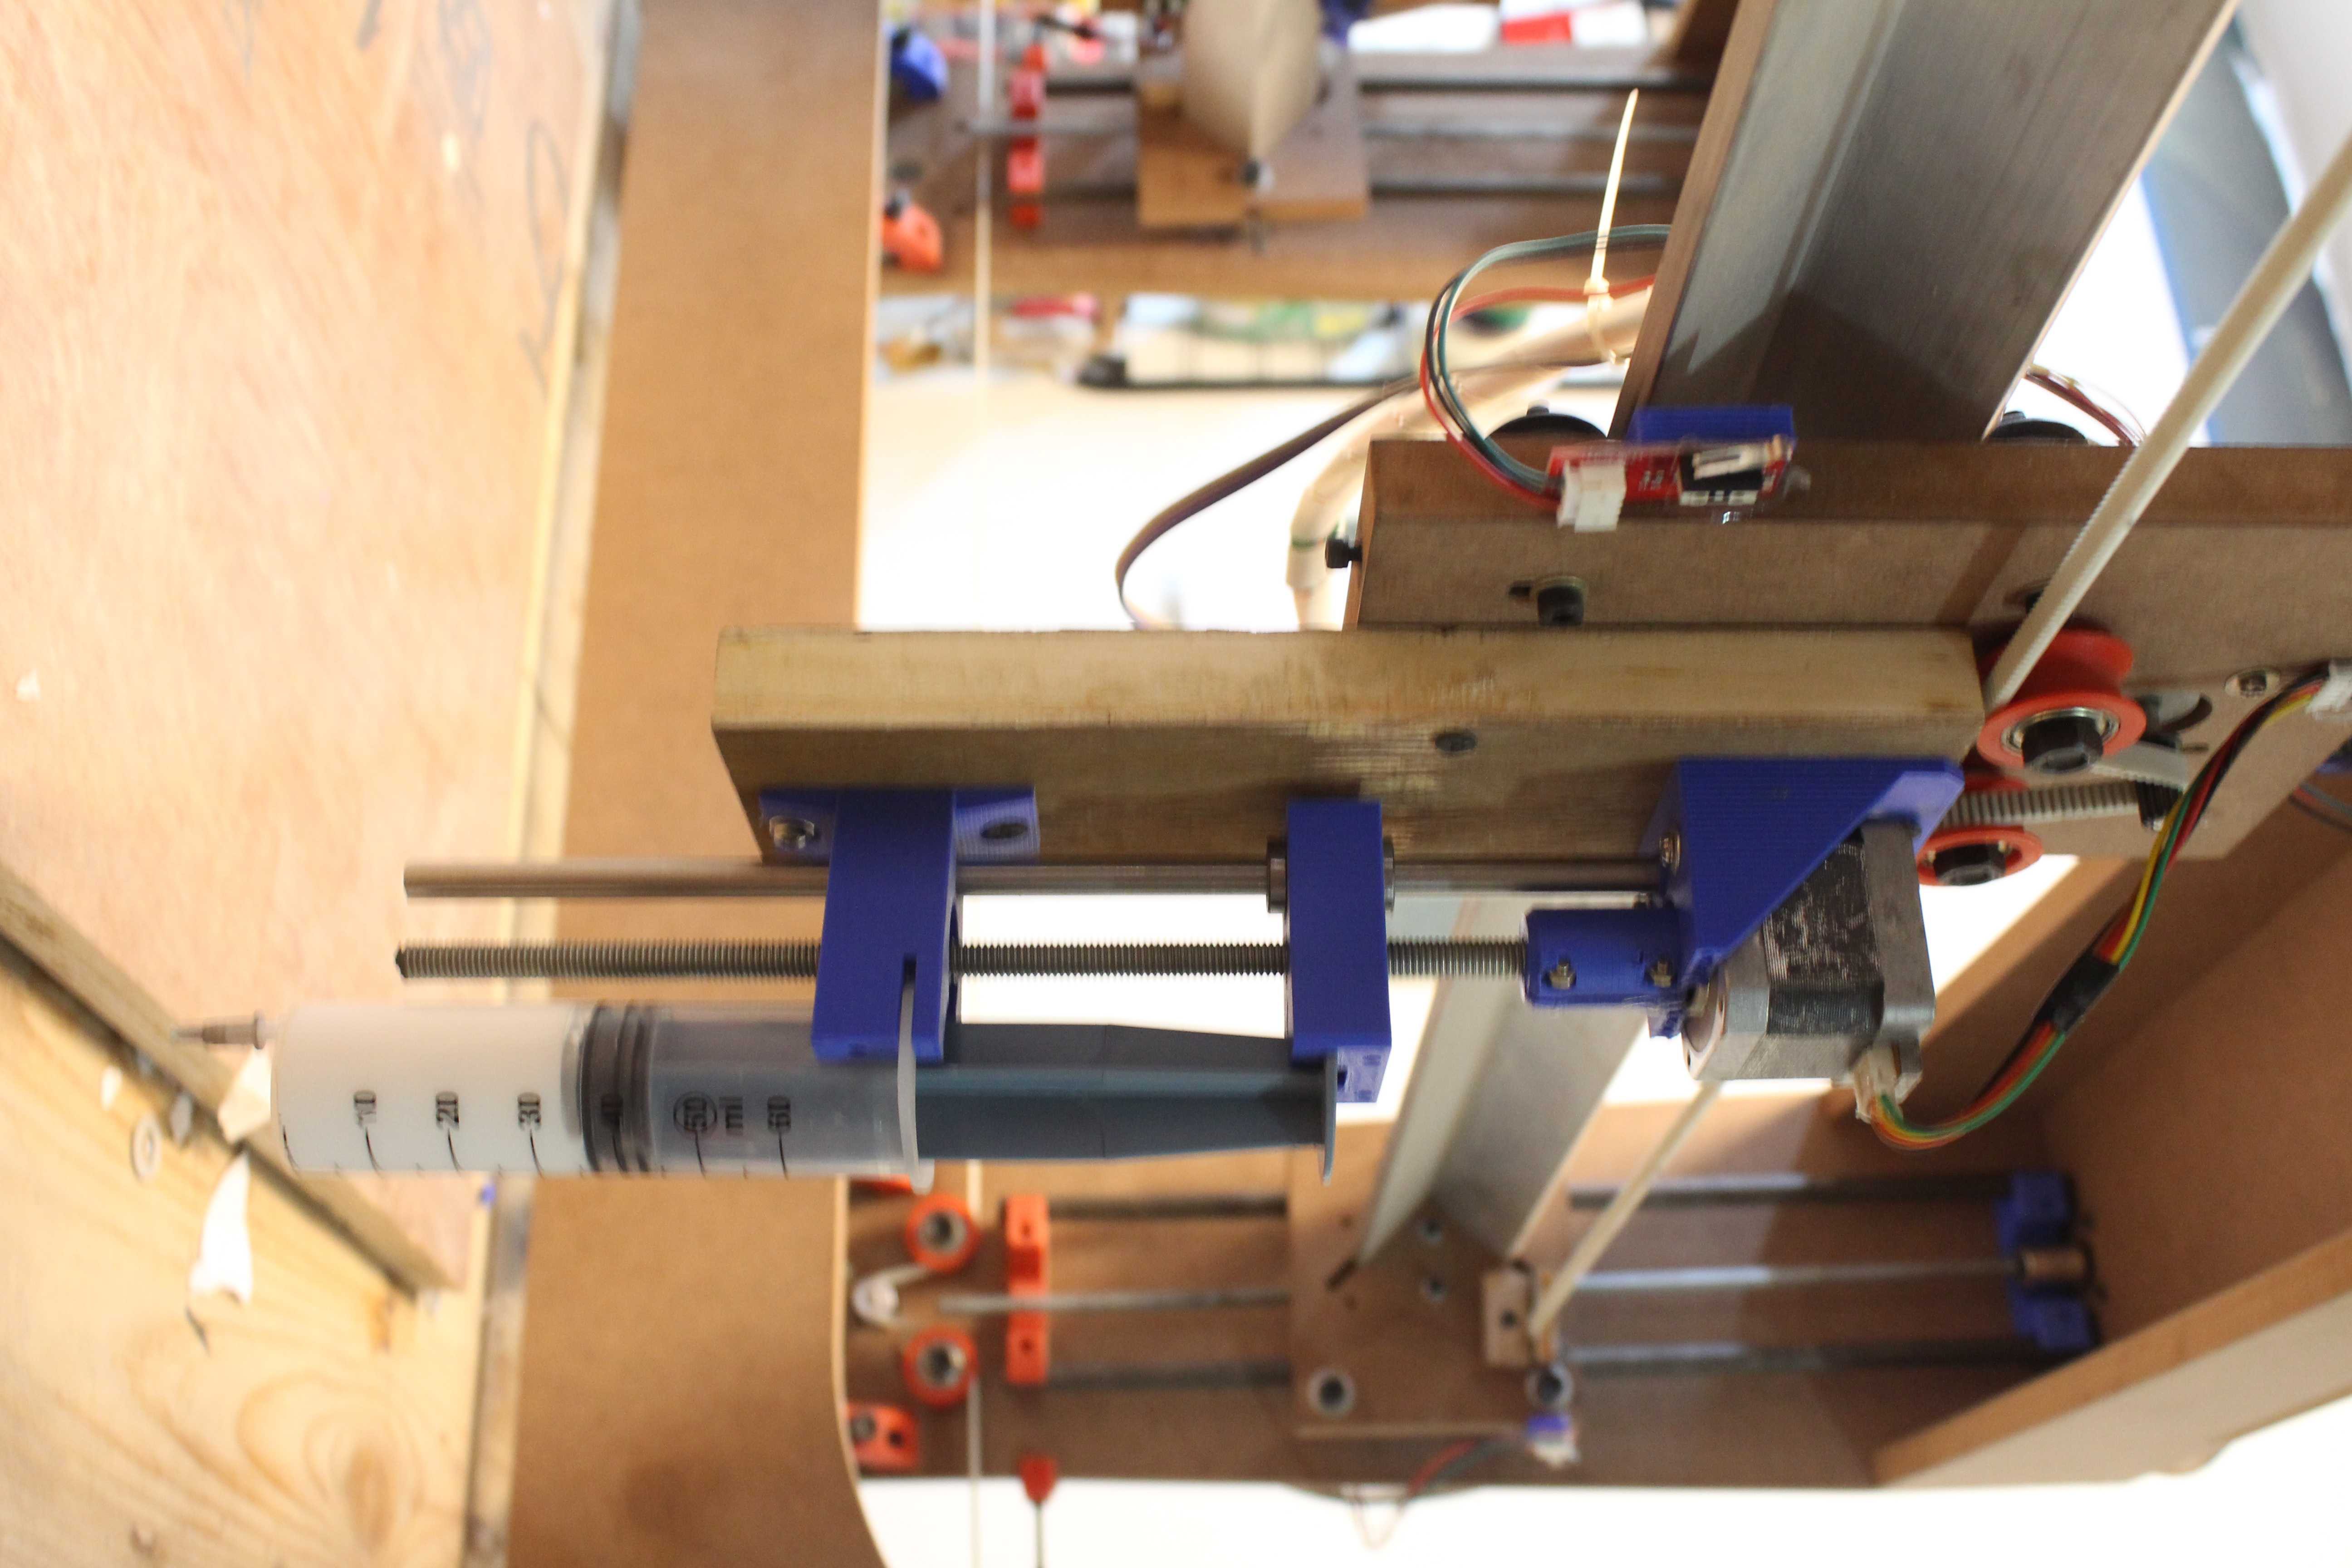
08/25/2019 at 13:18 • 0 commentsThe application of the mortar is mimiced by a syringe extruder mechanism mounted on one of the gantries. The adhesive is dipensed by the extruder after every subsequent brick course over them. The syringe here is held in by friction and can be quickly pulled out and replaced with another one as the volume of the adhesive inside decreases.
Although in the final version of the machine the extruder will consist of a continous screw feed nozzle which will be fed by a mixer mounter over the gantry top.
![]()
-
The brick dispenser mechanism
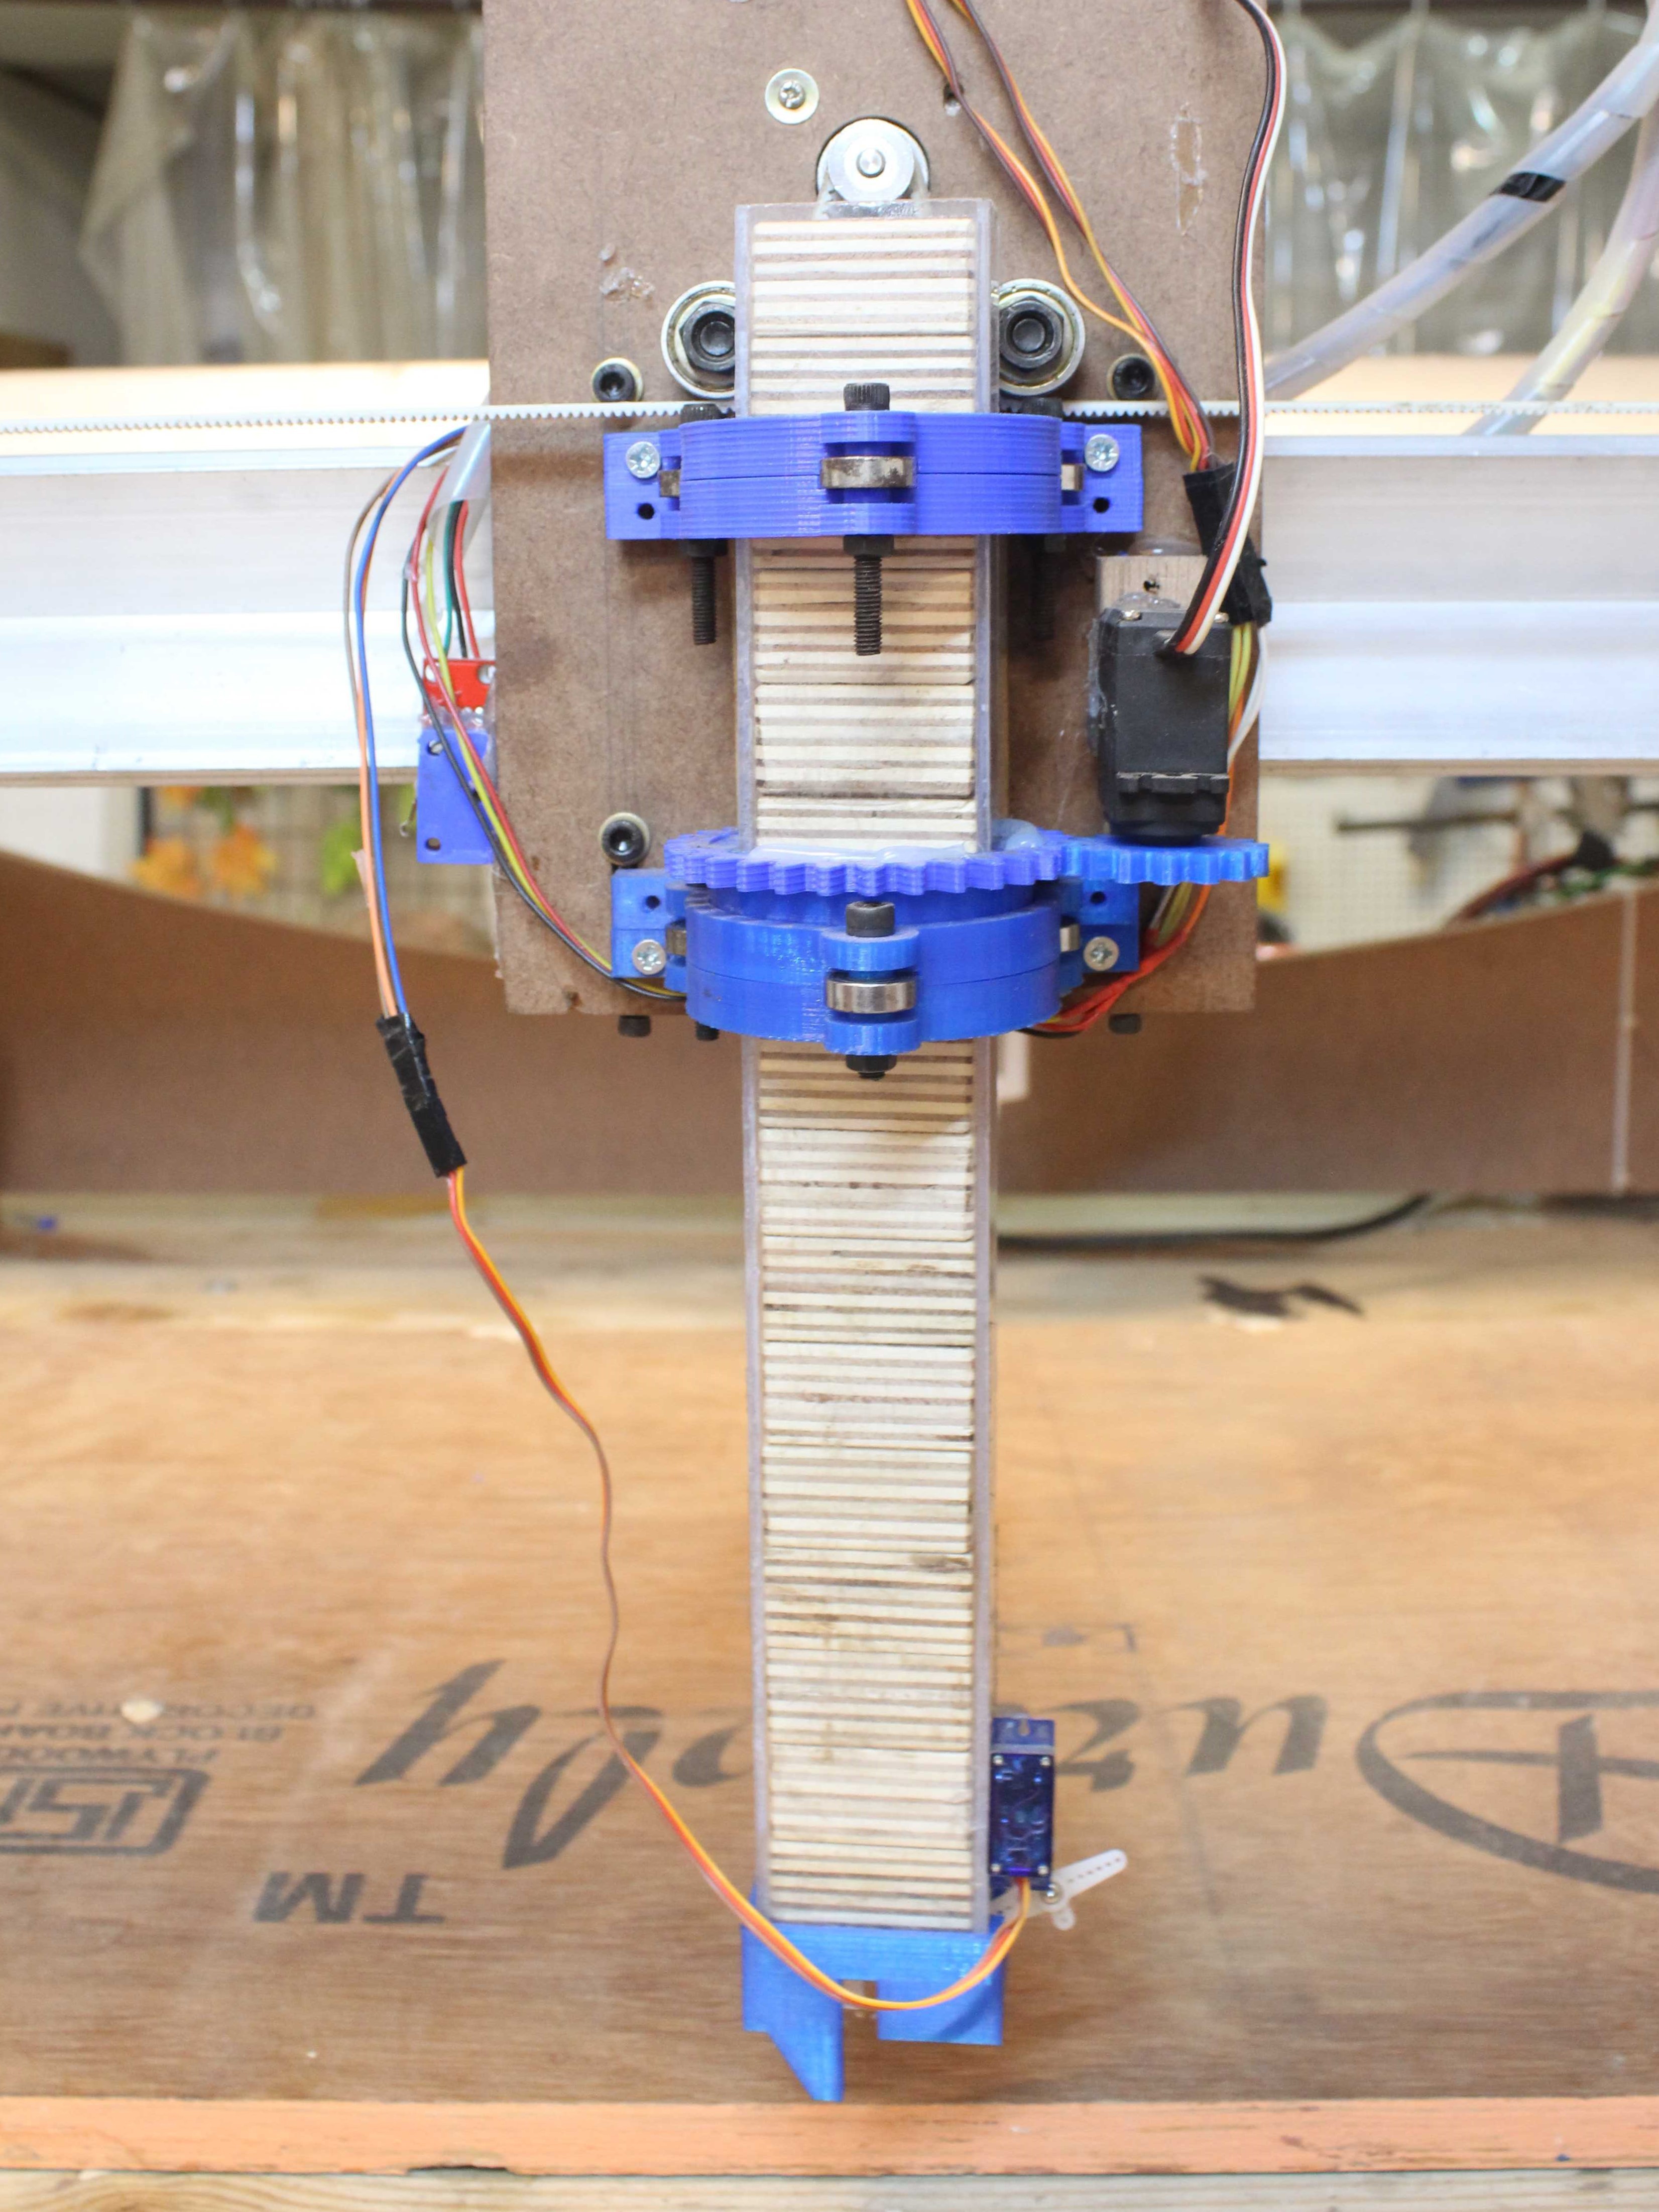
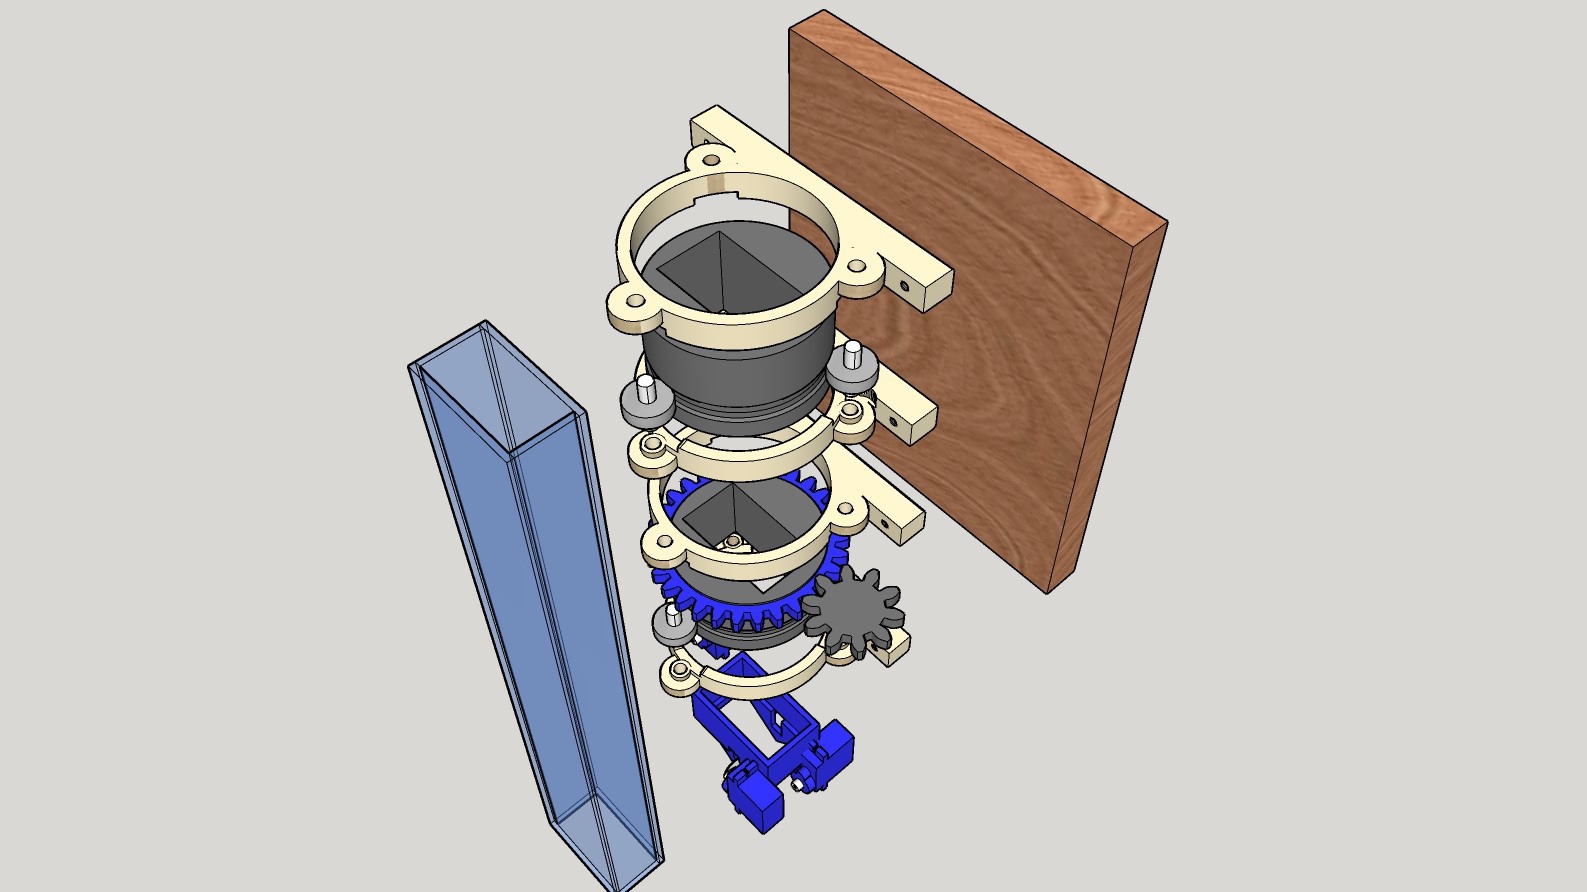
08/25/2019 at 12:34 • 0 commentsThe dispenser mechanism the most crucial part of the entire build. It is what sets it aside from other NC robots. The challenge here was to how to make functioning brick dispenser which is not another robotics arm slapped on the gantry. The dispenser should be able to hold a sufficient number of bricks at a time and dispense them one after the other without creating a back and forth movement as in case of a robotic arm. Also it was required that the whole mechanism is able to rotate itself in various direction to account for the orientation of bricks as required in a building project.
Here is what I came up with
![]()
The whole system consists of a feed tube in which the bricks can be restacked once they are about to run out. The axis of rotation of the dispenser tube is right in the centre which makes the whole operation faster and it is also much easier to program the machine as the movement codes need not be modified to compensate for the movement of the tool head.
You can watch the how the dispenser mechanism works in this video.
-
First moves
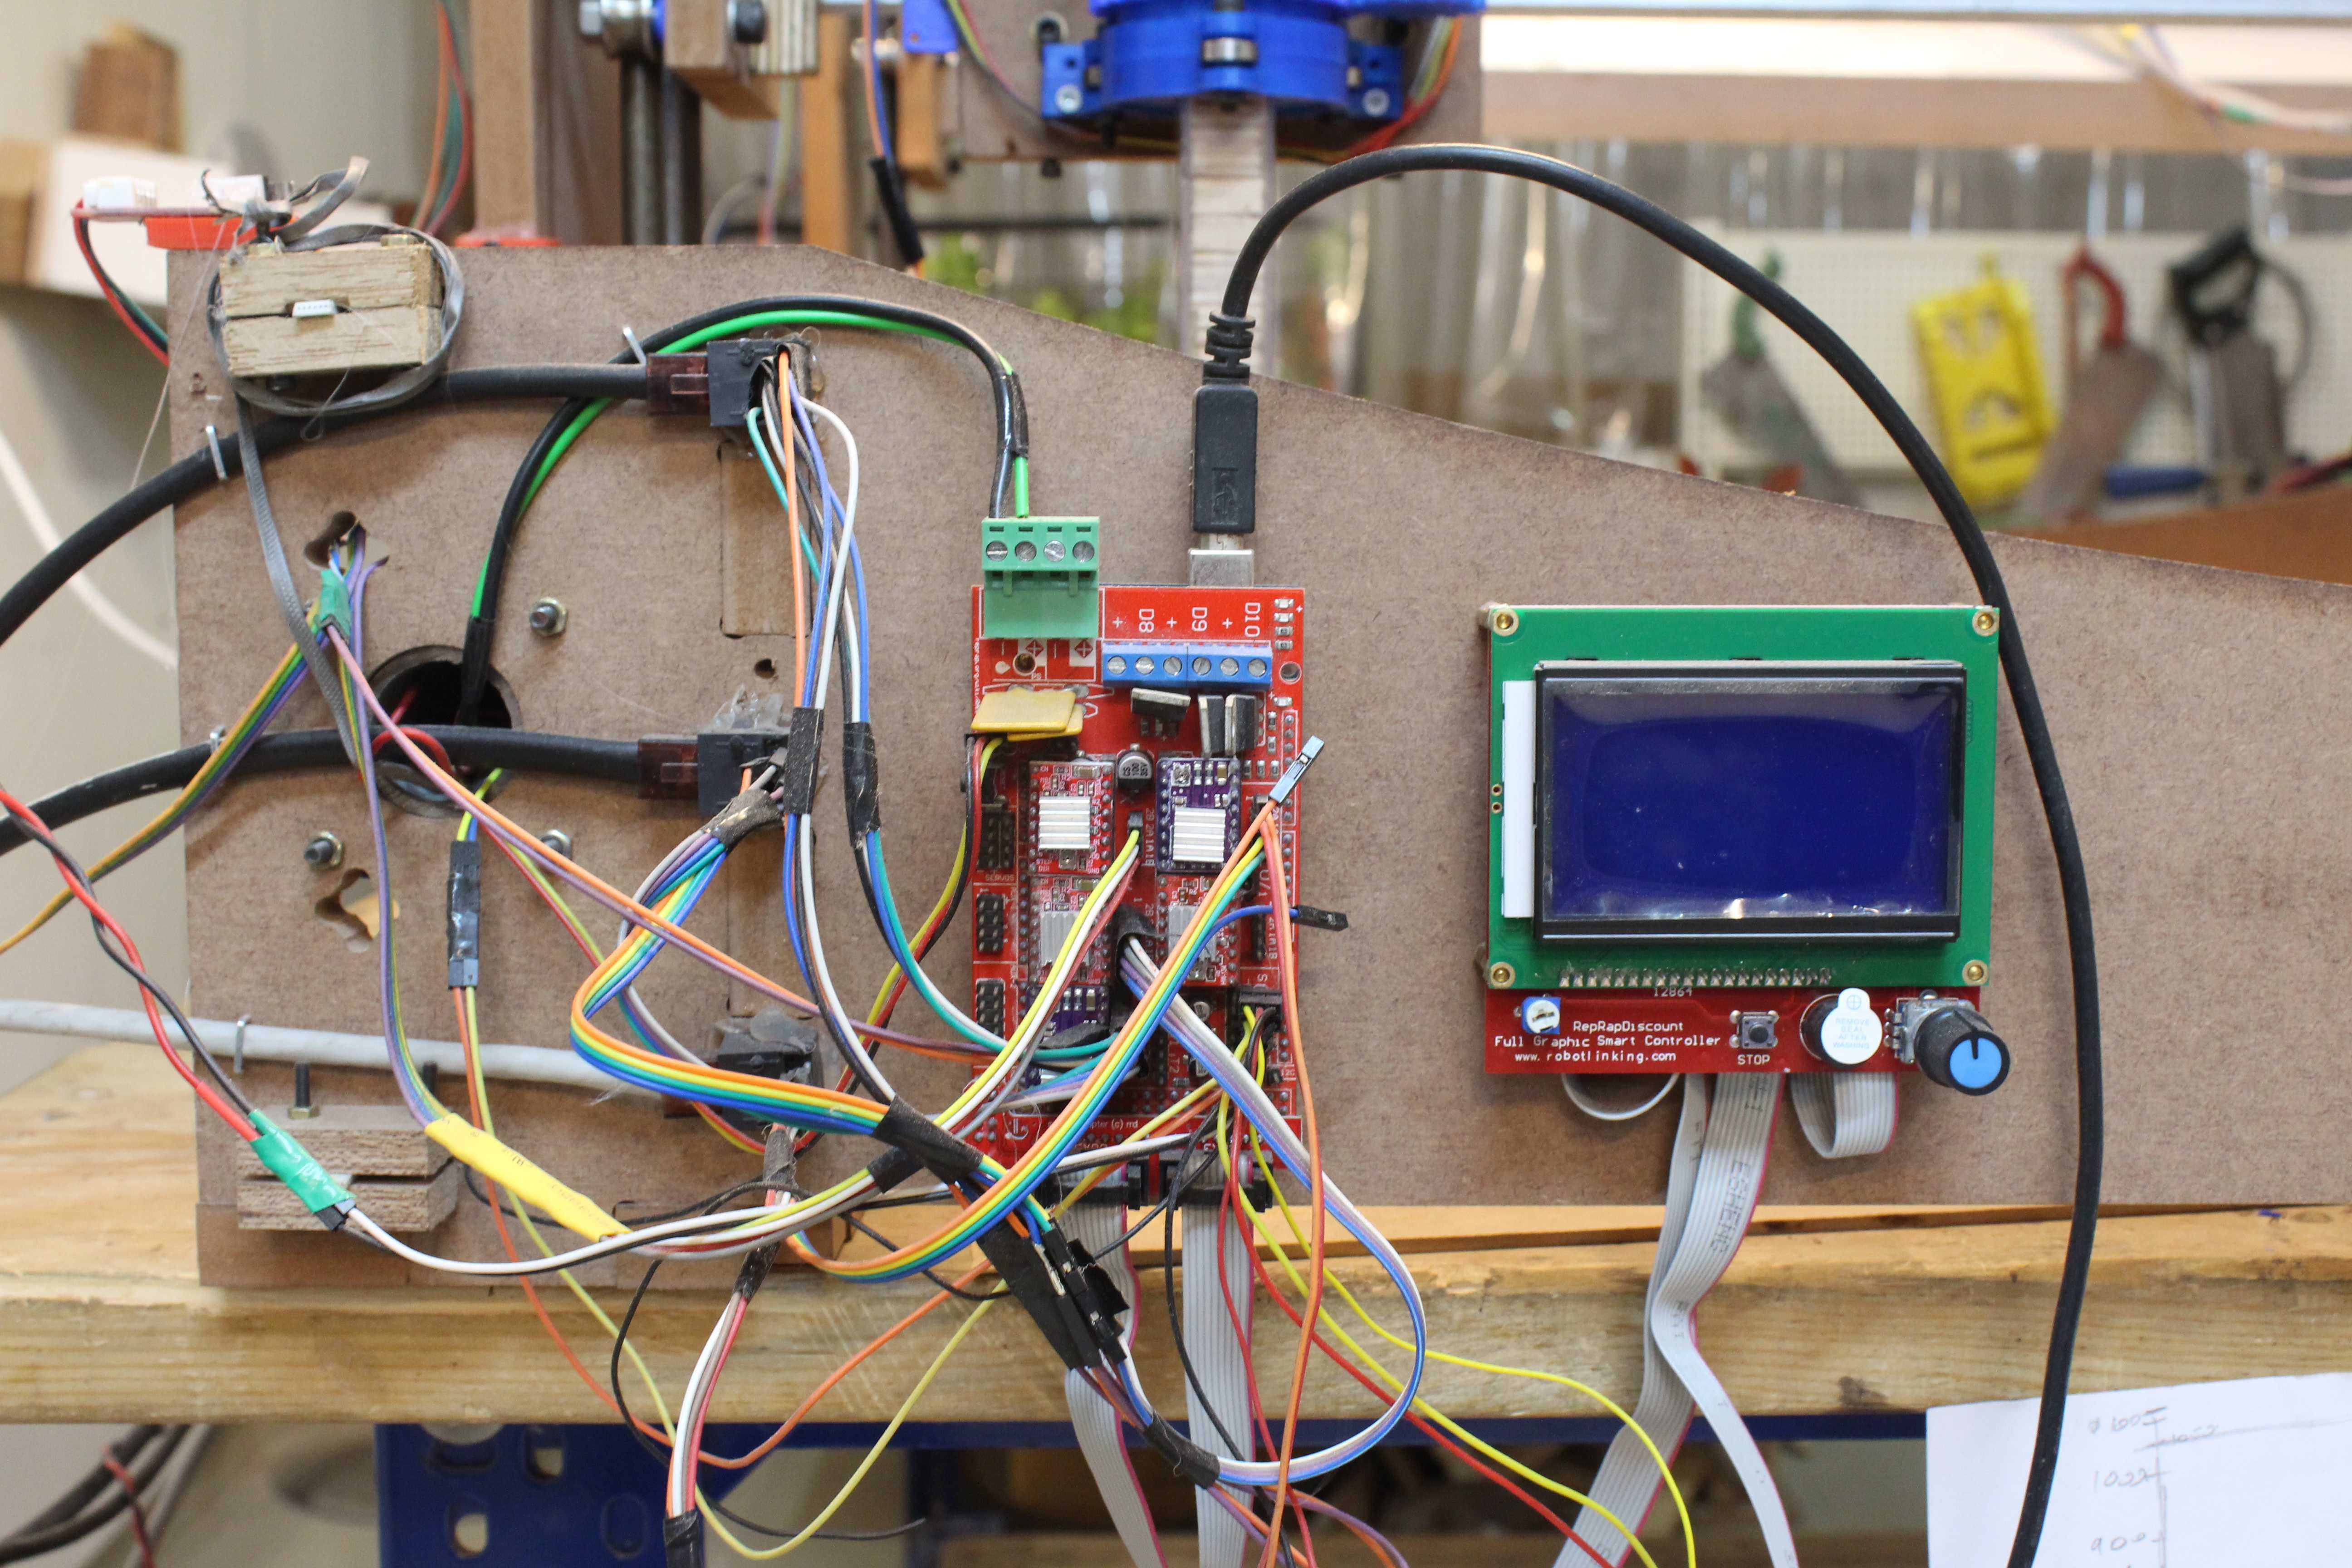
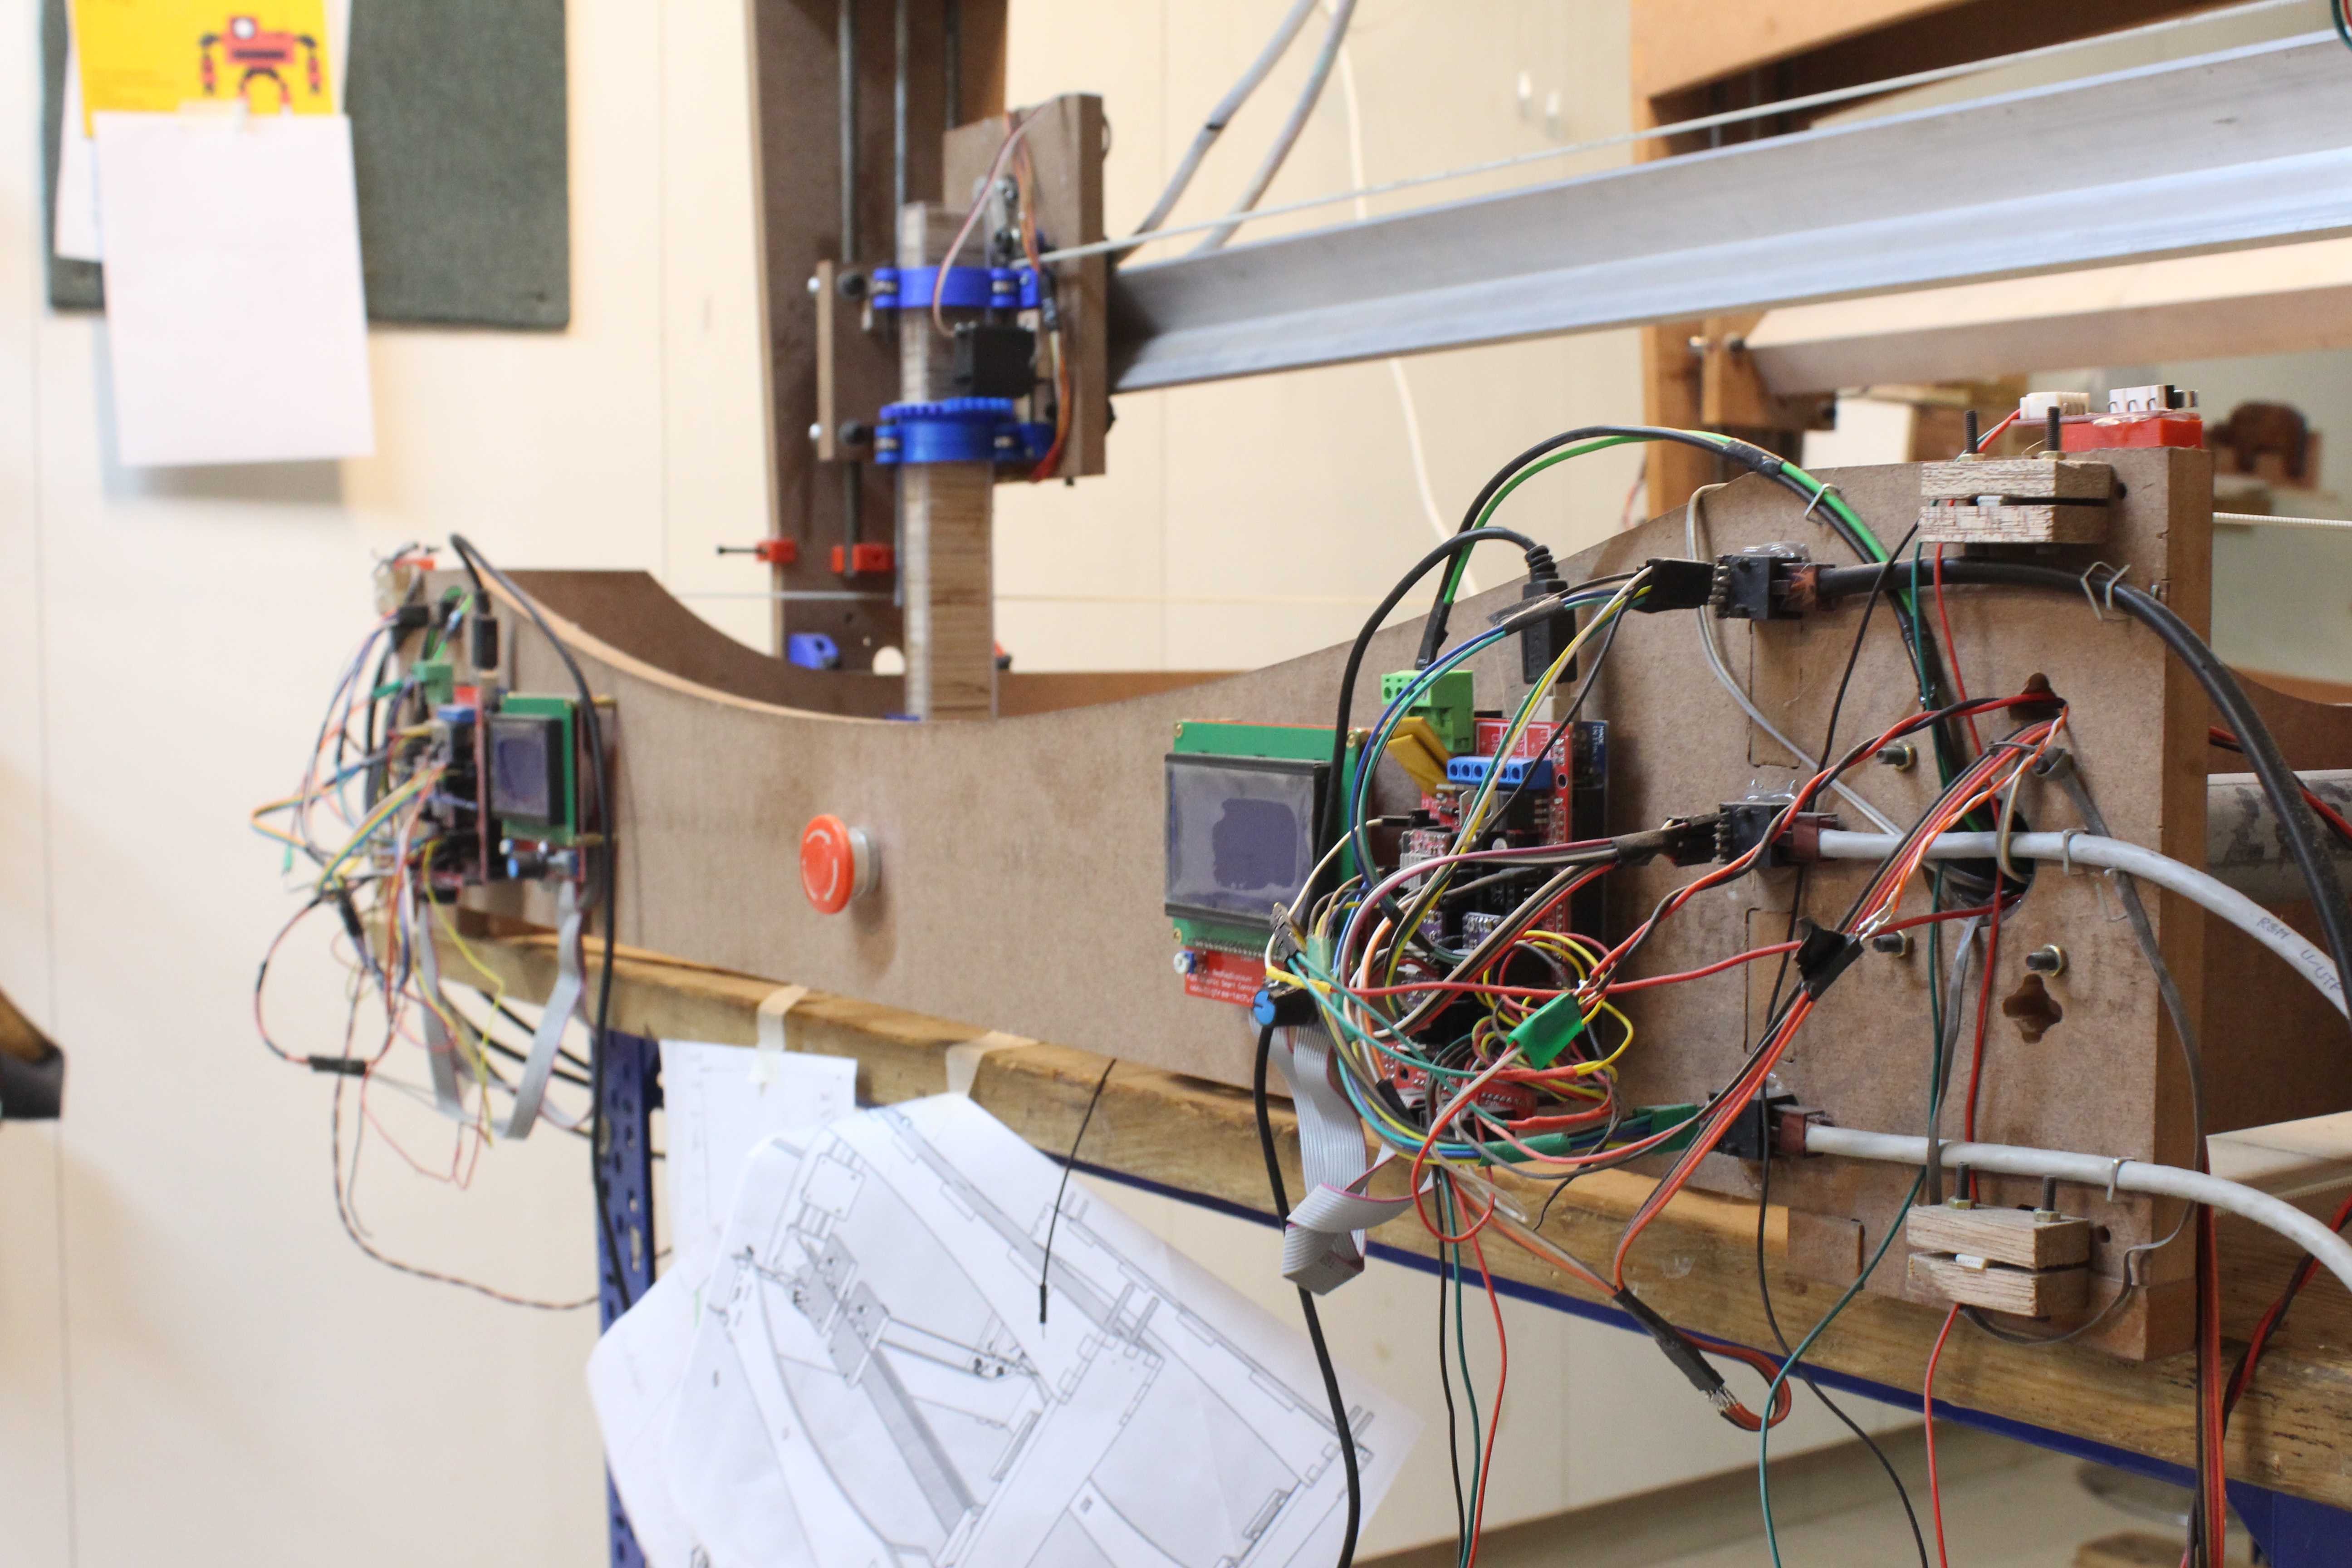
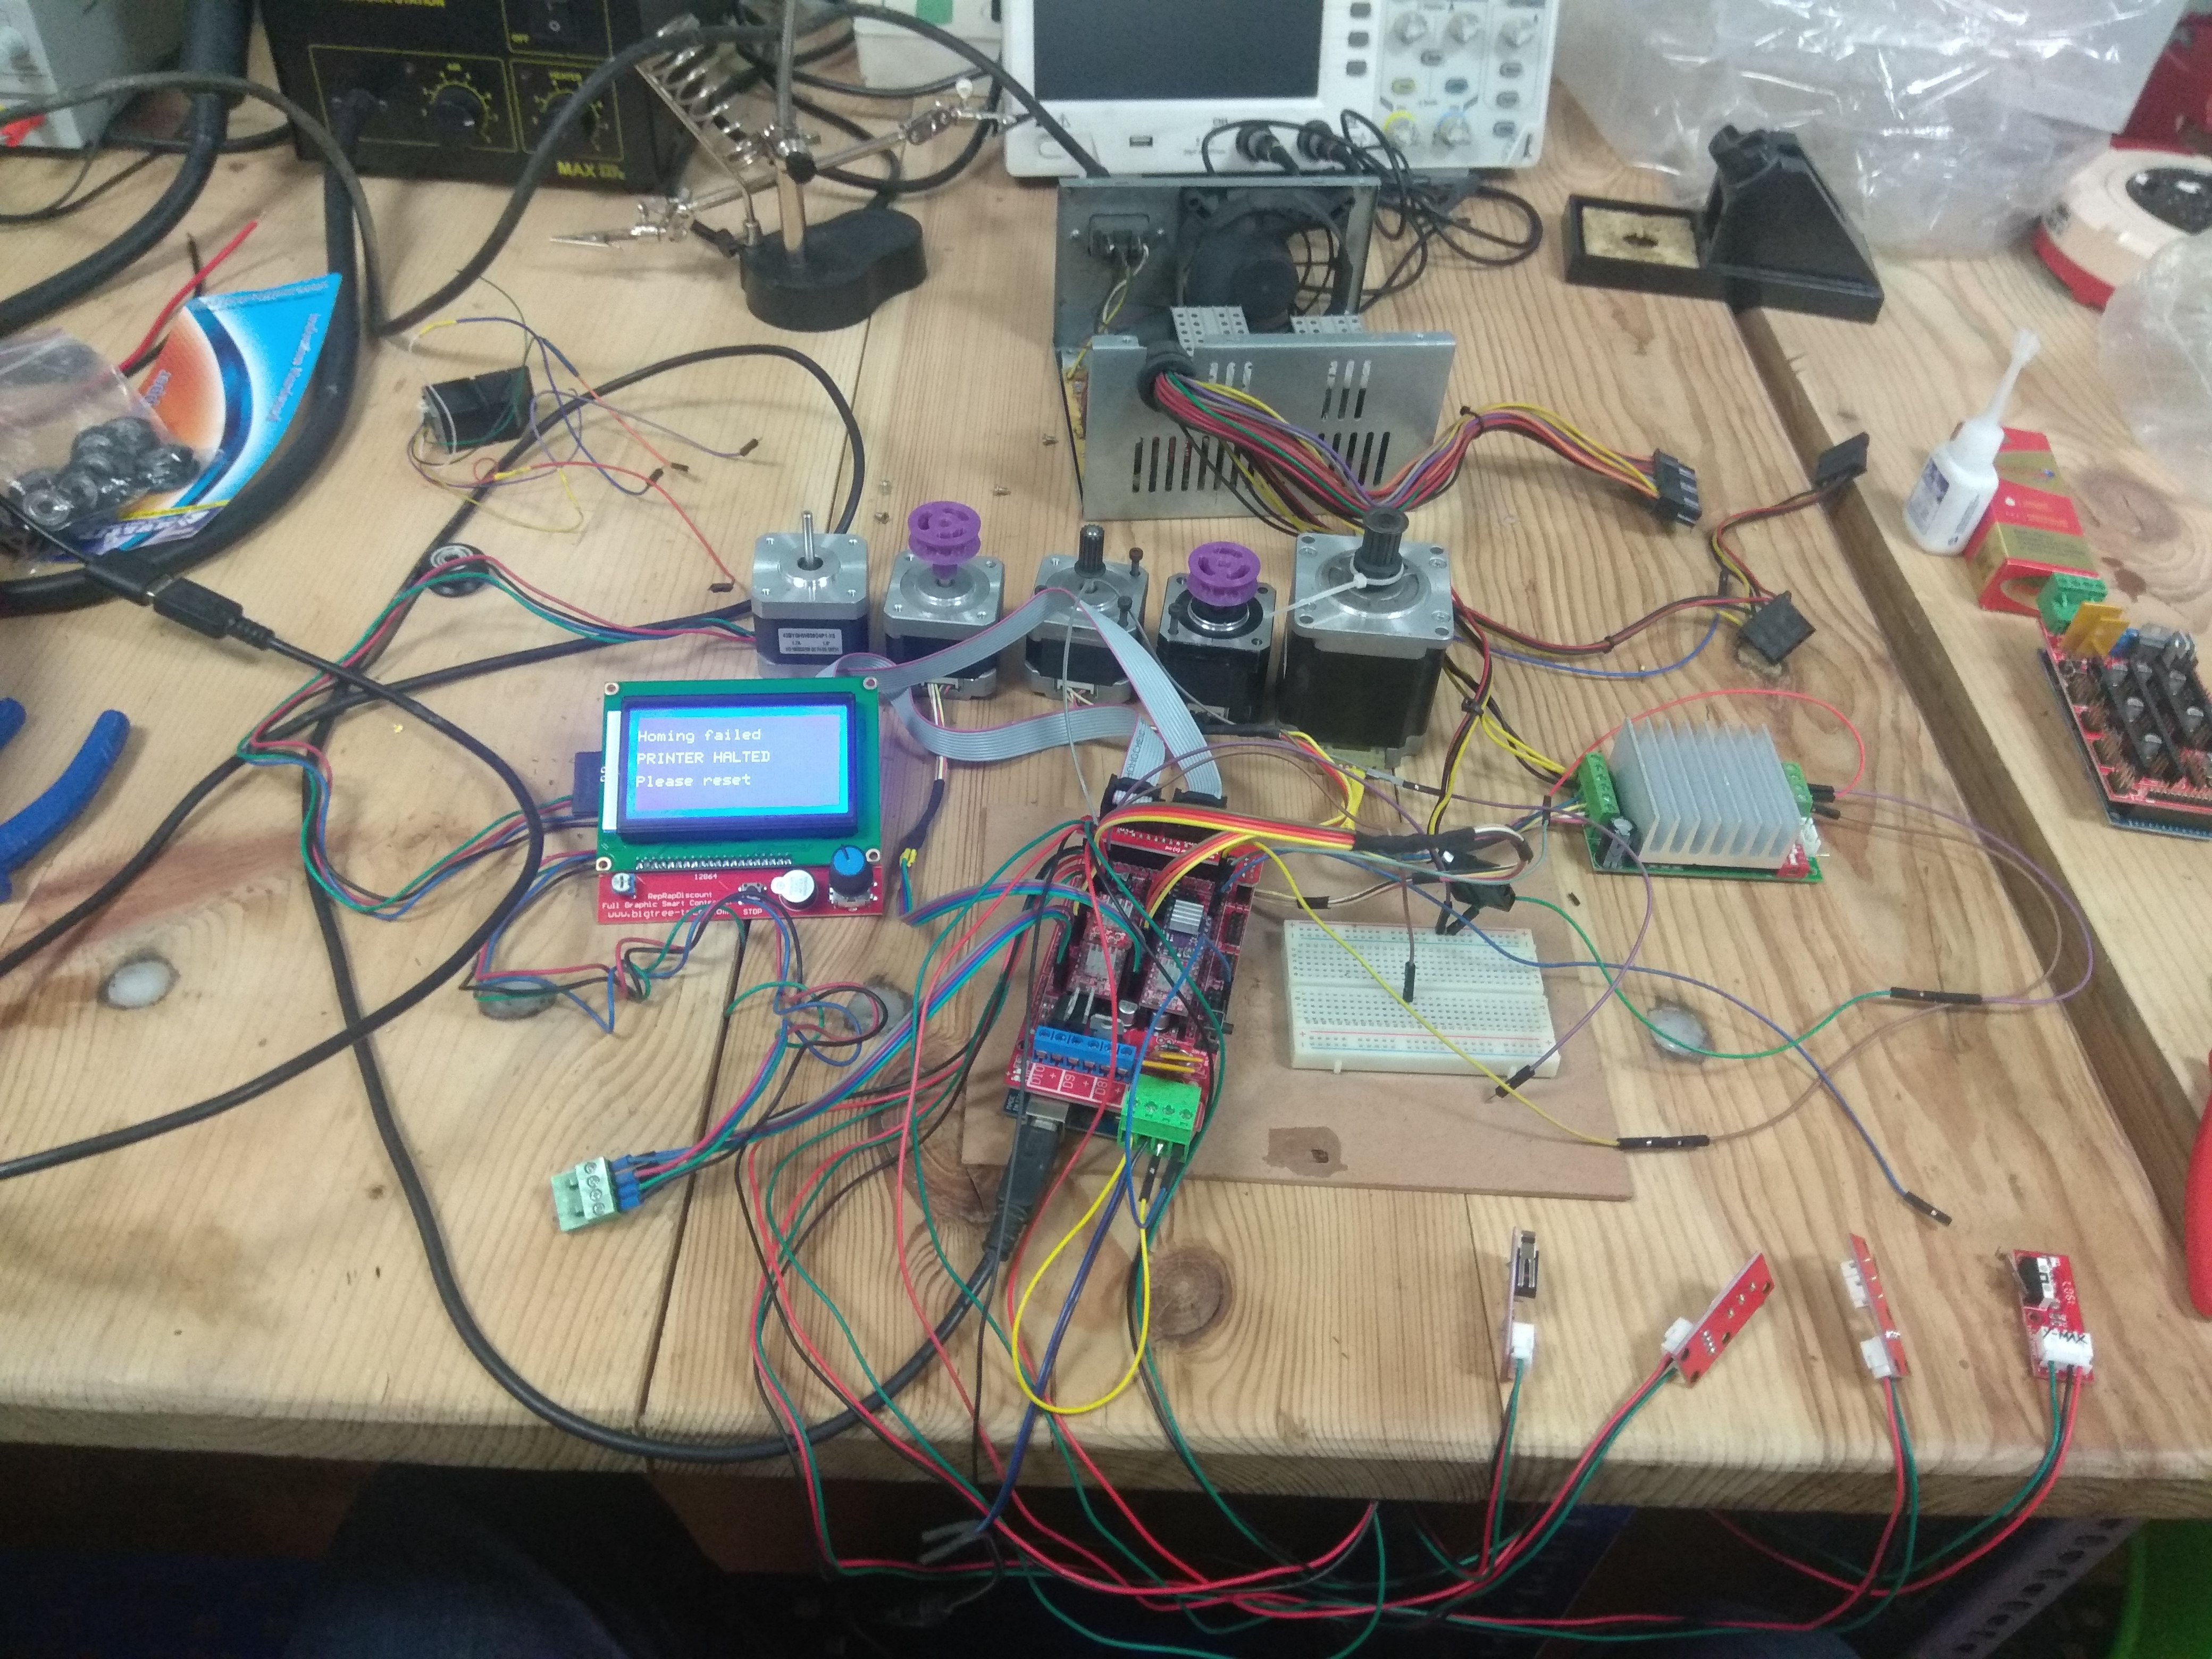
08/25/2019 at 12:15 • 0 commentsIts time to wire the electronics with the hardware. Since I am not an electronics guy, I always manage to do a horrible job at wiring stuff. Please mind th mess in the few next photos
Even though I had the wiring figured out previously, this was one of the most tiring job I had to do on the machine. The prototype is running using a standard ATX supply which is plenty powerful for this purpose.
Once the wiring was done the machine was functioning as I had desired it to. The motors provide sufficient torque to move the various parts of the machine. I couldn't resist and slapped on a pen on each of the gantries for a ""Hello World". This also ensured the machines for more than accurate for its intended job. -
Linear movement
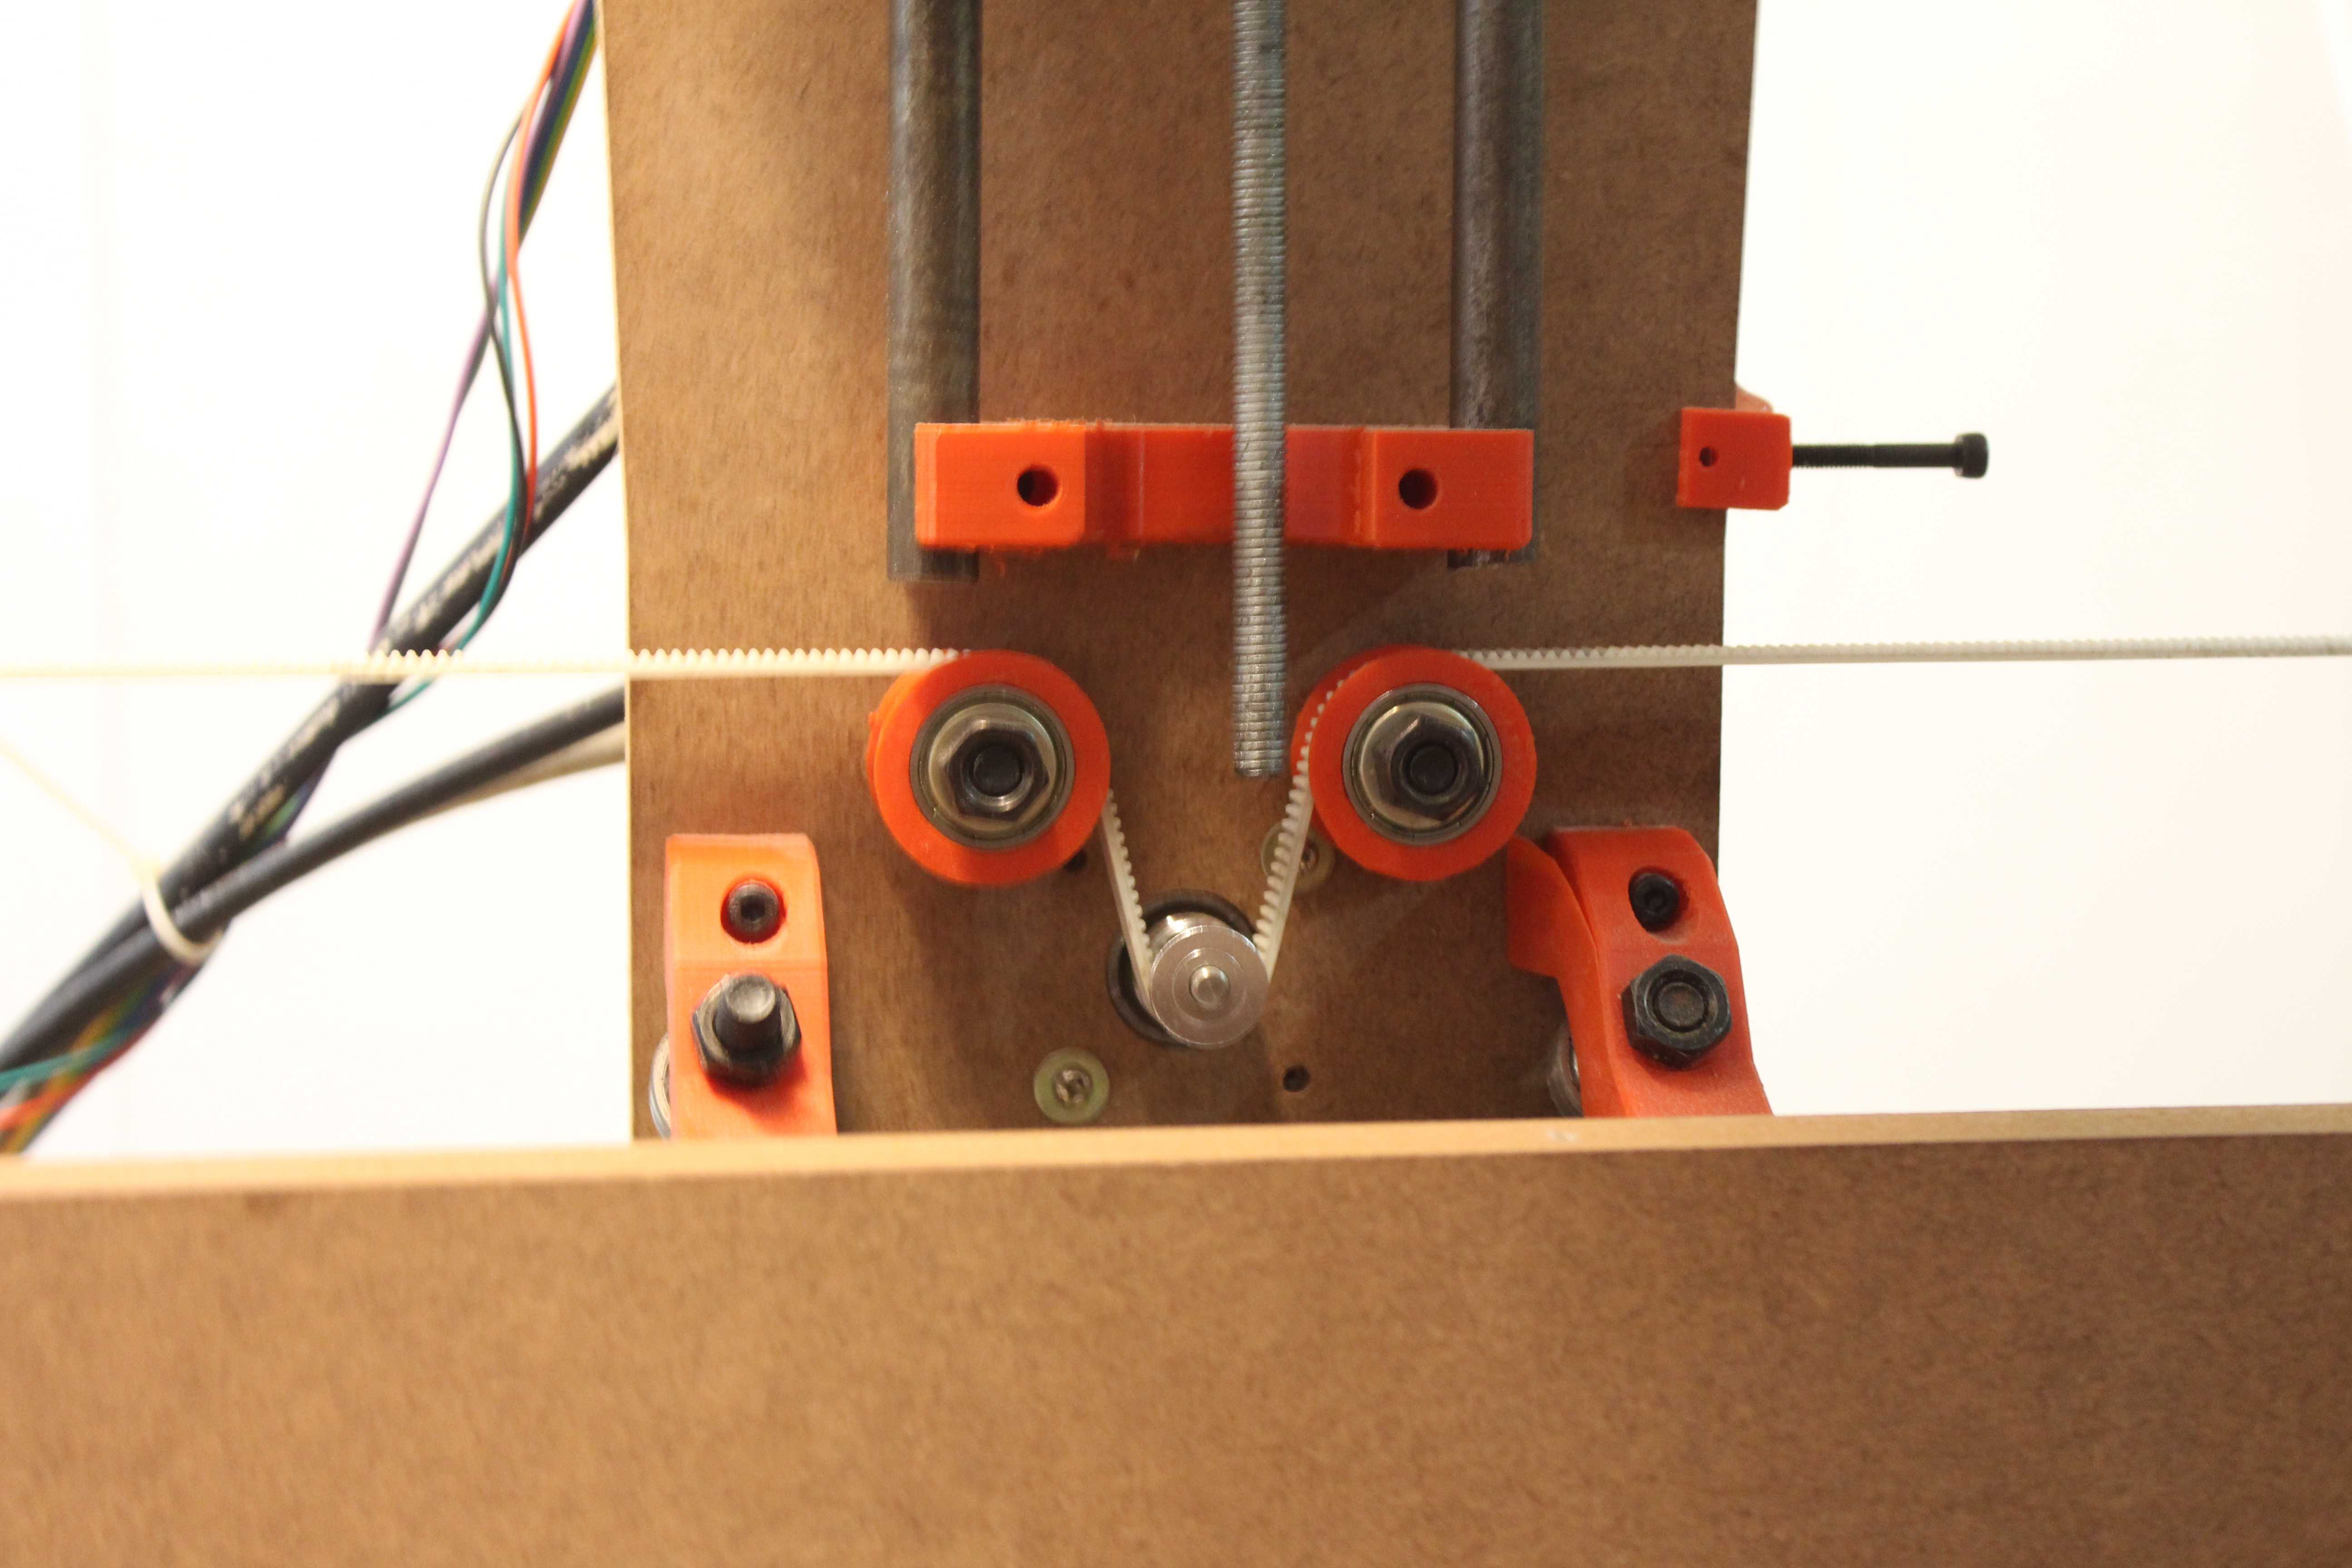
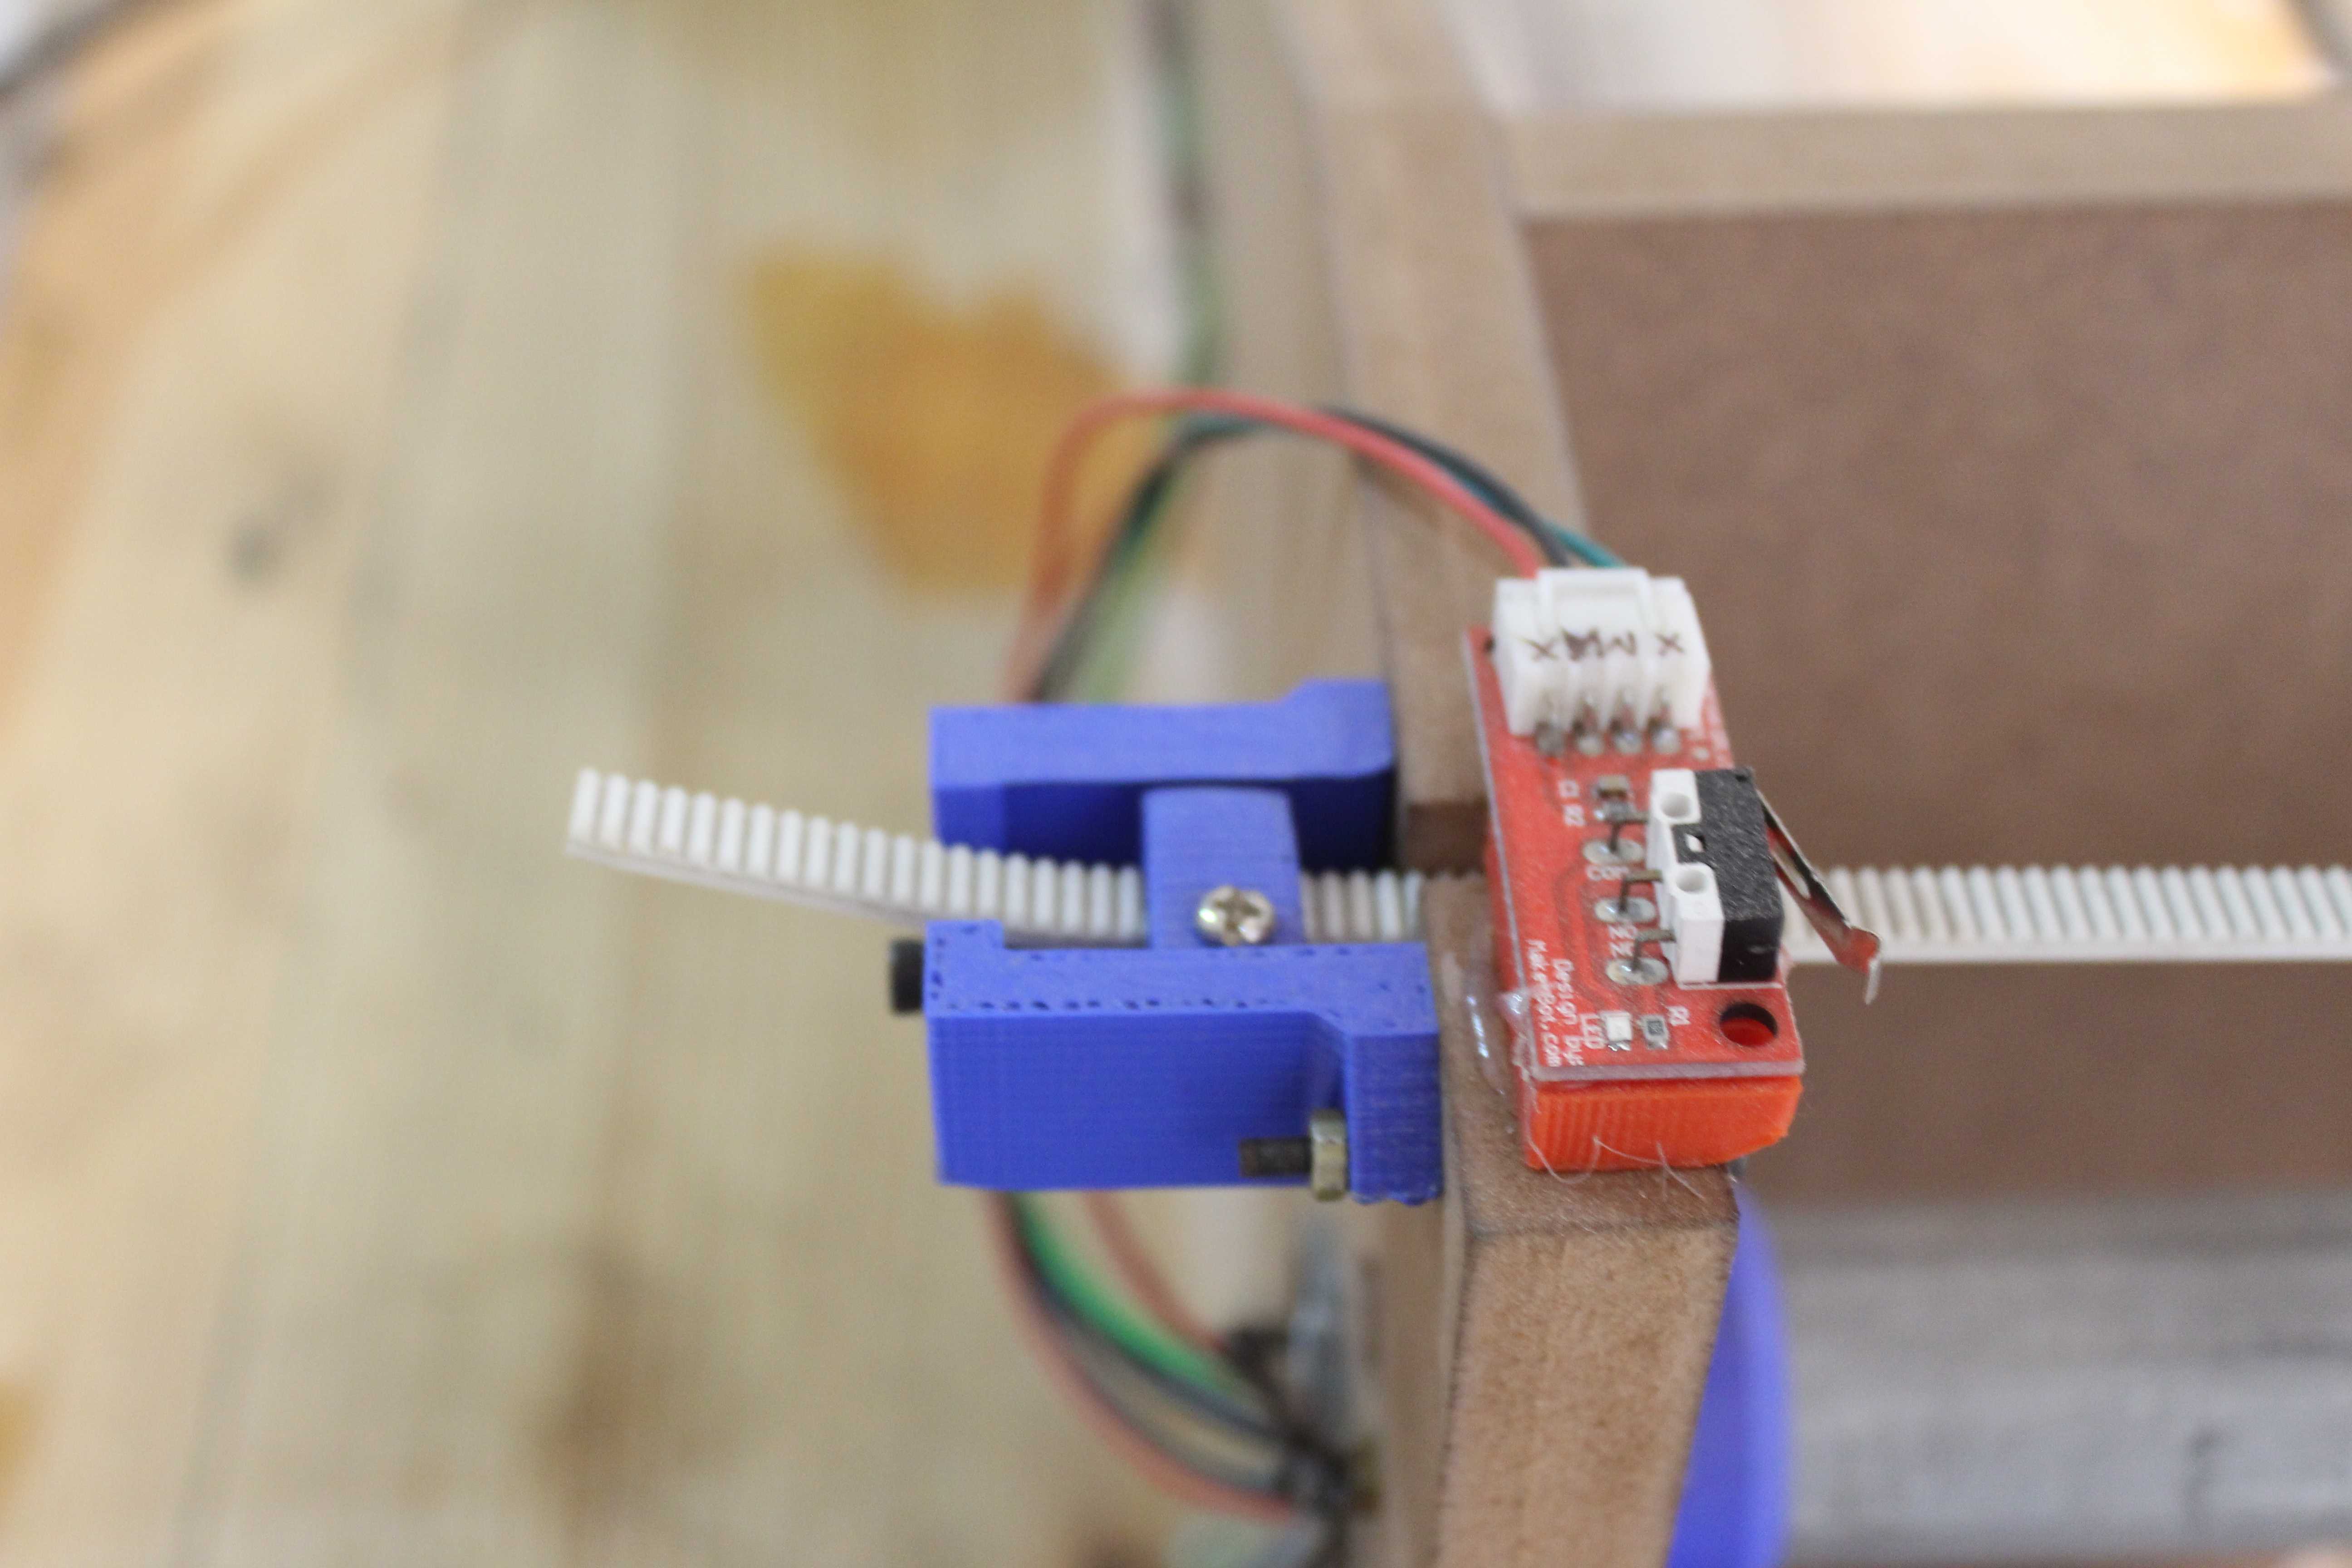
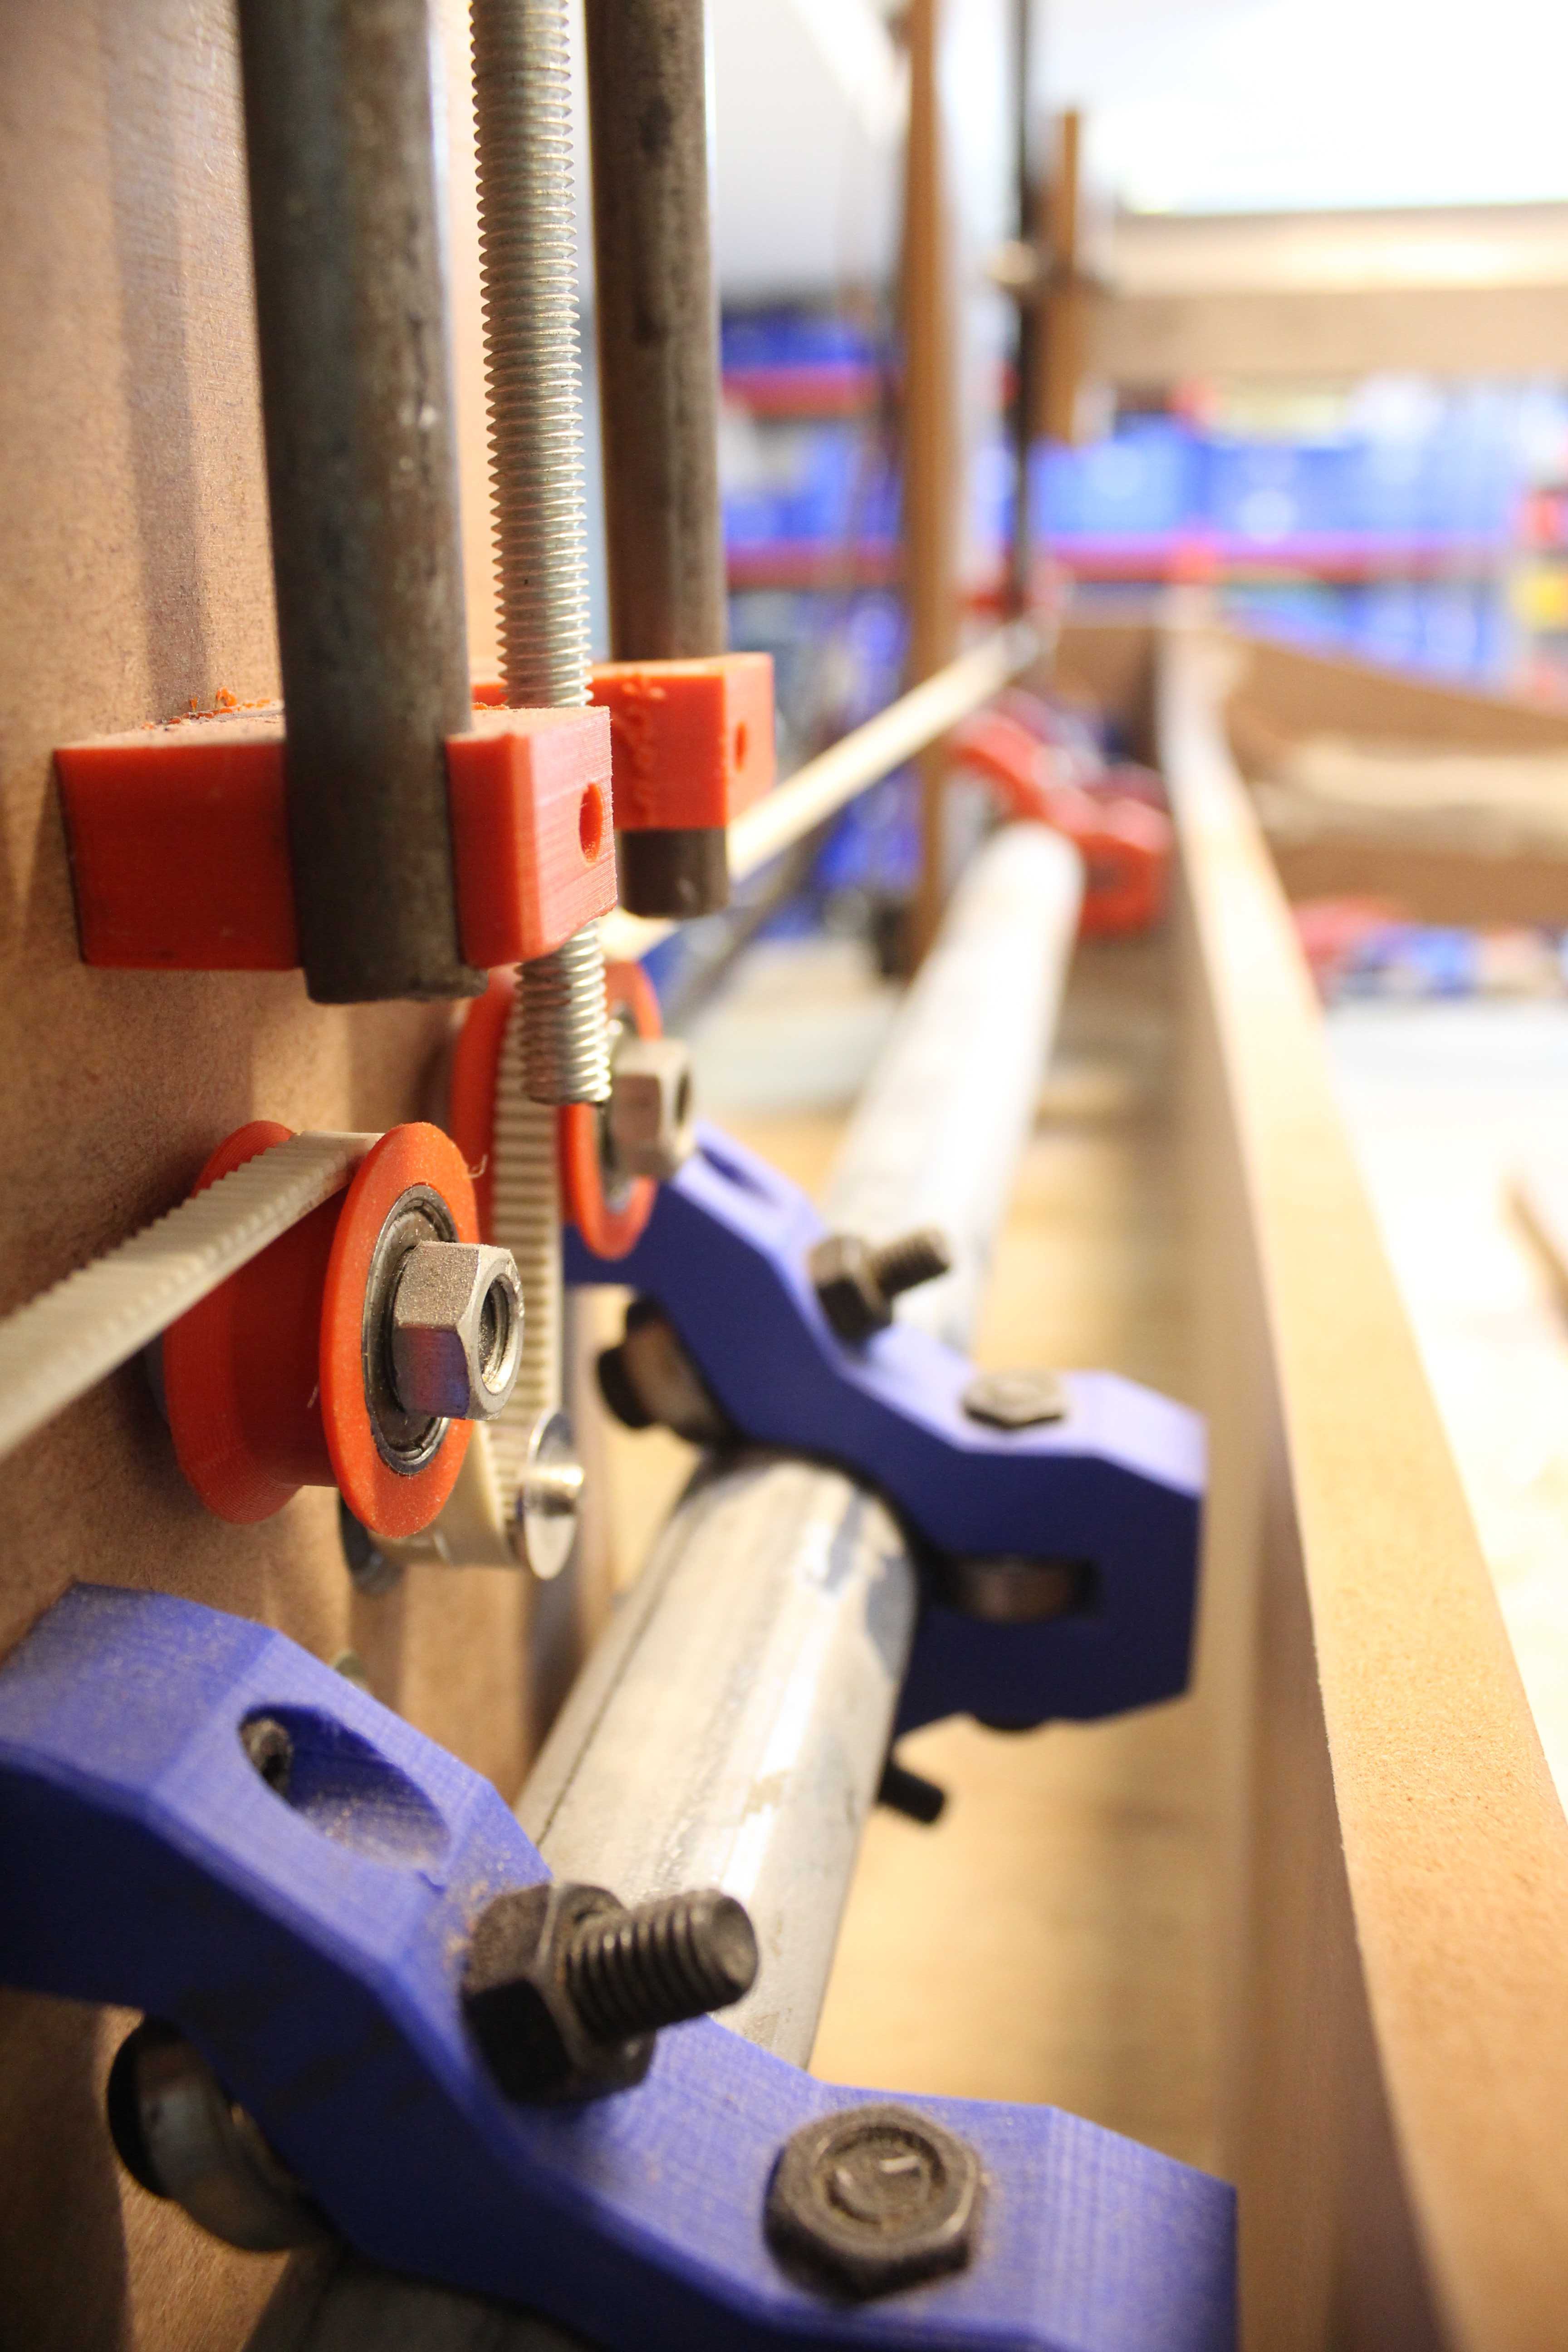
08/25/2019 at 12:04 • 0 commentsNow since the machine has two gantries on a single linear rail, the linear motion for each has to be independent of each other. Since I am using timing belts in my prototype, I had to use four lengths of them on the common linear axis. This can be done away with by using rack and pinions for motion which will be used in the next version of the machine and thereon.
I also came up my own belt 3d printed belt tensioning mechanism to use with the setup
-
Prototype 2.0?
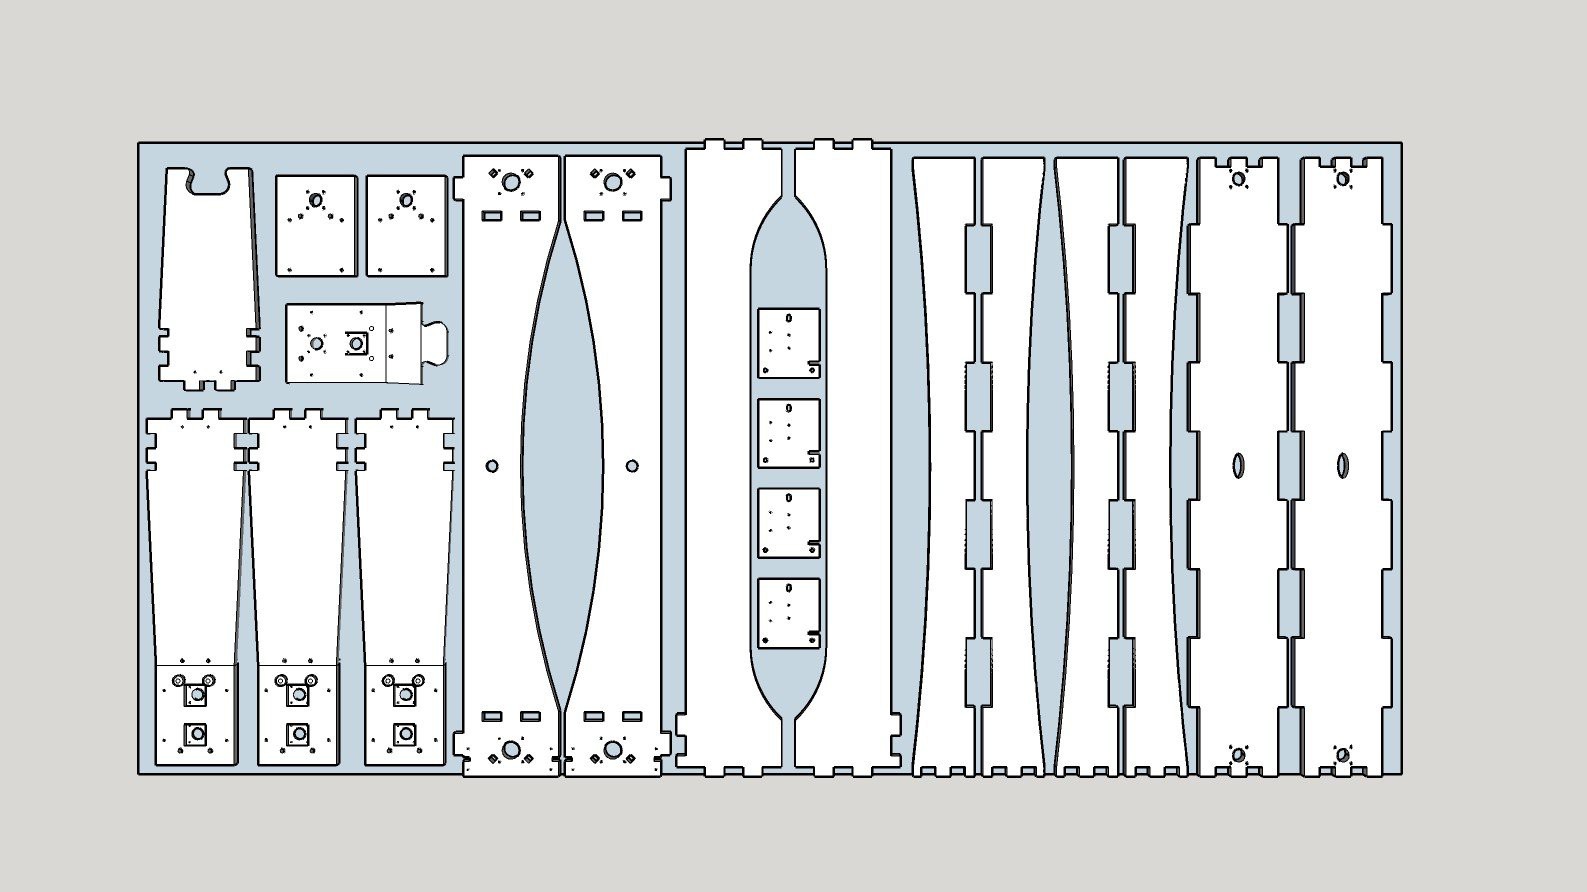
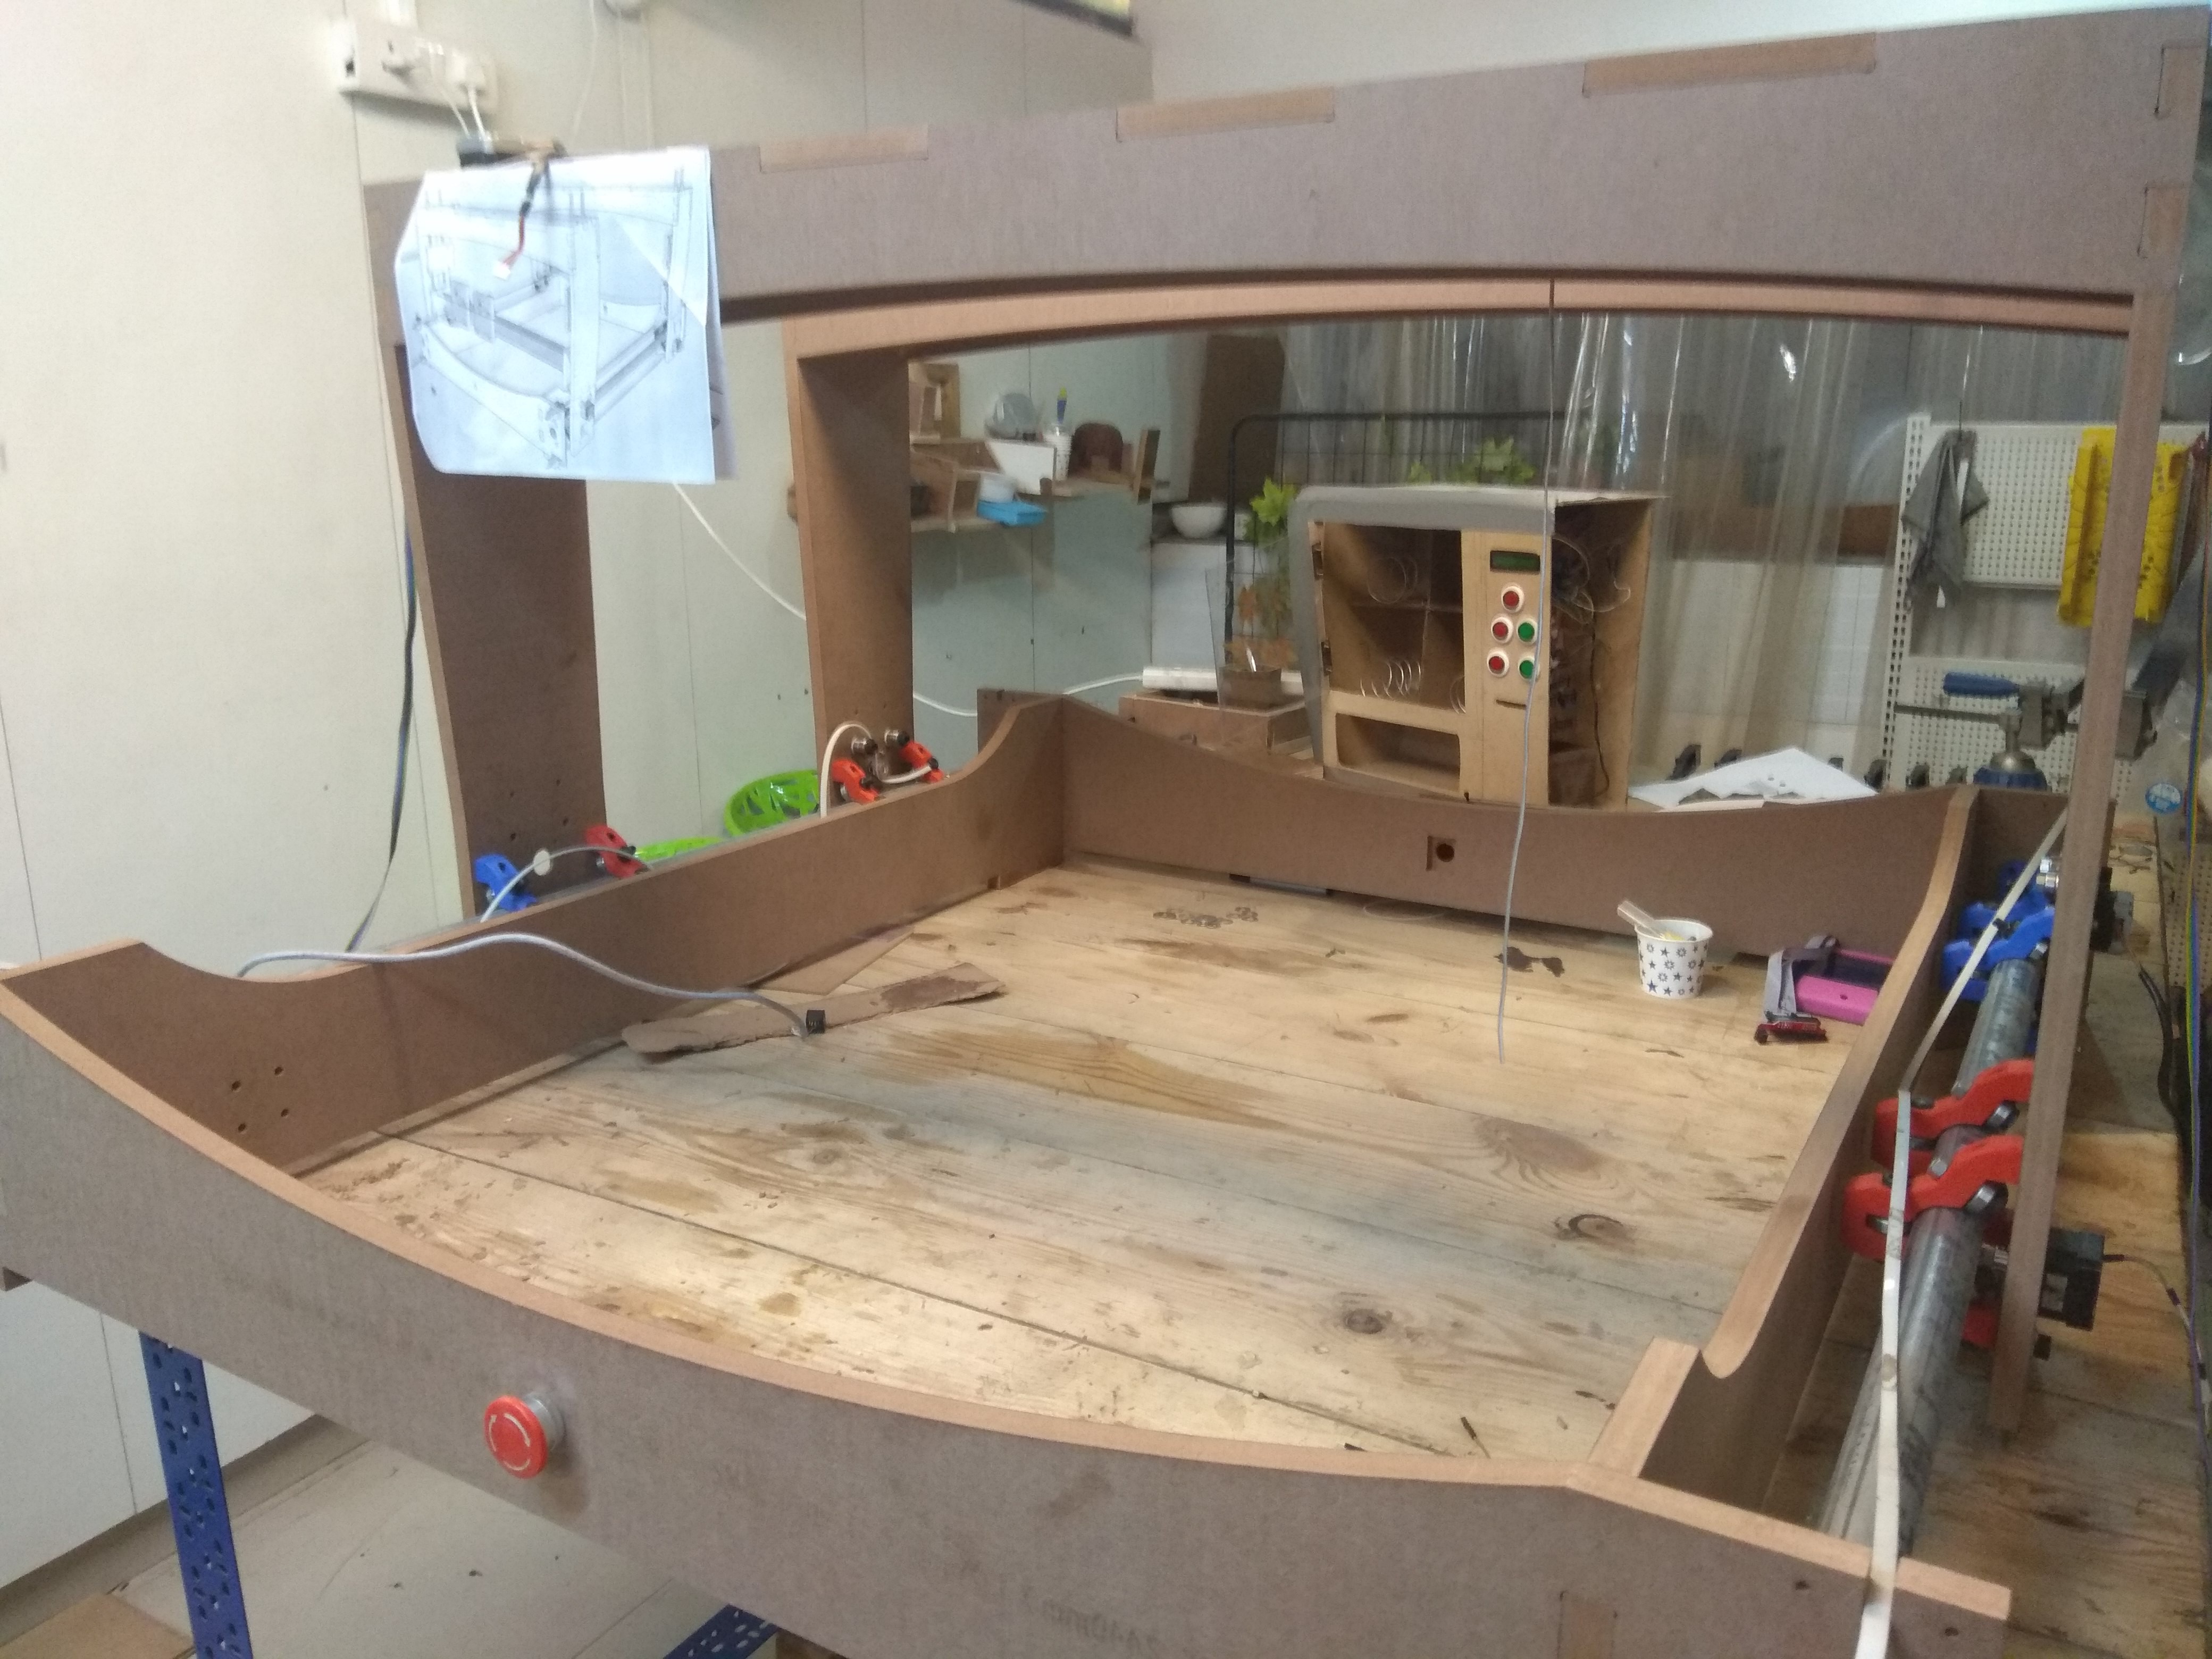
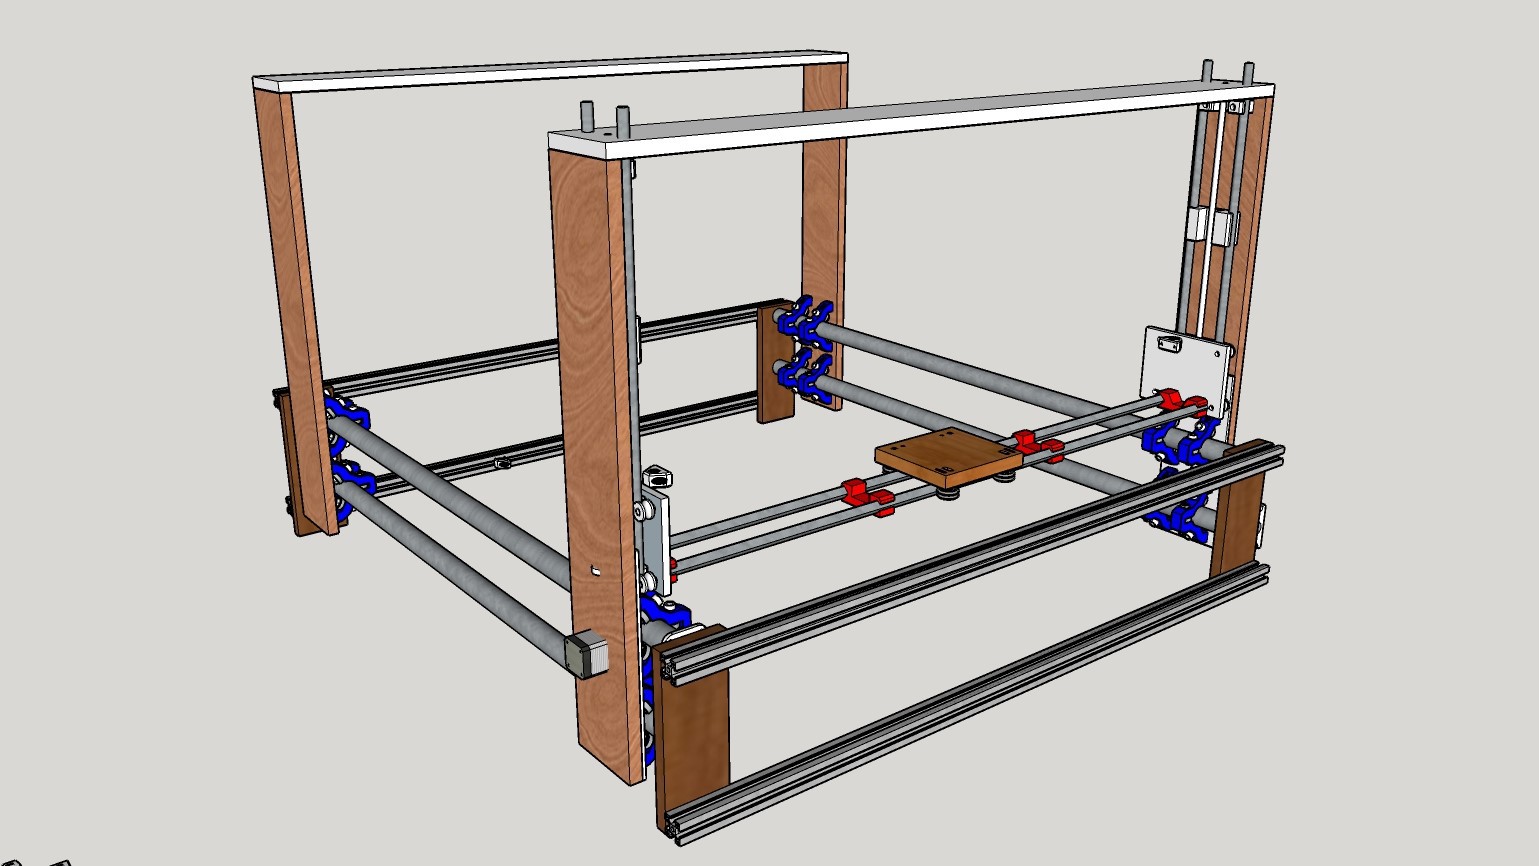
08/25/2019 at 11:47 • 0 commentsOne thing is clear after the first protype failed half way. No more manual cutting of parts. So I redesigned the model of the prototype again such that almost all of it can be cut using a single 4x8 sheet of sheet material ( MDF in my case). I outsourced the job of CNC cutting to a vendor and had the new parts to assemble within a day.
![]()
It took another one day to bang together all the parts in place for my next prototpe.
![]()
![]()
There was a night and day difference between this and my first prototype. The frame was really solid for its intended purpose and the gantries rolled smoothly over, the rails.
-
First fail
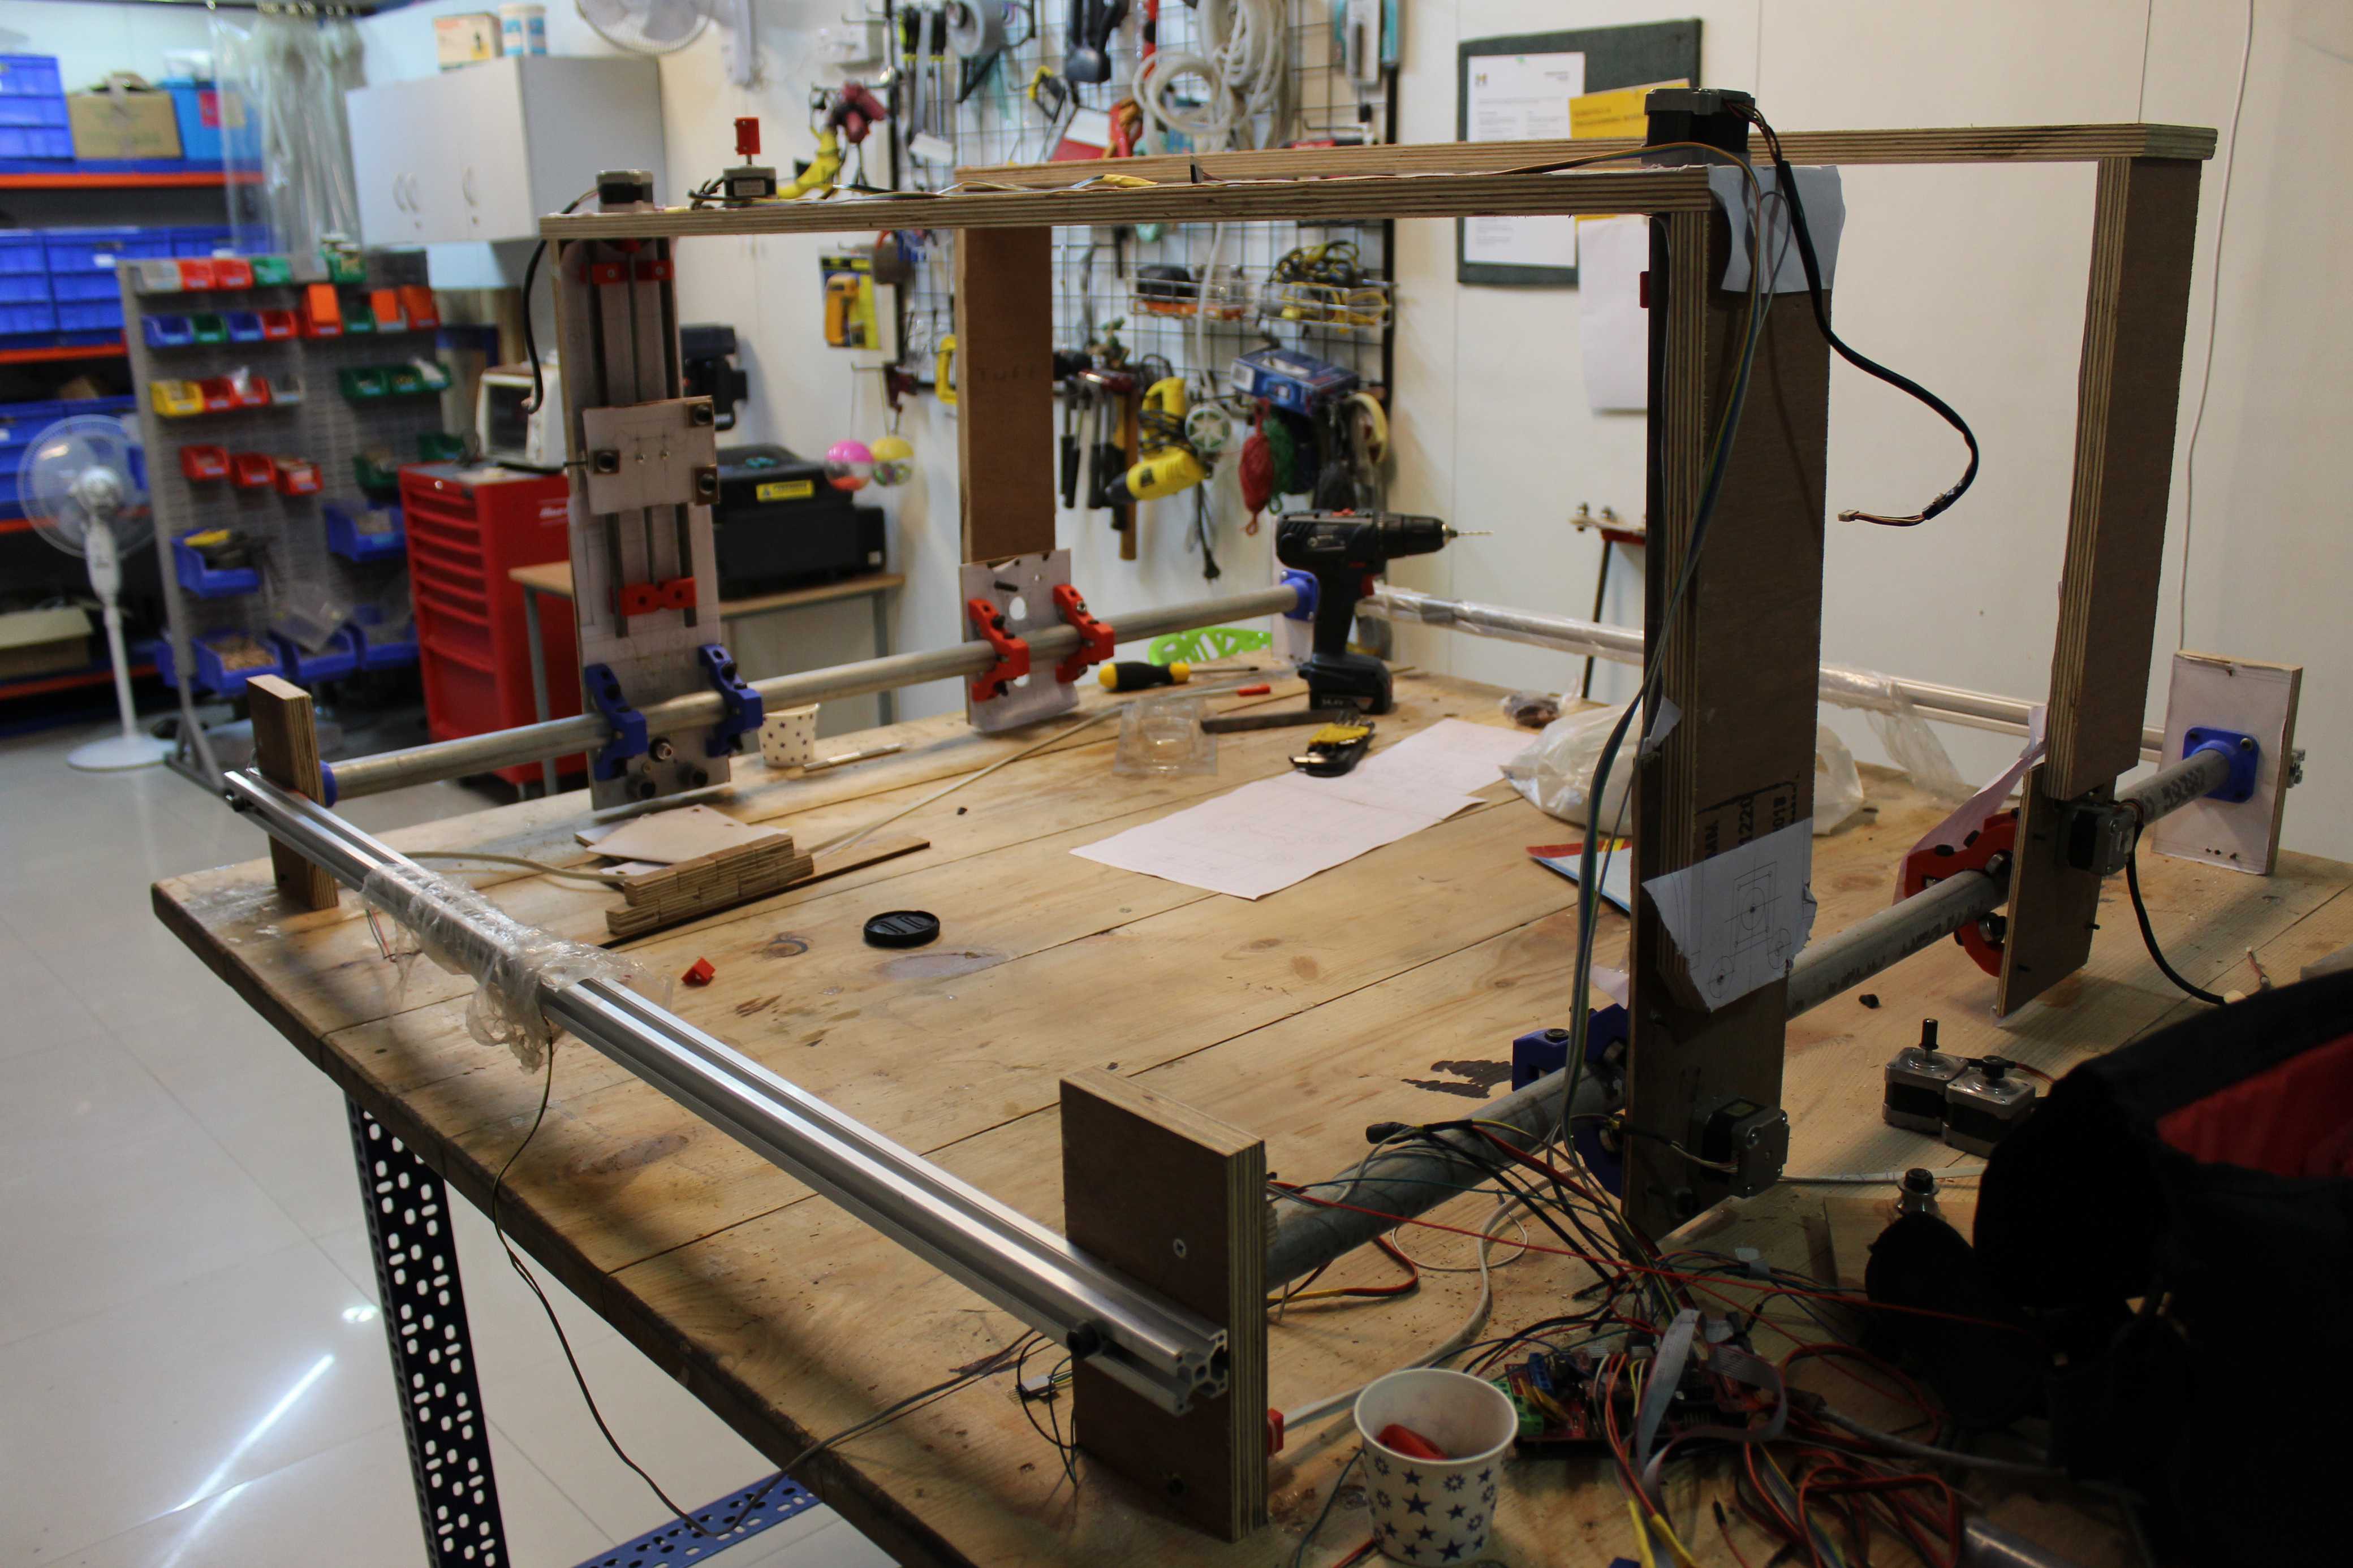
08/25/2019 at 11:35 • 0 commentsMy first job was to design a linear rail mechanism which was made using standard steel hardware. I was impressed and inspired by the linear rails mechanism on the mpCNC machines from v1engineering as it was made using standard steel pipes from hardware store and these pipes were available in lenghts of upto 20 feet. But this had some limitations too. The pipes would flex a lot after exceeding certain lengths. Although I decided to use it in my prototype, I had to make a few adjustments to it to adapt to my machine.
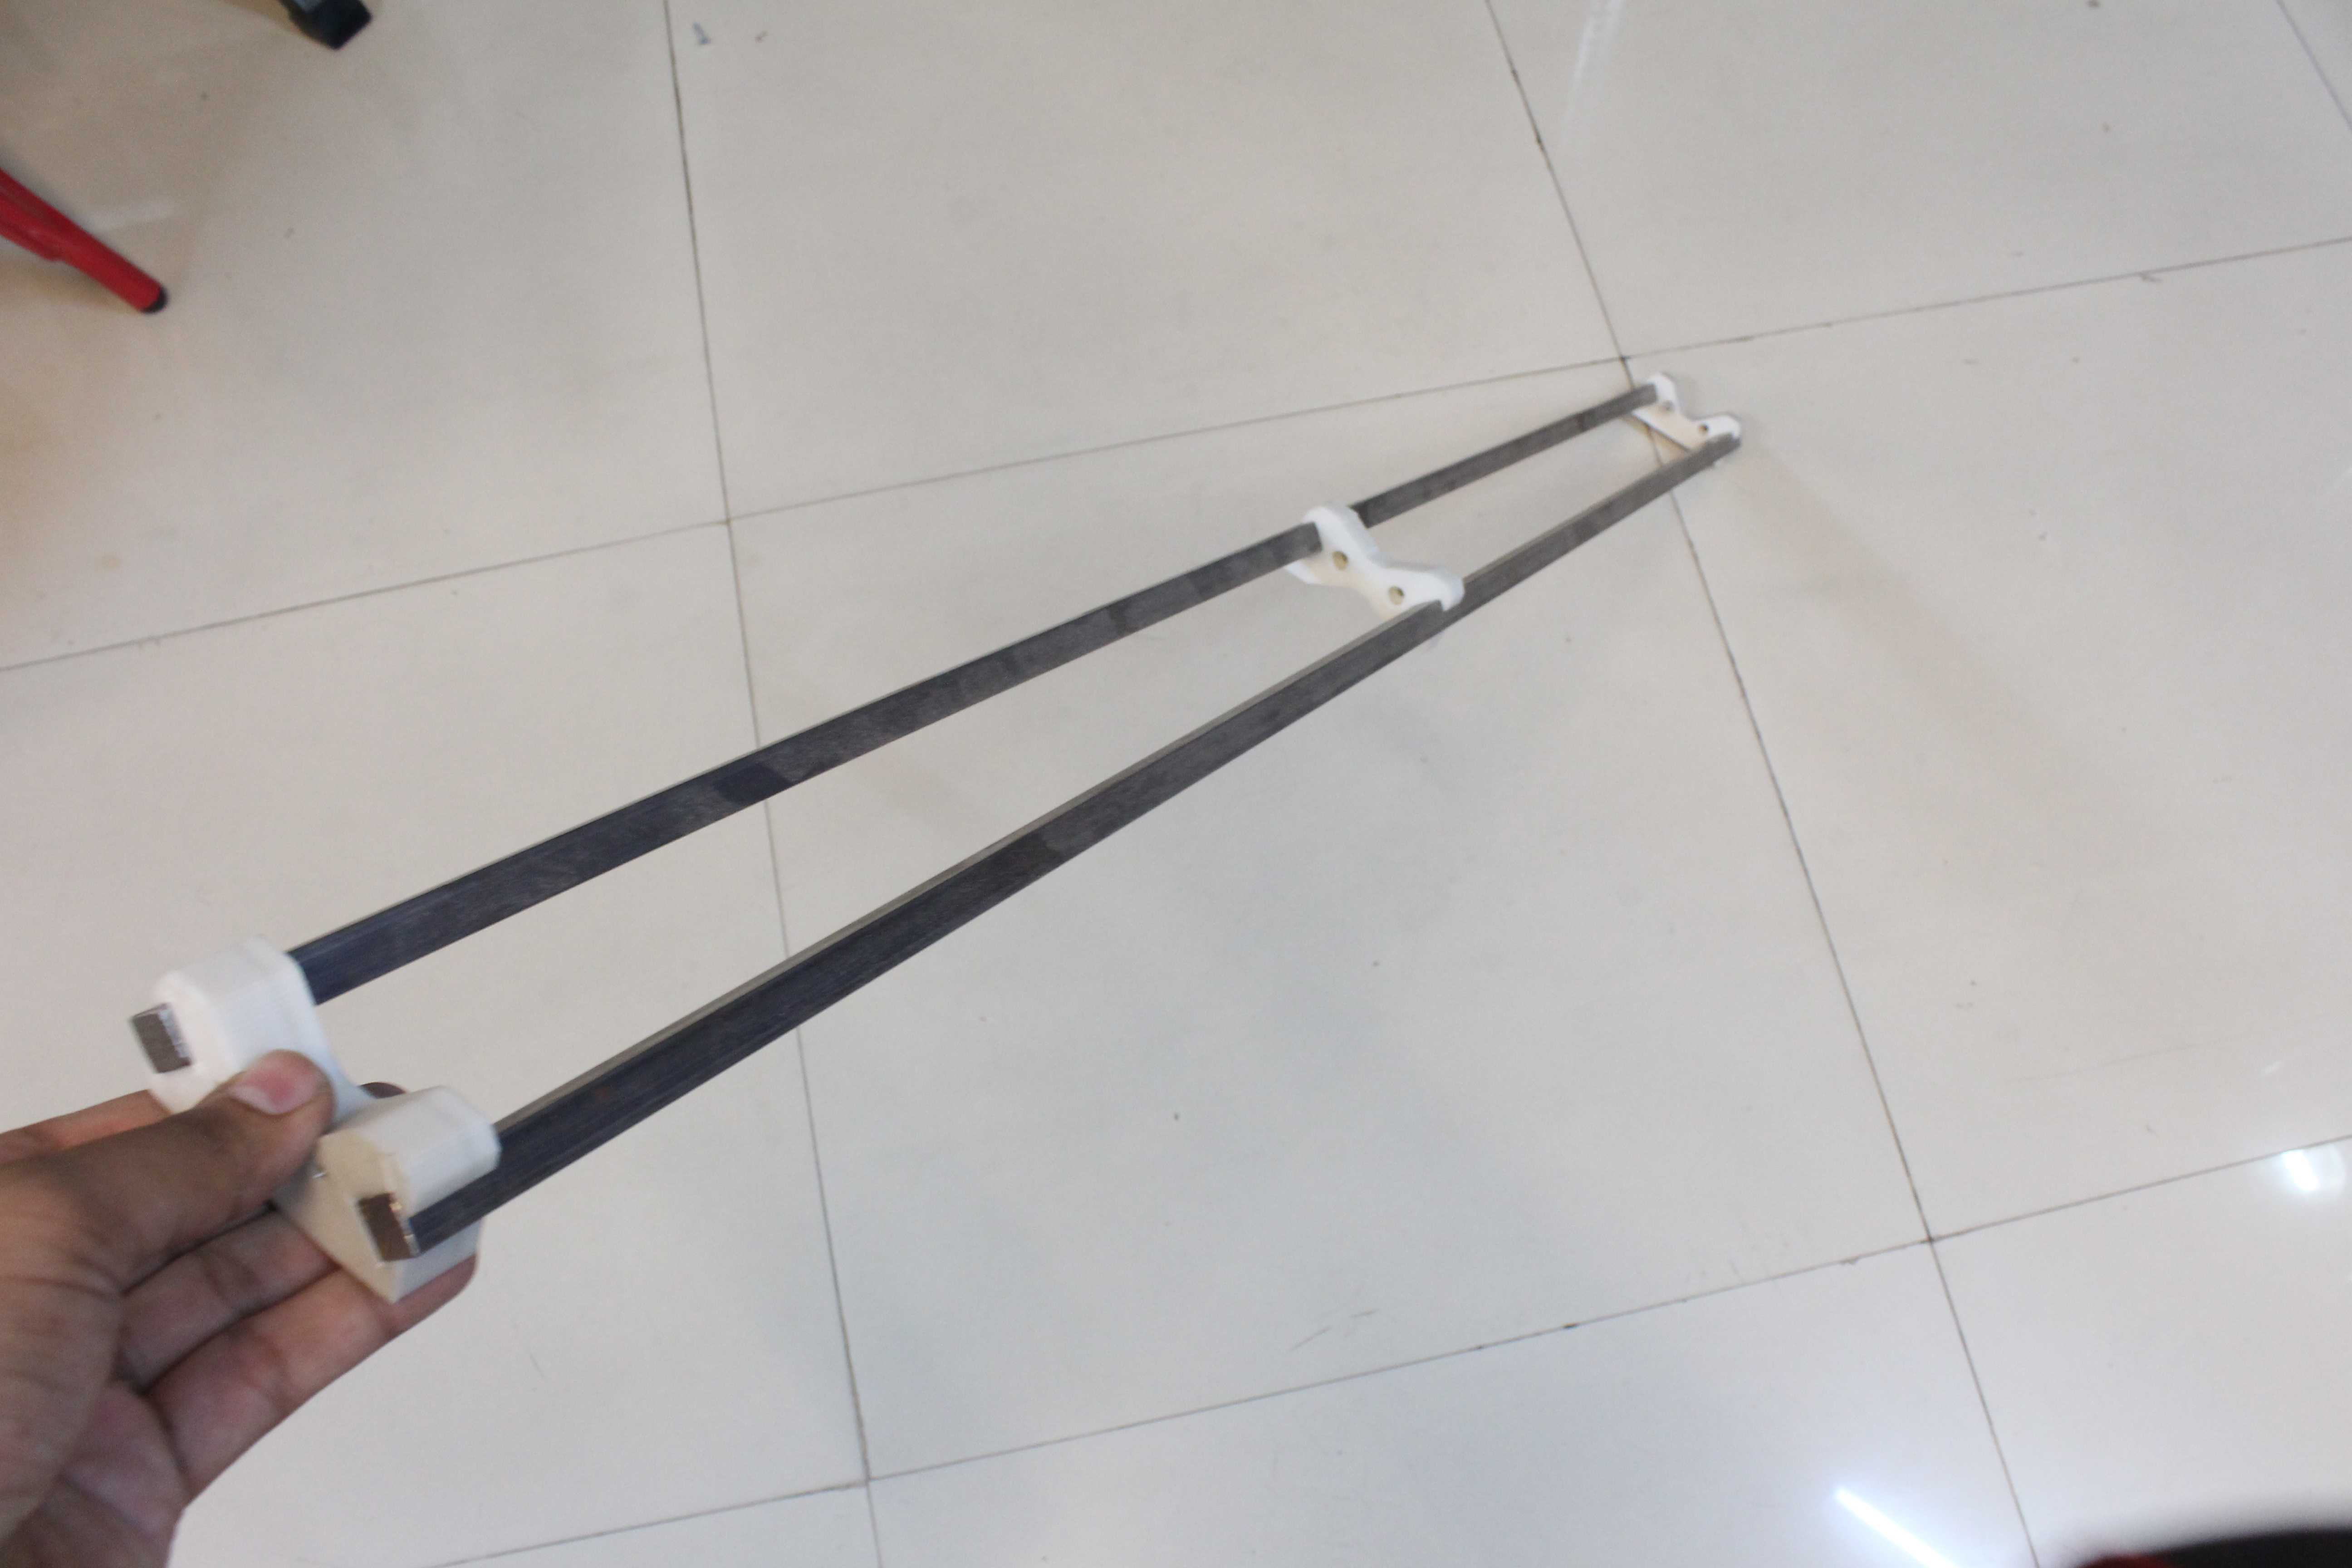
I also decided to design my own linear rail mechanism which could be made out steel bars and were supported at regular intervals so that it does not flex irrespective of the length. I came up with two iterations of them and decided to use all of them in on axis each and use the one which worked the best in my next prototype.
![]()
My makerspace had limited tools, so I had to improvise and use a few wooden parts in my deisgn which were manually cut and made using a print template.
Upon the completion of the build, and wiring some of the electronics I realized, the frame was quite wobbly upon the movement and gantries were misaligned with each other. I tried to fix these outcomings but realized that the design was flawed. Although this gave me new ideas how to deal with the issue. So I am back to the drawing board.
-
Getting started
08/25/2019 at 11:19 • 0 commentsBefore starting the design, I was sure about a few things that I needed to incorporate within Alekya-
- The components used should be standard and locally sourceable.
- The machine should be modular for easy assembly.
- It should be scalable to adapt to the scale of a construction project.
- The electronics and software used must be inexpensive, open source and widely available.
With these thoughts I started to design my first prototype.I started with the electronics first. No surprise here. The standard 3d printer electronics, but two sets of them as the machine is essentially a culmination of two robots coworking with each other.
![]()
-
First Inspiration
08/25/2019 at 10:43 • 0 commentsI always wanted to build a robot to address which could create a real practical and social impact. The natural choice was to develop something in the lines of construction, since I am working architect who happened to love robotics.
Being from India, I knew the problem of sanitation has always been there, and there were a few universities who were already tackling this issue with their research projects in 3d printing and deposition of concrete.
Initially I thought along the same lines and thought of developing my own concrete printer. I even did the BOM for a small toilet booth. Then it striked to me as why the implementation of 3d printing concrete might not have been feasible. The cost of concrete along with additives used was too high for something which needs to be created on a tight budget.
Then while creating another BOM for a client which needed me to state how many bricks and cement and sand would it require for his project, the idea hit me. Why not create a robot that automates the most common building method known to man - using brick and mortar.
It made sense. One can find bricks almost anywhere and the mortar mix needed to join them can be prepared without any hassle. I recalculated the building costs involved to build a toilet booth and it came out to be much less than the concrete printer (almost half).
I started building the prototype in 1:10 scale at my local makerspace.
ALEKYA - Open Source Construction Robot
A robotic system that aims to automate building construction using local building materials in developing countries.
 Nishant Agarwal