Benjamin Prescher
-
Open source...
11/26/2019 at 17:59 • 0 commentsFinally...
I would say the big steps are taken. Everything is up an running an you can get the 3D parts on Thingiverse and as well as the software on github . Enjoy!
![]()
![]()
-
Hang it!
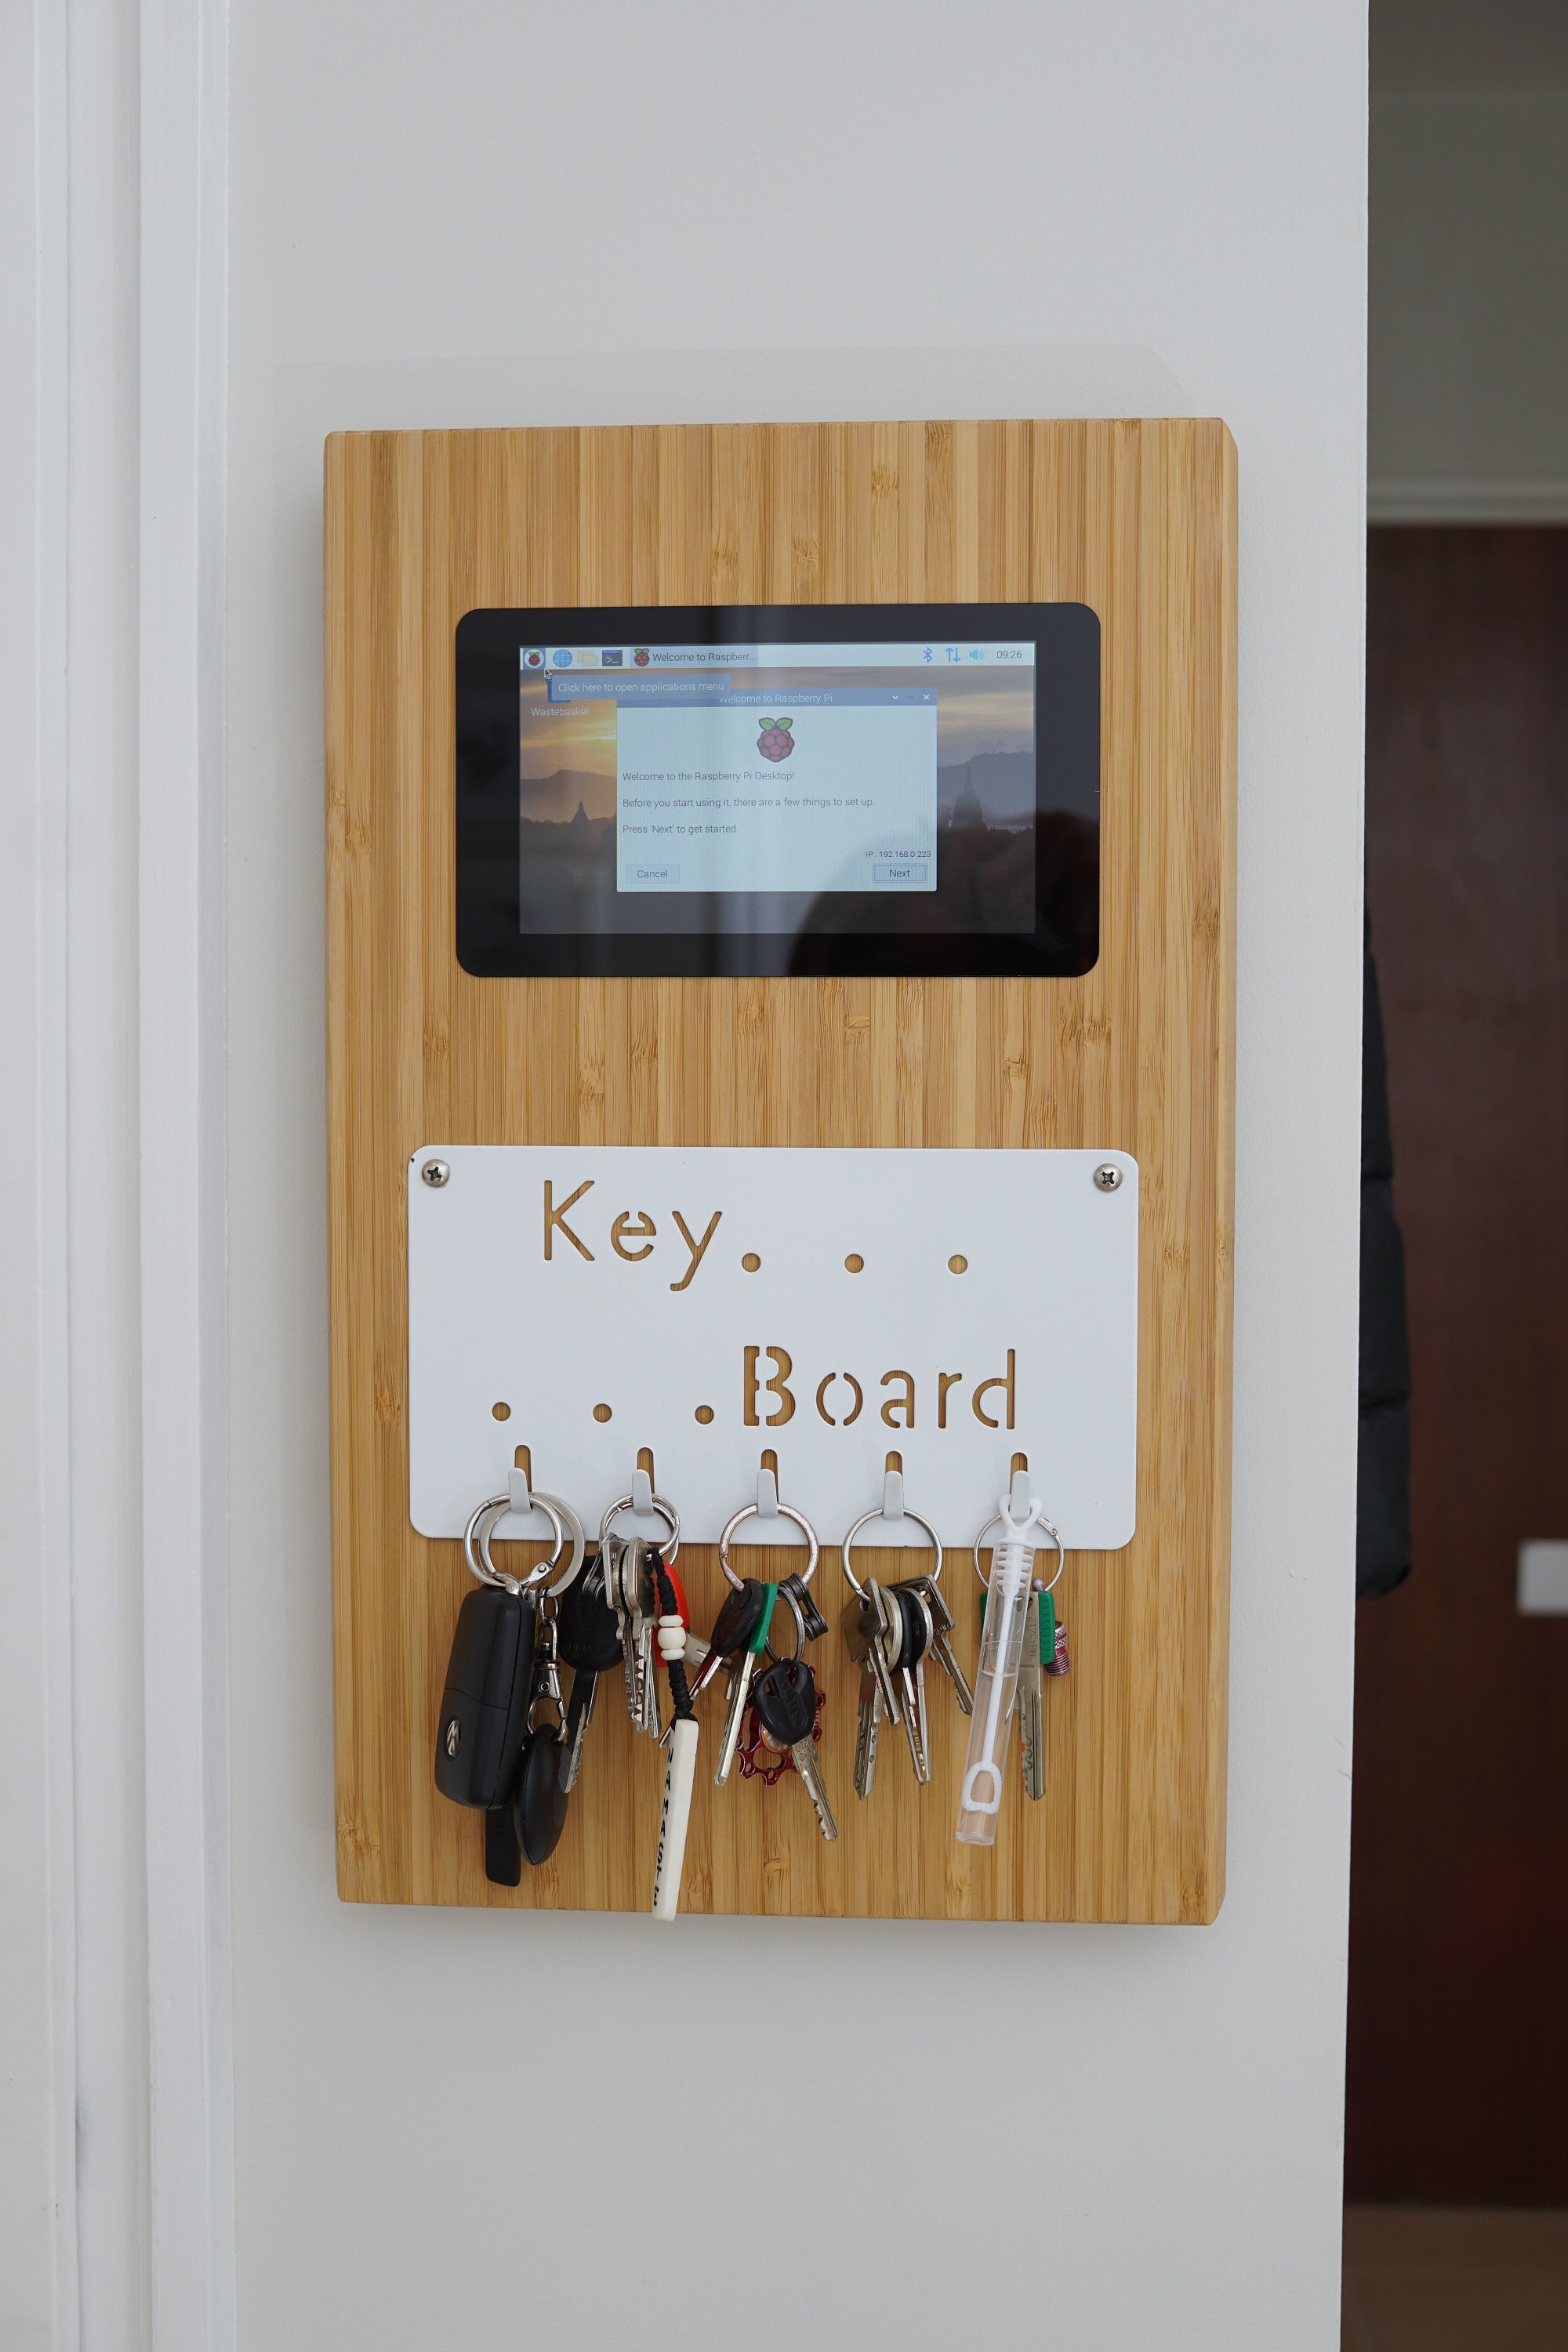
11/21/2019 at 10:56 • 0 commentsAfter some "dry exercises" it was finally time: The Raspberry got its new task as a "Smart Home Central"...
Here are some steps I did to get everything up and running:
- At first I build everything up and checked for electrical functionality
- After this I used a a clean new install of "Raspbian Buster with desktop"
- Manually created wpa_supplicant.conf because the Raspberry Pi 3A+ does't have a ethernet connection and I wanted to configure the Pi remotely (even if you are using a touch display, there is no virtual keyboard pre-installed) wpa_supplicant (German)
- Installed remote desktop protocol:
- sudo apt install xrdp
- sudo reboot
- Installed virtuall keyboard
- sudo apt-get update
- sudo apt-get install at-spi2-core florence
- sudo reboot
After this it was time to read out some temperature data from the BMP280:
- Installed Adafruit blinka
- Installed Adafruit BMP280 Lib
![]()
![]()
-
First steps...
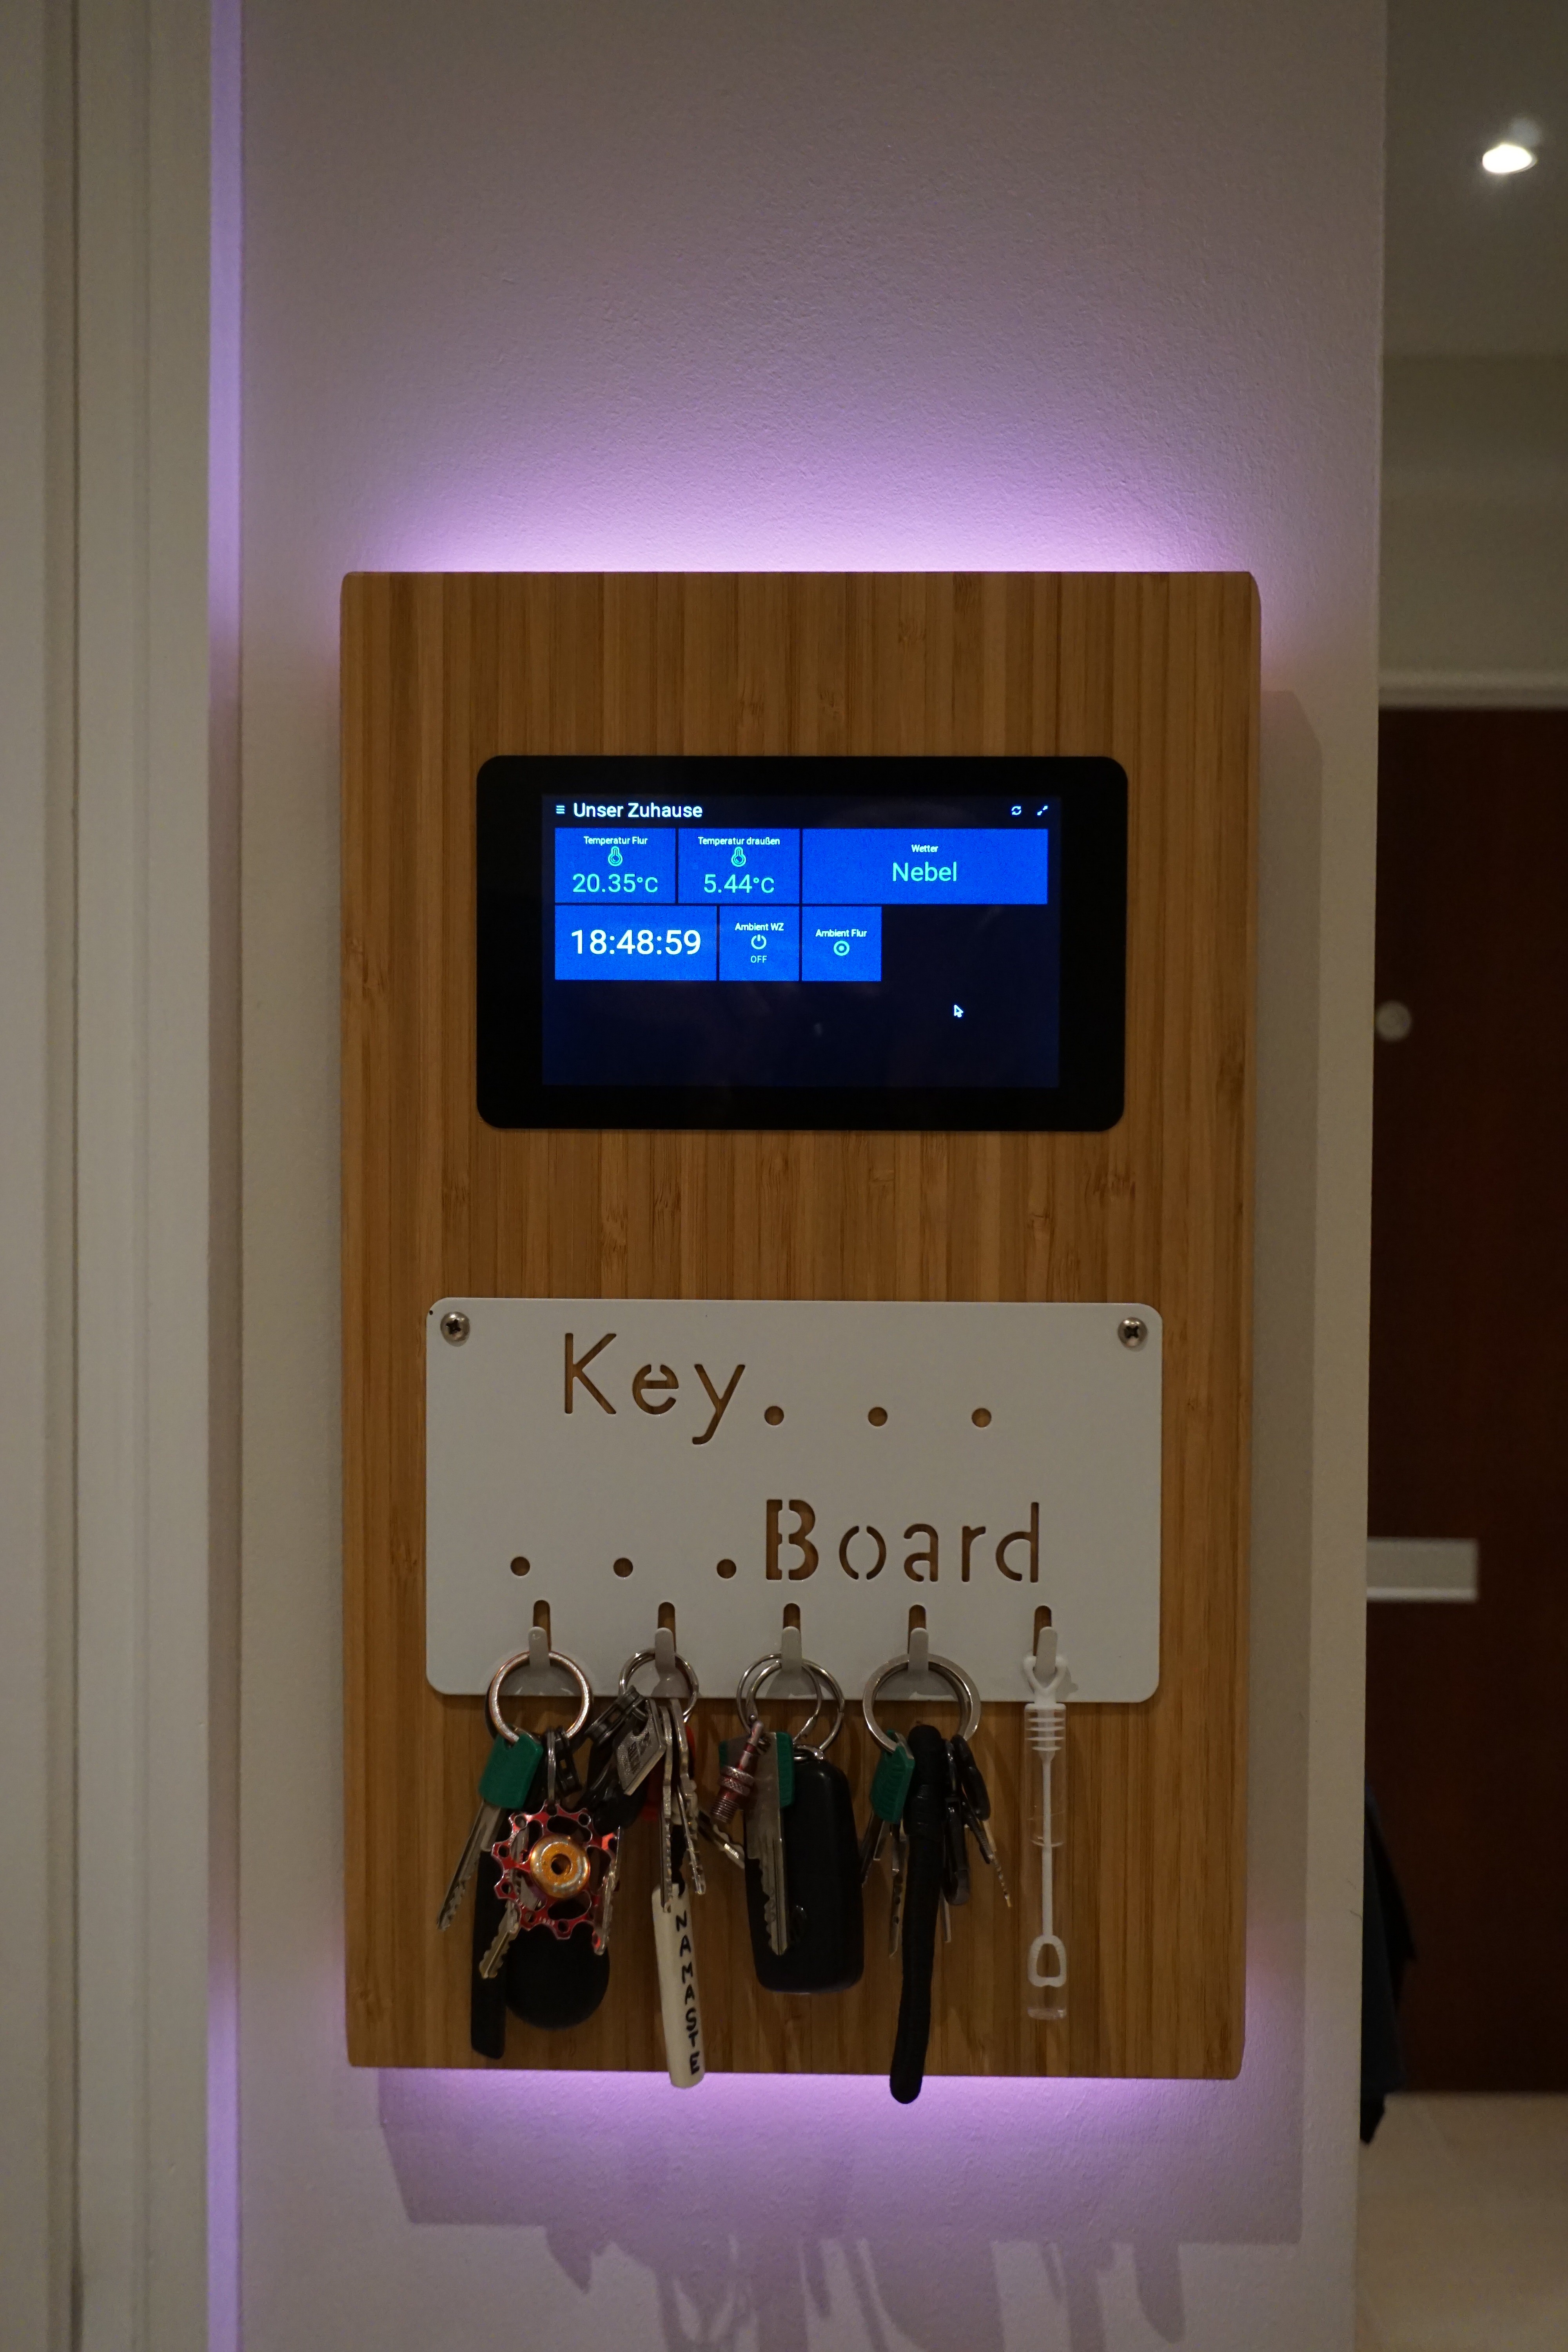
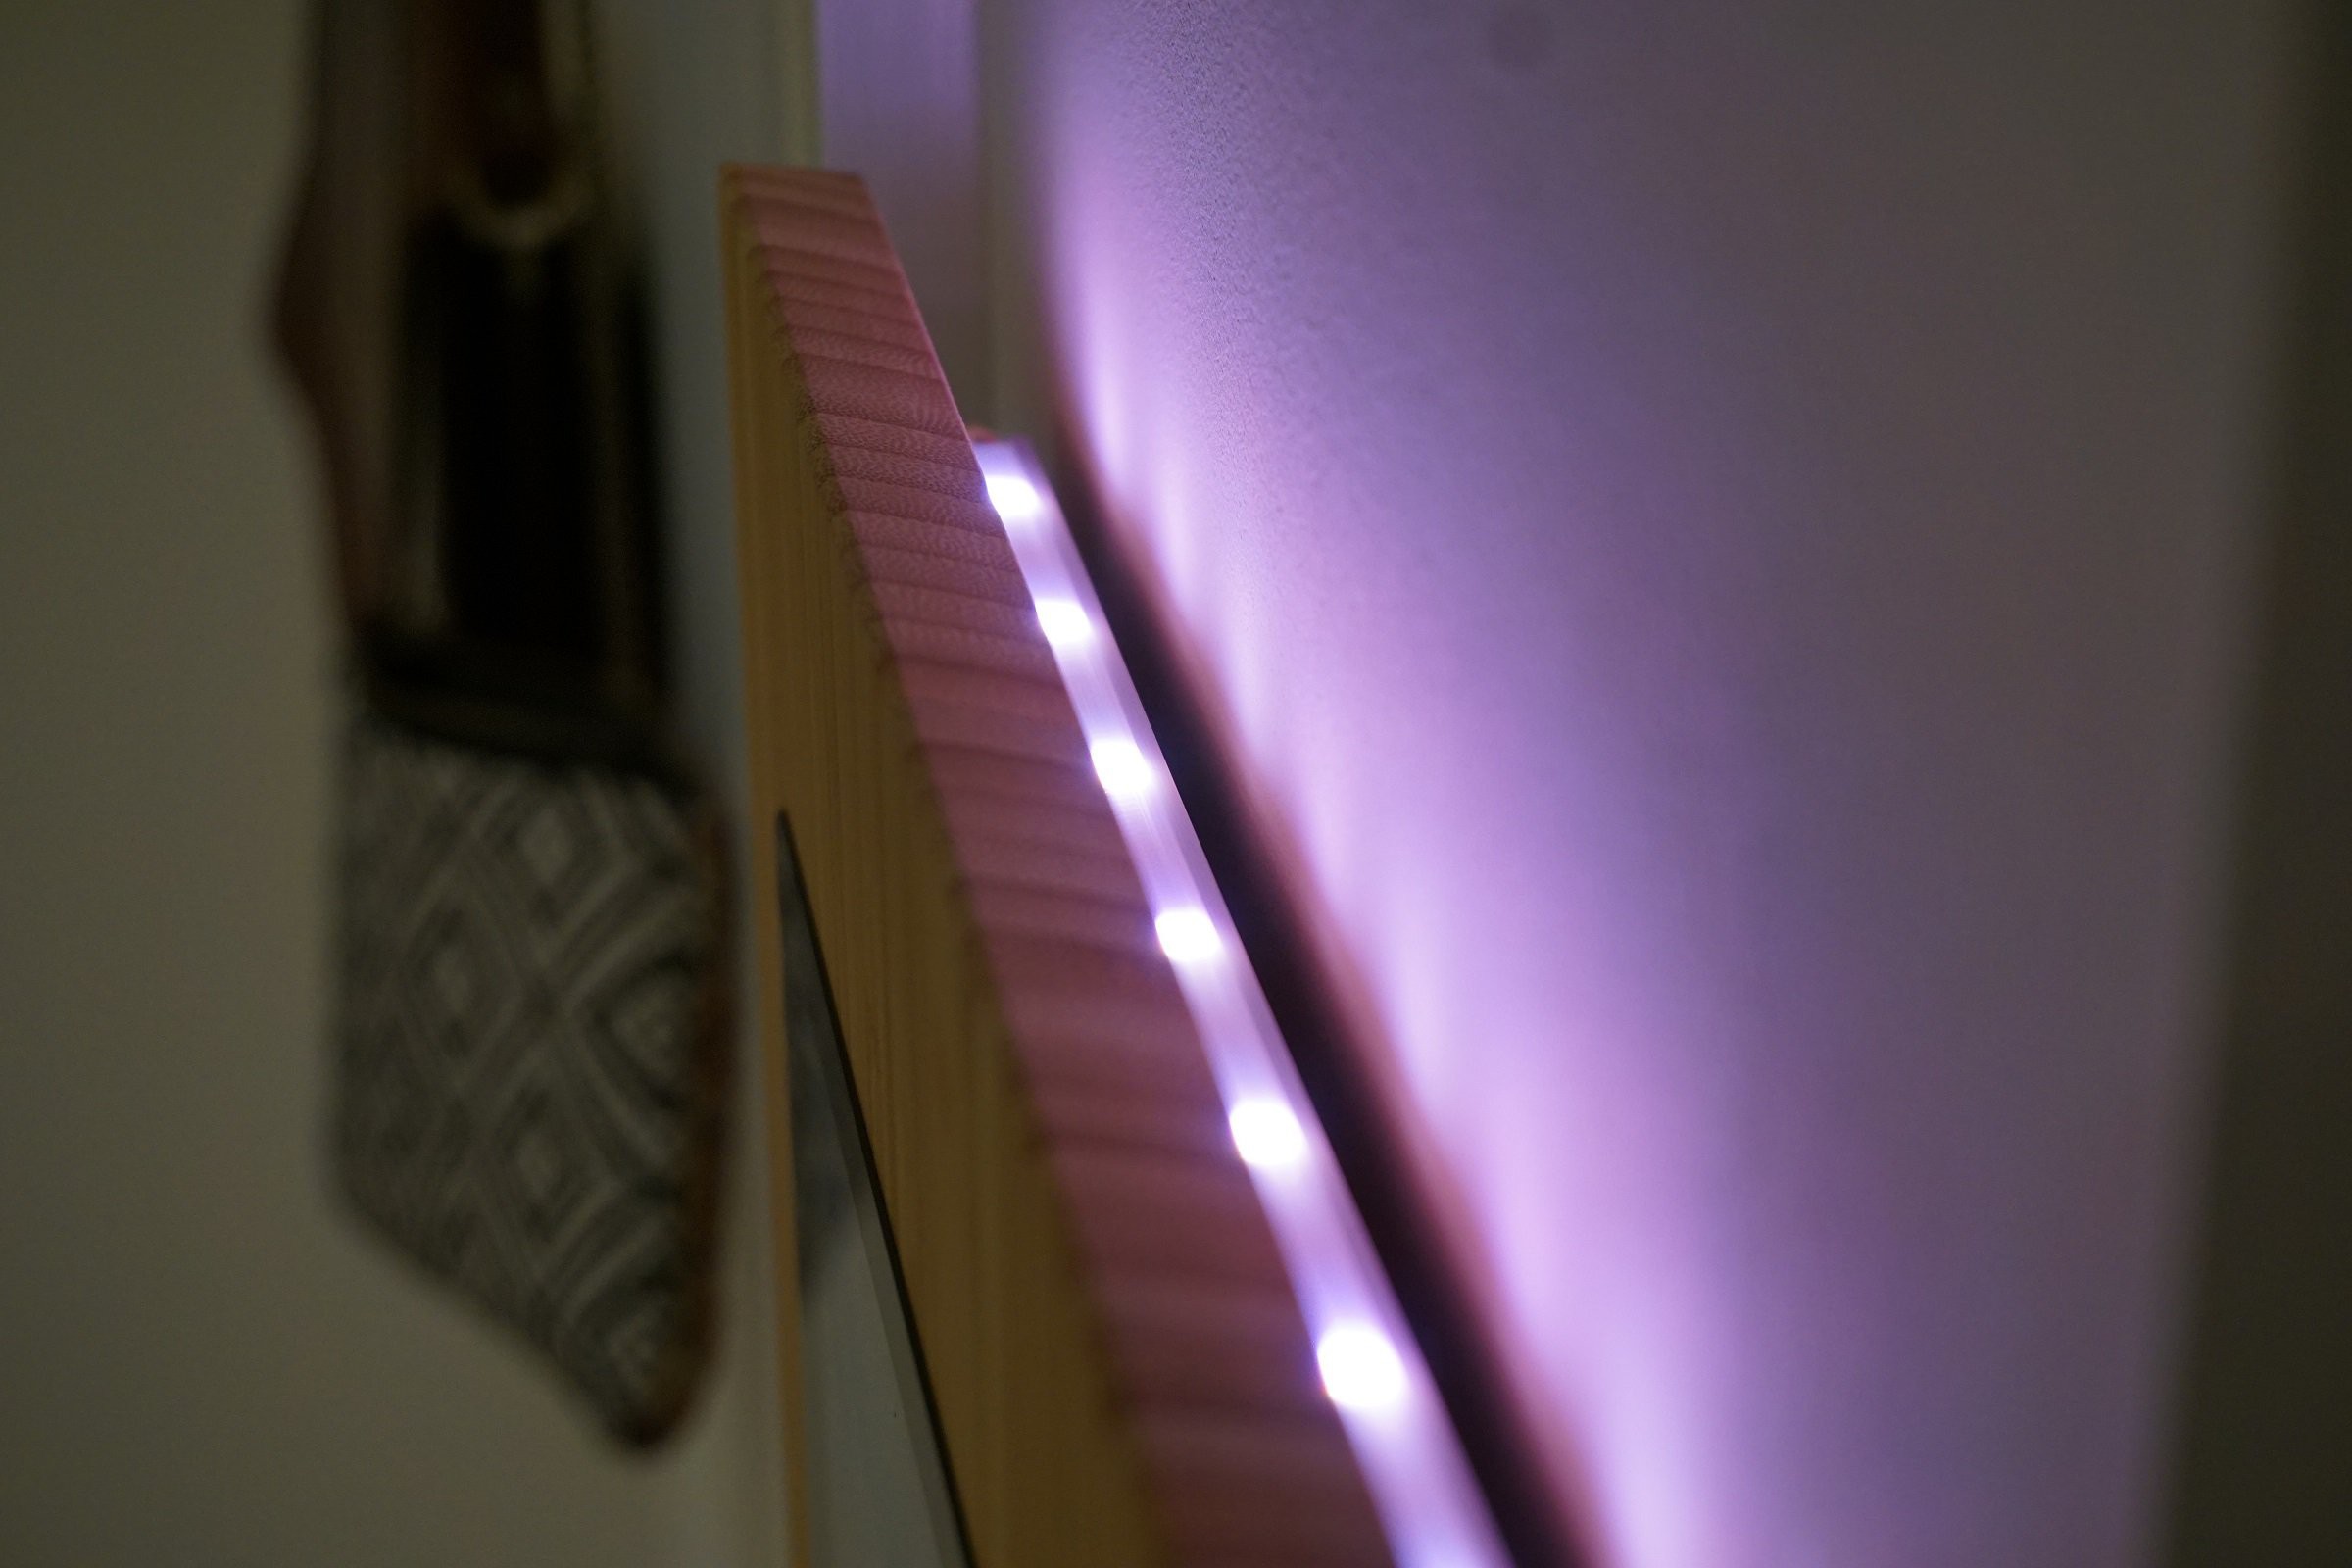
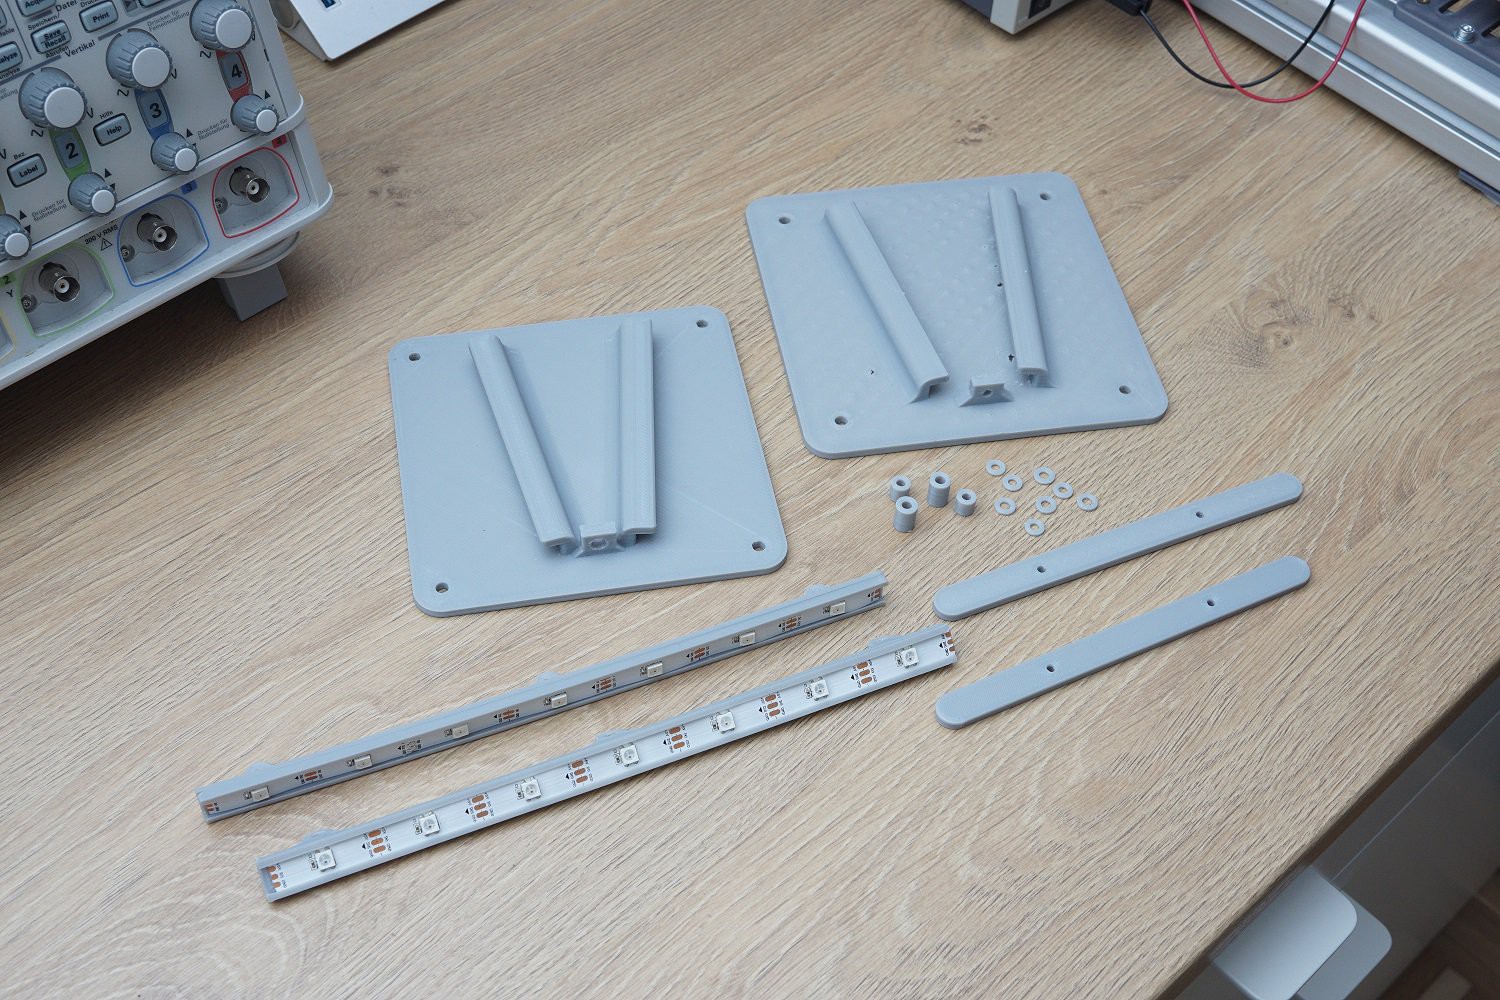
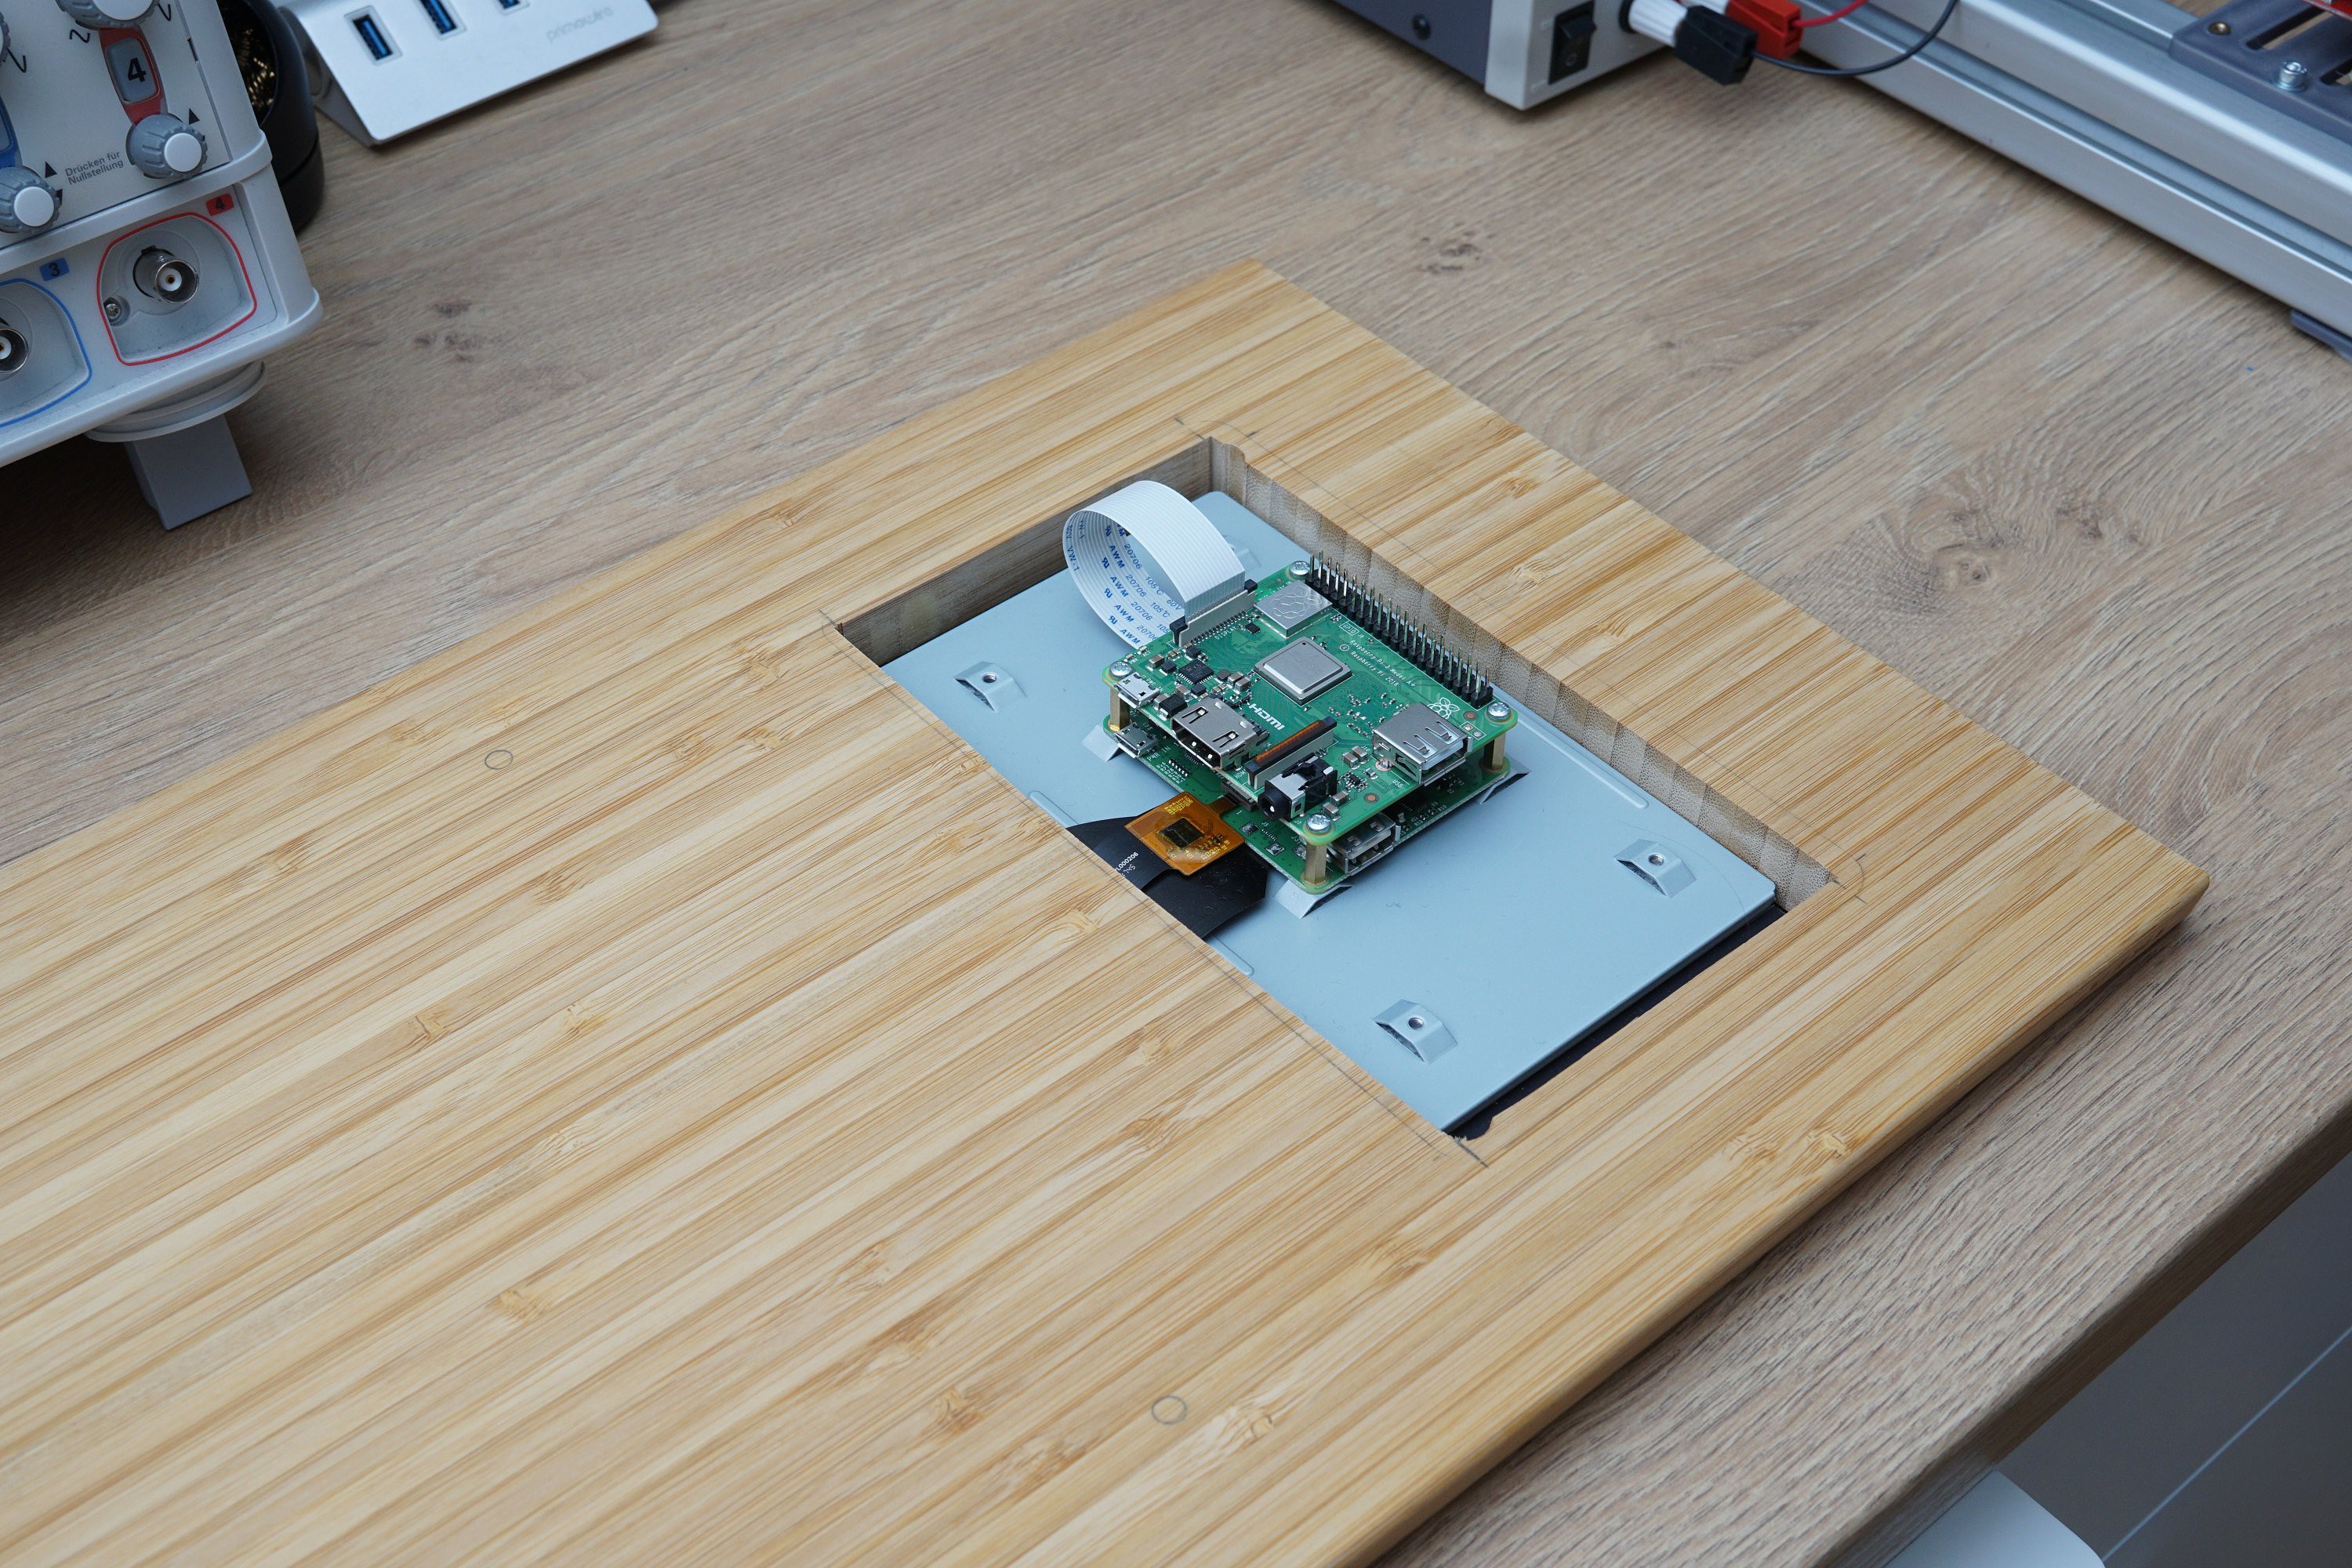
11/17/2019 at 16:16 • 0 commentsThe possibilities of the Raspberry Pis invite you to make the panel a bit smarter. I still have quite a few WS2812b LEDs available, as well as a BOSCH BMP280 sensor with which I can still realize a temperature measurement.
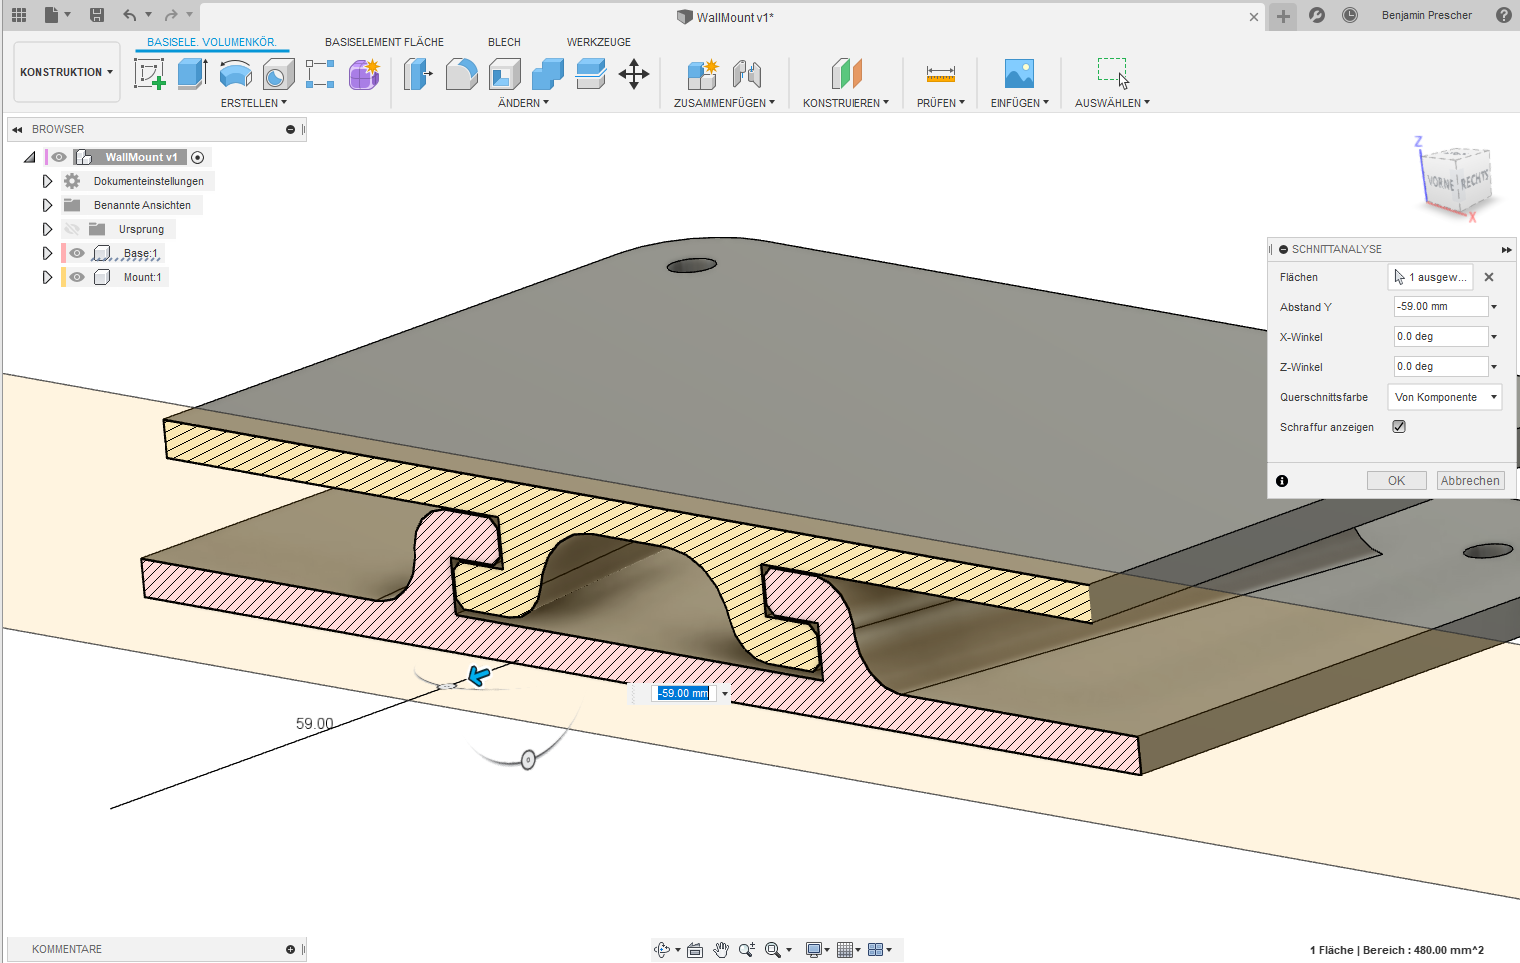
So having all the components together I cut out the cut-out for the display with a jig saw. After this I started designing all the needed parts with fusion 360 and printed them.
![]()
![]()
![]()
OpenHAB2 Raspberry Pi Touch Display
Smarthome Panel Display for OpenHAB2 taken in an ikea cutting board