Close
0%
0%

VertiBird Redo

Create a 1971 VertiBird toy with a modern TWIST!

Similar projects worth following
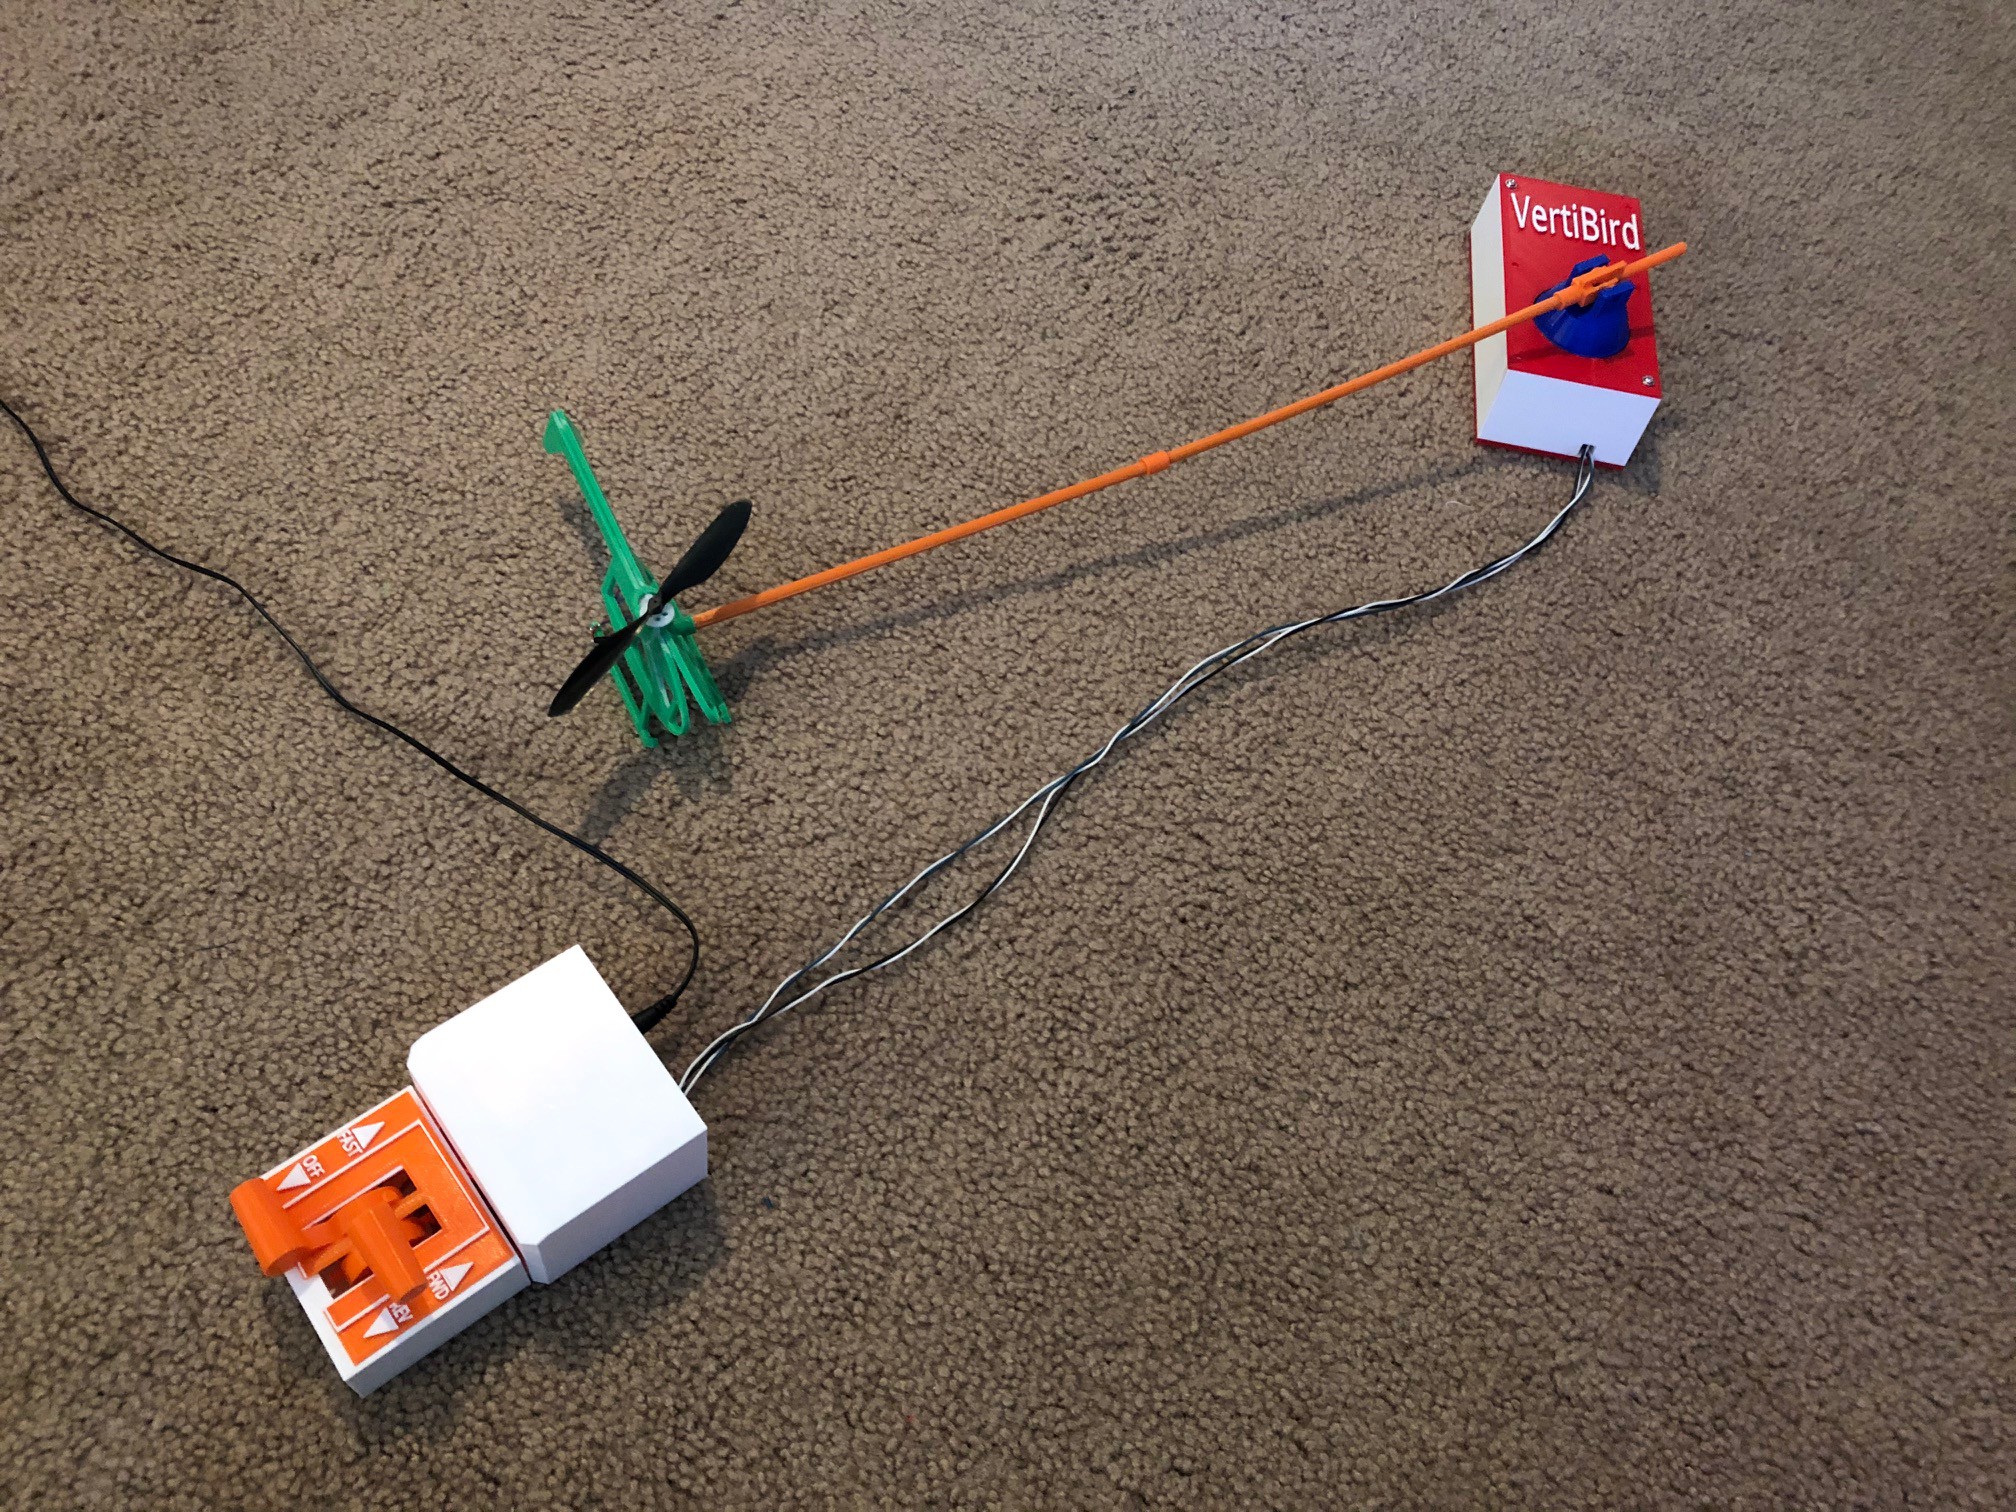
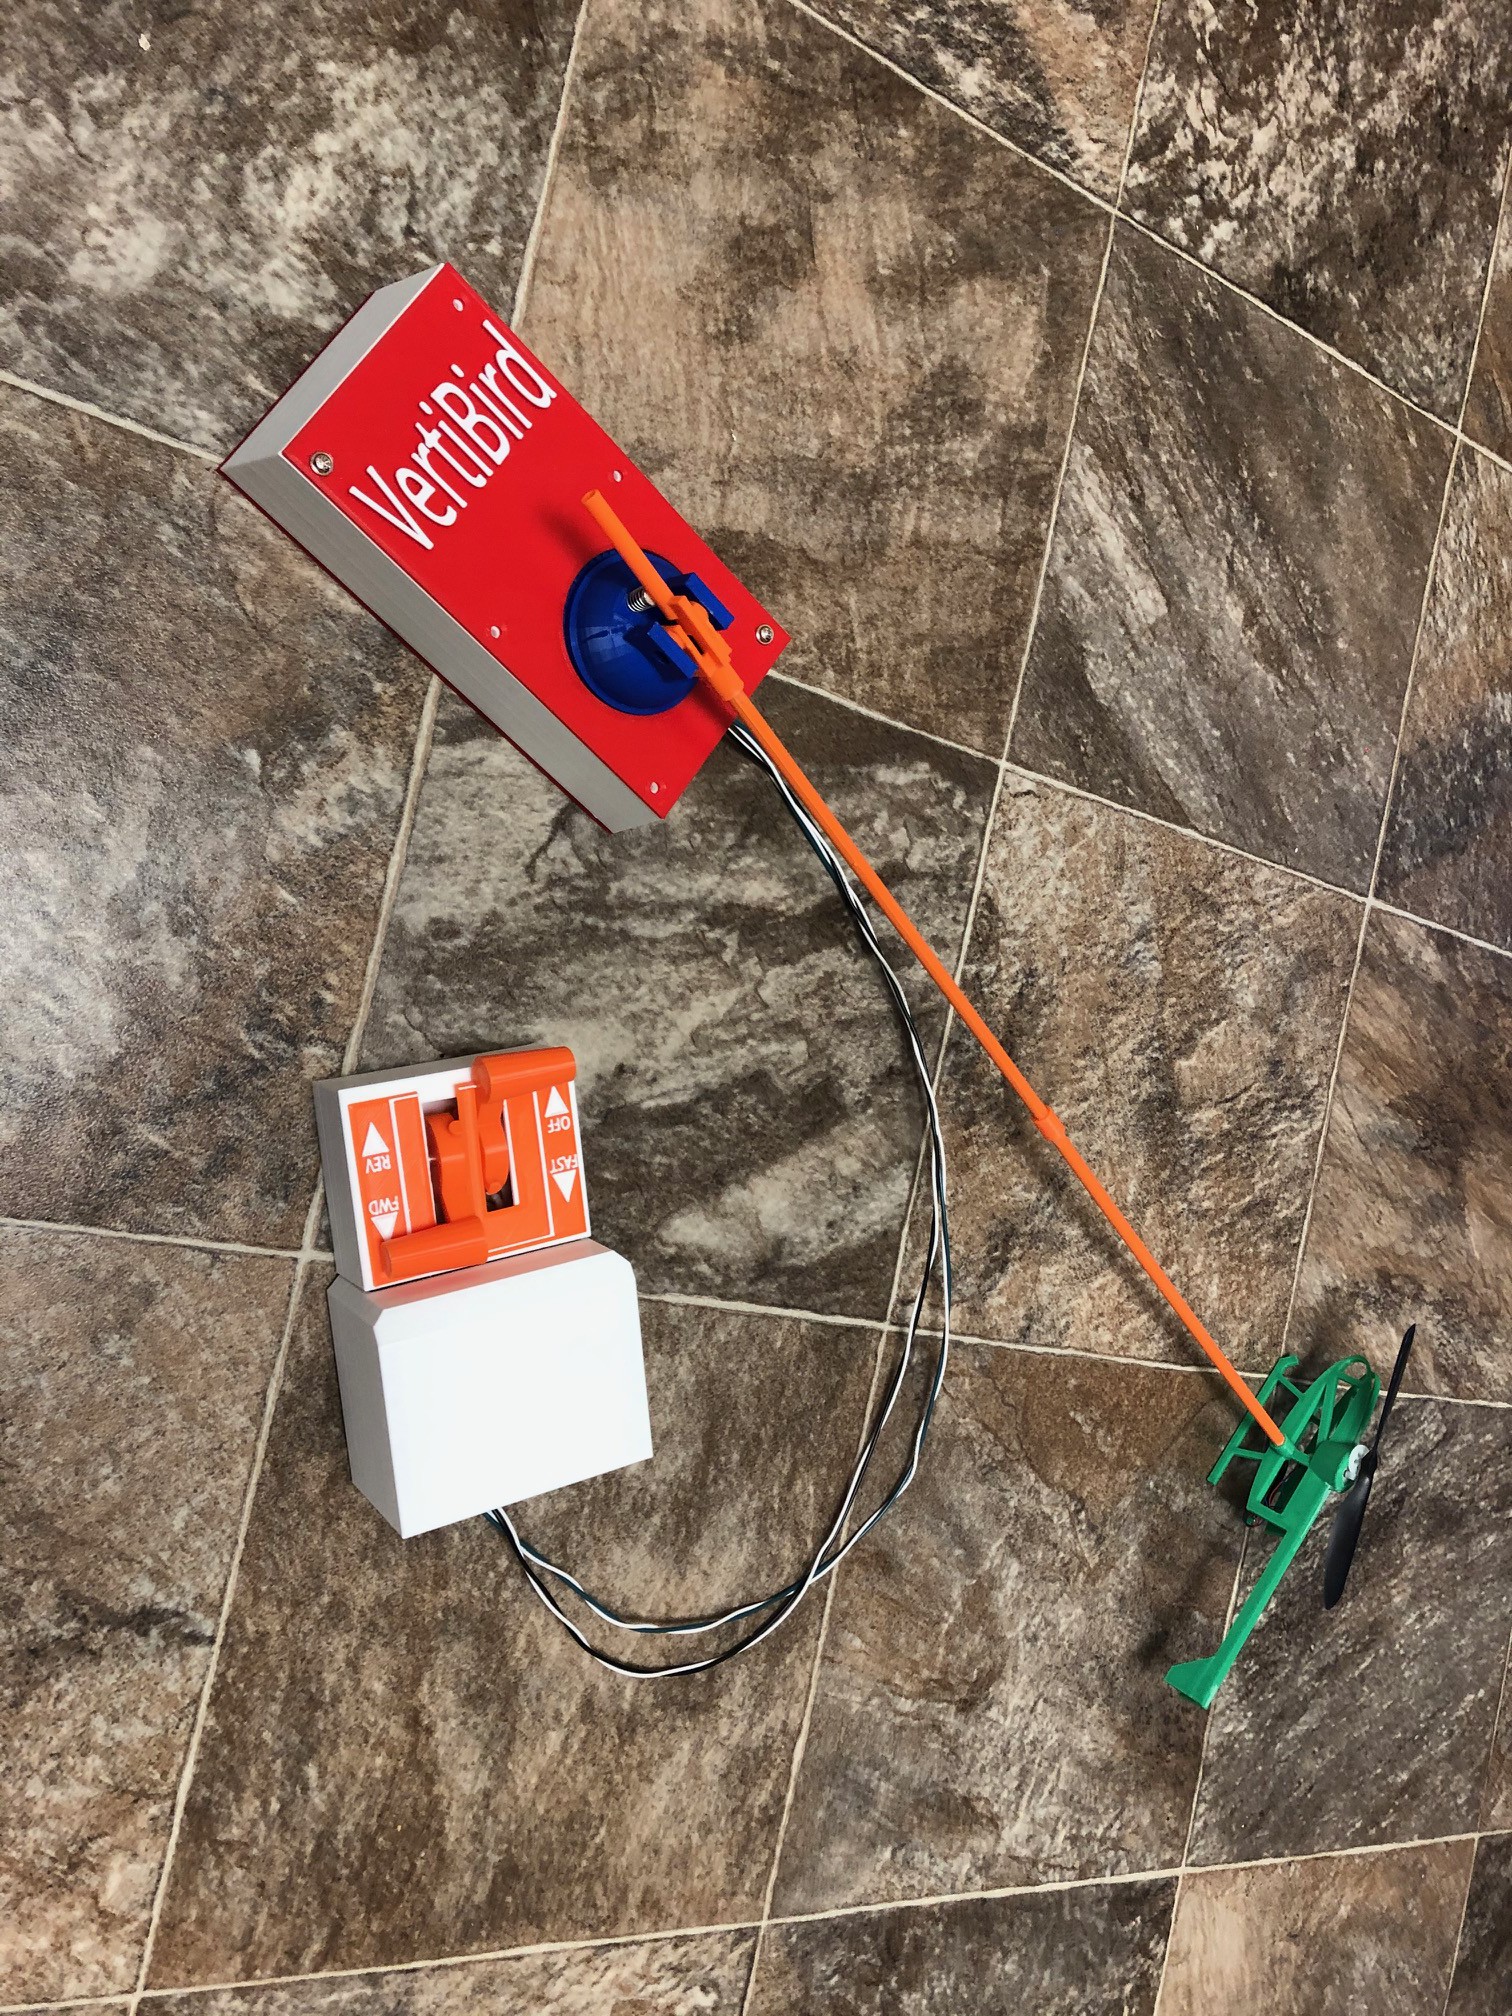
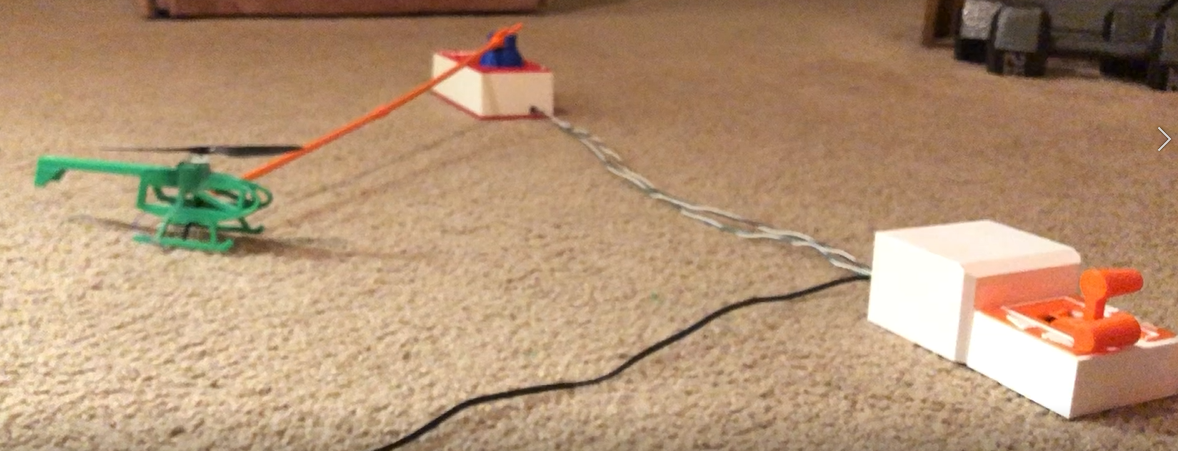
I had one of these toys back in the day. I used to love it! I have purchased used ones on Ebay and enjoy restoring them. I also wanted to create a new twist on this same idea. The original had a motor in the center and a cable actually spun to mechanically spin the propeller of the chopper. I always wanted to make a clone of this toy but I wanted to put the motor on the helicopter itself and just run PWM DC Voltage to the motor to spin it. Unfortunately, the wires would begin to twist up and rip apart.... Or could an electrical "Slip Ring" be used instead? Follow along in the sections below and find out how I pulled this off....https://youtu.be/KXFbt_iXW6E

Check out the new trailer done by my 9 year old son Jonah :)

https://www.youtube.com/watch?v=cbXBGx_uQsQ

All the STL files for 3D printing can be found here:

https://www.thingiverse.com/thing:4147823

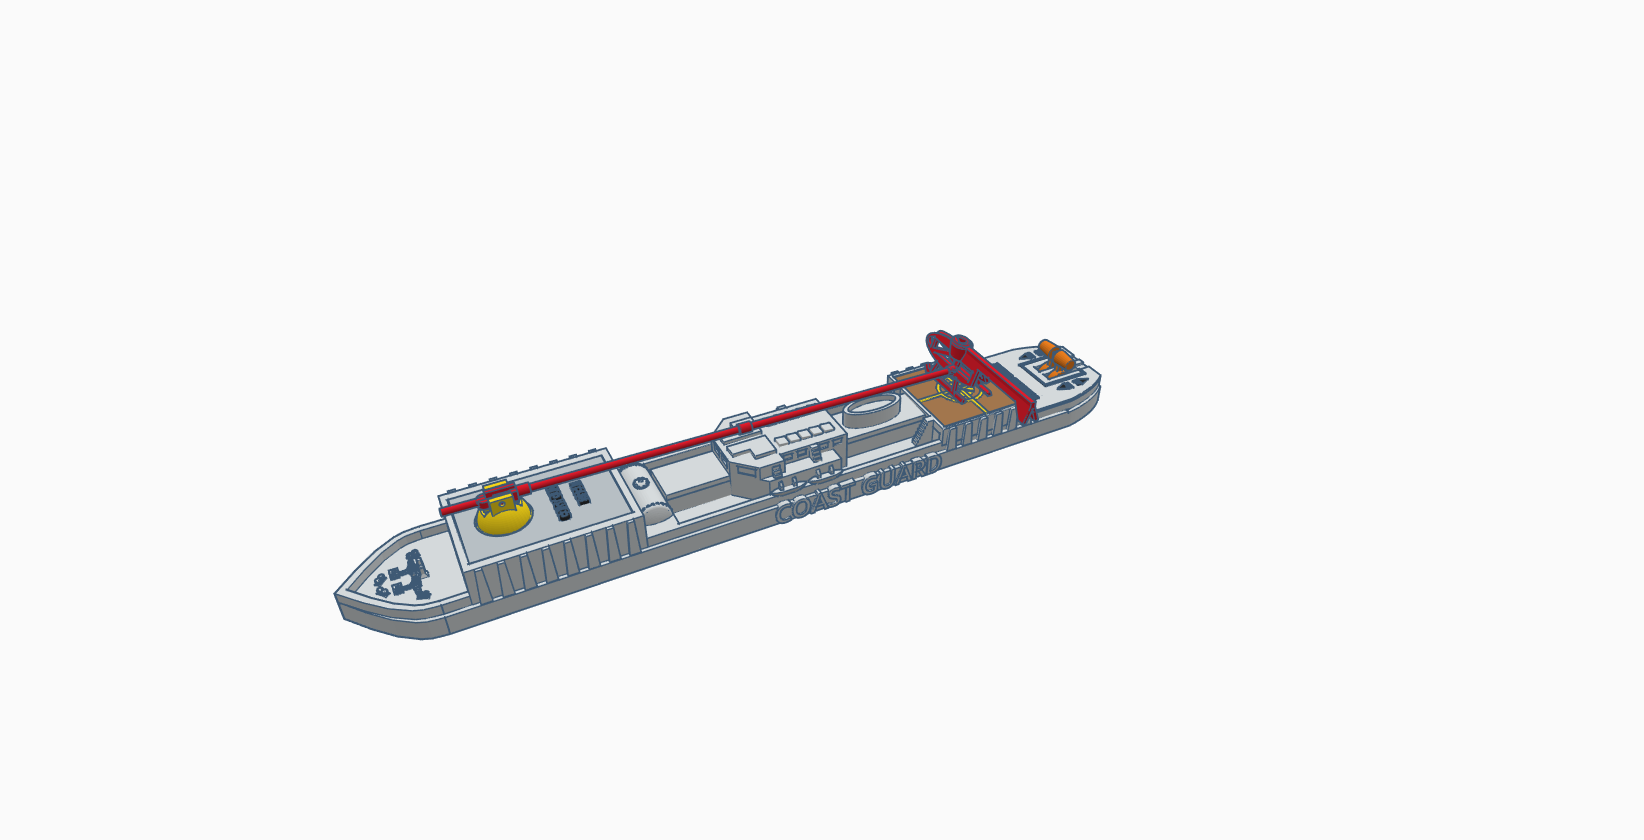
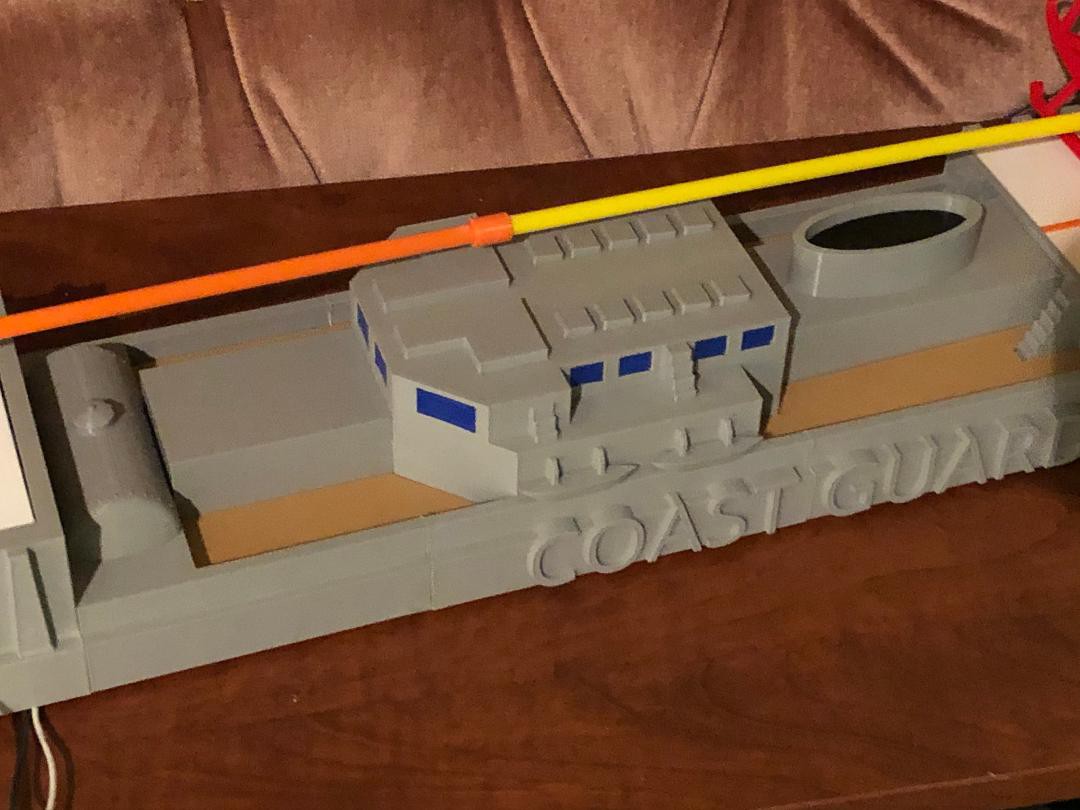
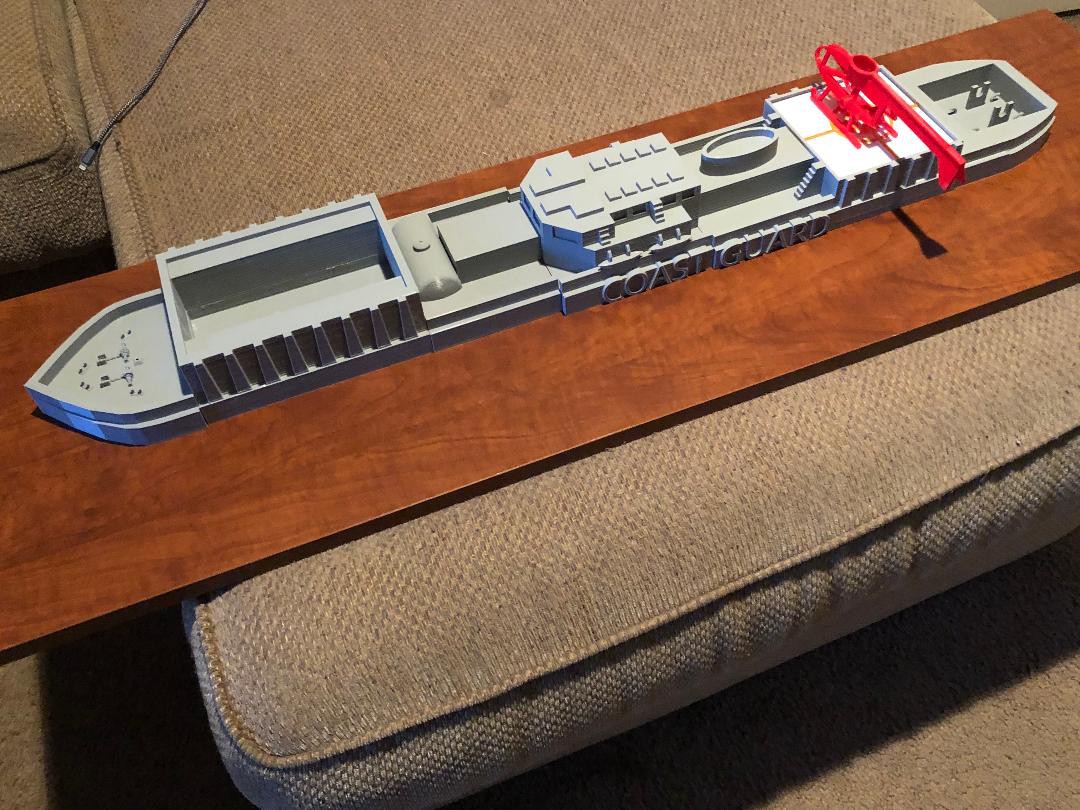
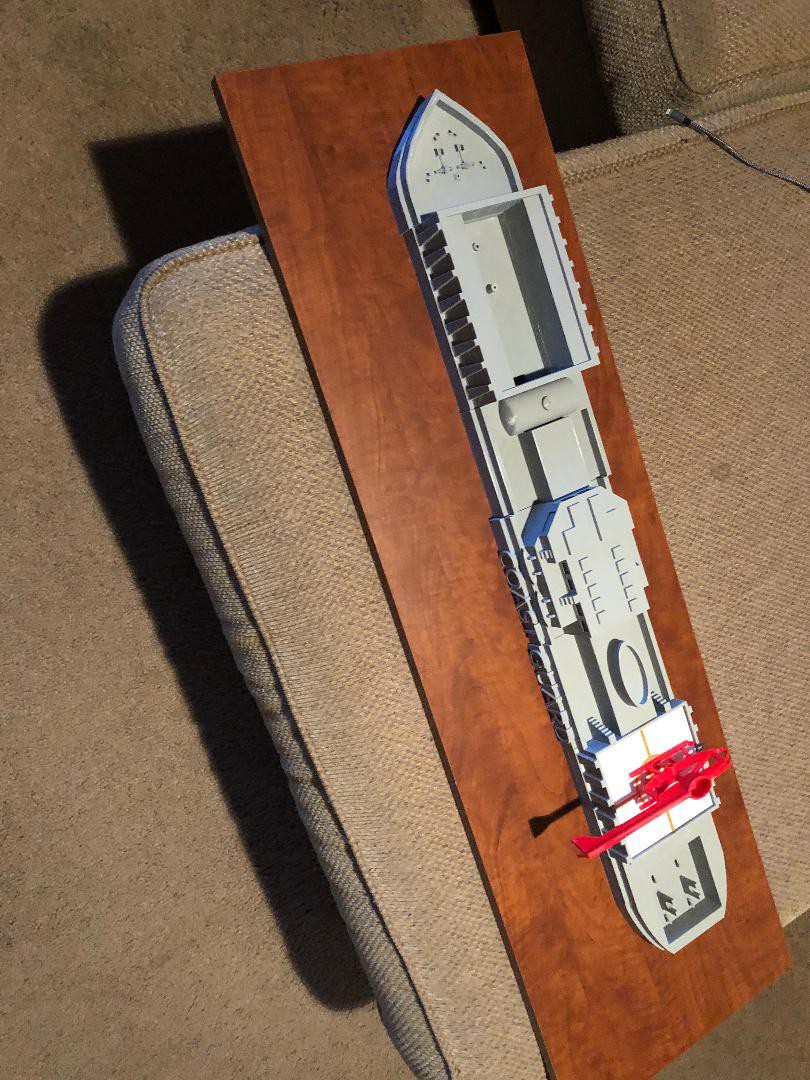
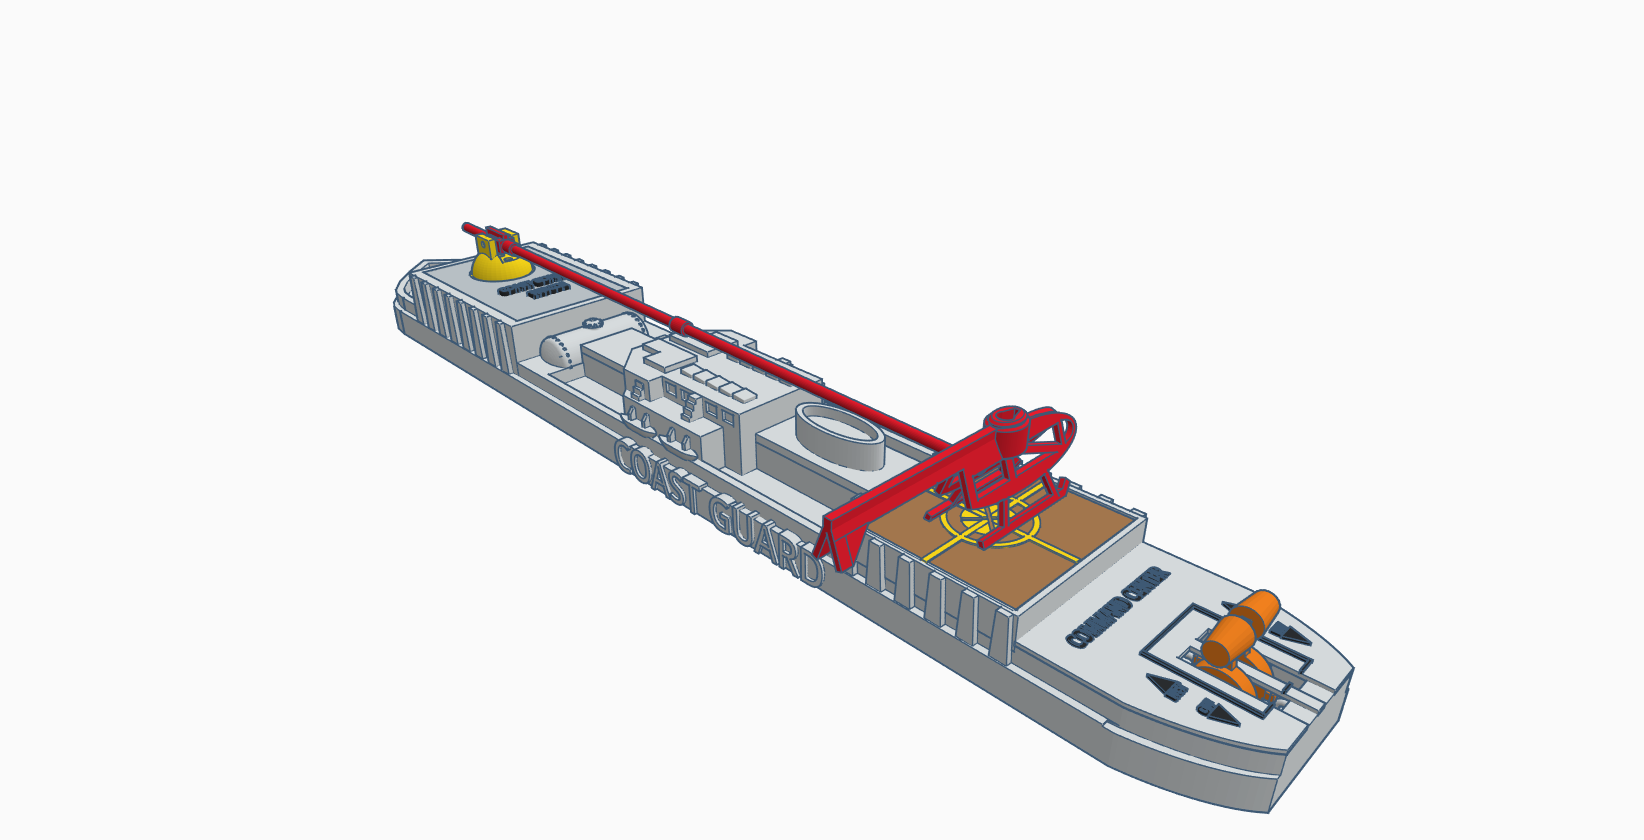
The Coast Guard Rescue Ship is also ready to print:

https://www.thingiverse.com/thing:4161609

Here is a video of the prototype:

https://youtu.be/KXFbt_iXW6E

Here is one of the final version flying:

https://www.youtube.com/watch?v=0eCAvSWgvUw

Closer View of Lift off:

https://www.youtube.com/watch?v=Nr07fGhRxoQ
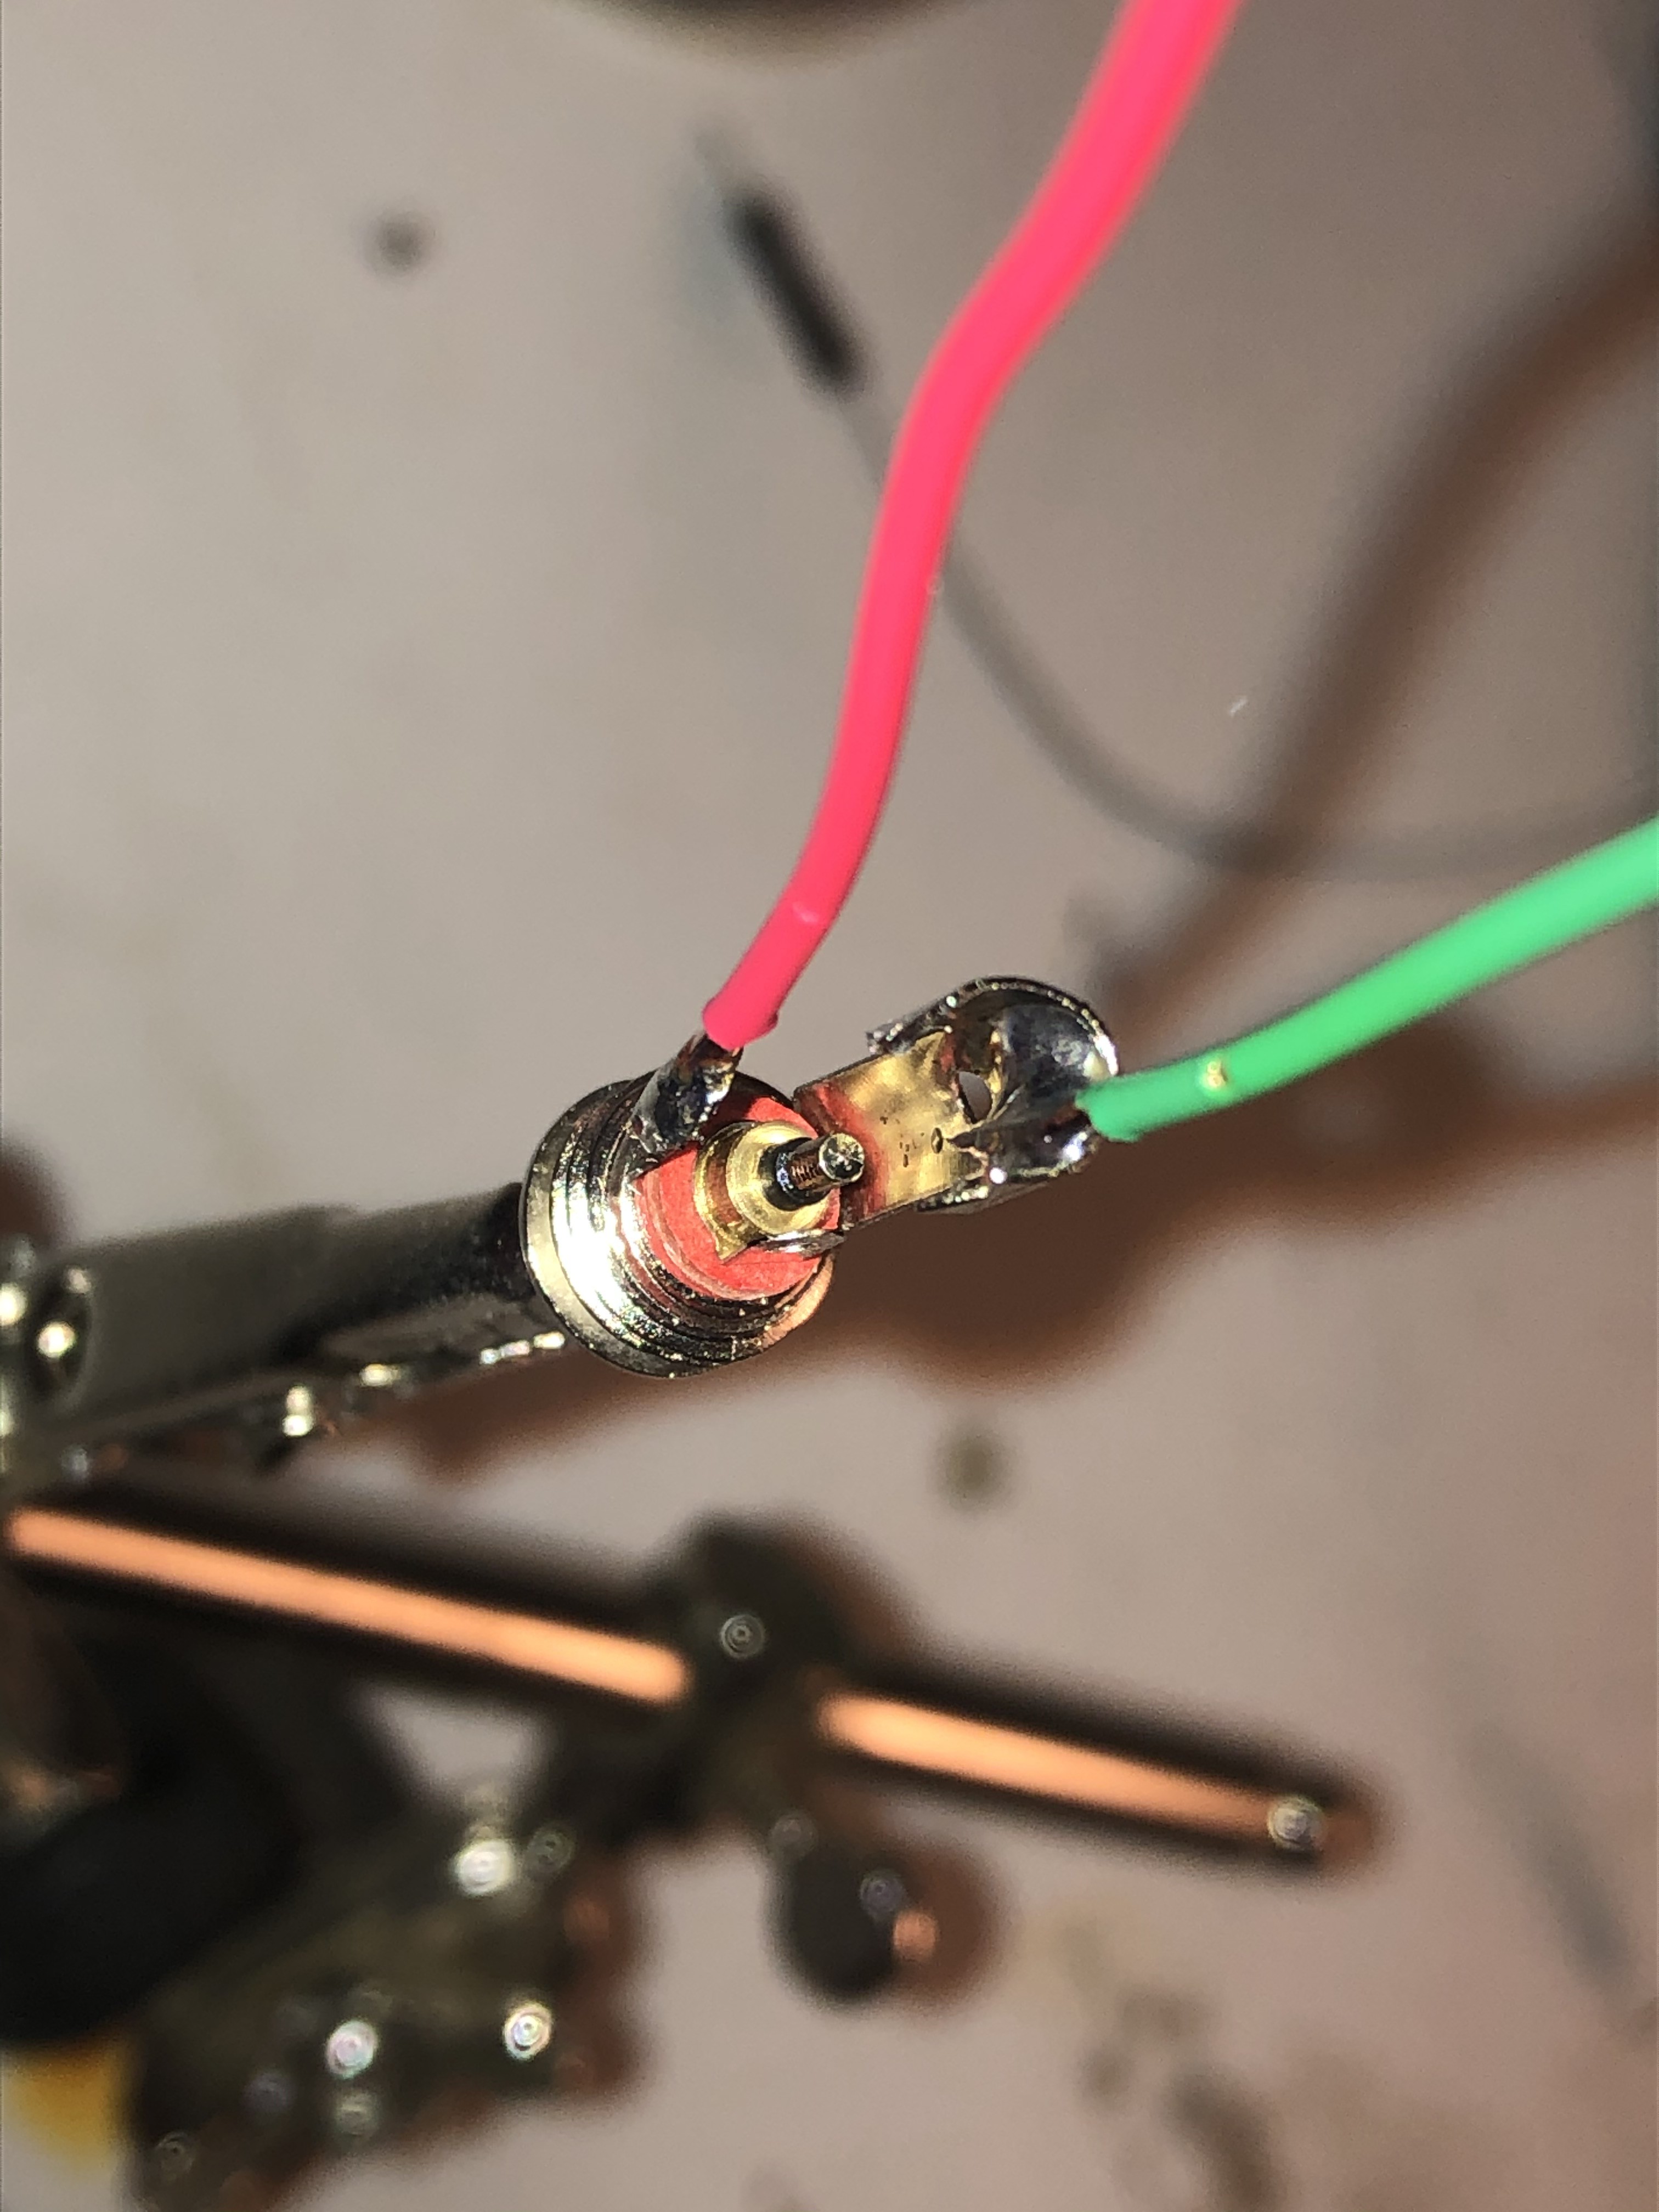
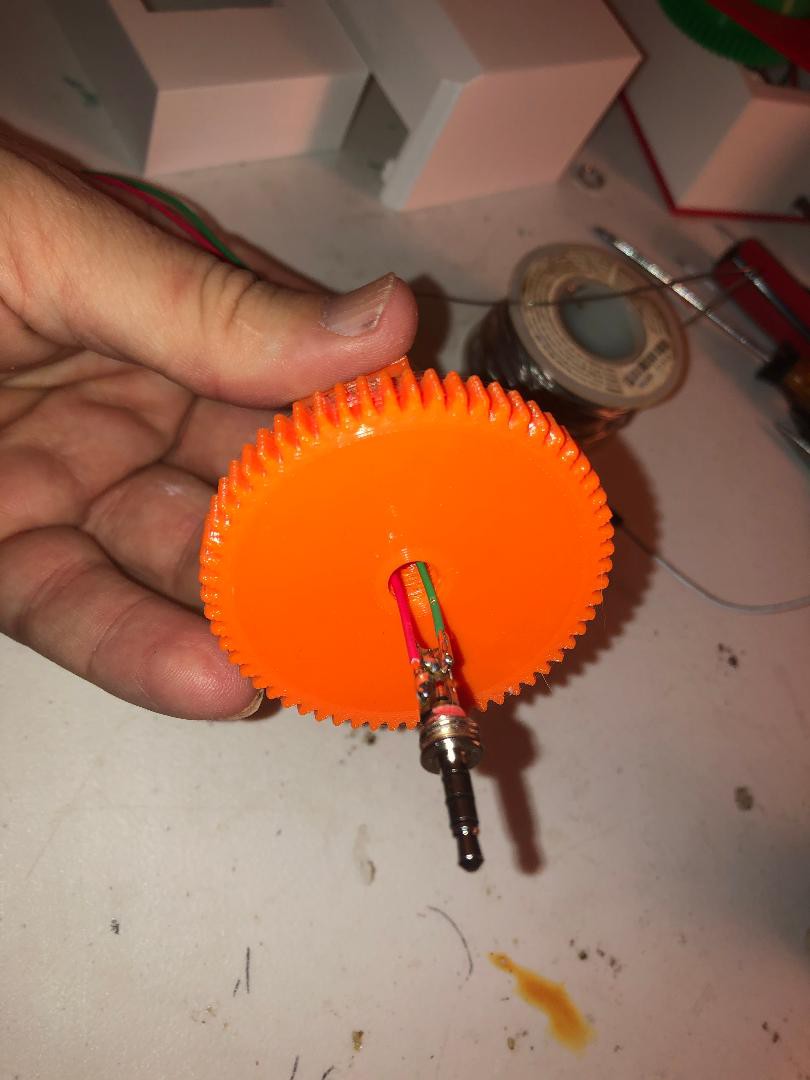
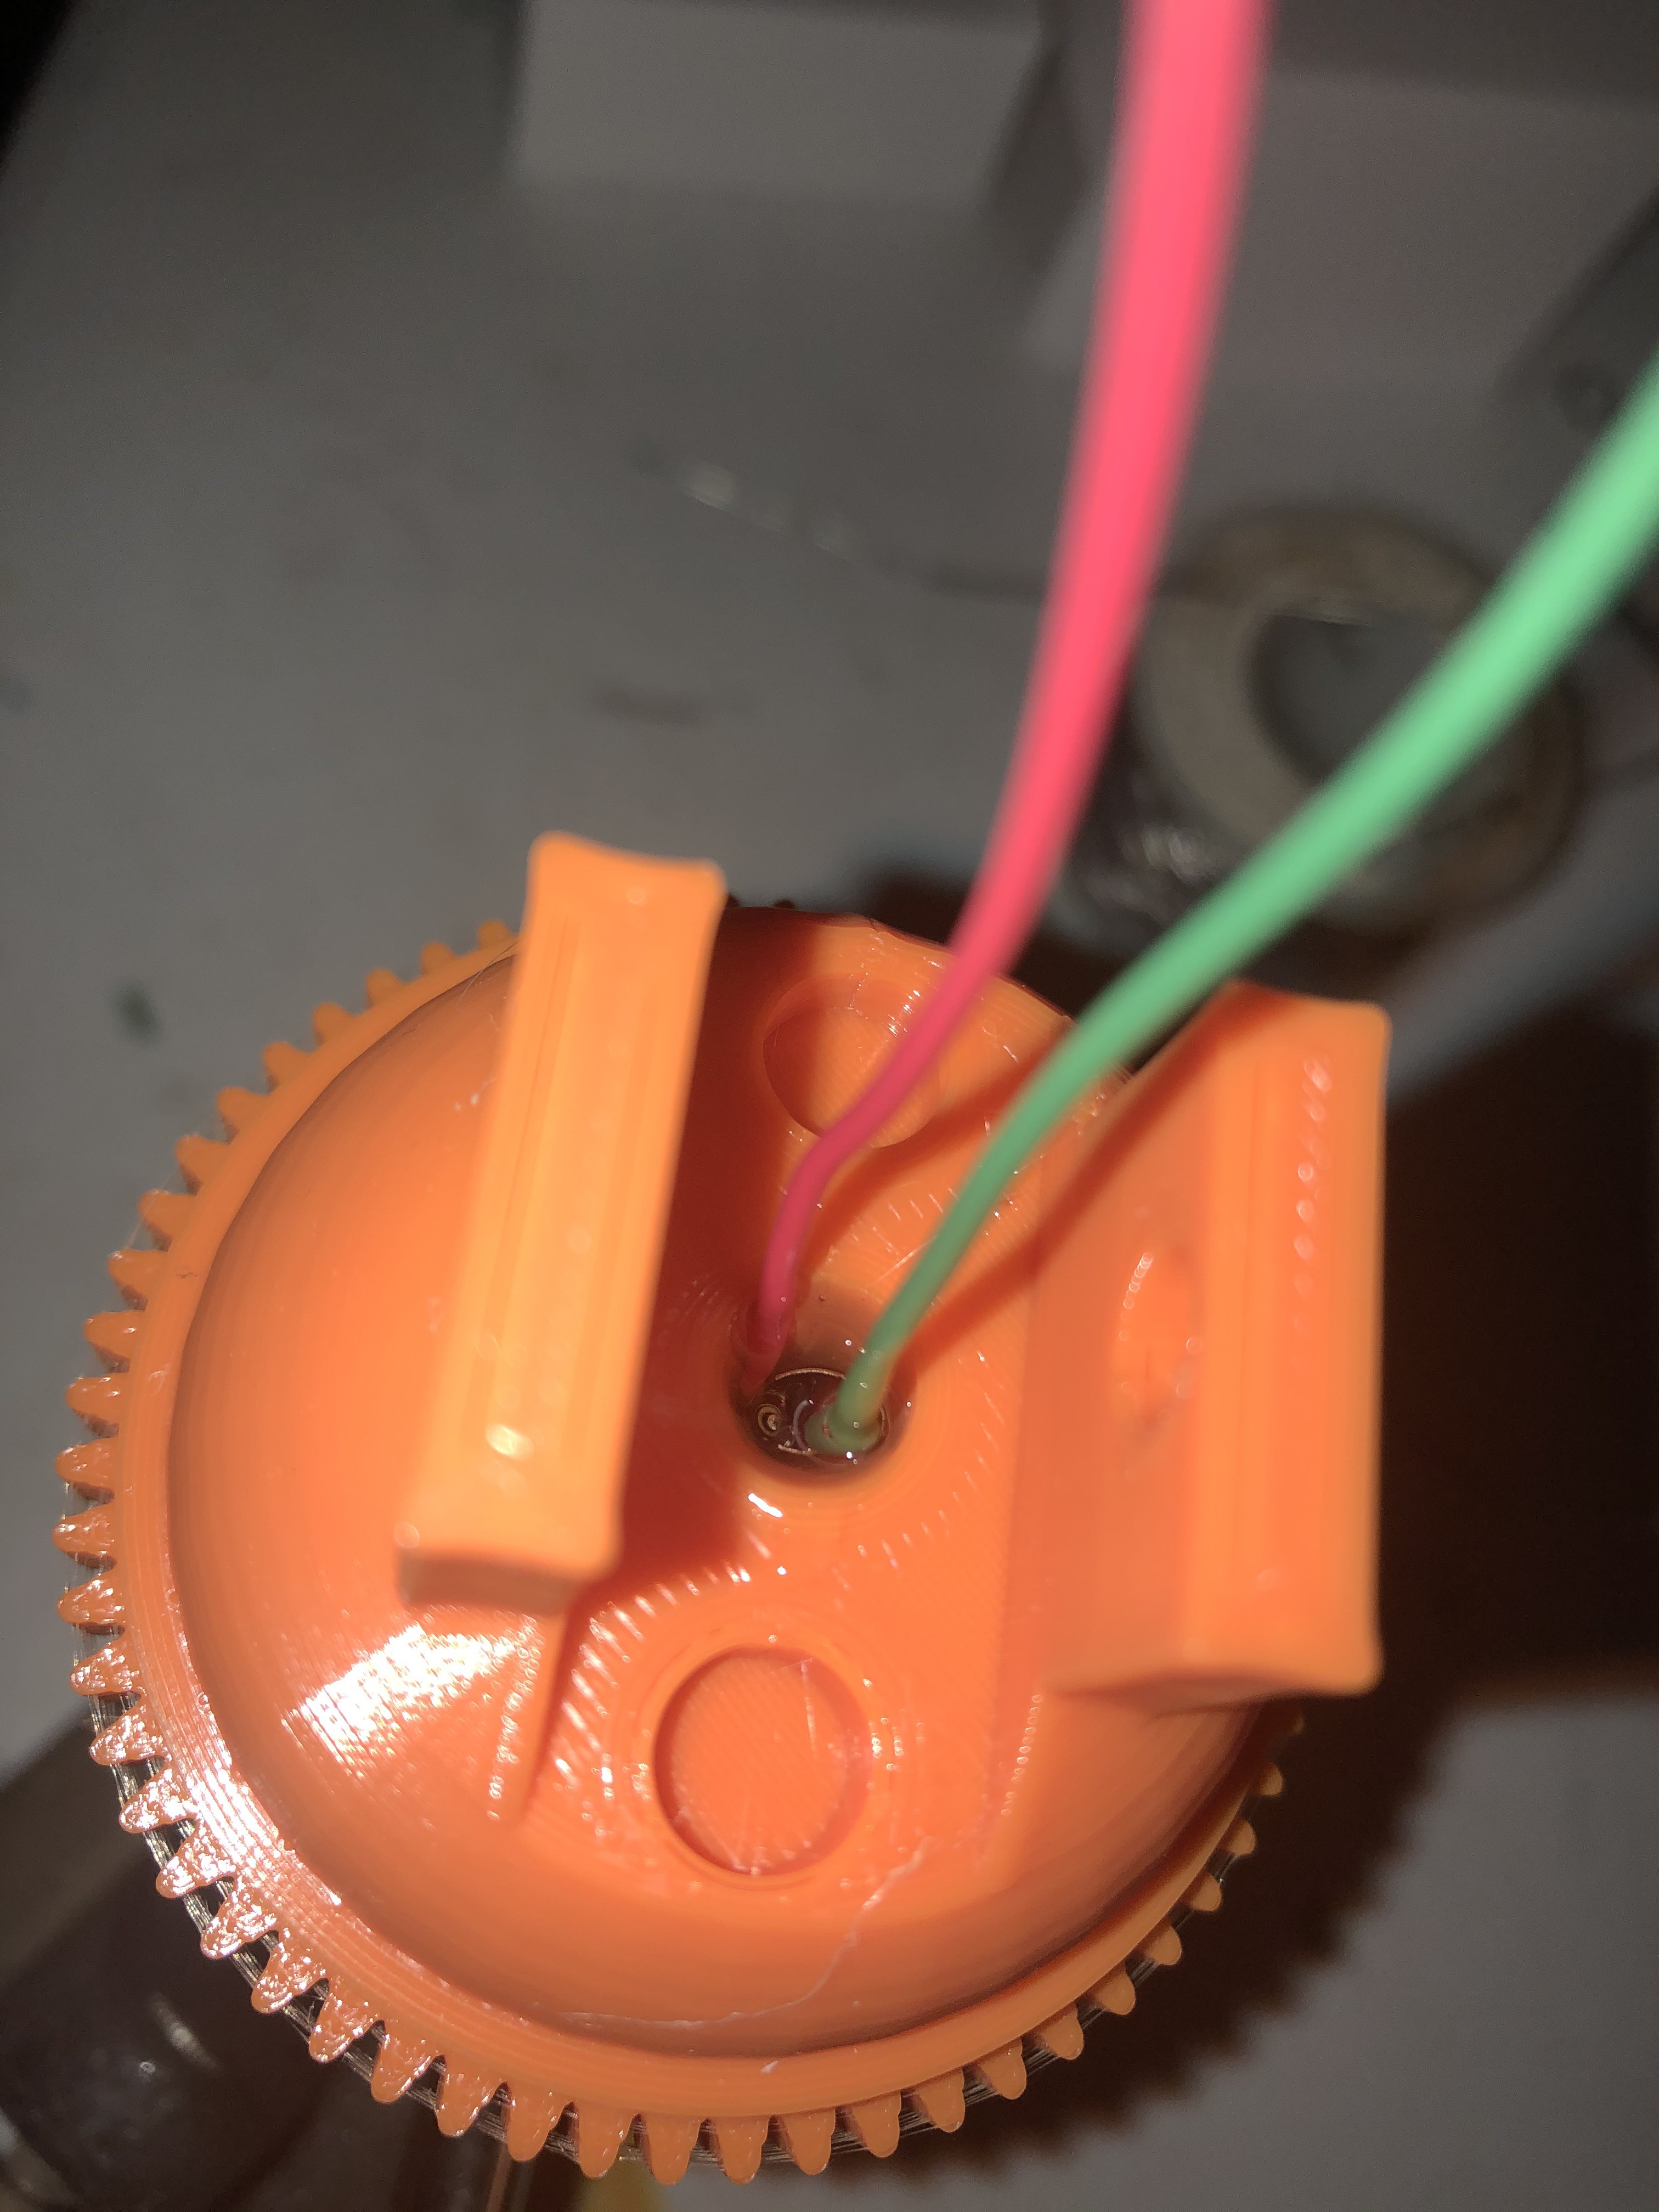
To wire and build the pivoting dome, solder at least 18ga wire to 2 of the terminals on the male microphone plug.  Then fill the hole with epoxy to assure the wires nor plug will twist out.

Here is a schematic that should work well....

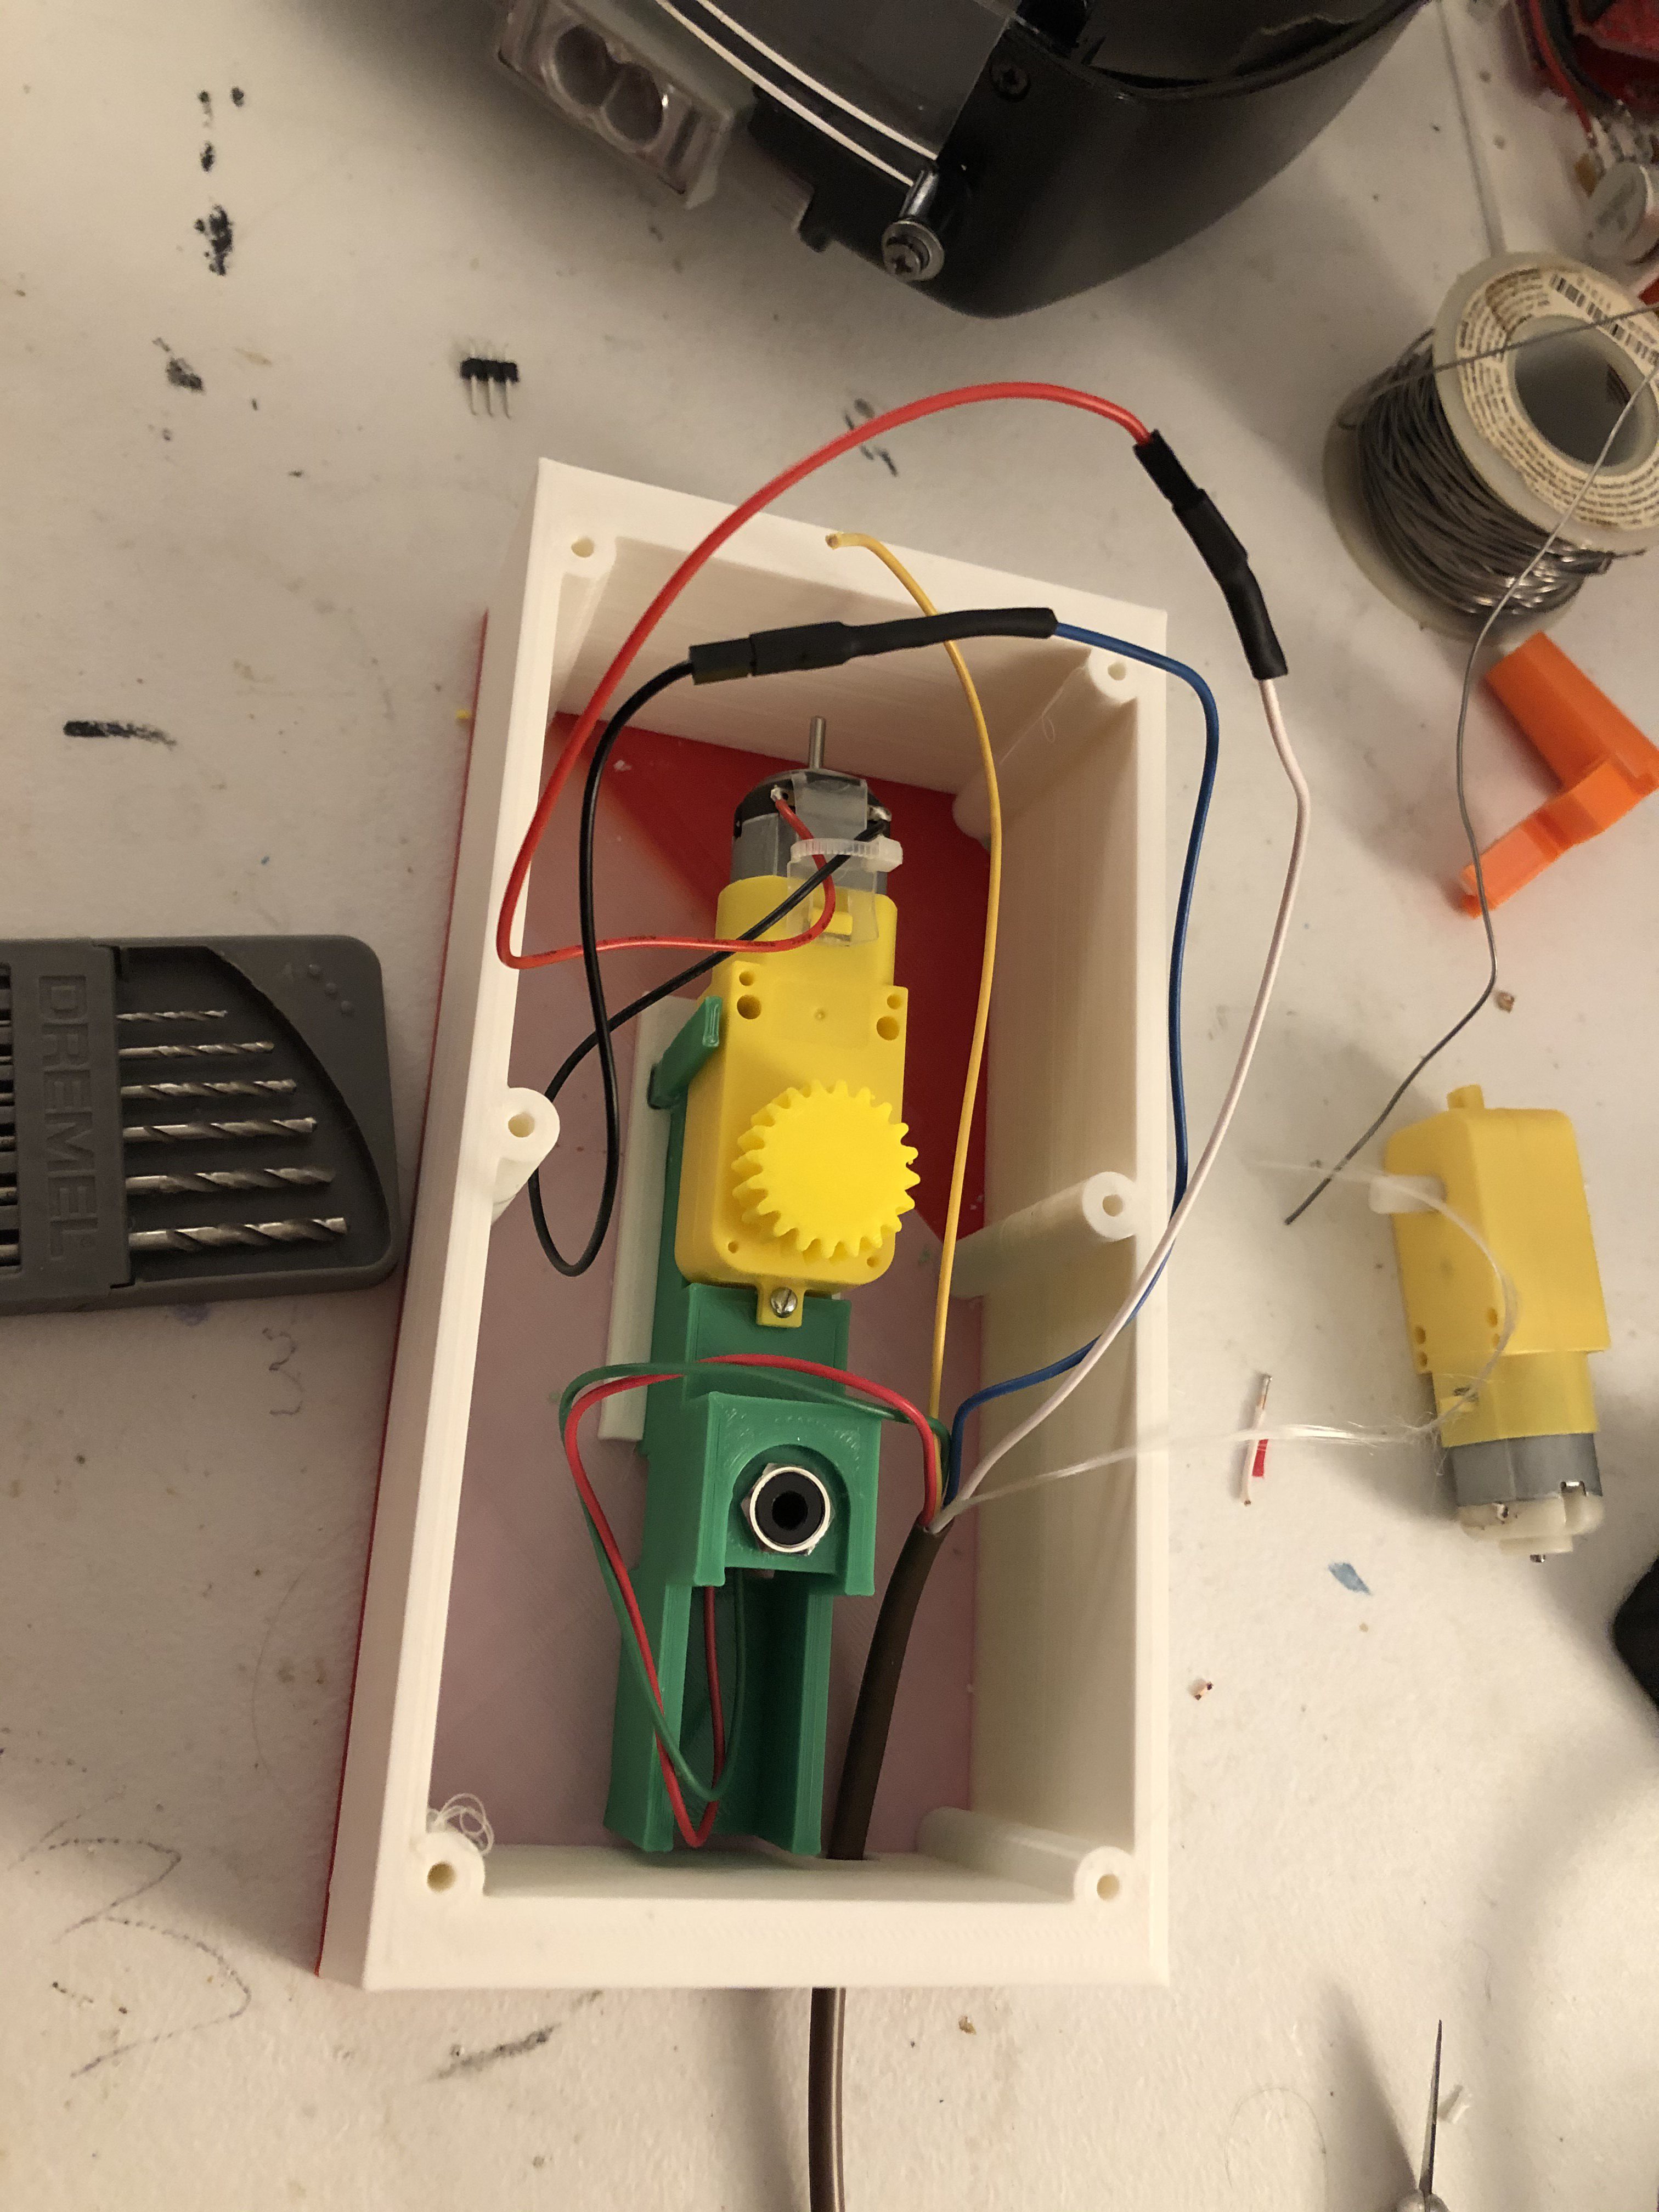
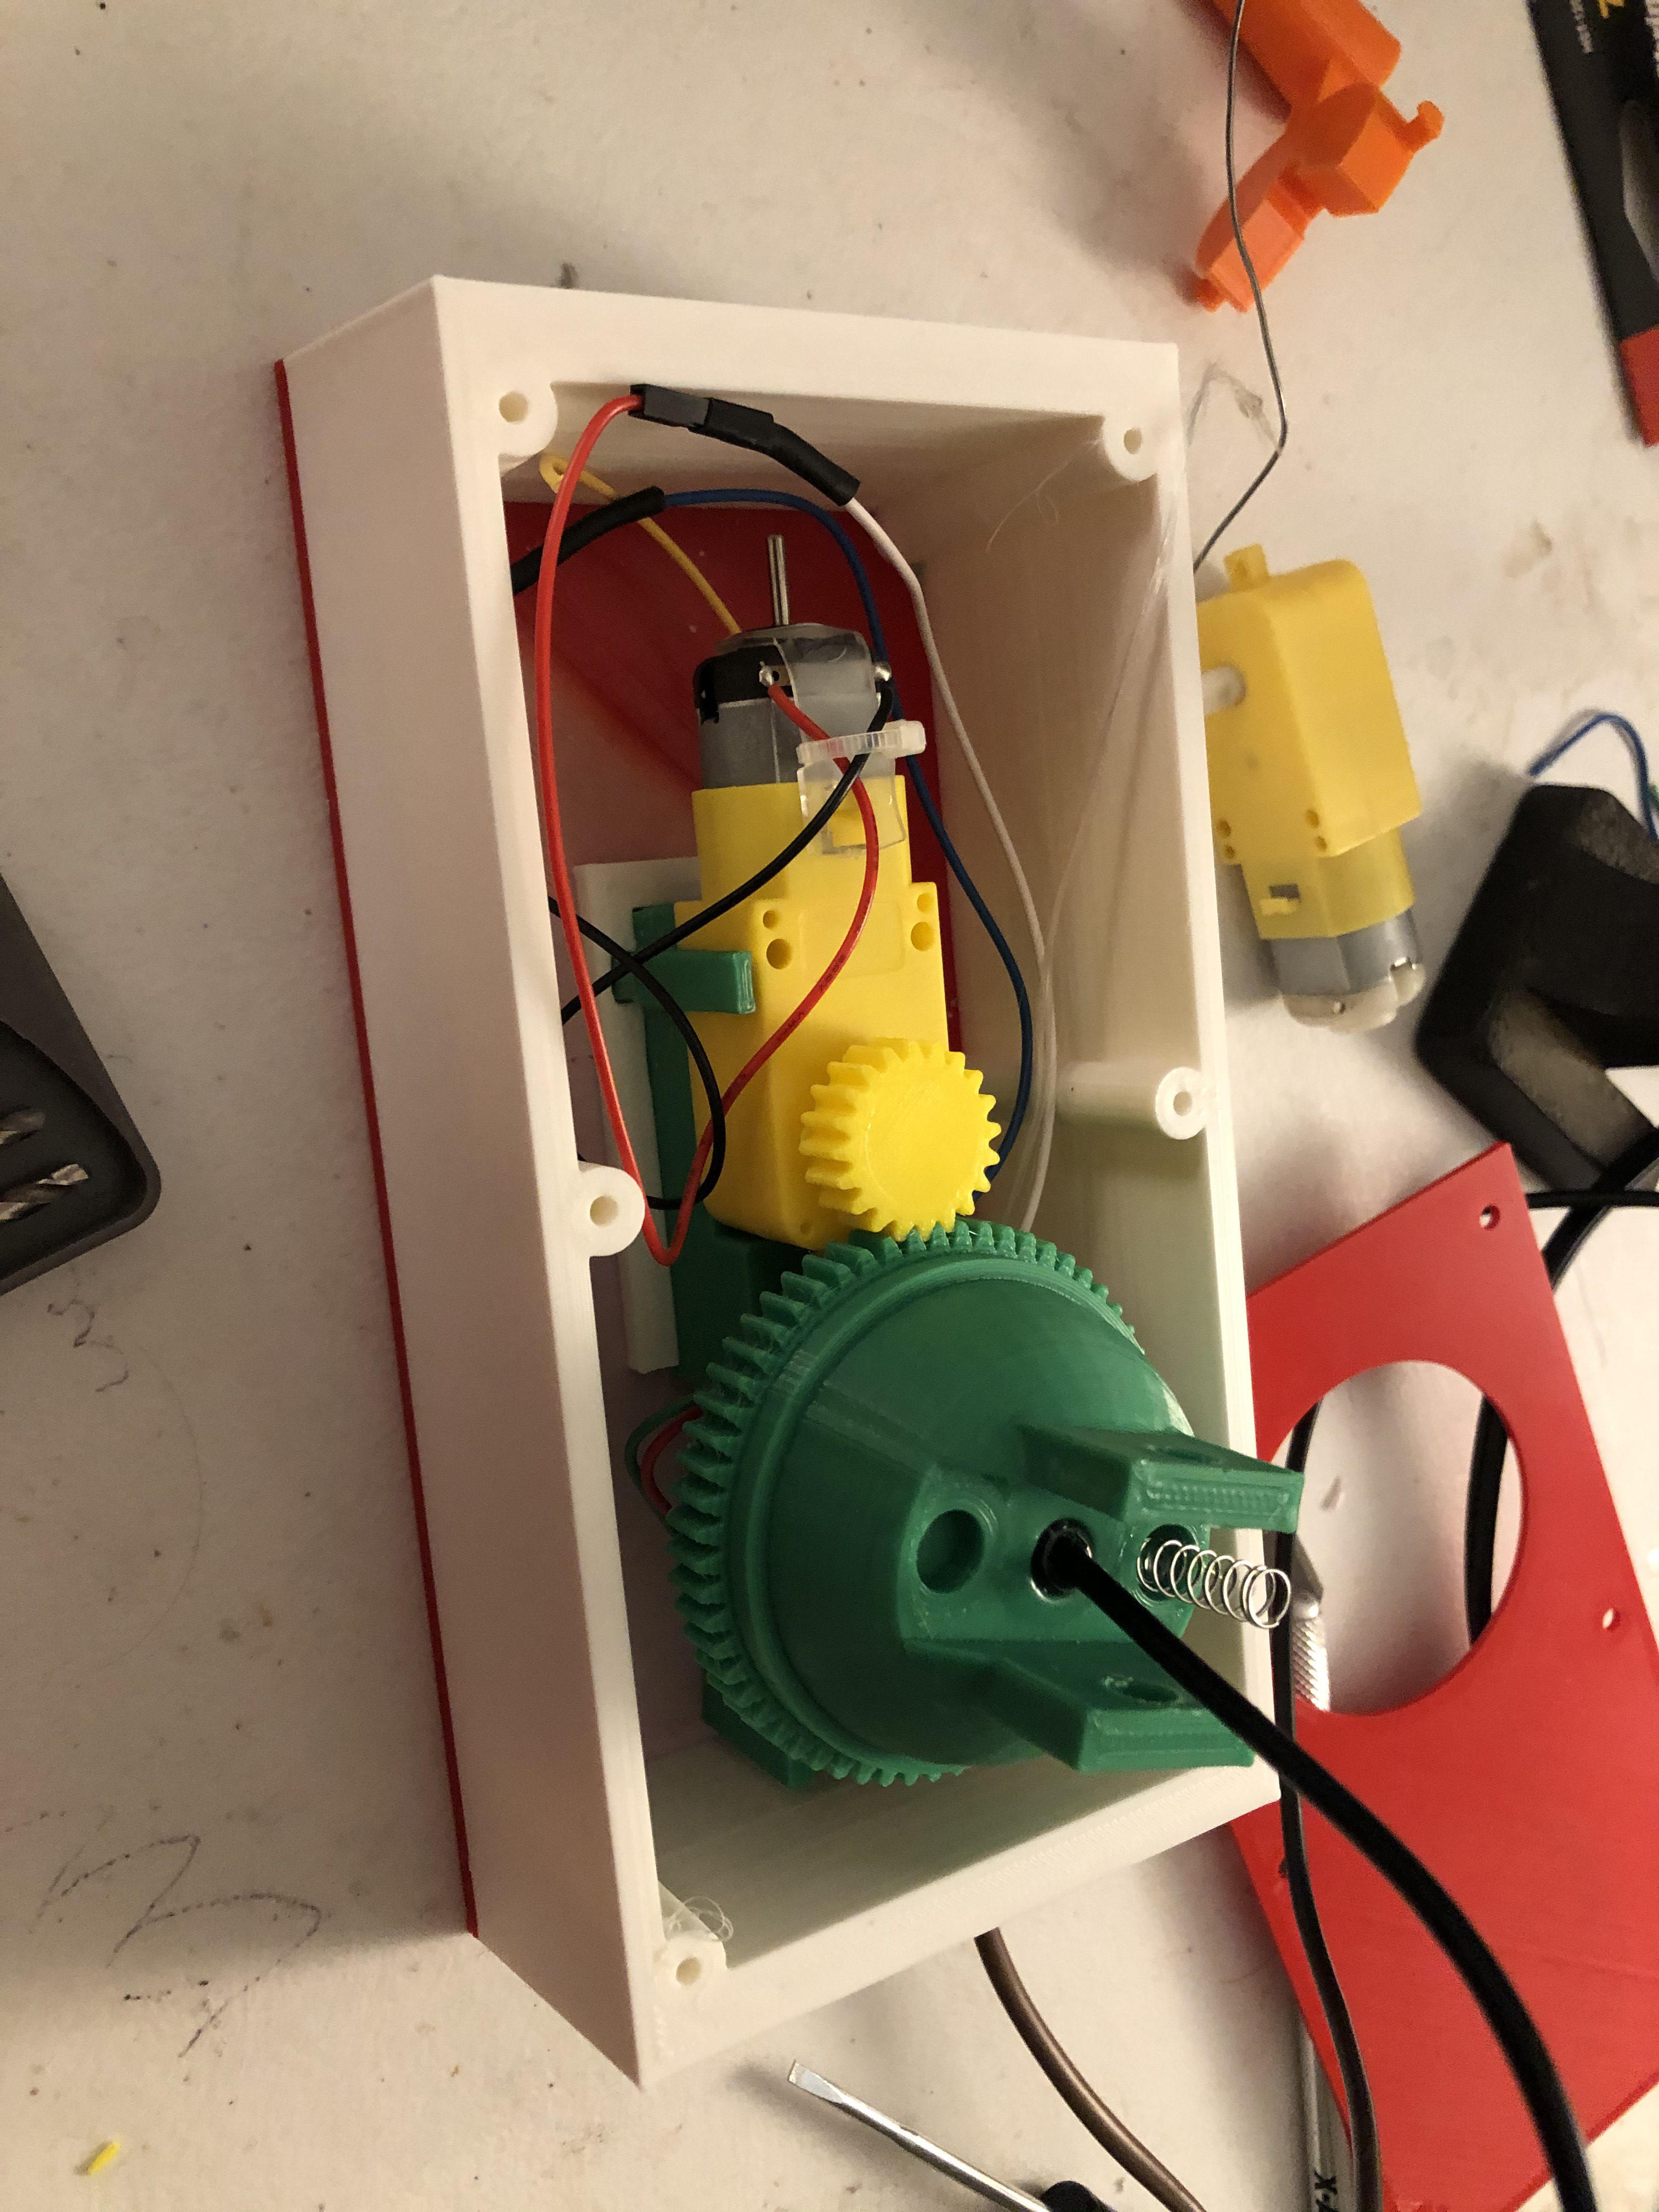
Assemble the pivoting motor and audio jack as shown below.  The latest STL files on Thingiverse are a little different than the prototype pictures shown here:
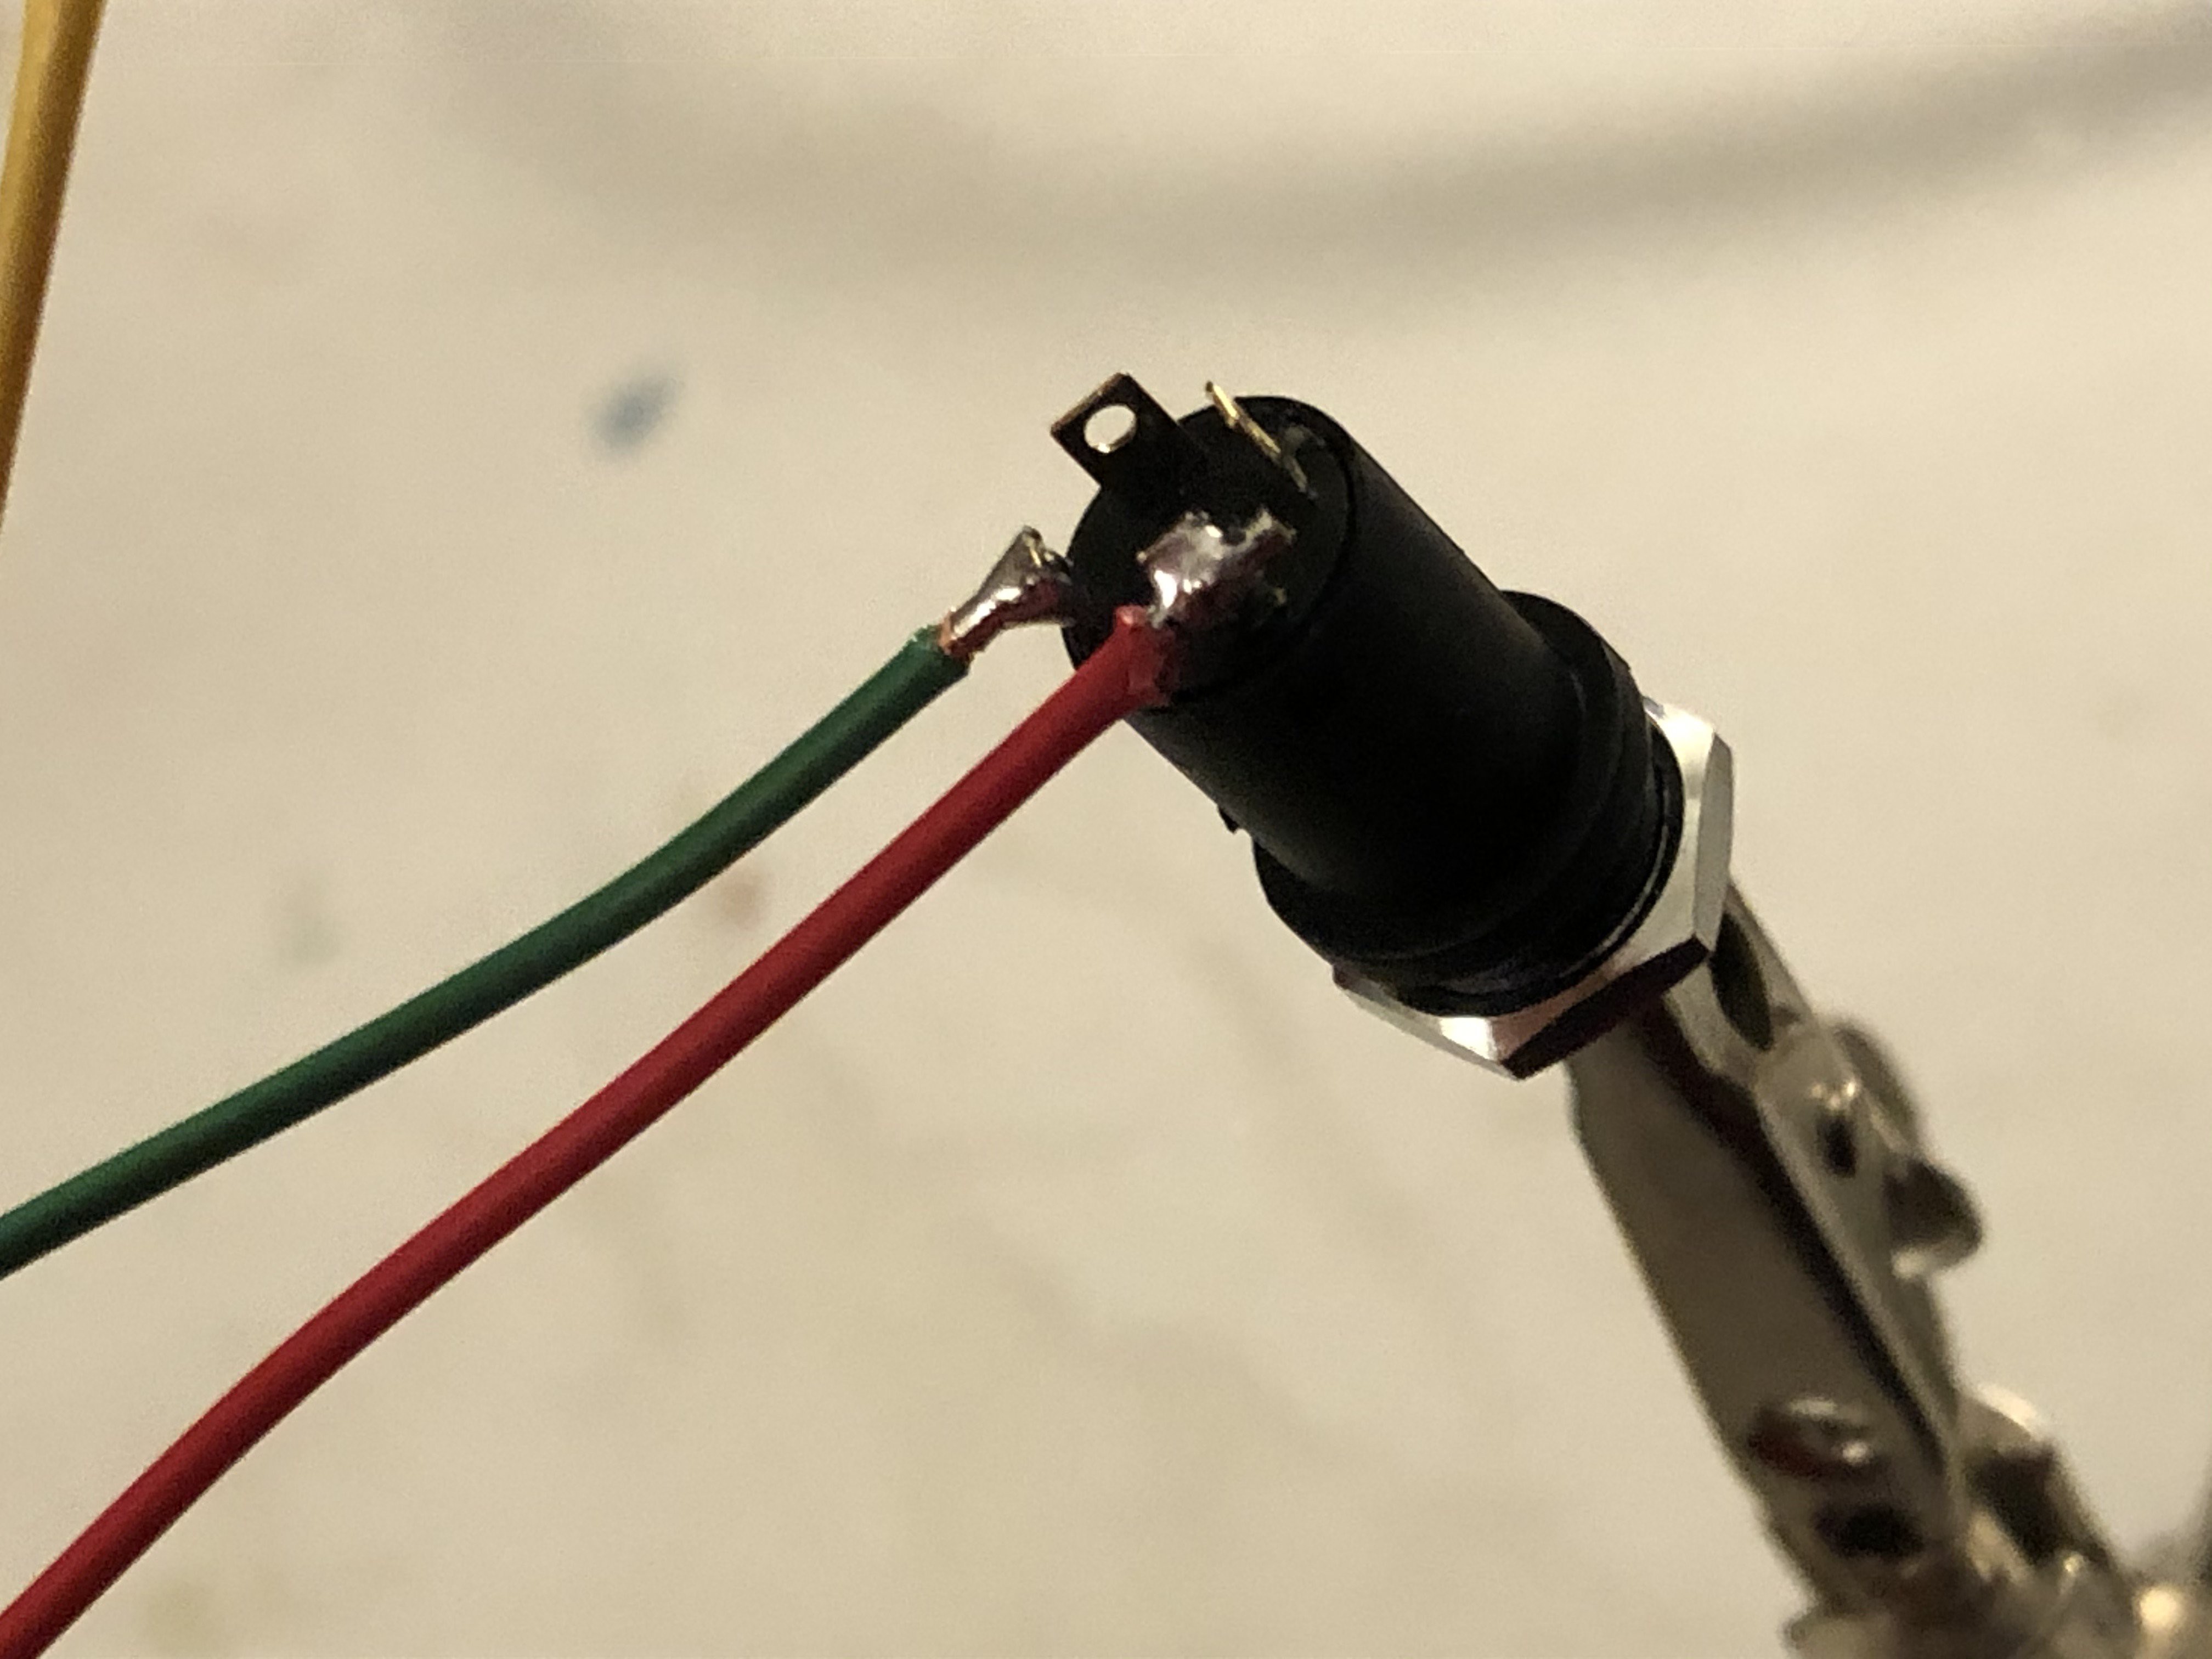
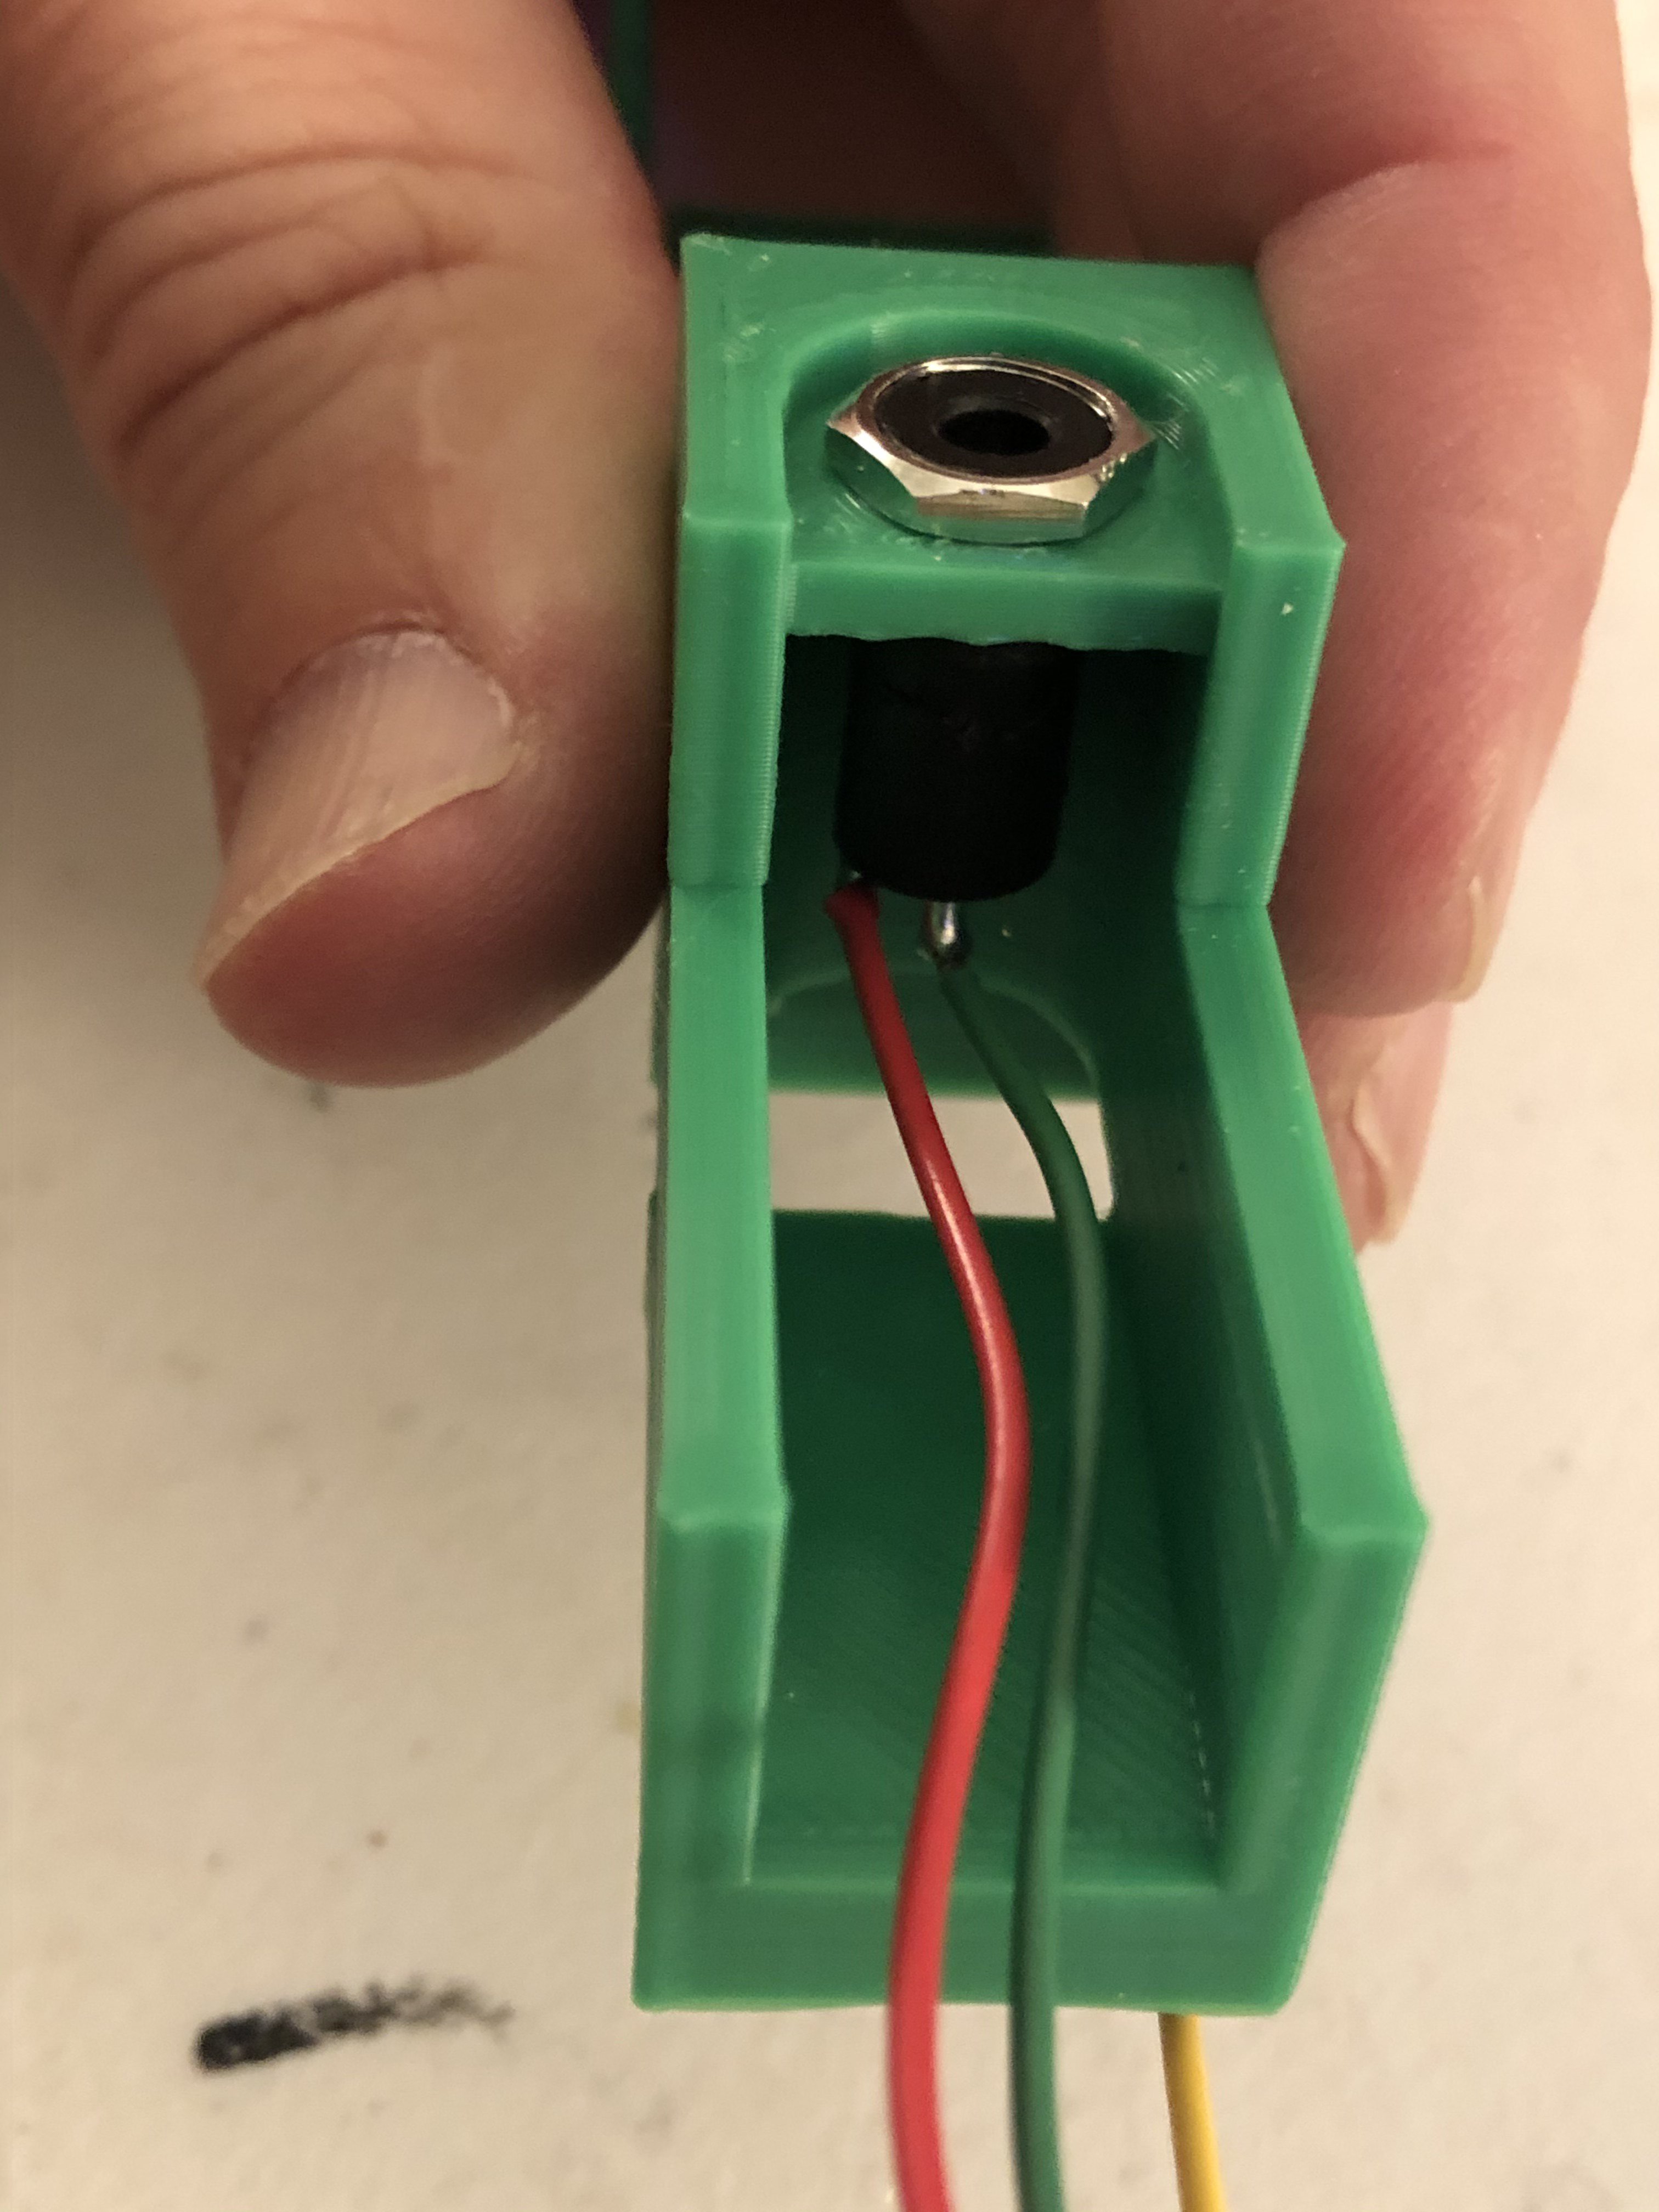
The spring helped with oscillations while flying.

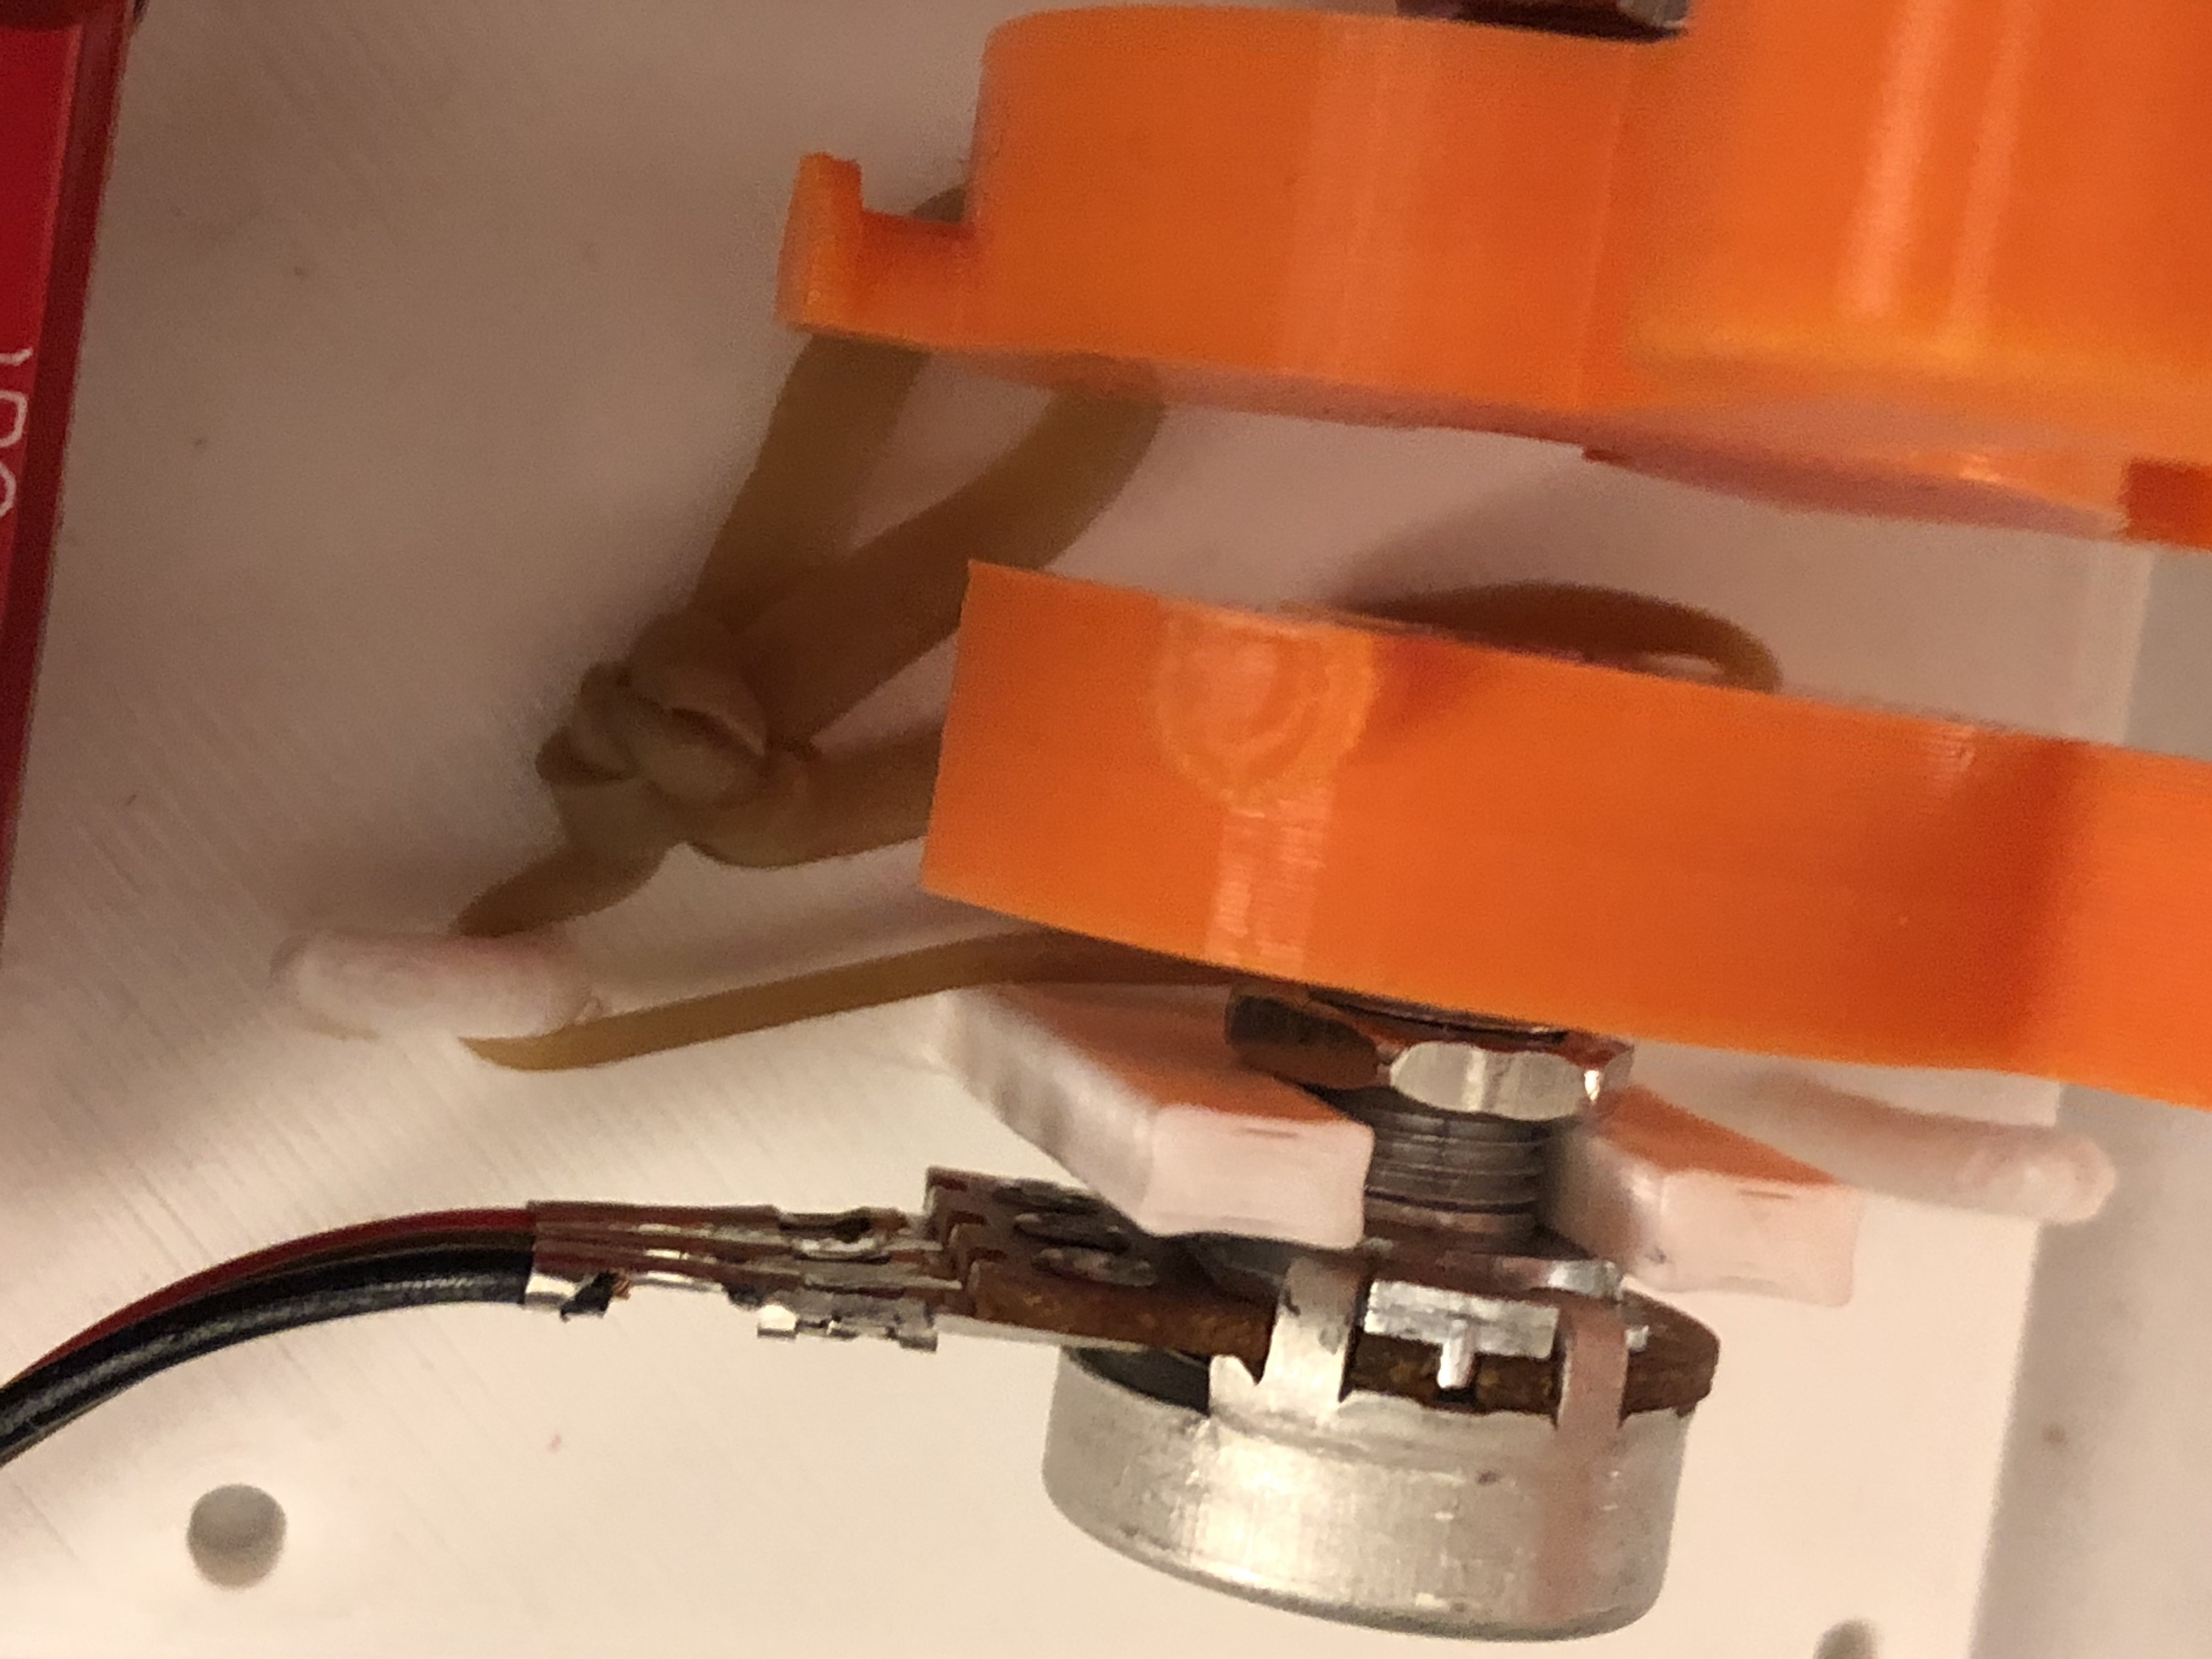
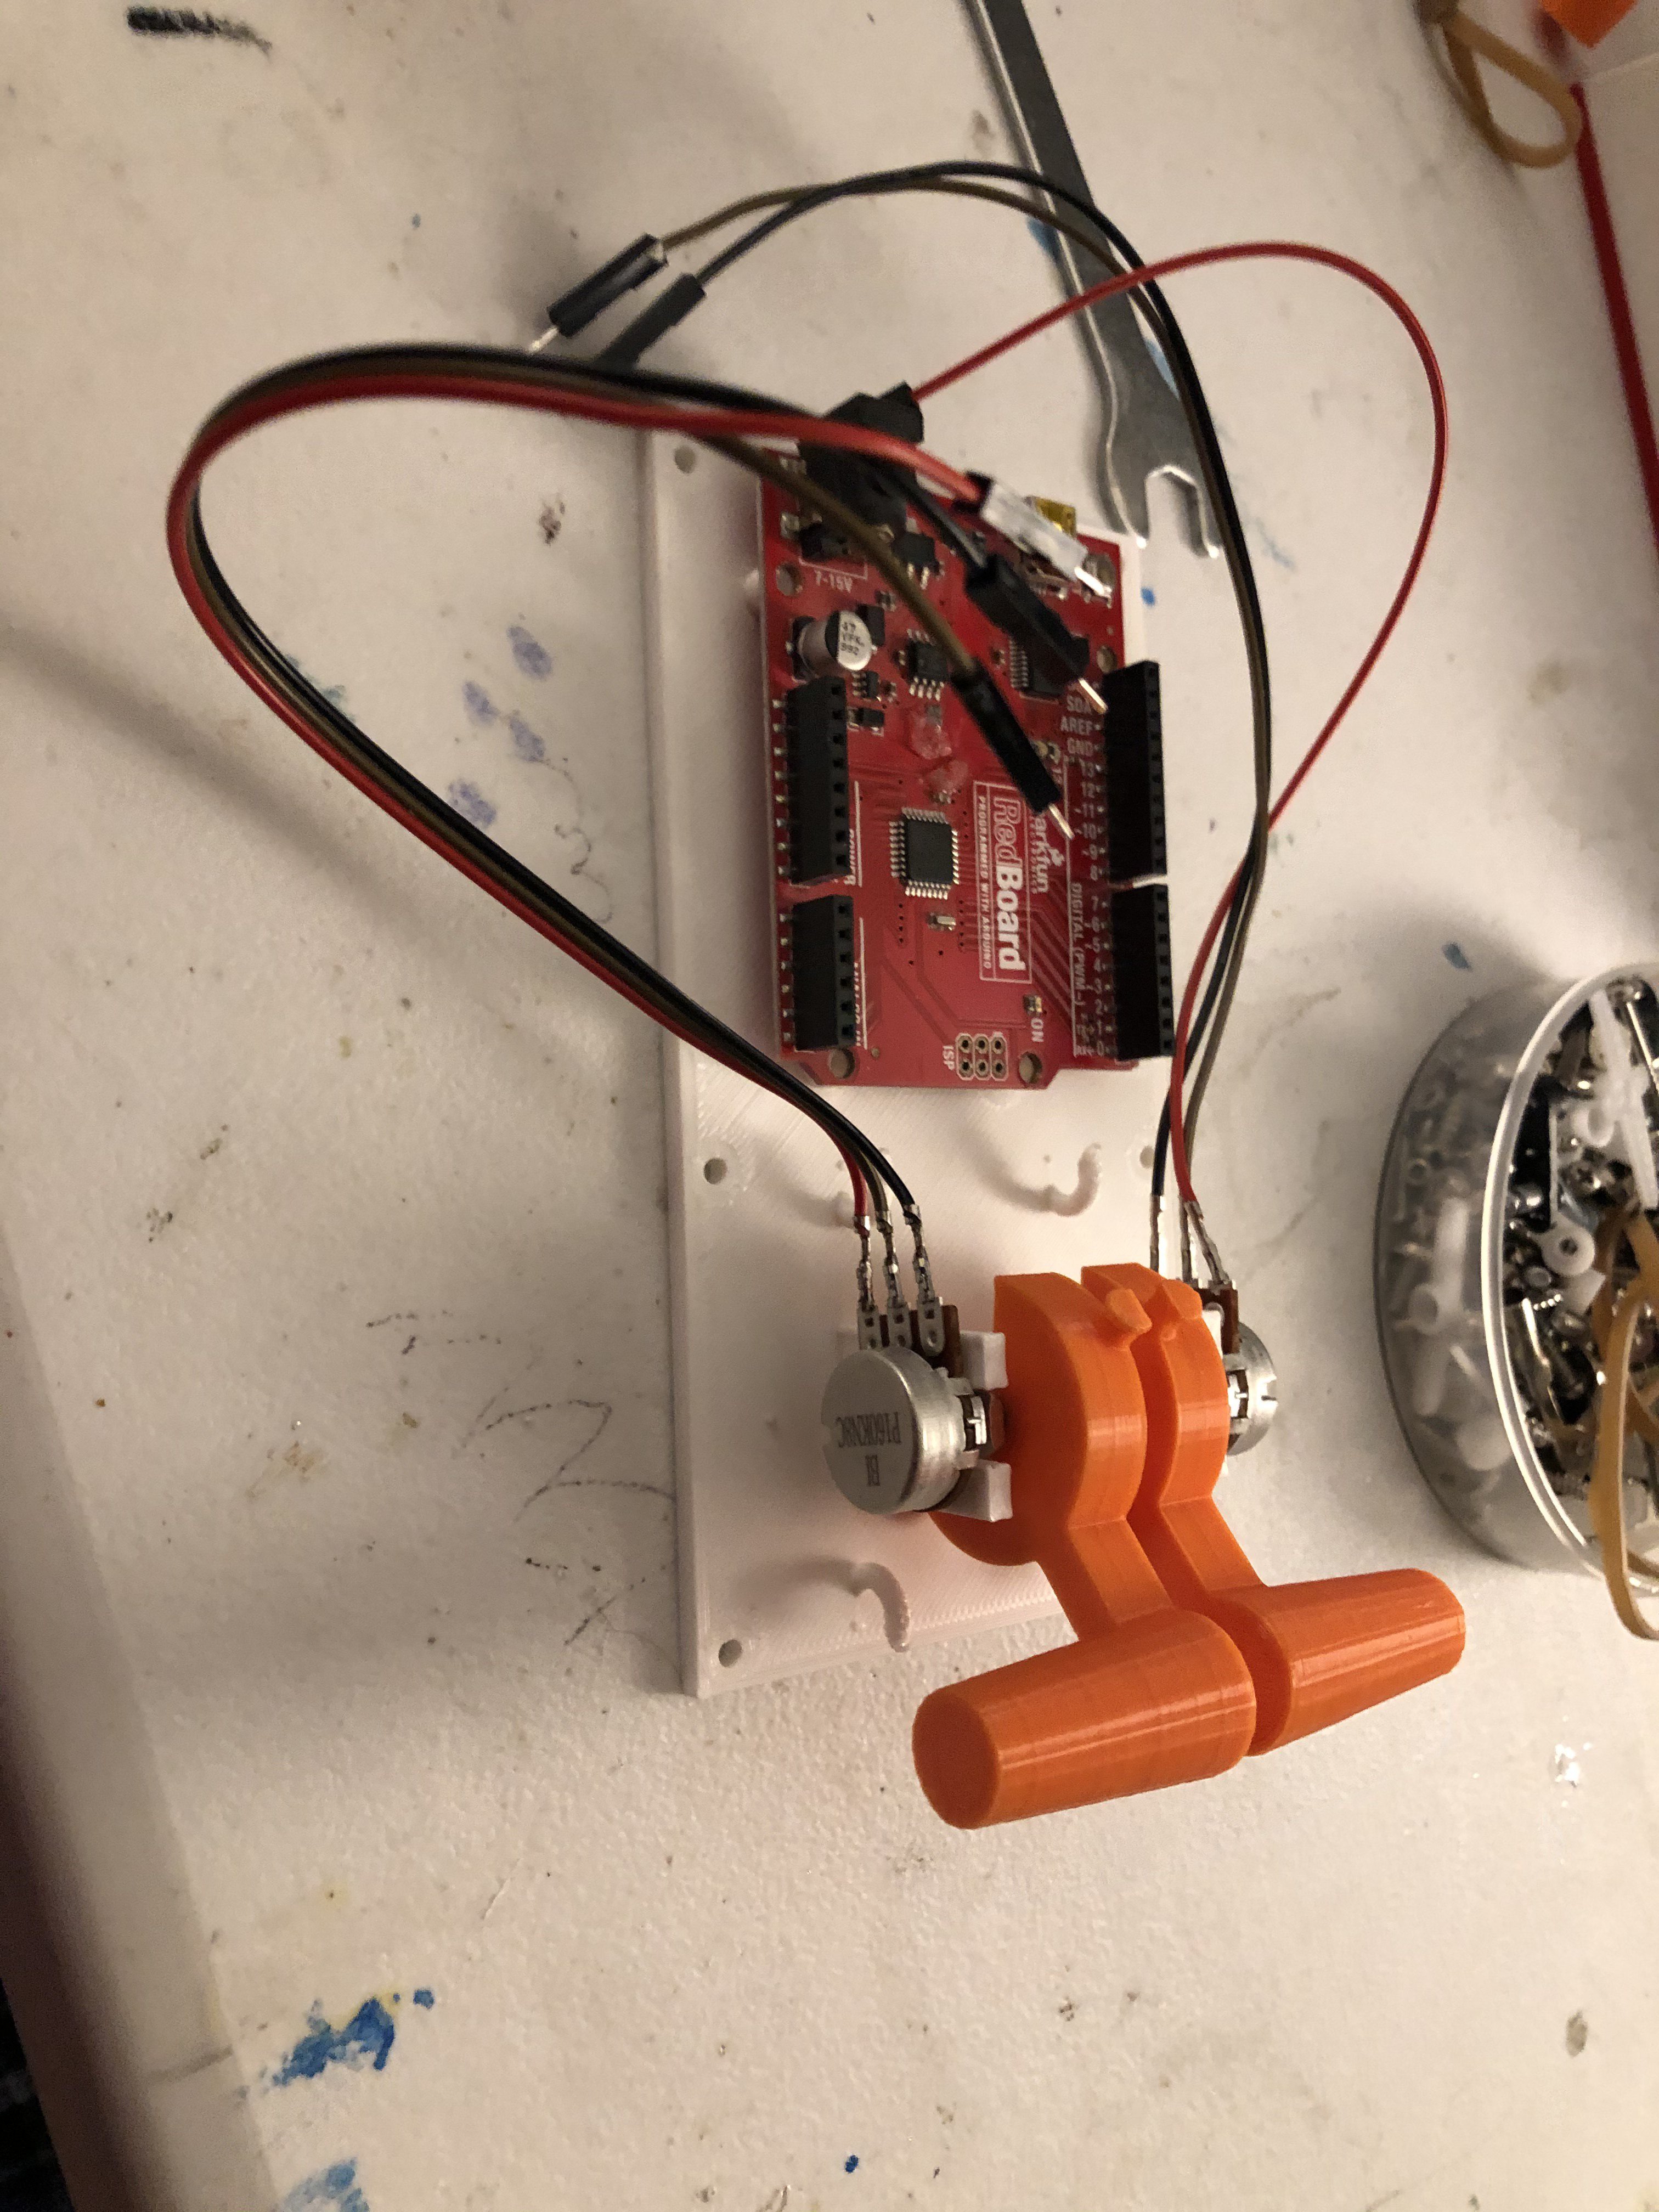
Wire the controller potentiometer as shown below:
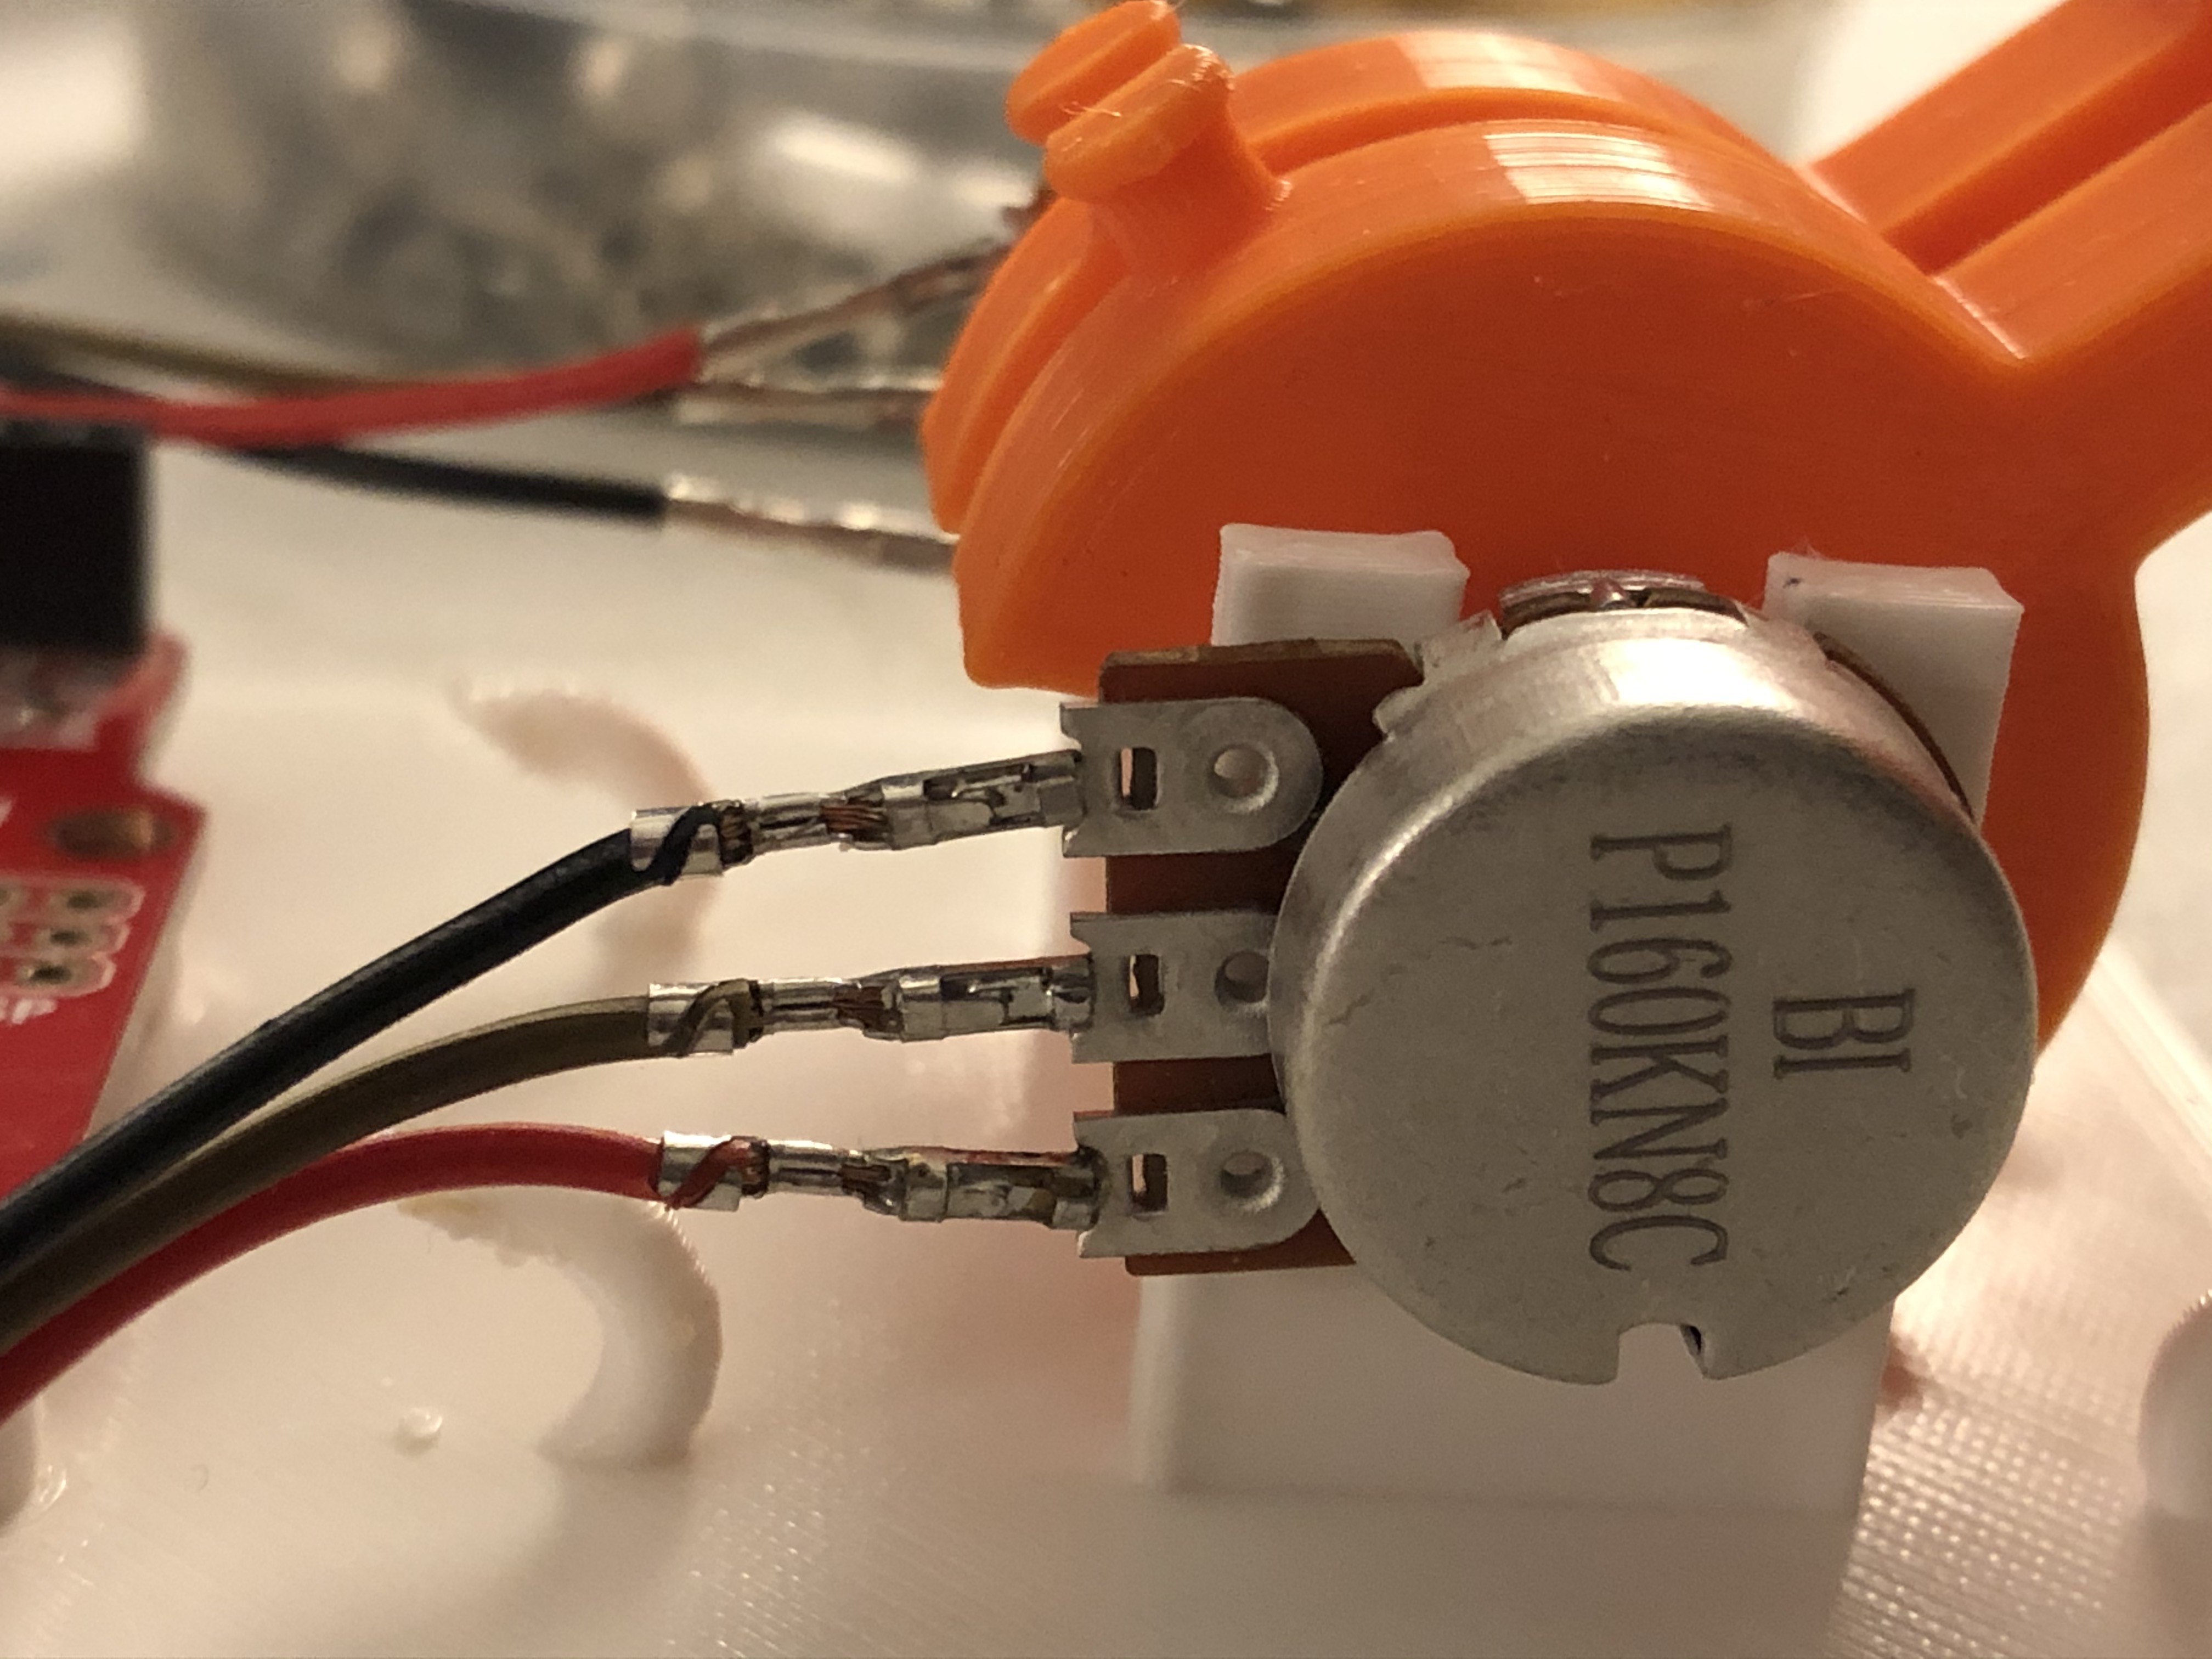
Use a rubber band to make the throttle handle on the left always move back to 0 speed if the handle is let go.

Wire the 2 pots to A0 for throttle and A1 for Forward/Reverse.

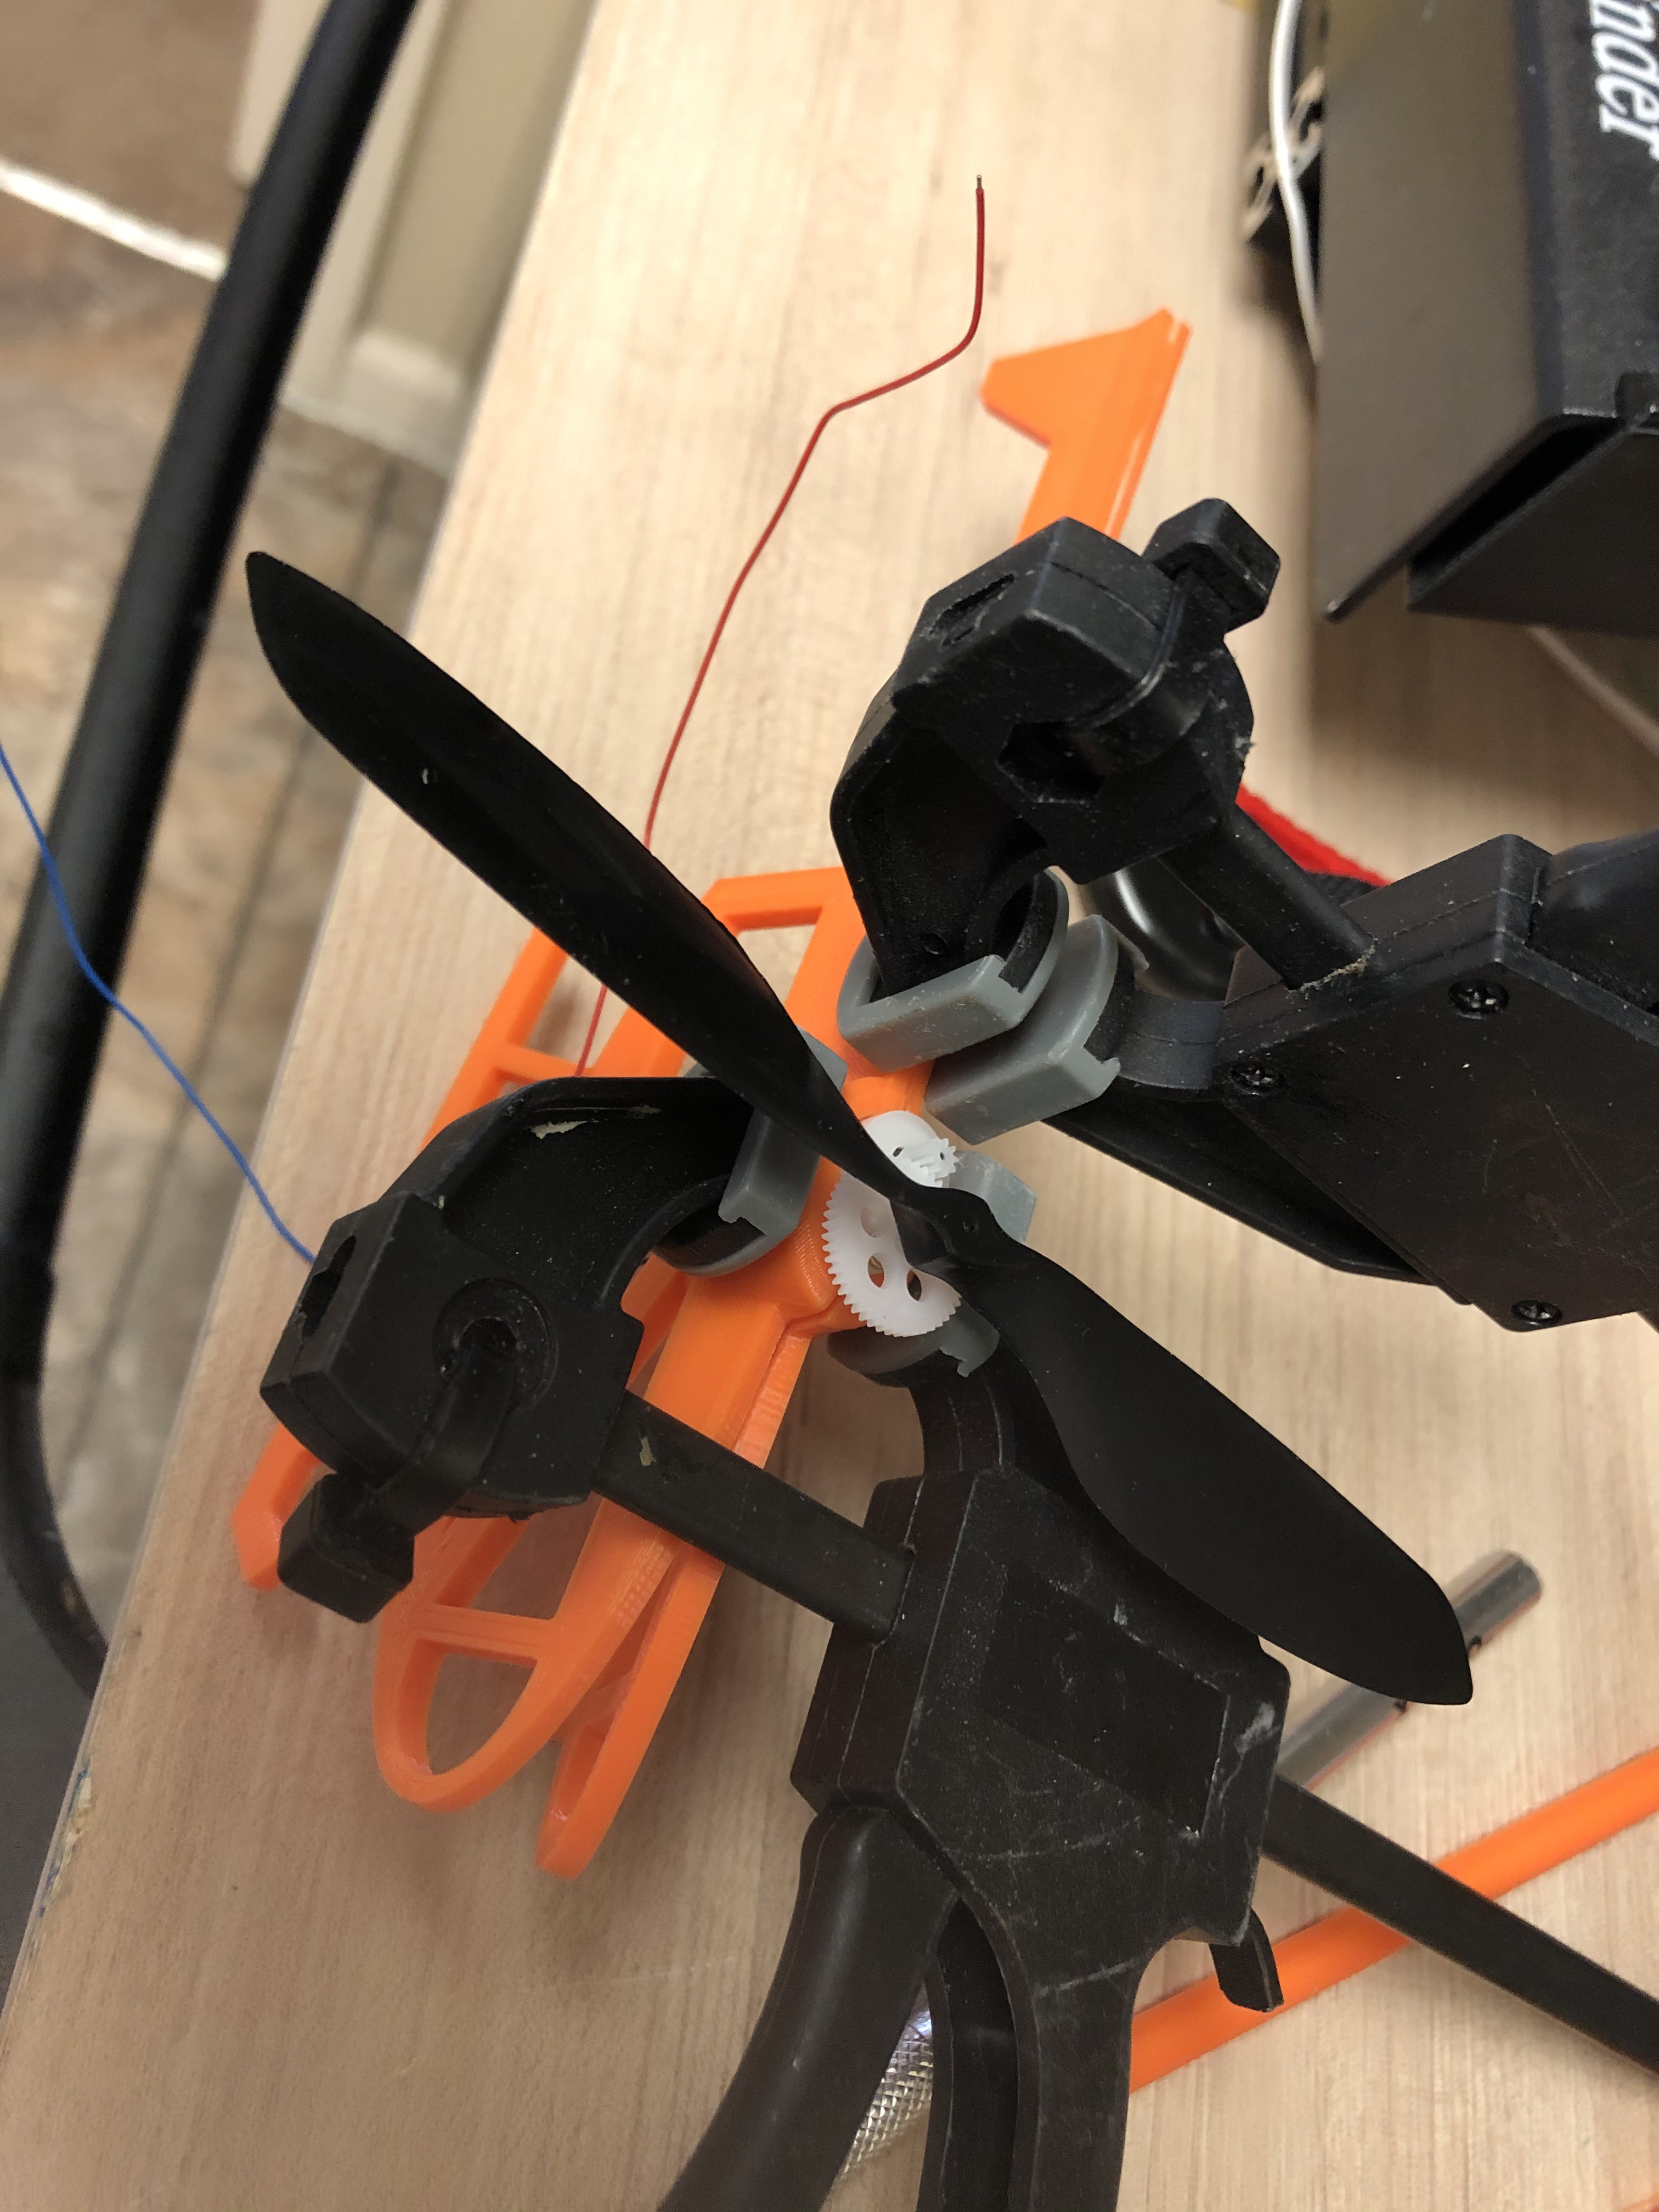
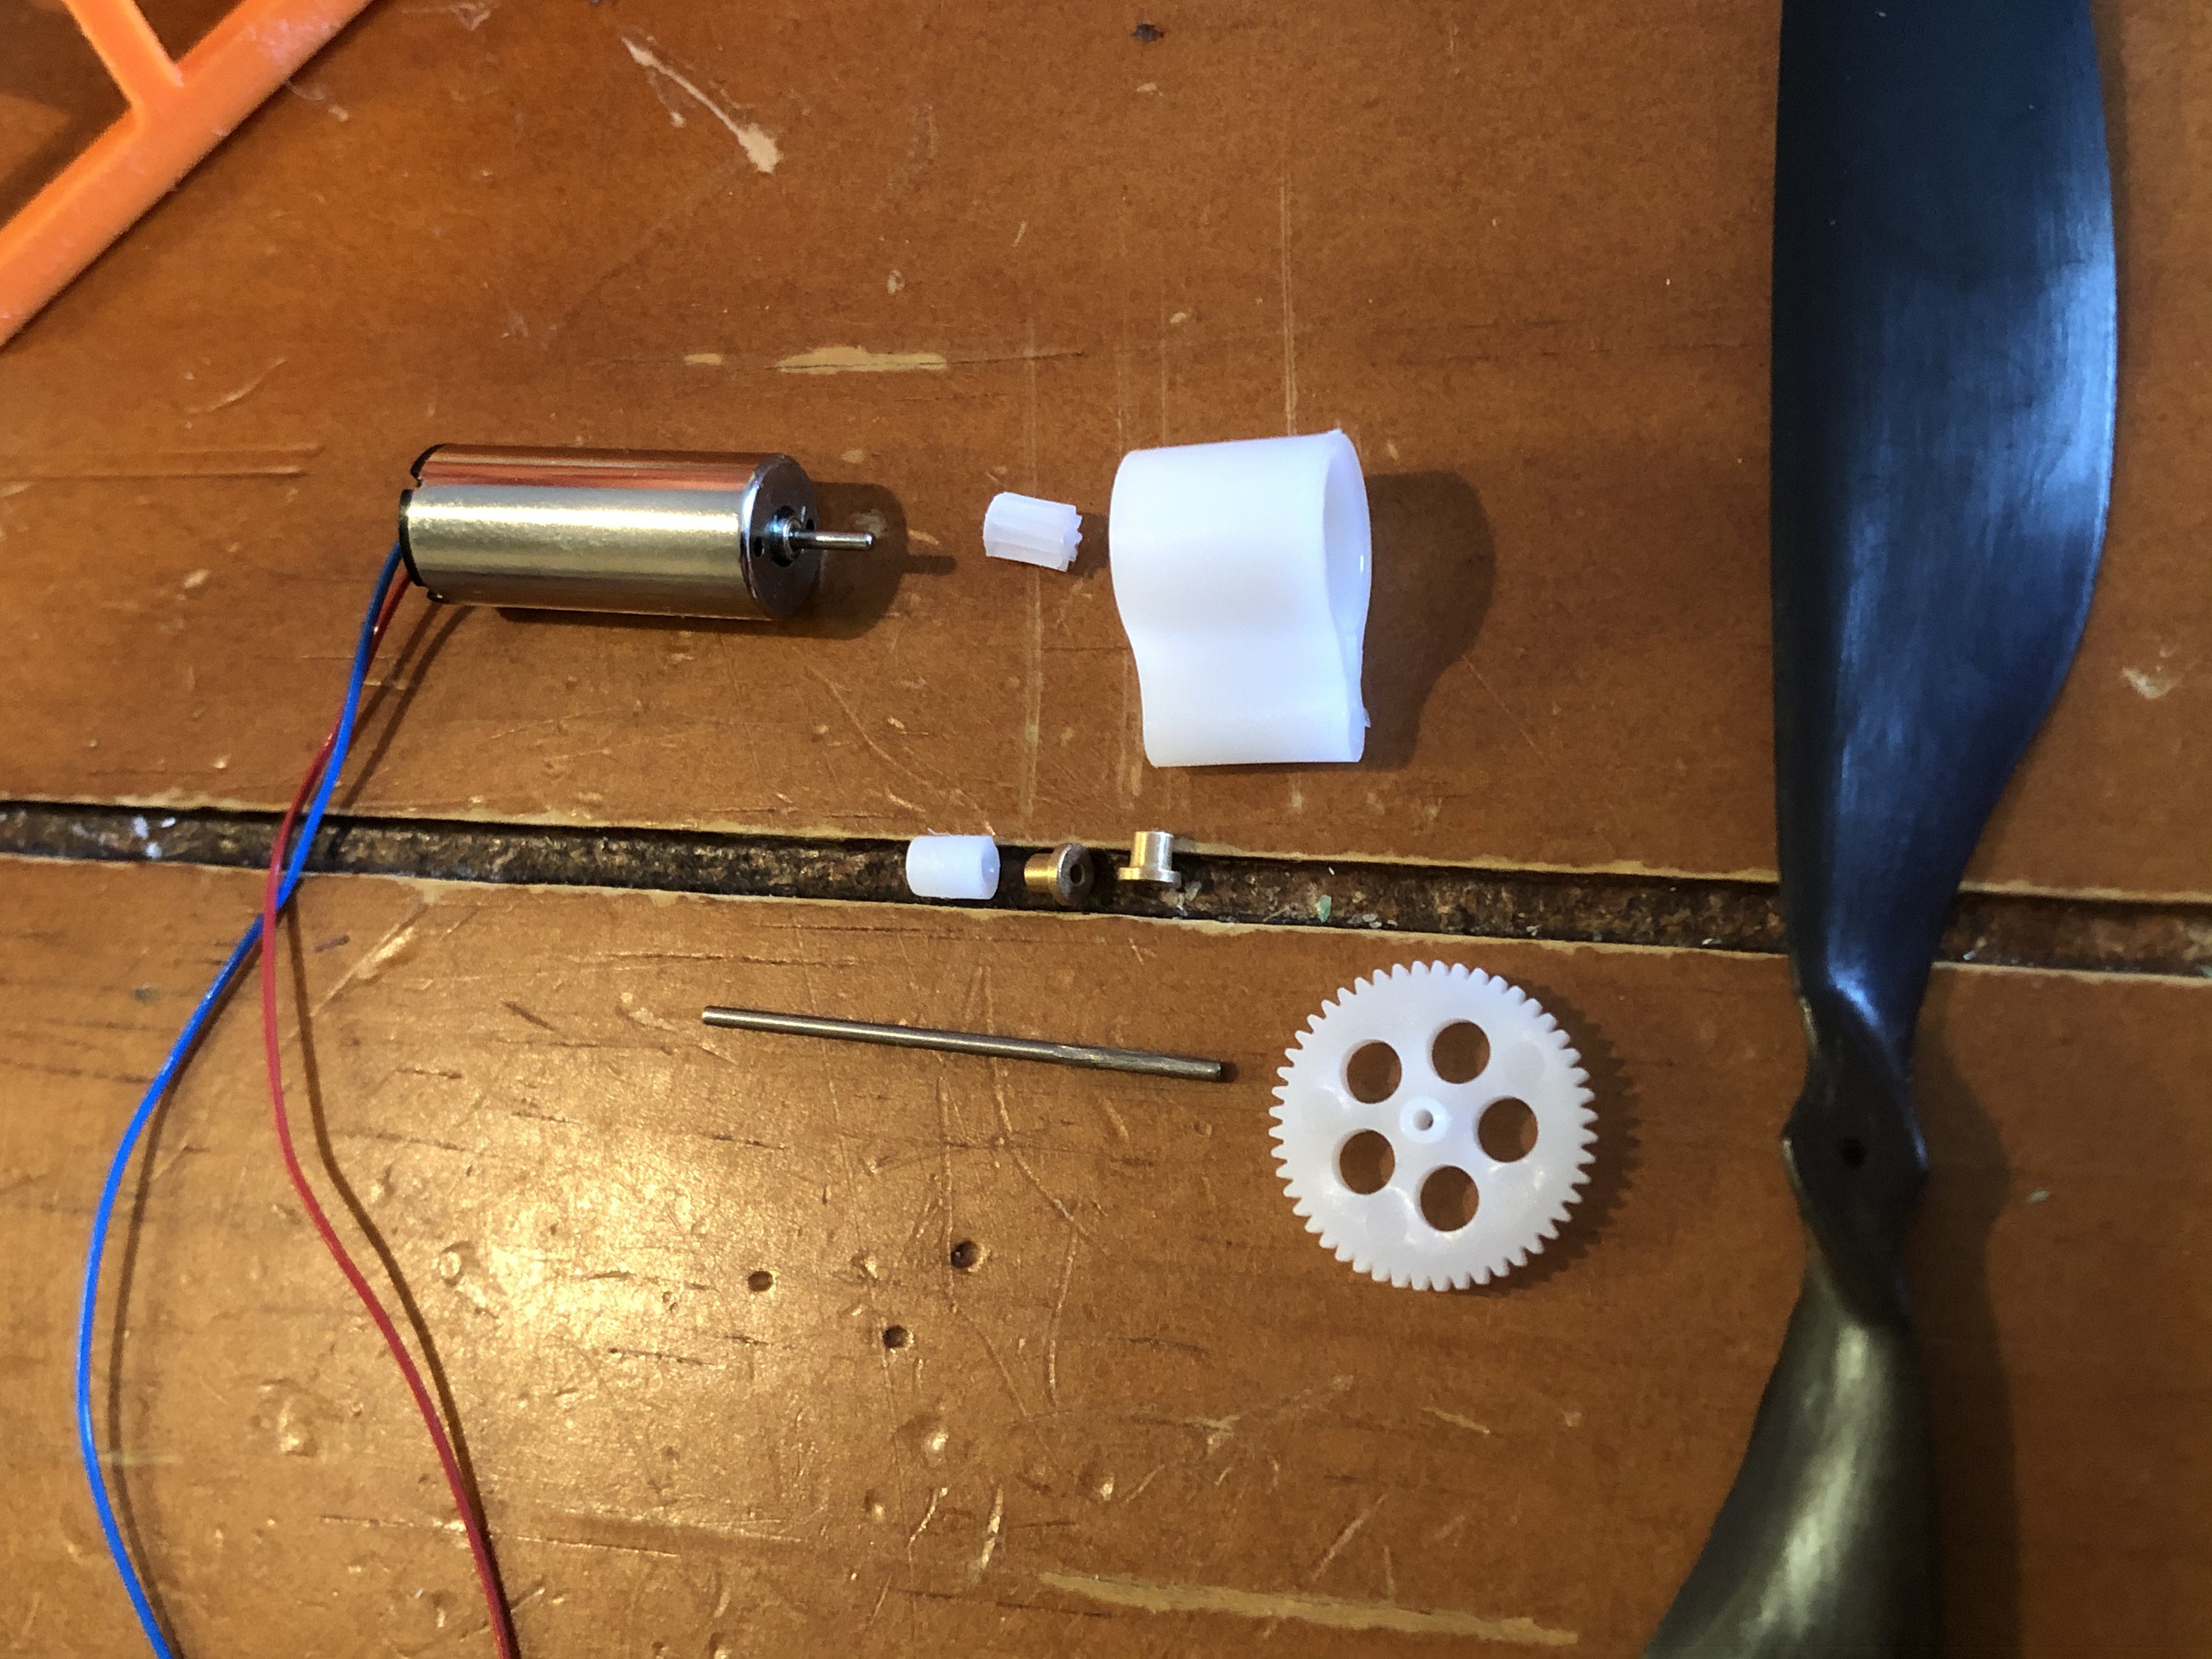
Put the helicopter motor together and glue the chopper together:
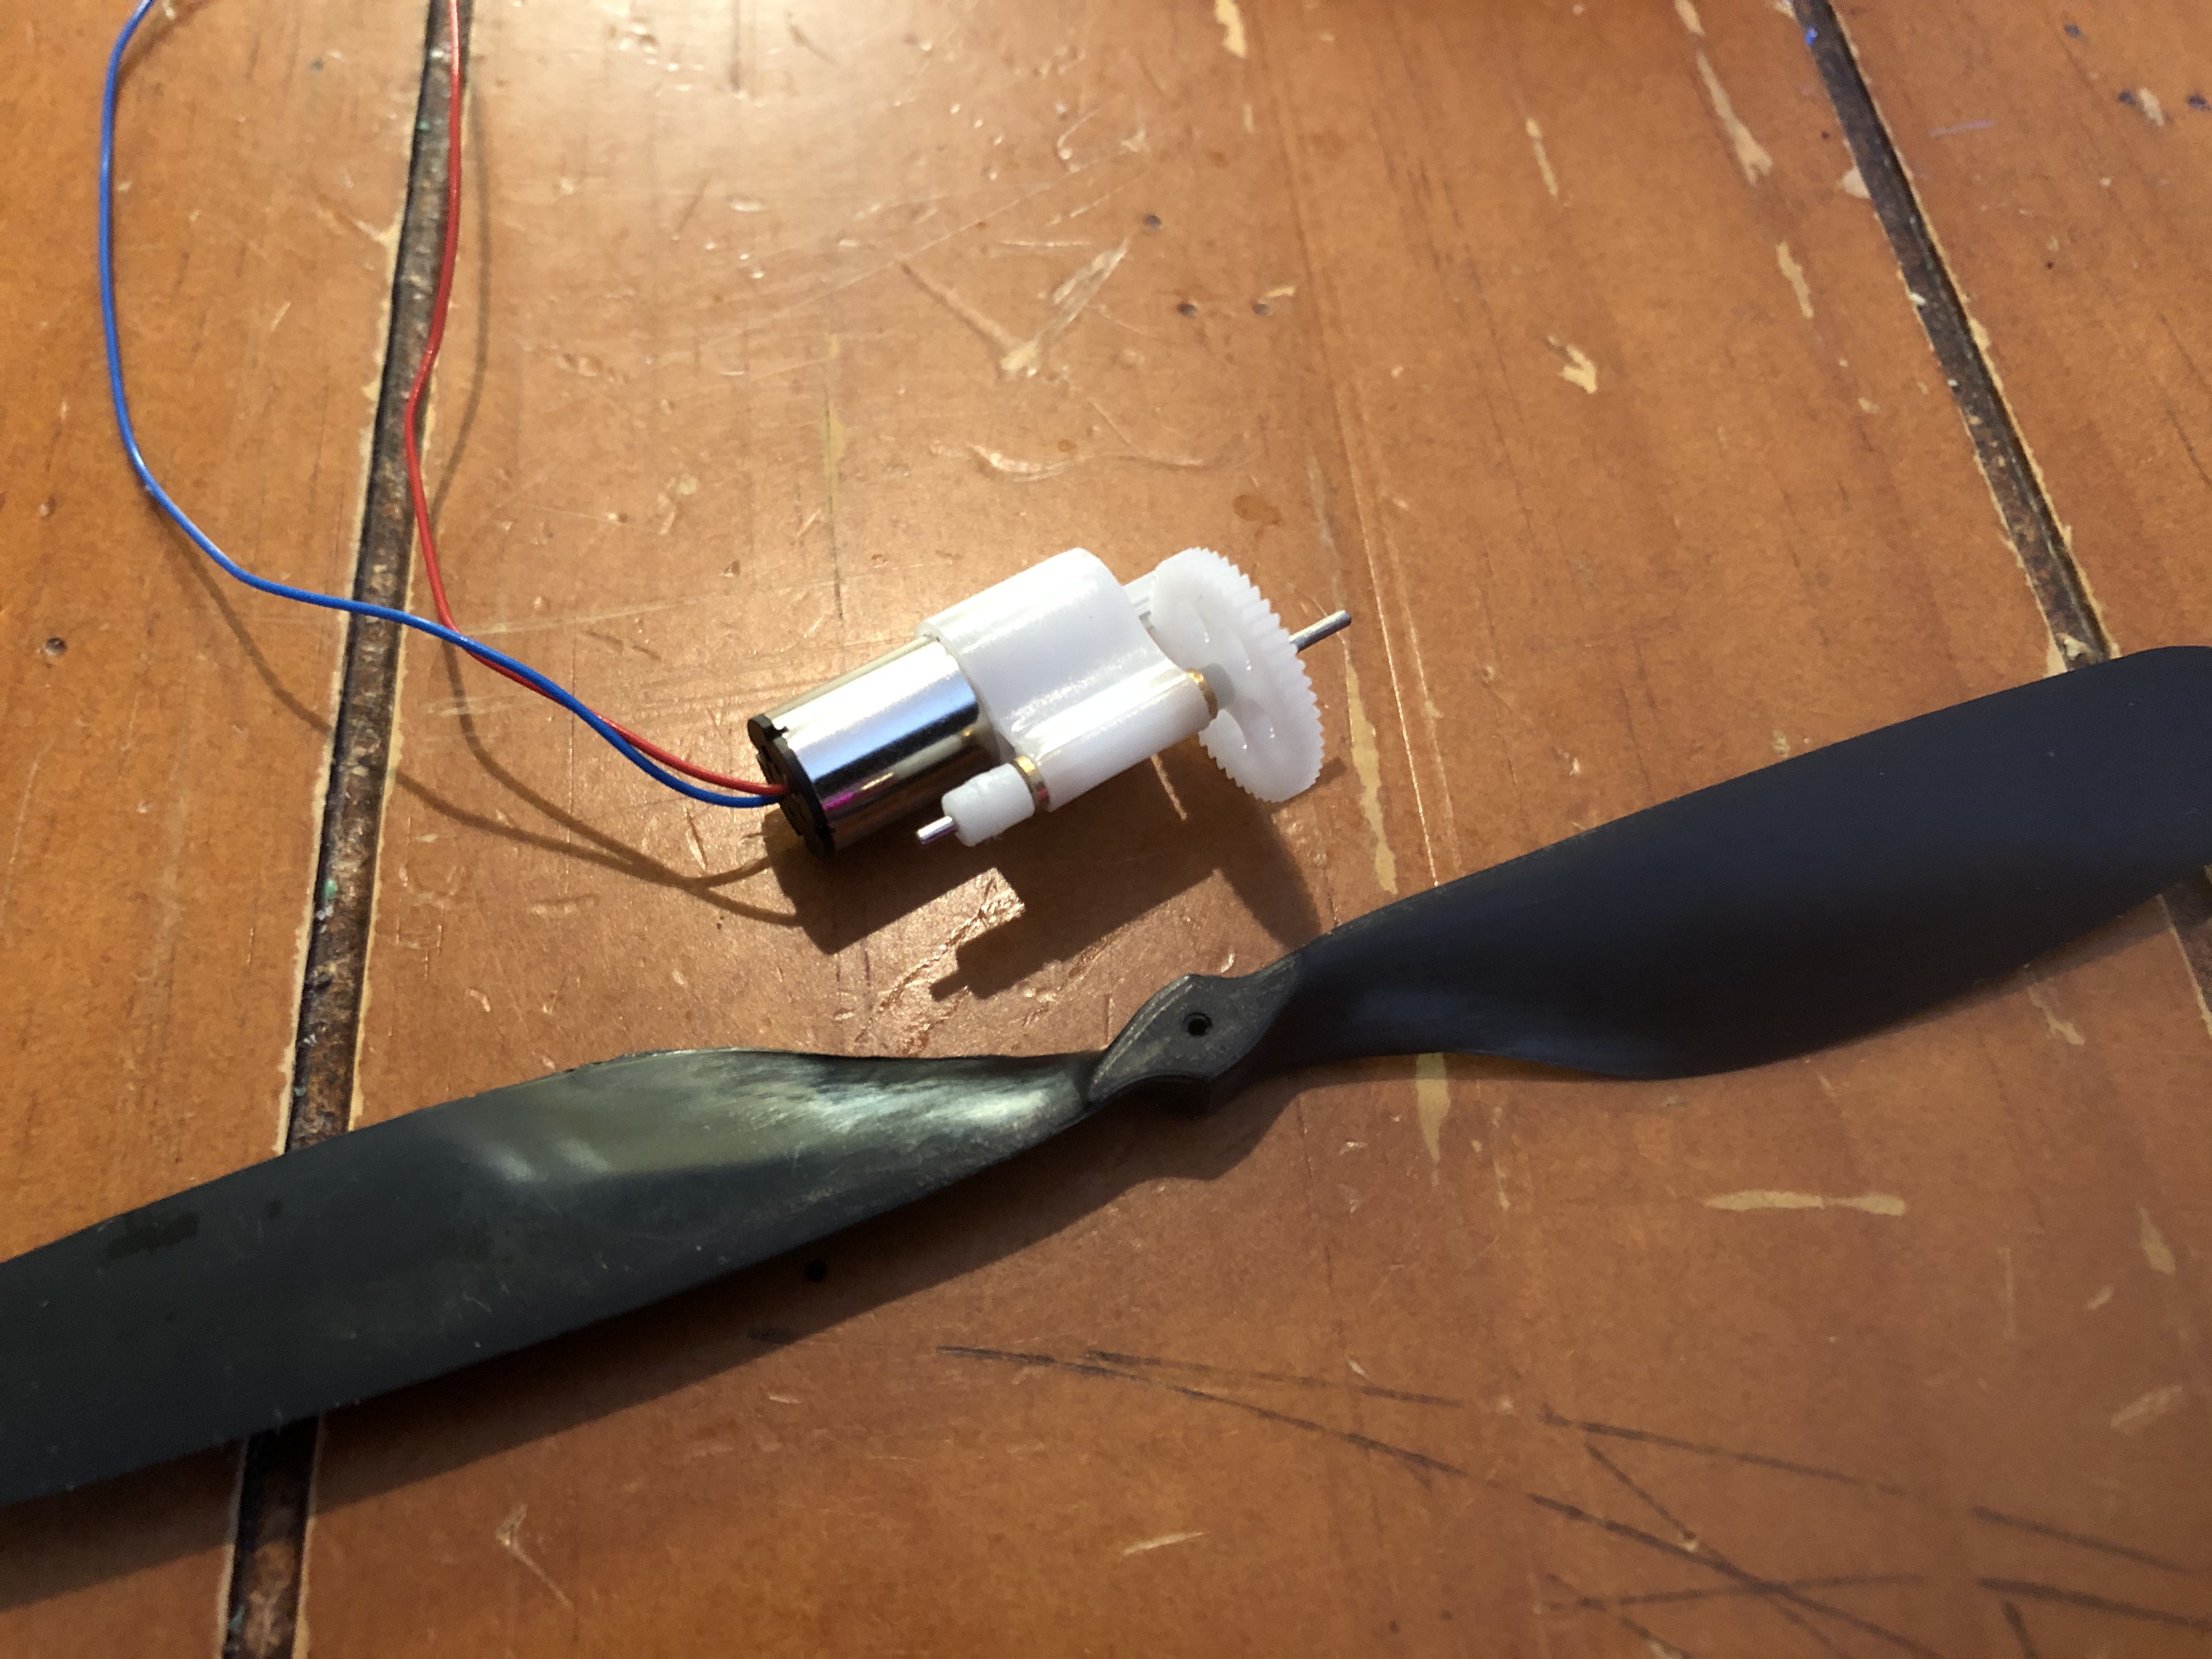


Start putting it all together...
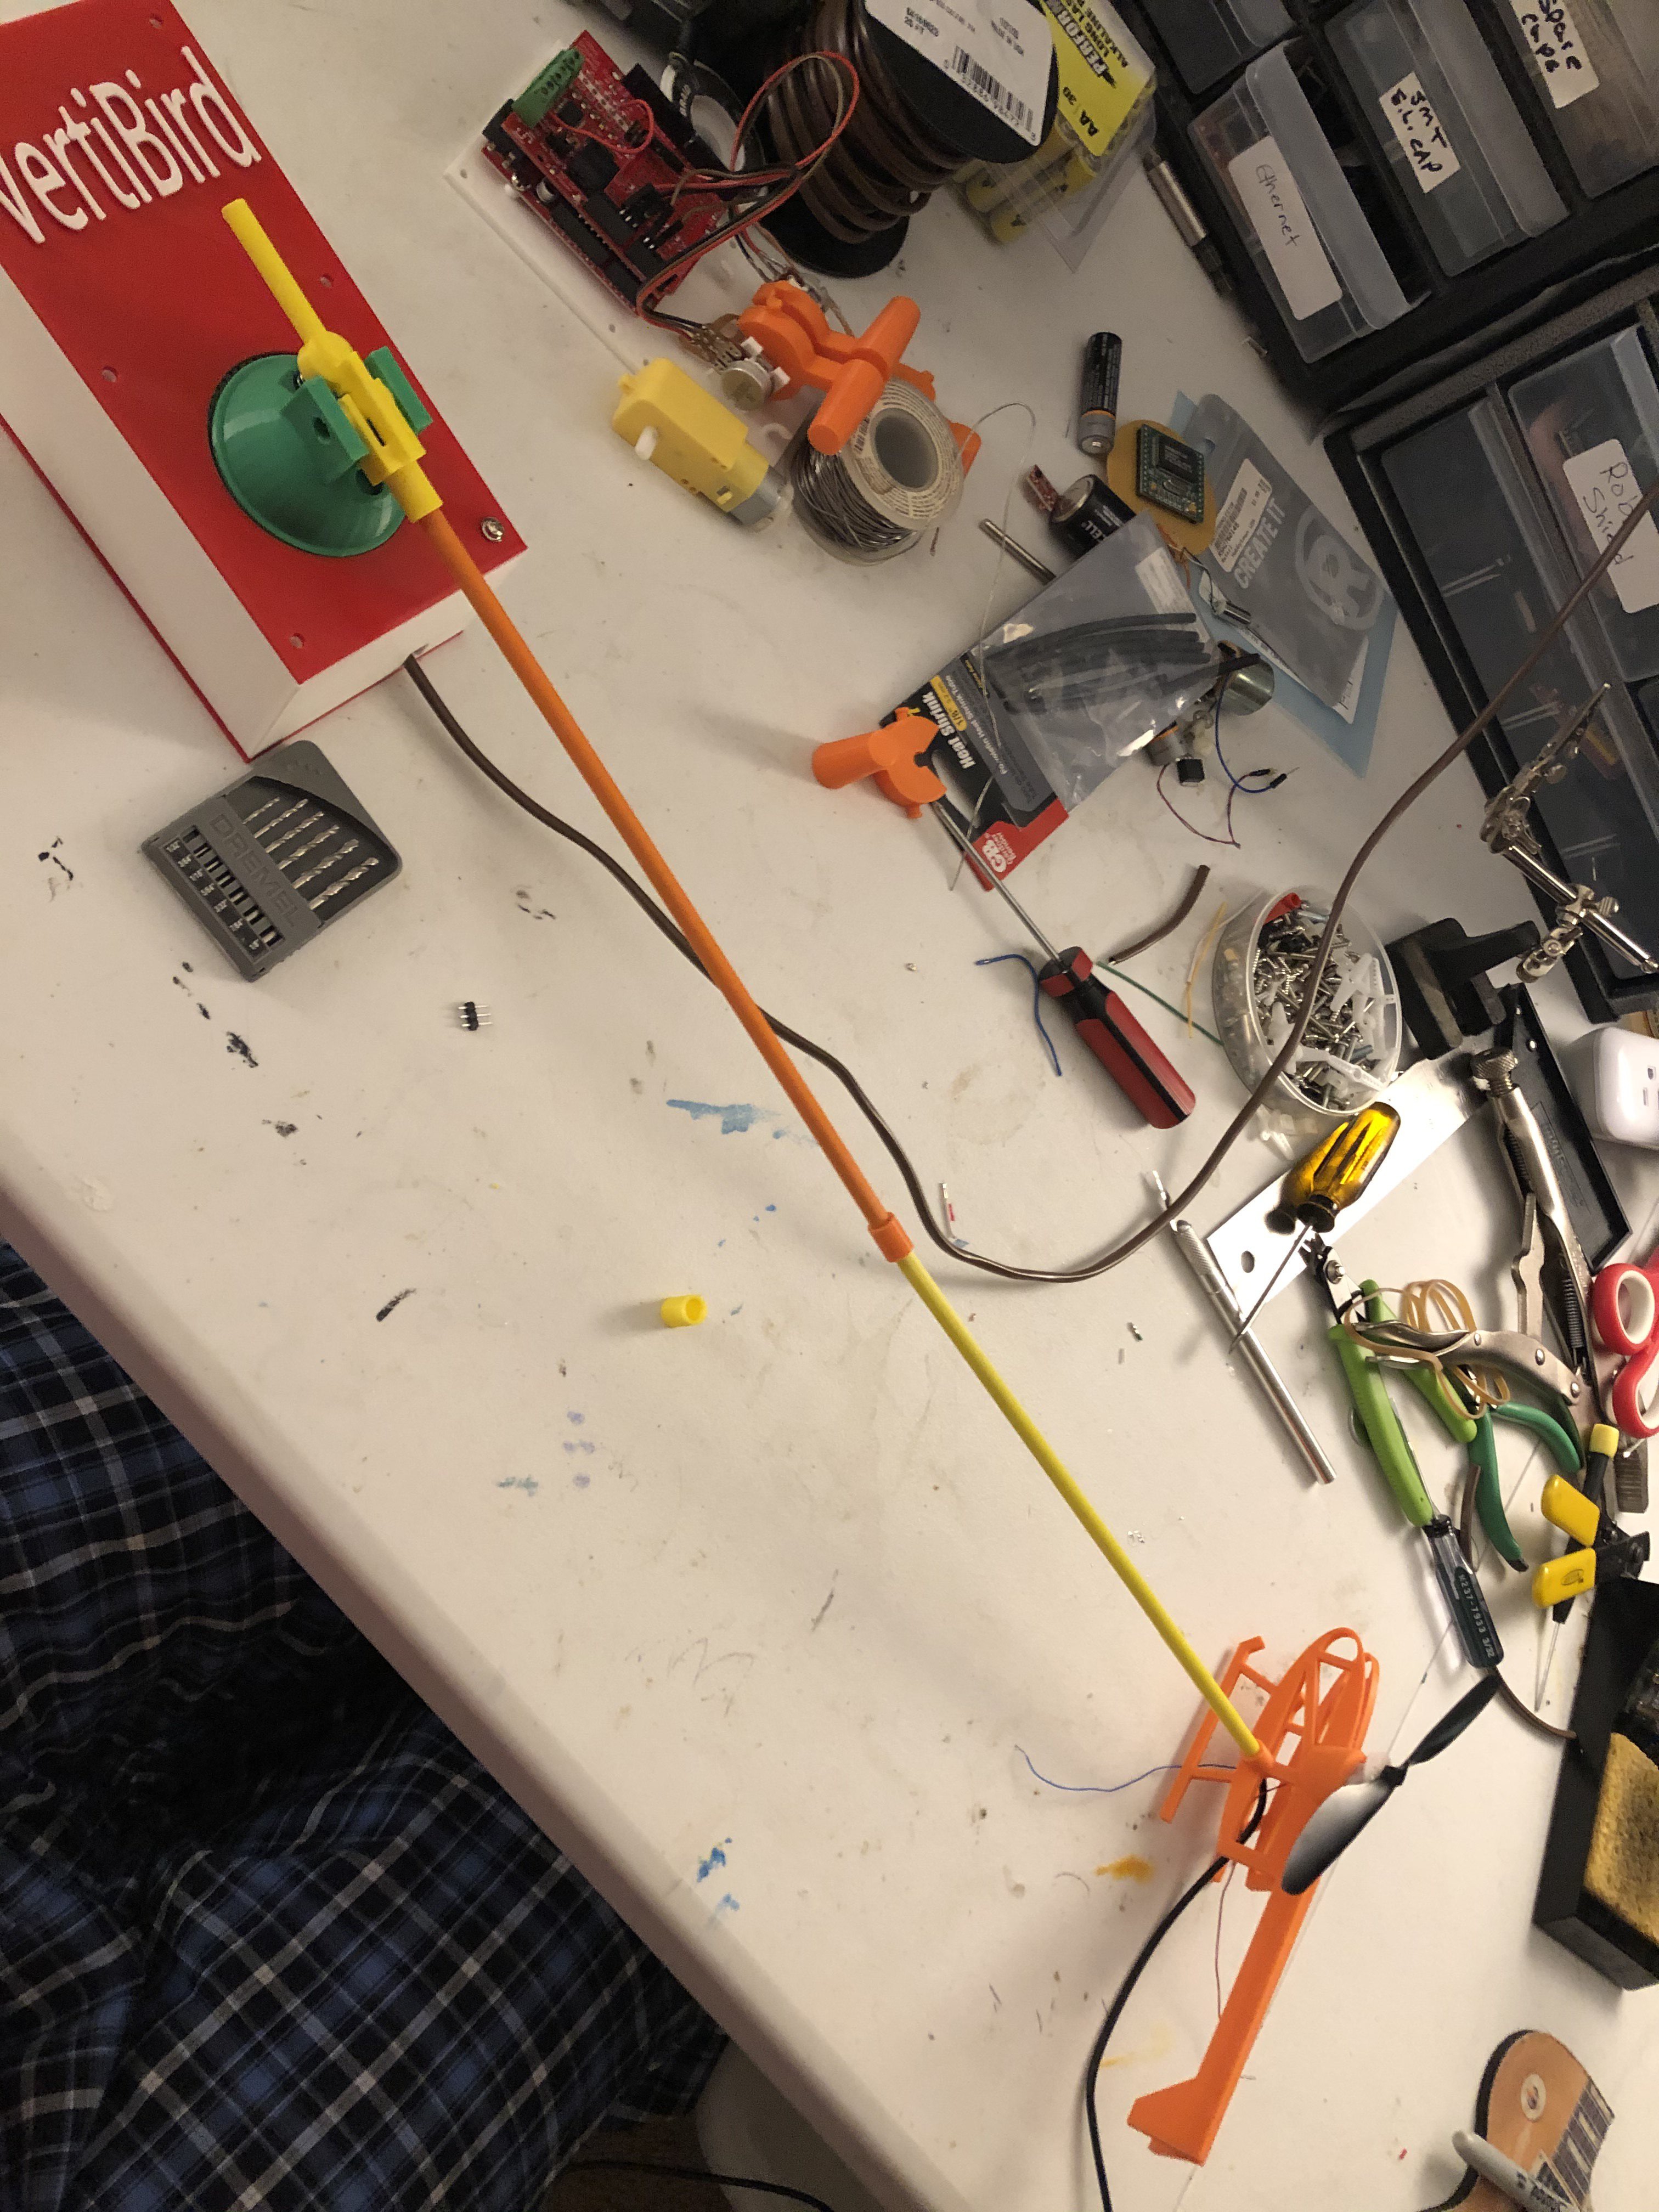
Finished product.....
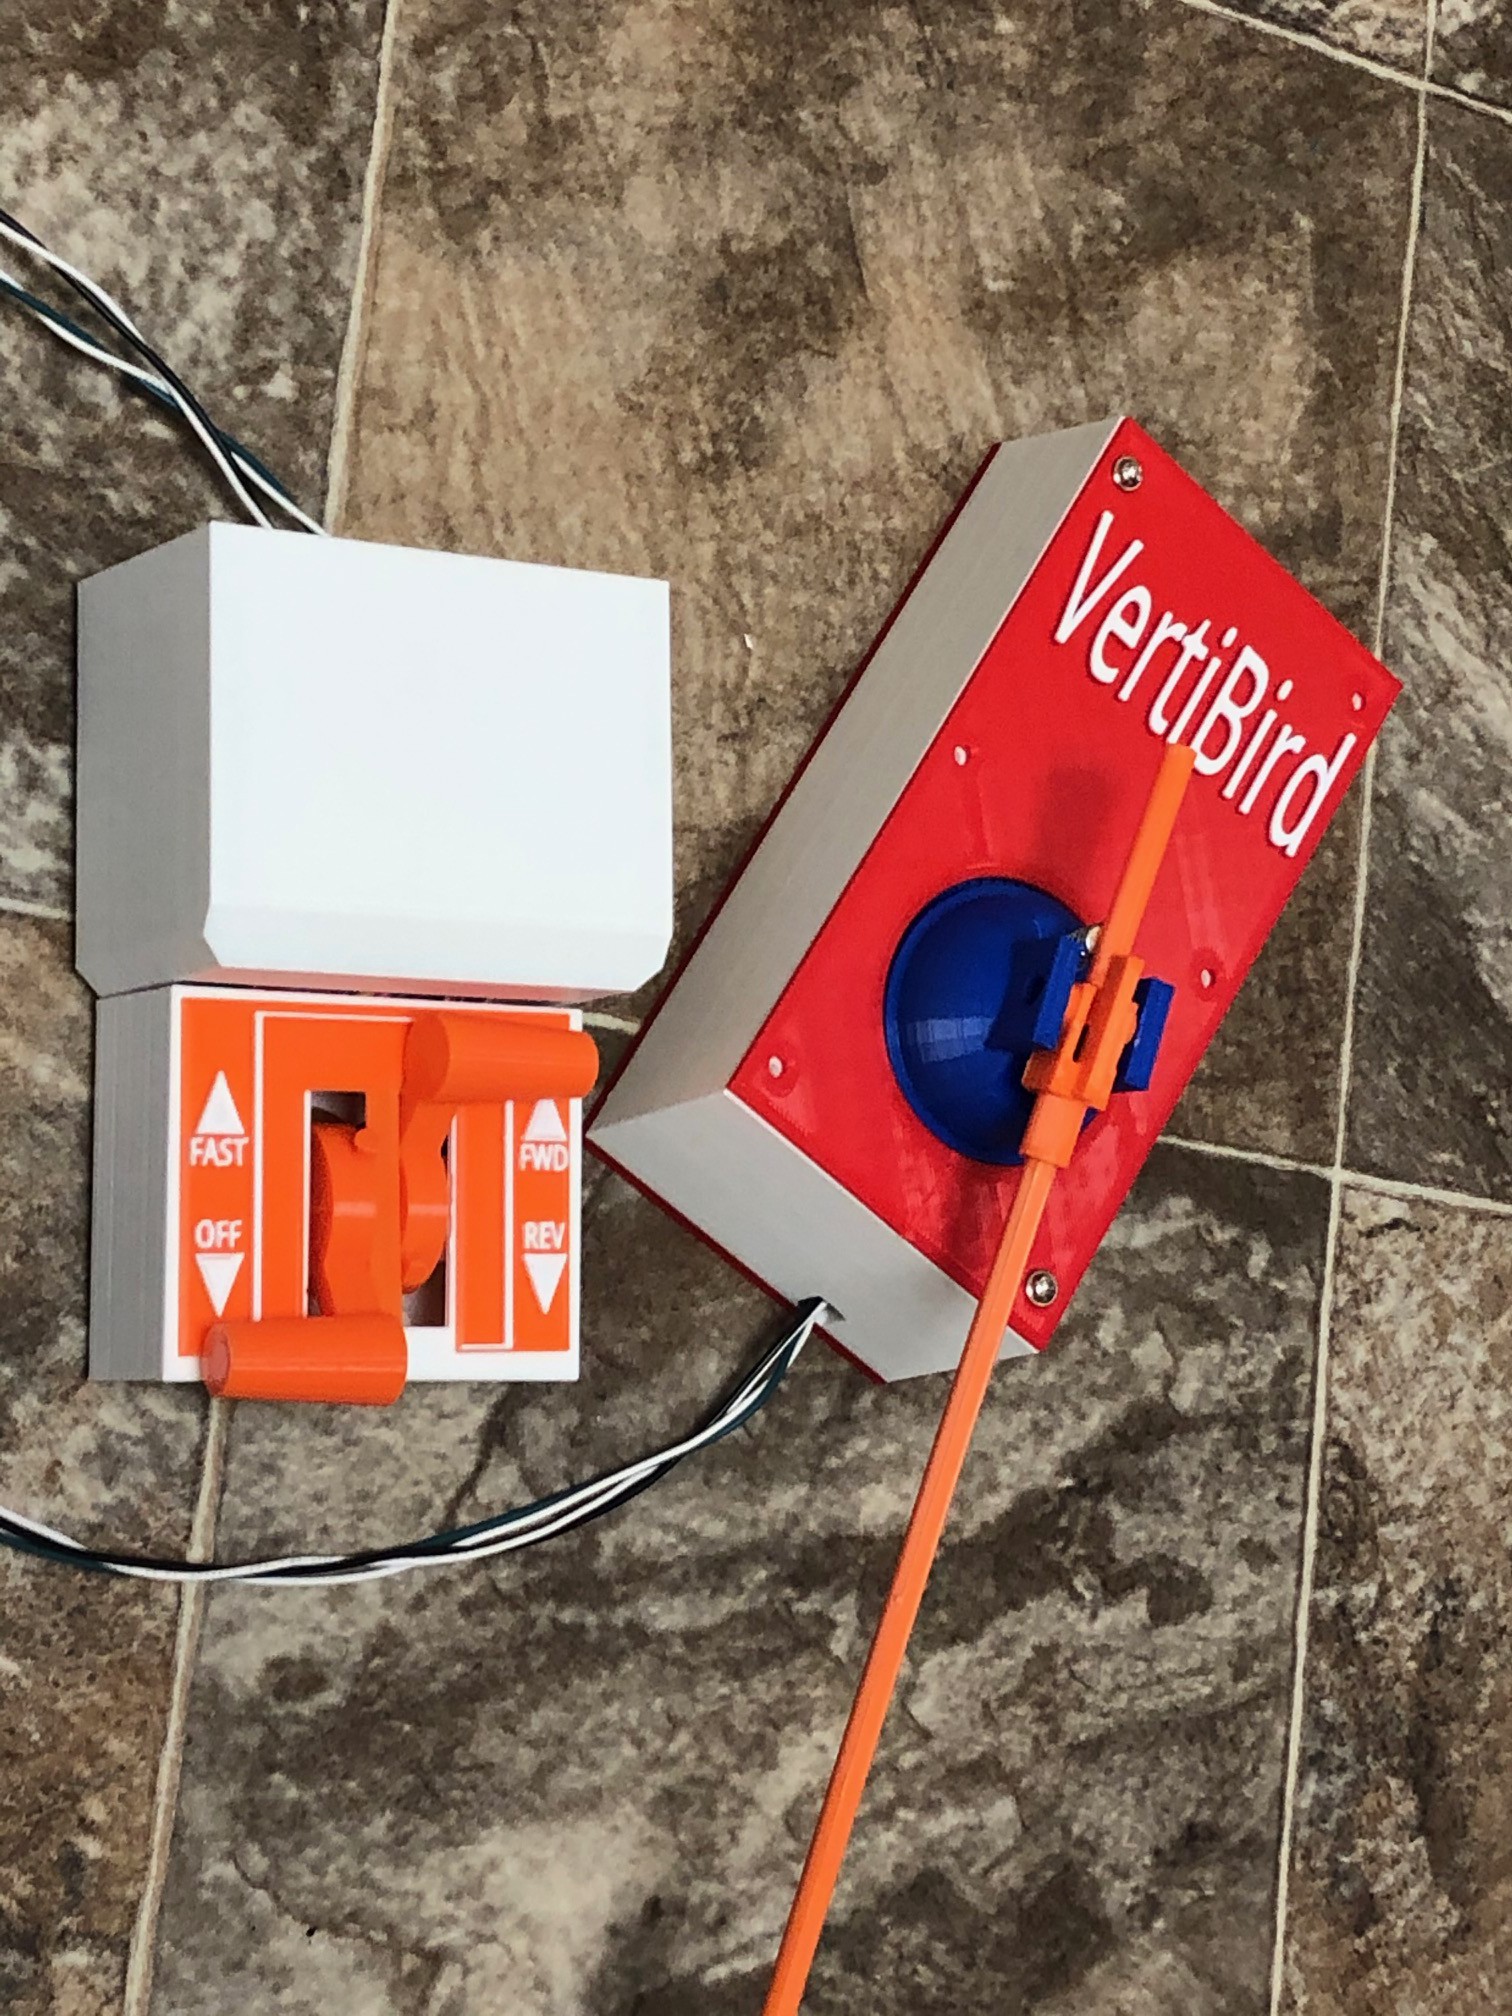
I am working on the next phase now.  This is the one I had as a kid :)
VertiBirdSpeedCon.ino

Arduino Code for 2 analog inputs, Qwiic motor controller and servo control of an RC airplane ESC.

ino - 3.41 kB - 03/18/2020 at 22:20

Download

View all 9 components

View all 4 project logs

Enjoy this project?

Share

Discussions

Gord Payne wrote 03/16/2024 at 21:38 point

Hi Luke:

Just finished my version of the VertiBird

https://hackaday.io/project/195237-voytiboyd-a-t-tiny-homage-to-a-classic-toy

https://www.youtube.com/watch?v=wADerikJ-FM

Thanks for publishing your 3D files. I used some of them in my version.

Best wishes,

Gord

  Are you sure? yes | no

Luke J. Barker wrote 03/16/2024 at 21:57 point

Very cool!  I was trying to conceive of something similar to your servo but never got far.  Thanks for sharing your design!  Did you still use a "slip ring" for power to the motor?  My other thought was to get the entire electronics on the rotation platform and only have to get +12v/Gnd through the slip ring then use blue tooth to control all the directions.  Thanks again.

  Are you sure? yes | no

Gord Payne wrote 03/17/2024 at 01:04 point

Yes. Slip ring was the key to the design. I'd never used one before and had to think a bit about it. Worked out well. Your design with the audio plug was great!  

  Are you sure? yes | no

Gord Payne wrote 01/26/2024 at 20:52 point

Hi Luke! Great project! Thanks for providing the 3d files. I'm making my own version with some significant changes .

Any suggestions on assembling the parts for the tiny motor? I just blew the back end off the motor while trying to install the tiny gear on the shaft.

I tried partially drilling the end of the gear to get it started on the shaft but as I tapped it, the back of the shaft blew off the commutator end and ruined the back end of the shaft.

Any suggestions are appreciate.

Again thanks for your great posting and files!

Gord

  Are you sure? yes | no

John Marshall wrote 12/08/2023 at 20:24 point

Hi, I hope you still monitor this chat. I need help. I've duplicated your project, almost like for like the entire way, as a gift for the father-in-law. But something isn't working. After getting all the correct libraries, getting them compiled with your code and uploading to the ardiuno, I get nothing from the motors.  Did you ever make any code changes not listed? Is there any advise you could give?

  Are you sure? yes | no

Gord Payne wrote 02/04/2024 at 18:22 point

Hi John:

I'm in a similar boat. But my problem is I can't get the helicopter to lift off on full power. I'm using the motor specified and 4x D cells for power. 

Are you able to get your helicopter to lift off with 6 voits?

If you like, I can send you my sketch. It's different from Luke's. I use a servo to tilt the helo forwards or backwards to make it fly more like the original. I'm using an ATTiny85 microcontroller for it. But it will work with any Arduino.

If you want it, send me your email address and I'll pass along my sketch.

Good luck!

Gord

  Are you sure? yes | no

dario wrote 08/11/2020 at 18:58 point

salve,ho un problema ,quando provo a fare la verifica con l ide arduino  dello   sketch  mi da questo errore:

no matching function for call to 'ESC::ESC(int, int, int, int)'

cosa posso fare? grazie per la risposta

  Are you sure? yes | no

Air Museum Network wrote 03/18/2020 at 16:27 point

Is there any place I can download the Arduino code?

  Are you sure? yes | no

Luke J. Barker wrote 03/18/2020 at 22:19 point

I will post my lastest code today.  It may be different for you depending on the hardware you use.  It's really simple as I just read the analog values and scale those to the motor speed using the Arduino "map" statement.  Since I used the Sparkfun Qwiic motor controller, I had to use the i2c library as well.  Thanks :)

  Are you sure? yes | no

Johnny wrote 02/16/2020 at 20:51 point

I had one of these. Then one day my half brother (in his late 20's) thought he could "improve" the speed, and proceeded to break the spring in the chopper. He never did fix it as promised. I always thought the rotor spinning was purely cosmetic, as I thought the lift and forward reverse was always controlled by the central hub. I guess not...
I'm gonna start on this project. Thanks!

  Are you sure? yes | no

John Anderson wrote 02/07/2020 at 17:48 point

I can't tell you how many hours of my childhood was spent flying my VertiBird round and round.

I love this project, excellent execution of a classic toy. So many ideas come to mind to take this to the next level. But, I'll let your excellent work stand for itself. 

  Are you sure? yes | no

Luke J. Barker wrote 02/08/2020 at 18:43 point

Thanks!

  Are you sure? yes | no

Dan Maloney wrote 02/07/2020 at 17:13 point

OK, using an audio plug and jack as a slip ring is pretty brilliant.

  Are you sure? yes | no

Luke J. Barker wrote 02/08/2020 at 18:43 point

Thanks!

  Are you sure? yes | no

Luke J. Barker wrote 02/05/2020 at 22:15 point

I agree and I still have some tweaking to do on the controls.  I am almost done with my final build and will share all the drawings, STL files and schematics soon.  I have many pictures of the build to post too.

  Are you sure? yes | no

Dan Maloney wrote 02/05/2020 at 17:20 point

VertiBirds ruled!! I begged my parents for one when they first came out, and played with it until I killed it - the spring they used as a universal joint broke, pretty quickly from what I remember. Years later they re-released it, and I bought another one. I was in my 20s by that point but didn't care - I played with the thing unashamedly for hours. Loved that thing.

I always enjoyed the idea that you were controlling the aircraft mechanically rather than electrically. It''l be interesting to see how the playing experience differs with electrical control. I do think putting the motor in the bird and using slip rings will fix the weak spot, which was always that spring.

  Are you sure? yes | no

Similar Projects

Does this project spark your interest?

Become a member to follow this project and never miss any updates