-
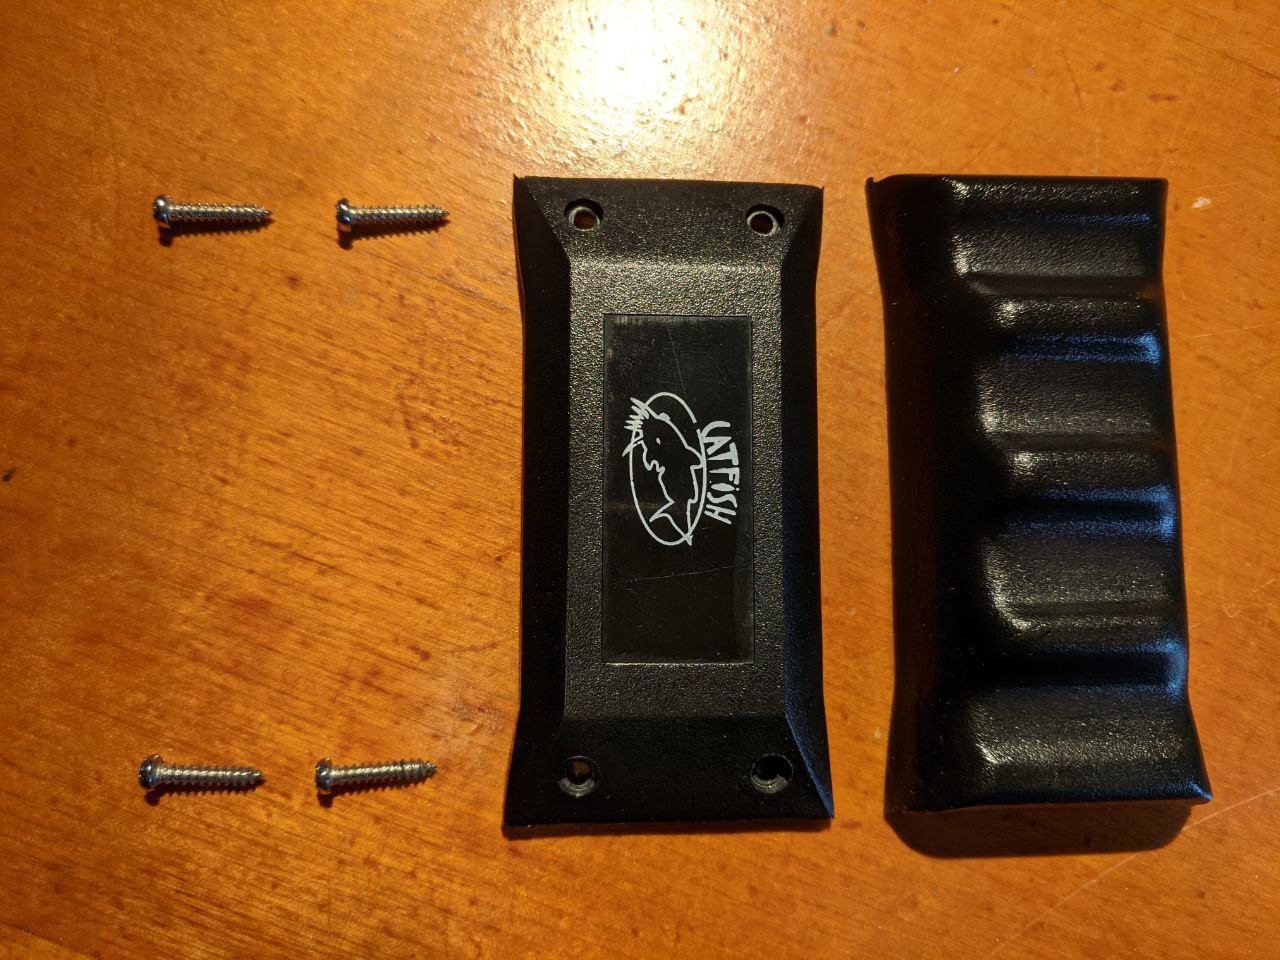
1Remove the handle
Remove the four screws that hold the handle in place.
![]()
-
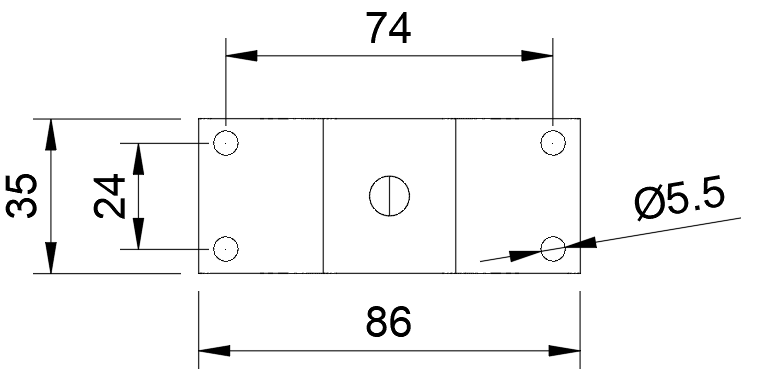
2Optional: Drill new holes
If your tambourine has different hole positions you can either modify the STL or the tambourine by drilling new holes.
-
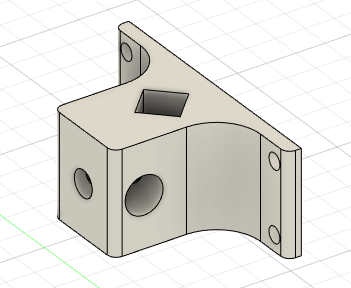
3Print the Clamp Body
Print the Clamp Body (See "Files" for STL)
TIP: Print with the square hole down for maximum strength.
-
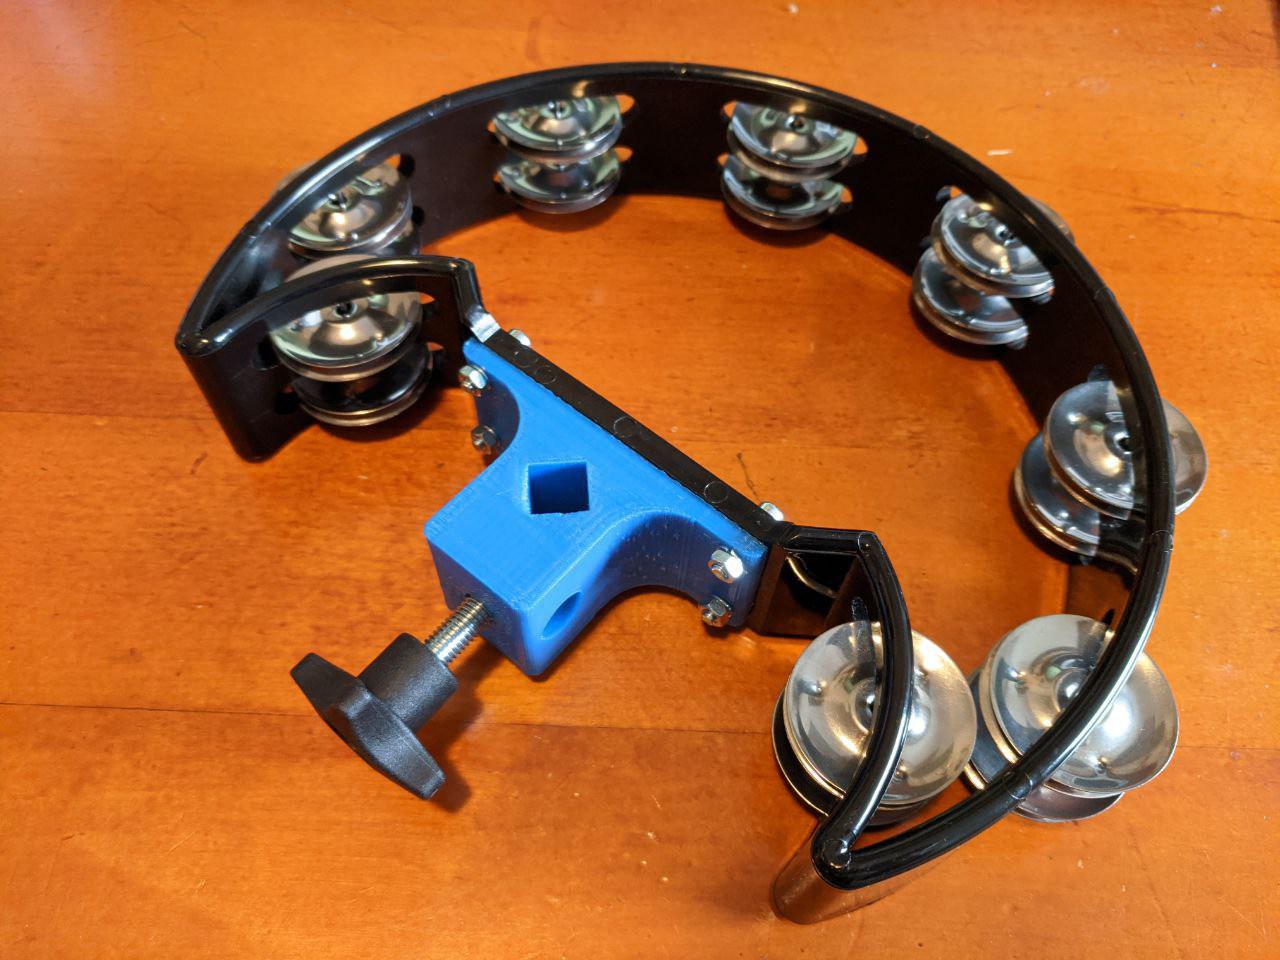
4Attach the Clamp Body
Attach the Clamp Body to the tambourine using four bolts. Use spring washers if you have them.
-
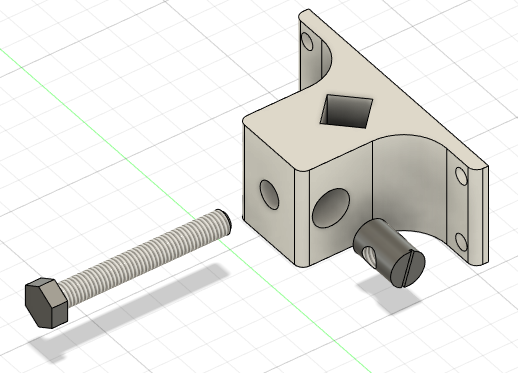
5Insert the Nut and Knob
Insert the Cross Dowel Barrel Nut in the hole in the side of the Clamp Body. Screw the knob in the Barrel Nut trough the back of the Clamp Body.
-
6Testfit
Place the clamp over your percussion holder or hi-hat rod for a test fit.
![]()
 Koen van Vliet
Discussions
Become a Hackaday.io Member
Create an account to leave a comment. Already have an account? Log In.