0%
0%
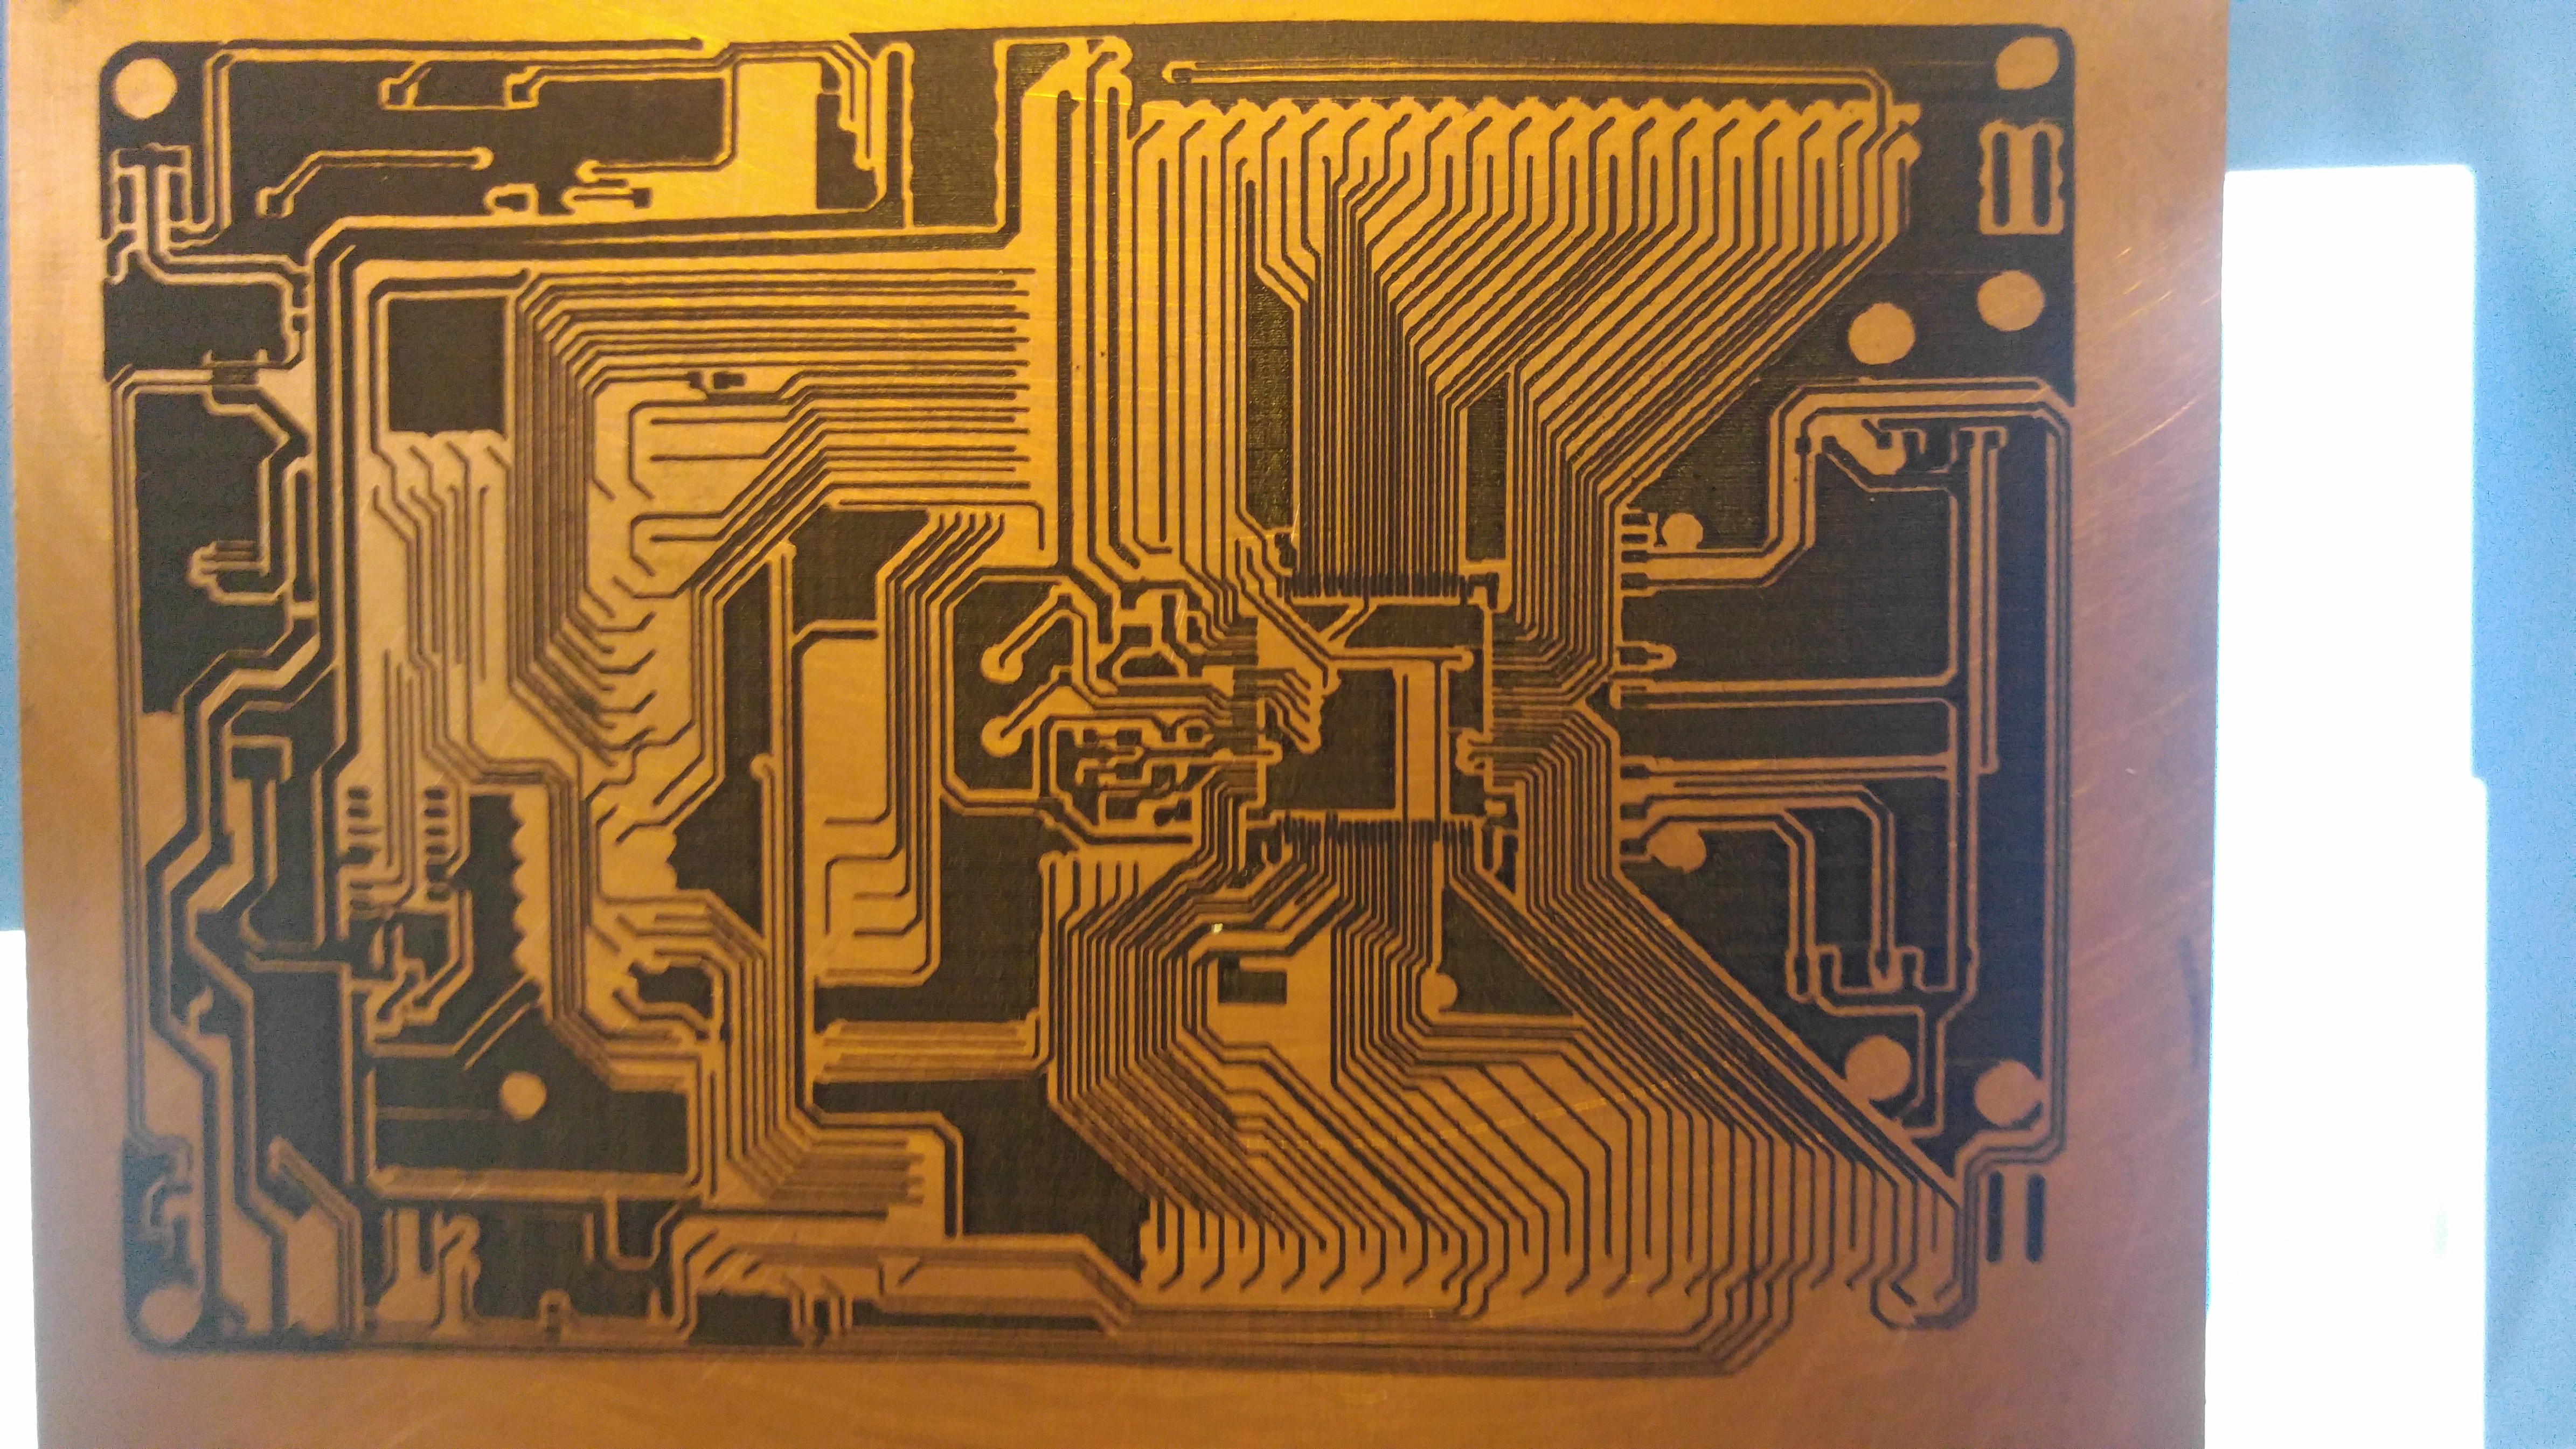
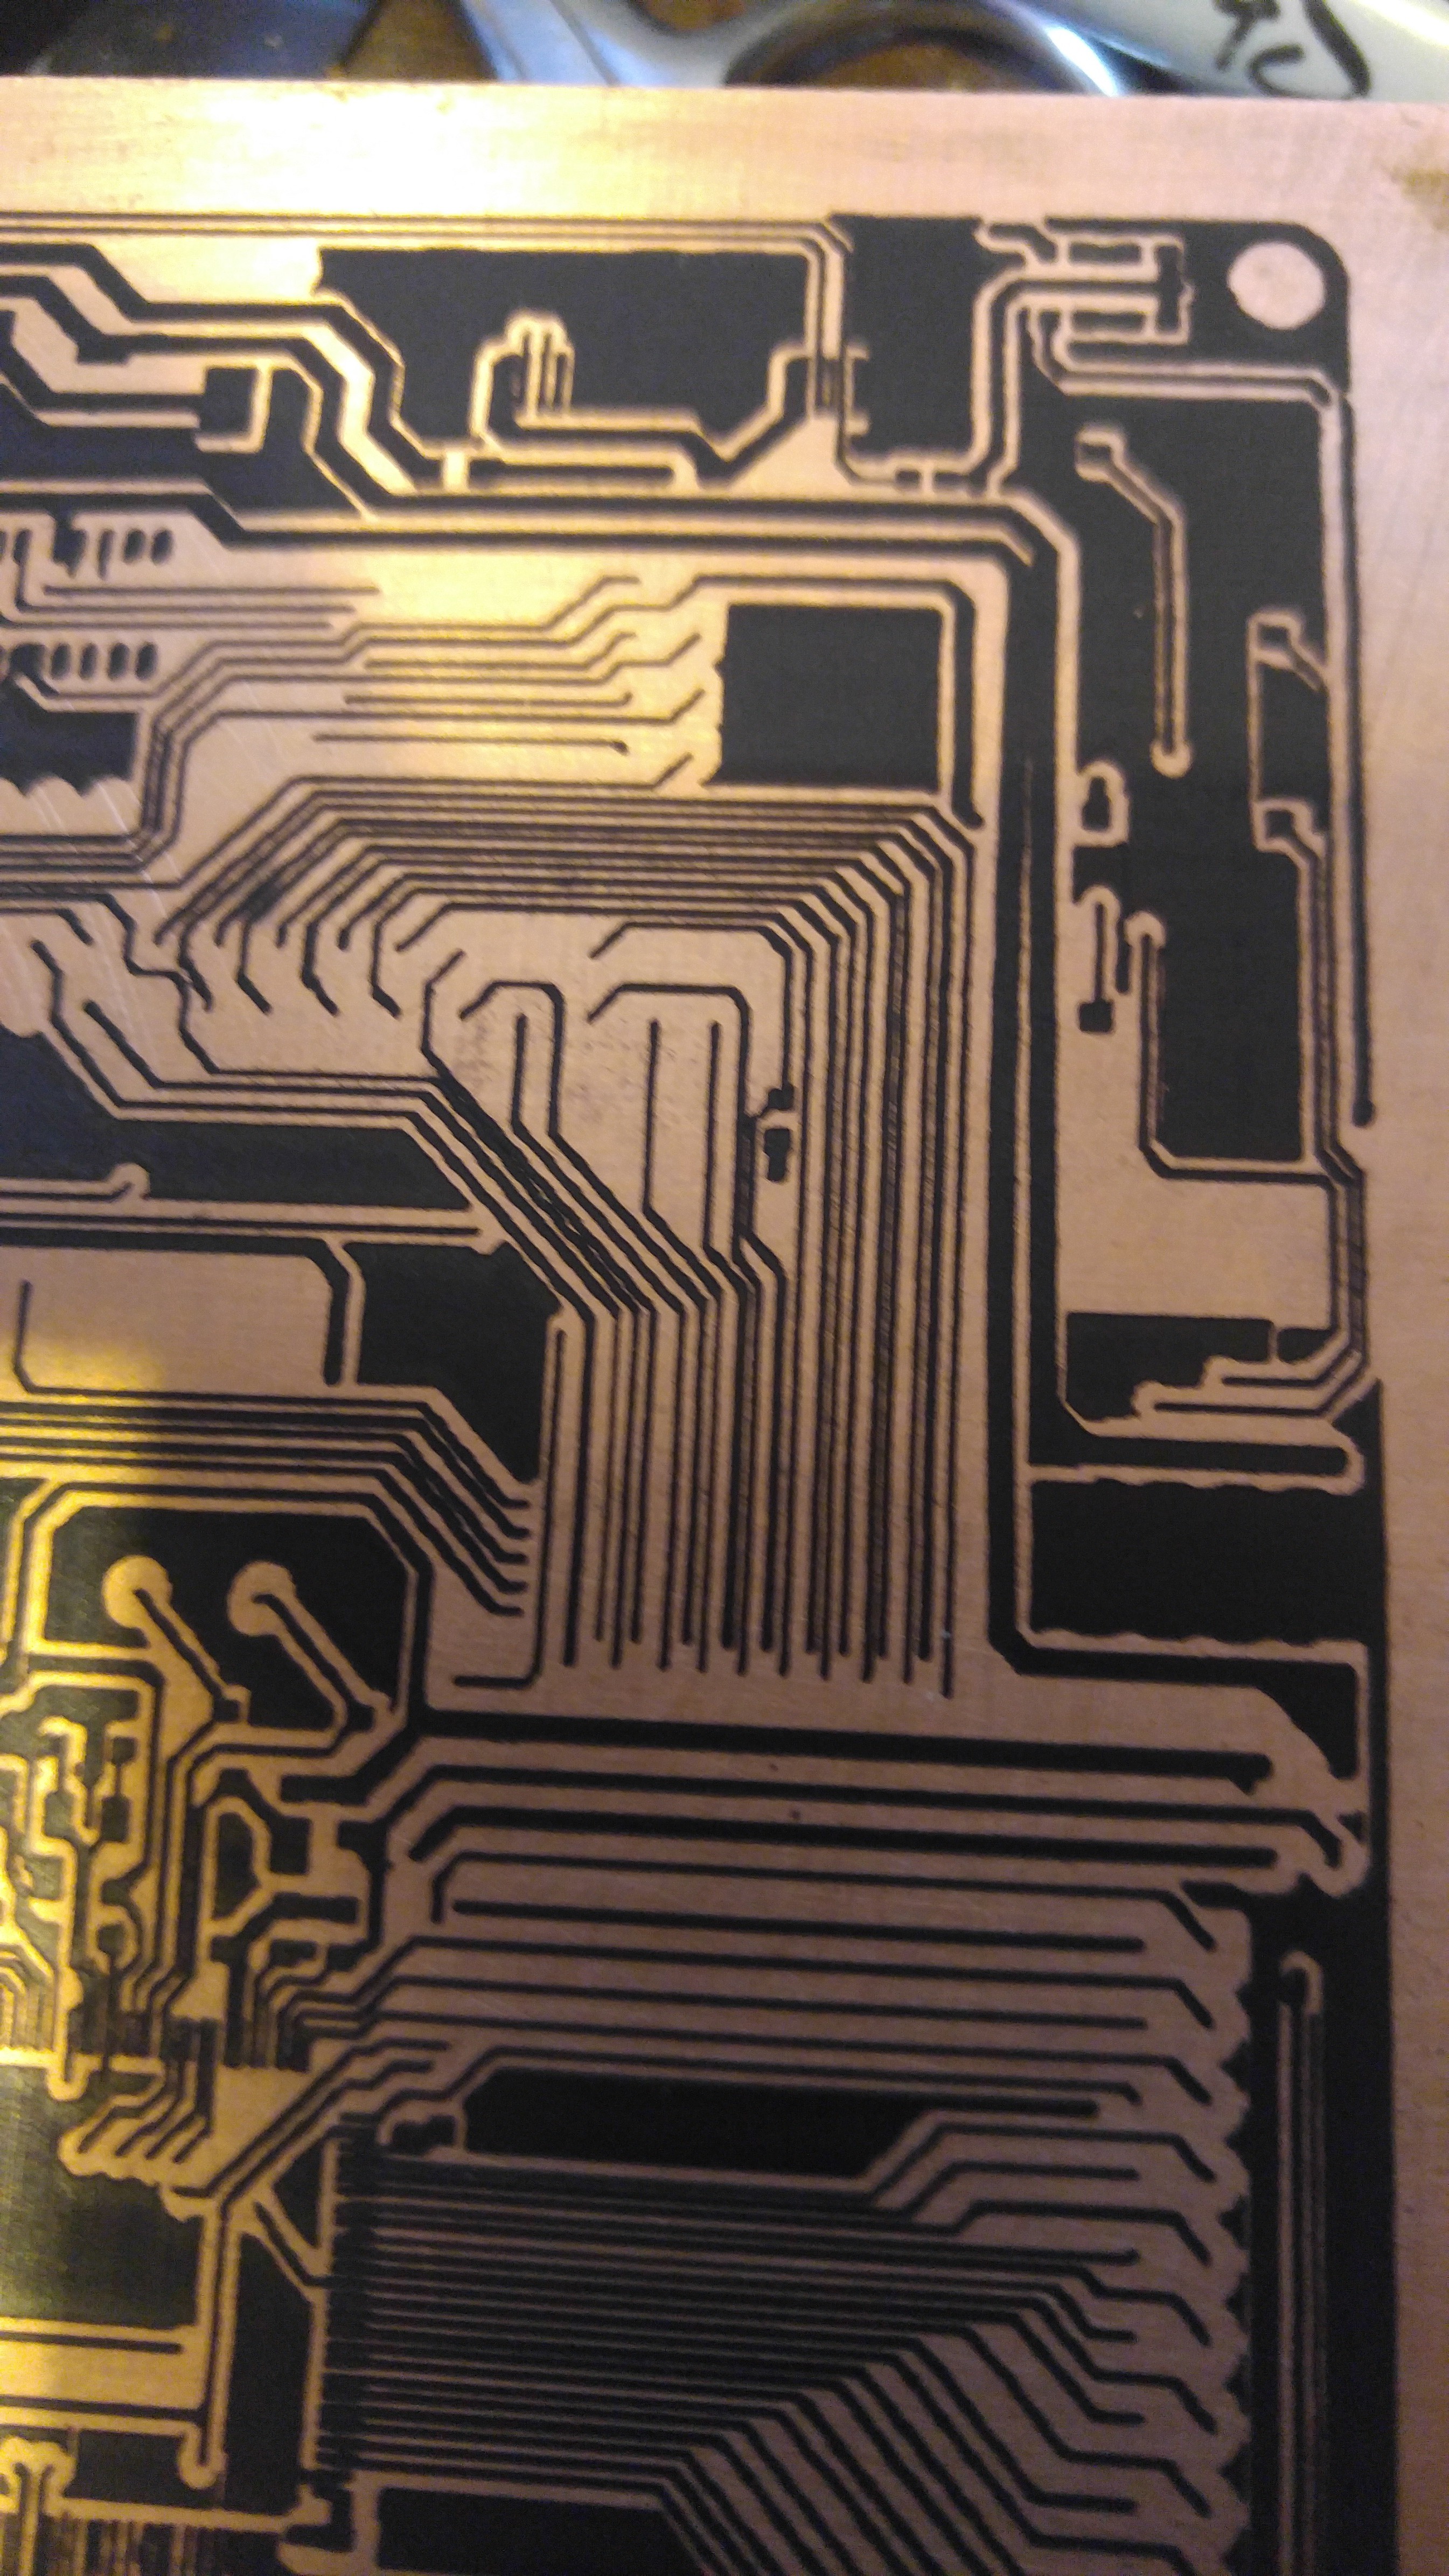
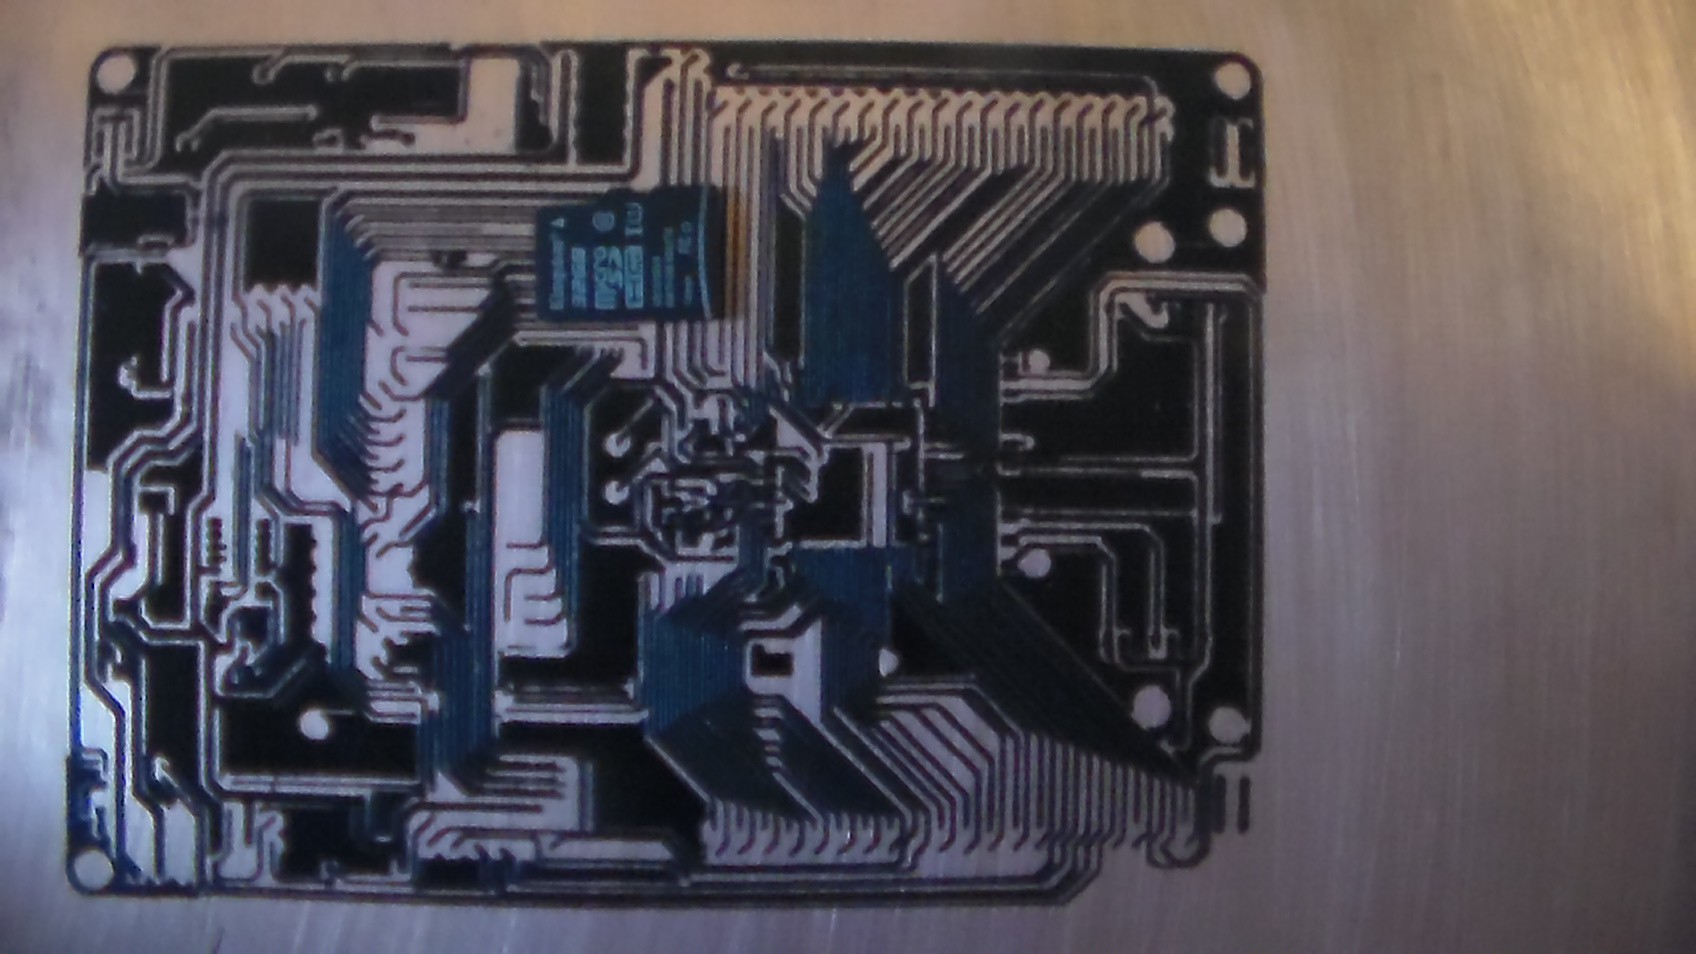
Powder coat pcb with toner & laser sinter
So we powder coat a blank PCB with laser toner. Selectively melt with laser engraver and maybe get some good results.
 eric
ericBecome a Hackaday.io member
Already have an account? Log in.
Just one more thing
To make the experience fit your profile, pick a username and tell us what interests you.
Pick an awesome username
hackaday.io/
Your profile's URL: hackaday.io/username. Max 25 alphanumeric characters.
Pick a few interests
Projects that share your interests
People that share your interests


 Dylan Brophy
 Jeremy Gilbert
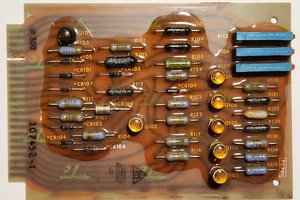
 Skyhawkson
 Chris
Chris
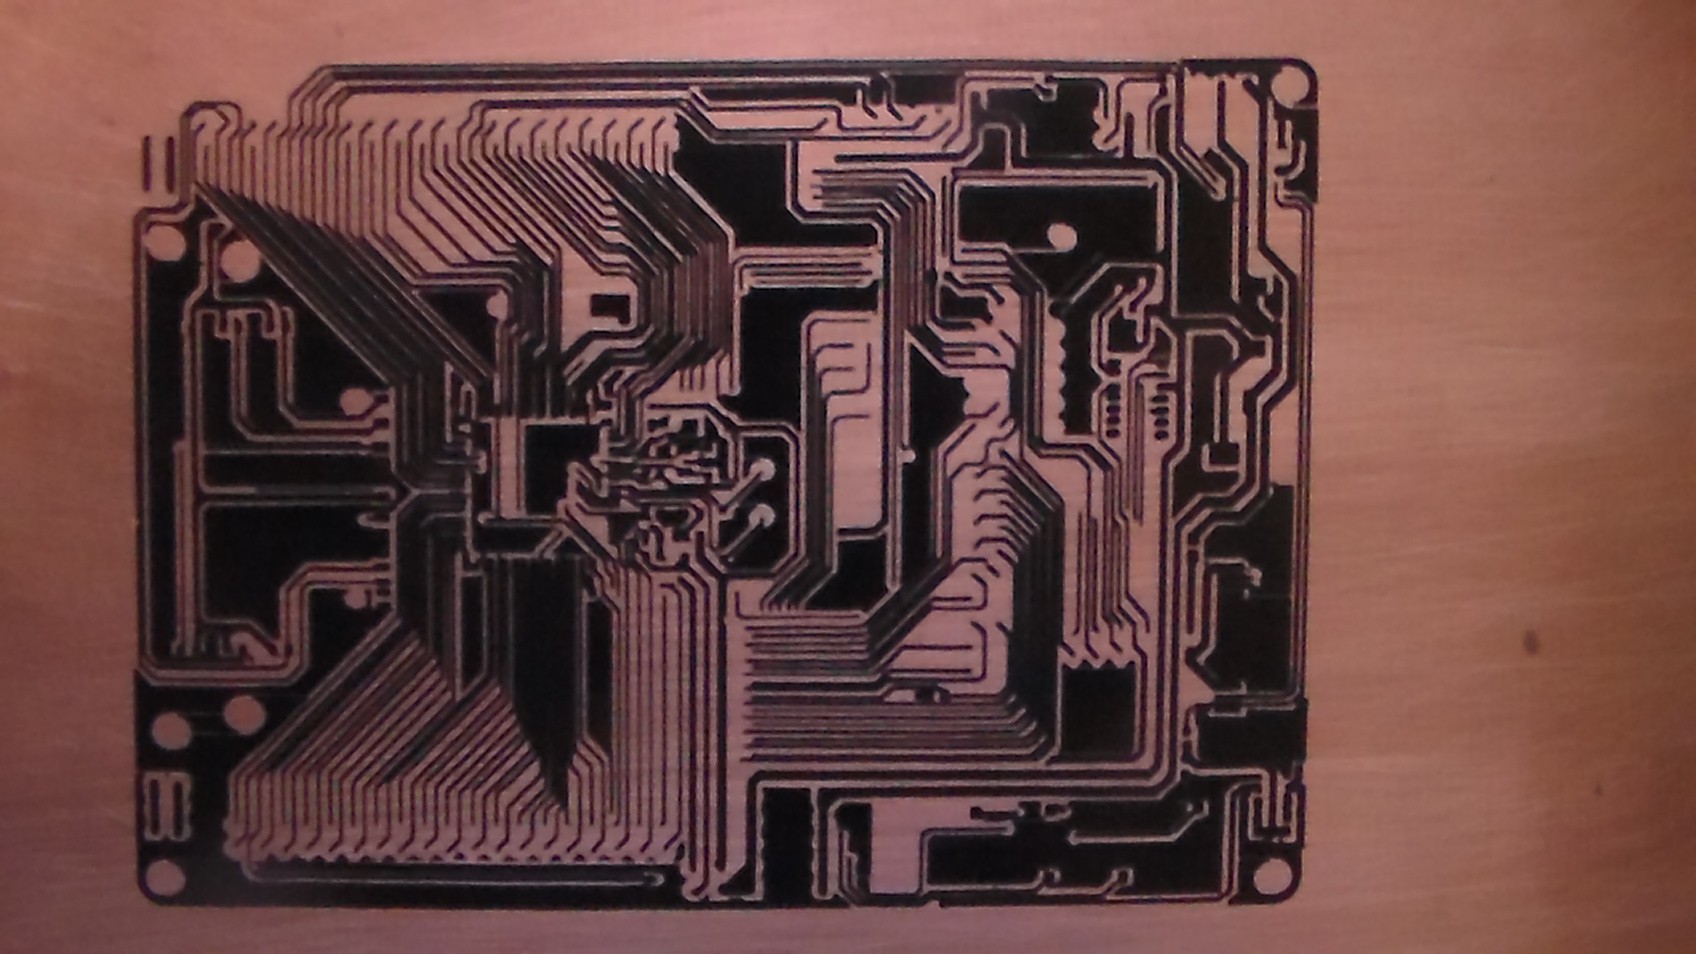
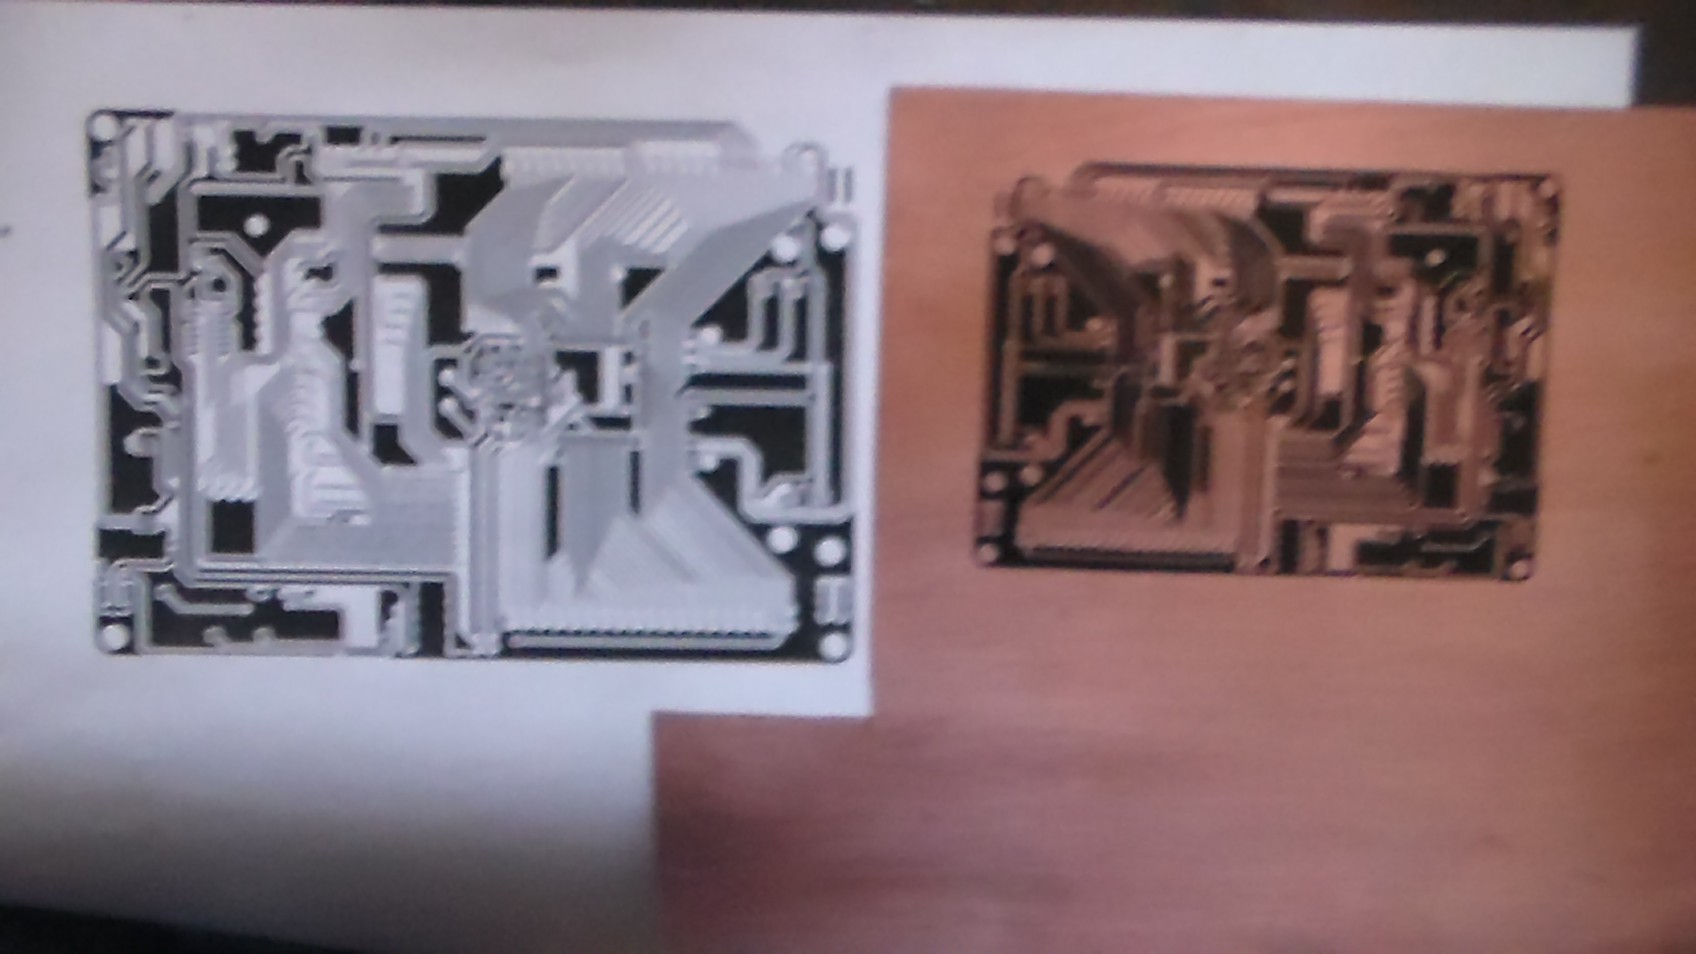
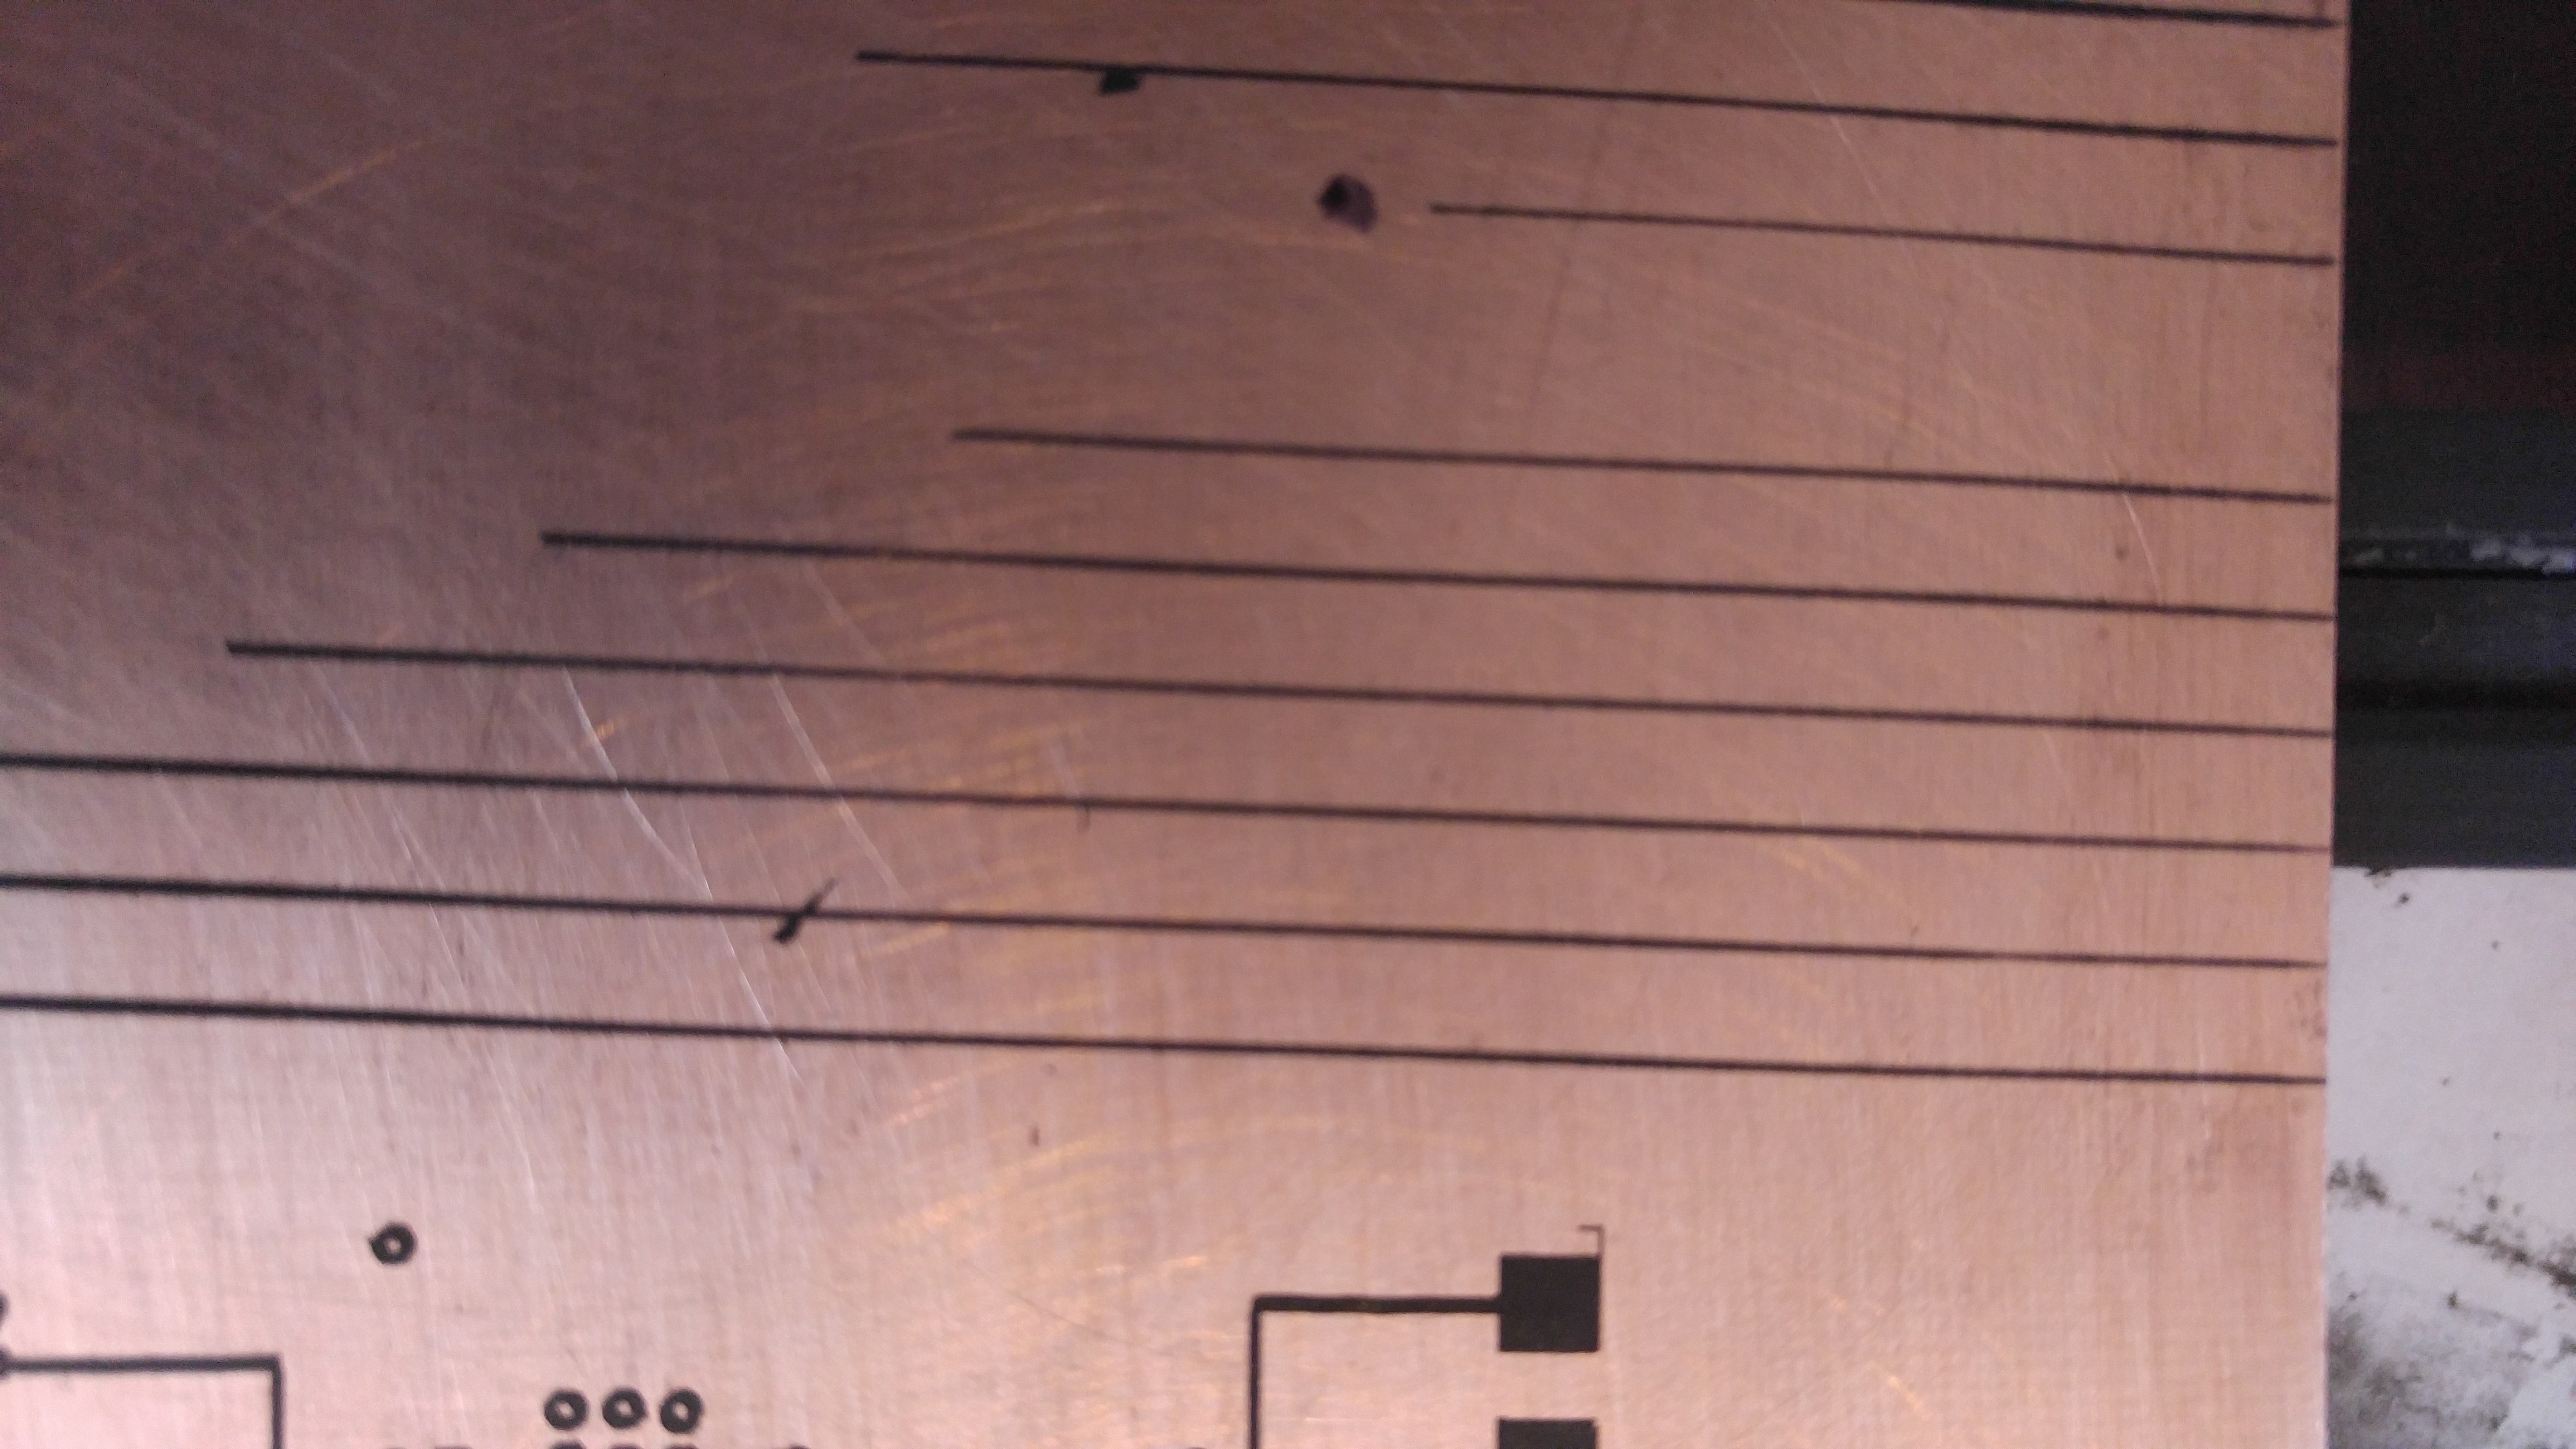
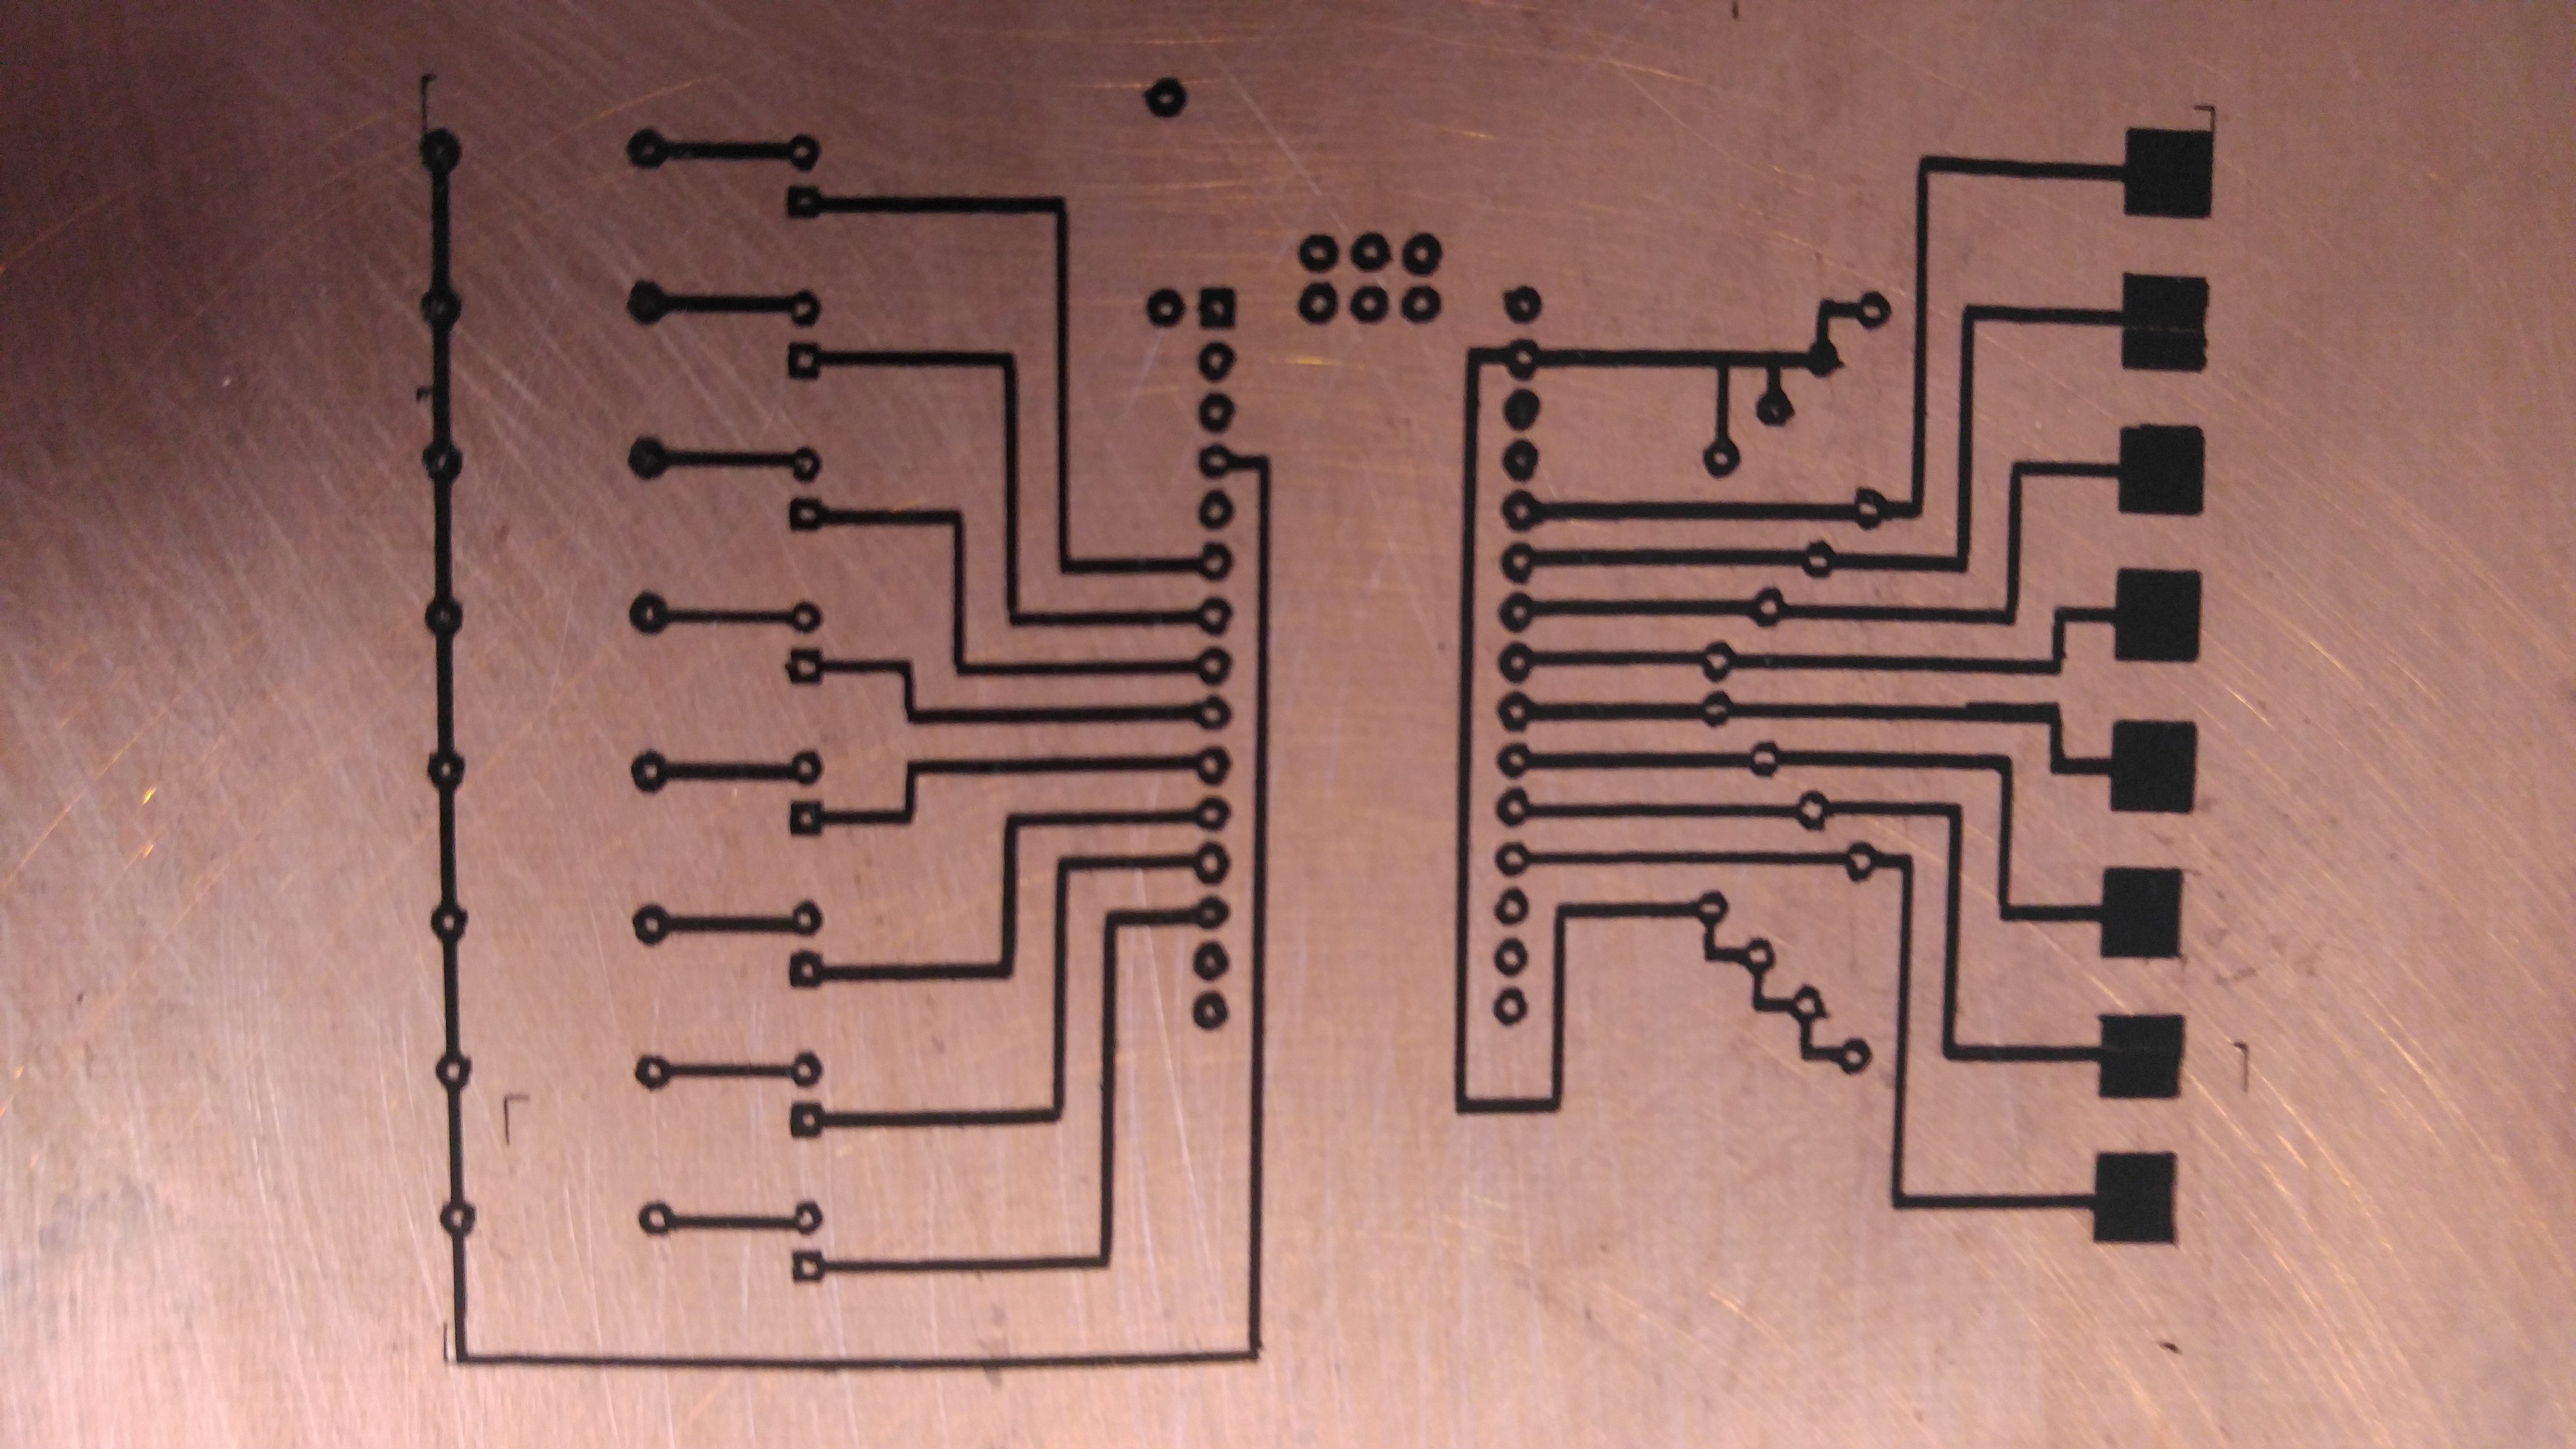
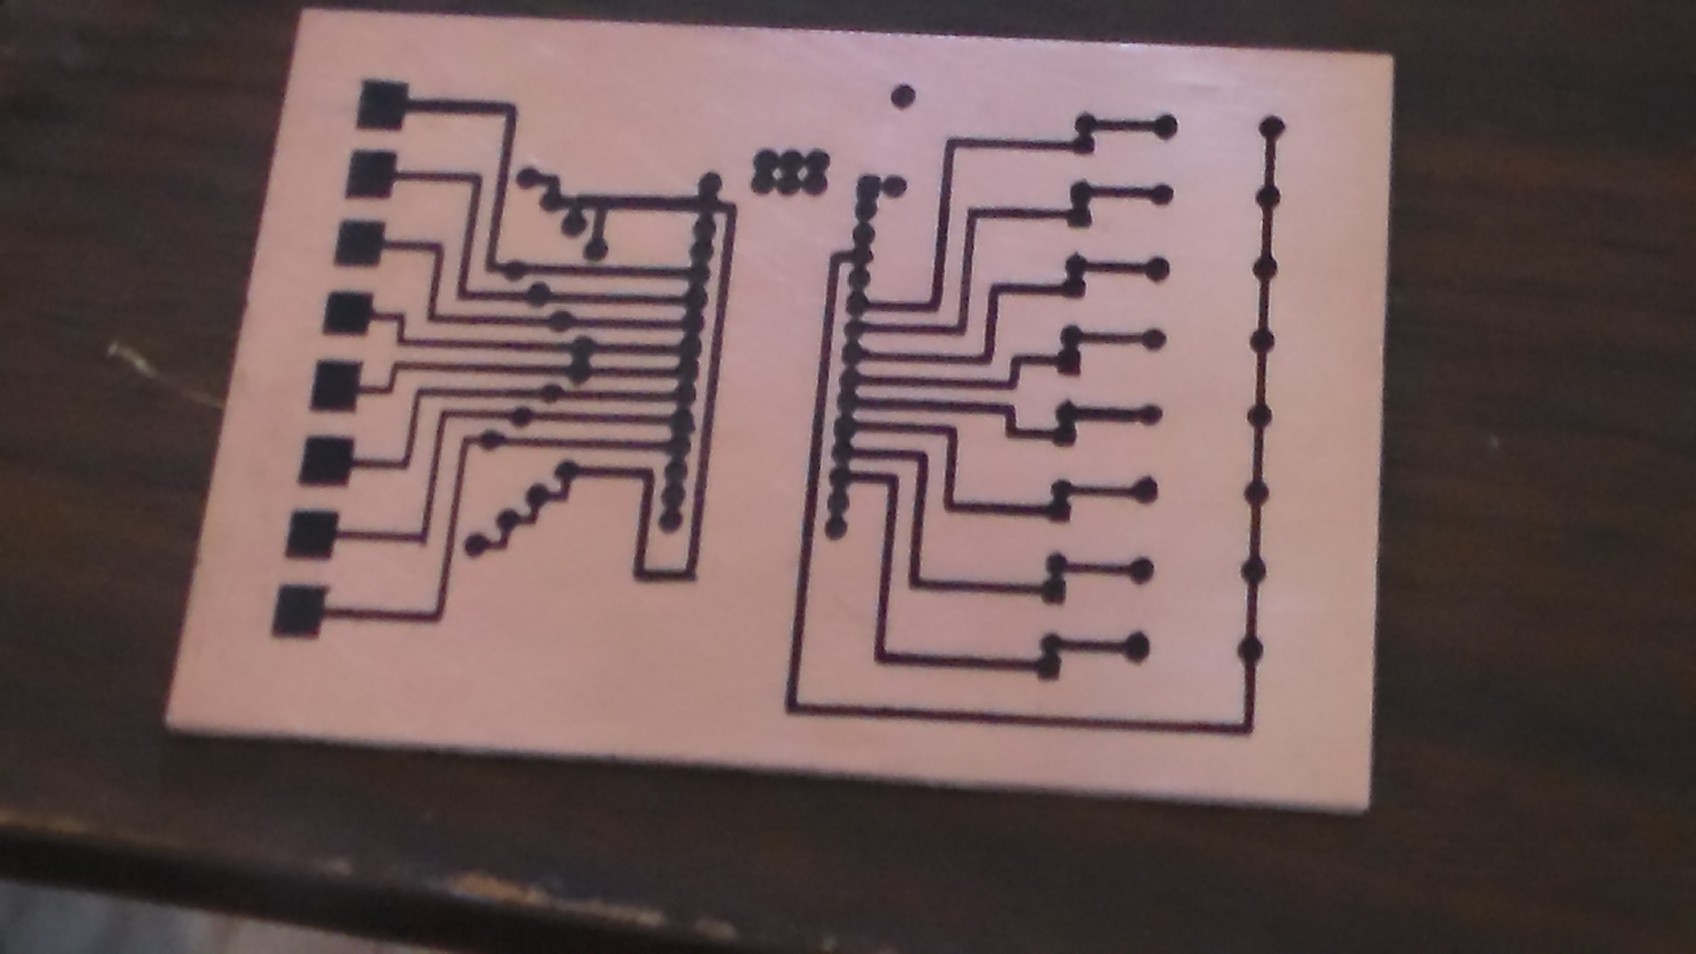
The PCB shown in the picture is unusable, with tracks touching each other, cut tracks and circuit prints with short circuits between the pins . I hope this is not representative of the method presented, otherwise there is still work to be done on this project!