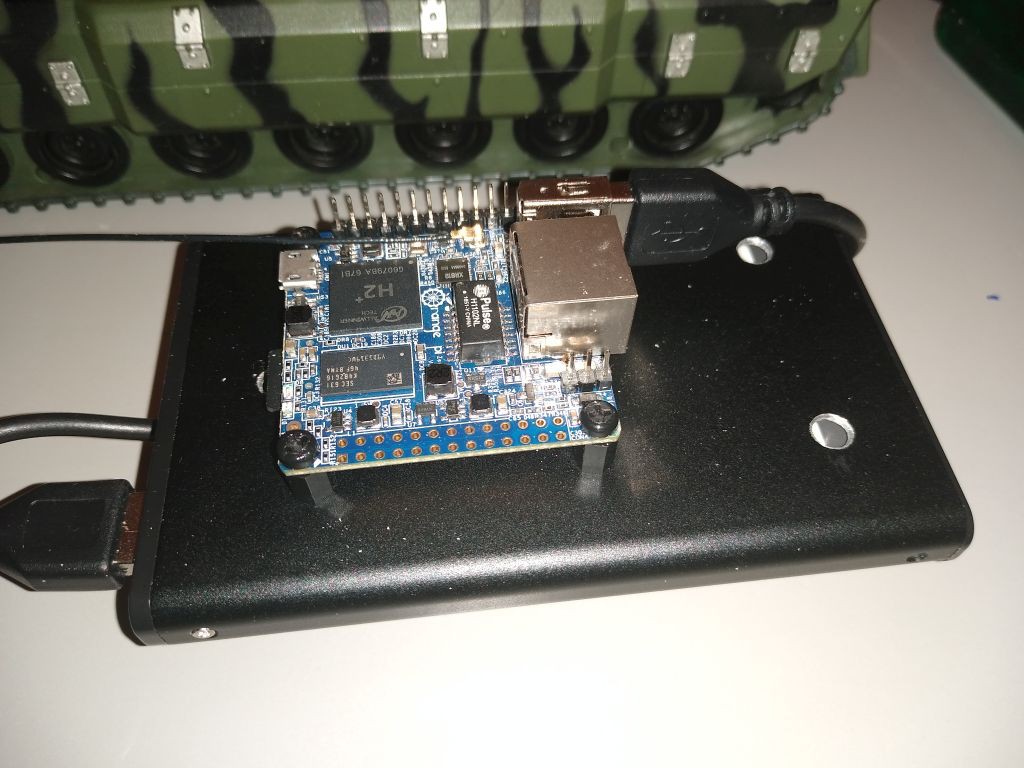
Mount the SSD drive inside the USB case then connect the case to the Orange Pi Zero. Connect a USB-to-Serial to the Serial Header on Orange Pi Zero board.
2
Acquire some knowledge
Watch a tutorial on how to do a file server with Raspberry PI3 to get aware of the steps necessary to implement on the Orange PI, which are basically:
Without getting into much details (there are good tutorials online) the following steps are necessary:
Download Armbian and write the image to the Micro SD card.
Using a terminal program like Putty (windows) or Screen (Linux) check that the machine is booting.
On the serial terminal setup the wireless network to be able to access the machine later without the serial adapter using SSH.
Install and configure DHCP server (link with good explanation)
Format the SSD drive. I have used ext4 as a filesystem to be able to use iso images larger than 4GB. Some tutorials advise to install NTFS (ntfs-3g) support for Linux.
Make SSD drive mountable on system startup (linkwith good explanation)
Install and configure SAMBA Server
Check that it is possible to accesse the file share from another computer
4
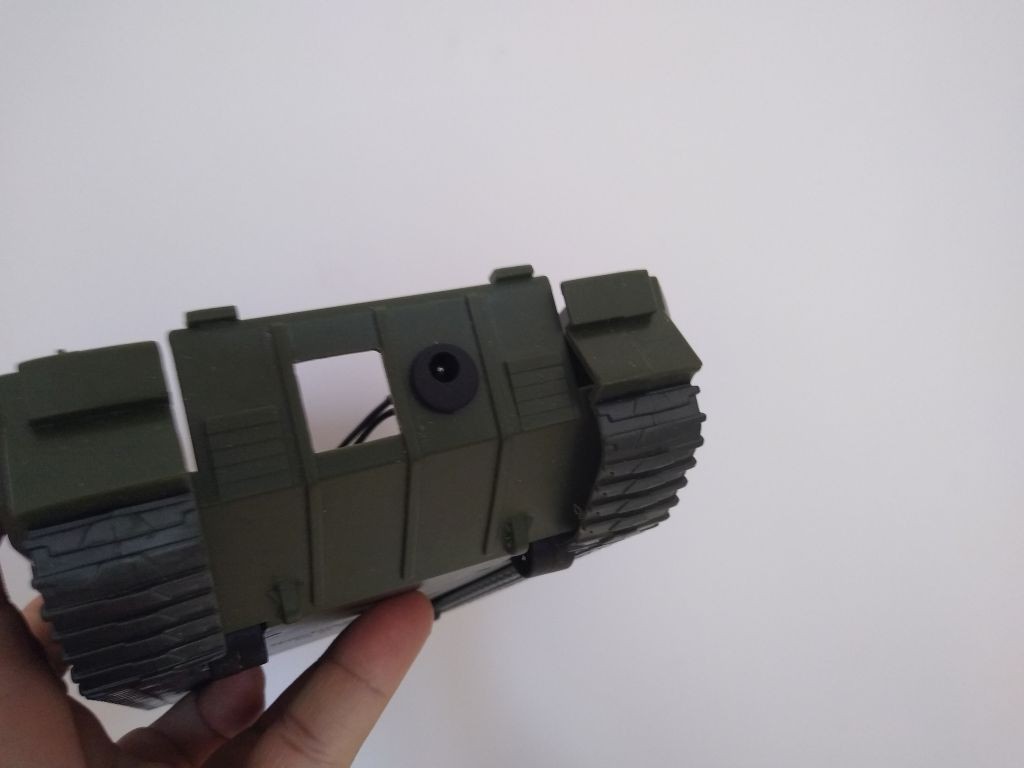
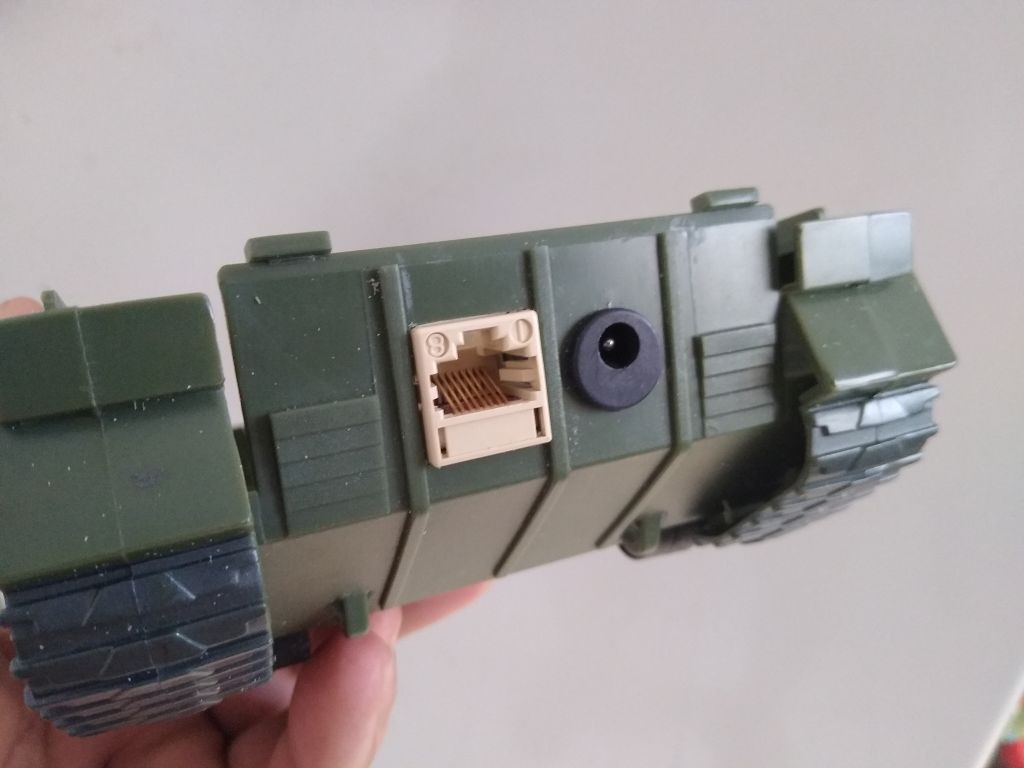
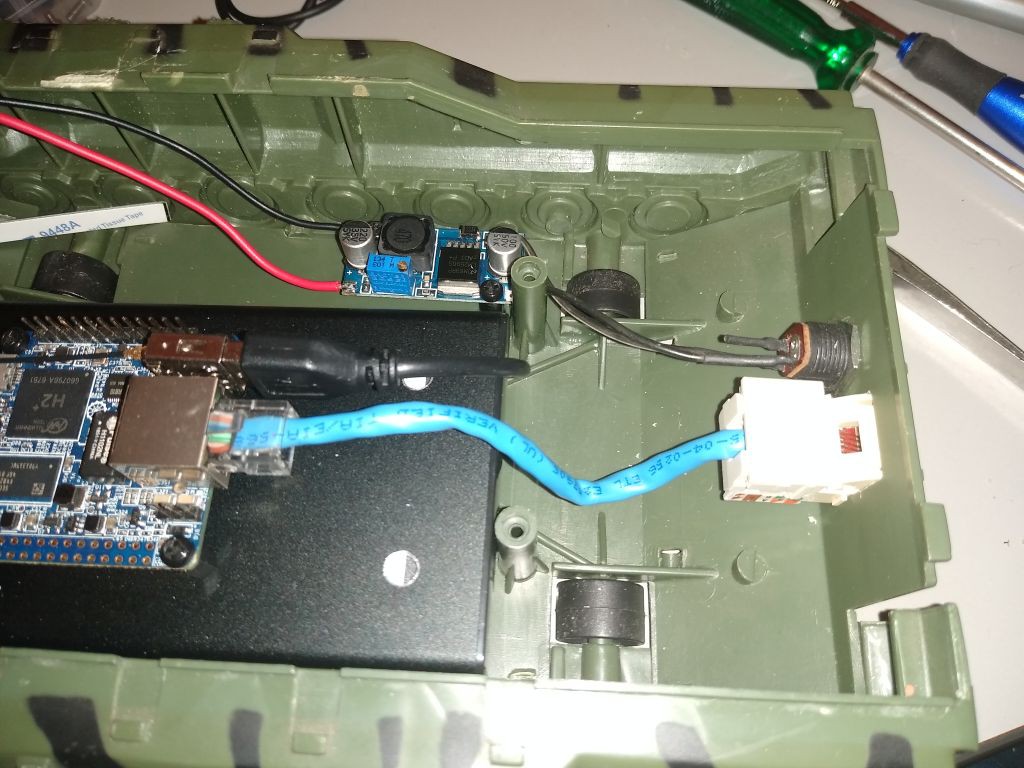
Make the holes for the Network passthrough and Power Jack
c
5
Add the DC-DC voltage converter
Install the DC-DC voltage converter and attach it to the bottom case using 3/8" hexagonal spacers (standoffs). Adjust the power supply to provide 5.0Volts
6
Attach the Orange Pi to the HD case Using 3/8" hexagonal spacers (standoffs).
7
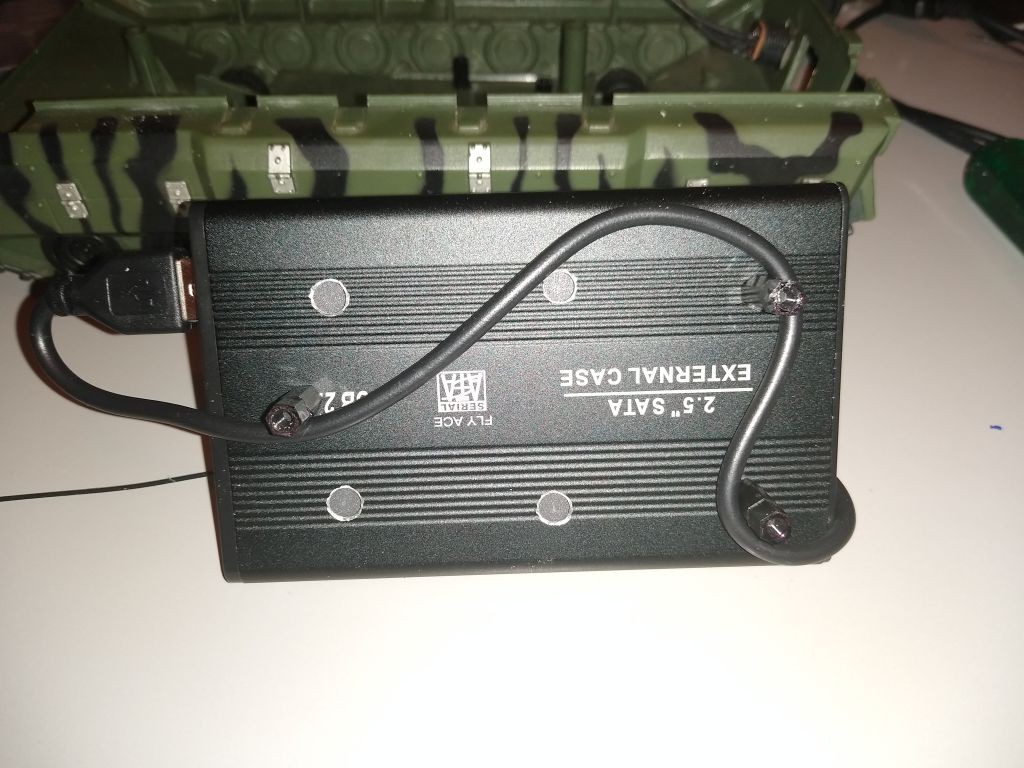
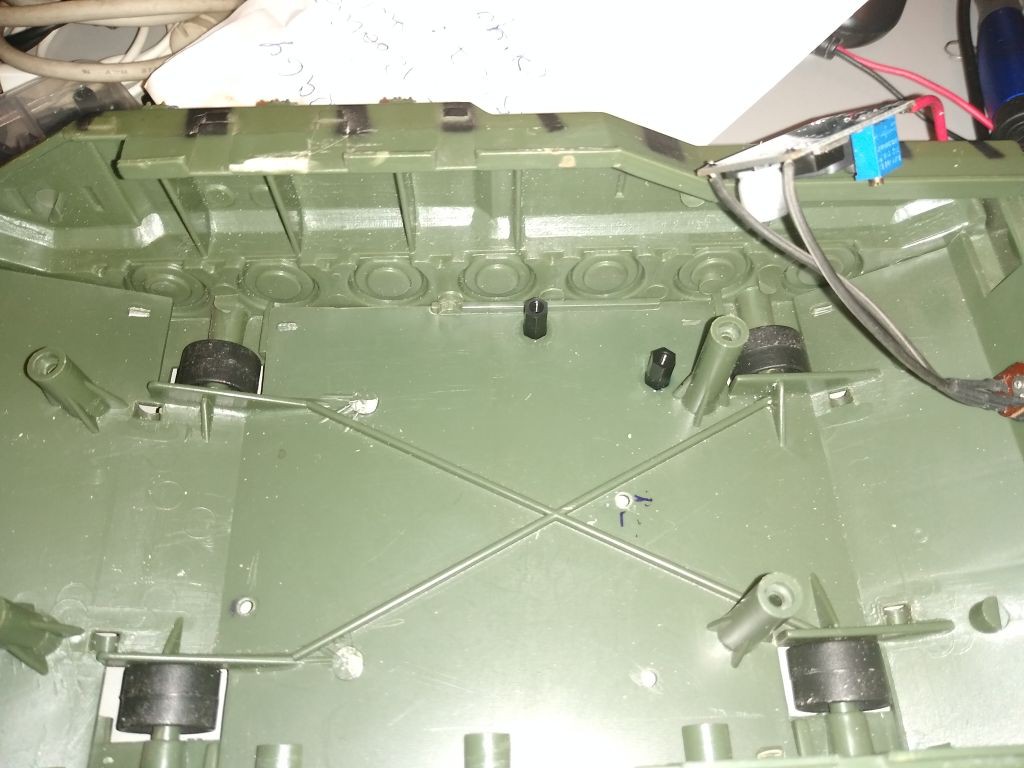
Attach the SSD case to the bottom of the (tank) case
Make some holes at the bottom of the case and use some screws to attach the SSD case.
8
Install a short patchcord on the RJ-45 passthrough
9
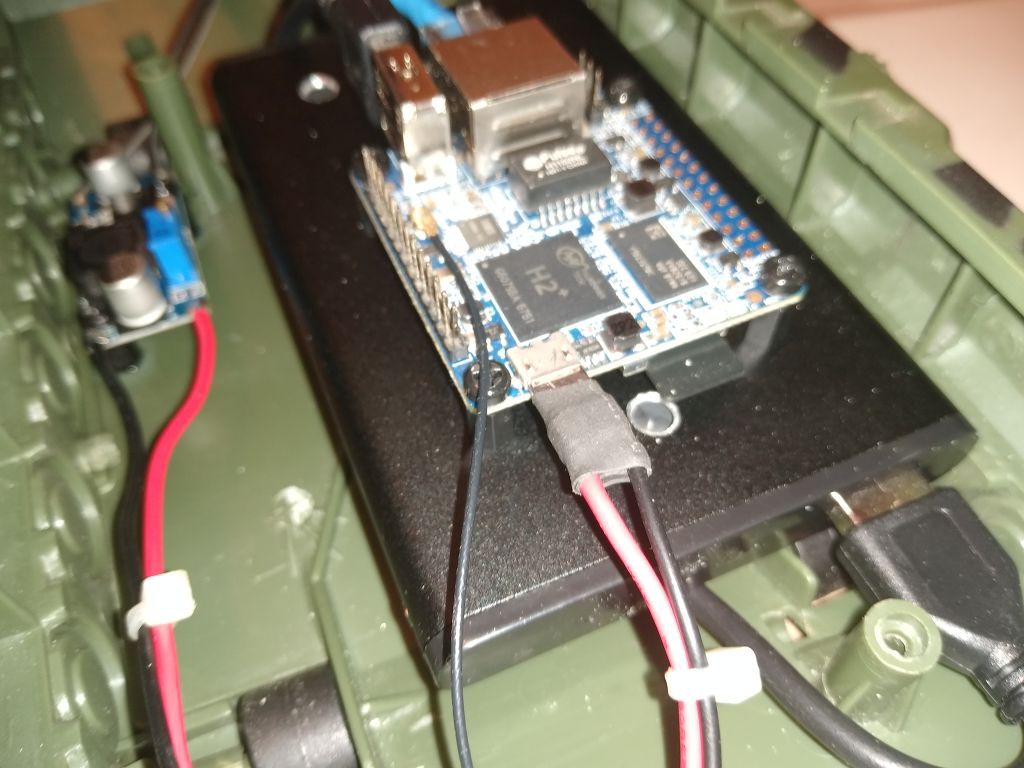
Connect the micro-USB power connector
The connector was reused from a damaged cable. The Positive and Negative wires were soldered and then isolated with thermo-restringent tube.
Check twice if the output voltage on the DC-DC regulator is adjusted correctly (and thus providing 5.0Volts)
10
Perform a last check before closing the case.
If everything looks fine perform a new test to verify that:
The server is connecting to your wireless network
The samba share is visible and writeable
The DHCP can assign an IP network on the wired connection
 danjovic
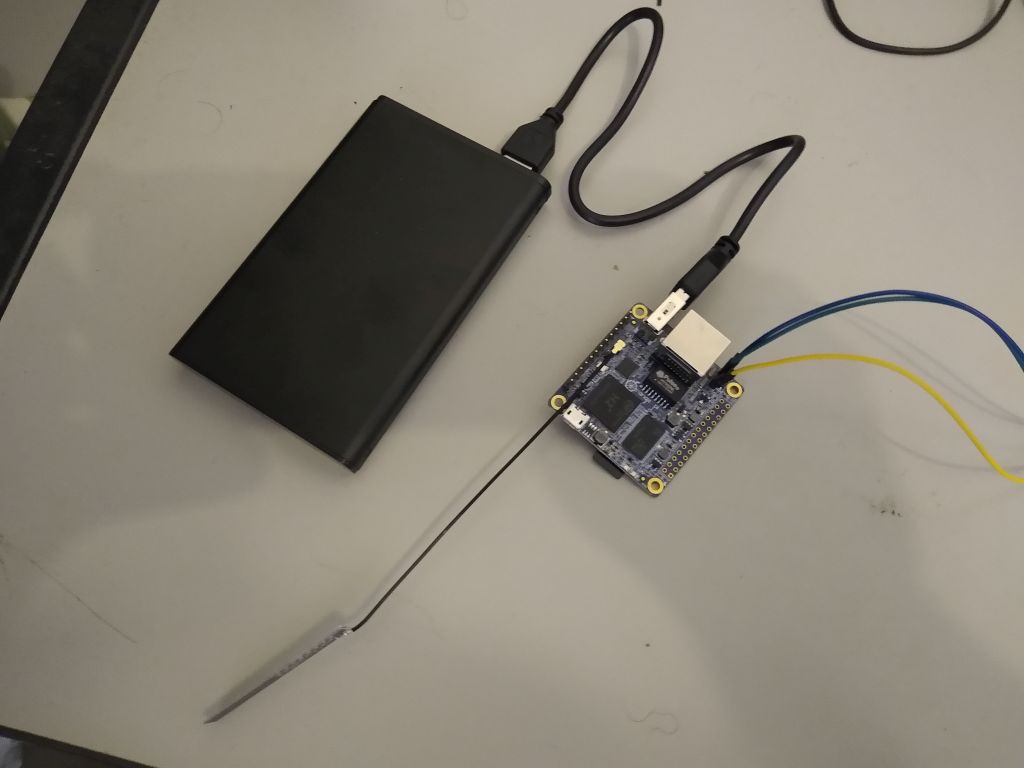


Discussions
Become a Hackaday.io Member
Create an account to leave a comment. Already have an account? Log In.