I started with a arduino LCD shield which was great for displaying the infomation but found it quite limiting since you couldn't add anything to this package i.e LED's or speakers.
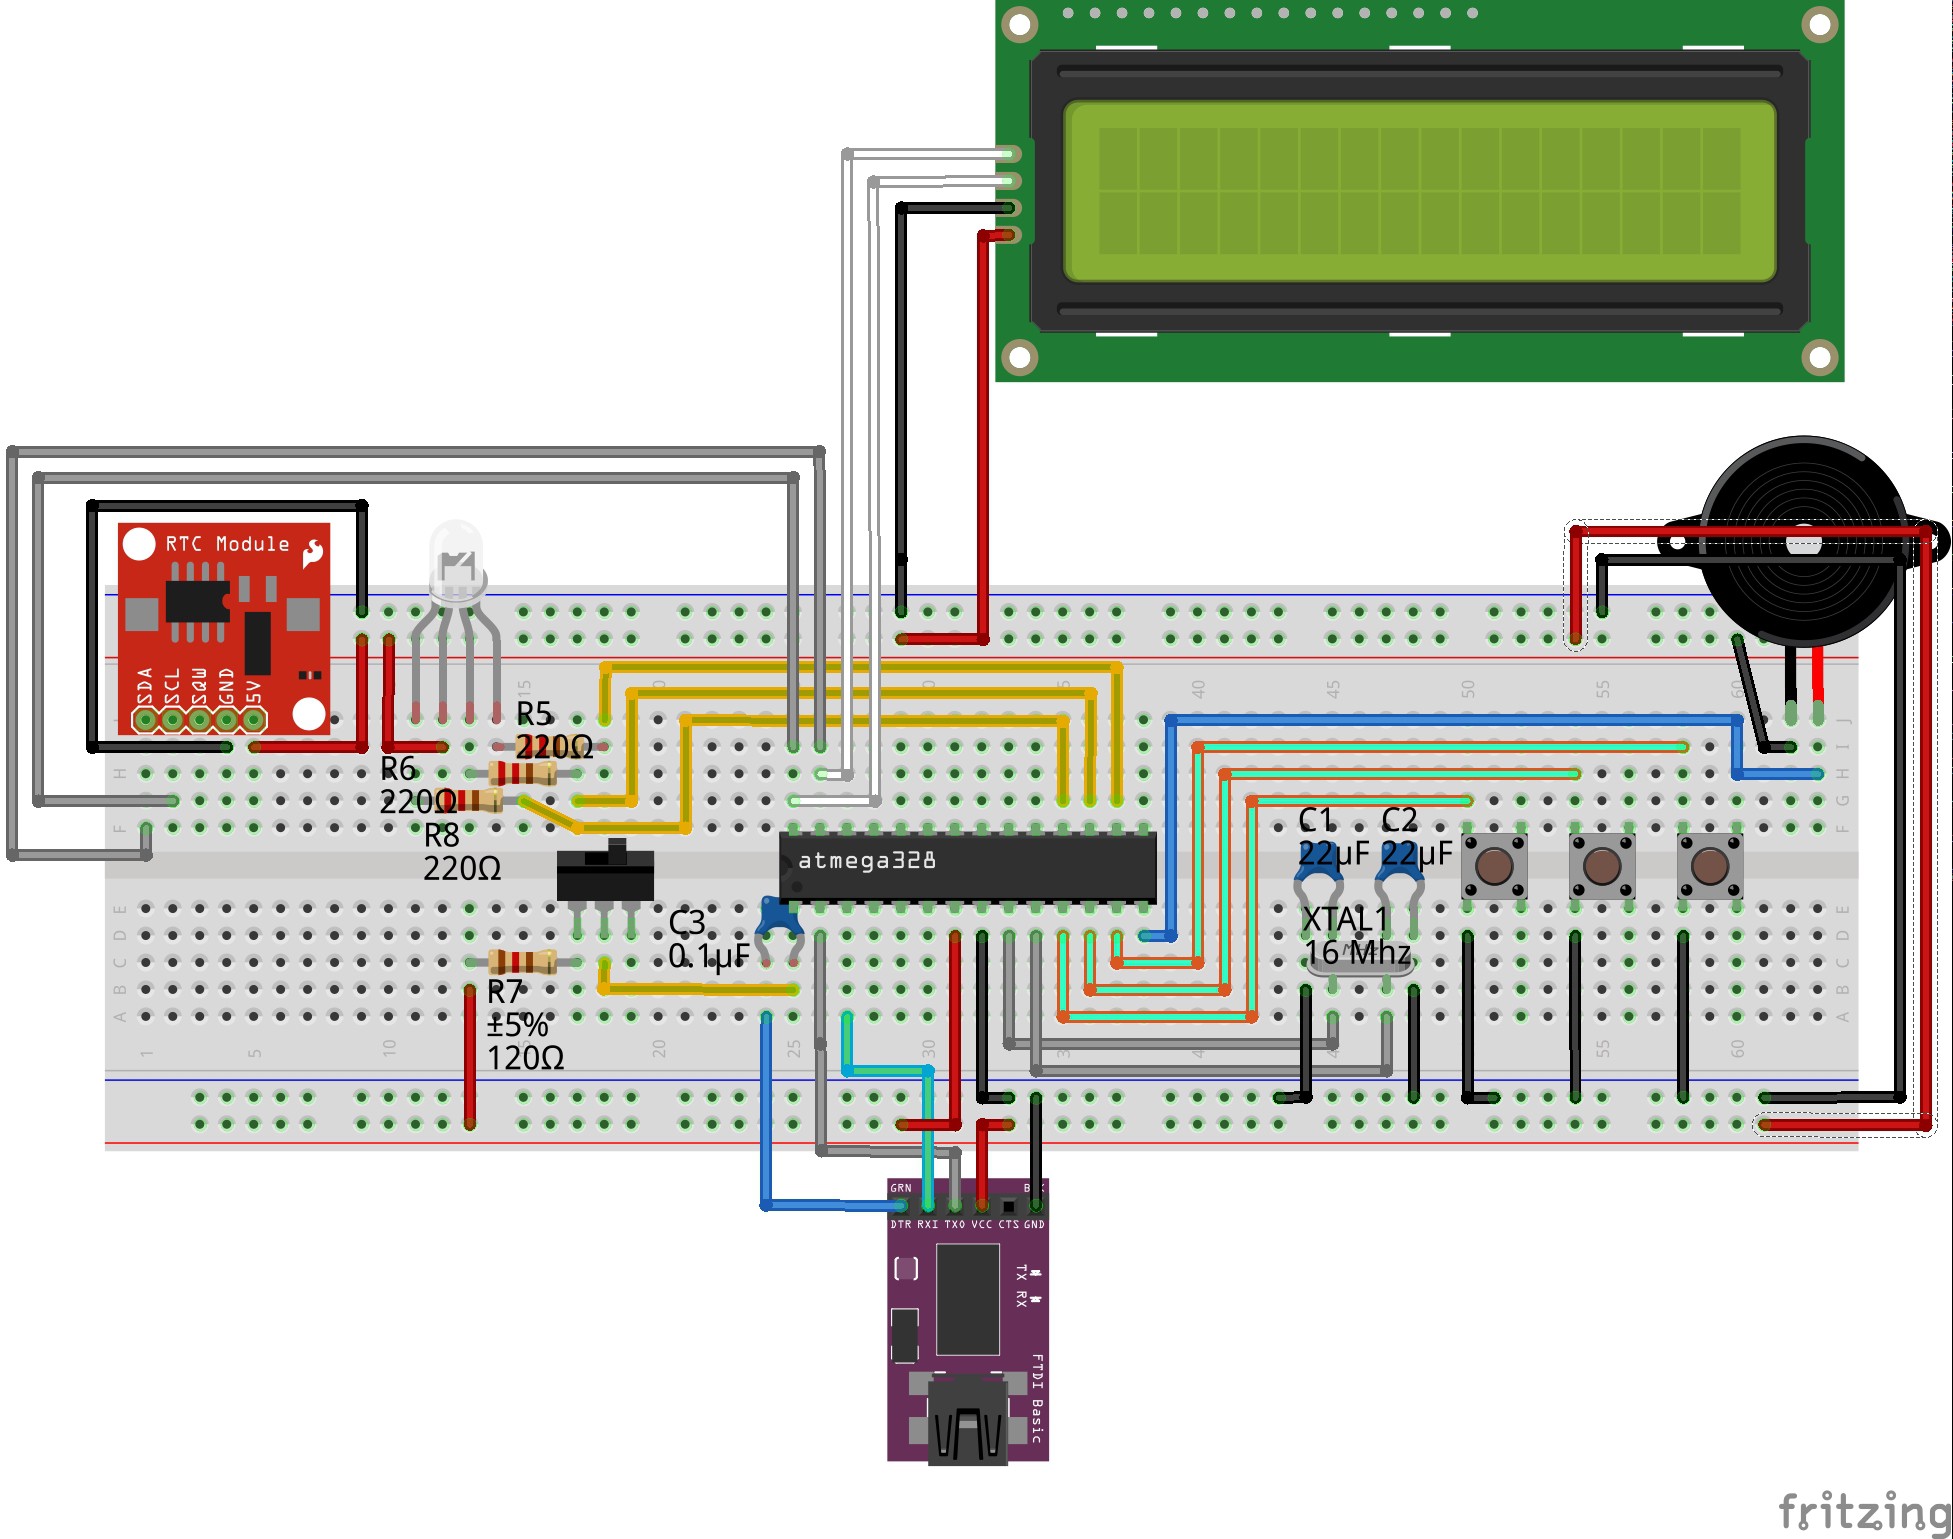
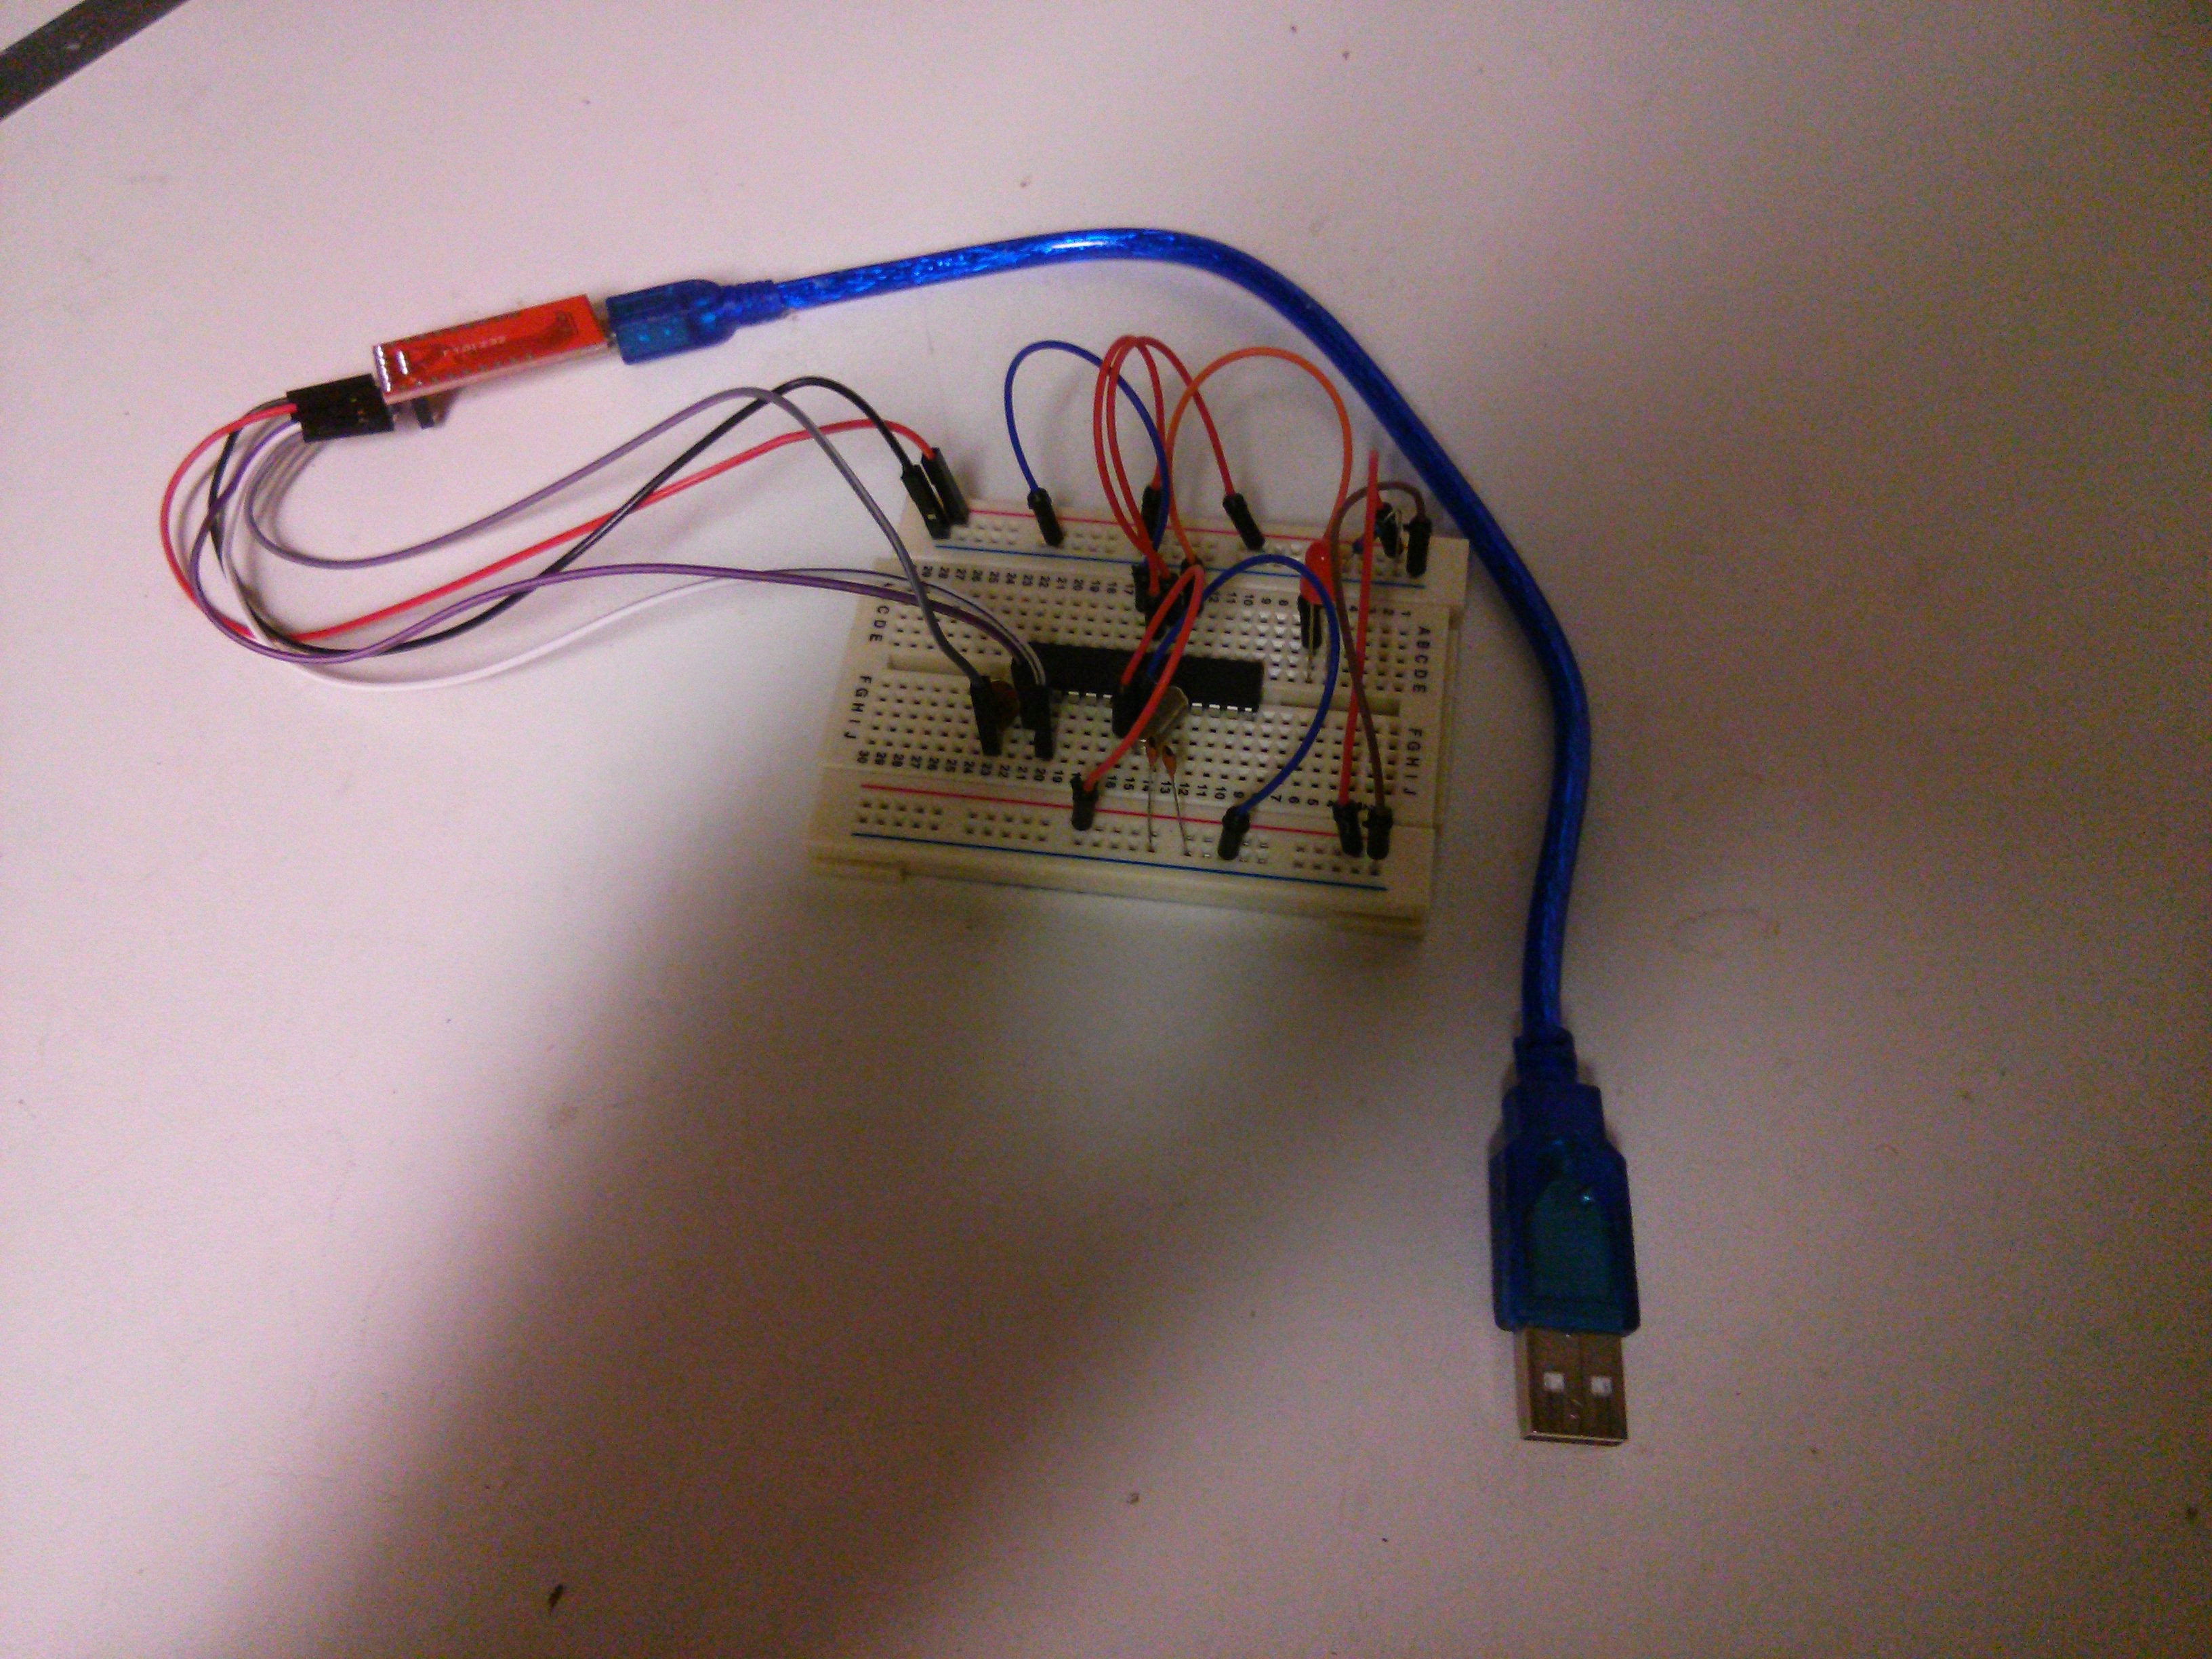
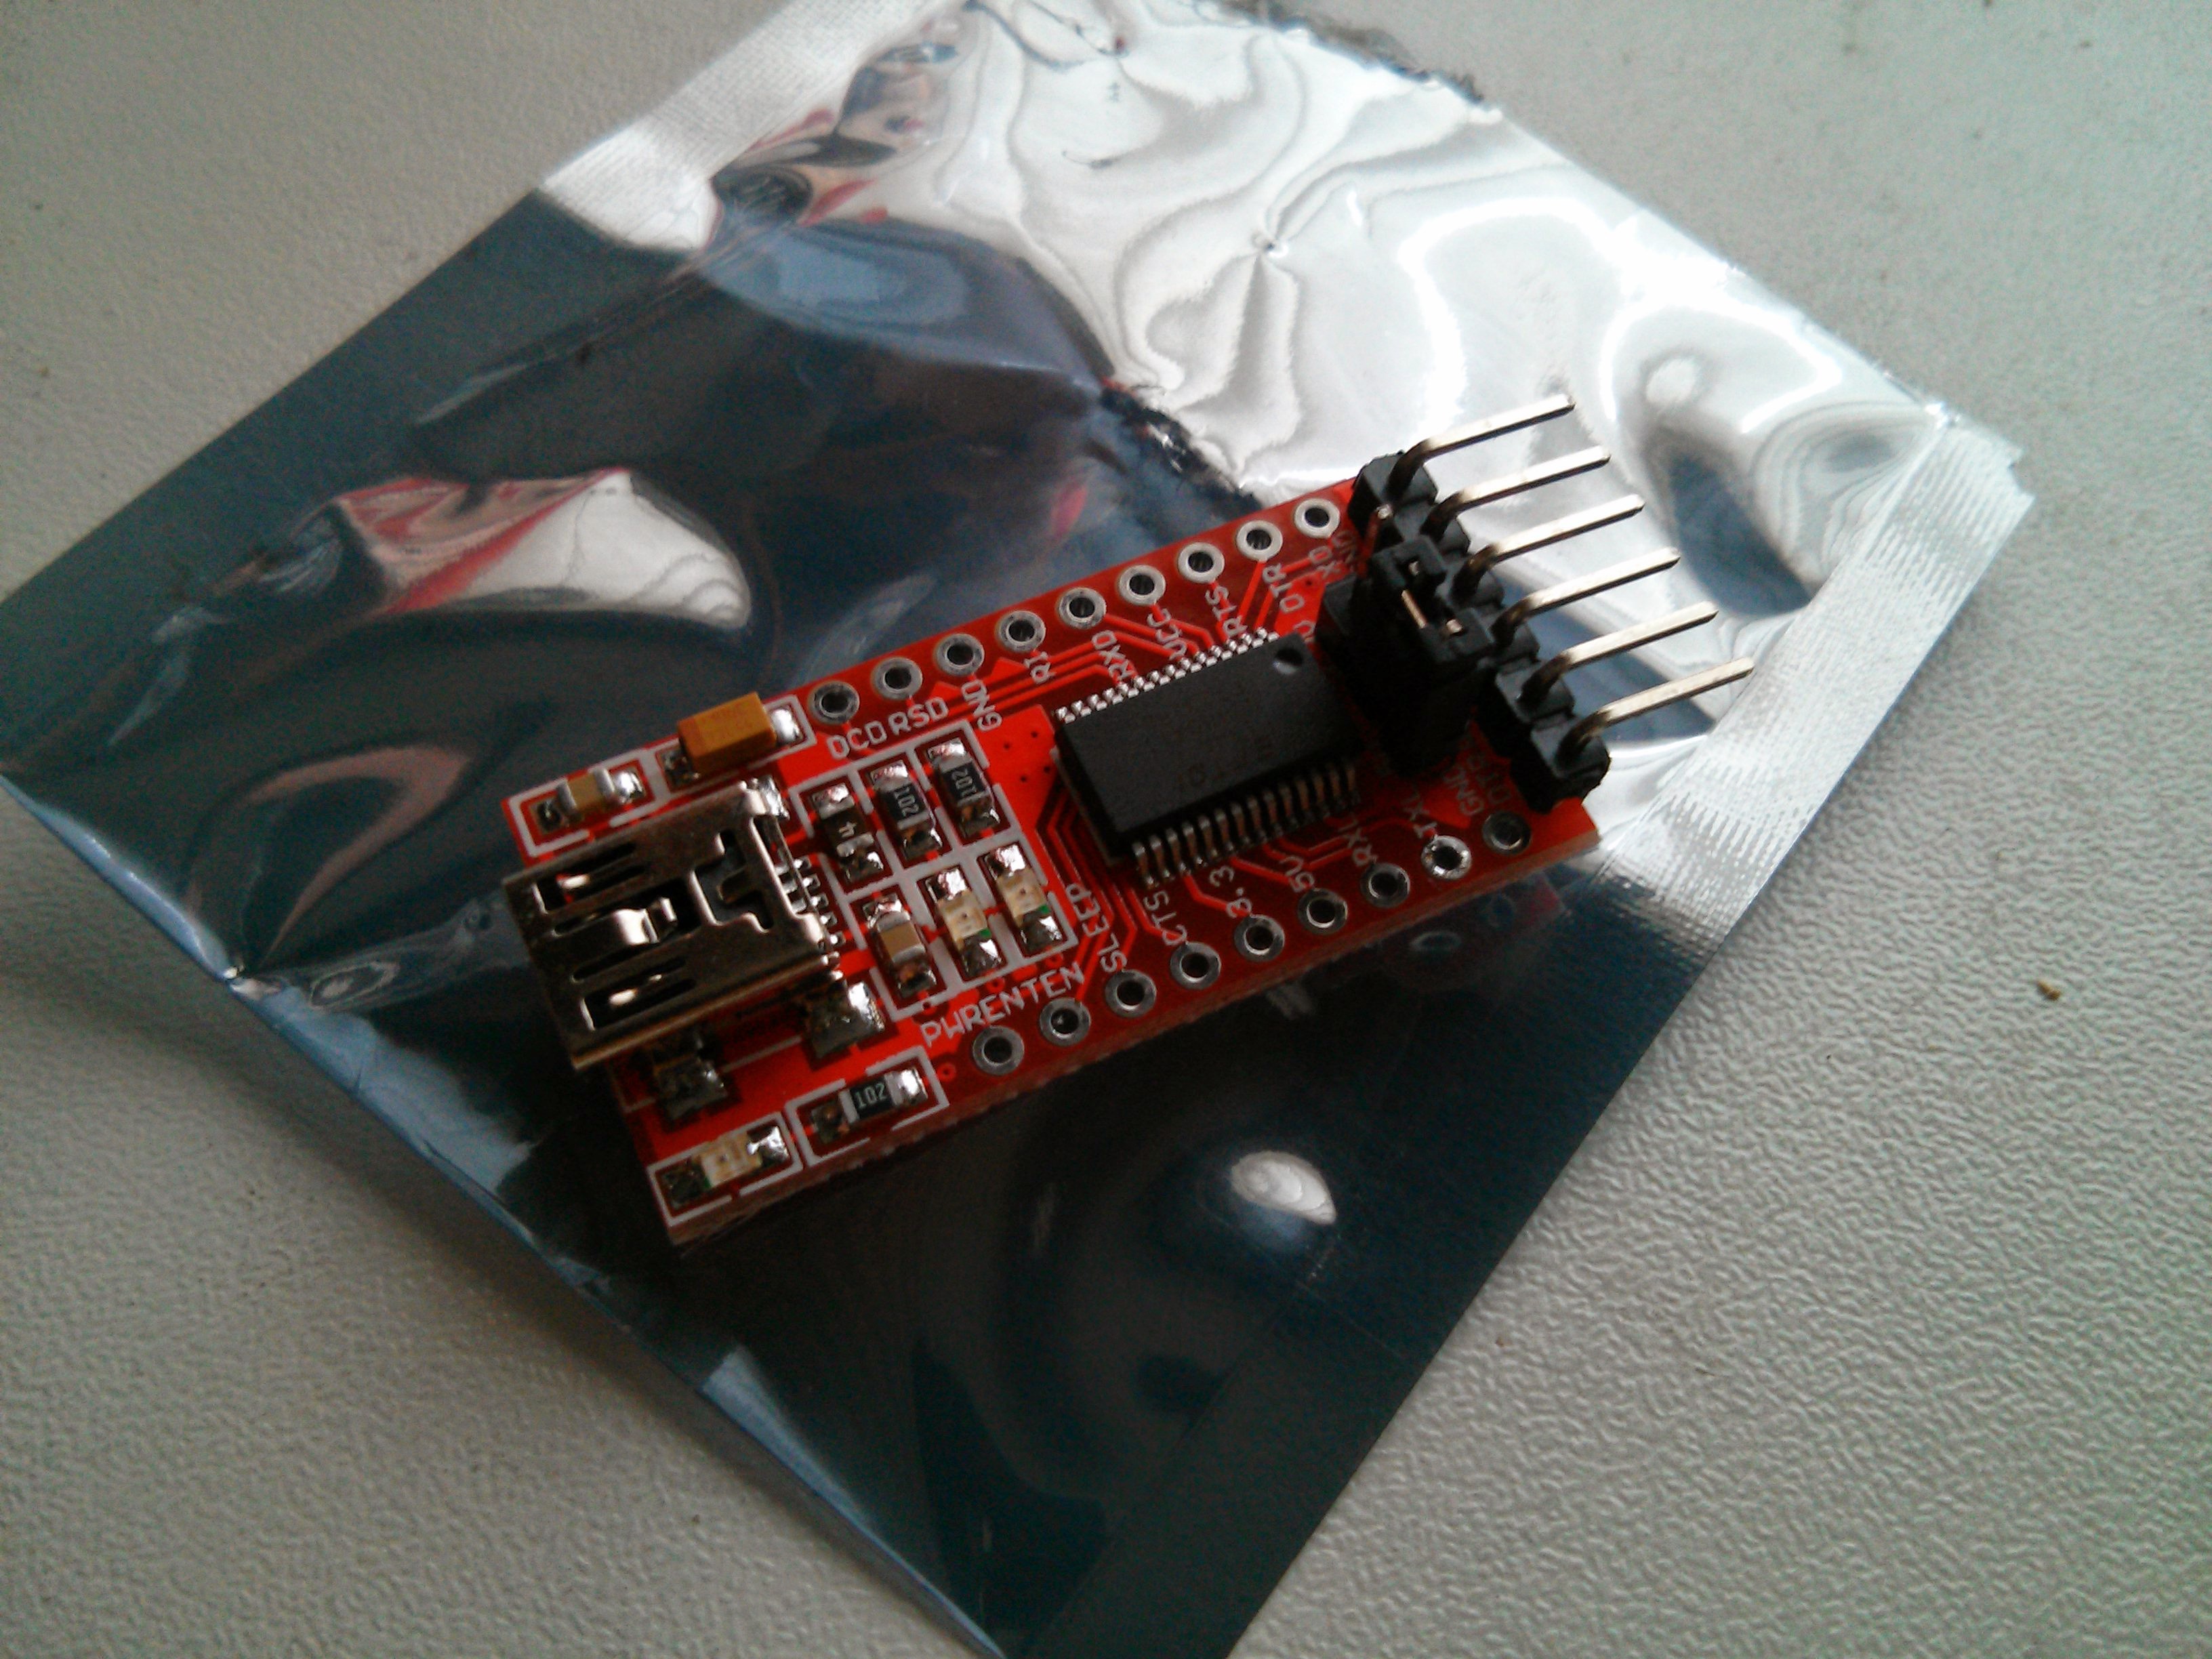
I thought I would start over from the ground level with a atmega328 which is the heart of the arduino and a great chip. To get the atmega328 to talk to the raspberry pi I need a FTDI board which is a USB to serial adaptor board you can get off eBay. I had one annoyance with using this FTDI board which was when ever I uploaded data from the raspberry pi via python serial it reset the atmega328 so after a bit of research I found that if you connected a 120 ohm resistor from pin 1 to VCC it wouldn't reset the chip. The only downside to using a 120 ohm resistor tied to vcc was that you couldn't upload a new sketch to the atmega328 so I added a switch to remedy this.
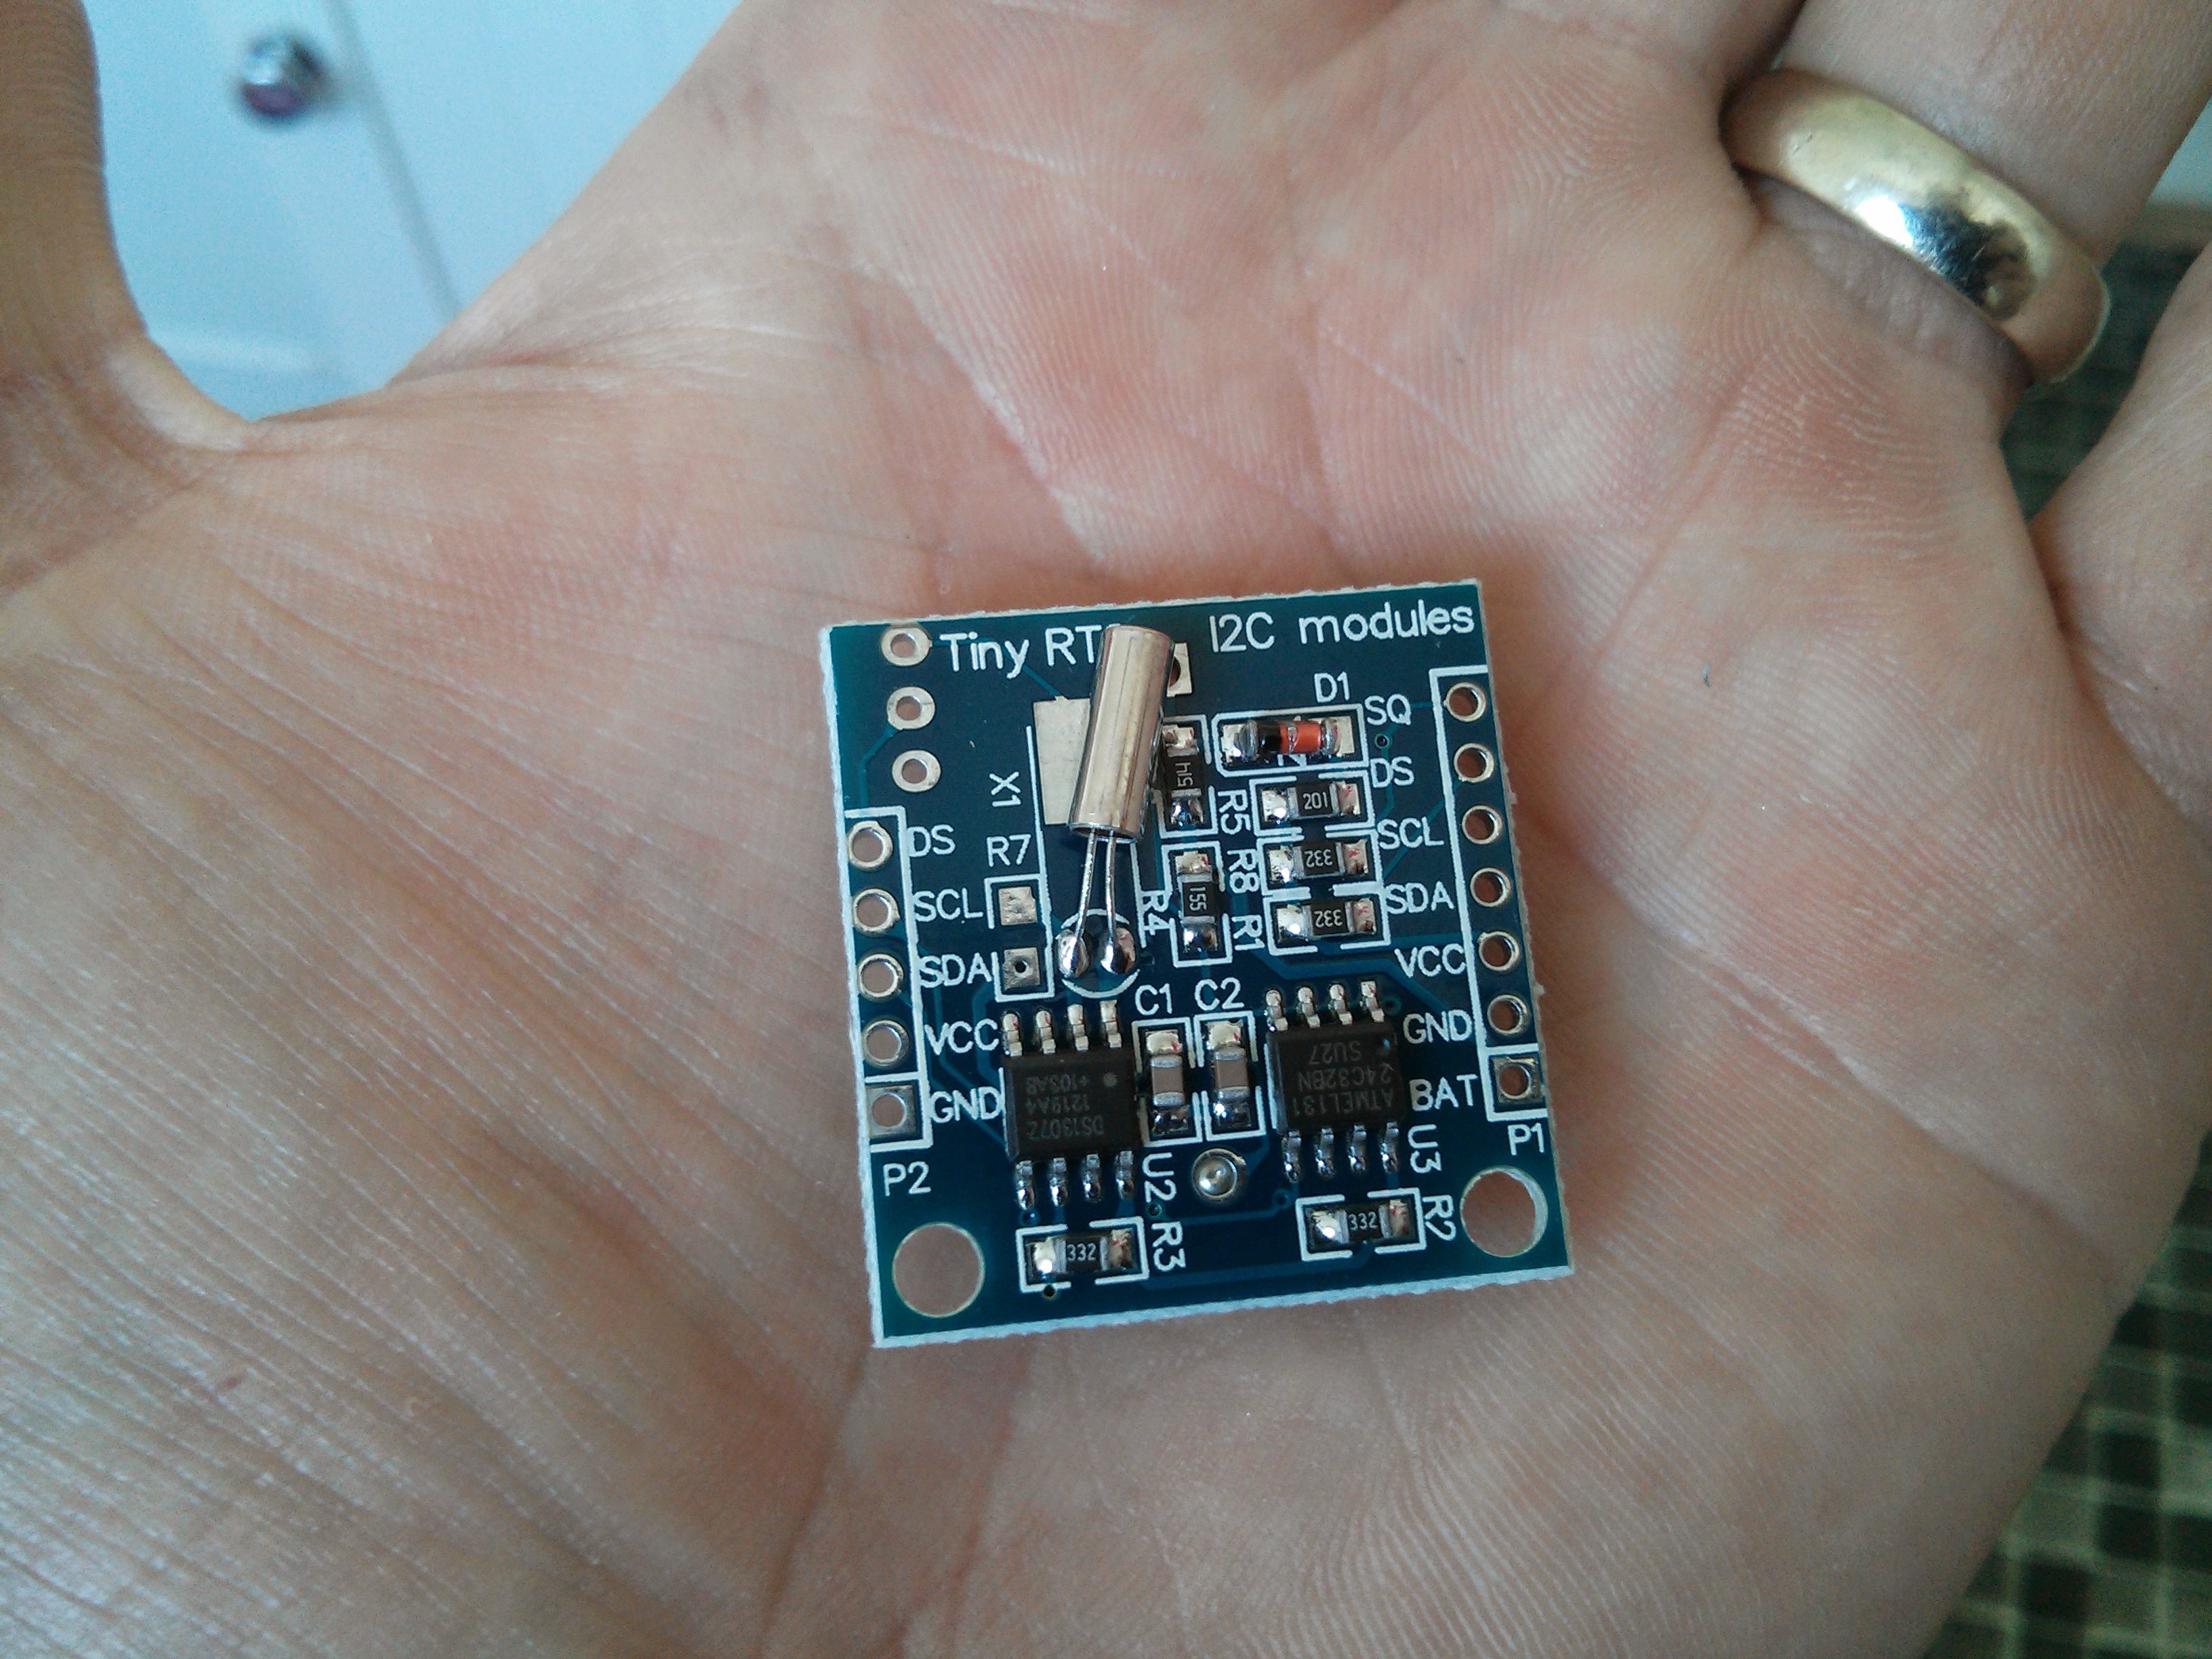
Next up i wanted to add a time function to this project so I picked a DS1307 based breakout board with I2C connection with integrated rechargeable CR2032 cell. This board is great for keeping the time even when the power is off and to count down to a set time or date.
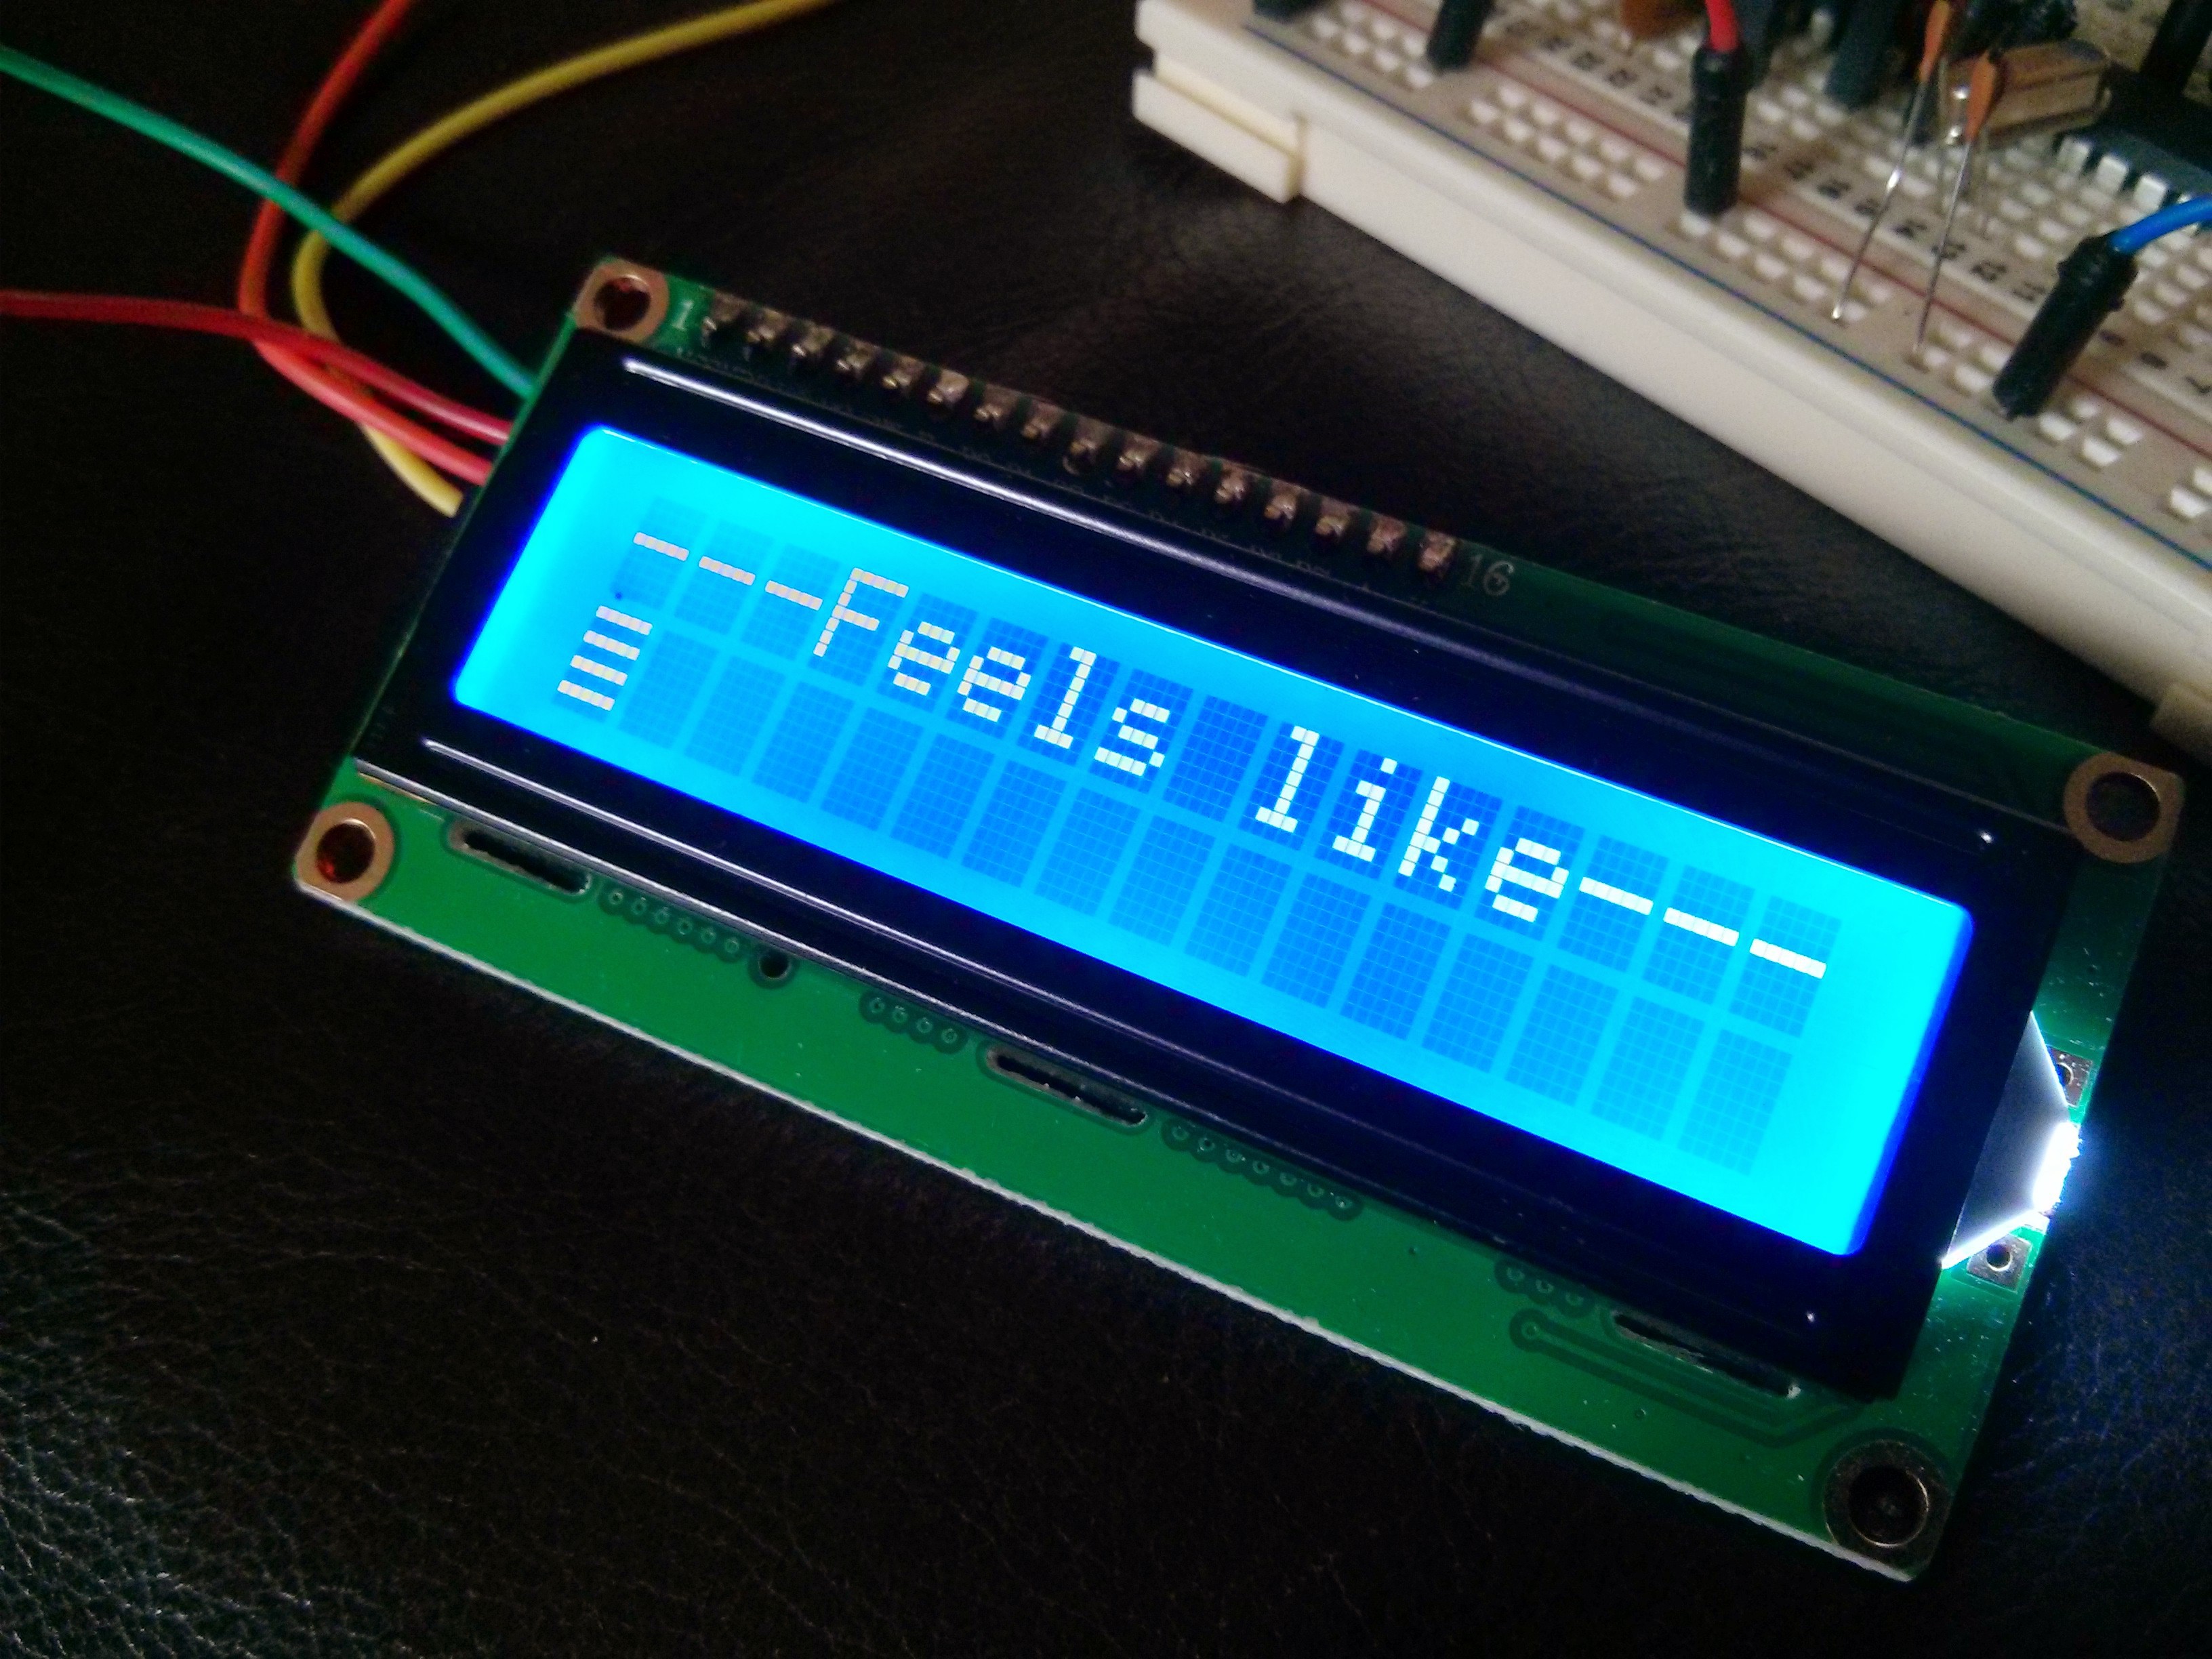
The screen is a 1602 LCD screen with 16x2 character but I found it took up too many pins so i found one with a I2C connections
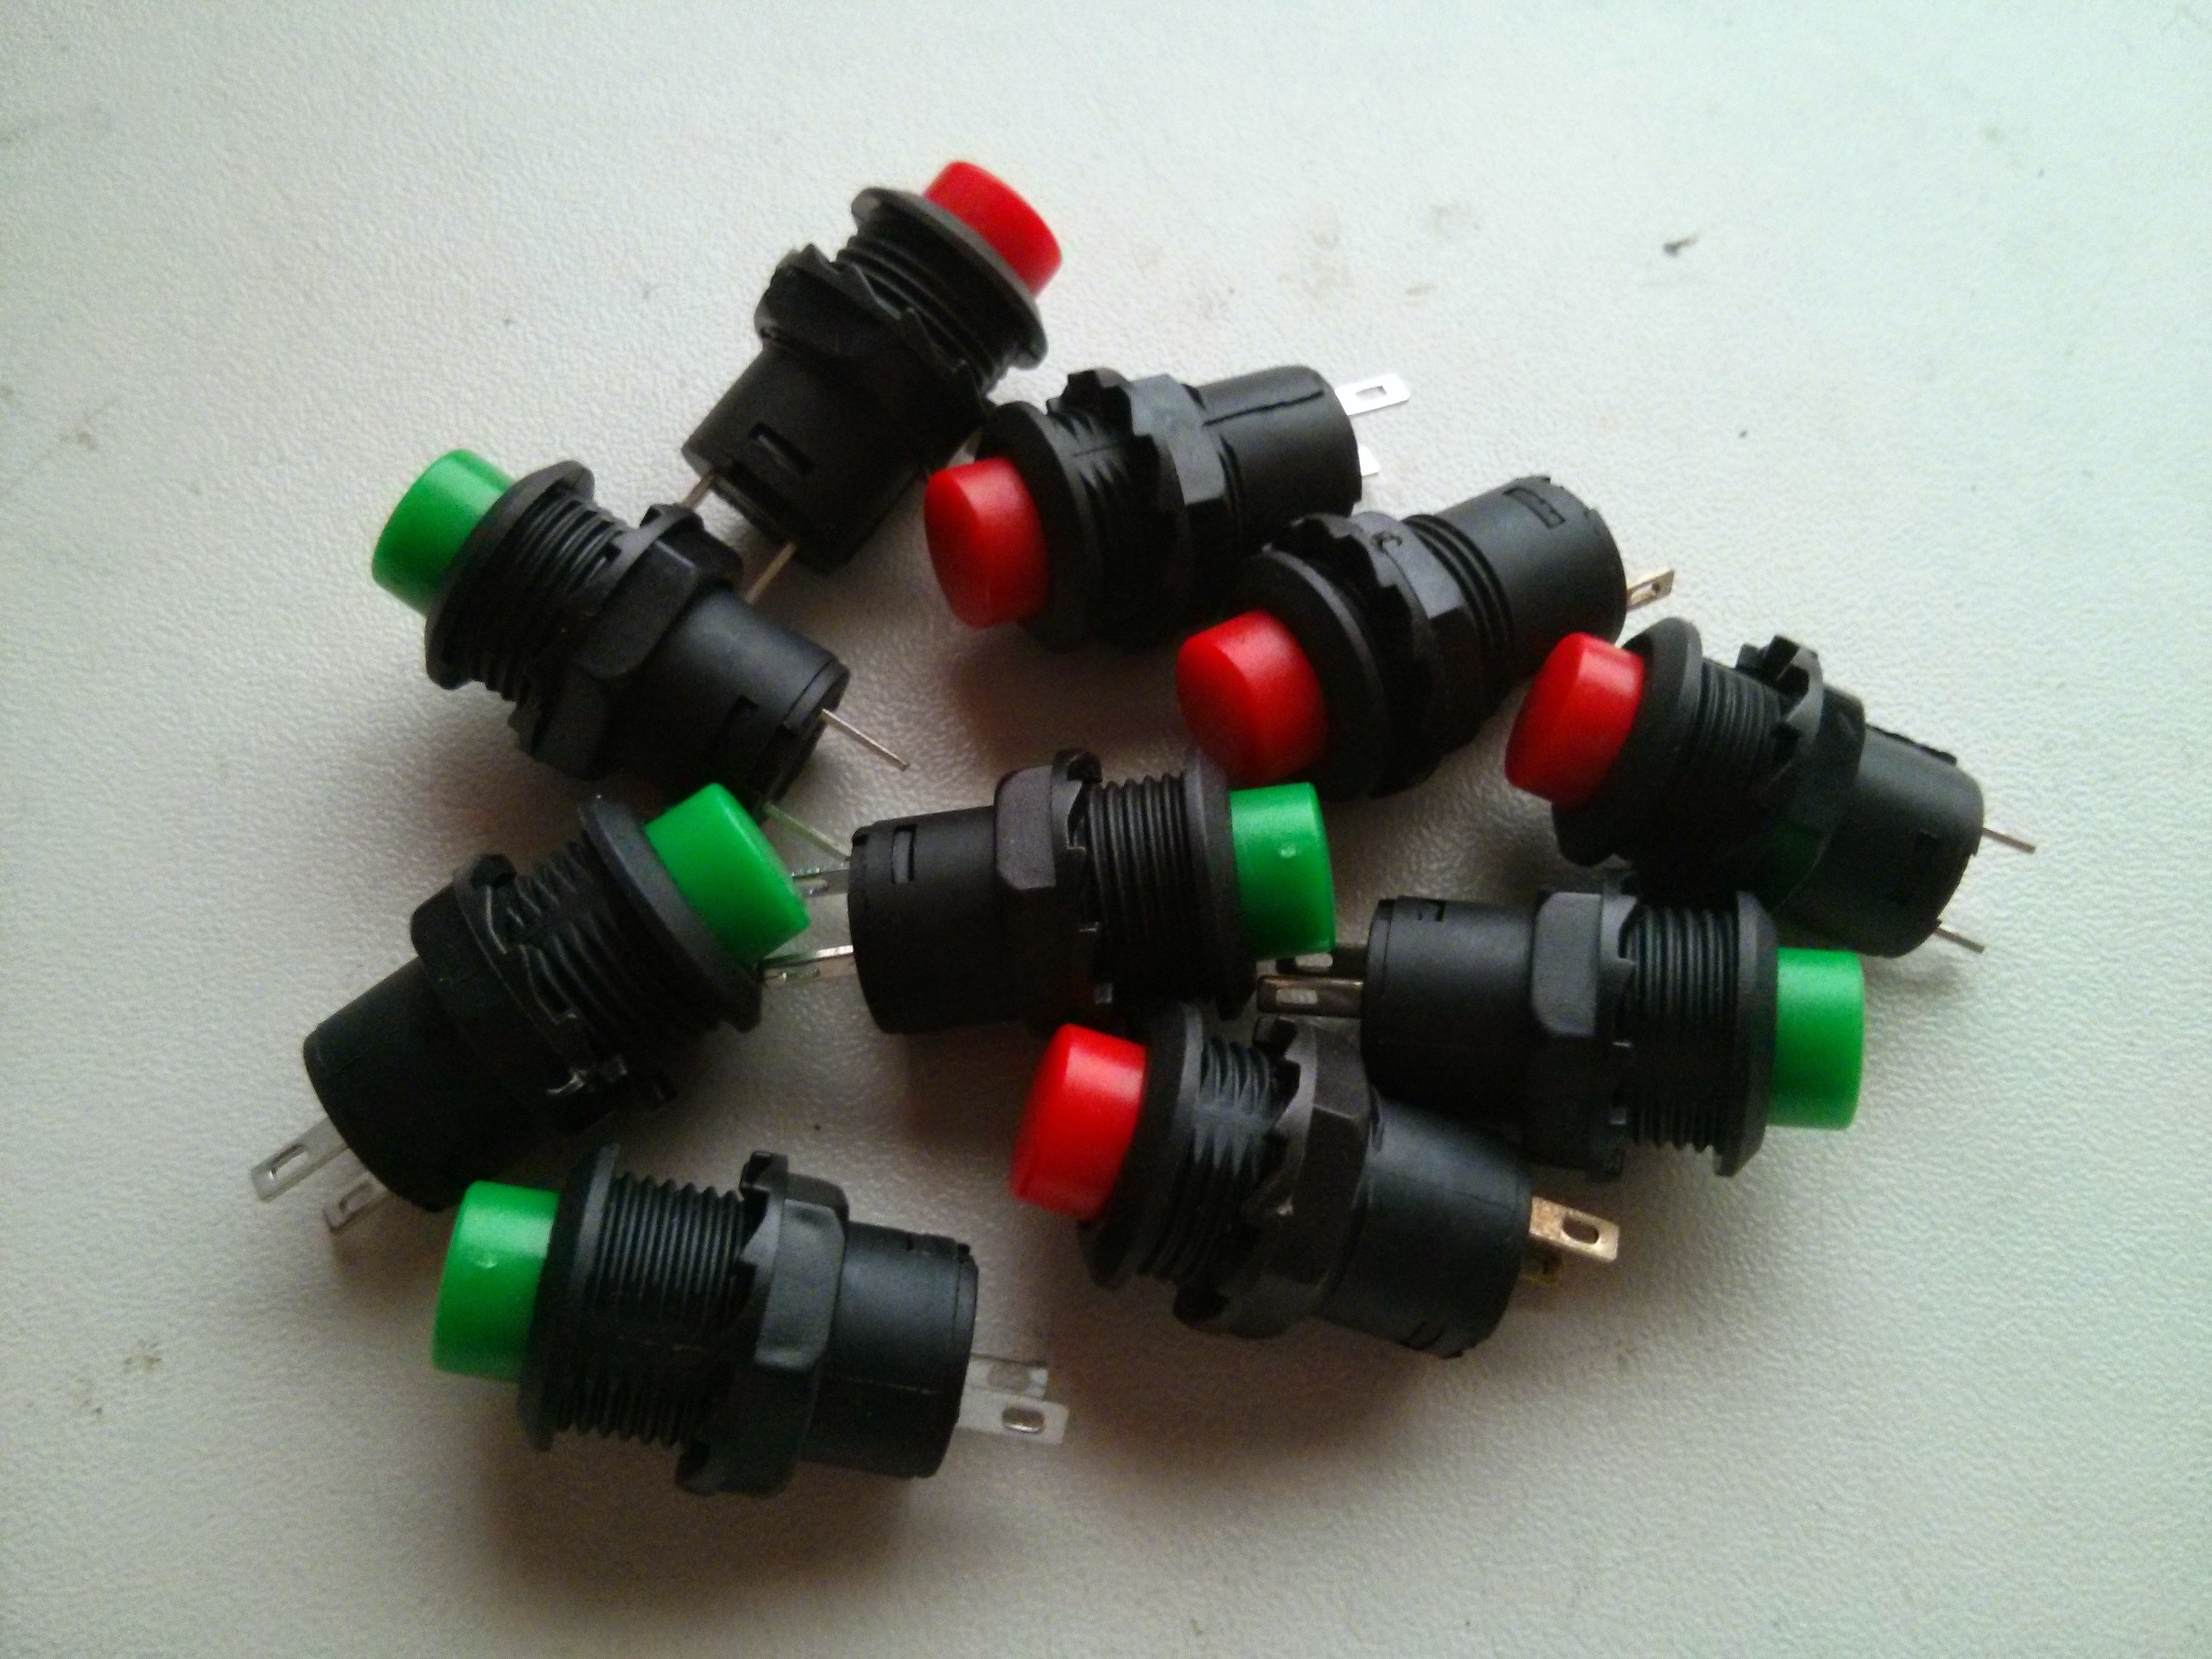
Thought I would add a few button to help furture proof myself for furture updates and added functionality when i need it. Took me awhile to find the perfect button because i wanted them to be quite small but still look good so I setteled on these ones with a 12mm diamitor hole to mount them
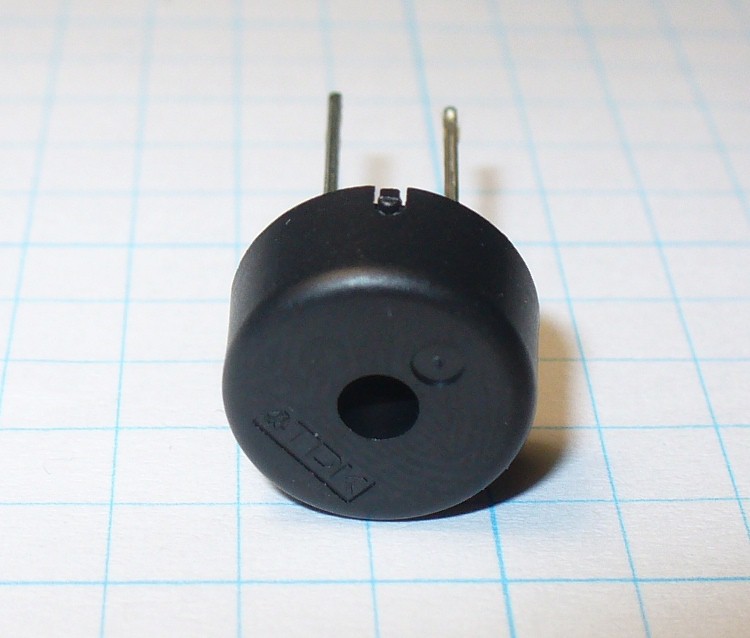
I also added a small piezo speaker to use as a alert or alarm with the clock.
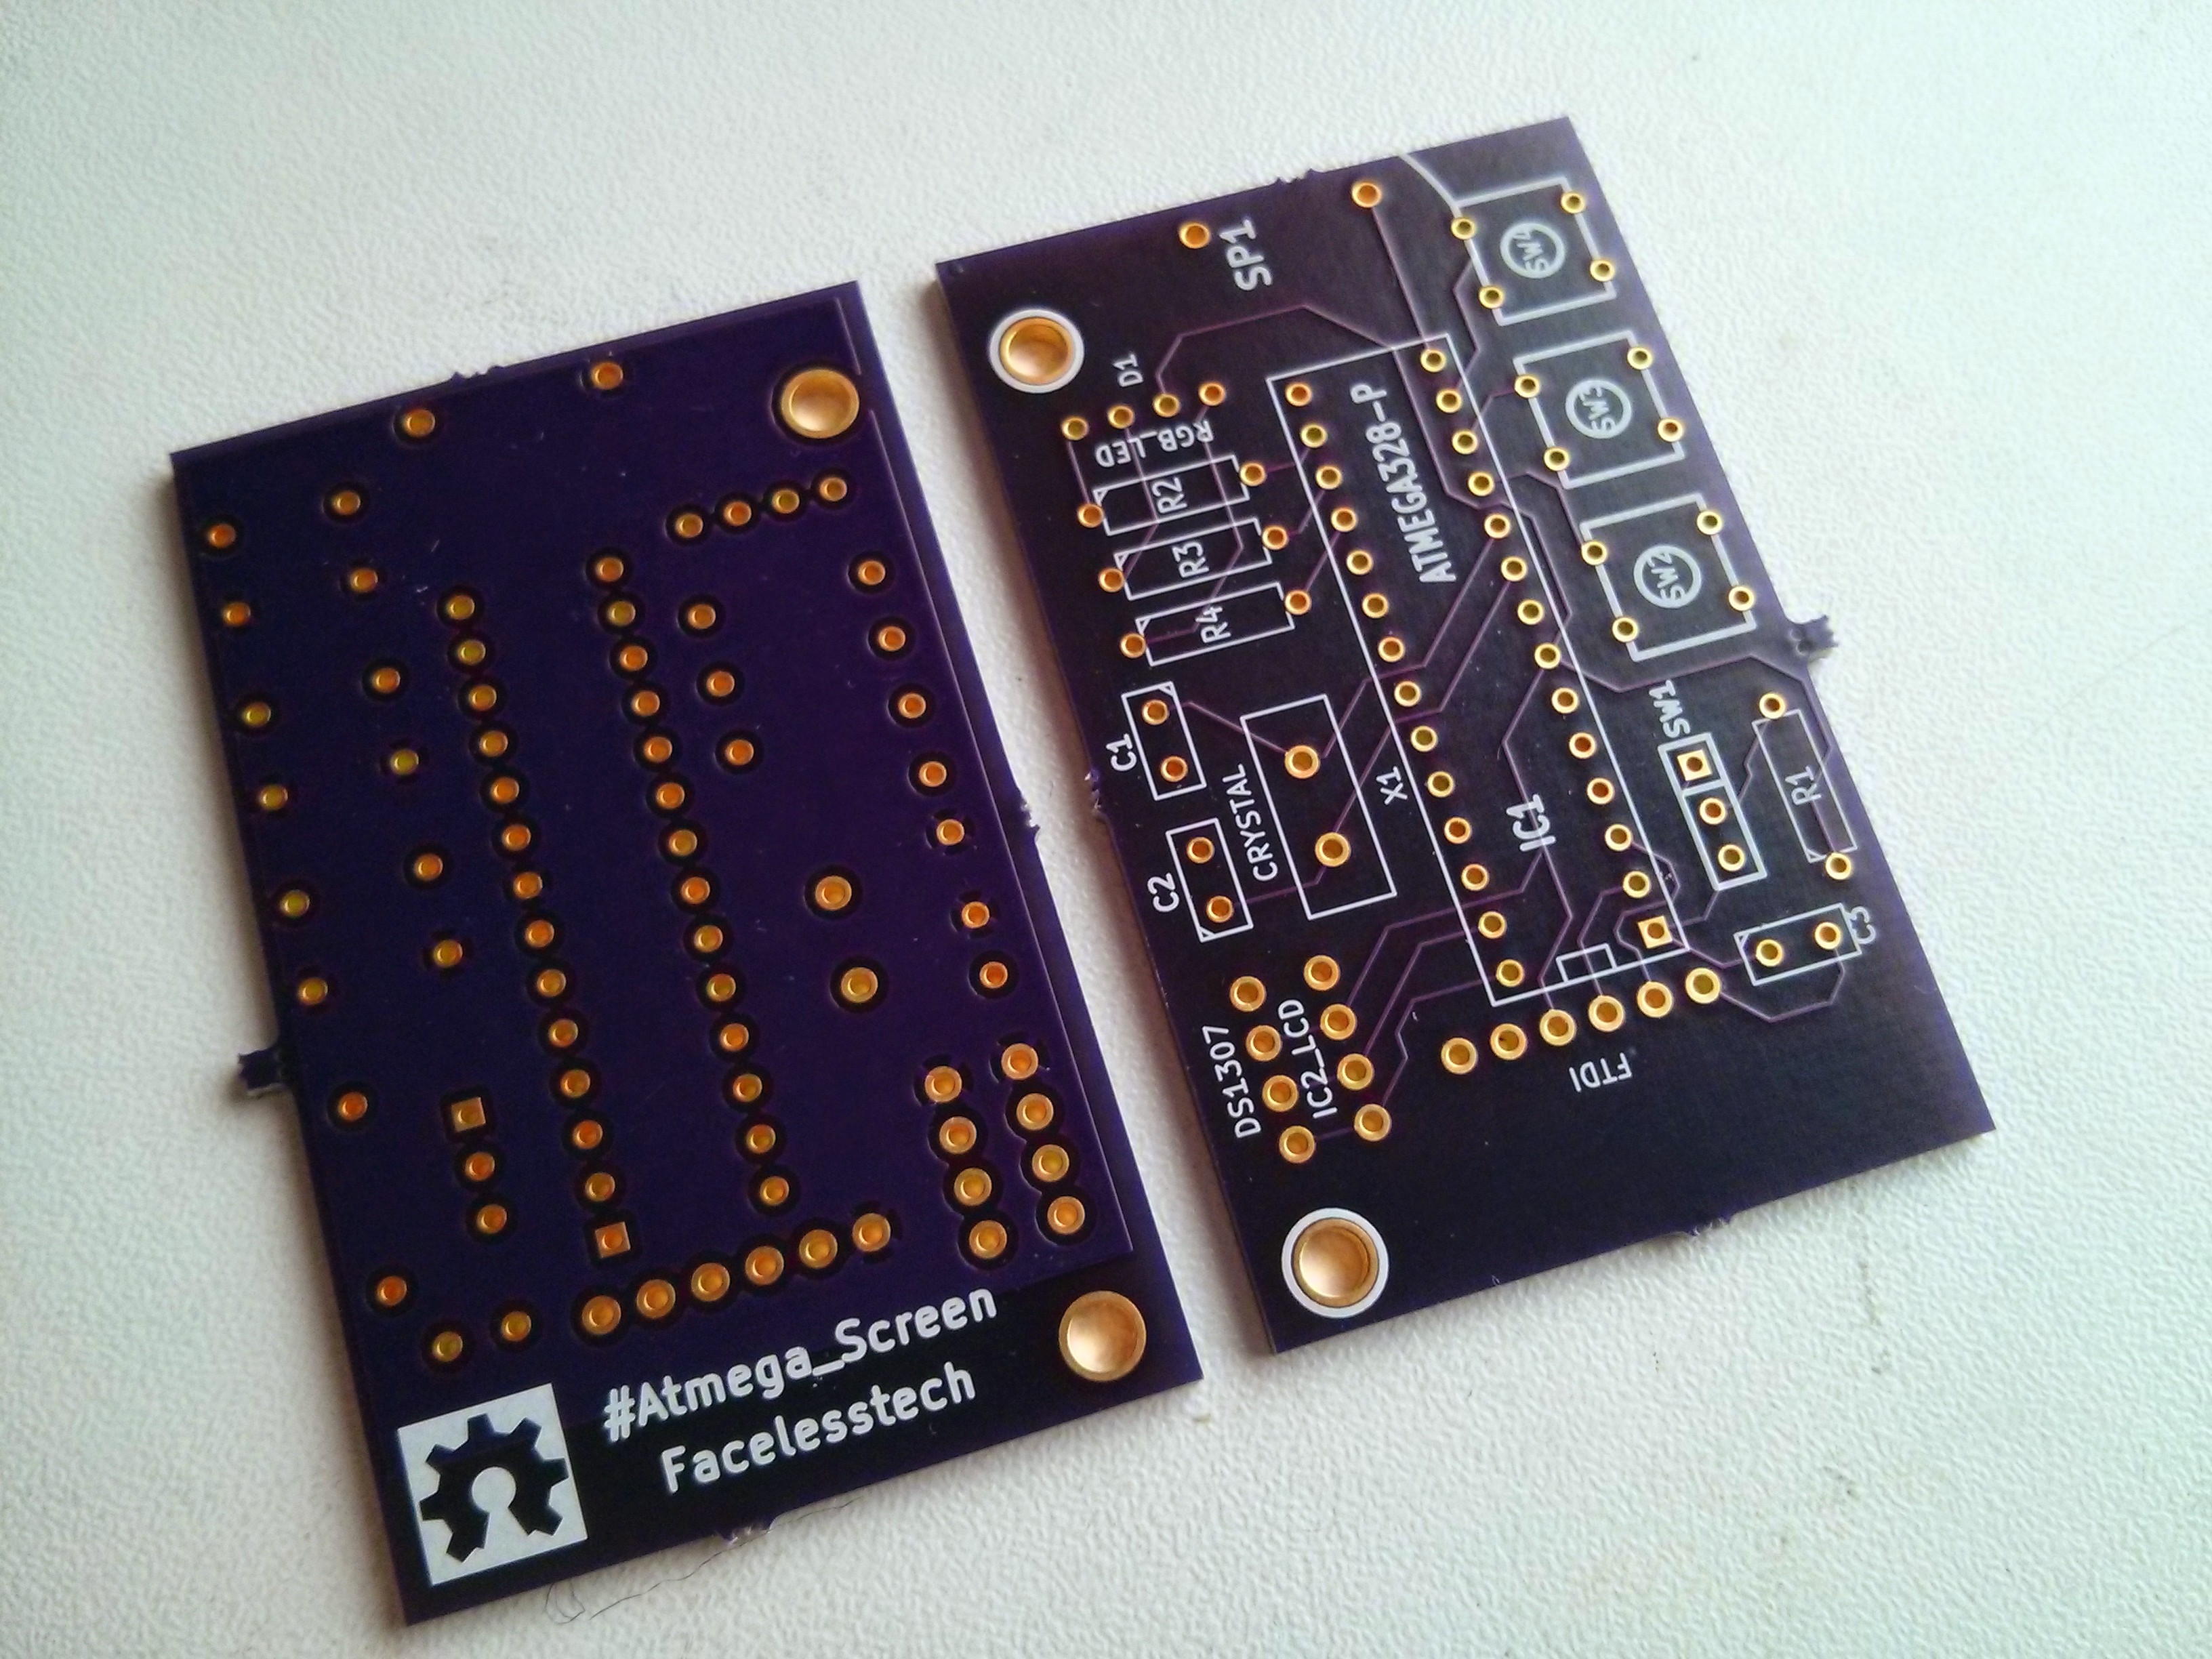
To tie all these things together I design my own PCB and got it spun at oshpark hence the awesome purple PCB. This was my biggest most ambitious PCB I had designed to date
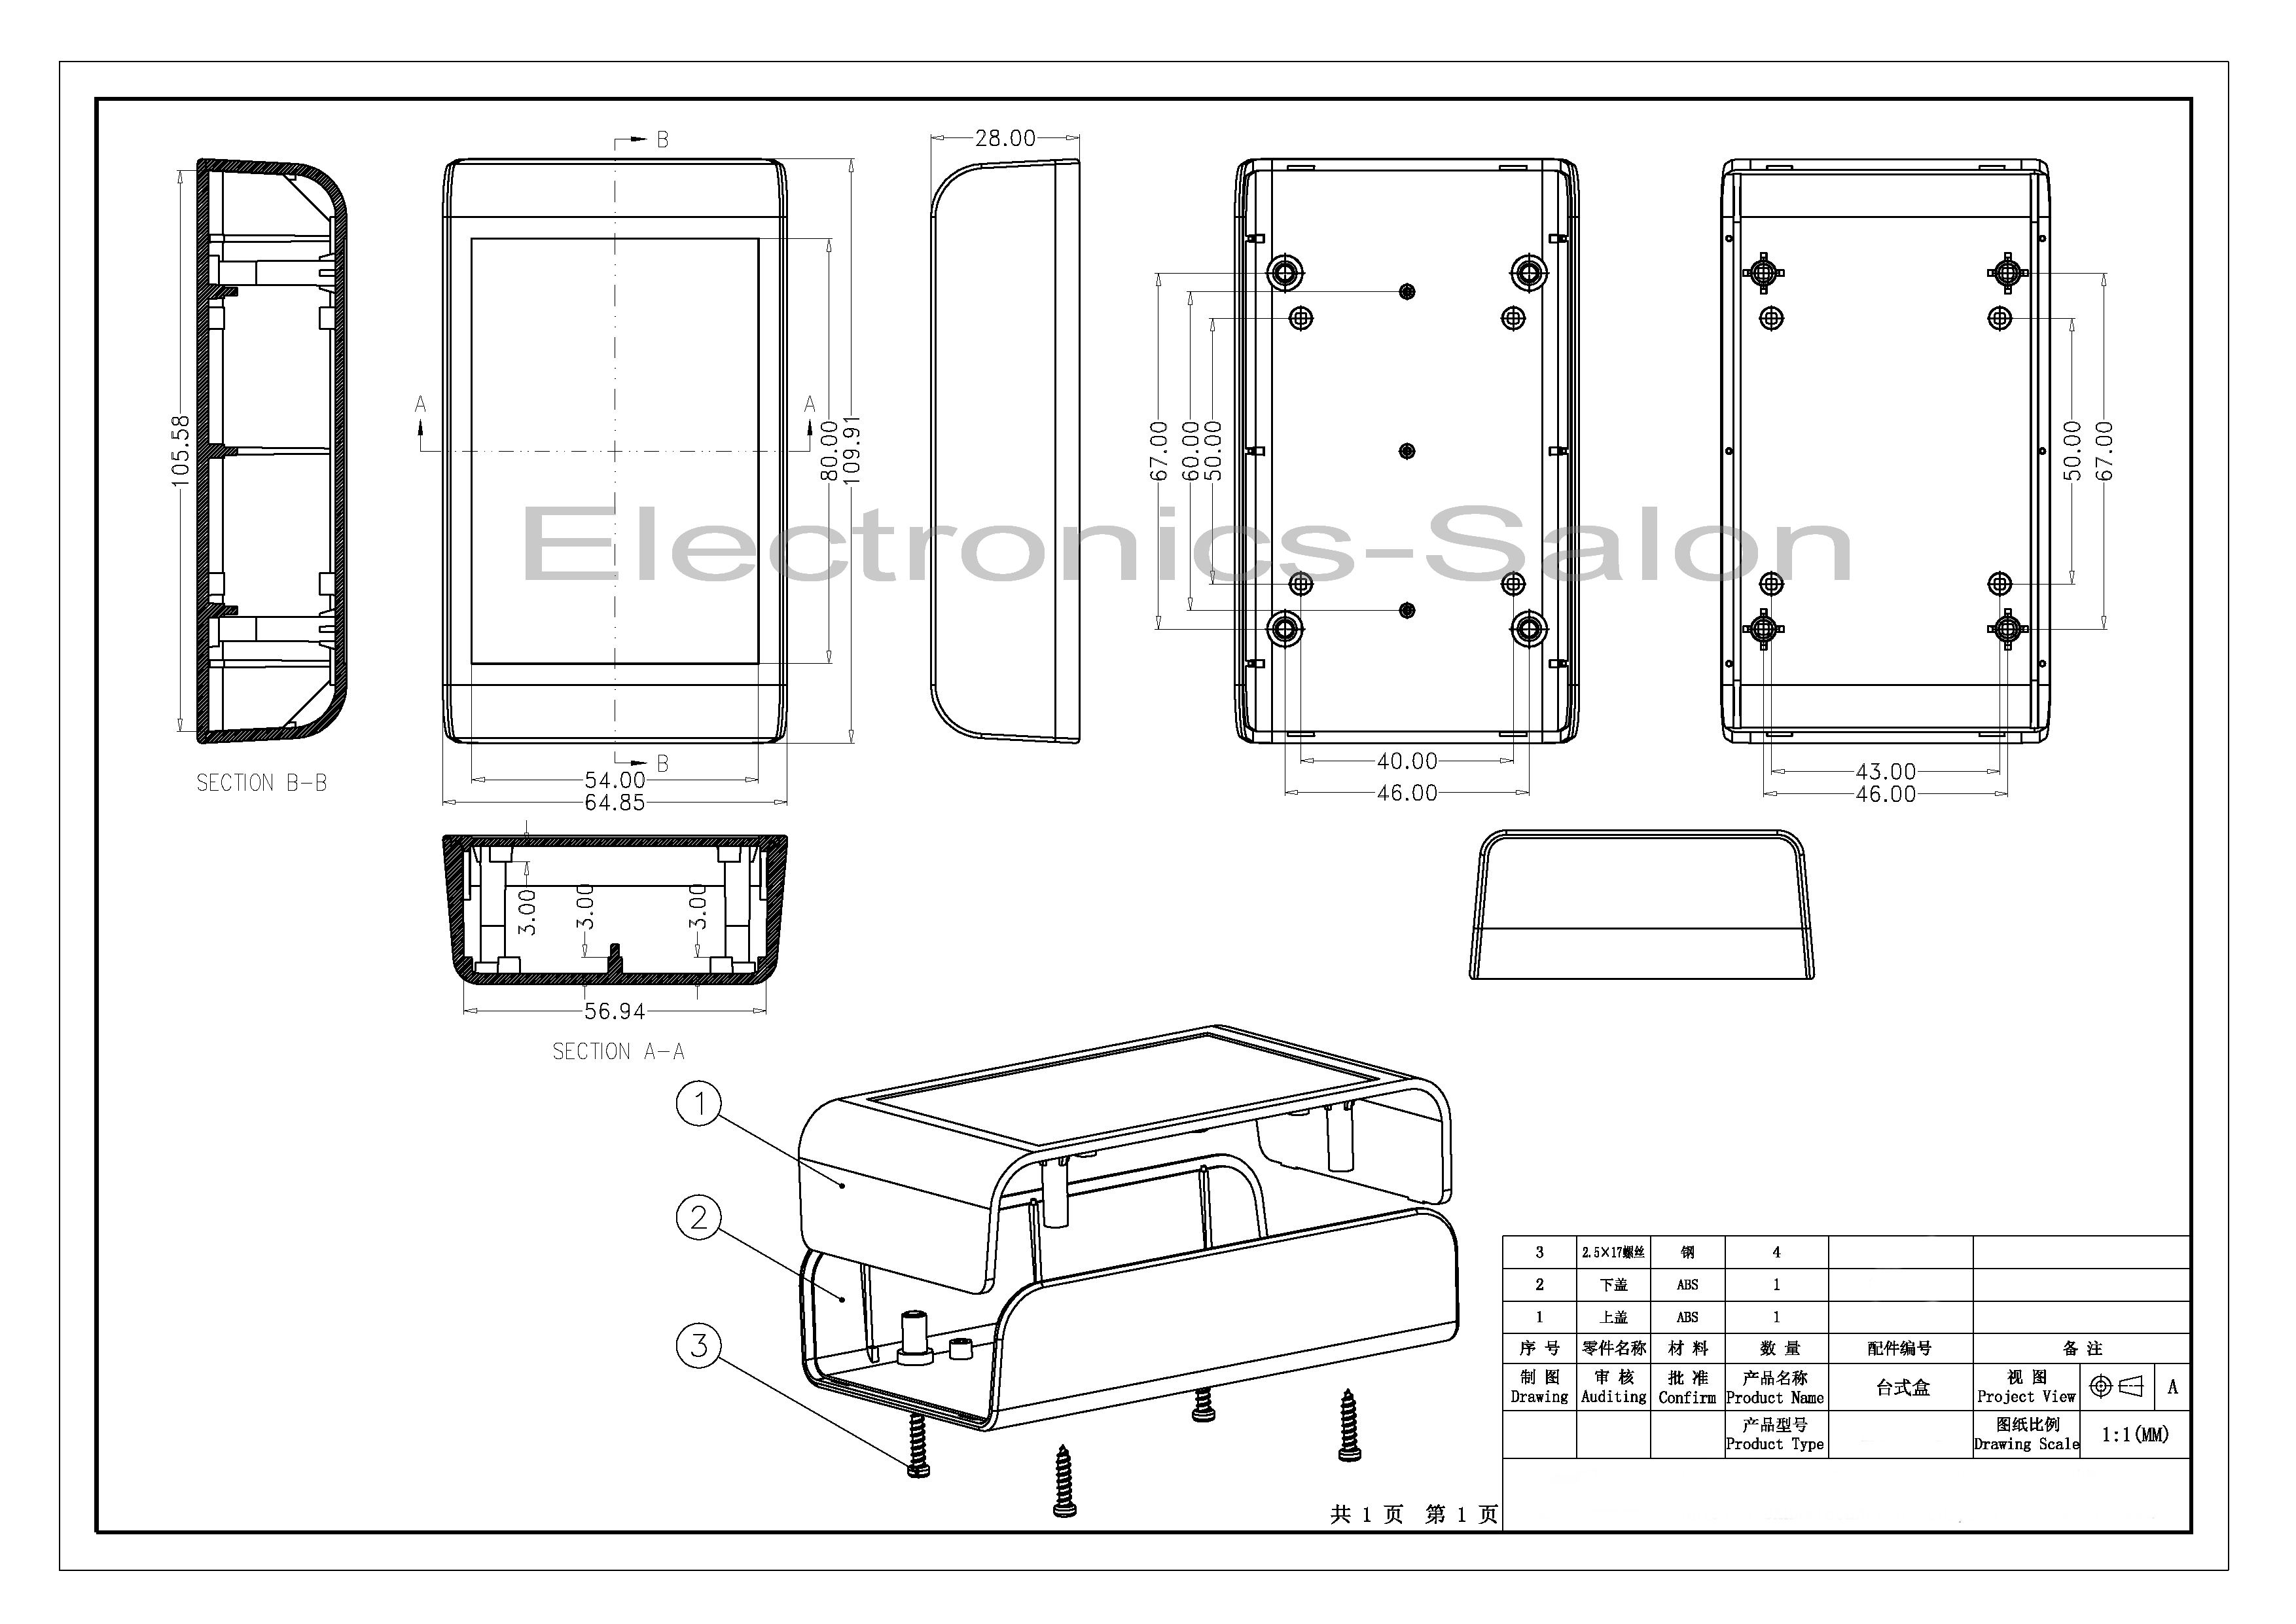
But the thing that made this project the way it is was the enclosure i found on ebay. what set this encloure apart from the rest was the sell provided a very detailed drawing of the enclures with all the dimesions you would need to properly design your PCB to fit. Here is the awesome drawing of the enclosure I used and a link to the full size image
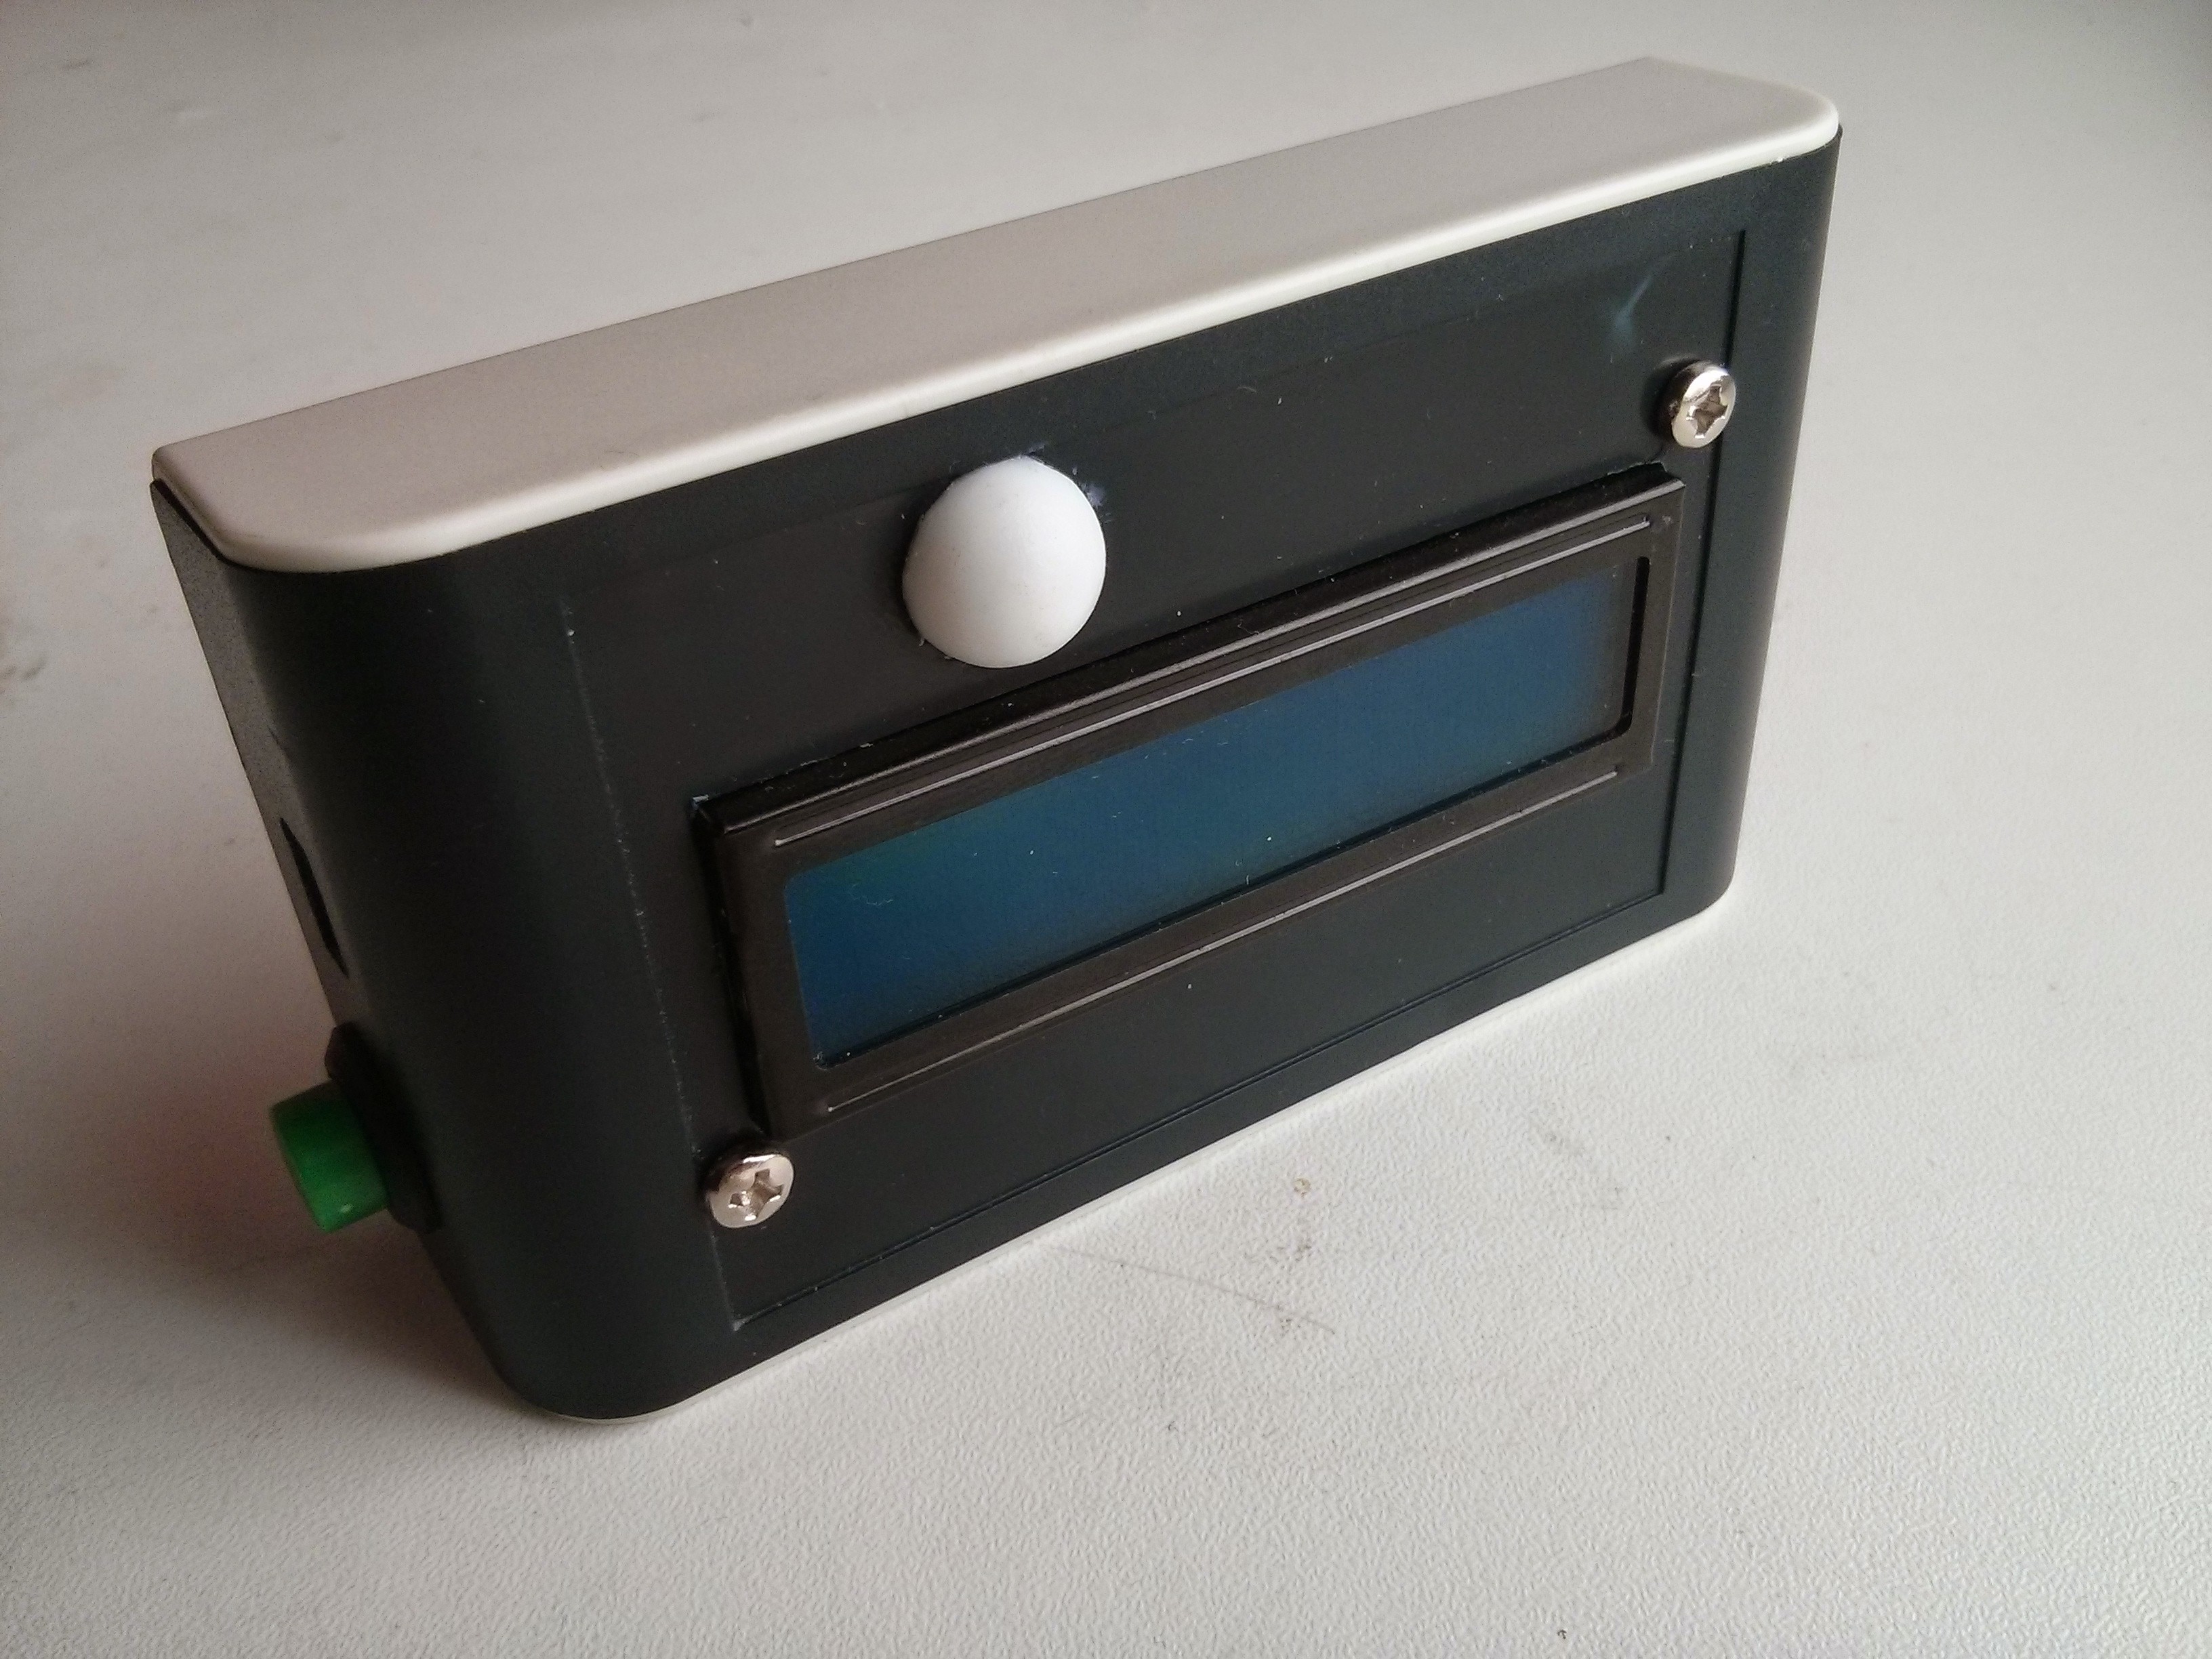
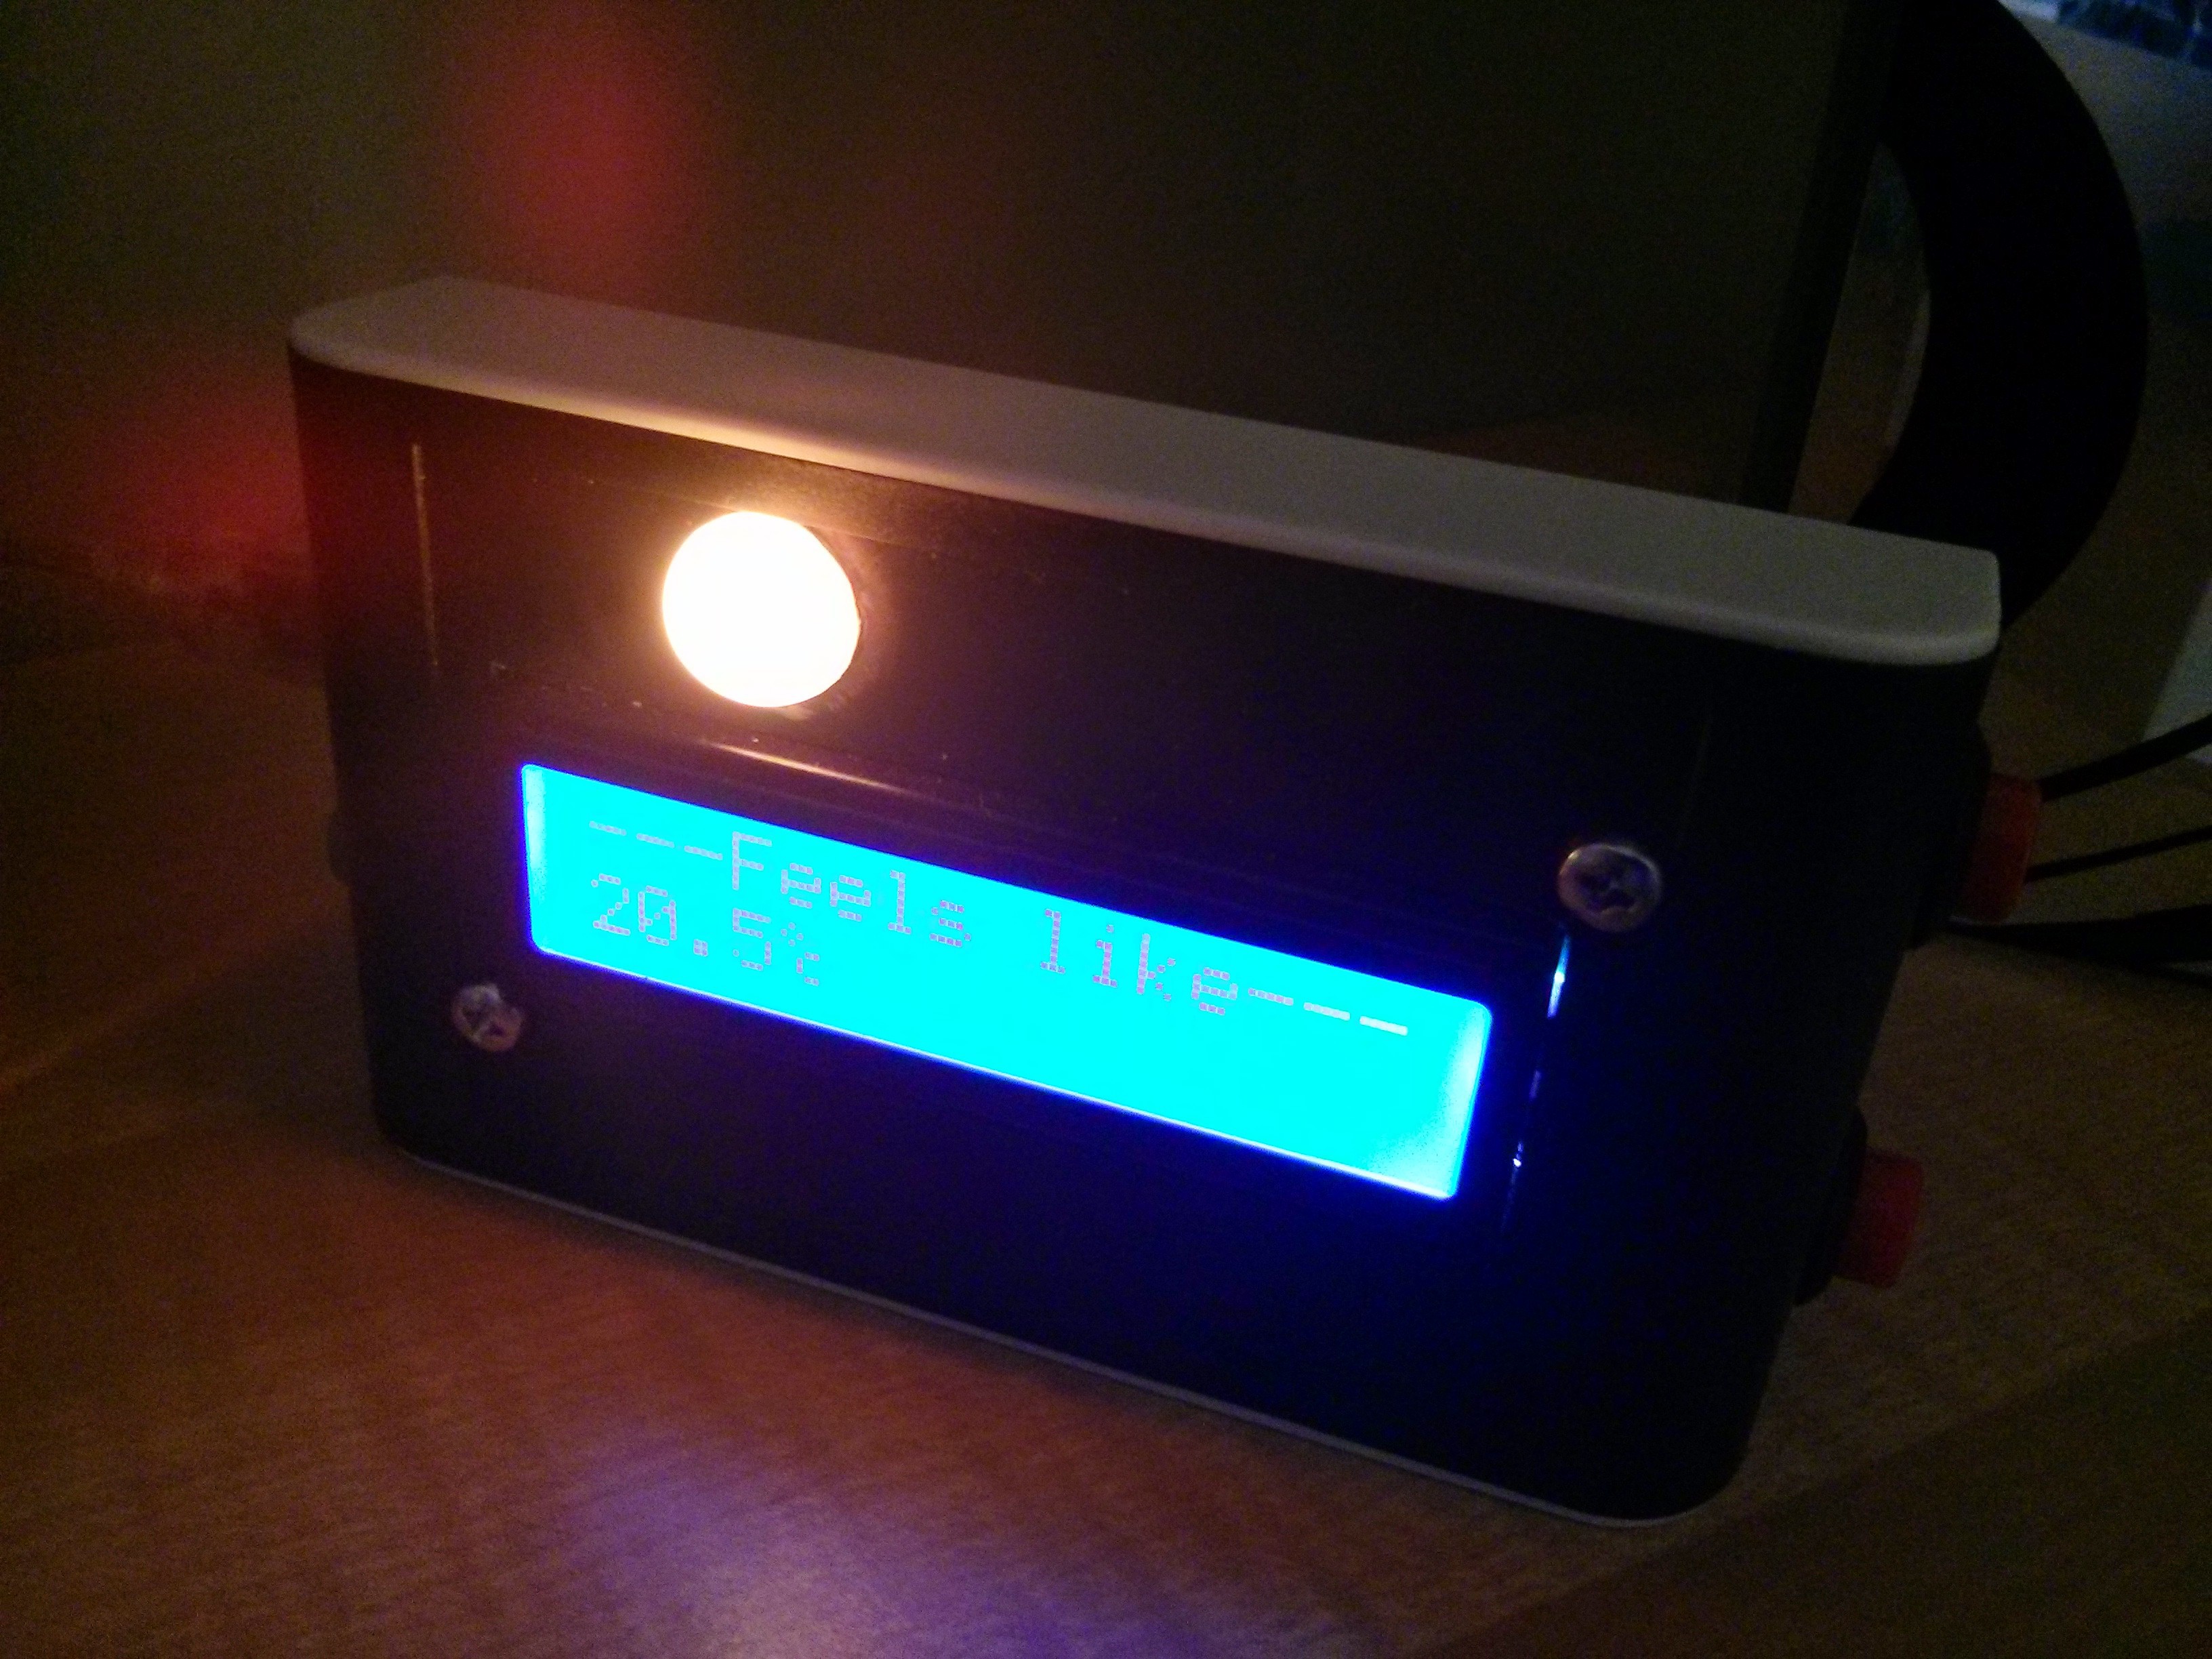
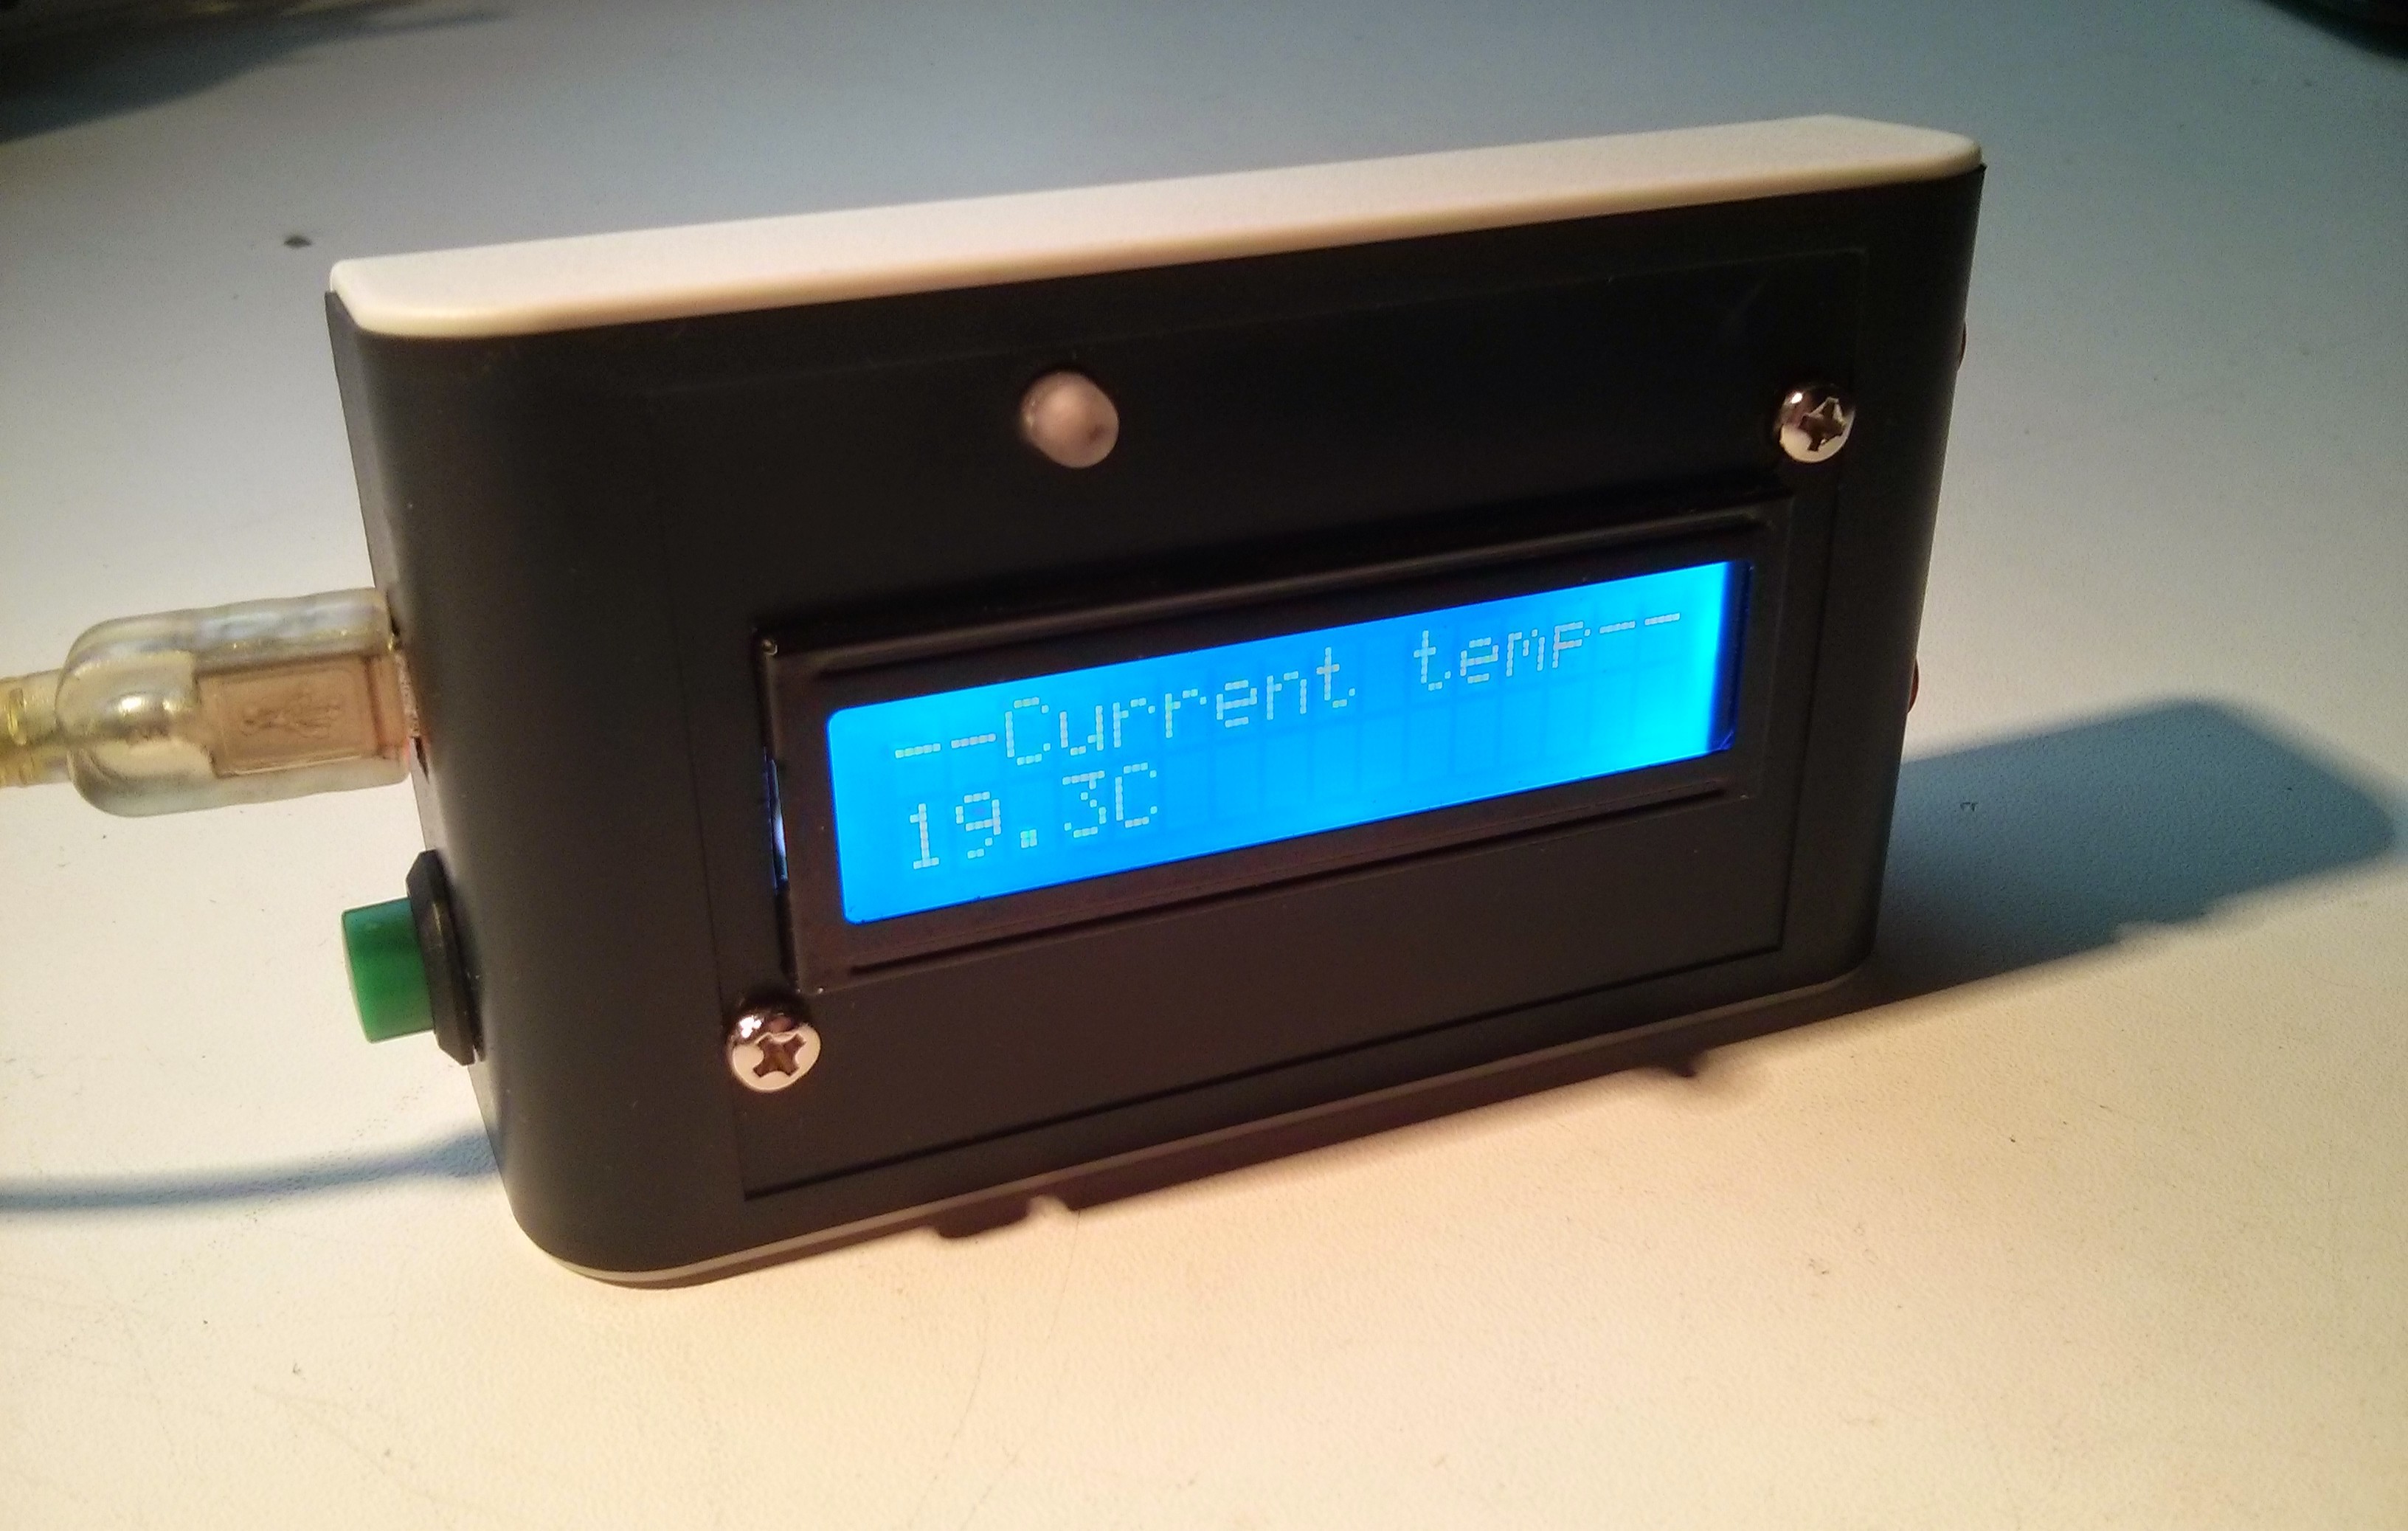
Heres a photo of the finished product. Im really happy the way it came out.
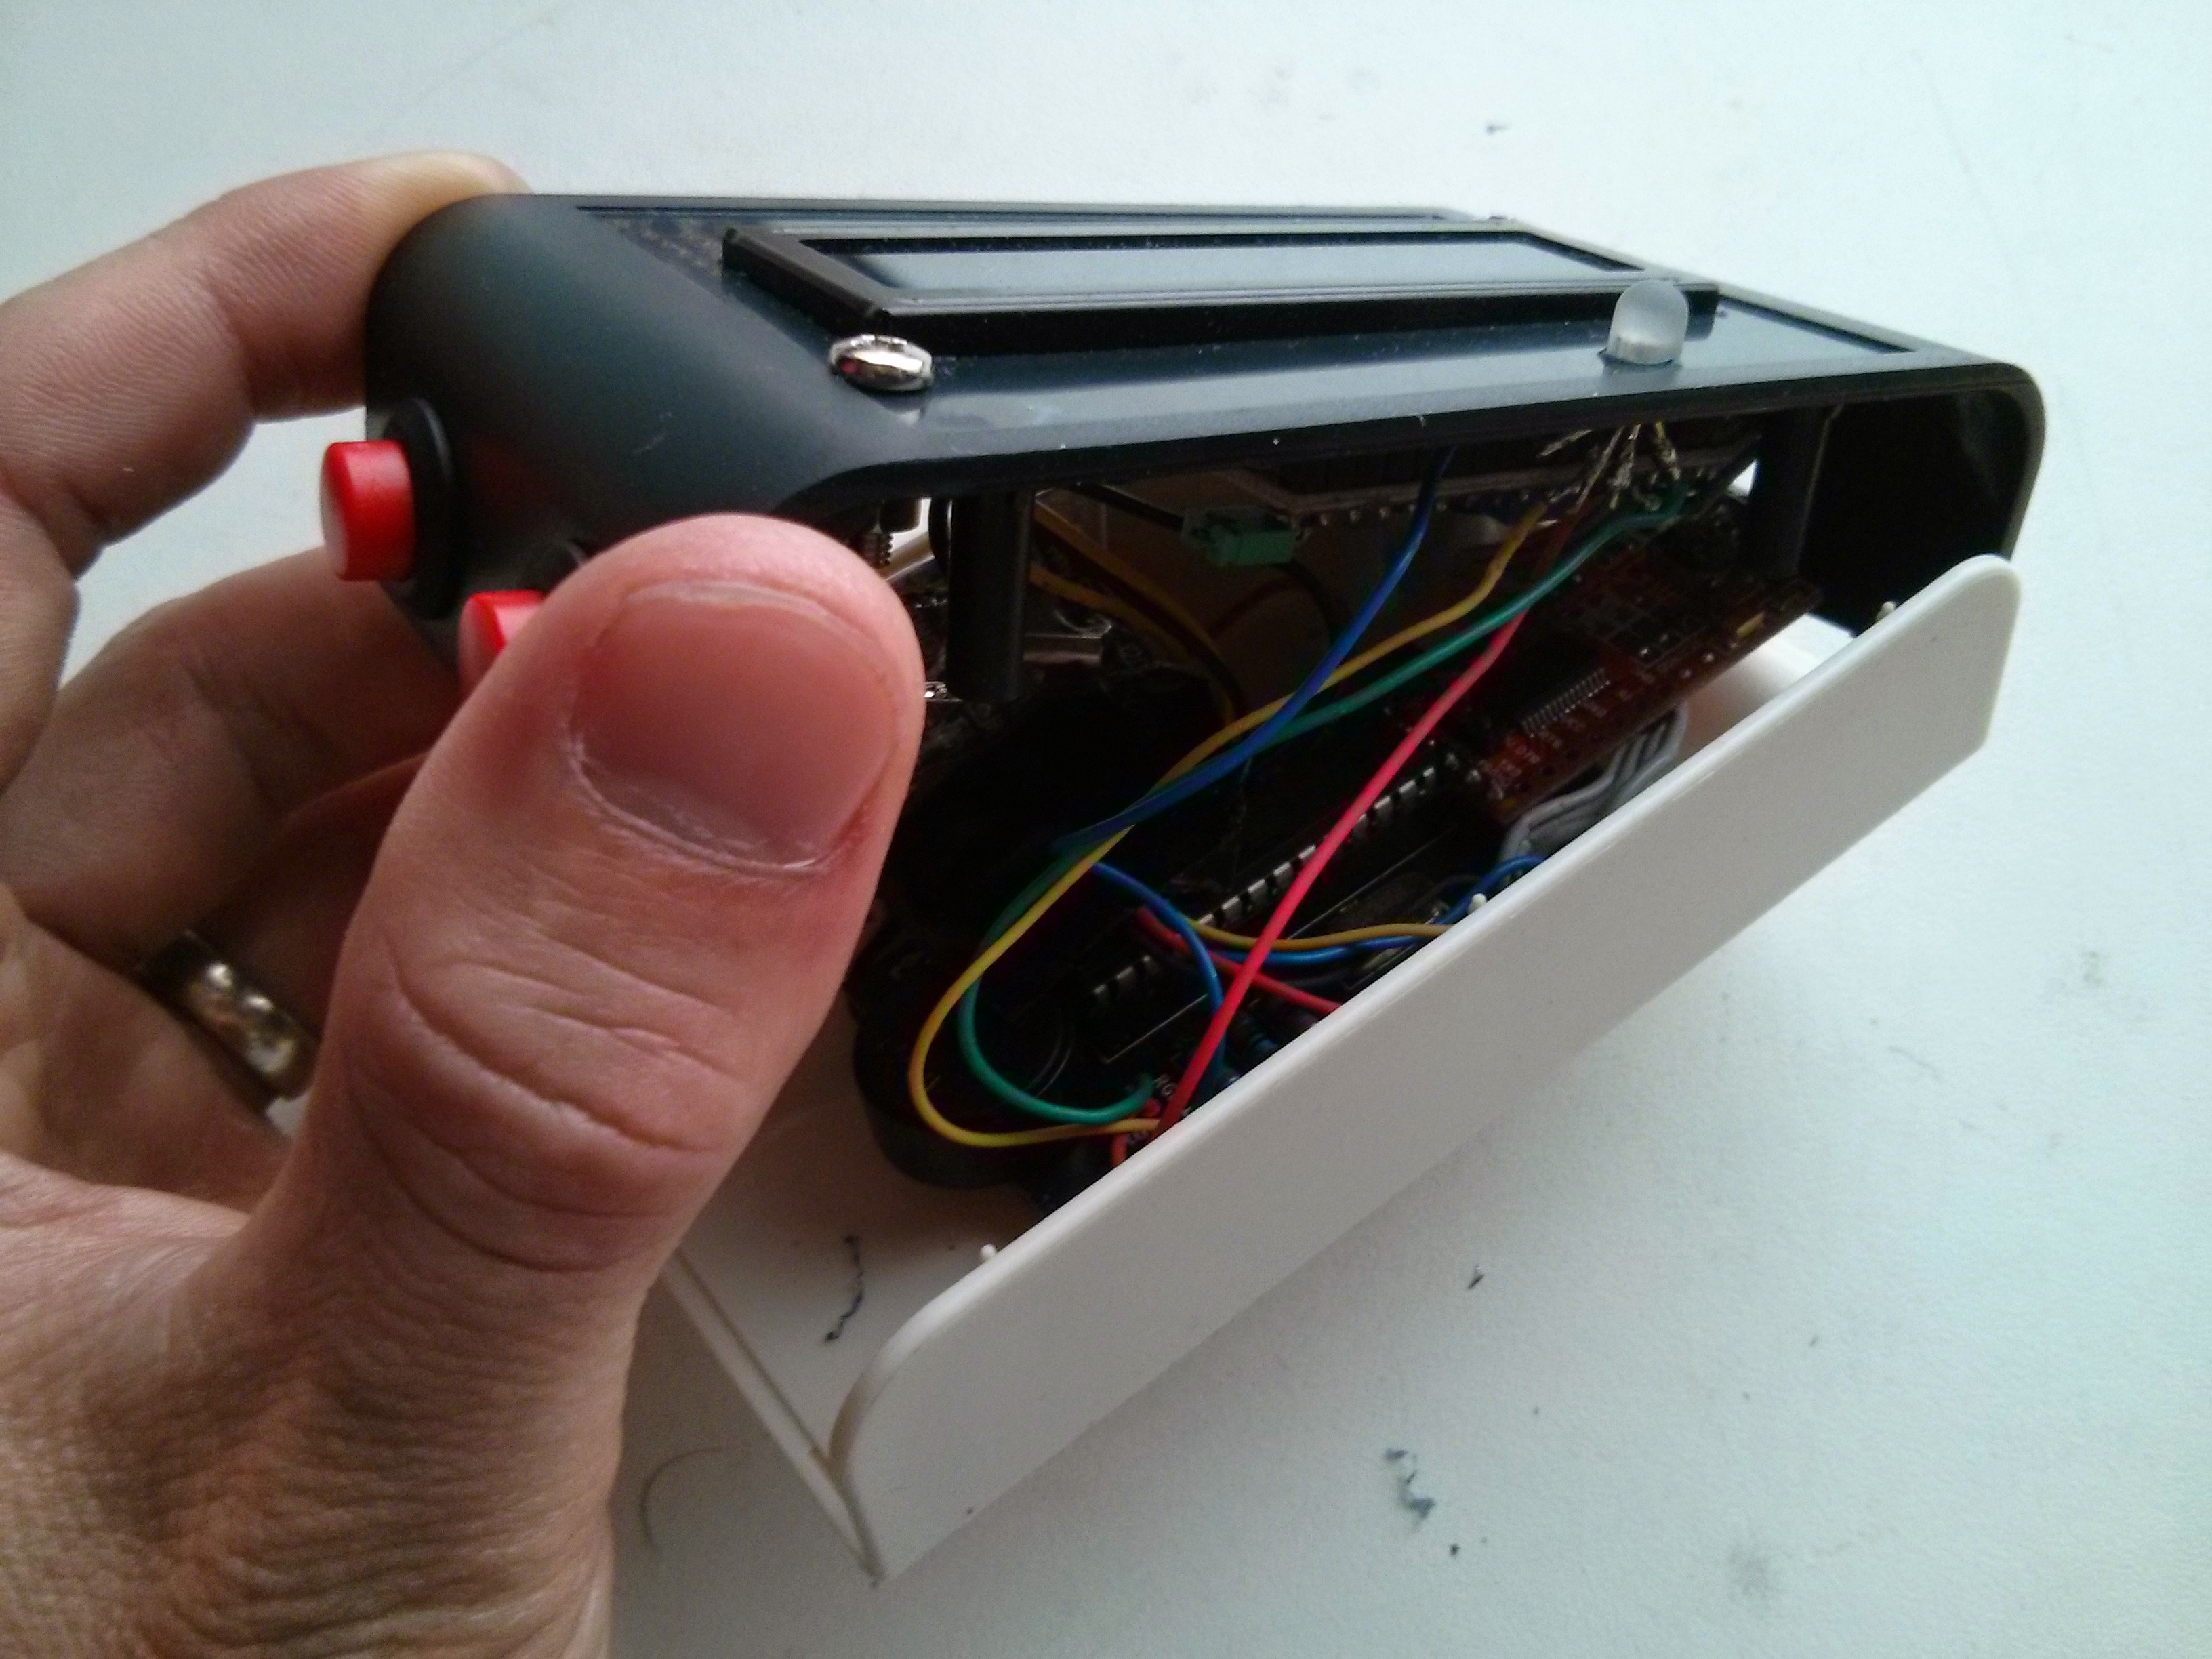
I had a job to cram everything in. Even with a custom PCB its a bit of a rats nest in there. This has to be my tightest packed project to date
Ive made a quick over view video of the weather sketch running on atmega_screen
Also here is the stock ticker sketch which pulls data from yahoo rest stock api
Here is a basic system diagram of how the #atmega_screen works

 facelessloser