Close
0%
0%

CHANGER - a toolchanger new interpreted

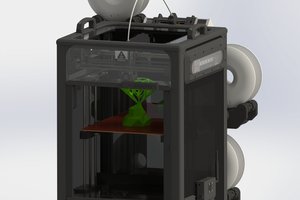
CHANGER - a motion system which can be used for advanced 3D-Printing with up to four materials, PnP, PCB-Milling, Layer inspection, etc...

Similar projects worth following
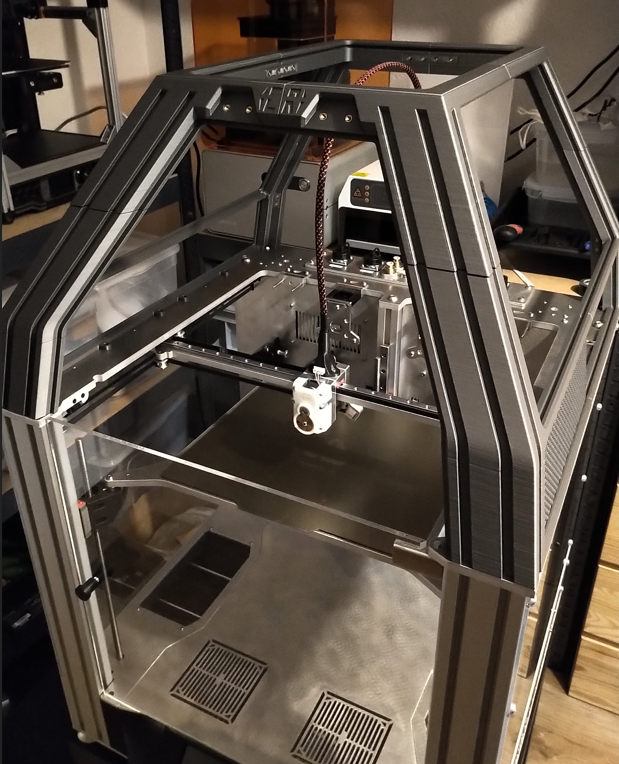
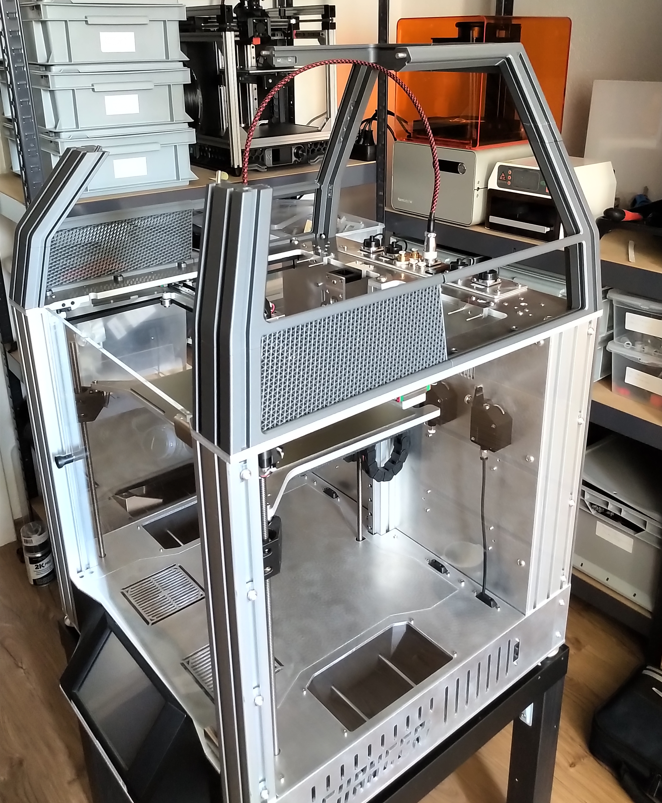
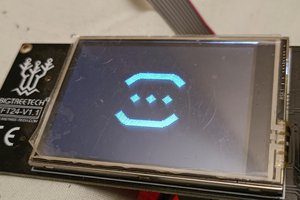
I've had the idea of a toolchanging 3D-printer/motion system for quite a while and started with some concepts to have the same utility as modern cnc milling machines (easy toolswap, fully automated calibration etc.). Approximately one year later I saw the first prototypes of the E3D-Toolchanger and quite liked the toolchanging head and followed the project to see if the toolchanging head improves over time. For my purpose a tested toolchanging head with a proper QM would allow me to focus on the boundary conditions of such a system (interfaces, watercooling, ultralight directdrive printheads, autocalibration of the tools, smart tools with NFC-capabilities). Other than that this System is fully customized with watercooling, HEPA-Filtering, kinematic coupled Z-Axis for non-planar-3D-printing, Air/Vacuumpump for cooling or PnP (vacuum), status LED under the Touchscreen shows progress, optionally: automated loading of the filament, etc. ...

Important Note: This Project is still work in progress and will be officially released with a proper YT-trailer.

Current To Do's:

  • Testing the directdrive toolhead
  • Decision for top-lid/enclosure
  • Testing custom tFreeN.g, tPre.Ng and tPostN.g macros
  • Calibration tool for the toolhead ((0/0) in center of Bed)

Future goals:

  • Camera calibration of the toolhead relative to the docking positions
  • Camera calibration to determine the tool offsets quickly and reliable
  • PrusaSlicer derivative with full control over different toolheads (plotting, printing, dispensing etc.)
  • Custom GUI for the printer

Inspirations:

As already mentioned I've used the CAD-files from the released E3D-Toolchanger (https://github.com/e3donline/ToolChanger) for a start. I quickly noticed that the E3D-guys didn't use standard parts such as the standoffs etc.

I therefore I started to fully customize the toolchanger with standard parts and heaviliy modified the frame and all of the motion parts.

The standard E3D uses a monorail printbed which works just fine but I will be able to perform non-planar-3d-printing (https://hackaday.com/2016/07/27/3d-printering-non-planar-layer-fdm/) with a always perpendicular printing nozzle.

I therfore implemented the kinematic coupled printbed from the jubilee-printer (https://jubilee3d.com/index.php?title=Main_Page) for a first concept. I like the idea of swappable builtplates. 


The consequences of a toolchanger:

Personally I think the motion system such as the E3D-Toolchanger is just the start of beeing called a ''toolchanger''.  A toolchanger in a more general sense gives you the freedom to easily interchange tools and even procedures (pcb-milling, PnP...). To achieve this versatility the most important features are:

  • Defined interfaces/connectors which allow easy toolswap
  • Room for periphal devices such as vacuum pumps, additional electronics etc.
  • Swappable or modular builindplatform

The modular mindset:

There is no doubt that the hurdles are high to create such a system but I think the key is to think and search for overlaps between the functions. An example is the vacuum pump. A common vacuum pumps uses a inlet and outlet connector. One way the pump sucks air in and creates an vacuum (if you block the inlet). On the other hand you have the outlet which blows air out (until you block the inlet). Therefore you can use the pump in the printing configuration to cool your printed part and in the pnp-configuration to create to vacuum and grip the components. To change the configuration you just have to switch between inlet and outlet (manually or with a valve) .

I'm trying to implement this mindset as good as currently possible to reach a high modular toolchanging system.

  • Hinge for front-door

    Simon Wirz09/09/2022 at 20:18 0 comments

    To finish off the top cover I want to add a hinge for the front door. The hinge should open 180° and rest in the upper position as well in the lower. 


    The design process:

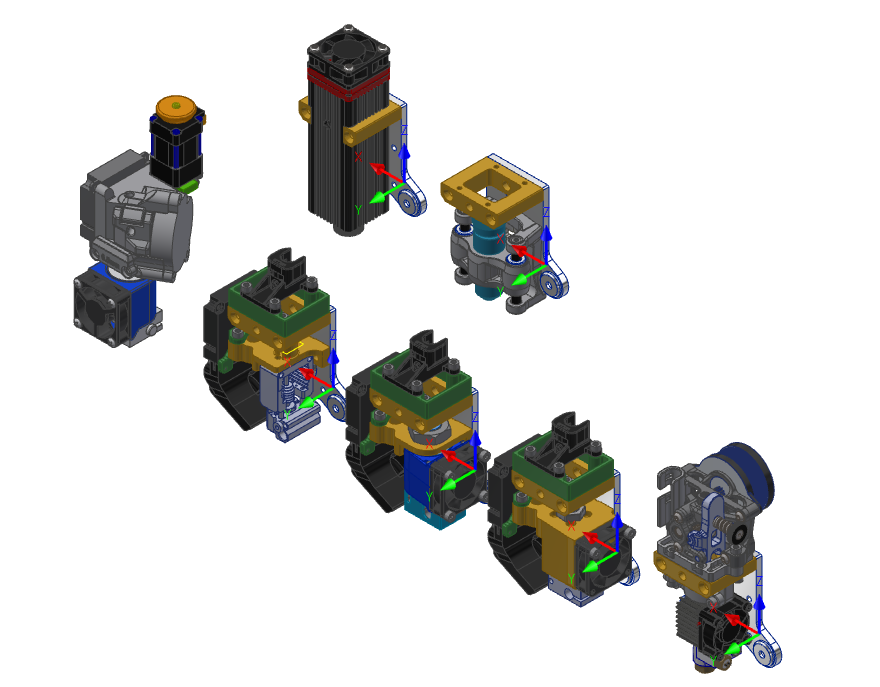
  • Tool-Log: Tool overview

    Simon Wirz09/04/2022 at 10:13 0 comments

    Because my main-goal is to create a large variety of tools for my CHANGER I've created an assembly file with all designed tools. In Addition I've measured the toolplate offset relative to the endstop (z-Endstop). The centerpoint of the toolplate is then added as a individual coordinate system which allows to quickly output the offset of new tools. In order to get the offset of a tool you just measure center of the nozzle, spindle etc. relative to the coordinate system and you'll get the values for Duet. 


    Current Tool's:

  • Tool-Log: Dragknife

    Simon Wirz09/03/2022 at 21:24 0 comments

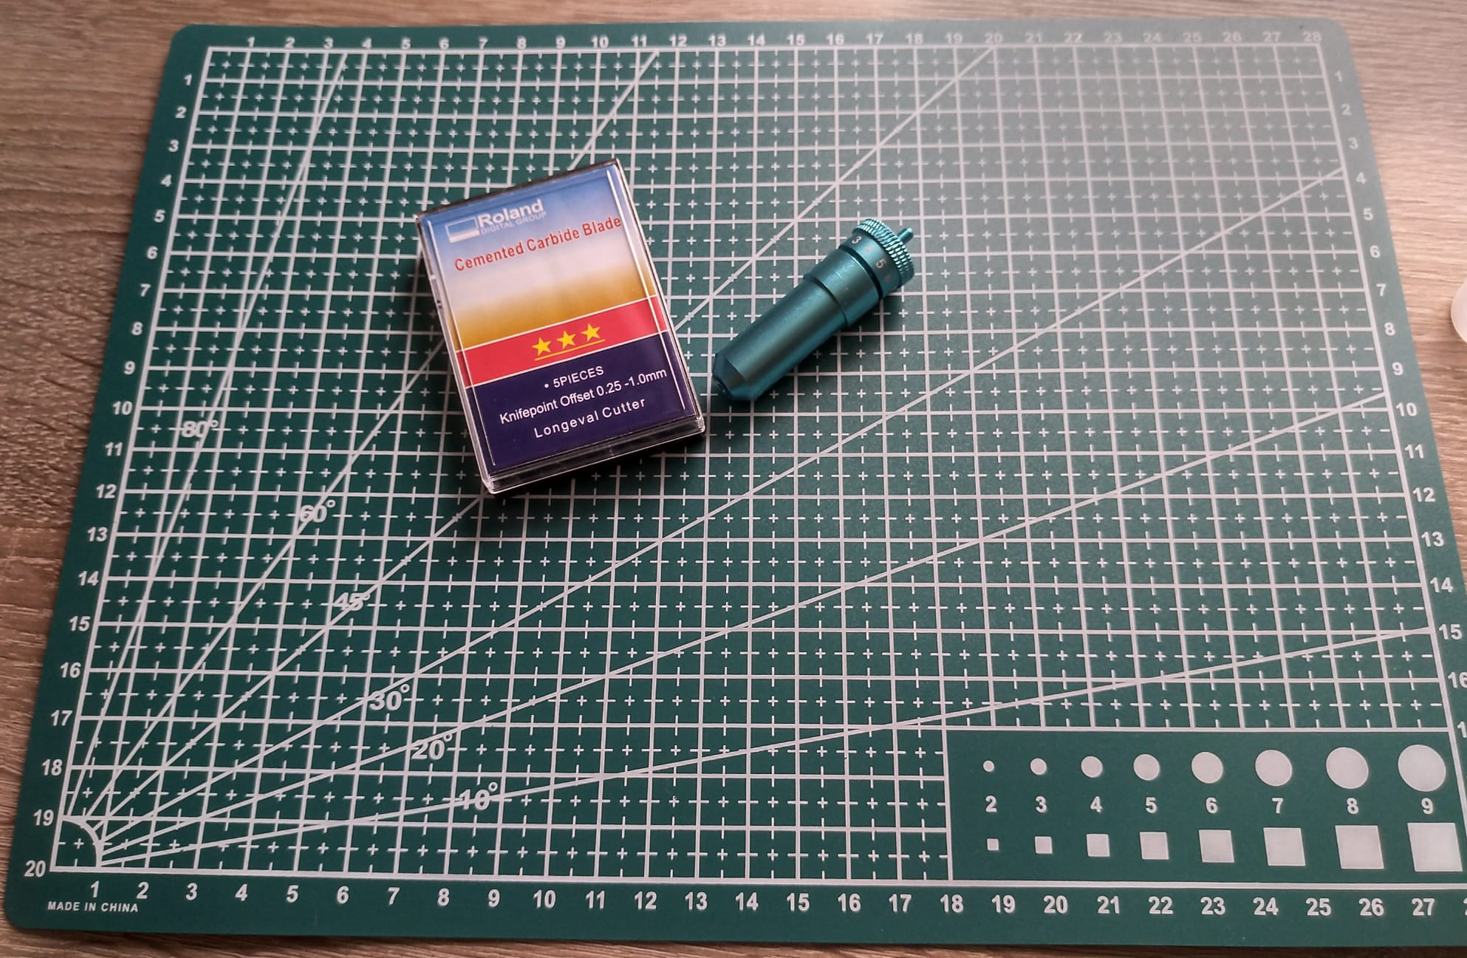
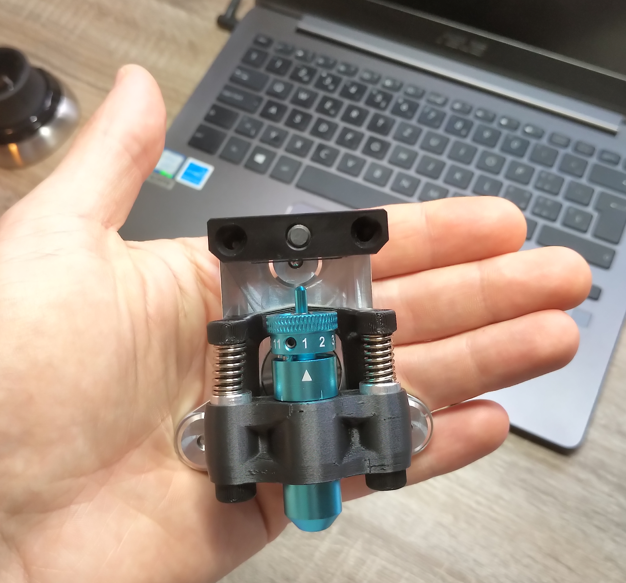
    The dragknife is one of the reasons why I've always wanted to build a toolchanging motionssystem. The dragkife allowes you to cut tape for labeling and more important (for myself) allowes you to cut adhesive tapes and sealings in different shapes. The dragknife is a perfect addition to any modern workshop. 


    Dragknife, cutting mat and Roland-Blades:

    Dragknife-Tool, V1:

  • Exchange PLA-Tensioners (CoreXY)

    Simon Wirz06/29/2022 at 15:18 0 comments

    Now with the whole build almost complete I want to solidify the motion system with more metal parts

    Initially I've used PLA-parts. After some time I've designed a second version of the tensioners to be printed in my SLA machine but wasn't satisfied either. 


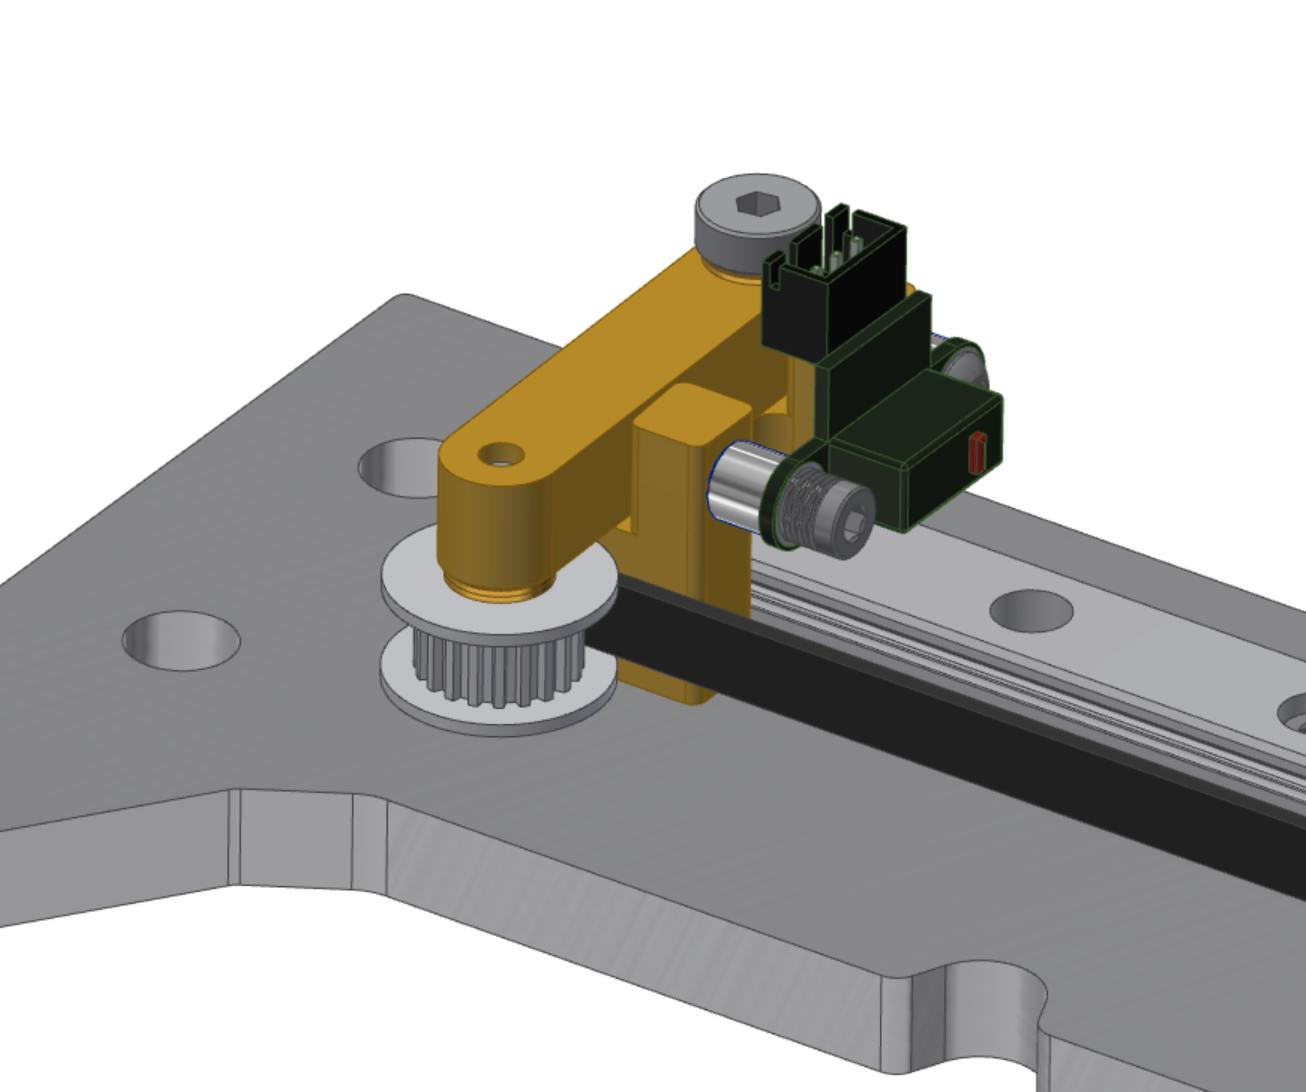
    Tensioner right (with endstop)

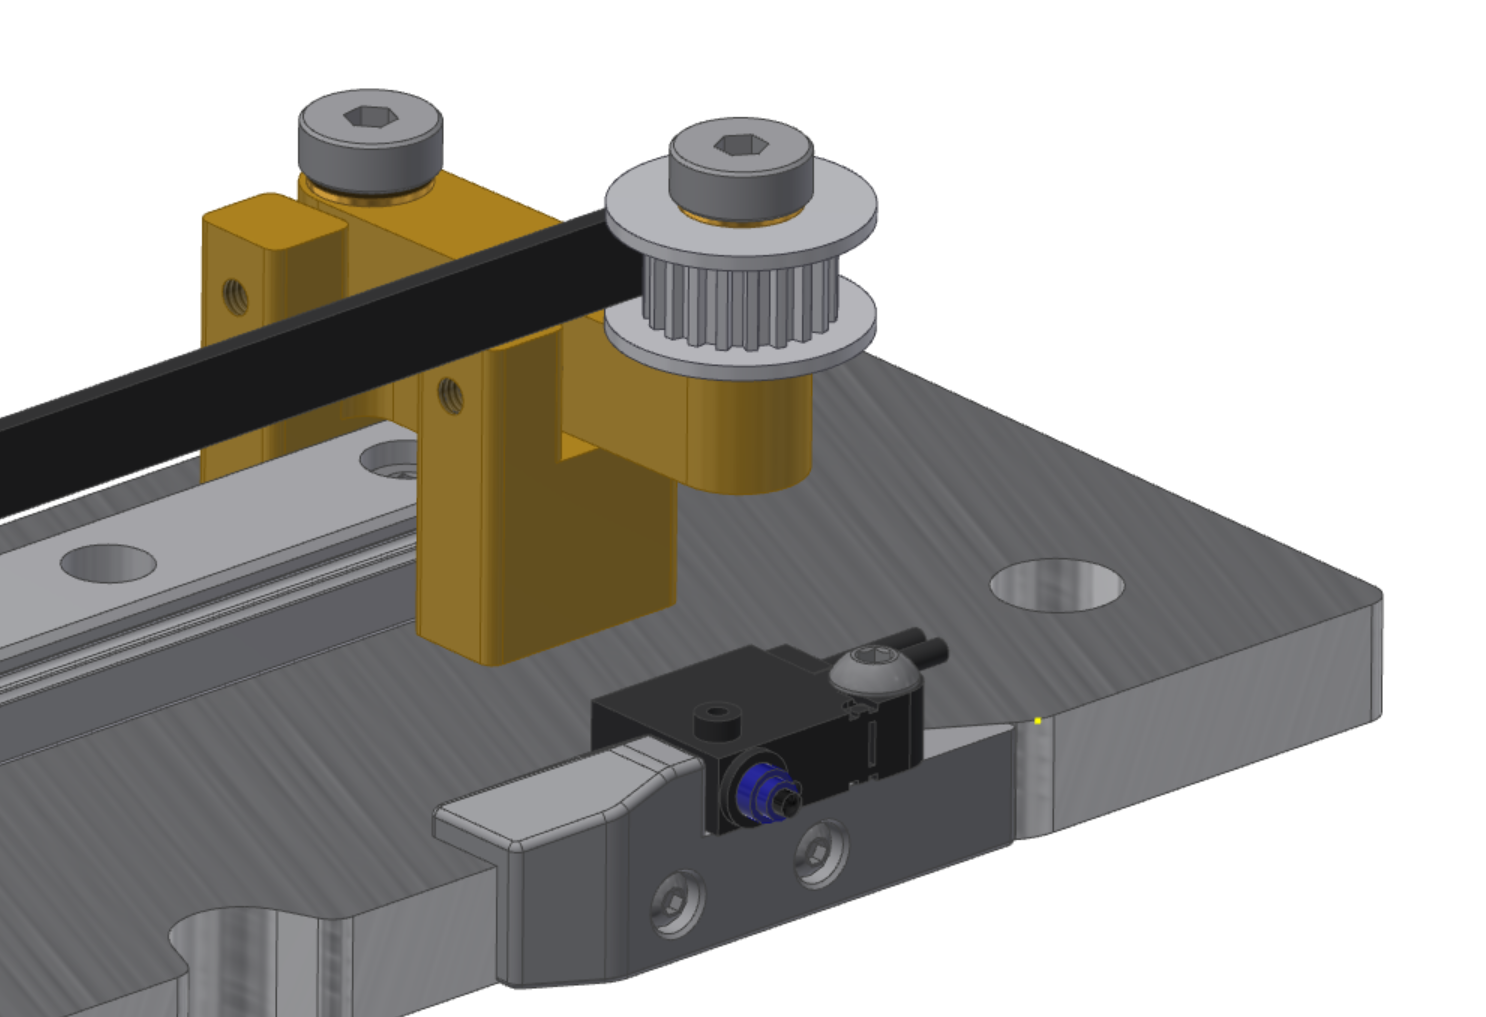
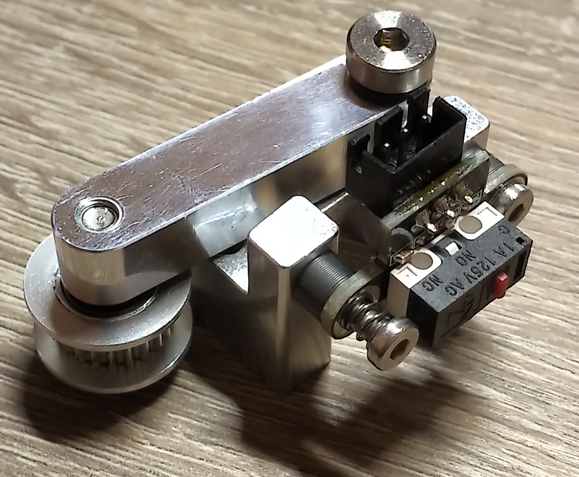
    I've used the tensioner from E3D as a reference and rebuilt all the parts to fit into the CHANGER. Because I don't like sensorless homing I've added a microswitch for the Y-Axis. That's actually the reason why I've stayed with PLA-parts for so long because I've integrated the microswith directly into the old tensioner design. Yesterday I've had the idea to use a spring on one side to not loose the tensioning feature. Now you're able to tension the belt ''trough'' the microswitch mounting hole without loosing the reference. 

    Tensioner left

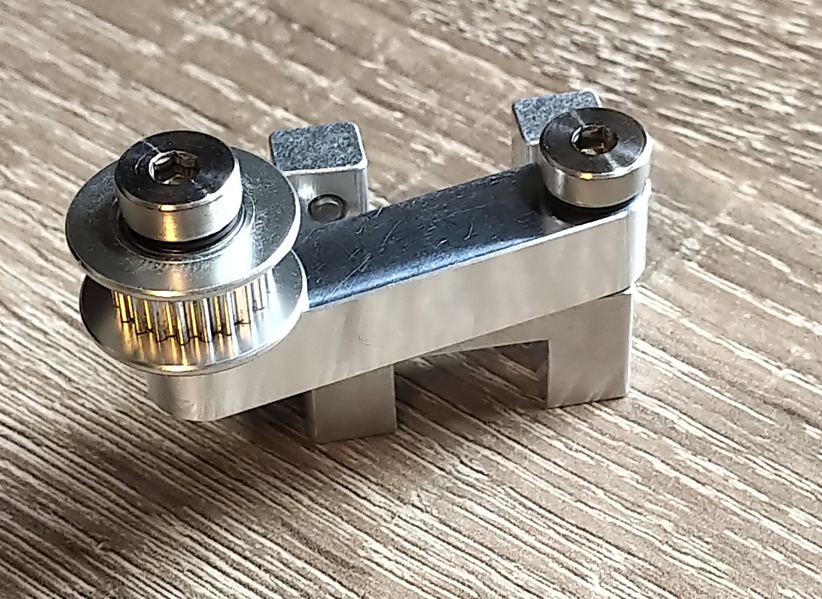
    On the other side the tensioner is identical but without the need of a microswitch for the Y-Axis. 

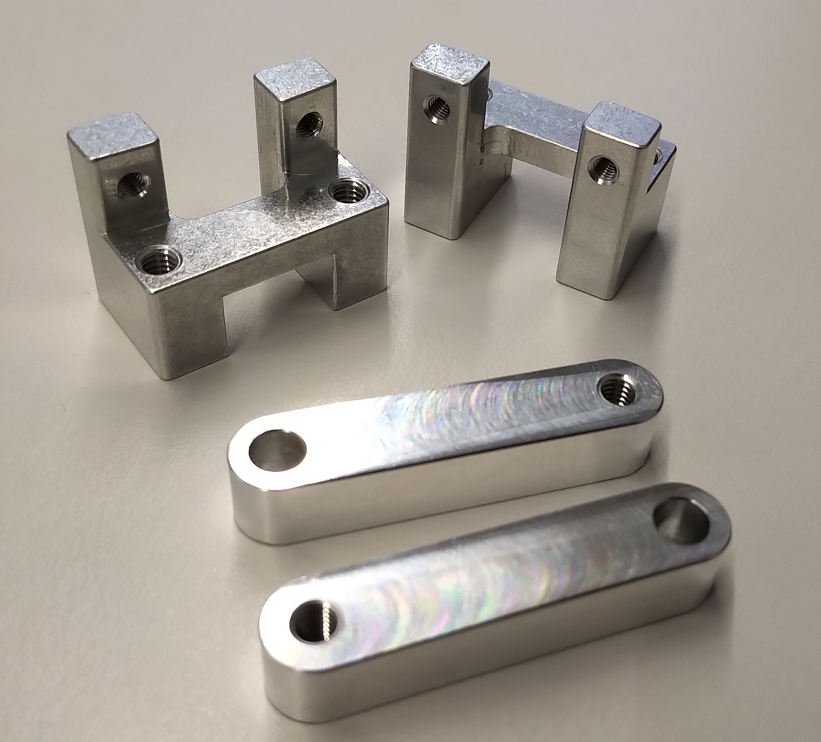
    In the next days / weeks I'll wait for the machined parts and I will start testing on actual printing / laser engraving and cutting.


    Update: 13.07.2022, milled parts:

  • Mesh for openings (magnetic)

    Simon Wirz05/08/2022 at 08:36 0 comments

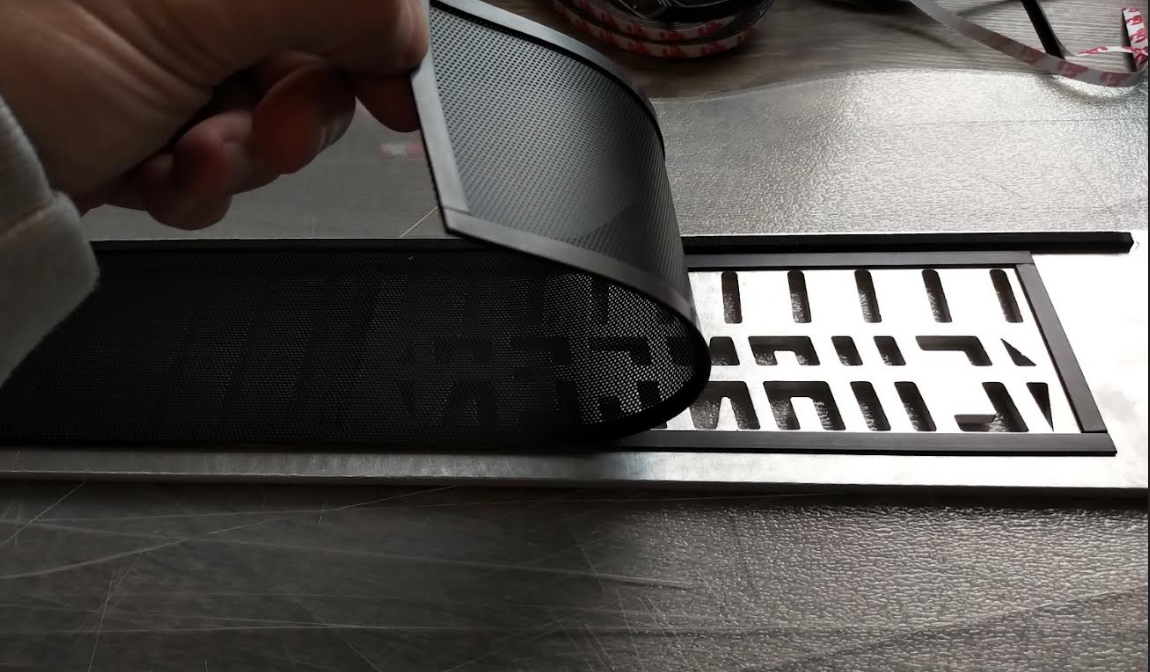
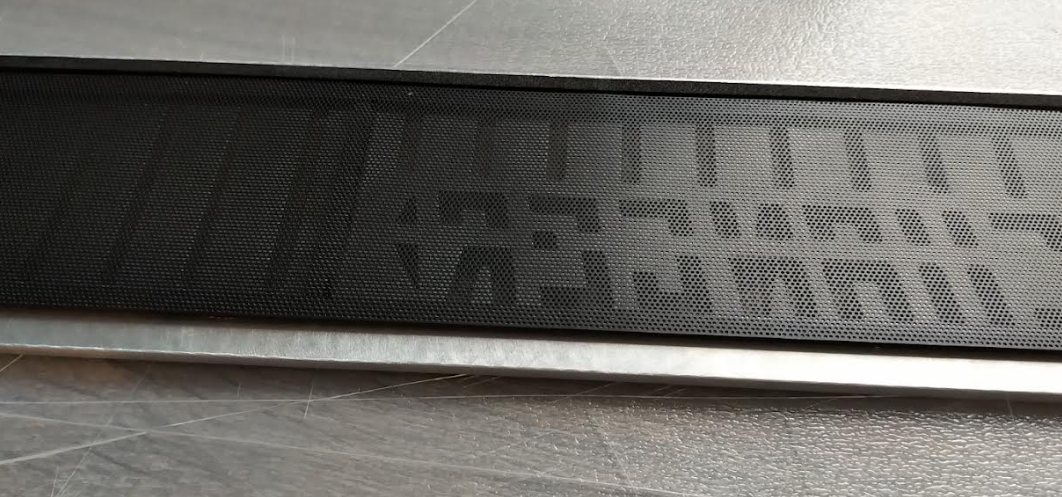
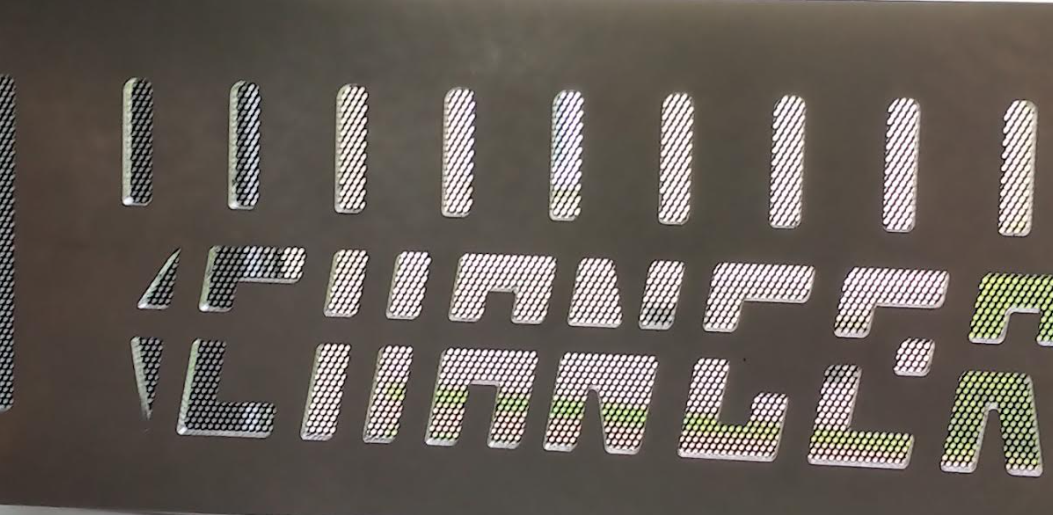
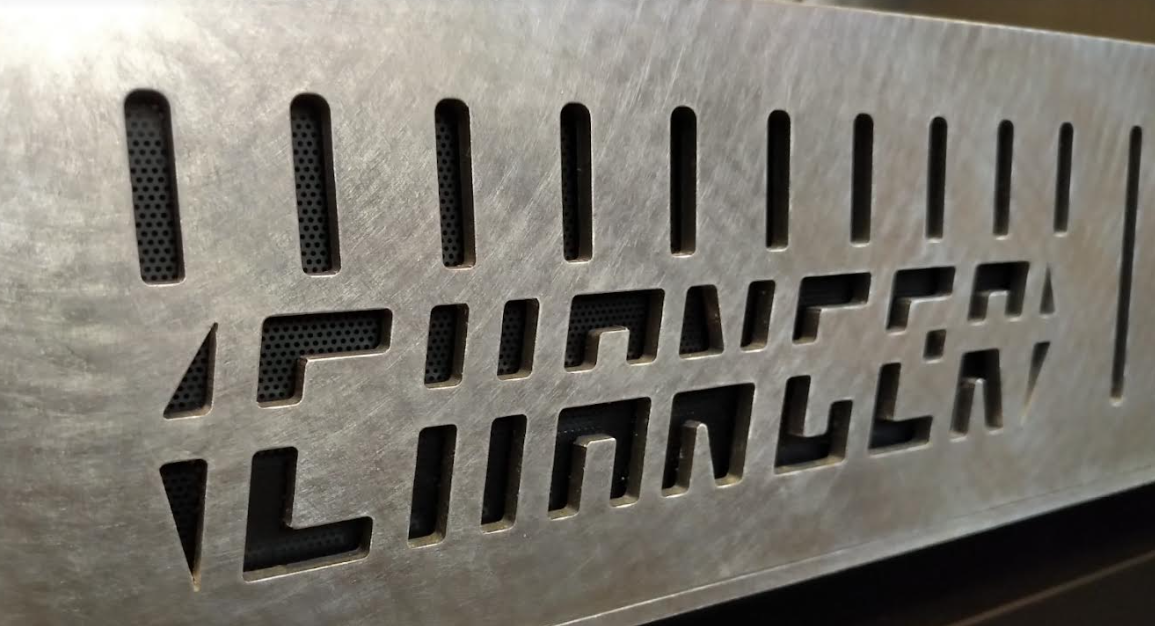
    To prevent dust from enterning to the lower compartment of the printer (Z-Axis stepper, PSU, Raspberry Pi etc.) I've added some filter mesh on the inlets/outles with magnetic strips to quickly clean the filter. 


    Some illustrations:

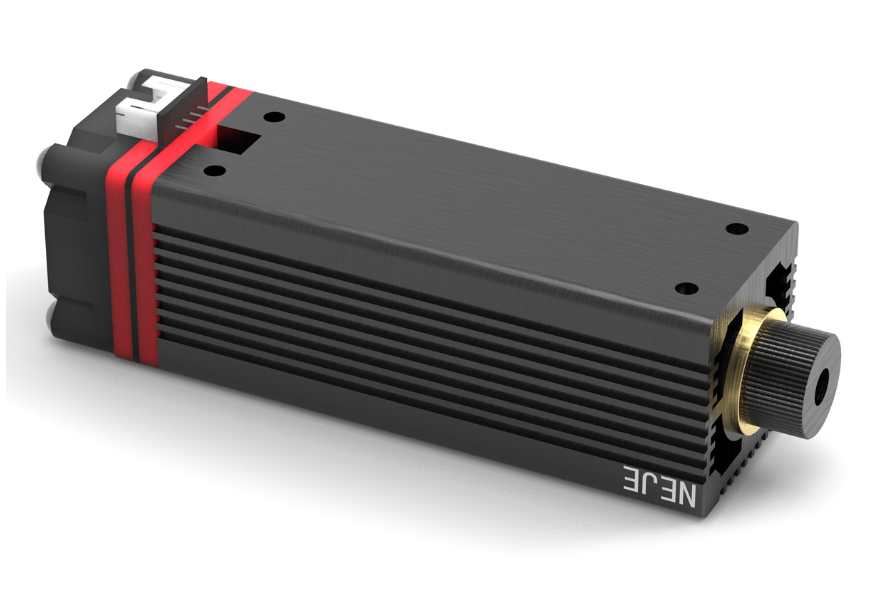
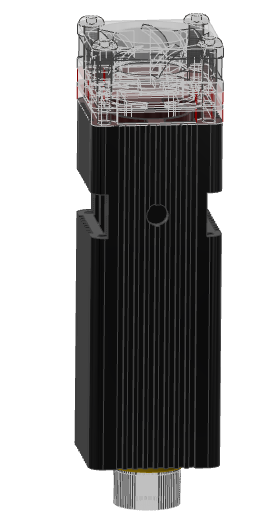
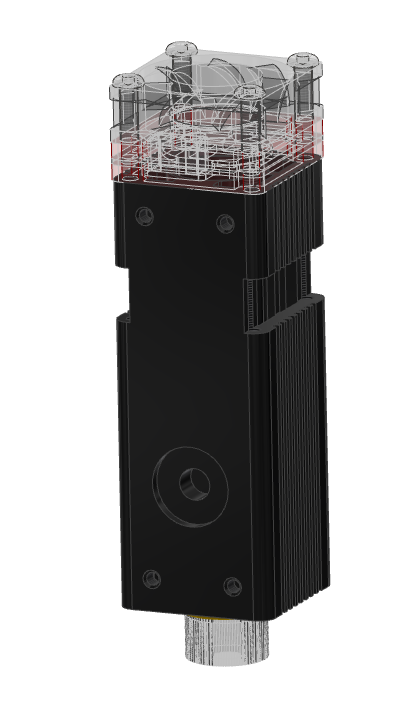
  • Tool-Log: 20W Laser Module (NEJE N30820)

    Simon Wirz04/29/2022 at 20:47 0 comments

    I ordered one the cheapest yet most powerful laser modules which should fit with some minor adjustments to the E3D-Toolchanger toolplate. 


    The Laser Module:

    Check the website for more information about the laser module: https://neje.shop/


    The CAD-Design

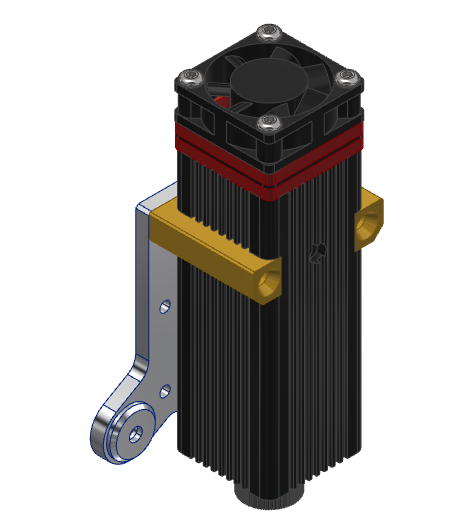
    I've disassembled the laser module and created a CAD-model which can be found here:

    https://grabcad.com/library/neje-n30820-laser-module-20w-1

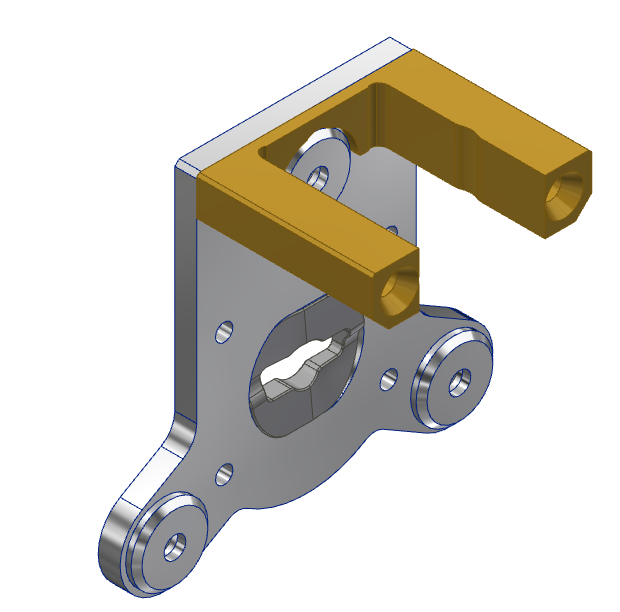
    For the module to fit you'll have to adjust the ToolChanger Receiver by removing the ''front part'' like illustrated above:

    The link to the E3D-Part: https://e3d-online.com/products/toolchanger-receiver

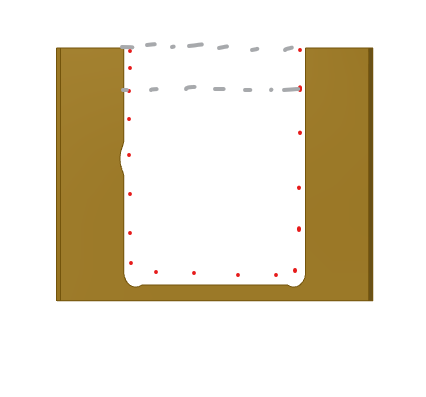
    For the slot feature to work you'll have to adjust the aluminium-profile body of the laser module as well. The implemented laser module will look like that:


    Required adjustments
    • Milling of the ToolChanger receiver (illustration above)

    • Milling of the aluminium housing of the laser module 

    • Milling of the housing for clearance of the coupling mechanism

  • Topcover finished printing

    Simon Wirz03/12/2022 at 23:17 4 comments

    After some printing the topcover is finally completed (from the fdm point-of-view). I'll order the acrylic panels soon (drawings and dxf-files already prepared)


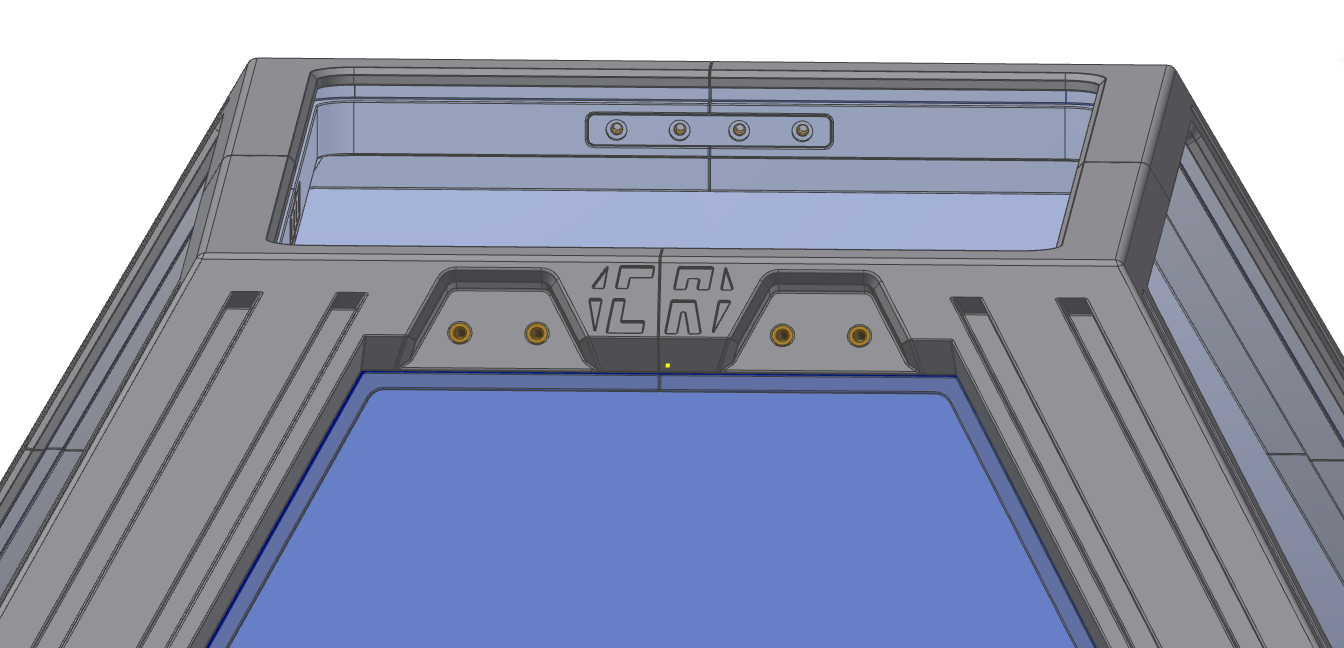
    The frame of the topcover


    The pin feature of the top and middle-section is slightly off that's why there is a clearly visible gap on the both top parts. I'll try to better align them or even glue them together to eliminate the misalignment. I think the misalignment comes from the drillout because the tilted boreholes where slightly to tigtht and I had to drill them out manually.

  • Topcover is taking shape

    Simon Wirz03/09/2022 at 11:08 0 comments

    The started building process of my third topcover design is slowly taking shape:

    https://hackaday.io/project/175489-changer-a-toolchanger-new-interpreted/log/203393-continuing-topcover-design

    After some printing (roughly 60h) there's some progress visible...


    Some impressions:

    All parts are designed in a way that there are minimal supports needed as you can see in the picture above. This angle without support and 0.2mm layer-height is no problem at all. 

    The back portion of the topcover is printed and assembled and I think it could look good. I didn't order the panels yet because I want to see if I'm fully satisfied with the look of it. 


    Front-top part WIP

  • Implementation of new cable bushings

    Simon Wirz03/08/2022 at 15:05 0 comments

    As mentioned in the previous log I've designed a cable bushing to prevent the cables from taking damage due to vibration over the lifetime of the printer. 

    -> https://hackaday.io/project/175489-changer-a-toolchanger-new-interpreted/log/203818-improvement-of-the-cable-openings

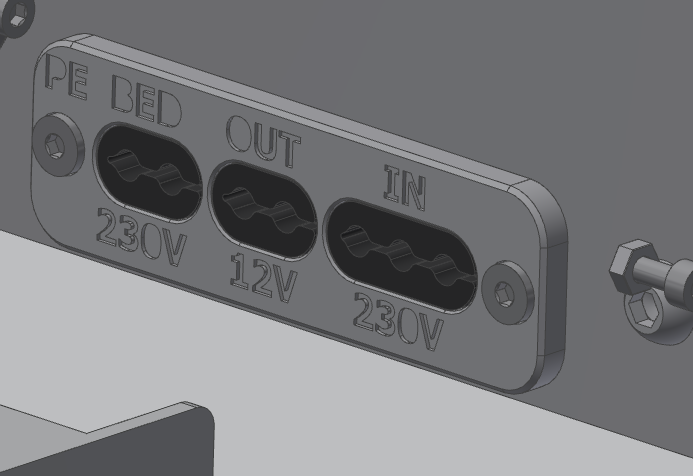
    I've printed the mainframe in PLA and the three individual bushing with TPU (middle-soft)


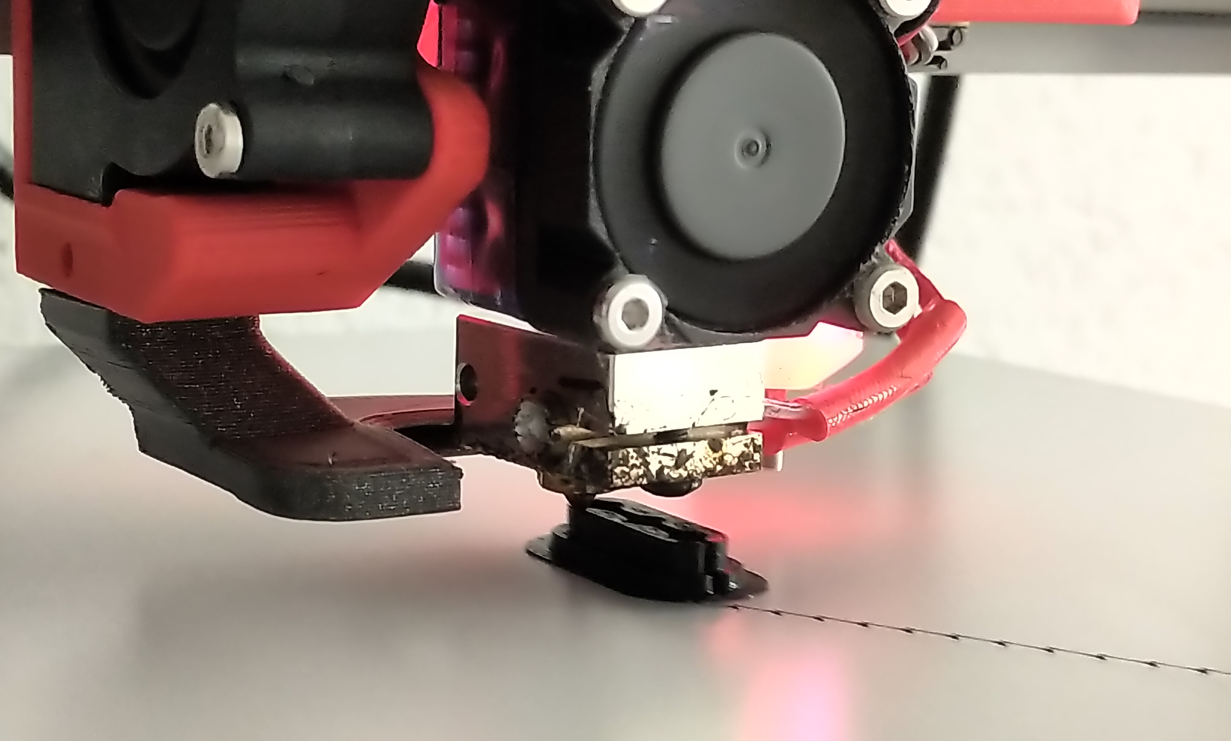
    Printing the TPU-parts:

    Some parameters:

    240°C (1st Layer 250°C), 30mm/s (1st Layer 15mm/s), 0.2mm layer height


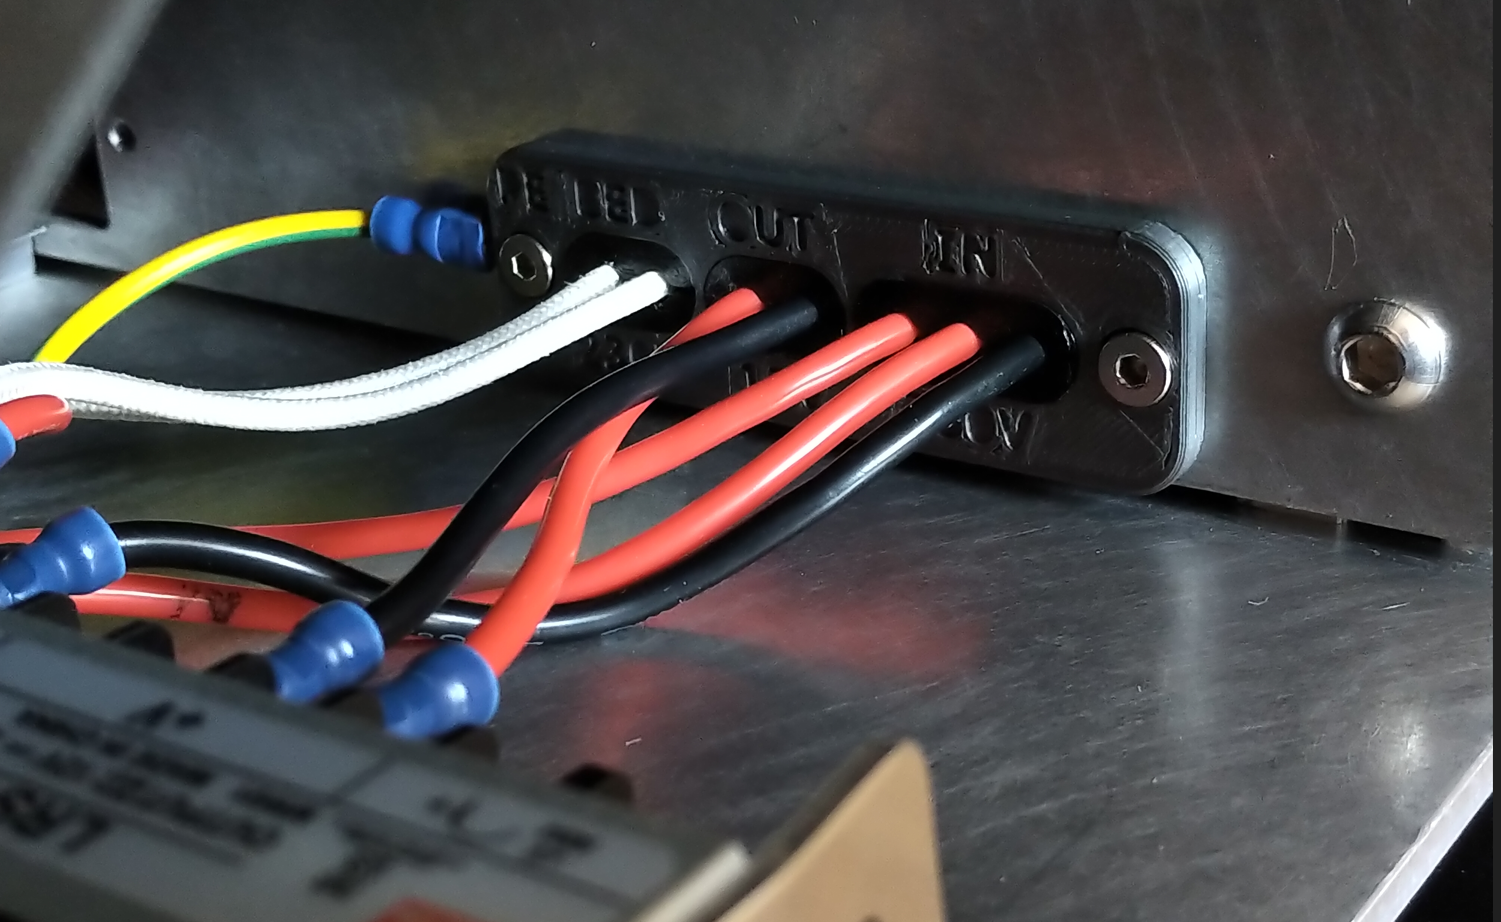
    Final assembly of the cable-bushings

    It's not perfect (I could have switched the + and - of the 12V OUT so that there is no twist but I've noticed that to late in the process. But afterall I'm quite satisfied with this style of cable-bushing with the TPU-innerpart for better cable protection.

  • Improvement of the cable openings

    Simon Wirz03/07/2022 at 18:09 0 comments

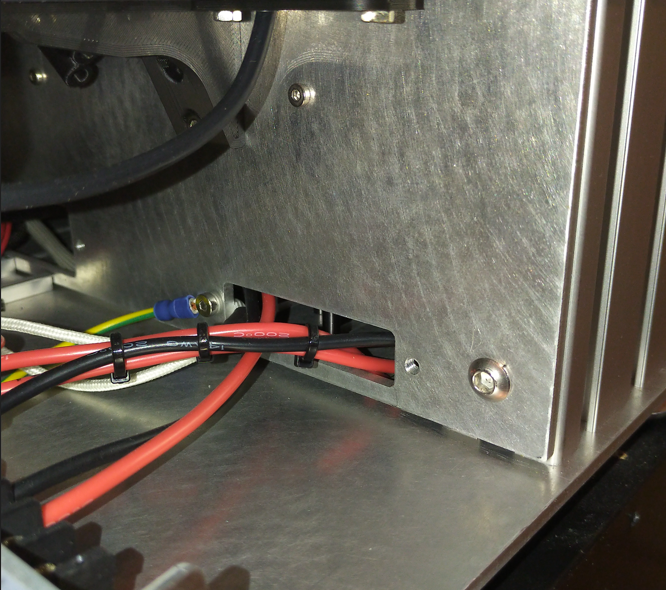
    I initially planned to create/design proper cable bushing for all the cable openings but never designed the actual cable bushings. I've implemented the threads in the sheet metal parts but didn't design the actual bushings. 


    Status quo

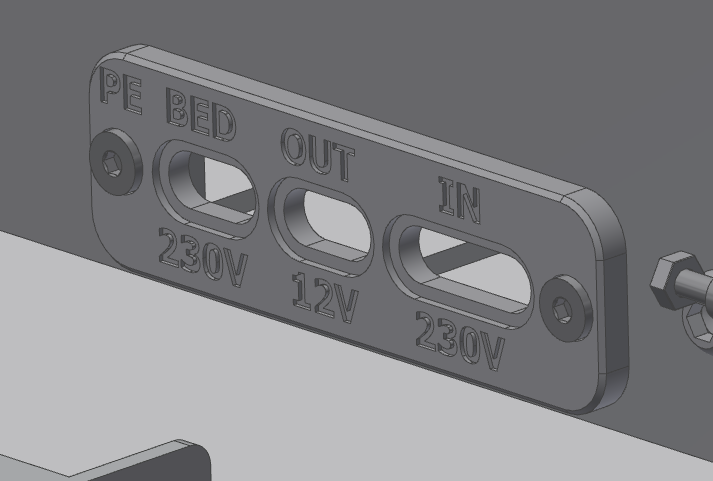
    The opening for the 230V-Input, 12V-Output and 230V-Heatbed is the first one which I want to improve.


    Design process

    For this opening there should be five cable bushings in total:

    - 3-cables for L , N and PE of the 230V (I'll change the color as soon as I get the right cables) @3.5mm

    - 2-cables for + and - of the 12V for the Duet-Board @3.5mm

    - 2- cables (insulated) for the 230V-Heatbed @3mm

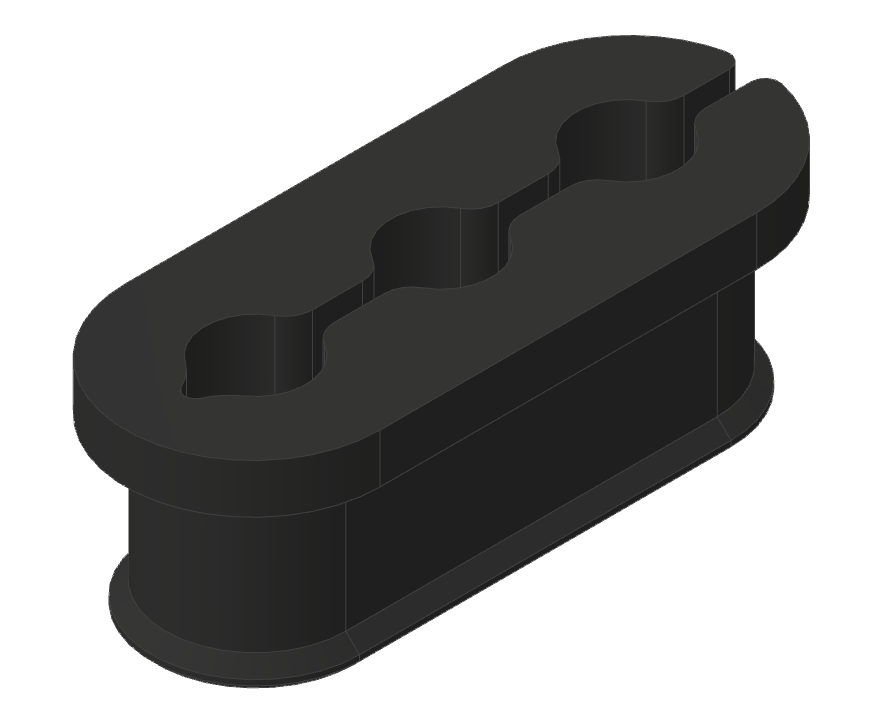
    I'll continue with a two piece design of which the first part is shown above. It consinst of a robust Mainpart (picture above) and a elastomeric inner-part (in process of designing)

    The three TPU bushing inserted and ready to be tested. The bushings are nearly split in half so you can easily insert the cables and then push them inside the housing/cable bushing frame to secure. 

    At the end there is a small lip which should interlock with the cable bushing frame to ''lock'' when fully inserted. We'll see...

View all 29 project logs

Enjoy this project?

Share

Discussions

reipet2003 wrote 05/07/2023 at 05:27 point

Hi, would you be OK to share your 3D Data for modding and getting inspiration how you solved some things? THX

  Are you sure? yes | no

socket23 wrote 05/14/2022 at 09:02 point

This is insane!! Also exactly what I am just starting to work toward building for myself. You seem to have all the same goals in mind. I love how through this is. Excelent job. I would love to see an update and get in touch for permission to use certain ideas and how you were able to implement some of the functions here. 

  Are you sure? yes | no

Simon Wirz wrote 05/21/2022 at 20:40 point

Thank you for your appreciation. My updates are currently done in the log-section so go check it out. 

My project is meant to be an inspiration for other projects so I'd love to see your interpretation of such a system. 

  Are you sure? yes | no

Shane Hooper wrote 11/28/2021 at 05:06 point

I like the kinematic bed design. I kind of want to try MGN rails bed leveling system on my Solidcore CoreXY build similar to the HeVort Triple Z-axis setup.

  Are you sure? yes | no

gaaunapoi wrote 10/15/2021 at 03:46 point

That looks like a cool project, many good ideas. I am working on  my own,  and I really like your tool head cover you designed! Do you have a file for the new tool head cover? Thanks

  Are you sure? yes | no

Simon Wirz wrote 10/29/2021 at 07:03 point

Thank you for your feedback. I'll upload the cover to the "Files" section for you to download. 

  Are you sure? yes | no

Greg Holloway wrote 07/20/2021 at 08:01 point

Very cool! I envy your bed :)

  Are you sure? yes | no

Simon Wirz wrote 07/20/2021 at 10:19 point

Thank you for your feedback and good work on the toolchanger toolhead and docking mechanism. For sure safed me some time to use such a ecosystem :)

After some small modifications my bed design could be added to the original E3D-Toolchanger but you'll lose some build volume in the y-direction. 

  Are you sure? yes | no

Greg Holloway wrote 07/20/2021 at 11:16 point

Good to know we helped :) Our intent was to make ToolChanging accessible, and reliable. 

Maybe in the next version of the Motion System we'll have a 3 point bed :)

  Are you sure? yes | no

Similar Projects

Does this project spark your interest?

Become a member to follow this project and never miss any updates