-
Motor & movement
01/30/2021 at 15:49 • 0 commentsLay-out work for the motor attachment on the Y axis

Motor mount cut out of 2mm aluminium

Let paint dry

I don’t have the real blue paint that most machinists use, but a permanent marker (and some sanding afterwards) will do the job!

X axis motor mount

Y axis motor mount paintjob

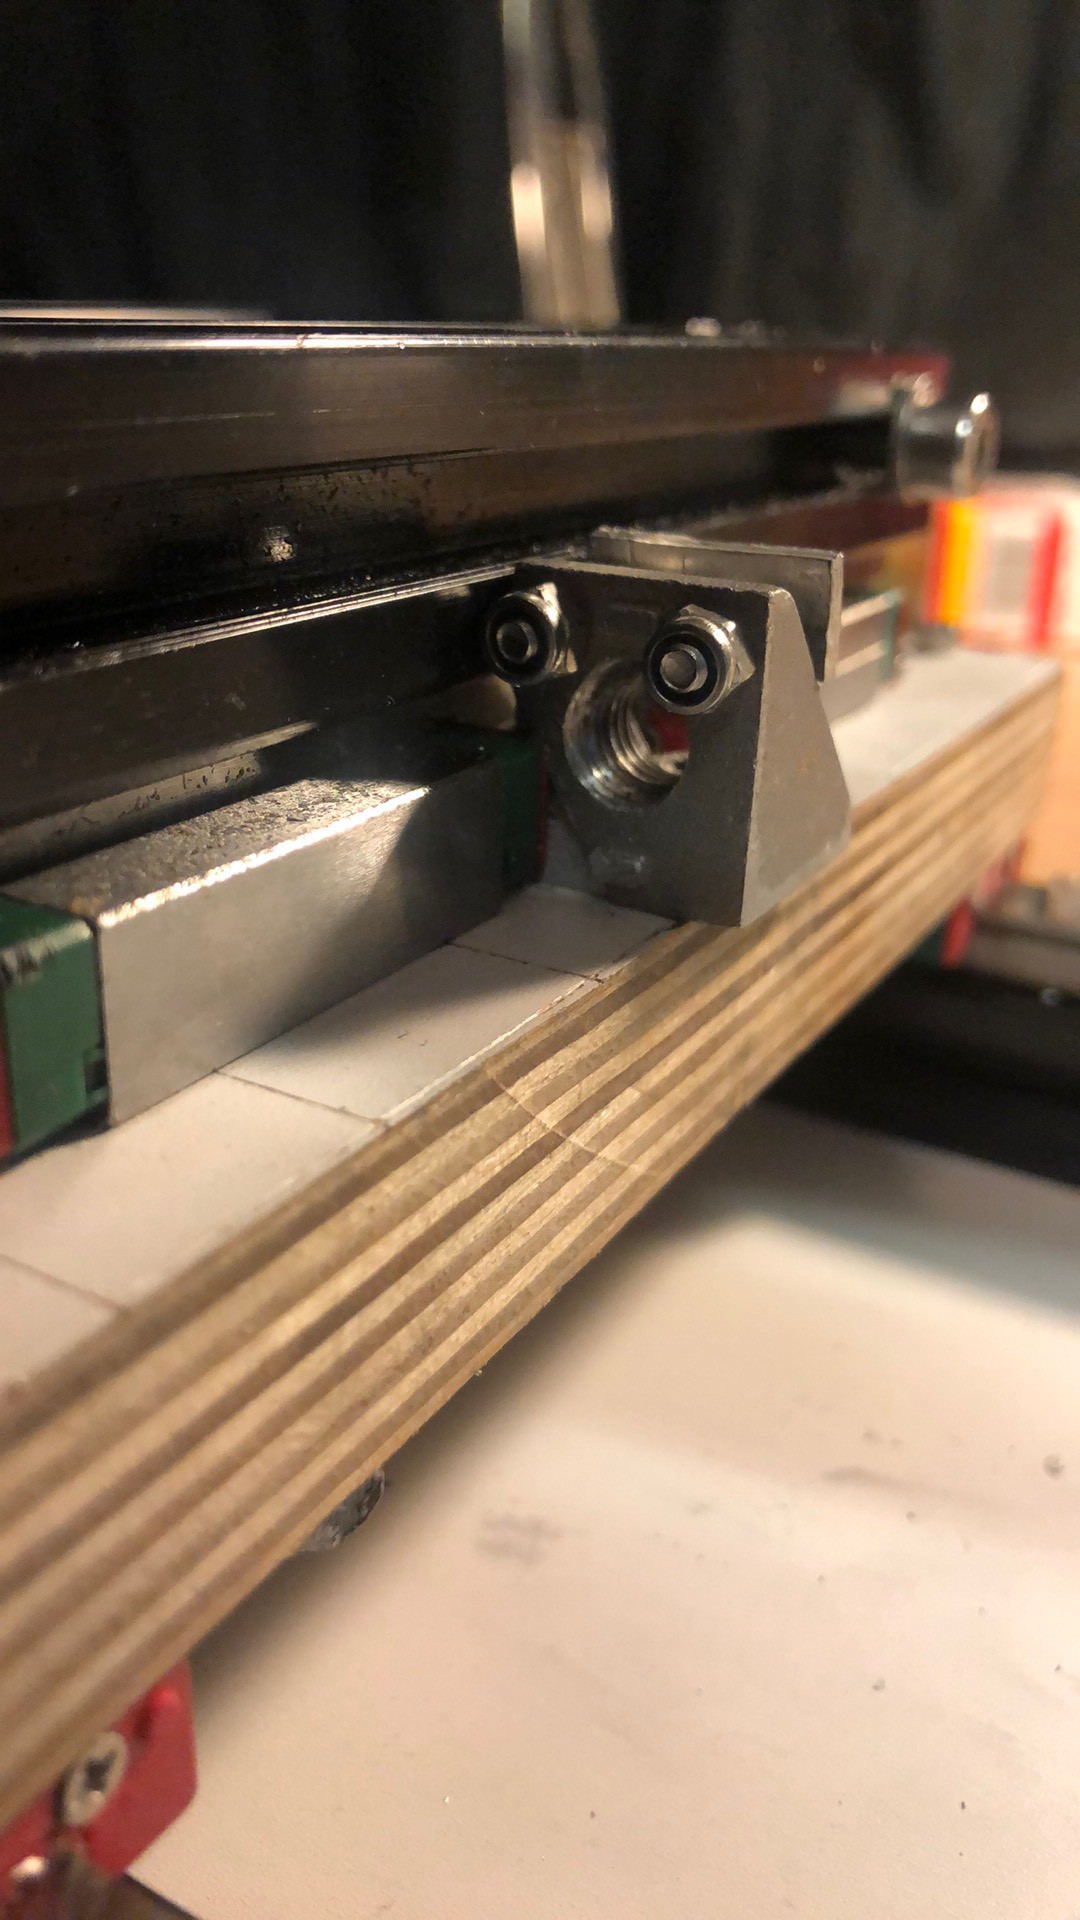
For holding the nut in place

Nut holder for the y axis: bent and painted

Wooden bit will keep the nut from spinning


X axis motor mount

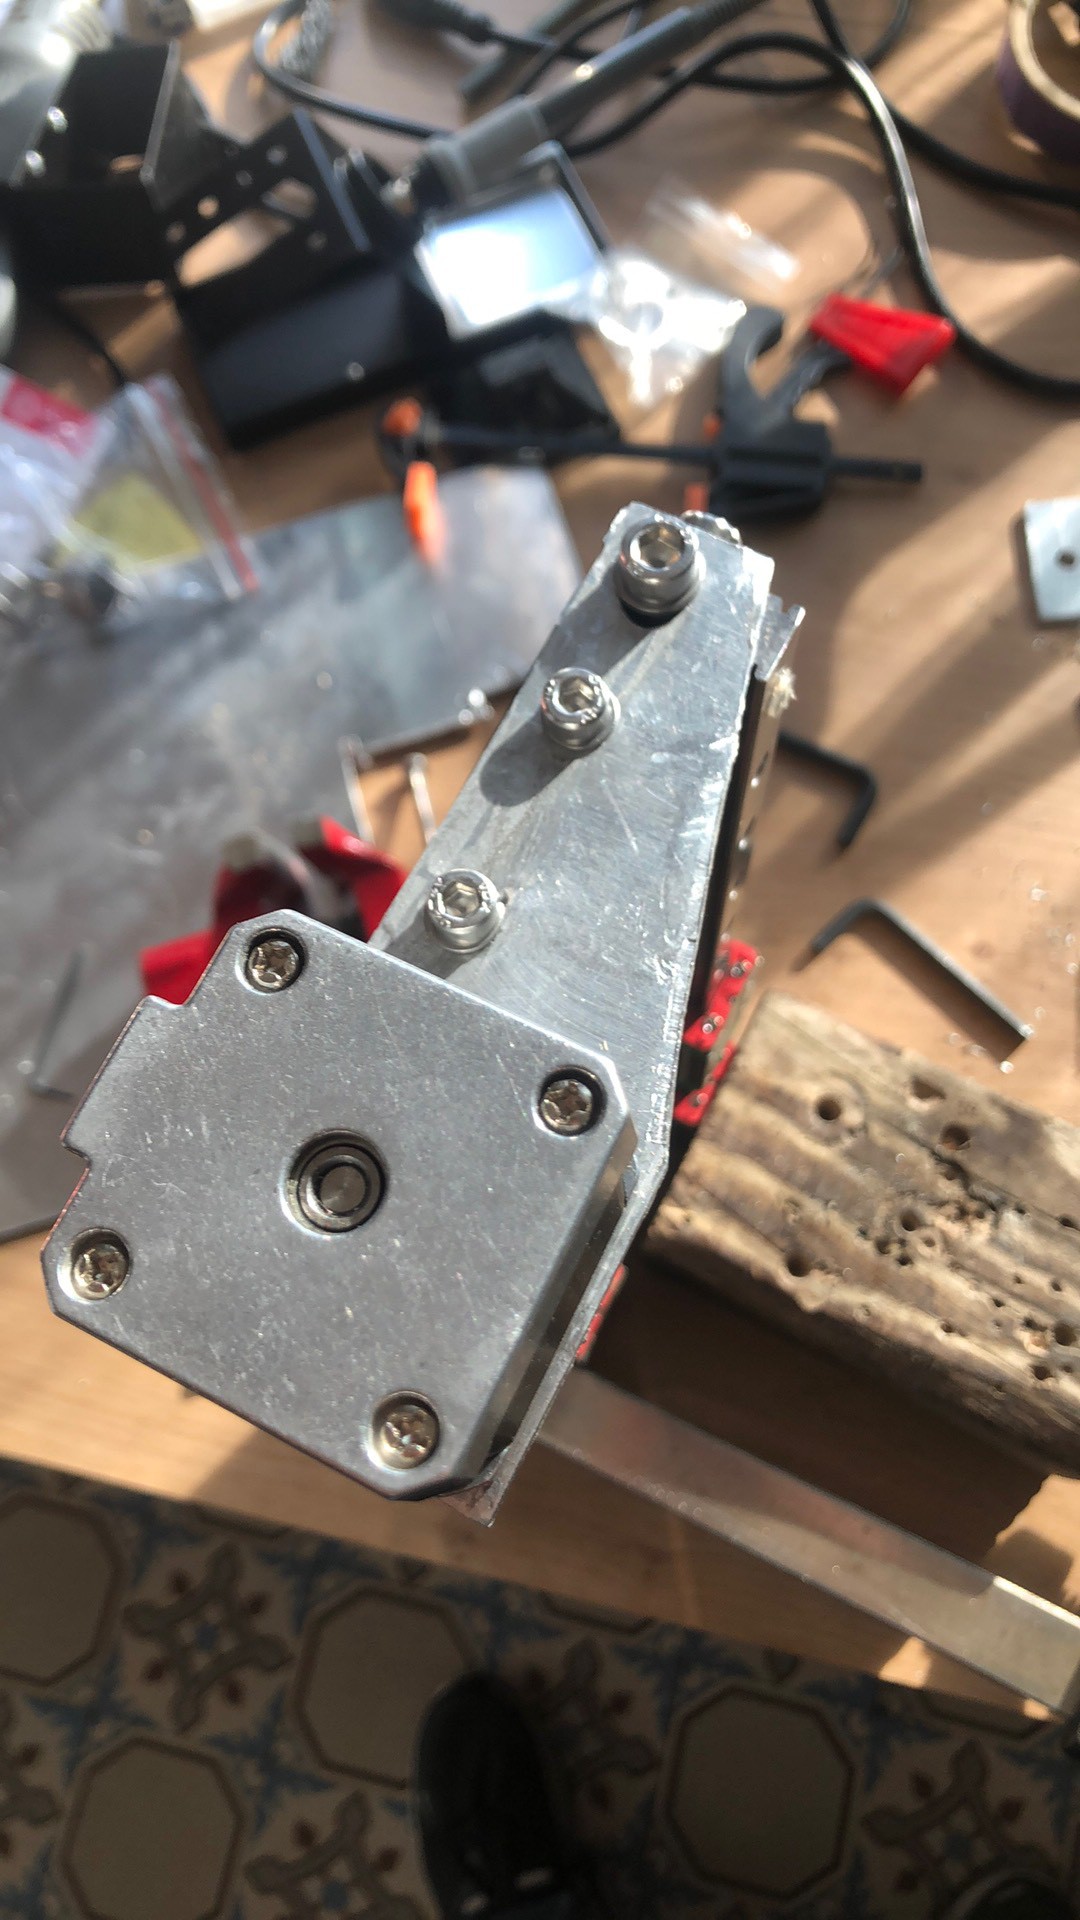
Z axis motor mount

Z axis motor mount installed

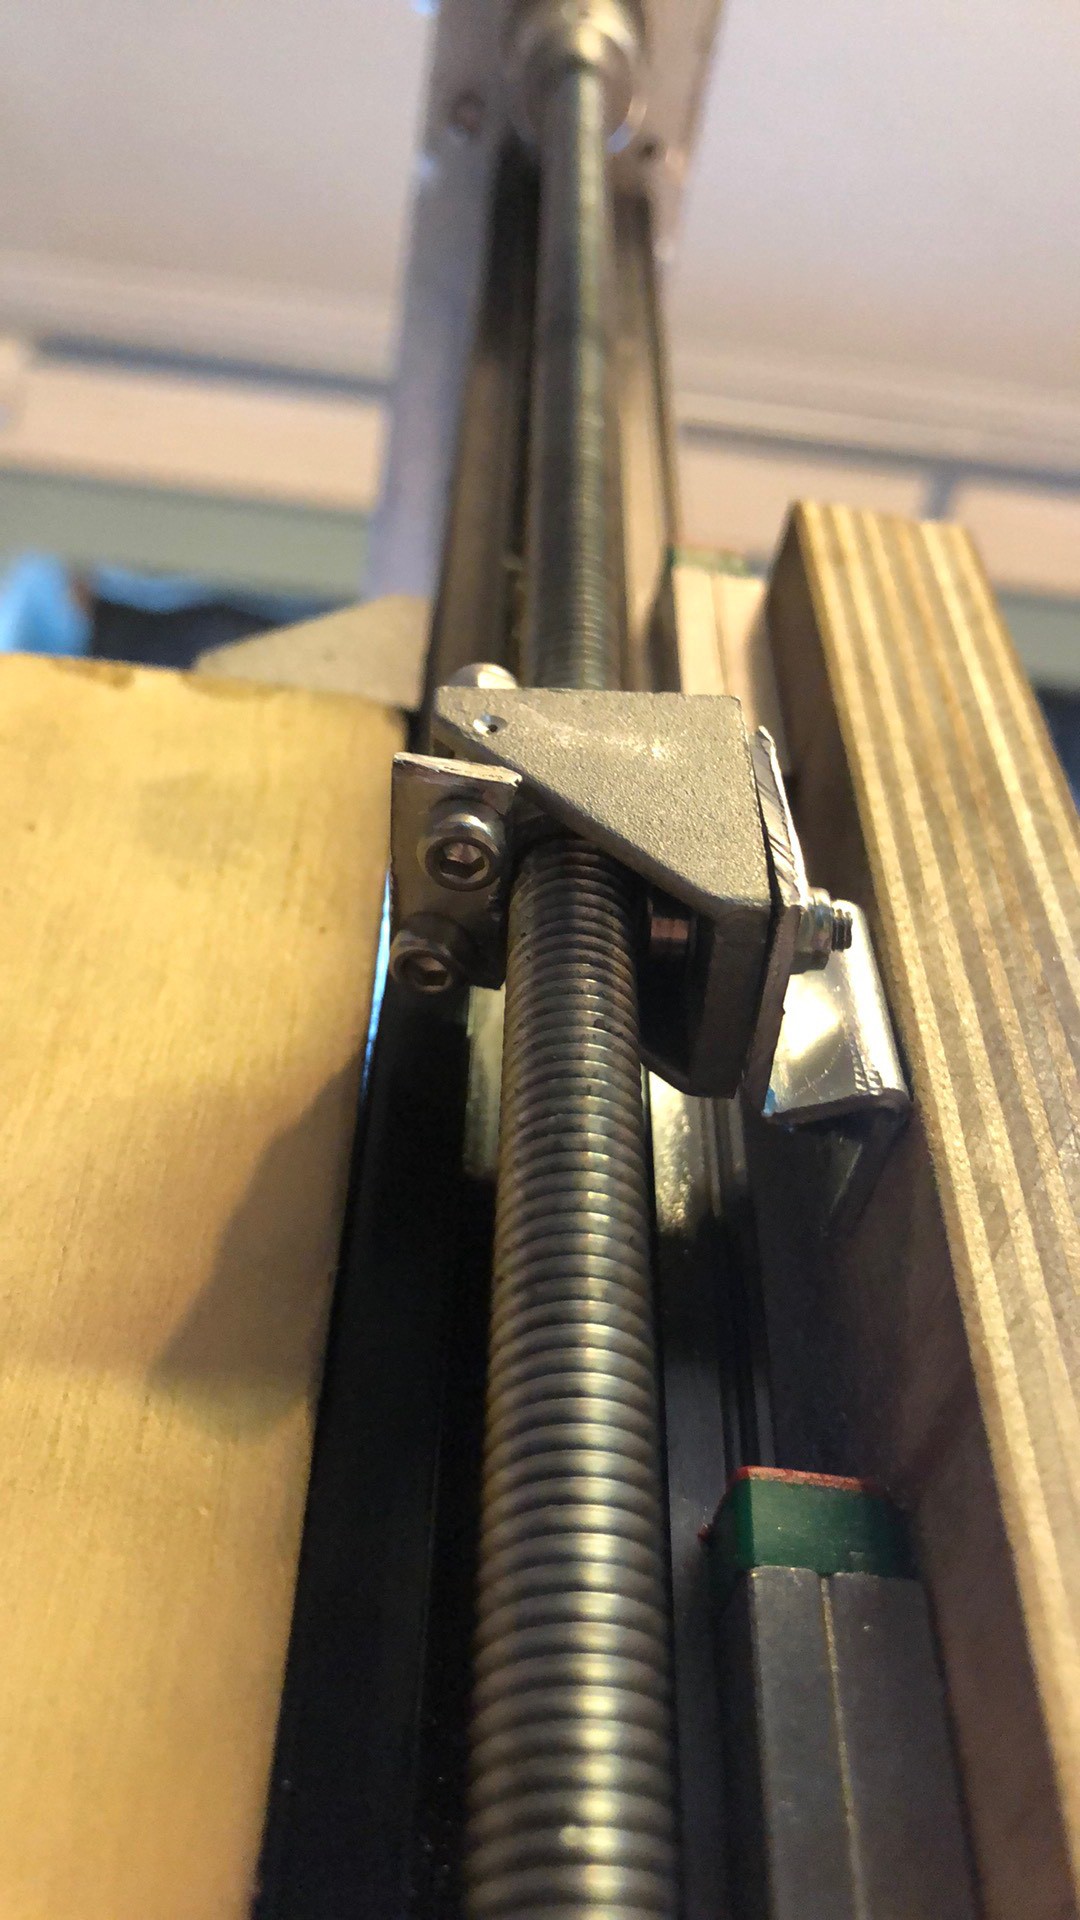
I upgraded the mount for the bolt

Also the X nut holder is improved
Z movement
-
Varia
12/27/2020 at 11:14 • 0 commentsBase plate of 1.8 mm thick plywood, here is where I will be mounting everything on

This is a test

Column attachment to the baseplate
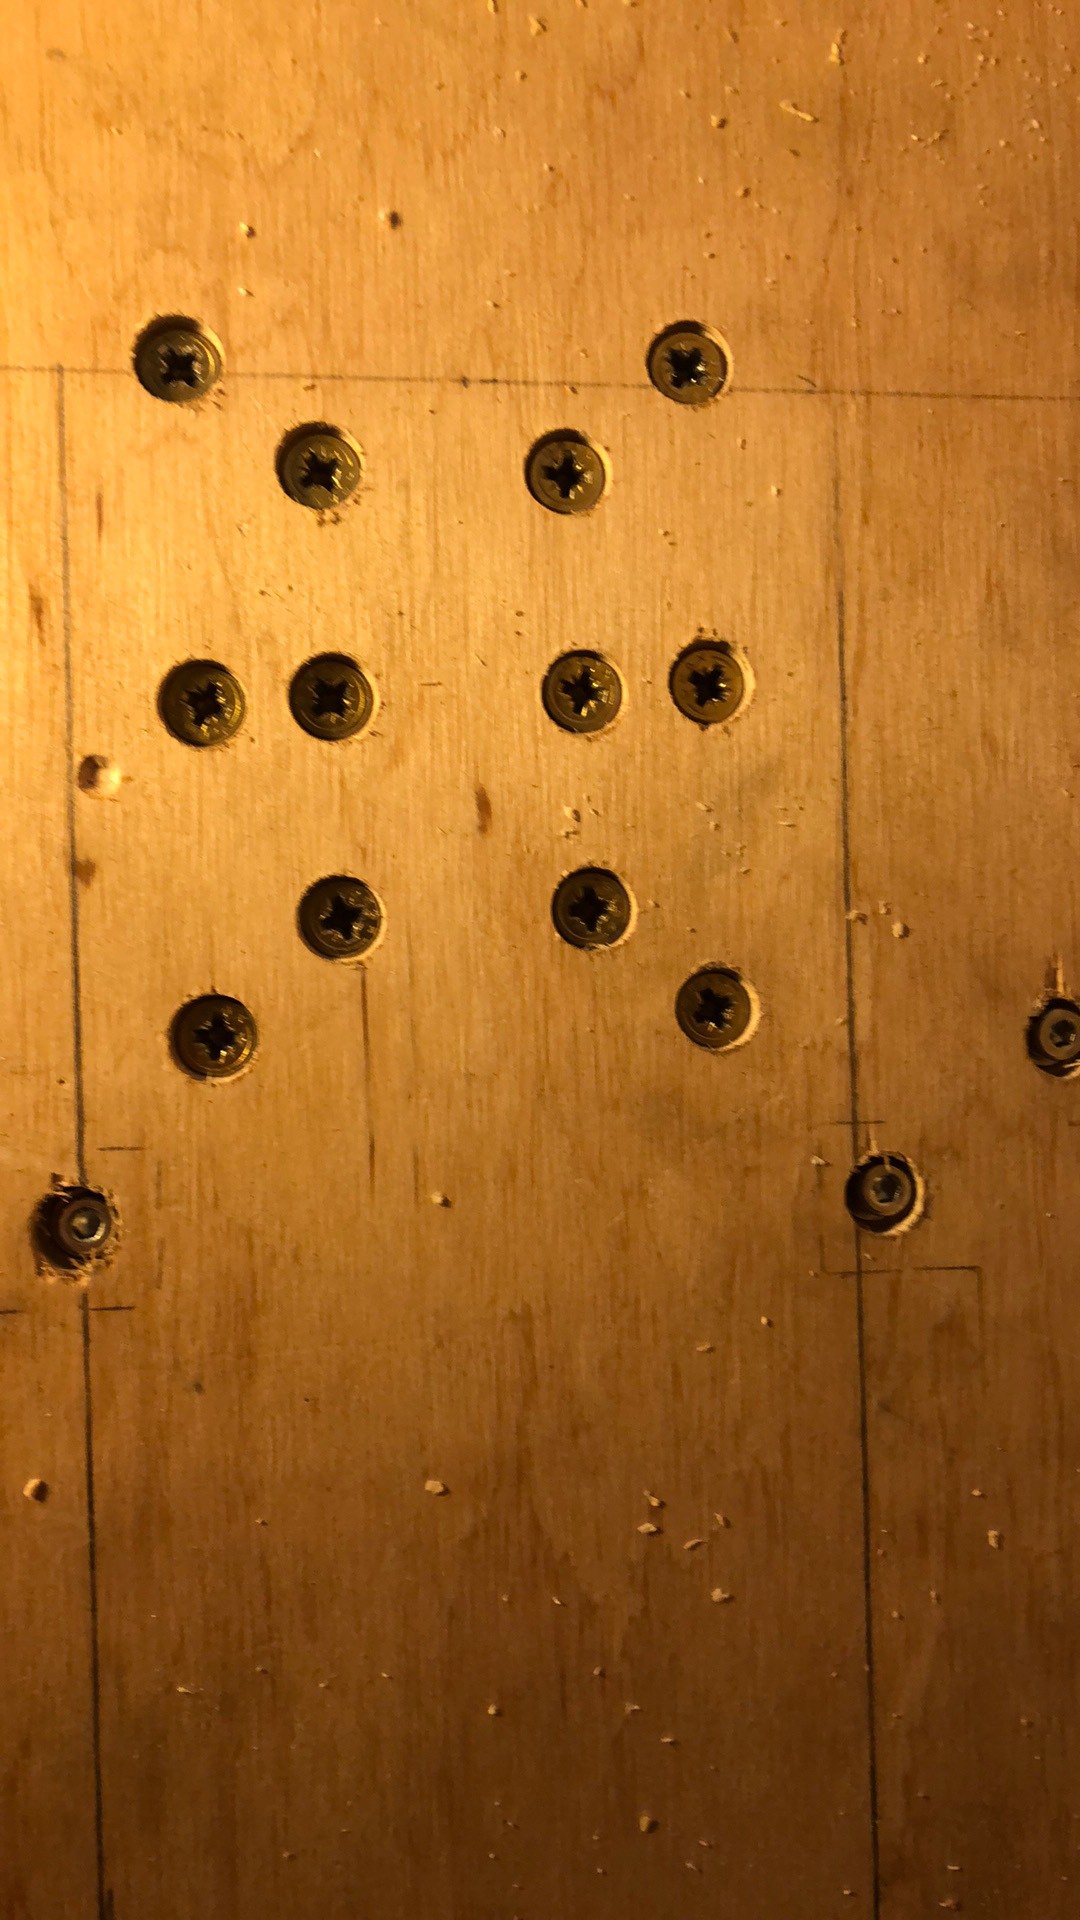
Drilled and countersunk underside
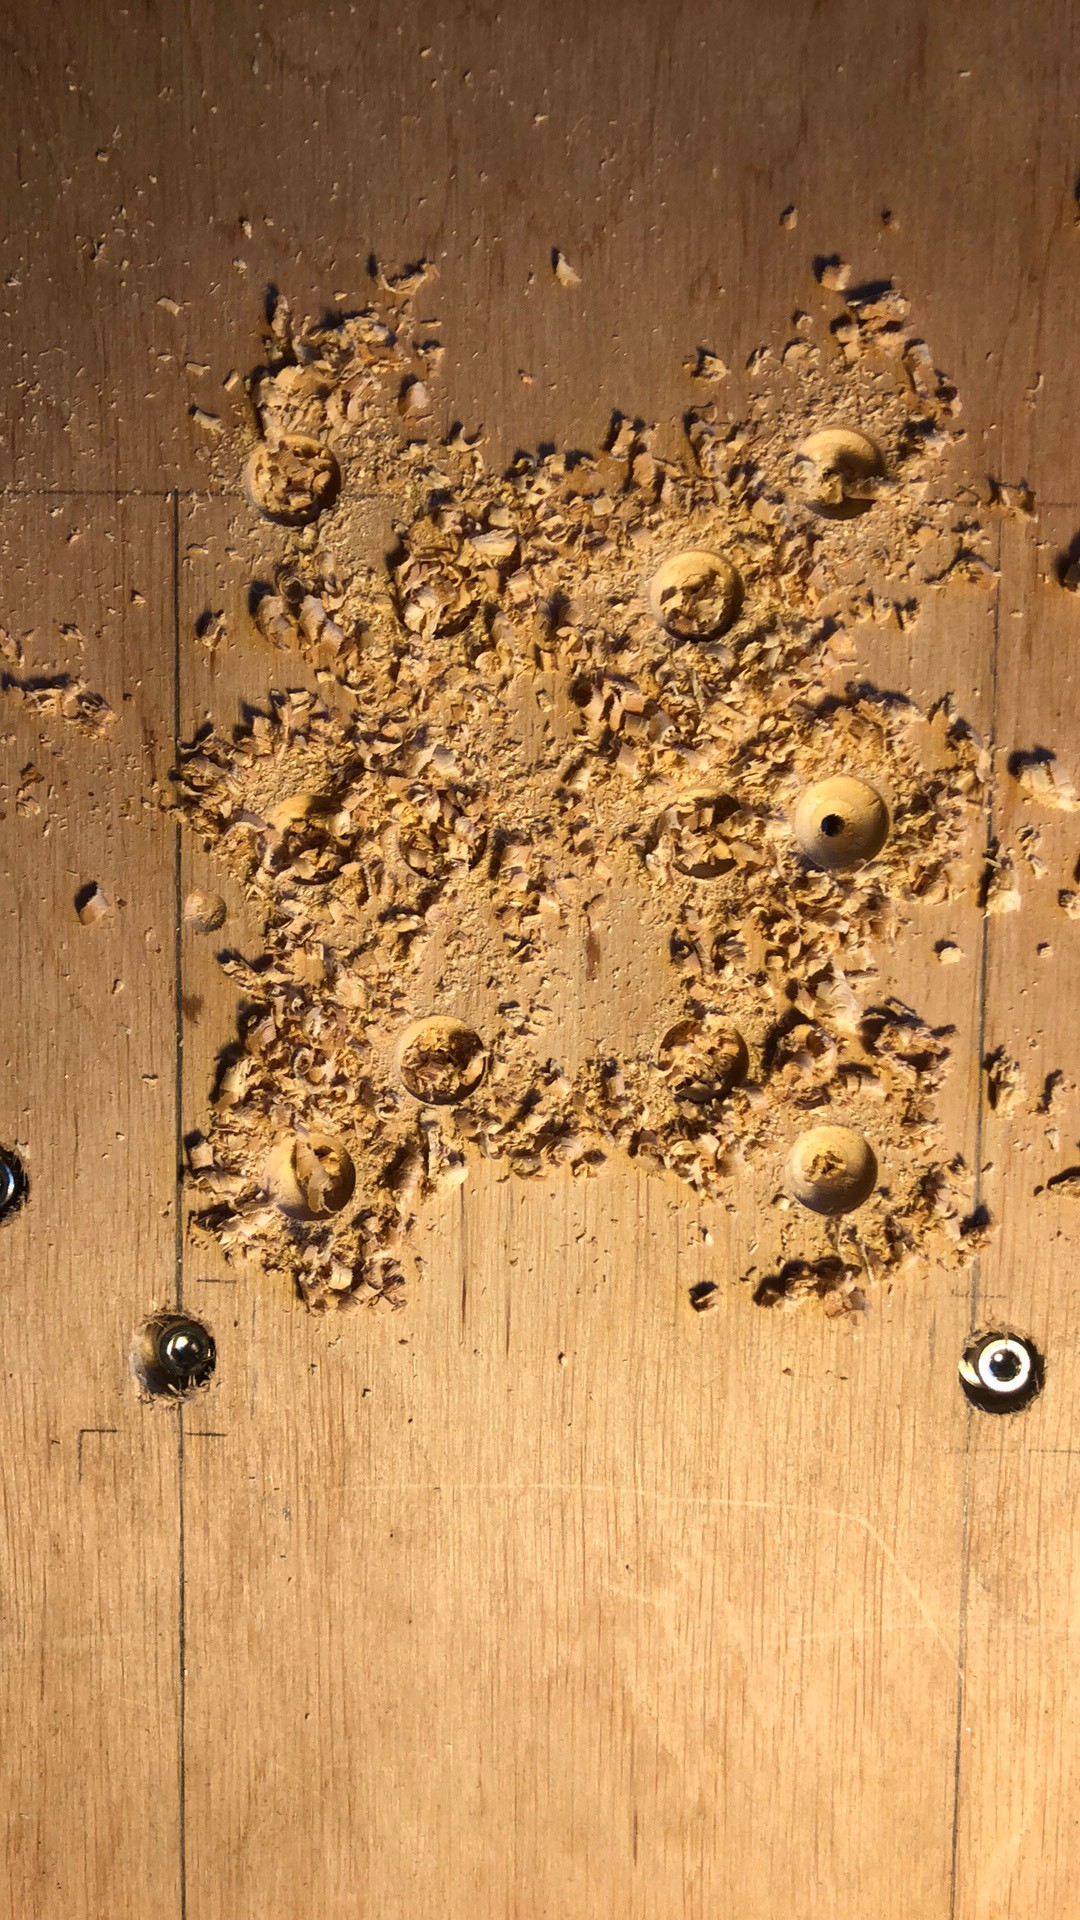

Overkill? I think not! Normally I am a big (big!!) fan of Torx drive screws, and I have a lot of Torx head screws in storage, about 1700, but I didn’t buy thick and long ones. I had to use 5x80 mm Philips head screws instead…
-
Column
12/27/2020 at 11:11 • 0 commentsColumn made of plywood

The 5 layers of 1,8mm thick plywood

Upright image of the wooden column

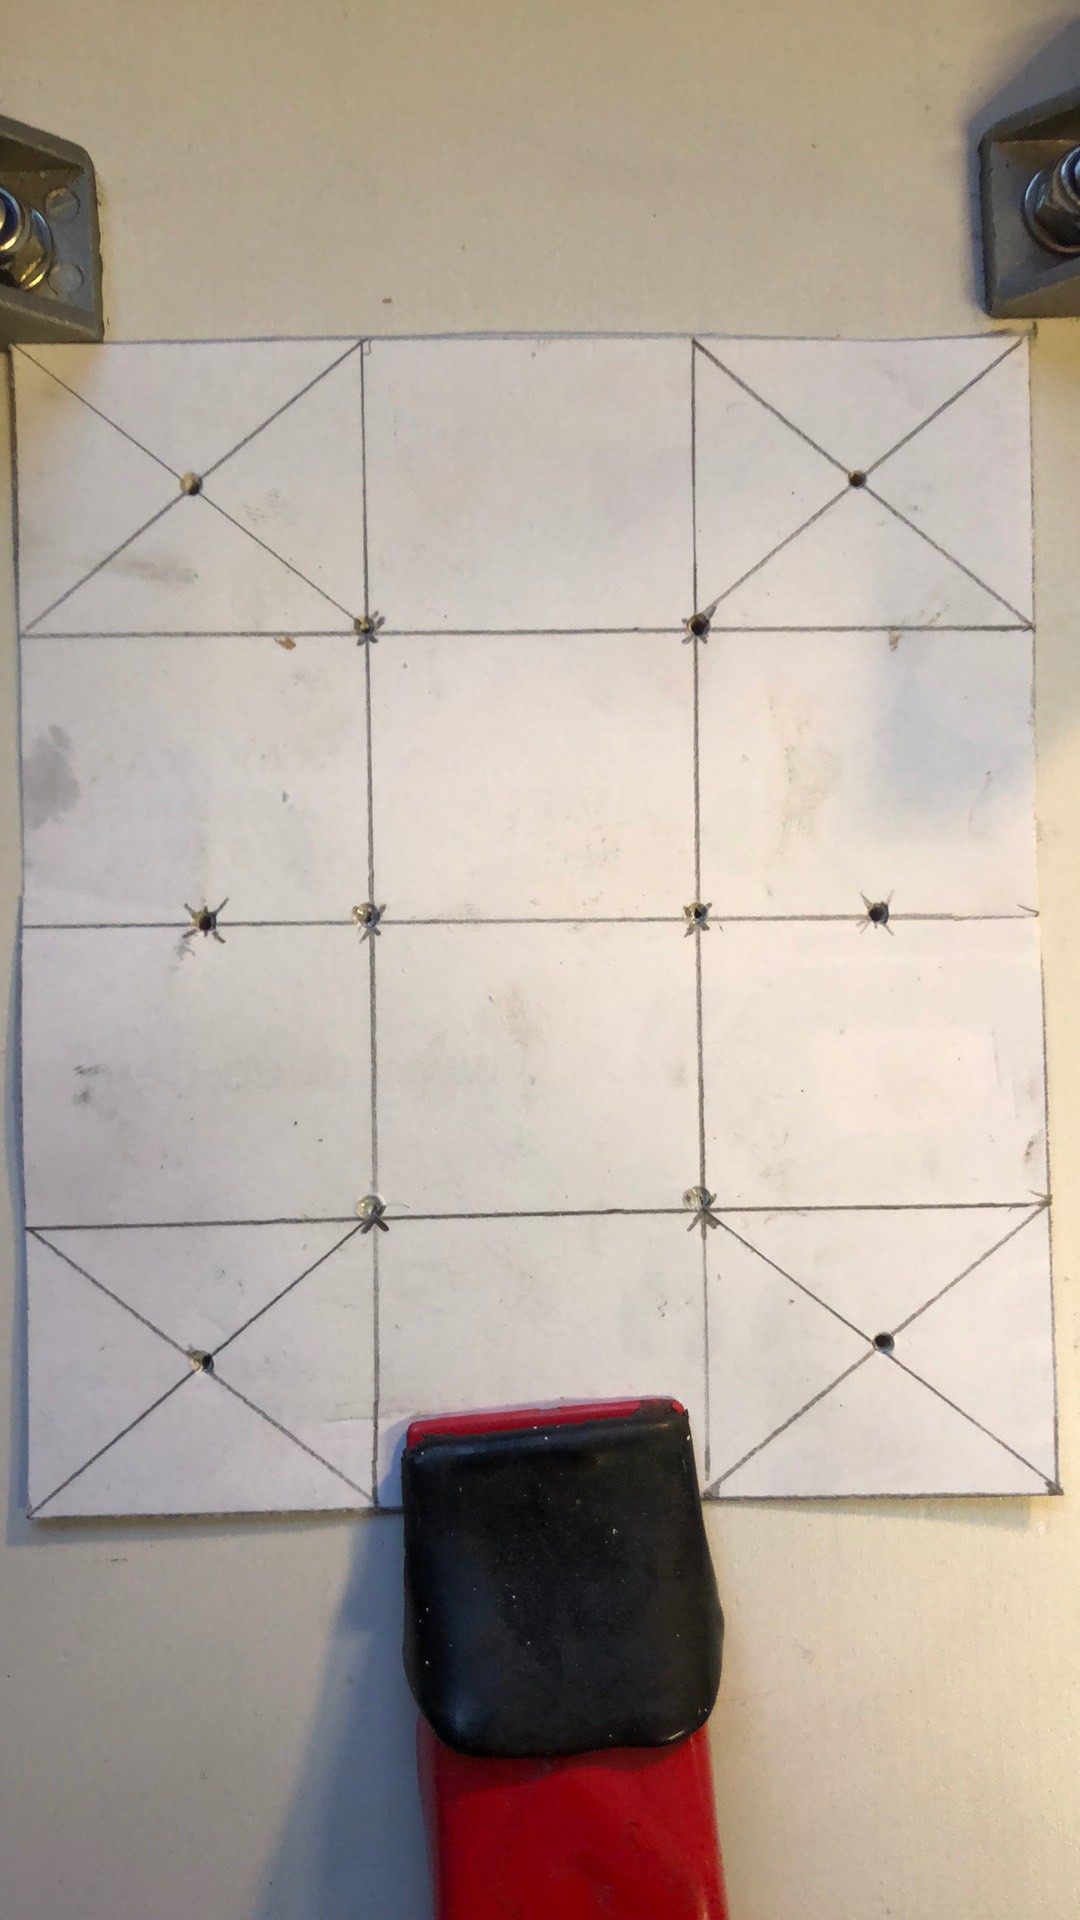
The template I used for marking and cutting out the column.

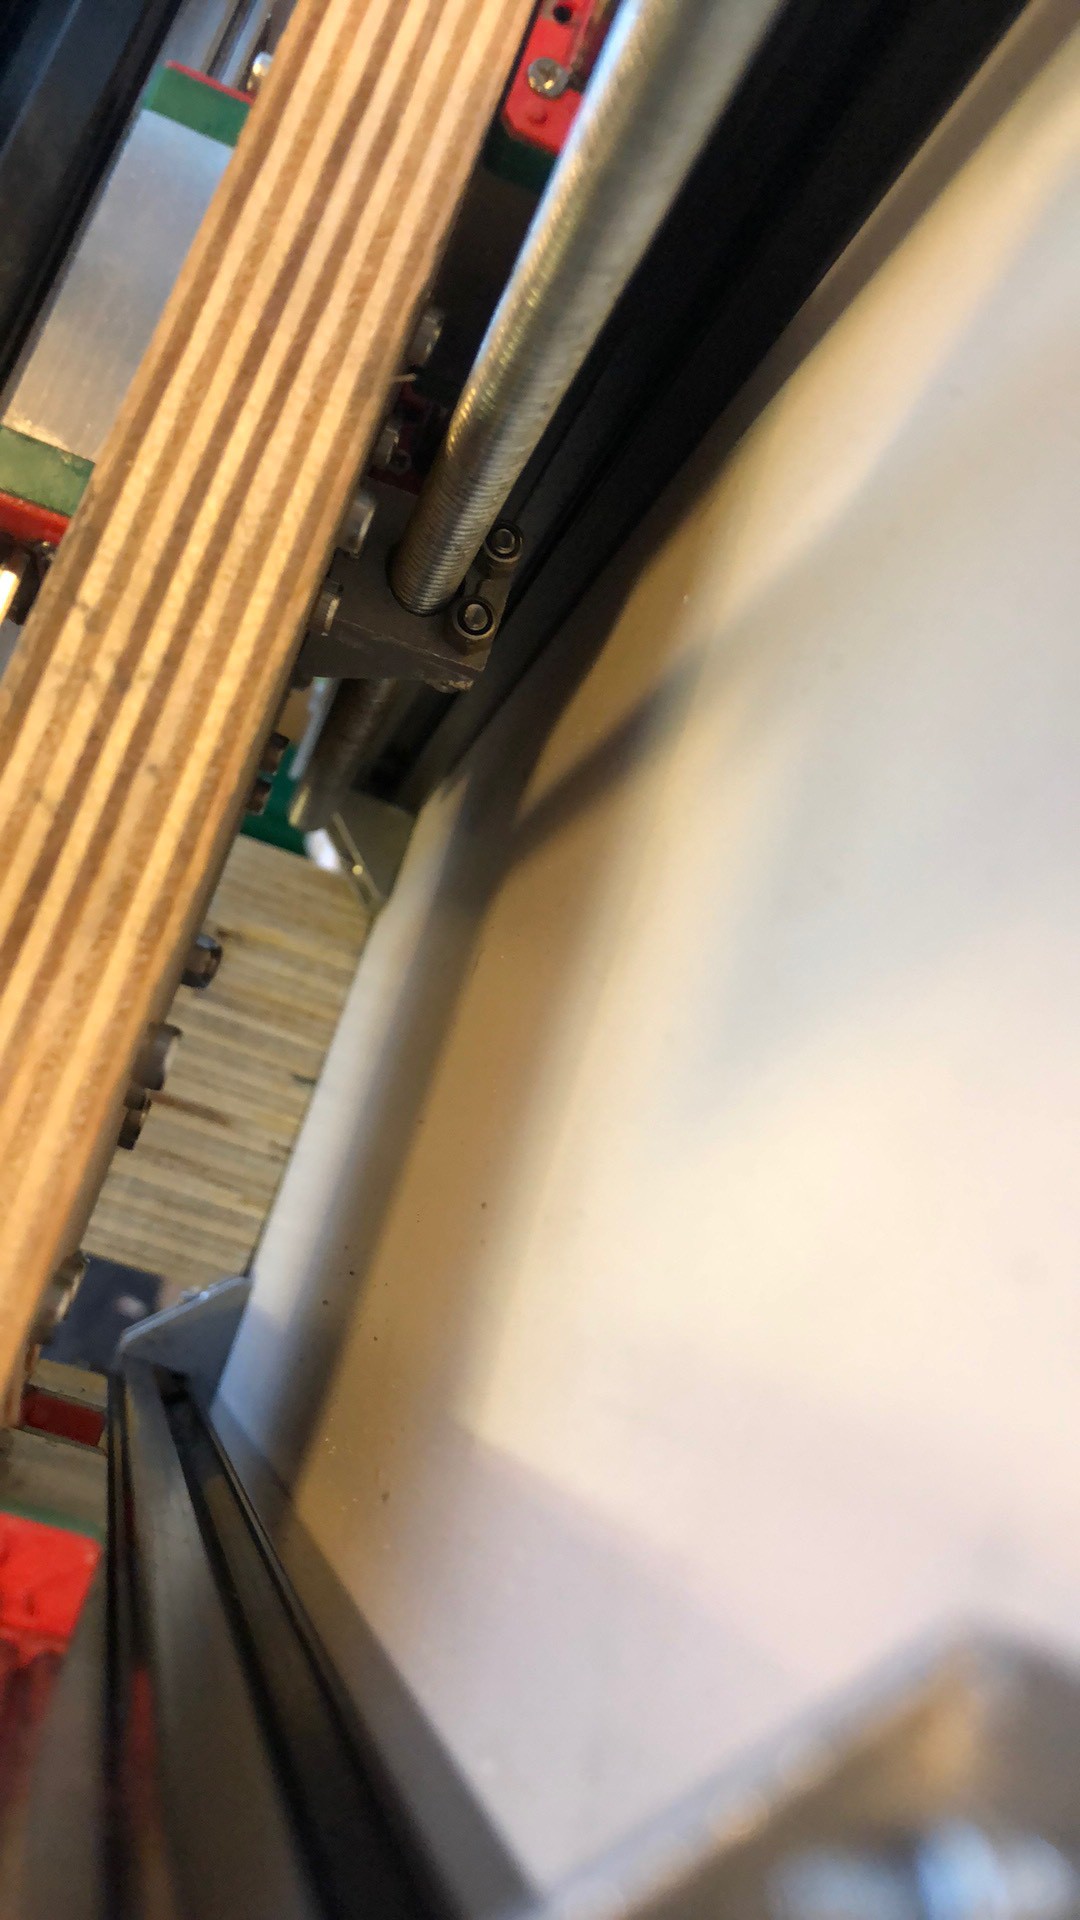
Z axis, identical to the y axis

Z axis is attached

The same brackets as on the XY table

New Z axis motor mount, now the whole axis will be identical to the Y axis (left to right) This will be beneficial for the captive nut
-
XY table
12/27/2020 at 11:07 • 0 commentsXY table top view

Side view

Stoppers for the linear rails and not all screws are used yet because I will have to undo them anyways in a bit

Bottom view

Base rails to the base plank

Added trough bolts for more squareness and stiffness

Drilled and tapped

Table is mounted much more secure, I added a larger diameter for the fasteners connecting to the linear bearings, so my imperfections can pass trough without any issues of alignment

Of course i still have to tighten the nut, but I do that when I am sure that I like it this way

CNC machine V3: Mill
The third version of my CNC machine I’m making, all the pervious ones had serious issues with stability.


