PCB
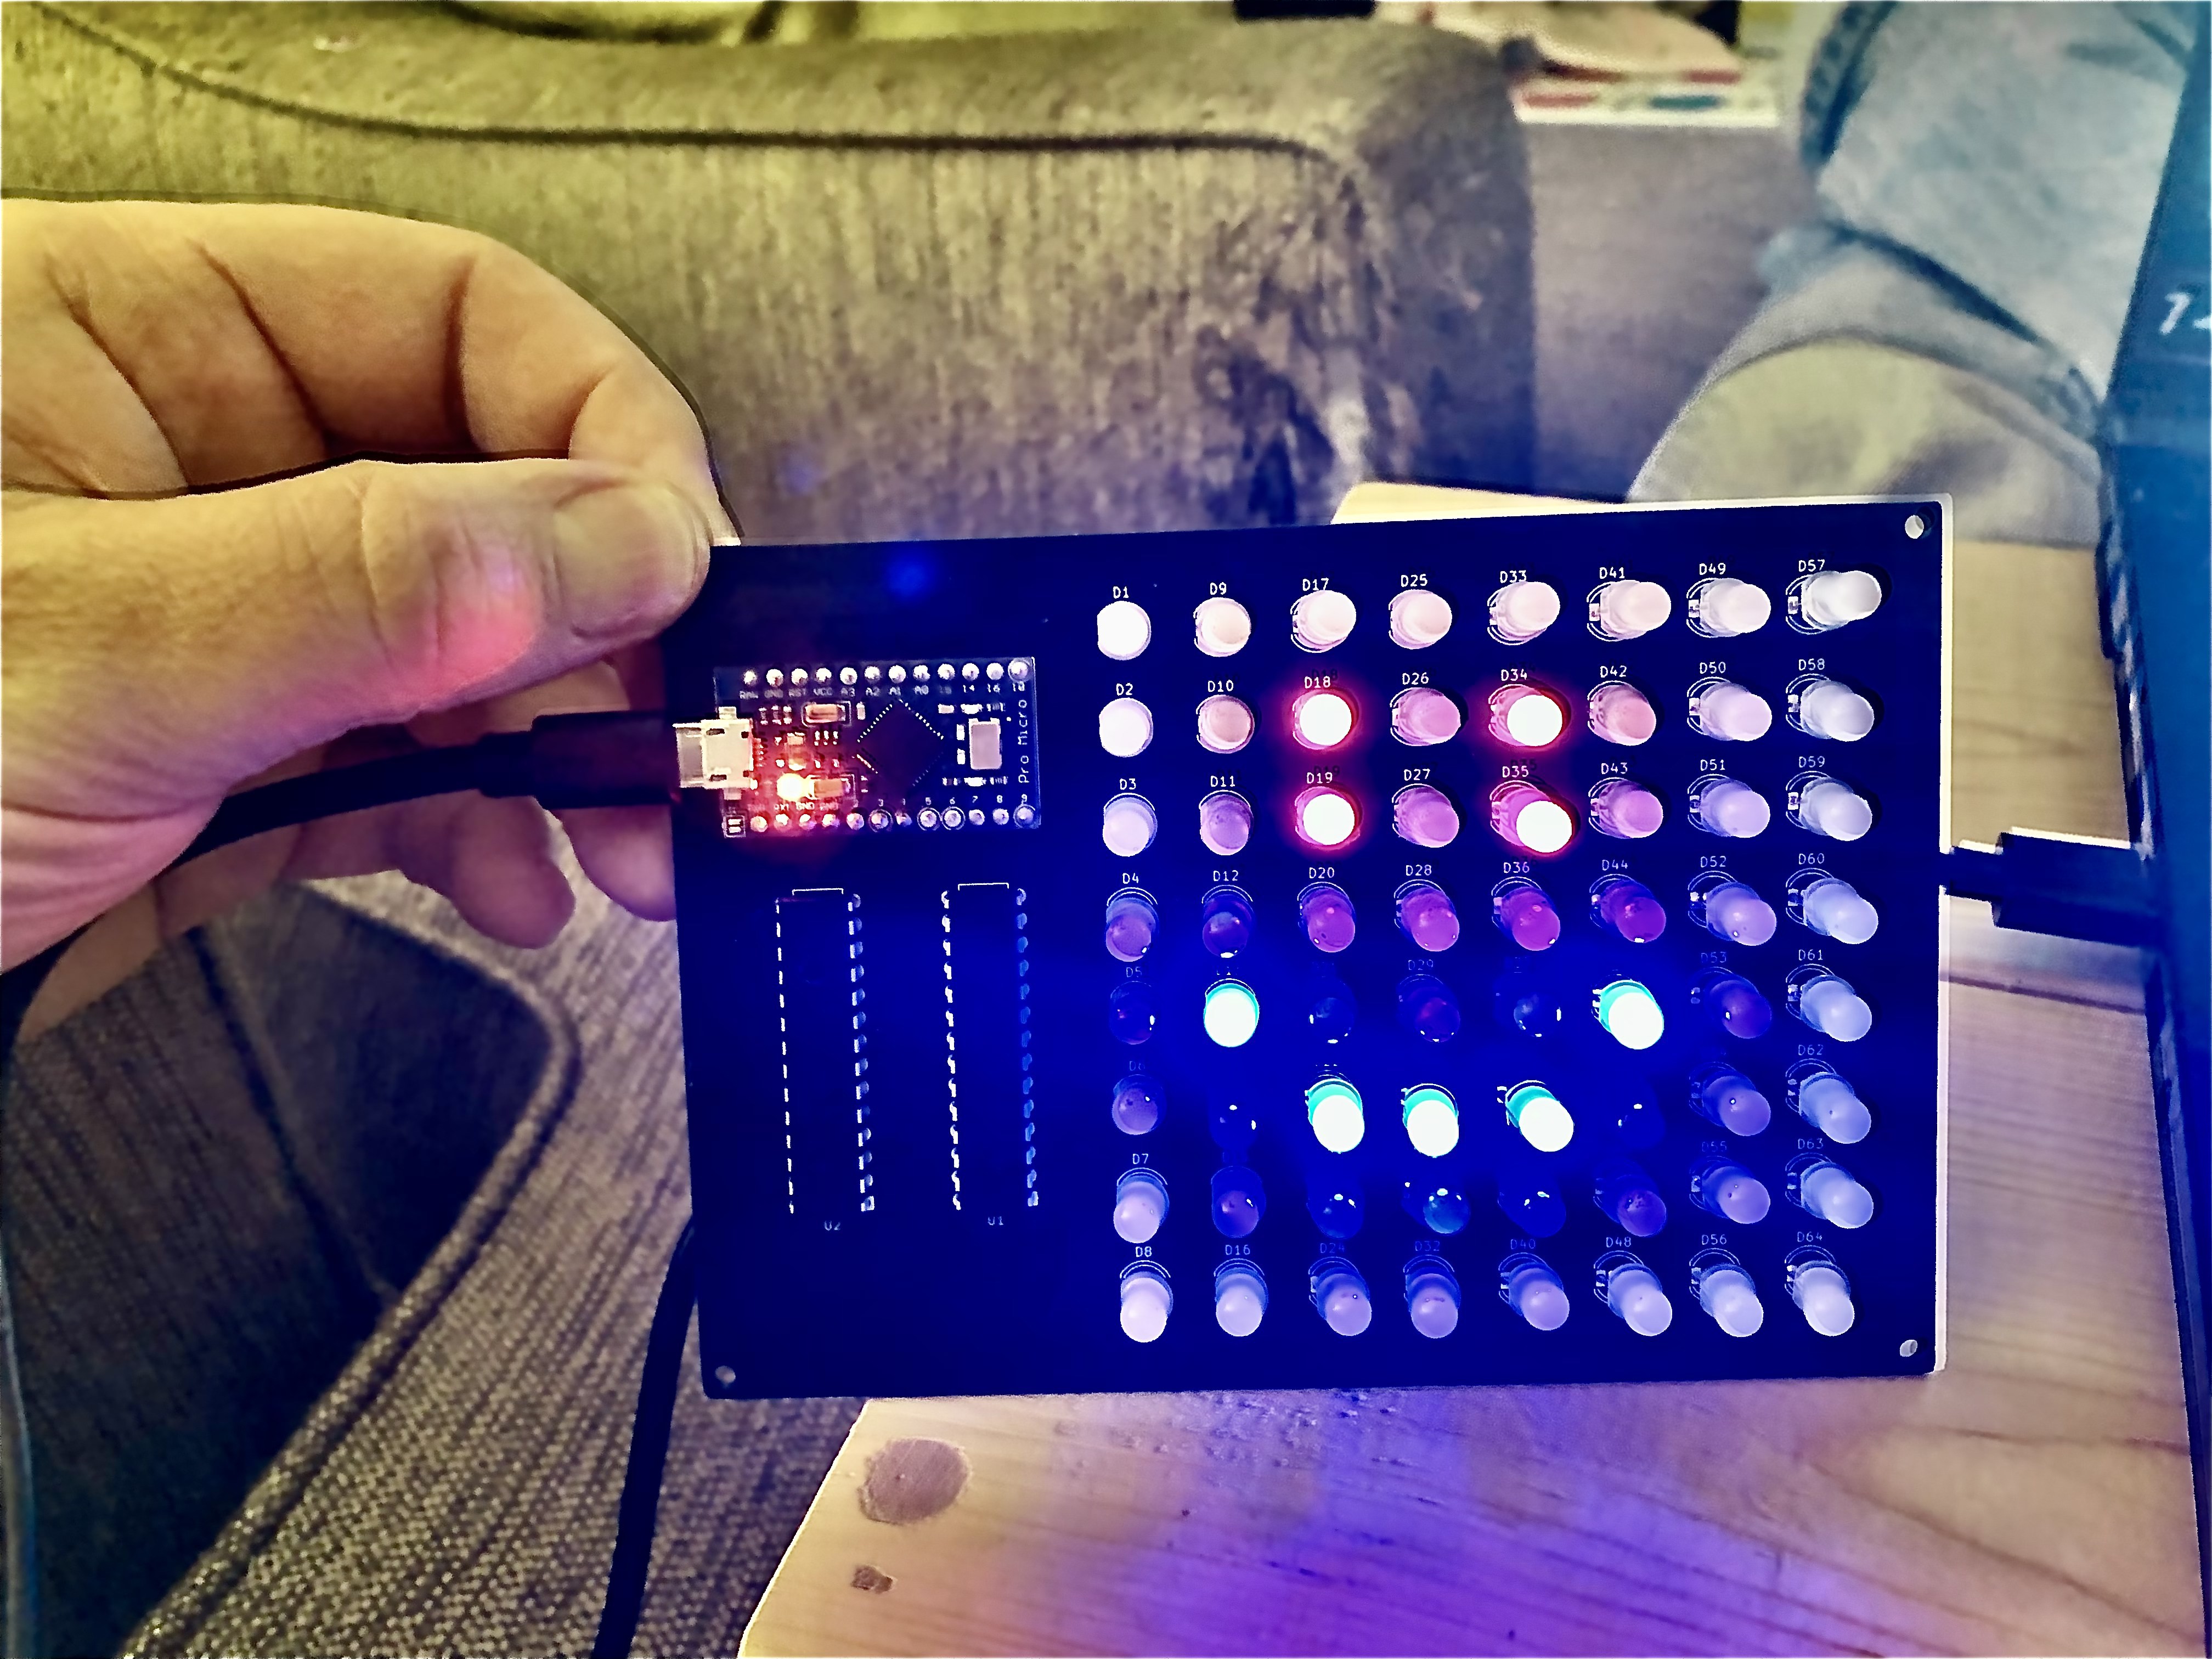
Designed using KiCad and created by JLBPCB. I was able to fit all the routes on a 2 layer PCB without overlap making the boards fairly cheap to produce.
Controllers
An Arduino Pro Micro (Leonardo) controls the 2 MCP23017 port expander chips via I2C. The Arduino digital ports are not utilized at all in the matrix, however would have been easy to add additional rows and columns if needed.
This particular combination of Arduino Pro Micro and MCP23017 can have 48 total digital pins if I wanted! That could translate to a 8x13 LED matrix and STILL maintain the ability to control all 3 colors for each LED individually.
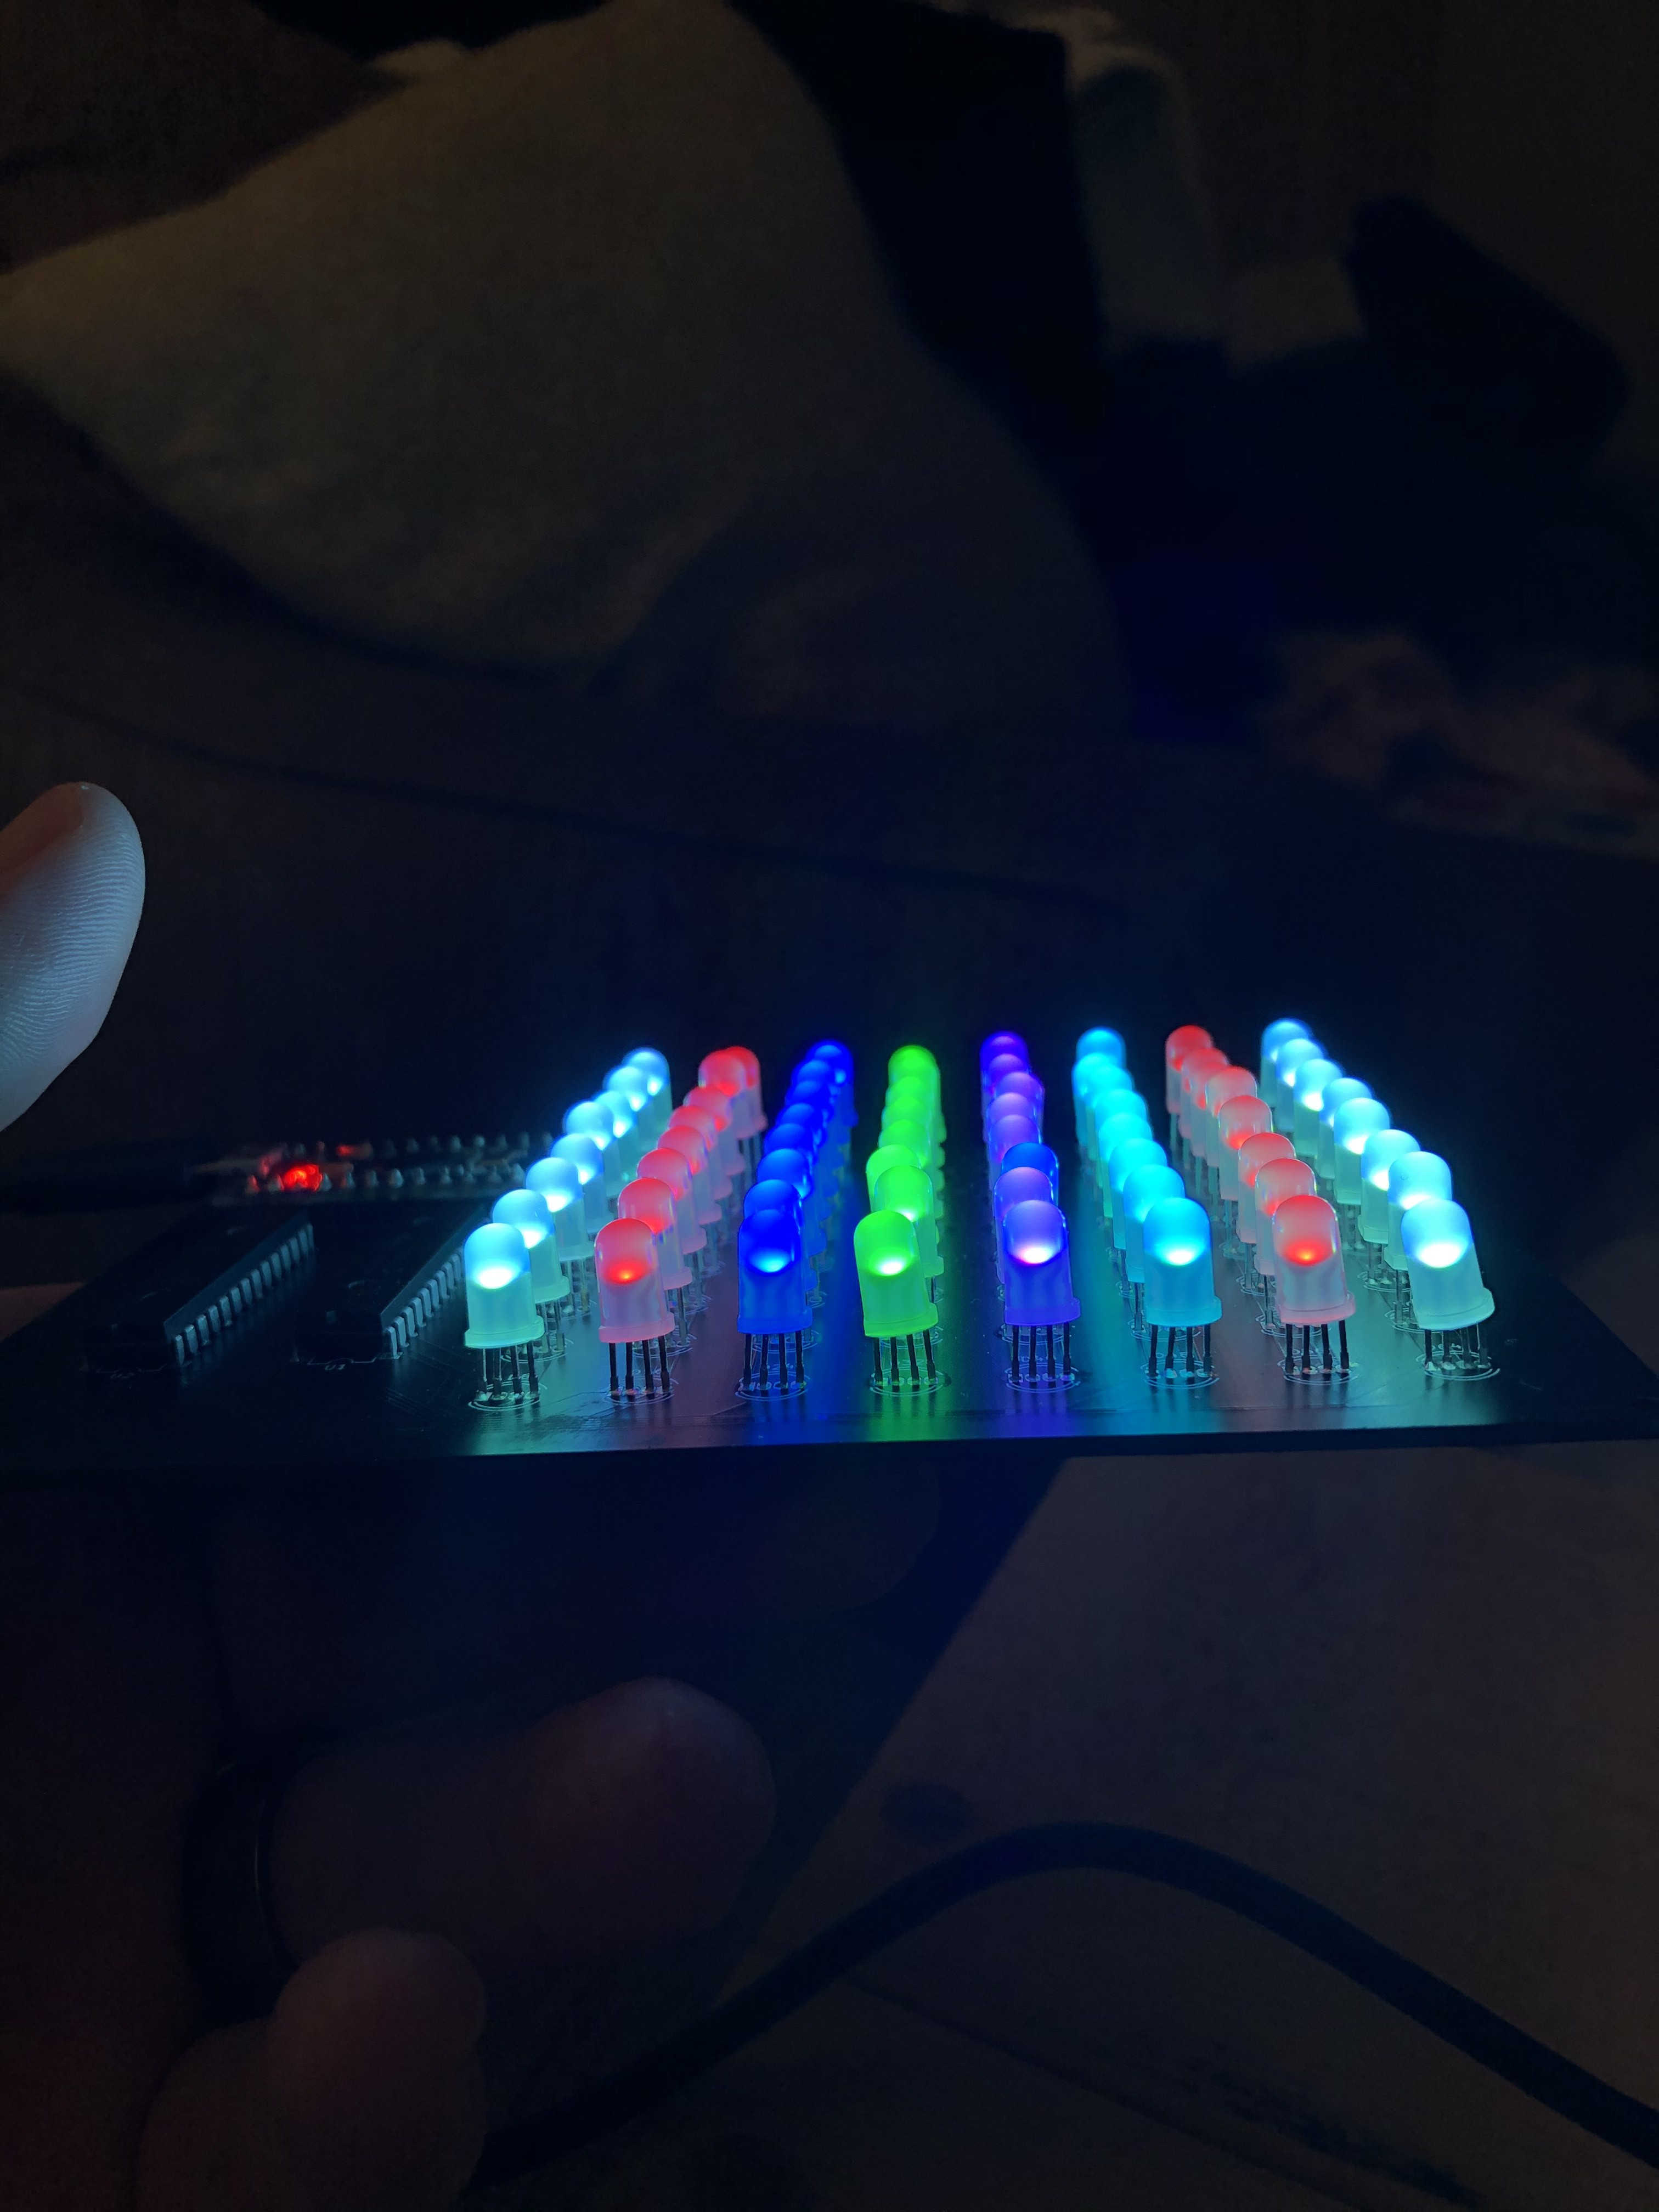
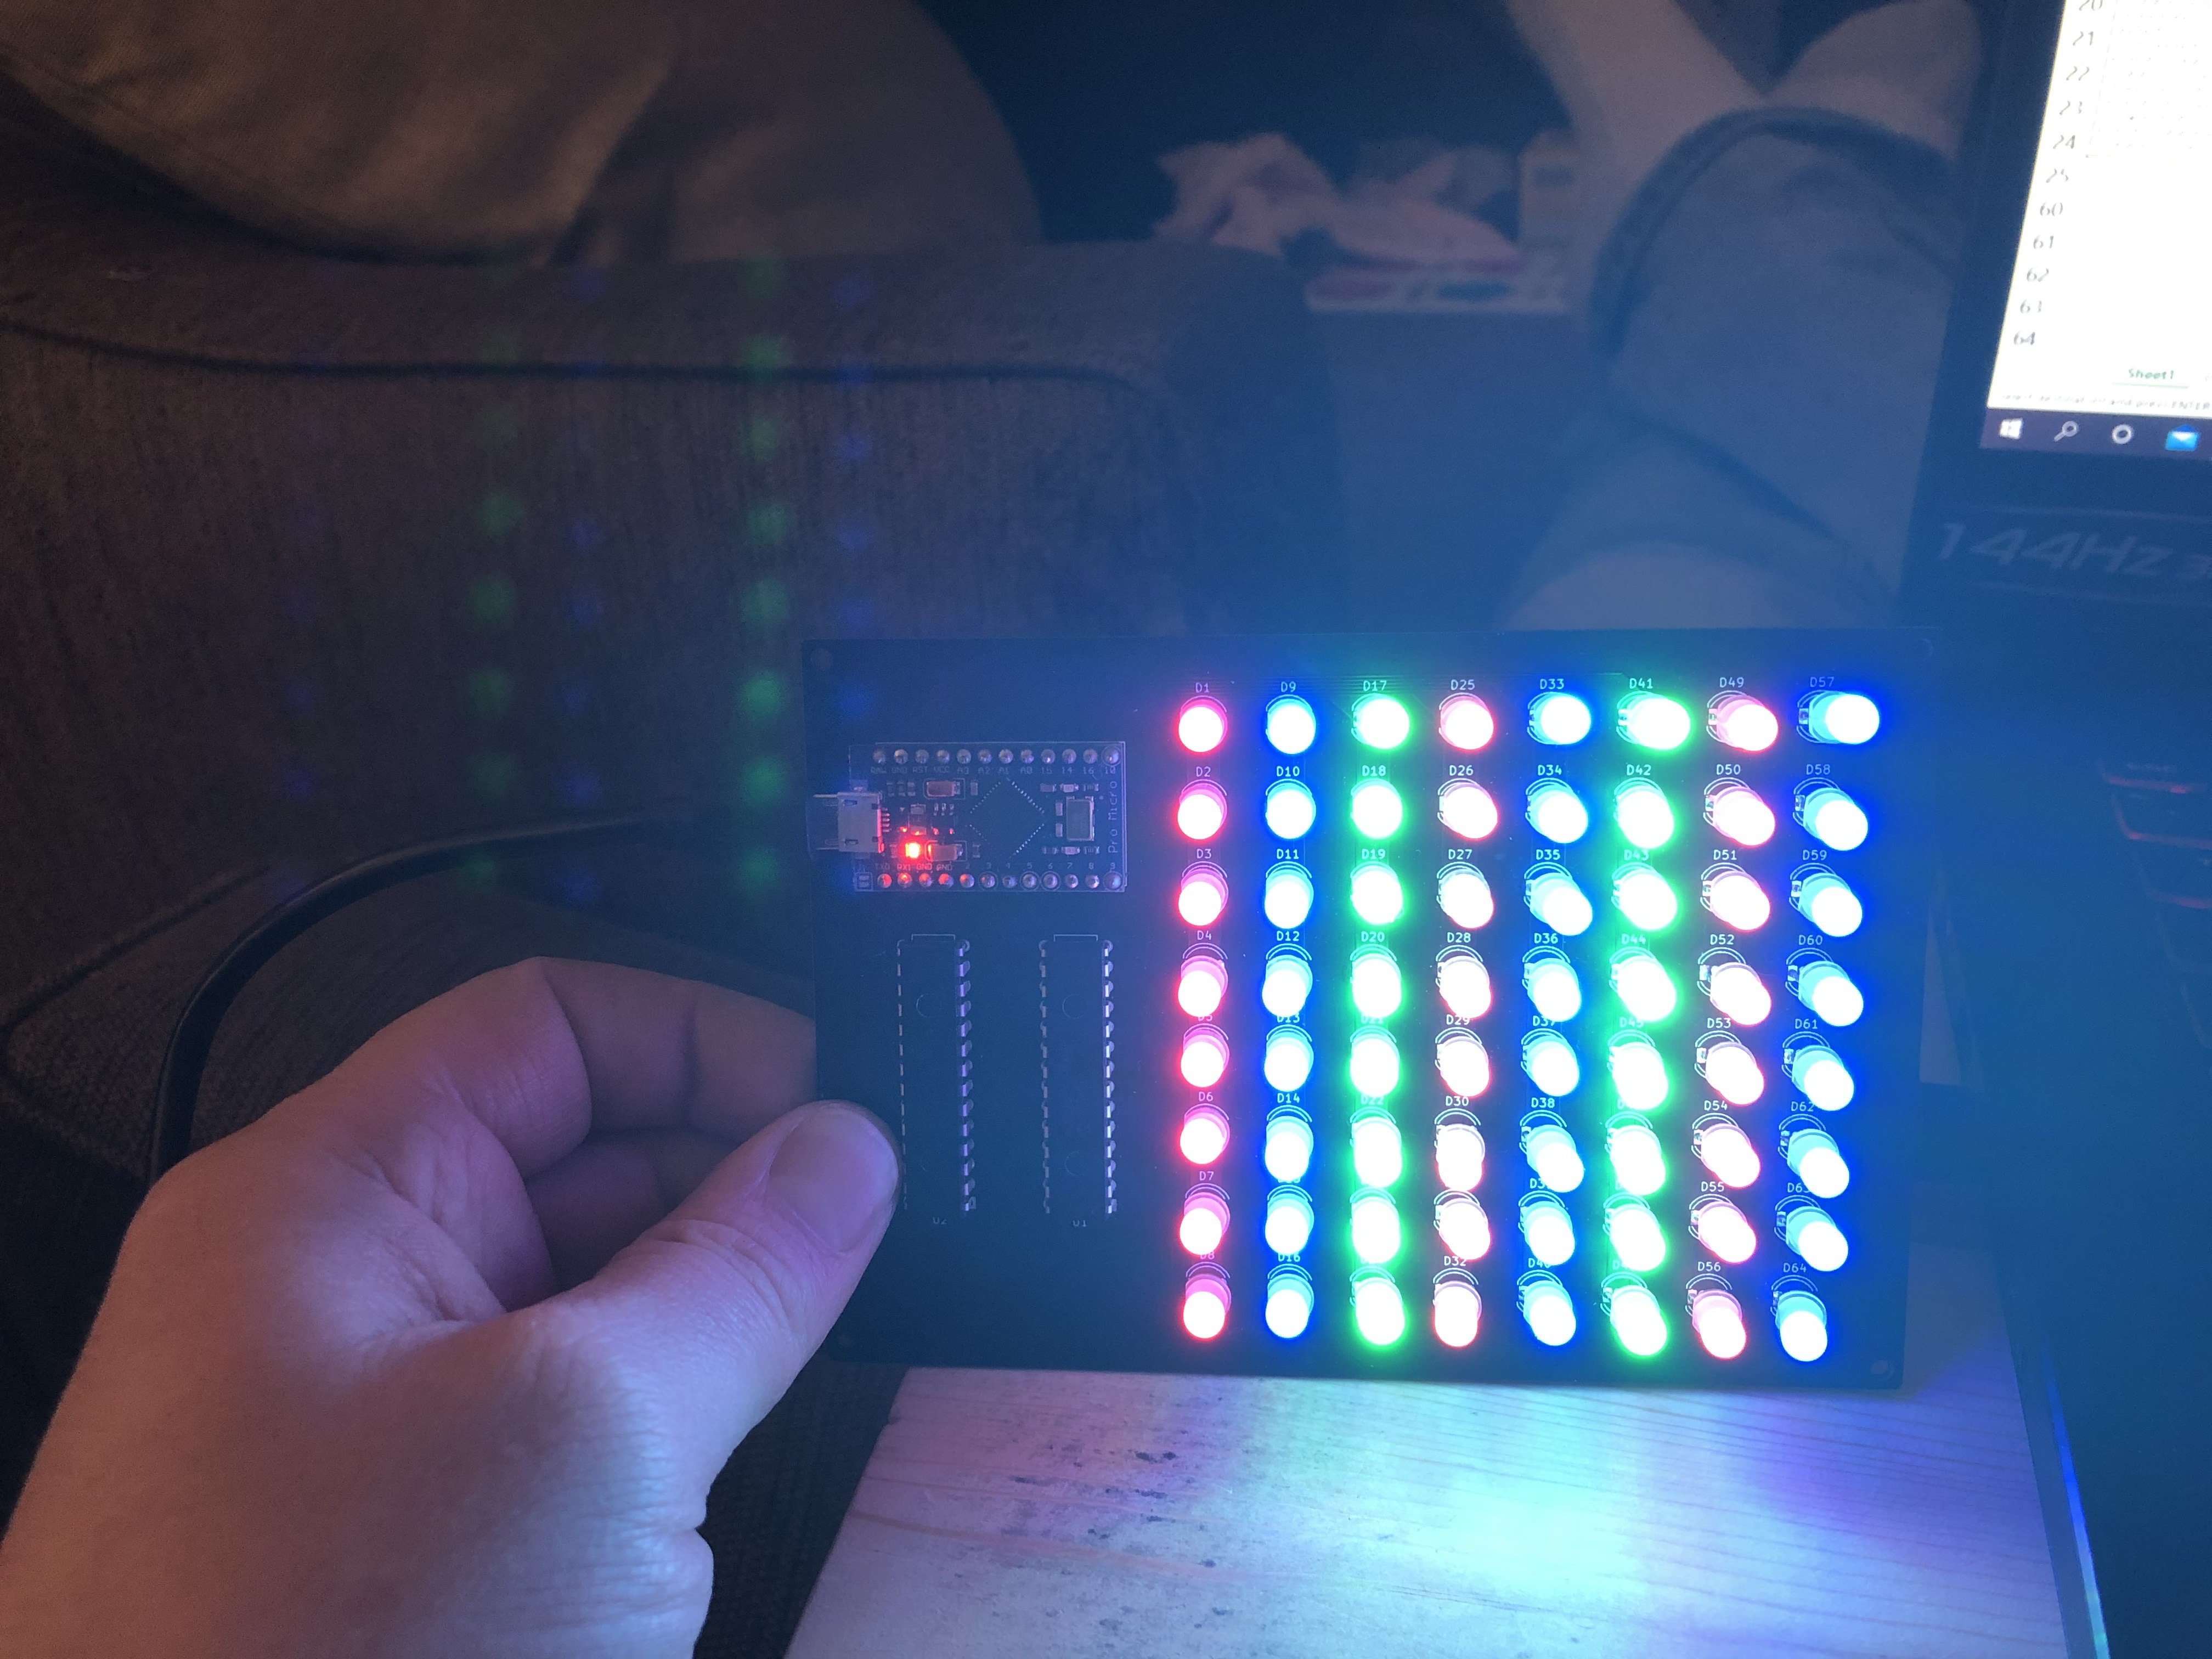
Had I simply done non-RGD LEDs, this matrix would be able to control 192 individual LEDs, however I liked the idea of having fun with color, so I stucked with 64 RGB LEDs which each require 3 digital ins and a ground.
MCP23017 is a pretty common port expander used by electronics manufacturers. Its a fairly reliable and easy way to expand your digital pins in your micro controller if it supports I2C integrated circuits. IF warranted, you can have upwards of 8 chips (16 pins each for a total of 128 pins) on a single microcontroller.
Code
The basis for the code utilizes Adafruit's MCP23017 library, which makes controlling the digital pins extremely simple. For each IC, you need to set an address for I2C communication, which is very simple. I grouned the 3 address pins for one chip, and hooked the other 3 address pins to VCC. This allows the library to identify each chip individually so you can control them separately.
Once you've identified each chips' address, simply control the pins like any Arduino digital pin (with the addition of your IC's name prior to digitalWrite/Read). For this matrix I opted to set ALL row pins to HIGH on setup. All remaining column pins (which are hooked to RGB pins) are LOW on setup.
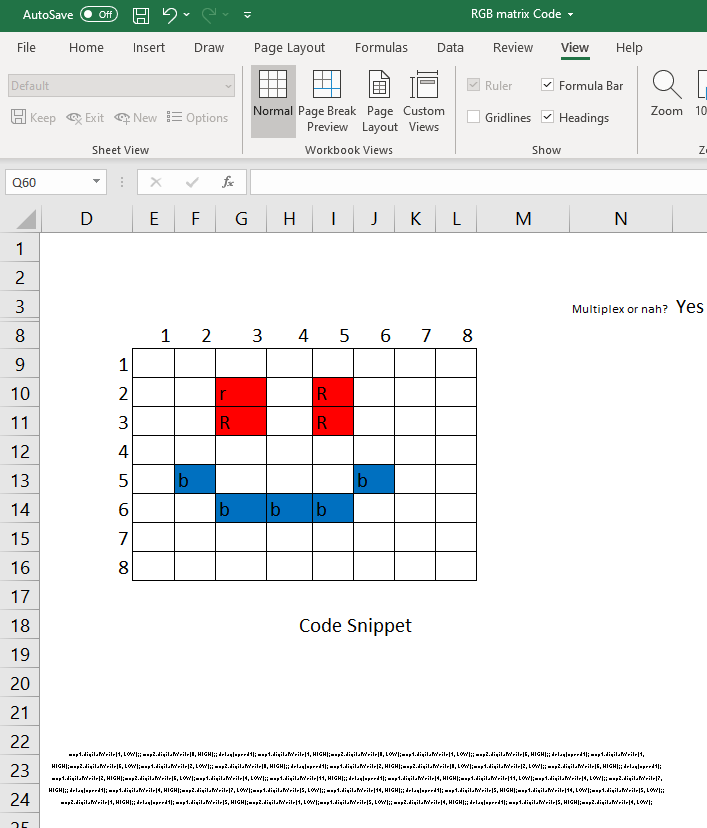
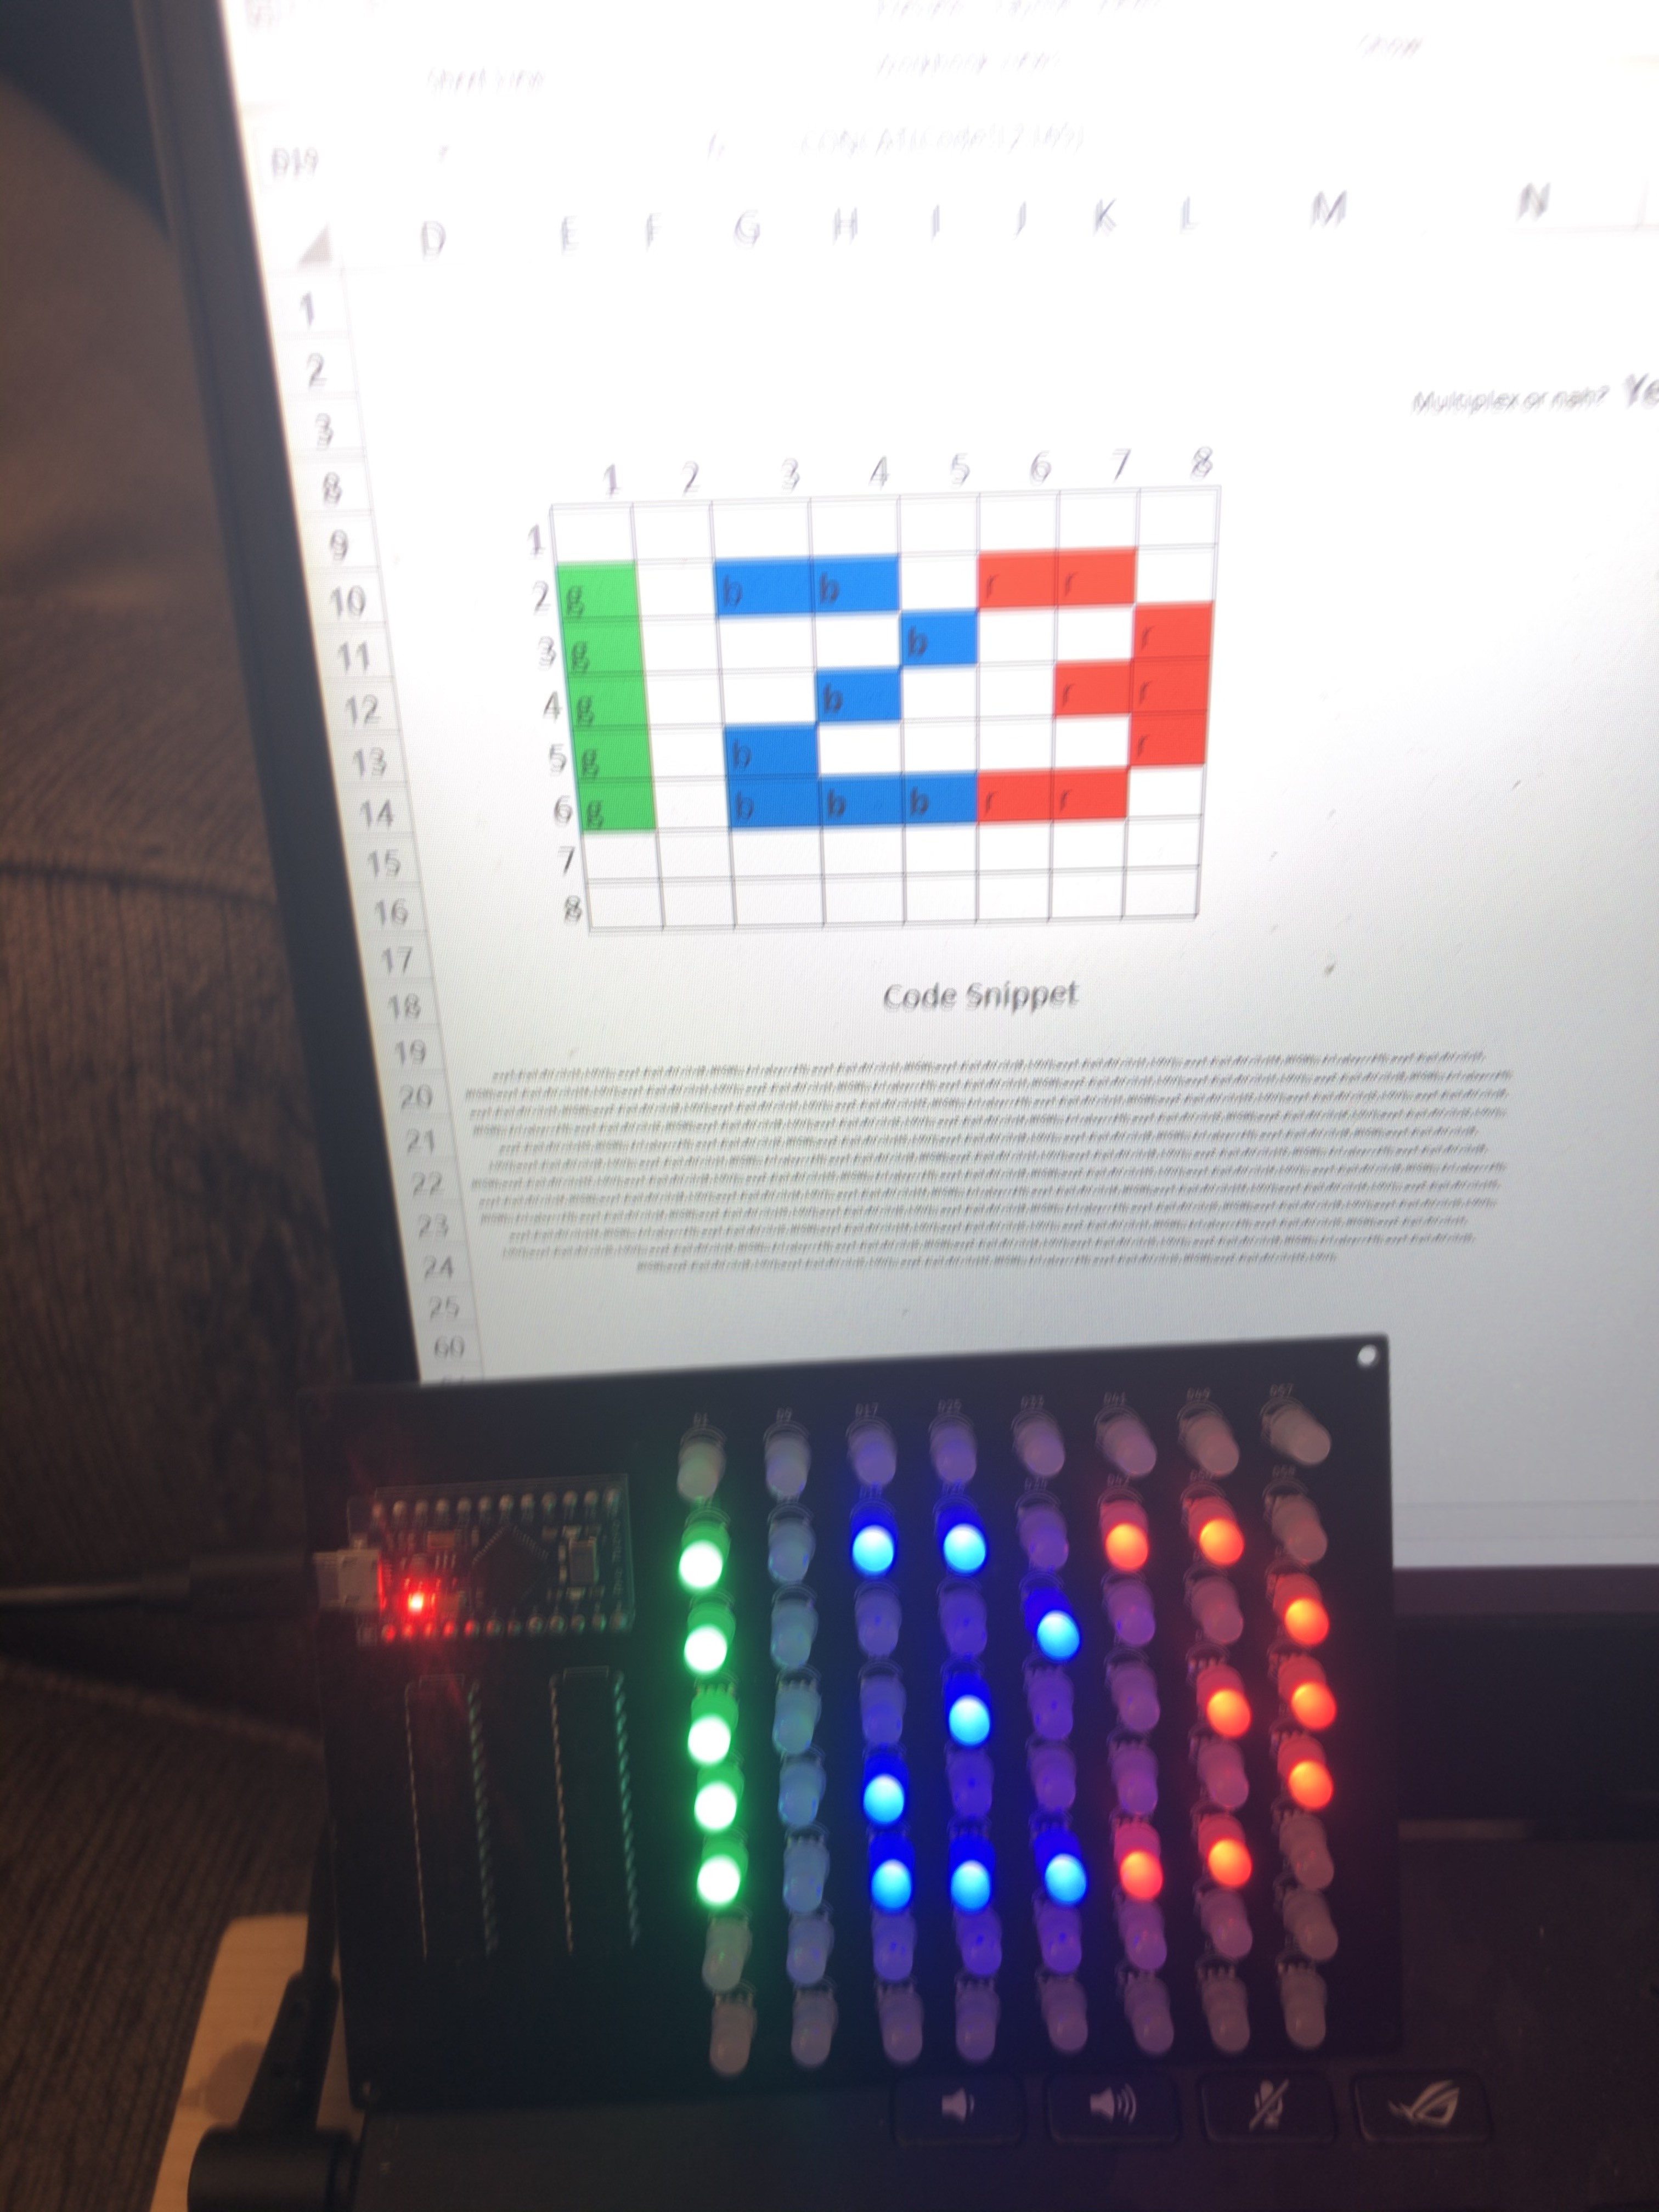
The Excel spreadsheet (see below) then pulls the row LOW and the column HIGH for each specific LEDs in side of the matrix. Since this is an LED matrix, you MUST pull these pins sequentially very quickly otherwise you will inadvertently light other LEDs. Check out multiplexing on Google for more details.
Excel
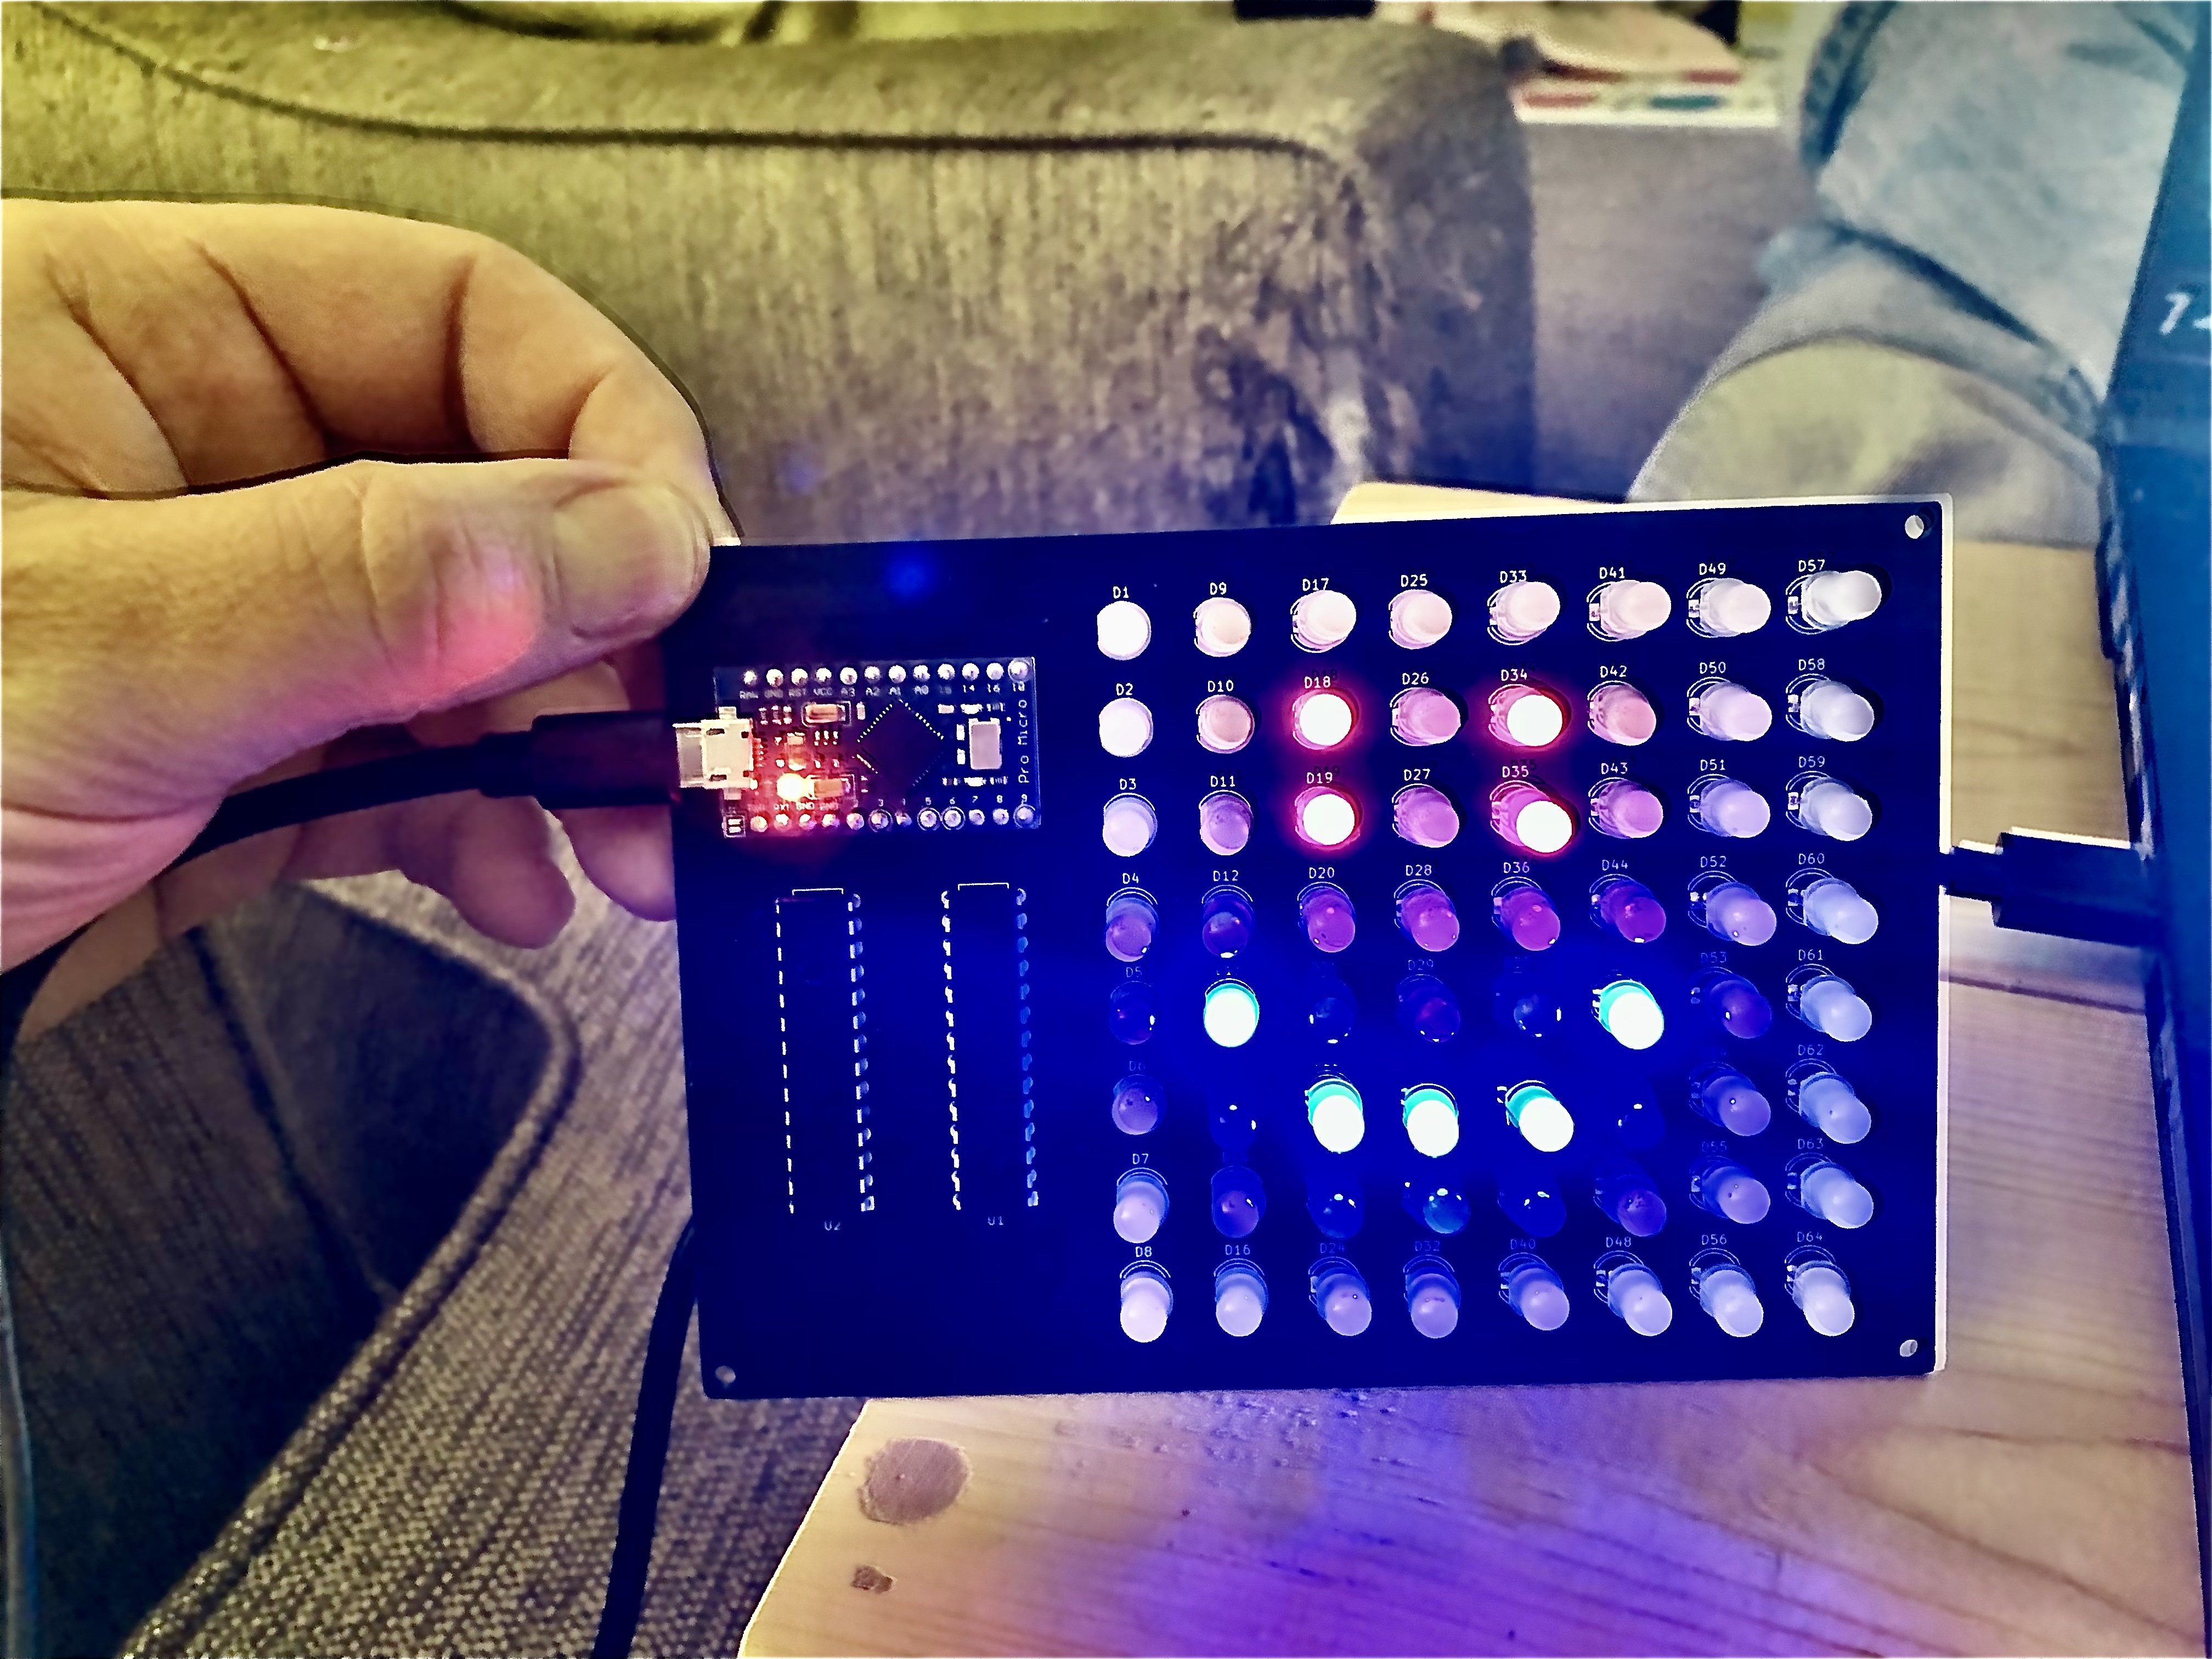
I am an armchair electronics enthusiast, so most of the above is brand new to me. However I am a HUGE fan of Excel and found I could easily generate code using a spreadsheet. You simply add an R, G, or B to the LEDlocation in Sheet1, and the code to light that bulb with the correct color will generate. Simply paste this in to your loop and you are done! This the closest thing i could find to drawing and generating the code automatically.





 Sagar 001
 hIOTron

 potblitd

 davedarko