secretbatcave
-
Bugs Bugs Bugs
06/13/2021 at 19:33 • 0 commentsThe problem with hardware is that bugs are much more of a pain in the arse. Unlike software you can't hide your hacks behind library boundaries
![]()
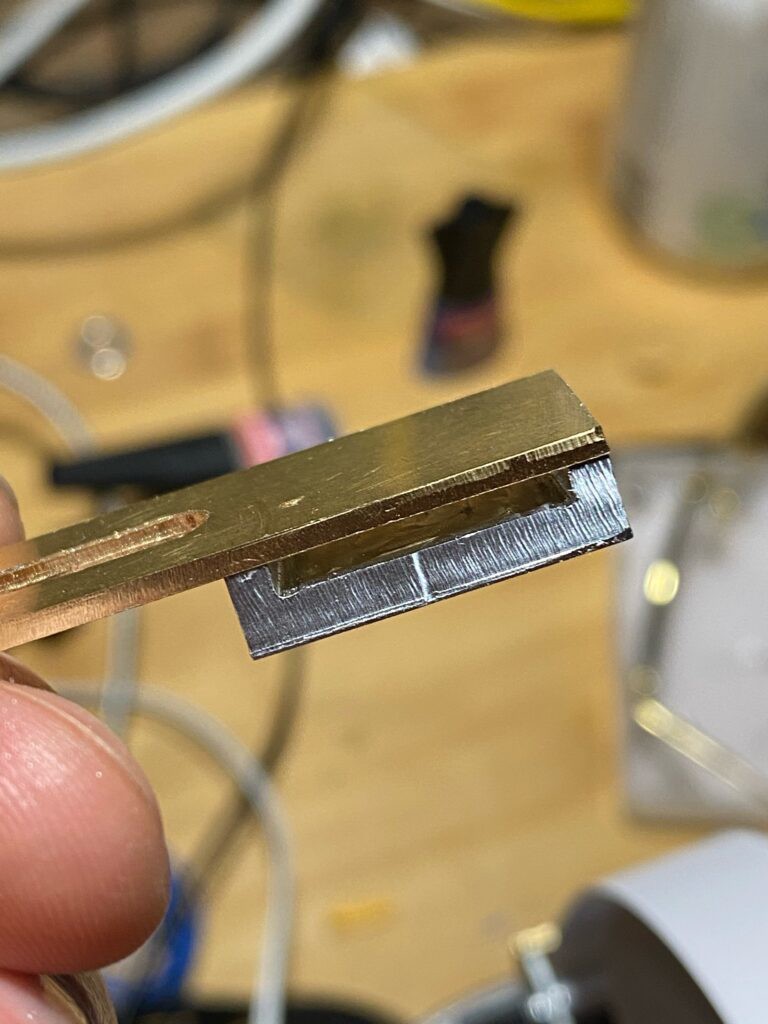
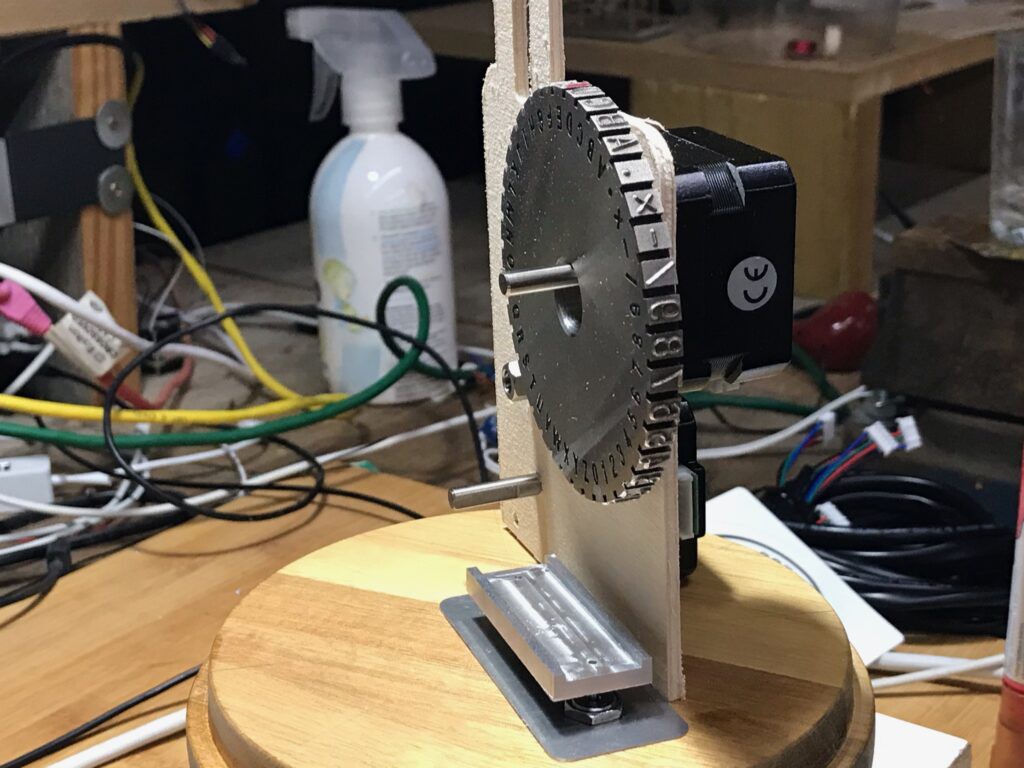
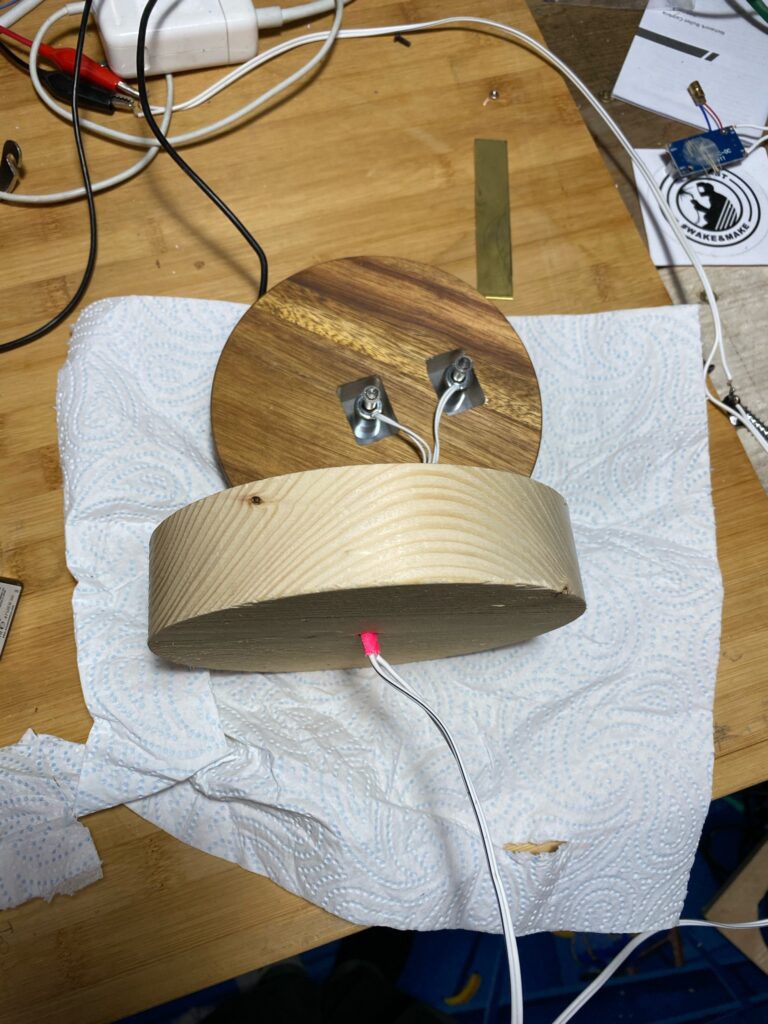
Because the paper can move left and right relative to the presser plate, it gets pinched. Which makes everything go wrong. This took a lot of fiddling to correct, but in the end the solution is quite simple:
![]()
![]()
The conformer makes sure that the paper can't move left or right, and surprisingly it works really well. It has lots of room for adjustment, which is a bit ugly, but means it actually works.
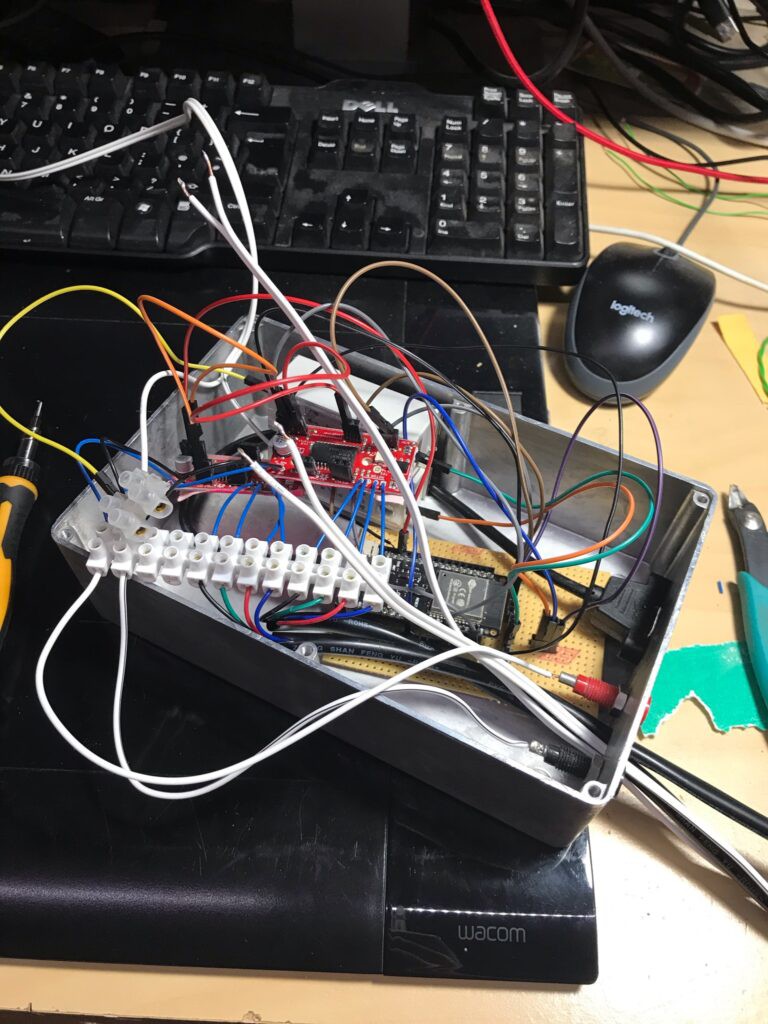
The other mess was the electronics. There is nothing ground breaking here, just two stepper controllers, a solid state relay and an ESP8266(wildly over powered). As we are dealing with 24v and lots of noise from the solenoids, I used a beefy SSR, so I didn't run the chance of accidentally shoving -32v through a USB line.
Its messy though![]()
but with a bit of wobbling, it was tamed. Plus with this lid on, you can see it. Perfect is the enemy of good and all that.
-
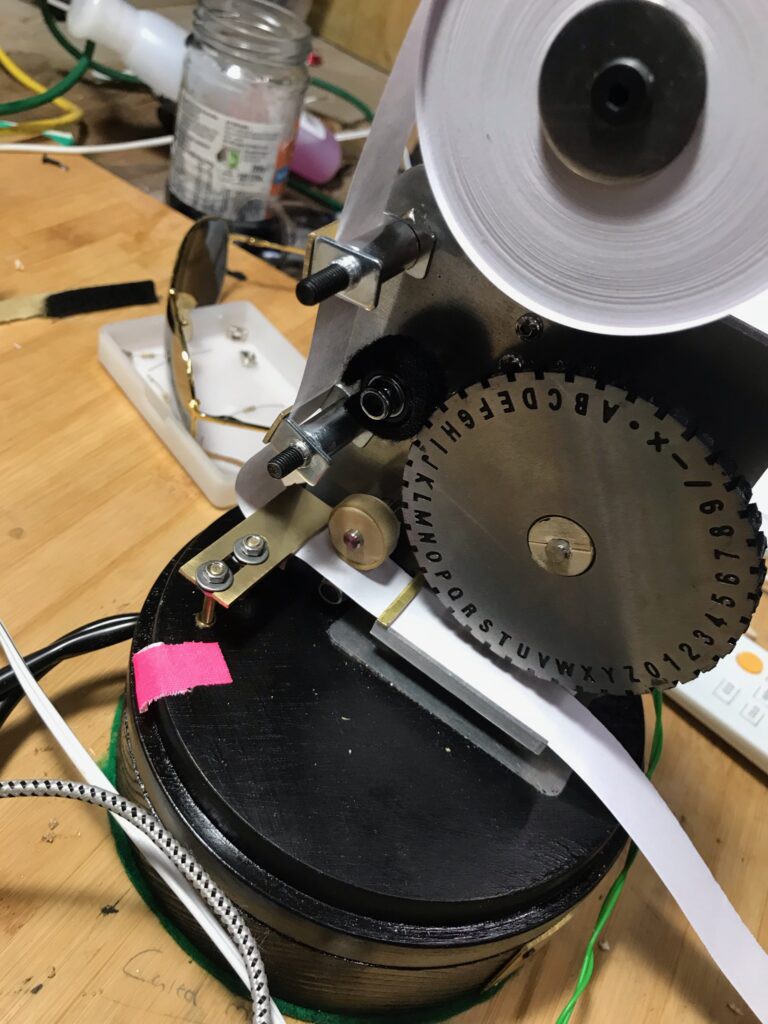
Main plate design
06/13/2021 at 17:31 • 0 commentsIts not overly obvious in the hand drawn design, but the main point of the main plate is as follows:
- Host a printing wheel that has the letters on it
- contain a paper feeding mechanism
- Be solid enough to cope with the hitting and pressing of the paper
Because aluminium is expensive, I started prototyping in plywood, to make sure my assumptions were correct, and that it all fitted inside the jar
![]()
Even though I had the mechanical drawings of the motors, I hadn't allowed enough space to fit all the paper handling bits in.
![]()
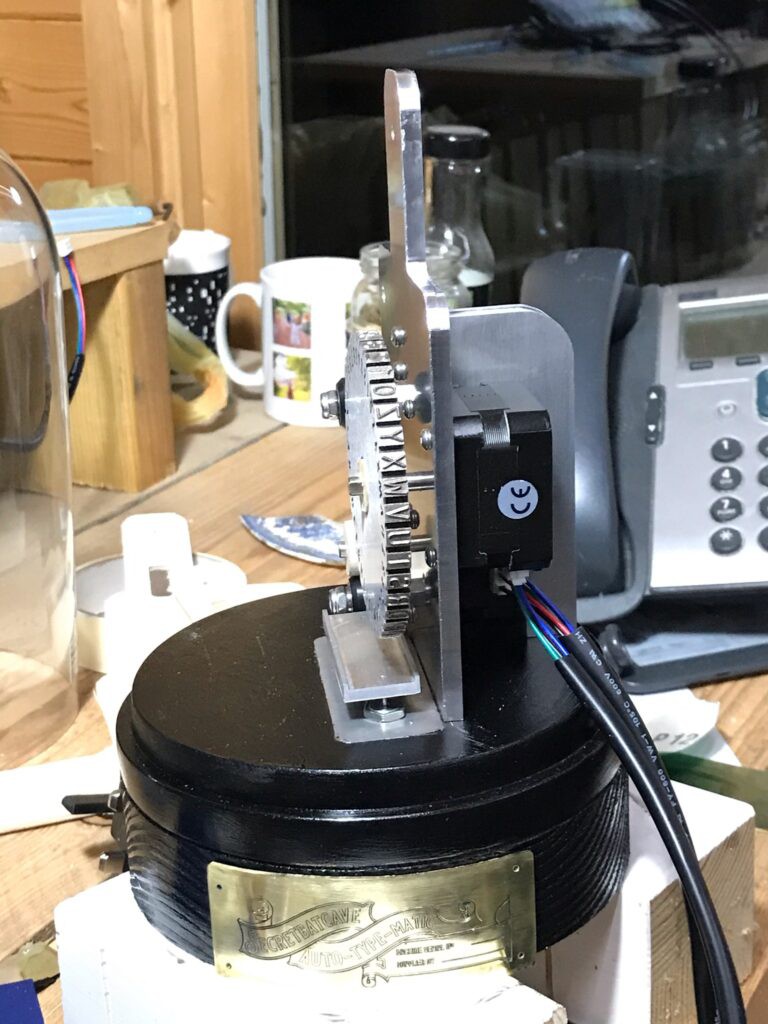
The other mistake I had made was not accounting for the width of the metal plate that holds the solenoids. Having learnt from my mistakes, and making some tweaks, I finally milled the aluminium plate
![]()
You can see some scratches in the black gloss, note to self, always finish your aluminium properly.
![]()
Its starting to look really nice now.
-
Logos are important
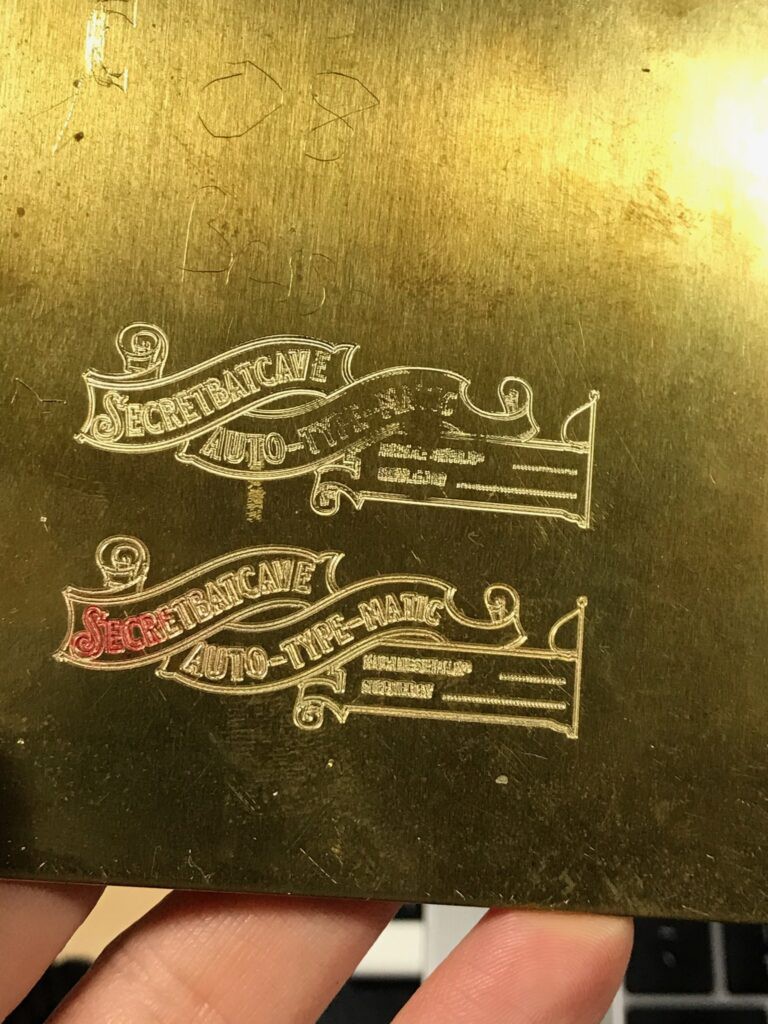
06/13/2021 at 17:16 • 0 commentsNormally I'd not bother with a logo, but as I've been given a Illustrator license through work, and the explosion in cheap heritage style clip art, means that its easier than ever for me to make a logo. Not only that, with the workbee its trivial to get that logo engraved in brass.
![]()
When engraving its really really important to make sure that your workbed is parallel to the spindle *and* that you've clamped your workpiece properly. As the depth of cut is <0.25mm it makes all the difference. TLDR: make sure you've surfaced your spoilerboard.
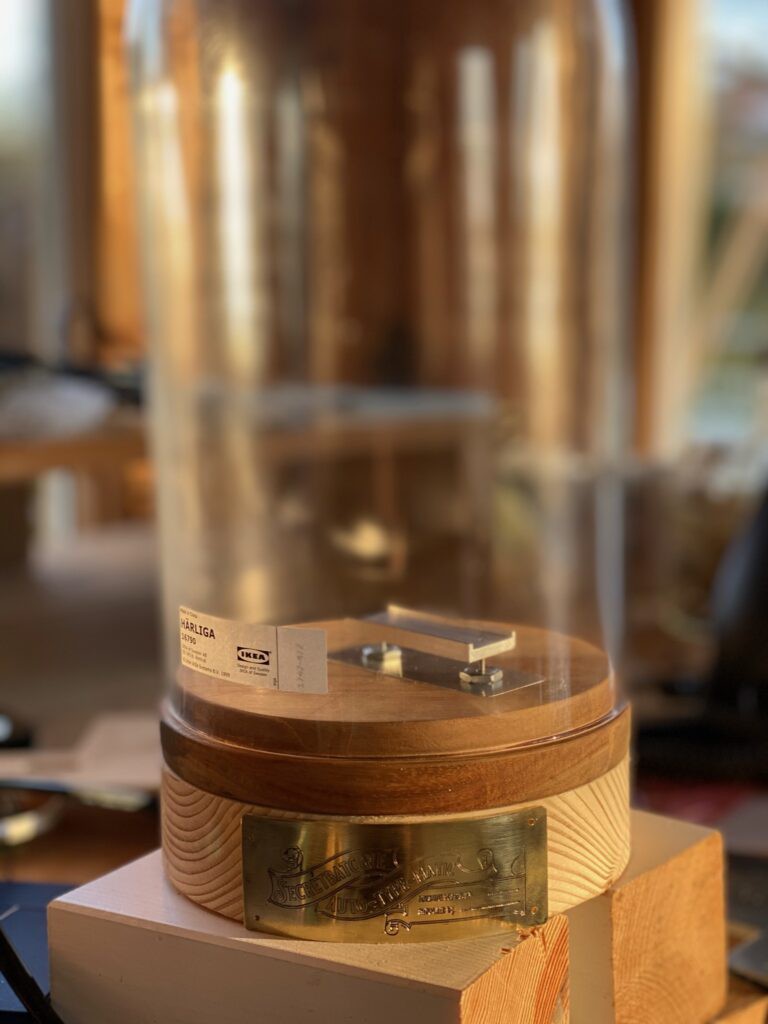
When I was designing the logo, I realised that the stock base that comes with the HÄRLIGA isn’t tall enough to house the solenoids. So I need to mill a base extension:![]()
This is useful because I now have a form to hammer the logo plate into.
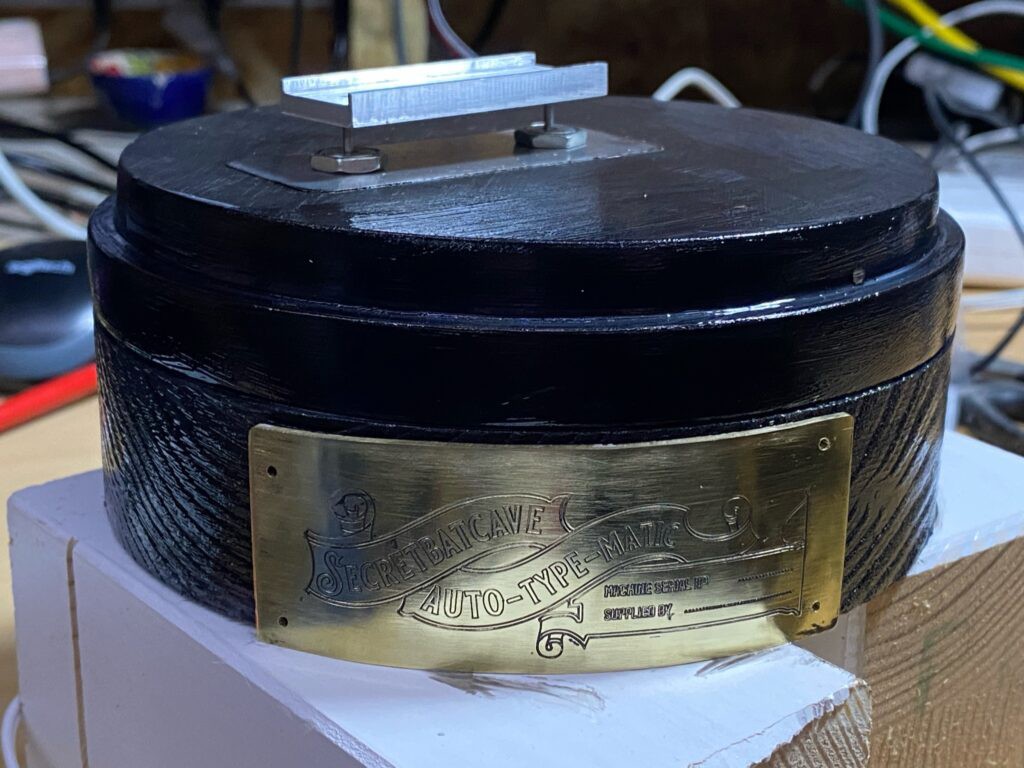
![]()
Here is the finished logo in place.
Indian ink and acrylic gloss makes it much more believable:
![]()
-
Biscuit buttery base
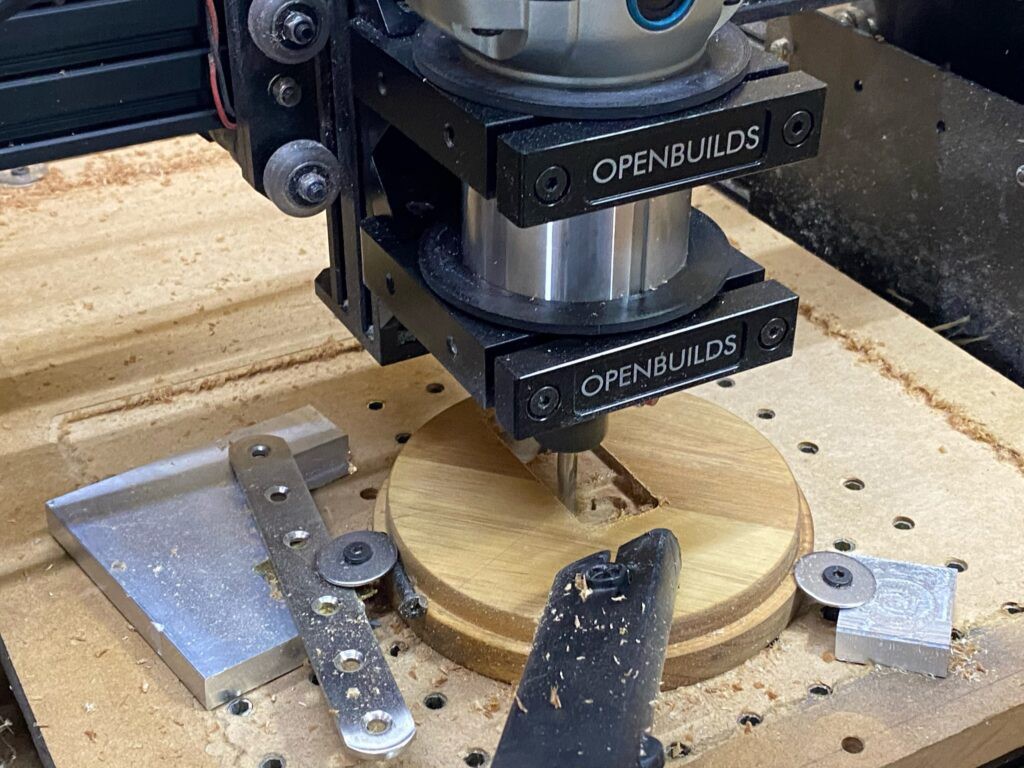
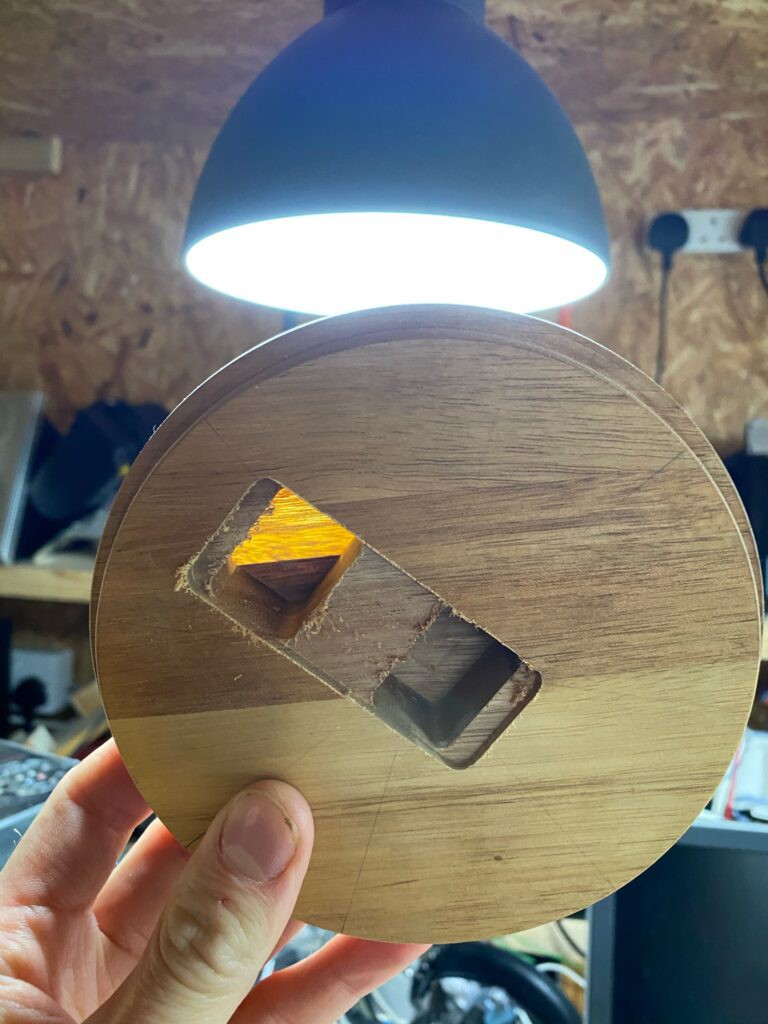
06/13/2021 at 11:20 • 0 commentsIts time to cut the base. If you look at the hand drawn designs you can see that lots of attention is spent on making the base/stamping mechanism. I need to mill pockets to accept the solenoids and solenoid plate.
![]()
The great thing about having a workbee is that its trivial to cut wood with reasonable accuracy.
![]()
As good as the CNC machine is, it doesn't make up for user error, or my inability to measure.
![]()
The pressing foot is fitting really well
-
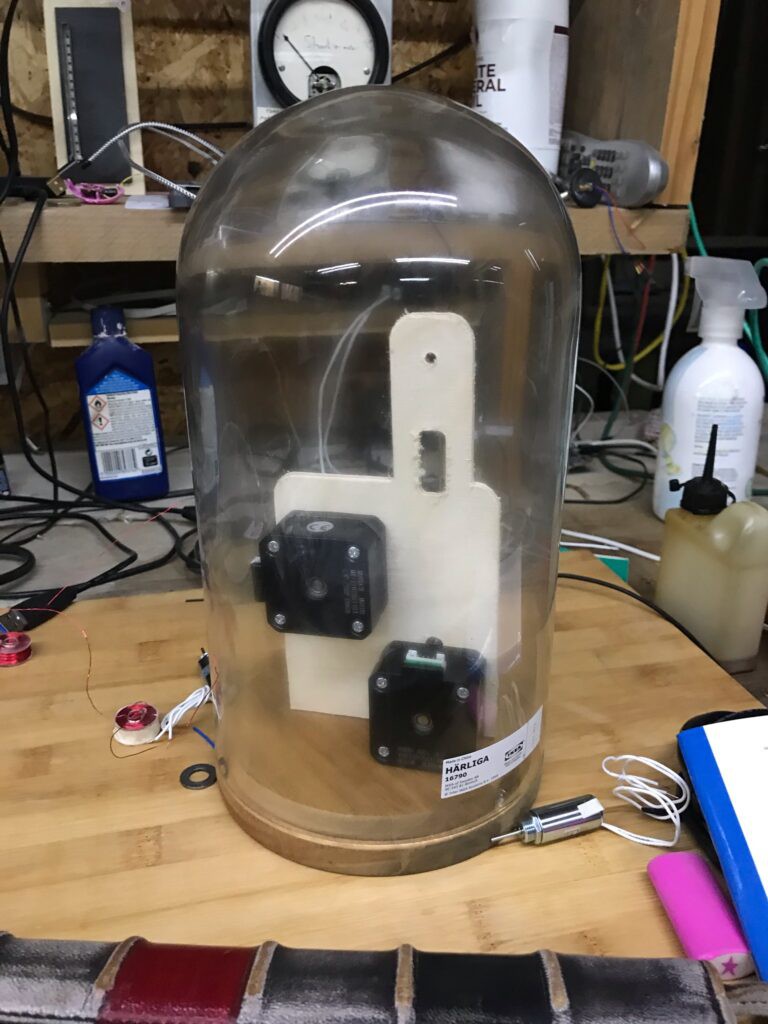
Initial Design
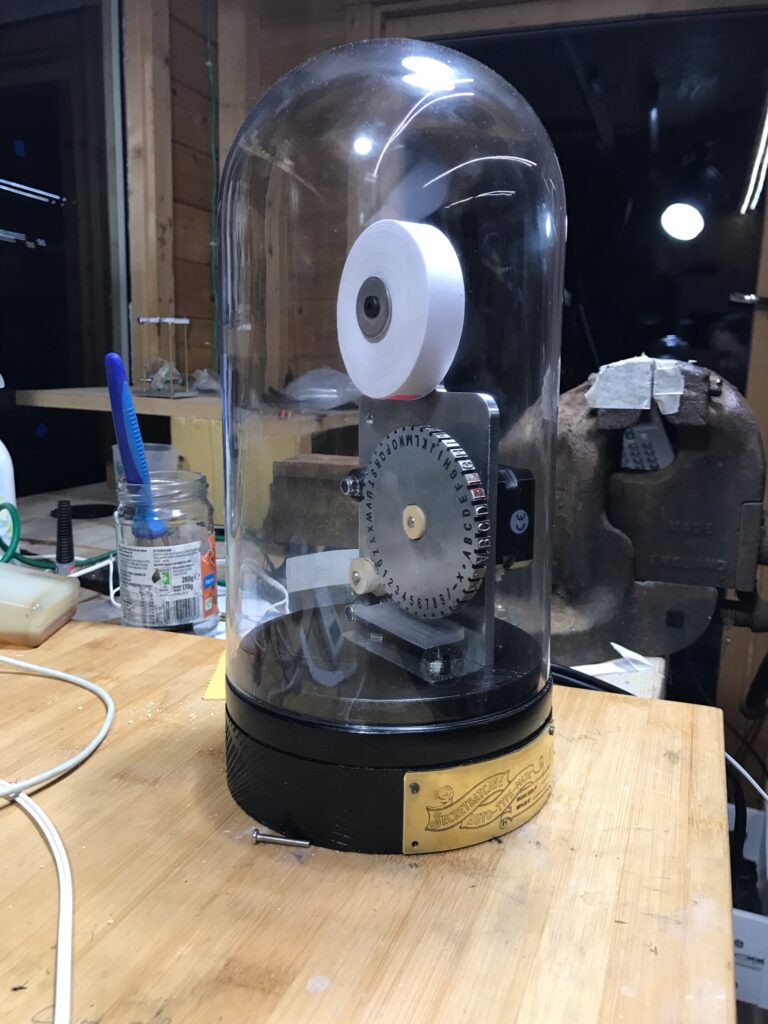
06/13/2021 at 11:09 • 0 commentsAs I can't buy a stock ticker, I need to make one. The first step of course is designing what I want it to look like. I bought a bell jar from ikea years ago, and this seems like the best thing to design around
![]()
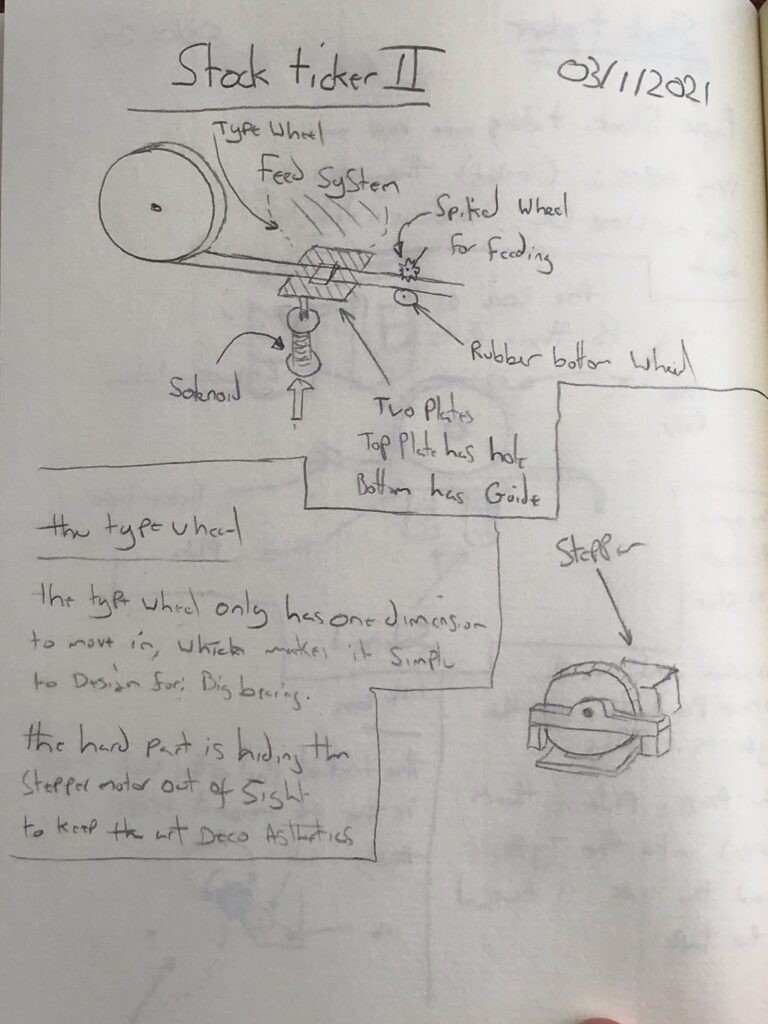
Roughly working out how the print mechanism will work
![]()
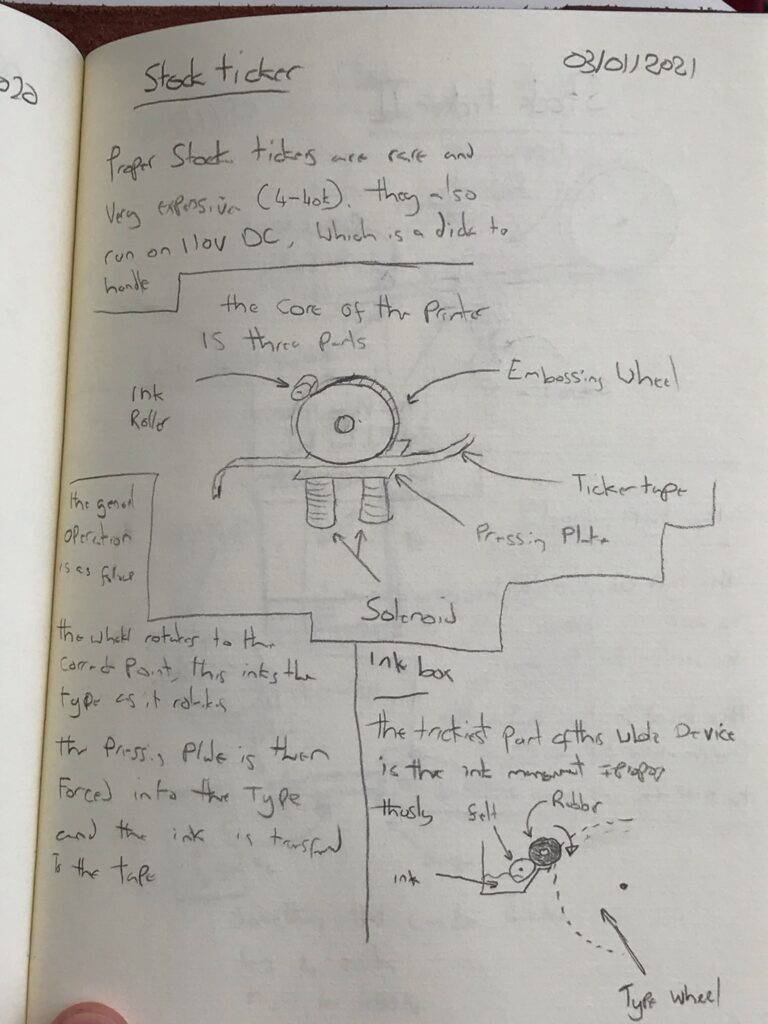
A more reasoned design with ideas about ink holding
Stock Ticker Machine
An old style stock ticker machine for the modern world