-
1Step 1: Preparation
Order all the parts (Digikey SKUs are in the KiCAD Project)
-
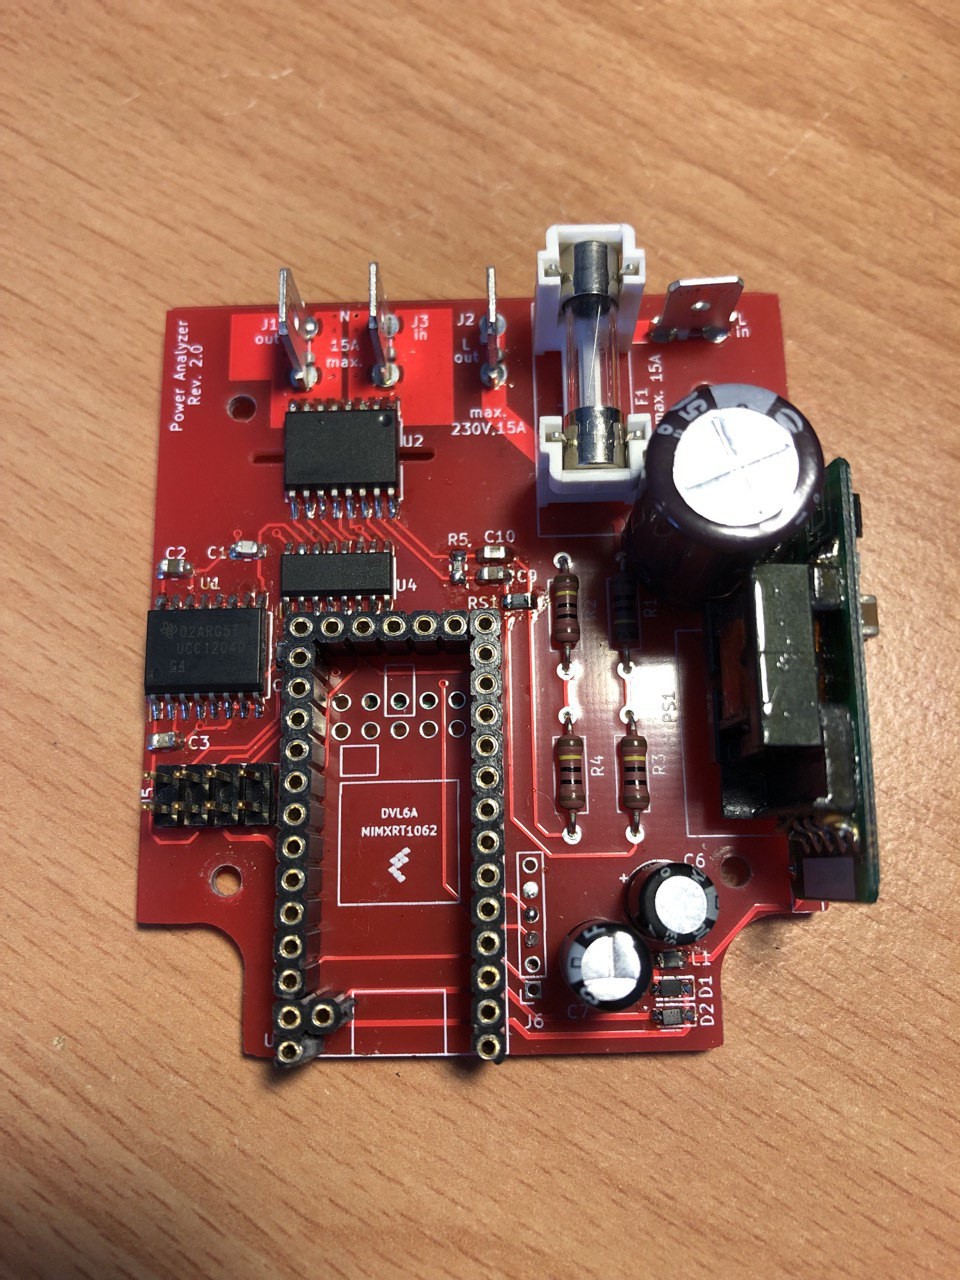
2Step 2: Get the schematics and solder the PCB and the teensy with pin headers
![]()
![]()
Insert the fuse.
-
3Step 3: Build of housing
If you have the BOPLA housing that I used:
1. Take a marker and draw a (35 x 38)cm rectangle. Try to draw it as centered as possible and with a gap of ca. 1.5cm from the bottom of the housing.
2.
Make a cutout for the display.
E.g. with a dremel or by drilling holes and cutting the parts between the them with a side-cutter. -
4Step 4: Wiring in the housing
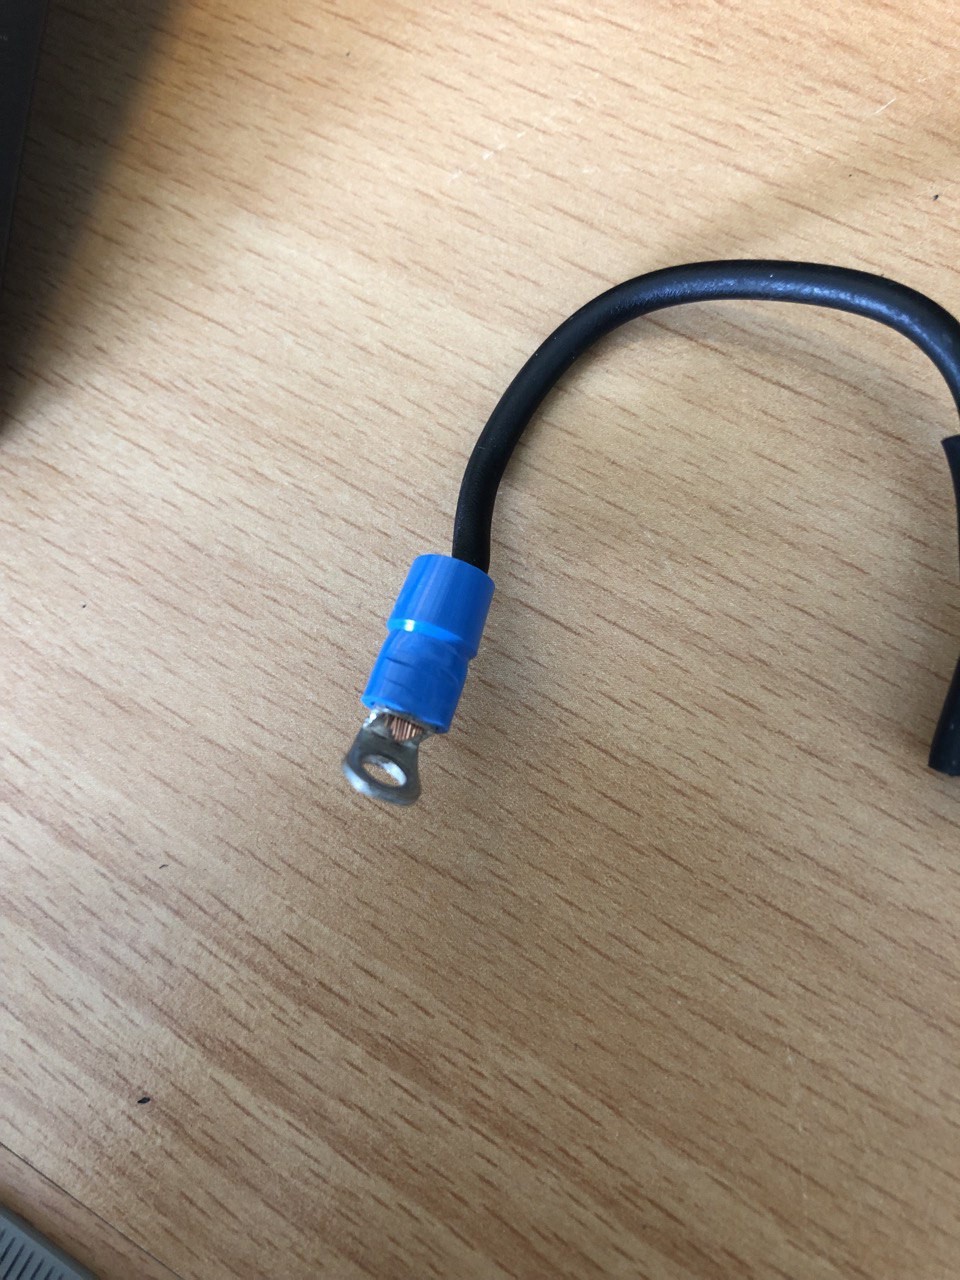
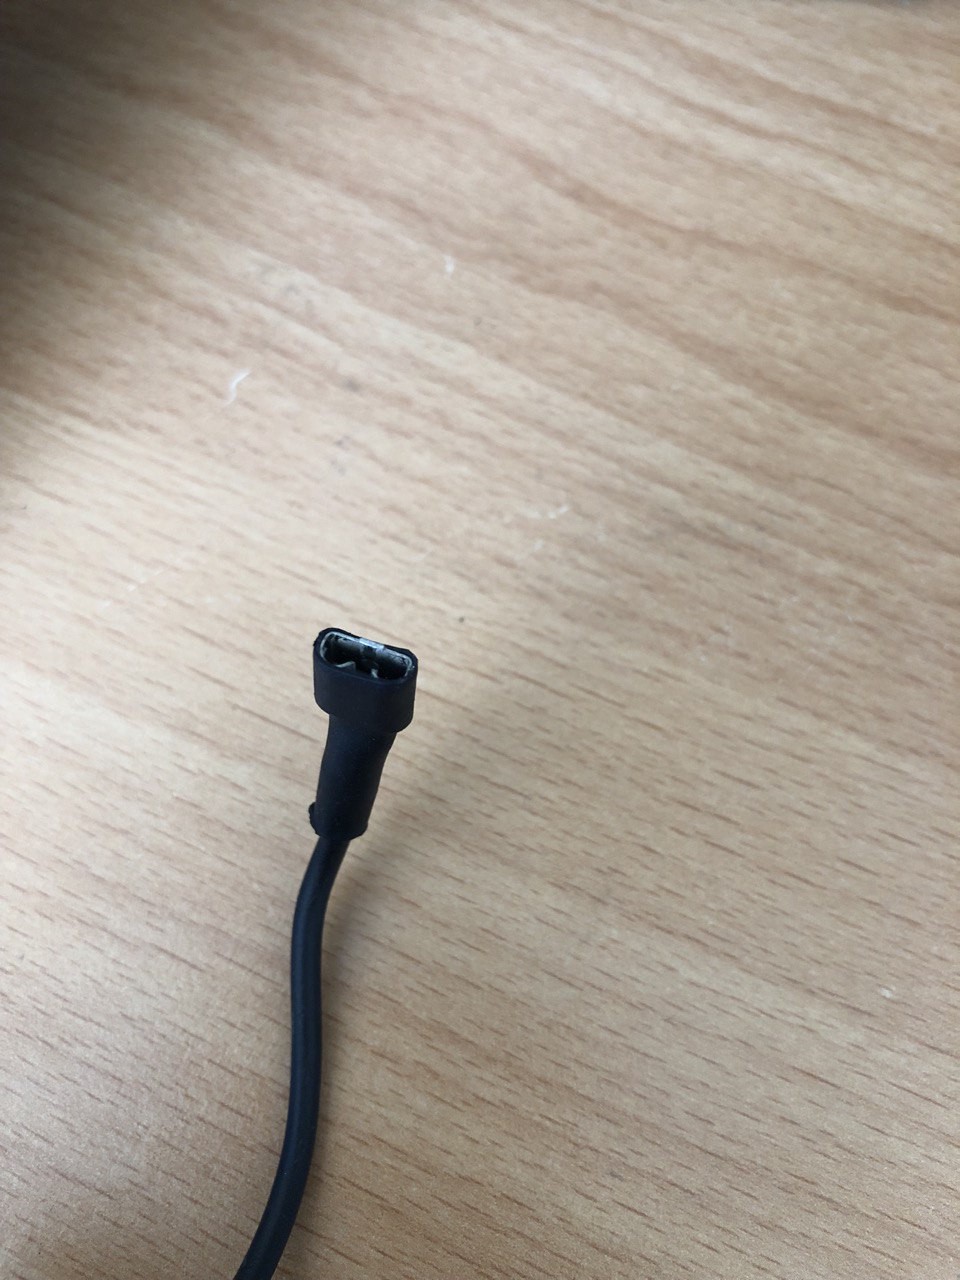
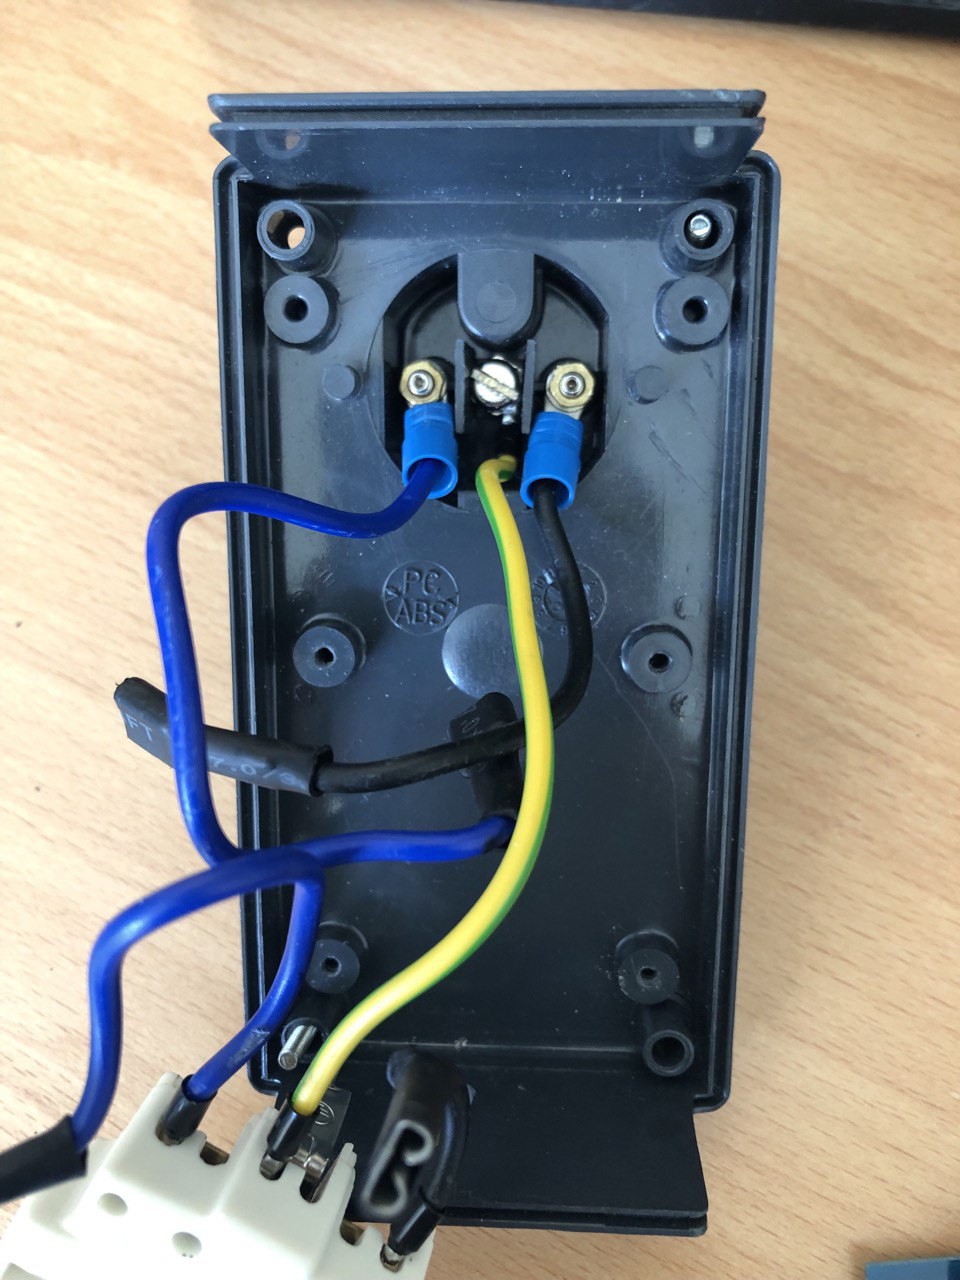
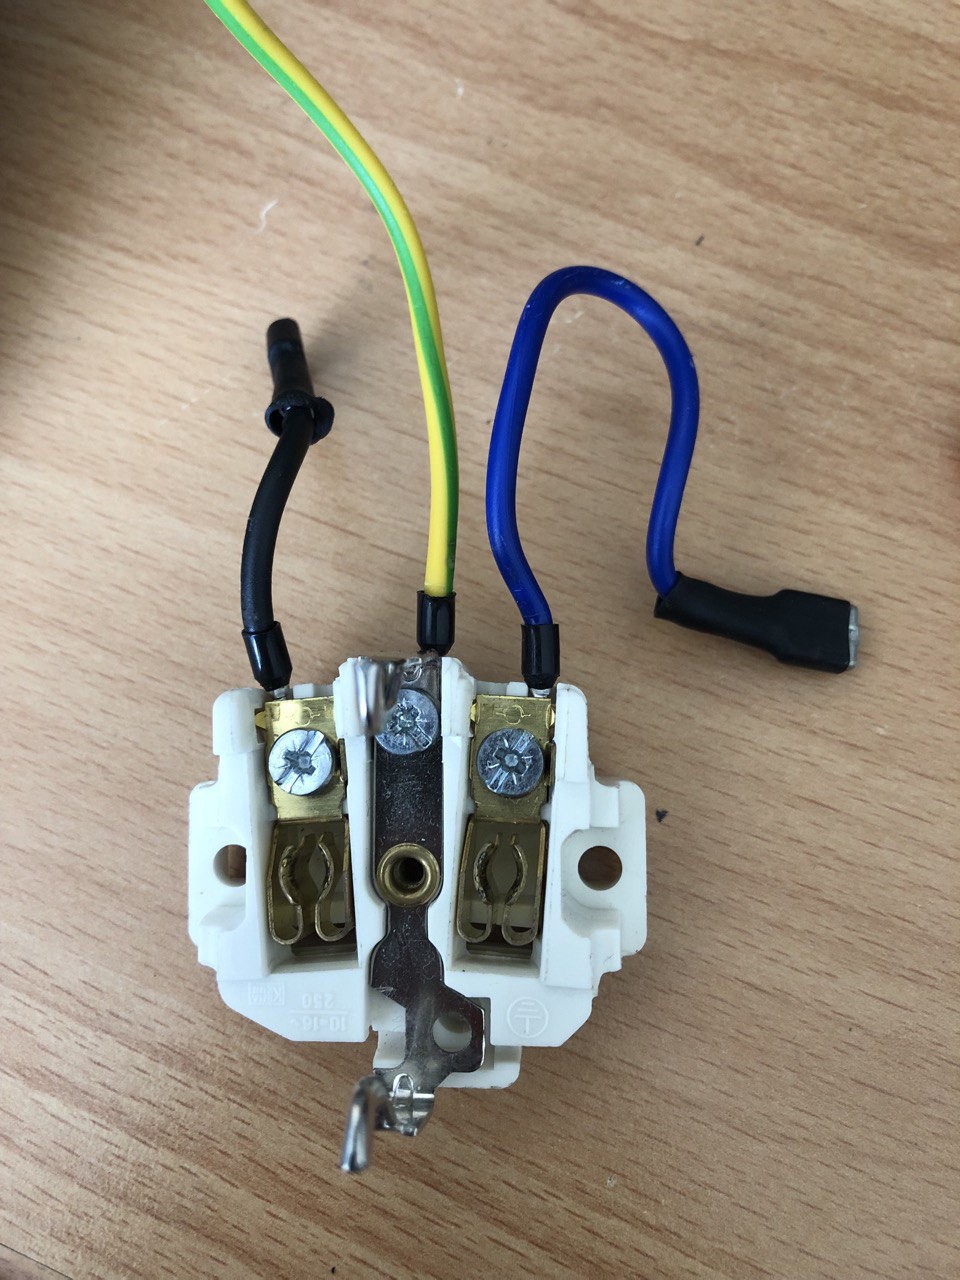
Prepare 5 wires. Two with a ring-style crimp-connector and a blade-style crimp connector (for Phase and Neutral IN) and another two with a blade-style crimp connector and a ferrule. Last but not least, a green-yellow wire for passing the ground.
![]()
![]()
![]()
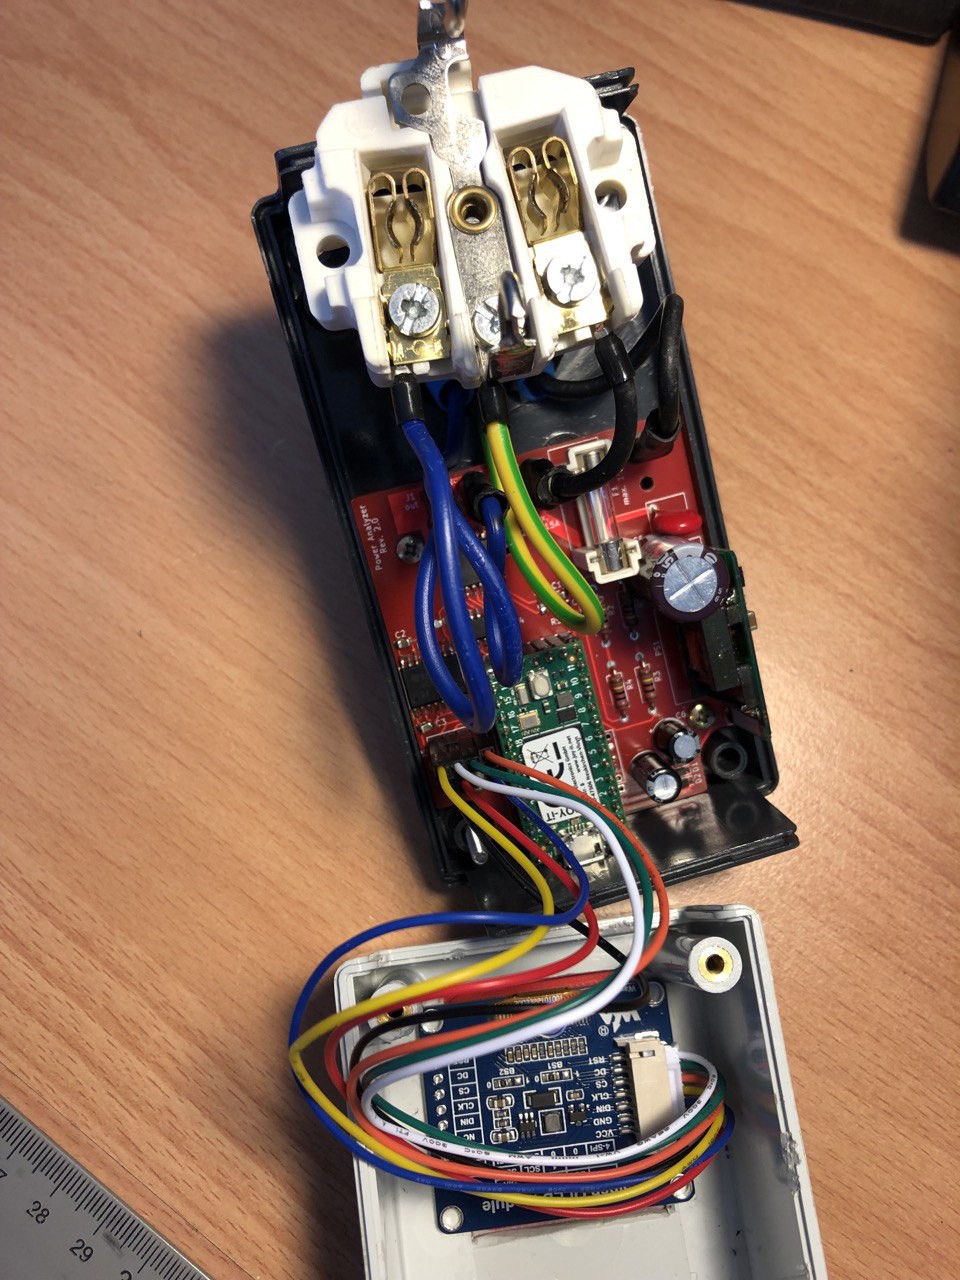
Connect them to the Socket with nuts and washers and to the plug as follows:
![]()
![]()
-
5Step 5: Connect the PCB to the housing and connect the display
![]()
![]()
-
6Step 6: Fix the display with some double-sided tape to housing from the inside.
-
7Step 7: Clone the repository
Git-Repo and open the project in the Arduino IDE with the Teensyduino Add-on.
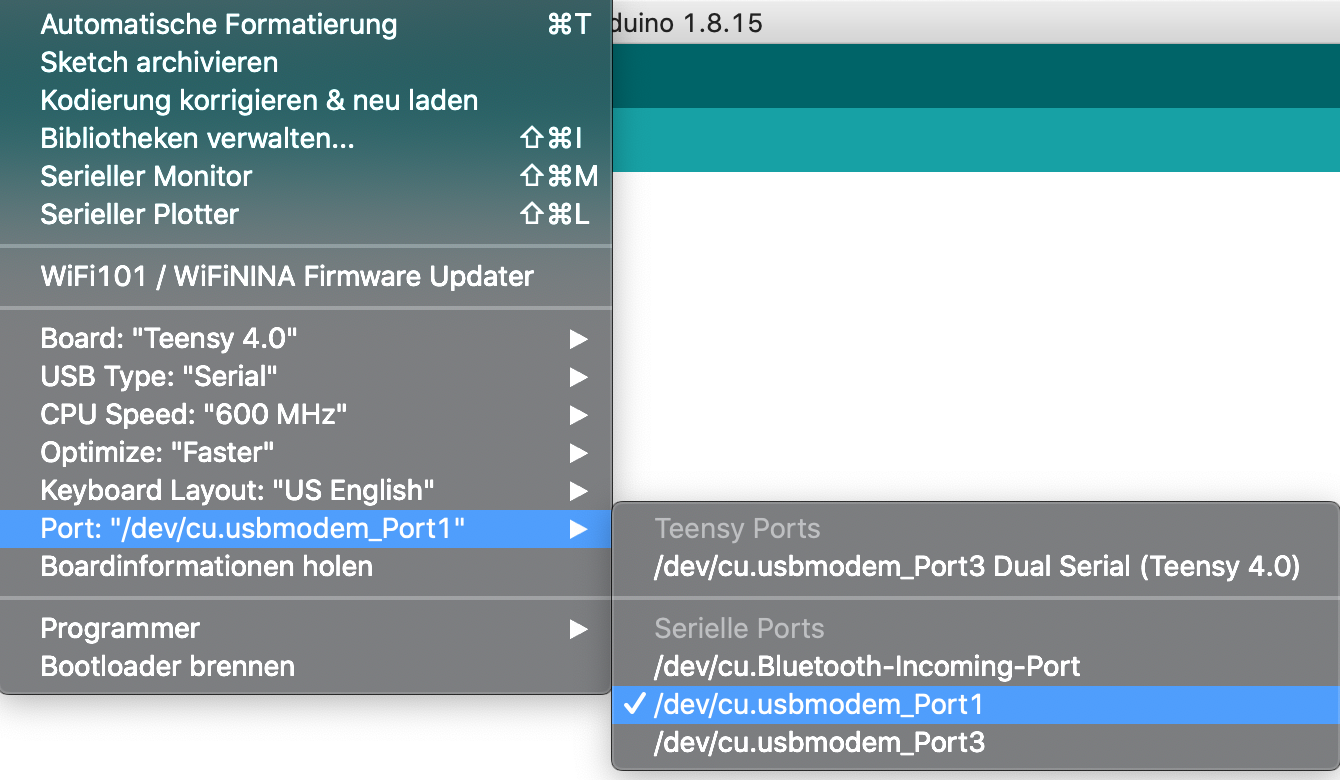
Open the project and upload it, using the following settings:
![]()
-
8Step 8: Open the GUI
If you have installed python3.9 or greater, you can just run
pip install -r requirements.txt
and then
python3 main.py
Power Analyzer based on a COTS Power Monitoring IC
The idea of this project is the development of a power analyzer based on the ACS71020 power monitoring IC.
 Sebastian



Discussions
Become a Hackaday.io Member
Create an account to leave a comment. Already have an account? Log In.