 Aaron P.
-
13D Printer Setup
These settings (in Ultimaker Cura slicer) worked very well for me:
- Material:
- 1.75mm PLA (roughly 600g worth!)
- I have an Anycubic Mega X printer. It has a print area capacity of 300mm x 300mm x 300mm. You will need at least 238mm (9.37") x 234mm (9.22") in the XY plane, and 89mm (3.5") in the Z (height) axis to print these parts as I've designed them (this includes a 10mm raft on all sides). Remember that you can rotate the part so it prints diagonally! In summary:
- Print Length Max (includes 10mm Raft): 238mm (9.37")
- Print Width Max (includes 10mm Raft): 234mm (9.22")
- Print Height Max: 89mm (3.5")
- Raft HIGHLY Recommended:
- Raft width (aka Extra Margin): 10mm
- Raft air gap: 3mm (to make it easier to remove the raft!)
- Raft top layers: 2
- Raft top layer thickness: 0.4mm
- Raft top line width: 0.4mm
- Raft top spacing: 0.4mm
- Raft middle thickness: 0.6mm
- Raft middle line width: 0.8mm
- Raft middle spacing: 1.0mm
- Raft base thickness: 0.48mm
- Raft base line width: 0.8mm
- Raft base line spacing: 1.6mm
- Raft top print speed: 7.5mm/s
- Raft middle print speed: 5.625mm/s
- Raft base print speed: 5.635mm/s
- Walls:
- Wall thickness: 1.2mm
- Wall line count: 3
- Fill gaps between walls: Everywhere
- Quality:
- Layer Height: 0.4mm (same as my extruder diameter)
- Initial Layer Height: 0.4mm
- Line Width (including ALL sub-settings in this category): 0.4mm
- Initial Layer Line Width: 100>#/li###
- Top/Bottom:
- Top Surface Skin Layers: 2
- Top/Bottom Thickness: 1.2mm (= 0.4mm height/layer * 3 layers)
- Top Layers: 3
- Bottom Layers: 3
- Infill
- Infill Density: 100% (because I want it as strong as possible and it's only 0.25" thick to begin with!)
- Infill Line Distance: 0.4mm
- Infill Pattern: Lines
- Infill Layer Thickness: 0.4mm
- Support:
- Note: I didn't need any supports. This was a design decision and it worked out very well. However, generally I have my Support settings set to the following so it will detect when I need overhangs:
- Support Overhang Angle: 65 degrees
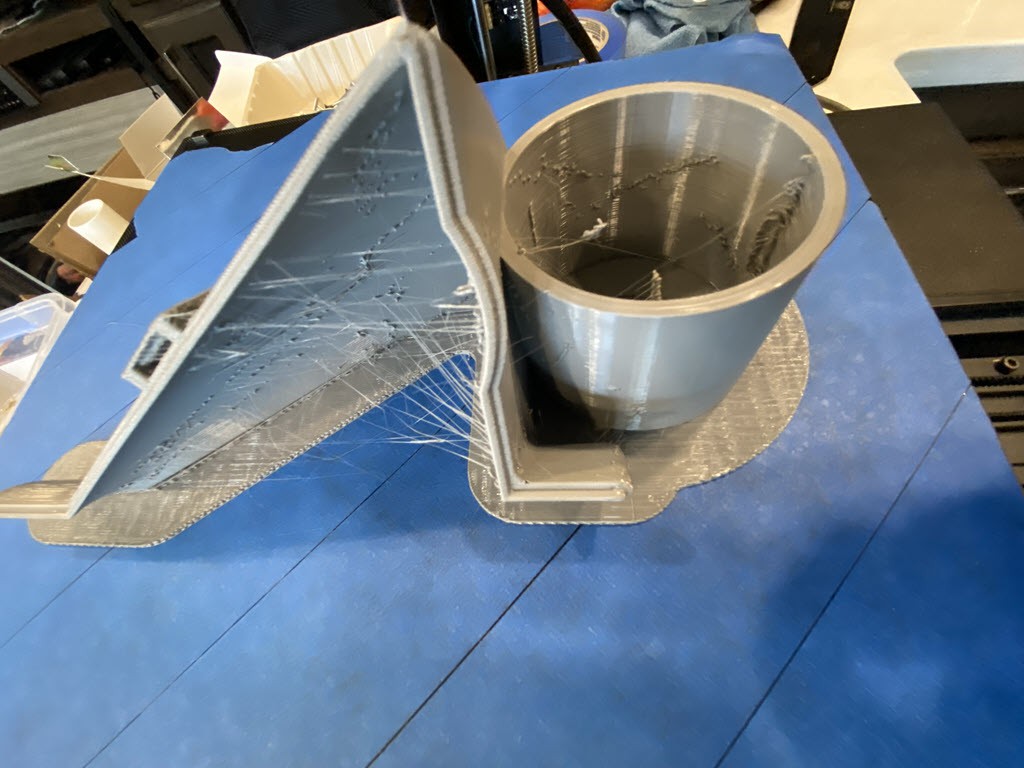
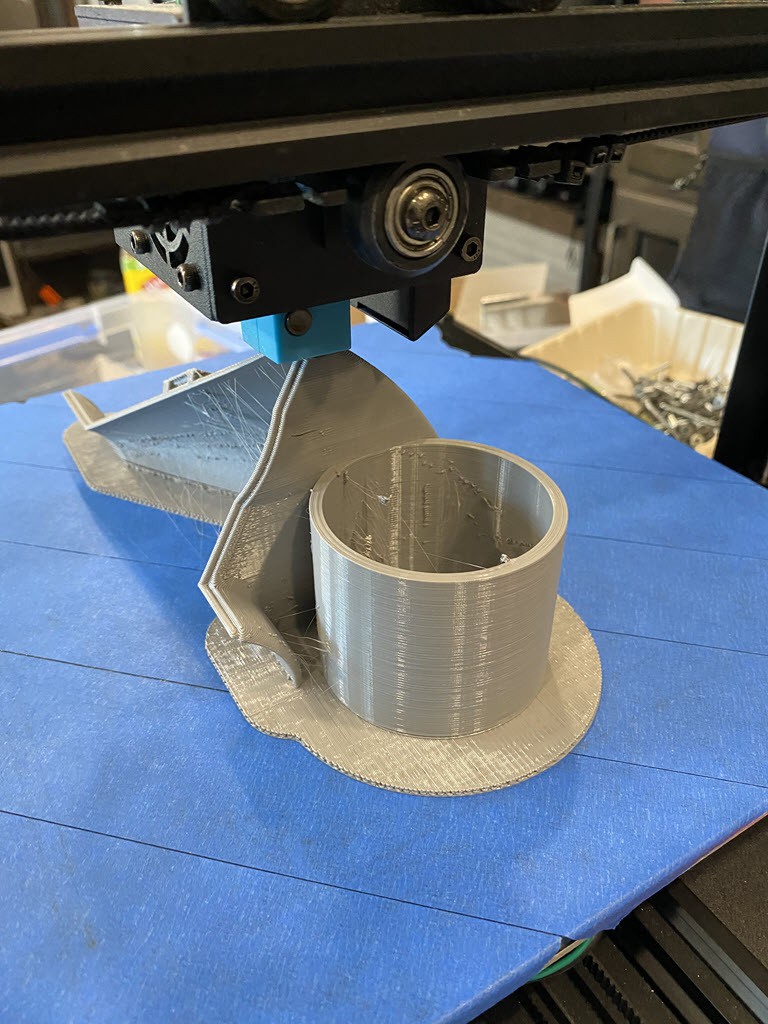
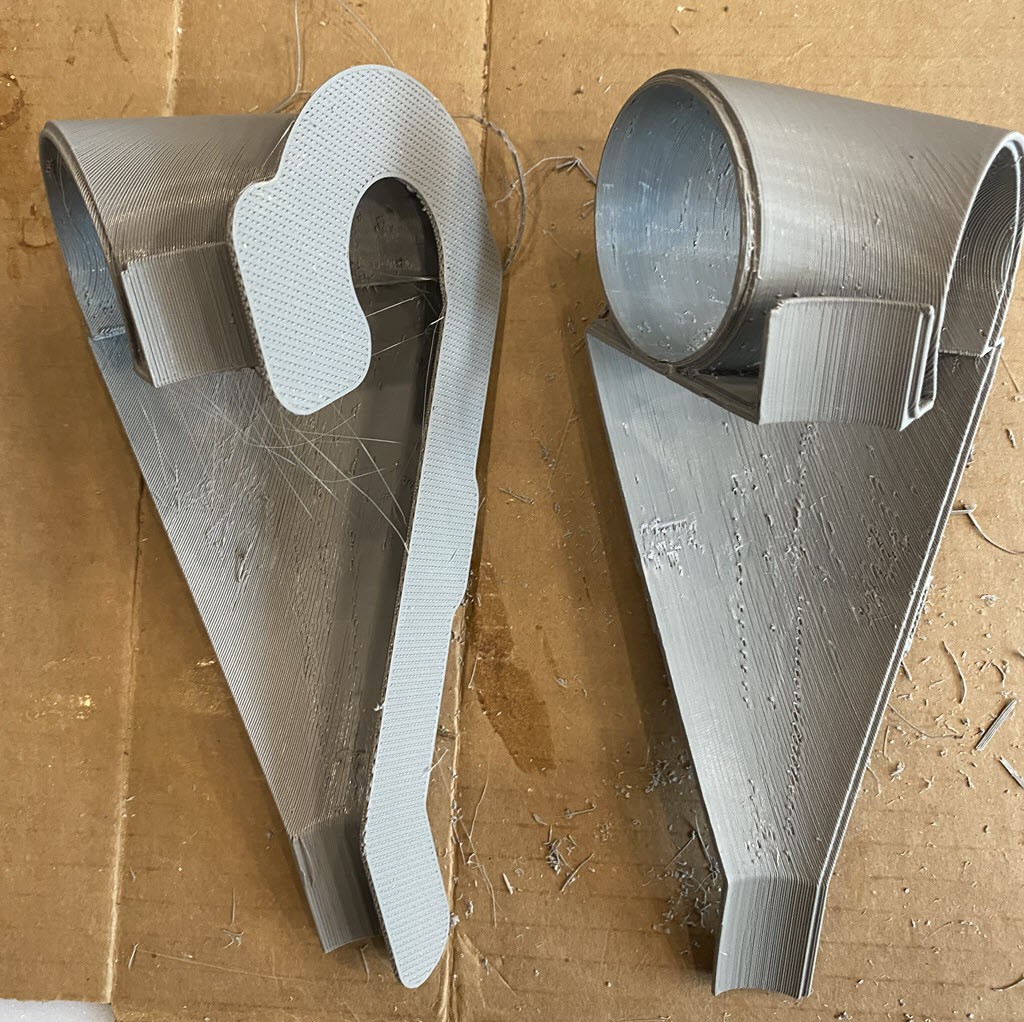
The goal is to get them to come out at least as good as these...
![]()
![]()
Don't let the gremlins move your cheese in the middle of the night...
![]()
- Material:
-
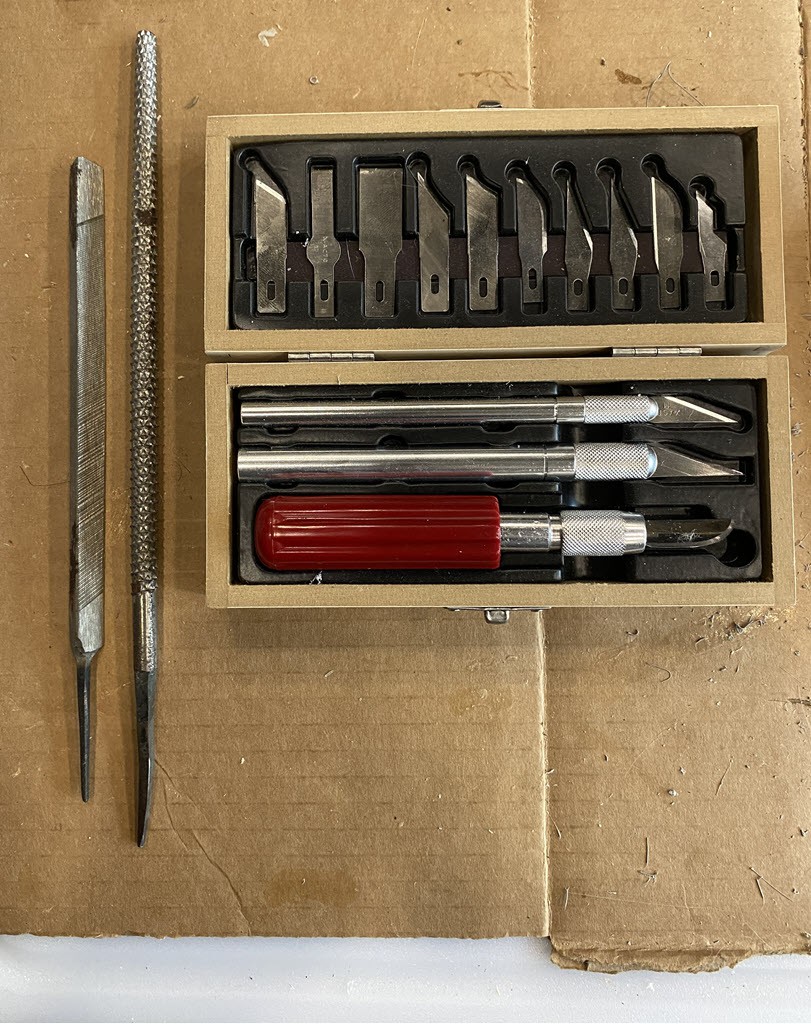
2Cleanup of Printed Parts
Huzzah! It's done printing! Now it's time to clean it up. I used a wood rasp, a metal rasp, a Dremel with a sanding drum, an xacto knife, and of course a cutting board.
![]()
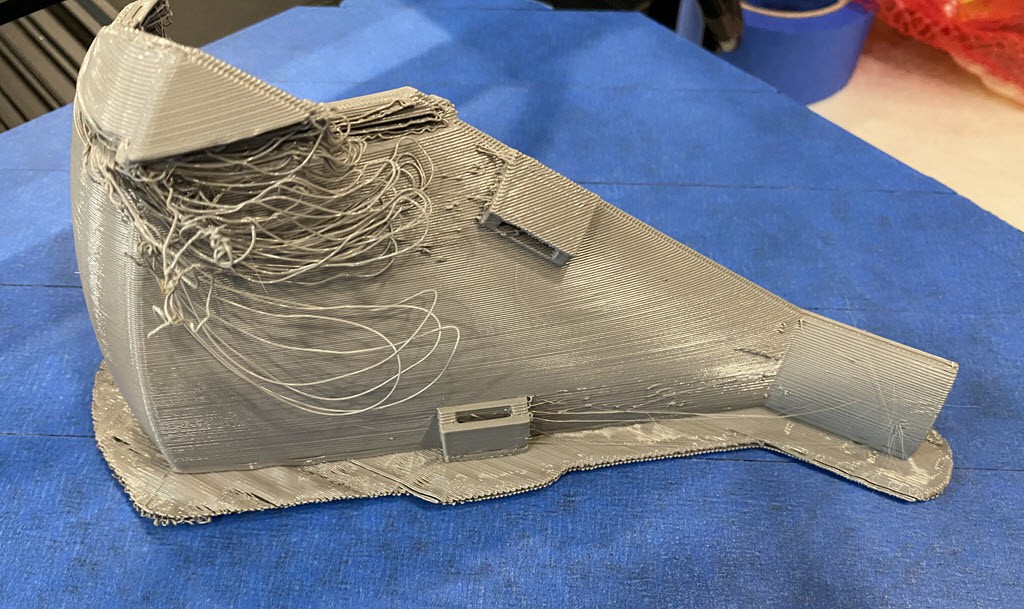
Here's a side-by-side comparison of before and after using the knife and rasps only:
![]()
Work in progress...Stay tuned!
-
3Vortex Bowl Assembly
TBD
-
45 Gallon Bucket Lid Assembly
TBD
-
5Whole System Assembly
TBD
3D Printed Vortex Particle Separator for Shop Vac
A small(er) Vortex Particle separator that can be easily 3D printed. Use with a 2" or 1.25" (adapters needed - can be printed) vacuum hose.
Discussions
Become a Hackaday.io Member
Create an account to leave a comment. Already have an account? Log In.