Close
0%
0%

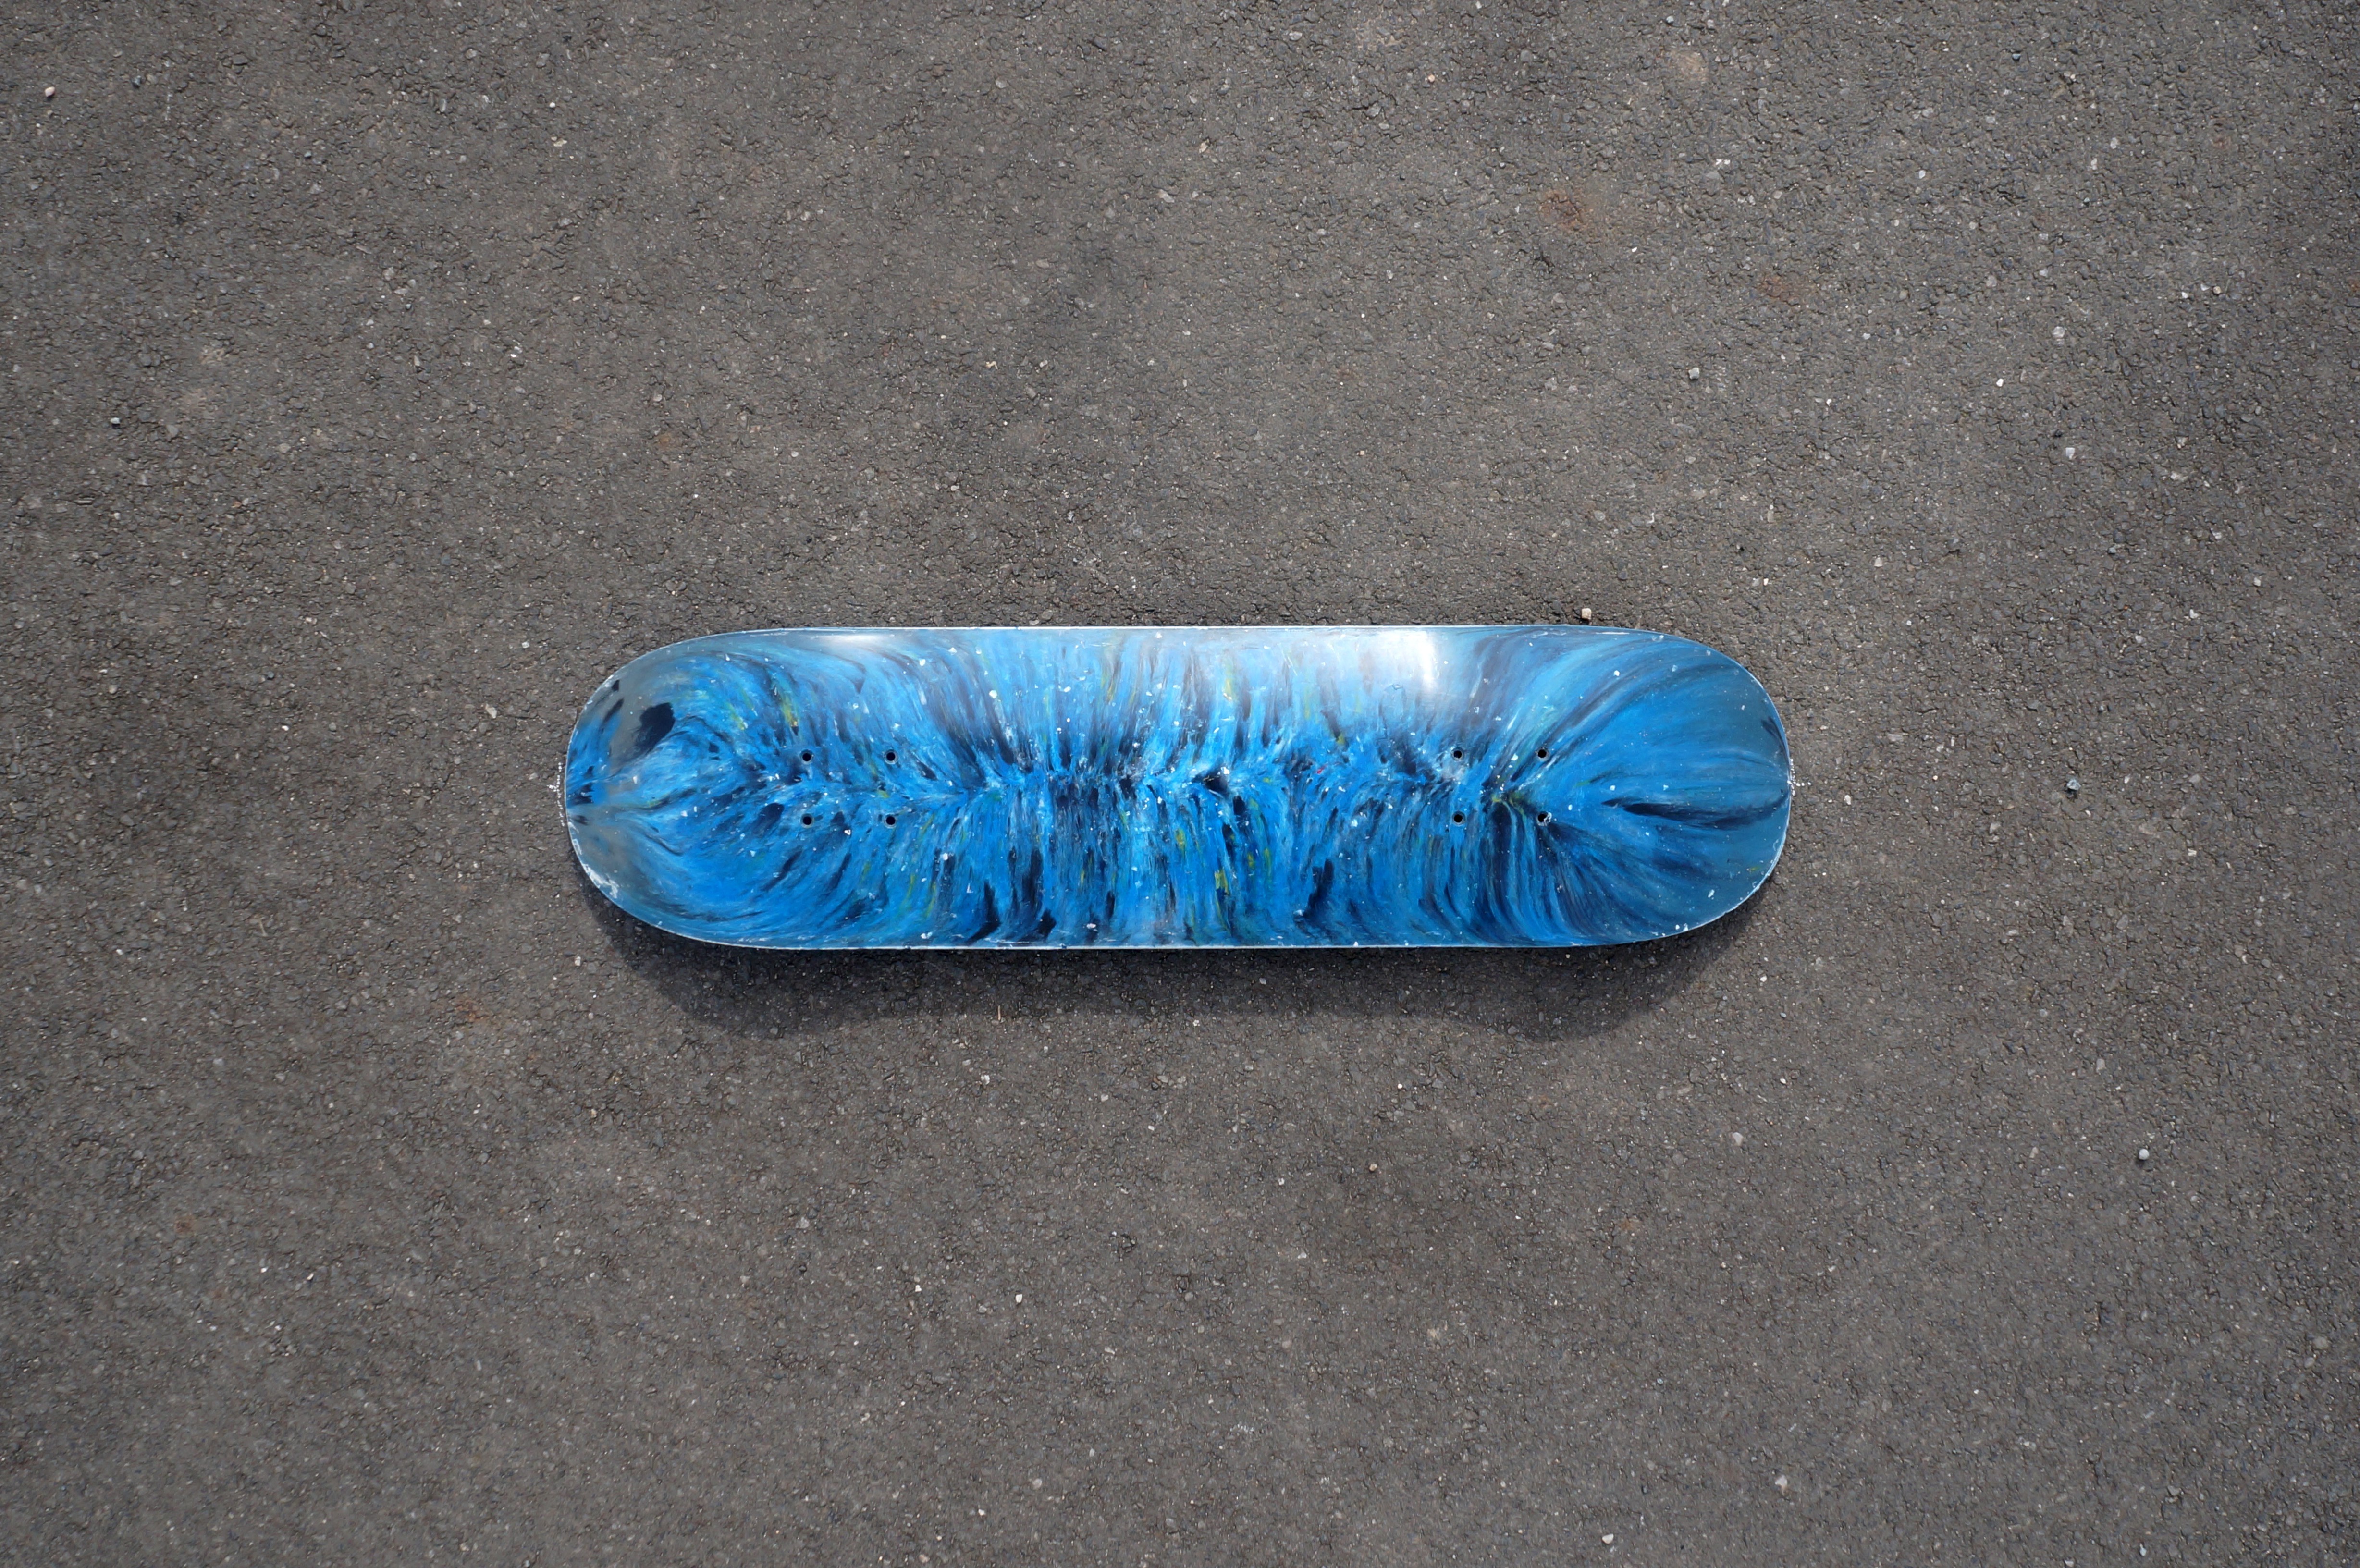
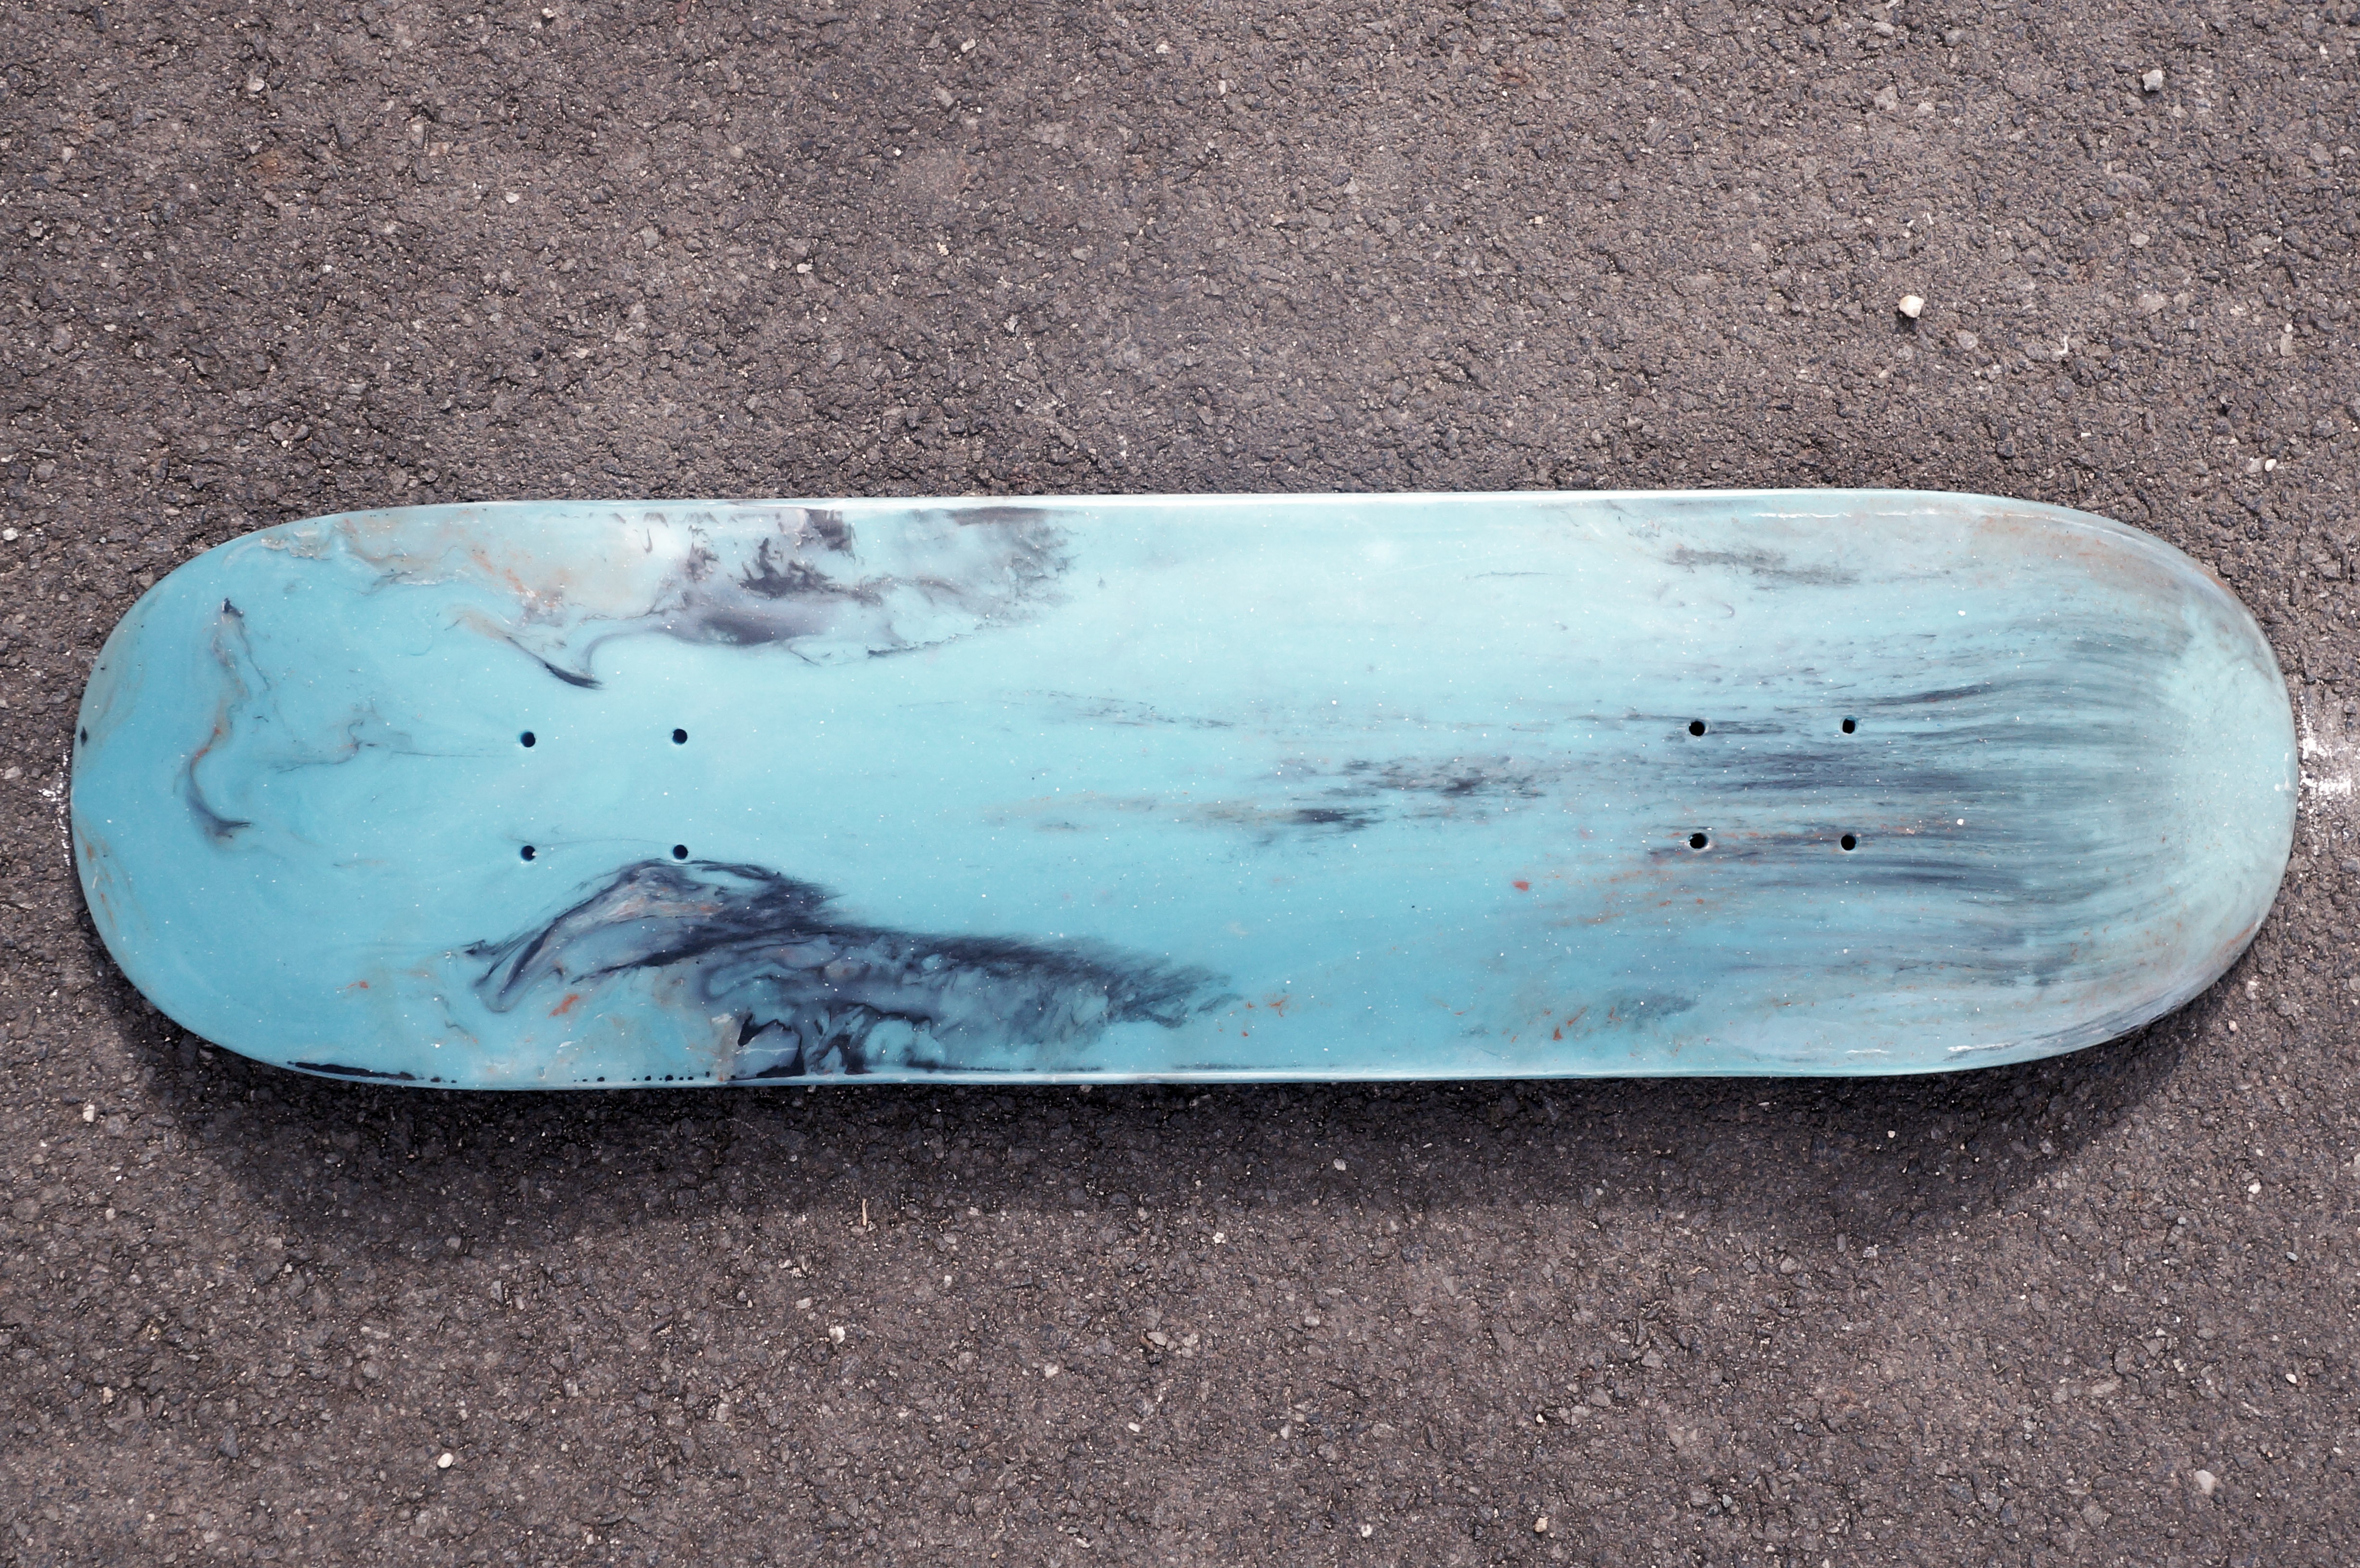
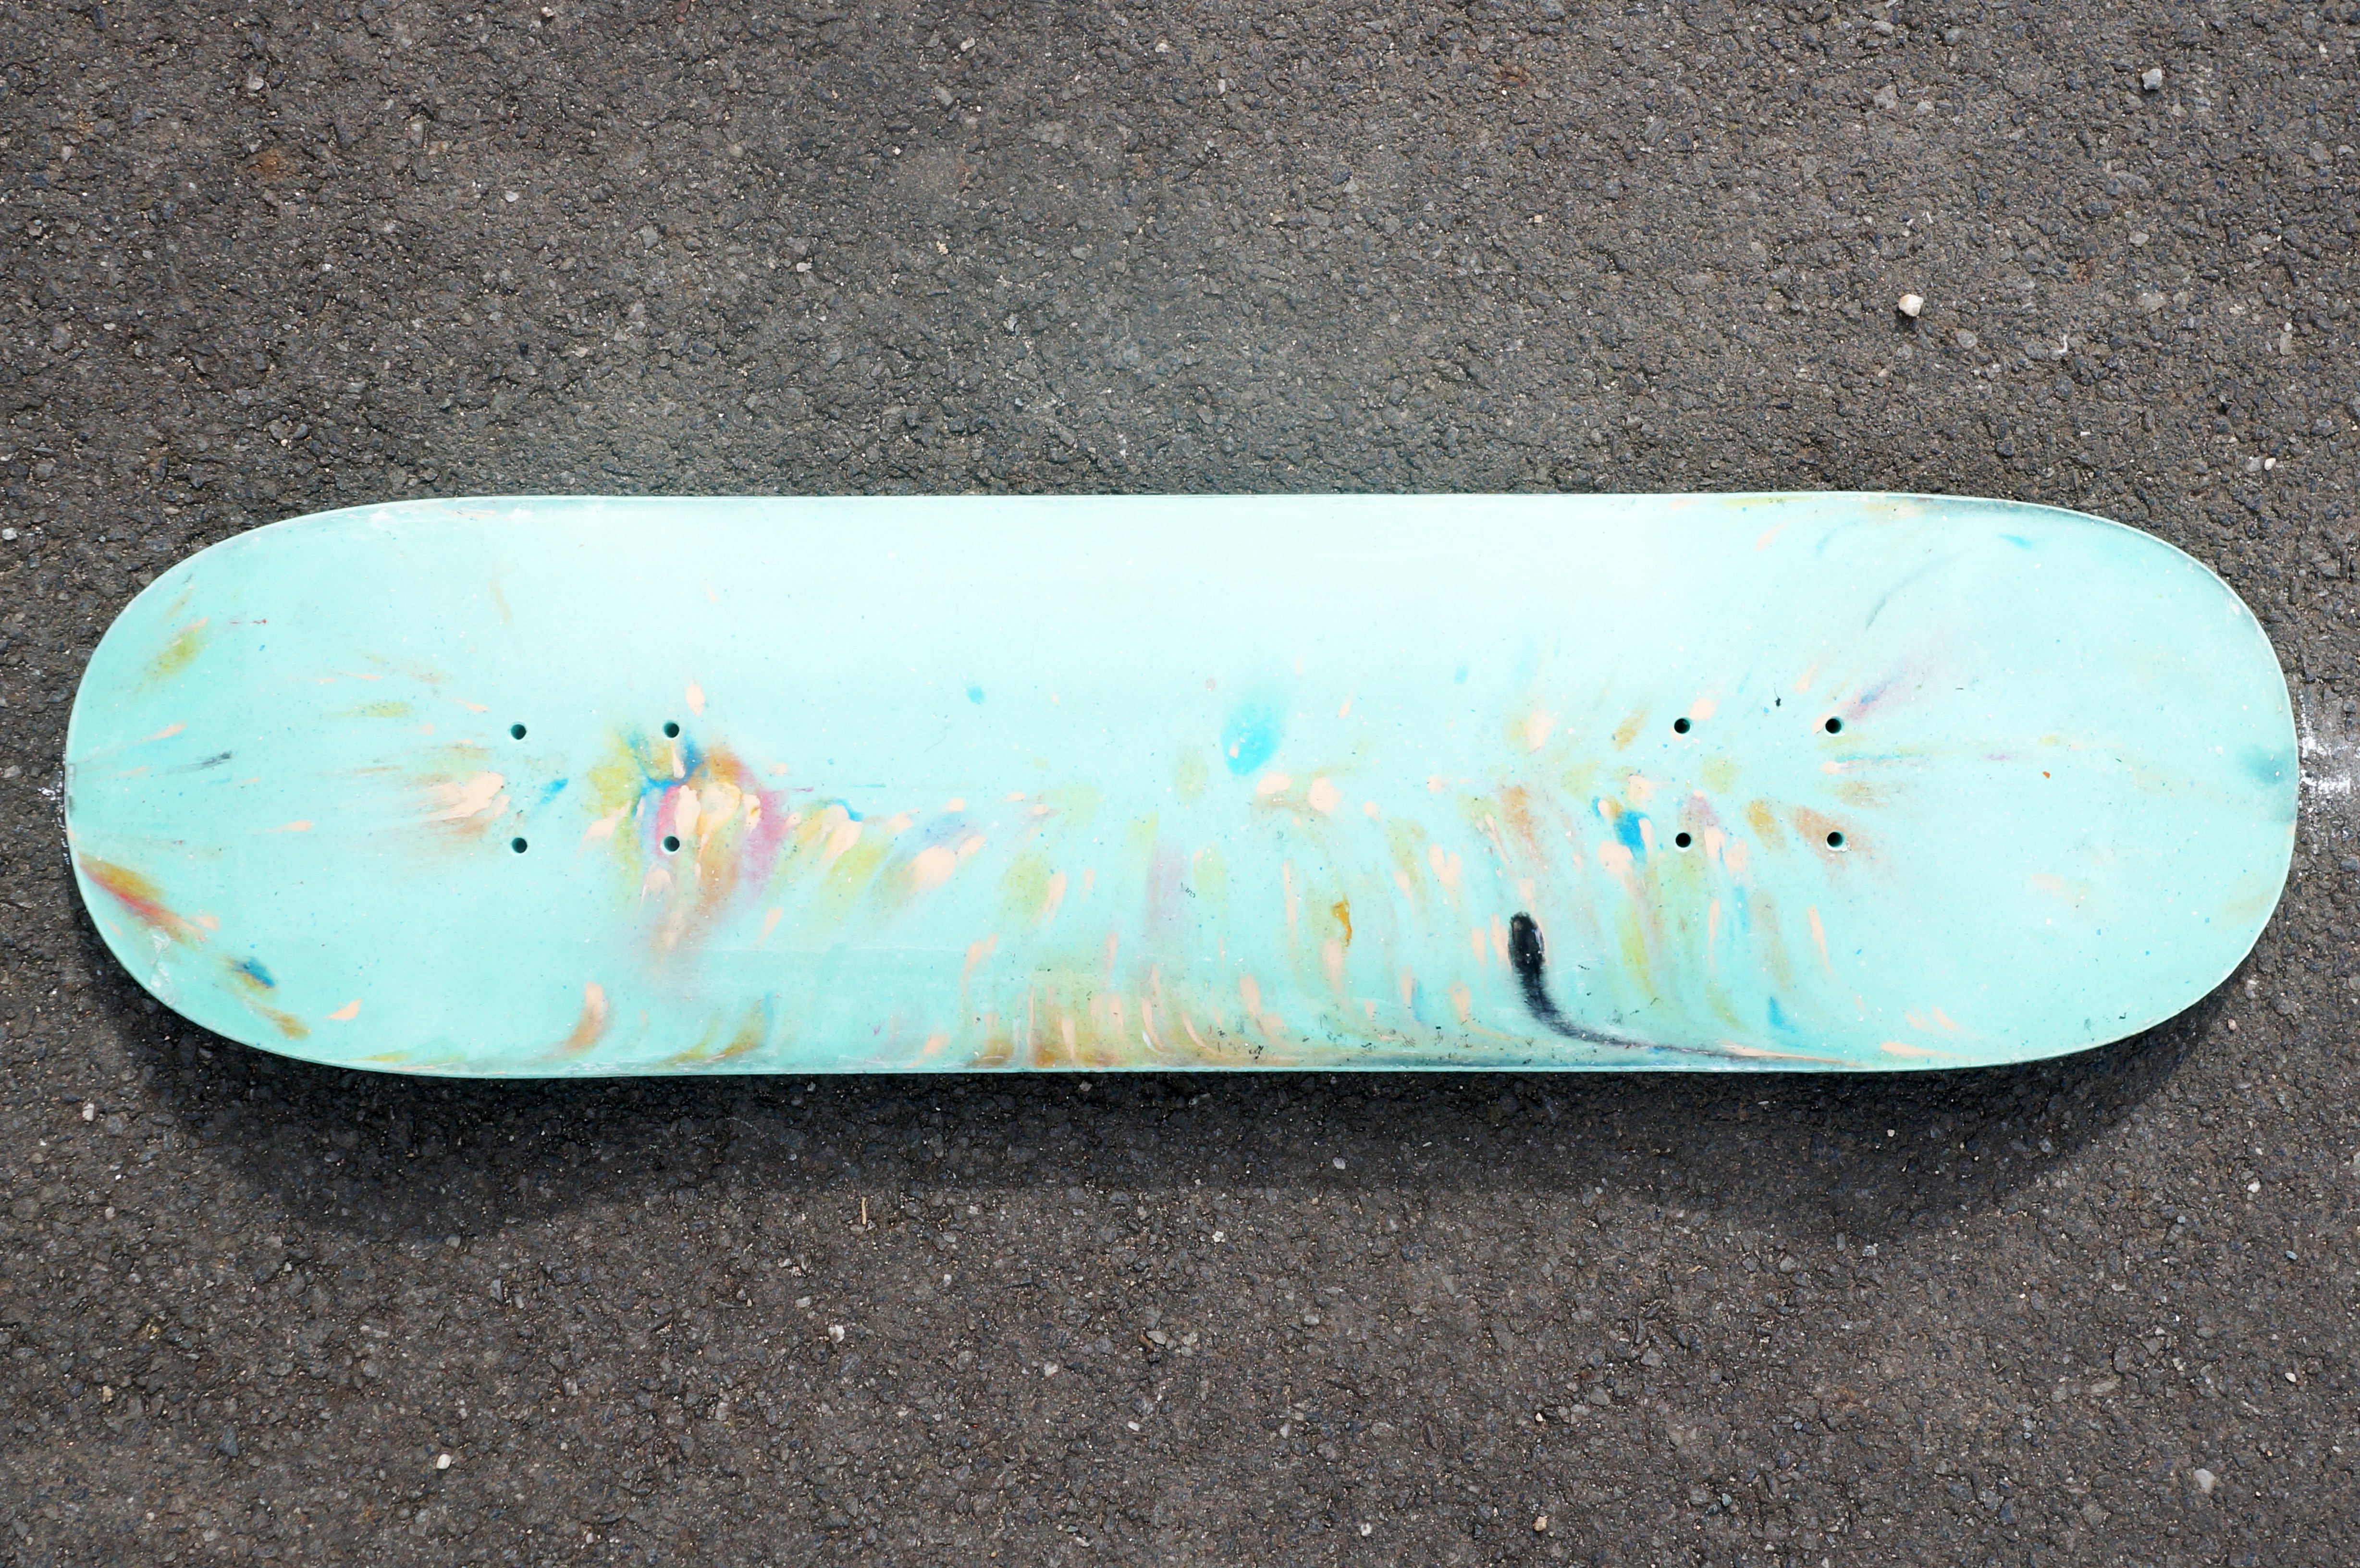
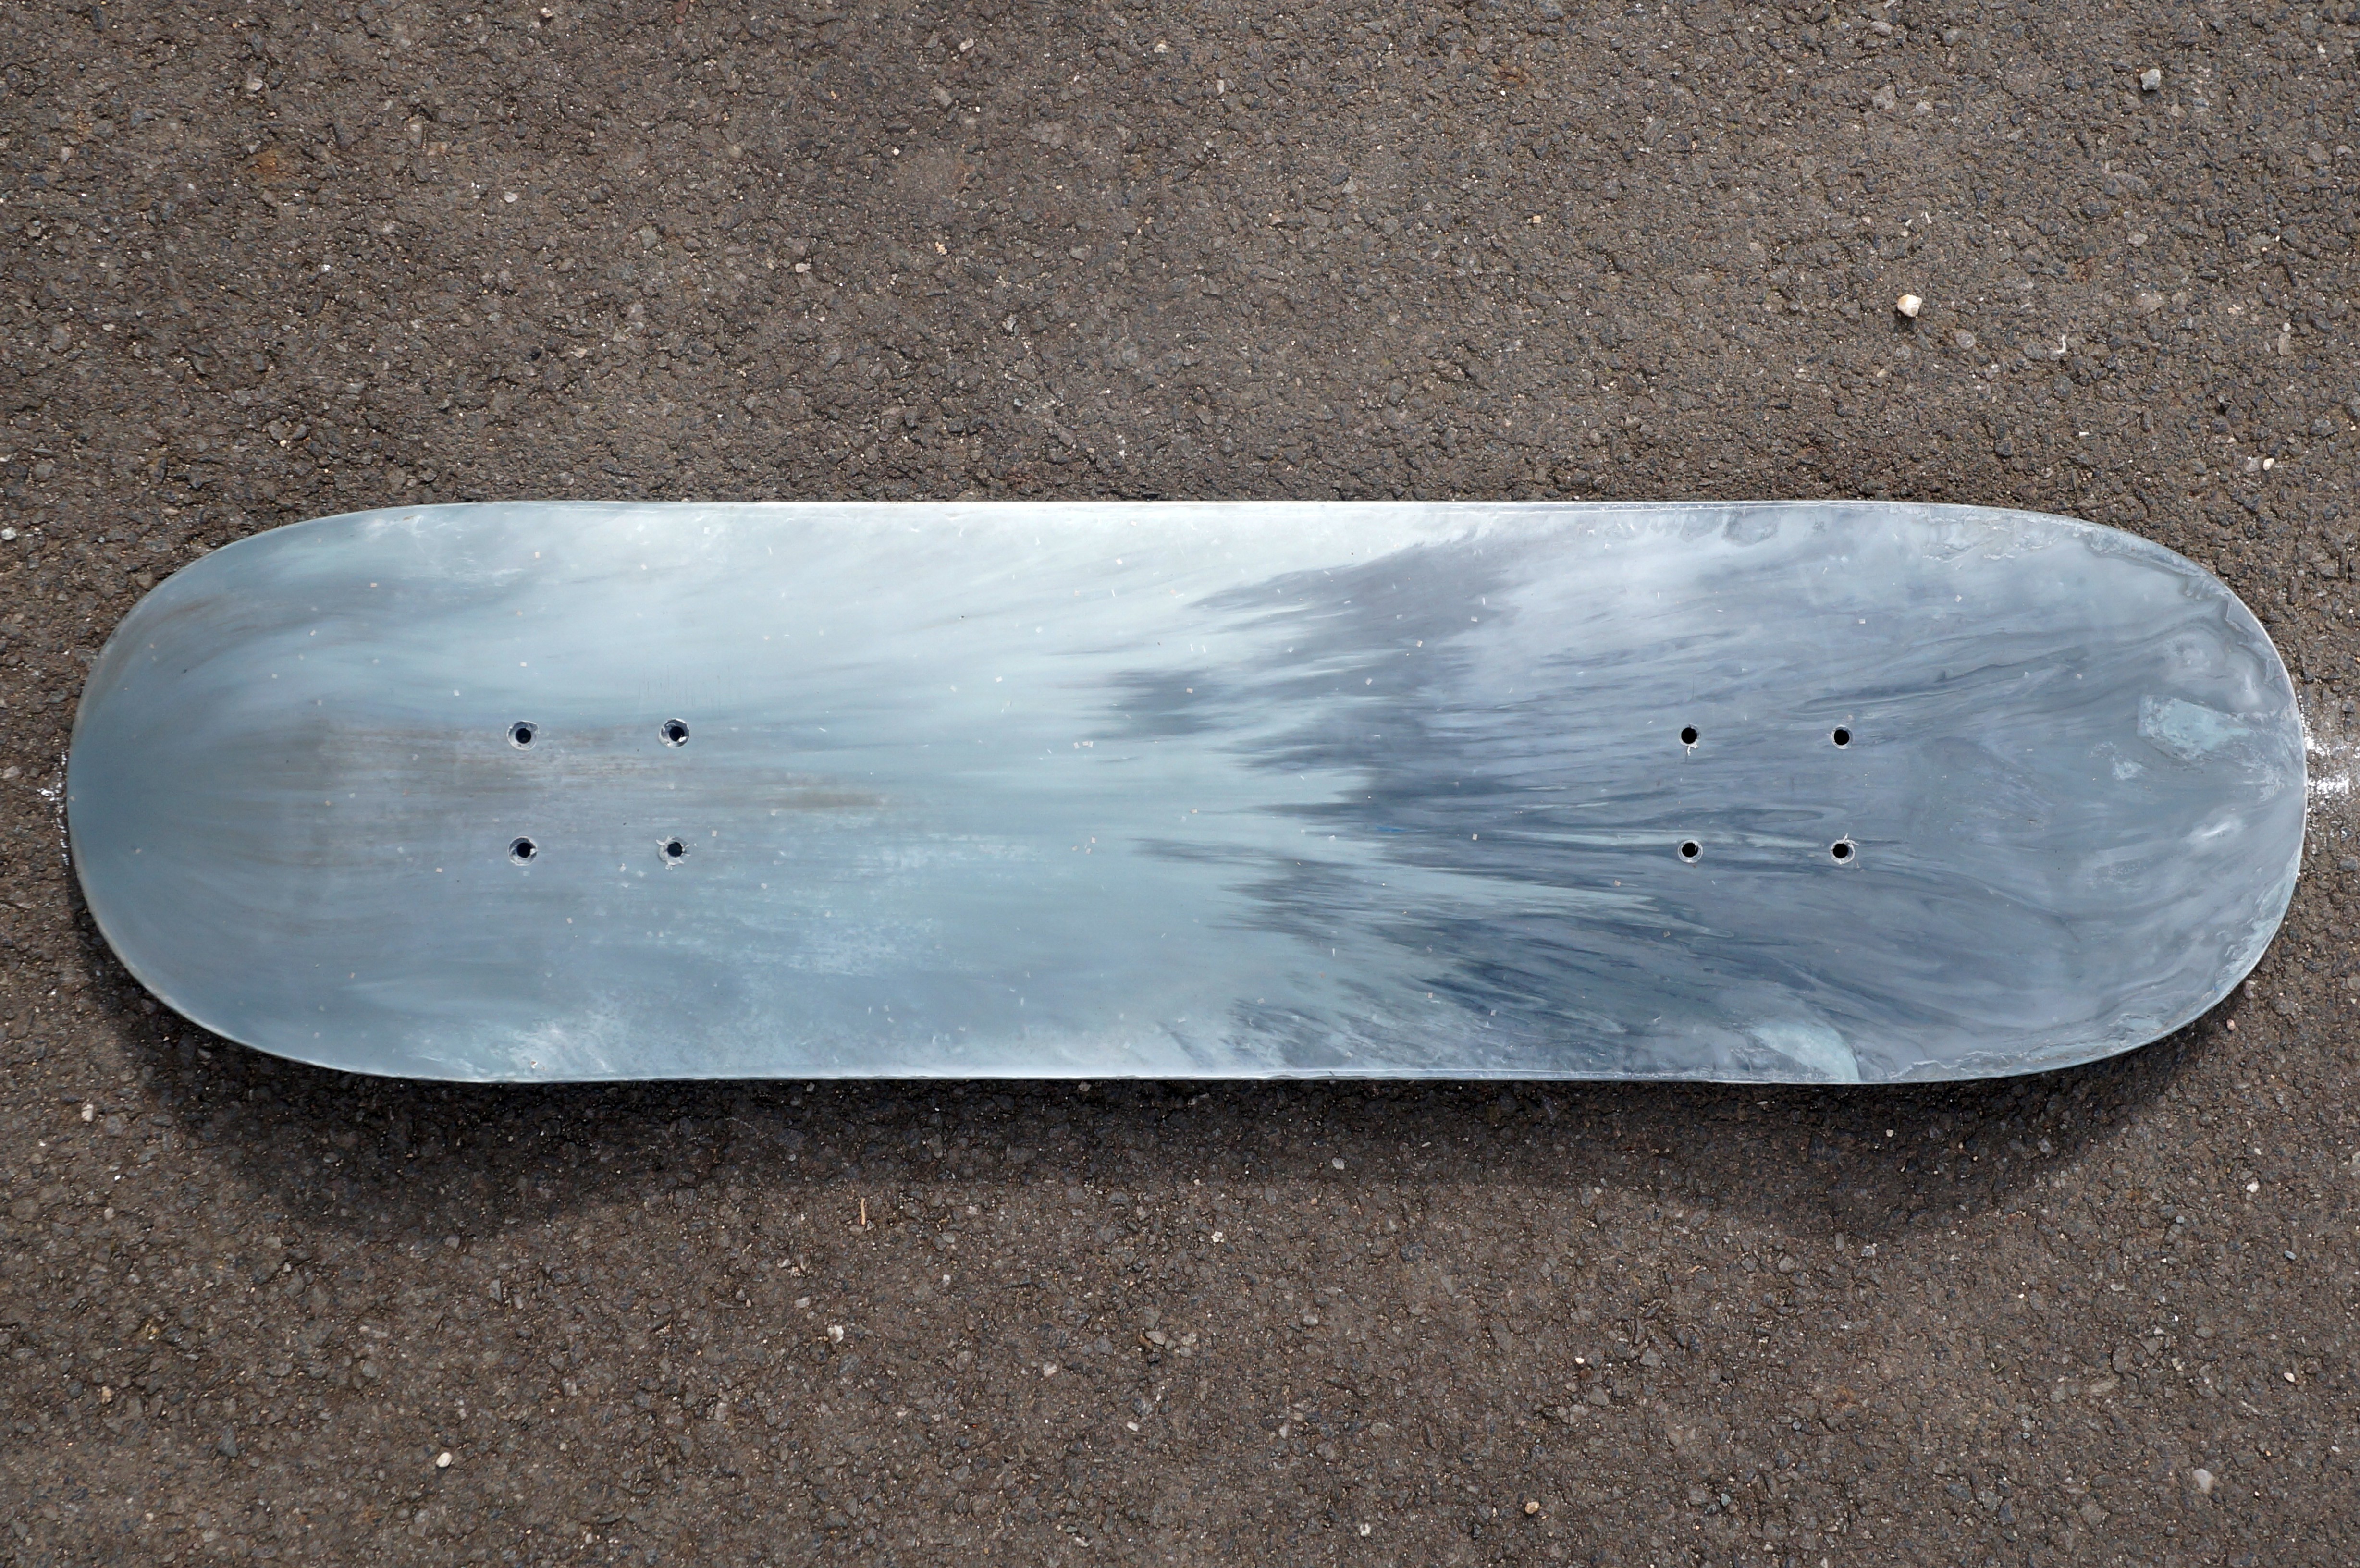
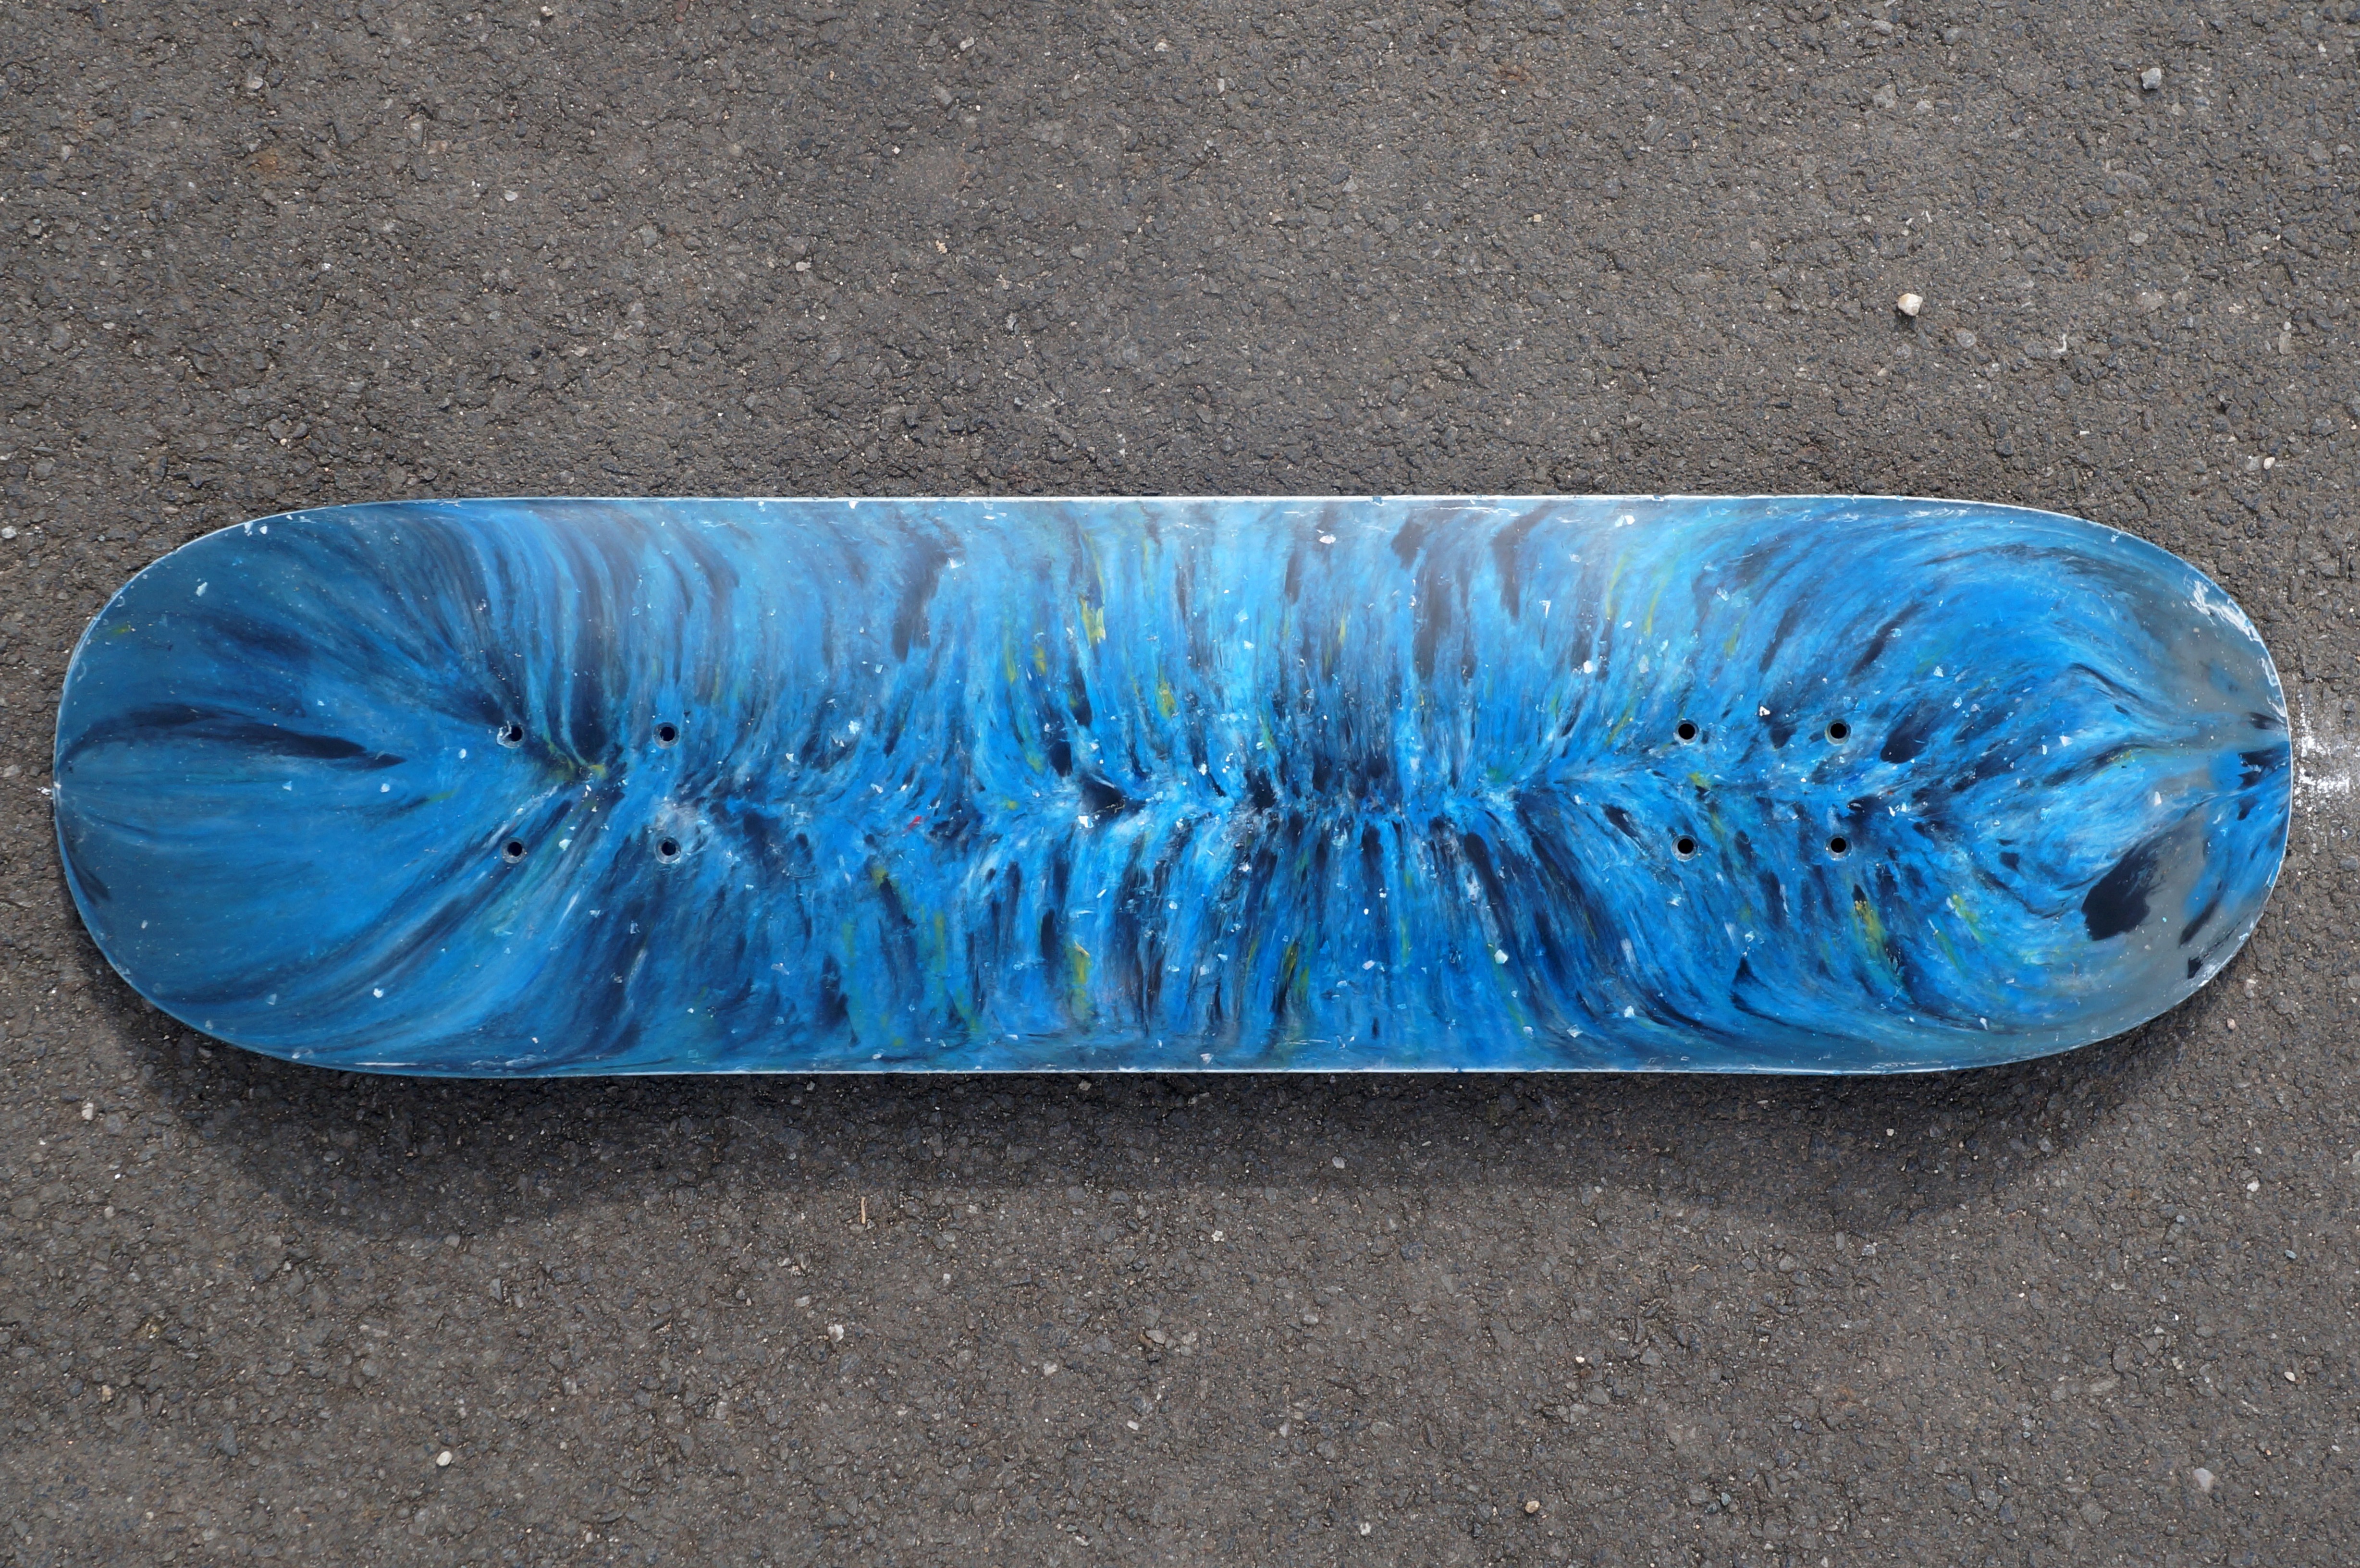
RPSD: Recycled Plastic Skateboard Deck

Tackling plastic waste, democratizing access to skateboarding and proving to people what products made from waste can really do.

Similar projects worth following
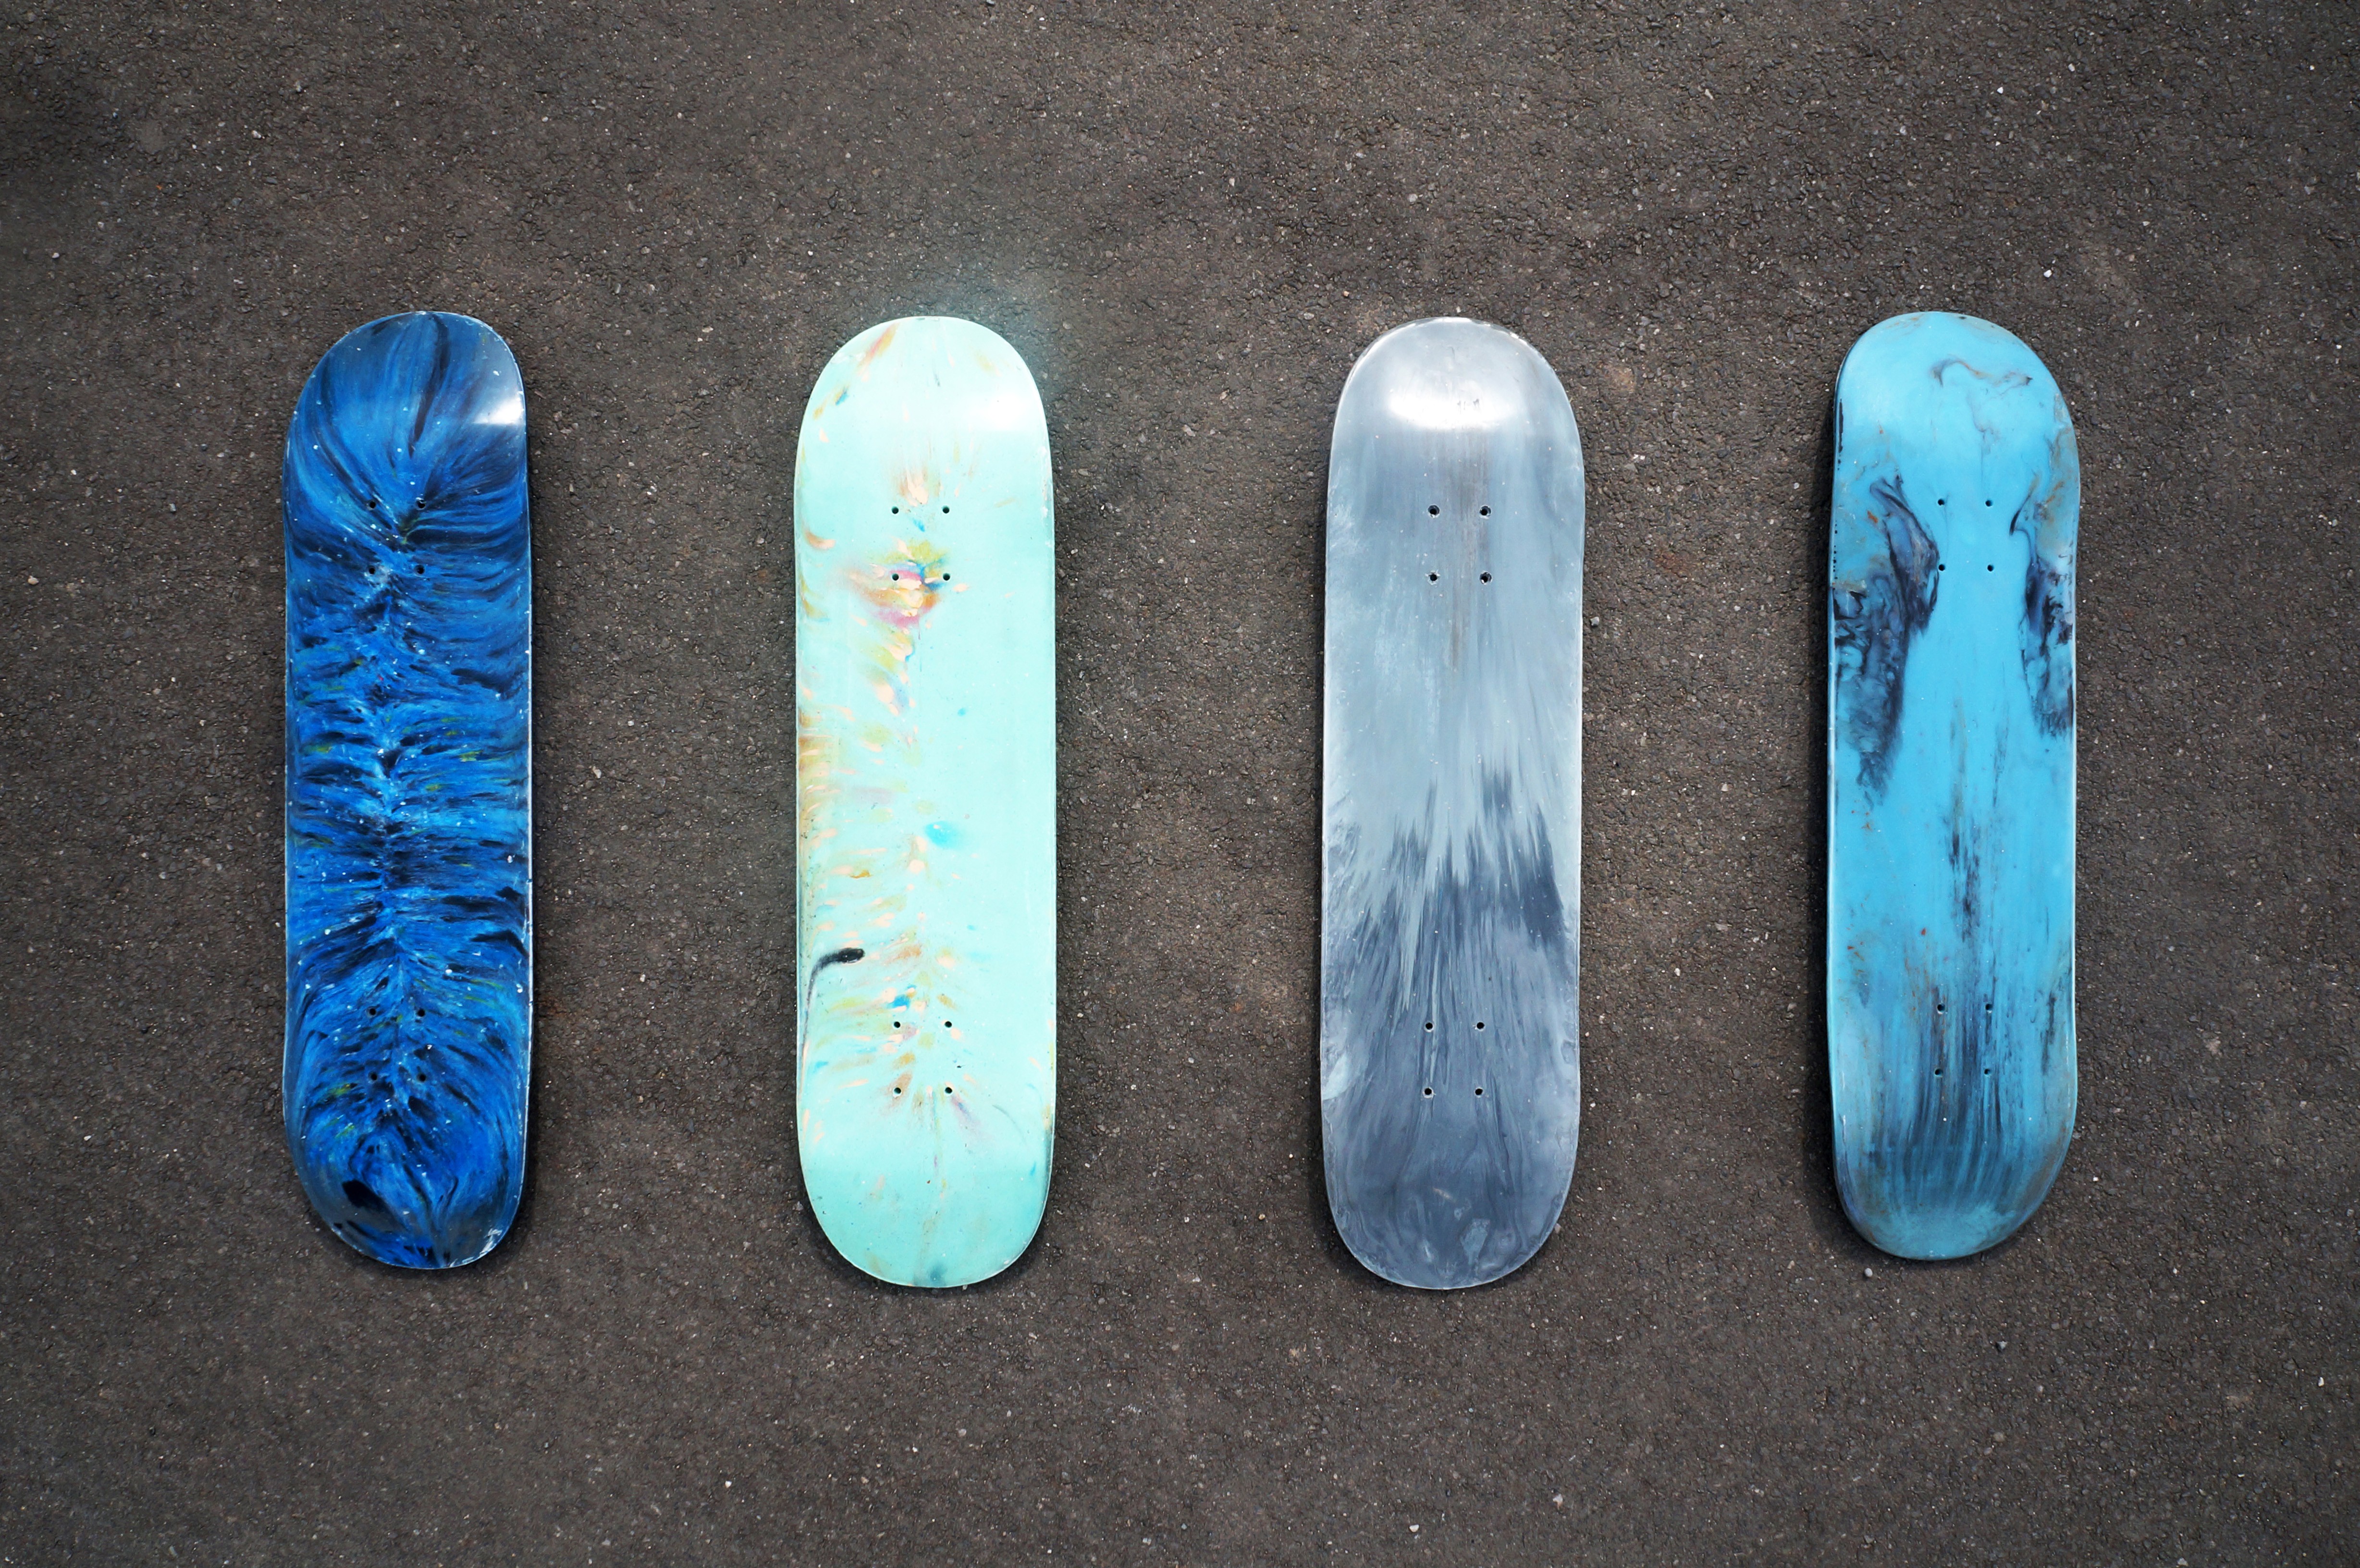
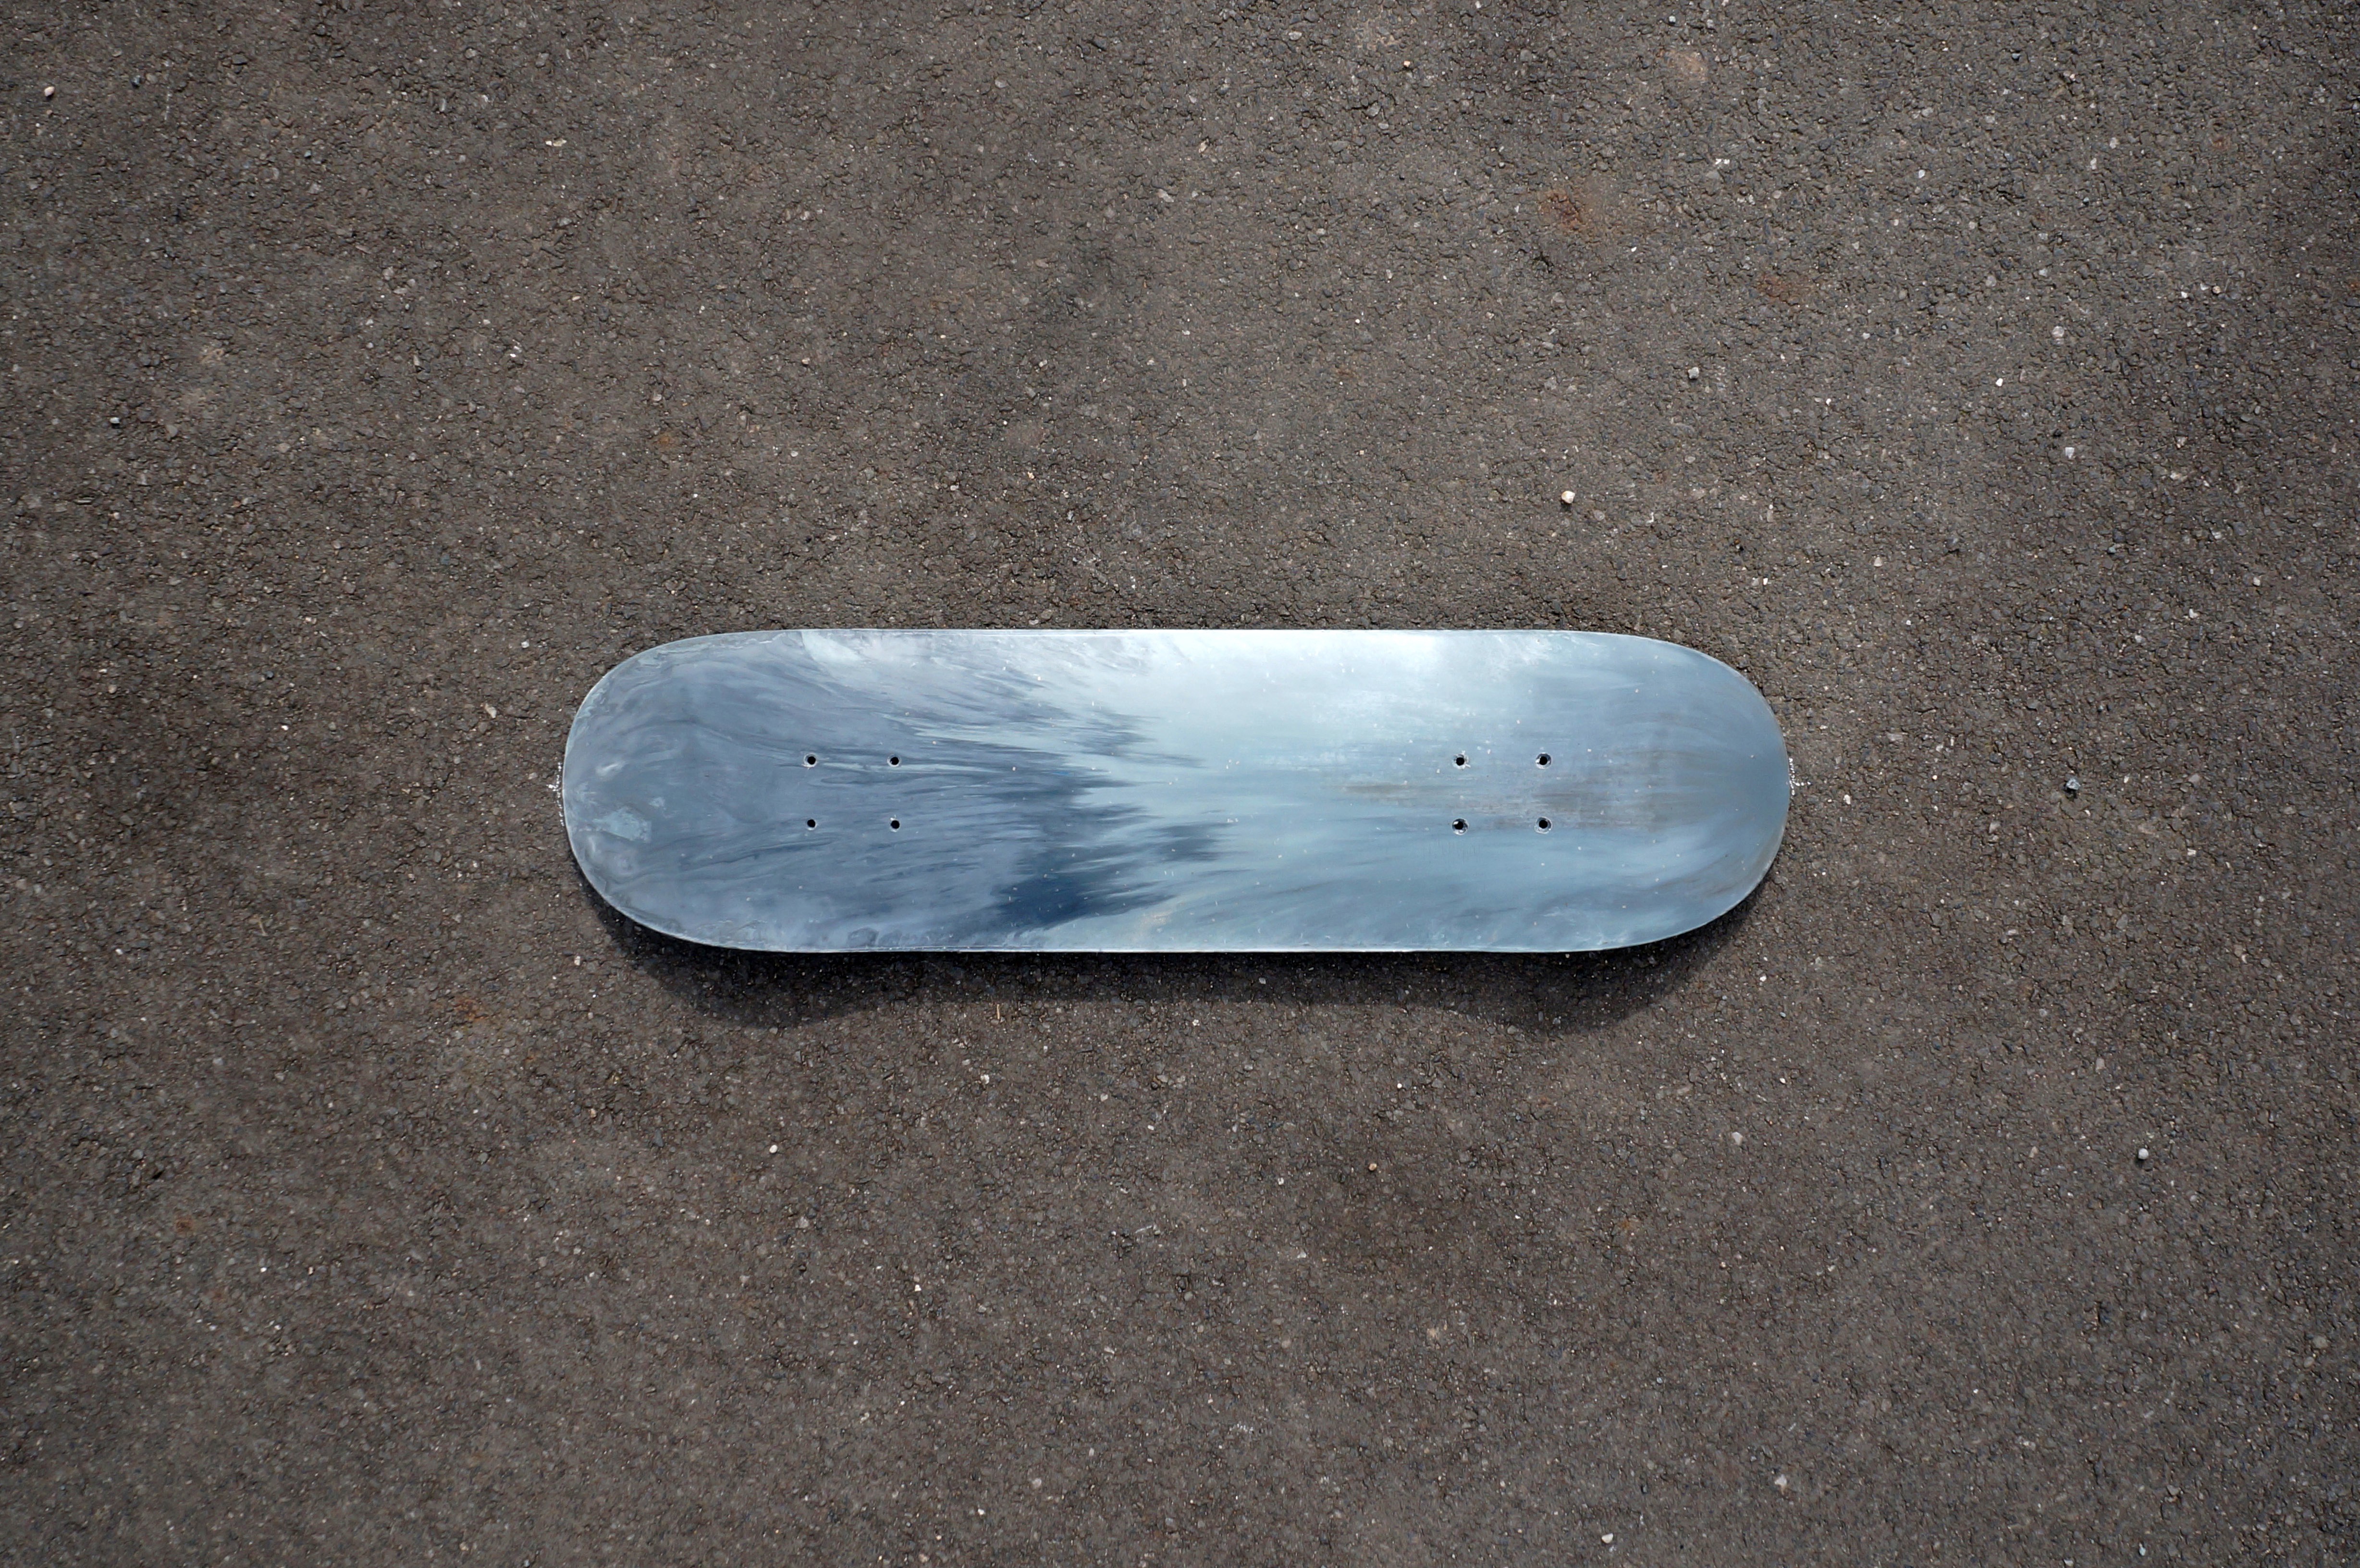
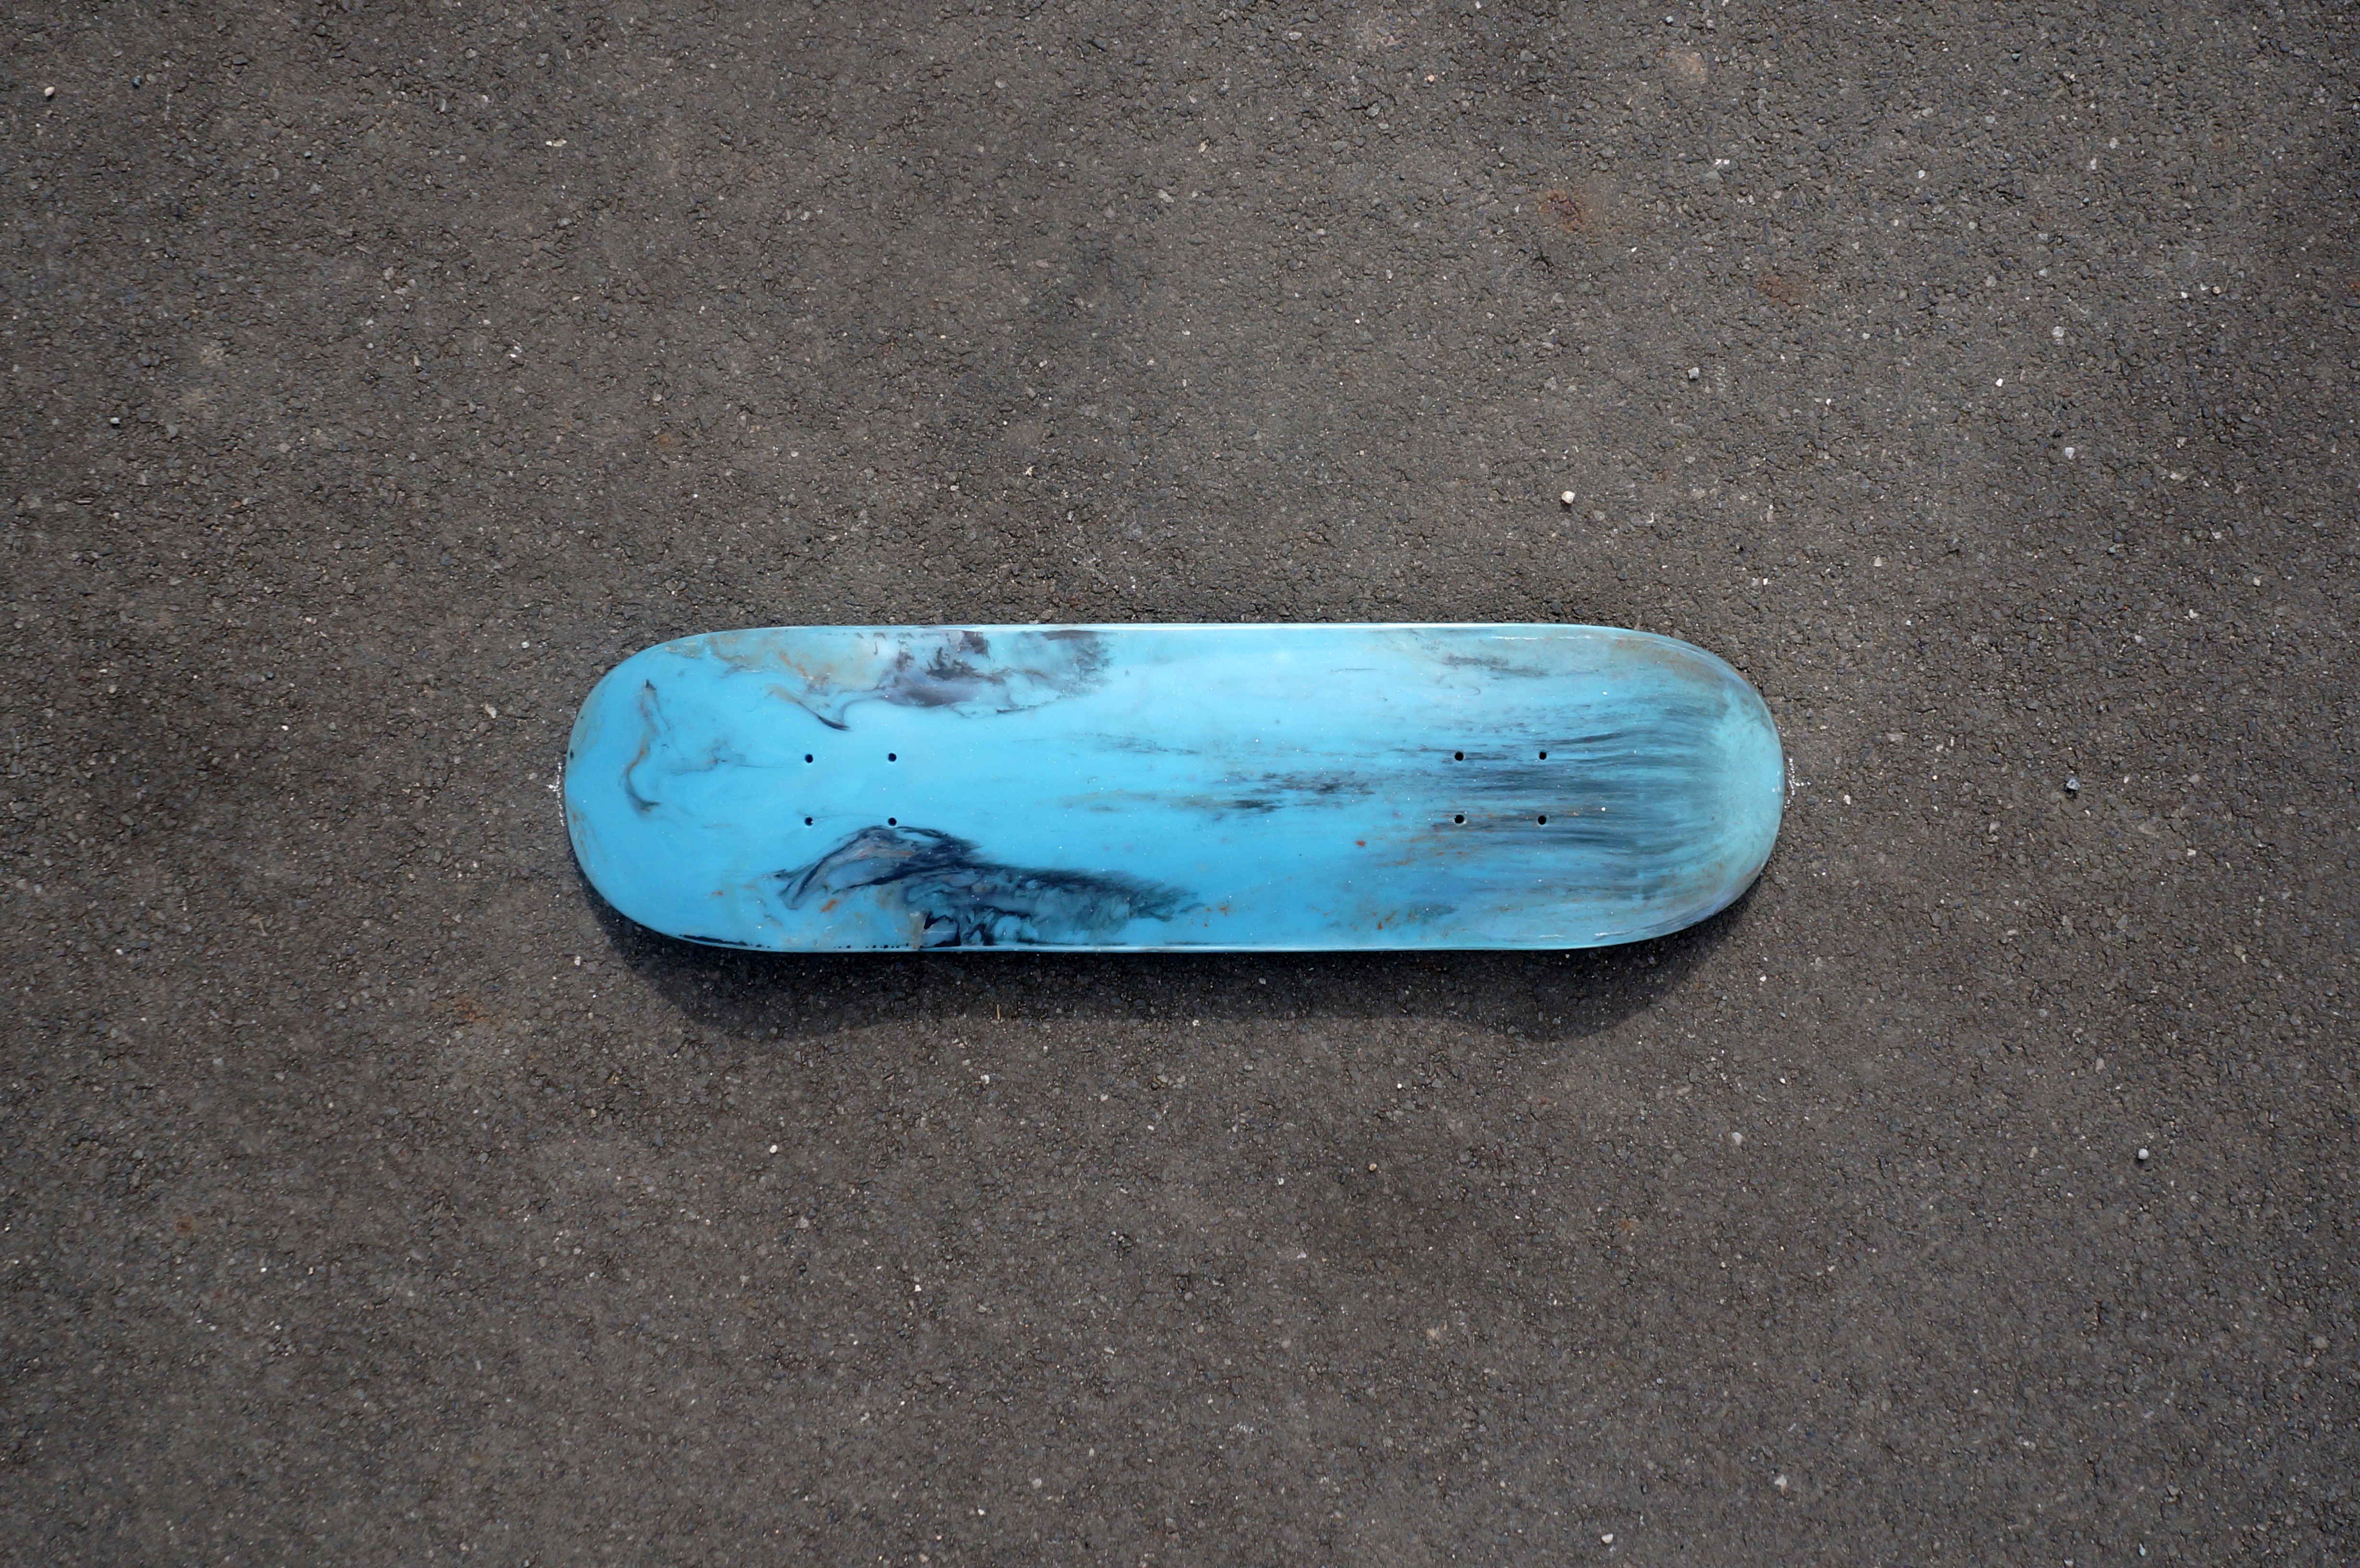
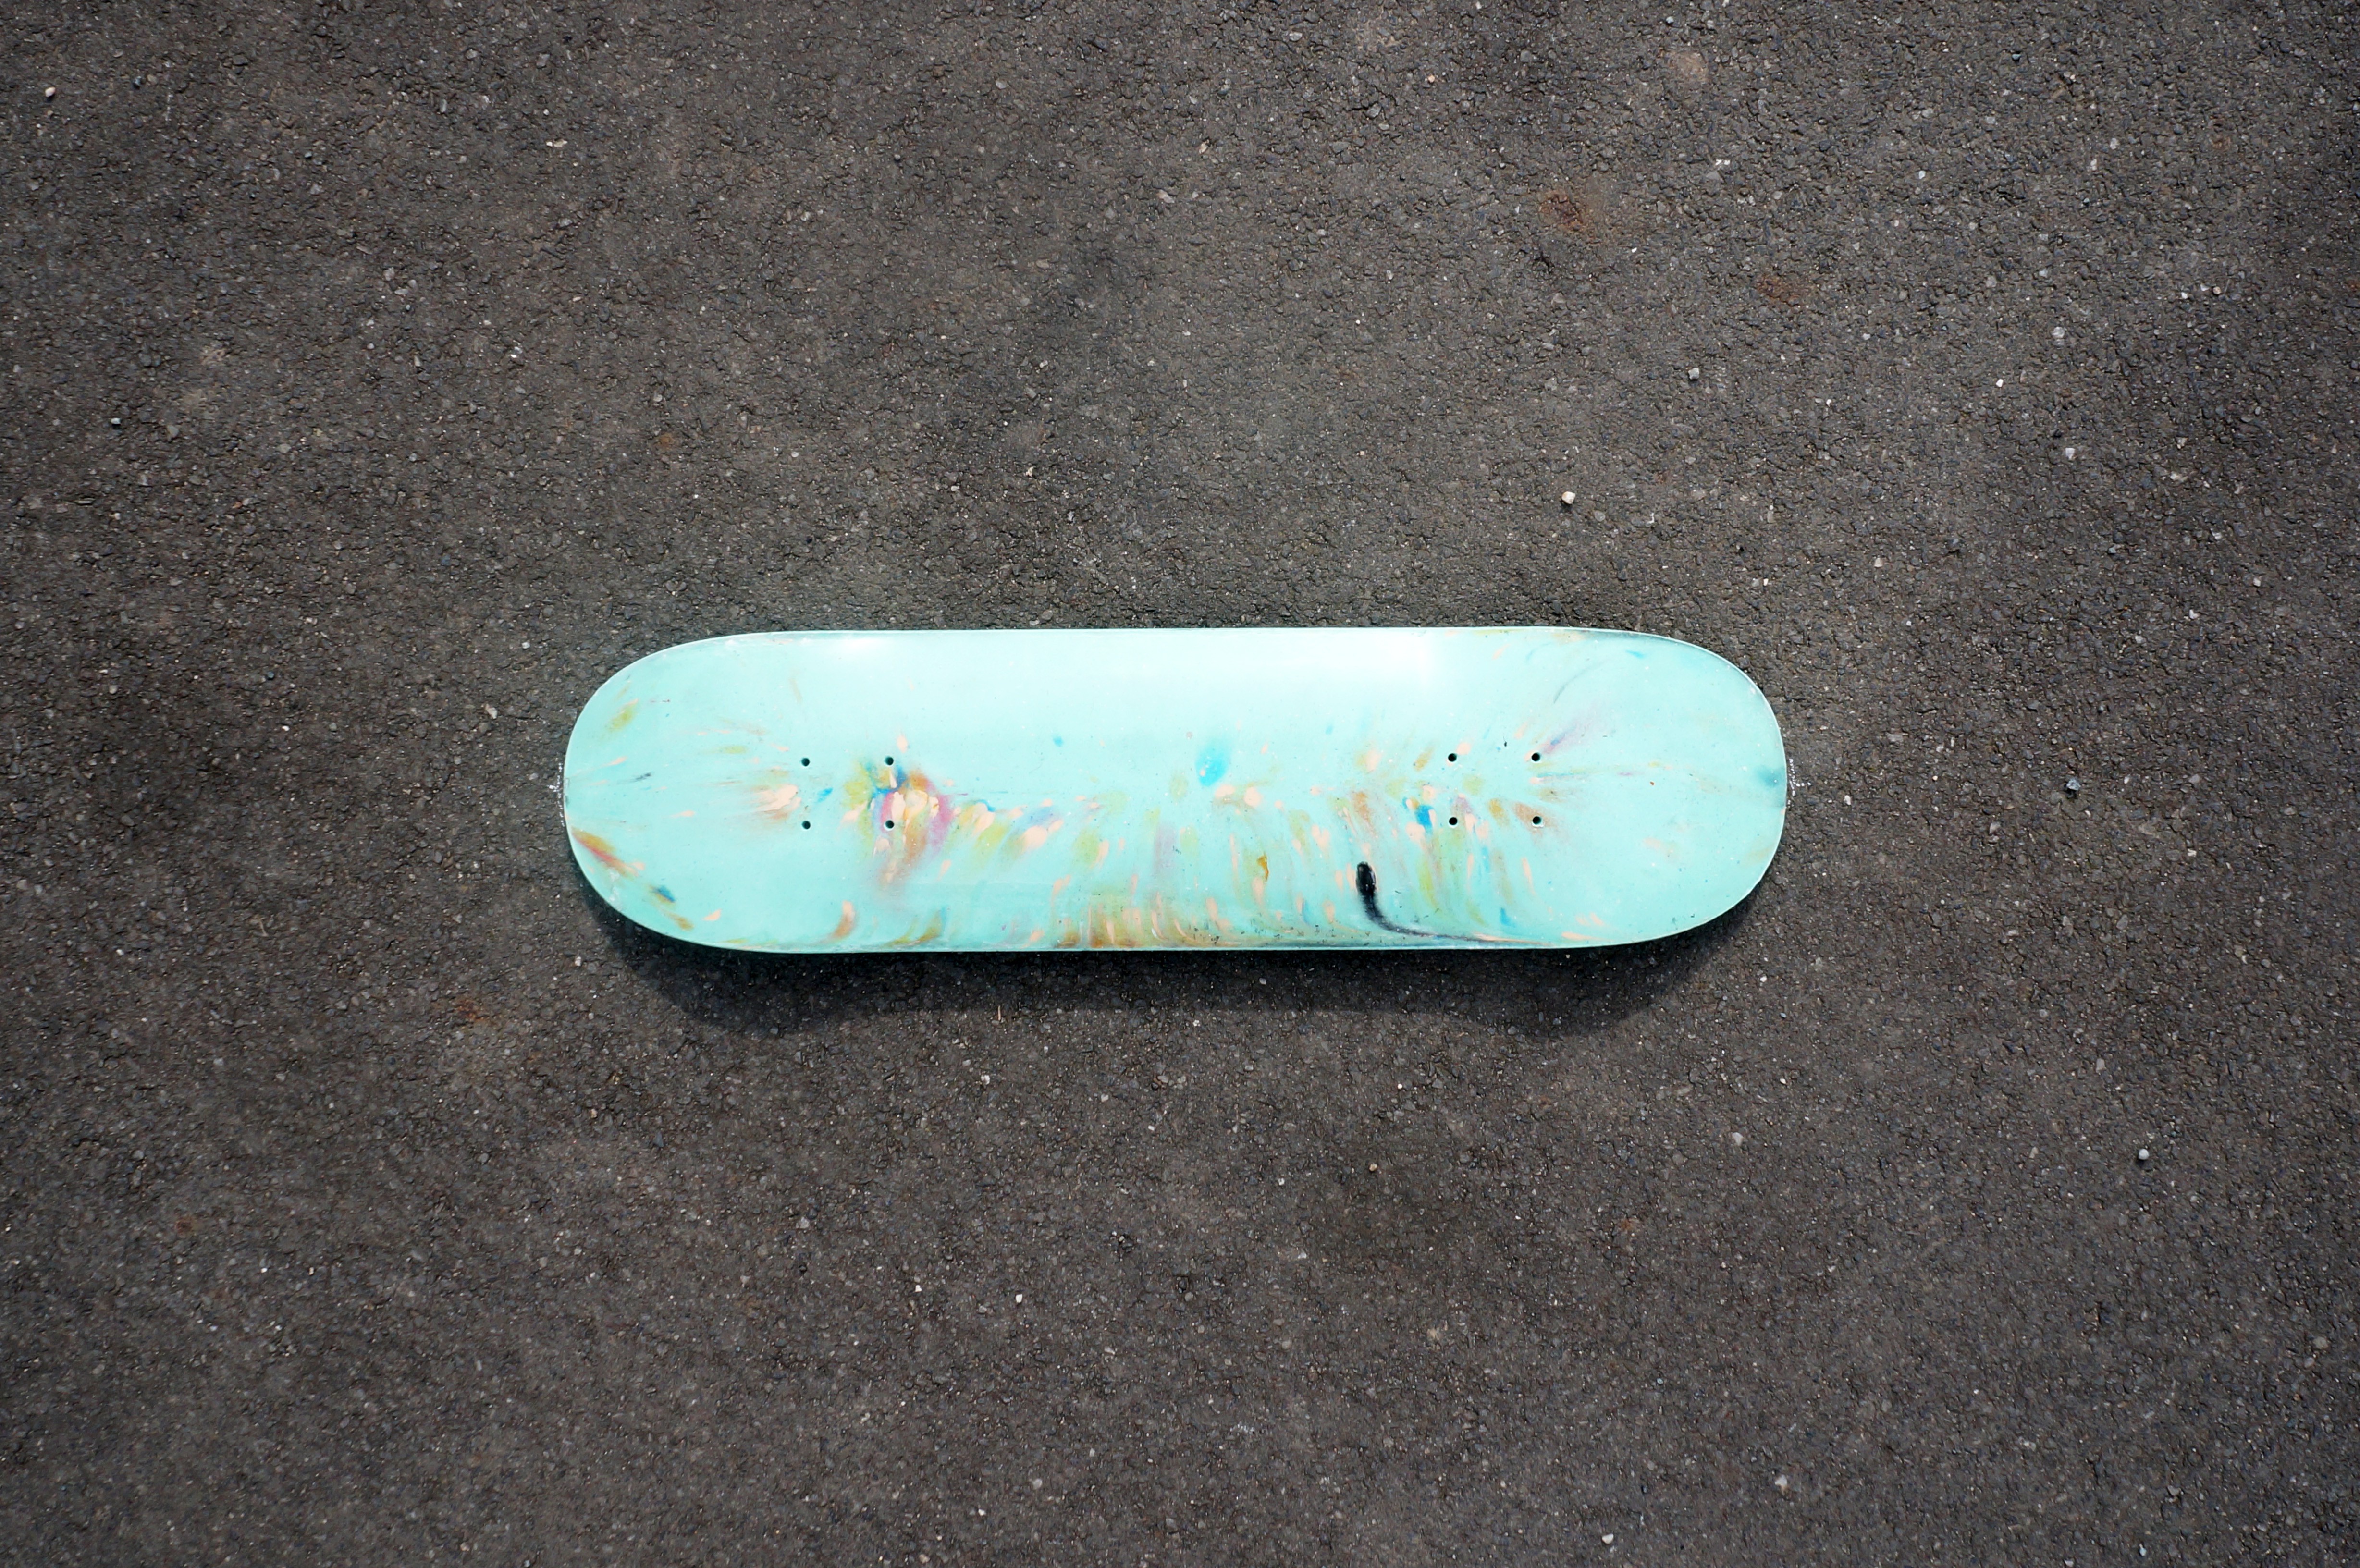
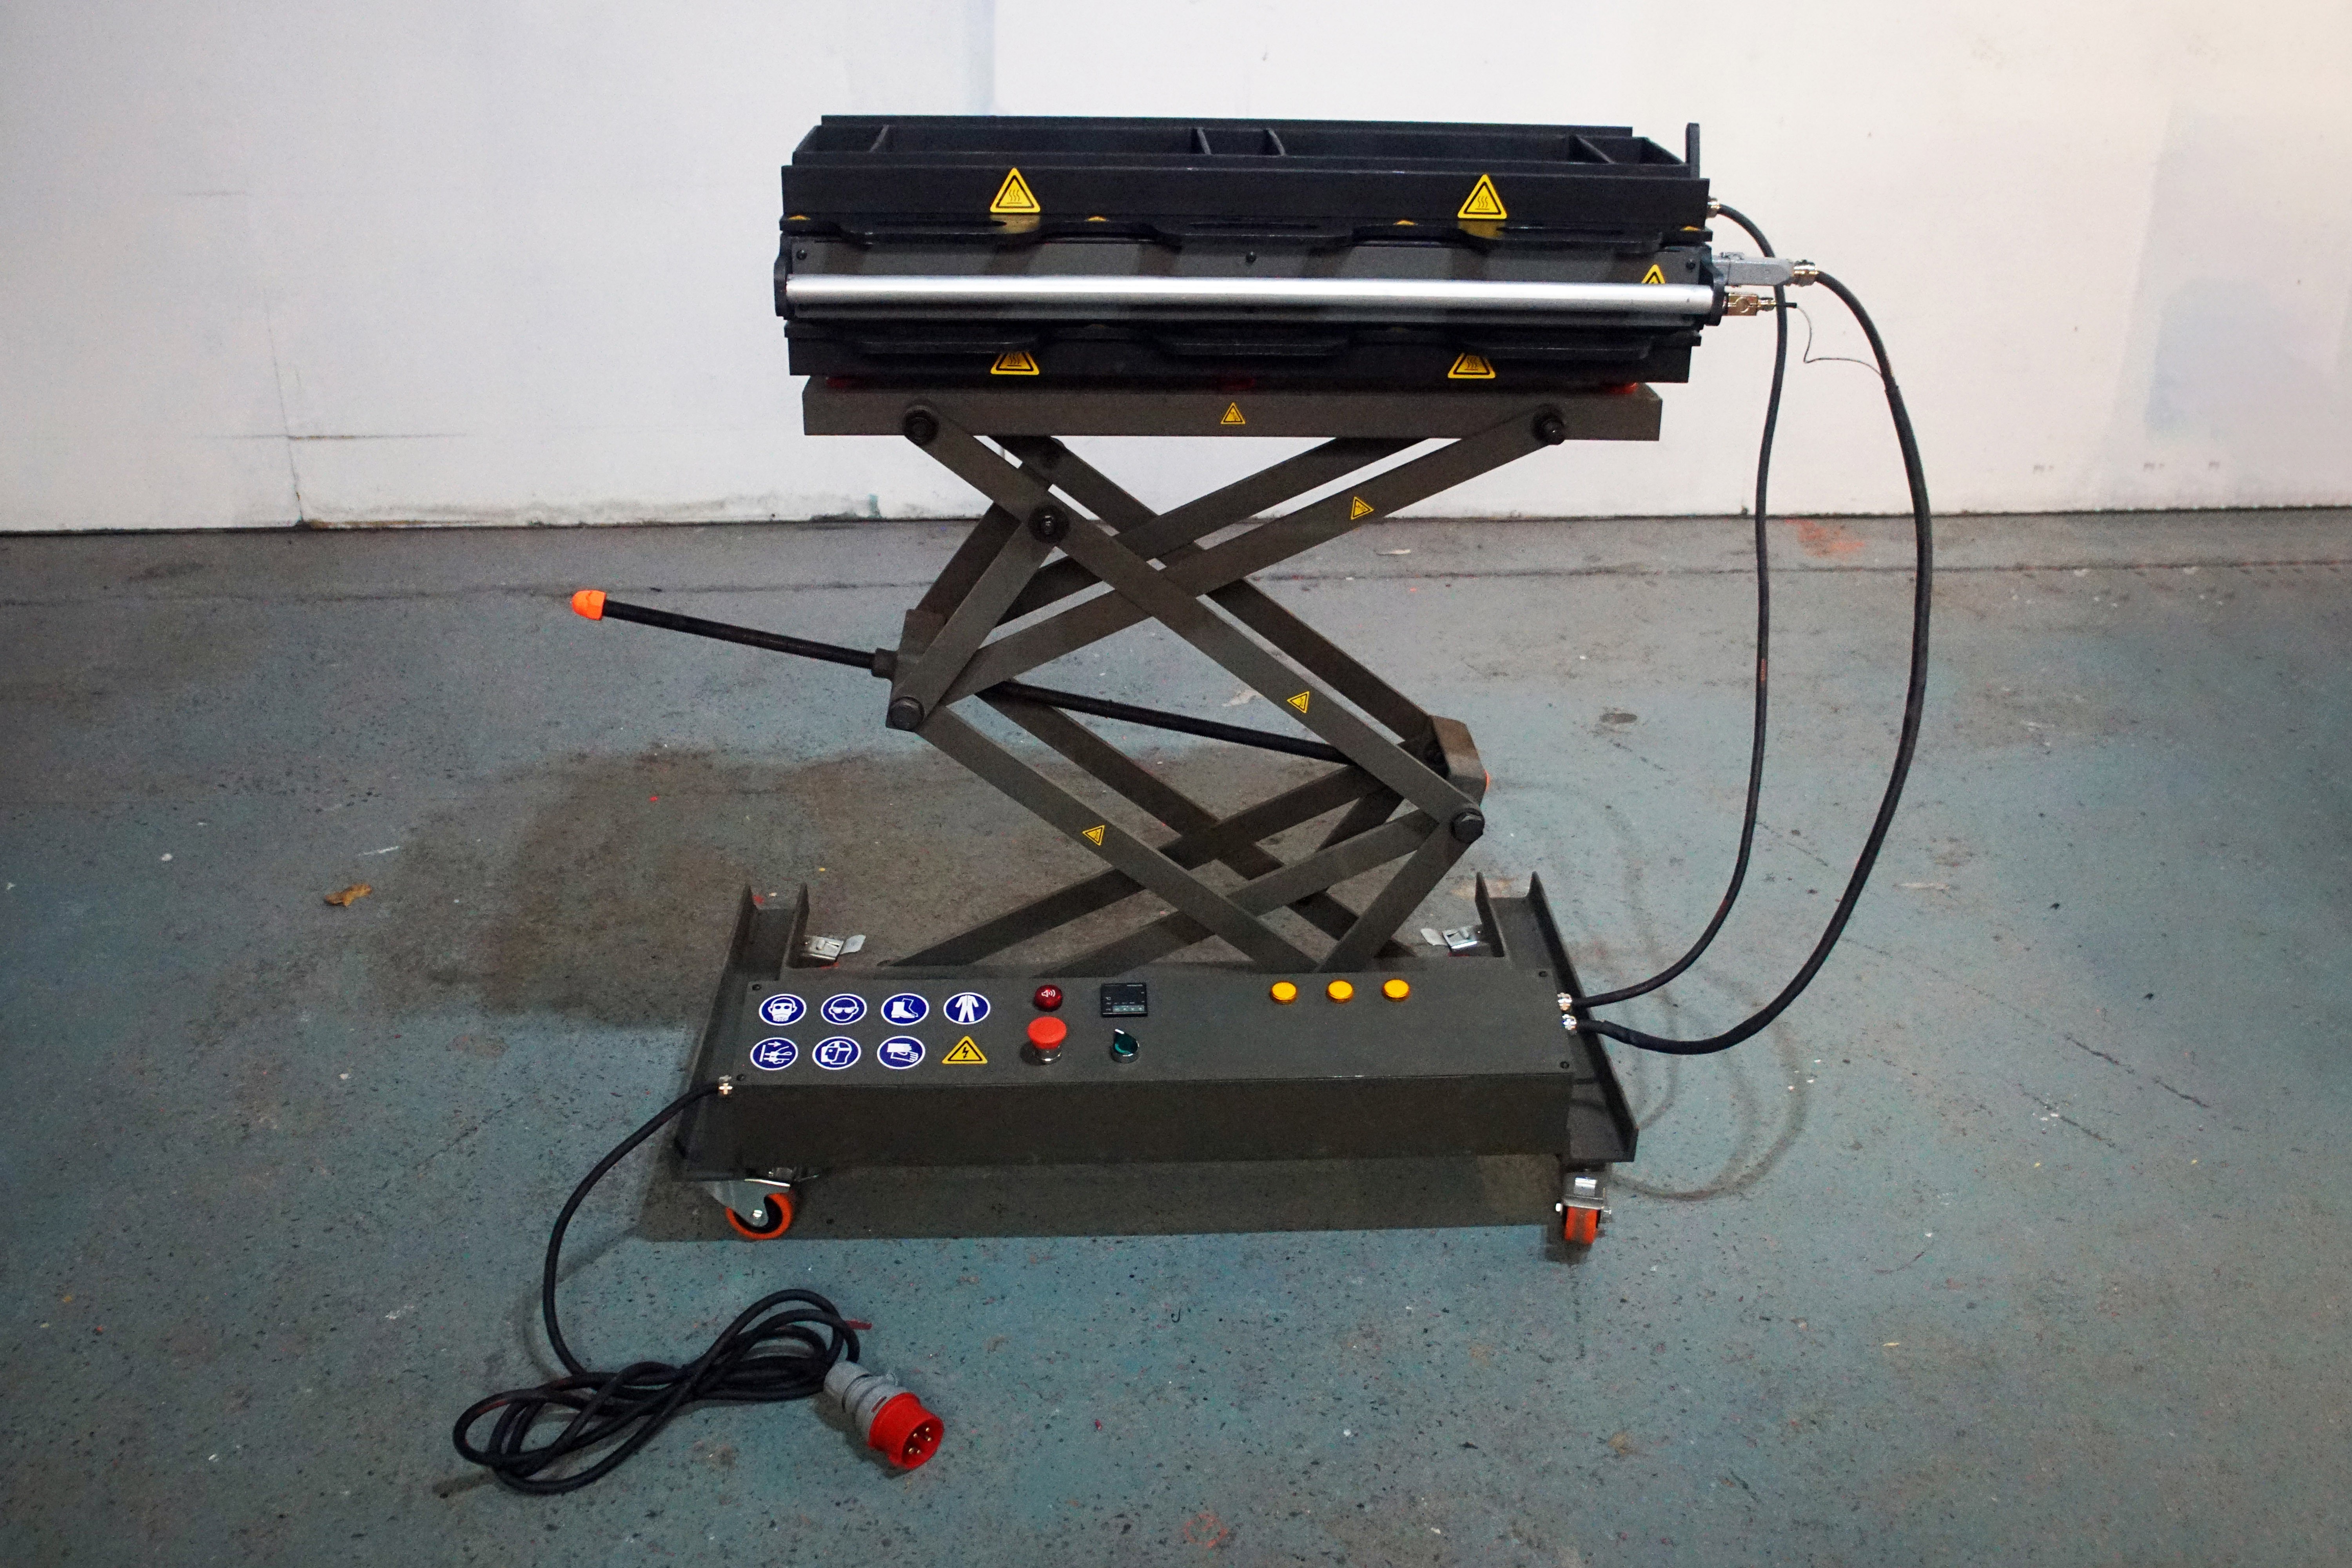
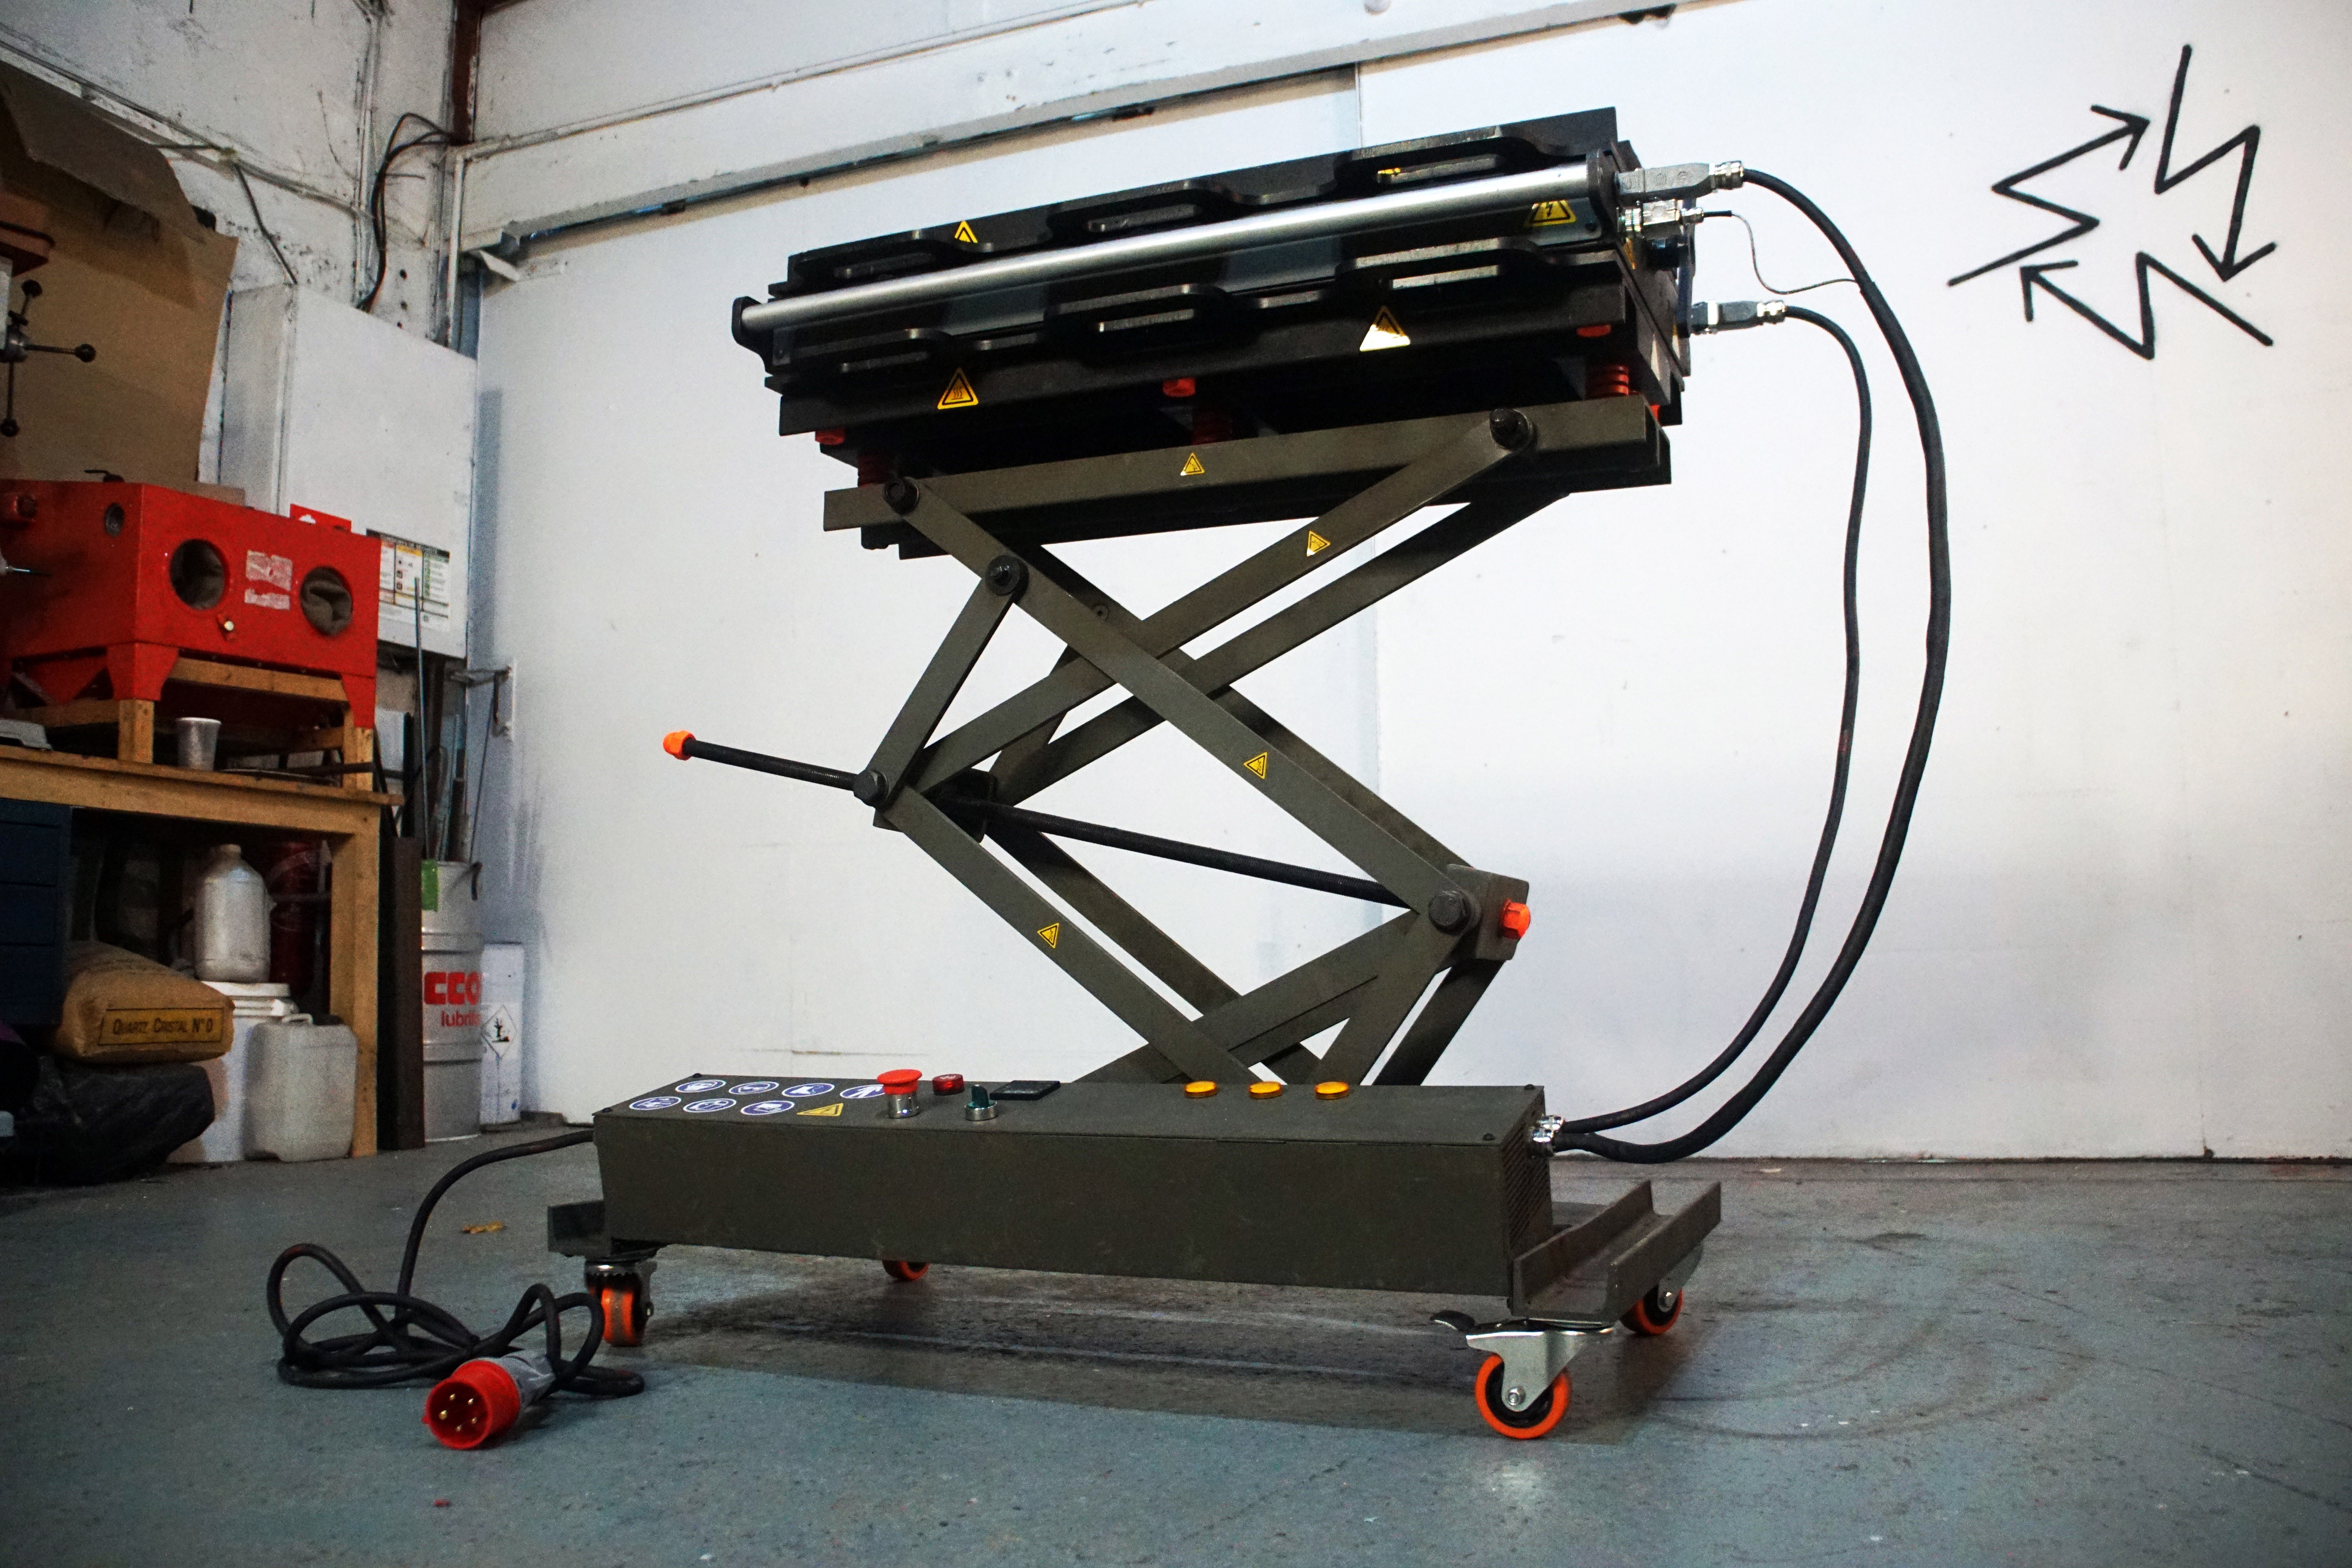
We have developed a manufacturing system to produce skateboard decks from recycled plastic.

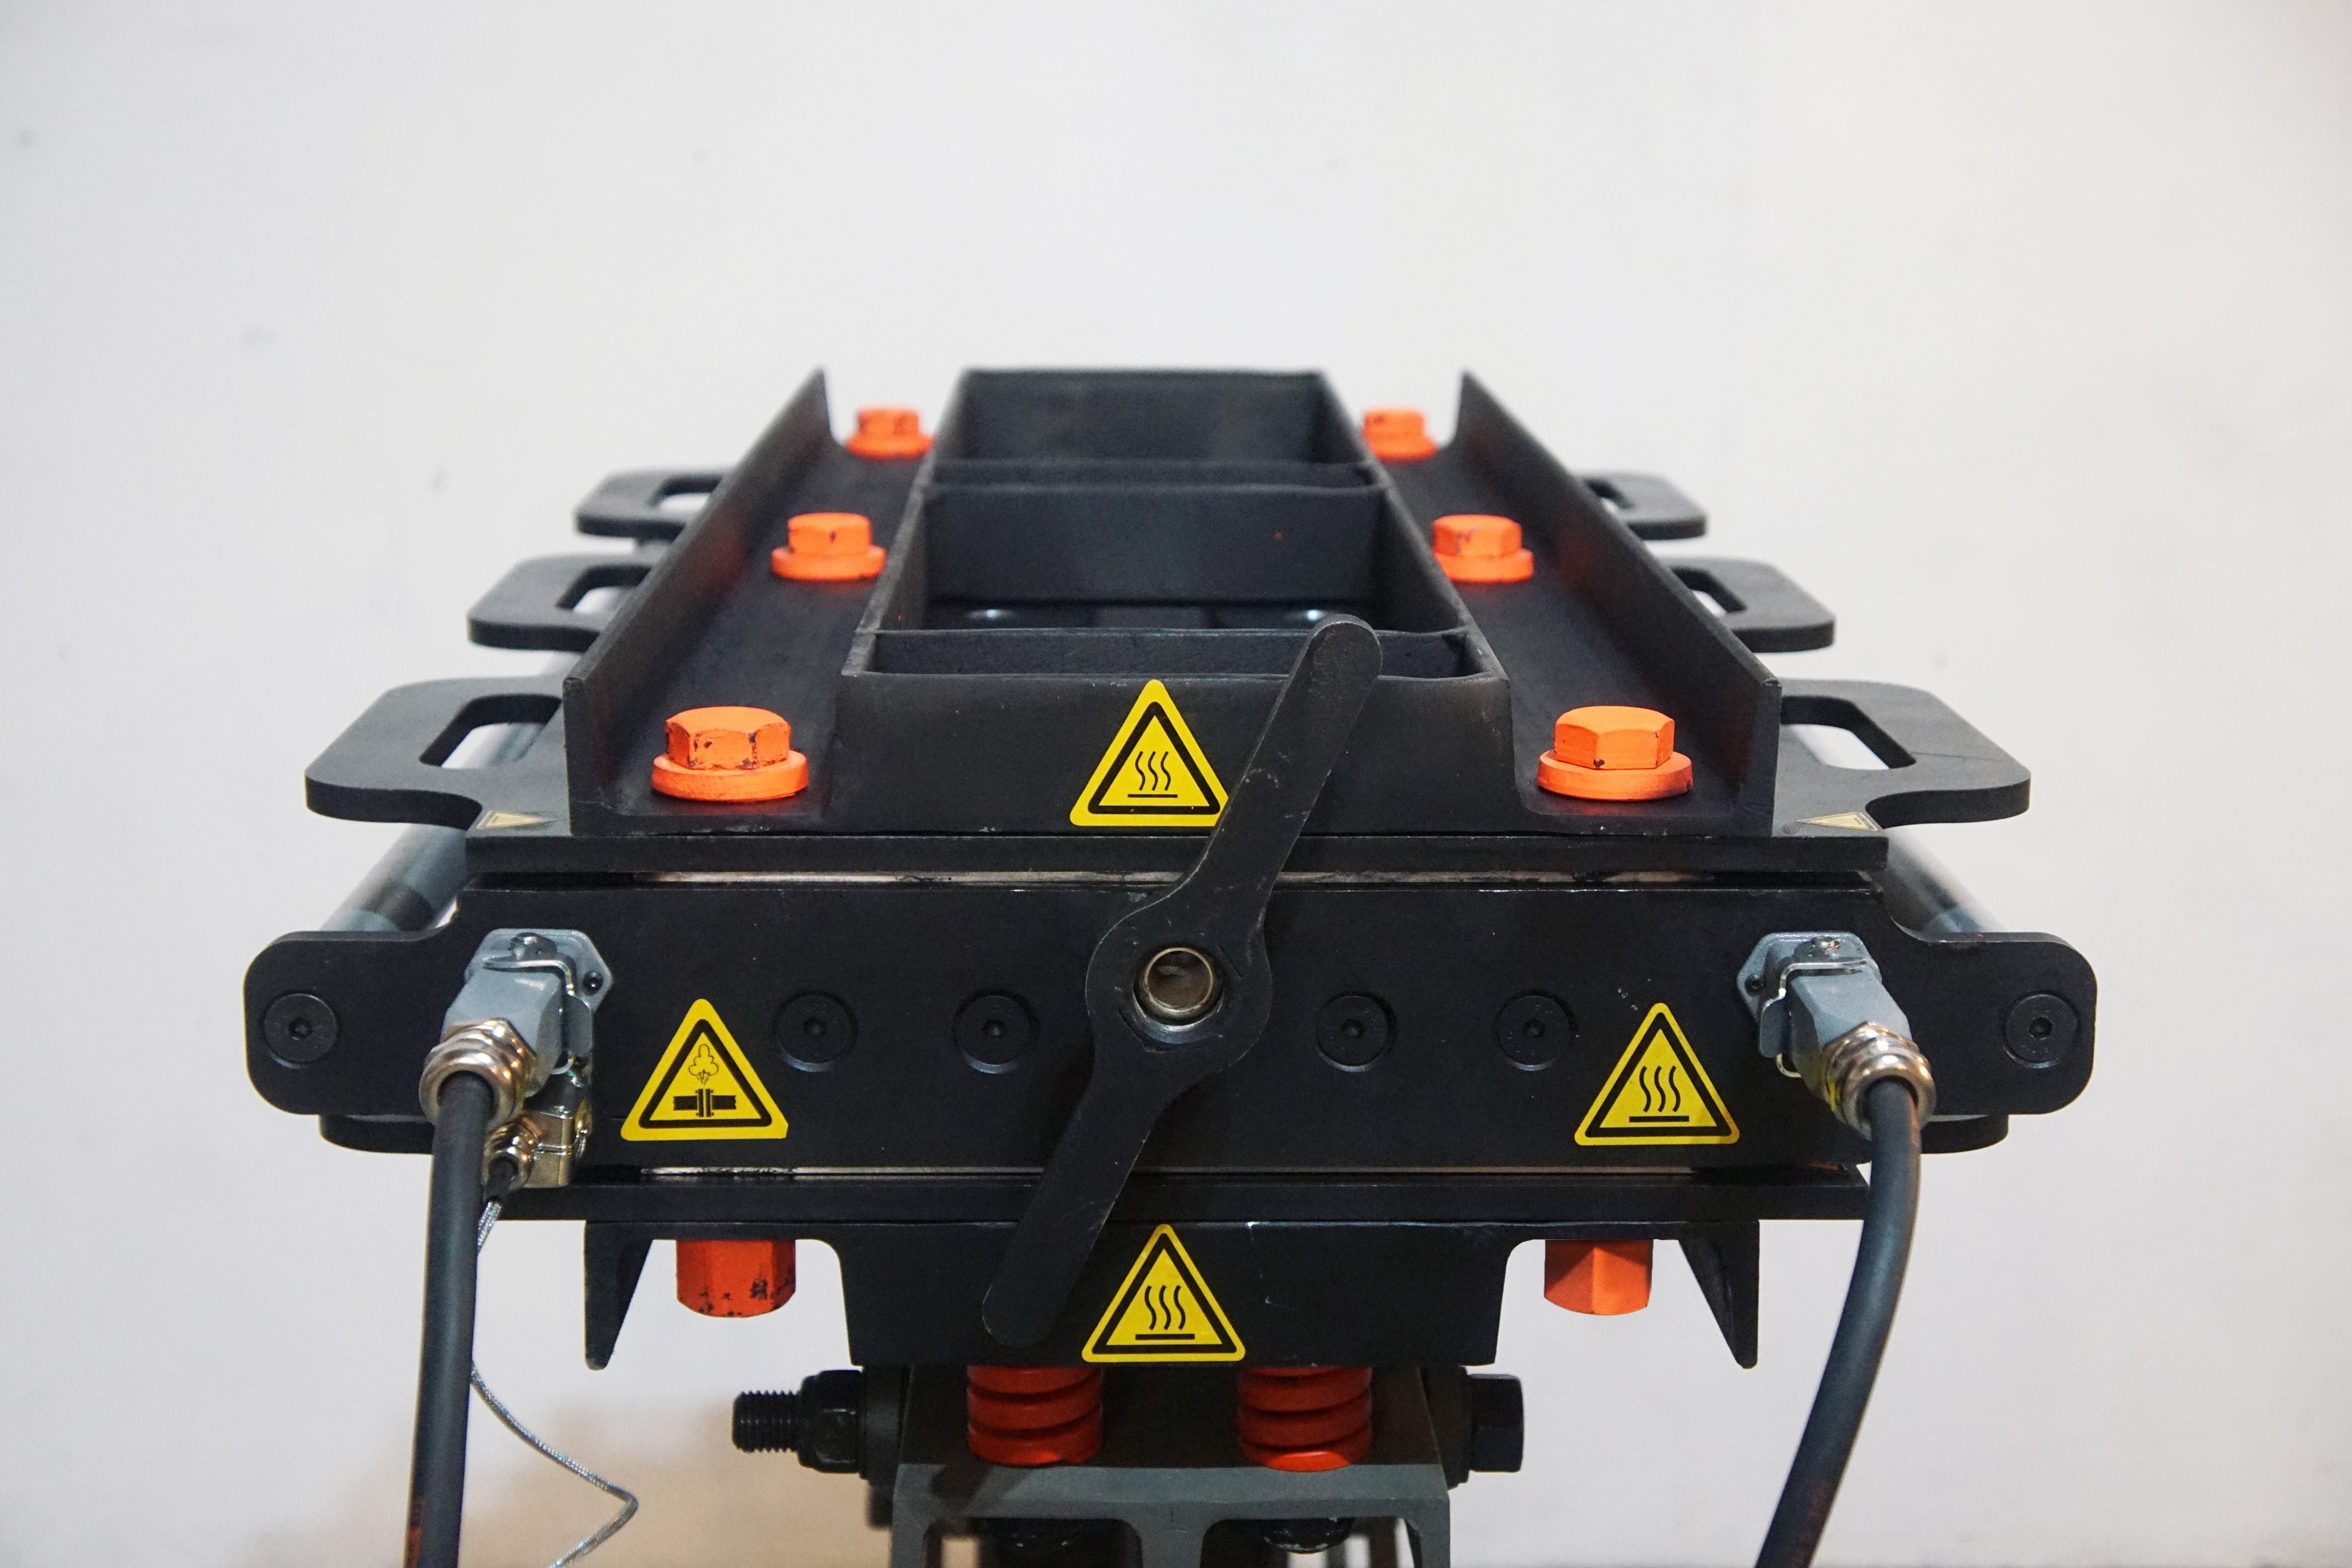
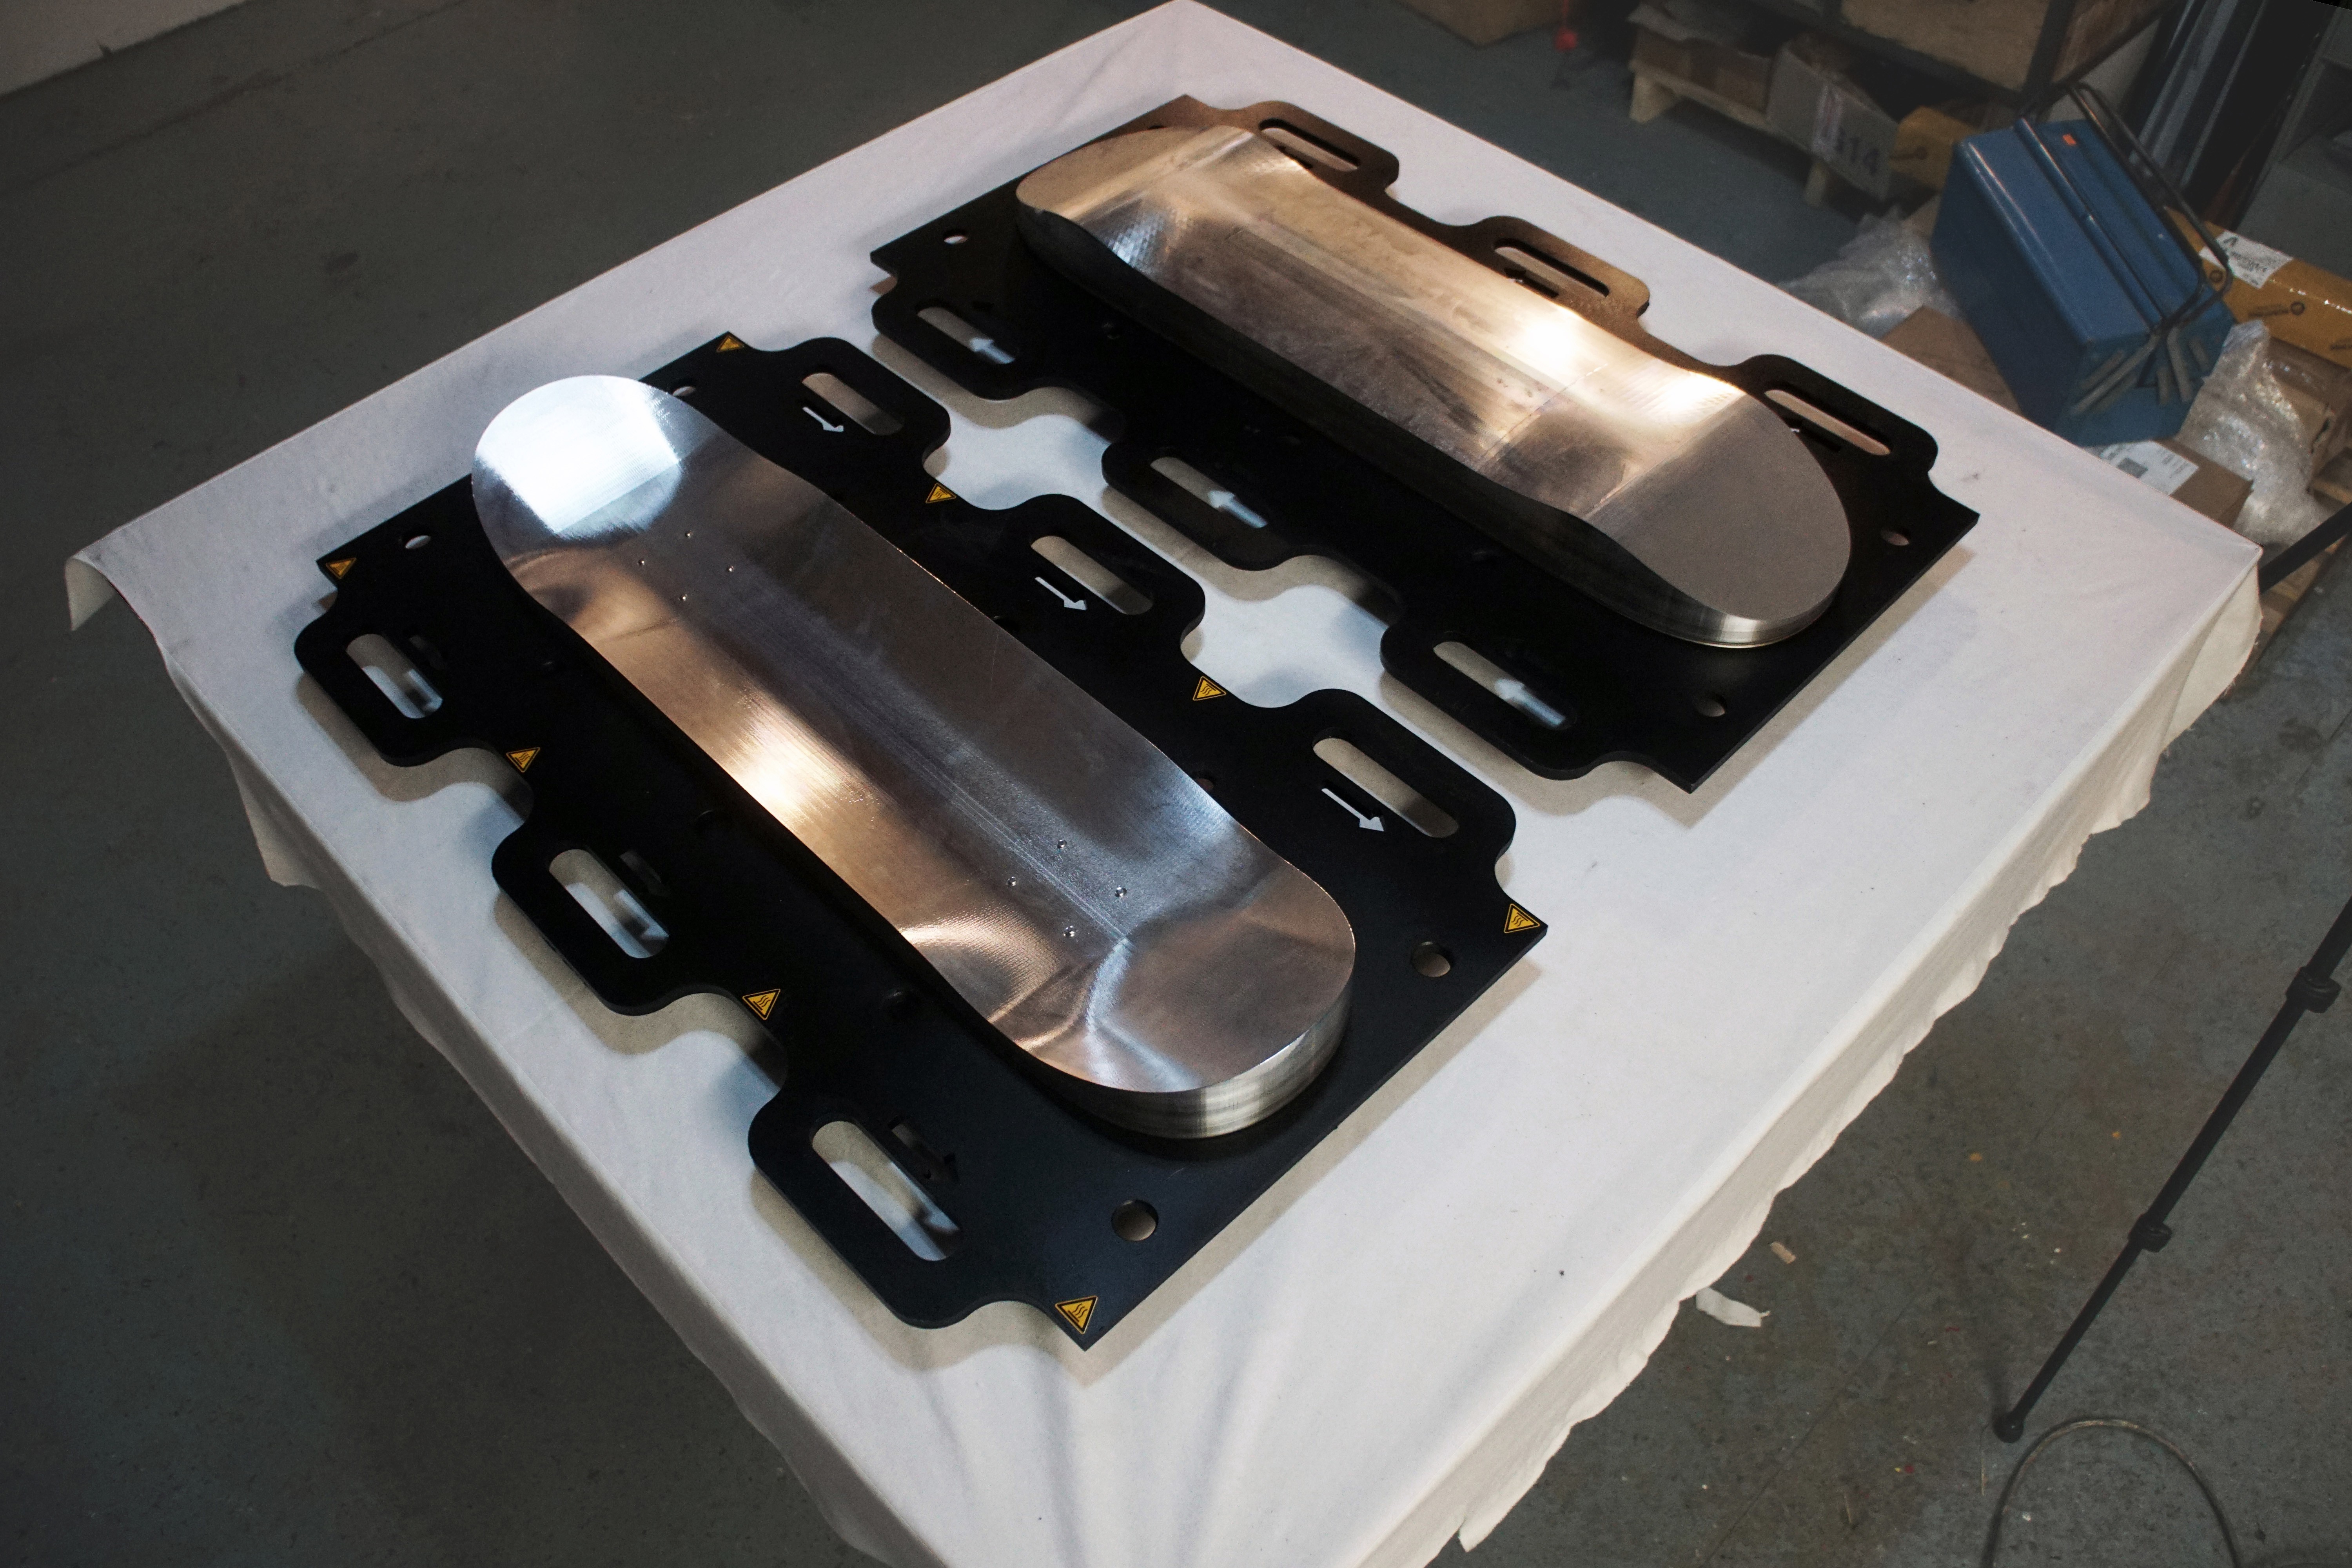
The most innovative, unique part is the mould, as this has previously not existed. We proudly say these are the first, and only, traditional popsicle skateboard decks in the world to be made from 100% recycled plastic.

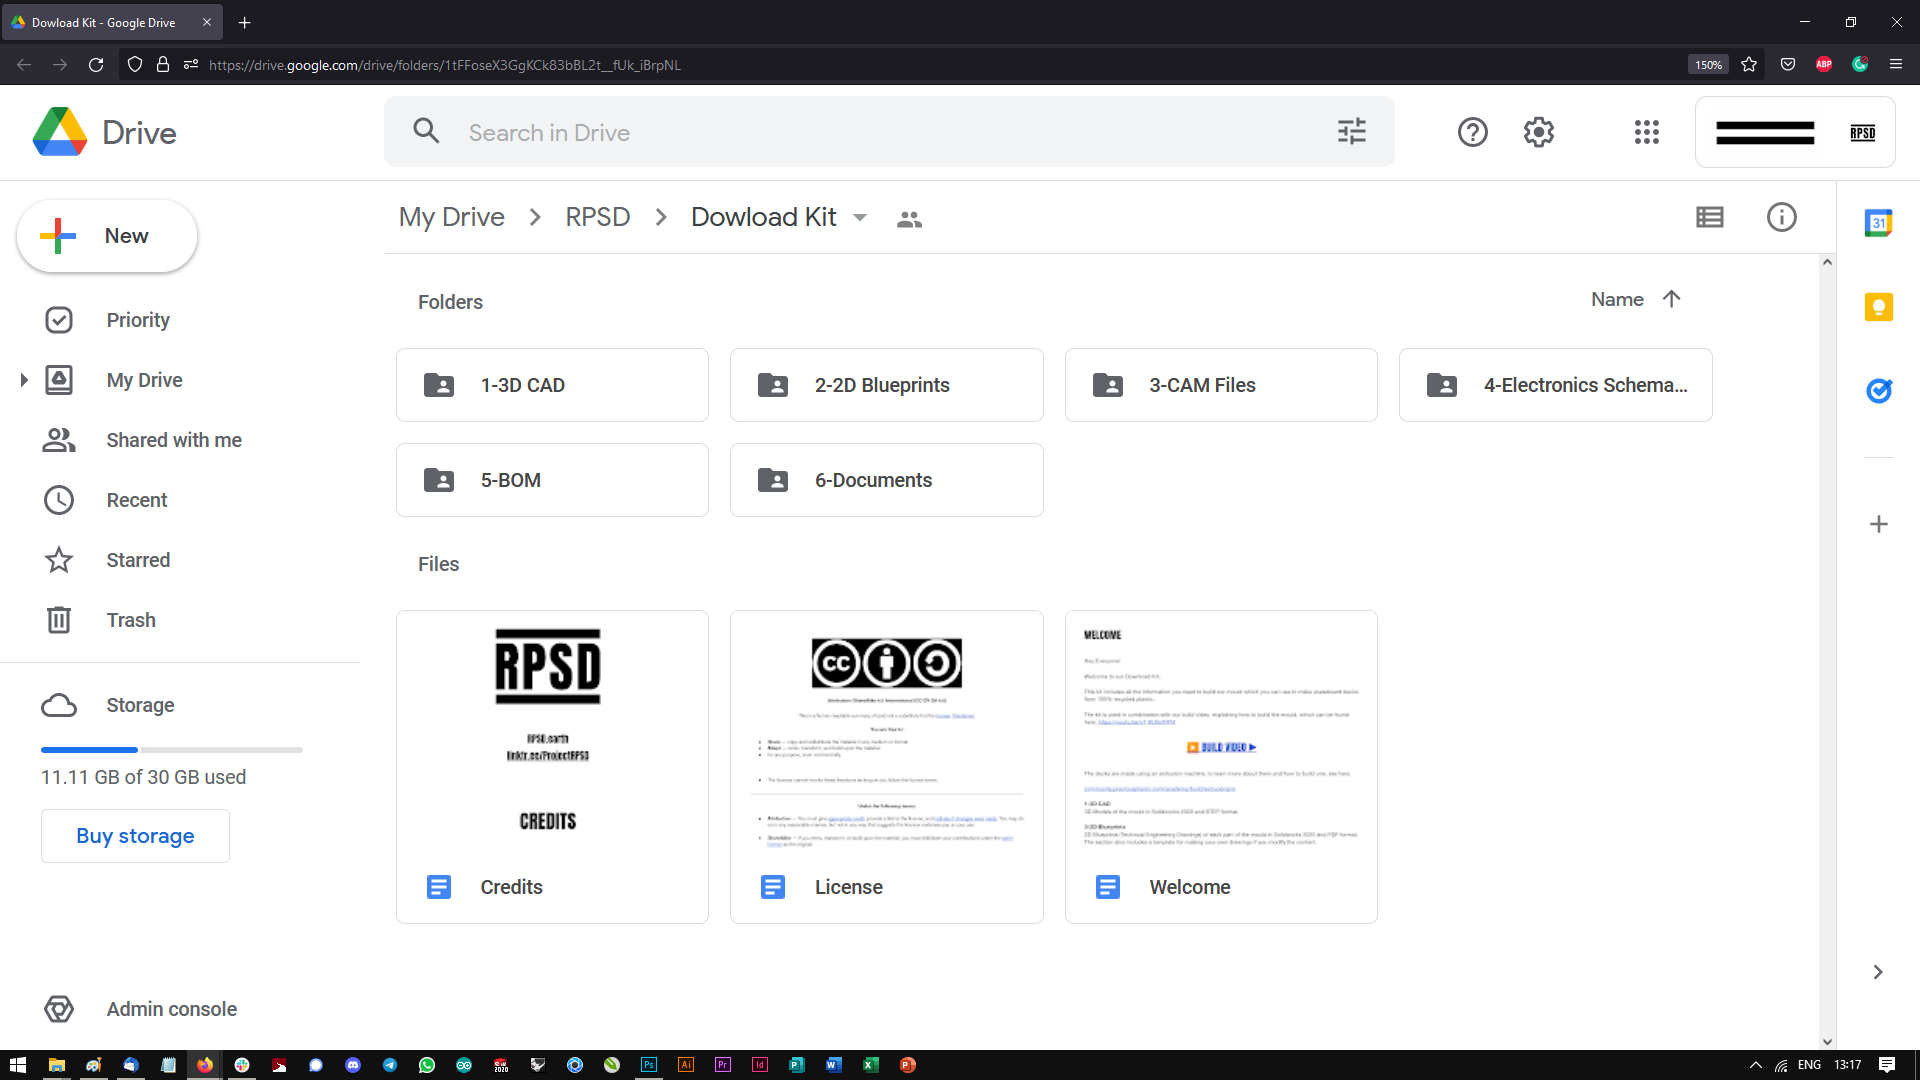
All the information you need to build the system yourself is available in our free open-source download kit which, as well as all the technical information, includes two detailed videos explaining how to build and operate the mould.

The system has been designed to be built with easily accessible tools (drill, grinder, hand tools) and CAM Services (CNC, Laser cut) to make it possible for as many people as possible to replicate it. The overall start-up investment and infrastructure requirements have been minimised to make it possible for entry-level producers to begin without struggle, e.g, you need 25,000 dollars and a garage to start your own factory or studio.

Welcome!

⚠️DISCLAIMER⚠️

The content presented on our website, YouTube channel, Download Kit, and all other internet and real world presences, regarding potentially hazardous processes is for educational purposes only.

Viewers are hereby cautioned against attempting to replicate any techniques or procedures demonstrated unless they possess the necessary legal qualifications and certifications.

We expressly disclaim any liability for consequences arising from the replication of such activities without proper authorization or expertise.

 Viewers are advised to seek professional guidance and adhere to applicable laws and safety regulations before undertaking any similar endeavors.

⚠️⚠️⚠️


Our 2022 Hackaday Prize Contest Entry Video 

Quick Links

Full Project Description

Website

Press Kit

Social Media

Download Kit

Extruder Download Kit

Build Video

Make Video (Short)

Make Video (Long)

Project Legacy


The Problem

You all know that plastic waste is bad so I'm going to summarize the scale of the problem simply with 5 numbers.

Every year we produce over 350 million tons of new plastic.
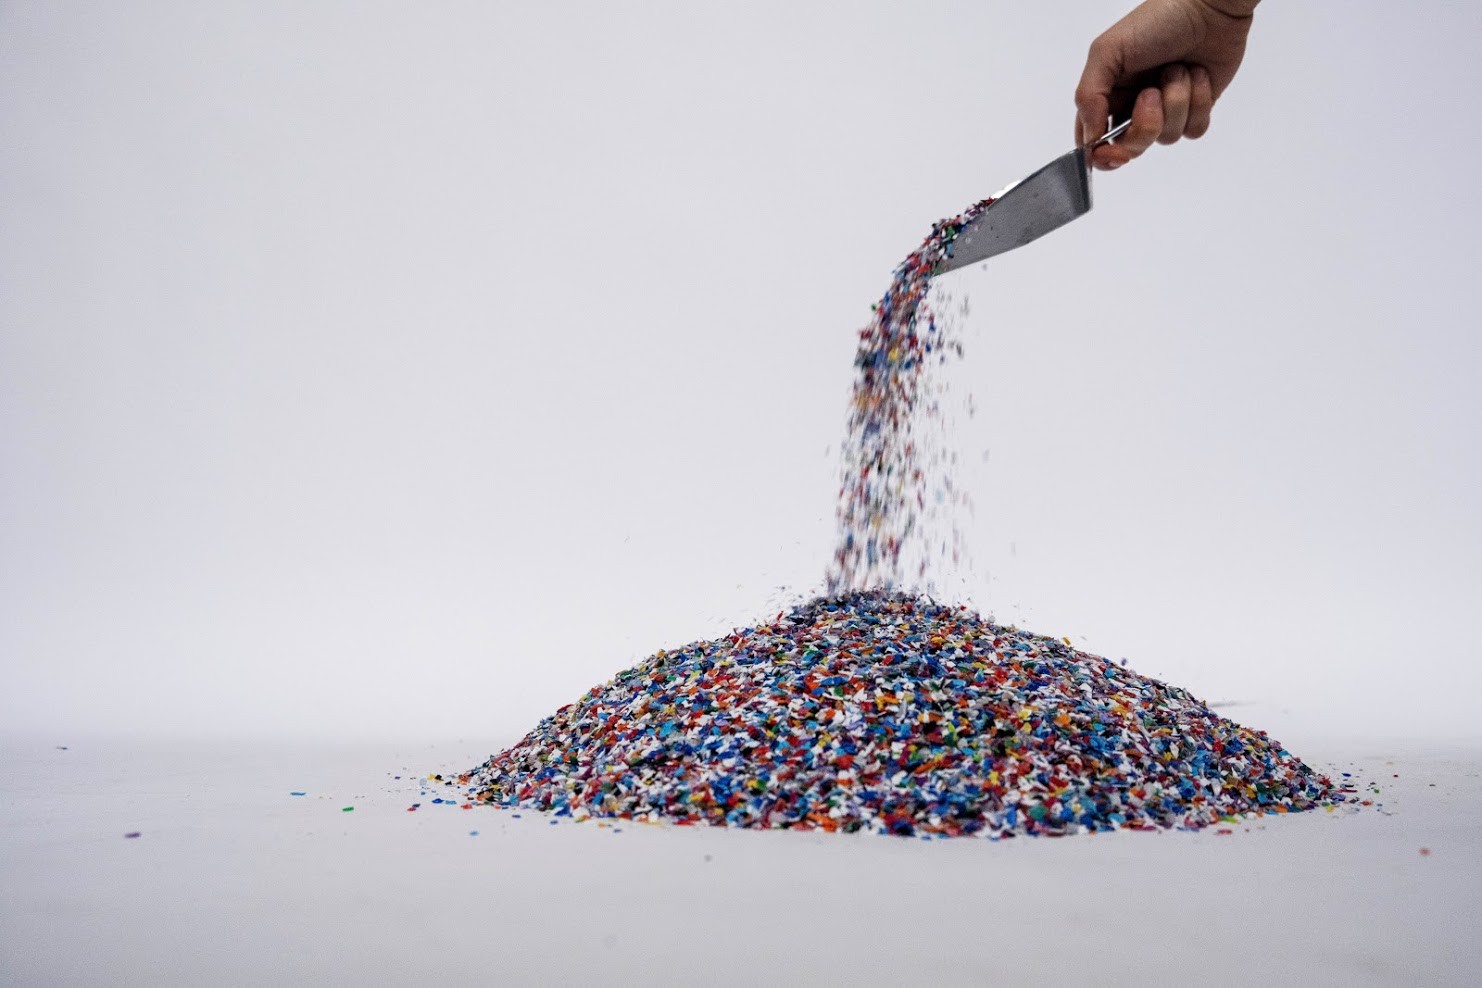
Since its invention, over 9 billion tons of new plastic has been produced.
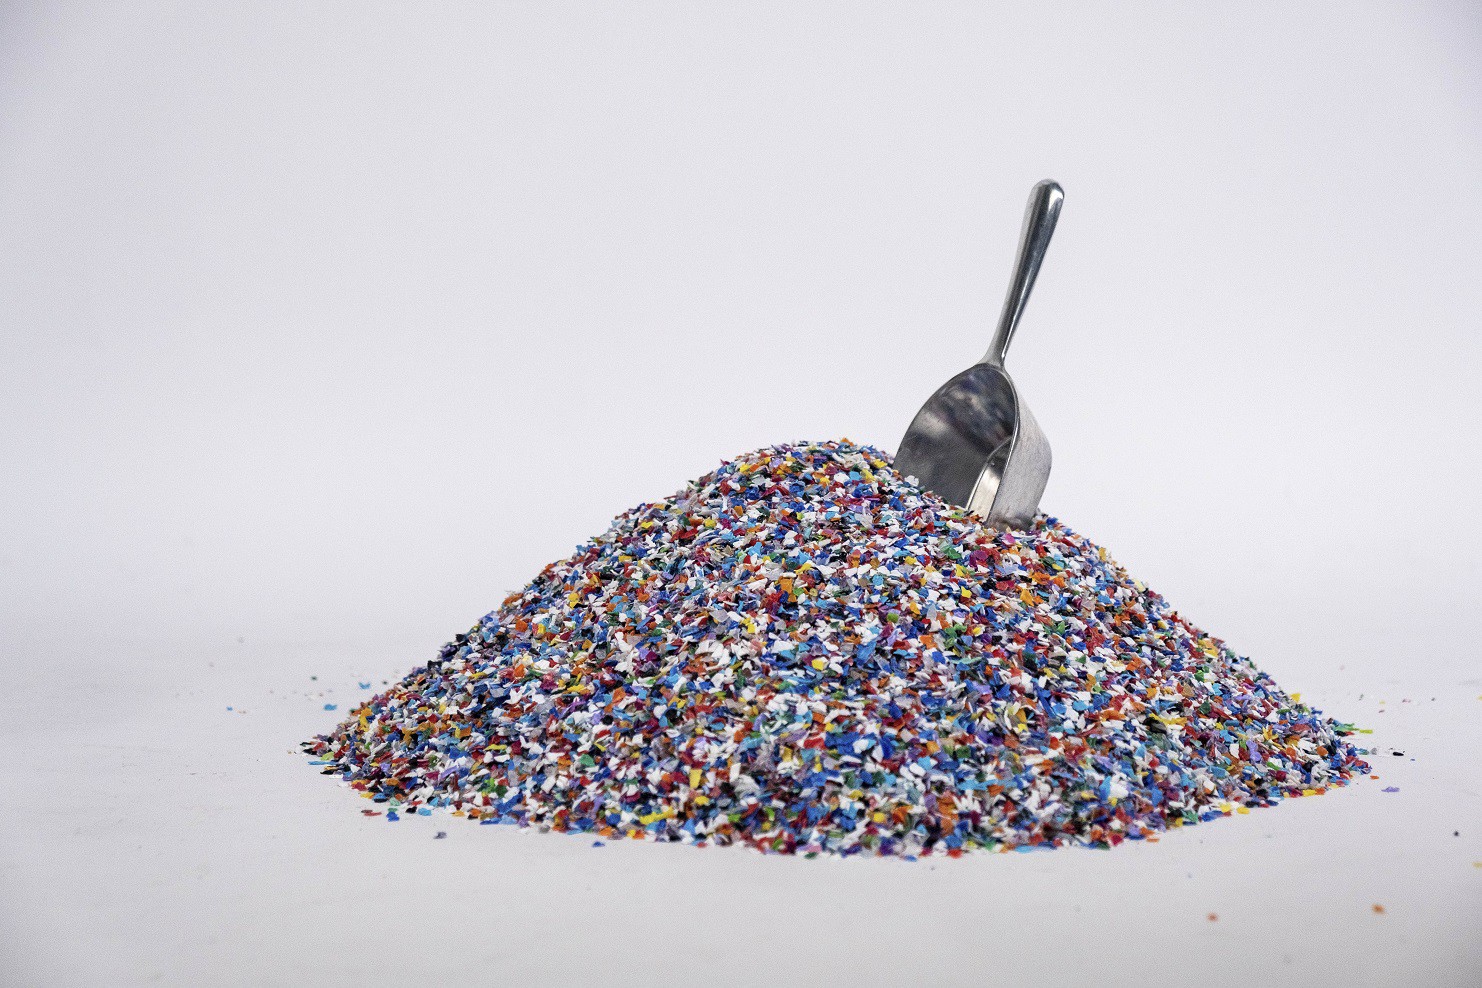
More than 90% is recyclable...

...but less than 10% actually gets recycled.

This means that there is over 6 billion tons of plastic waste in the world right now, ready to be collected and recycled.

So even if we completely stopped producing plastic right now there is still a little bit we need to tidy up.

If left uncollected it remains in the food, water and air that we humans and almost every other living thing, in our ecosystem, are at risk of consuming and being polluted by it.


The Challenge: Reuse, Recycle, Revamp

We are working to dissolve the economic, technical and social barriers that prevent people from getting recycled plastic products into the world.

Our project is all about increasing accessibility to recycling equipment and hence enabling more people to recycle. 

Why?

Recycling provides a solution to both:

1. Extracting raw plastic pollution from the environment by capturing and storing it in large pieces that are kept out of the ecosystem by human utilisation and are easy to manage at the end of their product life to ensure that they do not end up back in the ecosystem.

2. Providing an alternative to dependency on raw materials. Humans are always going to make things, by using recycled materials we reduce the extraction of raw material, such as wood, and its inherent burden on the environment.

Our solution, a recycled plastic skateboard deck (RPSD), is to provide the means to produce a fun, healthy and directly tangible reward for recycling that demonstrates both the aesthetic beauty and the mechanical strength of the material to its users and observers, with the aim of incentivising and catalysing plastic recycling.

A skateboard was also chosen because of its ease of manufacture. We want it to be as easy as possible for people to recycle, so we chose a simple product with no, ribs, undercuts or complex geometry and just one single solid body. This is our way of trying to dissolve any technical barriers, potential manufacturing defects and complications that would stand as obstacles in the production process.

Ease of access is why all of our research is, and always will be, open source. To reduce the barriers that IP restrictions, copyrights and patents place in front of designers and recyclers who want to start recycling. We want anyone, anywhere to be able to pick up our project with as little resistance as possible and start recycling plastic. 

The process to build the mould itself has been designed to be as easy to replicate as possible without any specialist tooling, just things found in a standard metalworking workshop, a grinder, a pillar drill and a welding machine. This is to prevent economic,...

Read more »

RPSD Business Kit.zip

The Kit includes a business plan, business model and financial calculations.

x-zip-compressed - 1.92 MB - 10/23/2022 at 13:35

Download

RPSDM Dowload Kit - 23 10 2022.z01

Mould Download Kit Overflow Zip Folder. Opens automatically via the main file, cannot be opened individually. All three files must be in the same folder.

z01 - 49.00 MB - 10/23/2022 at 12:39

Download

RPSDM Dowload Kit - 23 10 2022.zip

Mould Download Kit Main Zip Folder

x-zip-compressed - 38.65 MB - 10/23/2022 at 12:39

Download

RPSDM Dowload Kit - 23 10 2022.z02

Mould Download Kit Overflow Zip Folder. Opens automatically via the main file, cannot be opened individually. All three files must be in the same folder.

z02 - 49.00 MB - 10/23/2022 at 12:39

Download

RPSD-Extruder Dowload.z02

Extruder Download Kit Overflow Zip Folder. Opens automatically via the main file, cannot be opened individually. All three files must be in the same folder.

z02 - 49.00 MB - 10/22/2022 at 14:04

Download

View all 18 files

View all 99 components

  • Jason Knight10/23/2022 at 13:32 0 comments

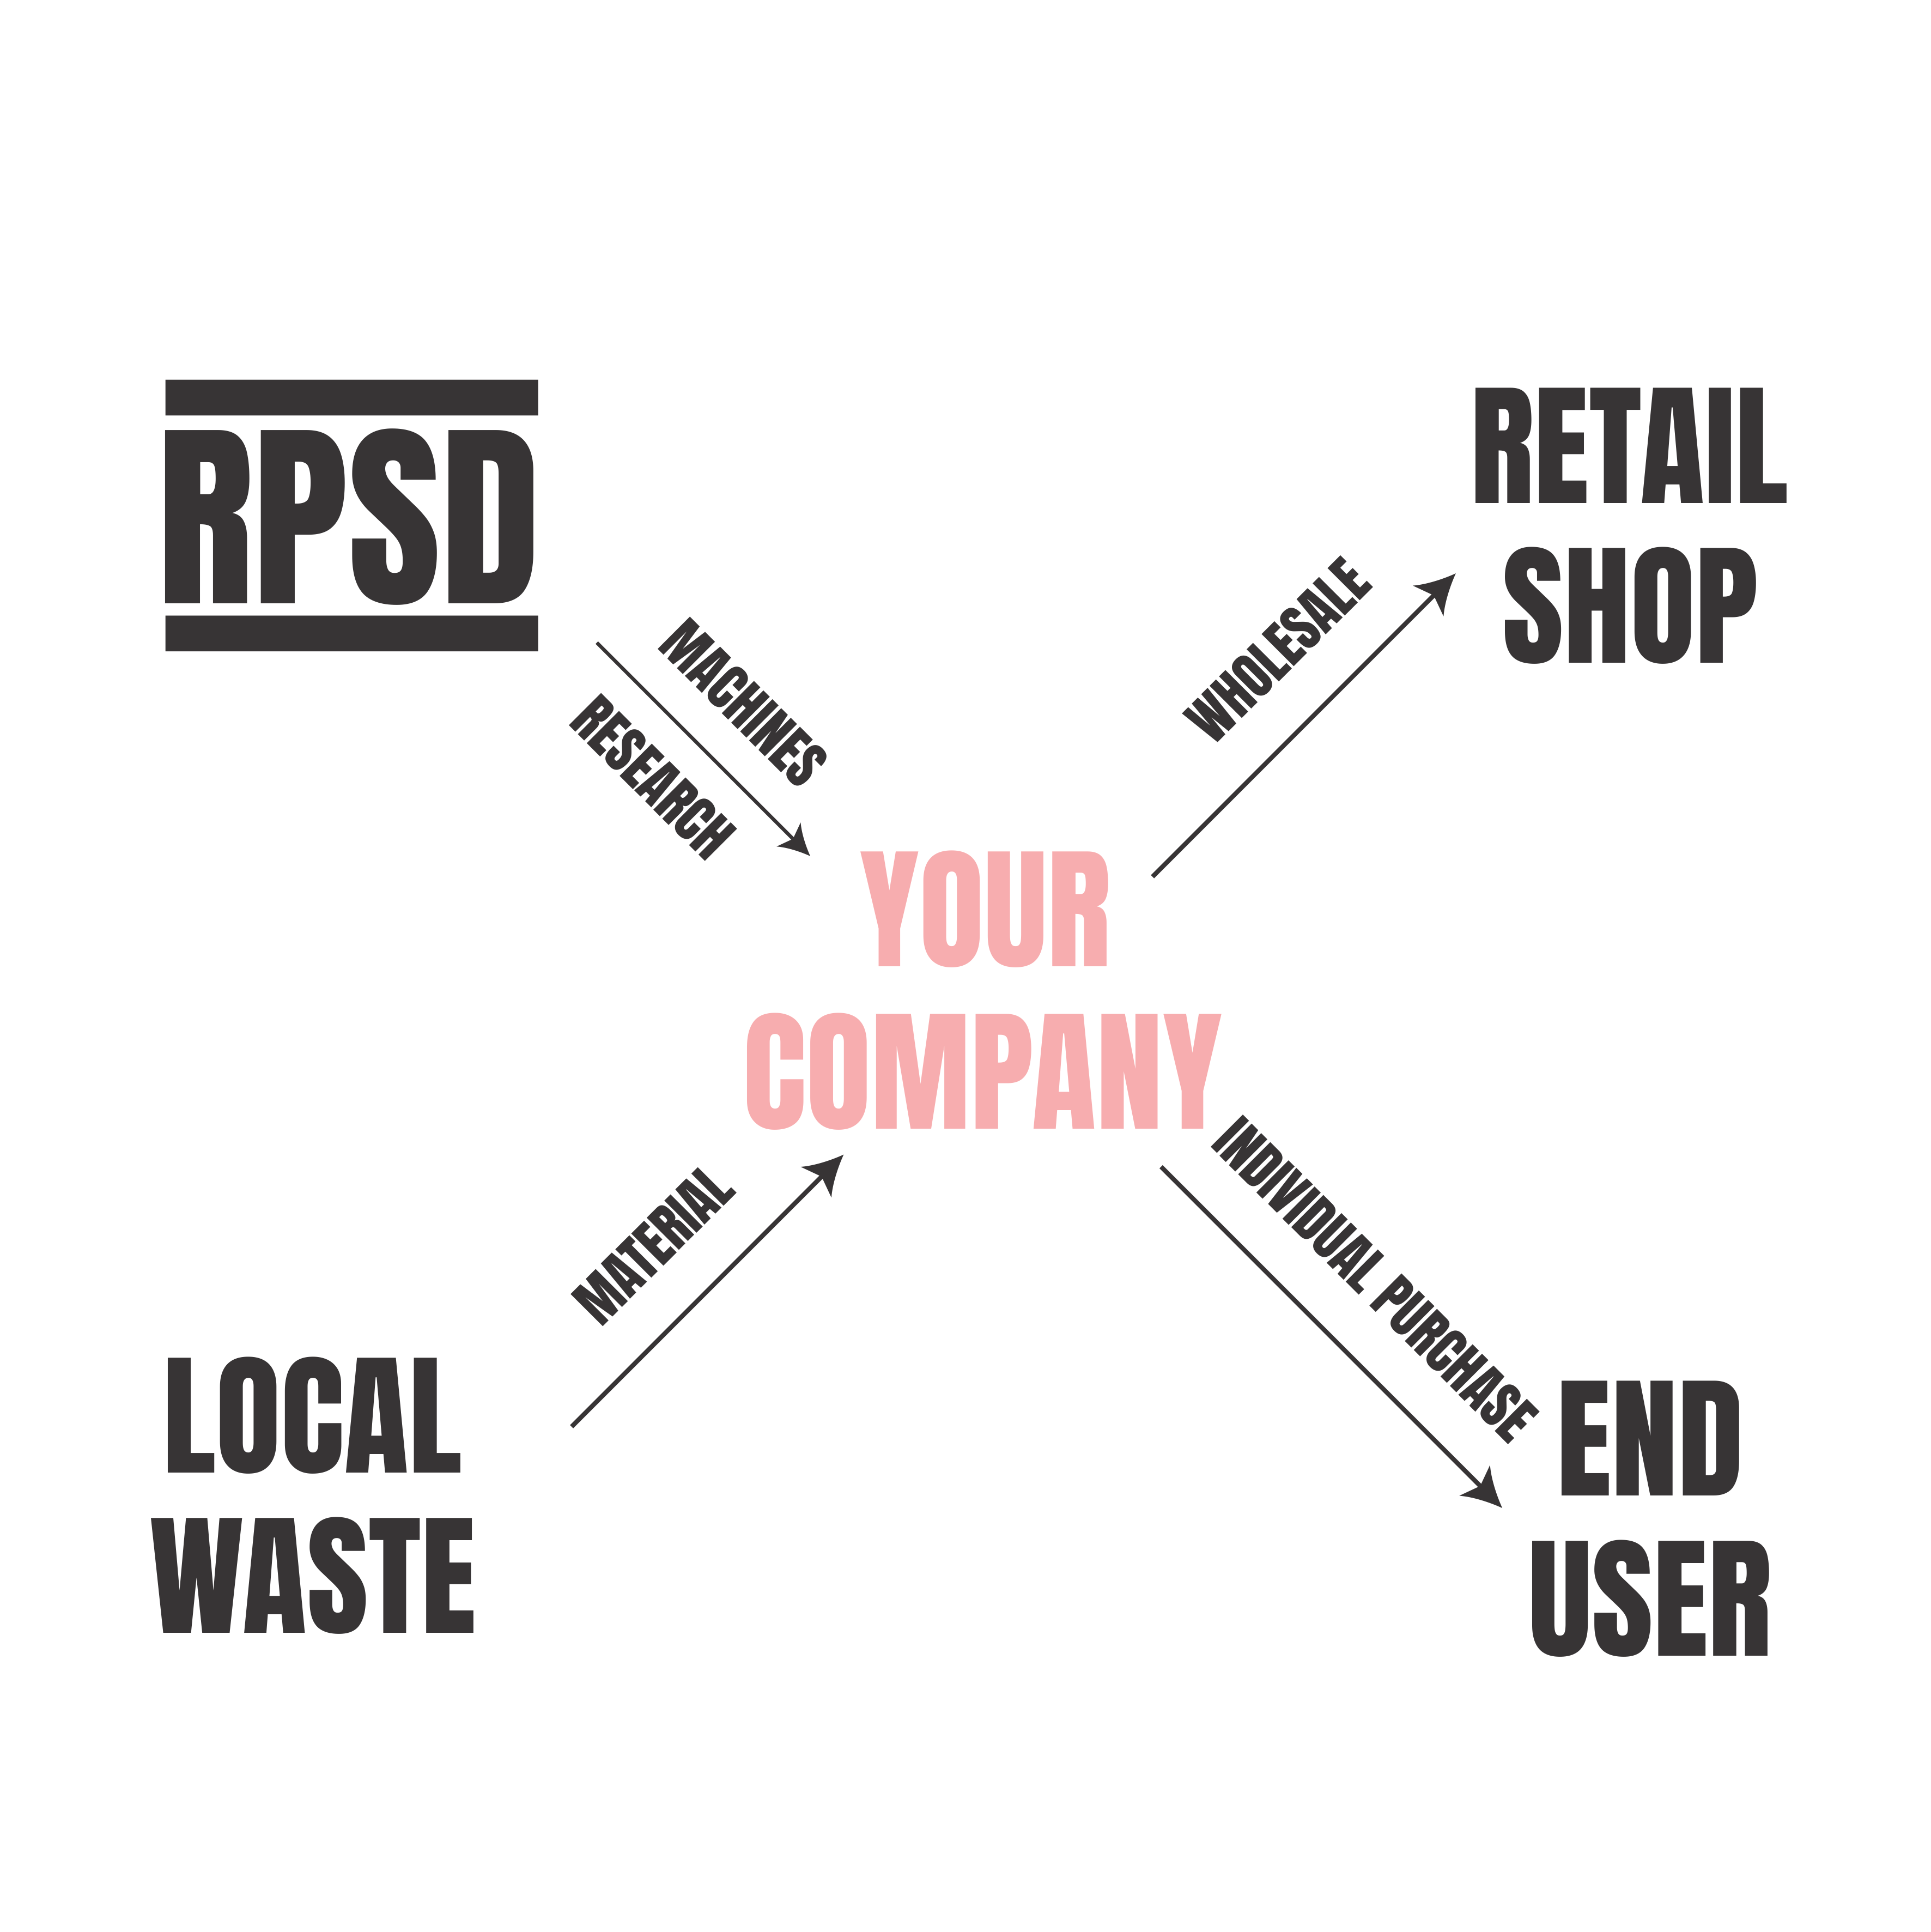
    To make sure people are able to not only survive but thrive, from making decks, we have prepared a business kit. The kit includes a business plan, business model and financial calculations. These documents are provided in an editable format, with red text identifying where you need to fill in your own information.

    We crunched the numbers and figured out the economic viability of making a living from recycled plastic skateboard deck production. These numbers are based on a 2-month trial production run. You can make 4 in an 8-hour work day, and 32 in a normal work week, with one day for other tasks, (posting, cleaning, maintenance etc). (This is with one mould and one extruder), if you have two moulds per extruder theoretically you can make 6 + decks per day.

    You can download the kit here or find it in our project files section. 

  • Next Steps: Phase 4 Plan (You can help!)

    Jason Knight10/22/2022 at 16:19 0 comments

    Our next steps following the completion of phase 3 are:

    • Pilot projects: Implementing the newly designed system in real-world contexts.
    • Events: Demonstrations at festivals, educational institutions, sports events etc.
    • Media creation: Publishing skate videos, pictures and any other medium suitable to showcase the decks and system. 
    • Research: Open-source research to further develop the production system, its useability & surrounding technologies. E.g. trial production and material and technique experimentation.

    A part of this will be developing the next iteration of our mould, following the public feedback cycle. (One of the many things that make open source great 😉 )  We are collecting feedback from people who are currently replicating, and soon to be using, our system. After the frequency of the feedback slows down, we will harvest and compile everything into a second iteration of the mould, this is where you can help!

    If you are planning to replicate our mould, here are our identified areas of improvement based on our own six months of testing, this list can act as a foundation for anyone who wants to make their own  iteration of  our system:

    • Add a cooling system
    • Include threads in the drawing
    • Thicker release nuts & laser cut removable release nut protection "pucks" to protect aluminium
    • 30mm deep bolt holes on the top aluminium block
    • Hinges on the electronic box
    • Clean all leftover dimensions in parts
    • Threads BSP nozzle in CAD
    • Welds in drawings
    • Guide rails for lowering the top face
    • Variable chamfer on the middle aluminium block that follows the deck profile
    • Add part numbers to BOM
    • Building step by step pictures
    • Safety data sheet
    • Maintenance list
    • Building flowchart
    • Entry and exit tap
    • 4 Bolts to join the bottom plate to mould the aluminium edge, for rigidity
    • Two rows on end plates for rigidity
    • M5 grub screws in truck holes
    • Make entry and exit holes threadable M8 Grub Screw
    • Make table legs further apart (Outside of the bottom support structure?)

      You can send us your feedback here, we can't wait to see what you all come up with!

    Sharing our posts and spreading the word about our project opens a lot of doors for us! We are also very keen to hear about any collaborations or opportunities you guys see!

  • How to Use our Manufacturing system to make 100% Recycled Plastic Skateboard decks (+ Pro Skater Deck Demo)

    Jason Knight10/20/2022 at 15:22 0 comments

    In our earlier project logs, we showed you how to build or mould. In this project log, we are going to share with you lots of intricate details about how to use it, to make 100% Recycled Plastic Skateboard decks.

    To do so we have produced a 30 min tutorial video, which of course, is also open source, so that it can be used as a piece of educational media, so that when people replicate our mould, or when people are being taught how to use the system during educational participatory workshops, the video can be shown to them. It has been written with the intention that once it has been watched, the viewer knows everything that they need to know to be able to use our system to make 100% Recycled Plastic Skateboard Decks.

    A transcript of the video has also been uploaded here to expand the accessibility, to those who simply prefer to read it step by step, or in parallel with the video, for people who have health conditions that prevent them from following the video, and for people who do not understand spoken English (enabling them to read it or translate it). 

    Our next steps for both this video, our last “How to Build A Mould” video, and our website, are to provide translation making it available in the six UN languages; Arabic, Chinese, French, Russian and Spanish.

    Before making the deck, a making plan, in the format of a video script was written, to thoroughly think through and plan each step before going ahead:

    Dialogue

    Shot Type

    Folder Status

    1. Intro

    Hey everyone! 

    White Wall

    Mould, skateboards and extruder out in front of me

    *Angle 1

    1

    This video is for the 2022 Hackaday Prize, a big shout out to Digi-Key and Supplyframe, for making the challenge happen. 

    Logo on screen

    *Angle 1

    1

    The theme of the challenge: Reuse, Recycle, Revamp

    Hackaday Backdrop

    *Angle 1


    It is all about tailoring a project to make use of existing resources and keeping material out of the landfill rather than contributing to it.

    Plastic / Landfill

    *Angle 1

    1

    Our chosen resource to focus on is plastic waste. 

    Plastic / Landfill

    *Angle 1

    1

    I'm not going to spend too long talking about the scale of the plastic waste problem, everyone knows by now it's a big problem, if you want to know exactly how bad you can read in our project profile (Its alot) link in video description

    Lots of plastic, drone, zoom out

    *Angle 1

    1

    Our solution is a manufacturing system that allows people to make skateboard decks from recycled plastic. The most unique part of our system is the mould as previously it did not exist, and has been the focus of our development. 

    Wide shot of system

    *Angle 1

    Wide Shot of mould, 

    Plain background

    *Angle 2

    1

    We are working to dissolve the economic, technical and social barriers that prevent people from getting recycled plastic products into the world.

    Build footage from Mould video

    1

    In its essence our project is all about increasing accessibility to recycling equipment and hence enabling more people to recycle, and hit the street! 

    Wide shot of using mould

    *Angle 1

    Skating

    1

    In our last video we showed you how to build our mould, all the information you need to build it is online for free, 

    Build footage from Mould

    1

    In this video we are going to share lots of details about how to use it to make 100% recycled plastic skateboard decks. 

    Close up Clip from this video 

    1

    2. Make A Deck

    Intro

    You are going to need:

    Extruder shot, white background

    2.1

    An extrusion machine (also open source, link in description)

    2.1

    Some tools:

    o   Four small cold chisels

    o   Four big cold chisels (25mm diameter or bigger)

    o   A ½ inch socket wrench

    o   a 30mm socket, and one or two long ones if you      have them available 

    o   An Impact Driver

    o   A ½ Impact driver adapter

    o   A drill

    o   M4 Drill Bit

    o   M10 Drill Bit

    o   Large Adjustable Wrench 

    o   Pliers

    o   Set of chisel

    o   Set of Flat Head Screwdrivers

    o   Car Upholstery Remover Tools

    o   Spatulas

    Top...

    Read more »

  • RPSD Extruder

    Jason Knight08/24/2022 at 20:29 0 comments

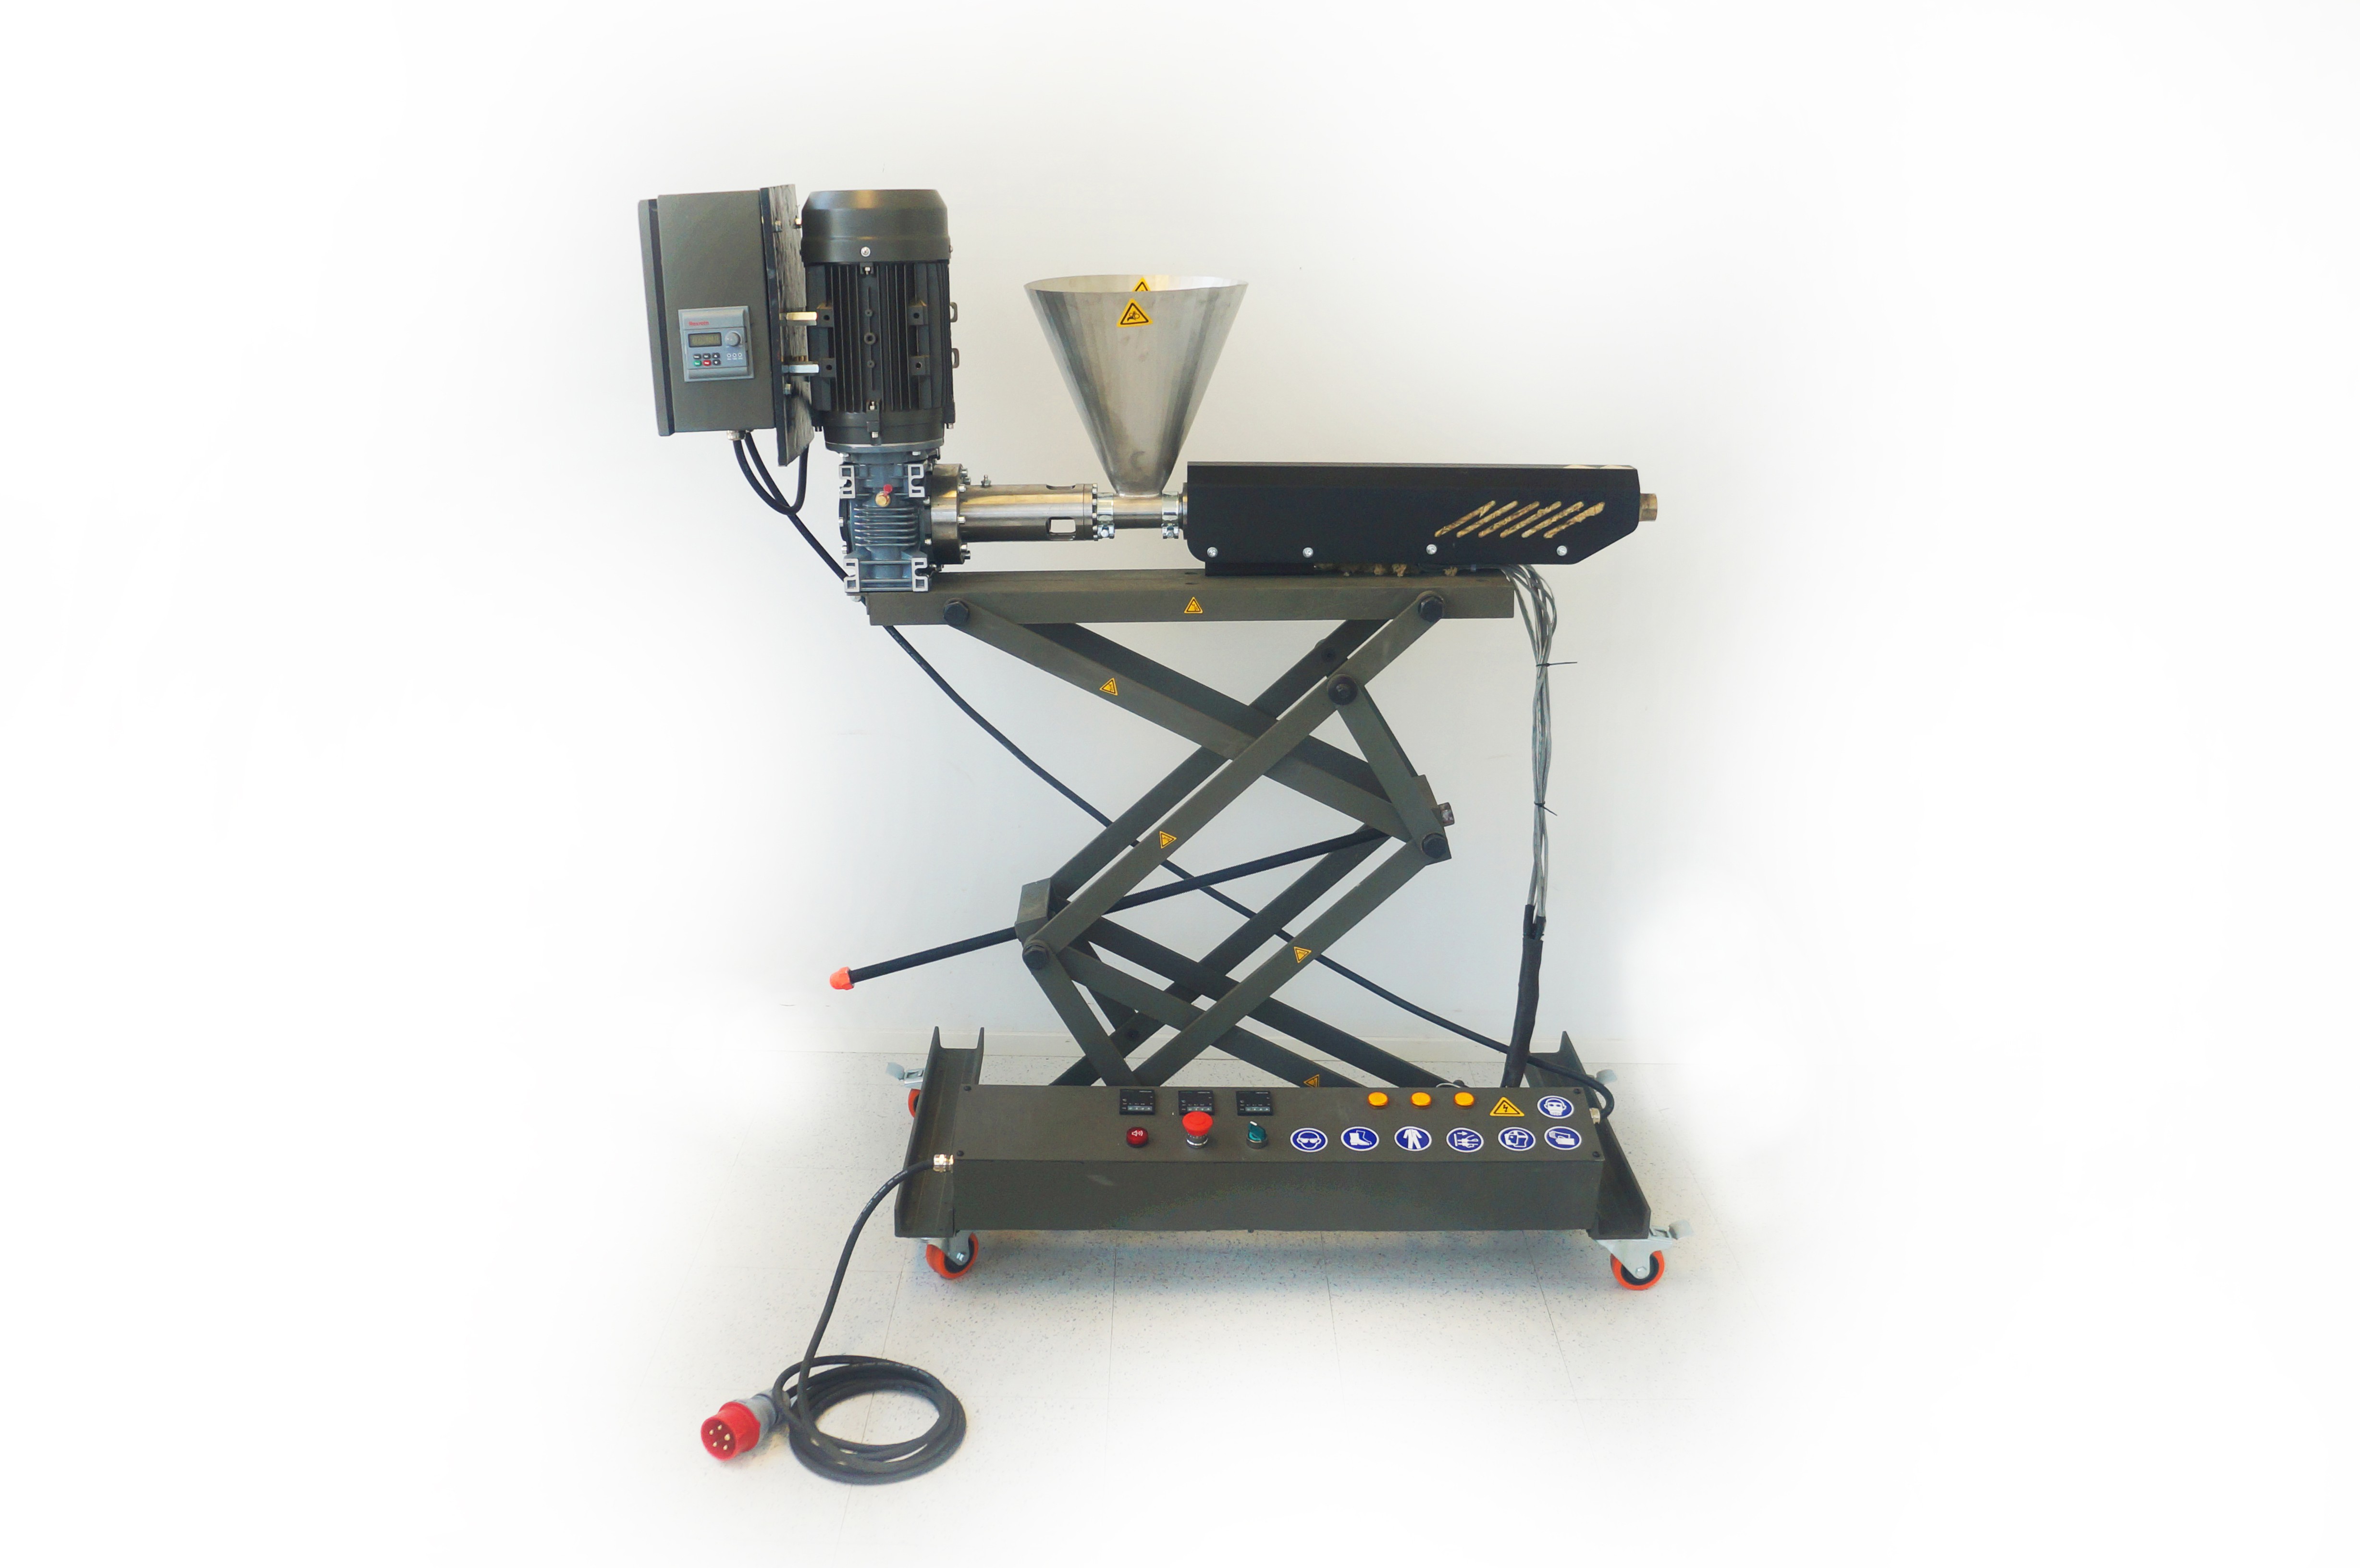
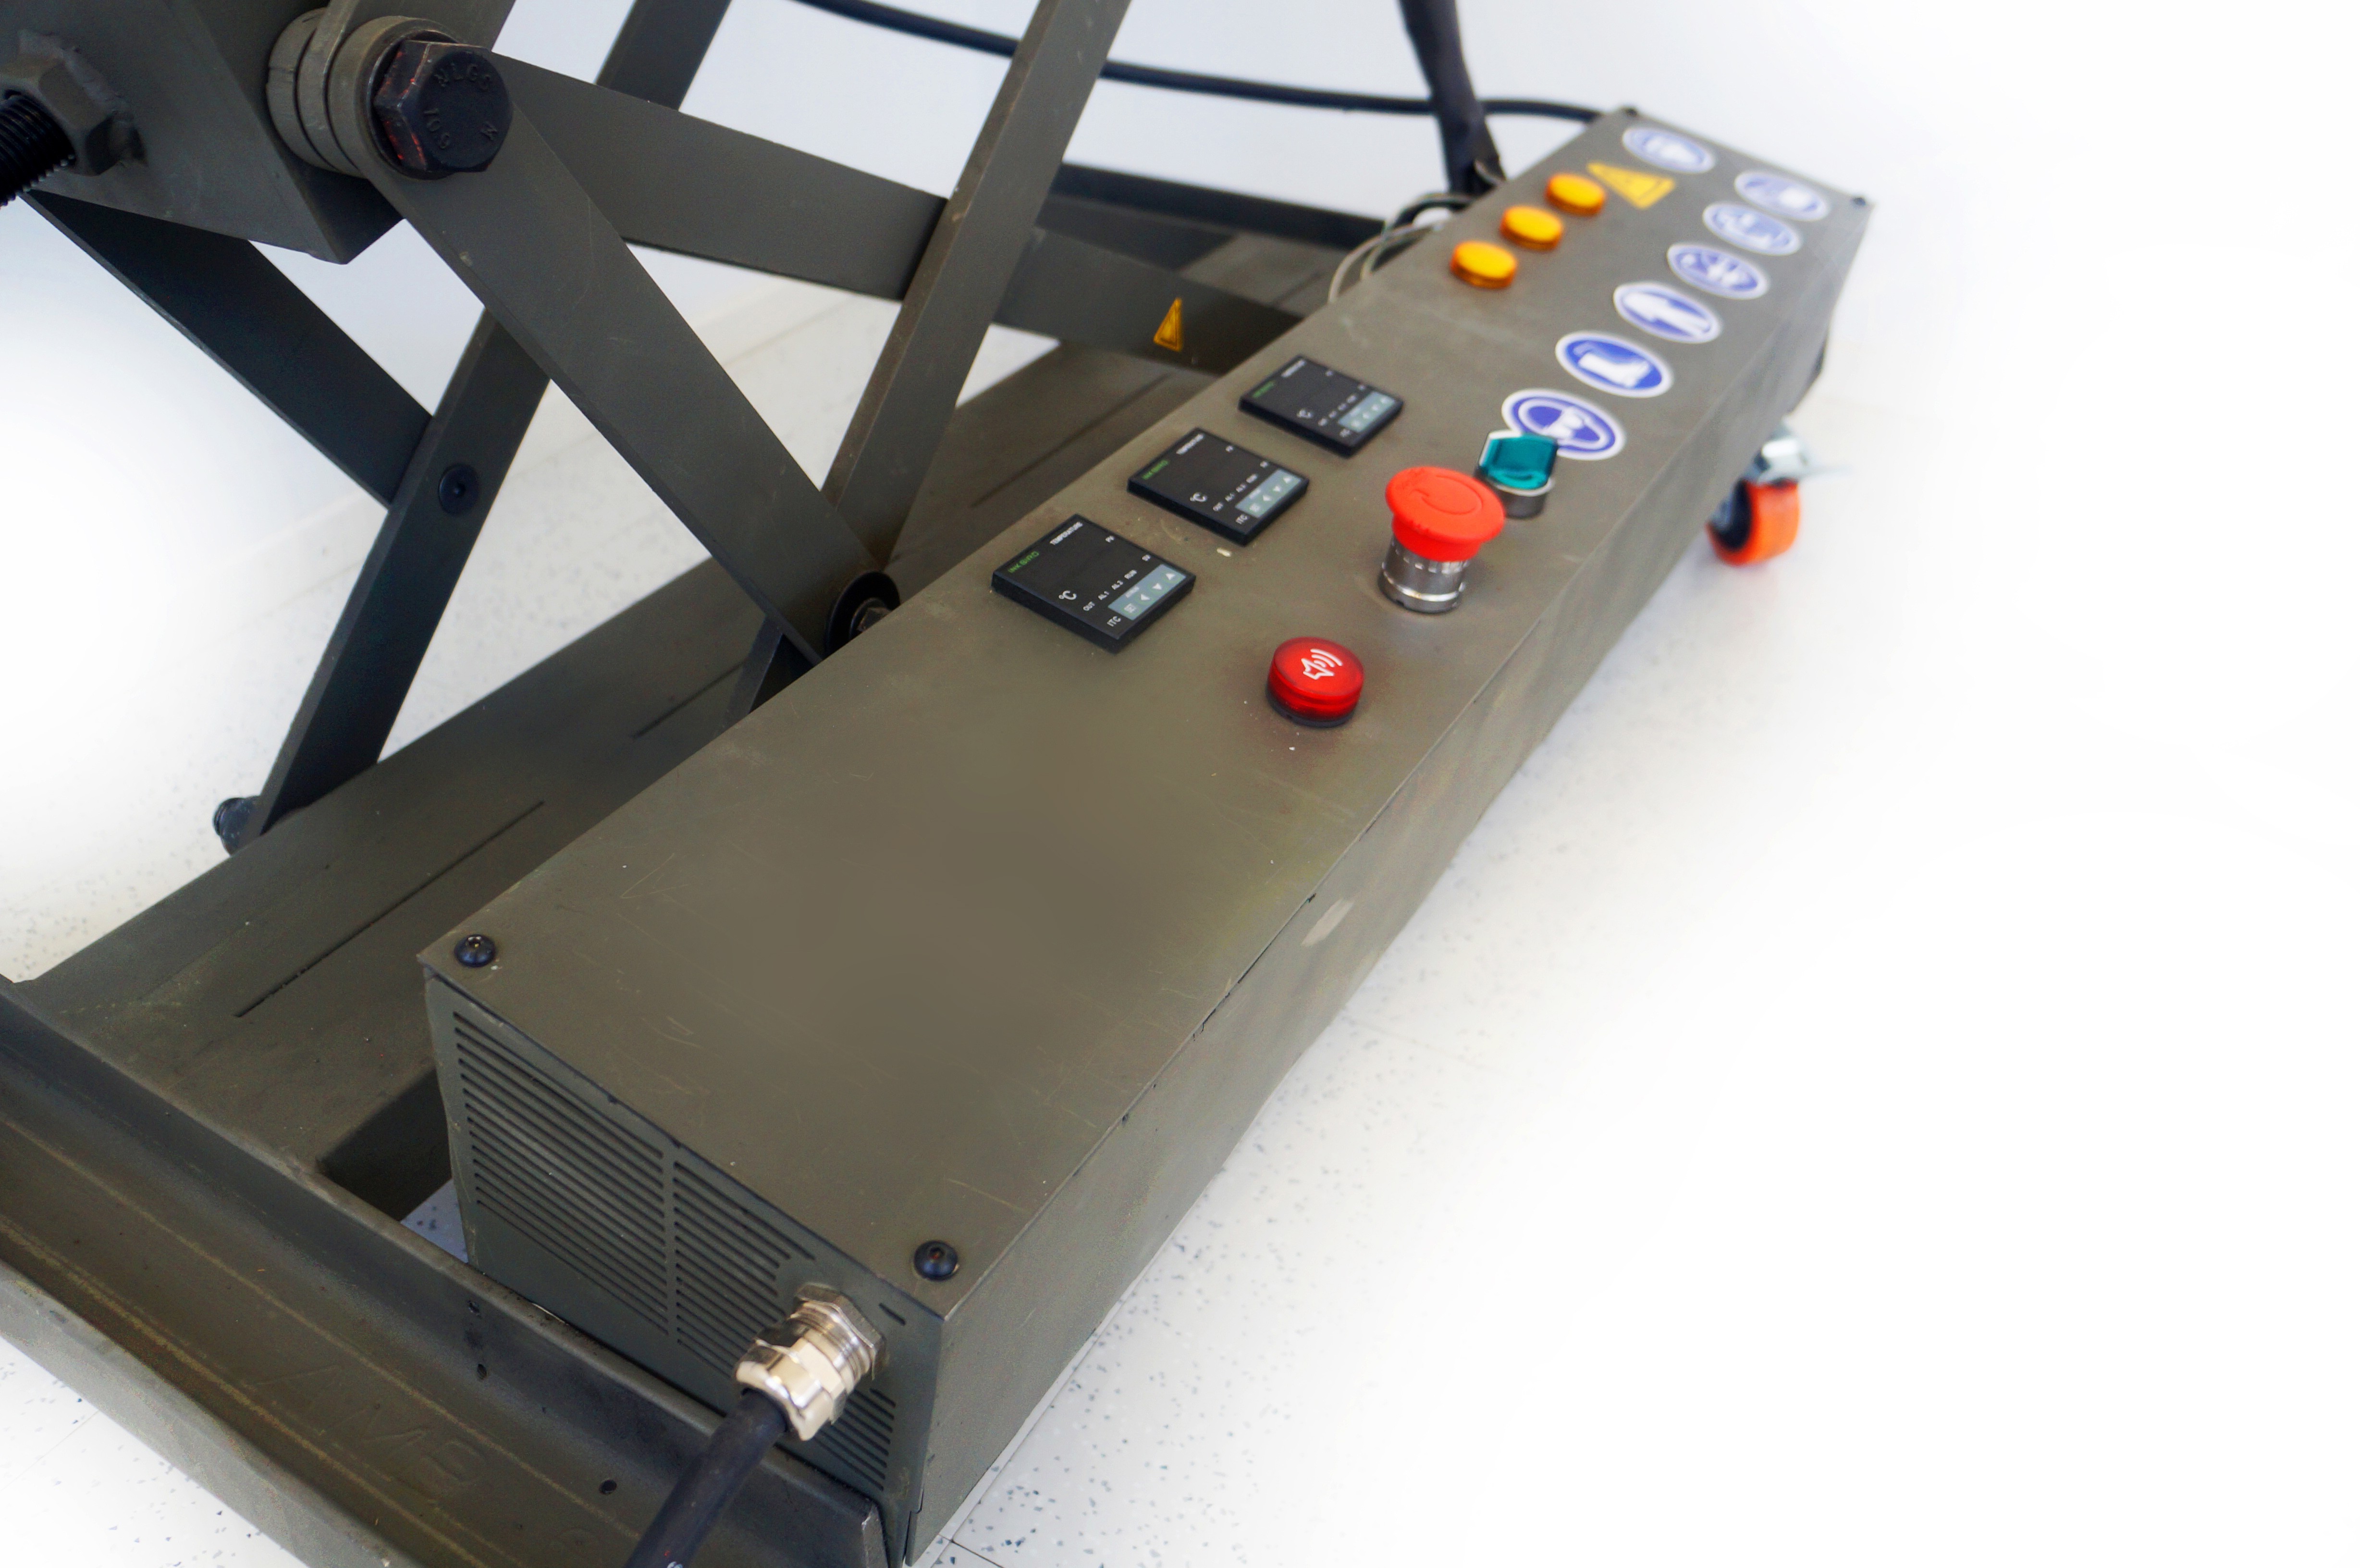
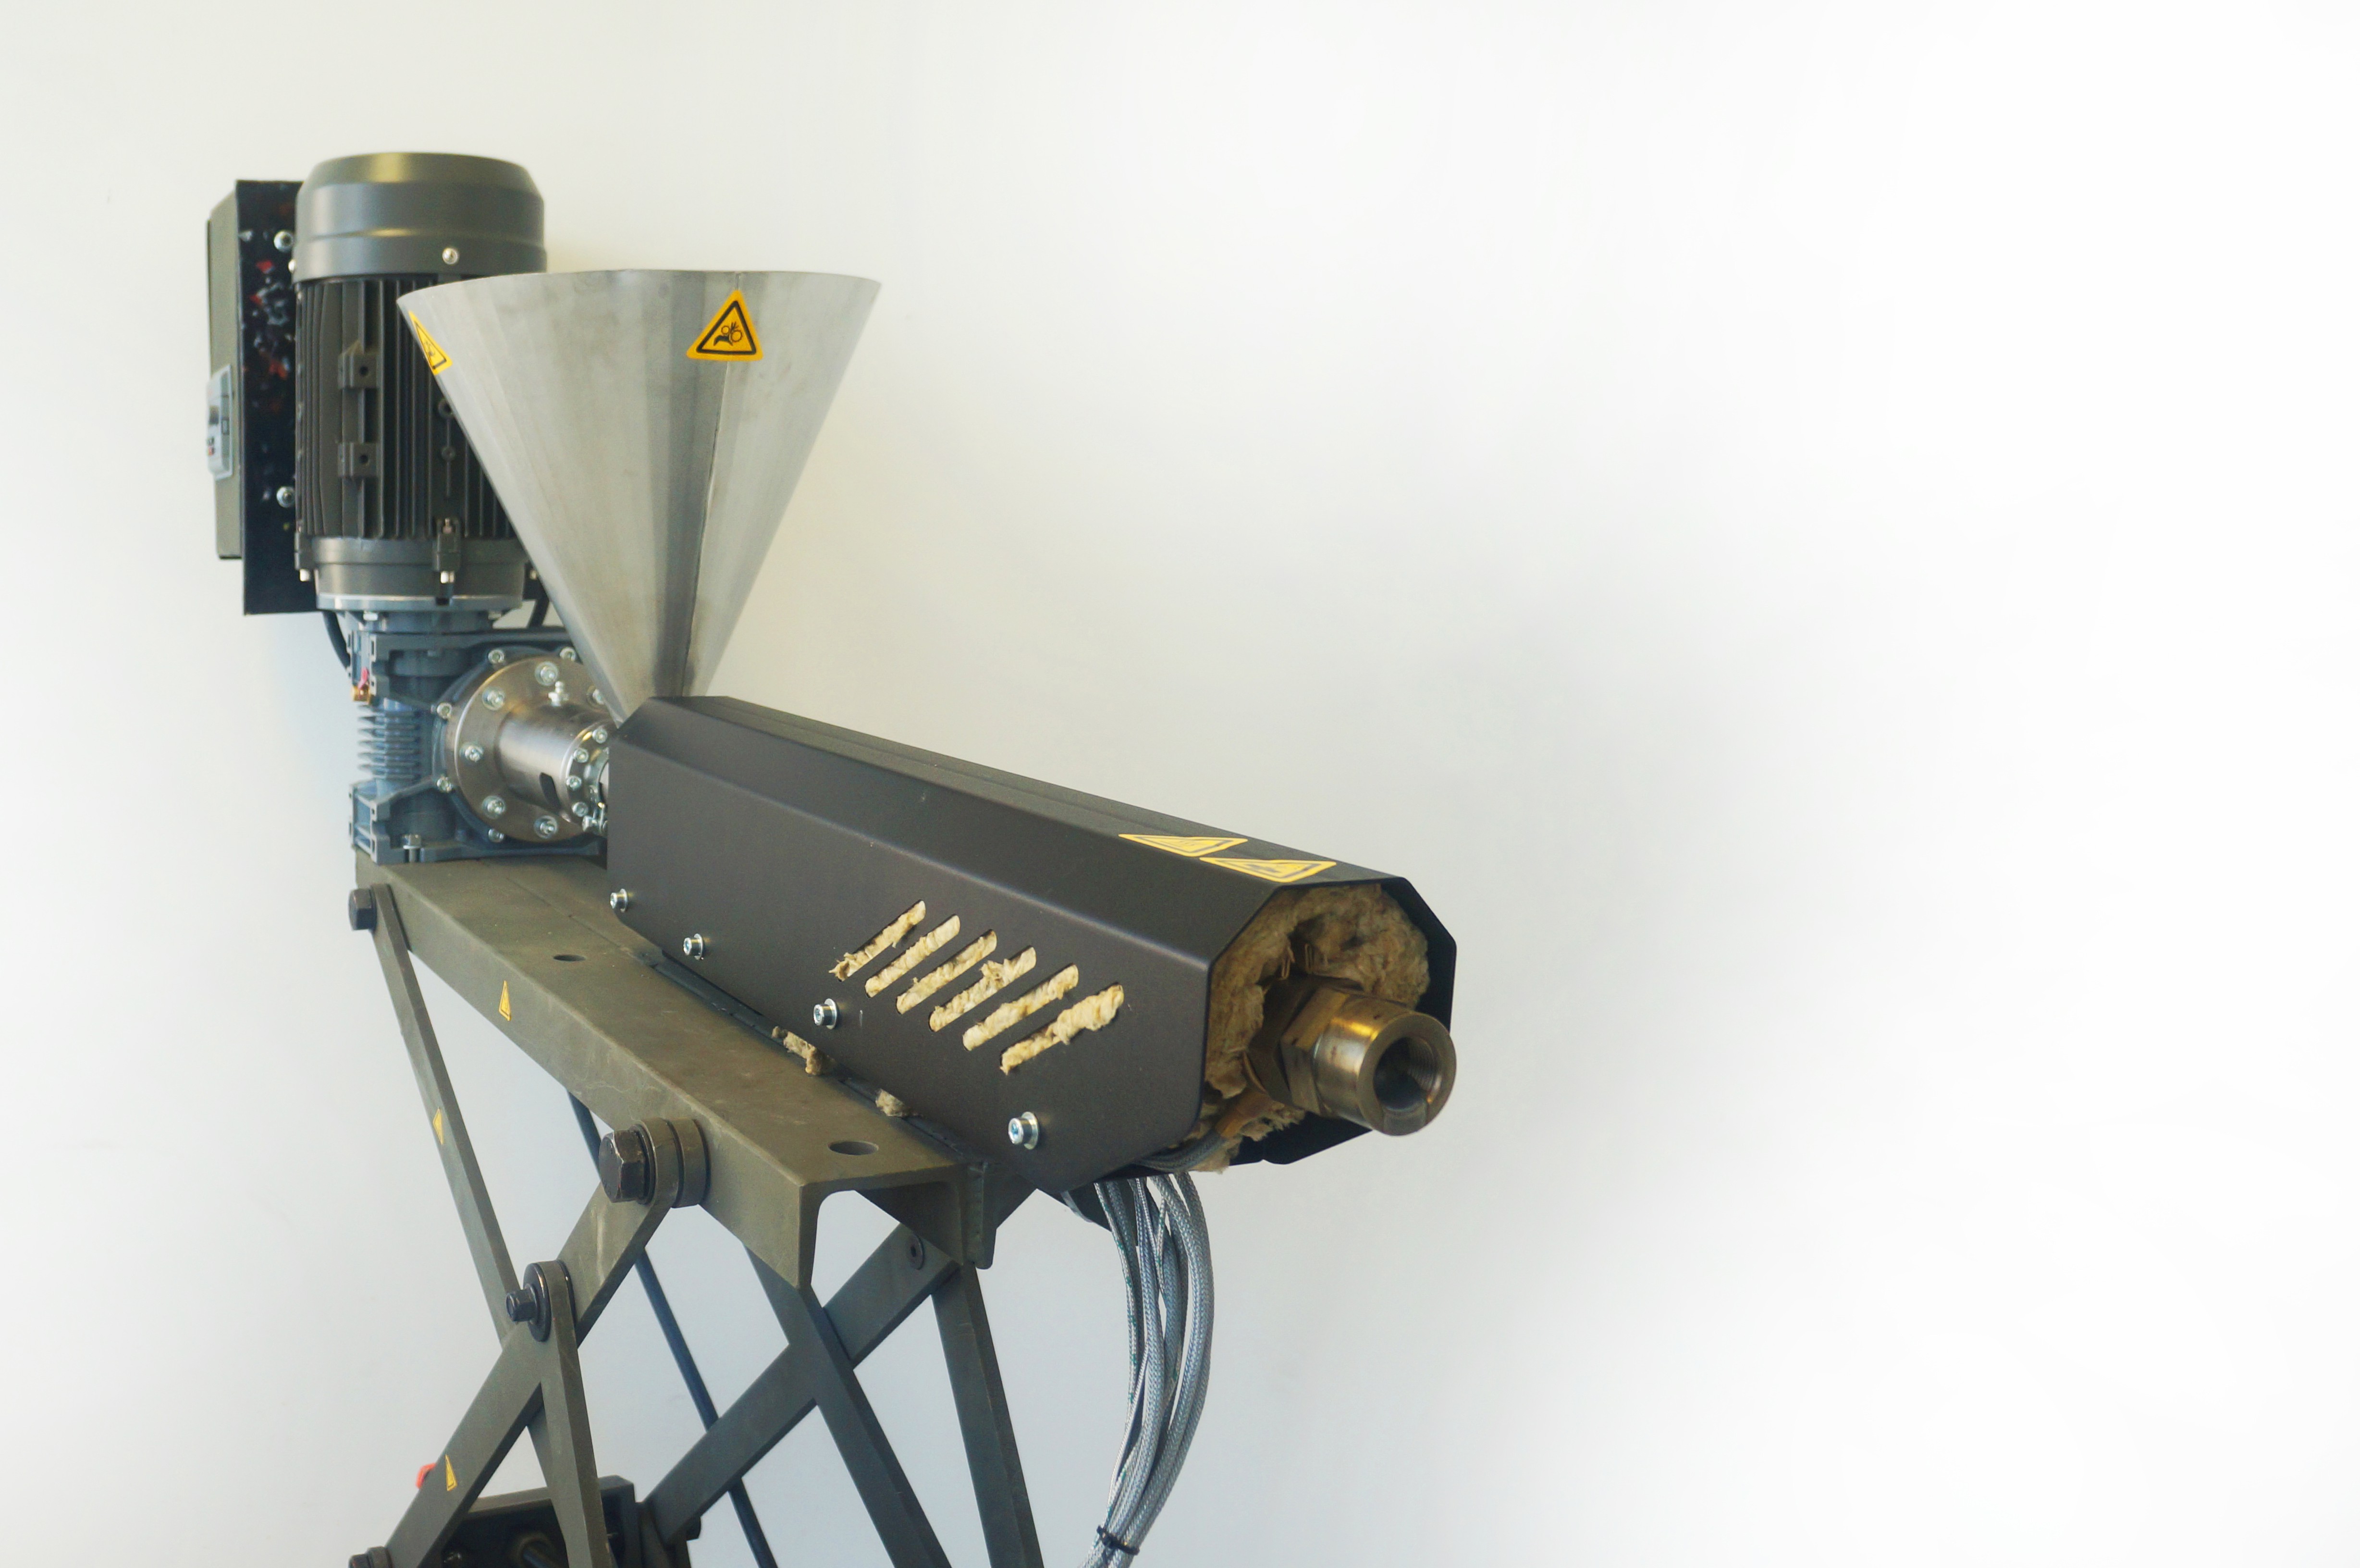
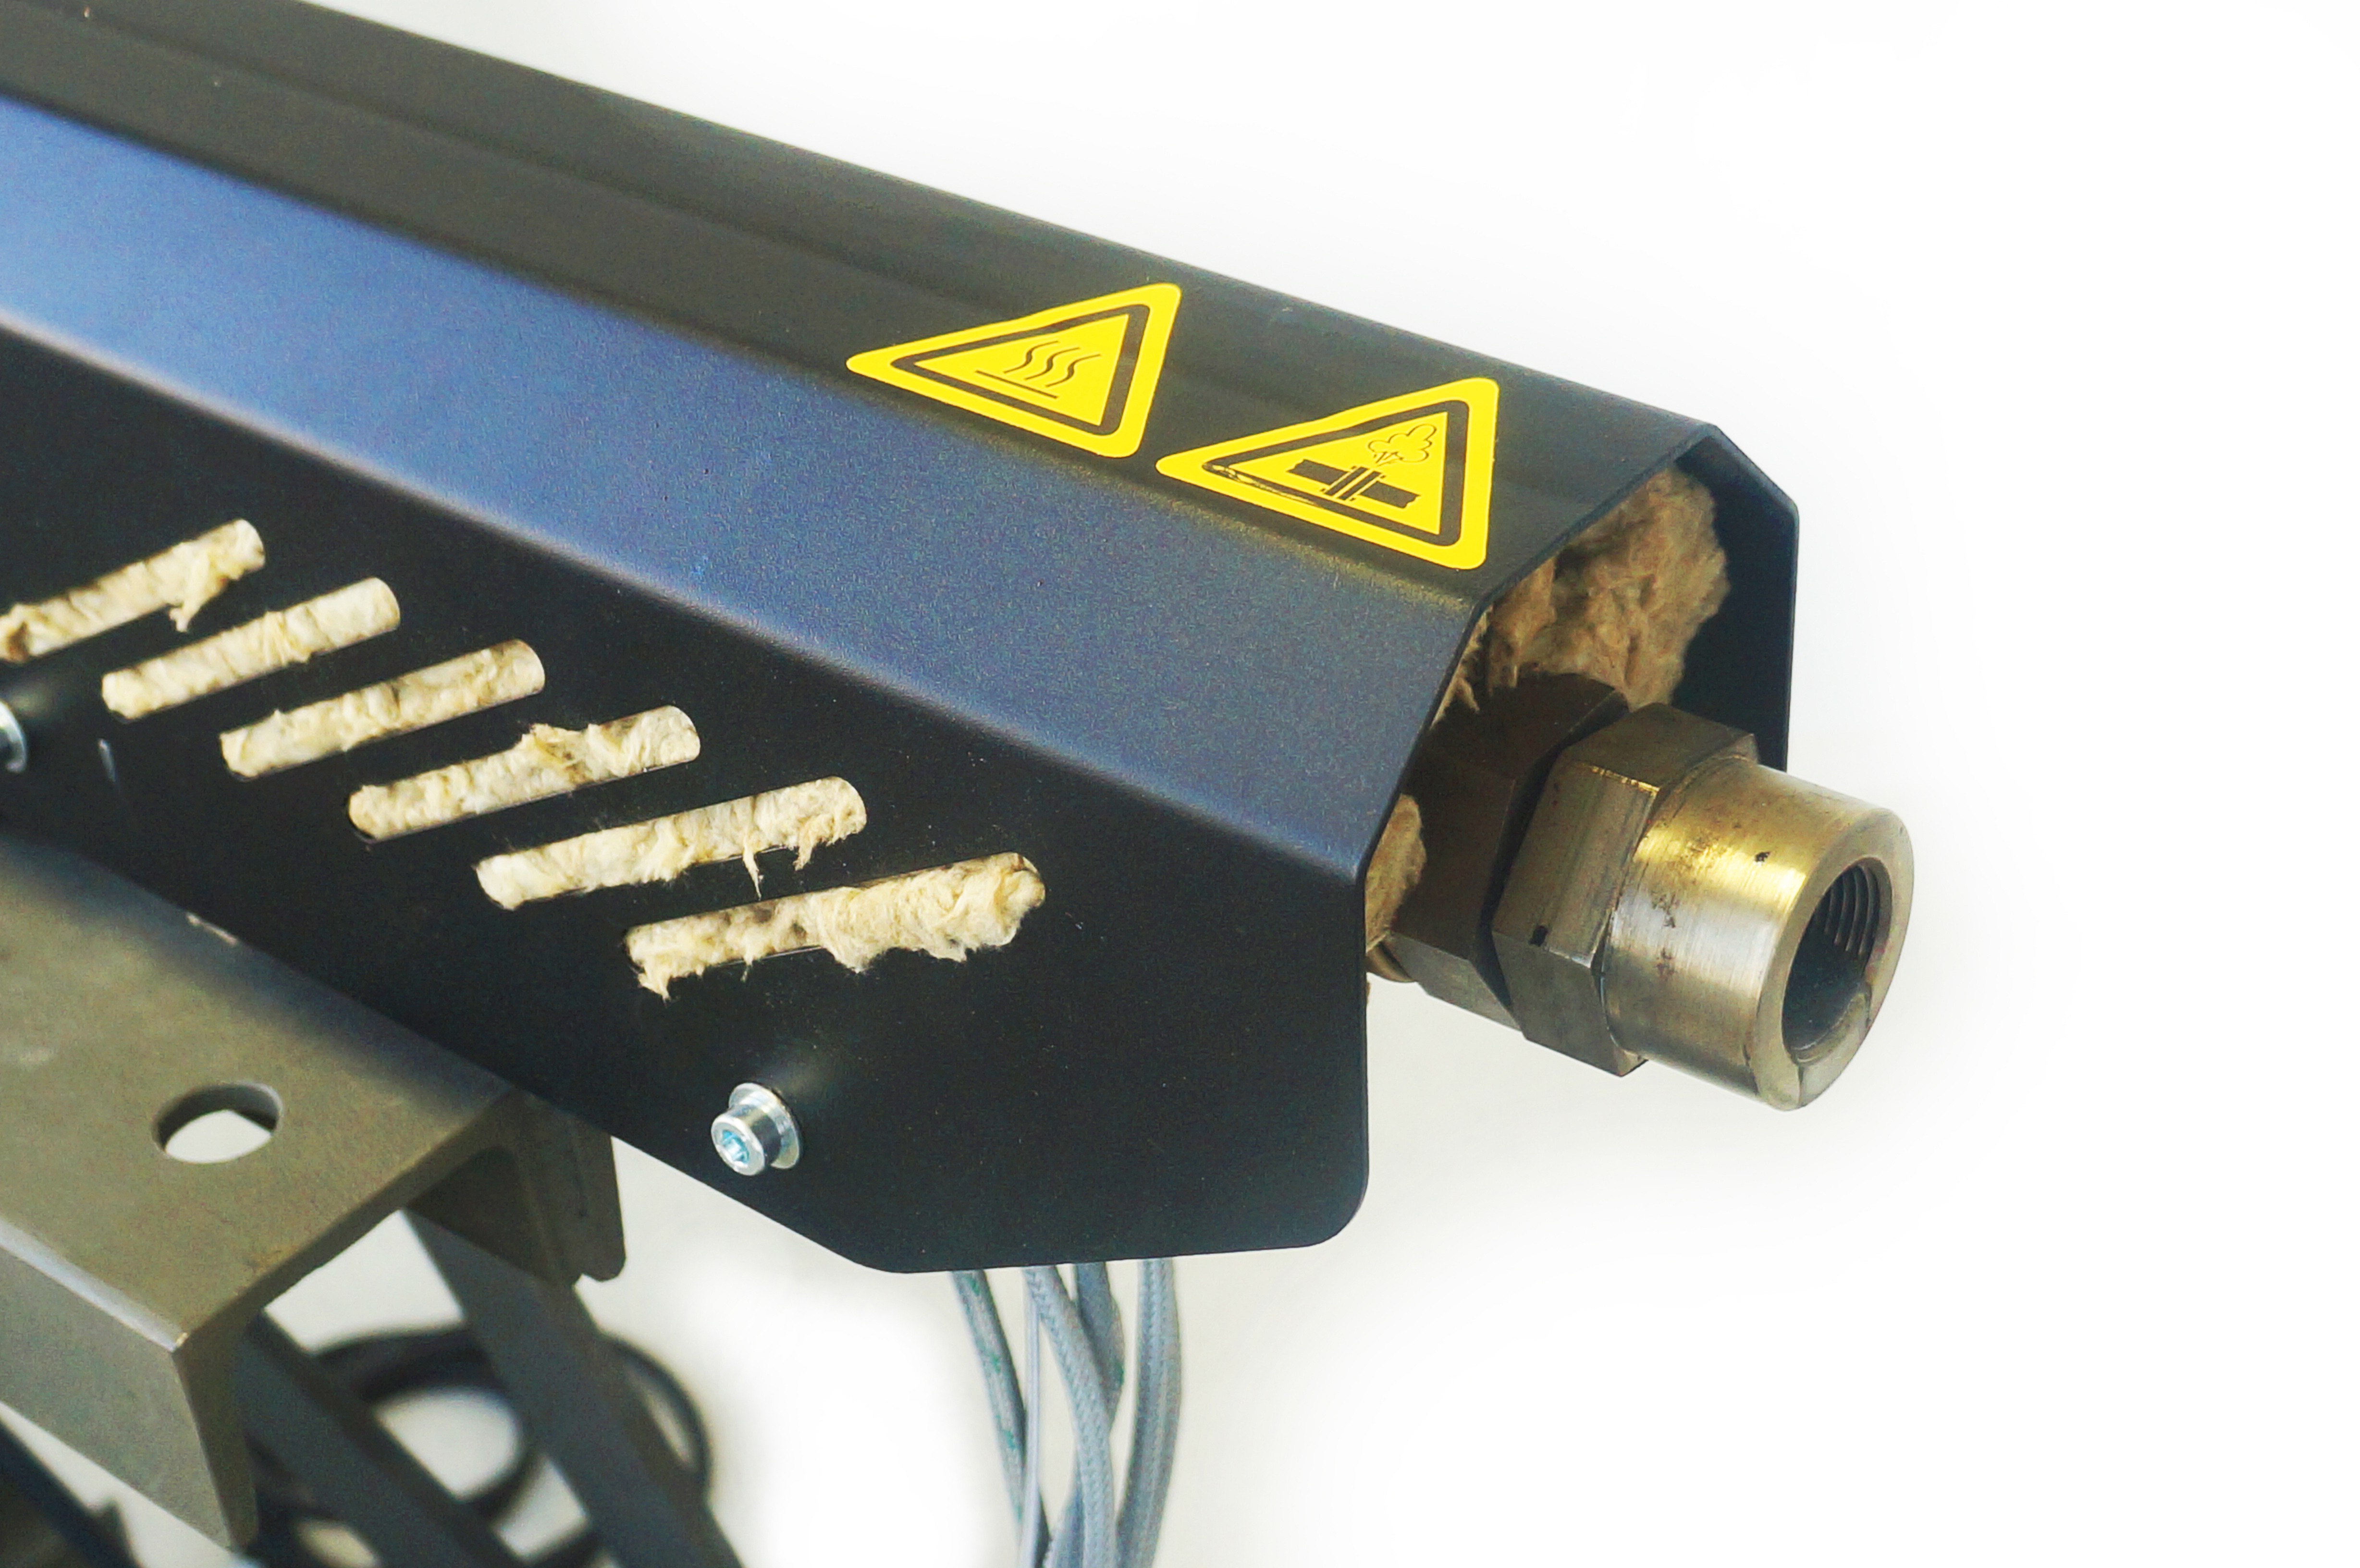
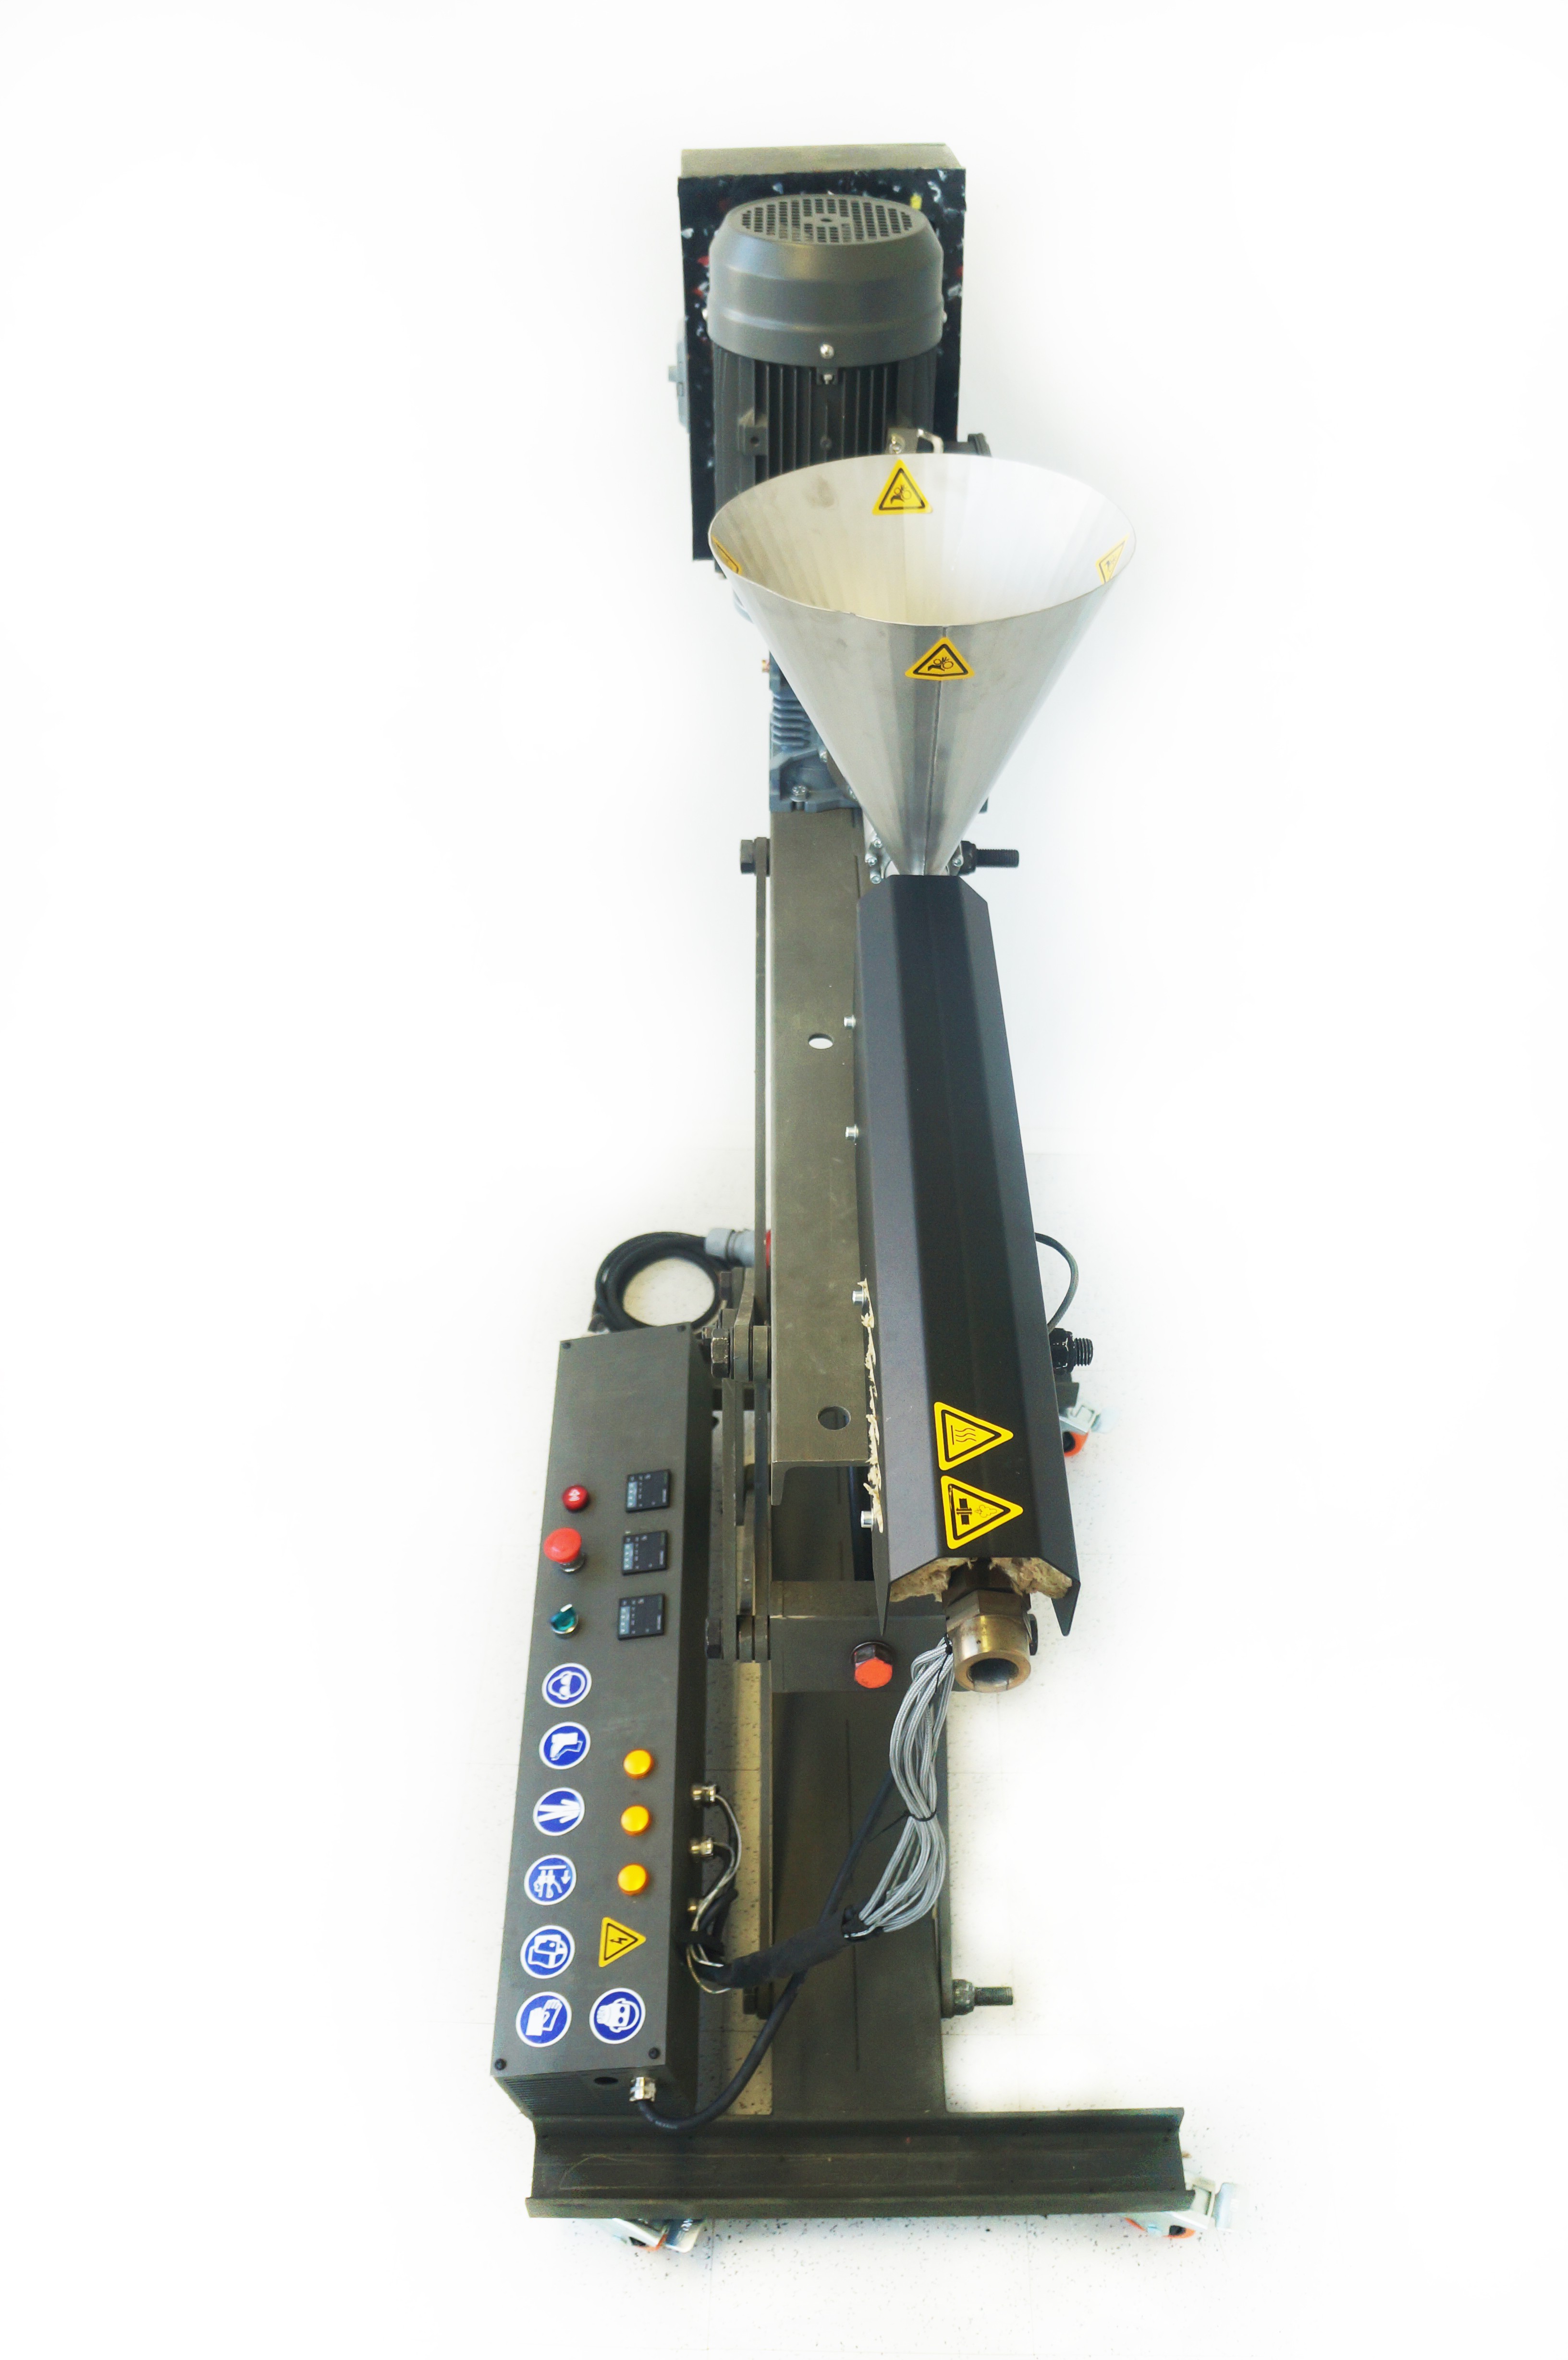
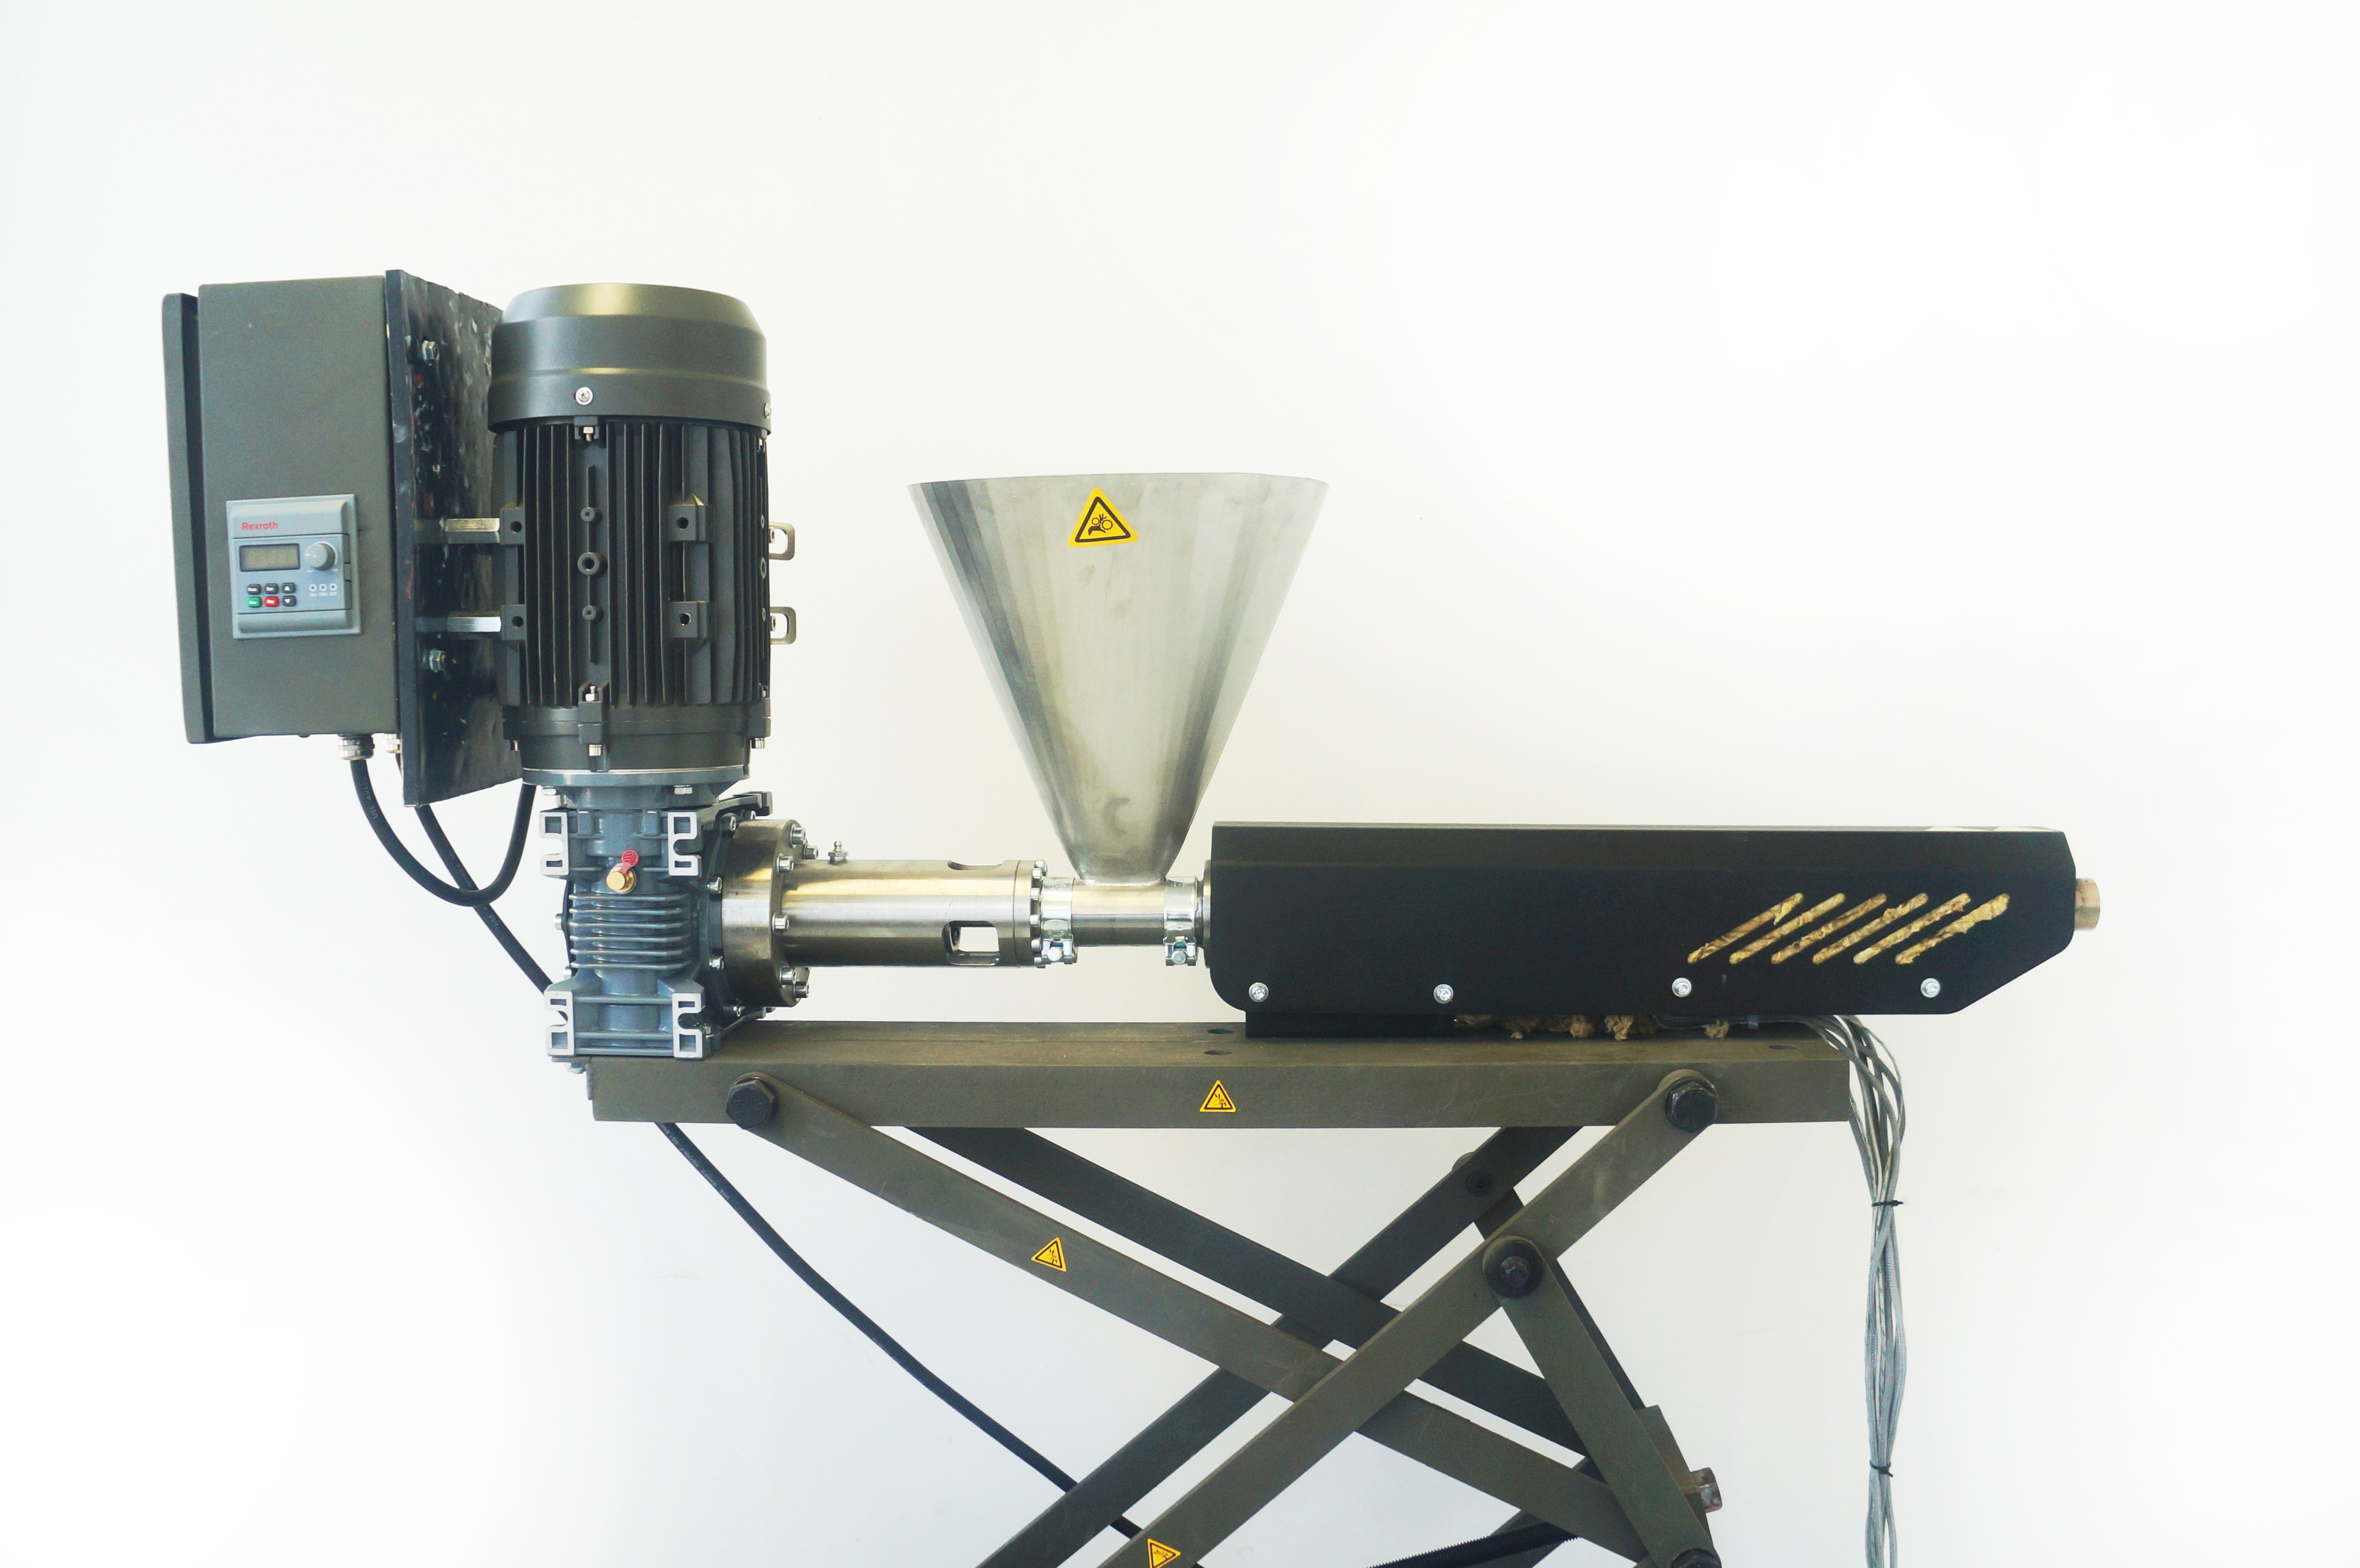
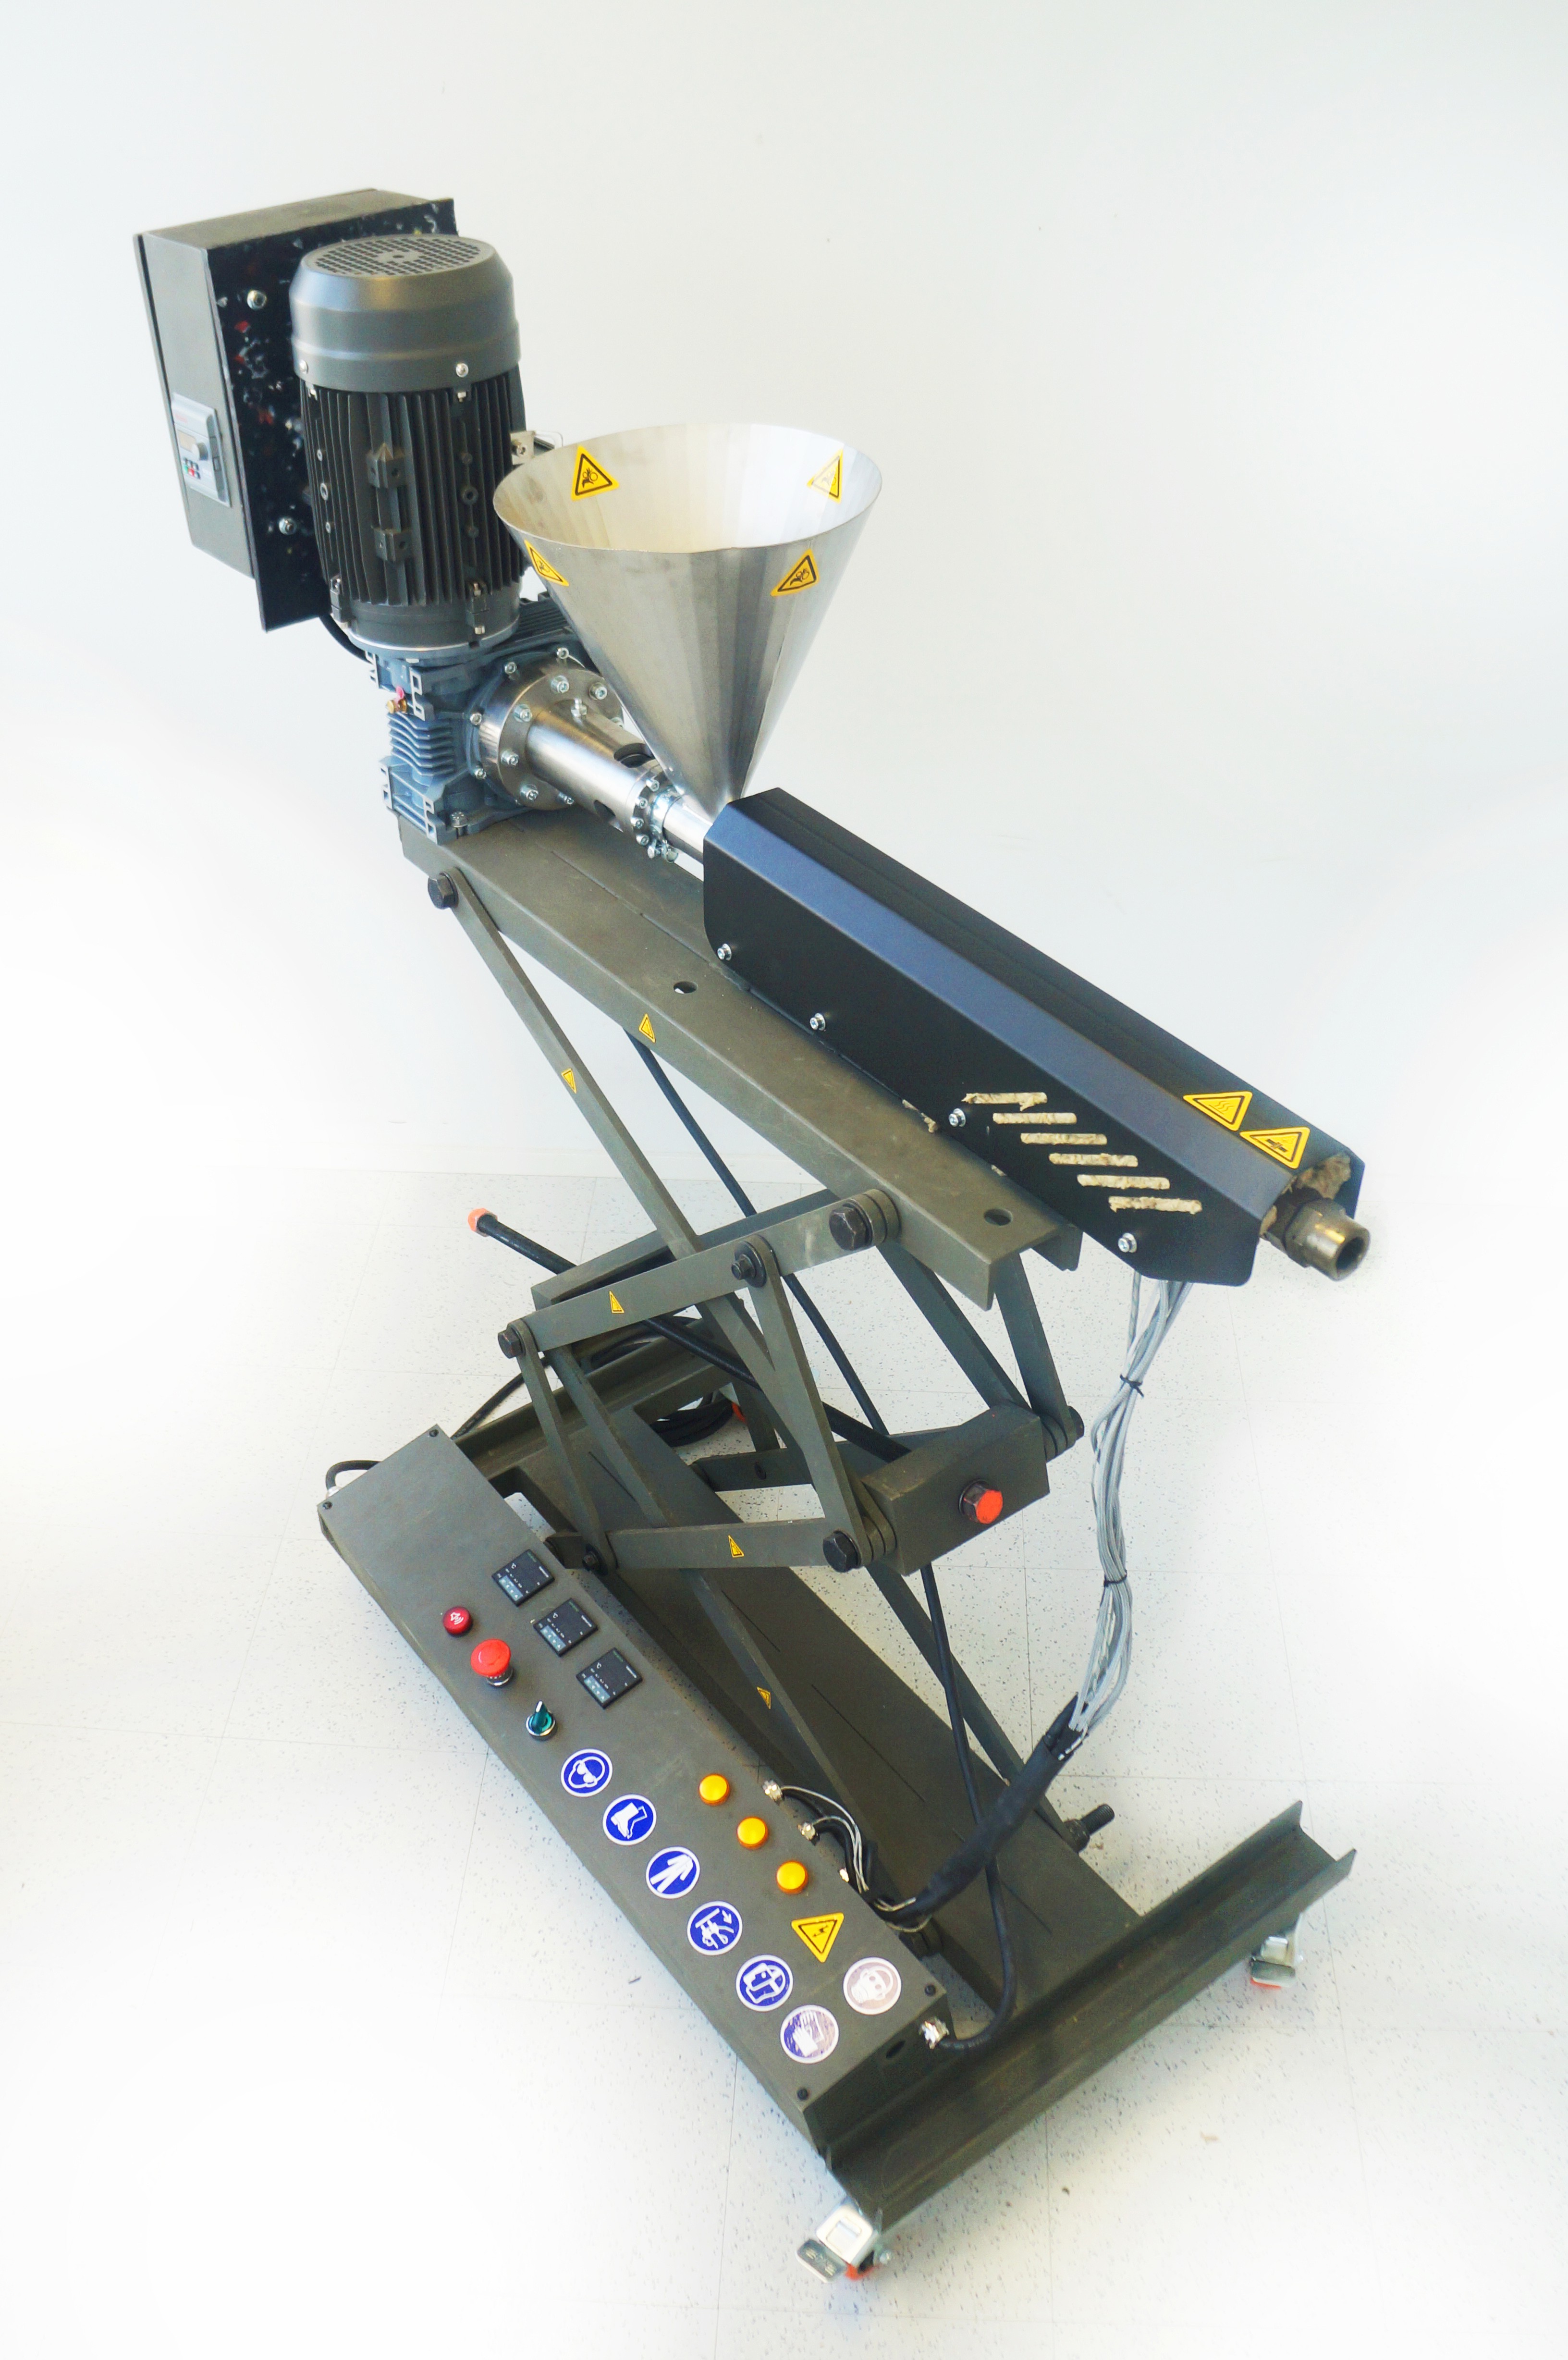
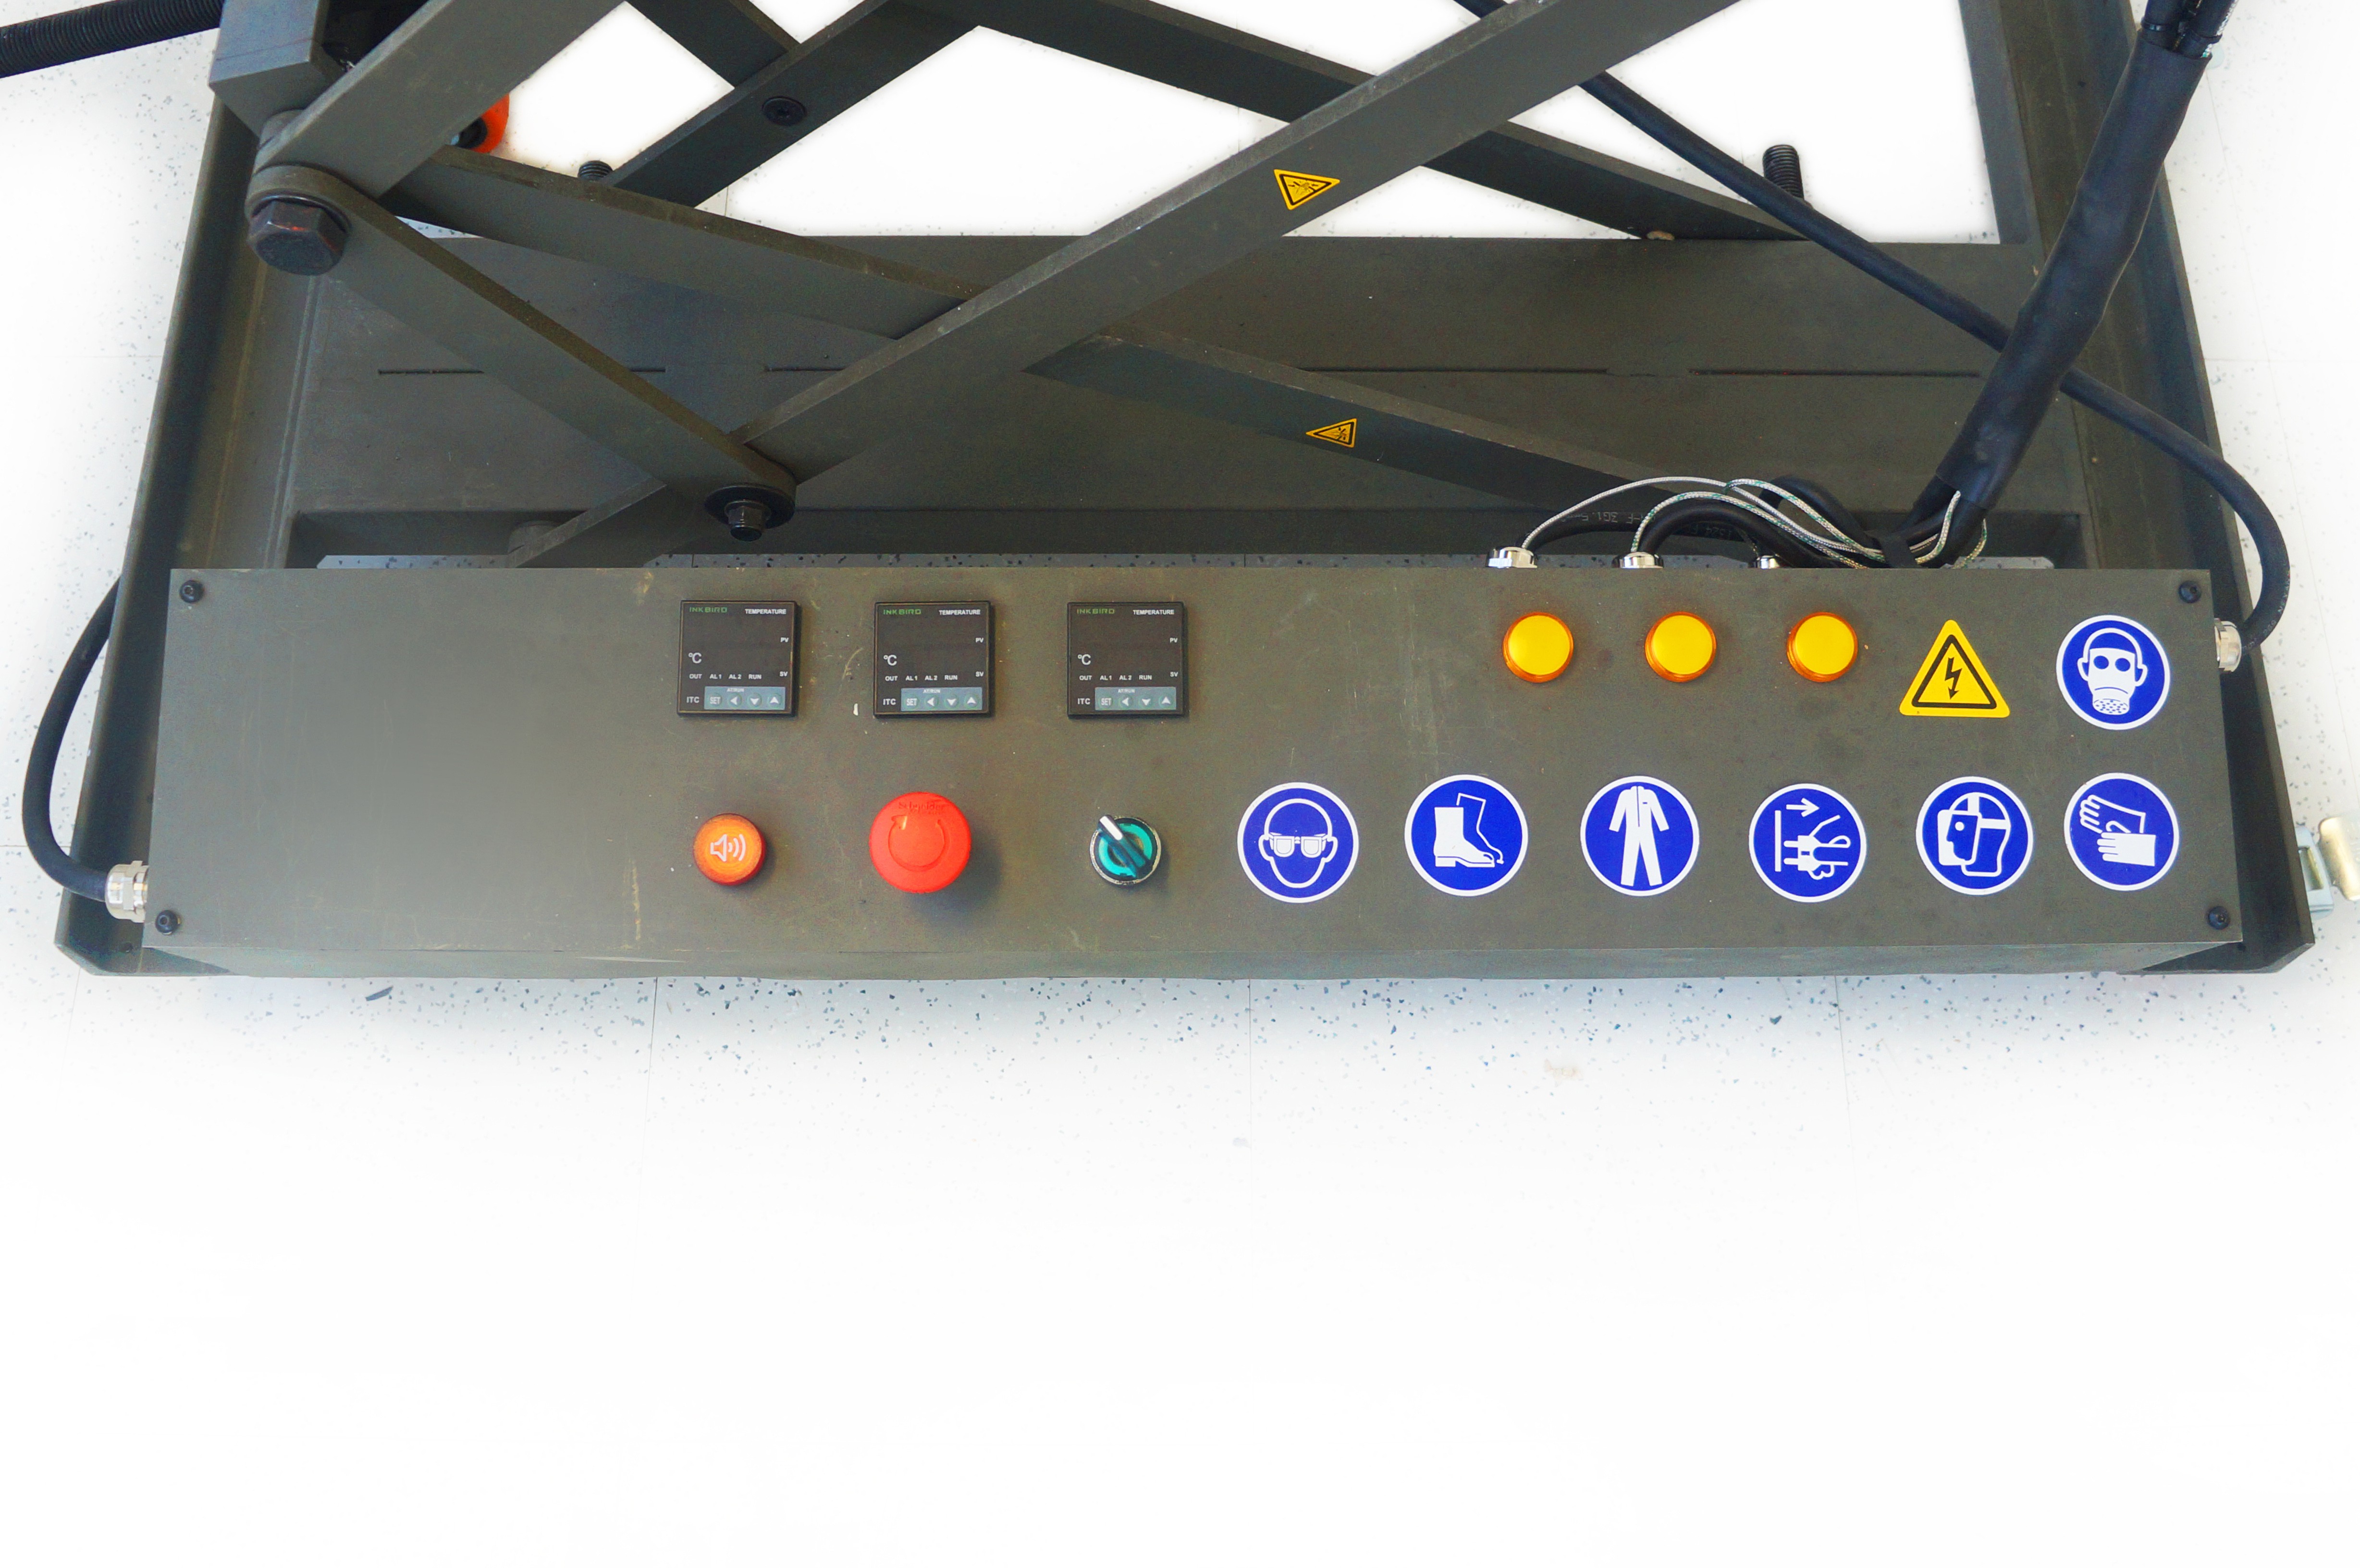
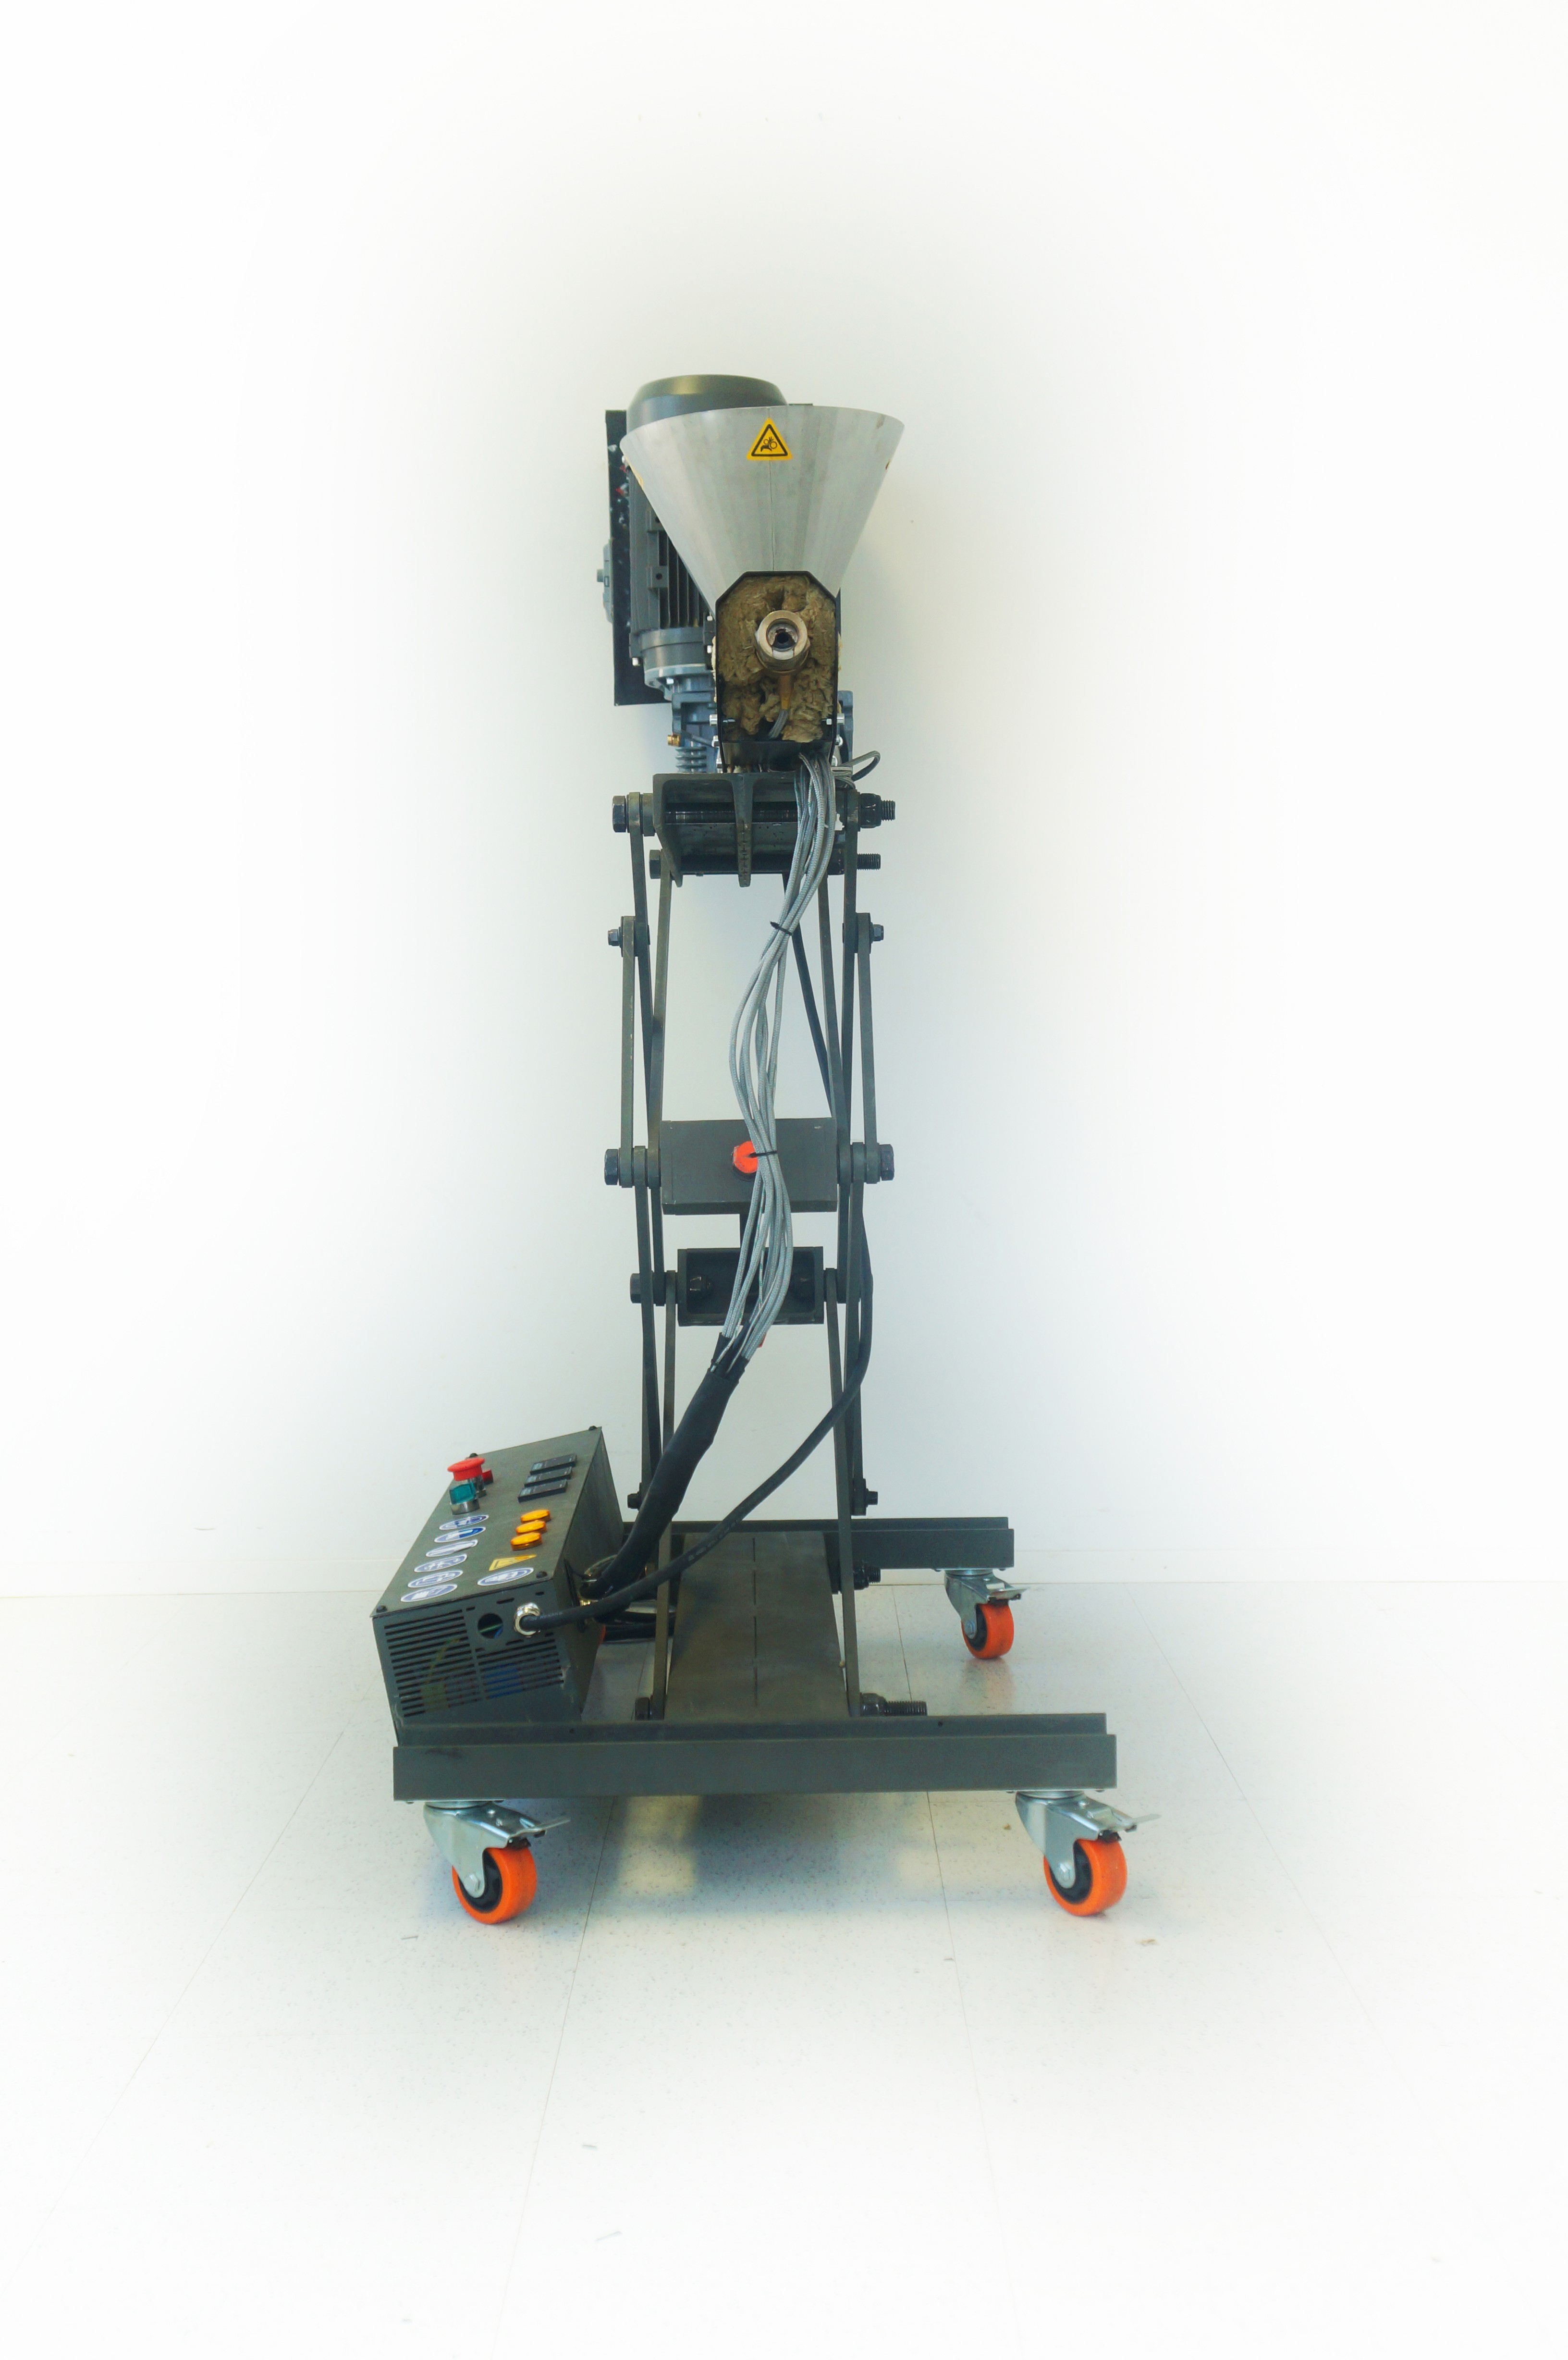
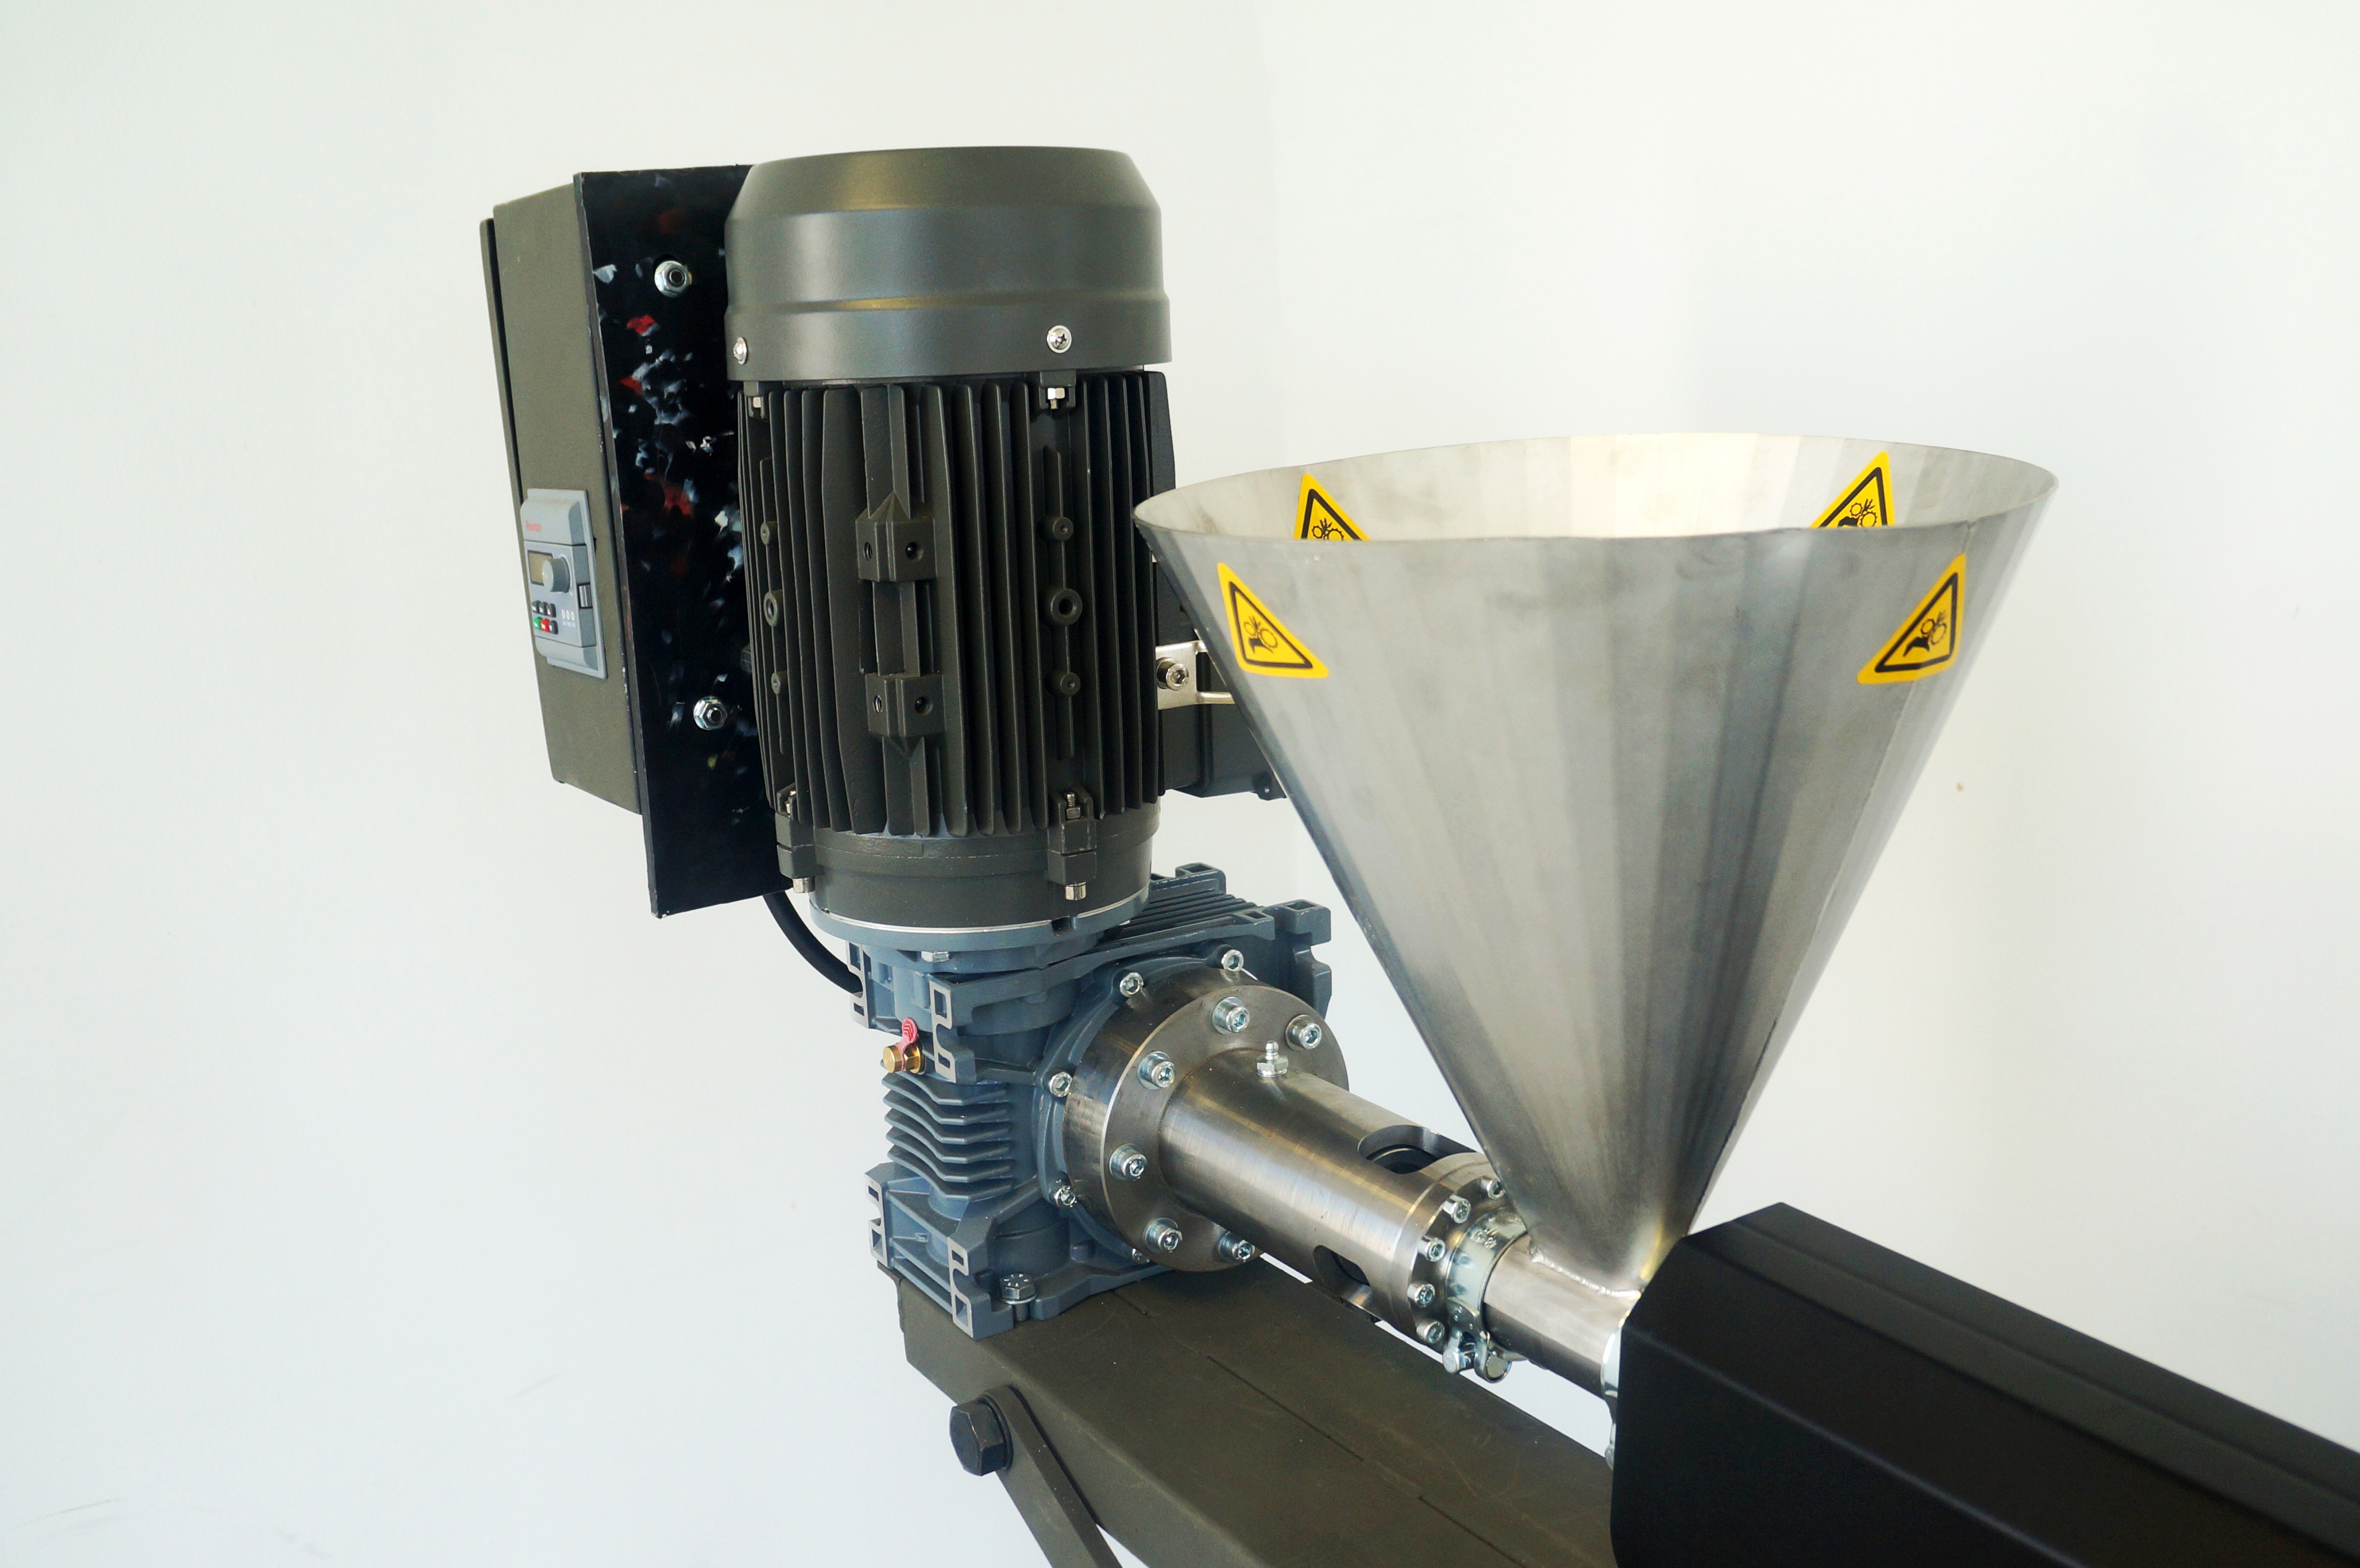
    To make recycled plastic skateboard decks, you need an extrusion machine. It melts the plastic into a liquid and fills the mould by pushing the molten plastic out of a barrel using a motorized screw.


    There are many variations of the extrusion machine out there but none were perfect for our needs, so we set out to design one that fits, as a set, with out mould, to complete the production system. What differentiates ours is that it has an adjustable height, wheels, and lean profile (700mm wide) making it practical for events, demonstrations or simply moving around the workshop. The adjustable height allows it to be used for a broader range of applications that require a low or high profile, or for interactions that involve children and shorter people.


    Like all our work, this machine is fully open source and online now, you can find the download kit  📦 HERE 📦


    This kit includes all the information you need to build your own extruder.


    The extruder features an extrusion barrel designed by Ateliers des recycleurs fous. It is from their model “C4-PO”. More information, such as how to build it, can be found here:

    atelierdesrecycleursfous.fr/extrudeuse

    Special kitos (Thanks) to Caracara Collective for the many kinds of support given during this phase of the build.


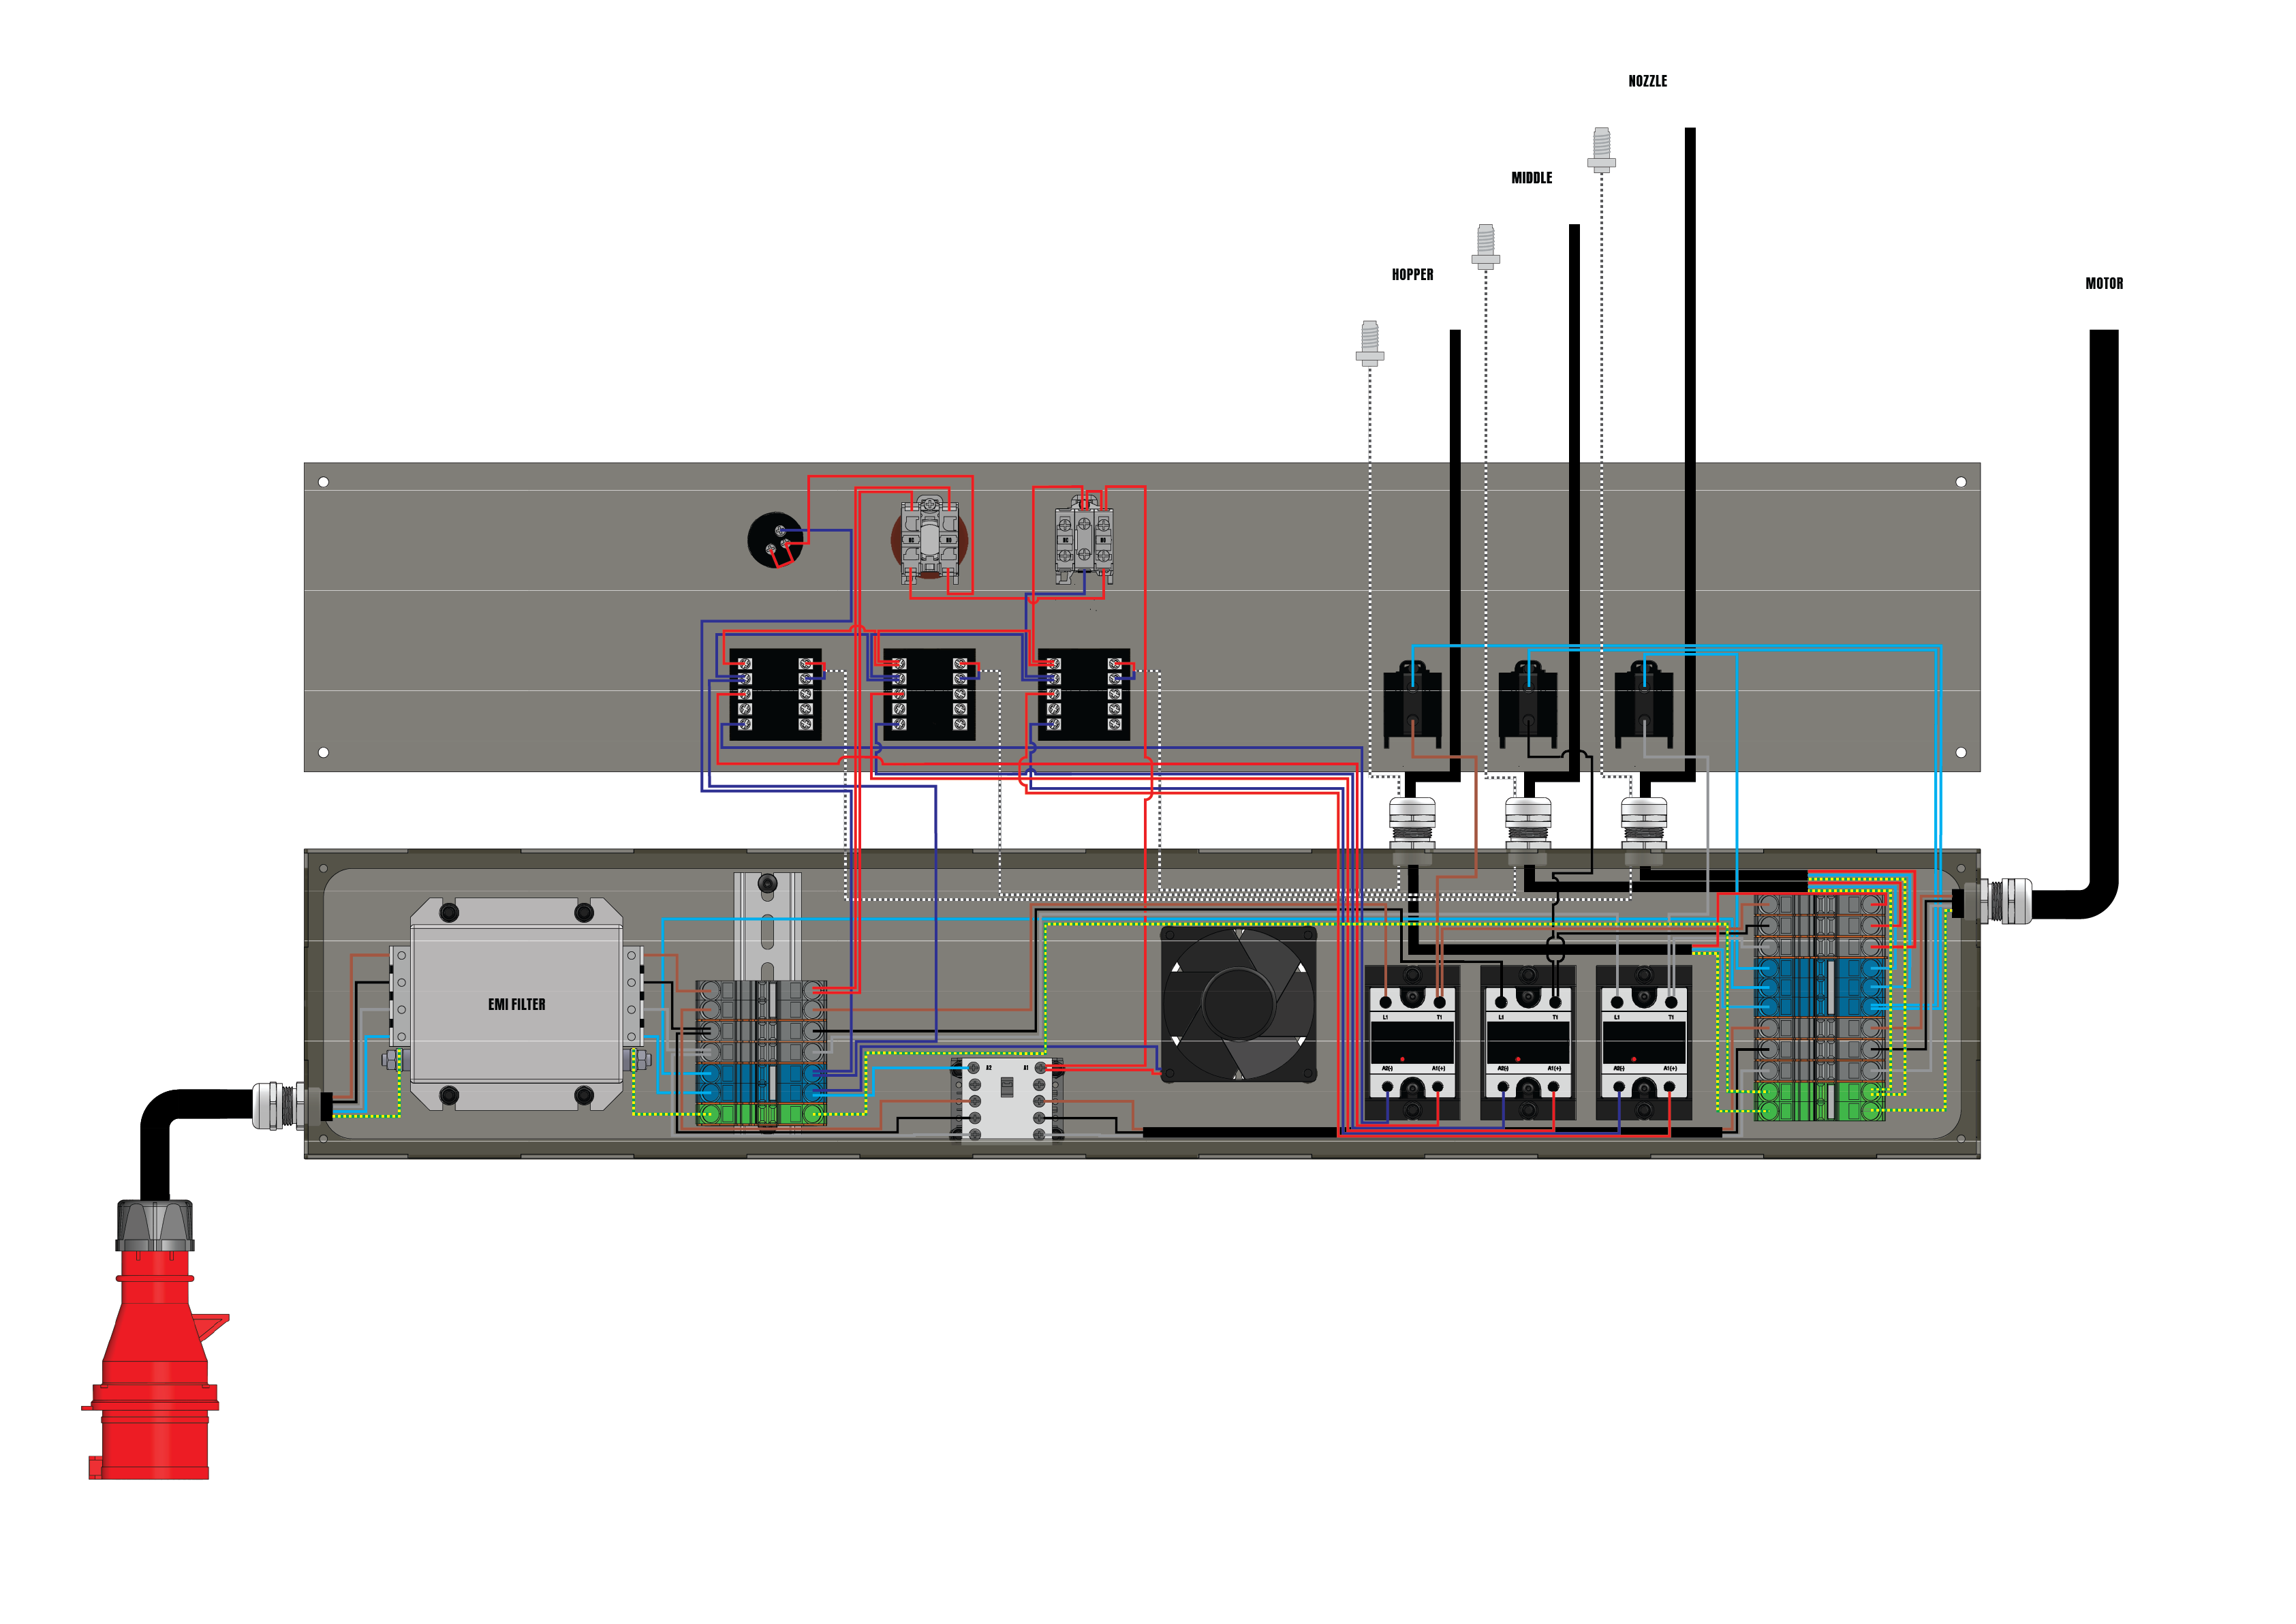
    Electronics Schematic


    RPSD-EXT Technical Data


    General

    Model

    RPSD-EXT

    Version

    1.0

    Type

    Extrusion

    Year

    2022

    Dimensions (length x width x height)

    1400 x 700 x 500 min 1400 max

    Mass

    200 kg 

    Total Power

    5 kw

    Total Amps

    12 A

    Heating

    Power supply

    Three-phase electric - 380V

    Heating element type

    Band Heater / Collar

    Number of heating elements

    6

    Heating power

    2 kW

    Operating temperature

    0 to 250 °C

    Motor

    KW

    3.3 kw

    Amps

    137 Nm

    RPM

    187

    User Process

    Materials processed

    Soft plastic, Hard plastic

    Filling Method

    Extrusion

    Construction

    Construction materials

    Steel Frame

    Material Cost (EU)

    7500 Euro

    Manufacturing time 

    ± 5 Days

    Workforce

    1 Person

    Difficulty

    ★ ★ ★ ☆ ☆

    Connections

    Electrical

    Three phase plug socket 16 A

    Pneumatic

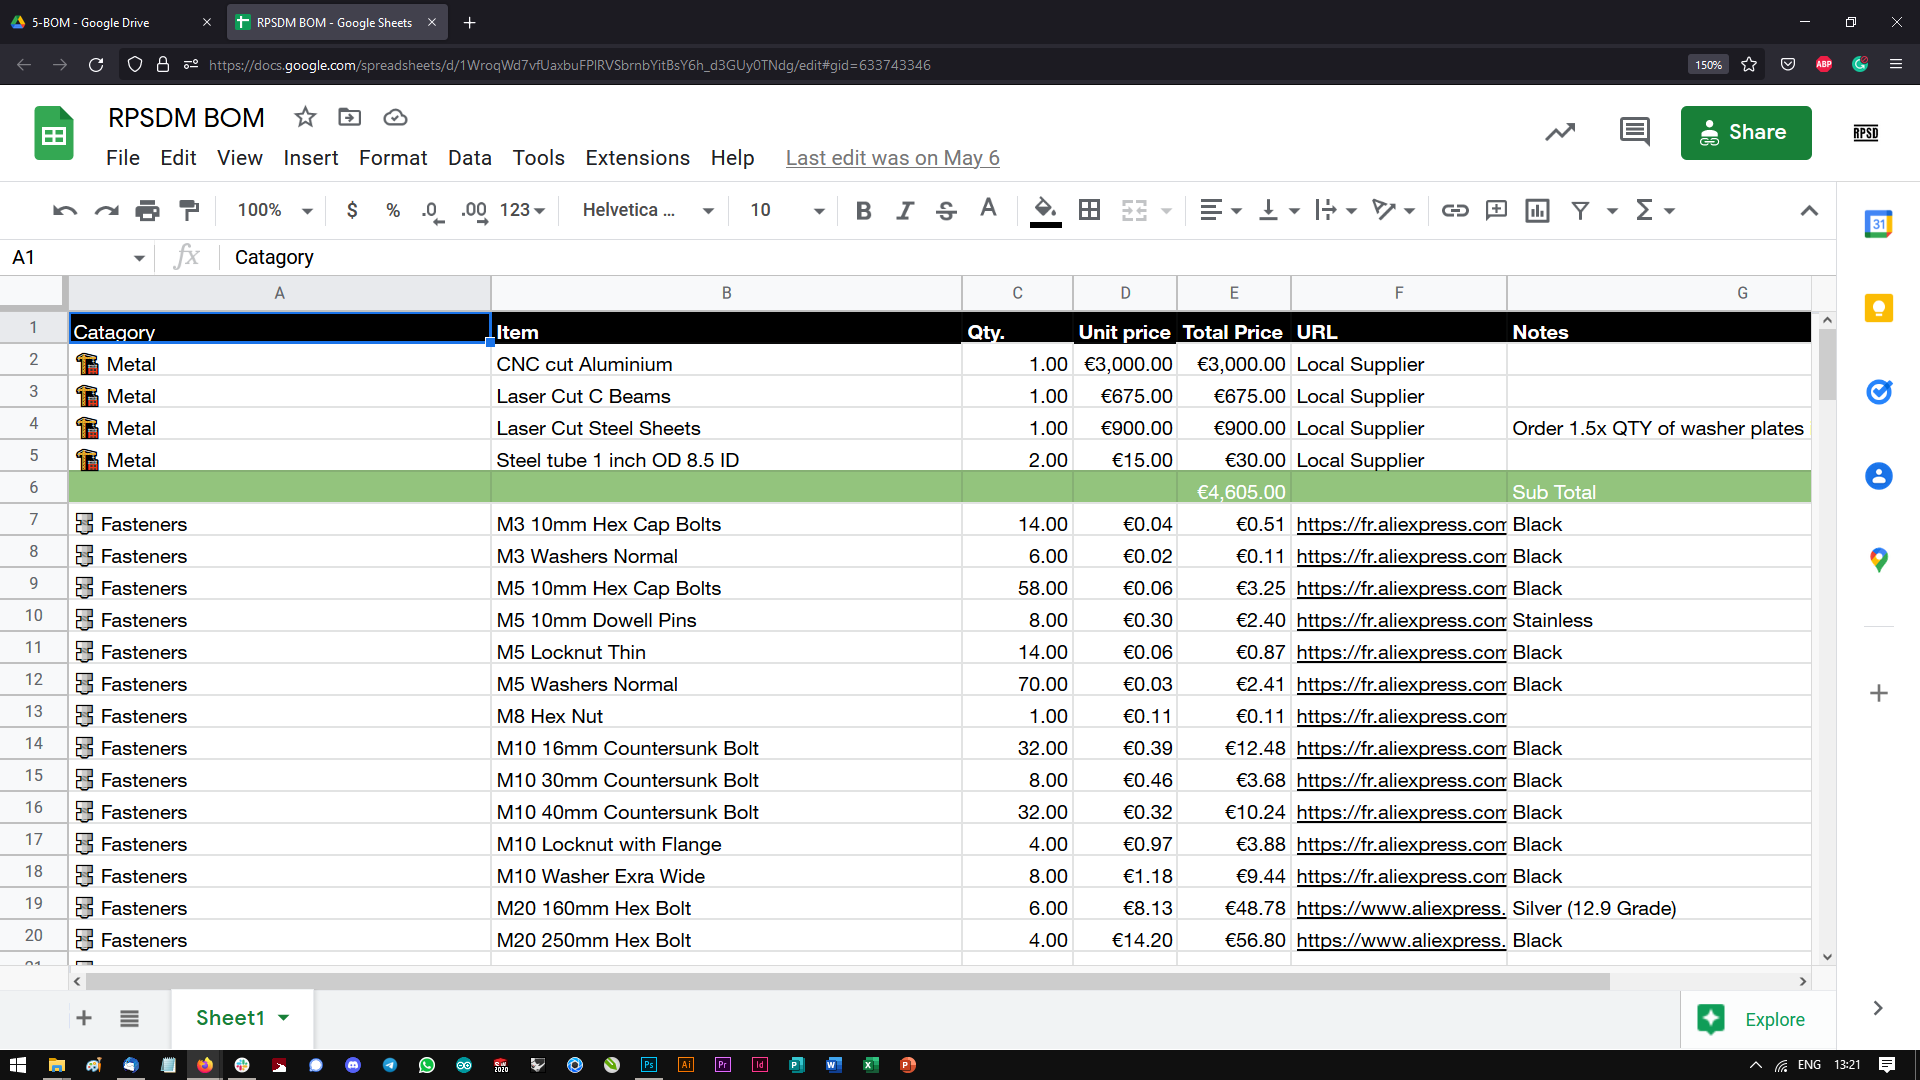
    Compressed air for cleaning 

  • Mould Technical Data

    Jason Knight05/29/2022 at 14:07 0 comments

    Mould Technical Data


    General

    Model: RPSDMV3

    Version: 3.0

    Type: Extrusion

    Year: 2021

    Dimensions (l x w x h): 1100 x 700 x 500 min 1300 max

    Mass: 285 kg 

    Heating

    Power supply: Three-phase electric - 380V

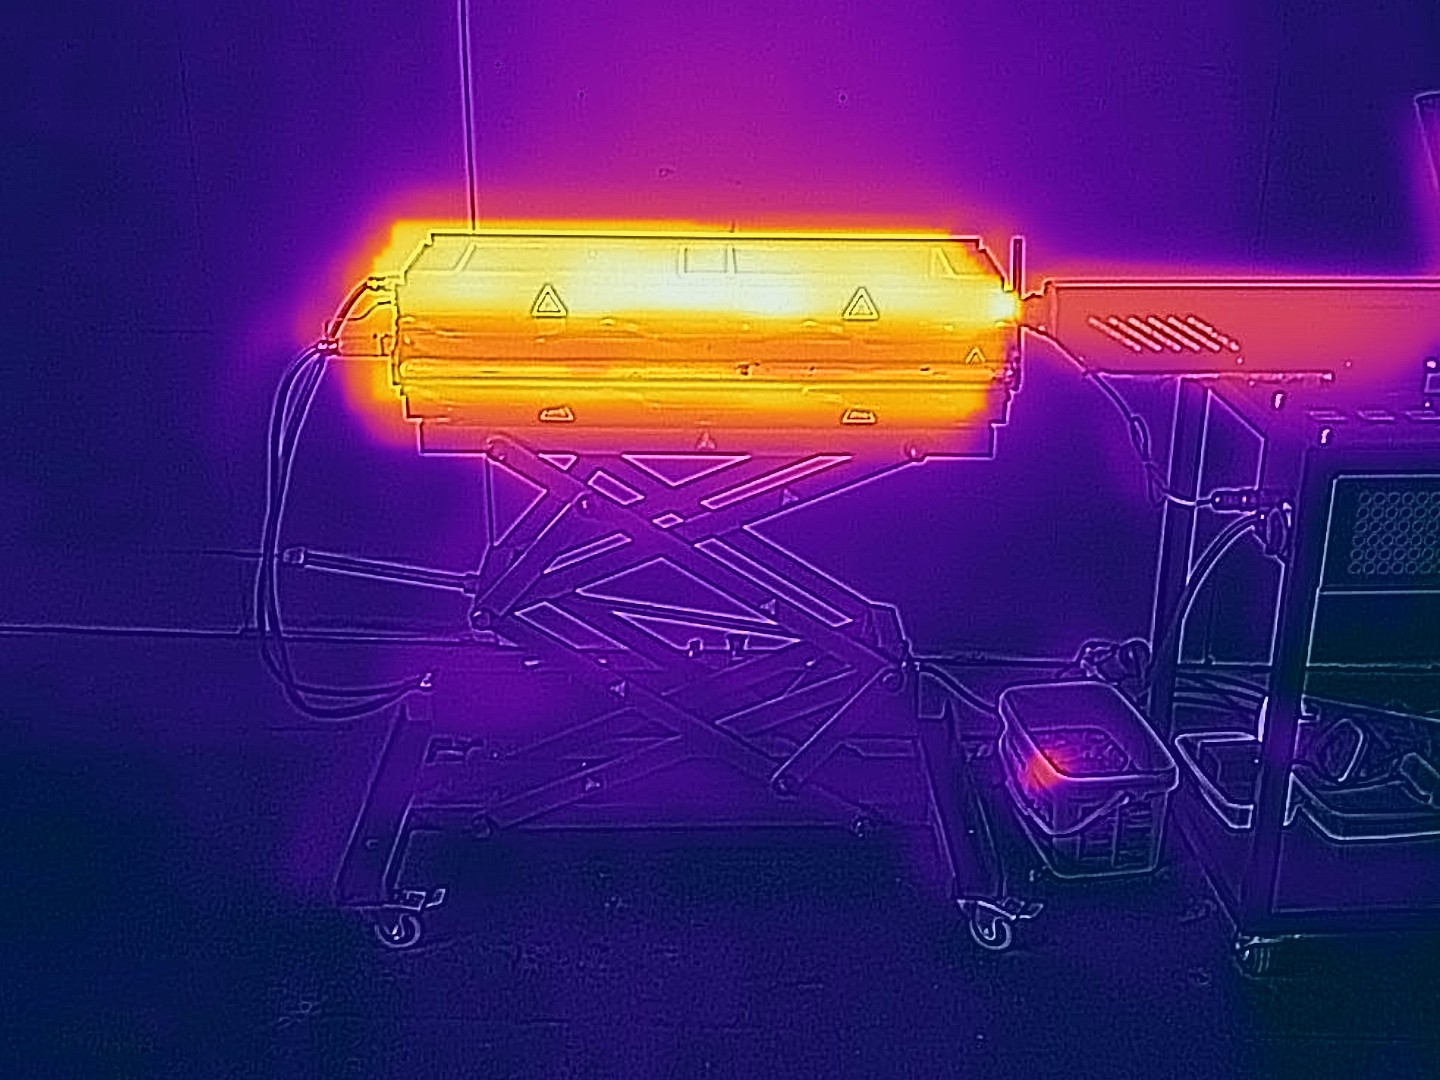
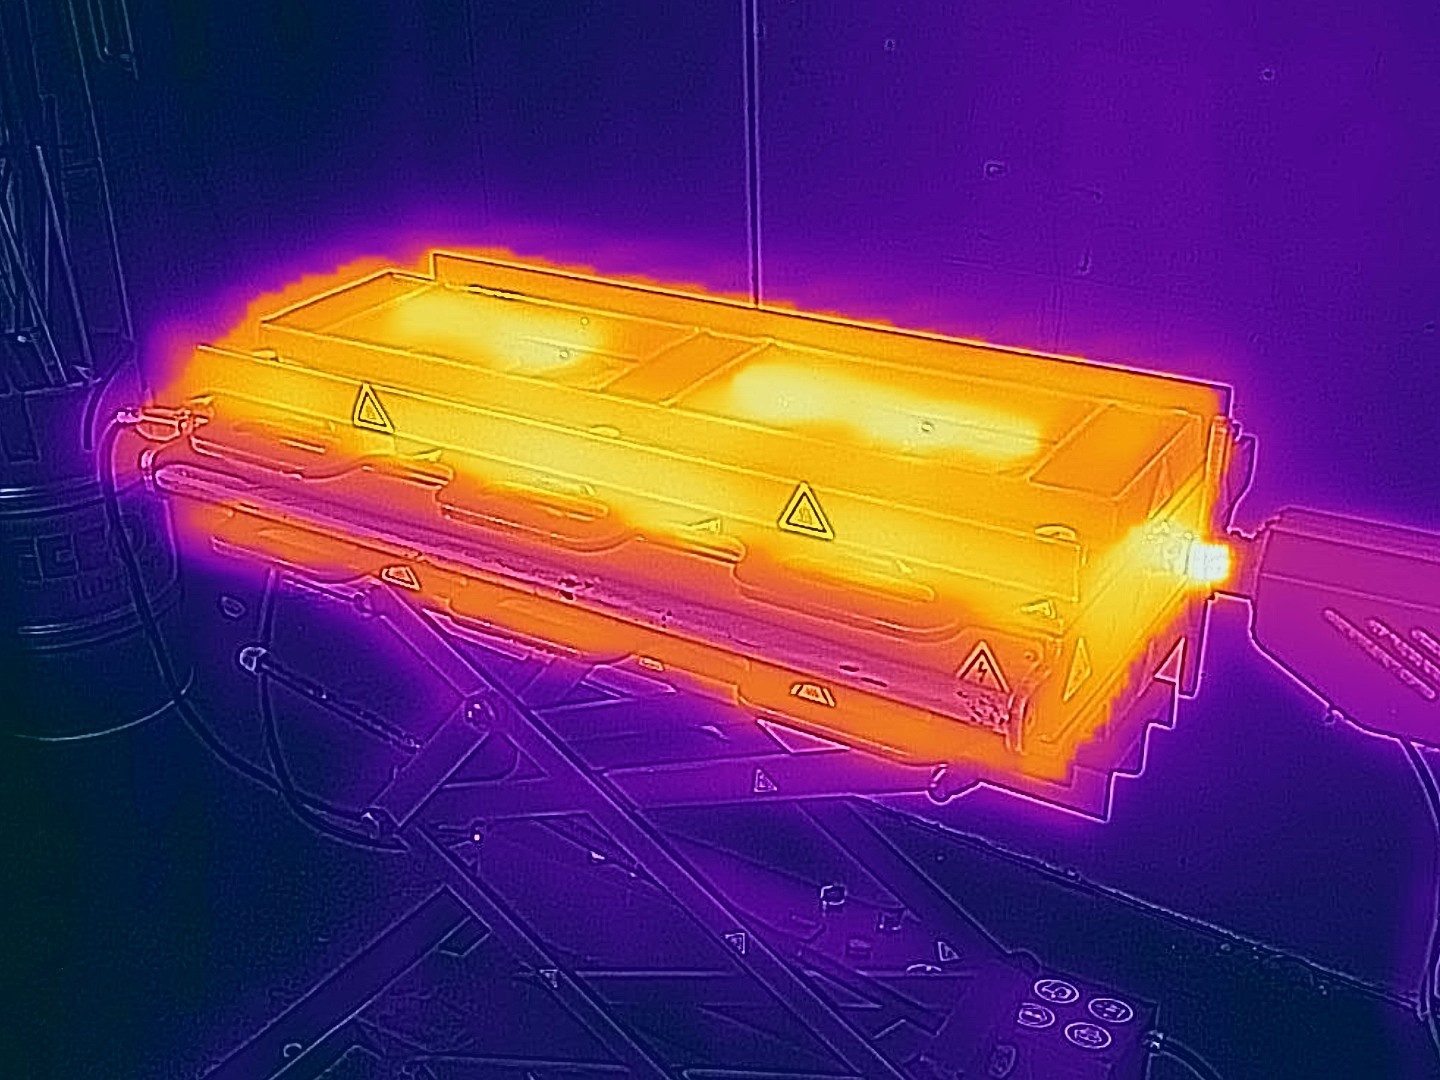
    Heating element type: Cartridge Heater

    Number of heating elements: 64

    Heating power: 10600 W

    Operating temperature: 0 to 250 °C


    User Process

    Materials processed: Soft plastic, Hard plastic

    Filling Method: Extrusion


    Construction

    Construction materials: Steel Frame, Aluminum Body

    Material Cost (EU): 7500 Euro

    Manufacturing time : ± 5 Days

    Workforce: 1 Person

    Difficulty ★ ★ ★ ☆ ☆


    Connections

    Electrical: Three phase plug socket 16 A

    Pneumatic: Compressed air for cleaning 

  • Deck Pattern Variations 1

    Jason Knight05/29/2022 at 14:01 0 comments

  • Pictures of final Mould

    Jason Knight05/29/2022 at 13:42 0 comments

  • Final Build

    Jason Knight05/29/2022 at 13:39 0 comments

    The final build is summarised in our "How-to" Build video.


  • Build Plan

    Jason Knight05/29/2022 at 13:35 0 comments

    Before building the mould, a building plan, in the format of a video script was written, to thoroughly think through and plan each step before going ahead.


    Dialogue

    Shot Type

    📁
    1. Intro

    Hey everyone! 

    White Wall

    Mould, skateboards and extruder out in front of me

    1

    In this video I am going to show you how to build a mould which you can use to make skateboard decks from 100% recycled plastic! 

    The mould is open source, which means you can download all of the CAD files, Bill of materials, electronics diagrams + everything else you need to make it yourself for free.

    They are made using an extrusion machine, like this one which is also open source!

    So you can also build one or buy one yourself!

    Check out the links in the description!

    2. Breakdown

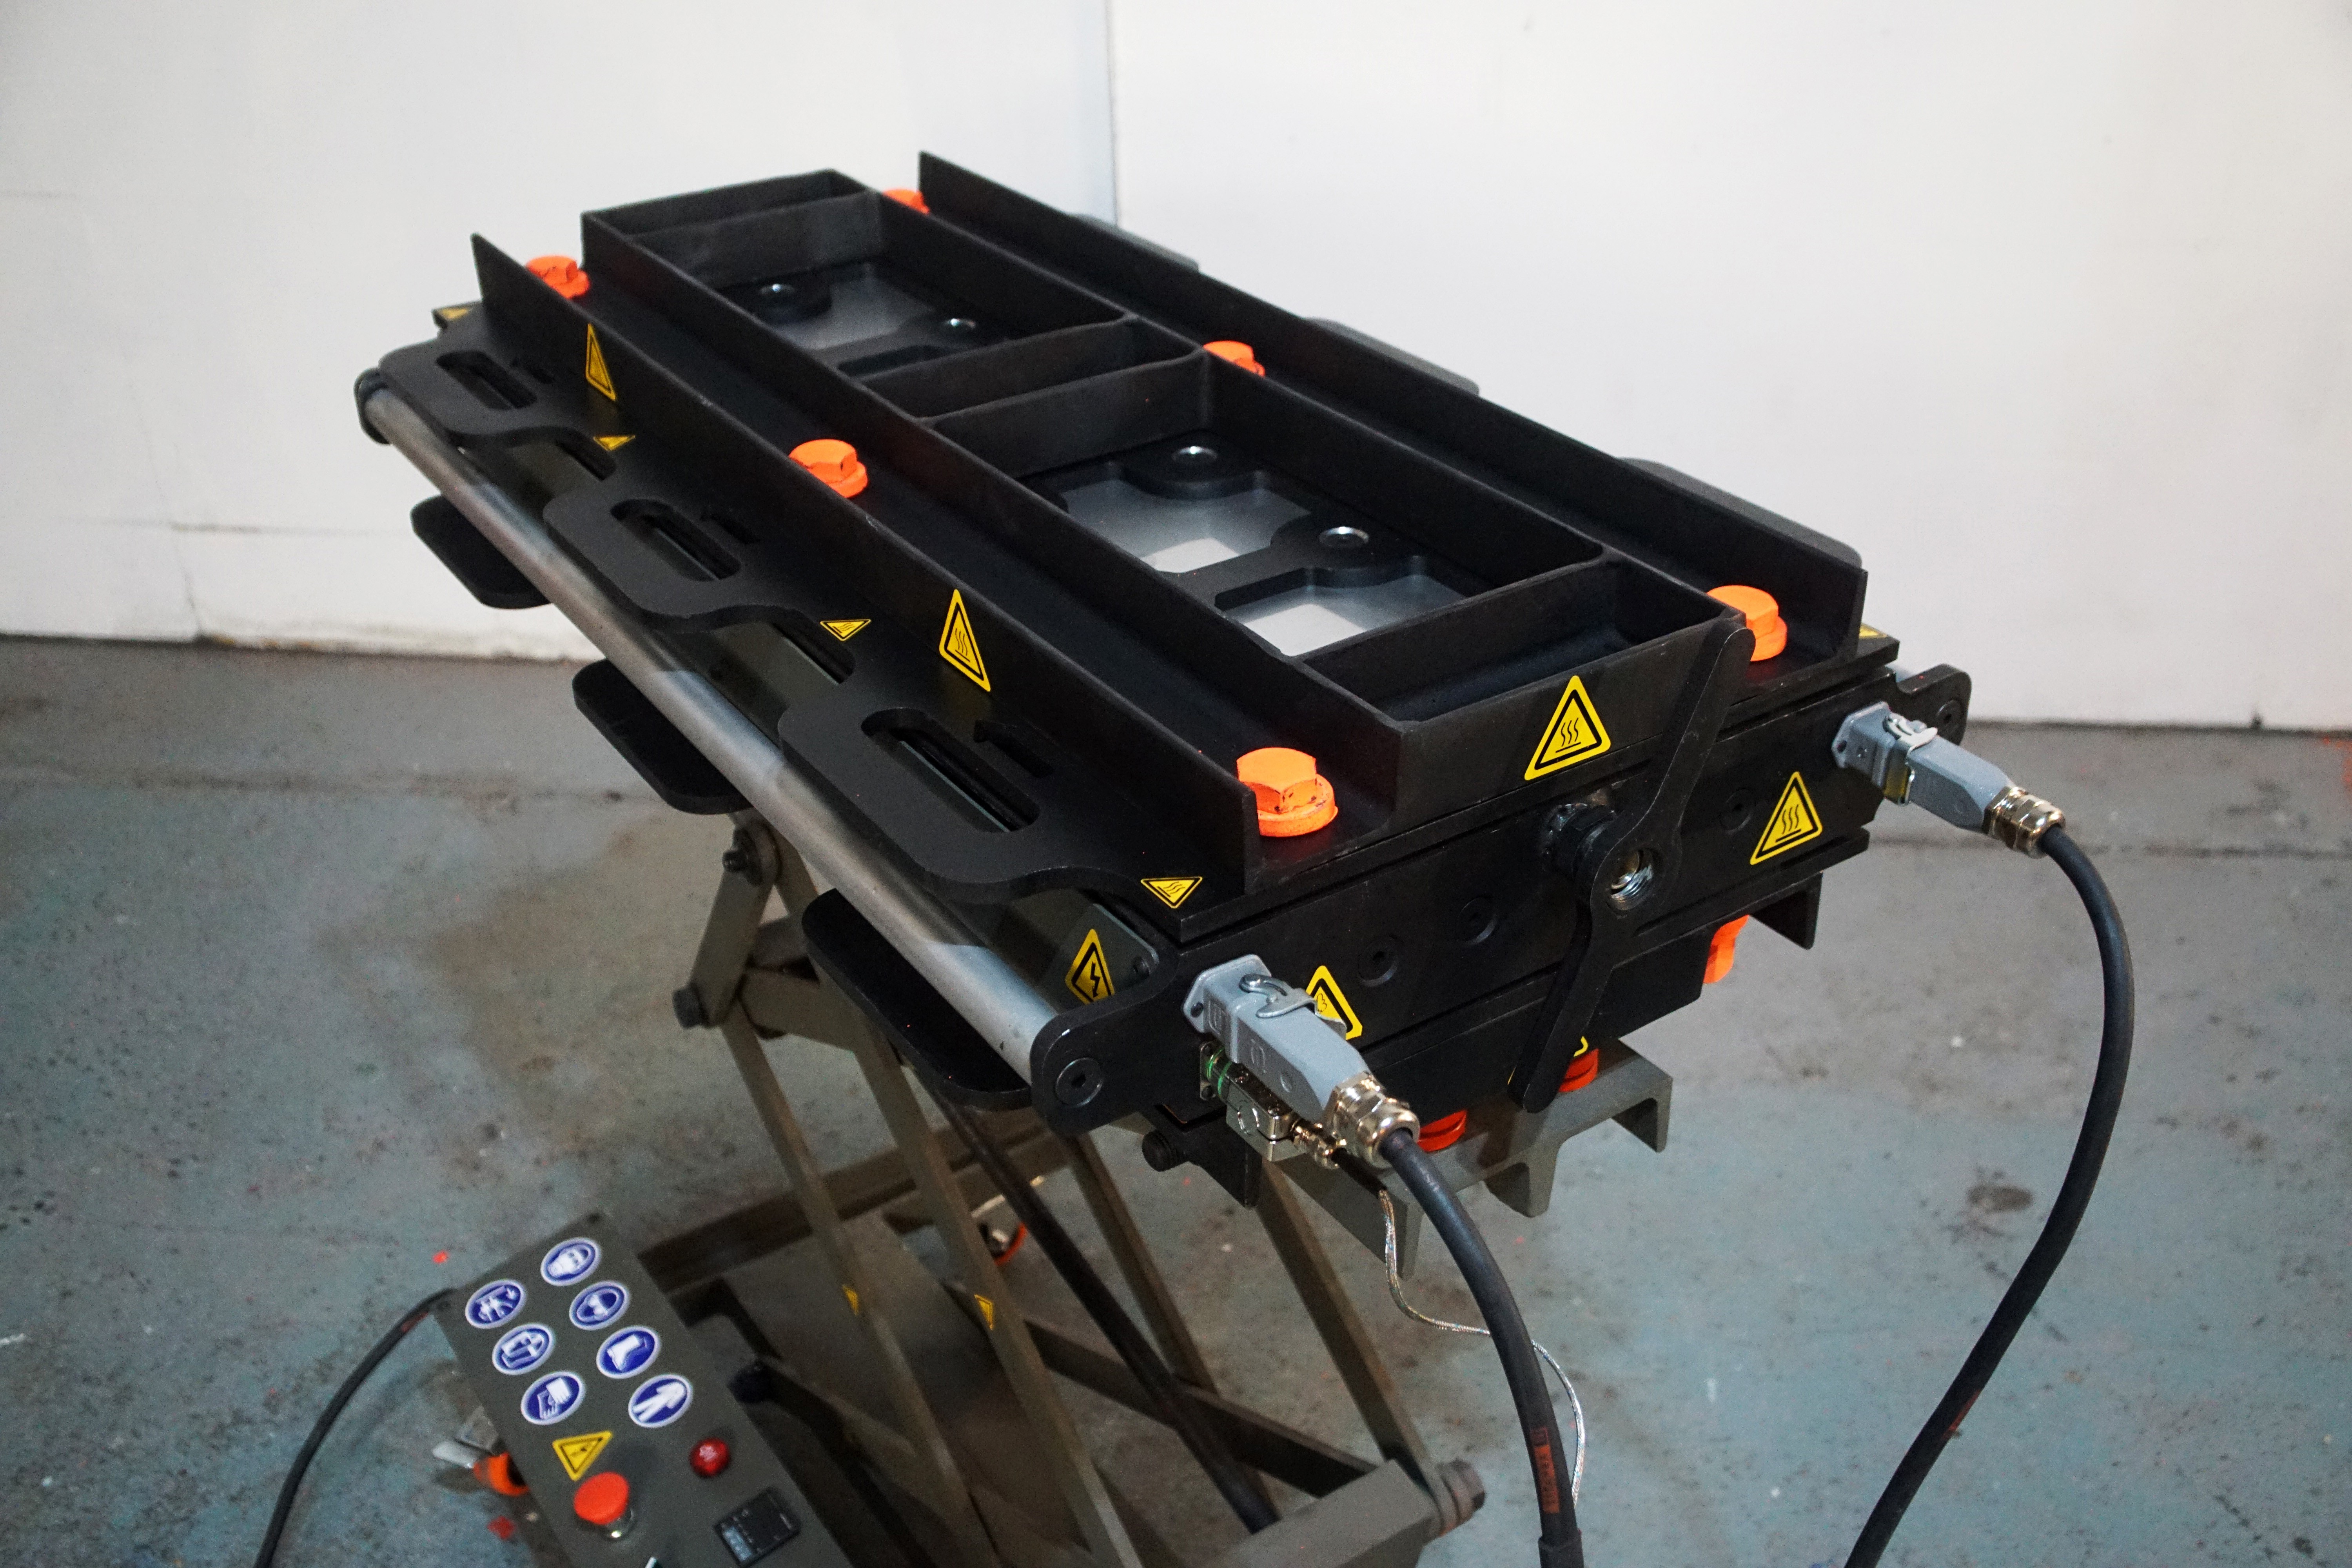
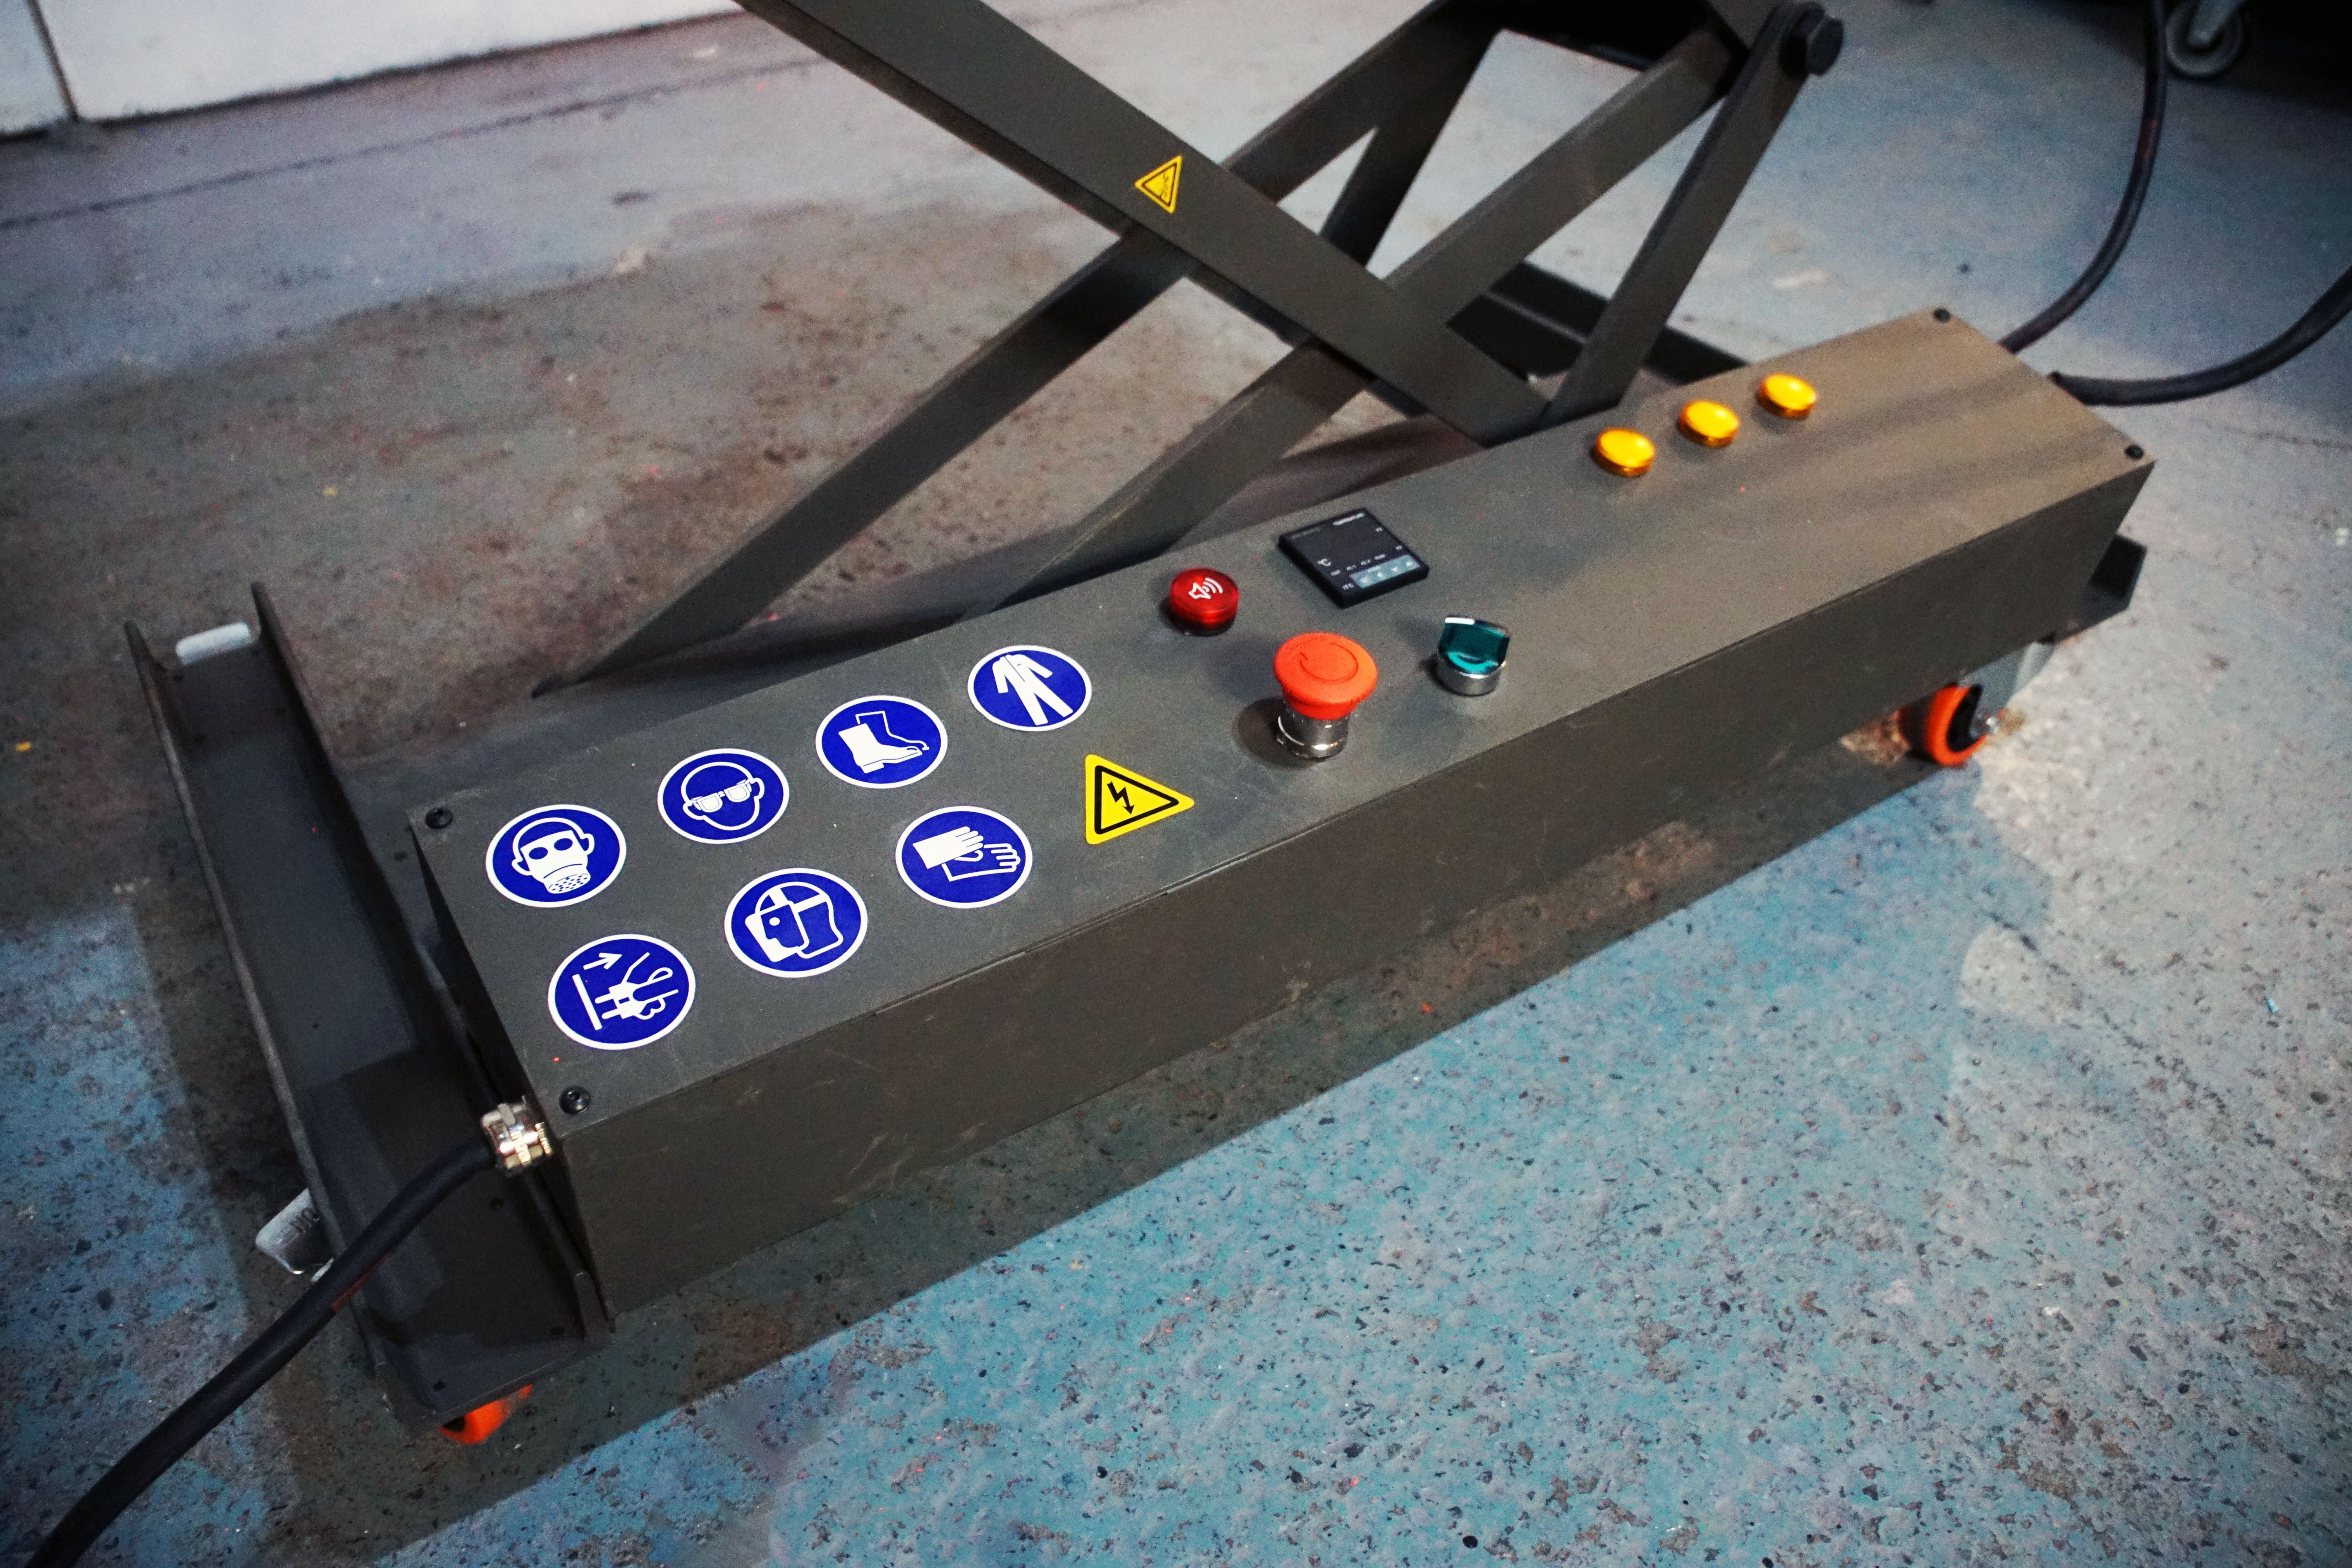
    So the entire mould can be broken down into three parts, the mould itself, the table and the electronics box. 

    White Wall

    Mould out in front of me.

    2

    3. Mould

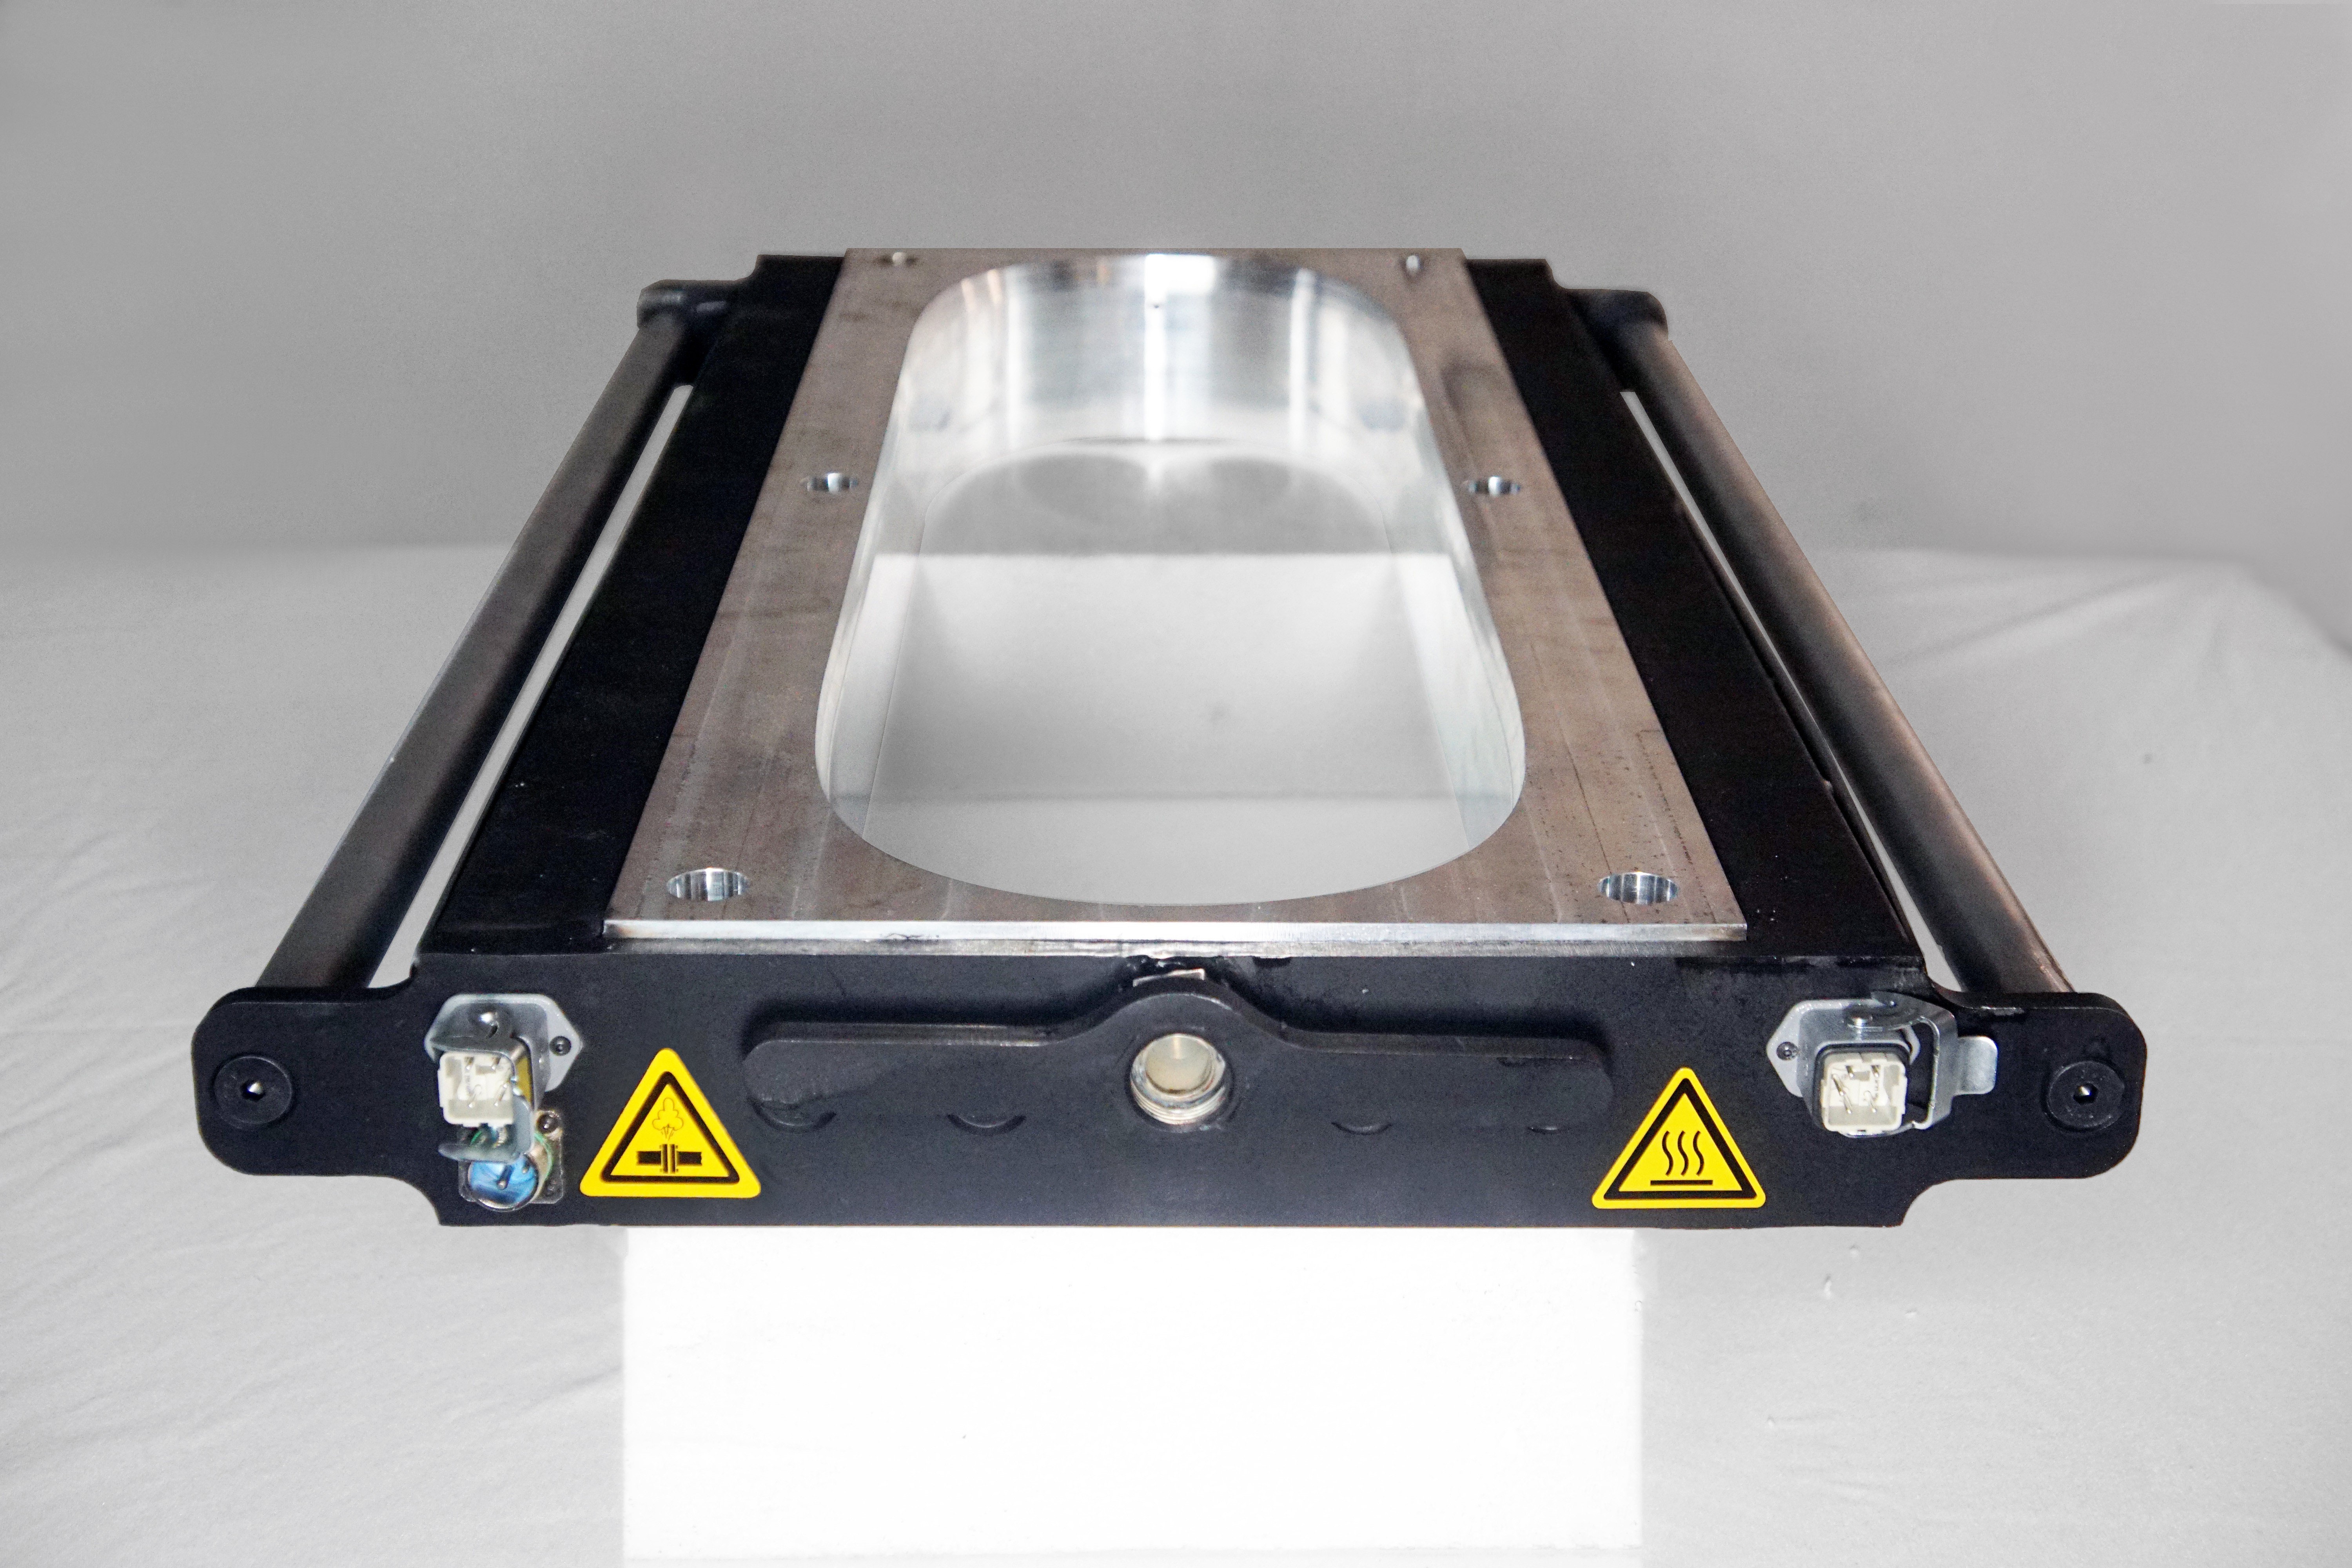
    The mould itself is made up of four main parts, 

    • A top and a bottom plate
    • An edge structure
    • A two part a support structure
    • And a set of fasteners hold it all together

    White Wall Mould sections on table in front of me

    3.1

    Top and Bottom Plates

    First you're going to make the top and bottom plates.

    White Wall Mould sections on table in front of me

    Point at top and bottom.

    3.2

    You are going to need:

    ○    CNC Cut Aluminum Blocks Which form the top and bottom faces of the decks  

    ○         0.5mm Stainless Steel Washer Plates

    ○         10mm Laser Cut Steel Sheets

    ○         M5 x 10mm Dowel Pins x8

    ○         M10 x 16mm Countersunk Bolts x10

    ○         M10 x 30mm Countersunk Bolts x10

    ○         M20 Thin Nuts x 8

    ○         Heat Resistant Paint x2

    ○         Safety Stickers x8

    Jump between wide and Close up pointing at separate parts

    3.2

    First take the laser cut steel back plates. You will need to countersink all the M10 holes so that the head of the bolt lays below the surface.

    Pillar drill perspective shots

    3.2

    On the same side you can also use the countersink to put a slight chamfer on the M20 holes to guide the bolts into place when using the mould for production. On the top plate the chamfer is on the same side as the M10 holes and on the bottom plate it is on the opposite side. 

    Pillar drill perspective shots

    3.2

    Insert the flat nuts into the hexagon cutouts, weld them in place then grind them flat.

    Welding perspective shots

    Grinding perspective shots

    3.2

    Clean the metal with degreaser and apply a layer of heat proof paint to the plates.

    Painting perspective shots

    3.2

    Use a countersink to remove the paint in the countersunk part of the M10 holes. This is for electrical grounding and ensures that the top and bottom plates are connected to the aluminium. 

    Close up

    3.2

    Next you need to bolt the aluminium surfaces to the back plates, note that they have an orientation (The nose and the tail are different heights) so make sure to measure them carefully and align them with the arrows. 

    Bench

    Measure with calipers

    Check drawing

    3.2

    The top plate has a layer of stainless steel washer plates between the aluminium surface and the steel plate. This allows you to adjust the thickness of the deck by adding and removing them. They are stainless steel because you can't paint them to keep the thickness even, and they would rust if they were normal steel. 

    Bench

    Show washers fanned out

    3.2

    You may need to change the bolt size if you want to adjust the thickness of the deck but by default it is 30mm on the top and 16mm on the bottom.

    Bench

    Show bolts

    3.2

    Next you can insert the dowel pins into the holes in the base plate. These are to mark where you need to drill the truck holes. 

    Bolting in place montage

    3.2

    Finally stick the safety stickers between the handles.

    Close-up

    3.2


    Next you're going to make the edge of the mould.

    White Wall

    Finished...

    Read more »

  • Design Decisions: V3 Prototype 1

    Jason Knight05/29/2022 at 13:28 0 comments

    RPSDM V3 Design Decisions

    PRE-BUILD CAD WALKTHROUGH VIDEO. (Video does not represent the final version as some changes were made.)

    Design Decisions

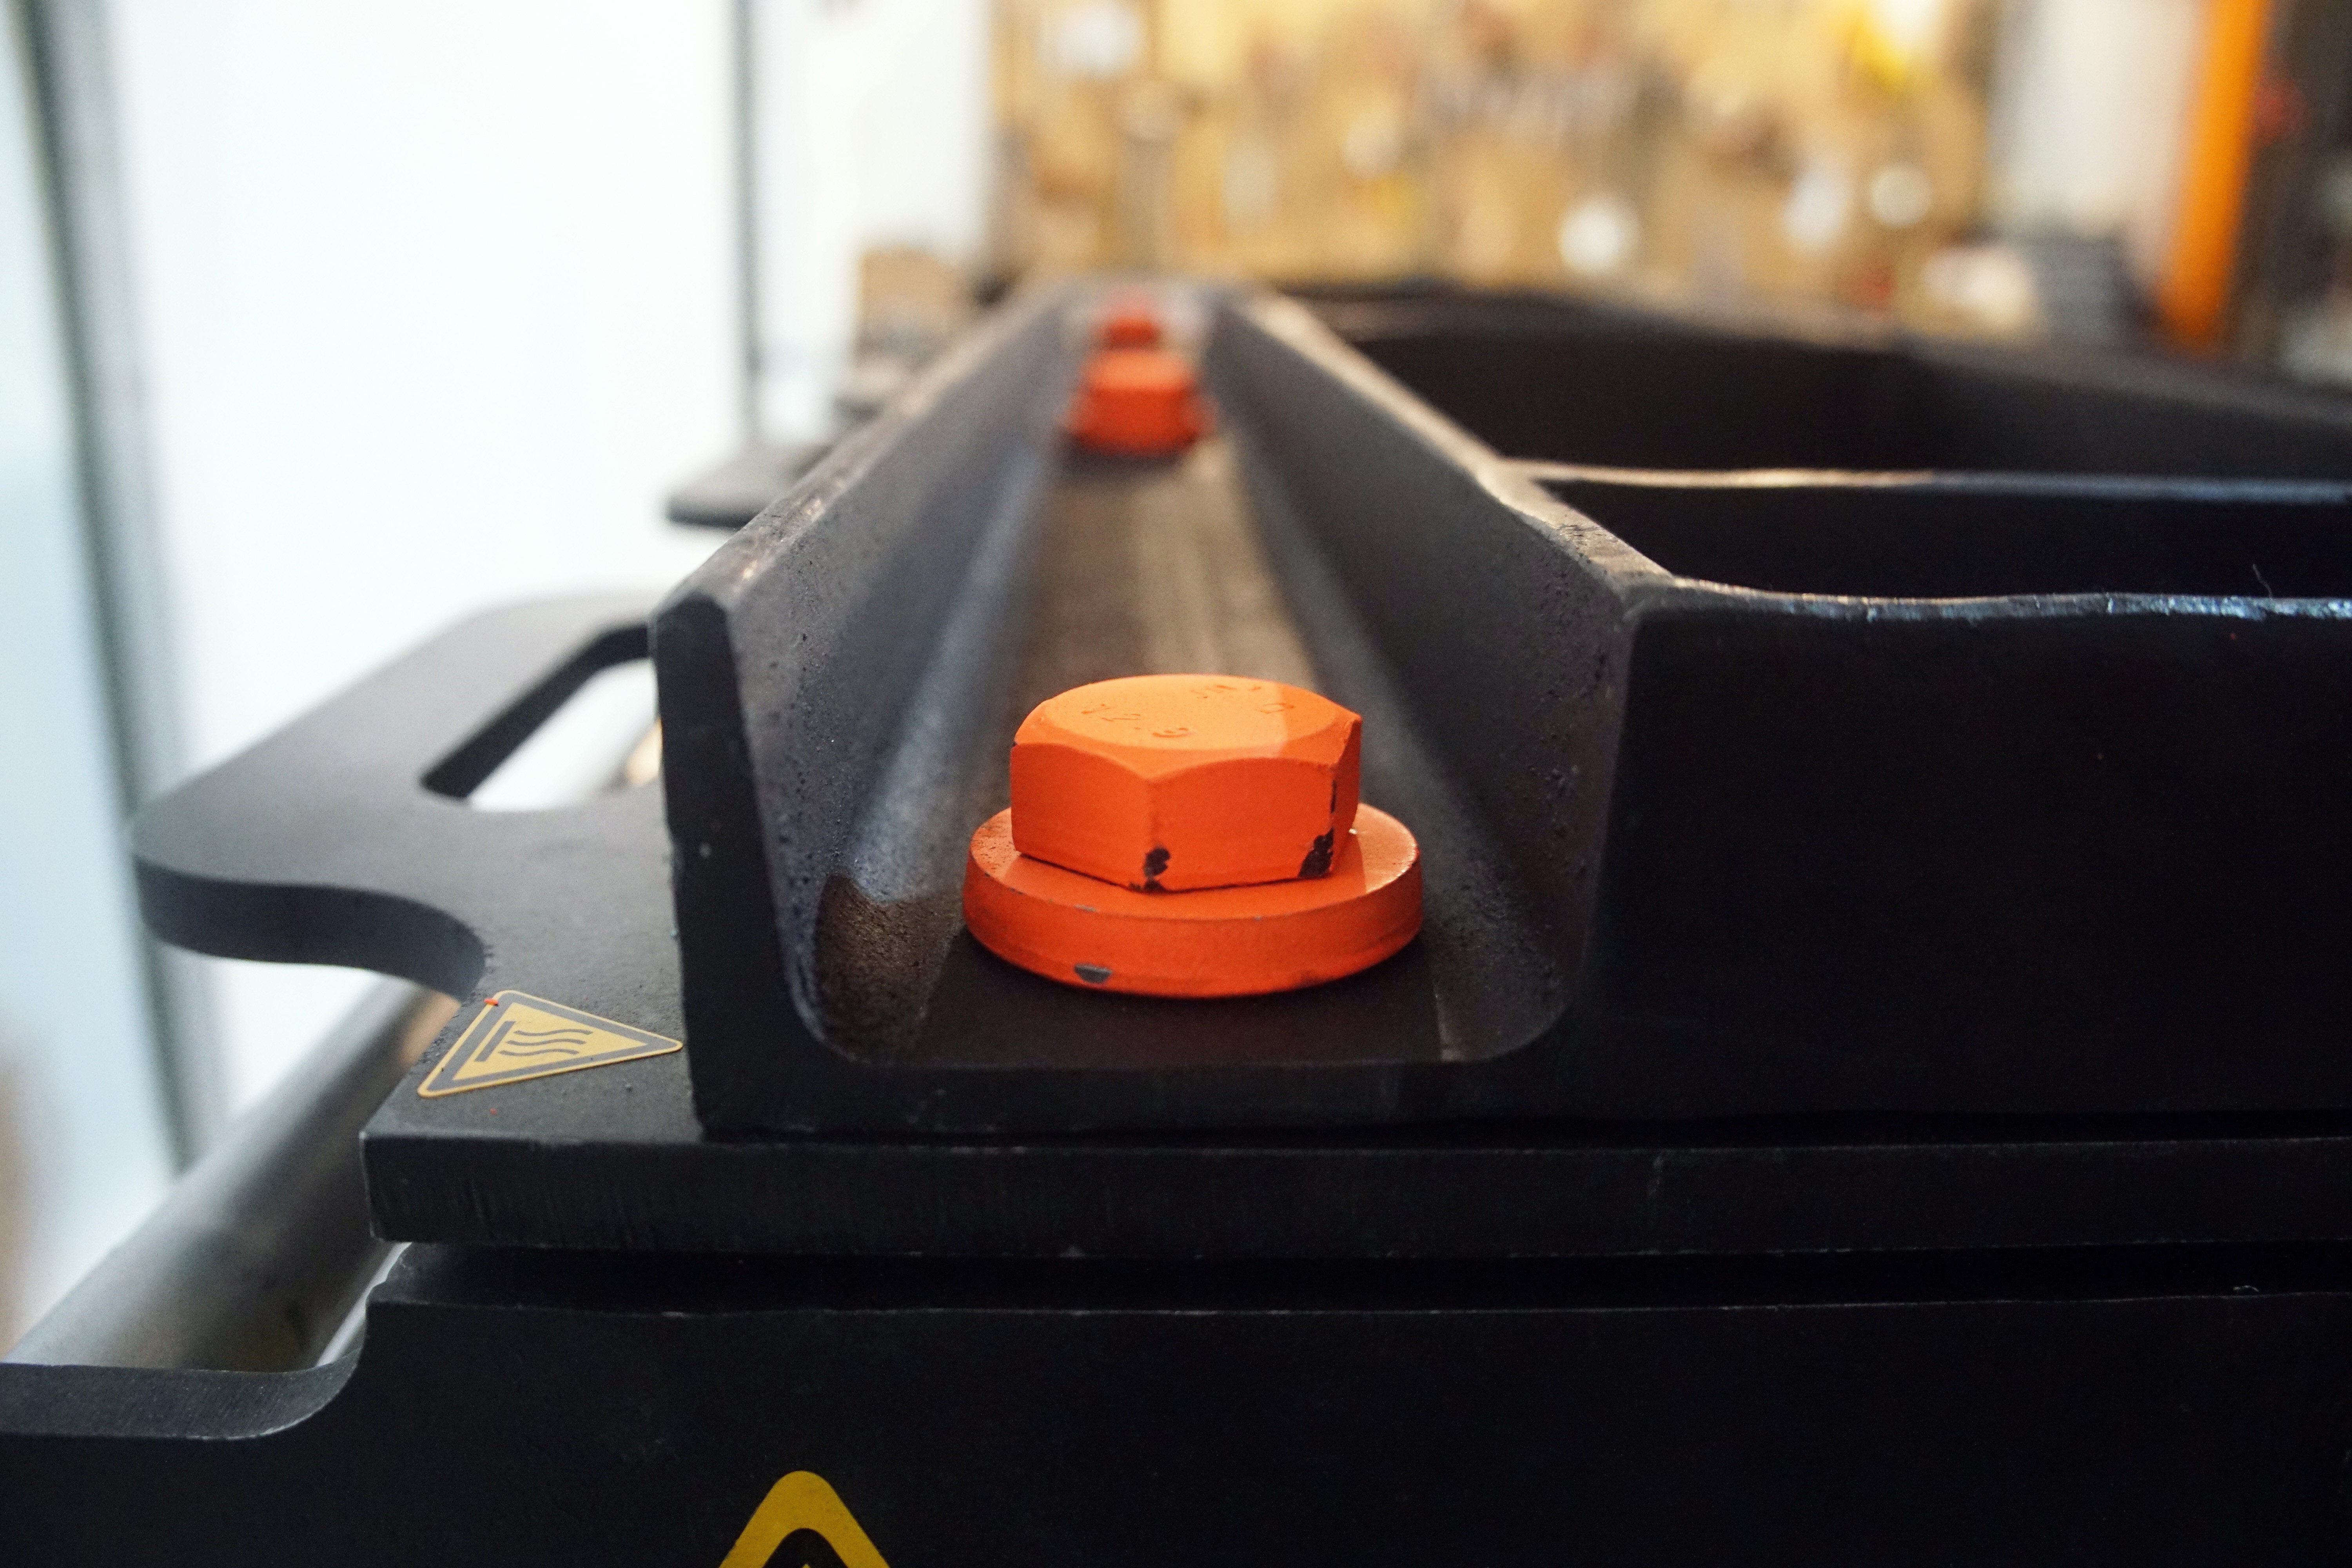
    • Colour Code Fasteners
      • Passive
      • Interactive (neon)
    • NATO green paint (Available everywhere in the world)
    • Deck Strength
      • Thicker nose and tail
      • Thicker in the middle (T Beam)
      • Steep concave (Pipe)
      • Thick patch on nose and tail curve up (Prevents wearing)
    • Springs to allow nozzles to move slightly when coupling with the nozzle plate
    • Hold thermocouple 
      • Nut welded in the beam
    • Differentiate nose/tail
      • Arrow on a horizontal plate
    • Change Deck Thickness 
      • ‘Washer” Plates 
    • Attach to Extruder
      • Quick Release: Big Laser cut handle welded to the nut
      • Find the right plumbing head: Swivel connector
    • Open Mould 
      • Nuts on top and bottom plate for “Release Bolts”
      • Enough gap between the side frame and horizontal plate to fit in the crowbar
    • Heat Mould 
      • Cartridge heaters (380, 16A) in holes downside of “Deck Edge”
    • Fit aluminium sections in
      • Fillet inside gradual
      • 0.2mm contour between deck top/bottom face and deck edge (Check V4 file) 
    • Slow to bolt mould together
      • Drill with a long socket
      • Countersink holes on steel plate
    • Mark Holes For Trucks
      • 5mm Dowel inserts in the mould
    • Stop Mould Bend
      • C beams (Out)
      • 80x40 frame on top (C Beams top also??) Then all C Beams

    Part Numbers Template 

    before the dot is only for assemblies, assemblies always end in .00

    X000.00 - in this case, X is for upper-level assemblies

    0X00.00 - in this case X is for sub-assemblies

    00X0.00 - in this case X is for sub-assemblies and so on

    0000.xx After the dot is the part number

    EXTPRO-V1 0000.00

    EXTPRO-

    V1


    0

    0

    0

    0

    .

    0

    0

    Machine Name

    V#


    Part

    Assembly

    Sub Assembly


    Part

    RPSDM-

    V3


    -Deck -Mould -Electronics Enclosure 

    -Table

    -Mould Top

    -Mould 

    Bottom

    -Mold Top 

    Support Frame 


    Bolt

    Beam

View all 12 project logs

  • 1
    Download the Download Kit

    You can find our download kit here. it contains all the CAD files, 2D drawings, CAM packages, electronics, a BOM and the supporting notes you need to build the system.

  • 2
    Source the parts

    Go through the BOM, order the parts you need and decide for each of the metal parts if you will make them yourself, or get some external help. E.g. if the aluminium pieces are too big to fit on your CNC, you might need to order them.

  • 3
    Follow the "How To Build" video​

    Follow the "How To Build" video step by step and pause and rewind to each step if necessary. In reality, it takes much more than one hour, more like one week!

View all 7 instructions

Enjoy this project?

Share

Discussions

Jason Knight wrote 10/22/2022 at 16:35 point
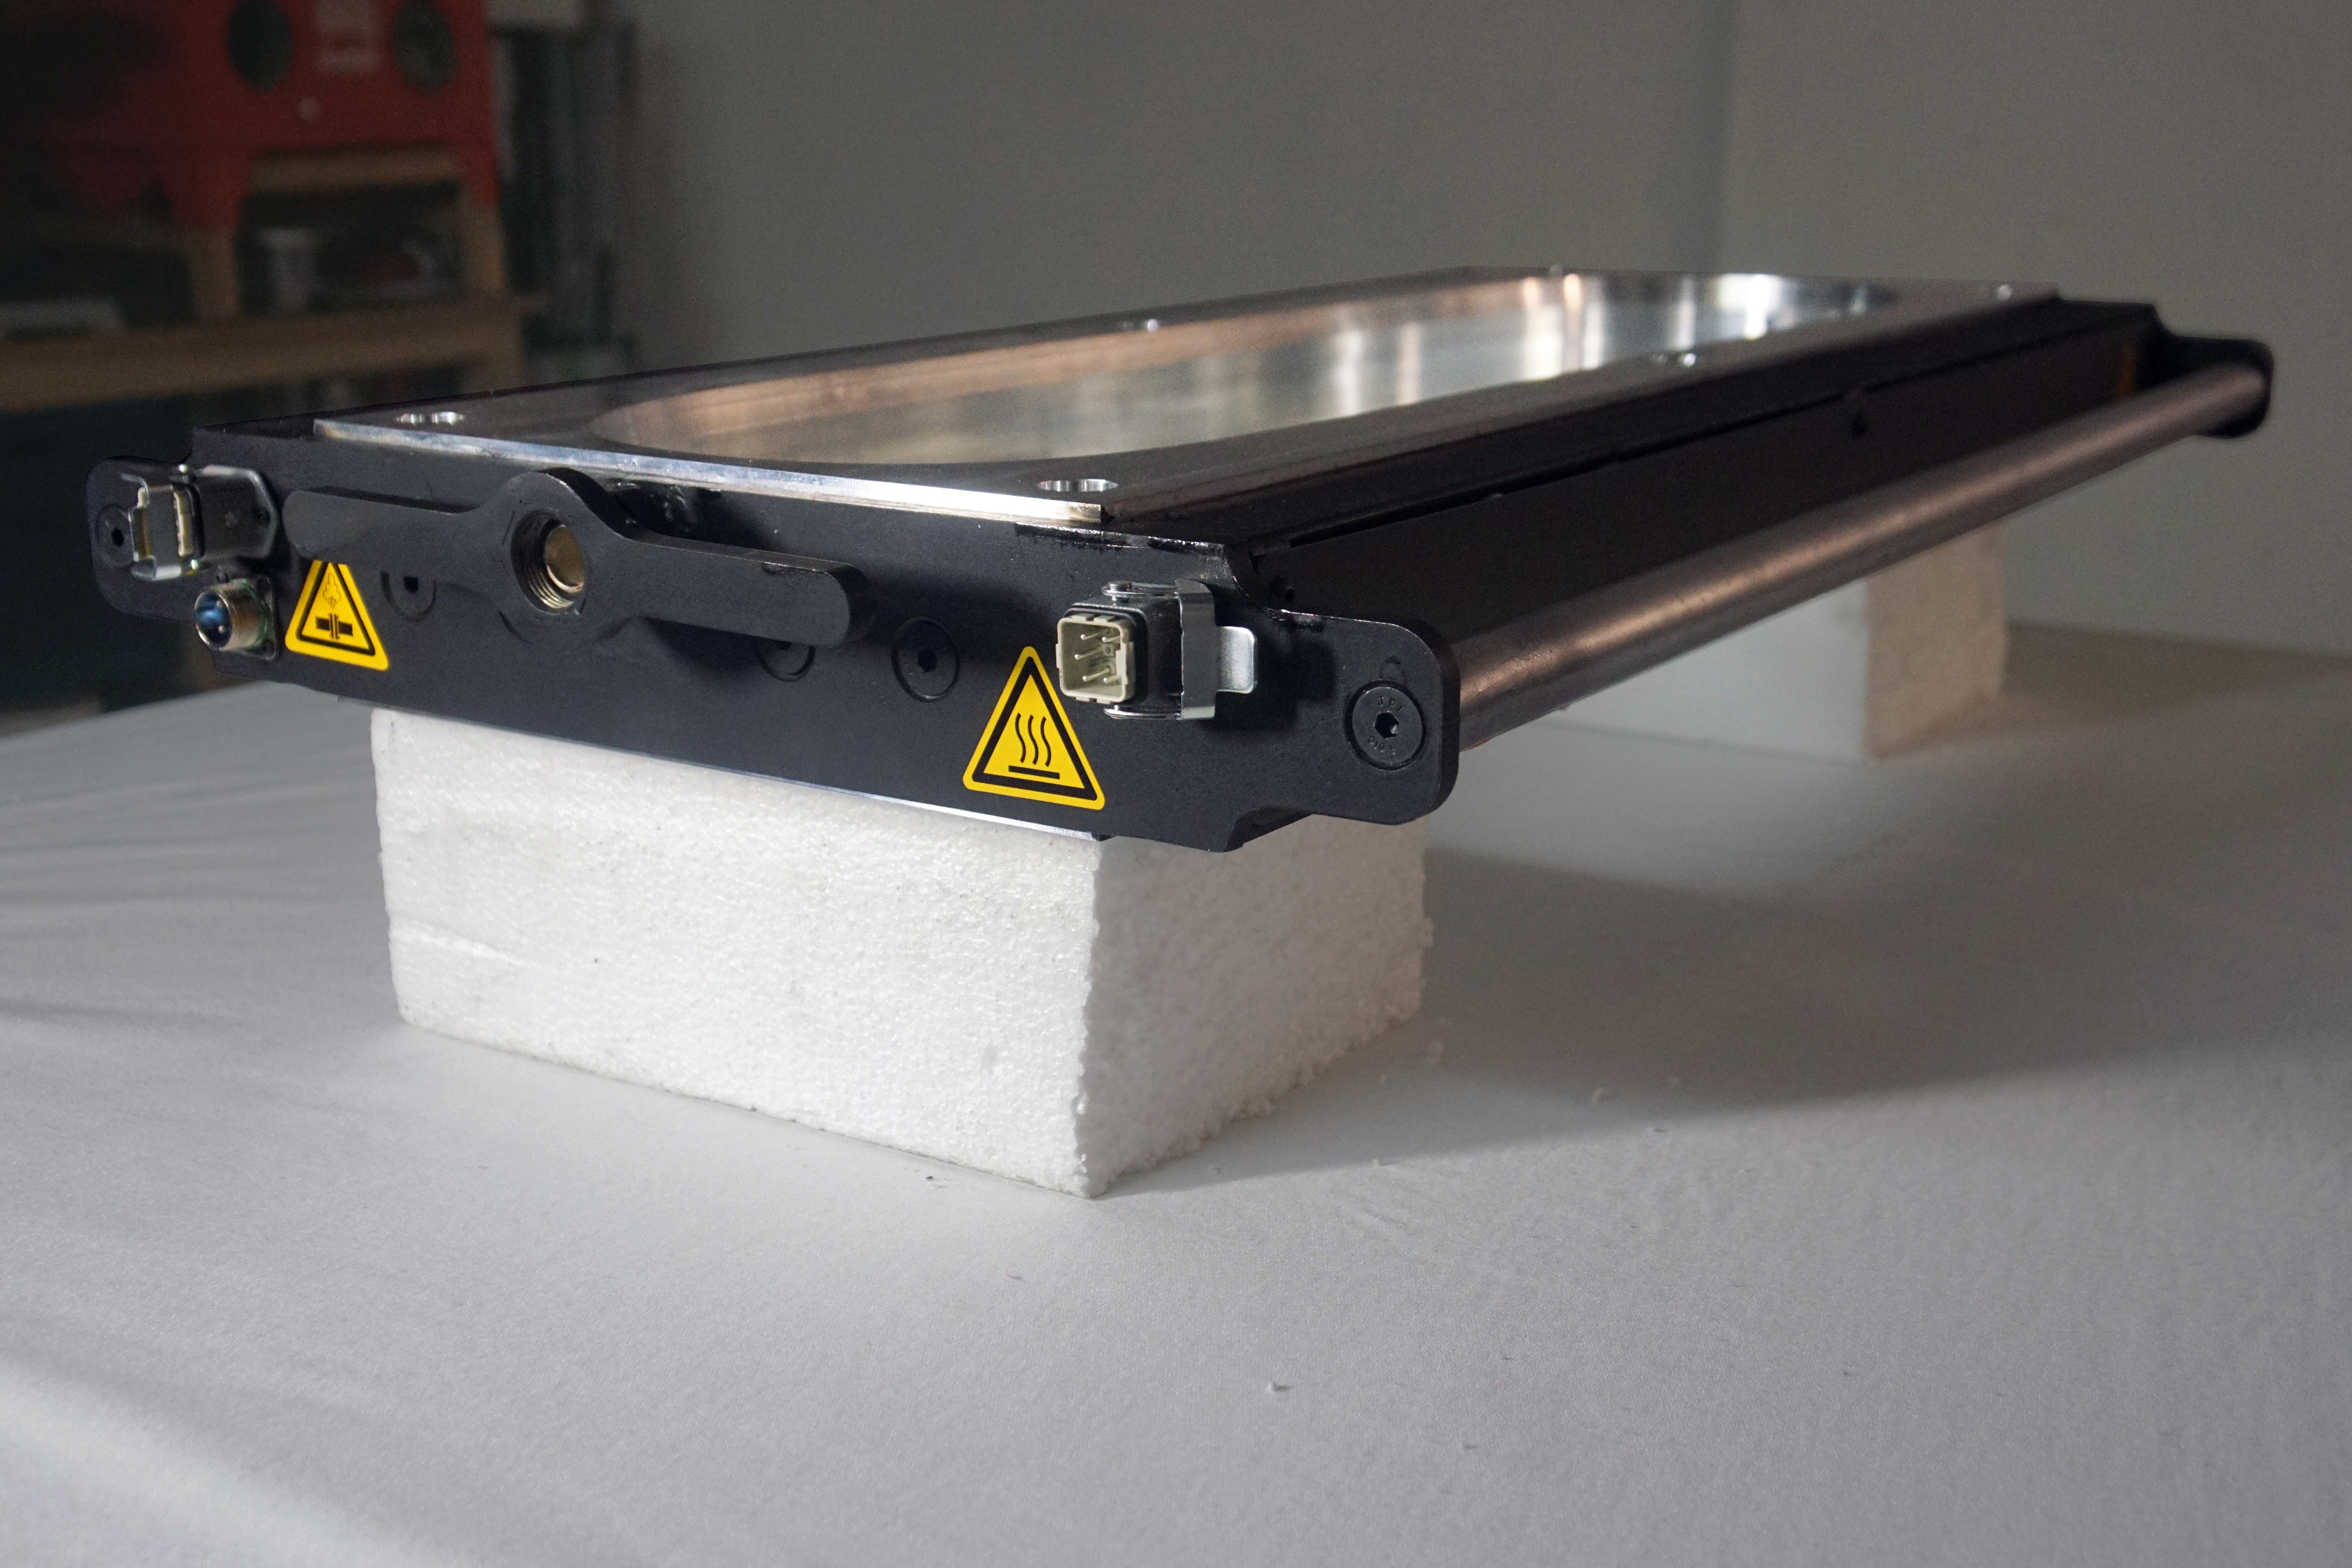
1. Thanks for the support! It motivates us to keep going!
2. The turnaround is 2 hours of work per deck, so you can make 4 in an 8 hour work day, and 32 in a normal work week, with one day for other tasks, (posting, cleaning, maintenance etc). We have tested this as a business model and it works :)  (This is with one mould and one extruder), if you have two moulds per extruder theoretically you can make 6 + decks per day. As for the ROI, we have calculated an 8-year financial forecast for the project, we will share this in a project log very soon if you have any specific questions you can post them here or message us and we can answer them for you. Very cool to hear you are considering implementation!

  Are you sure? yes | no

skivvie wrote 06/22/2022 at 16:20 point

1. This is AMAZING. Thank you for the insane documentation and commitment to both skating and recycling. 2. What is the turn around time PER DECK. I'm considering doing this but the ROI seems high. Thanks again!

  Are you sure? yes | no

Similar Projects

Does this project spark your interest?

Become a member to follow this project and never miss any updates