Martin Goodwell
-
Radio Gaga?
10/13/2022 at 19:14 • 0 commentsThis one comes as a surprise to myself, as I never even remotely thought about doing what I finally ended up doing :-D
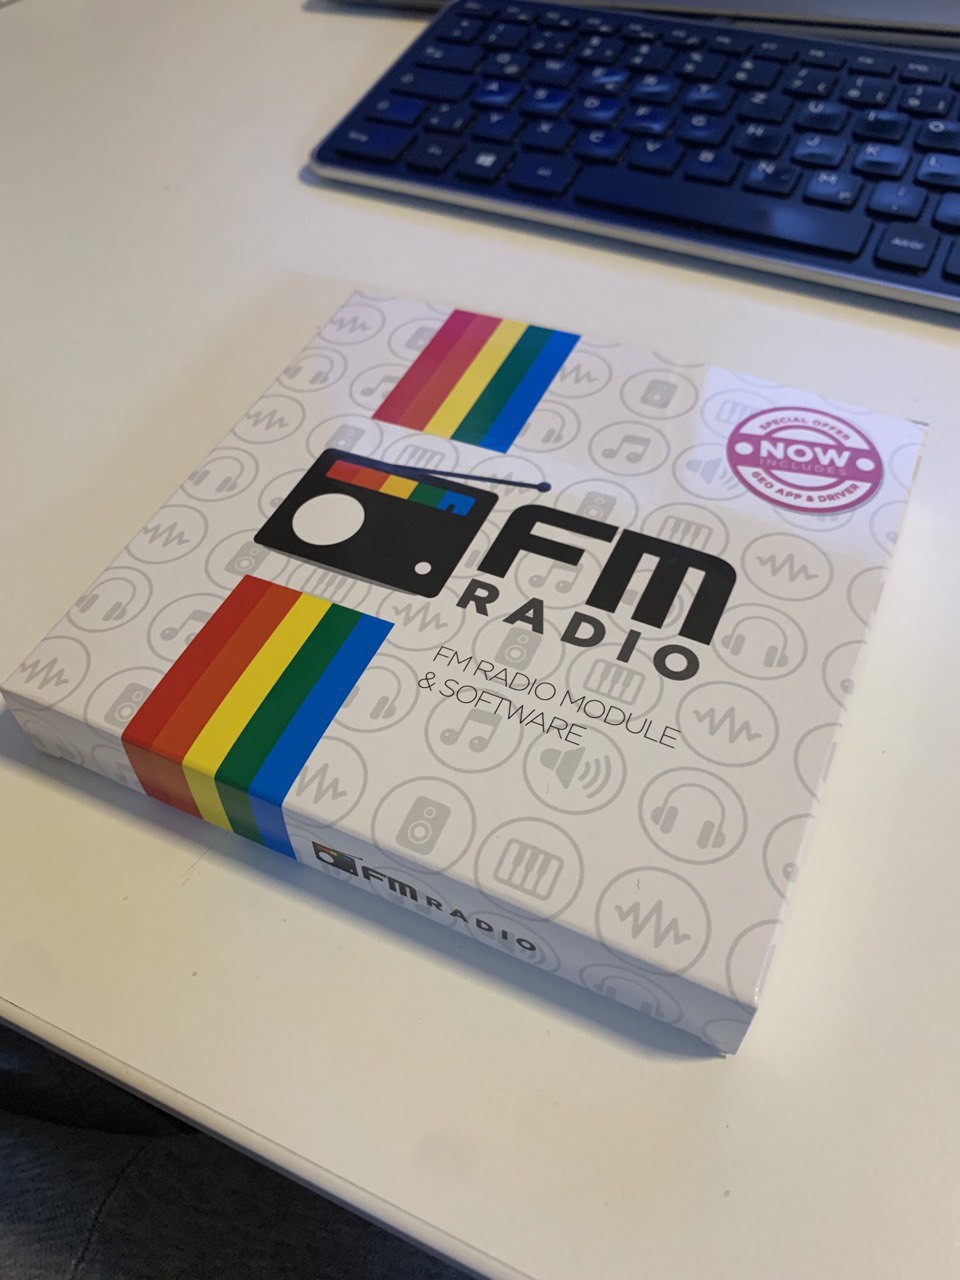
I added an FM-Radio to the Cyberdeck
![]()
![]()
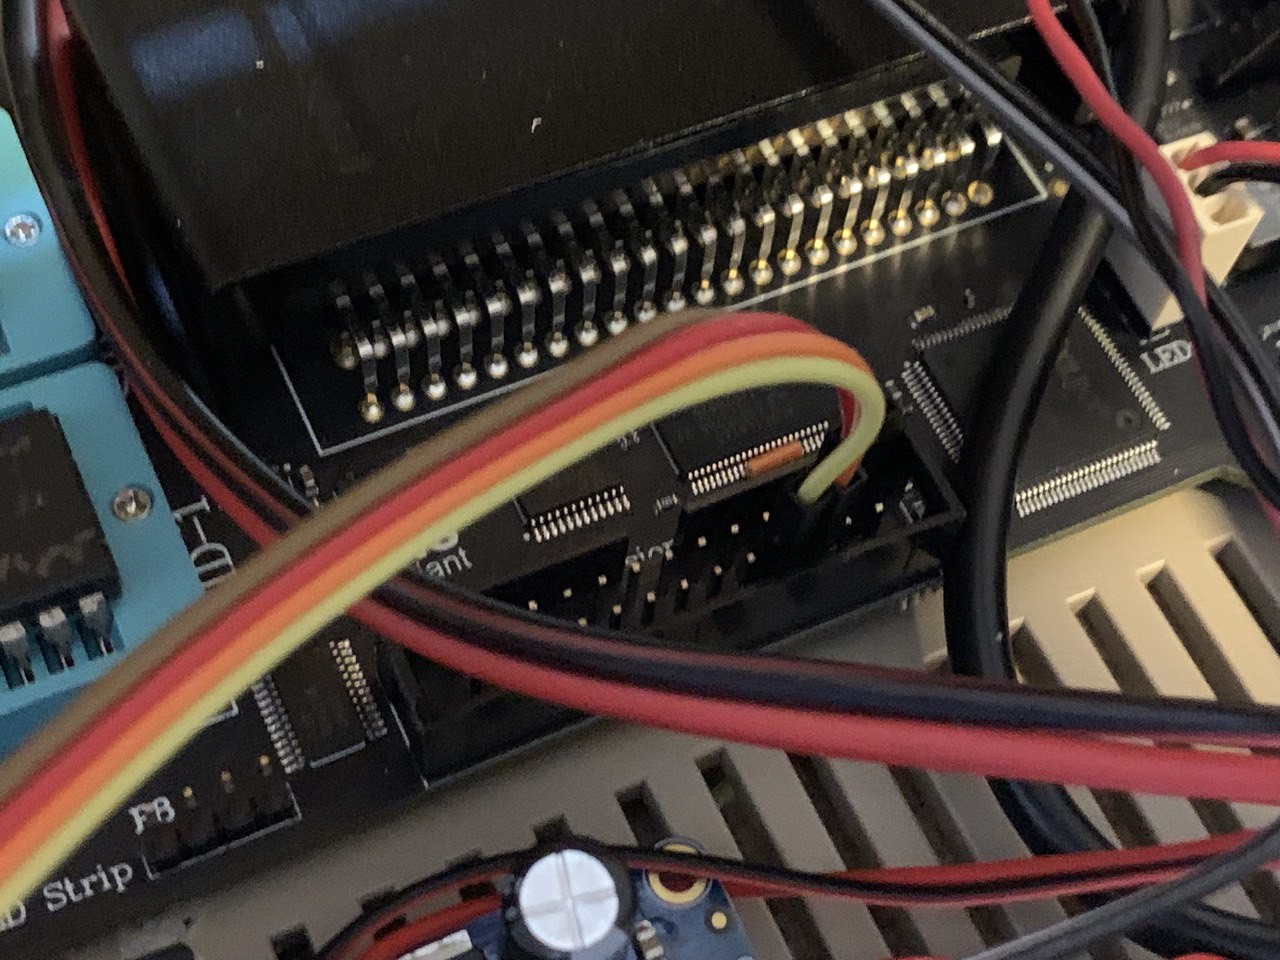
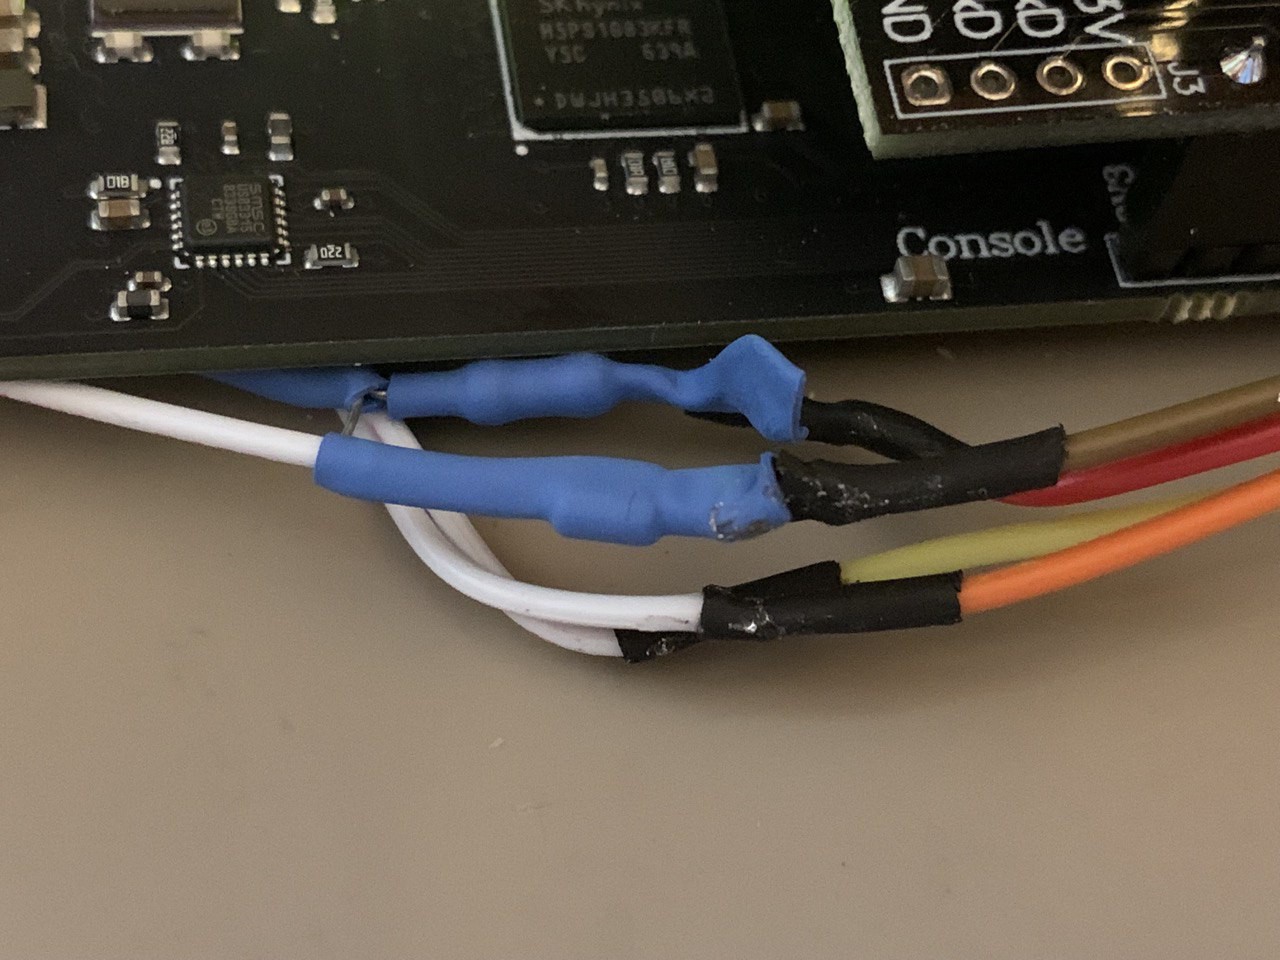
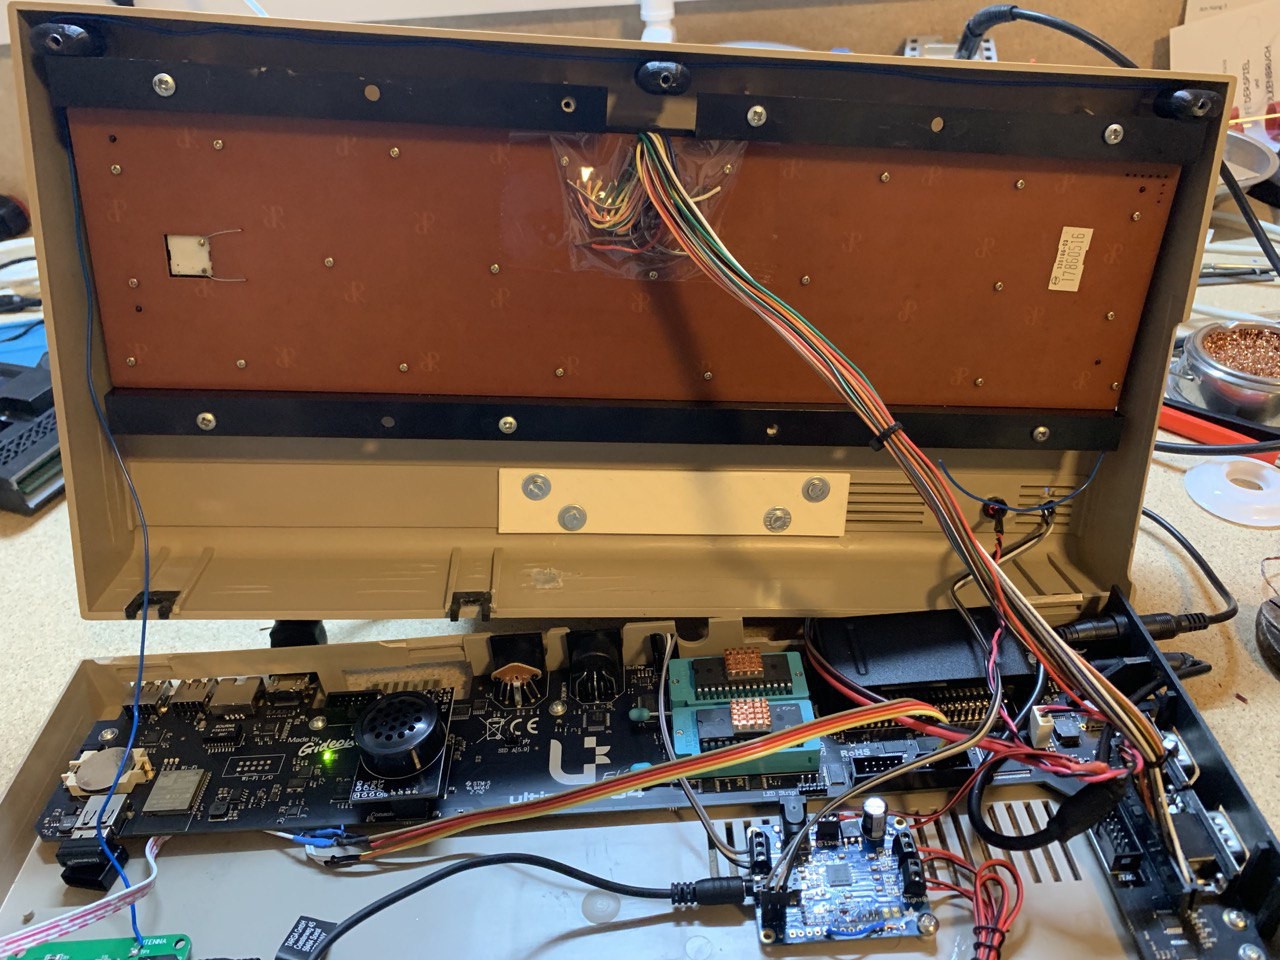
This is actually based on a common chip, the RDA5807. Connection goes to the userport, which is pretty easy with the Ultimate64, as it features internal Userport headers
![]()
The userport only provides 5V, but the radio module actually requires 3.3V. As part of the original packaging, the userport connector of the radio came with a diode and a resistor built-in.
![]()
I only removed the userport connector (because I'm connecting to the internal headers), but kept the "voltage correction appliance" in place.
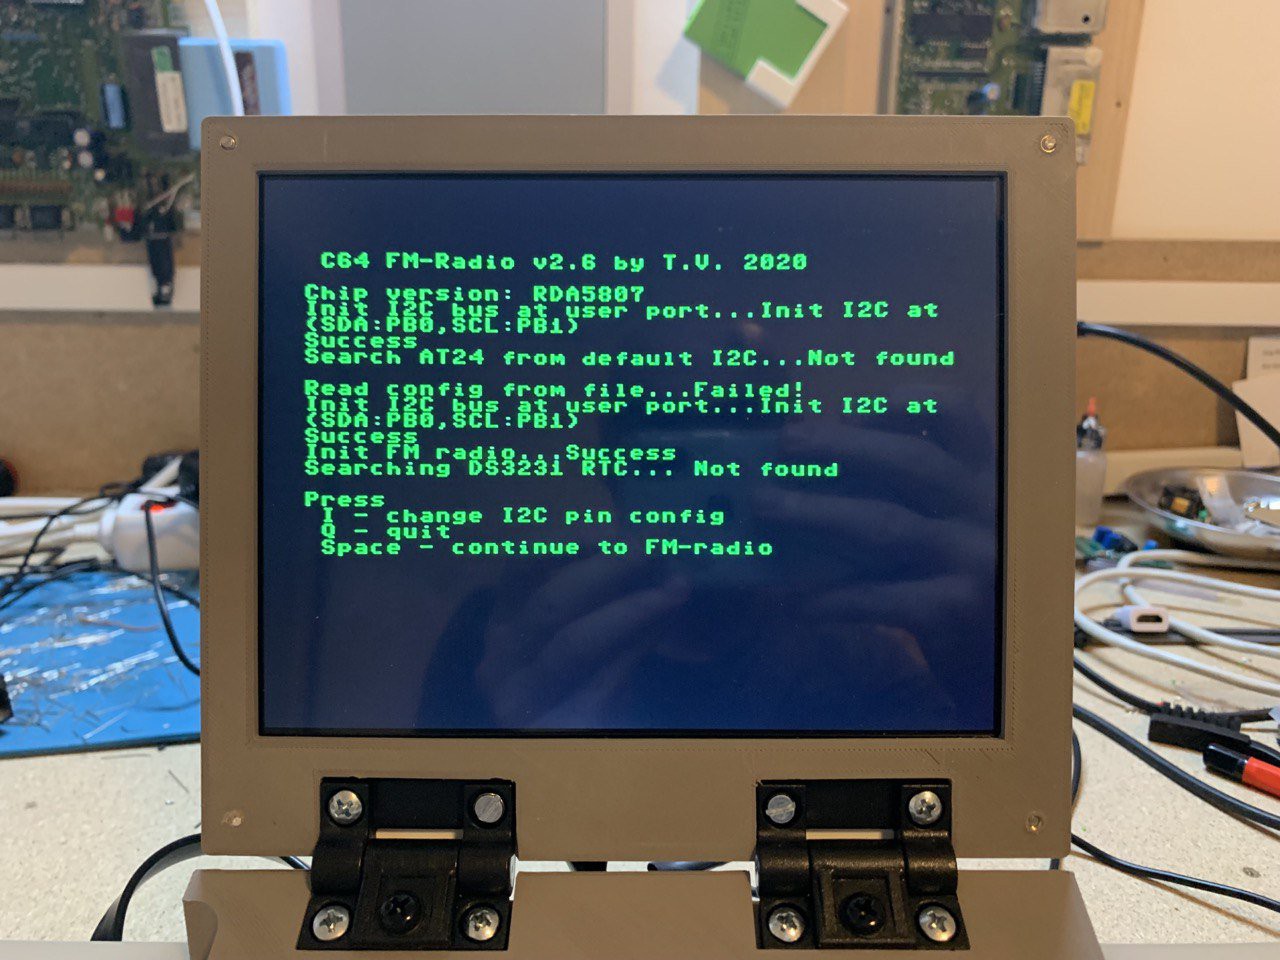
Power-on and run the provided application... TADAAAA
![]()
The connection to the FM radio was established successfully.
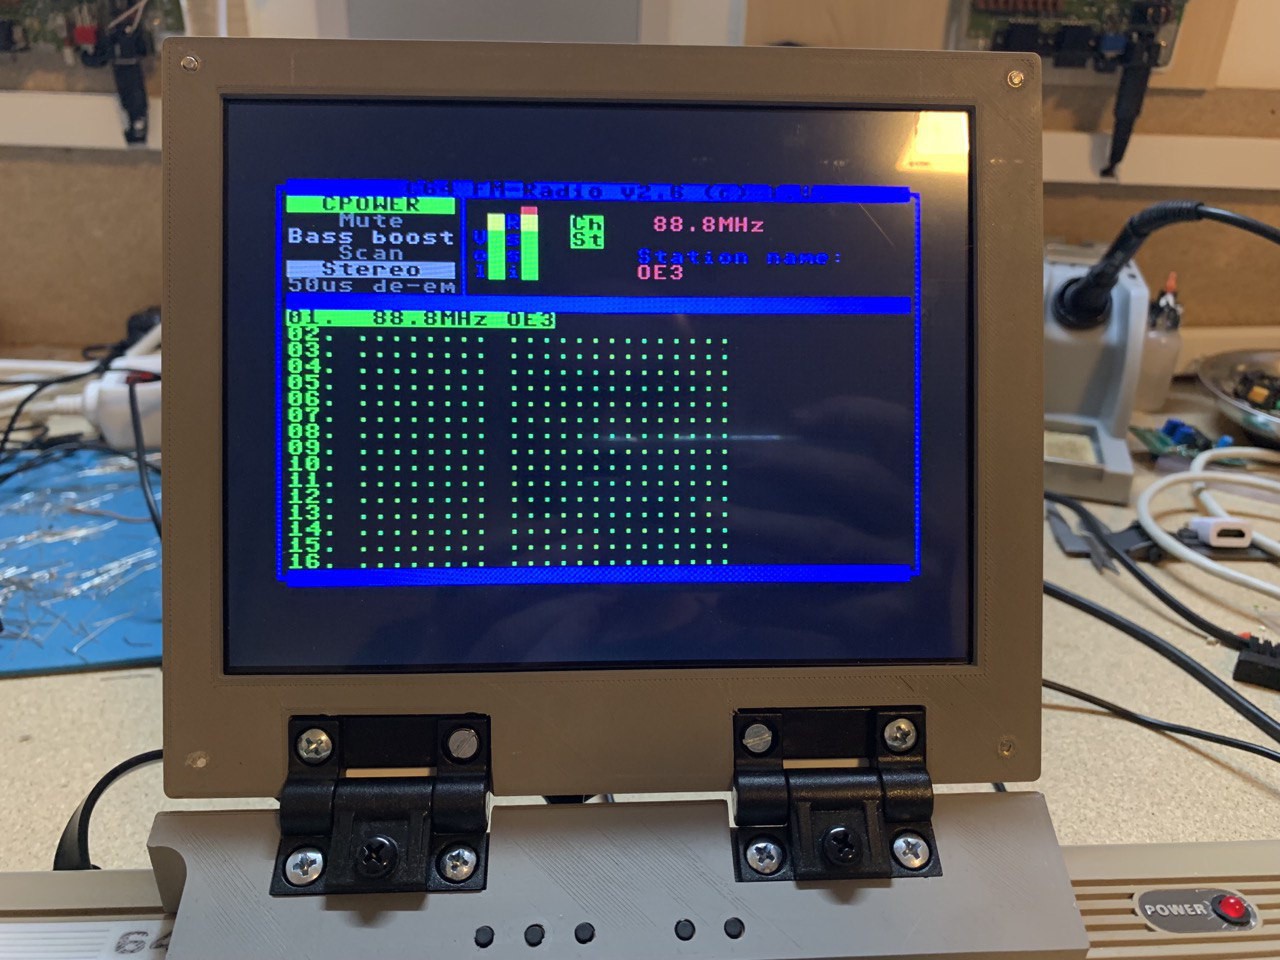
Next comes the channel scan: check
![]()
Reception quality is actually really good. Much better than on my living-room amplifier, for example.
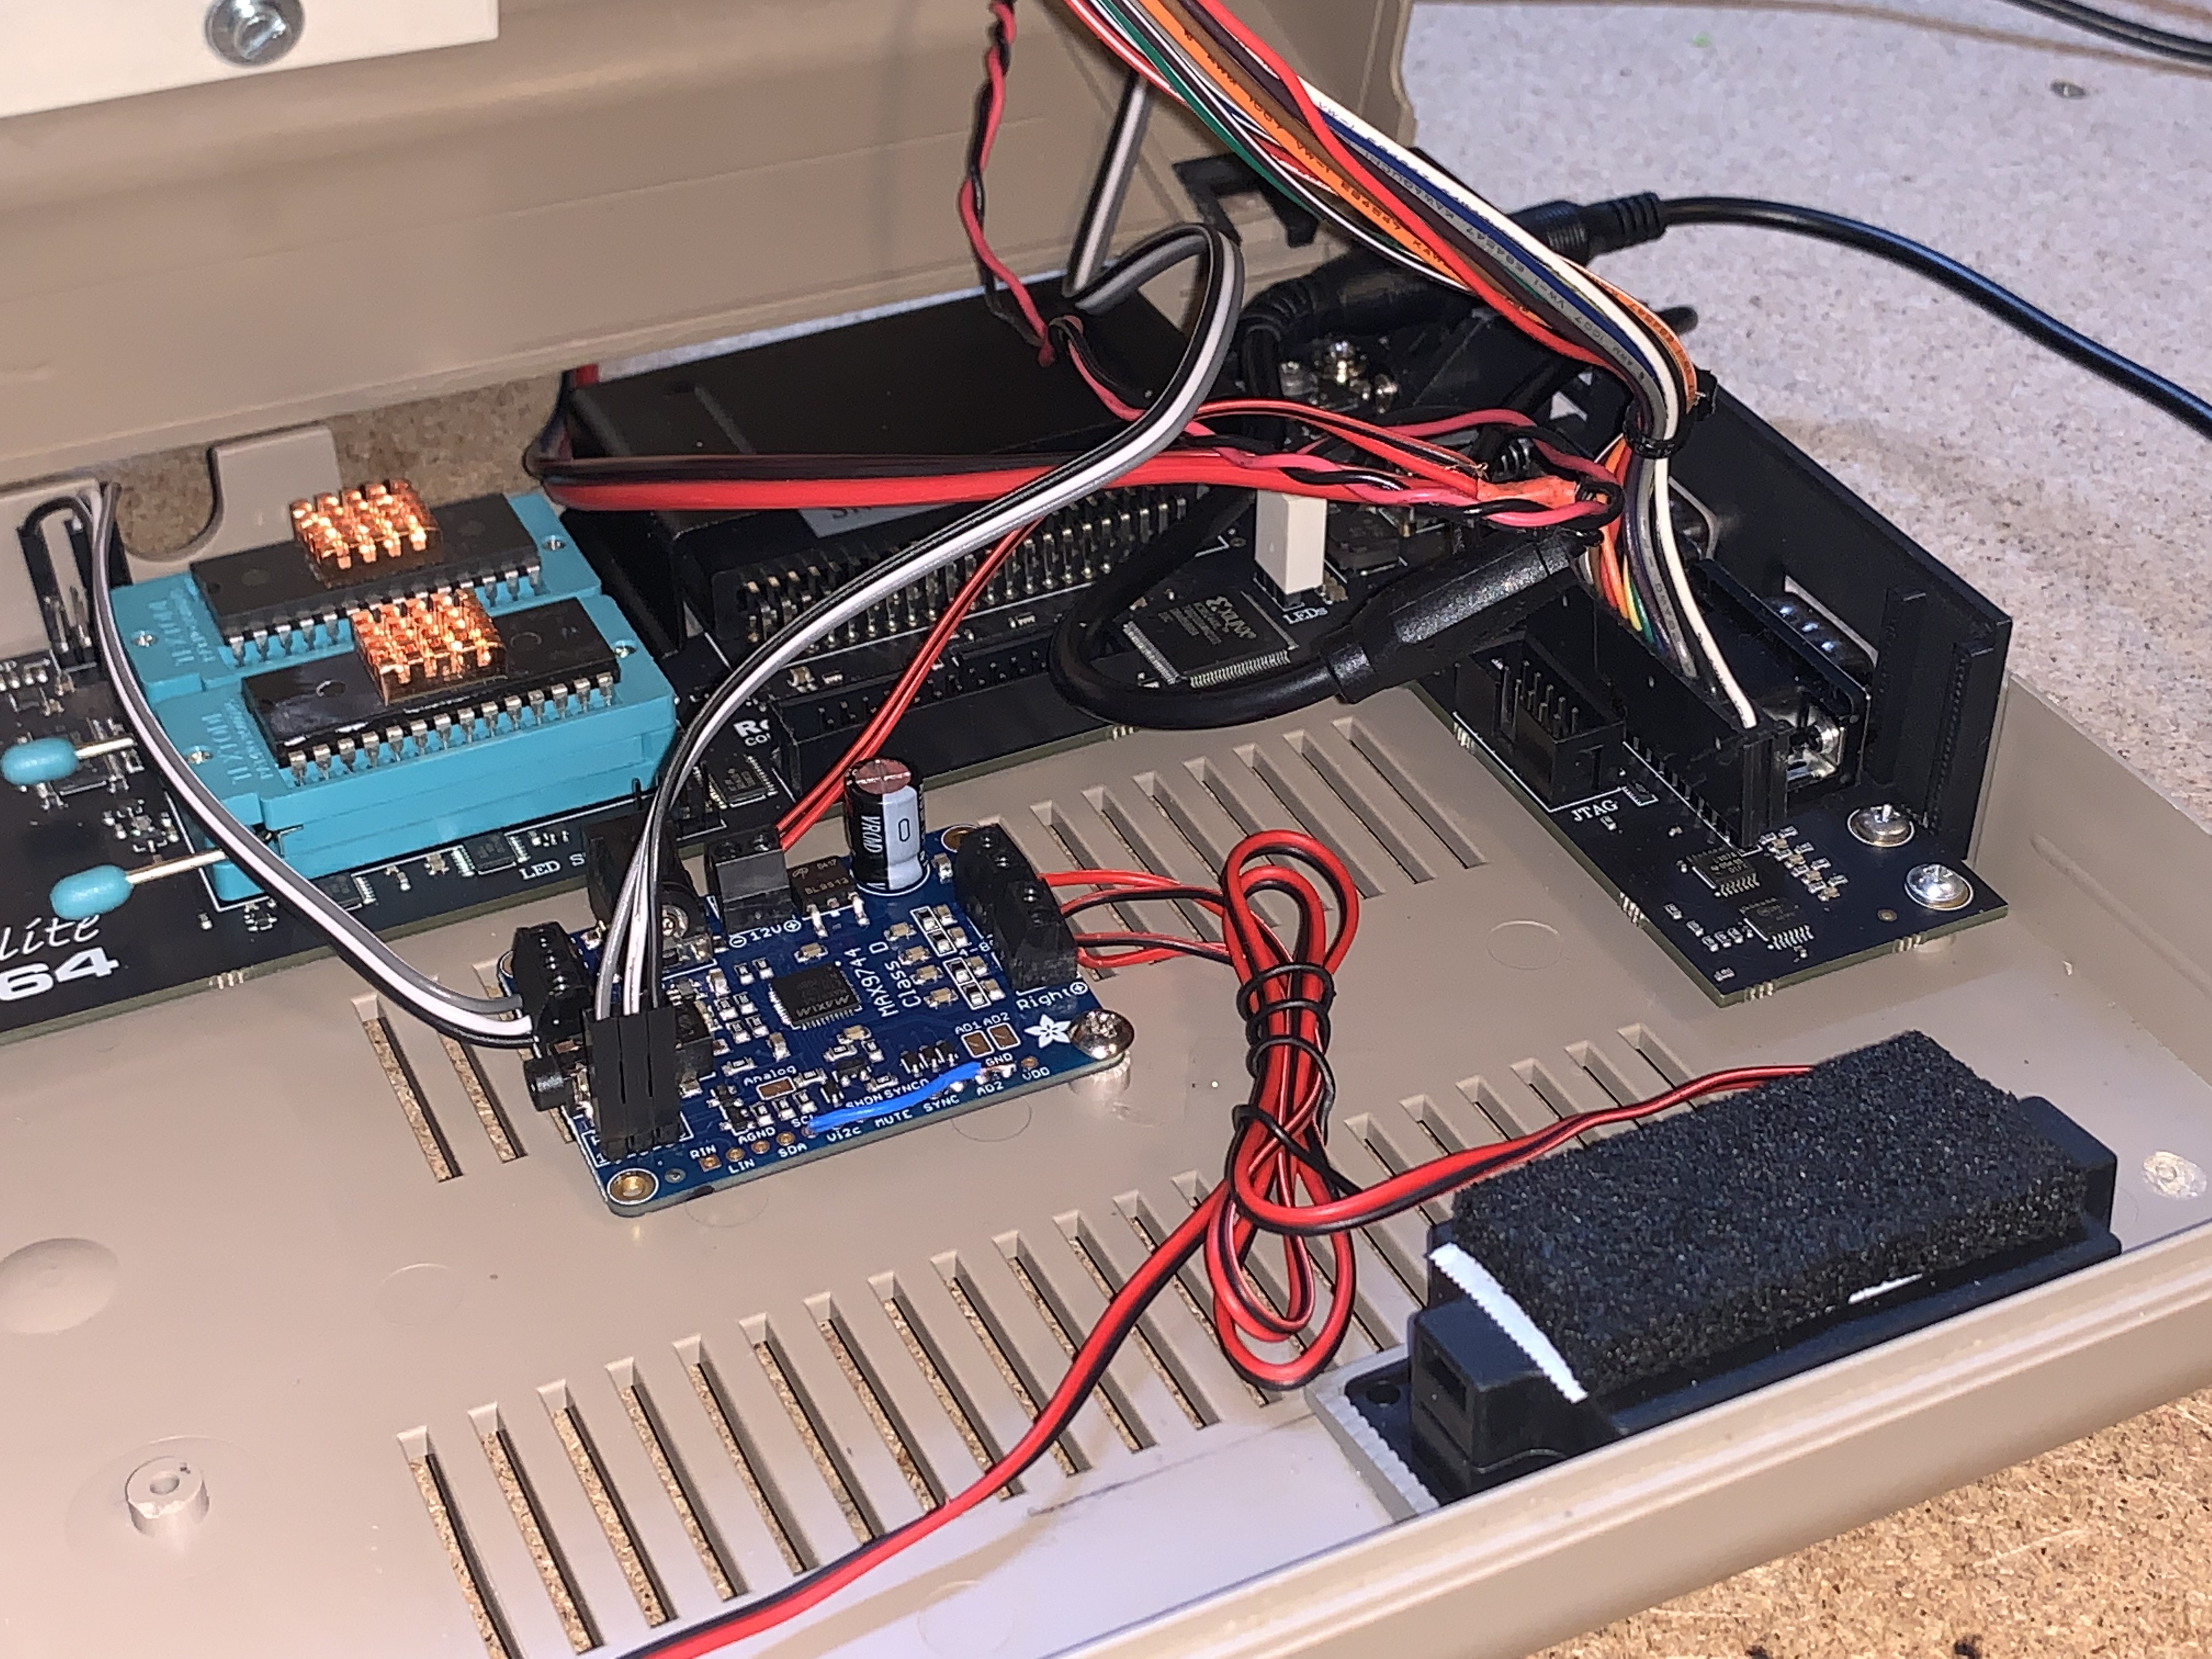
Also, the amplifier that I added earler today already proves itself again to be the right choice: it offers two audio inputs. One coming from the SID chips, the other one coming from the FM radio module.
![]()
Finally, a picture of the wire that acts as antenna
![]()
I decided to put it between the keyboard and the top shell. This keeps it in place just fine and if I need to remove the top shell, I can easily remove the antenna without too much hassle (which is always an important thing for me - disassembly of the machine still needs to be easy, no matter how much stuff you put into it).
Find more information about this awesome radio here: https://sites.google.com/site/dividedbit/home/c64-projects/fm-radio-for-c64
-
Amplified
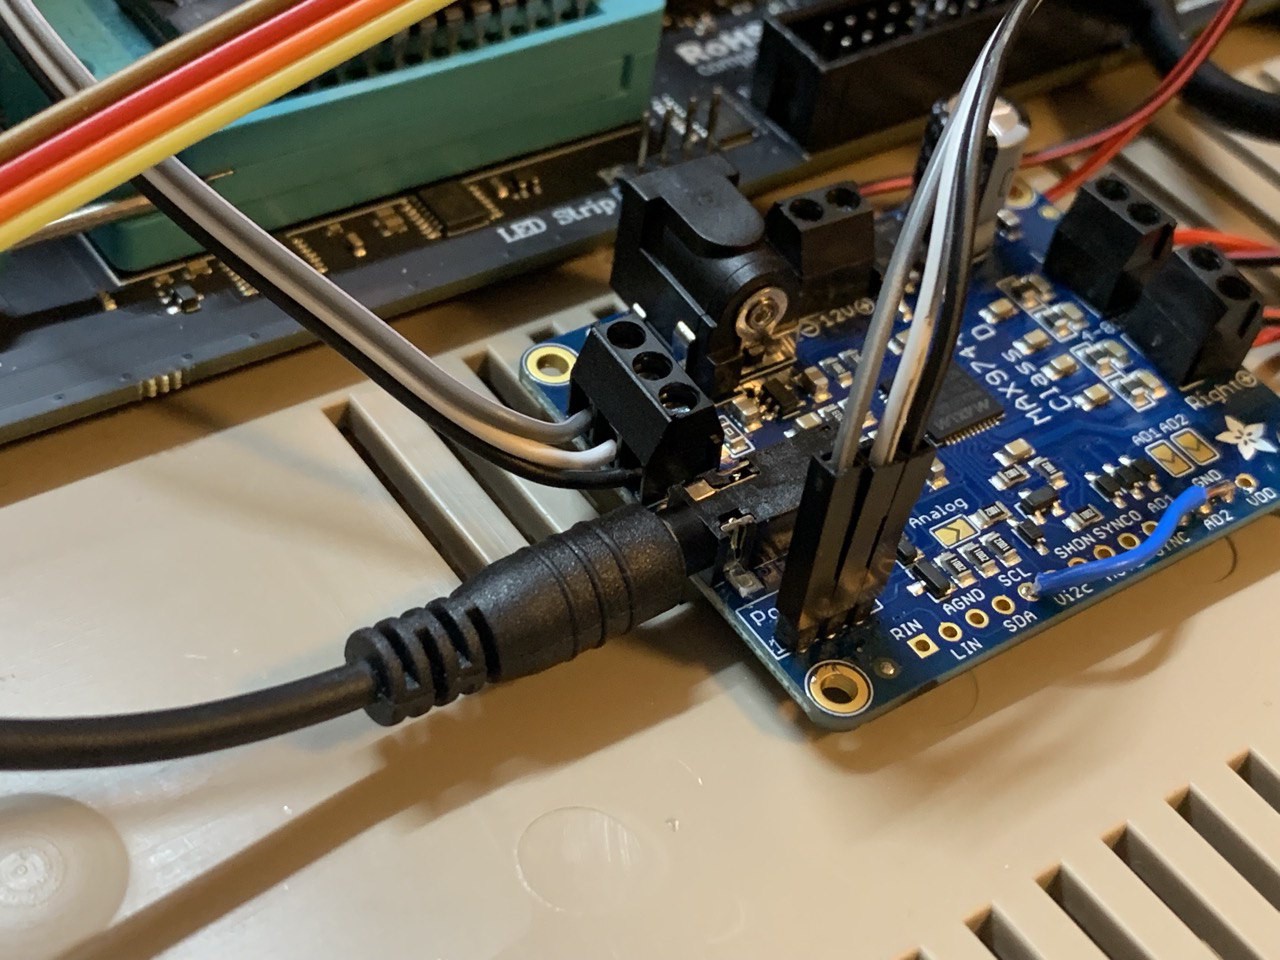
10/13/2022 at 17:19 • 0 commentsFinally, the new amplifier board arrived today. An Adafruit Max9744.
Put it into place immediately, and it works perfectly.
![]() Audio input is coming from the Sid Tap Headers, as described in my prevoius update. This means that the audio is not processed by any FPGA components on the mainboard and directly fed into the amplifier
Audio input is coming from the Sid Tap Headers, as described in my prevoius update. This means that the audio is not processed by any FPGA components on the mainboard and directly fed into the amplifier ![]()
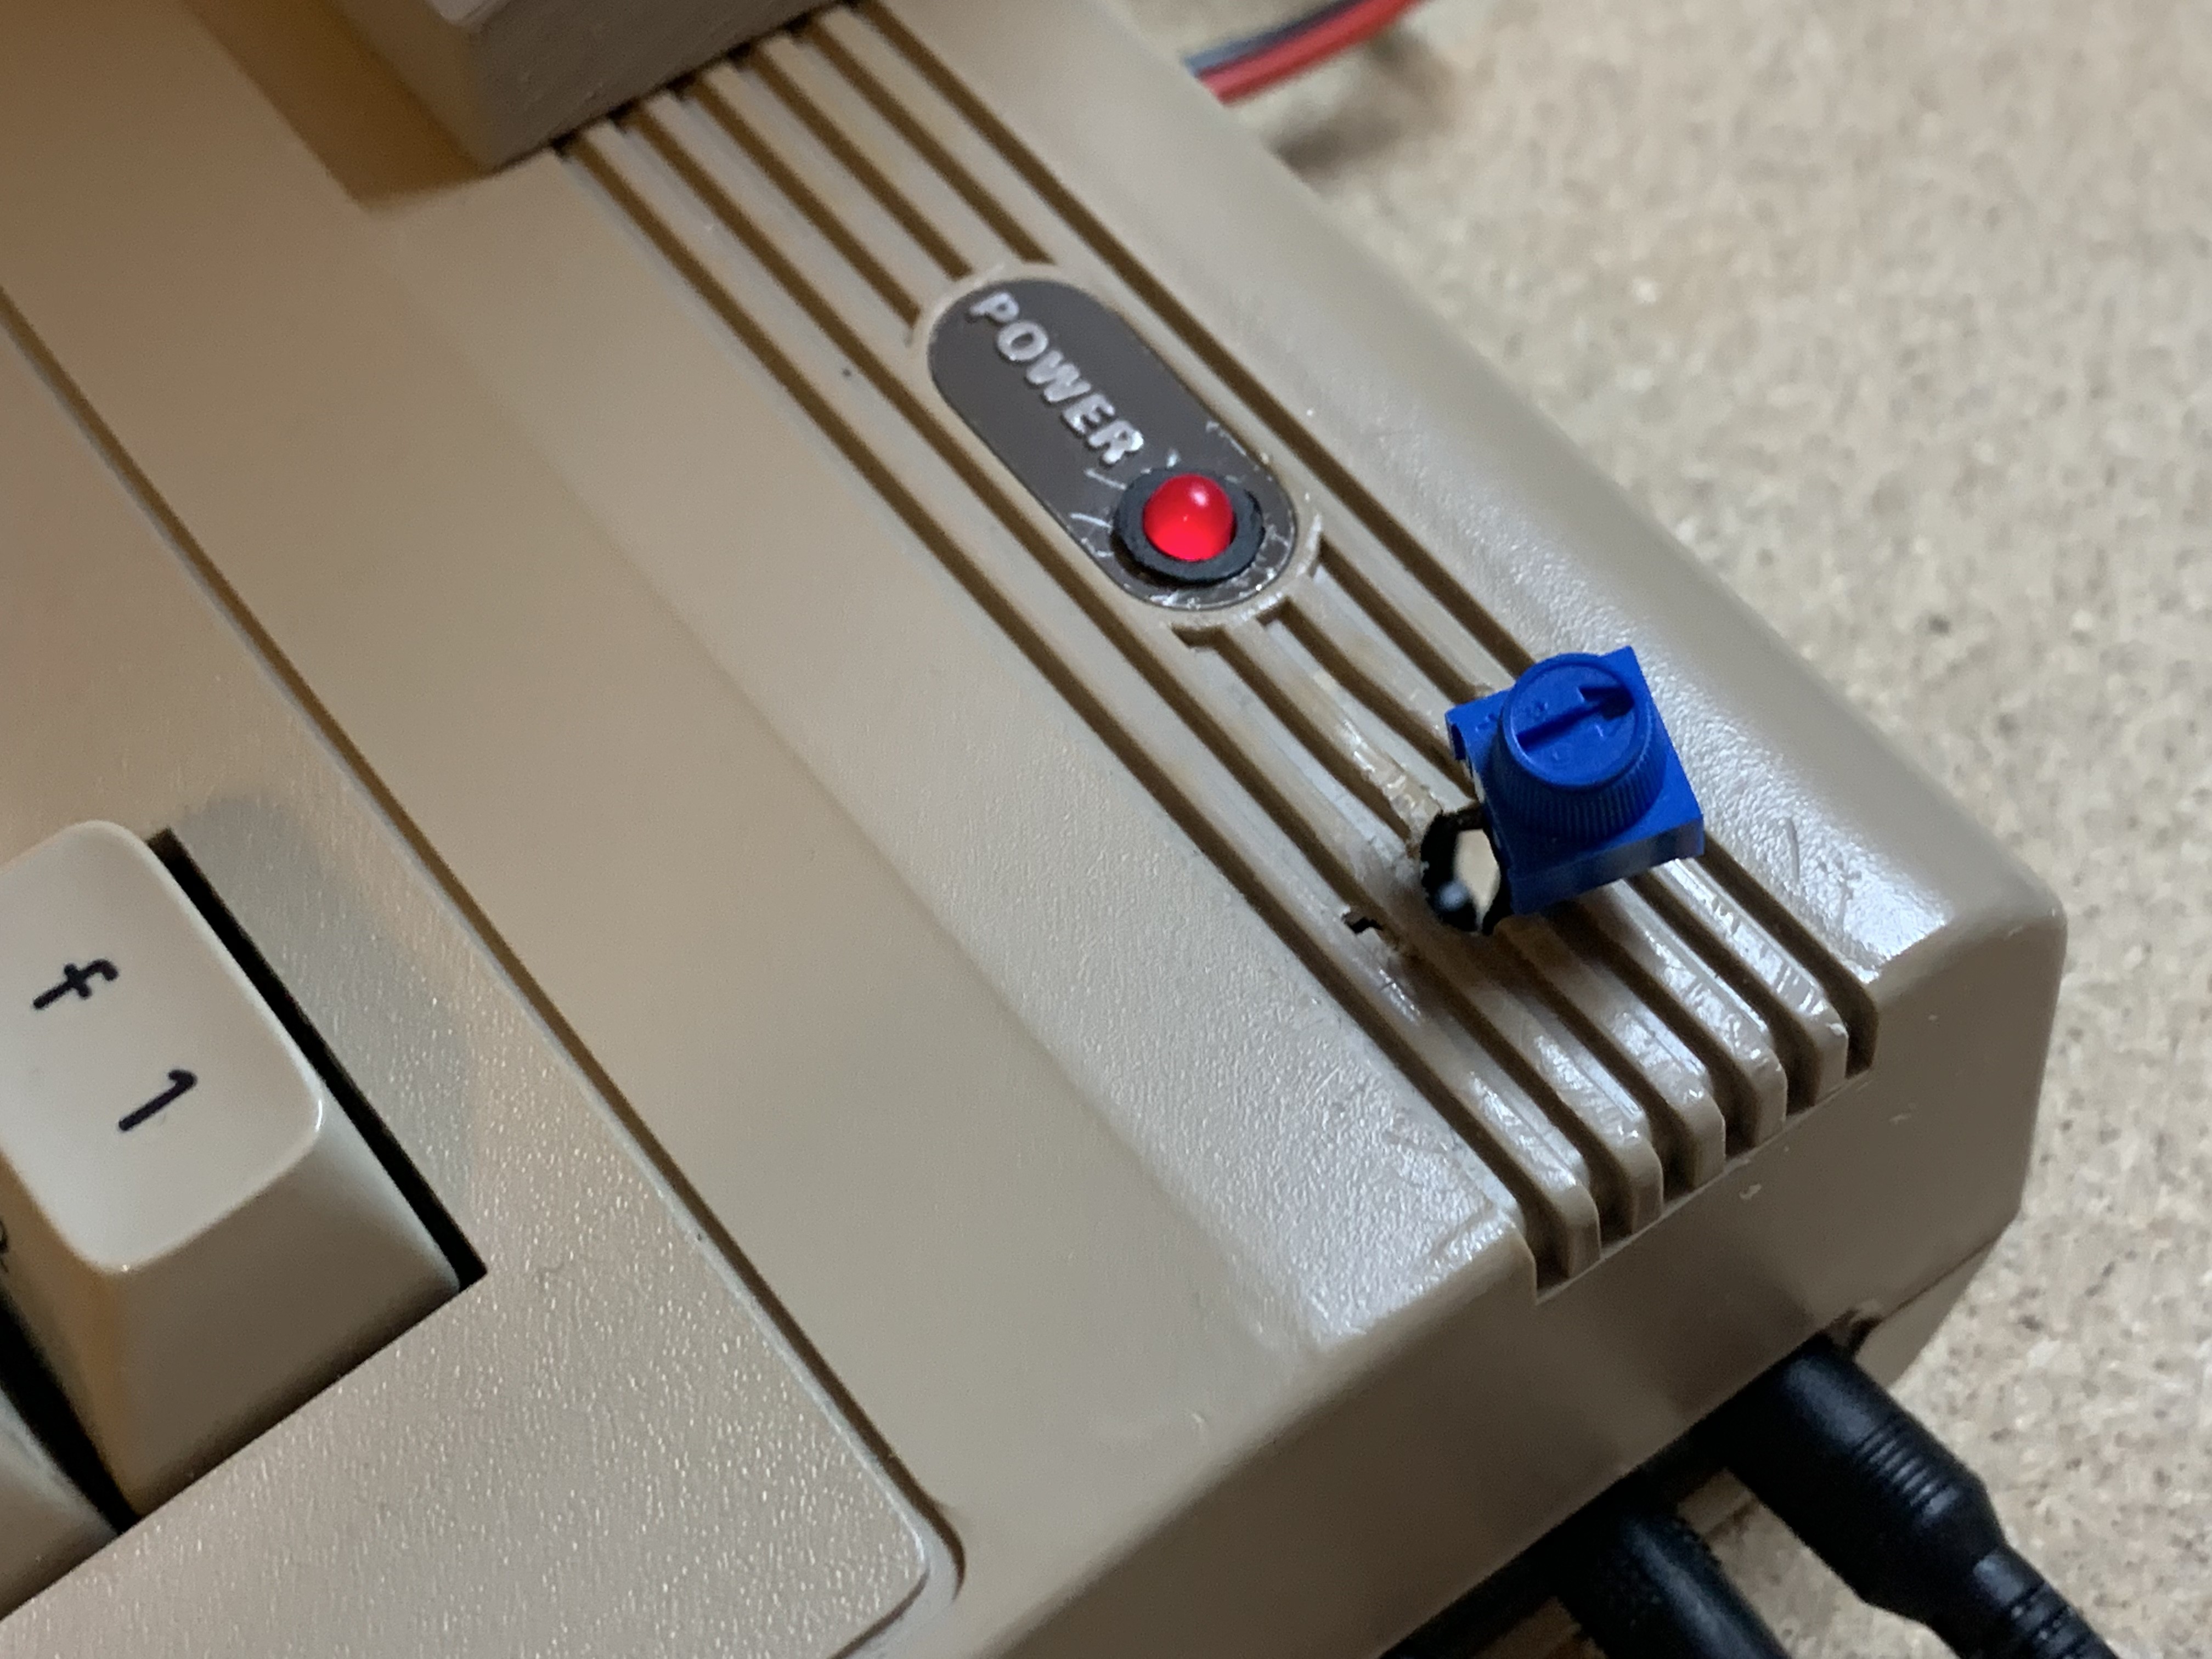
I still have to find a good solution for the volume control.
![]()
I‘ll probably try to print a better looking knob and will also print some frame to fix it to the enclosure.
Whatever it will be, you‘ll be the second to know.
Summarizing: audio is playing perfectly fine, no hum or other disturbing noises. -
Real Audio
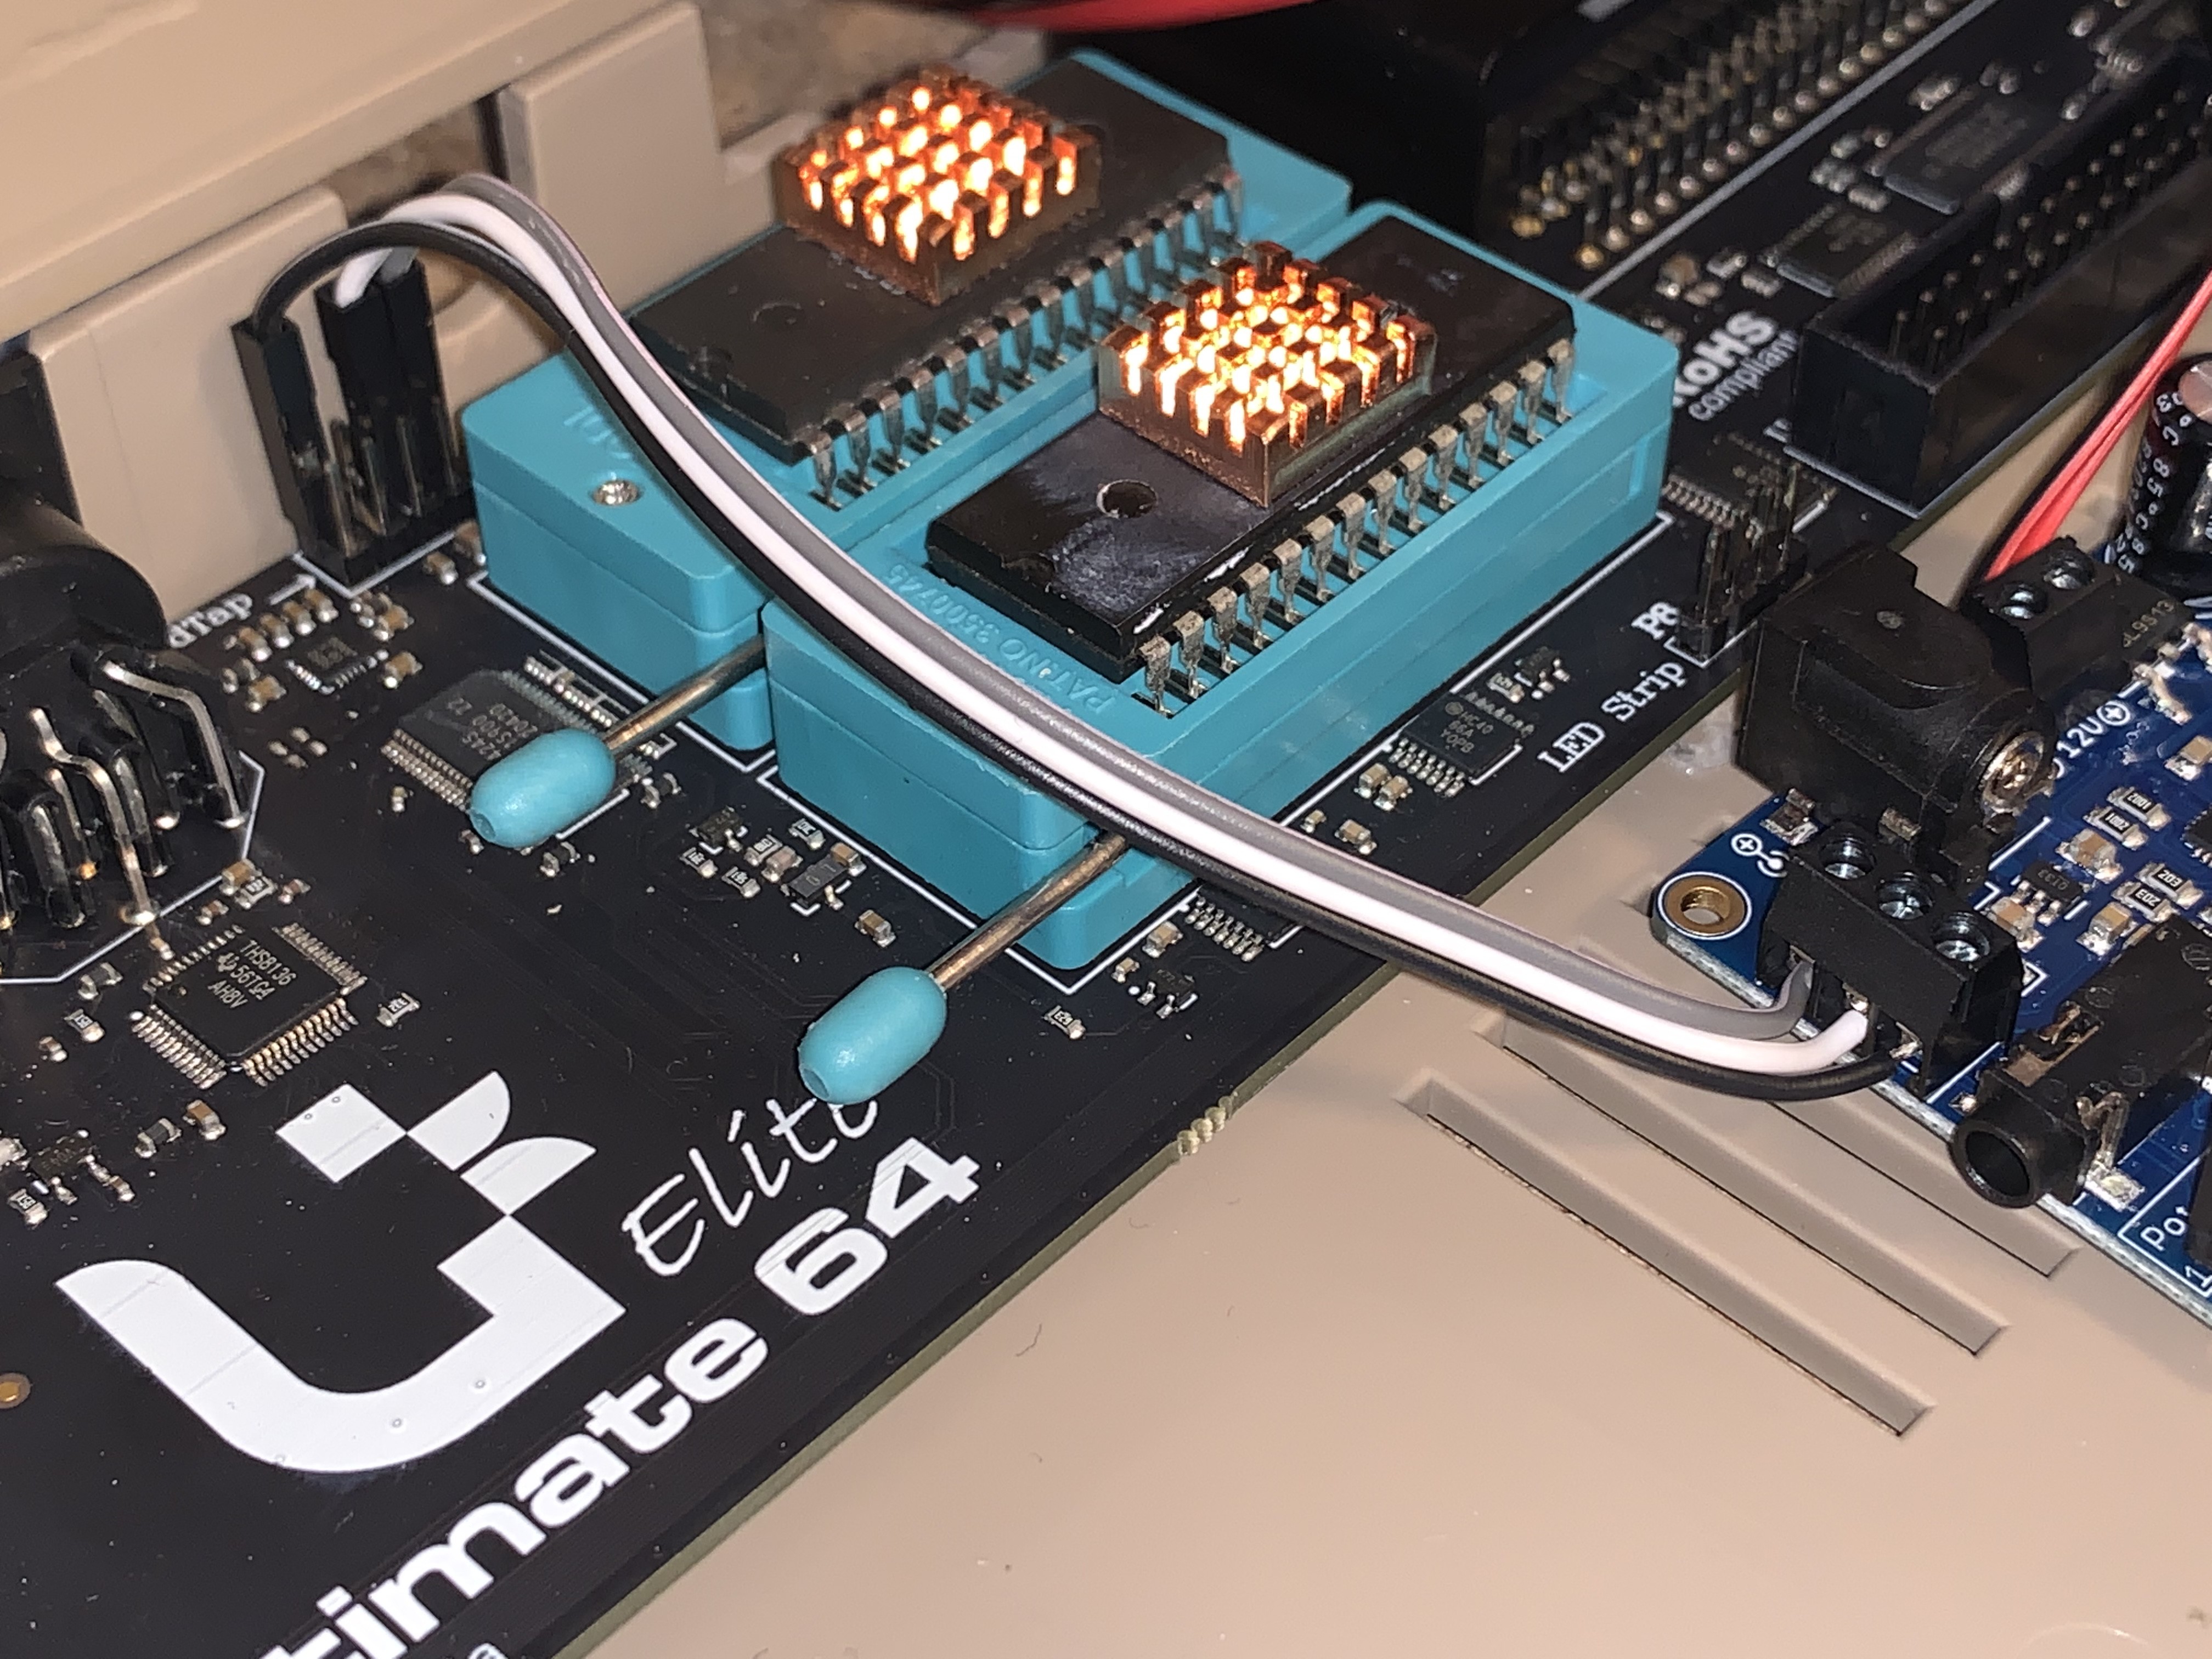
10/11/2022 at 16:17 • 0 commentsThe mainboard I use provides header pins for getting the audio signal from inside the case (as opposed to the external Audio/Video connector)
However, this only works if real SID chips are installed. Wirhout these, the board provides FPGA simulation, which isn‘t bad at all. But still, no internal audio without soldering without real SID chips.
This is why I decided to put SID chips in.
![]()
I‘m still waiting for the amplifier to arrive, but first test revealed they work great.
One chip would be sufficient, but hey, it‘s all or nothing :-)
-
Speakers and Screws
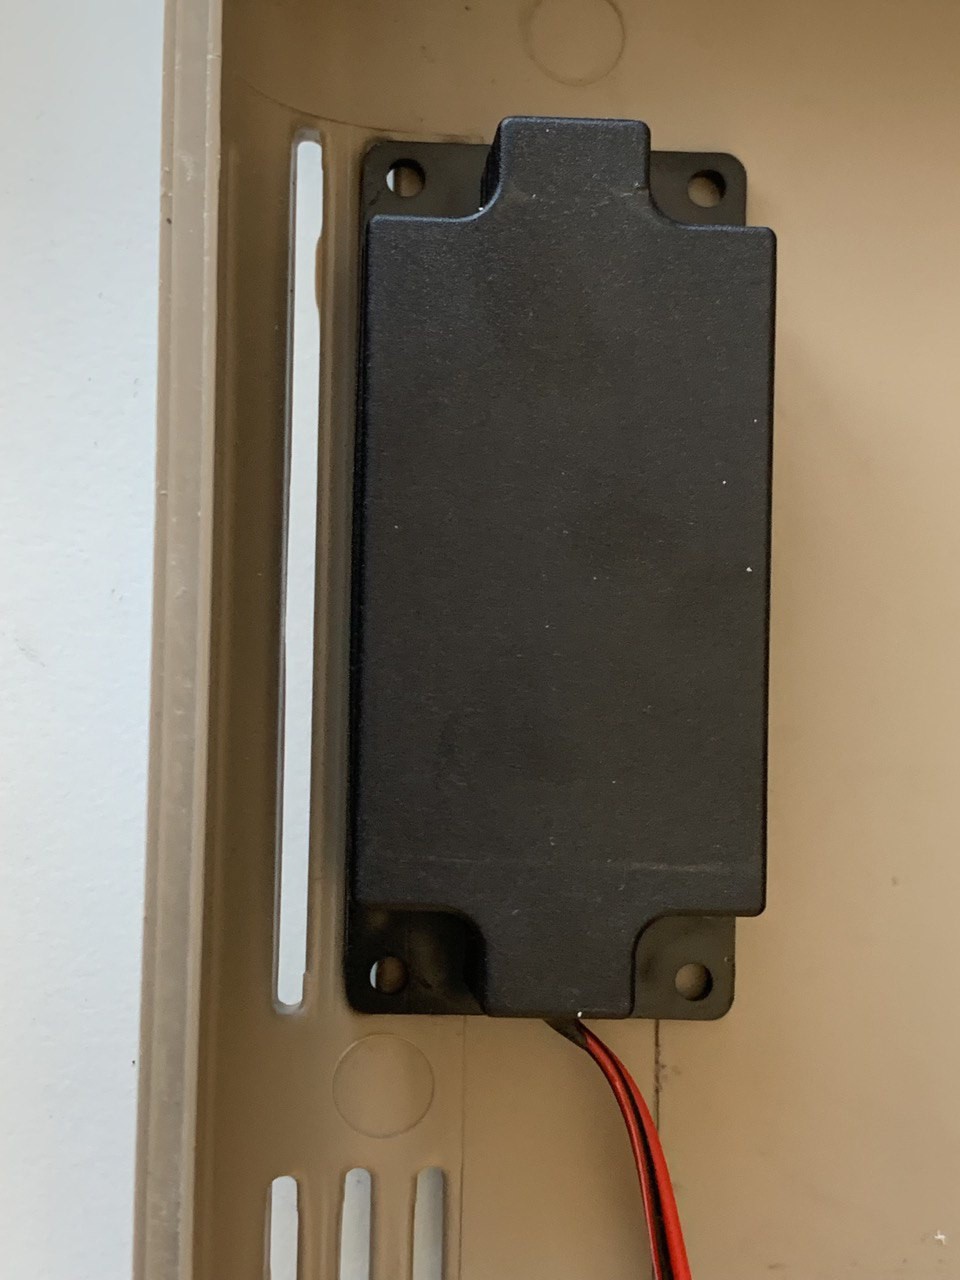
10/06/2022 at 11:17 • 0 commentsThe Speakers
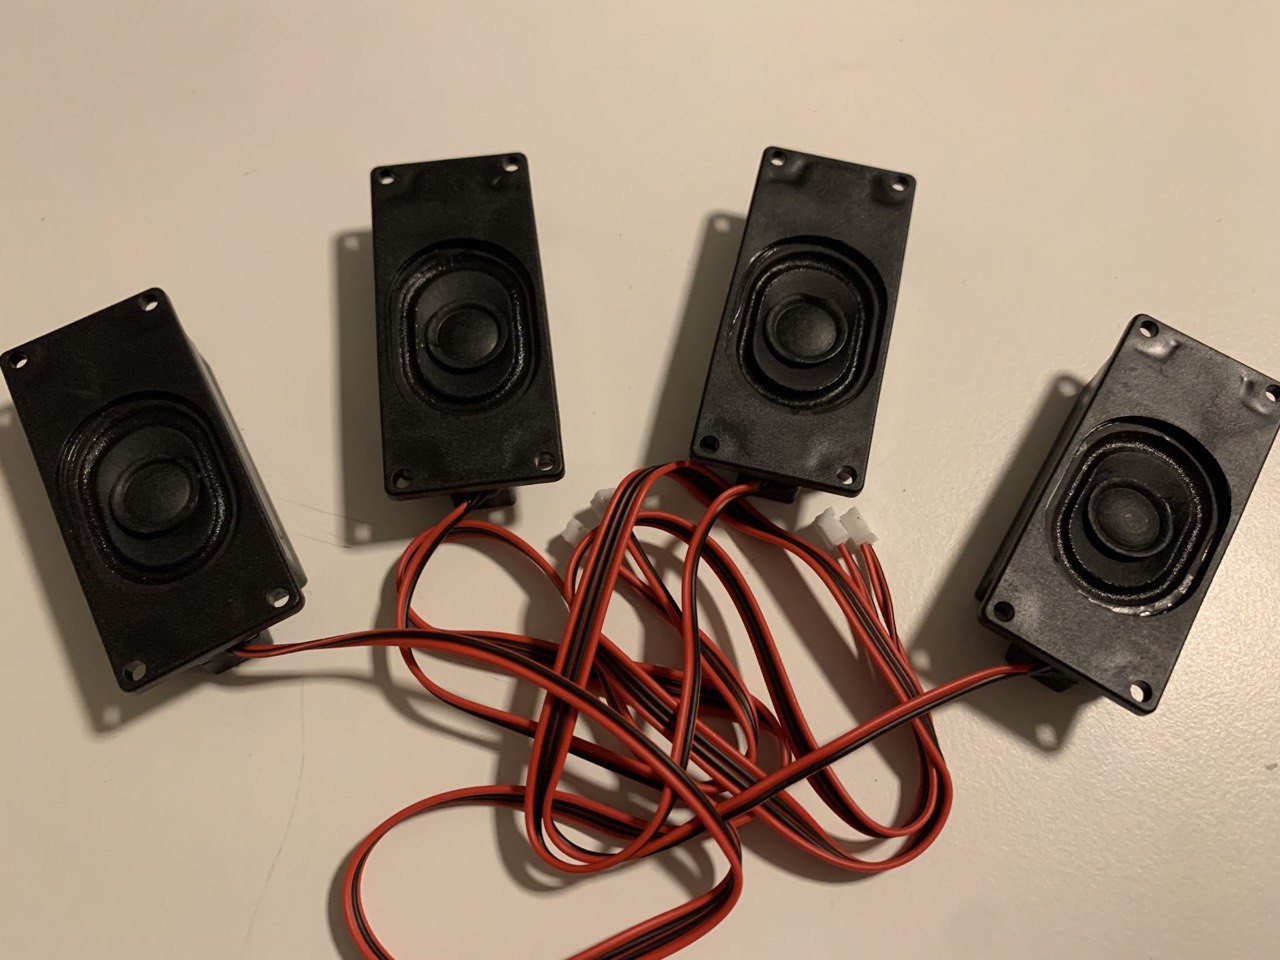
The solution for having audio on the Cyberdeck was still missing. The unamplified speaker was barely audible.
So, I ordered an amplifier PCB and some speakers. The speakers arrived yesterday
![]()
So: where to put these? (just two of them, of course). And how to fix them?
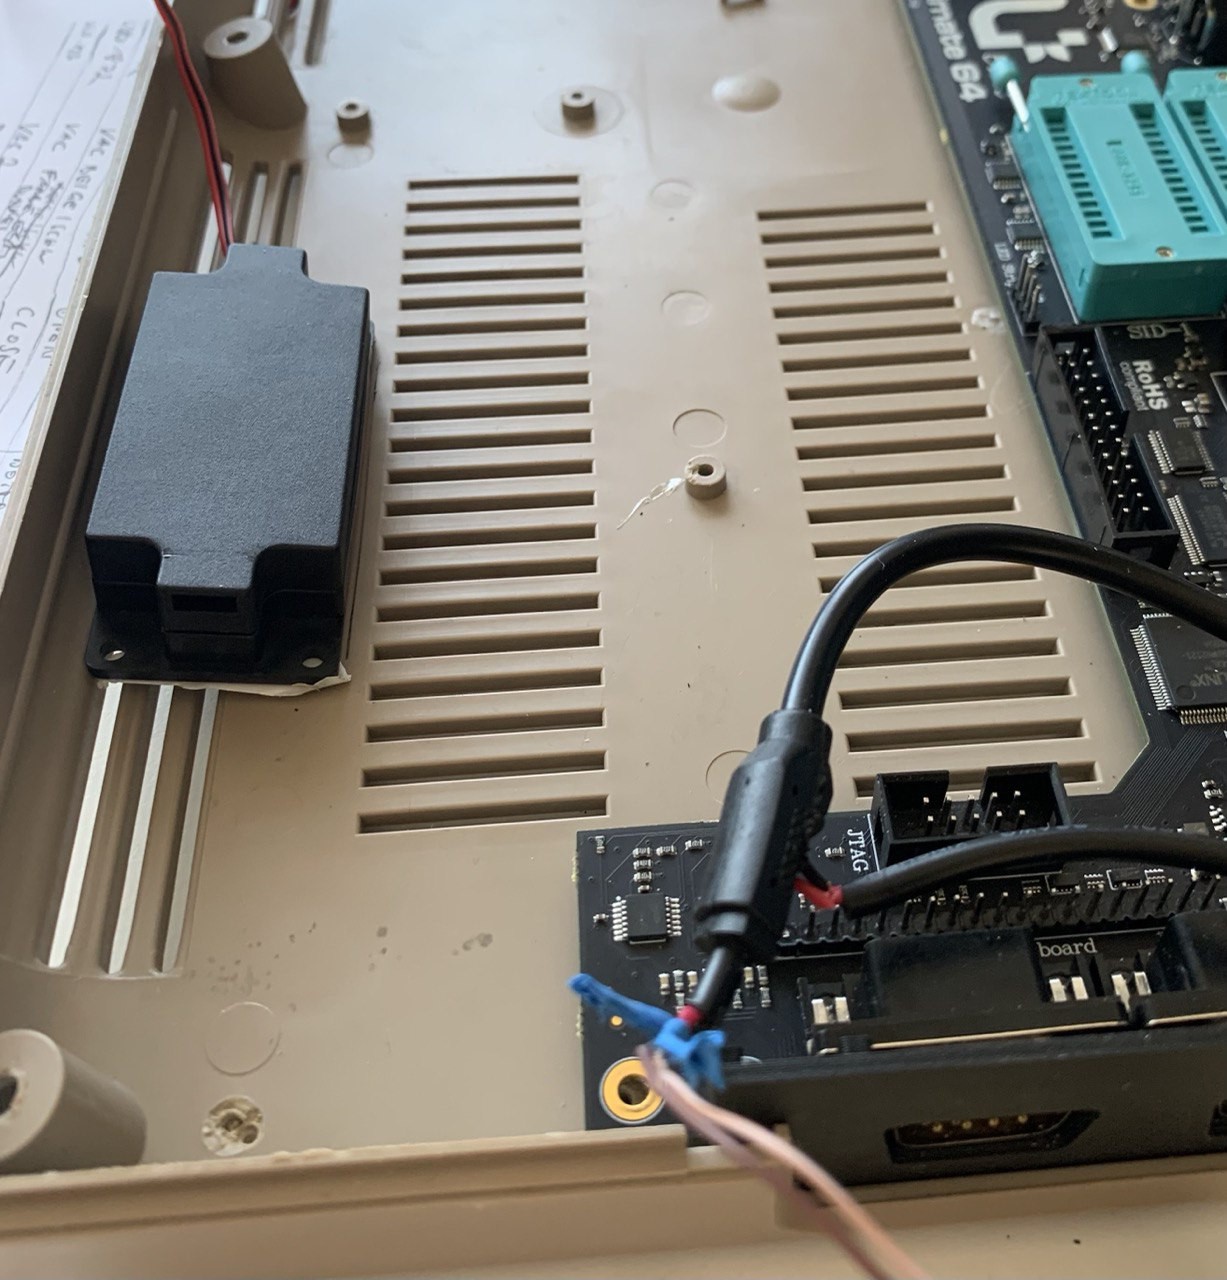
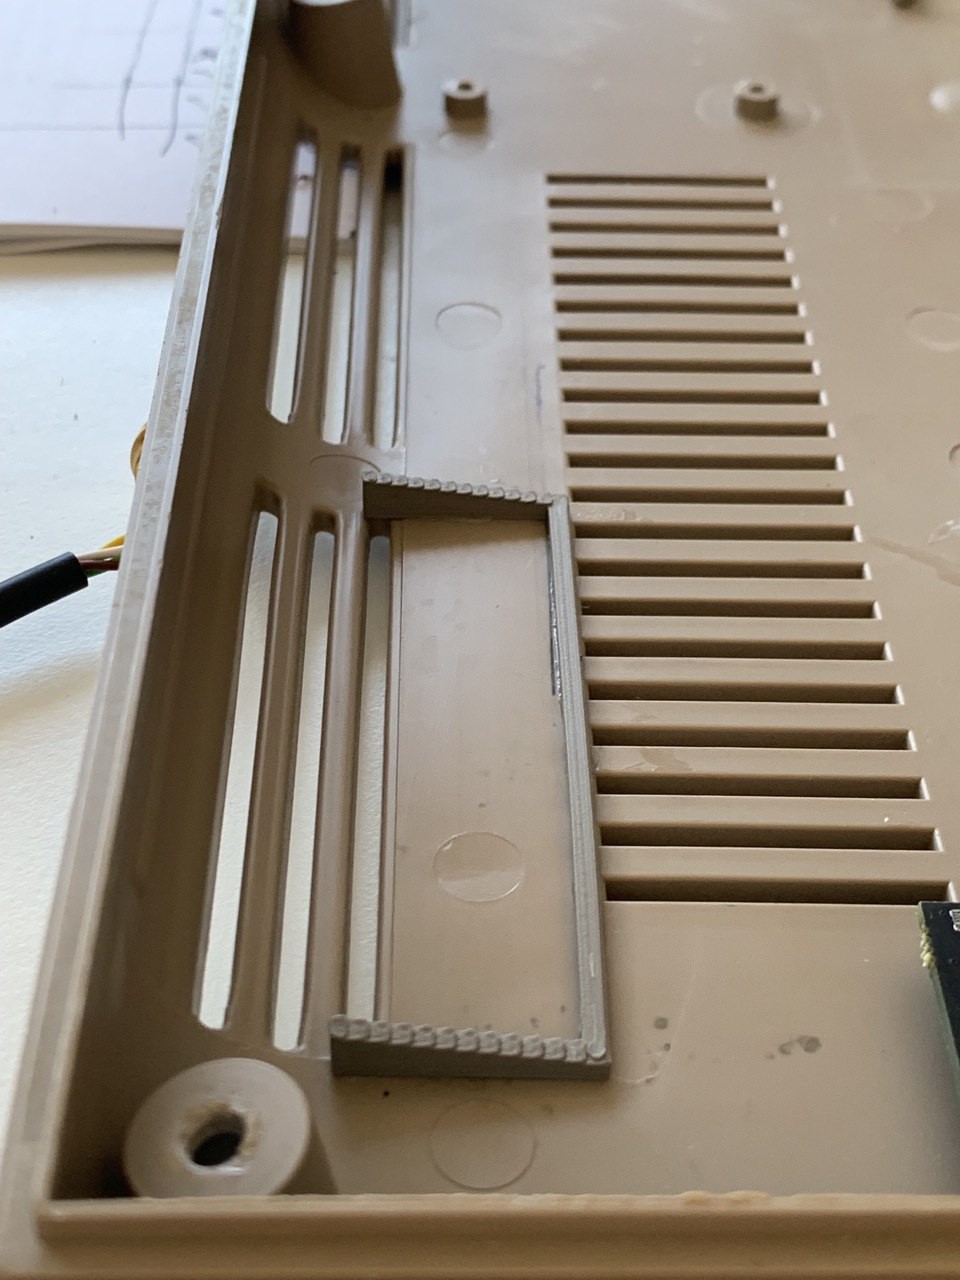
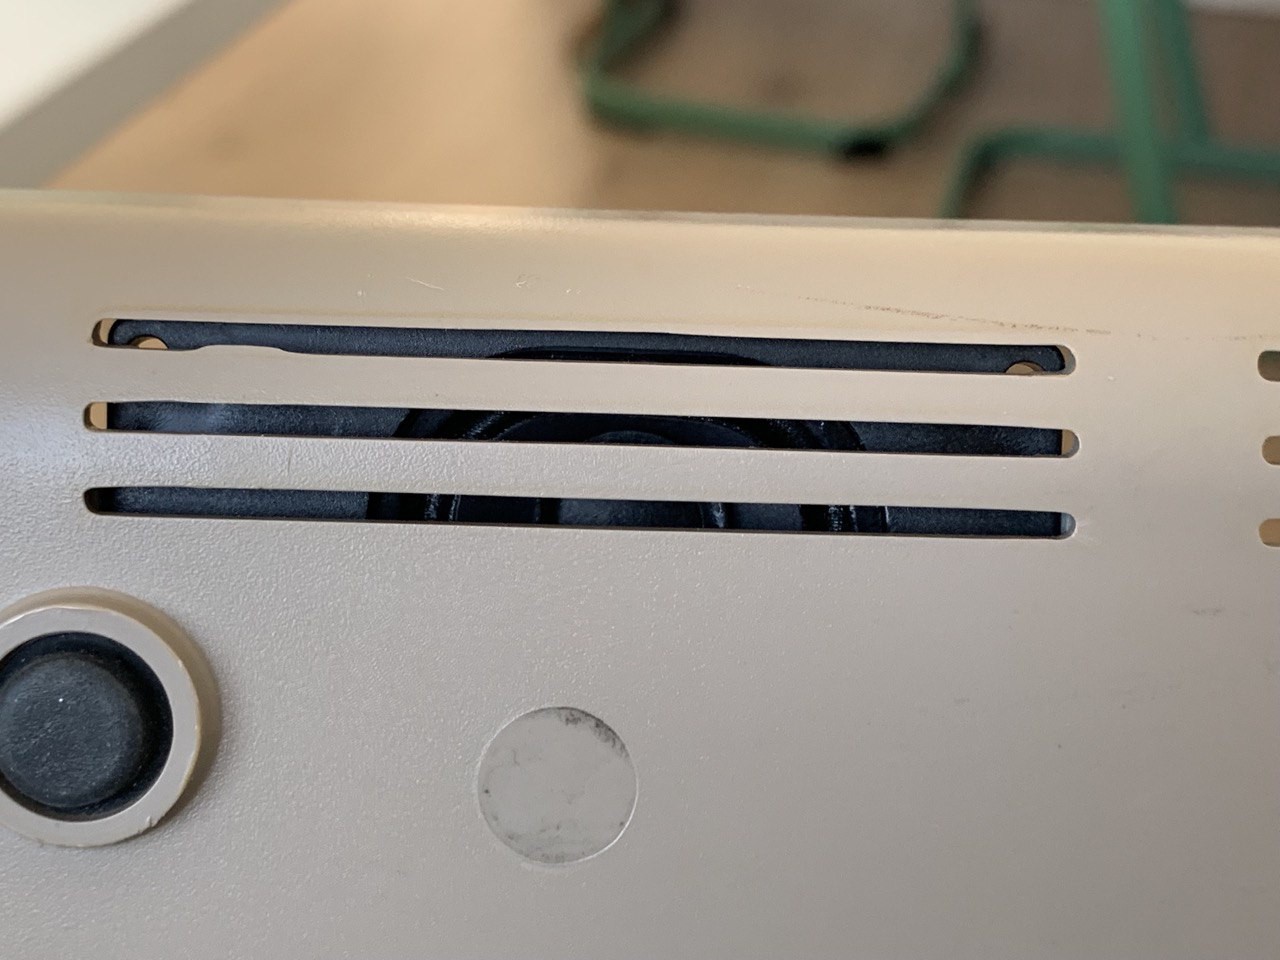
Do I need to drill holes to get the sound out of the computers's case? Or is there "the perfect place" to put them?After some back and forth (not looking at the right spots), I identified that the vents at the front of the case would be great because I wouldn't have to drill.
The only downside of this: longboards (the earlier C64 mainboard revisions) probably won't fit into the case anymore, as the speakers occupy some of their space.
The white stuff underneath the speaker is double-sided glue tape. I used this to find out if the speaker collides with the keyboard, which is coming down from the top.
![]()
Once I was in the process of fitting the speaker to the vents (what would be the best position?), I found out by pure accident that the speaker had the same width as the vents themselves.
![]()
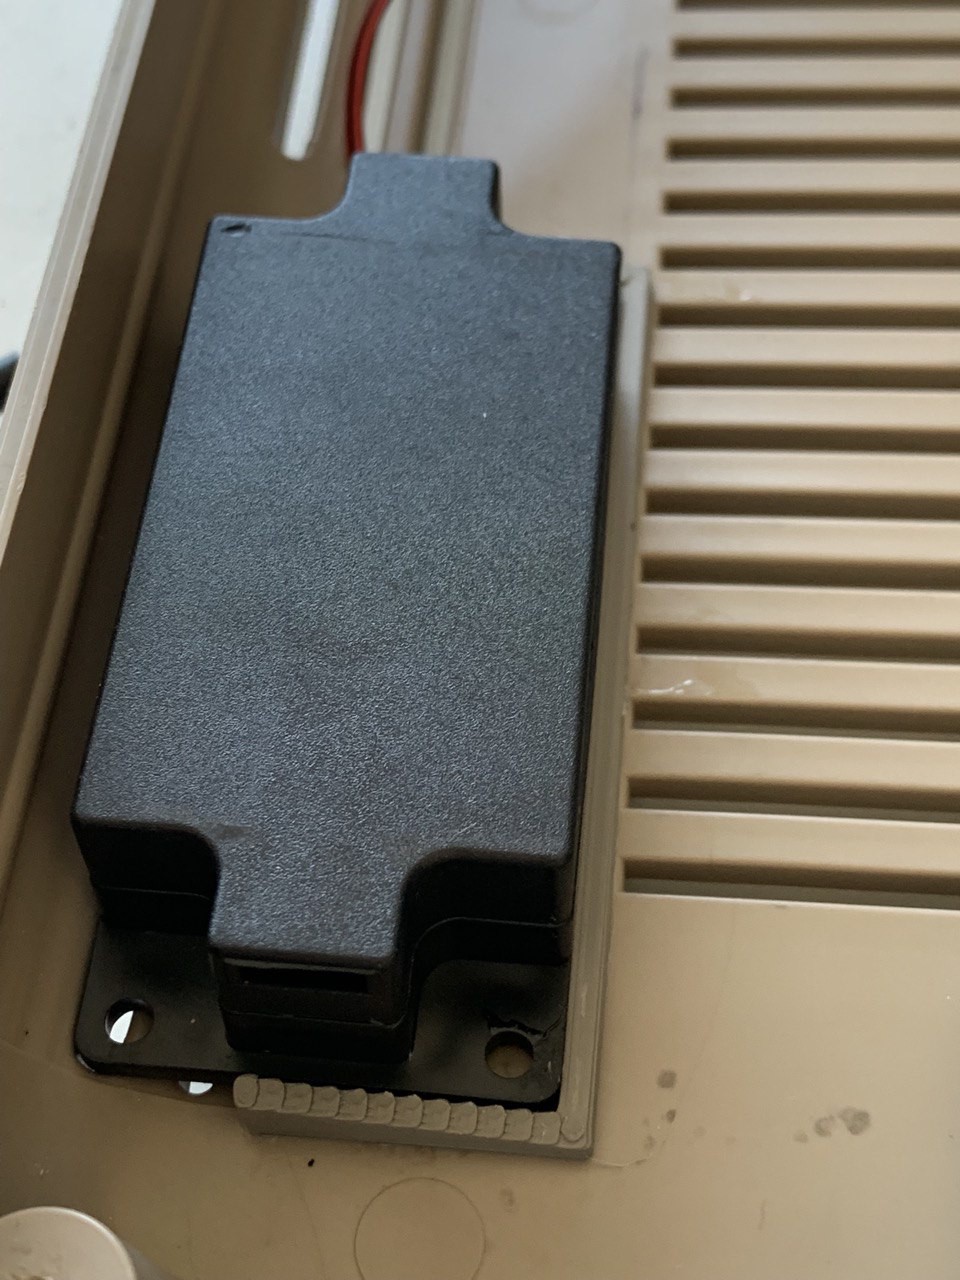
With this being clarified, I started to model a bracket that would allow me to keep the speakers in place.
![]()
And I just glued them to the case. Bottom line.
In case I want to remove the speakers one day, because I wanted to put a longboard in, these brackets are small enough to not collide with the mainboard. So, I could even keep them in, without a need to removing them.
Et voilà, the speaker and it's bracket :-)
![]()
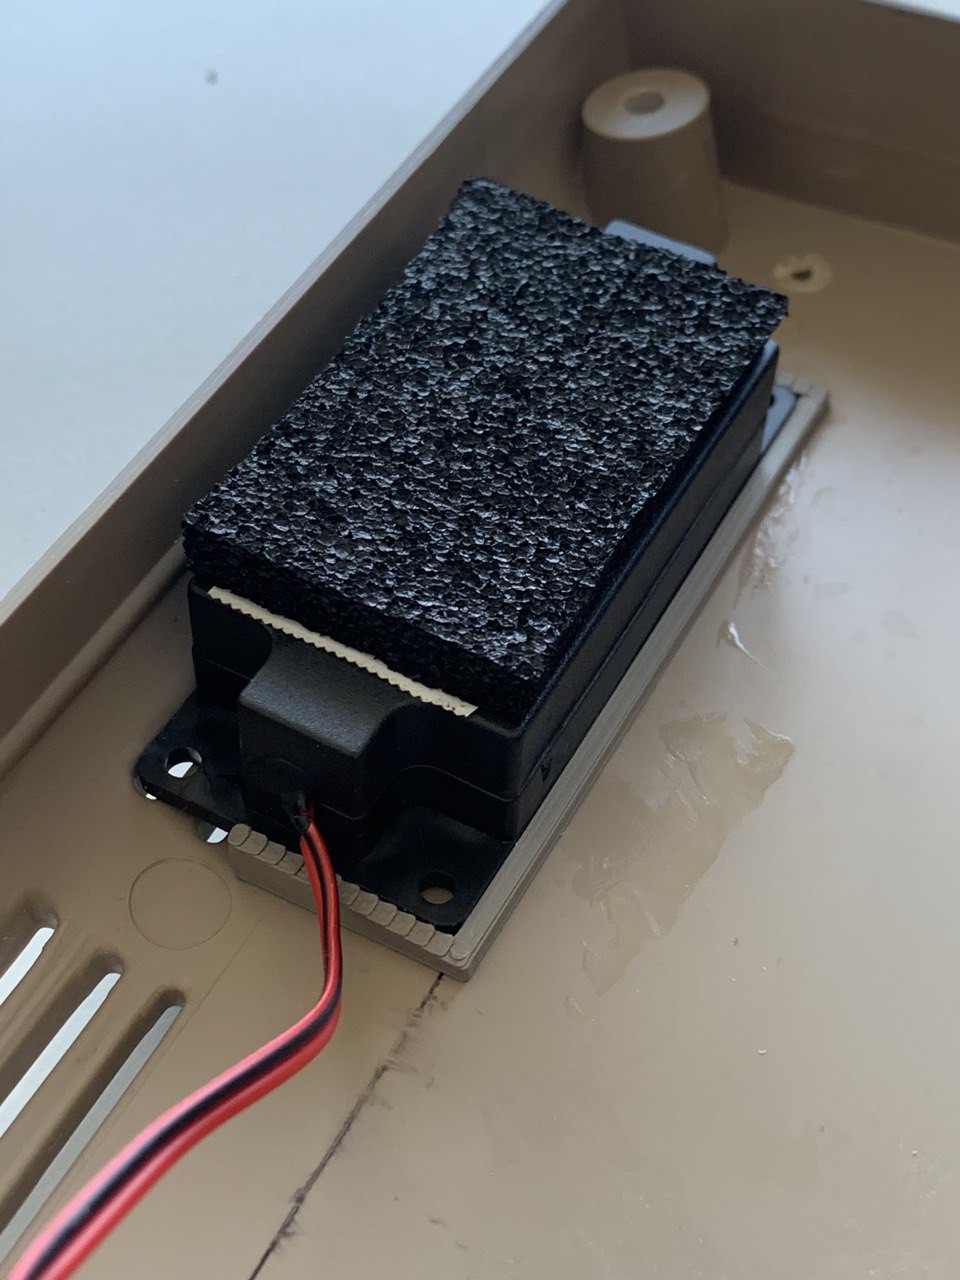
Next question: how can I make sure that the speaker doesn't fall out?
I didn't want to glue it to the case. And I didn't want to glue something on top of the brackets to keep them in place. Because in case of necessary disassembly, glueing means breaking. And I didn't see a viable chance to mount screws anywhere, at least not in a meaningful way.
But again, the answer came by itself: the keyboard will sit on top of the speakers anyways. After some trial and error, I found out that the keyboard will not touch the speakers, it will sit about 5 millimeters above it.
So, I decided to put some soft pads on top of the speakers, which allow the keyboard to put enough pressure on them to keep them from moving.
![]()
These pads could be a tad lower, but the case still closes in a solid way and the when the case screws are in, everything sits tight.
The outside view shows that the speakers should have enough exposure to the outside to keep the 3-channel SID-sound coming :-)
![]()
From an audio perspective, all I need now is the amplifier board. This is supposed to arrive later today, or tomorrow, and I'll do a separate update about that.
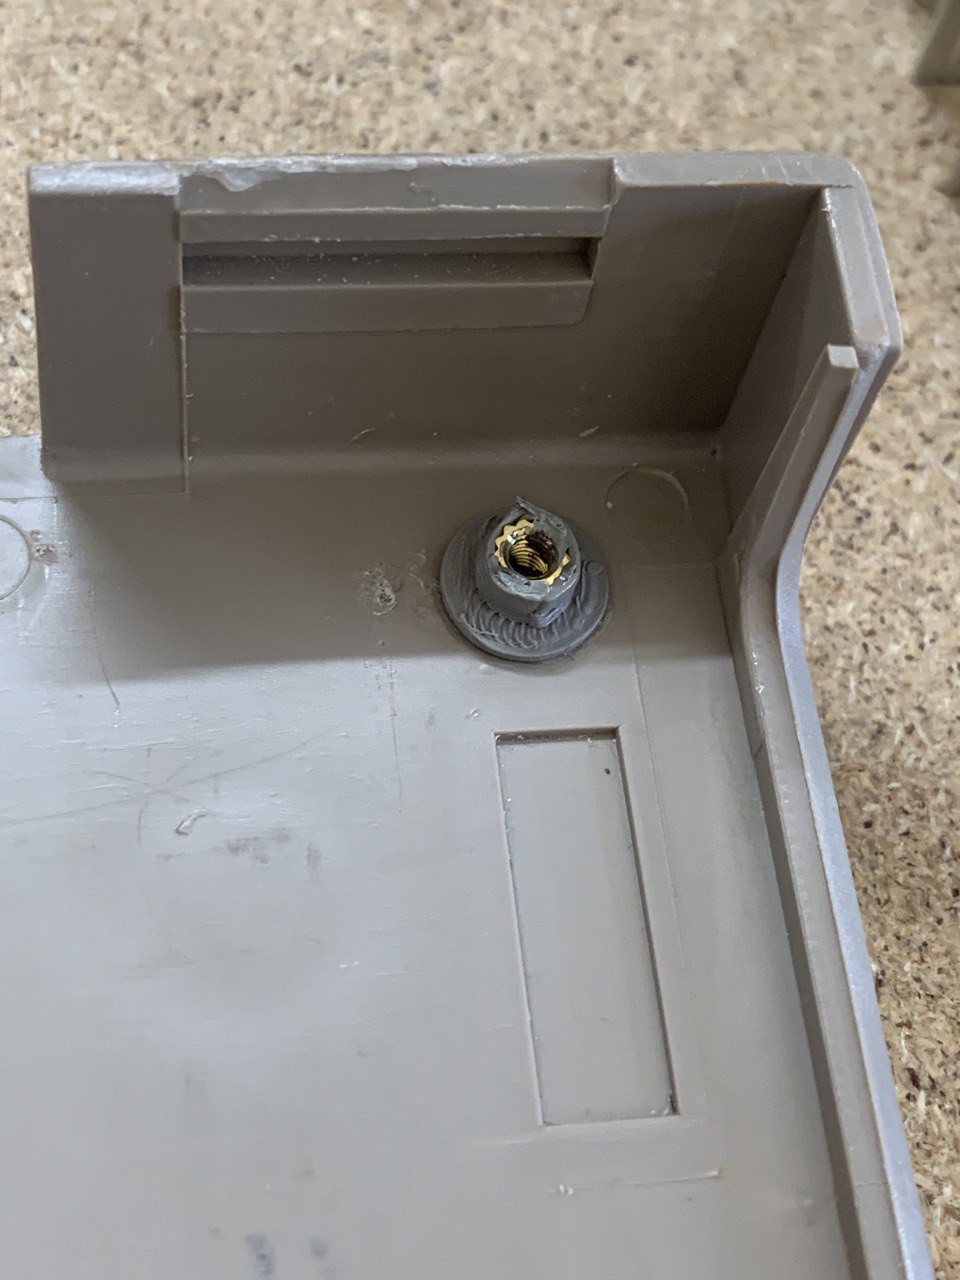
The Screw
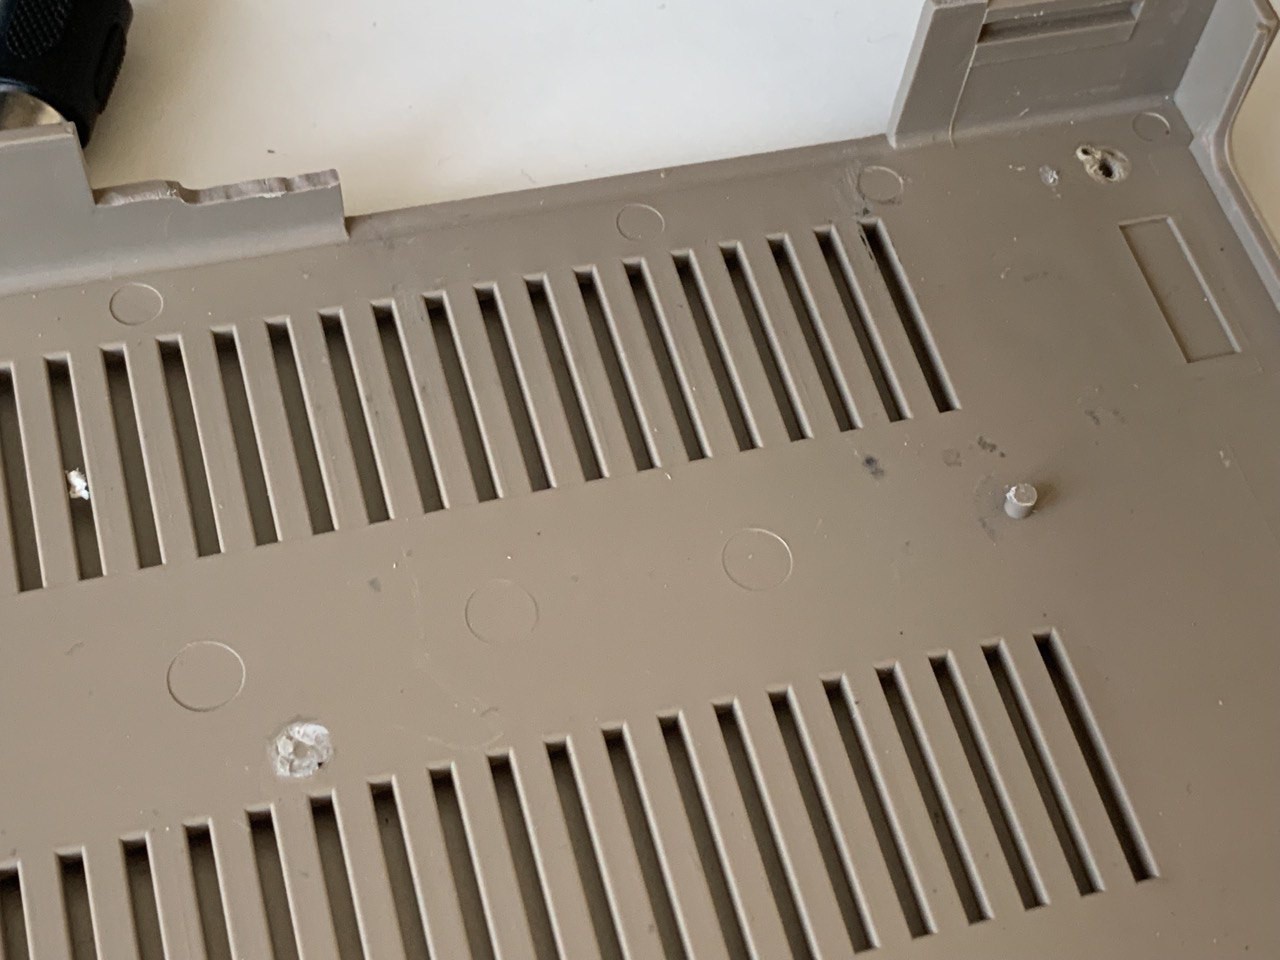
While I was in the process of mounting the speakers, I identified another pending issue with the case: a broken socket for the mainboard
![]()
The one in the top corner is the problem.
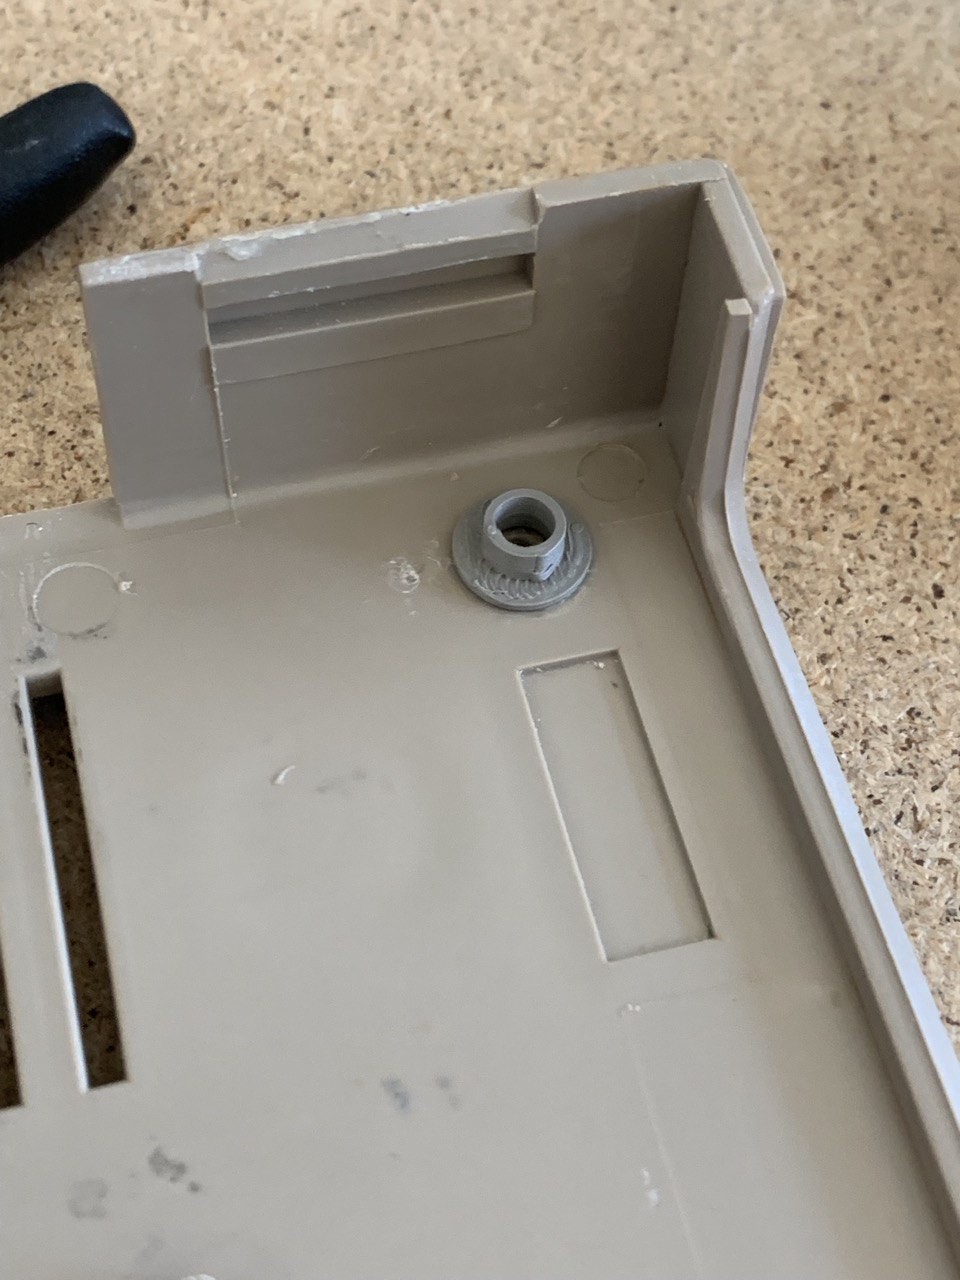
As I was warming up the 3d printer for the speaker brackets anyways, I decided to add another piece to the print job
![]()
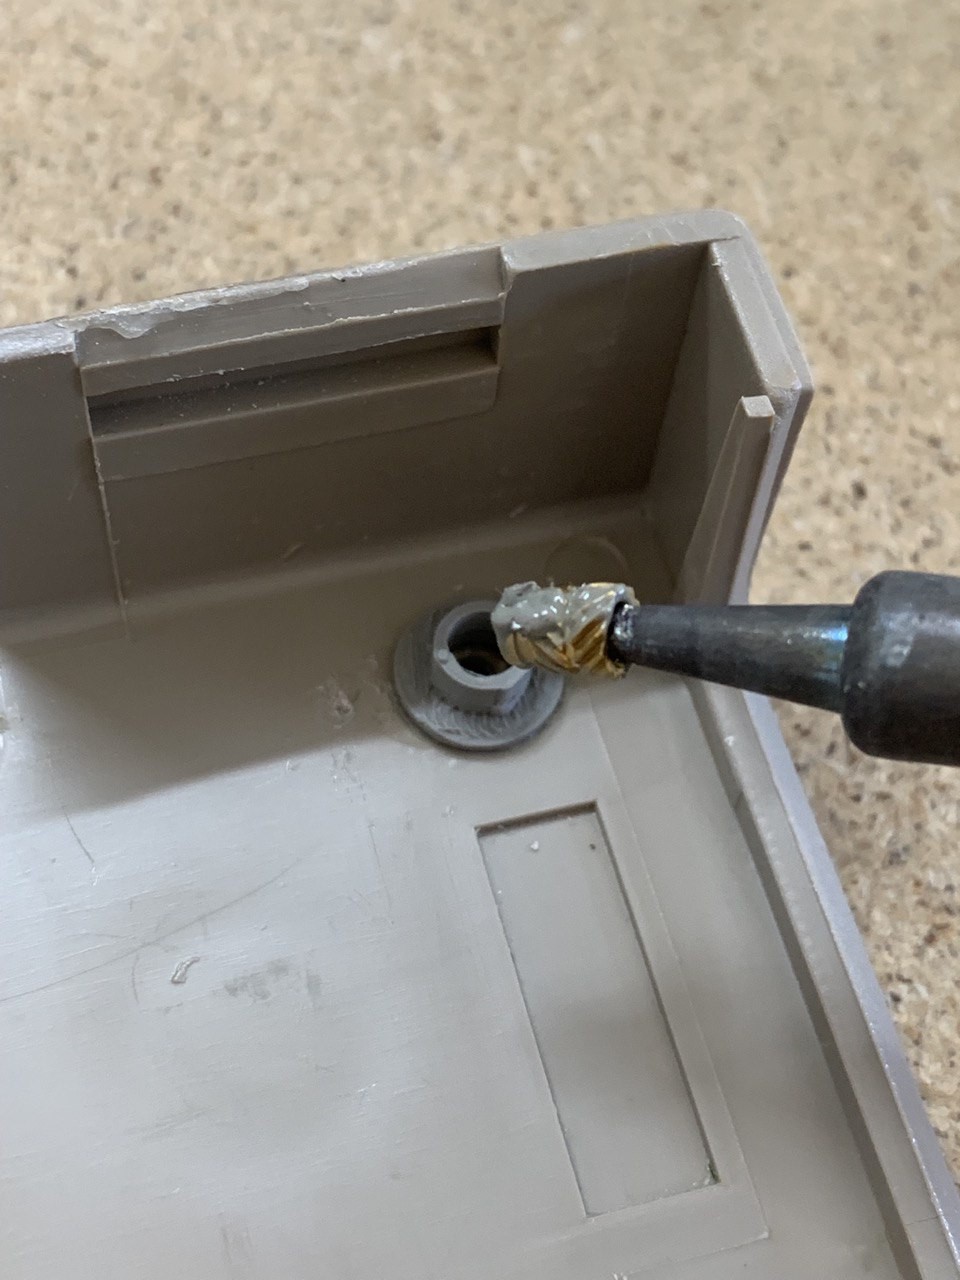
It fits perfectly. And as screws usually don't go well together with FDM prints, I always go for inlets
![]()
![]()
With this in place, the board has much better fit again.
And it just feels great to improve something - especially this once-wasted case.
-
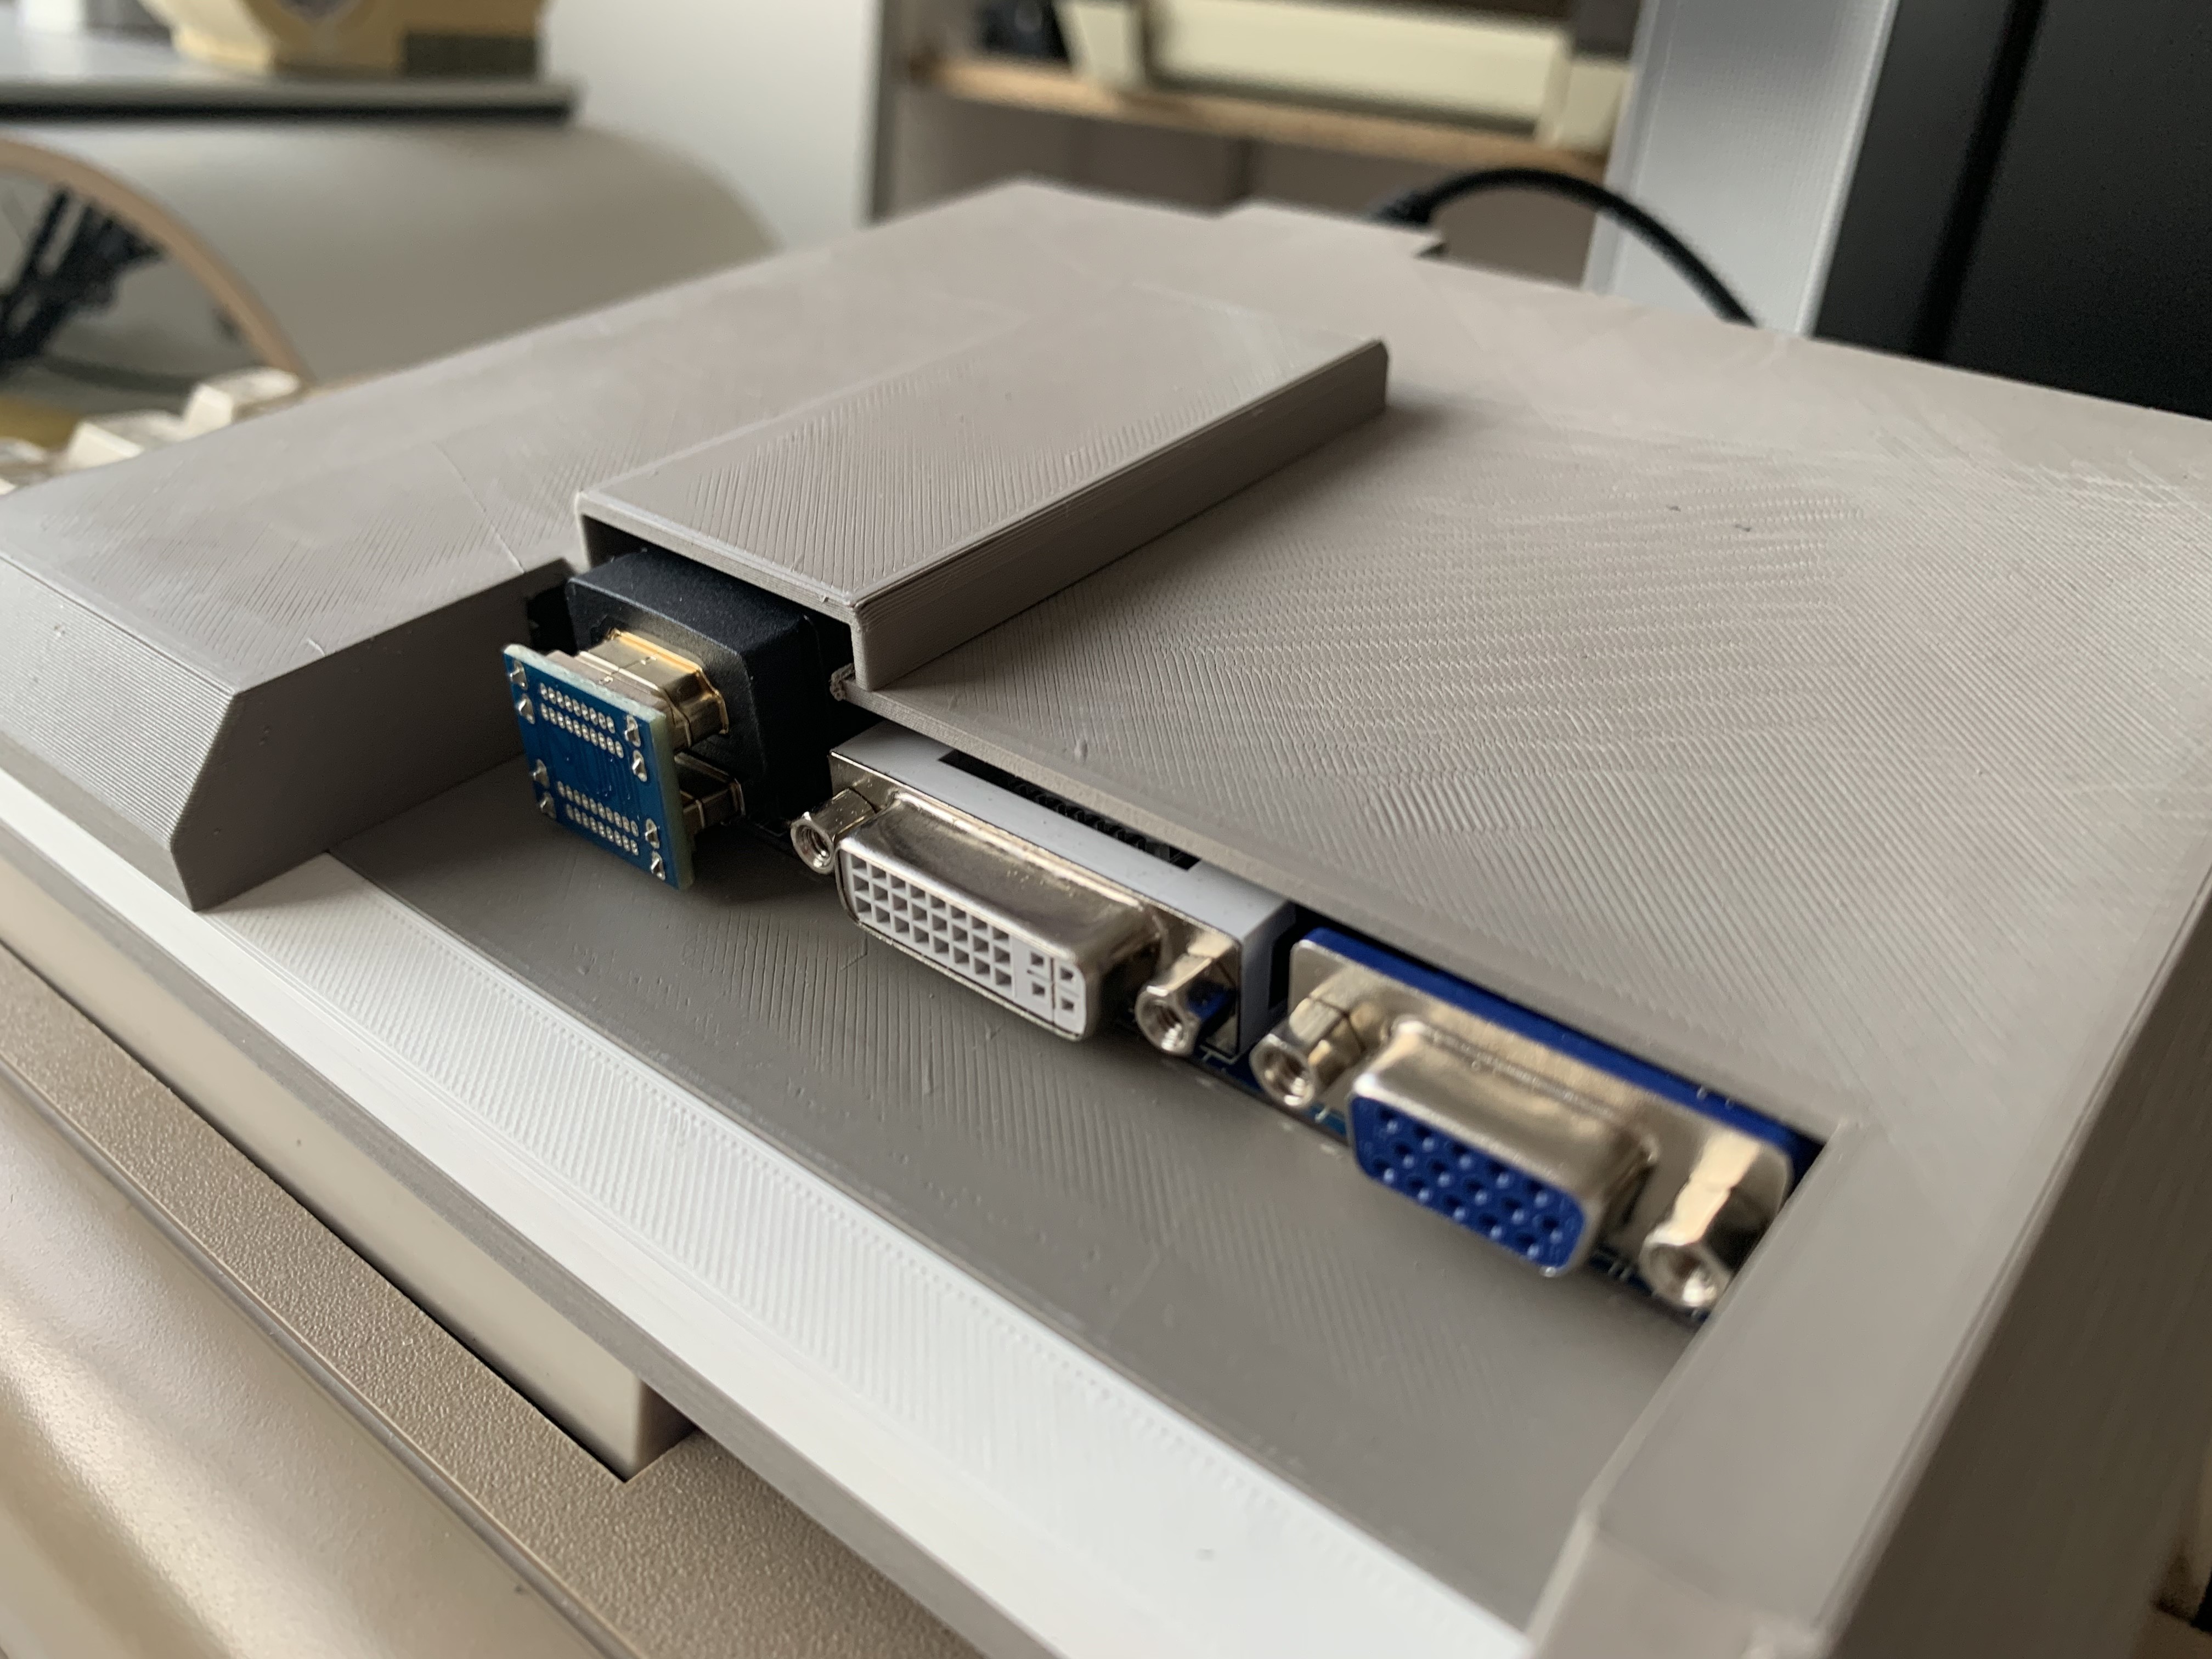
Added cable cover
09/30/2022 at 14:47 • 0 commentsCovering the cutout for the HDMI cable was easy. The modelling took 10 minutes, printing took 20.
Glueing it together took another minute :-)![]()
Real C64 Cyberdeck
Evolve a real c64 into a portable decking device. Obsolete? Maybe. Useless? Definitely NOT.

 Audio input is coming from the Sid Tap Headers, as described in my prevoius update. This means that the audio is not processed by any FPGA components on the mainboard and directly fed into the amplifier