Dennis
-
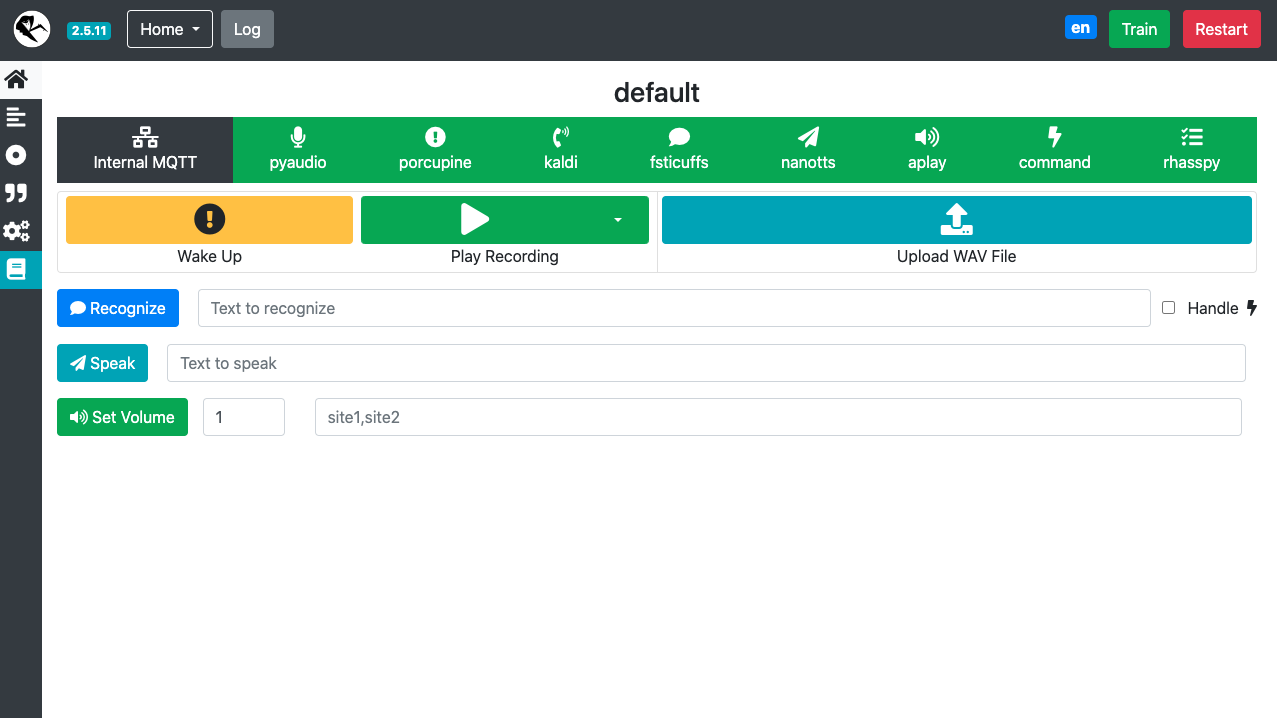
First test of an external python program to handle intents.
04/22/2023 at 19:36 • 0 commentsFirst test of an external python program to handle intents. I had a few issues with permissions. For now, I have a program folder inside of the Rhasspy/en file that contains the commands.py file. What was accomplished? Calling an external program, so now we can control anything we want, a working wakeup word and running the LEDs with threading from the python program.
-
Rhasspy Loaded
04/15/2023 at 16:56 • 0 commentsRhasspy loaded very smoothly. It runs in the background in a Docker container. So far, Rhasspy is an awesome system to tie everything together. Now some additional code work to add an external python program to handle intents. Details coming soon in the instructions.

-
Deep Speech test.
04/15/2023 at 01:52 • 0 commentsJust for fun, I loaded Deep Speech to perform a fun quick test of voice to text. There are several examples included with Deep Speech. I couldn't resist modifying the code a bit to add some LED action. It works pretty good even with my backwoods accent. :)
-
LED test.
04/11/2023 at 01:14 • 0 commentsA quick check of the LEDs on the 4 mic array hat. After the 4 mic array is installed Seeed Studios includes a neat python program for testing the LEDs. The LEDs are controlled through a SPI interface. To run the program, in terminal CD to the 4mic_hat file and run the program called pixels.py. More details will be added under the instructions soon.
-
First attempt, first failure and the first fix.
04/08/2023 at 16:04 • 0 commentsI loaded the latest and greatest operating system from the Raspberry Pi site and then followed the procedure to install the drivers for the 4 mic array from Seeed Studios. And for whatever reason, the Raspberry Pi could not find the 4 mic array hat. So I reformatted the SD card and loaded the legacy version operating system (2022-09-22-raspios-bullseye-armhf-full.img), followed the 4mic array procedure again, and the Raspberry Pi was able to find the 4 mic array as seen from the screen shot of the terminal below. Yay!
Build Your Own Voice Control Module
Add voice control to any projects with an easy-to-build combination of off-the-shelf hardware and open source software.