gedm-dev
-
Real negative feed with G-RBL? Yes.
08/24/2023 at 00:09 • 0 commentsHad some tough days figuring out the best concept for XY retractions.
I first tried a parallel ringbuffer with pure step and dir bits. Wasn't to happy with it and changed it to a position ringbuffer. But it was still not fully integrated.
Changed it again and now it is a pure ringbuffer that takes position instructions and syncs the position.
The motion can run up and down the positions stored in the history buffer.
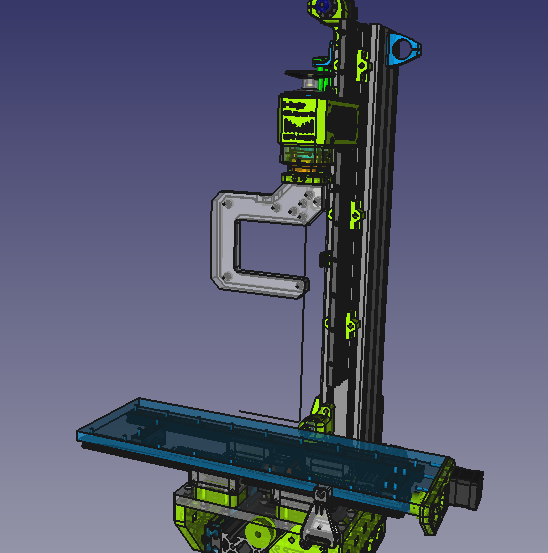
Homing works and the GCode simulation runs the G Logo file too.
The "G" created about 250 Lines. The history buffer is set to 1024 lines but this could be increased to for example 4096.
Lots of room for some tiny retractions.
In this video I jogged XYZ and then just let the history buffer walk back and forth.
-
Another deep software change
08/19/2023 at 11:28 • 0 commentsWhile doing the first 2D test cuts it was clear that I want to be able to change some process parameters in real-time and also be able to reprobe the top surface to compensate toolwear.
In the past the display just froze while processing. Accessing the SPI display is a heavy CPU load and created jerky motions in the steppers due to the delay it created. This problem was fixed after the full display code went on core 0.
But It still wasn't possible to do real-time adjustments. This has now changed.
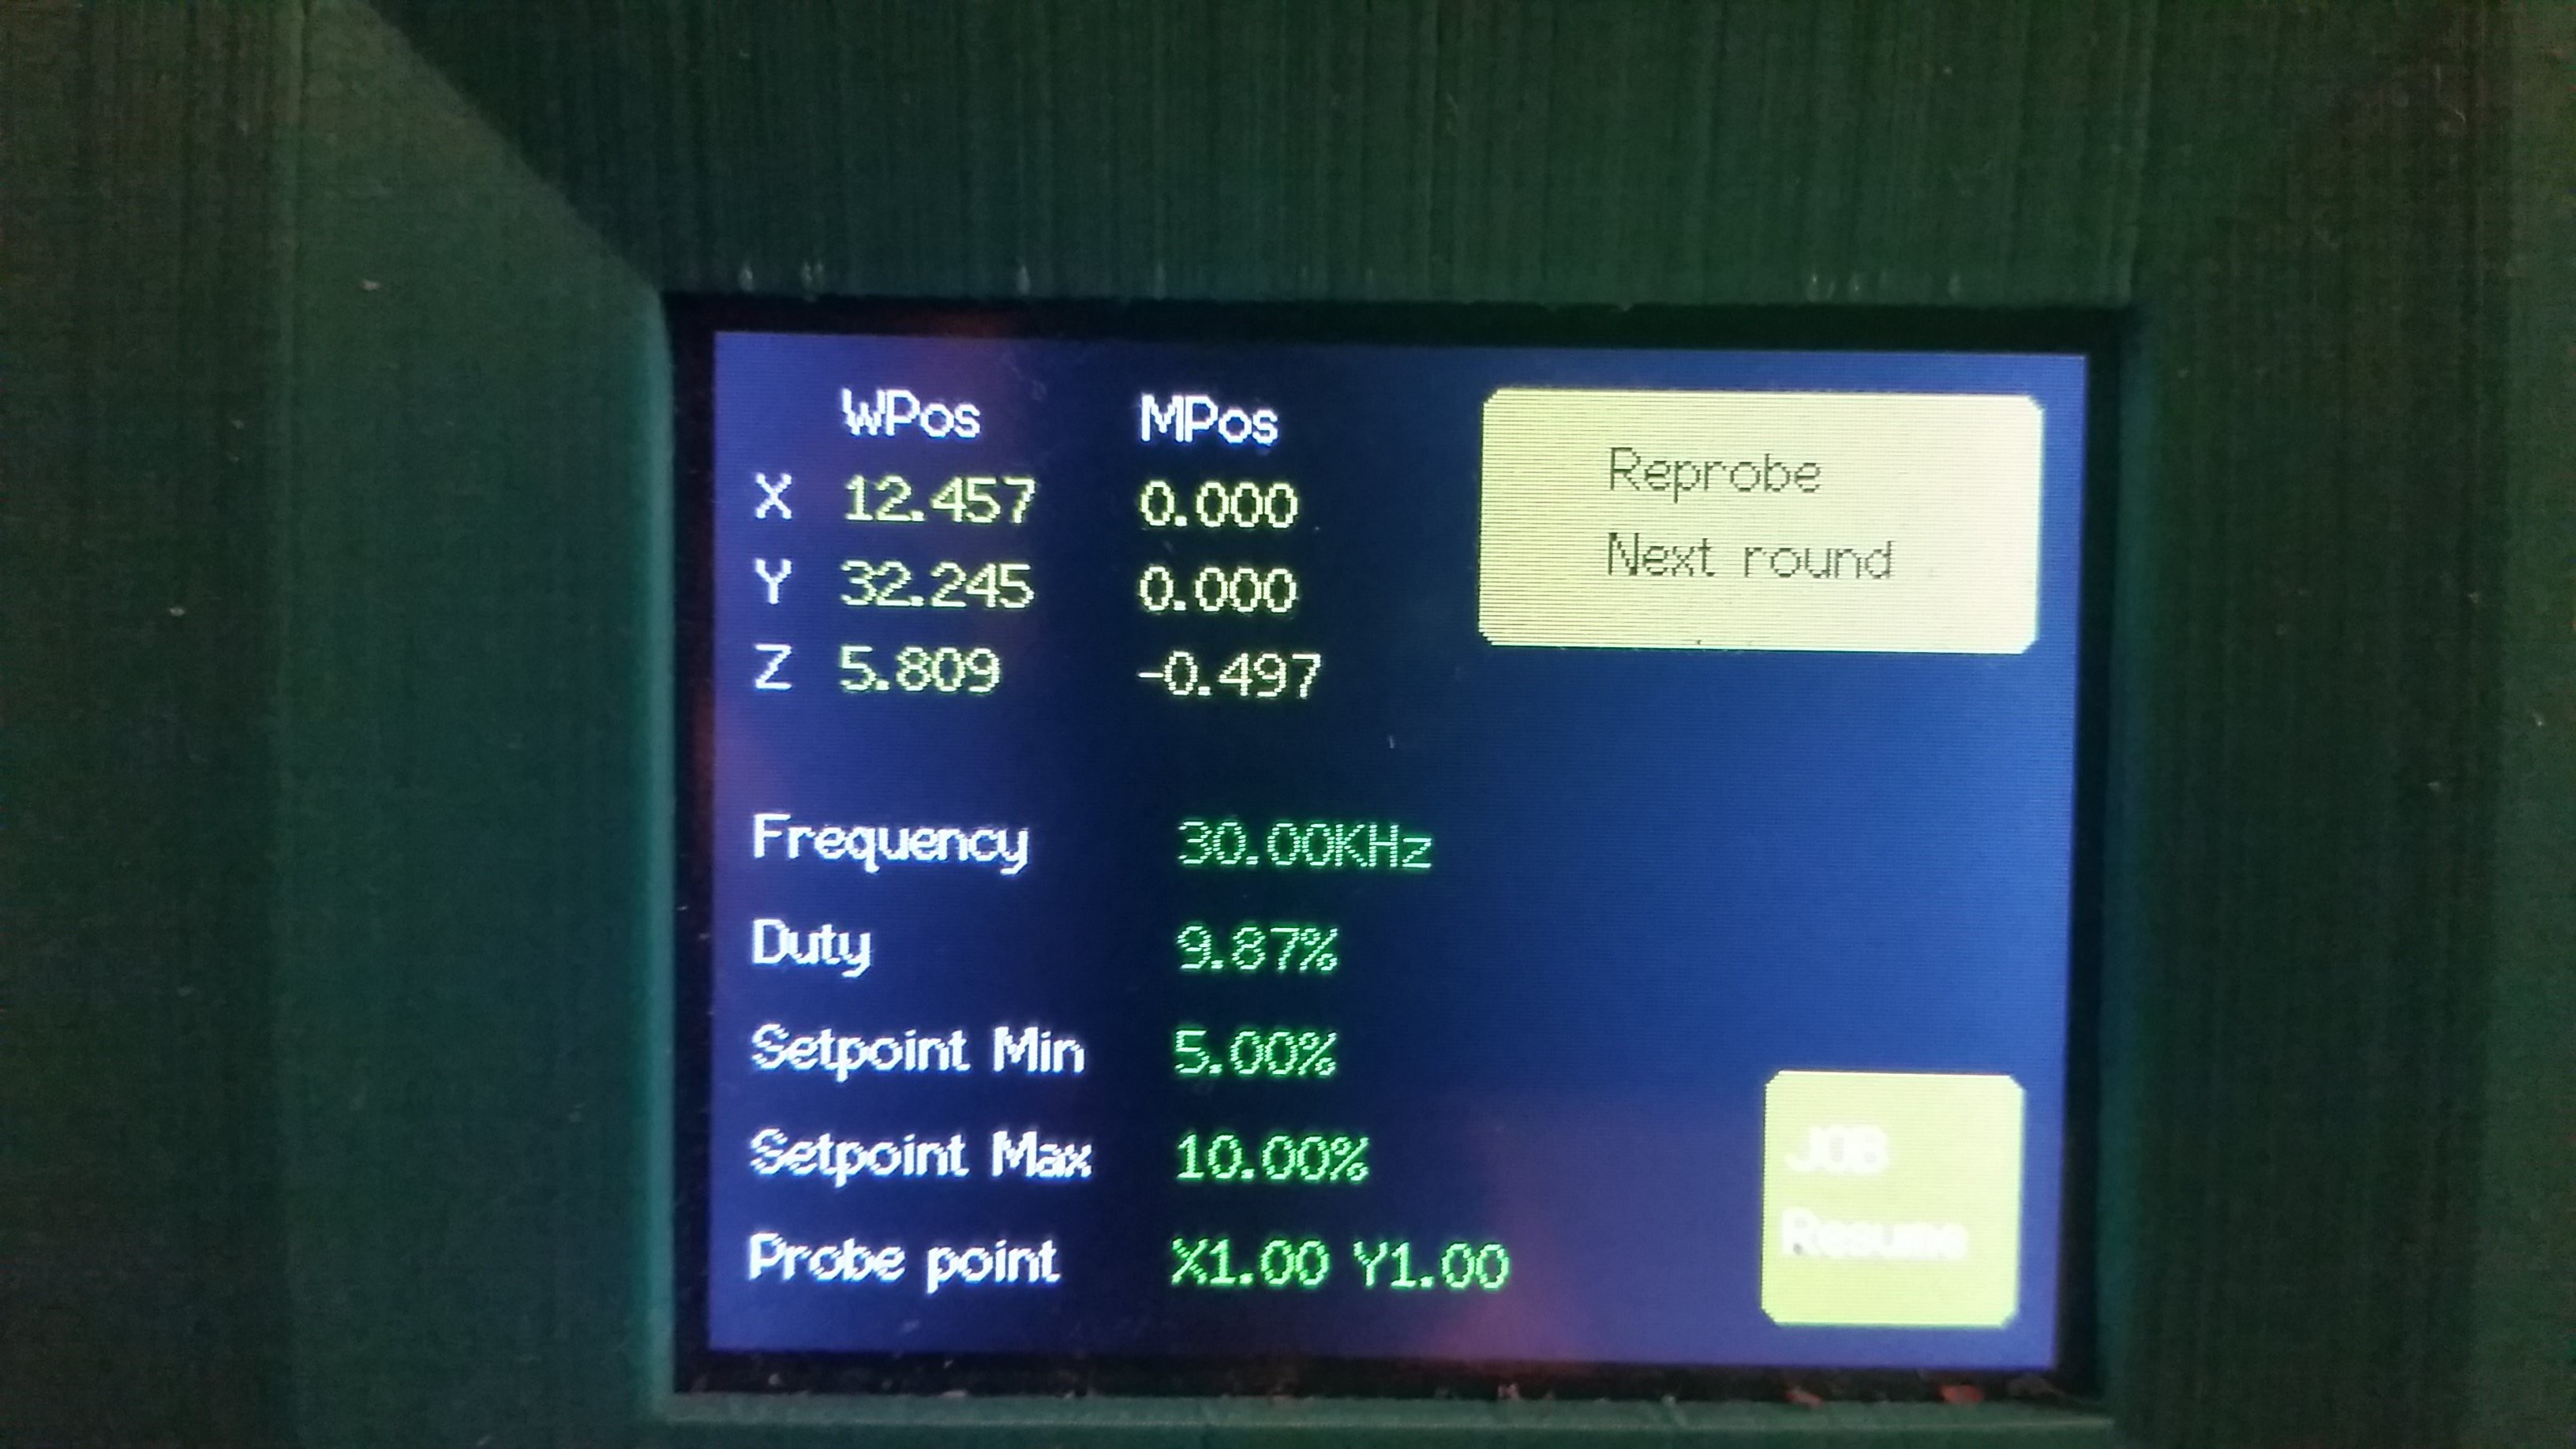
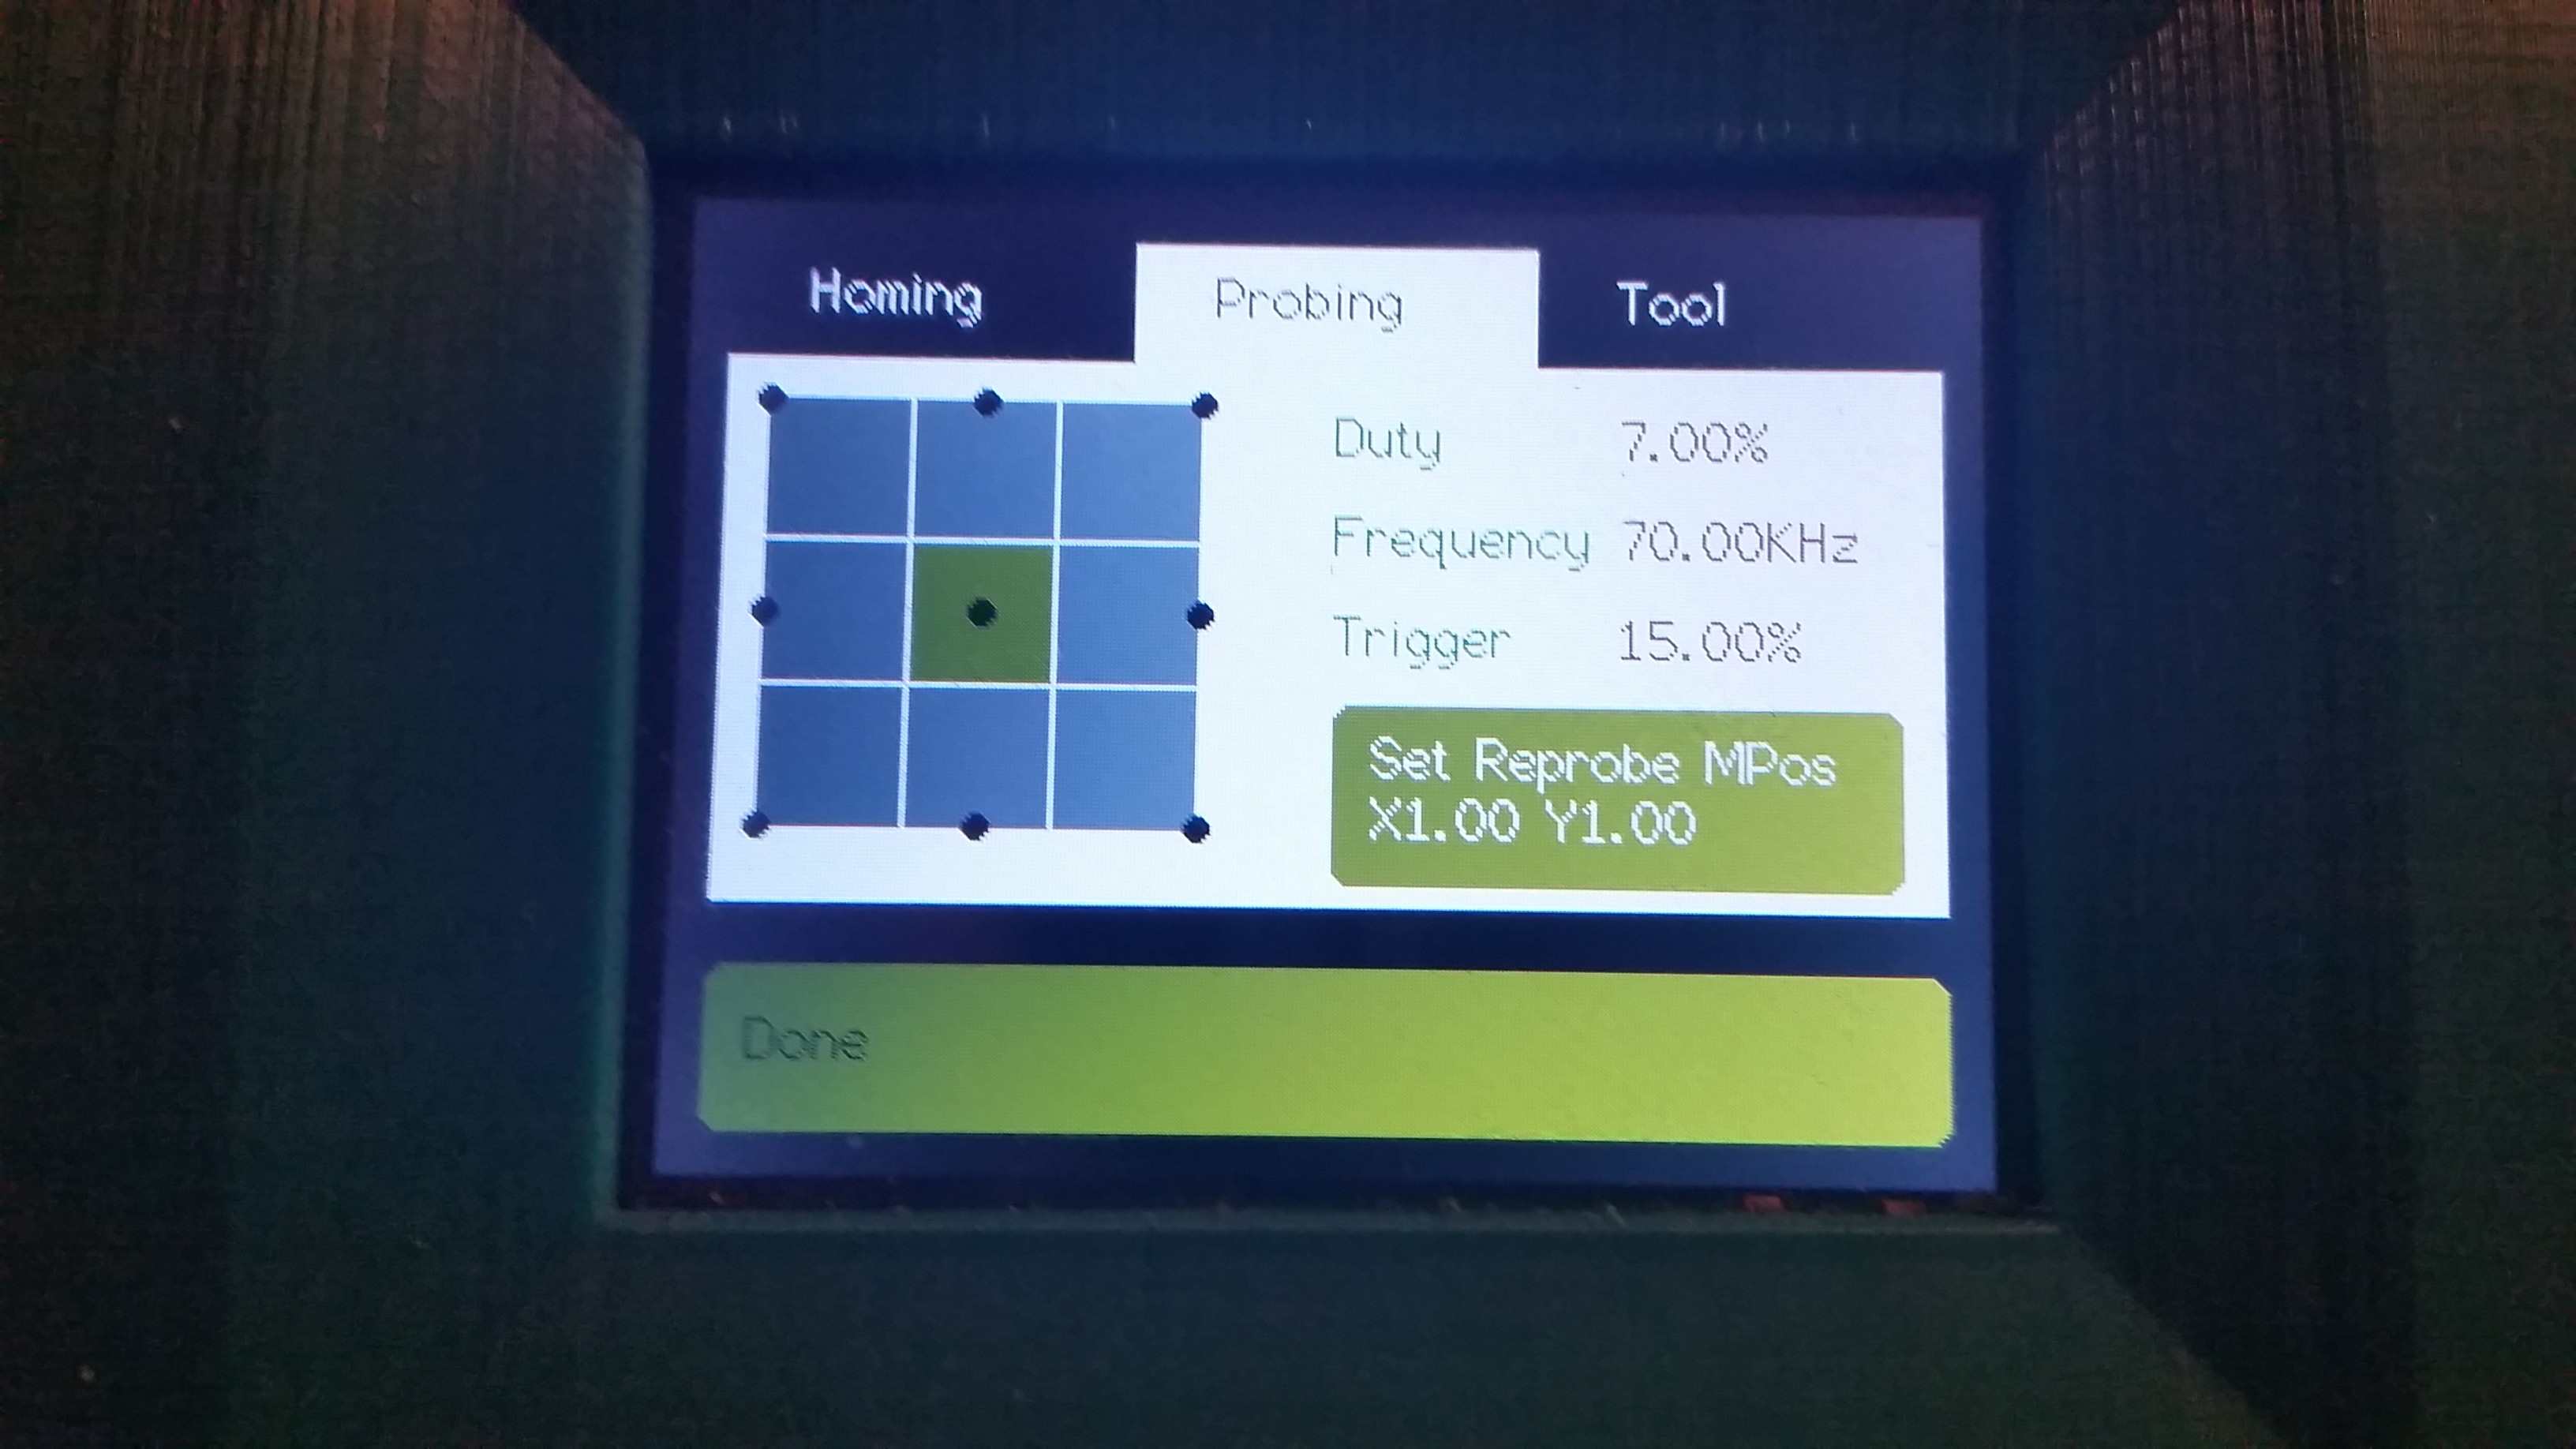
A process overlay screen was added that allows to change different parameters like frequency and duty and also offers the possibility to pause/resume the process and reprobe the workpiece. It also shows the position of the machine in MPos and WPos.
The reprobing routine is not finished yet. It already stops the motion and moves to the reprobe position but the final reprobing and resetting of the work coordinate system has yet to be done.
The reprobe position can be set manually after jogging the machine to the wanted position and set this current position as reprobe point in absolute MPos or just let it default to 0,0 in G54 WPos.
![]()
![]()
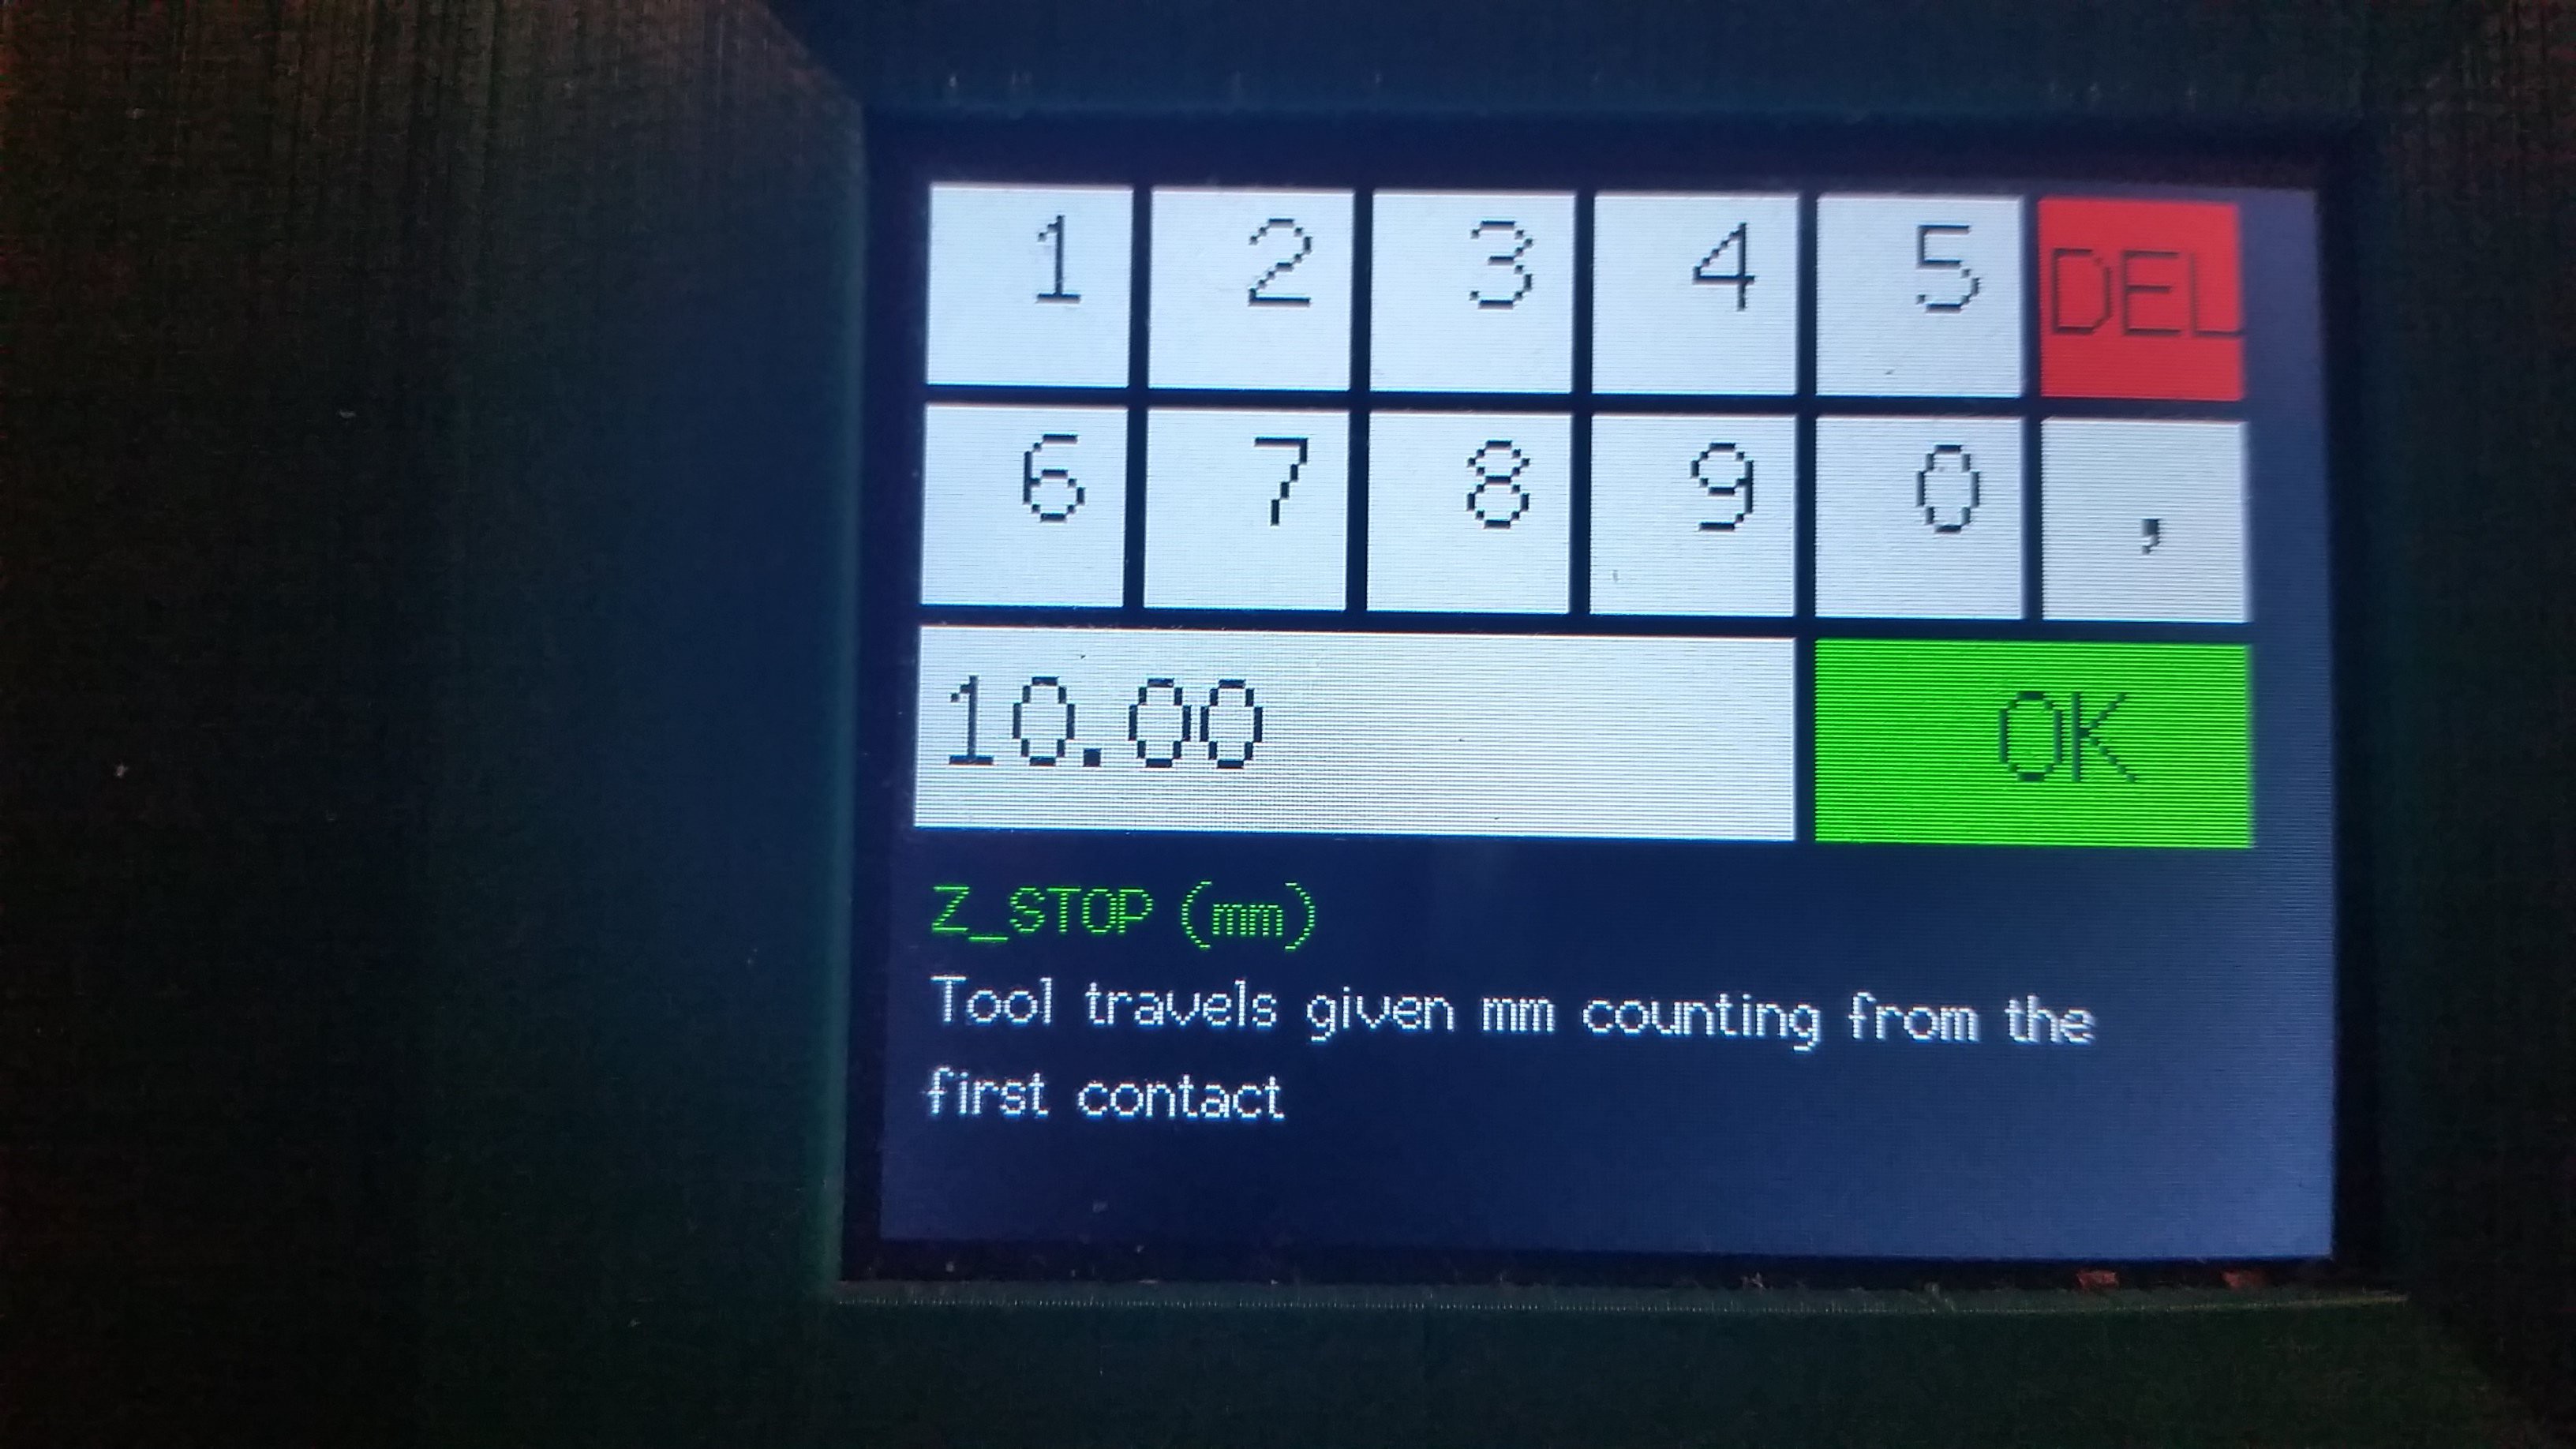
All settings now show a little infotext that may help new users to better understand what they are going to change.
![]()
![]()
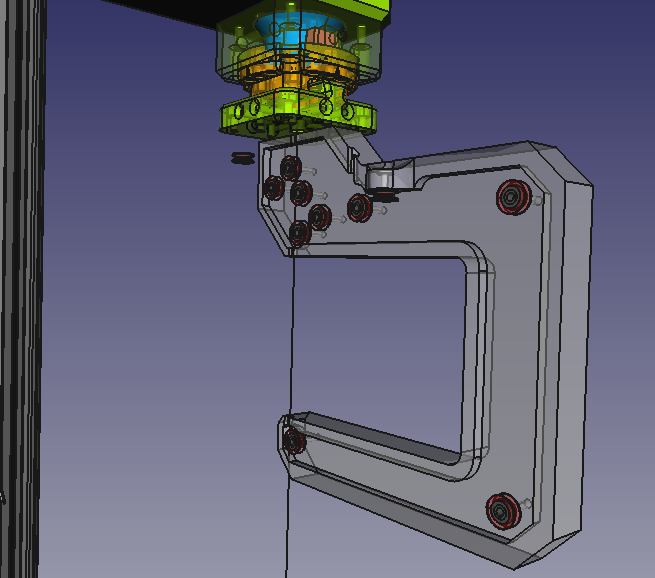
The wire extension starts to take some shape too. Far from ready but it should not take too long:
![]()
![]()
-
Will there be a wire extension for the G-EDM?
08/14/2023 at 23:37 • 0 commentsSome asked me if there will be a wire EDM extension. Of course there will be a wire extension.
The Code for Wire EDM is already written but untested.
Took some copper wire and tested it. Axis is reacting nothing burns down or melts.
-
G-EDM vs HSS
08/13/2023 at 20:14 • 0 commentsMild steel is fun, but HSS means business.
The settings used where too weak for HSS and I stopped the process. It would have taken too long and currently it is not possible to change the settings at realtime except for the Amps on the PSU.
Next time I will use a little more aggressive settings. But damn nice.
The GCode was created with the customized FreeCAD GRBL post processor.
![]()
![]()
![]()
![]()
![]()
-
GCode, Freecad, LaserGRBL, LaserWeb
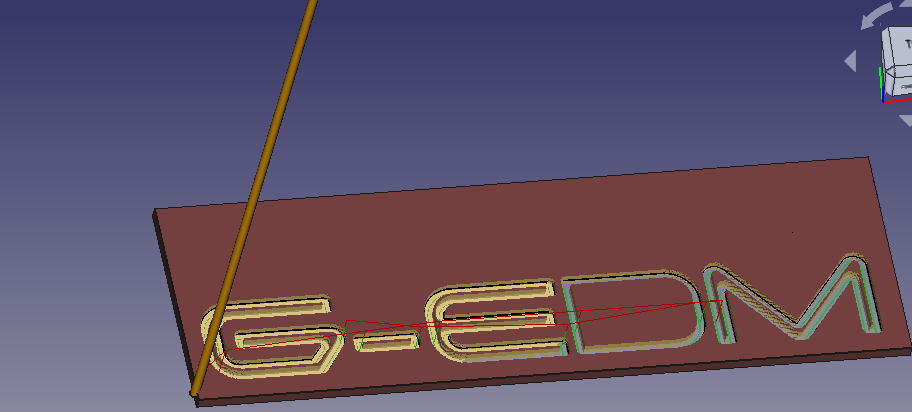
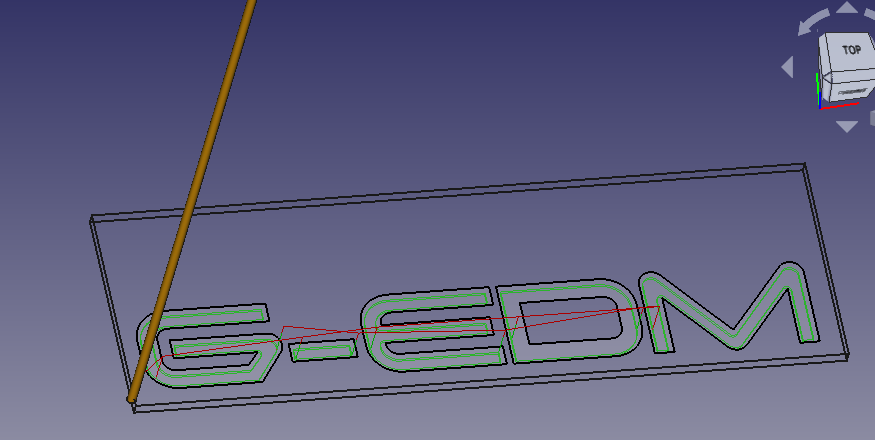
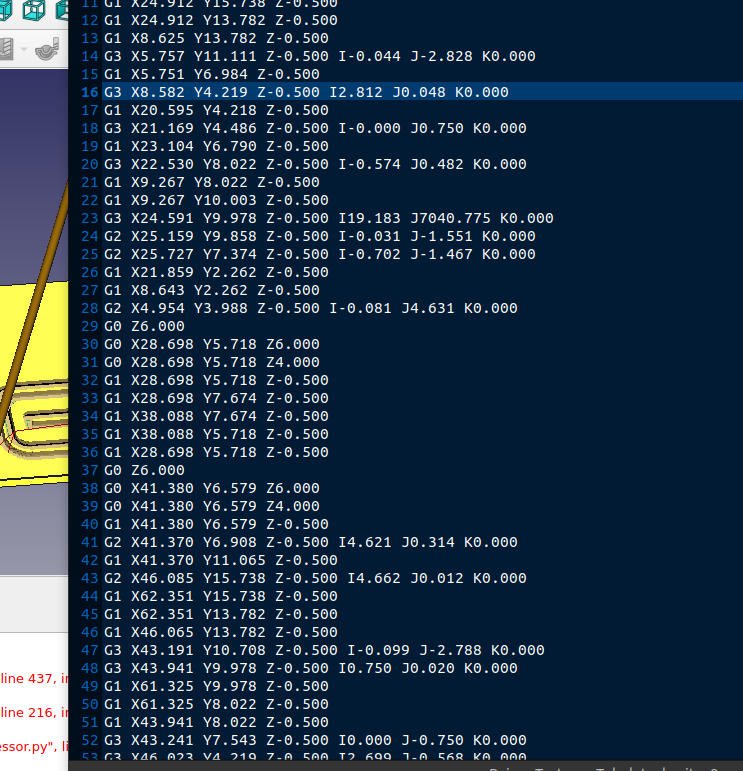
08/11/2023 at 02:05 • 0 commentsOk. X and Y is working. That is a good thing. But the GCode created for Lasers with a bigger laserdot diameter to simulate the electrodes can turn out very ugly.
A laser moves from on side to the other and doesn't care about overshooting the contours. Normally the dot of a laser is small so this isn't a problem. But a 1.5mm "dot" can create an ugly outer shape.
I'm currently modifying the internal GRBL postprocessor that is part of freecad.
First goal is to get electrode up/down movements working instead of using Z axis motions. This could be done within the G-EDM software too but to keep it simple and clean a modified postprocessor would be a good way.
Generating GCode with freecad is not as hard as it looks.
Update: Looks like it is possible with GRBL-Plotter to compensate the tool diameter and prevent ugly contours with negative toll diameter values and the output of the customized FreeCAD postprocessor looks promising too:
![]()
![]()
![]()
![]()
-
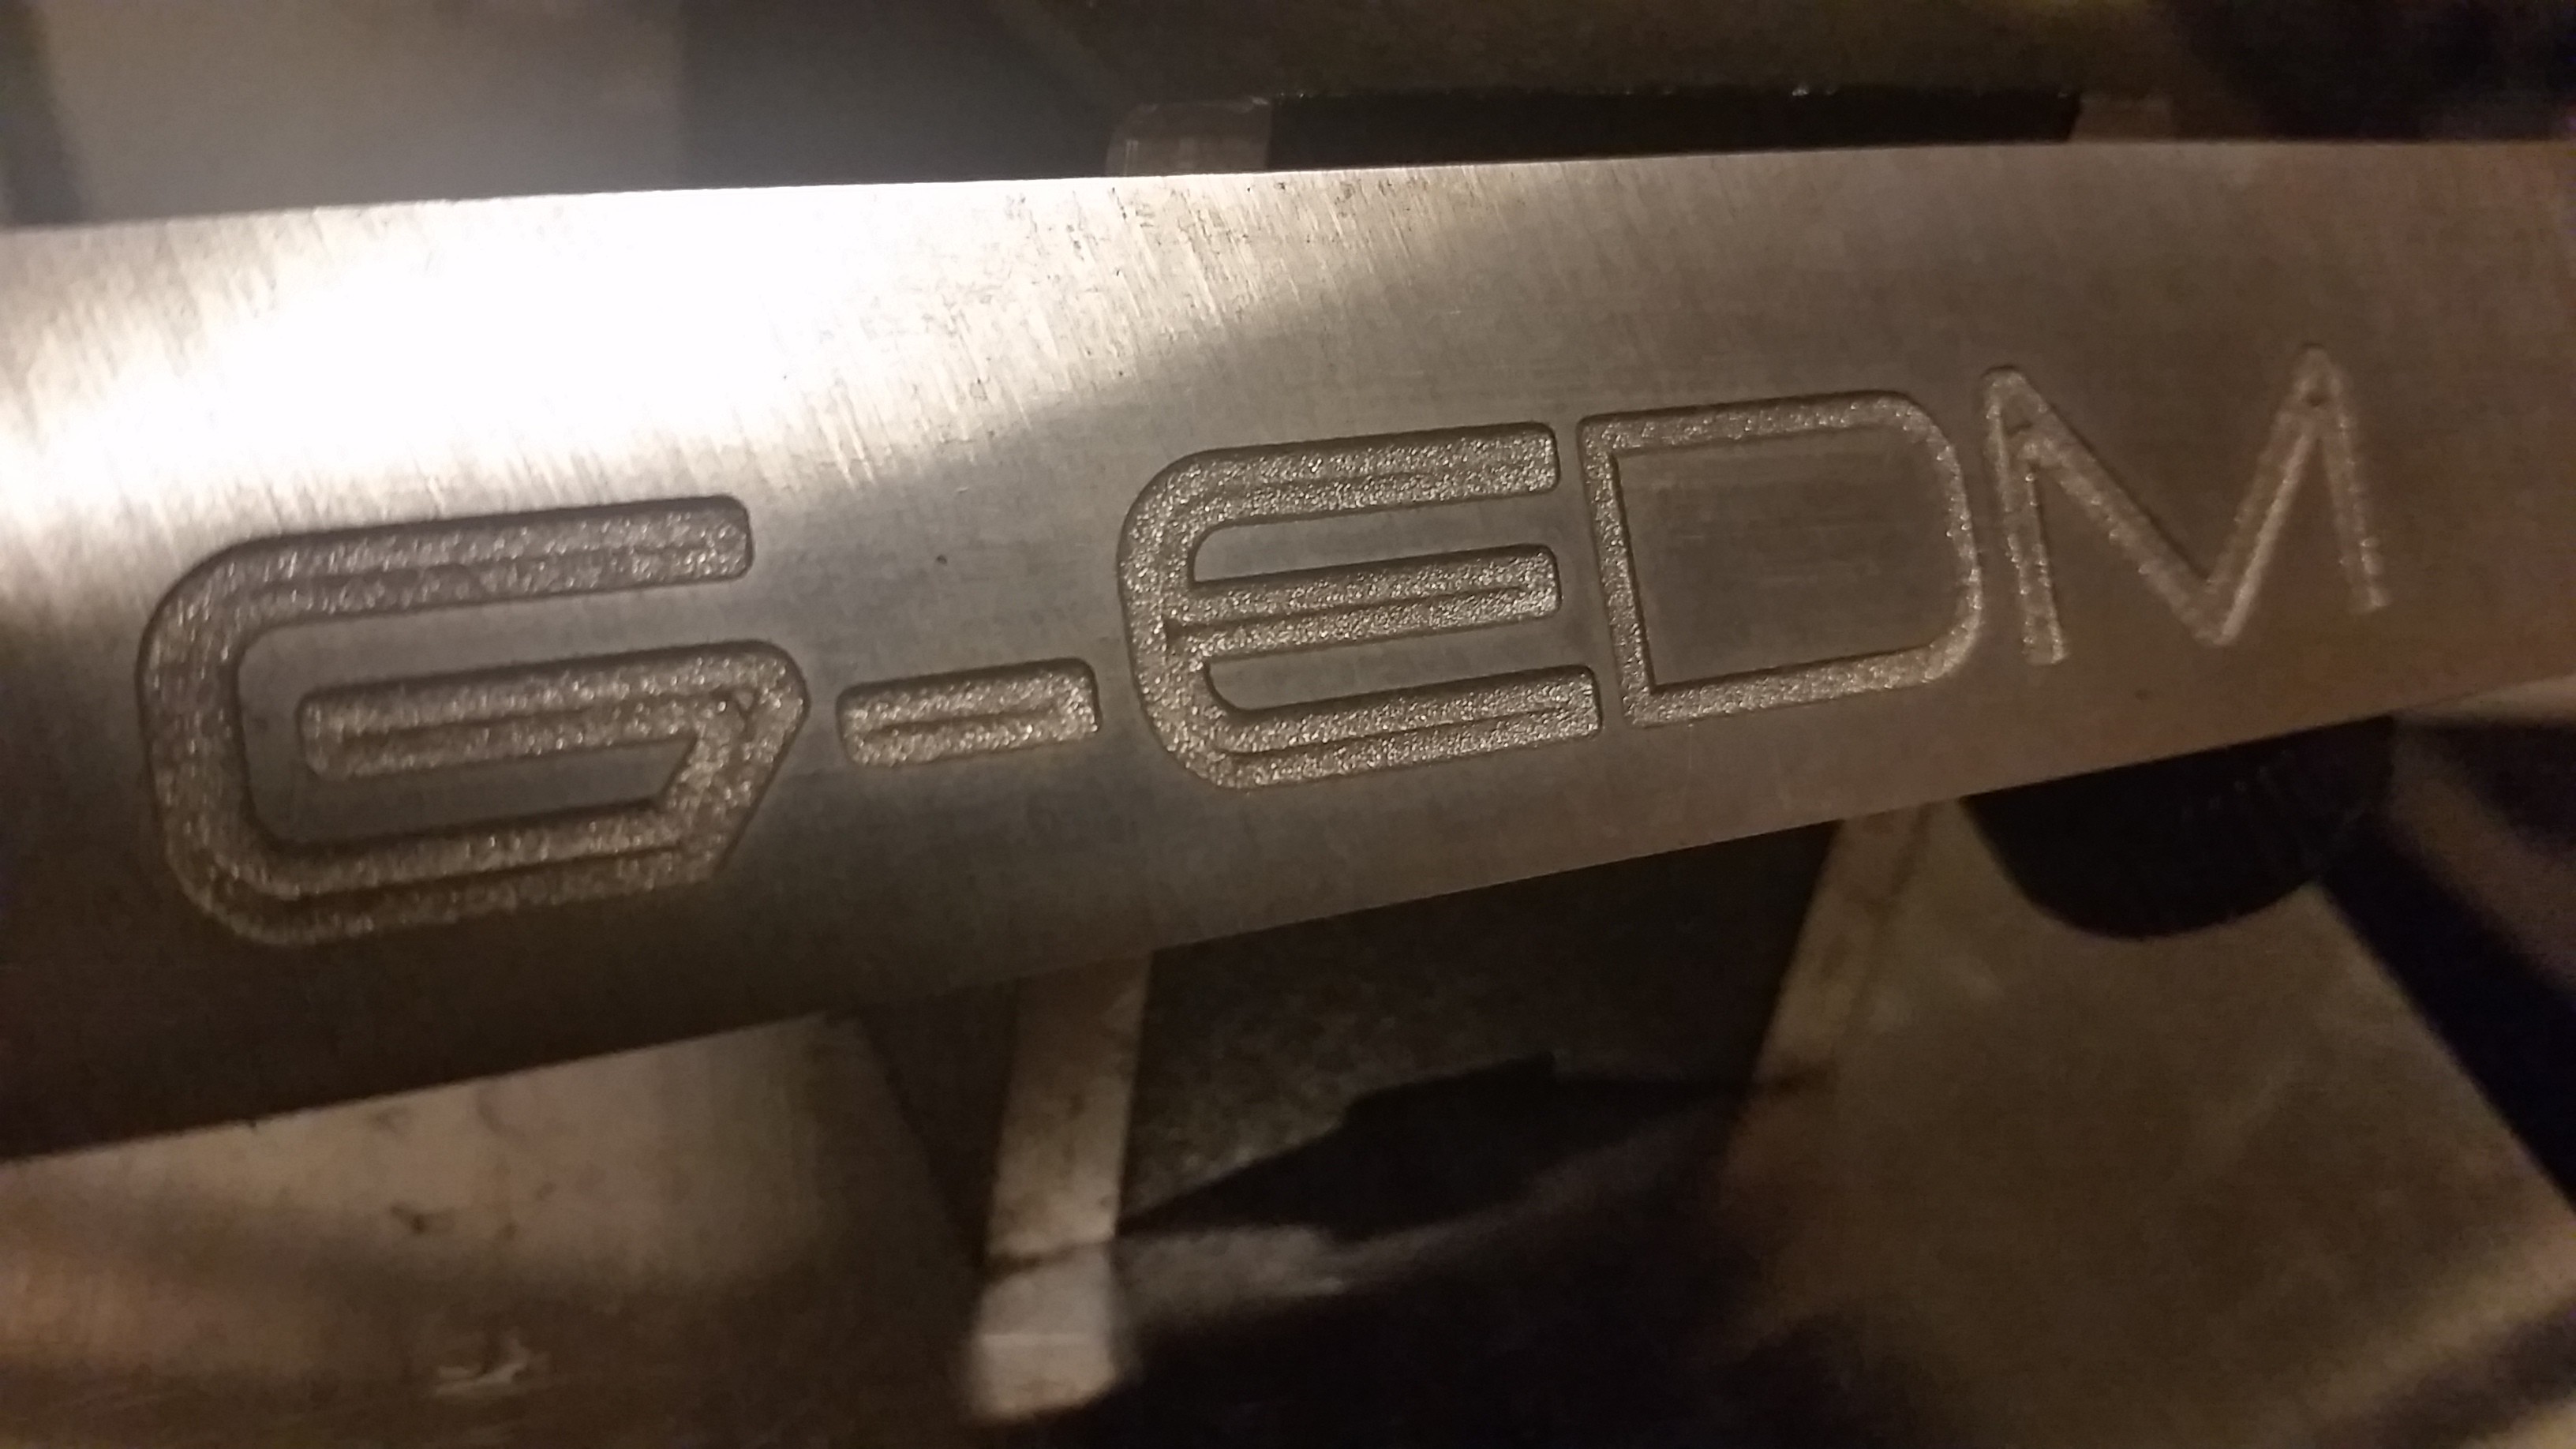
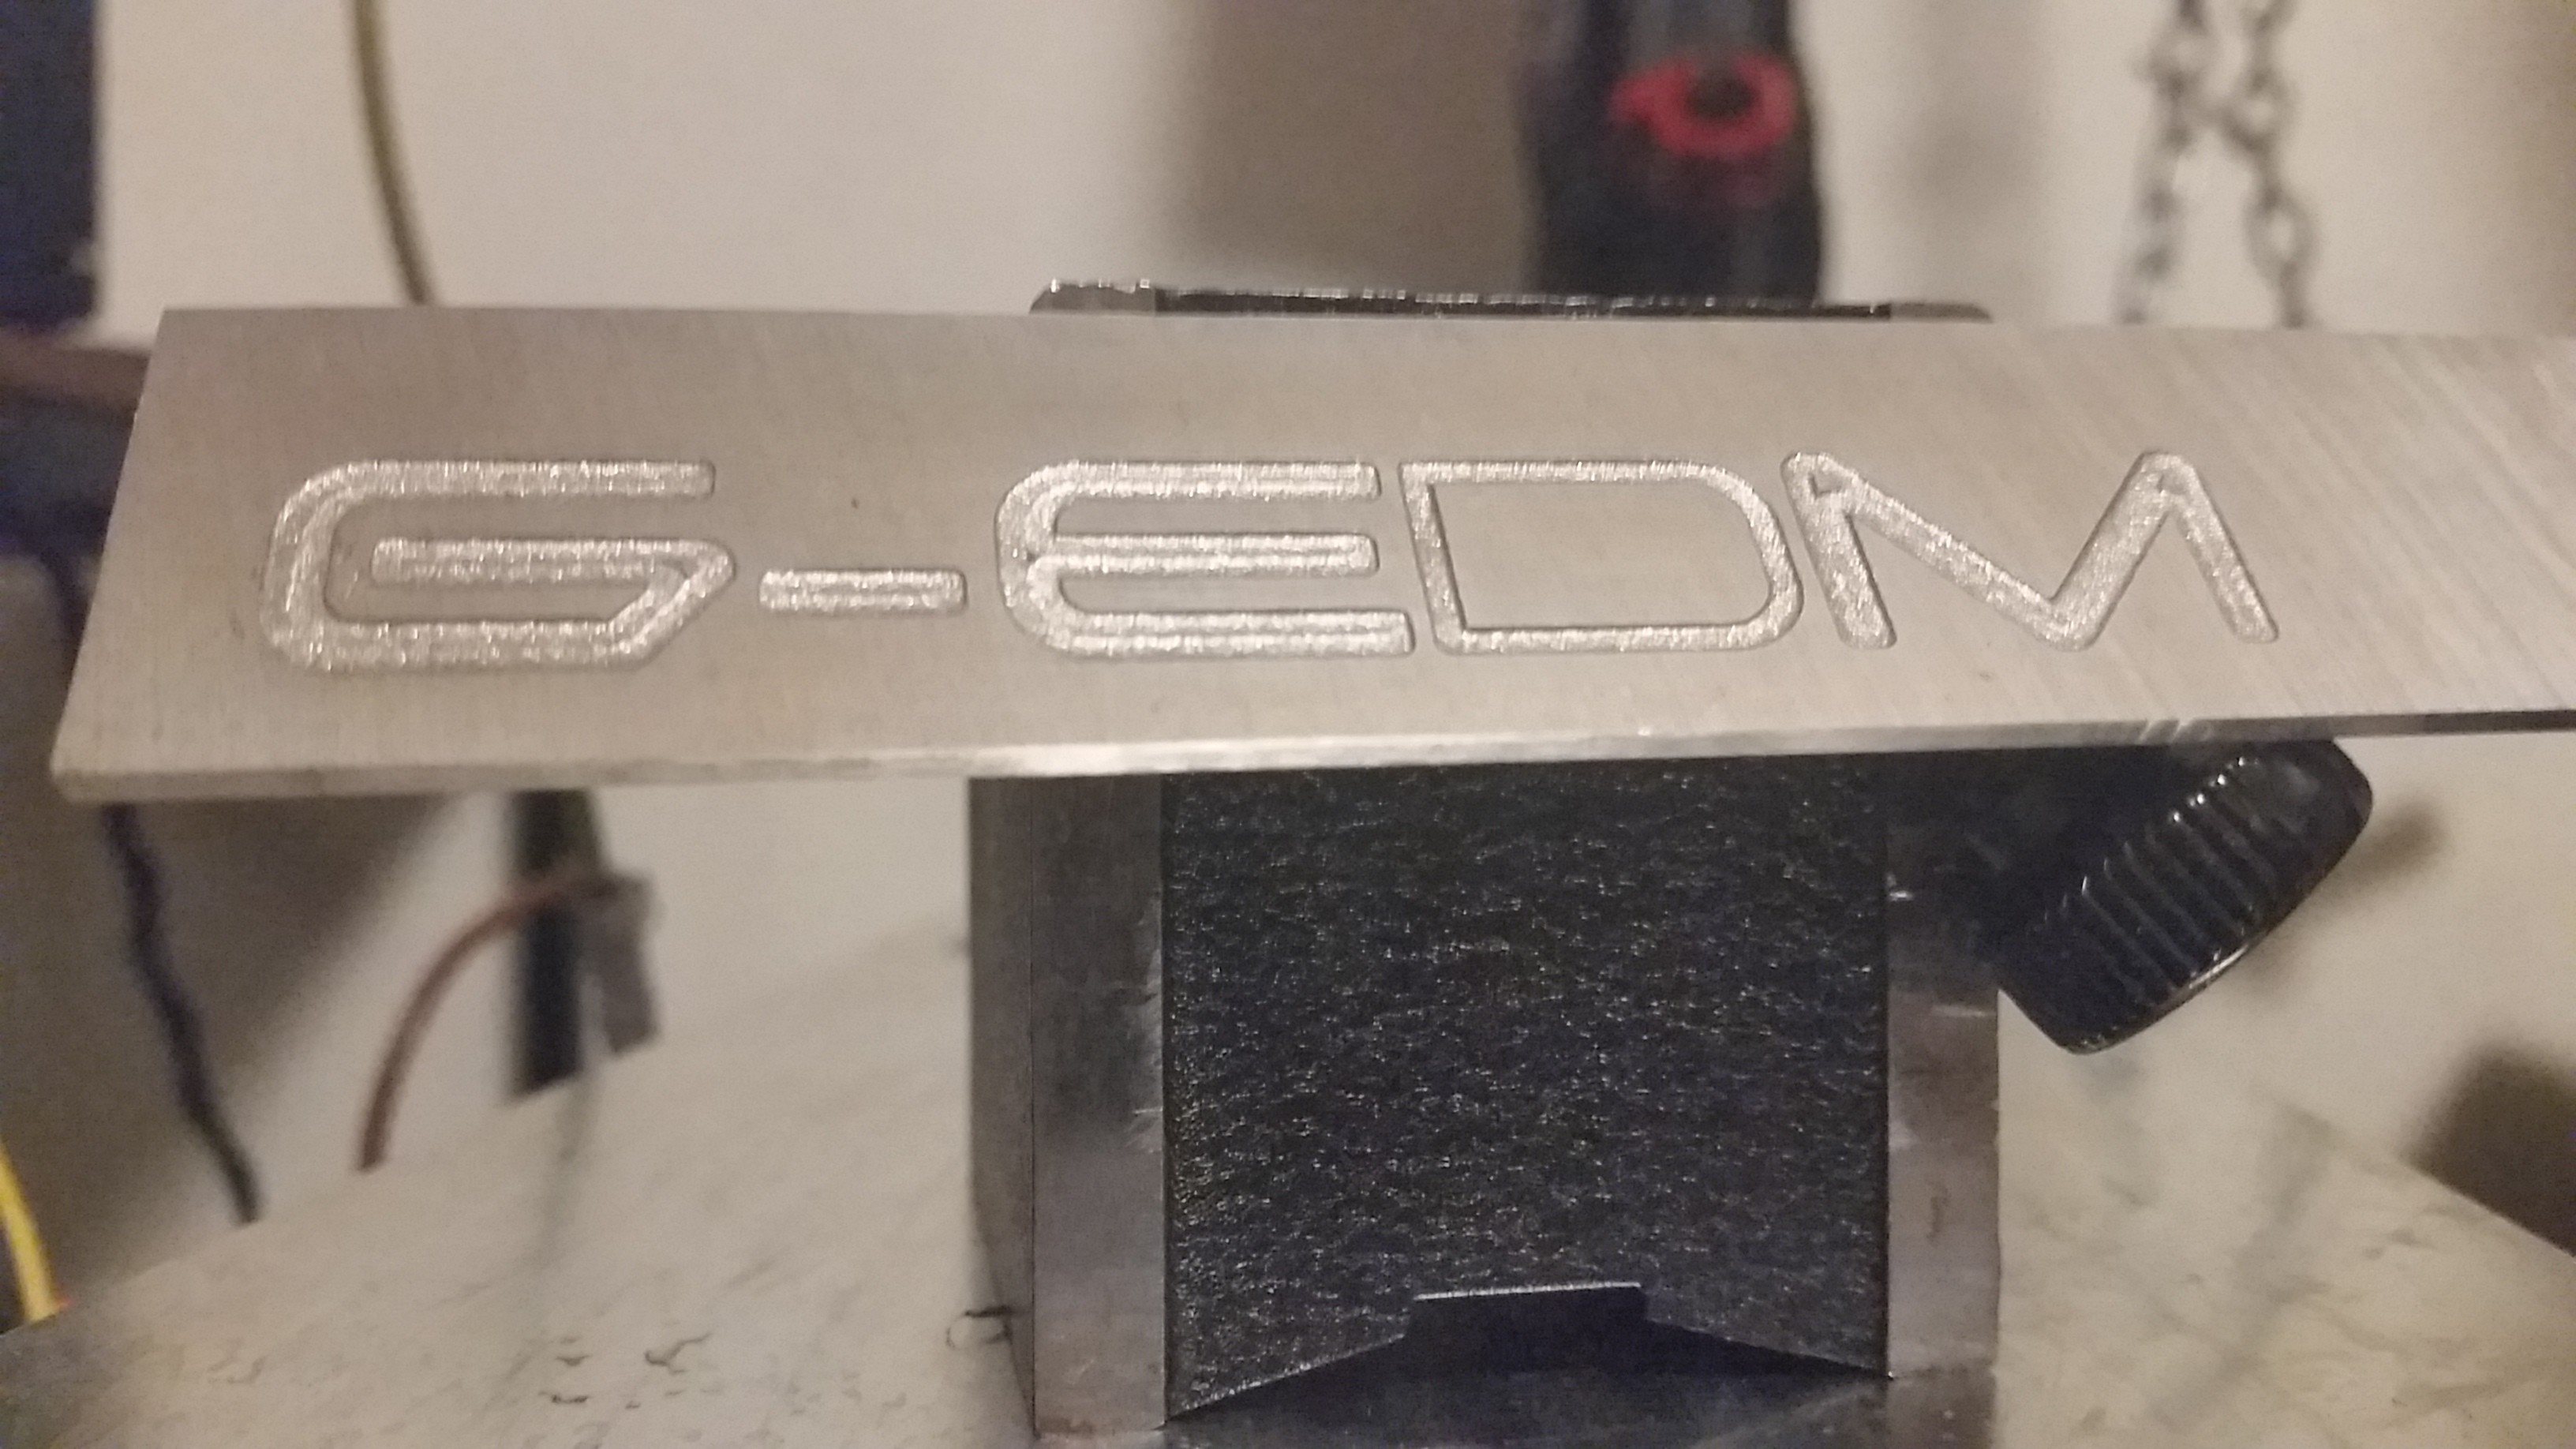
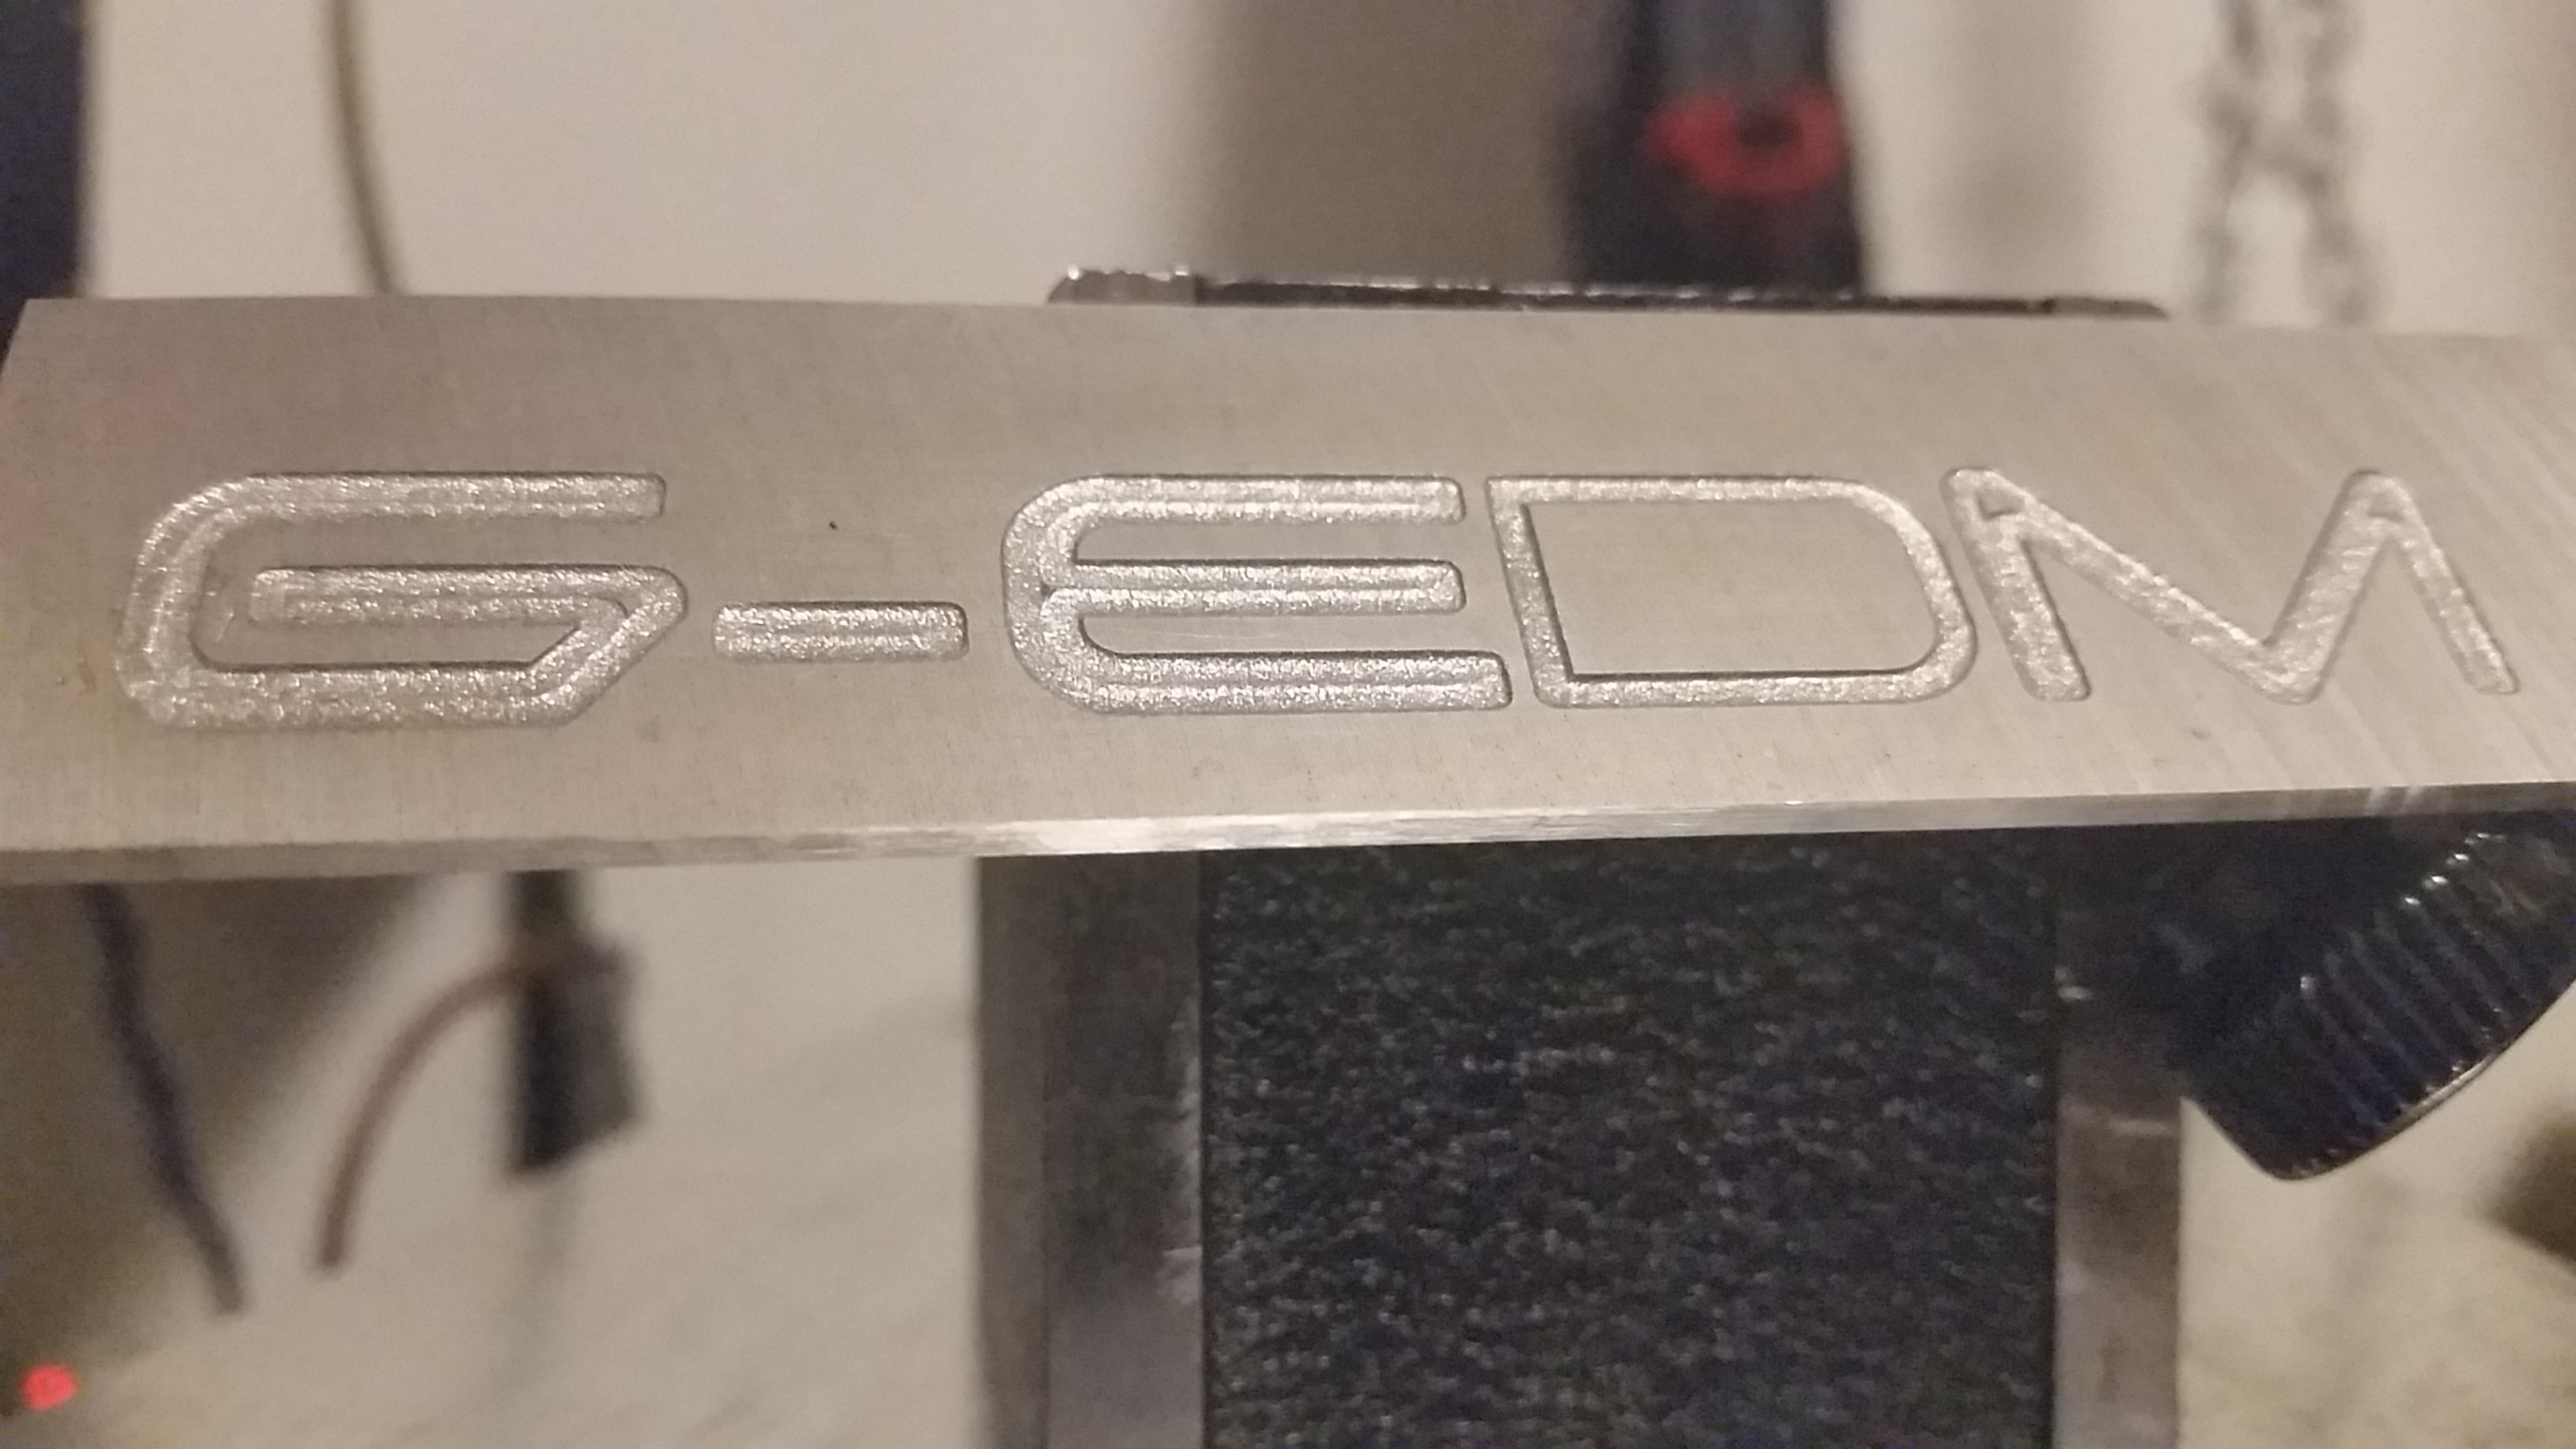
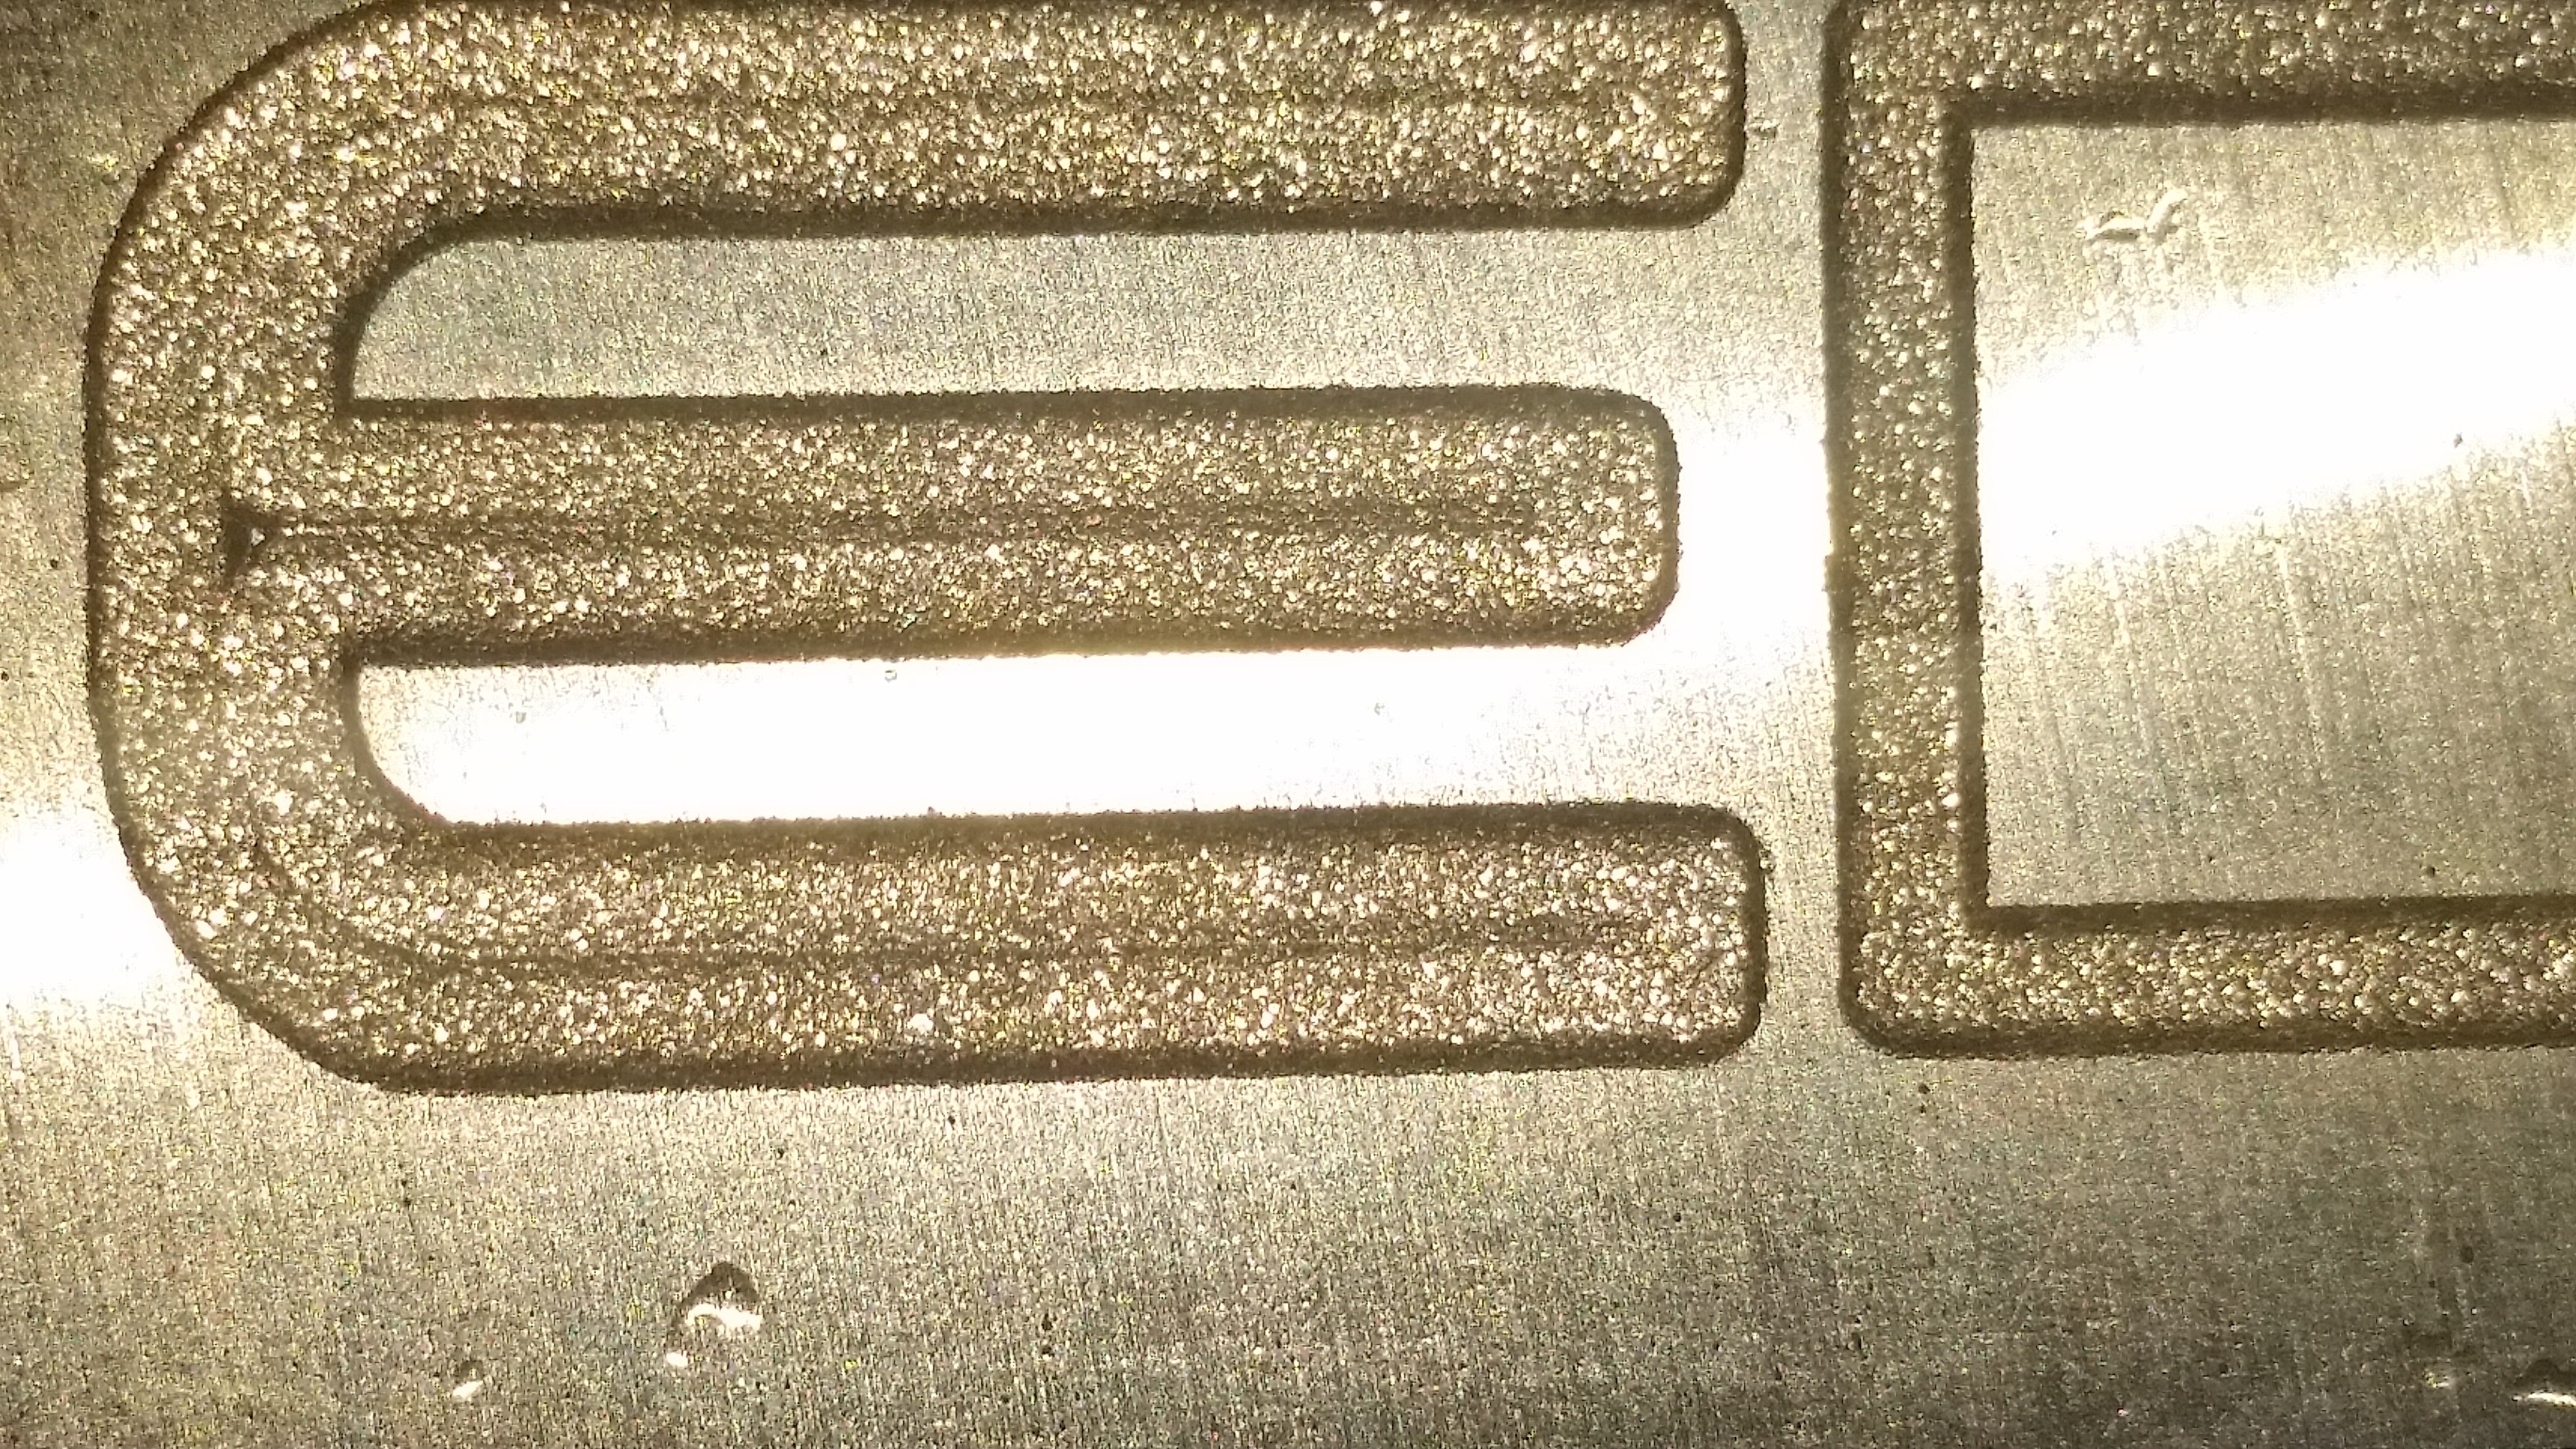
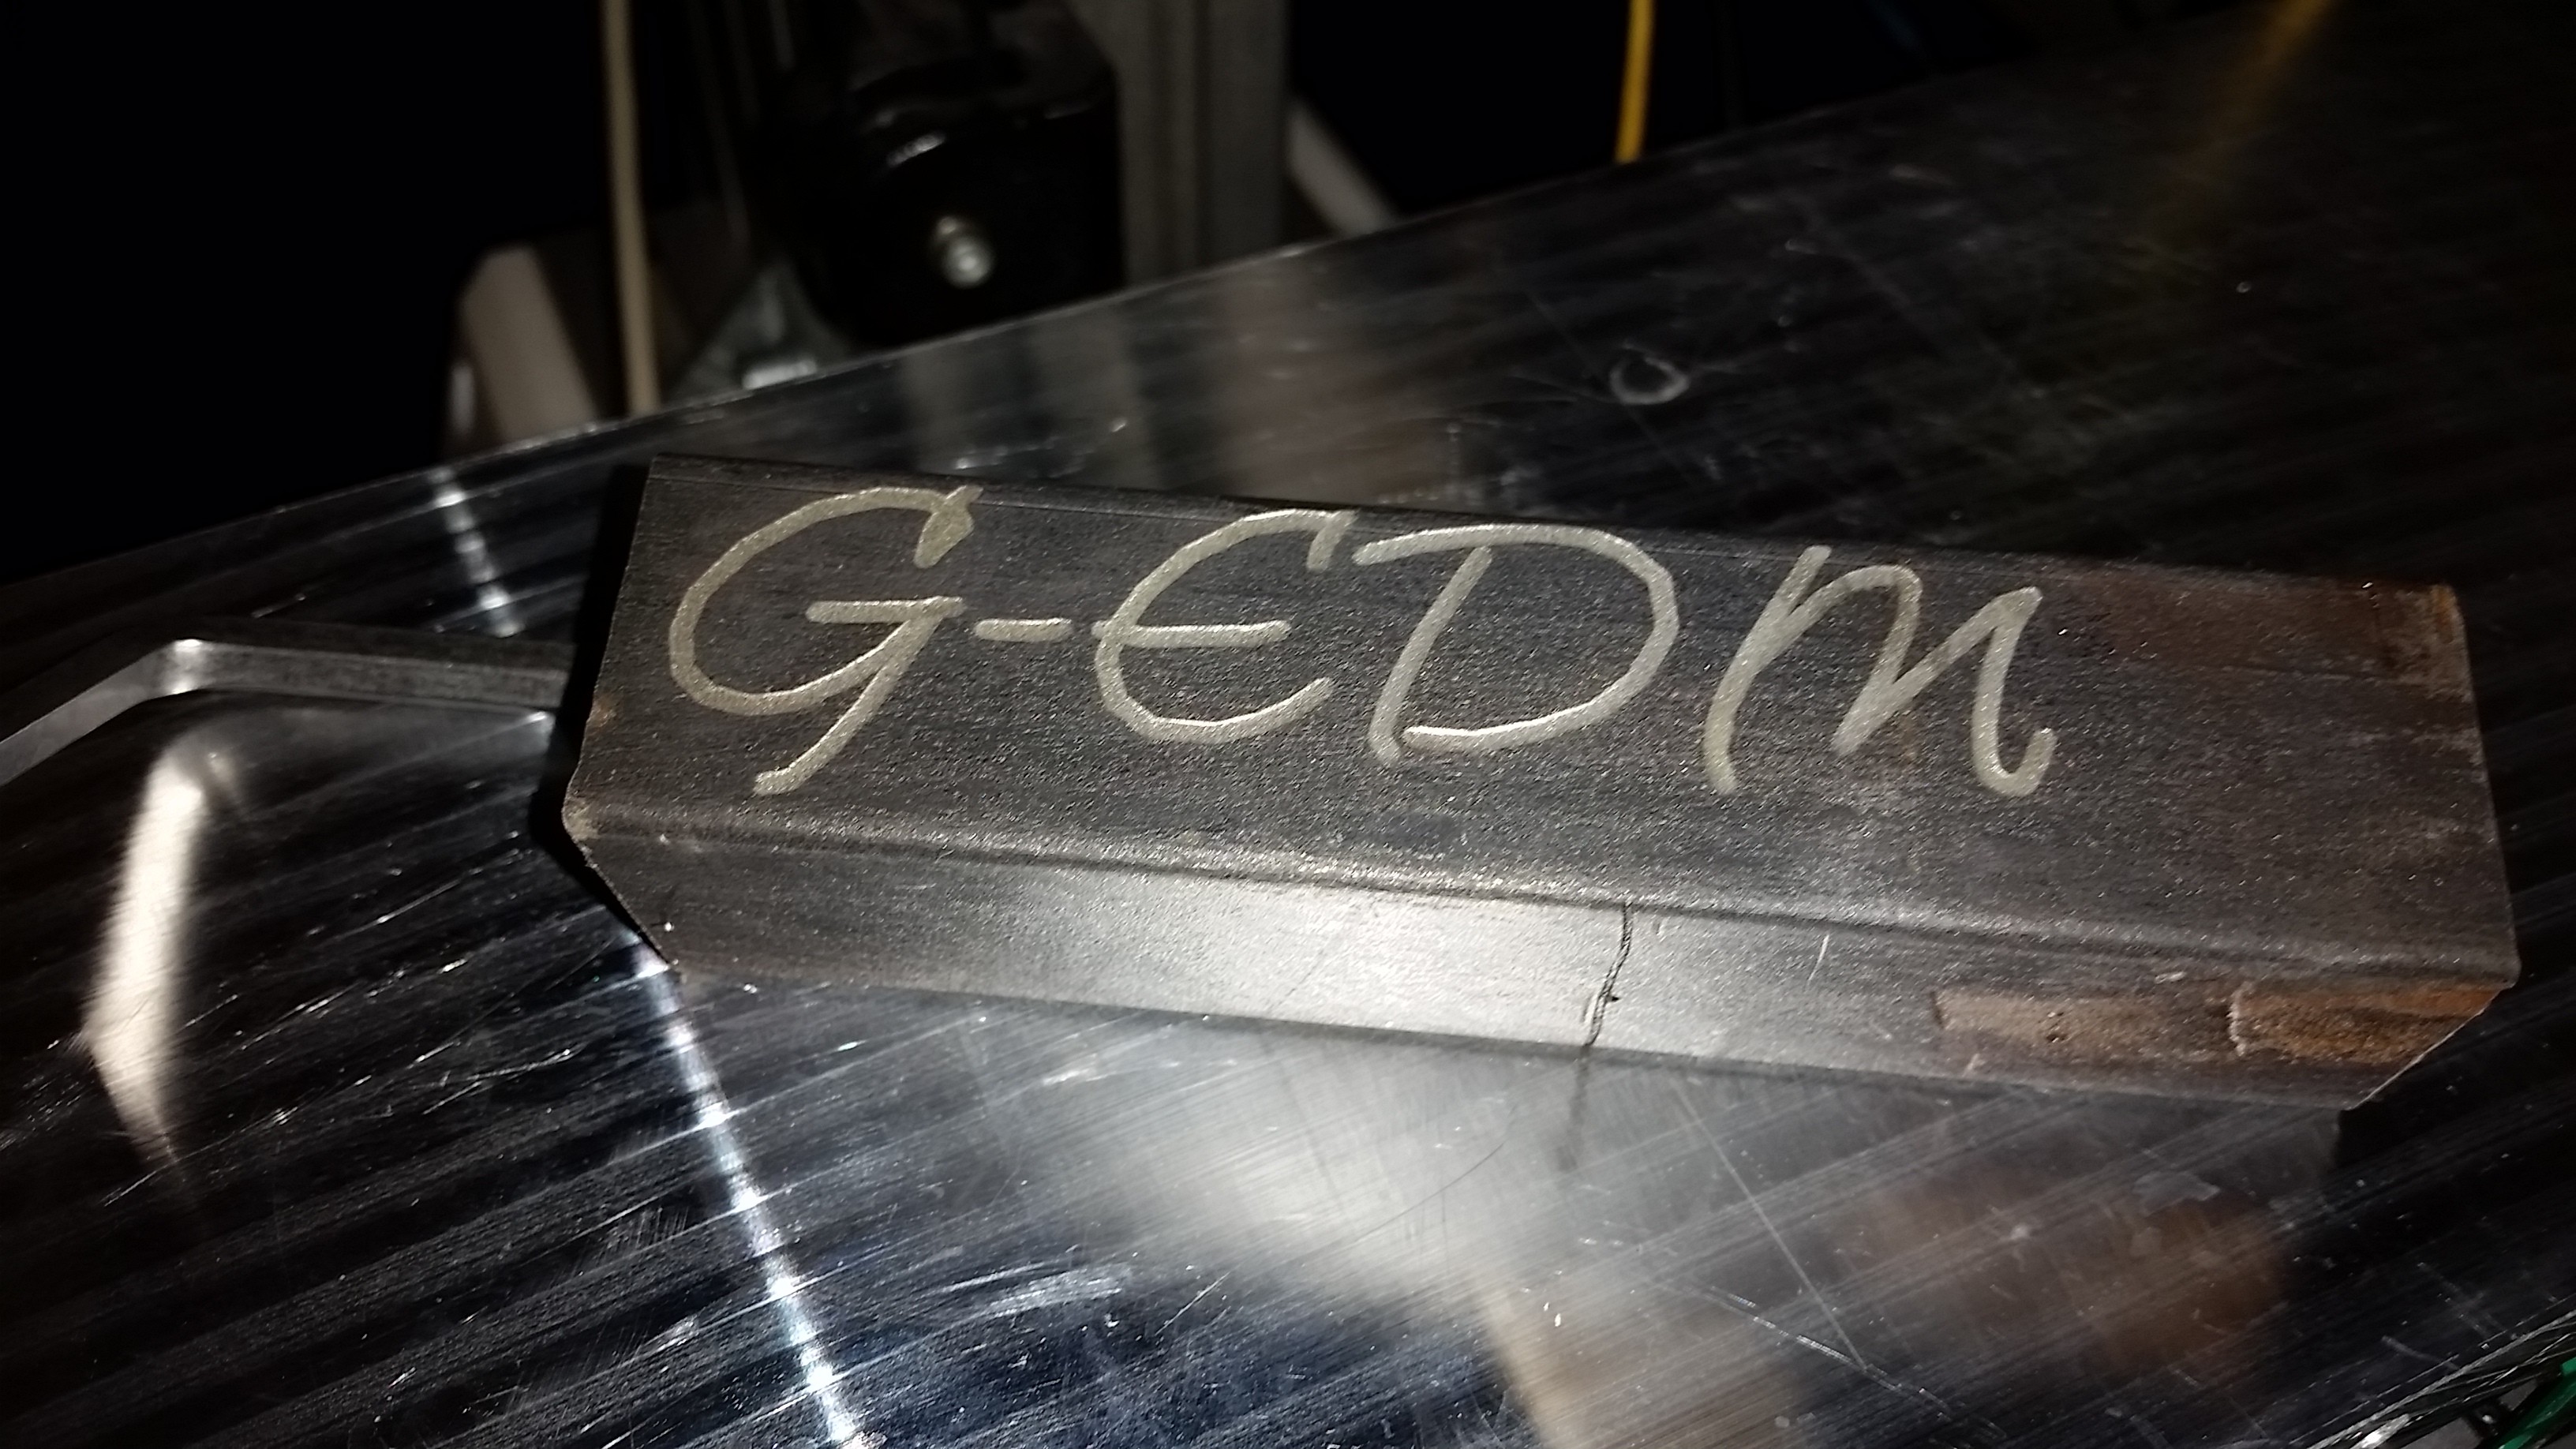
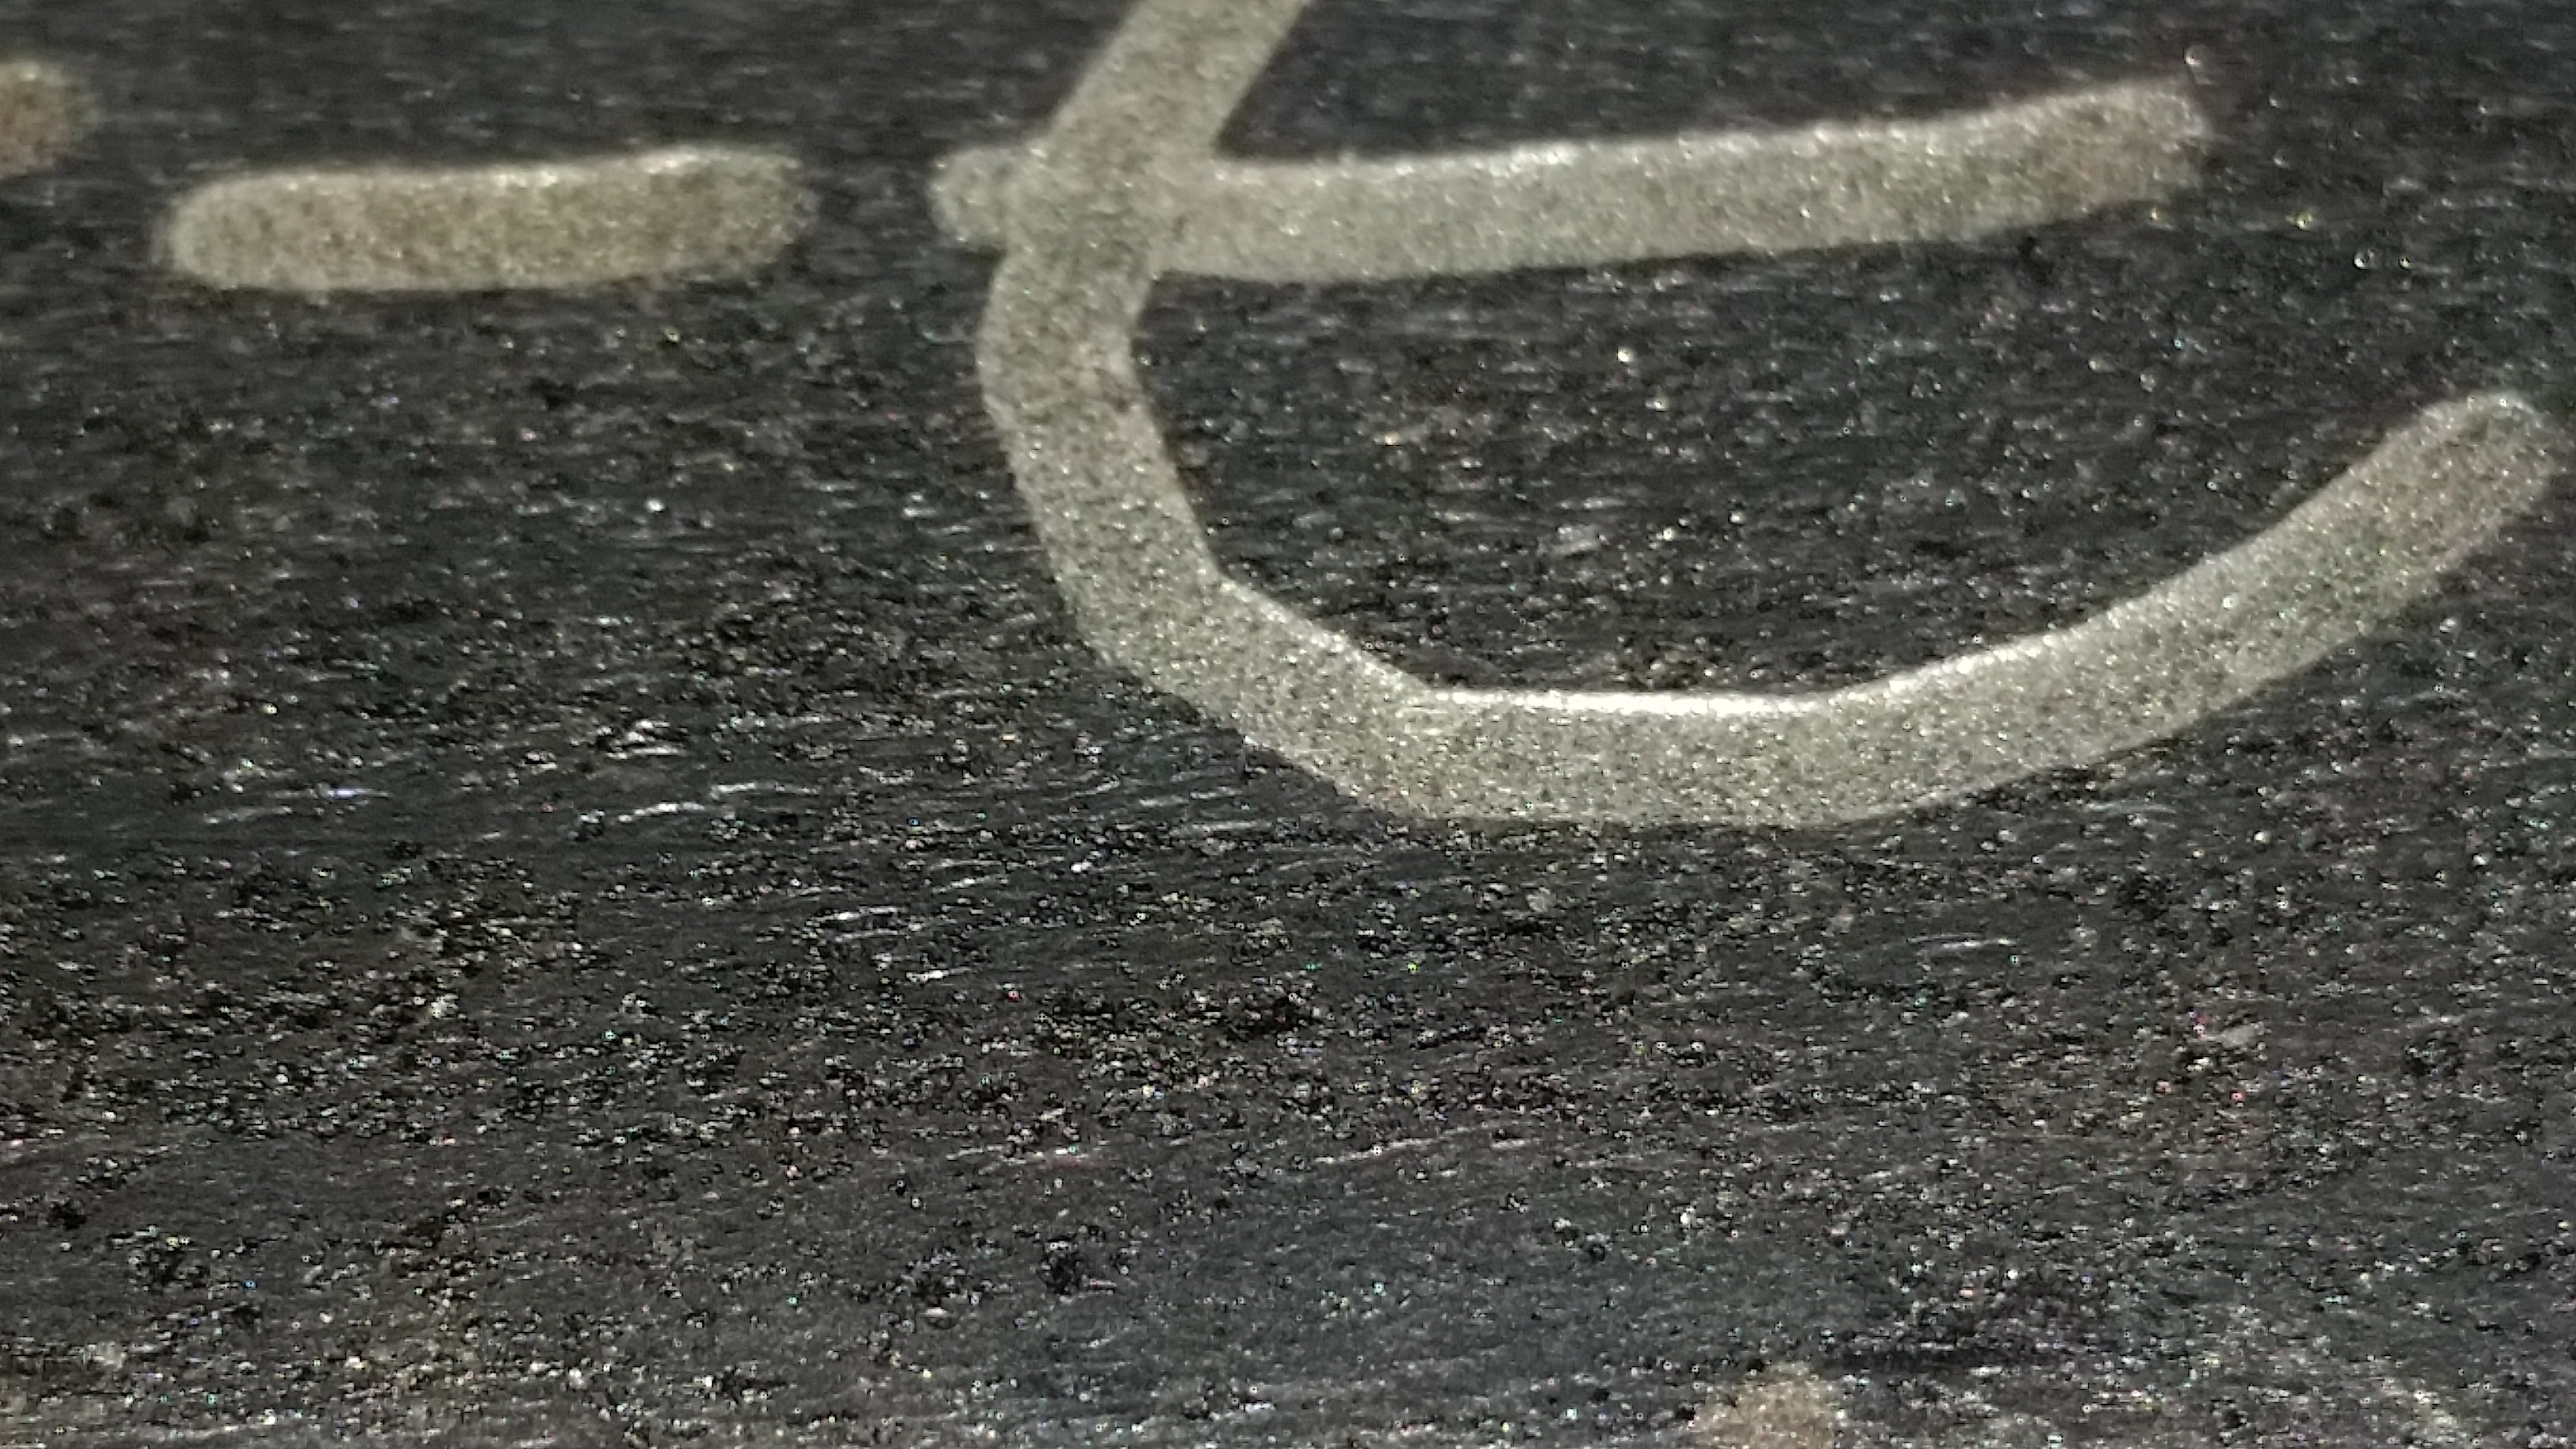
Writing some text into mild steel
08/10/2023 at 14:02 • 1 commentFirst things first:
I still need to design a machine vise and a water enclosure.
The printed vise that was used starts to bend while tightening and the plastic box used has a knob in the center. So basically the vise can be moved super easily and this creates more shorts.
The GCode repeated three times. The process was smooth and silent at 30V 20khz 2Amps with a constant burn all along.
The GCode was generated with GRBL-Plotter and used a single line font with a 1.5mm electrode.
One problem at the start of the process is the "electrode down" movement. In the first round it hits the surface of the workpiece. This is mostly due to the bend of the vise. The metal is far from 90° to the electrode.
The down movement moves back down to the last position and starts reprobing shortly before that position. This increases the speed but needs to change so it reprobes earlier.
After the first pass the surface is mostly even and it doesn't hit the workpiece.
Another thing to change is the "electrode up" movement. The up position is 1mm above the initial probe. This will increase to 2mm.
Here's the video of the process.
![]()
![]()
-
Fist rough dry test!
08/08/2023 at 15:33 • 0 commentsAfter all the troubles it was finally time to do the first dry test.
There is still much to do but the test looks pretty sparky.
It was a random gcode file that contained only a circle with 30mm diameter. A little too big.
The circle used the center as origin an it is visible that it did move the Z axis down to get from the center to the circle line. Need too look into it.
I hope the sparks distract from the shaky camera.
-
CAM Software, probing and the coordinate systems
08/06/2023 at 03:04 • 0 commentsAfter converting the G-EDM to a full 3 Axis EDM CNC it was time to create the first GCode.
The CAM software of choice was GRBL-Plotter. A nice and feature rich software that provides everything it needs to create 2D jobs.
Check out the link for more details about GRBL-Plotter:
https://grbl-plotter.de/?setlang=en
Sadly it is only available for windows and I had to install a virtual windows machine with Virtualbox since I'm a pure Linuxuser.
After changing a few setting the first GCode was easily created. I decided to use M3 and M4 commands to move the Z axis up and down. Those commands are normally used to enable and disable a laser.
GRBL-Plotter makes this easy as it allows customization of those commands.
But the GCode wasn't running and this turned out to become a new challenge. First I learned that my understanding of the machine coordinate system was slightly wrong. And also that there is something called workspace coordinate system on top of the machine coordinate system.
Also the concept of negative space was confusing and I still don't like it. It seems to be the result of some misunderstanding in the past and just never changed:
A good read about it can be found here:
https://openbuilds.com/threads/confused-about-homing-machine-position-zeroing-etc.6848/
![]()
After changing the code the axes moved like it is expected from GRBL. Positive values move the X table to the left, the Y table towards the operator and Z up.
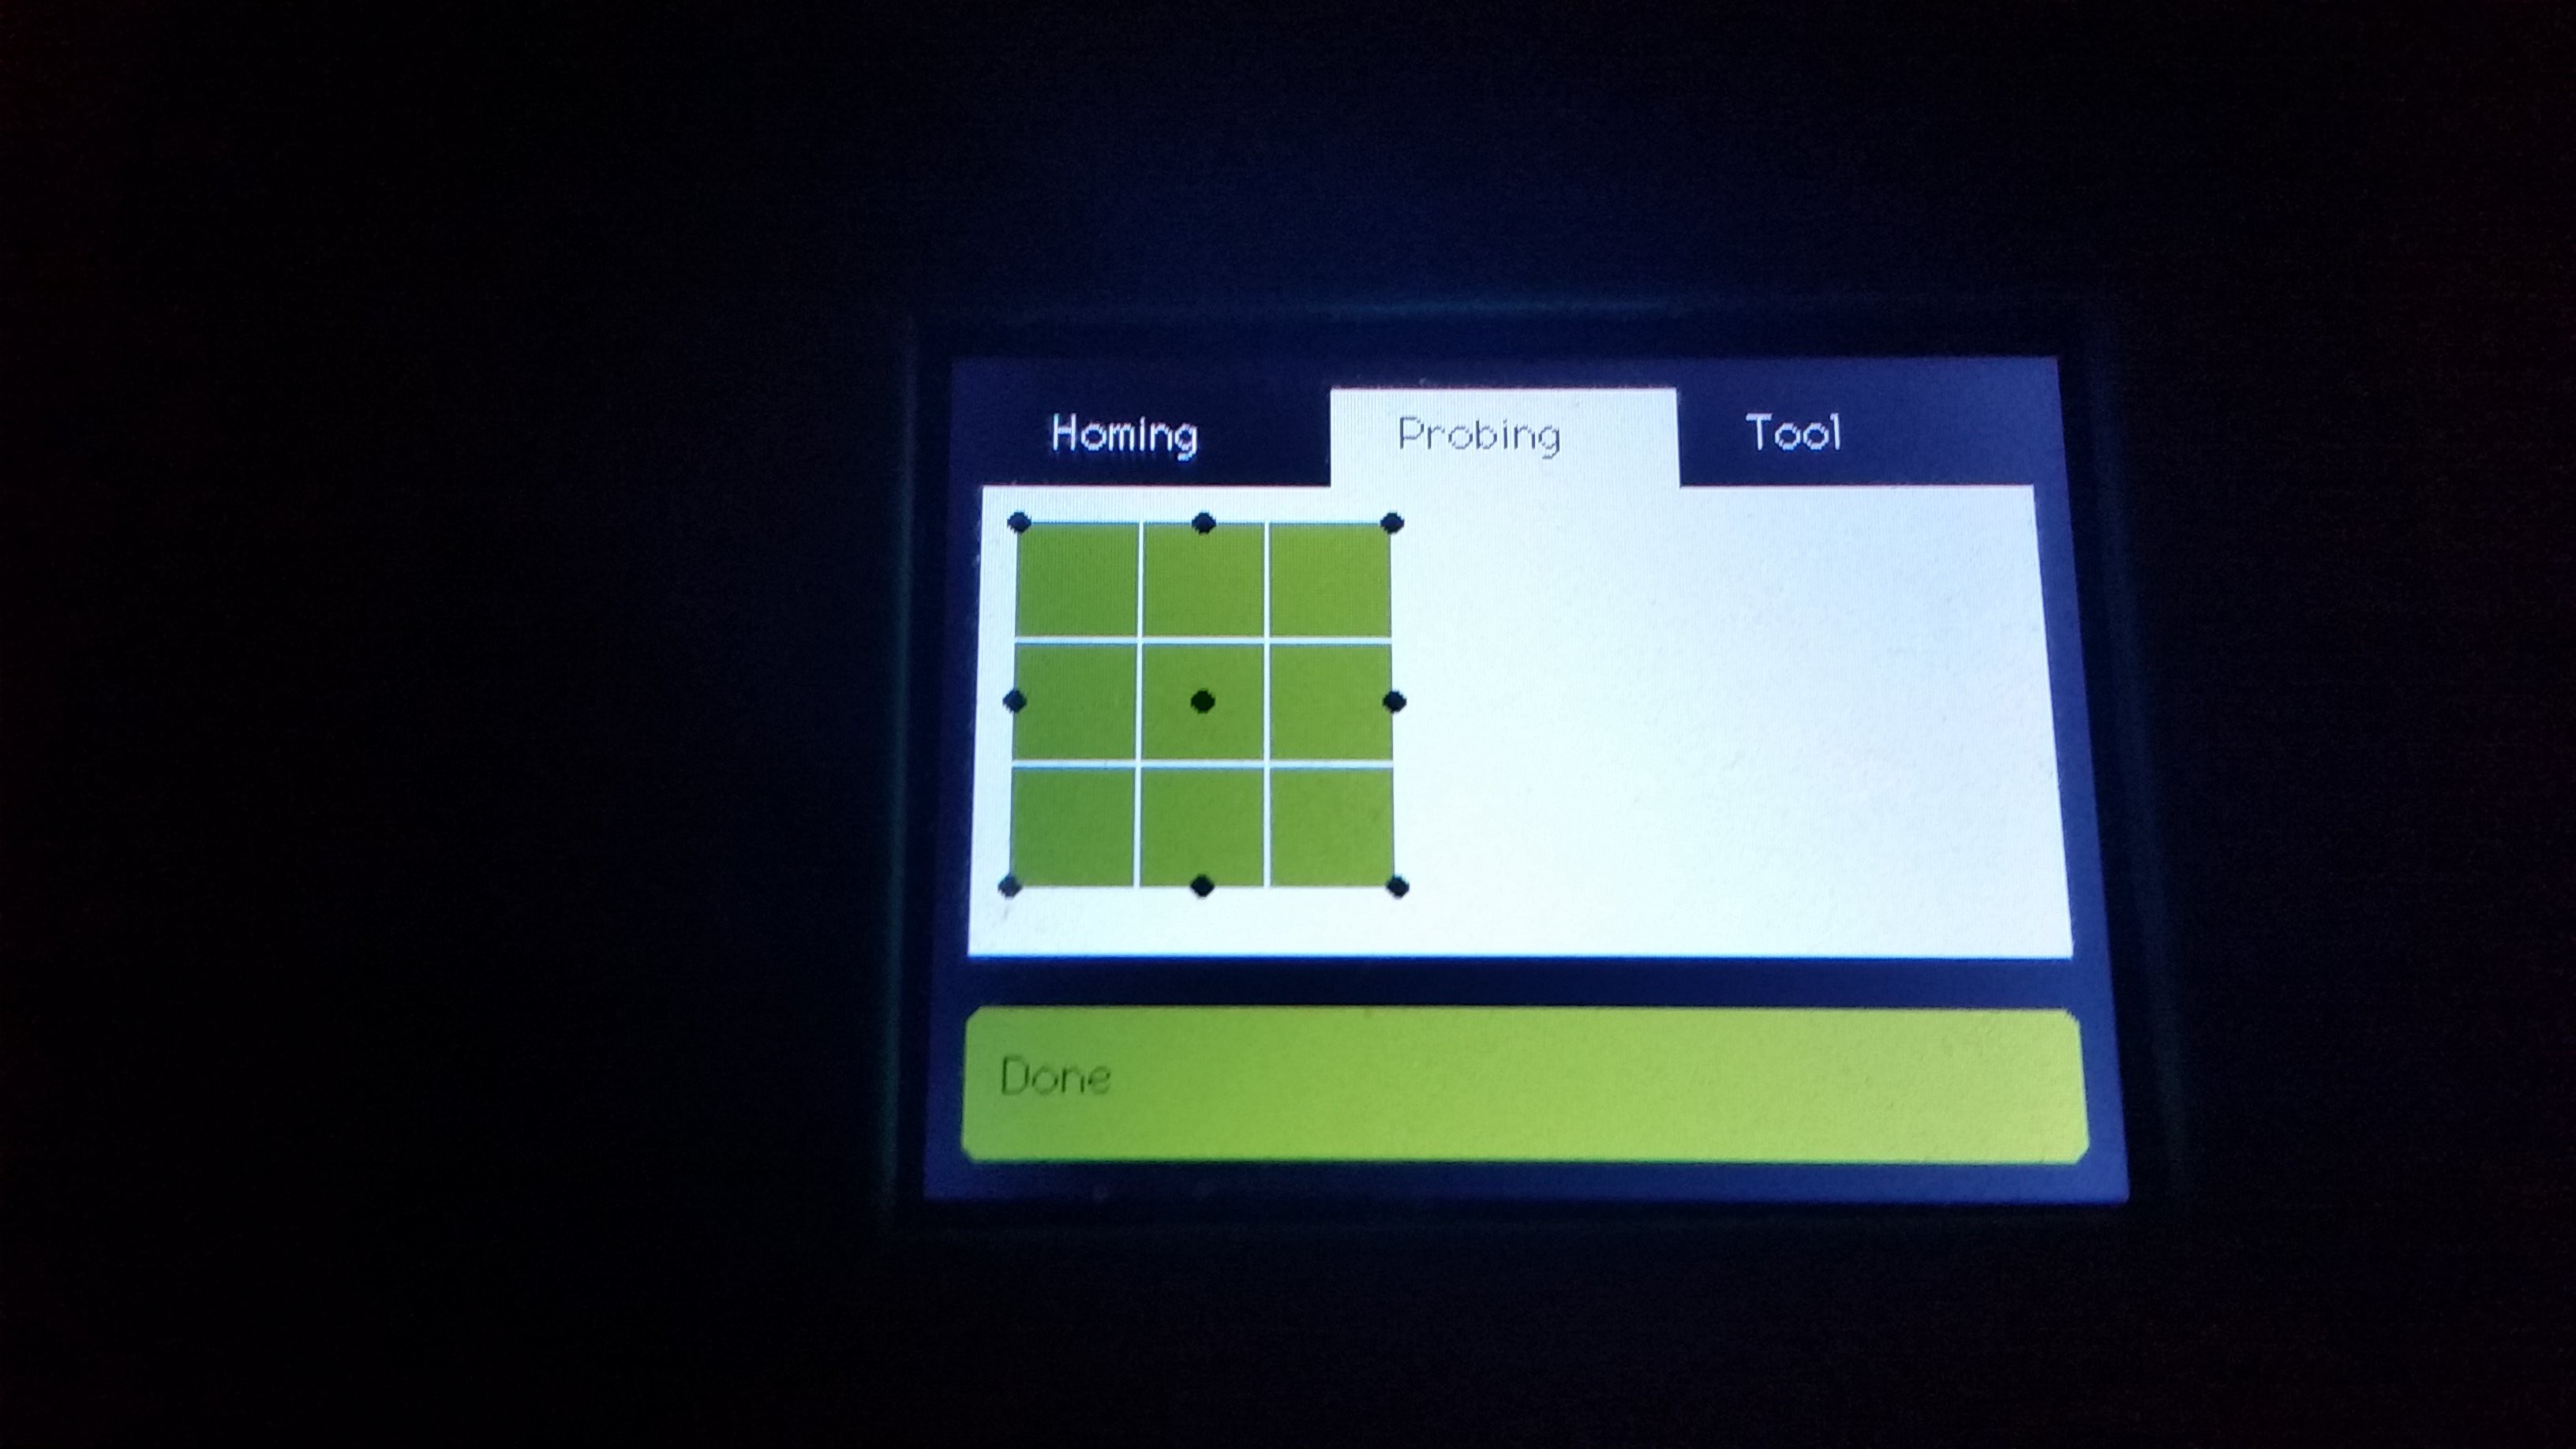
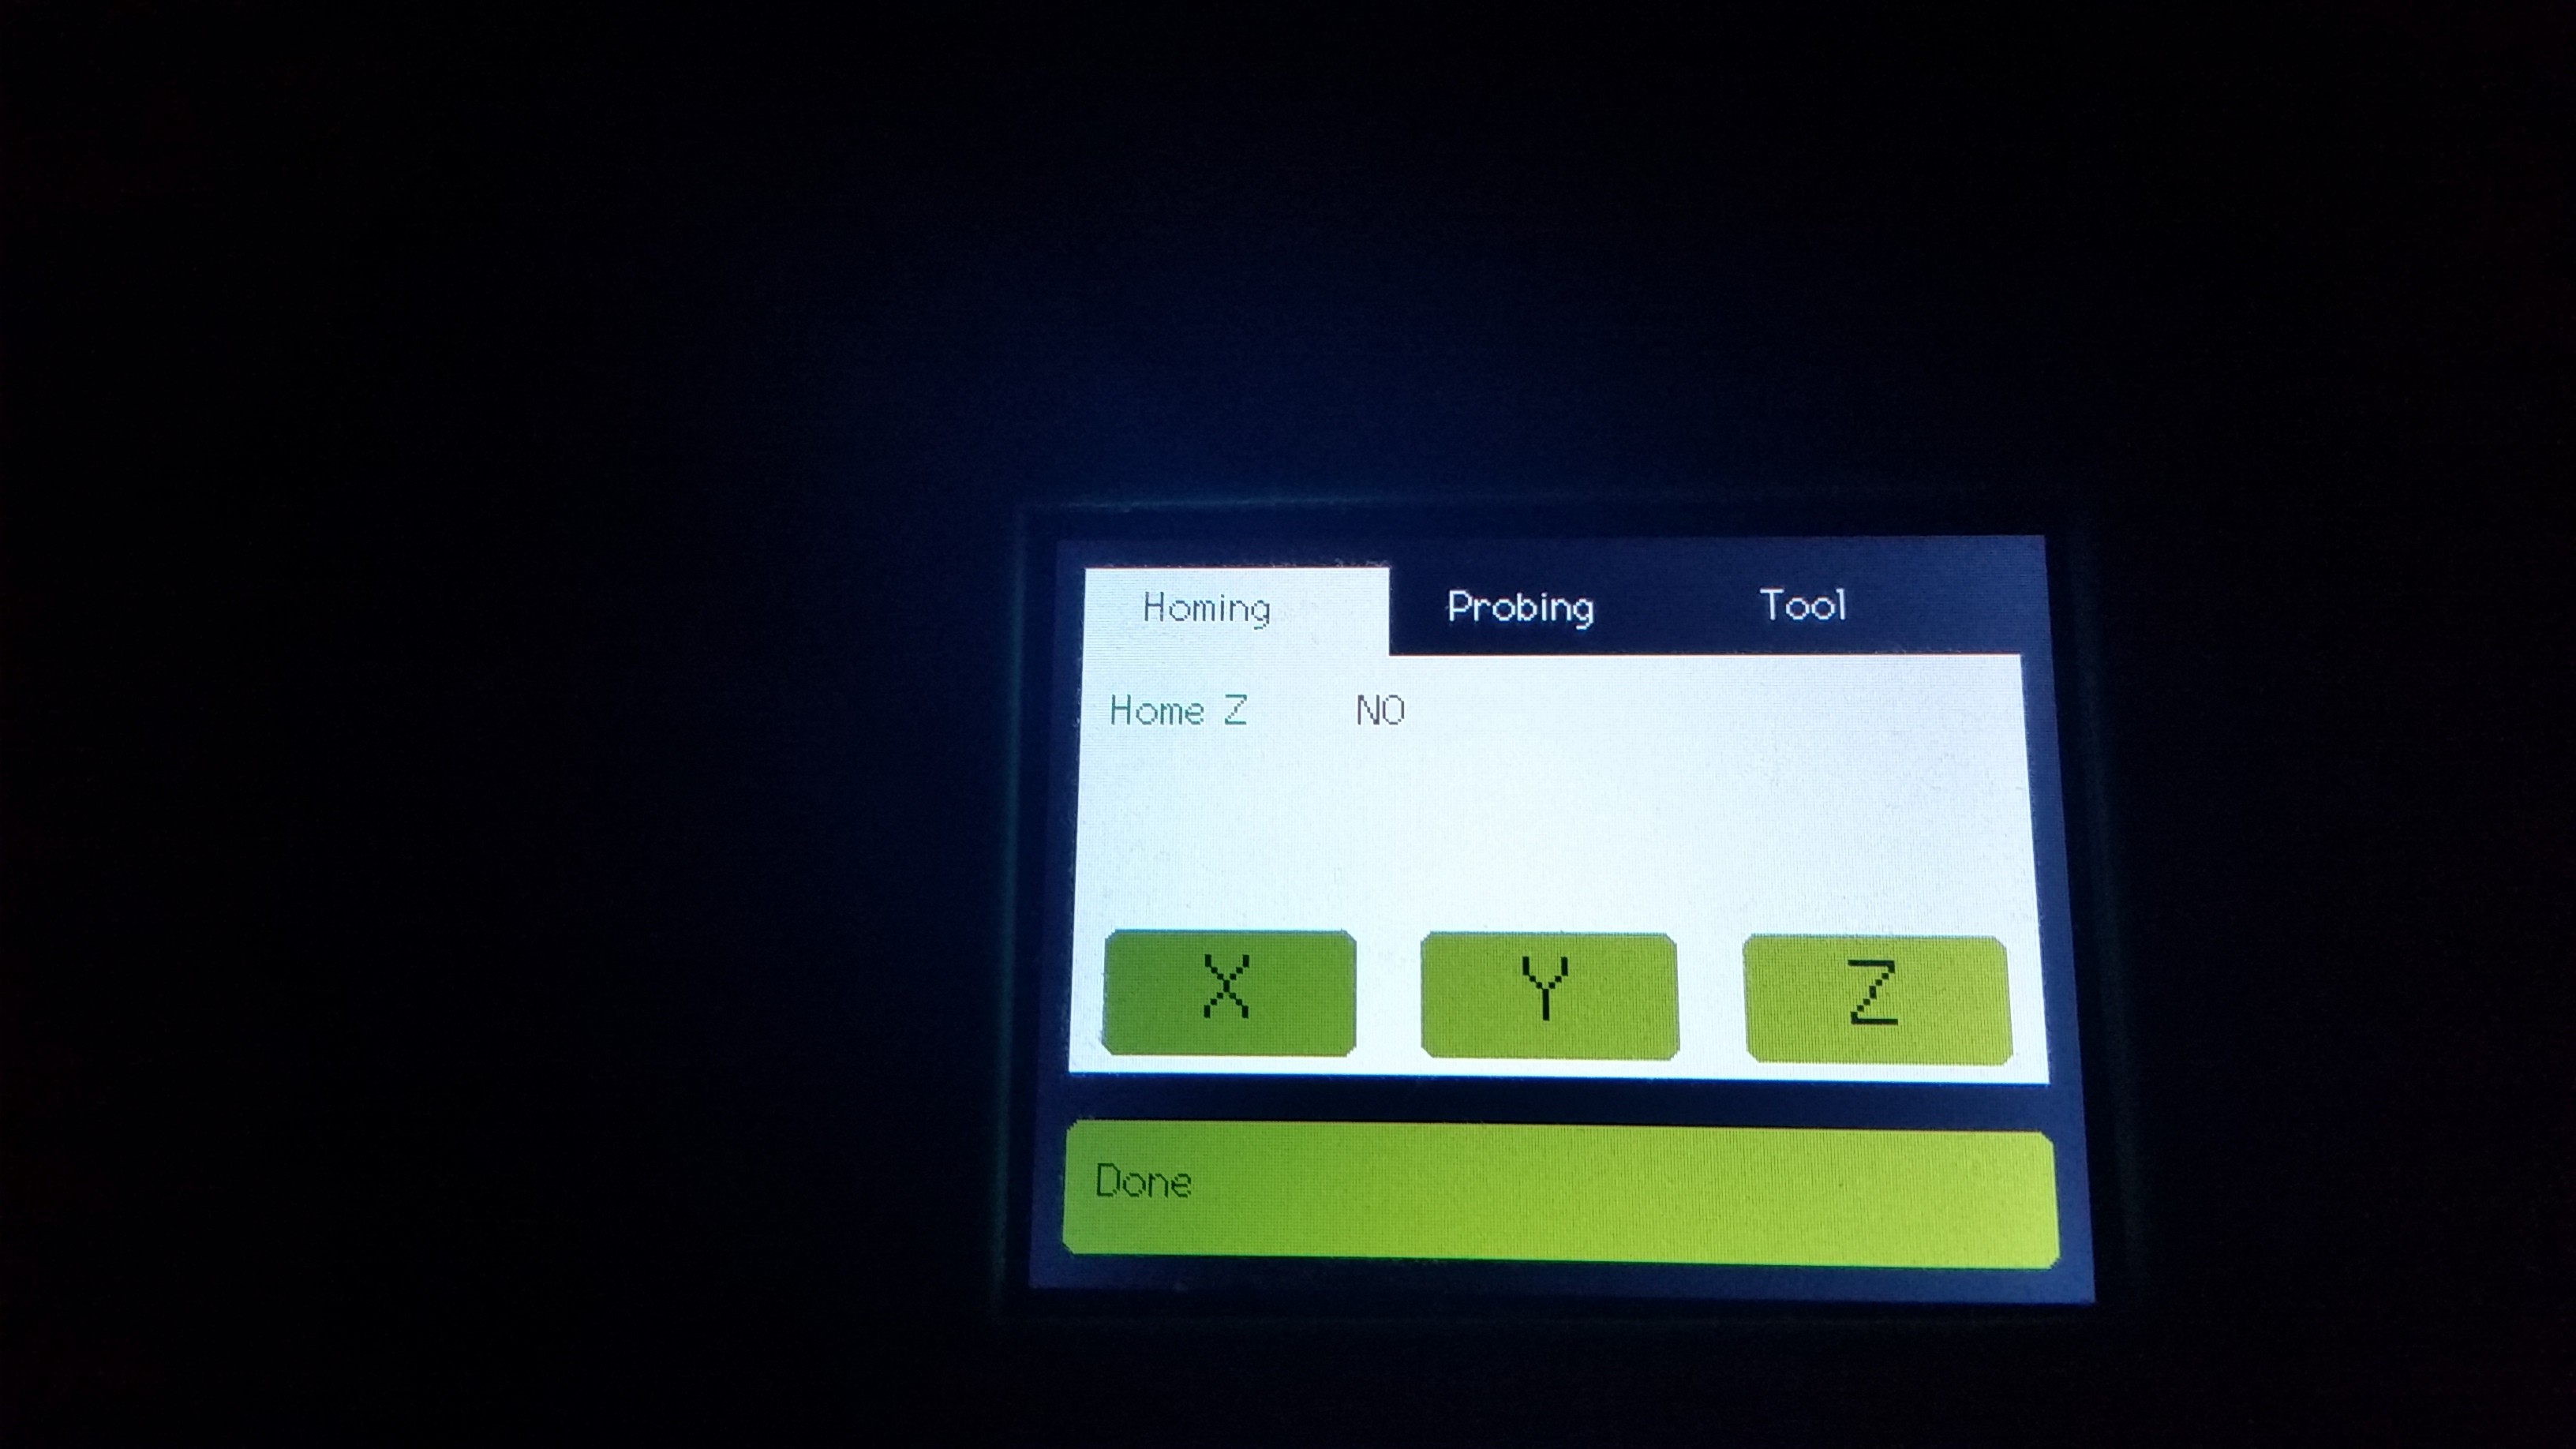
The next step is to define the workspace zero position. This is done through probing the work piece. I'm currently implementing the routines that will allow manual and automatic probing.
The small display doesn't provide much room to get everything on a single page so the page used for homing, probing needed a small makeover.
A homing tab, a probing tab and a tool tab was added. The tool tab allows to set the tool diameter that is needed after probing to get the real zero position.
And instead of using a fixed probe point like for example the back left corner it will allow all common probing points.
![]()
![]()
![]()
-
XY table without Z axis
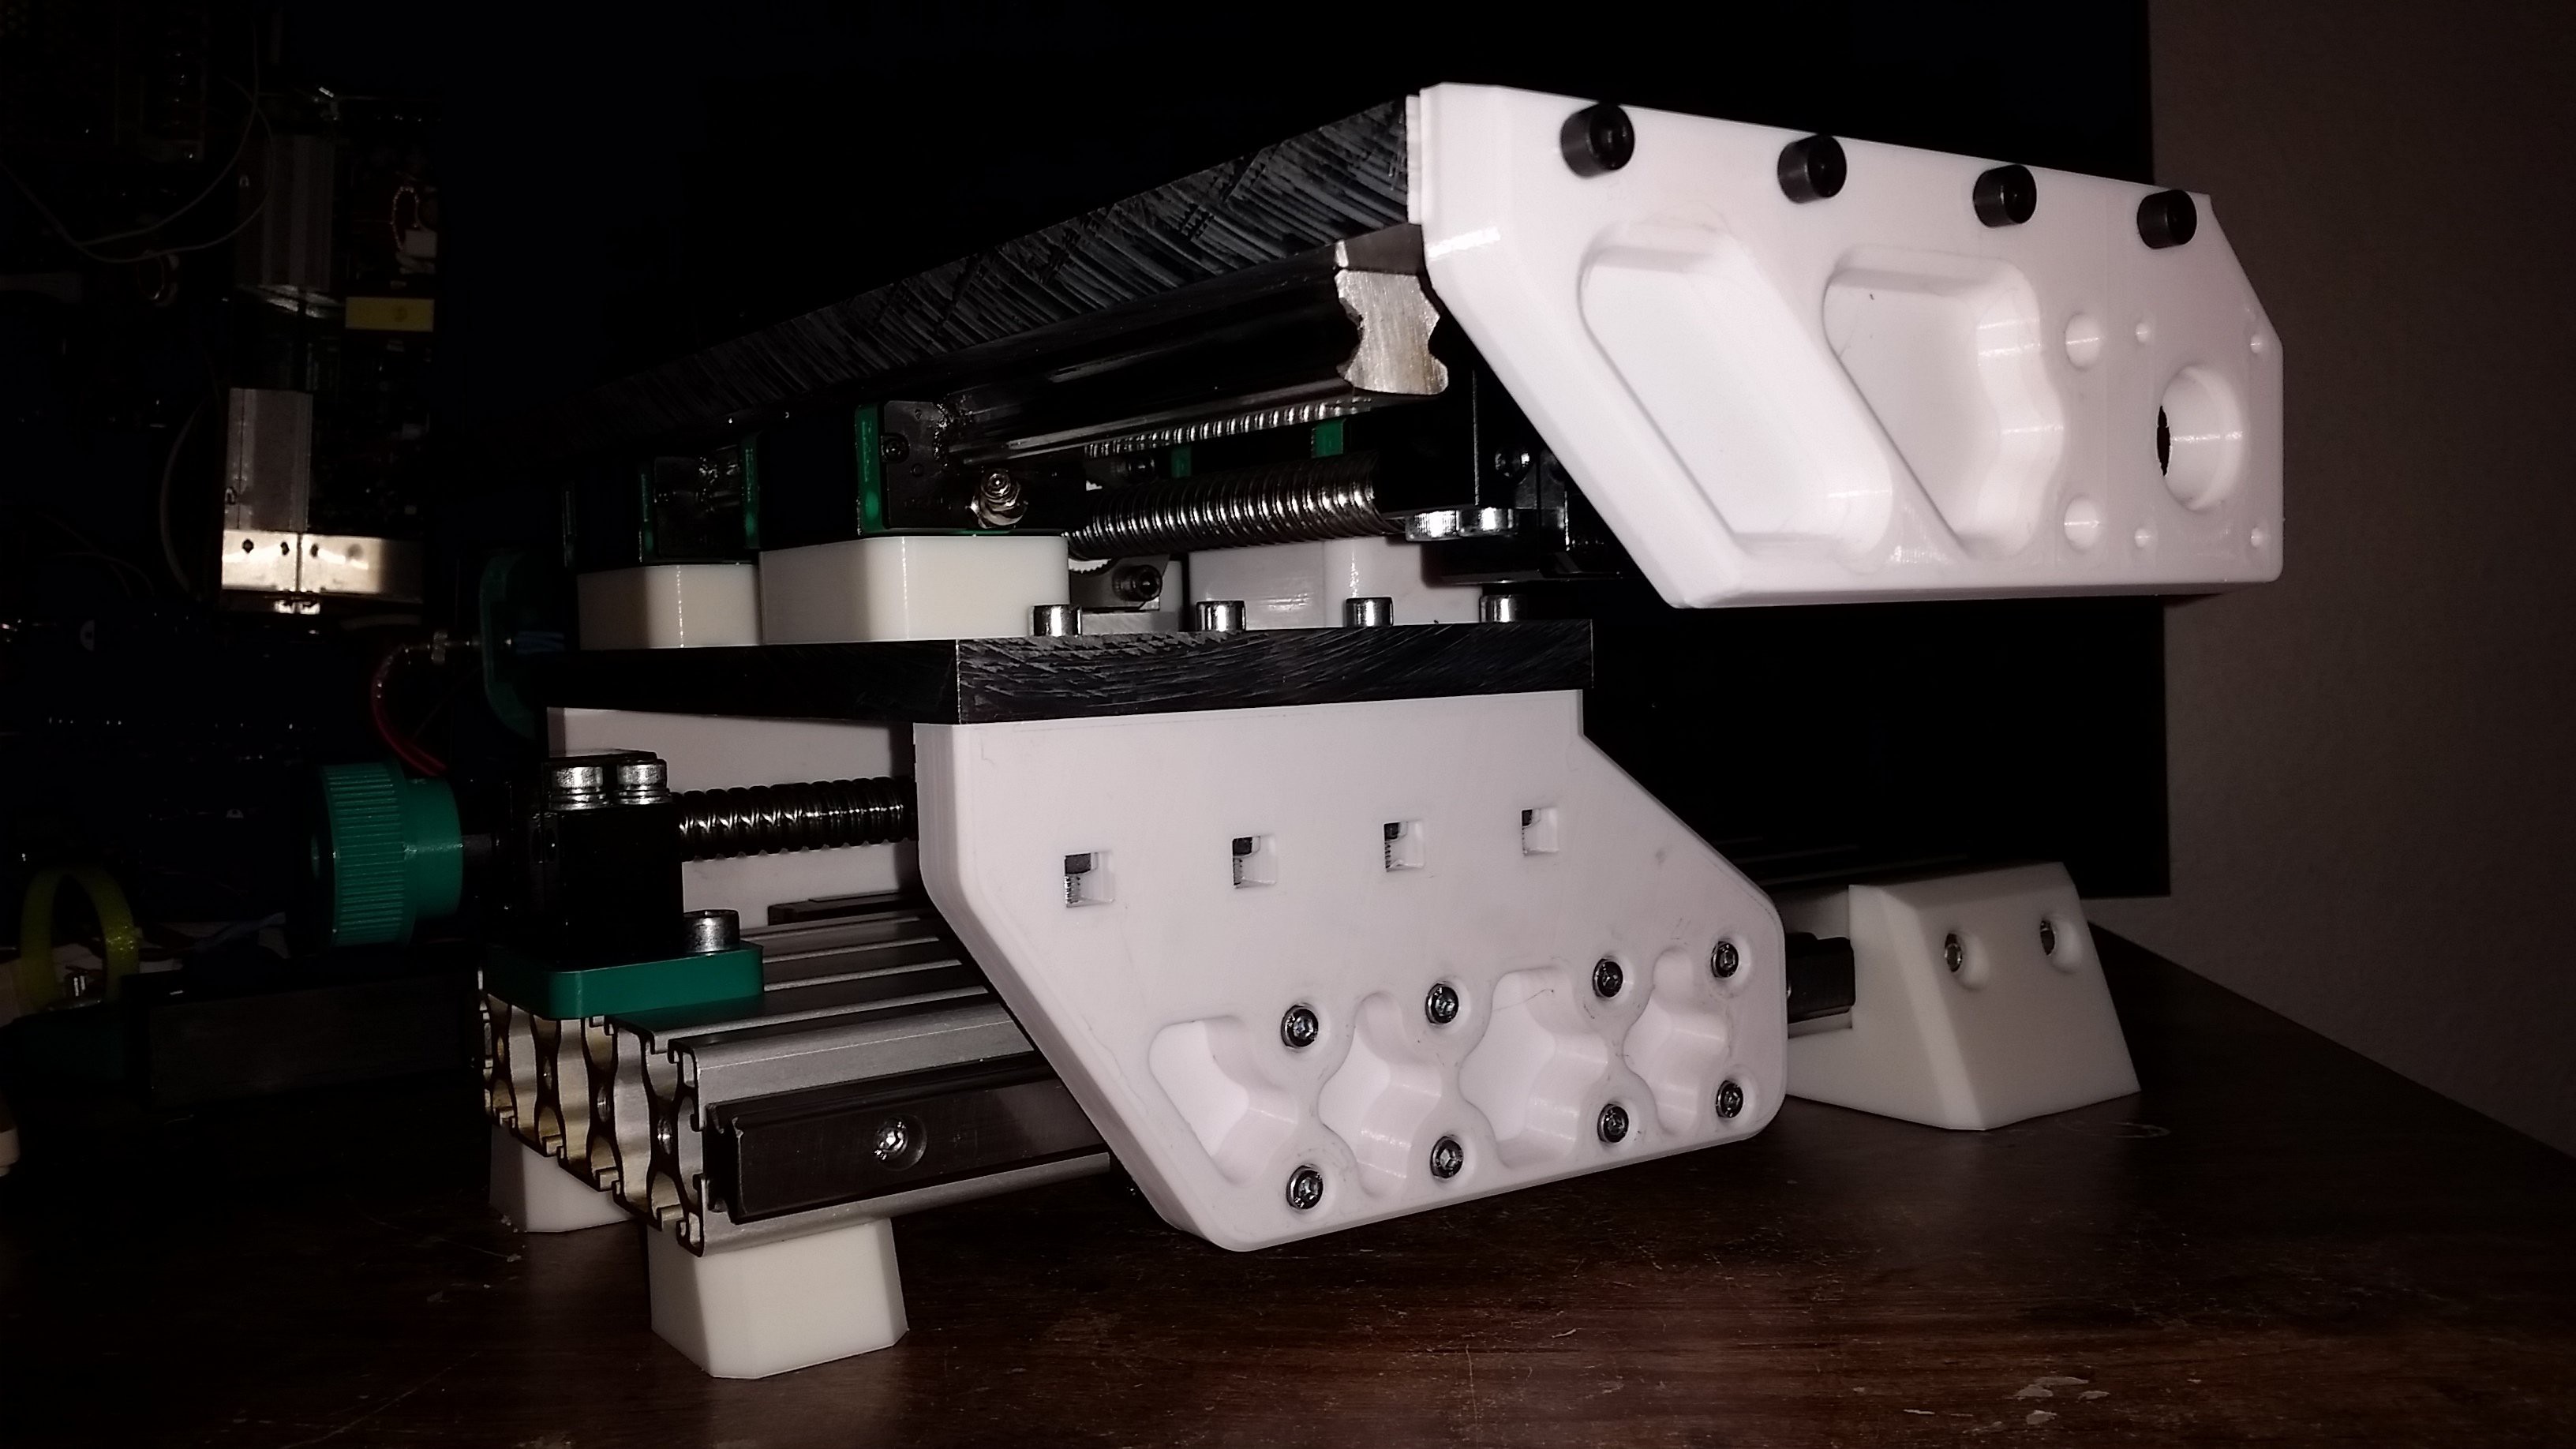
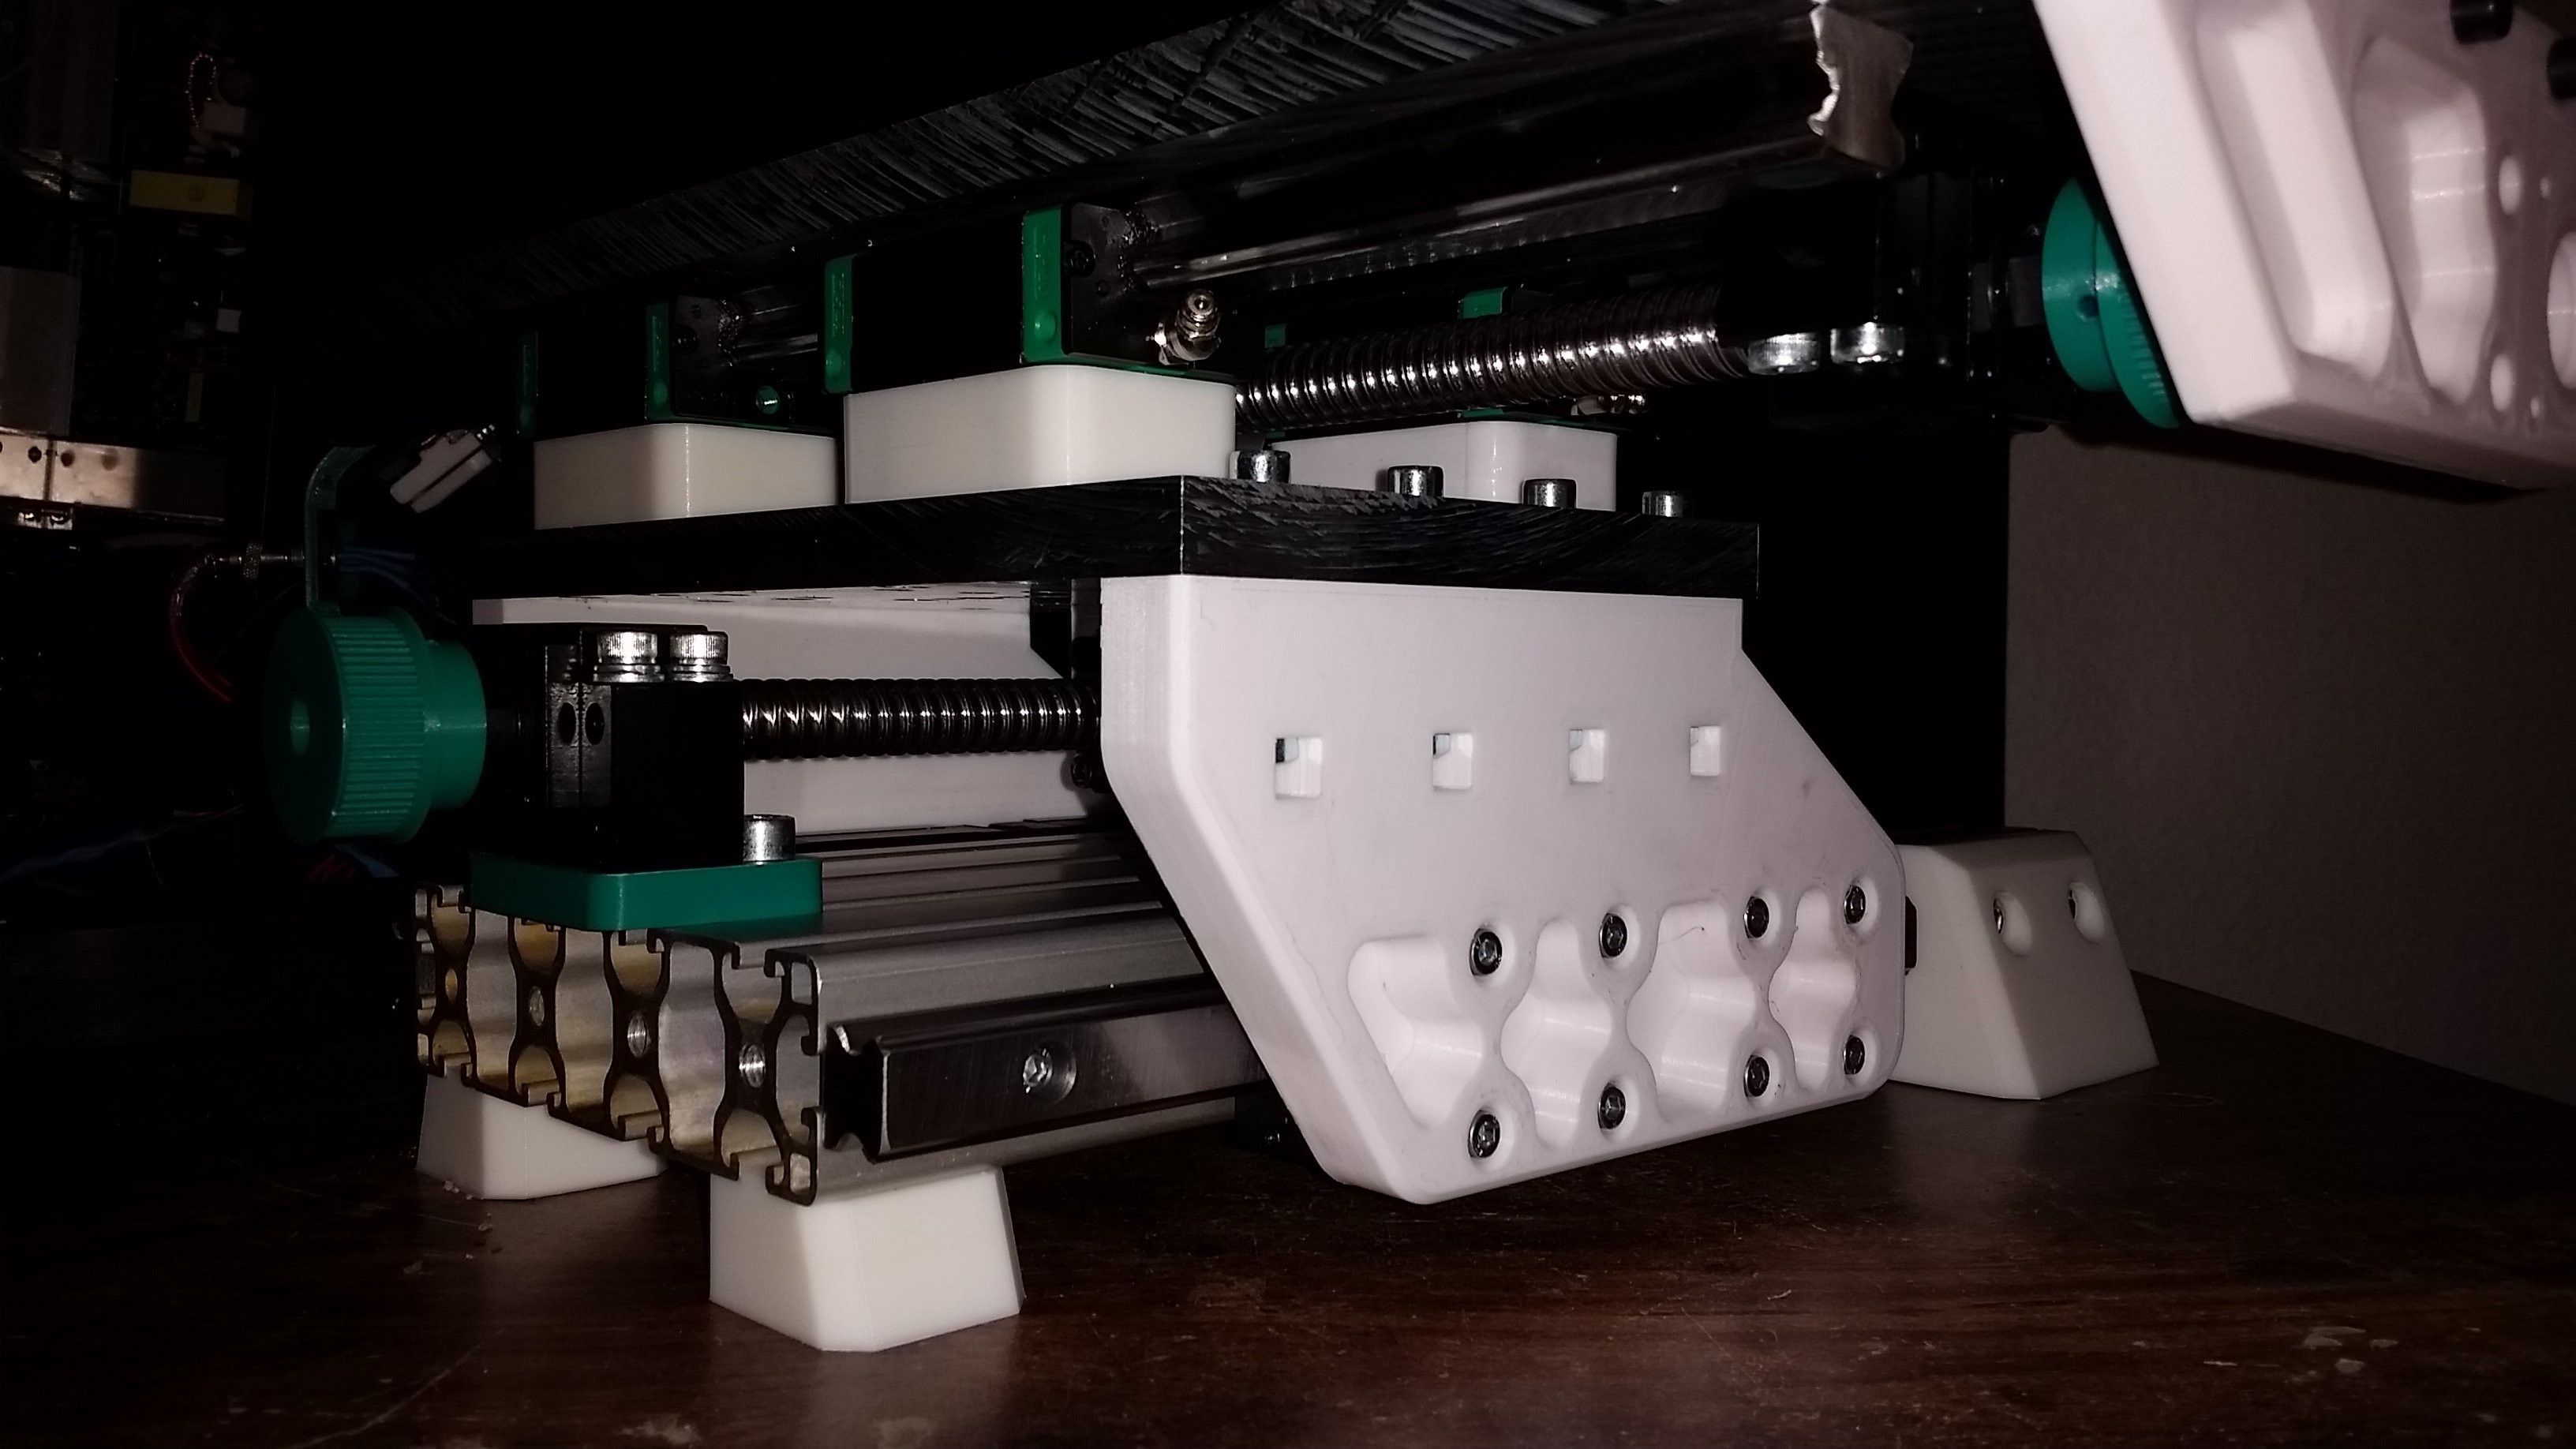
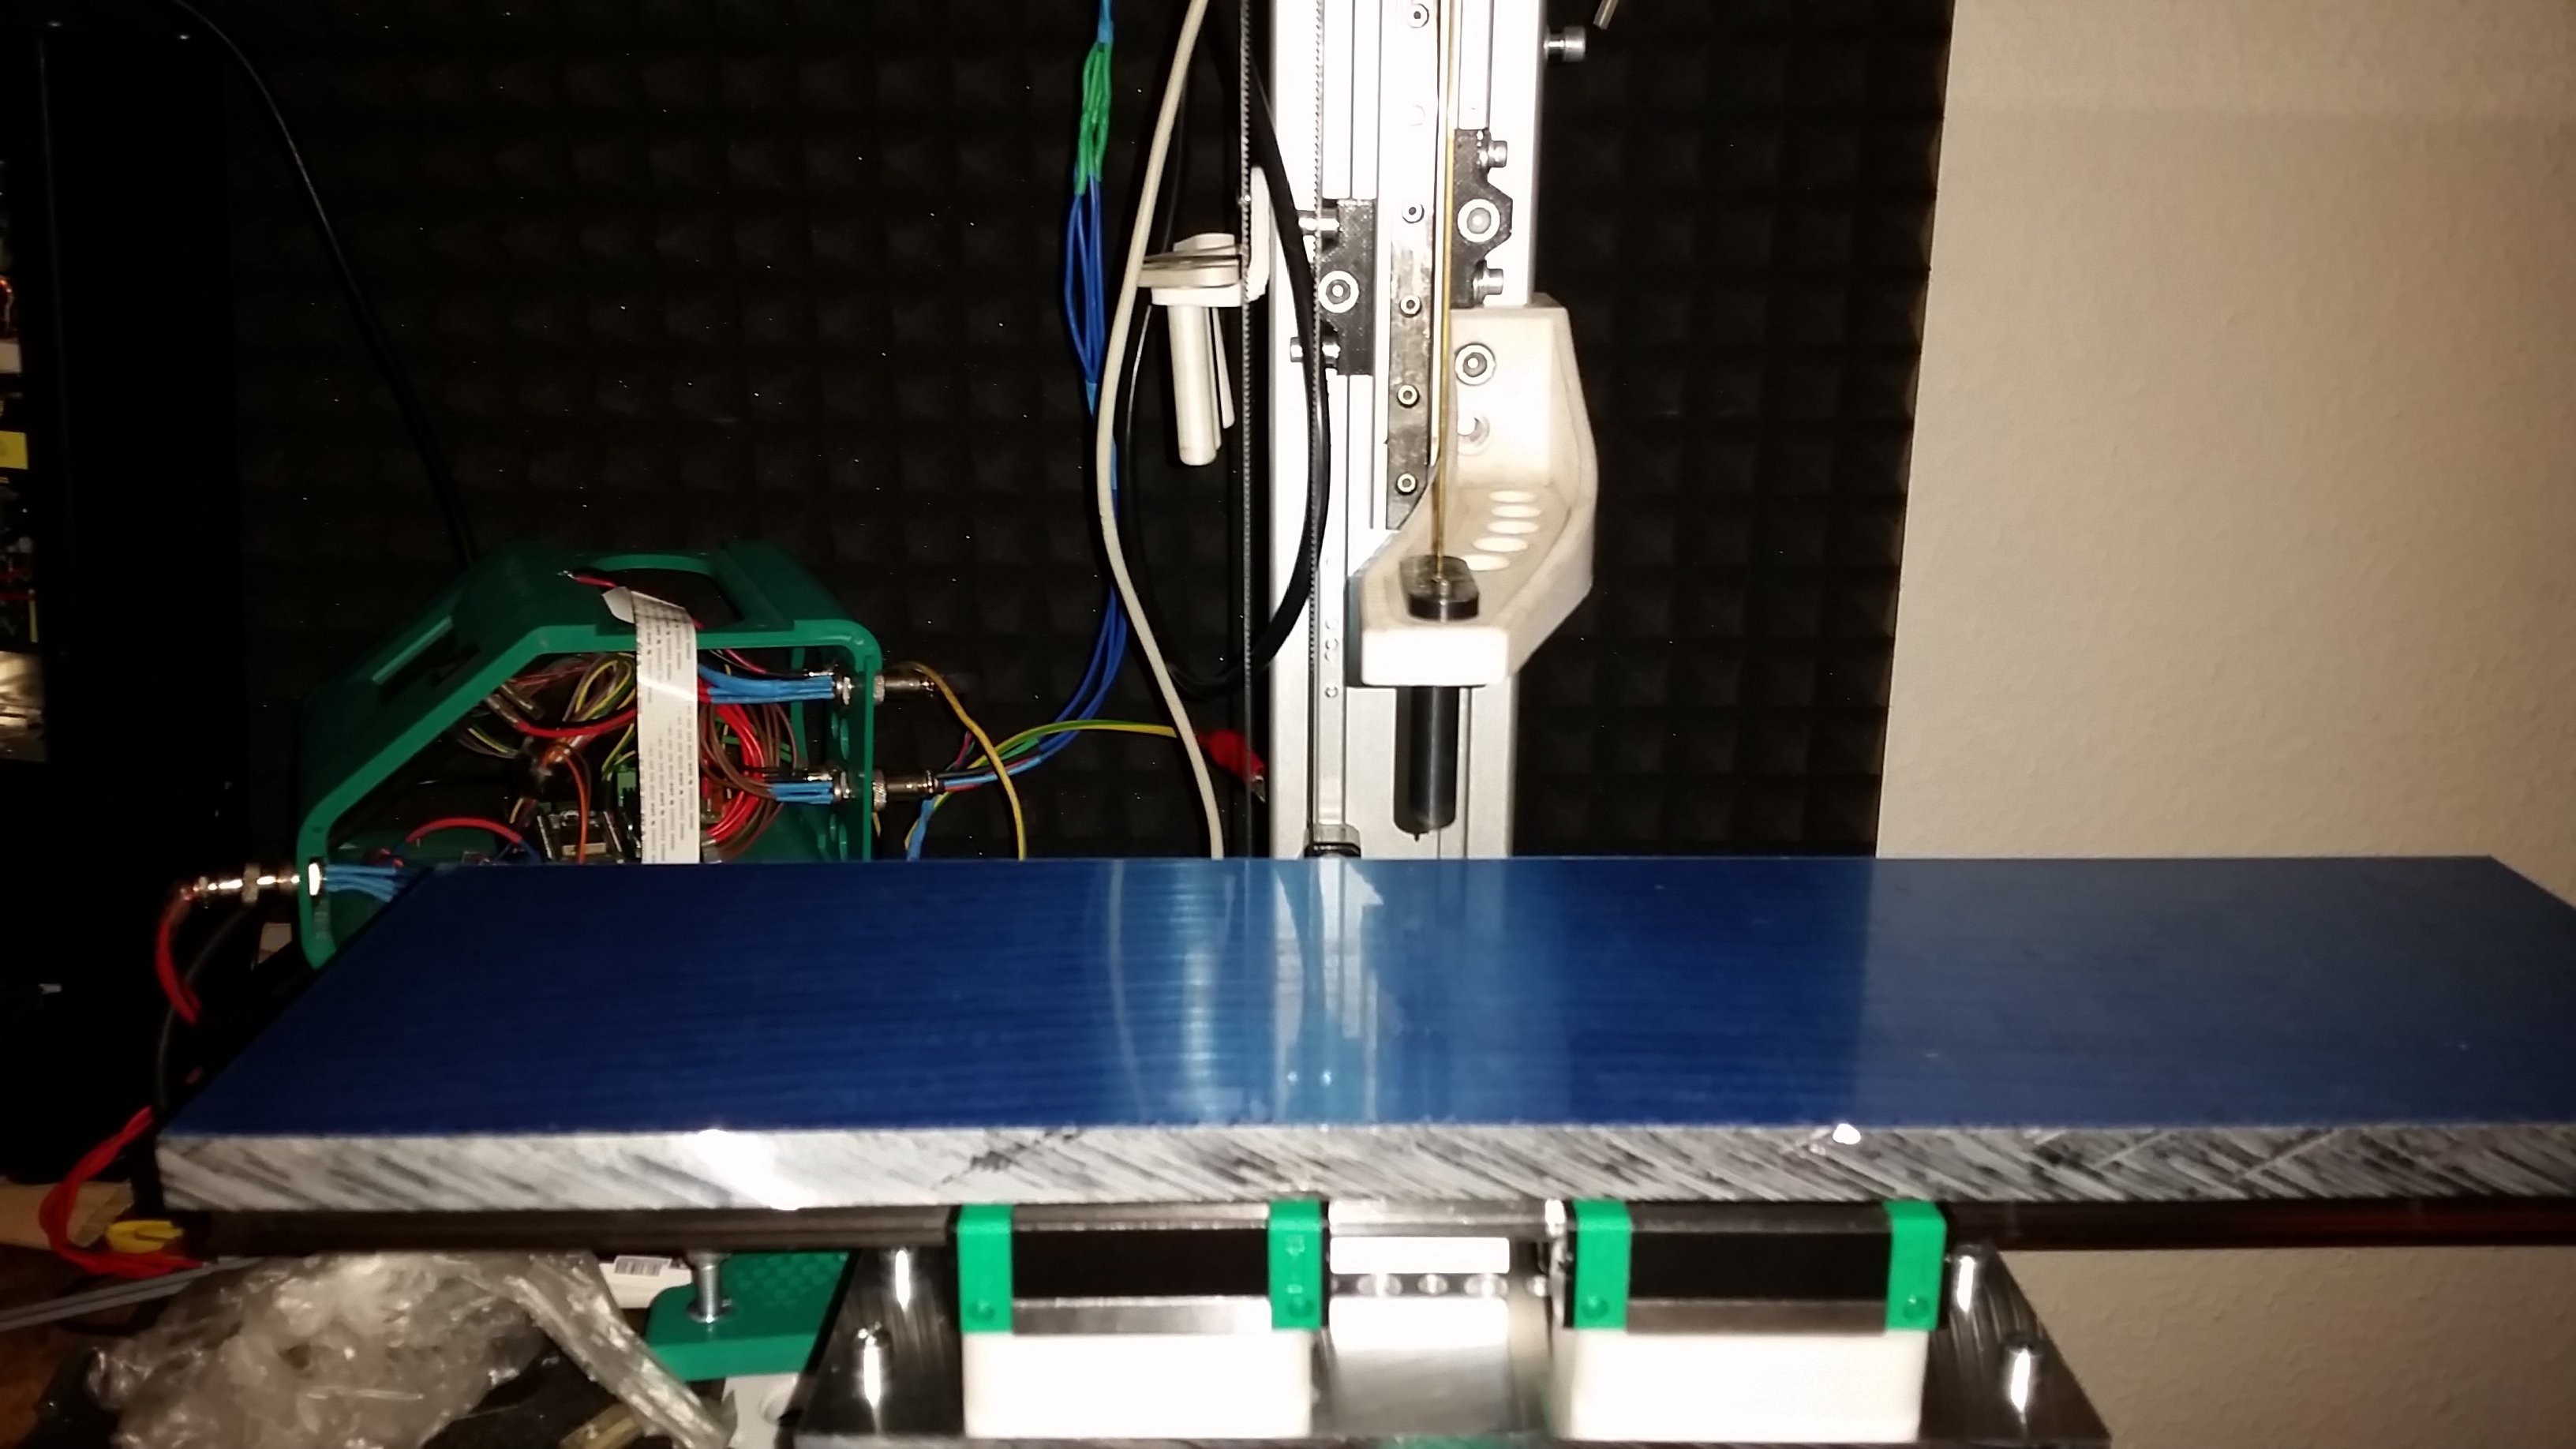
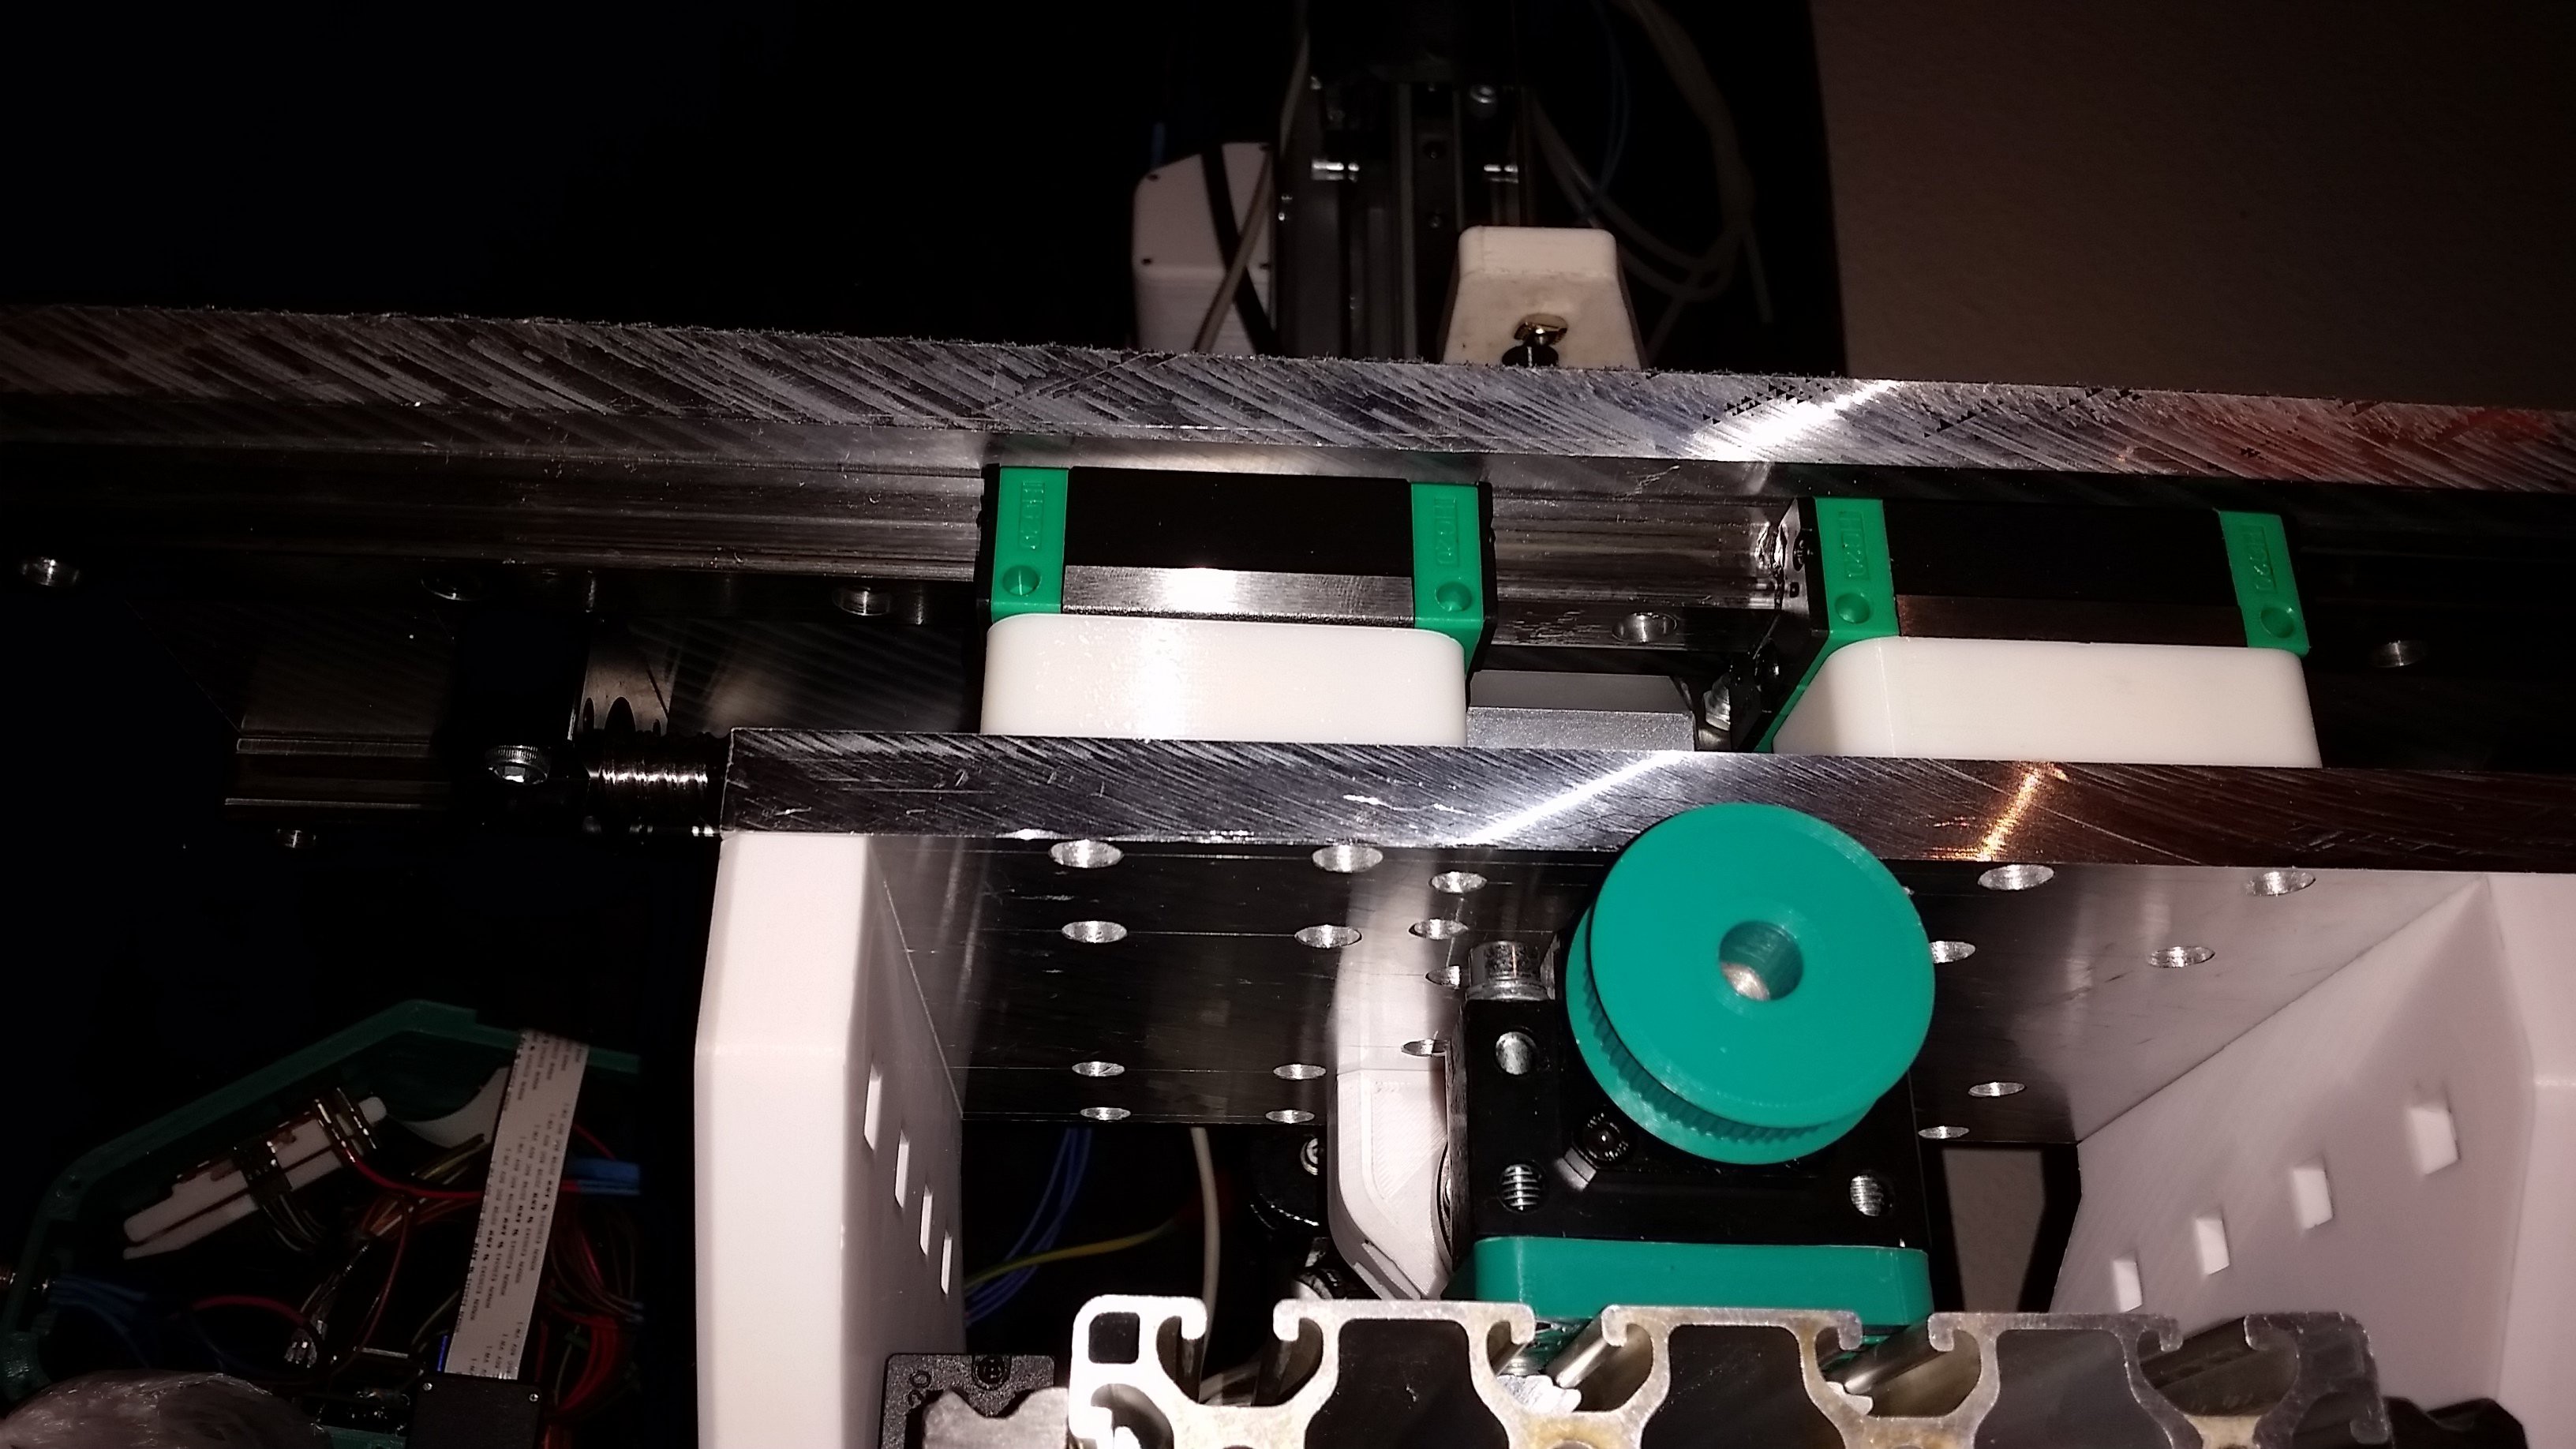
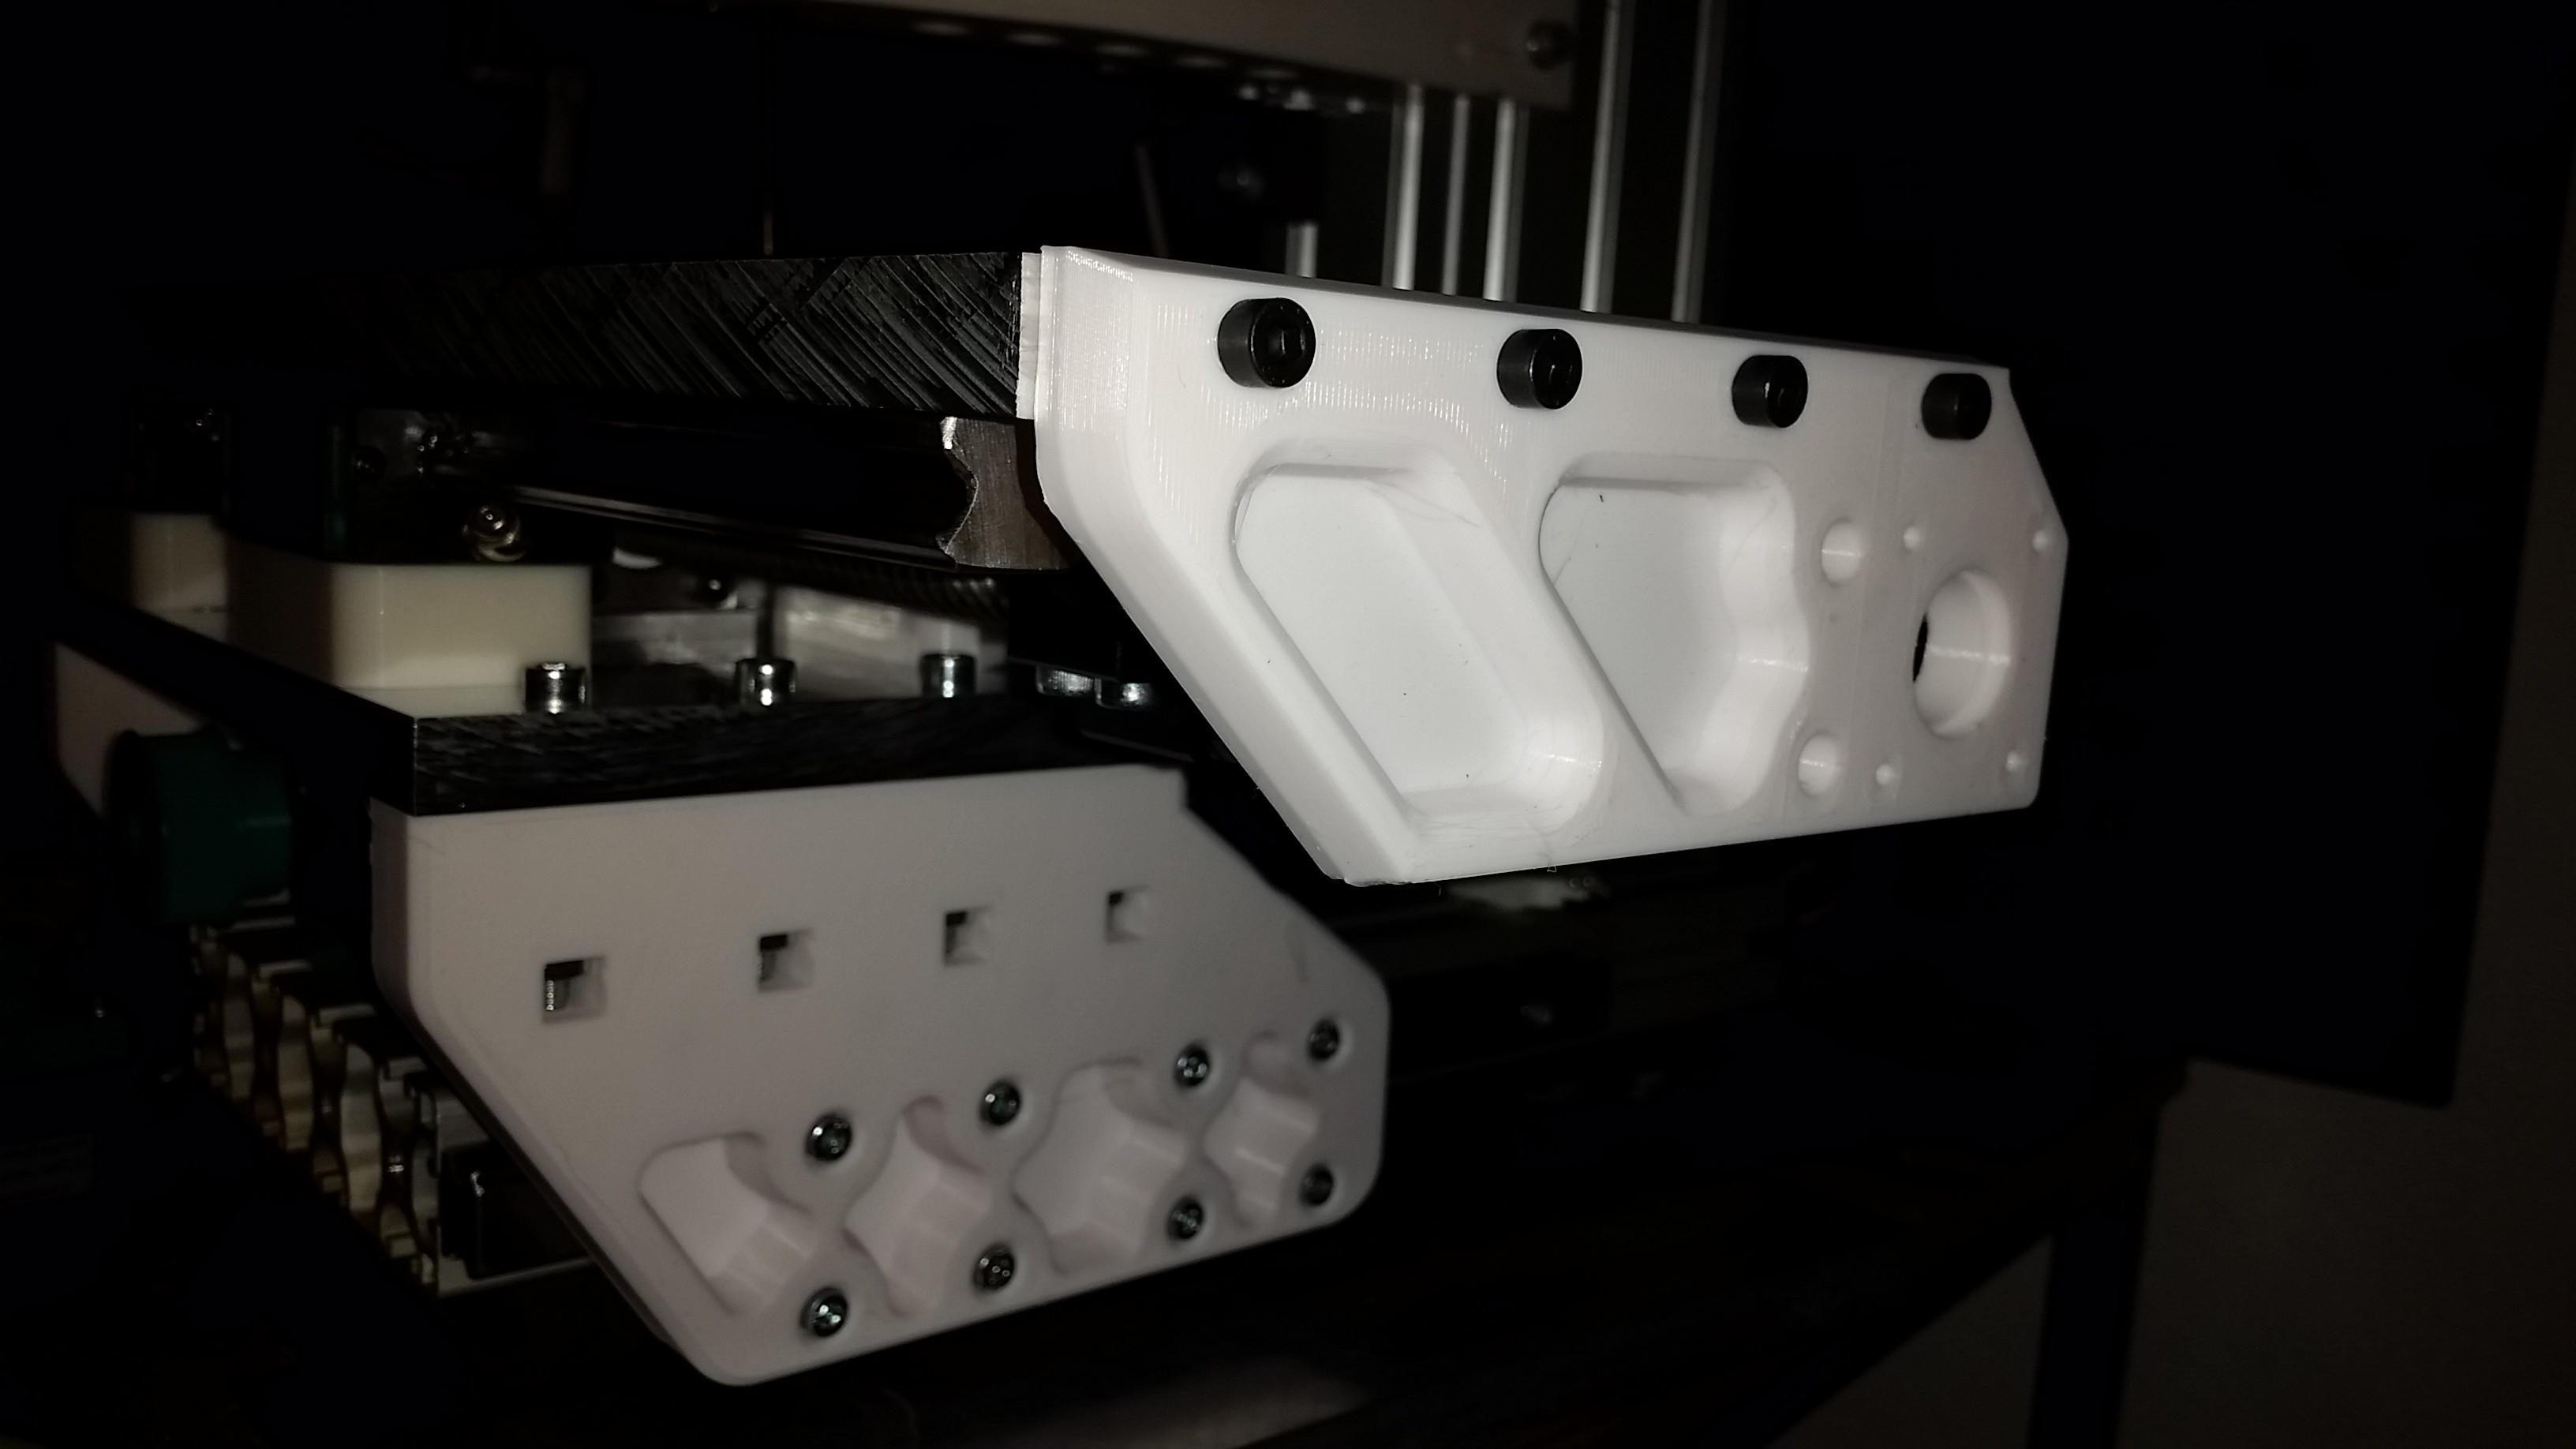
07/28/2023 at 12:33 • 0 commentsStill not fully ready for testing. One foot is still printing. But it starts to look very nice.
Temporarily removed the heavy Z axis to align everything
![]()
![]()
![]()
![]()
-
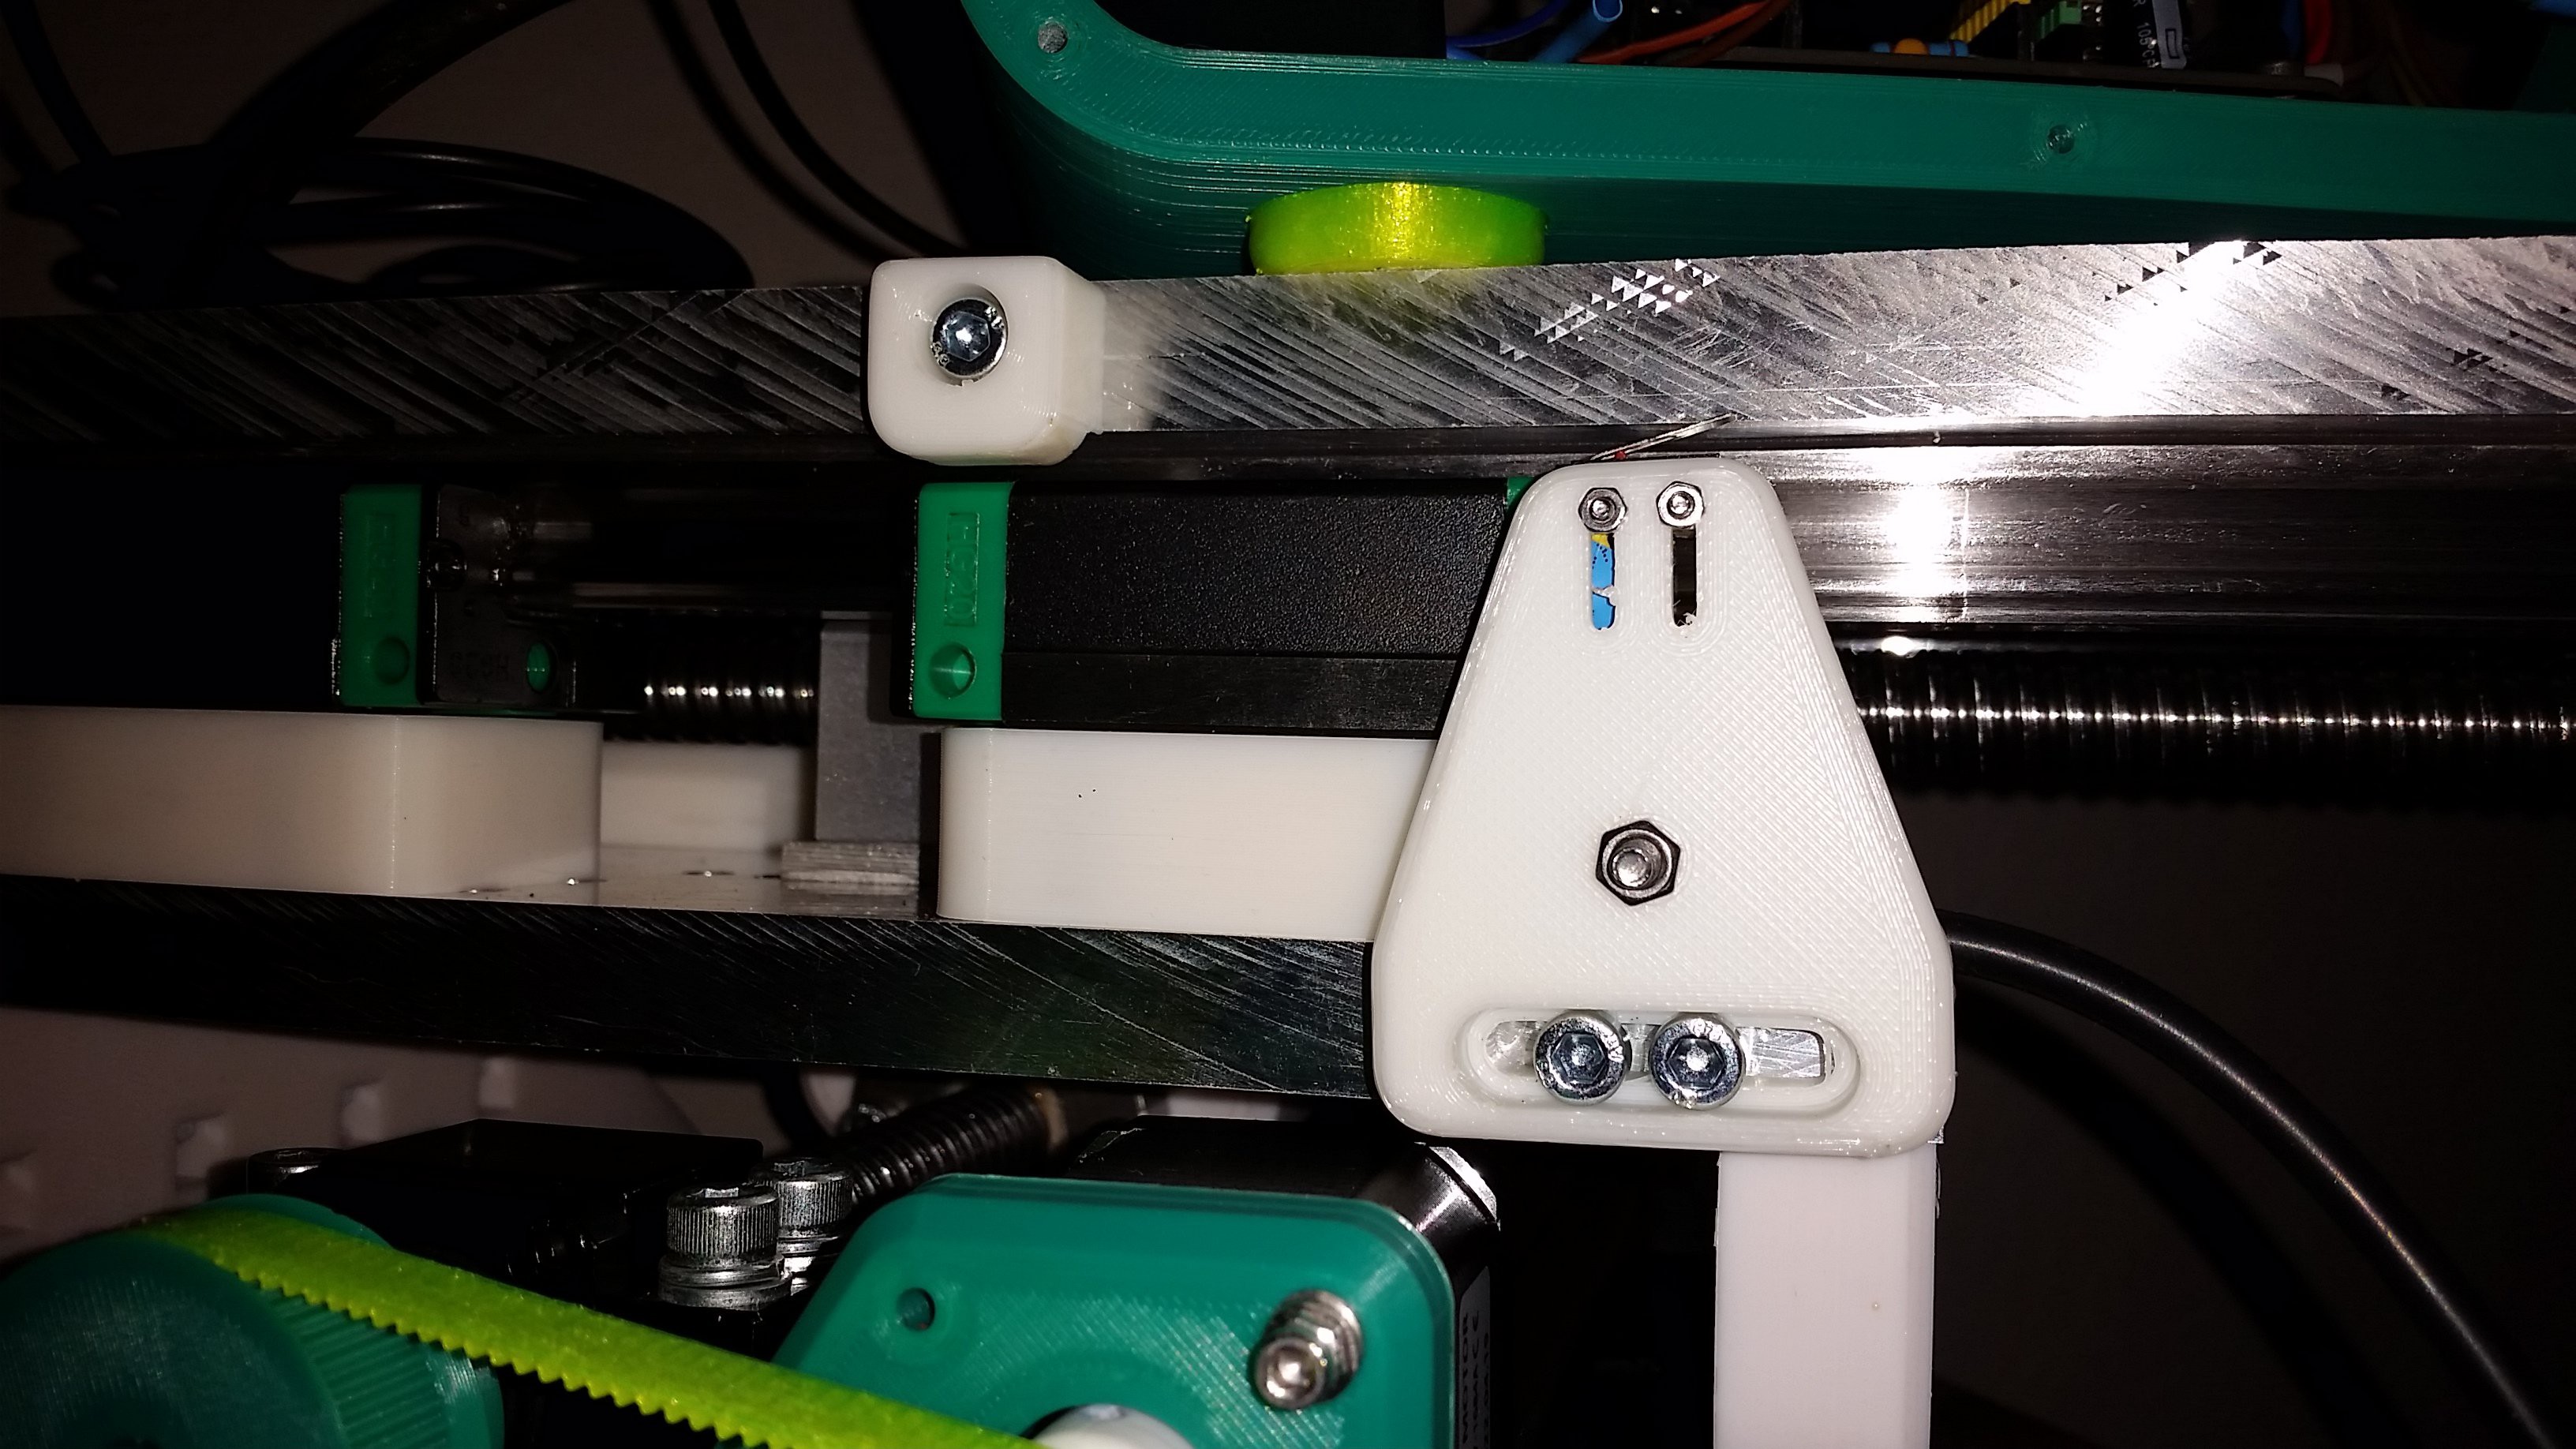
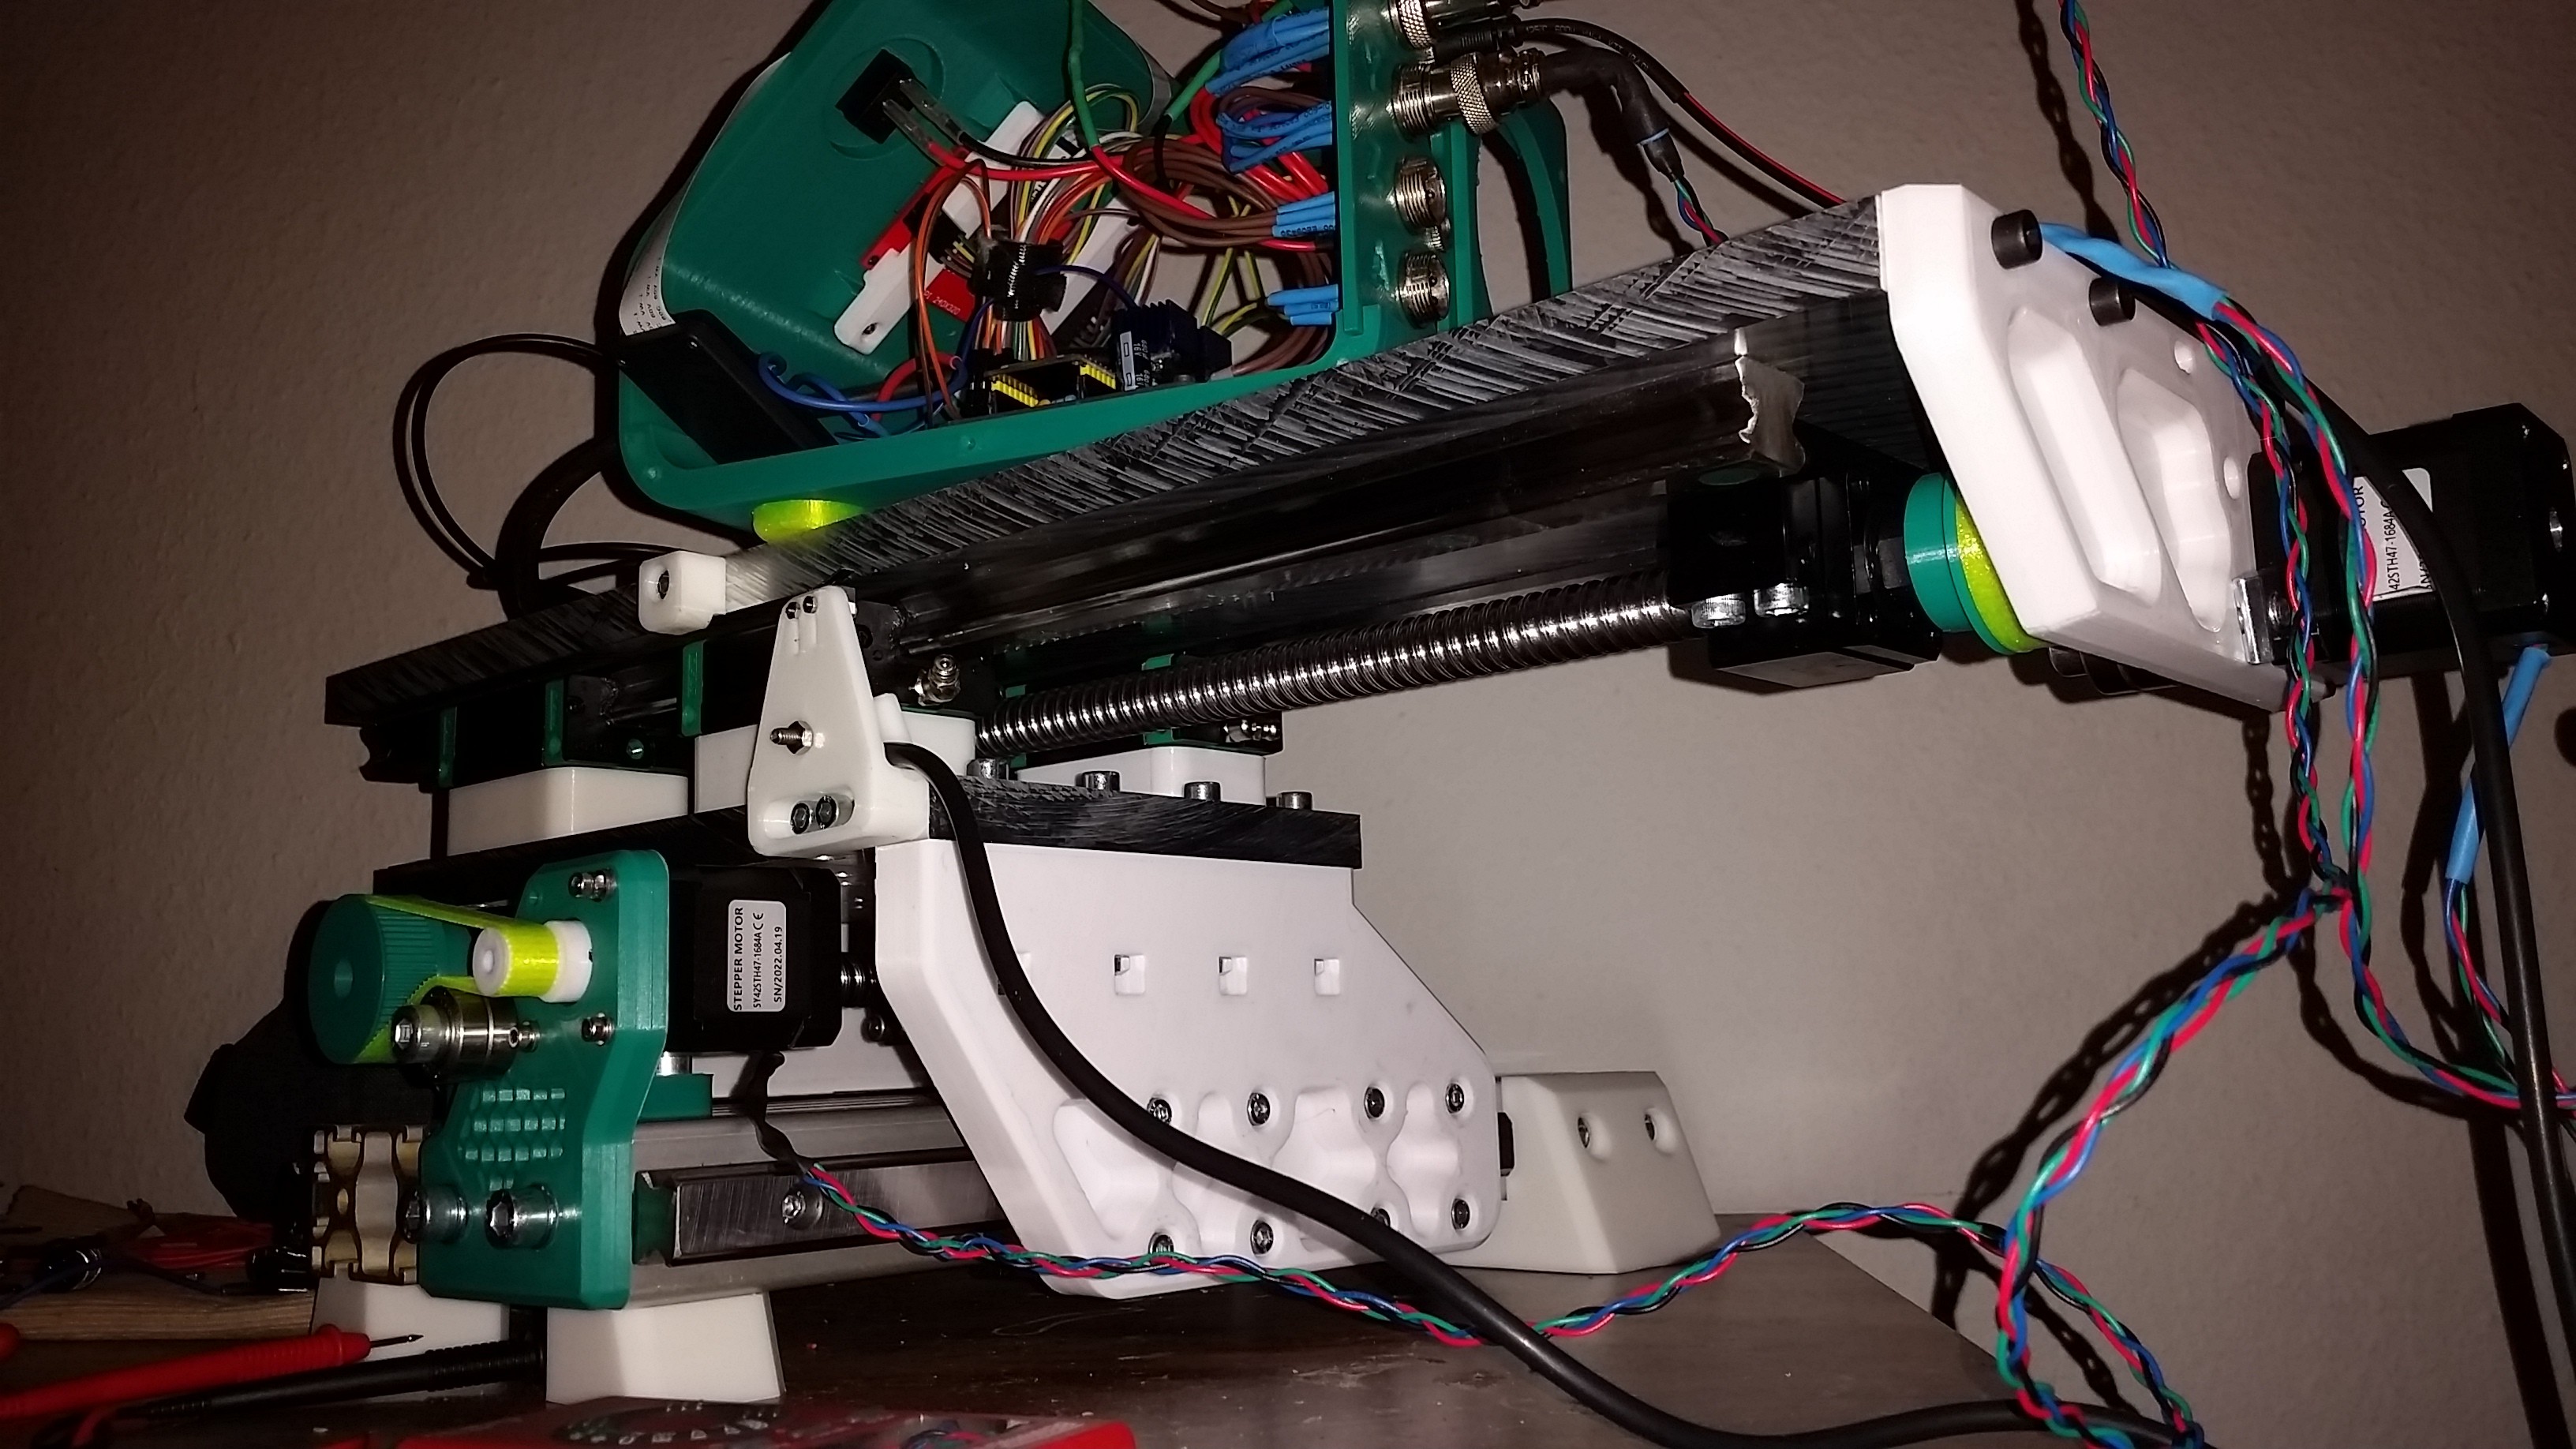
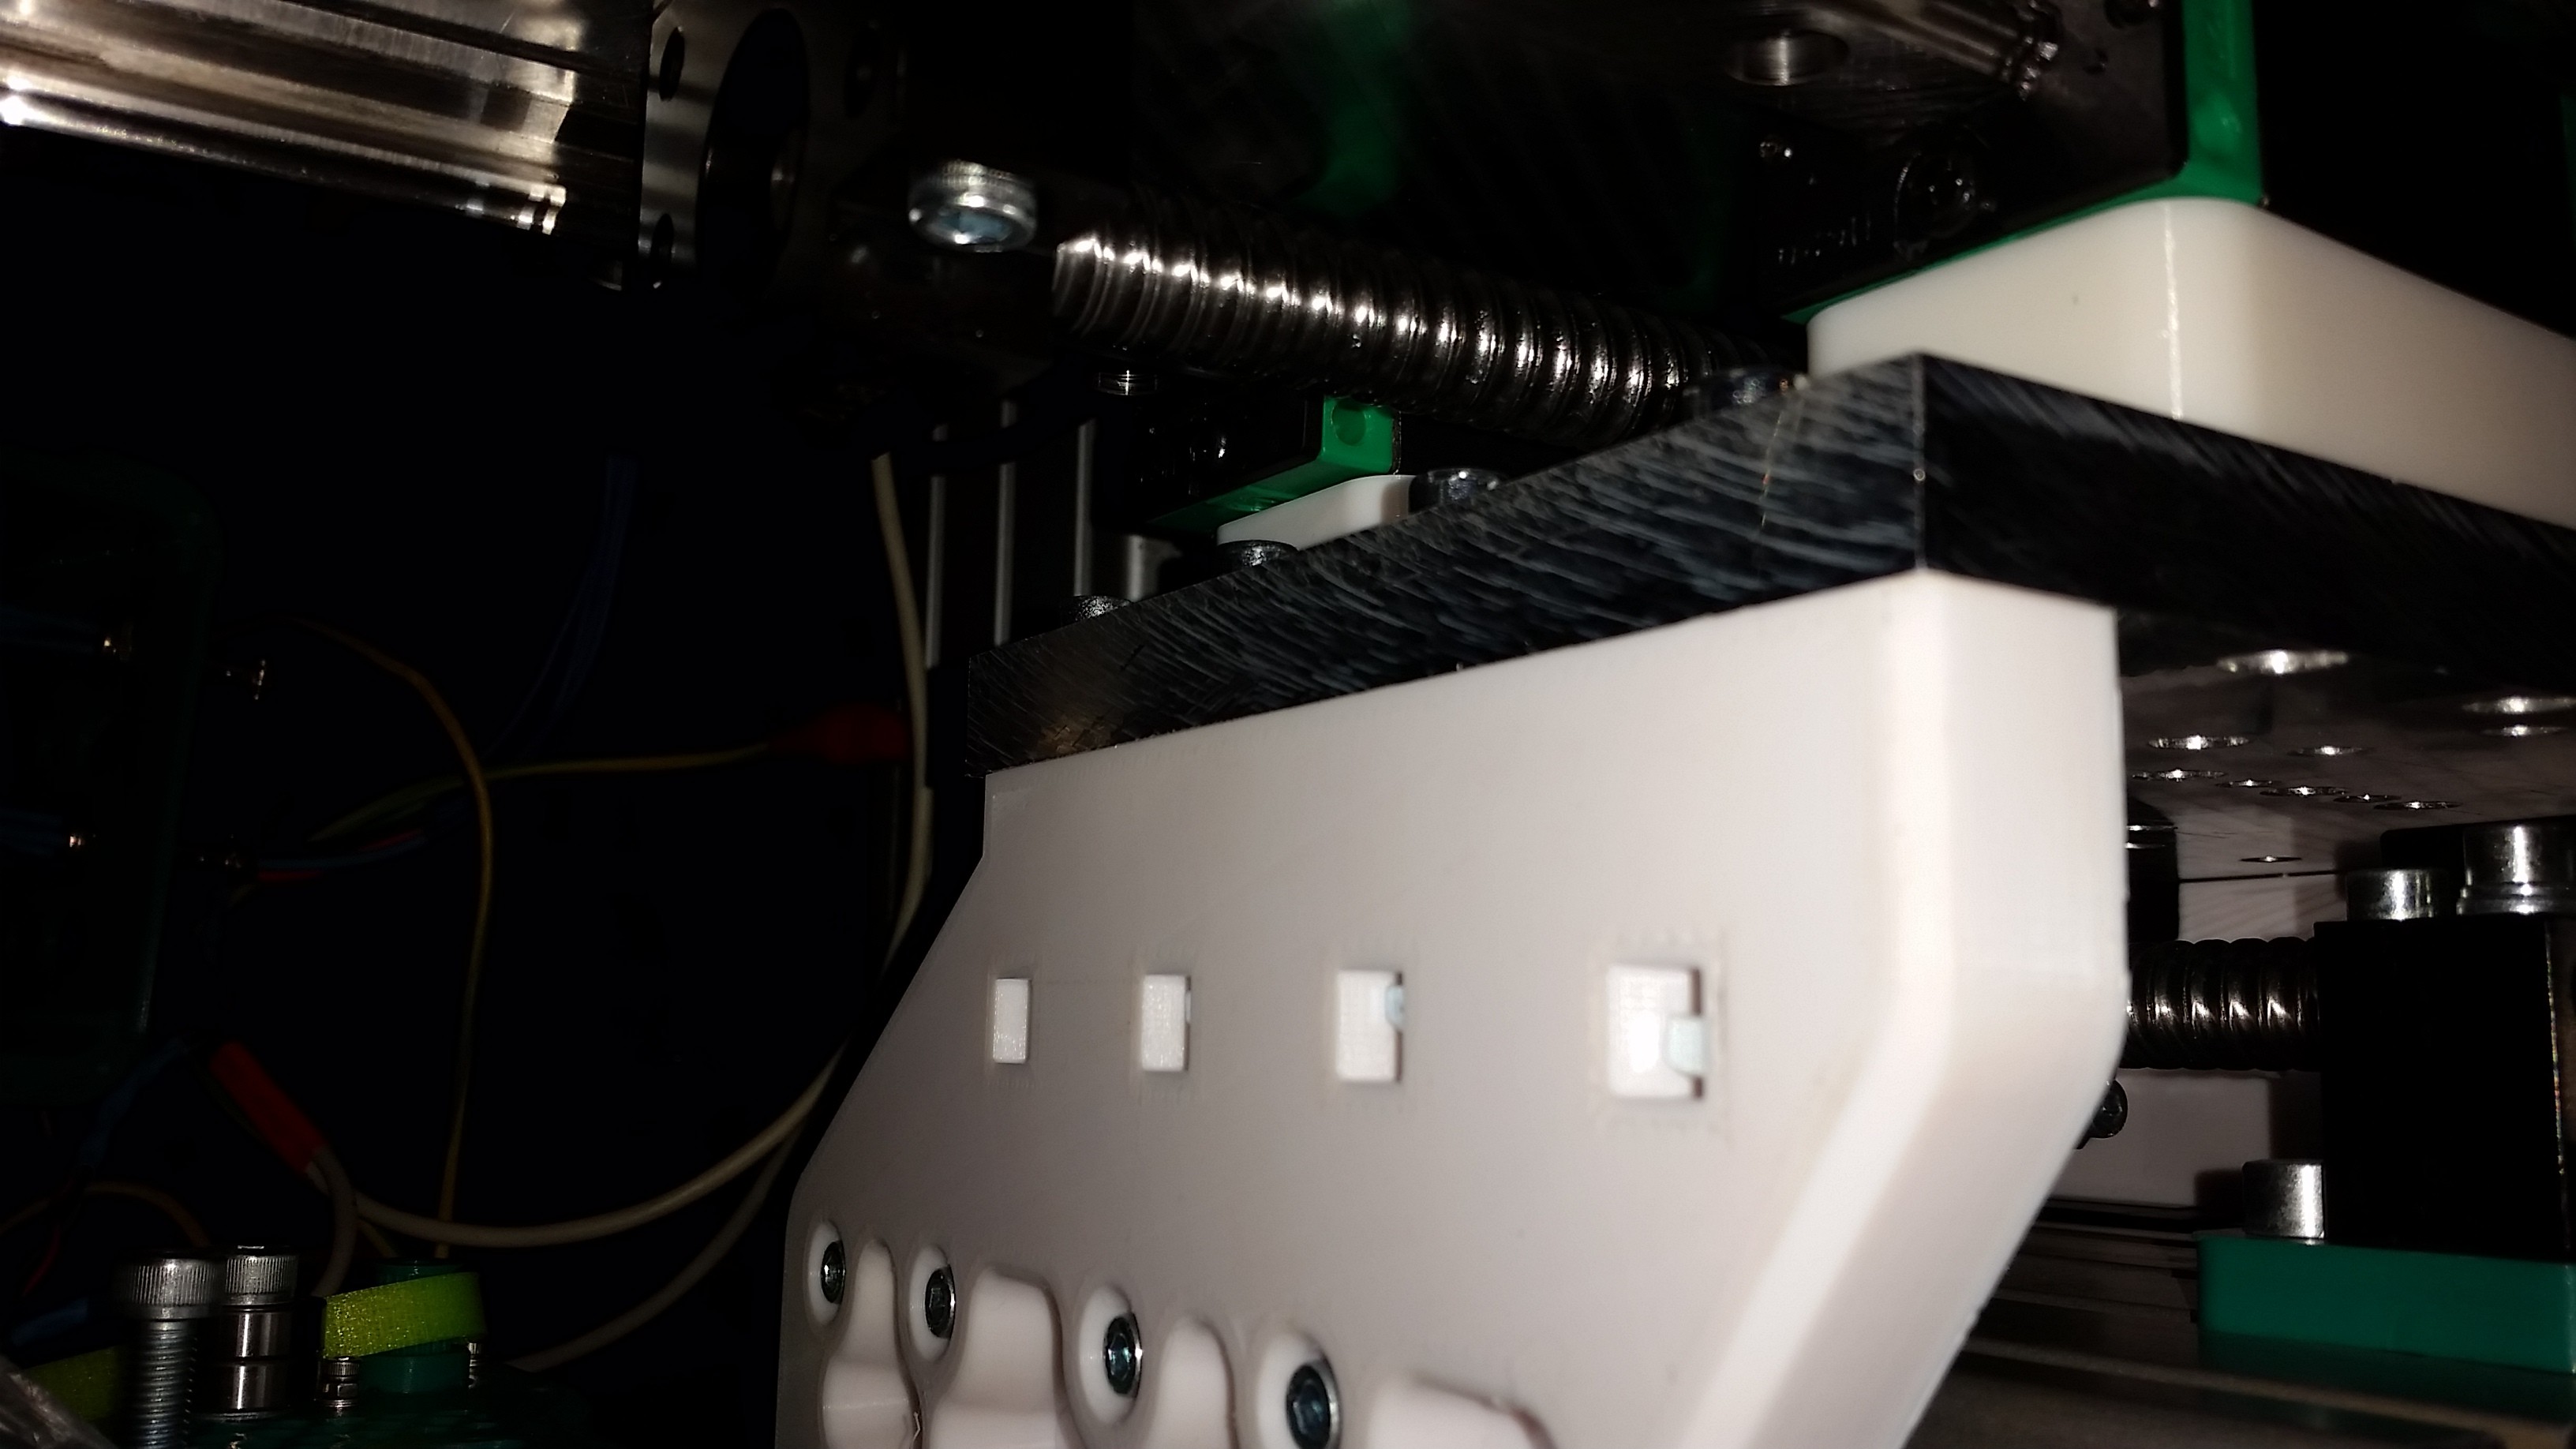
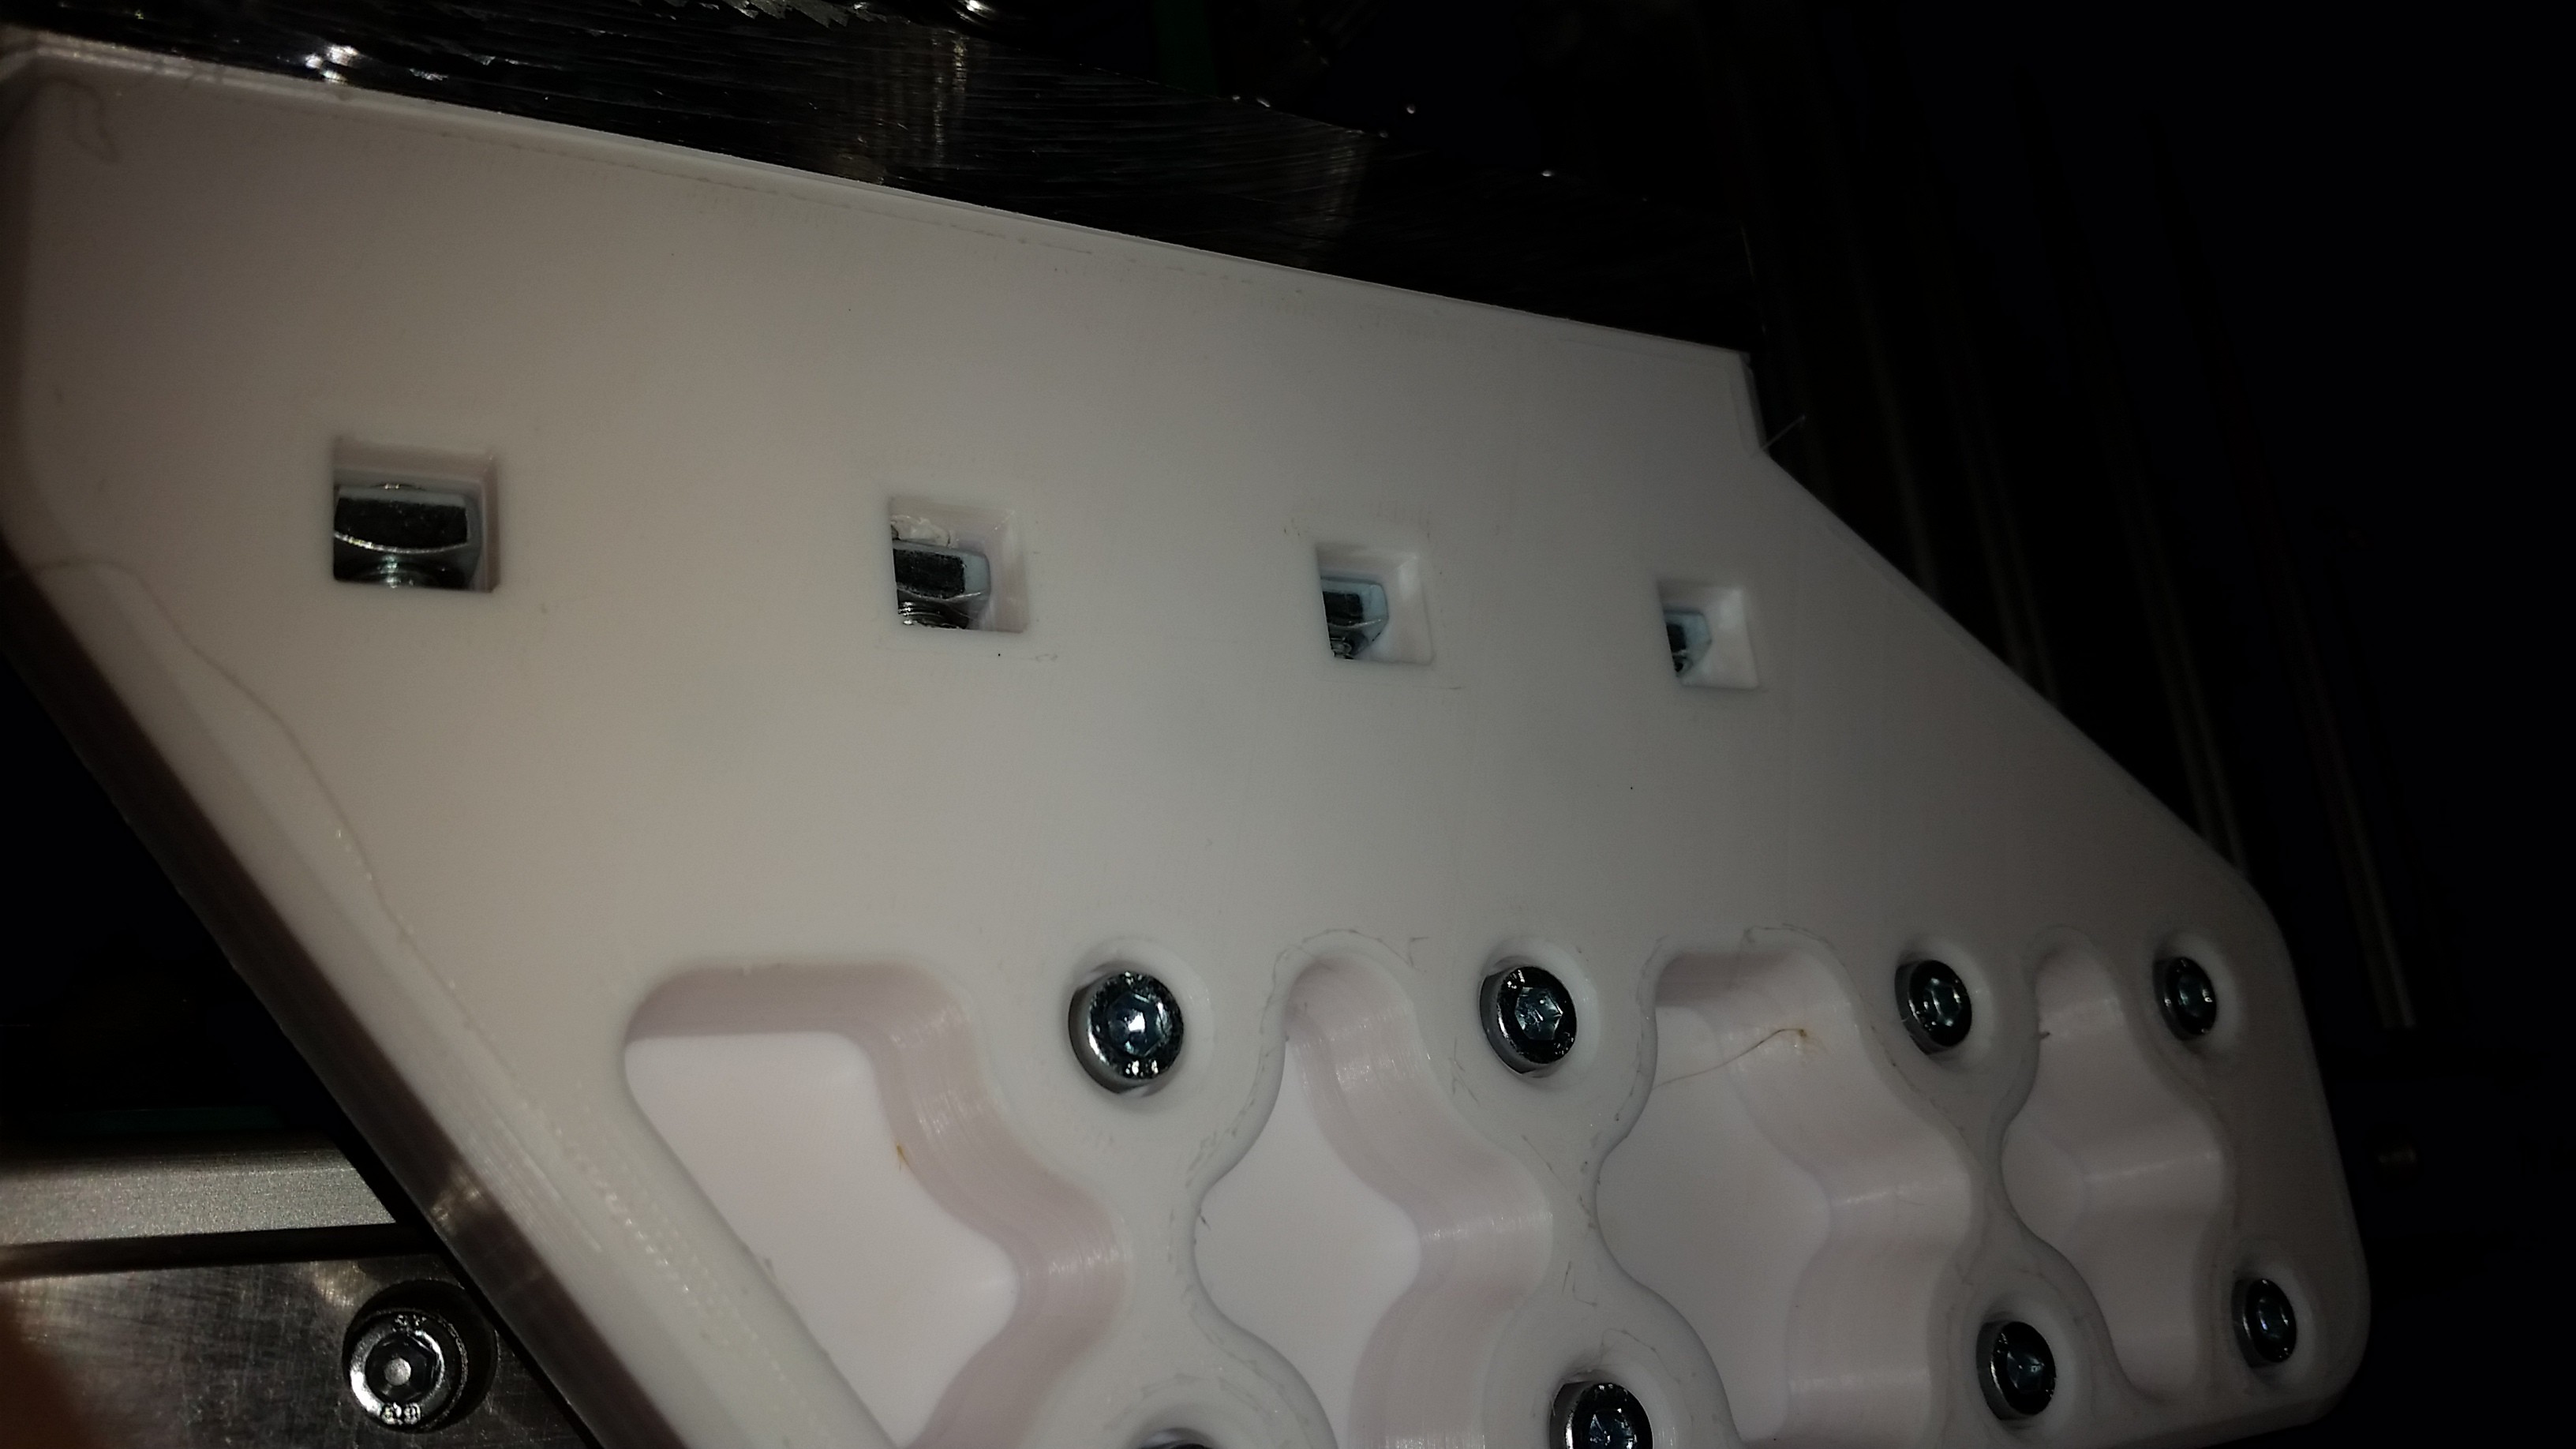
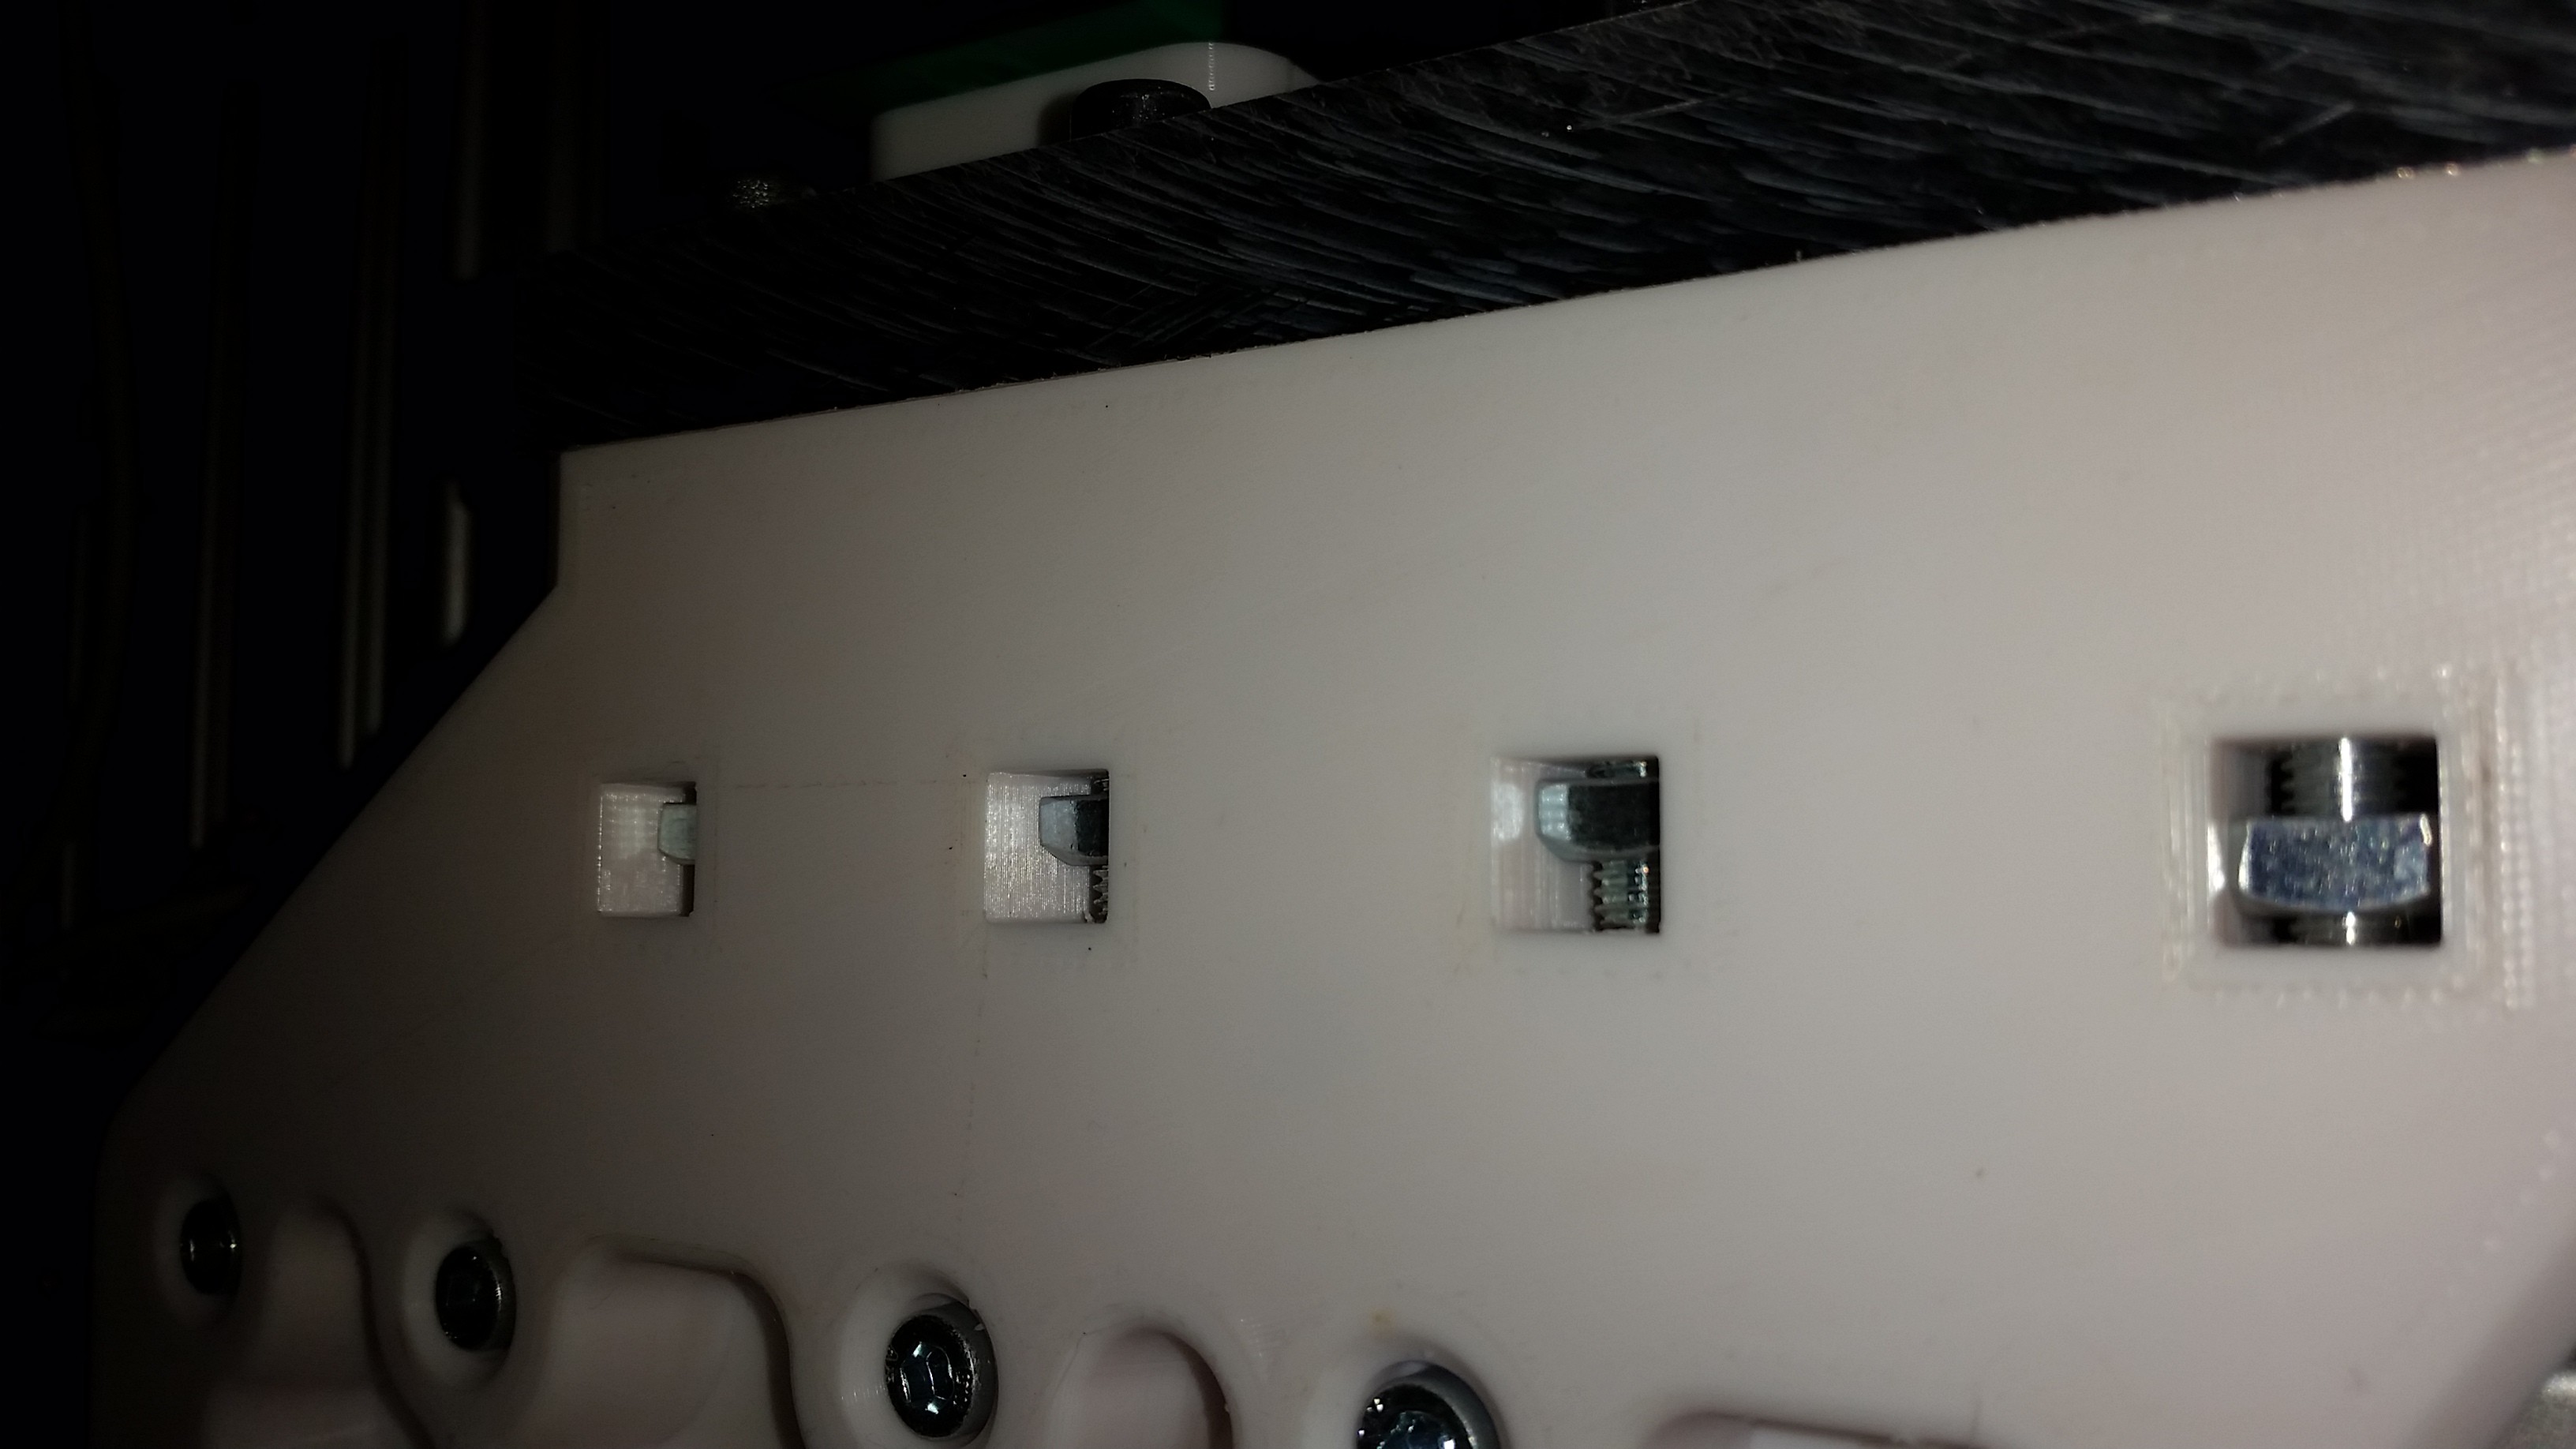
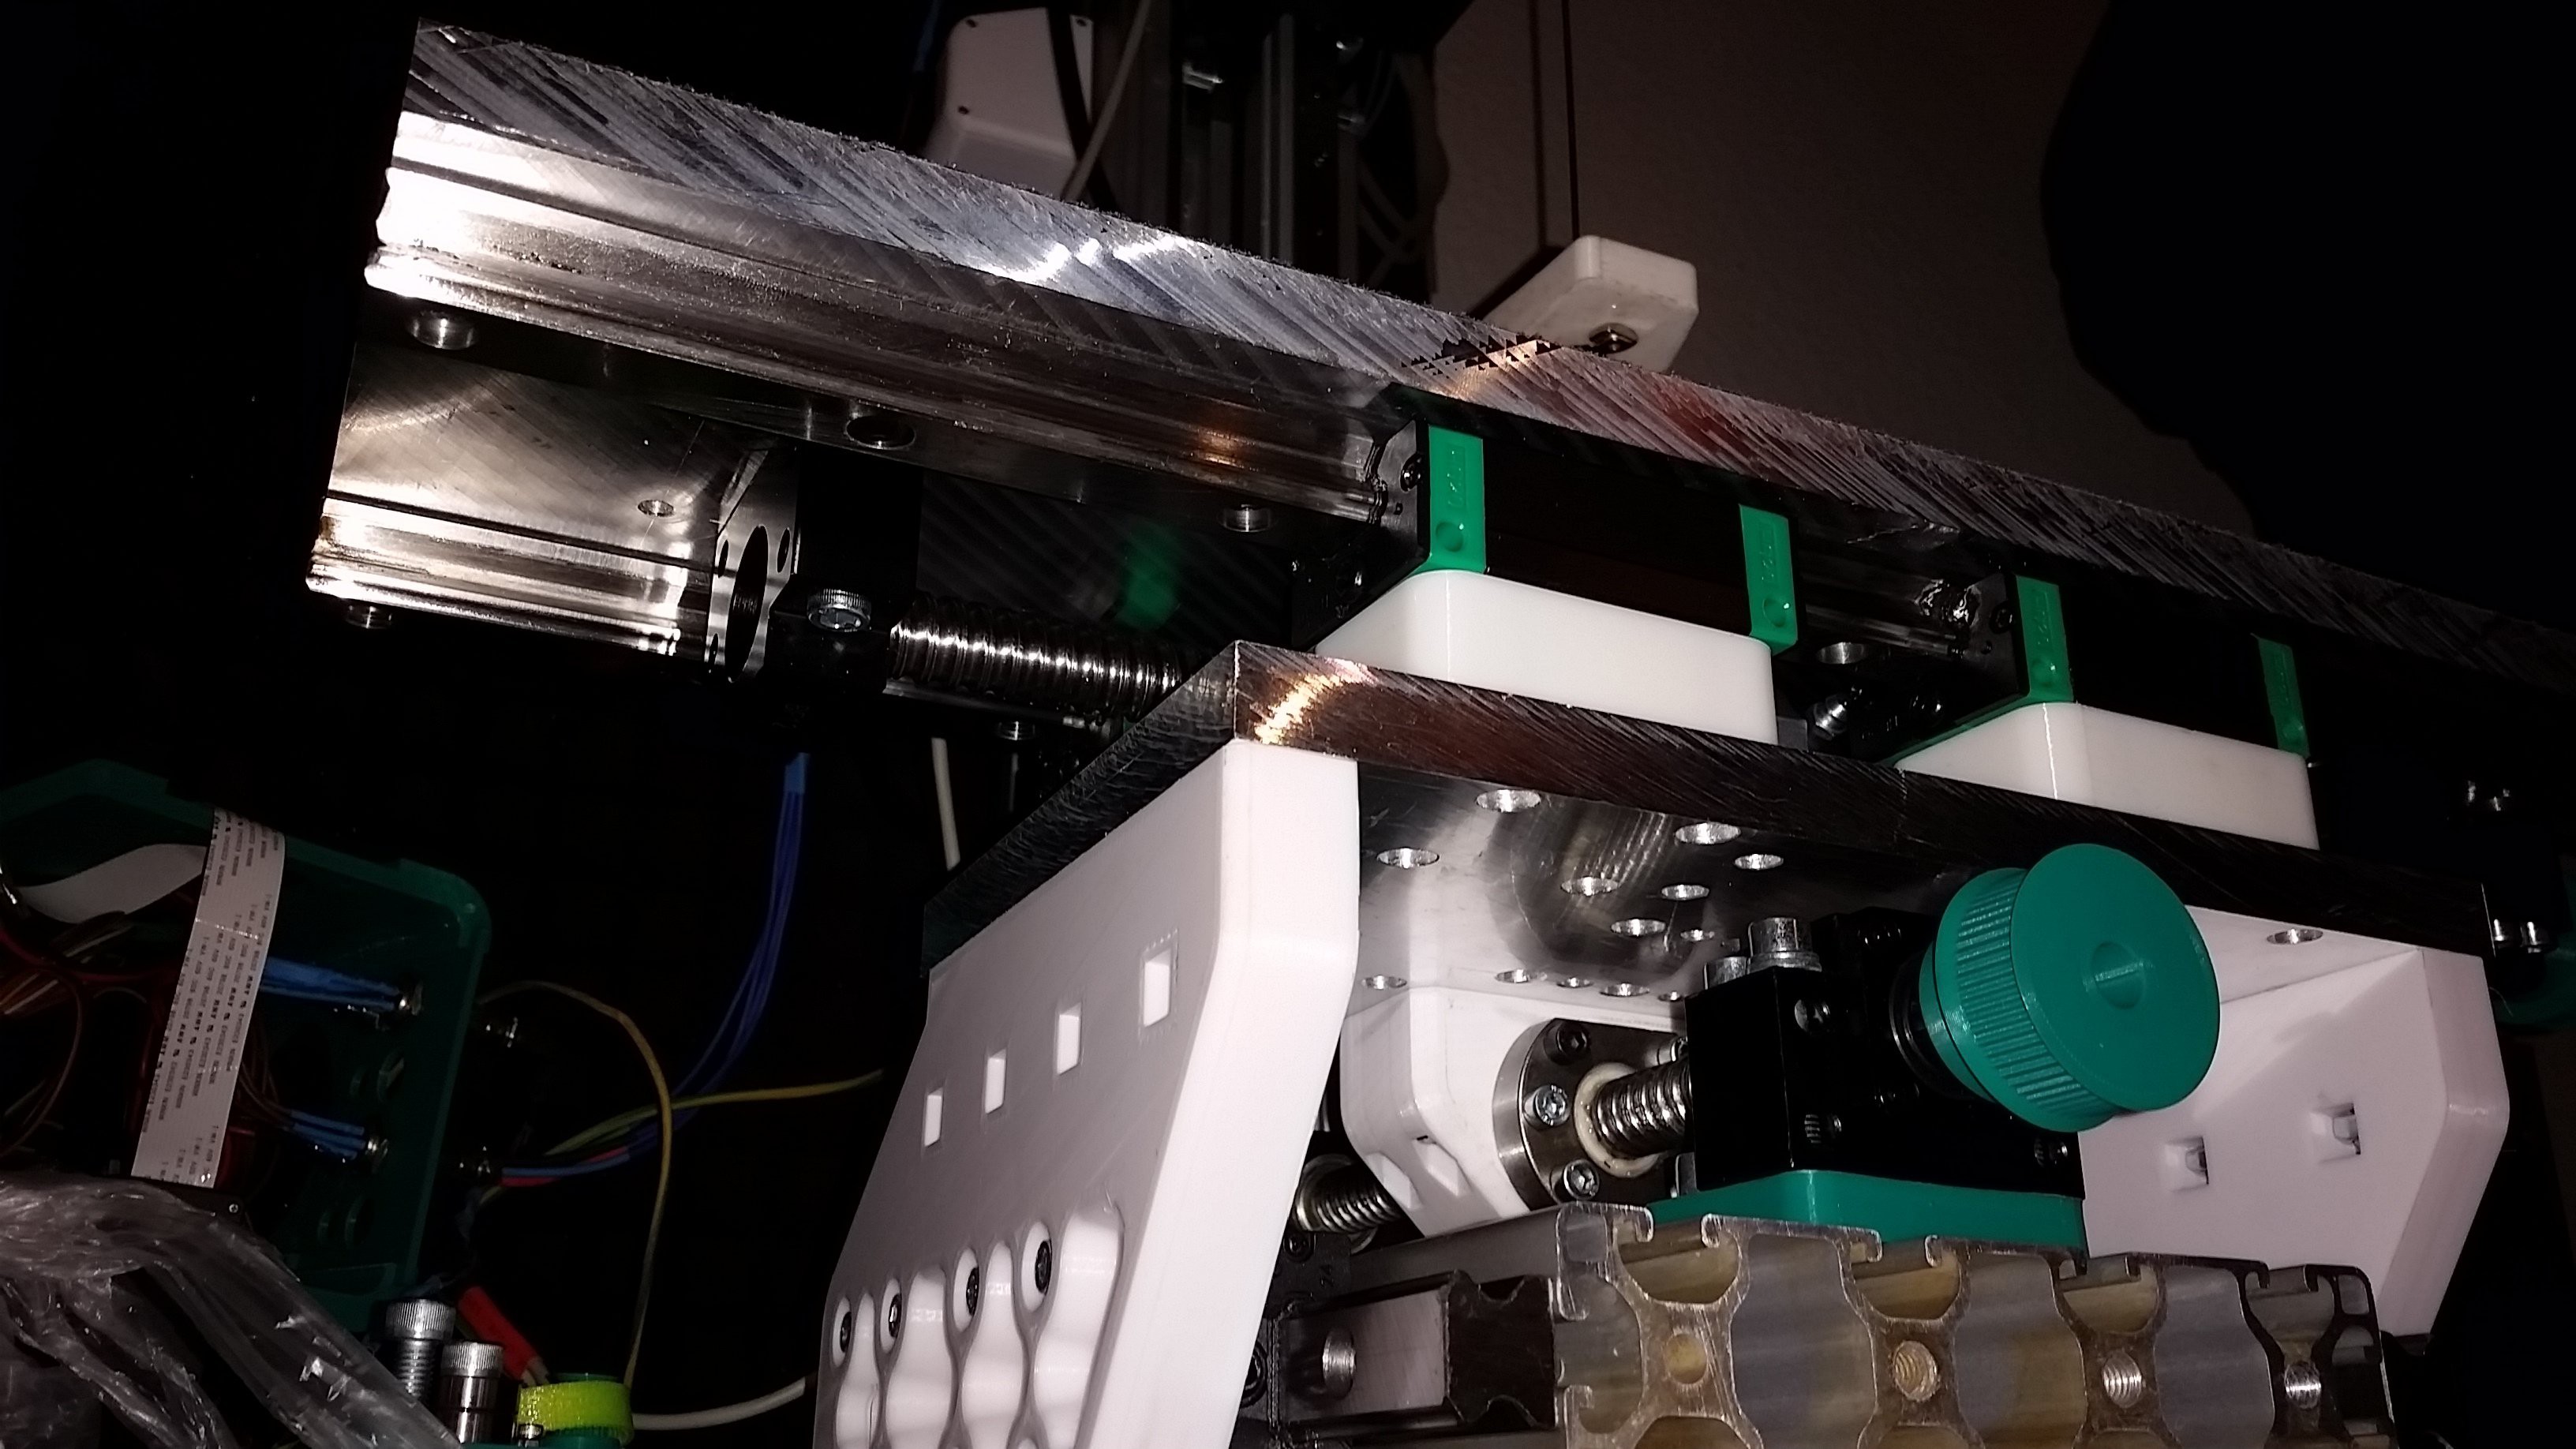
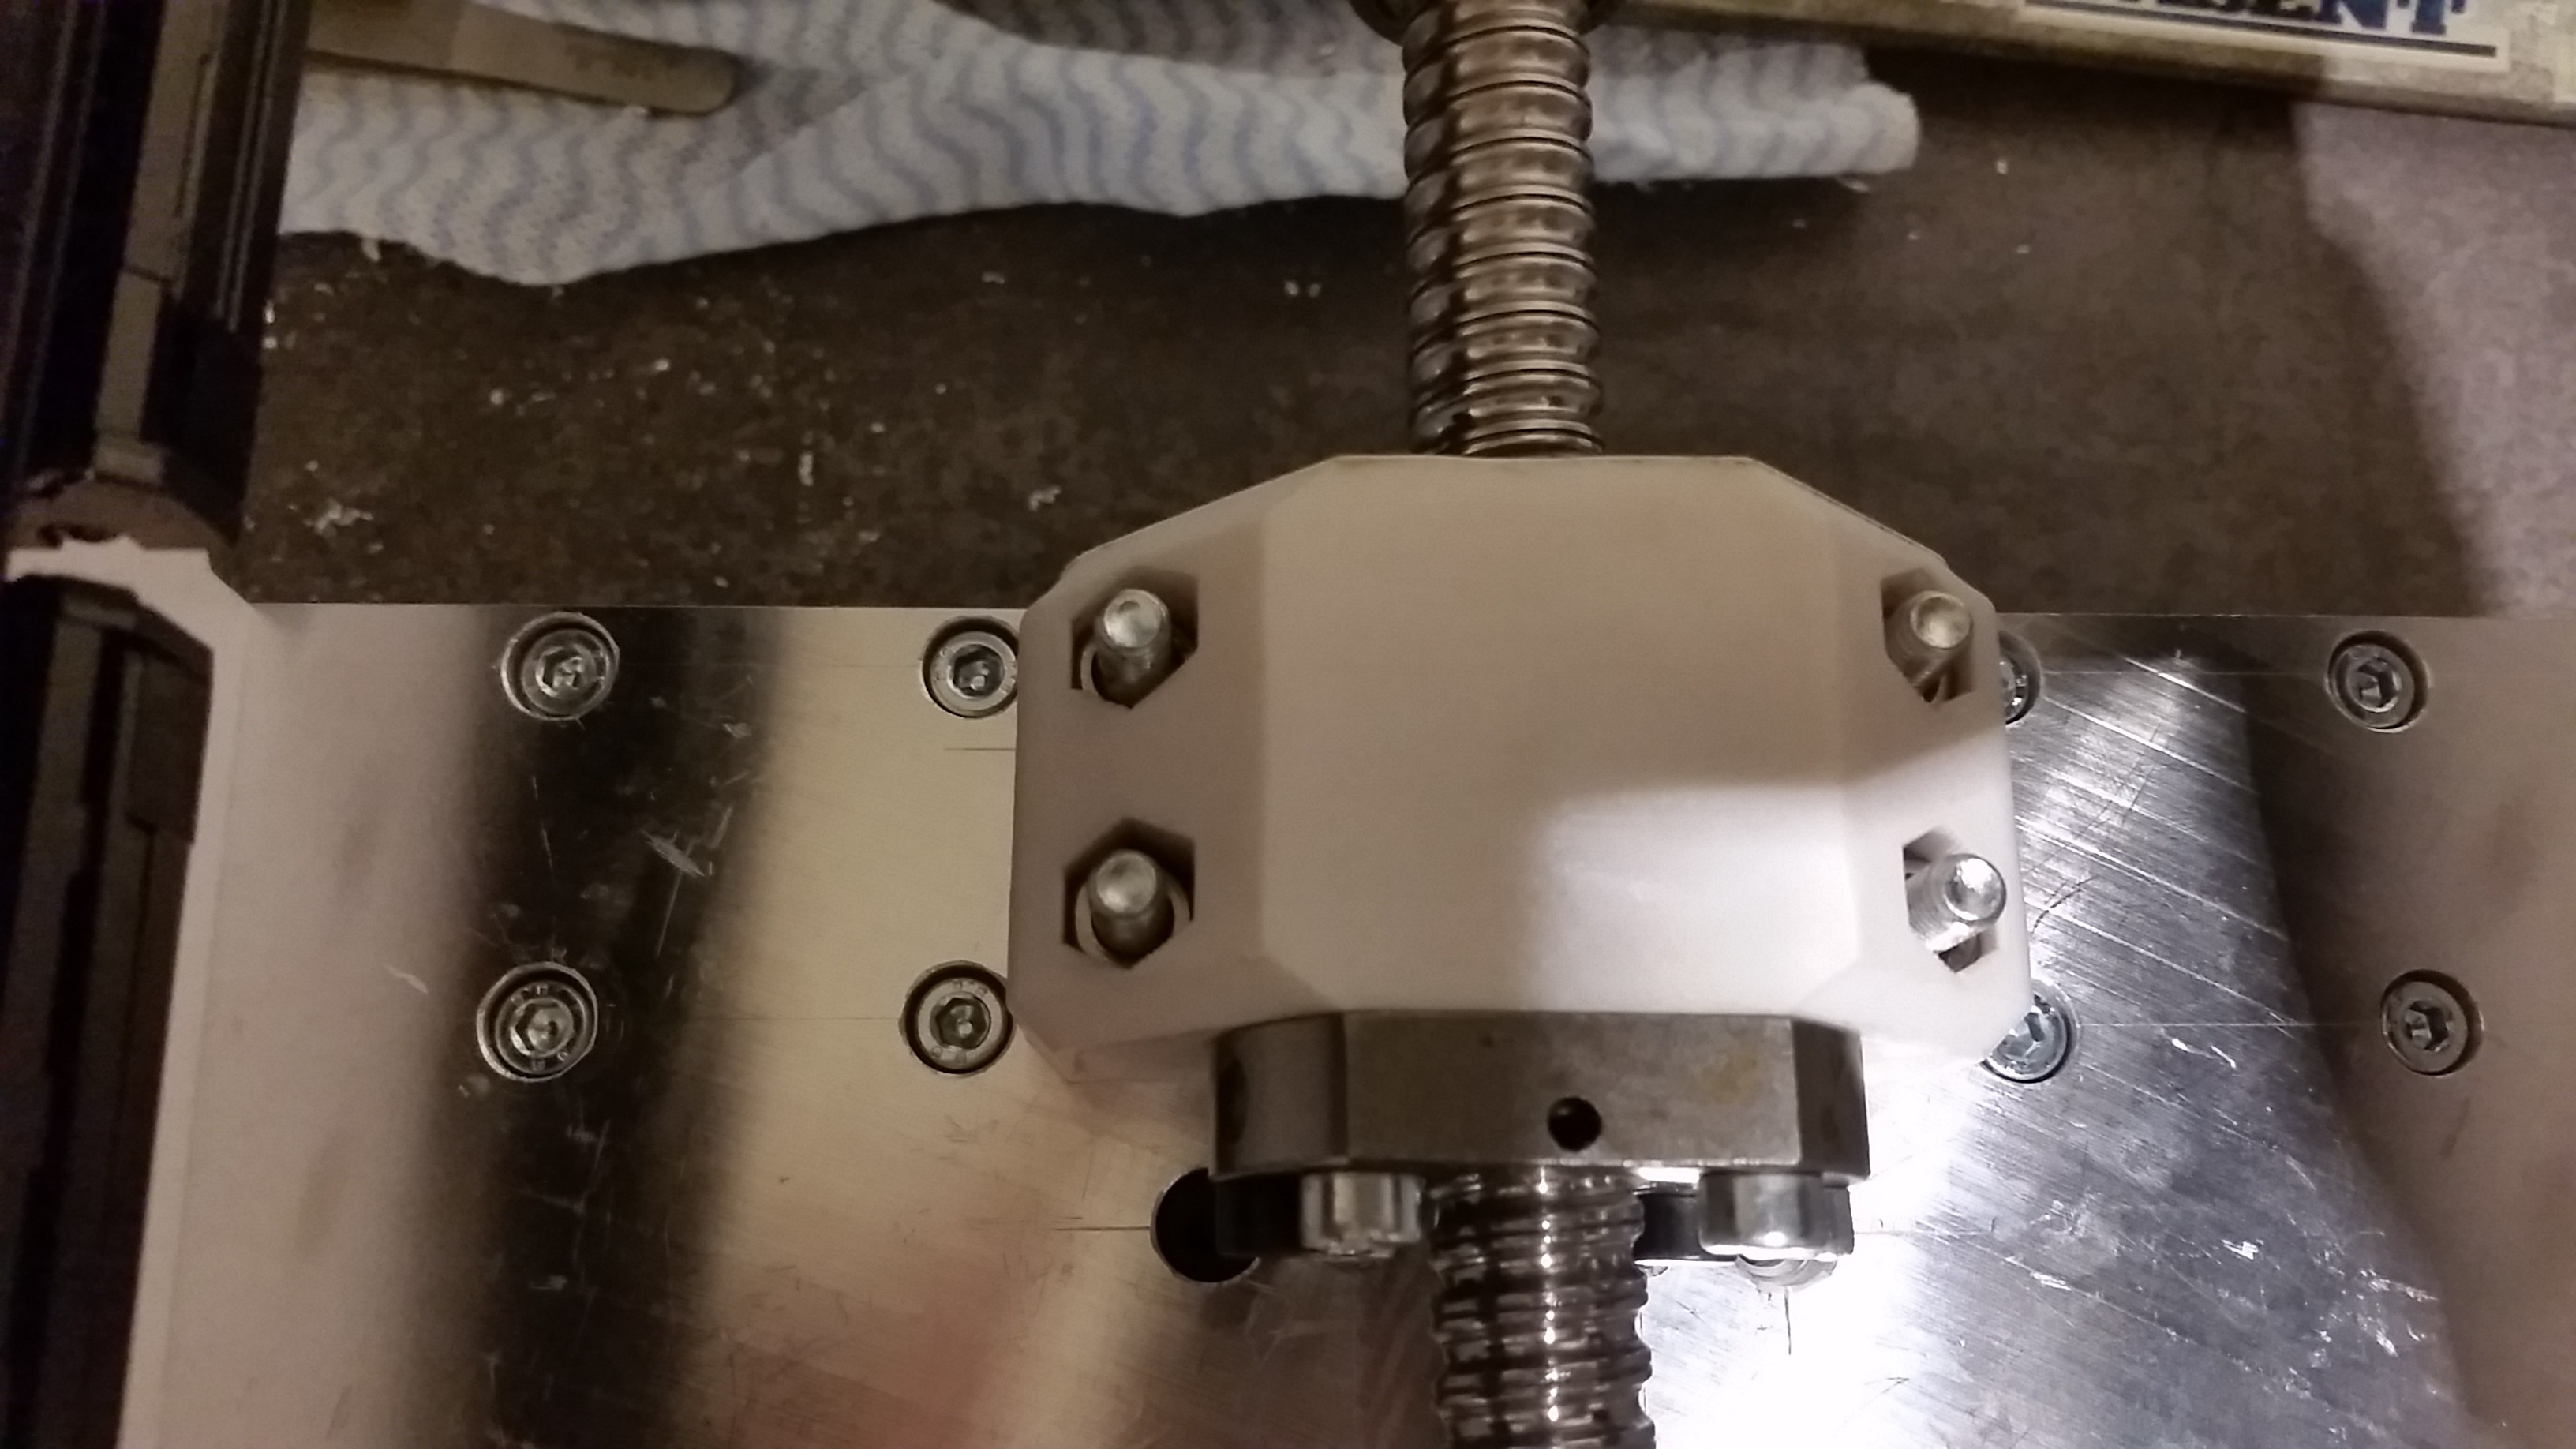
XY axis almost ready
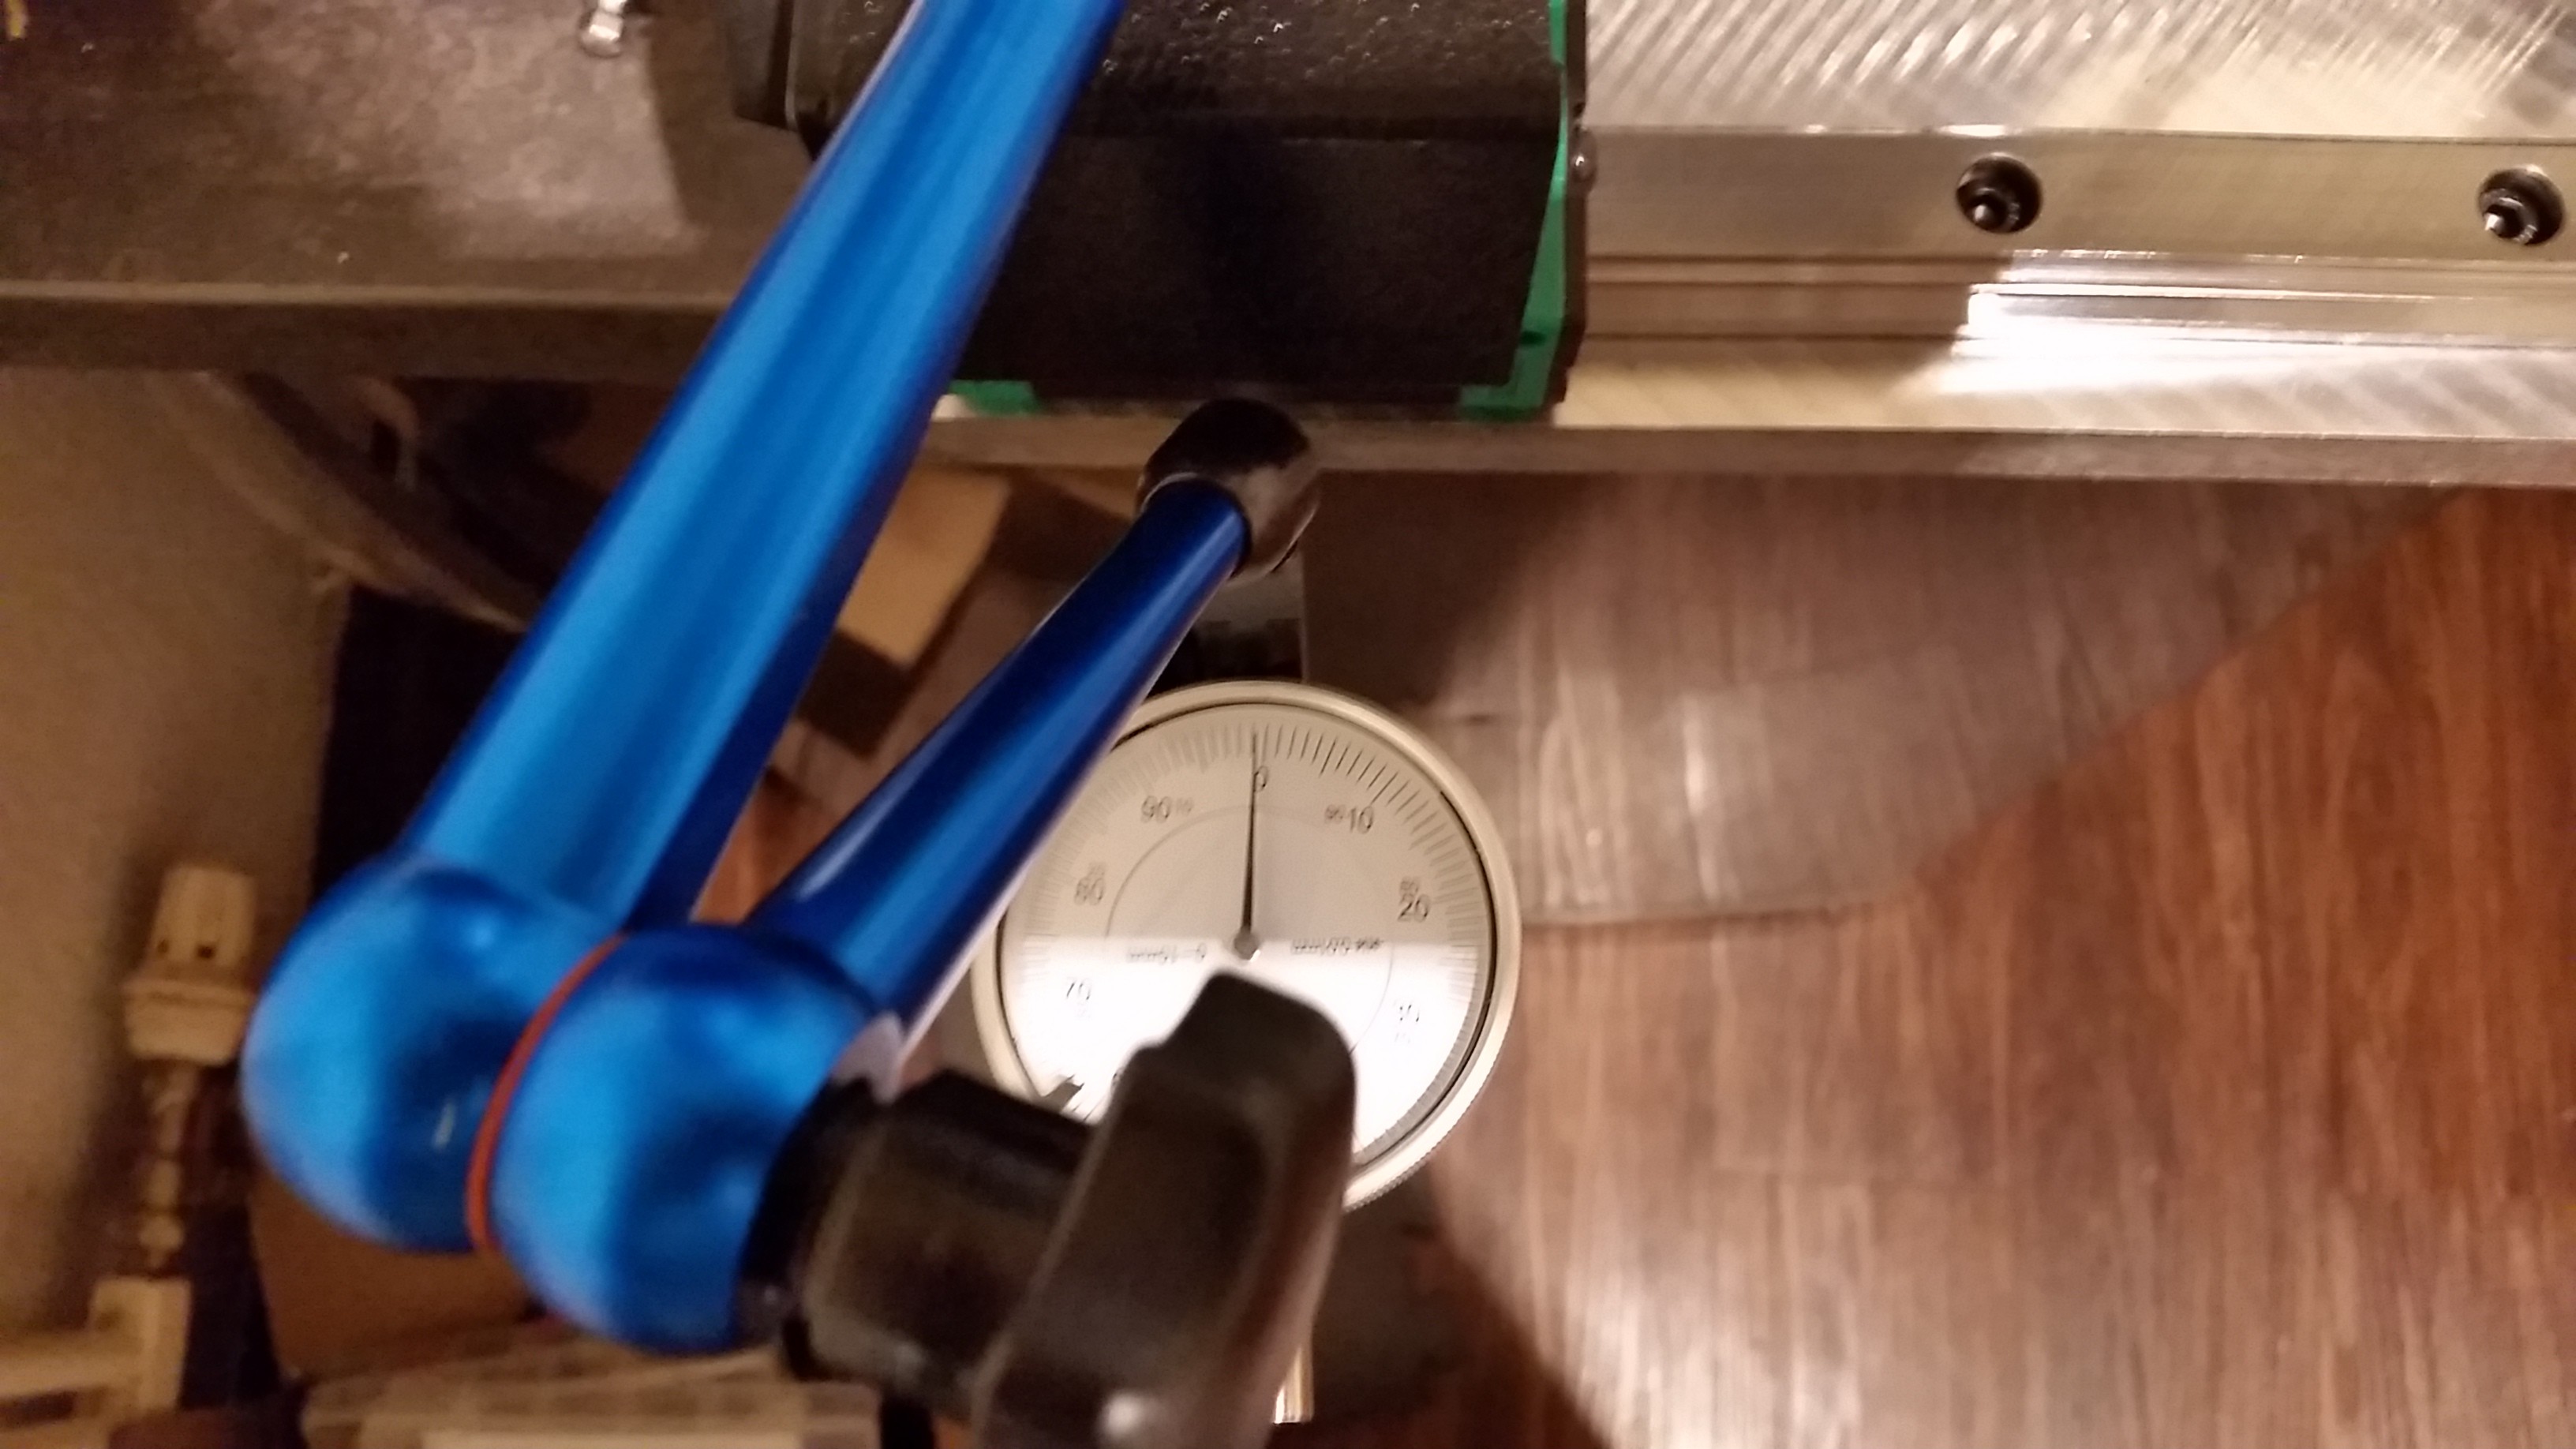
07/26/2023 at 13:07 • 0 commentsAlmost done with the X and Y axis. All holes drilled and tapped.
The only thing left is aligning the linear rails and then it is time to dive back into the software and get the final tweaks done.
![]()
![]()
![]()
![]()
![]()
![]()
![]()
![]()
![]()
![]()
![]()
![]()
![]()
![]()
![]()
![]()
![]()
![]()
![]()
![]()
G-EDM
The G-EDM is an electrical discharge machine that supports sinker EDM, EDM engraving, EDM drilling and Wire EDM operations. #Drahterodieren