-
Simple but enough useful webradio by RTL8710
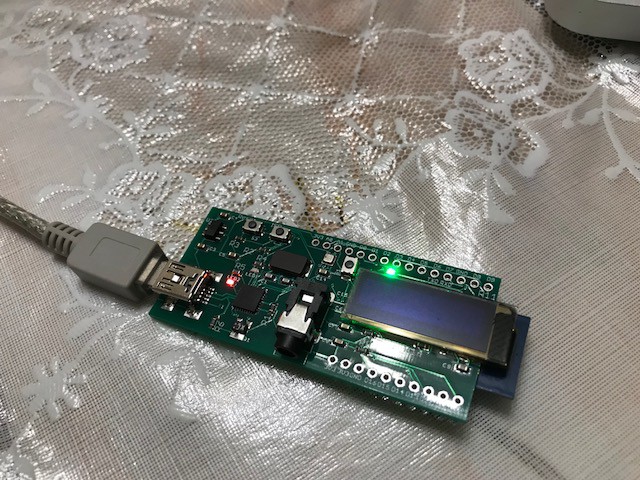
06/09/2018 at 07:13 • 0 commentsAs presented, my recent board has 3.5mm Audio jack but I've not explained yet....
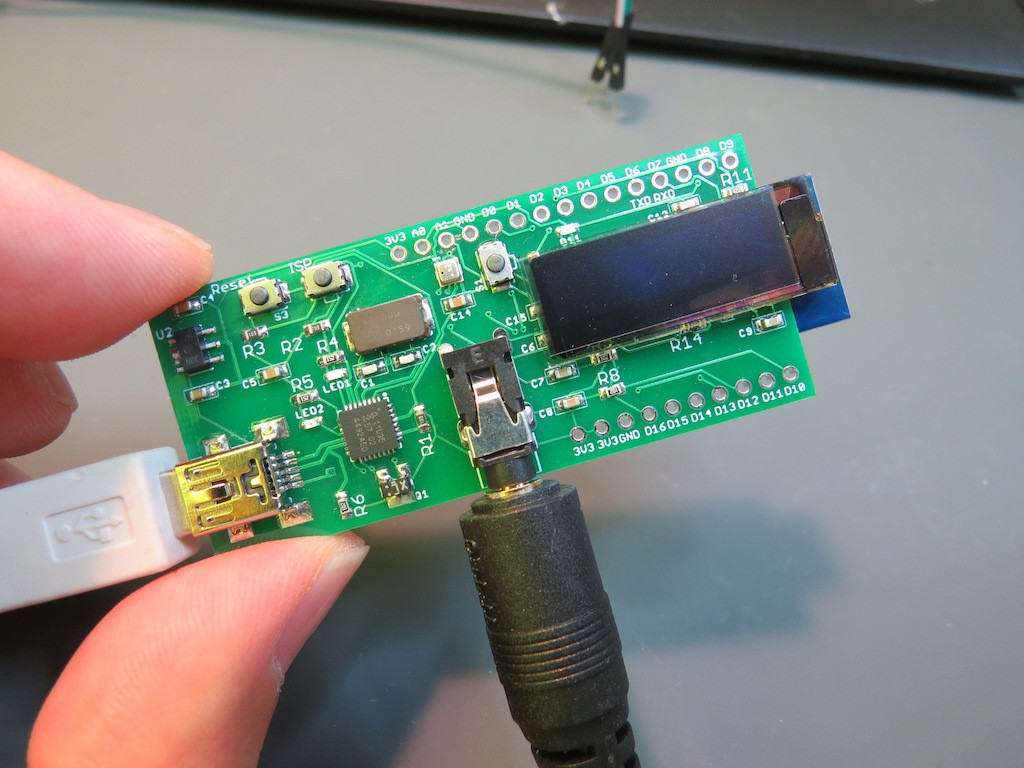
YES it works as webradio!!
![]()
Indeed a few months before, one acquaintance already let me know the webradio by RTL8710 but till now I did not check the operation, but surely it works very well!
After writing the file "ram_all.bin" by command (in the case of OSX)
cp ram_all.bin /Volumes/MBED/;sync![]()
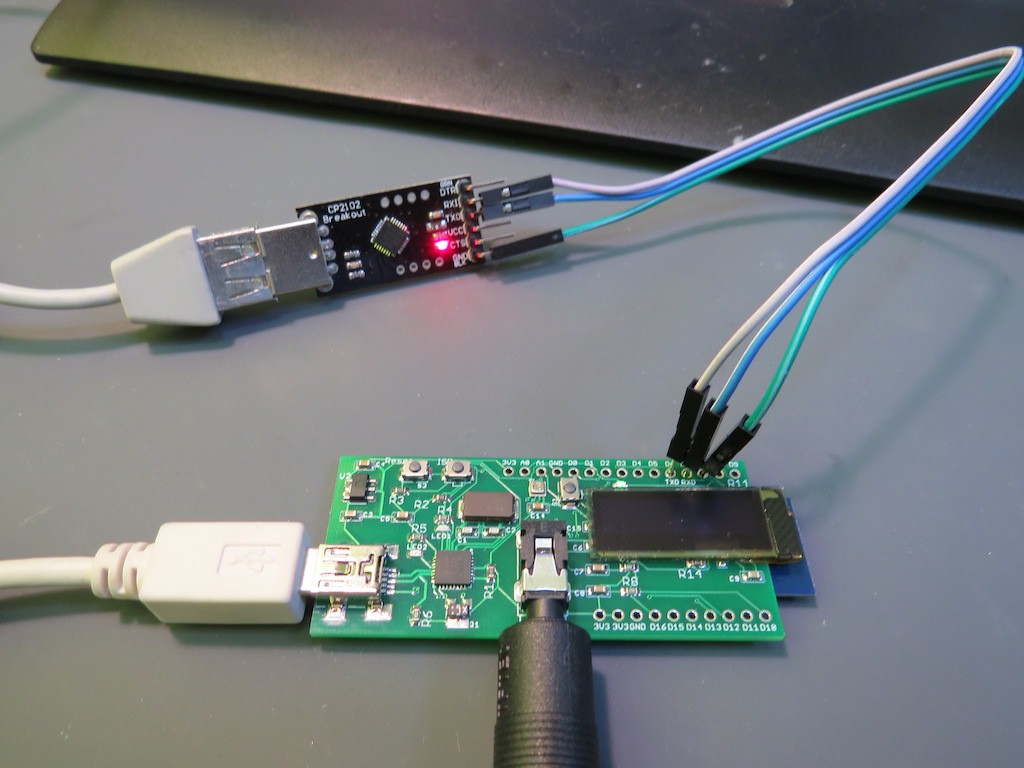
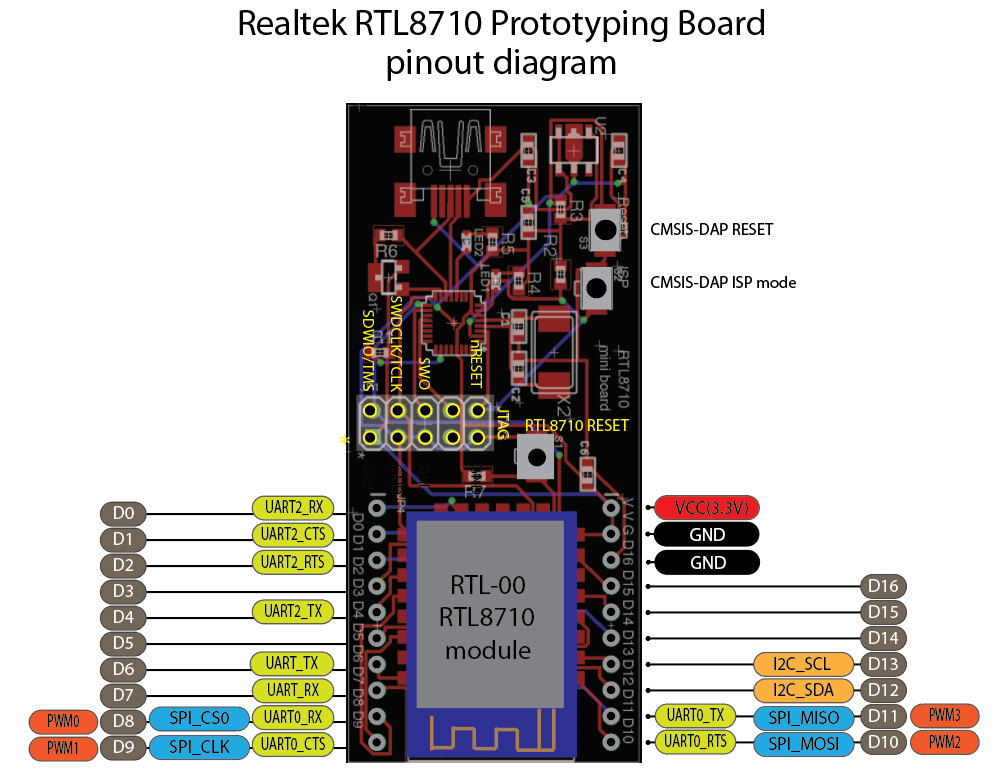
Connect additional USB-UART to D6/D7 (in my board, I put characters "TXD" and "RXD") and
![]()
Connect speed of 38400bps-N-1 and push return to get command prompt, then write your SSID/password will start default web stream station. Other information (for example, station URL setting) is well described inthe above GitHub repository.
Actual operation can be found in the following movie... Have fun!
-
Latest information for Arduino IDE support
06/08/2018 at 14:02 • 0 commentsIn two years ago, adding Arduino IDE support for RTL8710 takes lots of step and effort. Nowadays, it is SUPER EASY!!
![]()
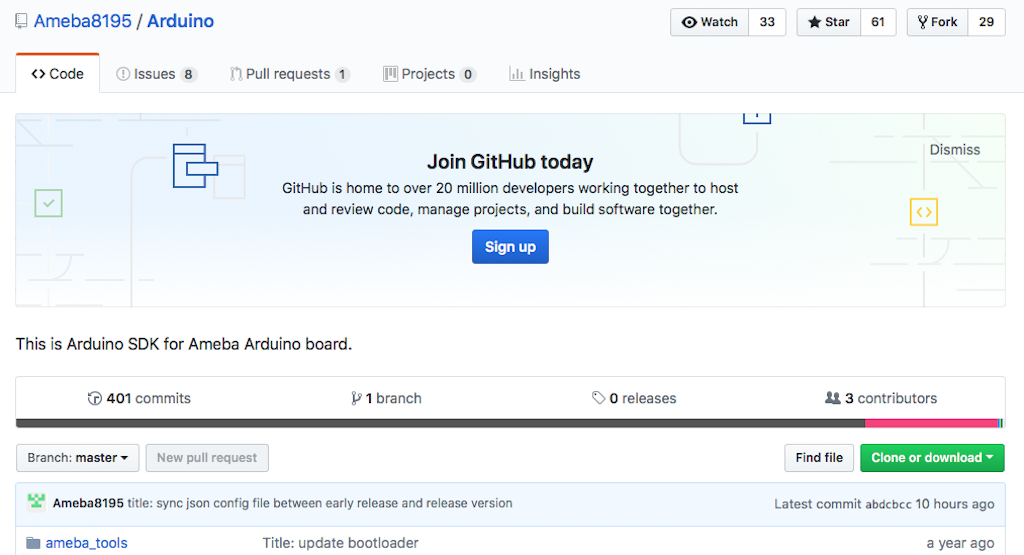
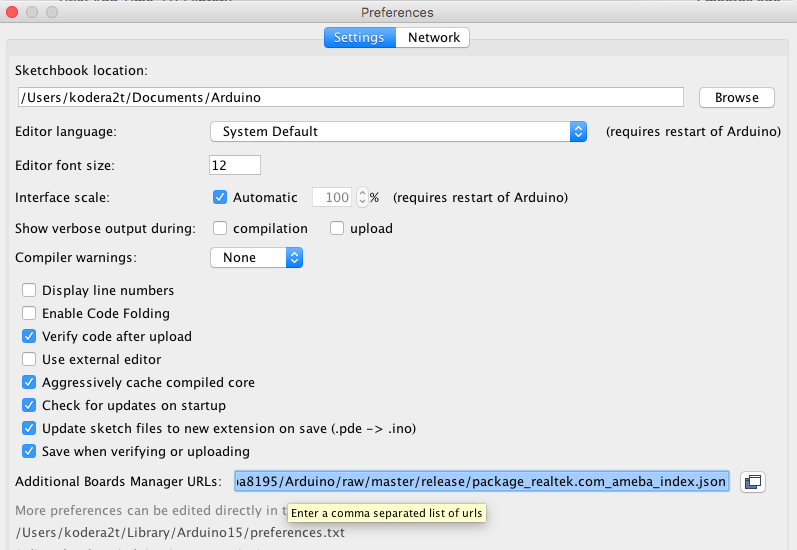
Realtek releases "genuine" Arduino IDE support, and it supports ".json" installing. So just inserting address in preference is almost finishing. Super easy!
https://github.com/Ameba8195/Arduino/raw/master/release/package_realtek.com_ameba_index.json![]()
![]()
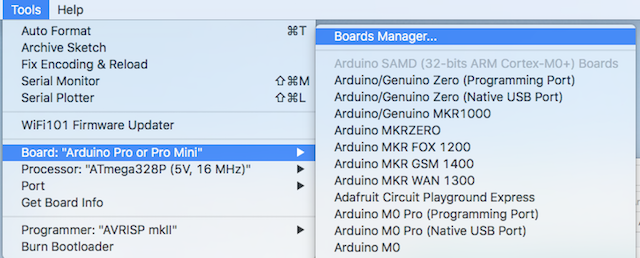
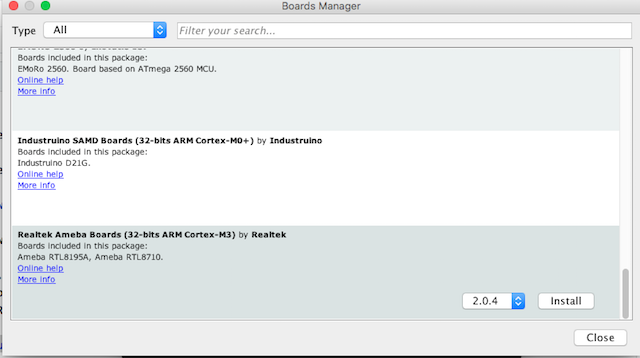
After inserting ".json" address, accessing "Boards Manager" and you will see,
![]()
Realtek Ameba Boards support! Just click "Install" and
![]()
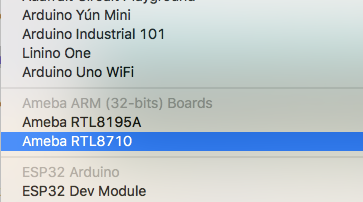
You will find "Ameba RTL8710" in the board name!
I hope this is the all should be done, but unfortunately current Realtek GPIO assignment is wrong. (It is also crappy for Realtek's genuine board, so it is not my fault (meaning I did not make wrong circuit.)
![]()
Access my GitHub directory
https://github.com/kodera2t/RTL8710_ULTRA_supportfiles/tree/master/need_to_replace_this_fileand please get "variant.cpp"
![]()
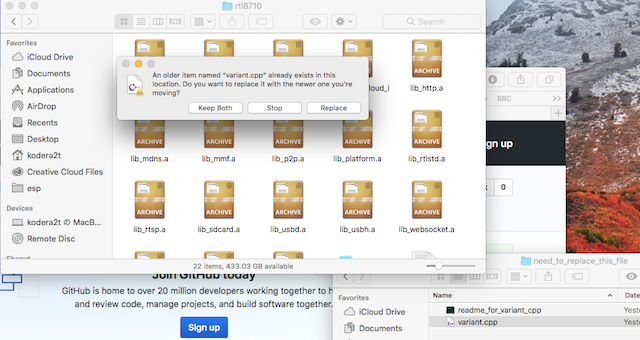
The file position to be replaced is in "Library" directory,
/Users/<username>/Library/Arduino15/packages/realtek/hardware/ameba/2.0.4/variants/rtl8710so please use "Go to Folder" or just use terminal csh.
![]()
Just drag and drop the downloaded "variant.cpp" and please check blink by on-board LED (D11)
![]()
![]()
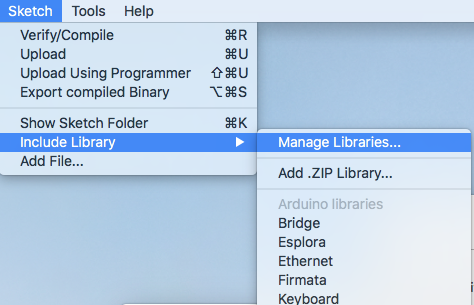
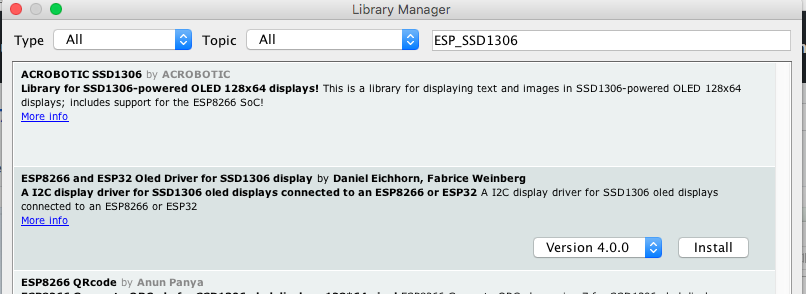
That's all!! In addition to board support, required library can be installed by Arduino IDE built-in library manager,
![]()
![]()
Enjoy wonderful ARM Cortex M3 world by RTL8710 !!
-
Small fix for latest pvvx environment
03/20/2017 at 11:52 • 0 commentsI got a report on youtube movie, which the latest pvvx environment does not work with my previous explanation. This is the way to fix.
open open board.txt in development/rtl87xx/boards.txt
and
modify
(original) rtlmodule_rtl8710.build.ldscript=linker_scripts/gcc/rtl8710-symbol-v03-img2_arduino_arduino.ld
to
(fix) rtlmodule_rtl8710.build.ldscript=linker_scripts/gcc/rtl8710-symbol-v04-img2_arduino_arduino.ld
This is enough to work it again!
-
Single module web radio
01/16/2017 at 11:08 • 0 commentsI am very impressed to see the web radio by single RTL8710 without any decoder. Indeed the source code is a part of RTLduino distribution , which is written by Russian programmer and currently sound does not come fluently but really nice to see the potential of RTL8710!
-
Solar-powered sensor board based on RTL8710 done!
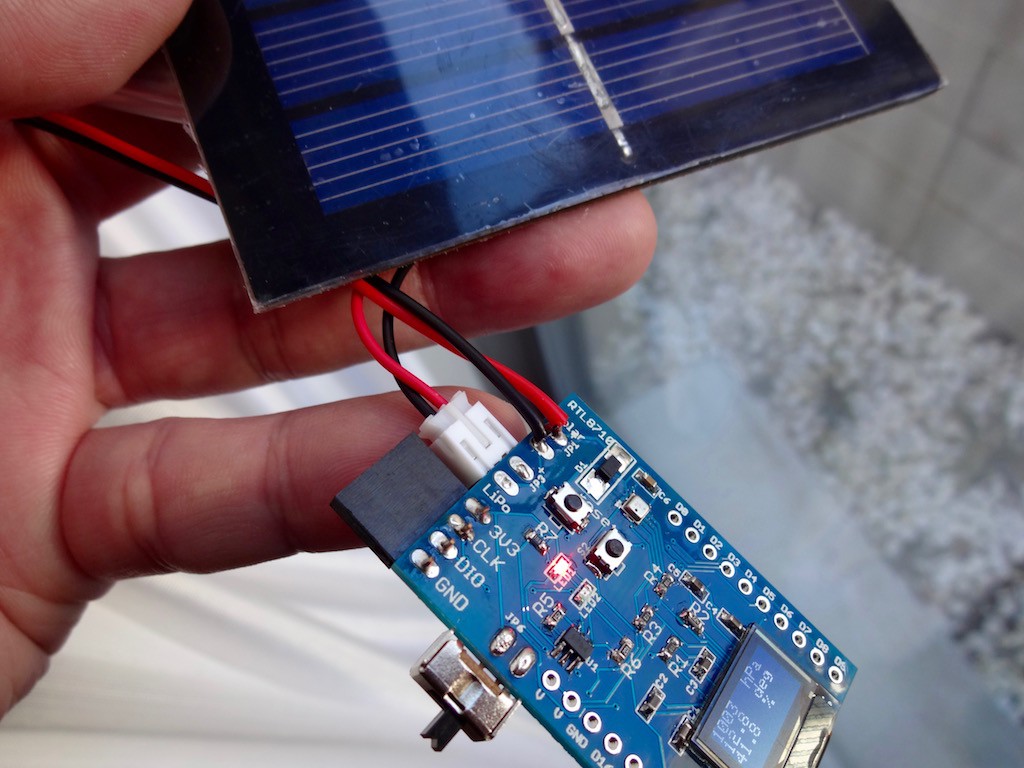
01/16/2017 at 00:26 • 0 commentsWhen we think about sensor terminal working outside, battery replacement is a headache problem if we put it on the mountain top or roof top. Here I made a "self-powered board" contains RTL8710 module, BME280 I2C sensor, OLED display and LiPo charging circuit powered by Solar cell!!
![]()
So we don't need to care power source anymore and just put on somewhere as we wish and continue to work till LiPo's lifetime!!
Power consumption (current flow) of this board is,,,
OLED activation, not web server accessed: 30mA
OLED activated, web server accessed: 70mA ! (very short time, like spike)
OLED turns-off, not web server accessed: 17mA (continuous)
OED turns-off, web-accessed: 60mA (during access, very short time, spike current)
So for the 24/7 operation, considering night time length, just 300 mAh battery is well enough if not so frequent access (for example, just one time every hours). Indeed RTL8710 has a deep-sleep function and if we utilise it, we may be able to work with just 100mAh battery...
Actual operation can be found in the following movie. Have fun!
-
NOW RTL8710 board is eventually officially supported by Realtek in Arduino IDE
01/14/2017 at 13:15 • 2 commentsFinally RTL8710 board (Ameba 8710 and my Ameba writer) is supported by Realtek!
Just adding in preference of Arduino IDE
https://github.com/Ameba8195/Arduino/raw/master/release/package_realtek.com_ameba_index.jsonand we will see in board manager and install version 2.0.0 support and..![]()
YES YES now the wonderful time is starting (officially)!!
![]()
We can see the "Ameba RTL8710" in the board selector and
All of my released RTL8710 board works with this new support!!
![]()
![]()
-
Quick demo of USD/JPY currency display
01/08/2017 at 02:47 • 0 comments![]()
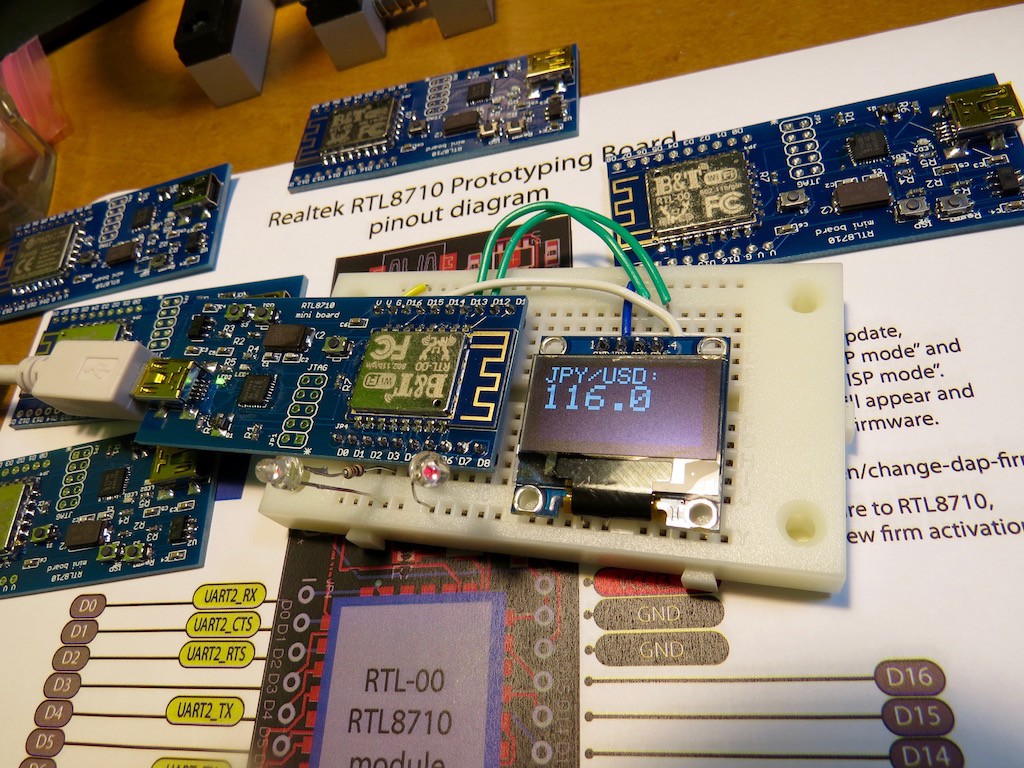
During the preparation for tindie store, I quickly write a demo program, showing JPY/USD currency. This program is greatly based on the source released at this website (I would thank the author), which is written for ESP8266. The source for ESP8266 is almost compatible with RTL8710 and we can enjoy RTL8710, as same as ESP8266. My Arduino sketch is uploaded to github. and this all-in-one board is on sale at tindie!
-
All-in-one RTL8710 prototyping board is done!
01/07/2017 at 03:22 • 0 comments![]()
Now I made an all-in-one RTL8710 prototyping board.
![]()
RTL8710 has a 17-digital IO and all of them are accessible through Arduino IDE, after setting environment. Also it has I2C and SPI interface and together with WiFi capability, we can easily make "IoT thing".!! I quickly check "LED blink" and "OLED drive" and "WiFi access" by some demo program, which actual operation can be found in the following movie... Have fun!
-
My progress on RTL8710 module usage...
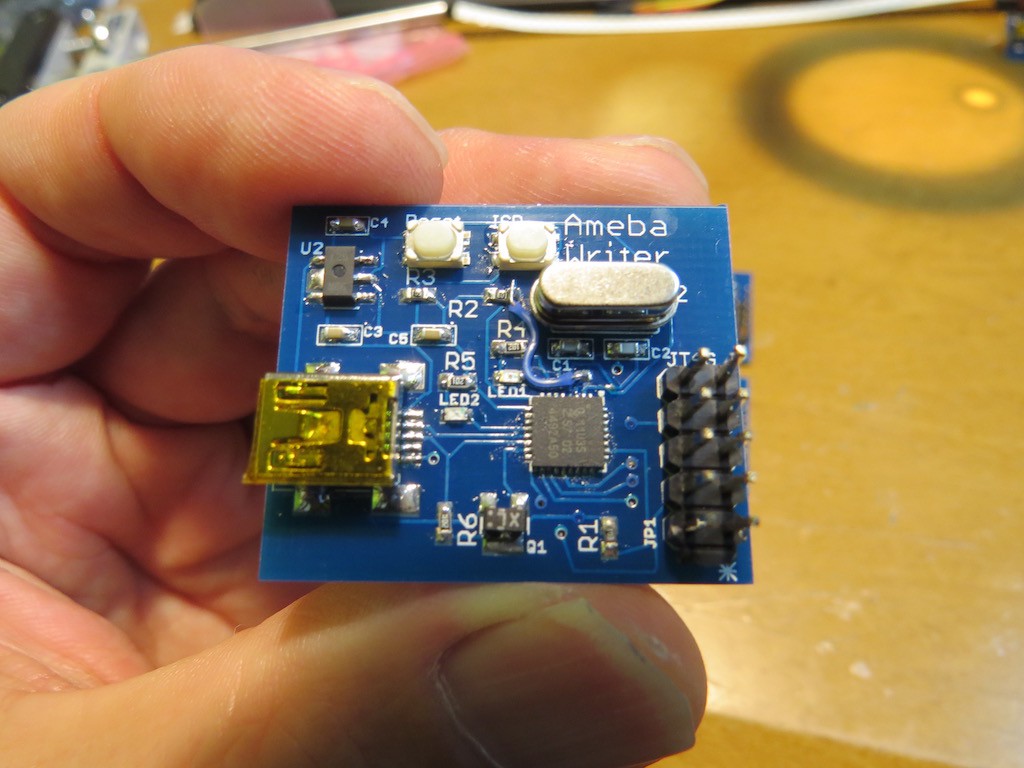
01/03/2017 at 13:11 • 0 commentsBy using my "Ameba writer",
https://www.tindie.com/products/microwavemont/ameba-rtl8710-programmer-for-arduino-ide/
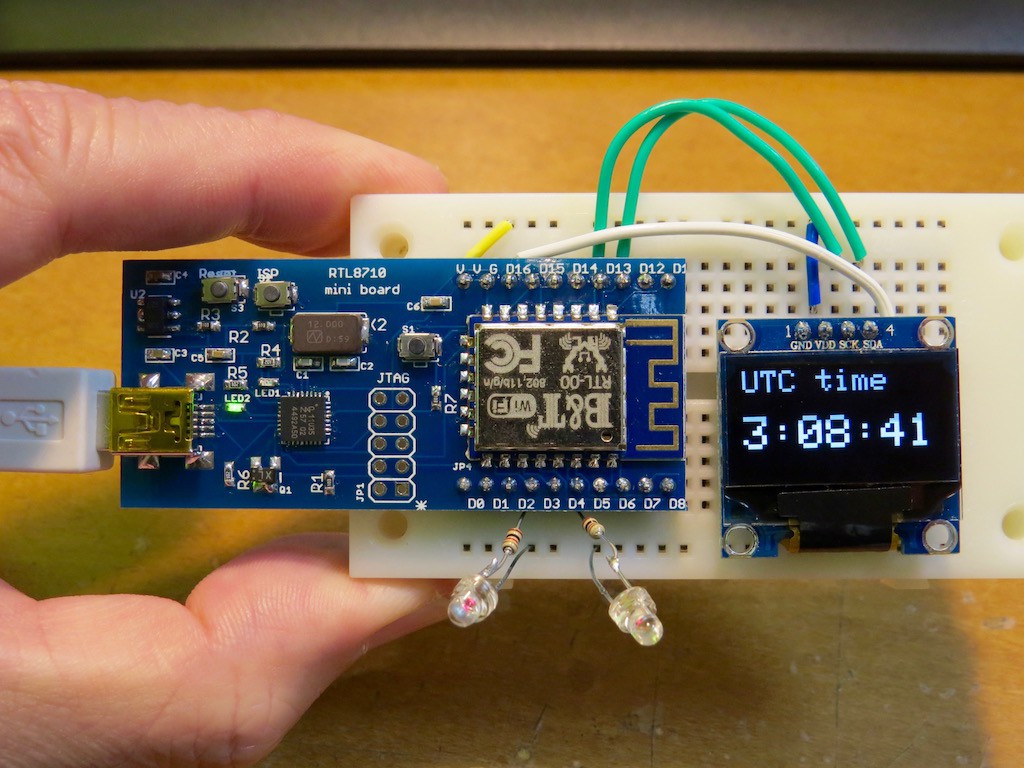
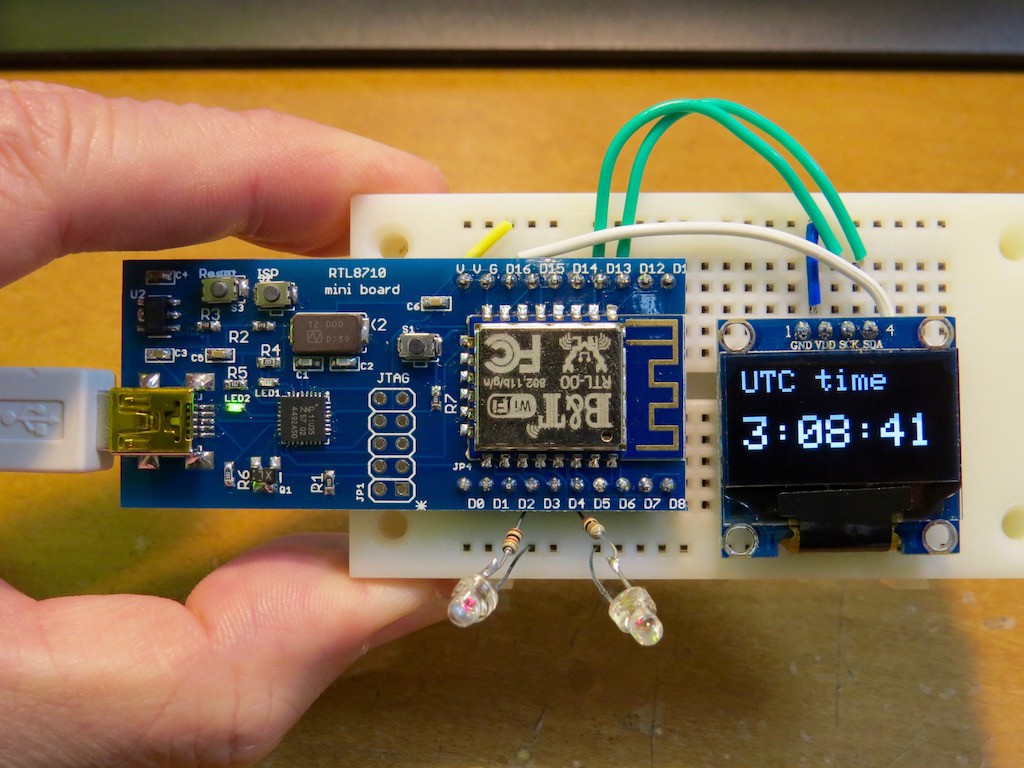
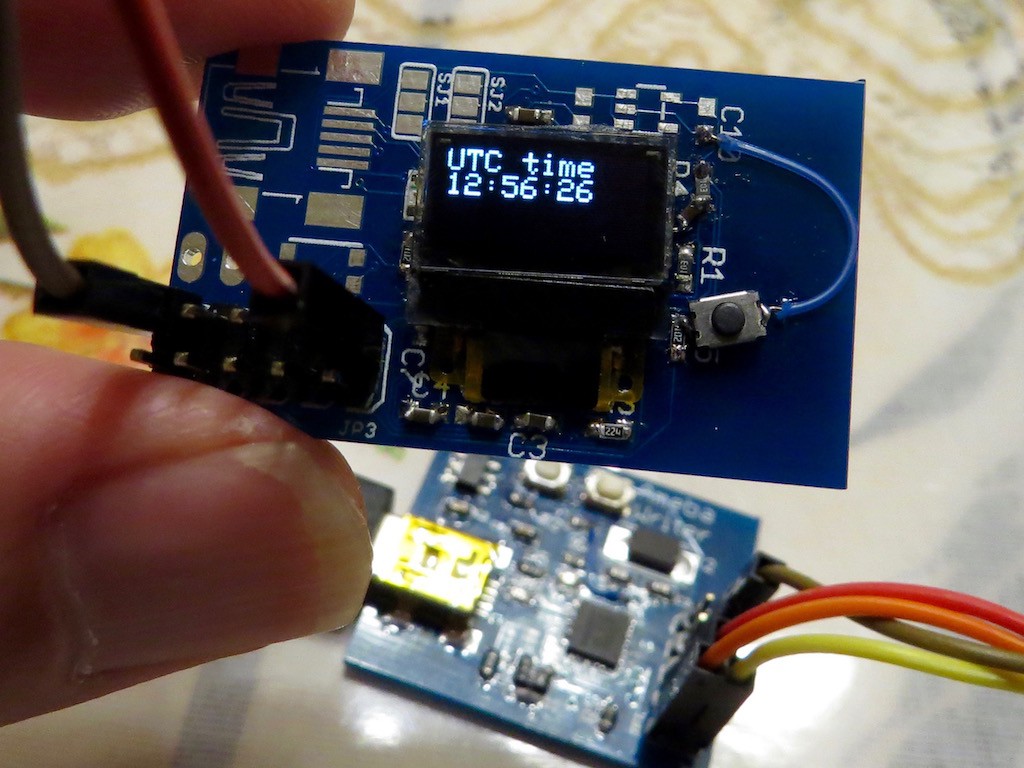
we can program RTL8710 through very popular Arduino IDE. Now I made a quick demo of "clock", which data is taken from ntp server.
![]()
This type of demo is well-established on ESP8266 but we can do on RTL8710 as same!
The working code is uploaded to
https://github.com/kodera2t/Ameba_RTL8710_sample/blob/master/Ameba_ntp_clock.ino
Have fun!
-
OLED driving with WiFi is done!
12/29/2016 at 11:26 • 0 comments![]()
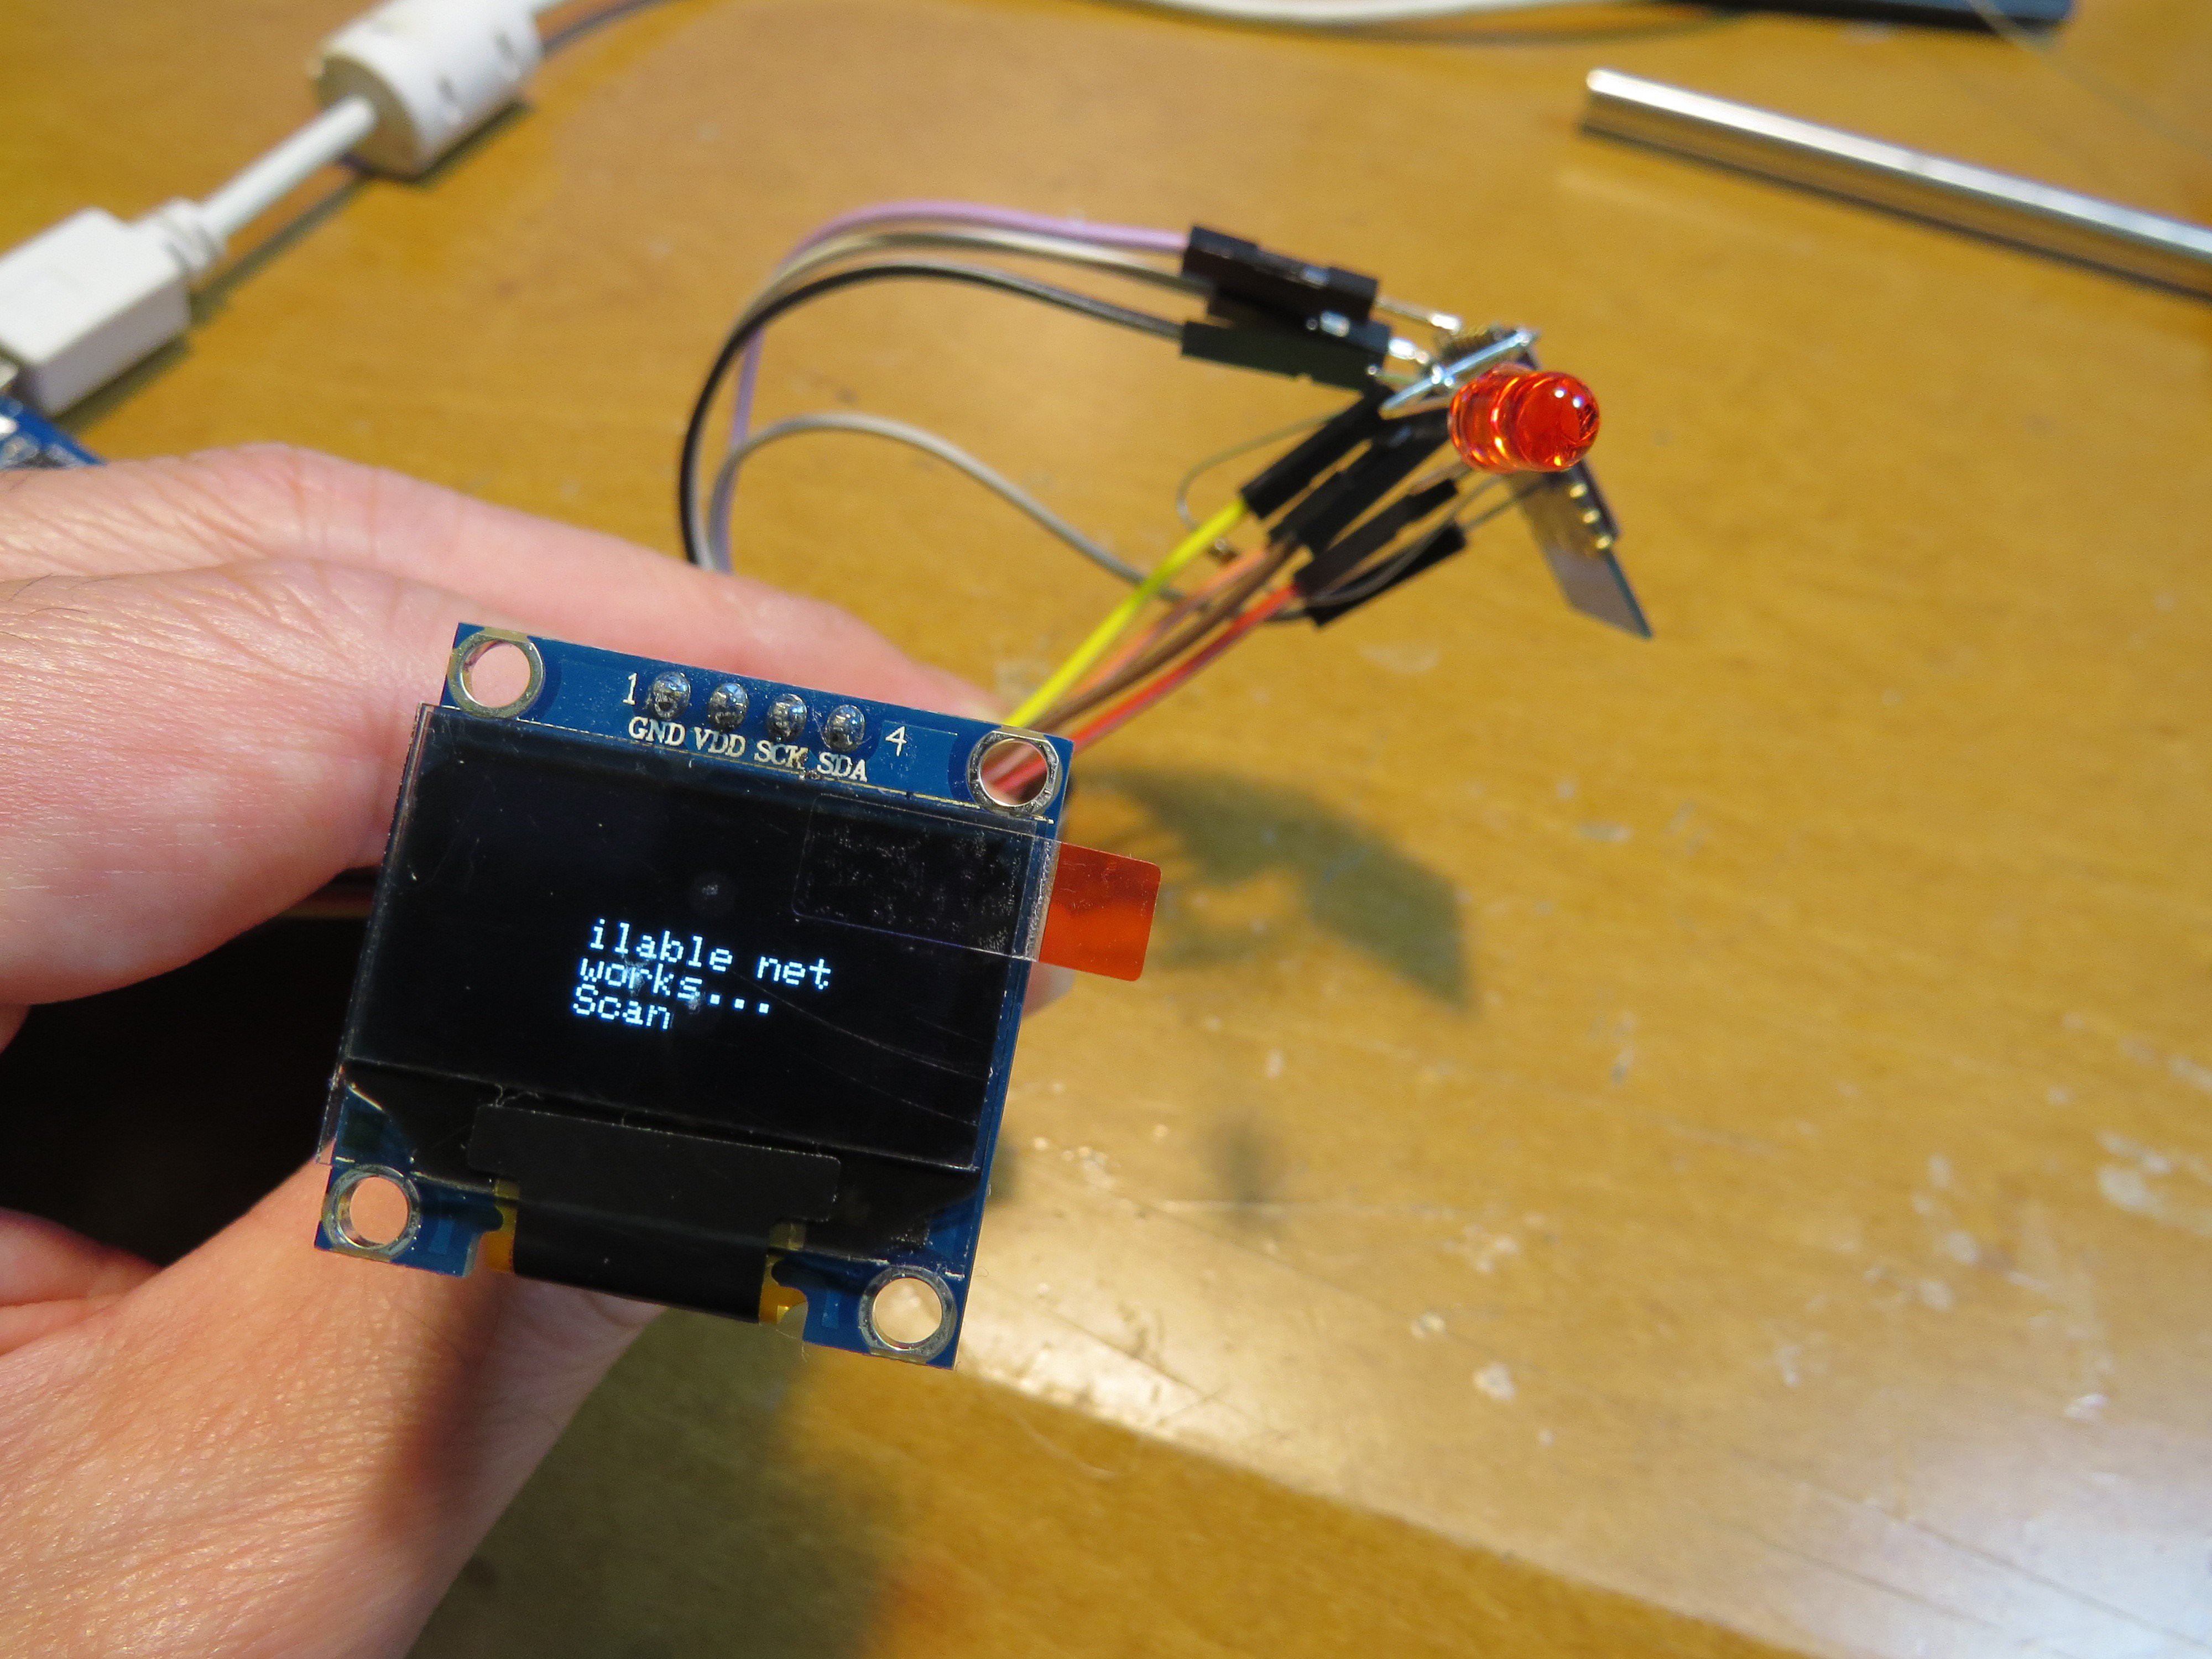
Now by using my tiny RTL8710 programmer, I succeed to drive OLED by RTL8710. Indeed this operation is purely written by Arduino code and we don't need any additional complex knowledge. Source code is uploaded ti github.
Actual operation can be found in the following movie... Have fun!
RTL8710 easy programming by Arduino IDE
Recent progress of WiFi modules does not need external MCU anymore. Now I just try to focus on ARM Cortex-M3 based RTL8710!
 kodera2t