Close
0%
0%

Smart Powermeter

Keep an eye on your home's power consumption with style.

jonJon
Similar projects worth following
Effortlessly monitor your home's energy consumption with the Smart Powermeter and enjoy the seamless integration with the user-friendly Home Assistant platform. This powerful device not only provides real-time data on your household's energy usage, but it also offers the added convenience of a snapshot of your grid's status whenever you open the electric closet, all thanks to the 2.9' e-paper display.

With its integrated 230VAC -> 5VDC regulator, the ESP32-S2 is designed to efficiently harness power from the surrounding wires, ensuring optimal performance. The Smart Powermeter supports up to six different CT clamps, with or without a burden resistor, allowing for versatile monitoring options. Additionally, it also has the capability to measure the ambient temperature, providing you with comprehensive insights into your energy consumption and surroundings.

Want to get one?

If you want to get a Smart Powermeter set, you can get it on the Elecrow's marketplace :

The story behind 

Since my electric power provider only sends the consumtpion data (and invoice attached) once each a few months, it should be three but it's highly irregular, and I had enough space in my electricity distribution panel, I embarked on a mission to create my very own solution – the Smart Powermeter. 

The Smart Powermeter V1R1

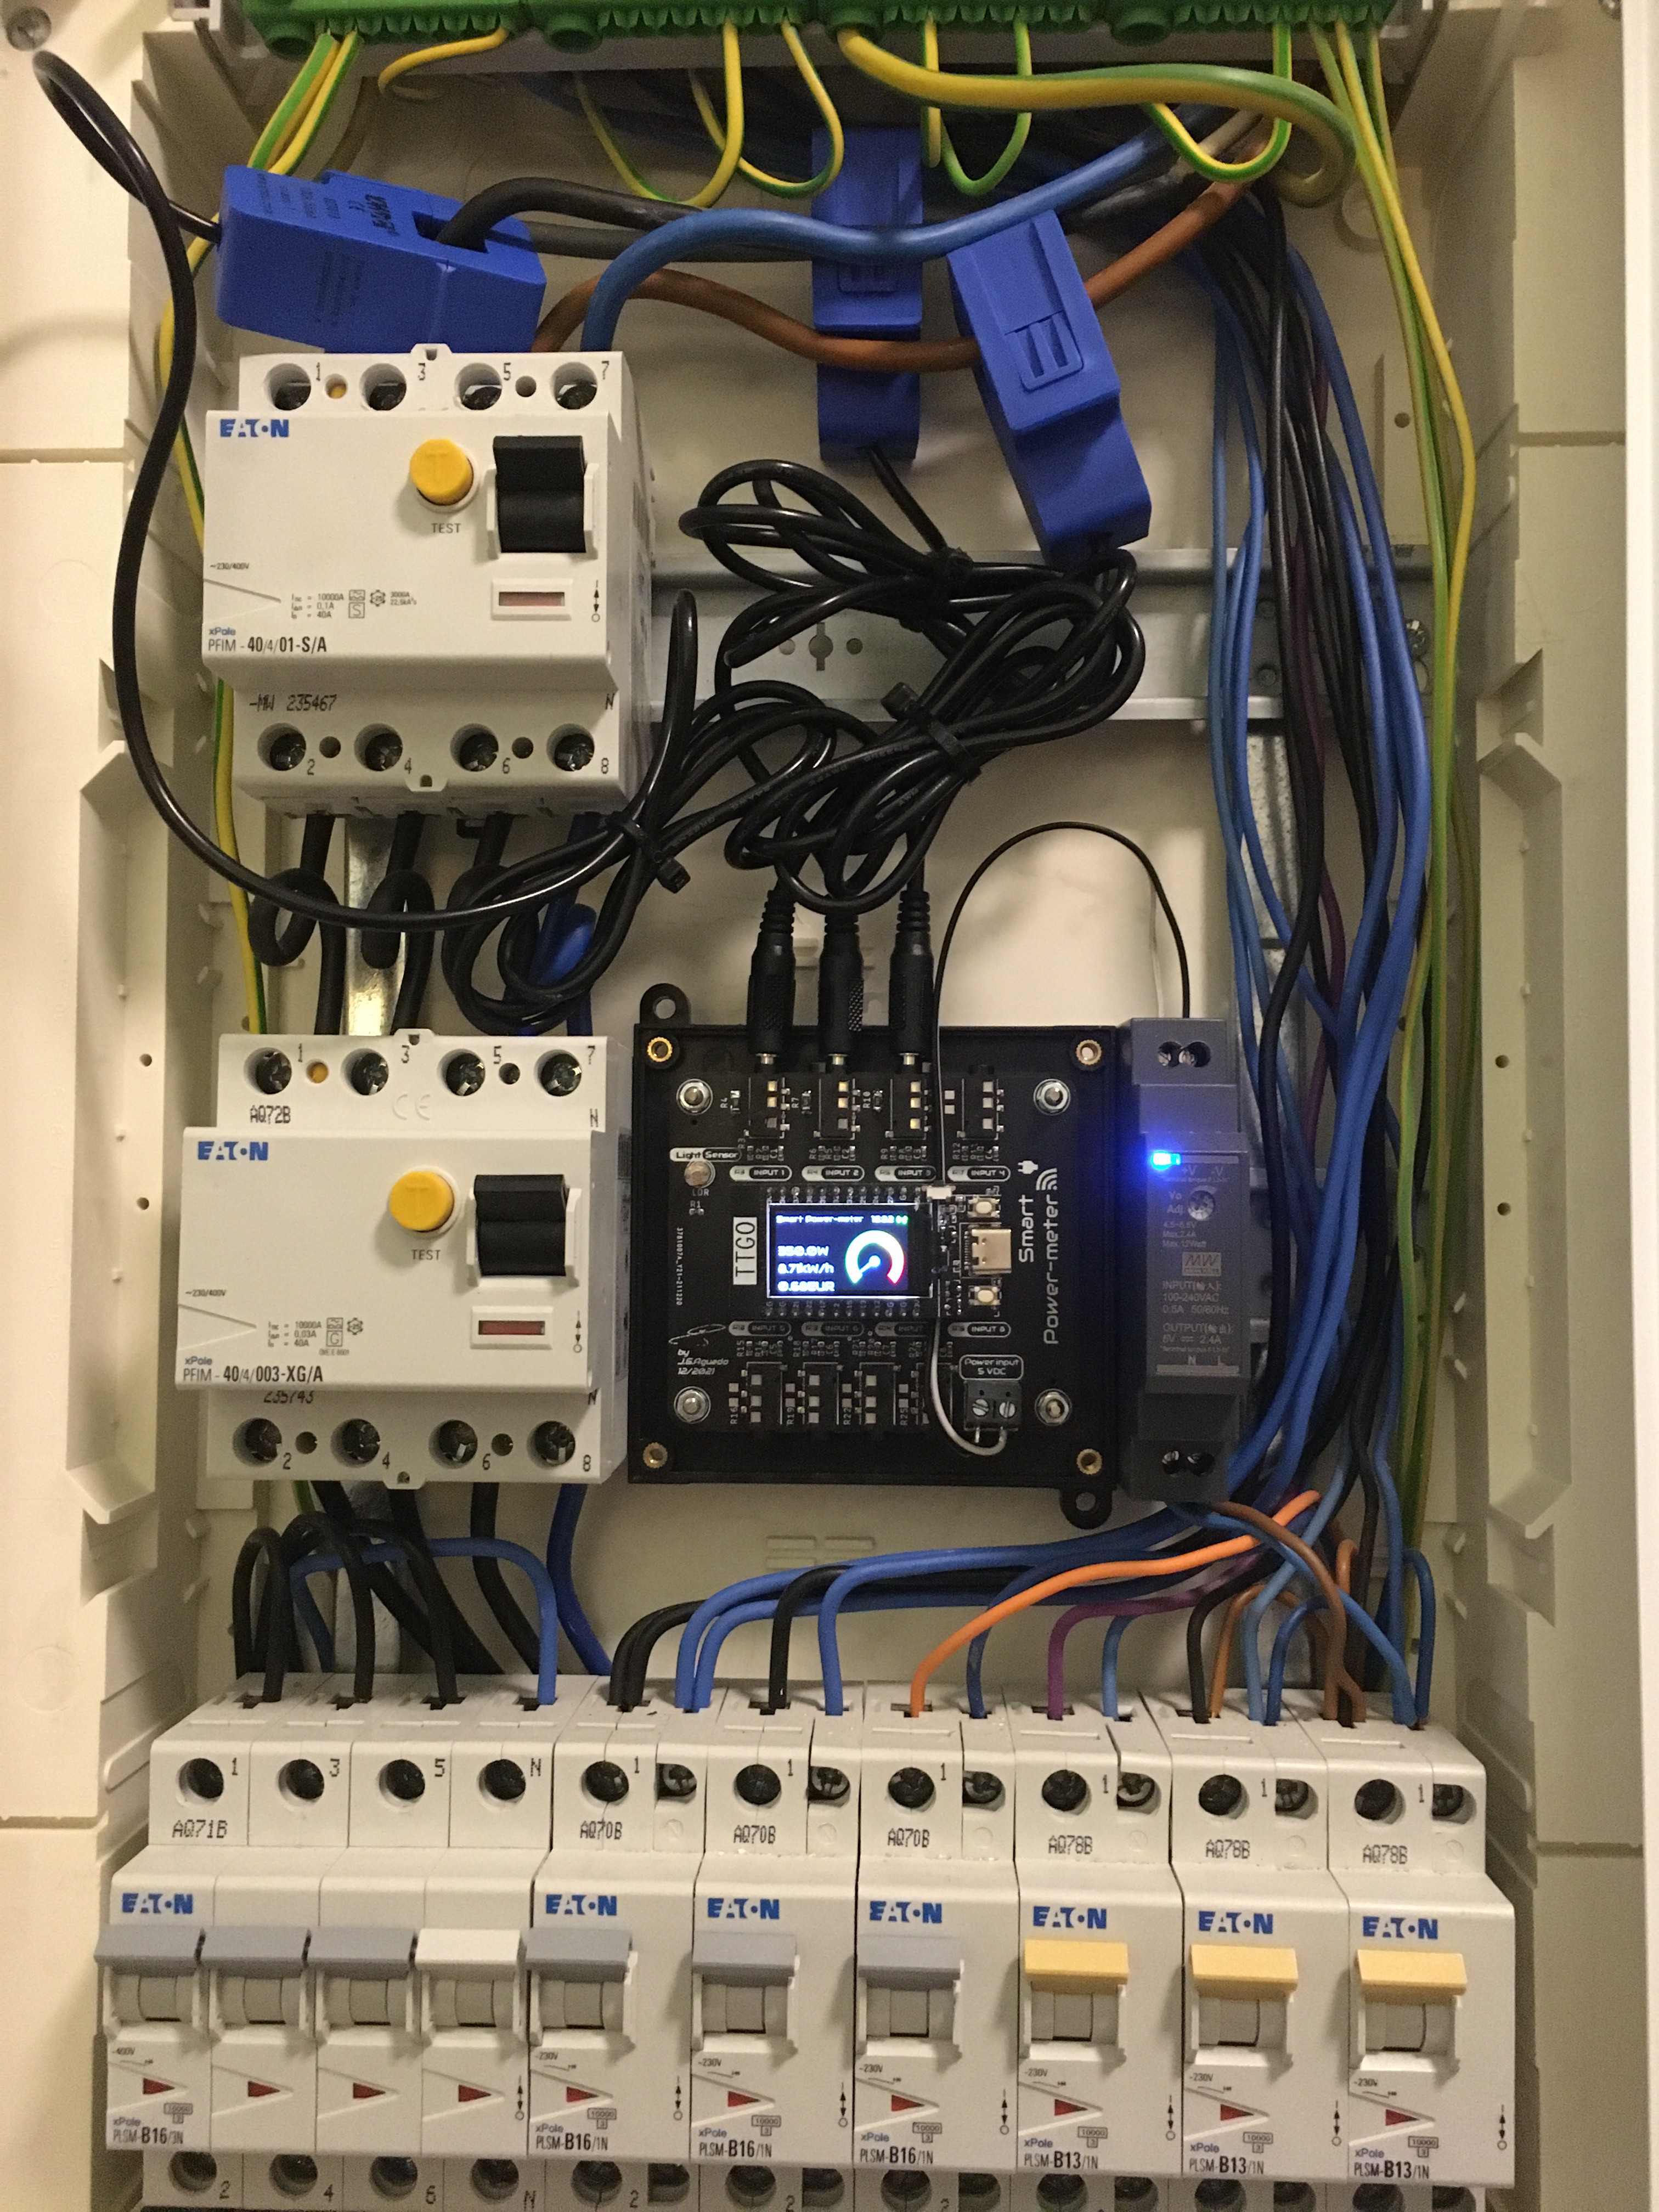
My first design (V1R1), and the one that I still have operative,  was based on an external board: the TTGO T-Display. This board, besides embedding the powerful ESP32, has a small 1.14'' full-color LCD, which I looked forward to programming with a power indicator gauge. 
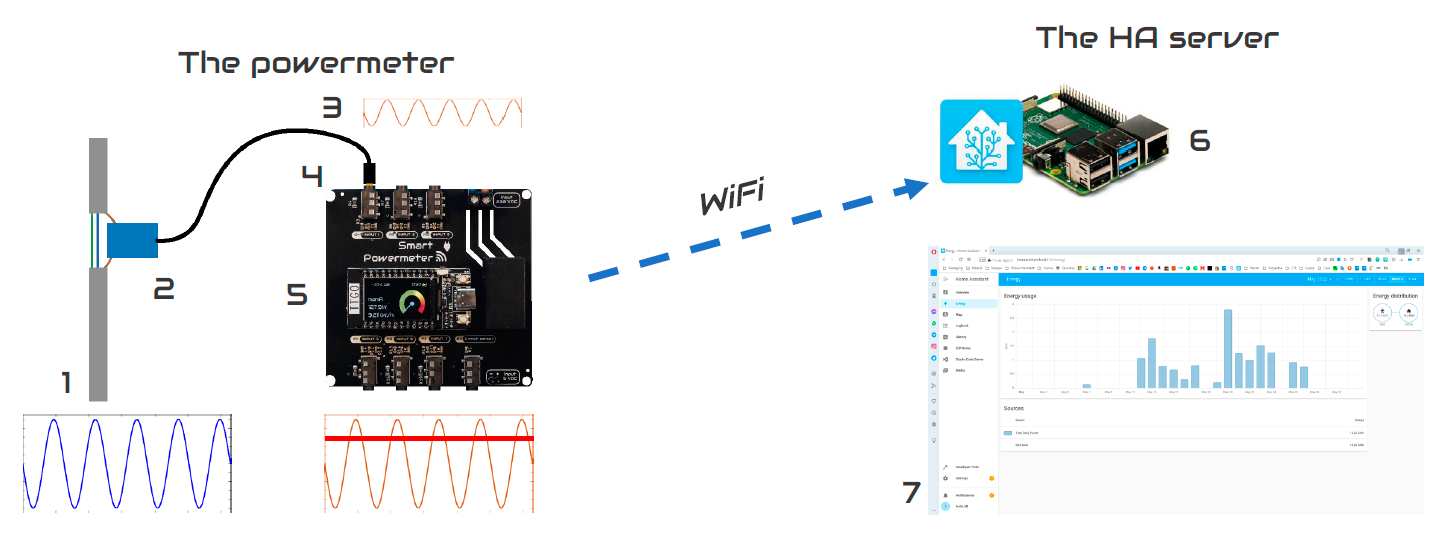
Overview of the setup

In a way, the V1R1, behaved as an Arduino Shield, providing the TTGO board with the signals from the CT clamps already conditioned, to fill in the range of the 0-3.3V, as well as a 5v regulated power supply.

A deeper understanding of how the conditioning circuit works can be found in the documentation of openenergymonitor, but to summarize it, the CT clamp, which needs to only surround one wire (easy to achieve on the electric closet), will convert the induced magnetic field, proportional to the AC current flowing through the conductor, into another current on the CT clamp. After all, CT stands for Current Transformer, so the coefficient of conversion will be given as a known factor of the CT clamp (generally printed on the device, like 50A:10mA). 

Since the microcontroller cannot read directly any current, the first step is to convert it into voltage, easy with Ohm's law. So given a fixed resistor (known as a burden resistor), the voltage will be proportional to the intensity.  

Now, the next challenge to measure the signal is to convert the +- volts from the raw signal, into a 0-3.3V range that the microcontroller can read. By replacing the connection of the CT lead to ground with a connection to a source voltage that is half the supply voltage (3.3V), the CT output voltage will oscillate around 1.65V, ensuring that it remains in the positive range.

For my application, I just wanted the RMS (Root-Mean-Square), representative of the average value of a complete cycle. But if you might want to look into power factor and offsets between phases, the hardware on the ESP32 should allow a high enough sampling rate to get a good view of the signal.

Since I used ESPHome, and there is a very good implementation for CT sensors on it, I didn't have to fight too much with the sample rate settings or the RMS calculations. However, after testing the instrumentation at different power loads, I realized, with the help of a handheld ammeter, that without a calibration the displayed values were not very accurate, so I applied a linear calibration.

As you can see in the final setup, I choose to just measure each one on the tri-phasic lines arriving at my home just because it became quite messy to deal with too many wires and I preferred to keep it simple.

The Smart Powermeter V1R2
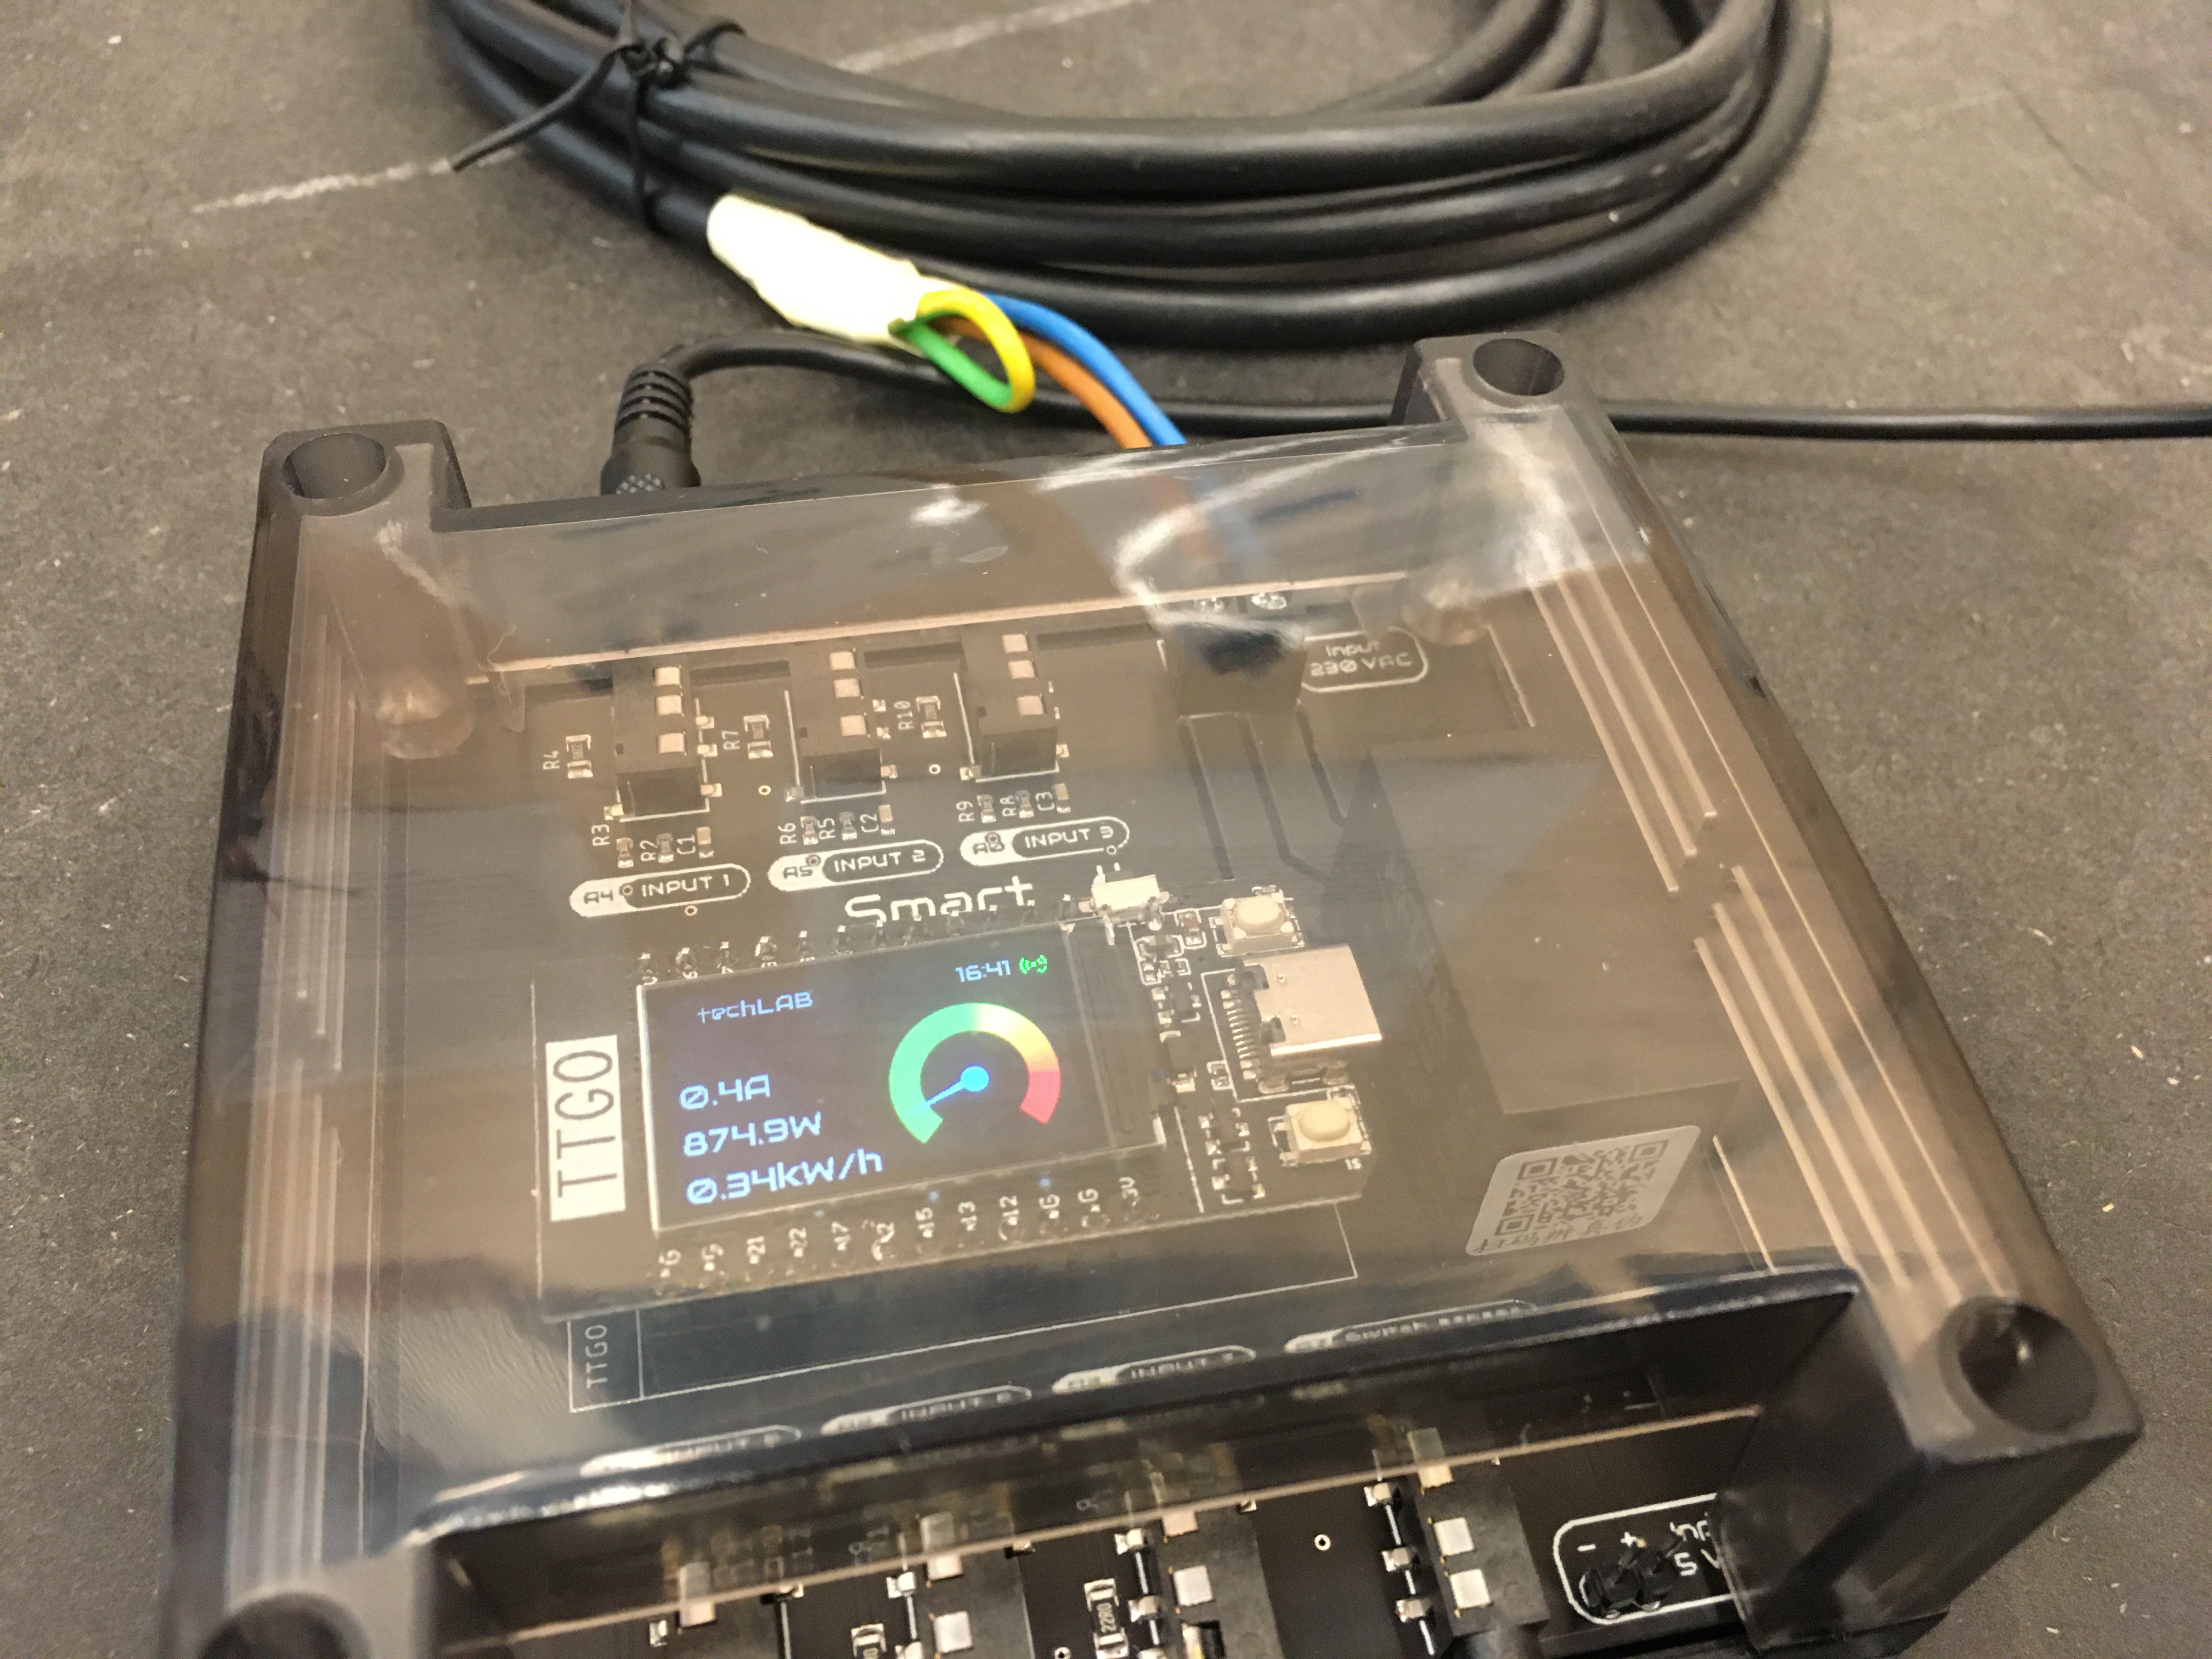
The second revision I applied to this board was really minimal, I just integrated an onboard 220VAC->5VDC power module to be able to power it without external devices and changed some silkscreen things. 

This board was used as well for a divulgation talk at Vienna's Technical Museum regarding DIY Smart Powermeters. 

The Smart Powermeter V2R1
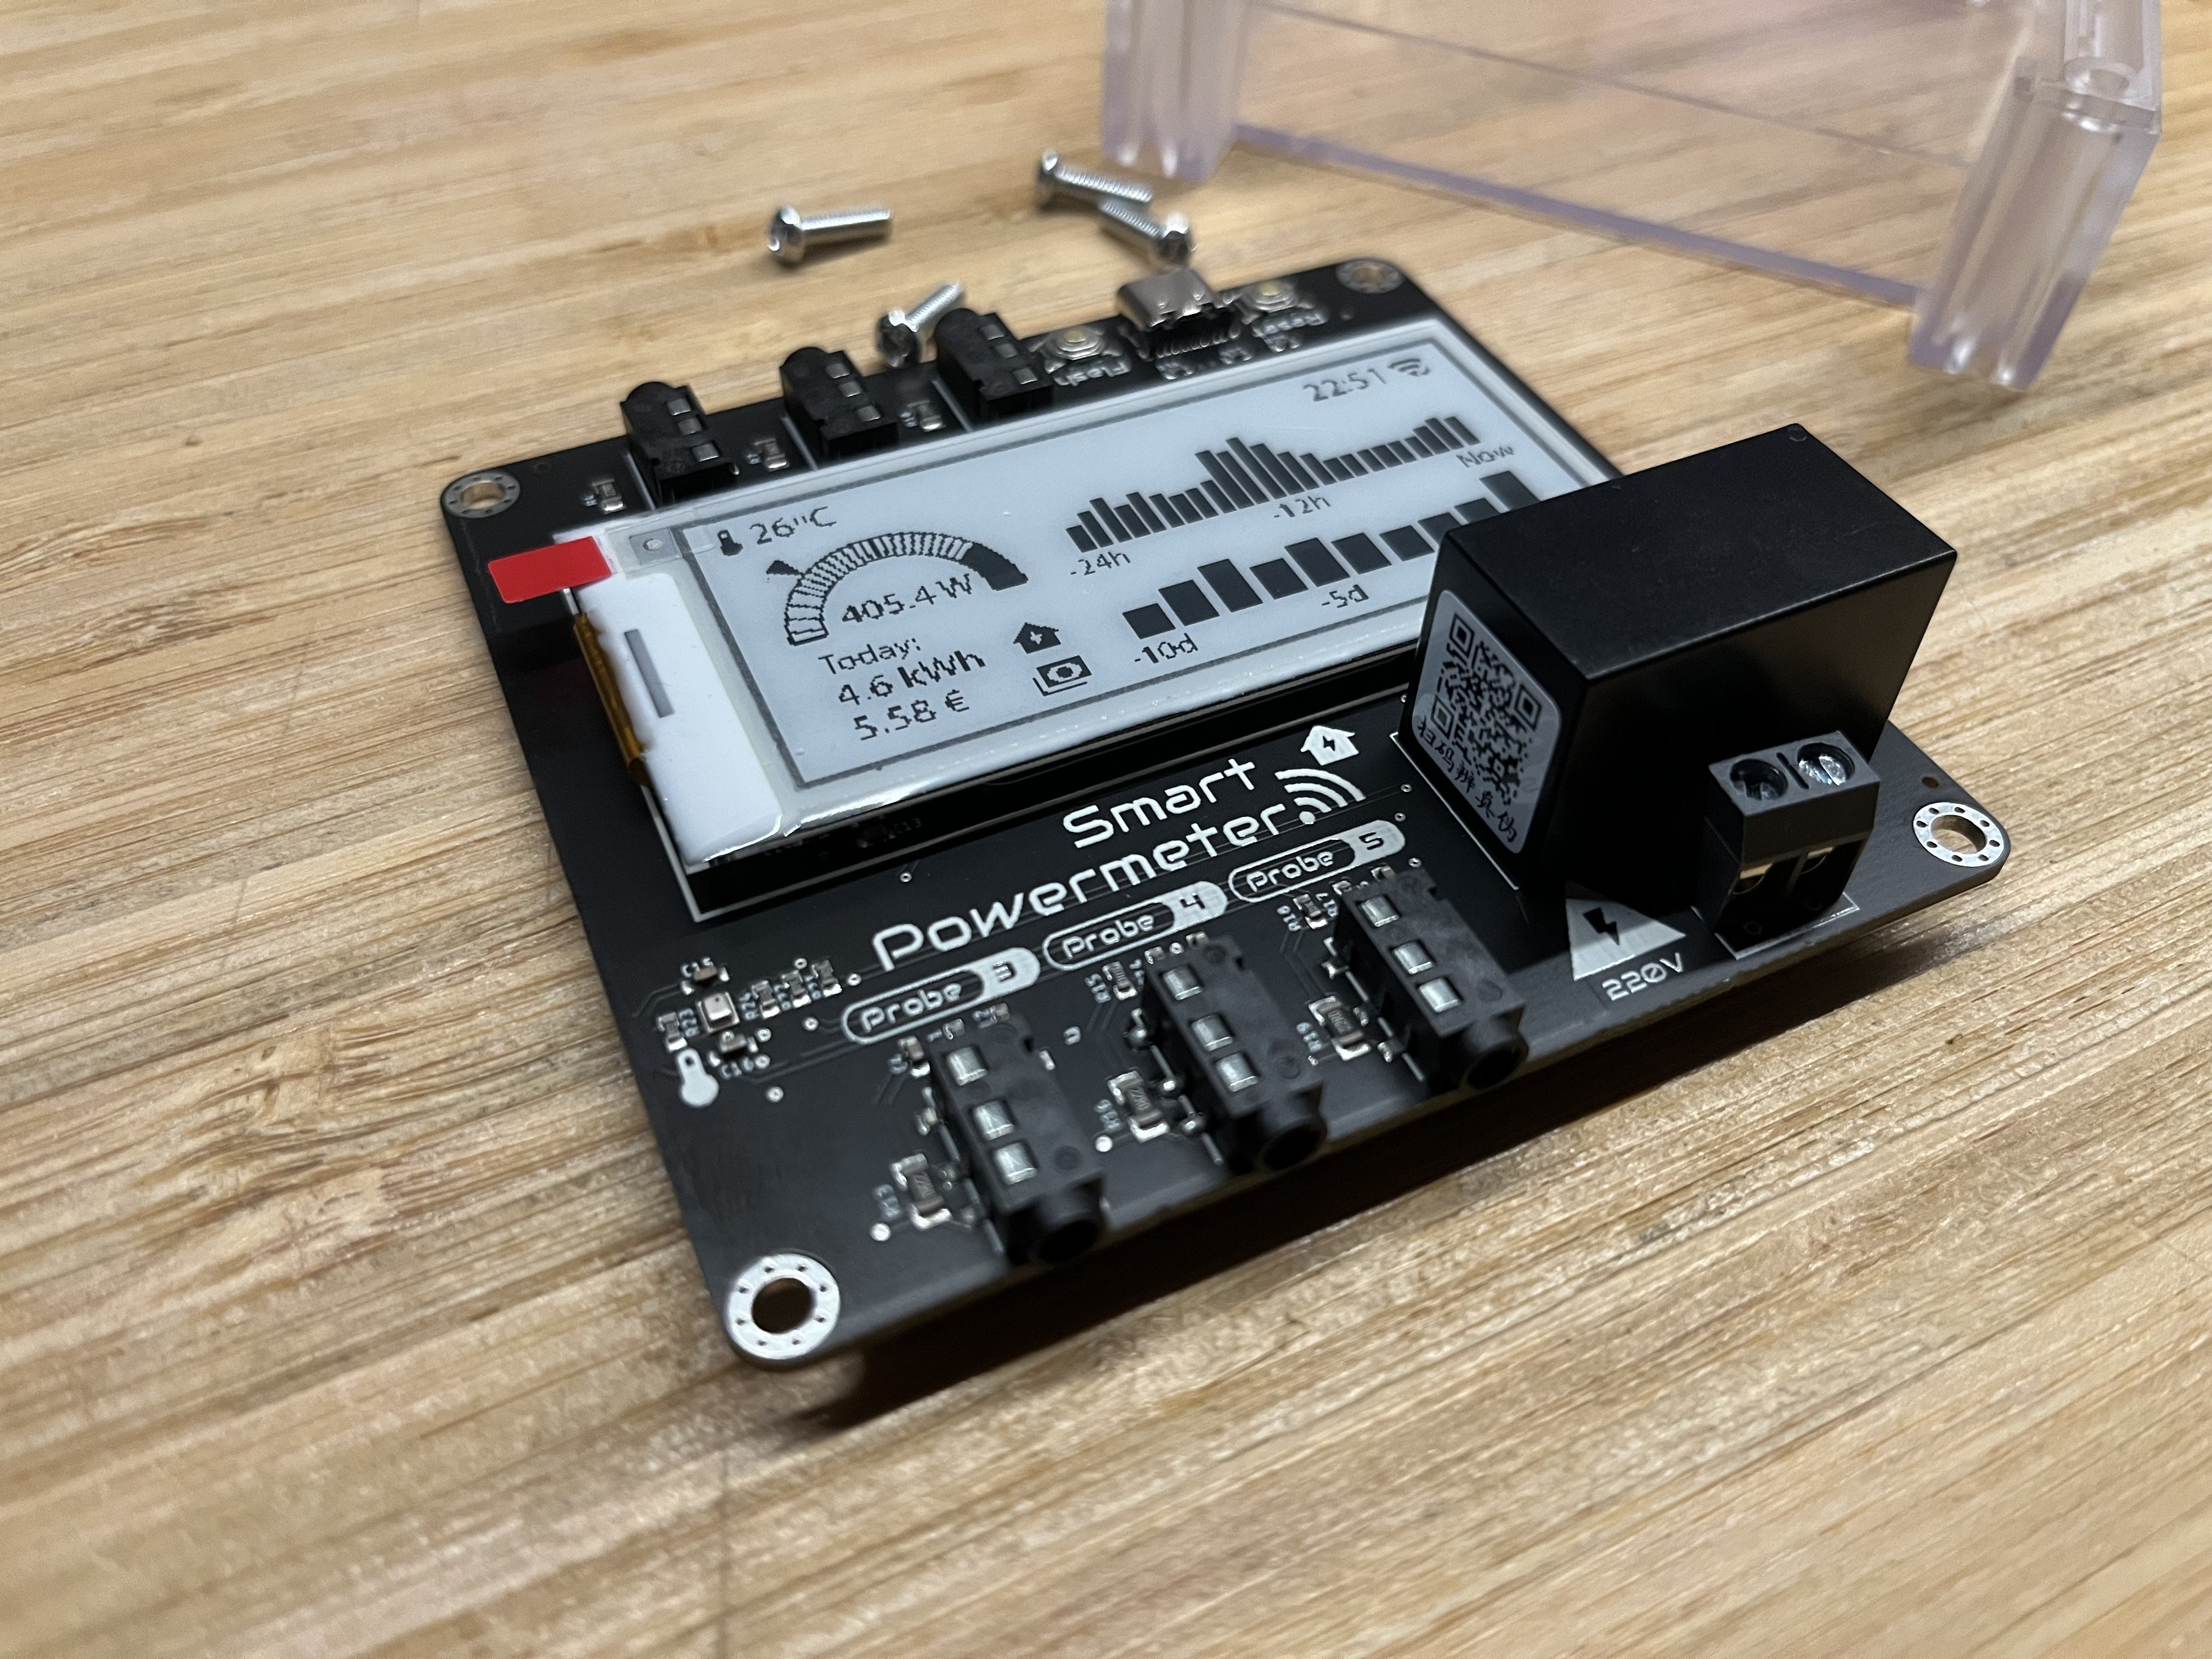
On this new development, I jumped forward embedding an ESP32-S2 module, ready to be programmed via USB-C, at the same time I provided an e-paper interface (a product of the learned lessons from the SmartPlant project).

The board size got also adapted to fit into a more transparent enclosure, the LK-PLC01. Since I was also interested in getting to know the temperatures the electric closet reached, I embedded...

Read more »

  • From PCB to PCB Assembly with JLCPCB

    Jon08/28/2023 at 18:07 0 comments

    As part of a recent partnership with JLCPCB, an excellent PCBs (and PCB Assembly) manufacturing service that has manufactured the previous versions of the Smart Powermeter, I would like to share my personal experience and the seamless process of ordering PCBs with them.

    1. Generate the Gerbers, BOM, and PnP files

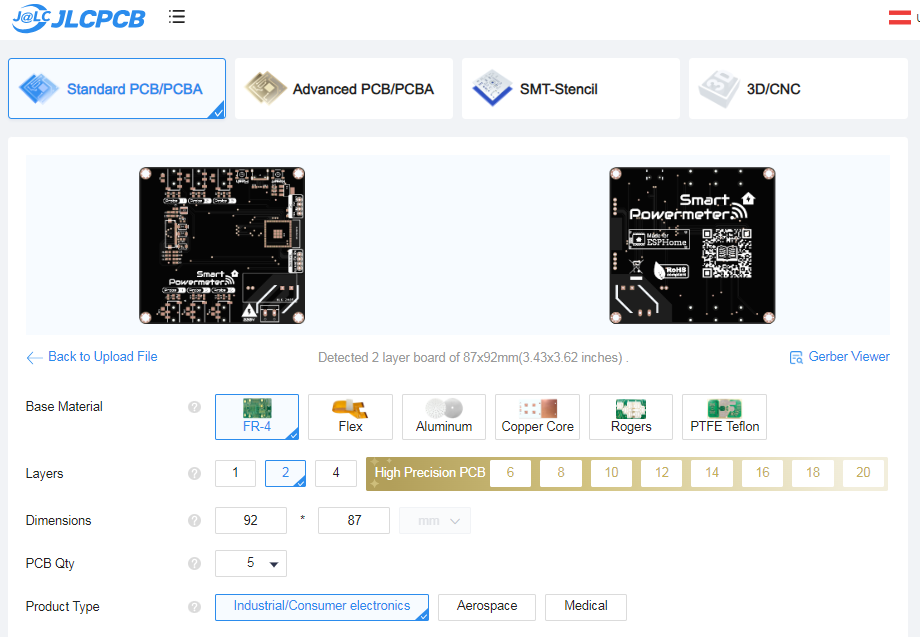
    2. Upload the Gerbers on their online platform and select the options you want: soldermask color, thickness, surface finishing... quite a lot of options and a very low starting price of just $2 for 5 pieces under 100x100mm!

    3. If your project requires the assembly of components, here is where JLCPCB really stands out. Their internal access to thousands of components makes it very easy.

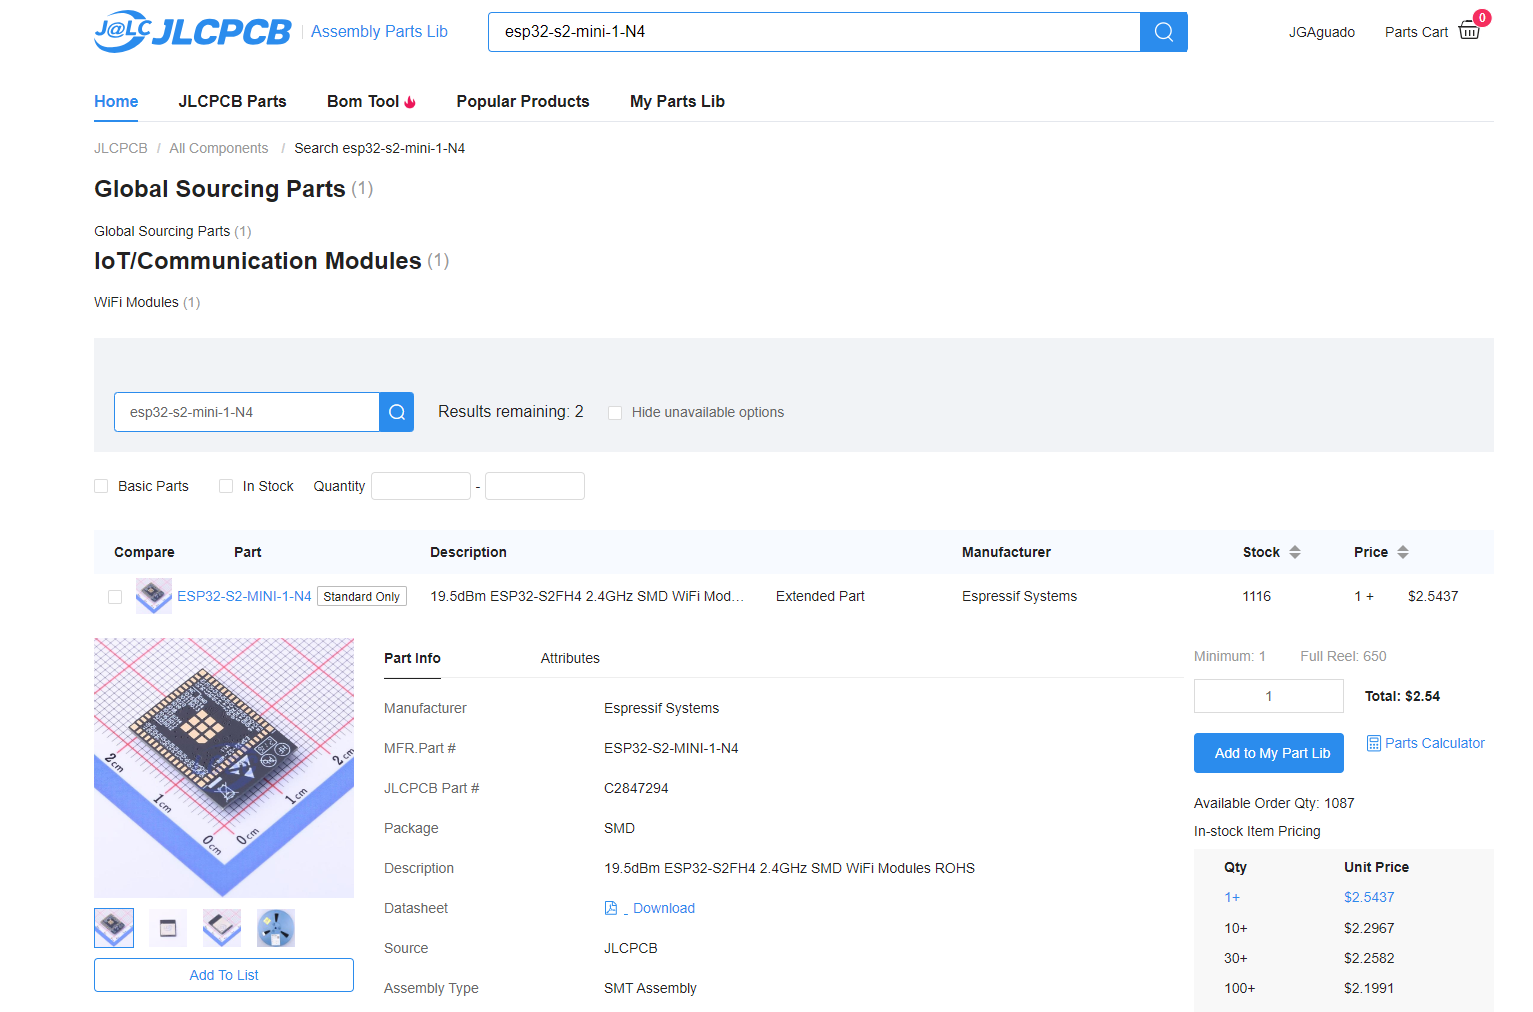
    My recommendation for lowering your expenses and optimizing your design is to take into account their stock (doesn't need to be 100% available since they can backorder components for you) since your preliminary design phase. This way you can estimate the costs of the components and get the datasheet and footprints directly from them.

    Also, in order to make the BOM export easier, if you use their ULP and for each component, you can add (in EAGLE) an attribute named LCSC with the value of the JLCPCB part #, there will be no confusion between components at the moment of ordering the PCBA. You can get to know more about this process in their tutorial

    4. Once you have finished with the selection of PCB features, you can select, on the PCB assembly process whether you need an Economic or a Standard process. Unless you need to mount specific components (like certain ESP32 modules) that might require particular reflow temperature curves, the Economic option is the way.

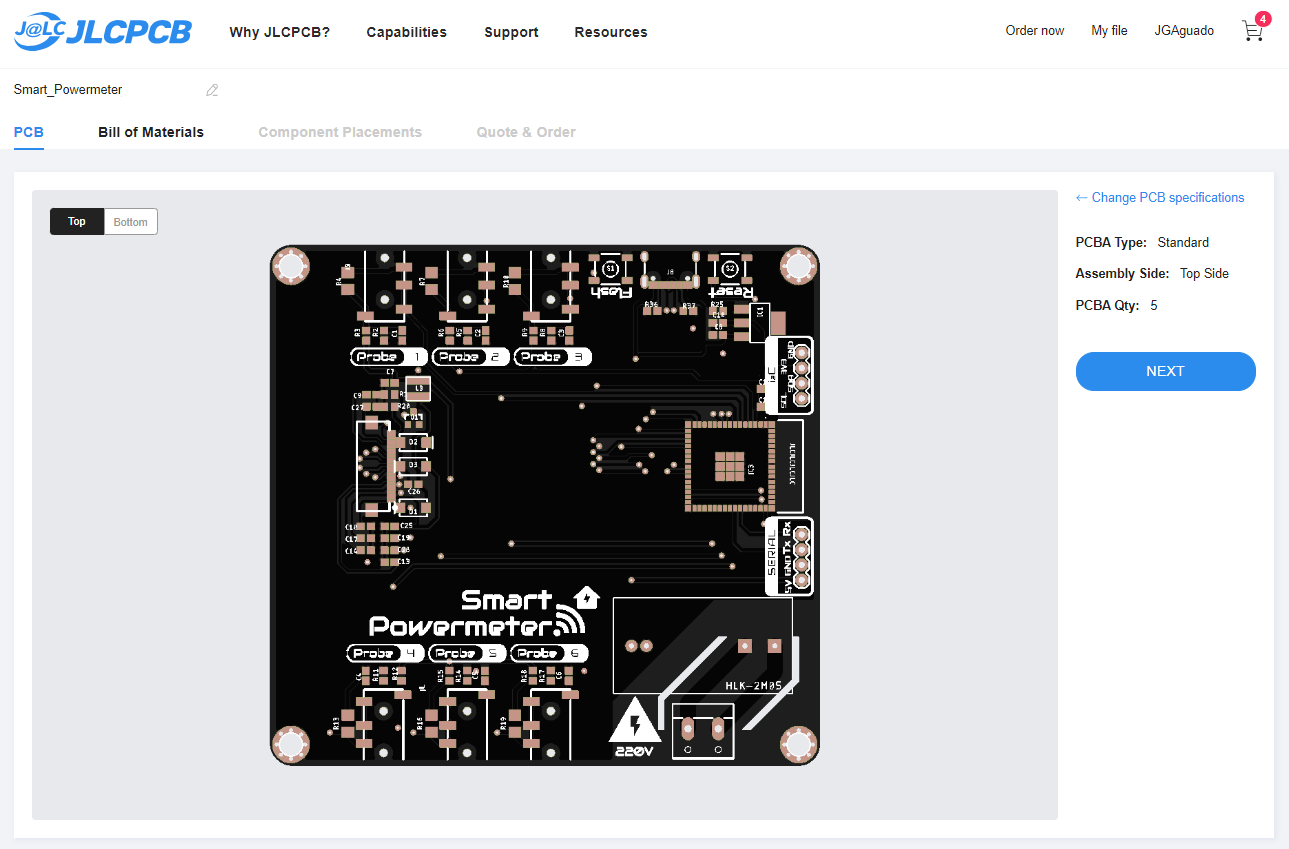
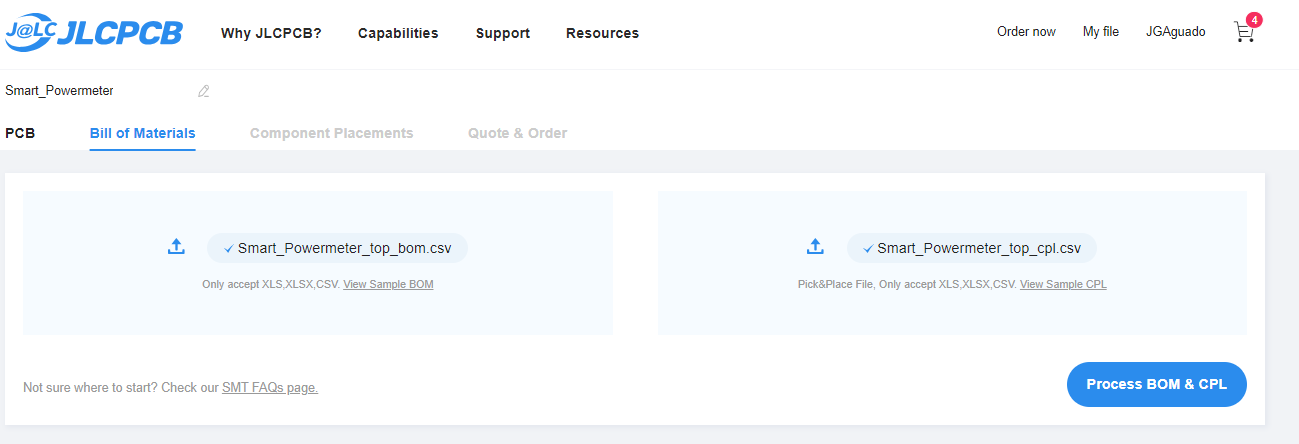
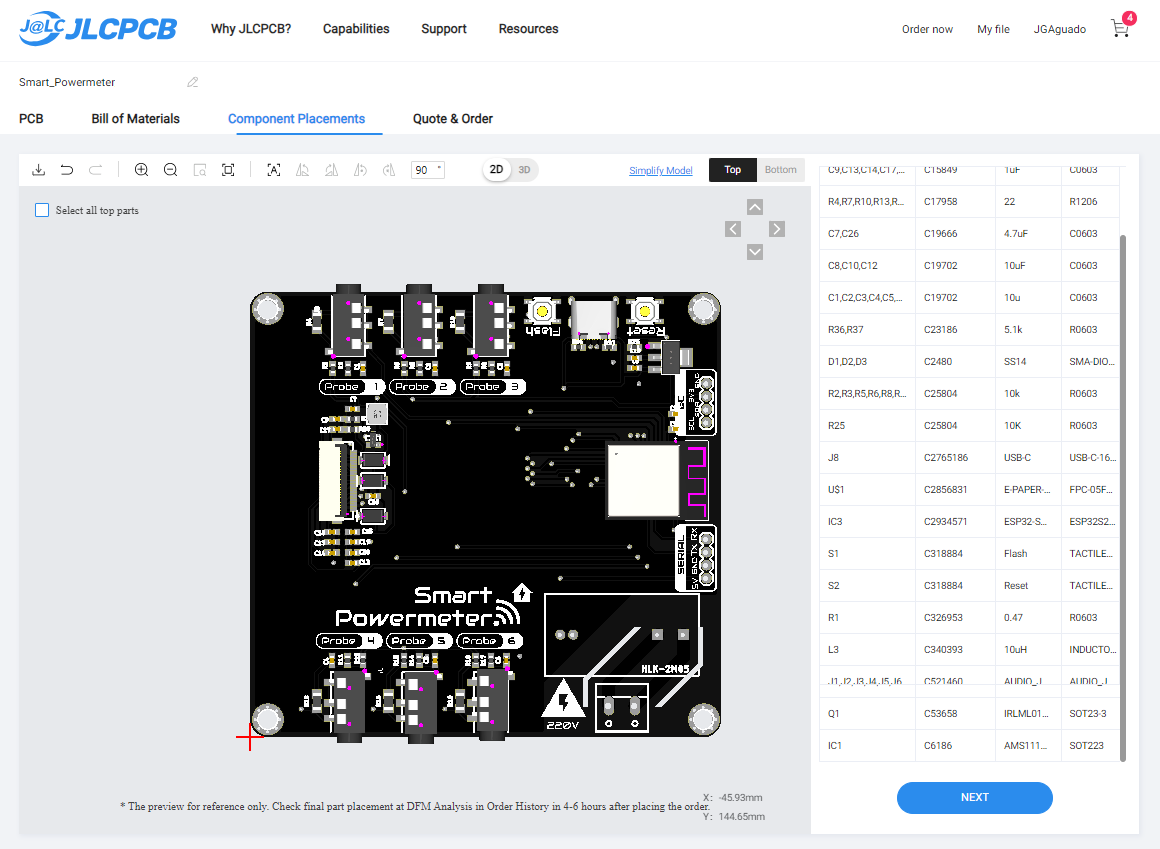
    5. Uploading the BOM and PnP, and verifying that all the components correspond with your intended ones, is very fast and easy. 

    In addition, you will be able to see a rendered image with the components in each place! 

    6. Before entering into production, their team will contact you in case they have questions regarding final positioning or polarities to avoid surprises and in a few days your order will depart from their facilities to you!

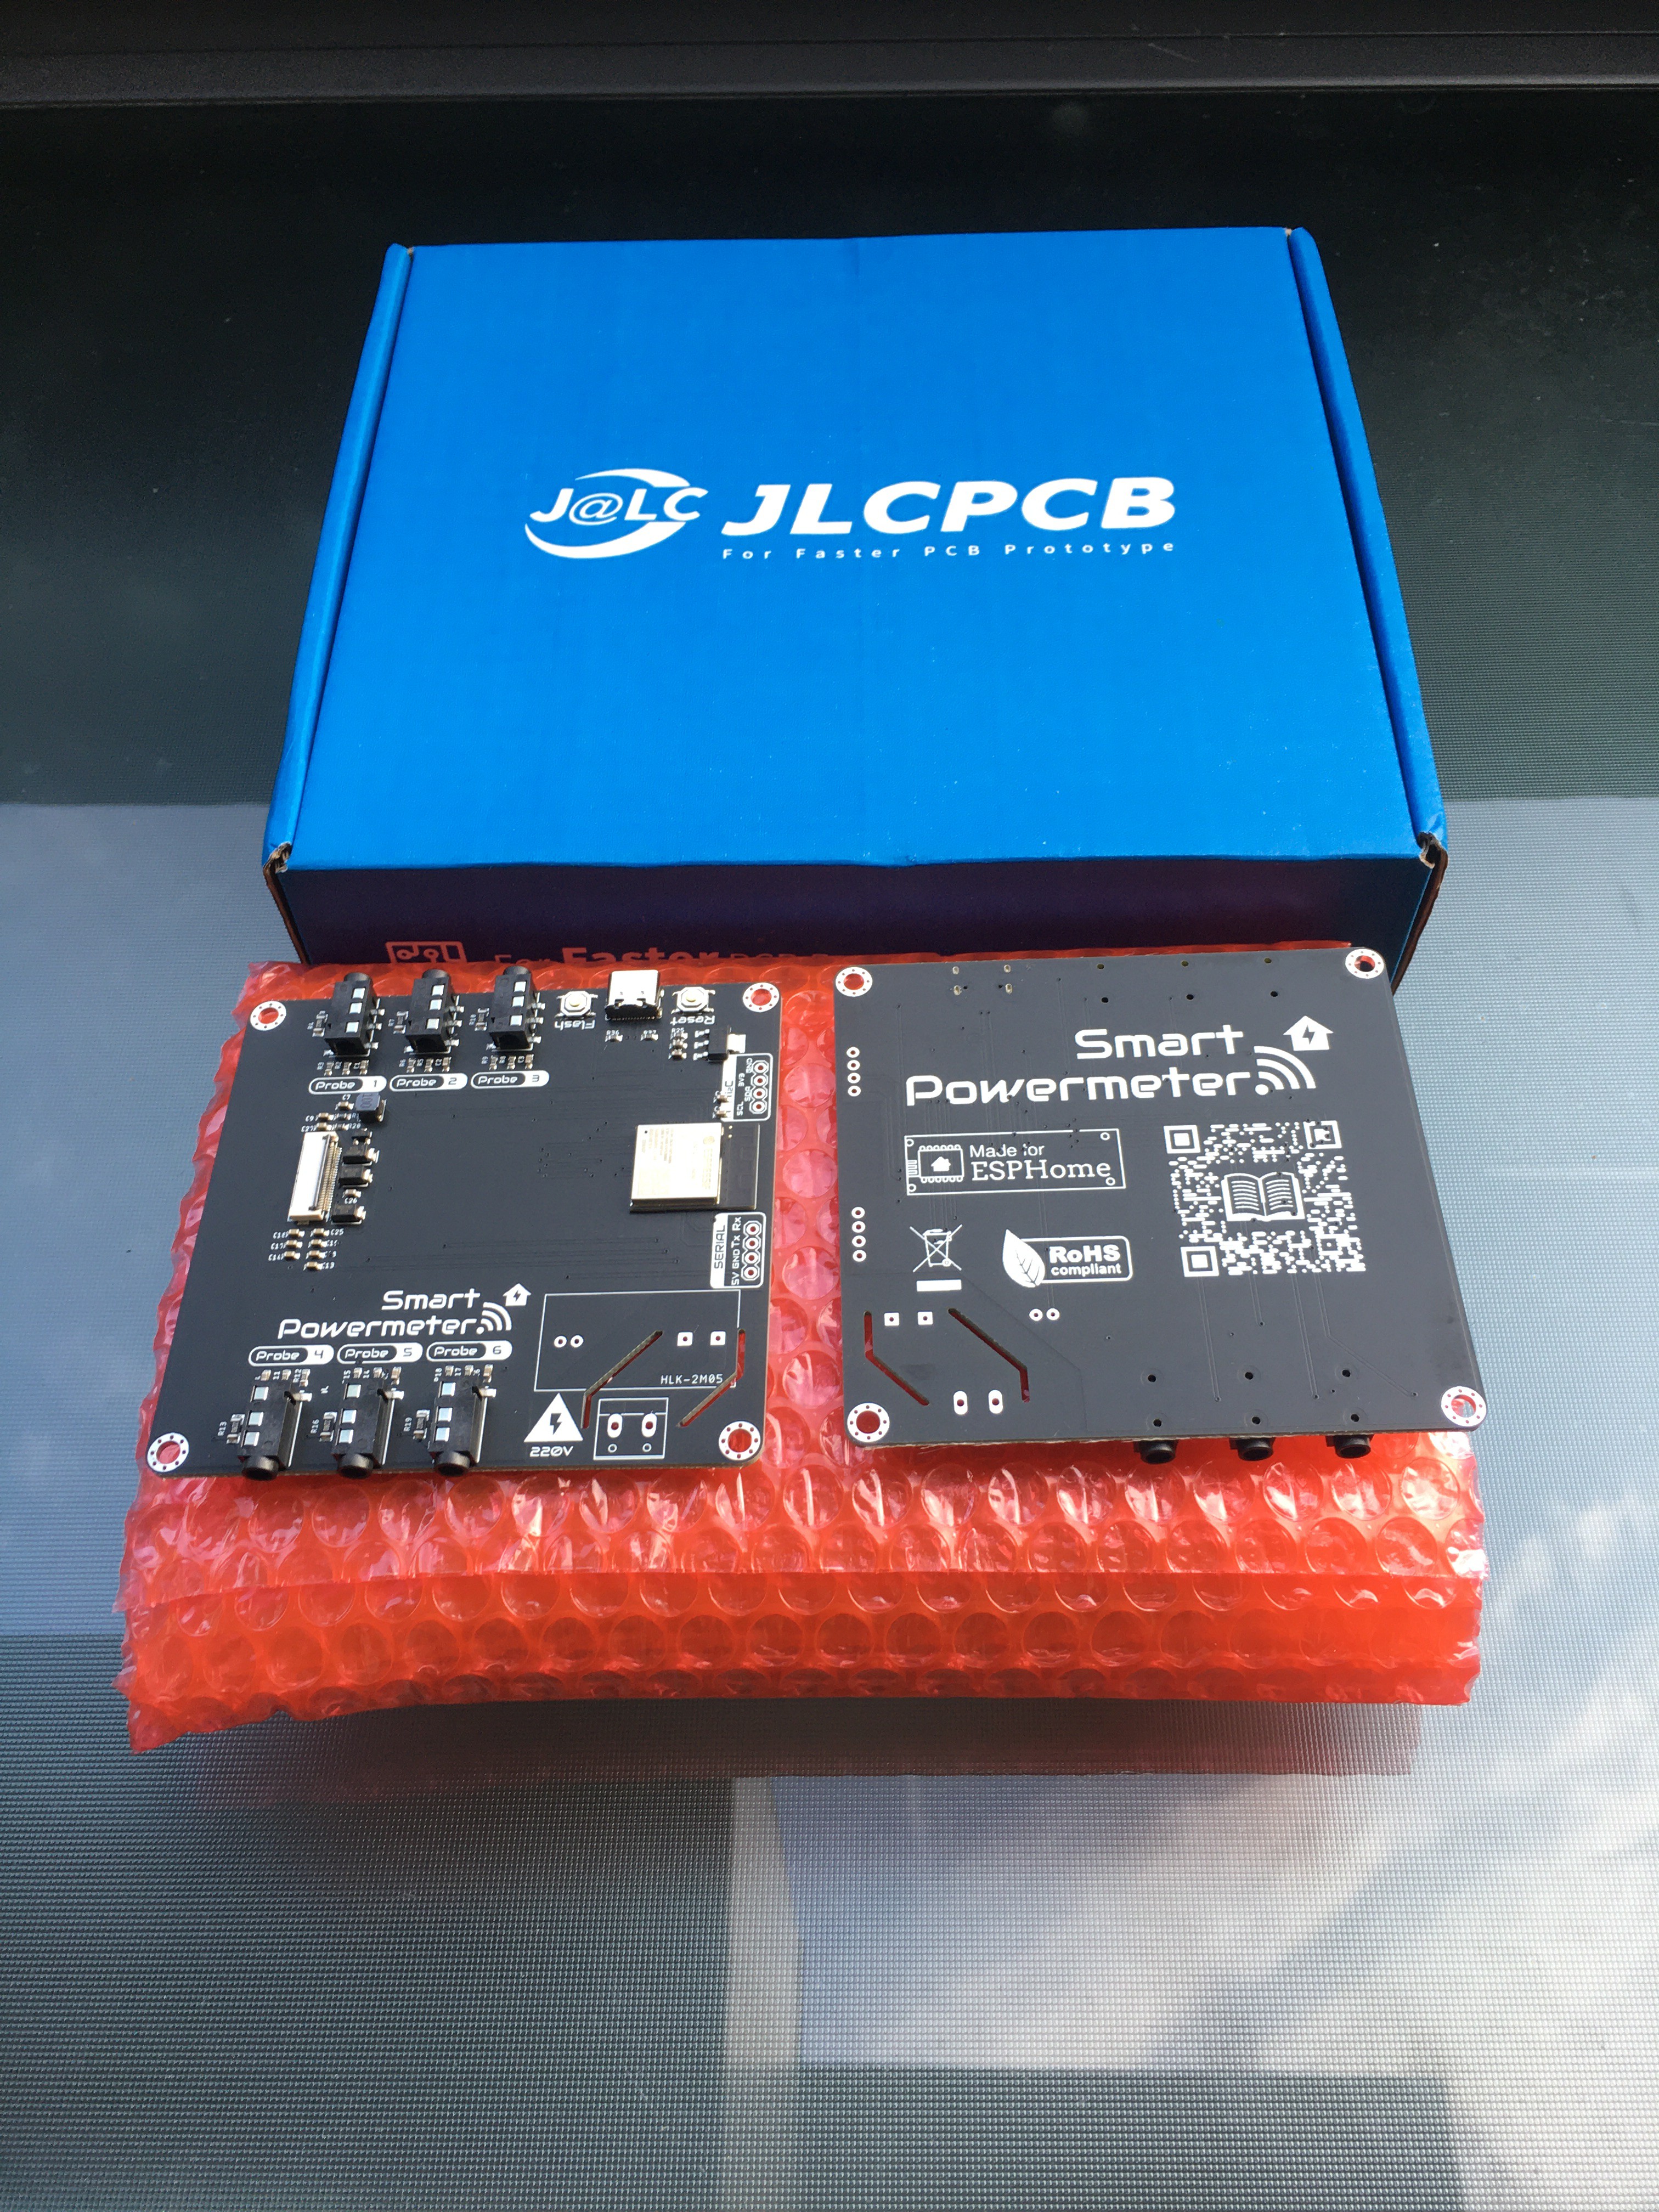
    Since they work with worldwide shipping companies, in just a few days you will receive their blue box containing the boards. They come exceptionally well-packed and protected.

View project log

Enjoy this project?

Share

Discussions

eMerzh wrote 05/19/2024 at 08:08 point

Hello @Jon i really like this project, 

i was looking for ordering it from
https://www.elecrow.com/smart-powermeter.html but it says you need to solder & stuff...
I know on which site i'm on, but not really familliar with soldering either,

i was wondering if there was a "almost ready" version somewhere?

Thanks a lot for this work anyway!

Keep it up!

  Are you sure? yes | no

Jon wrote 05/28/2024 at 13:38 point

Hi @eMerzh,
Sorry for the delay in the answer. The minimal soldering process is just a few THT points (4 for the AC-DC power module + 6x3 for the CT clamps + 2 for the terminal block), but if still you feel like it can be a challenge, write me an email at jon-garcia@hotmail.com and we can find a way.

Best regards!

  Are you sure? yes | no

Adam Howell wrote 05/11/2024 at 20:02 point

Like Jedon, I have had no luck flashing the device.  It doesn't work when flashed from the Raspberry Pi.  It doesn't work when flashed from my laptop.

I was able to flash it using the flash_download_tool.exe using a .bin from ESPHome at the command line and using a .bin from Home Assistant.  It shows the time as 17:00, shows gauges at 0.0A (no clamps are connected while testing), but it never joins my WiFi network.  I have had it for two weeks now, but cannot use it.

FYI, I have a half-dozen home-built ESP32s and ESP8266s working in ESPHome (some from command line and some from the HA plugin).  So I know at least the basics.

  Are you sure? yes | no

Jon wrote 05/12/2024 at 08:32 point

Dear Adam, can you send me the logs of your HA plugin or a more detailed description of what you did to the support mail jon-garcia@hotmail.com?

Thanks and best regards 

  Are you sure? yes | no

Adam Howell wrote 05/14/2024 at 04:06 point

Thanks!  I just sent a response.

  Are you sure? yes | no

Jedon Thompson wrote 03/25/2024 at 20:08 point

I got one from Elecrow and am trying to get it running. I had a lot of issue with esphome but via CLI finally got it to make be a bin file and I flashed it using flash_download_tool_3.9.6. No matter what I do the device just seems dead. No wifi, nothing on the screen, no lights, nothing. Only reason I don't think it's totally dead is that I can put it in flash mode and flash it. I connect with serial and nothing.  I'm no stranger to microcontrollers or esp32's, I wrote FAT32 and cell modem firmware. Any help? Thanks!

  Are you sure? yes | no

Jon wrote 03/27/2024 at 08:03 point

Dear Jedon, I sent you yesterday an email ;)

  Are you sure? yes | no

Jedon Thompson wrote 03/27/2024 at 12:20 point

Thank you!

  Are you sure? yes | no

boris22 wrote 03/17/2024 at 22:31 point

Beautiful project! All the best

Boris

Russia


  Are you sure? yes | no

Similar Projects

Does this project spark your interest?

Become a member to follow this project and never miss any updates