Daniel
-
Entry #9: New rocket: Green comet
04/10/2024 at 07:48 • 0 commentsAfter the many failures trying to build a large pressure chamber I have decided to use a single 1-L bottle and build a small rocket instead. This bottle has thick walls and I expect that it can withstand high pressure.
Other than that, I have been making the fins for the rocket, a coupler to connect the pressure chamber to the payload bay, and a nosecone tip.
-
Entry #8: Toasty Boy rev.2
03/22/2024 at 11:38 • 0 commentsThis week I have got the prototype circuits of Toasty Boy rev.2 by PCBWay. PCBWay kindly decided to sponsor my project and provided PCBAs for free.
I hope to test these circuit boards in the coming weeks. An issue that I hope to have solved is that in some cases the DC-DC boost converters of Toasty Boy rev.1 would be unbalanced. One of the modules would provide 20% of the current and the other 80% resulting in uneven heat load.
Toasty Boy will in combination with a LiPo battery will power the Raspberry Pi camera that will film the onboard video.
-
Entry #7: Fiberglass-reinforced pressure vessel fails
03/04/2024 at 12:41 • 0 commentsThis 1.7L pressure vessel was supposed to be part of the Hyperion II rocket. It was reinforced with fiberglass, and it failed at a low pressure of 6 bar.
The probable cause of failure was that the epoxy resin did not cure well. A way to improve the reinforcement is by mixing the resin and the hardener better. Also, the epoxy is well beyond the shelf life and this could have also been a contributing factor to the failure.
Considering that I have very little spare time perhaps it is time to revisit the Robison coupling method of building water rockets.
-
Entry #6: Introduction to Hyperion II
01/25/2024 at 07:38 • 0 commentsThe Raspberry Pi rocket camera project will need a rocket. For this purpose, I have started the construction of Hyperion II. Hyperion II will be a fiberglass-reinforced water rocket capable of operating at pressures up to 12bar with a peak thrust of 15kg.
At the moment, I have spliced the two pressure chambers, 3D printed the coupling that allows me to connect them as well as 9.5mm nozzles. Here is a short video showing the construction progress.
![]()
-
Entry #5: Recent developments
01/08/2024 at 11:49 • 0 commentsIt has been a while since my last post due to personal reasons. Since building the Hyperion II rocket would take me a considerable amount of time, I decided to buy a two-stage water rocket from Antigravity Research Corporation.
I tested the rocket during Christmas with disappointing results. I do not know what I was doing wrong, but I could not get pressure to build up inside the rocket. The rocket always leaked thus losing all the water and air located inside the pressure chamber (see video below).
Even if I would manage successful liftoff the thrust of the second stage would not be enough to lift the Raspberry Pi camera. Therefore, I will scratch this idea and go back to building Hyperion II.
-
Entry #4: Upgraded hardware
10/24/2023 at 07:55 • 0 commentsBecause the Raspberry Pi zero is unavailable I have decided to upgrade to a Raspberry Pi Zero 2 W. The added processing power will mean faster transfer of videos from the Pi to my PC. From The Pi Hut I have also got a protective case for the Pi, as well as a Zero Cam to have as a replacement for my current camera.
The order was shipped on October 2, arrived in Finland on October 9 and I got it yesterday October 23! Note to self: it is a good idea to pay a little bit more for shipping instead of relying on the Finnish postal service.
![]()
-
Entry #3: Fixing the tower launcher
09/25/2023 at 09:20 • 0 commentsLast Friday (September 22) I participated in a science workshop with high school students. The students build their own water rockets and this was a perfect opportunity to test the tower launcher.
Back on June 15 the Hyperion I rocket got stuck multiple times in the tower launcher because the guiding rods narrowed at the end of the launcher. I have solved that with a triangle made of aluminium profiles and 3D-printed corners (see image). To see the launcher in action, check the video from Friday's launches here.
![]()
-
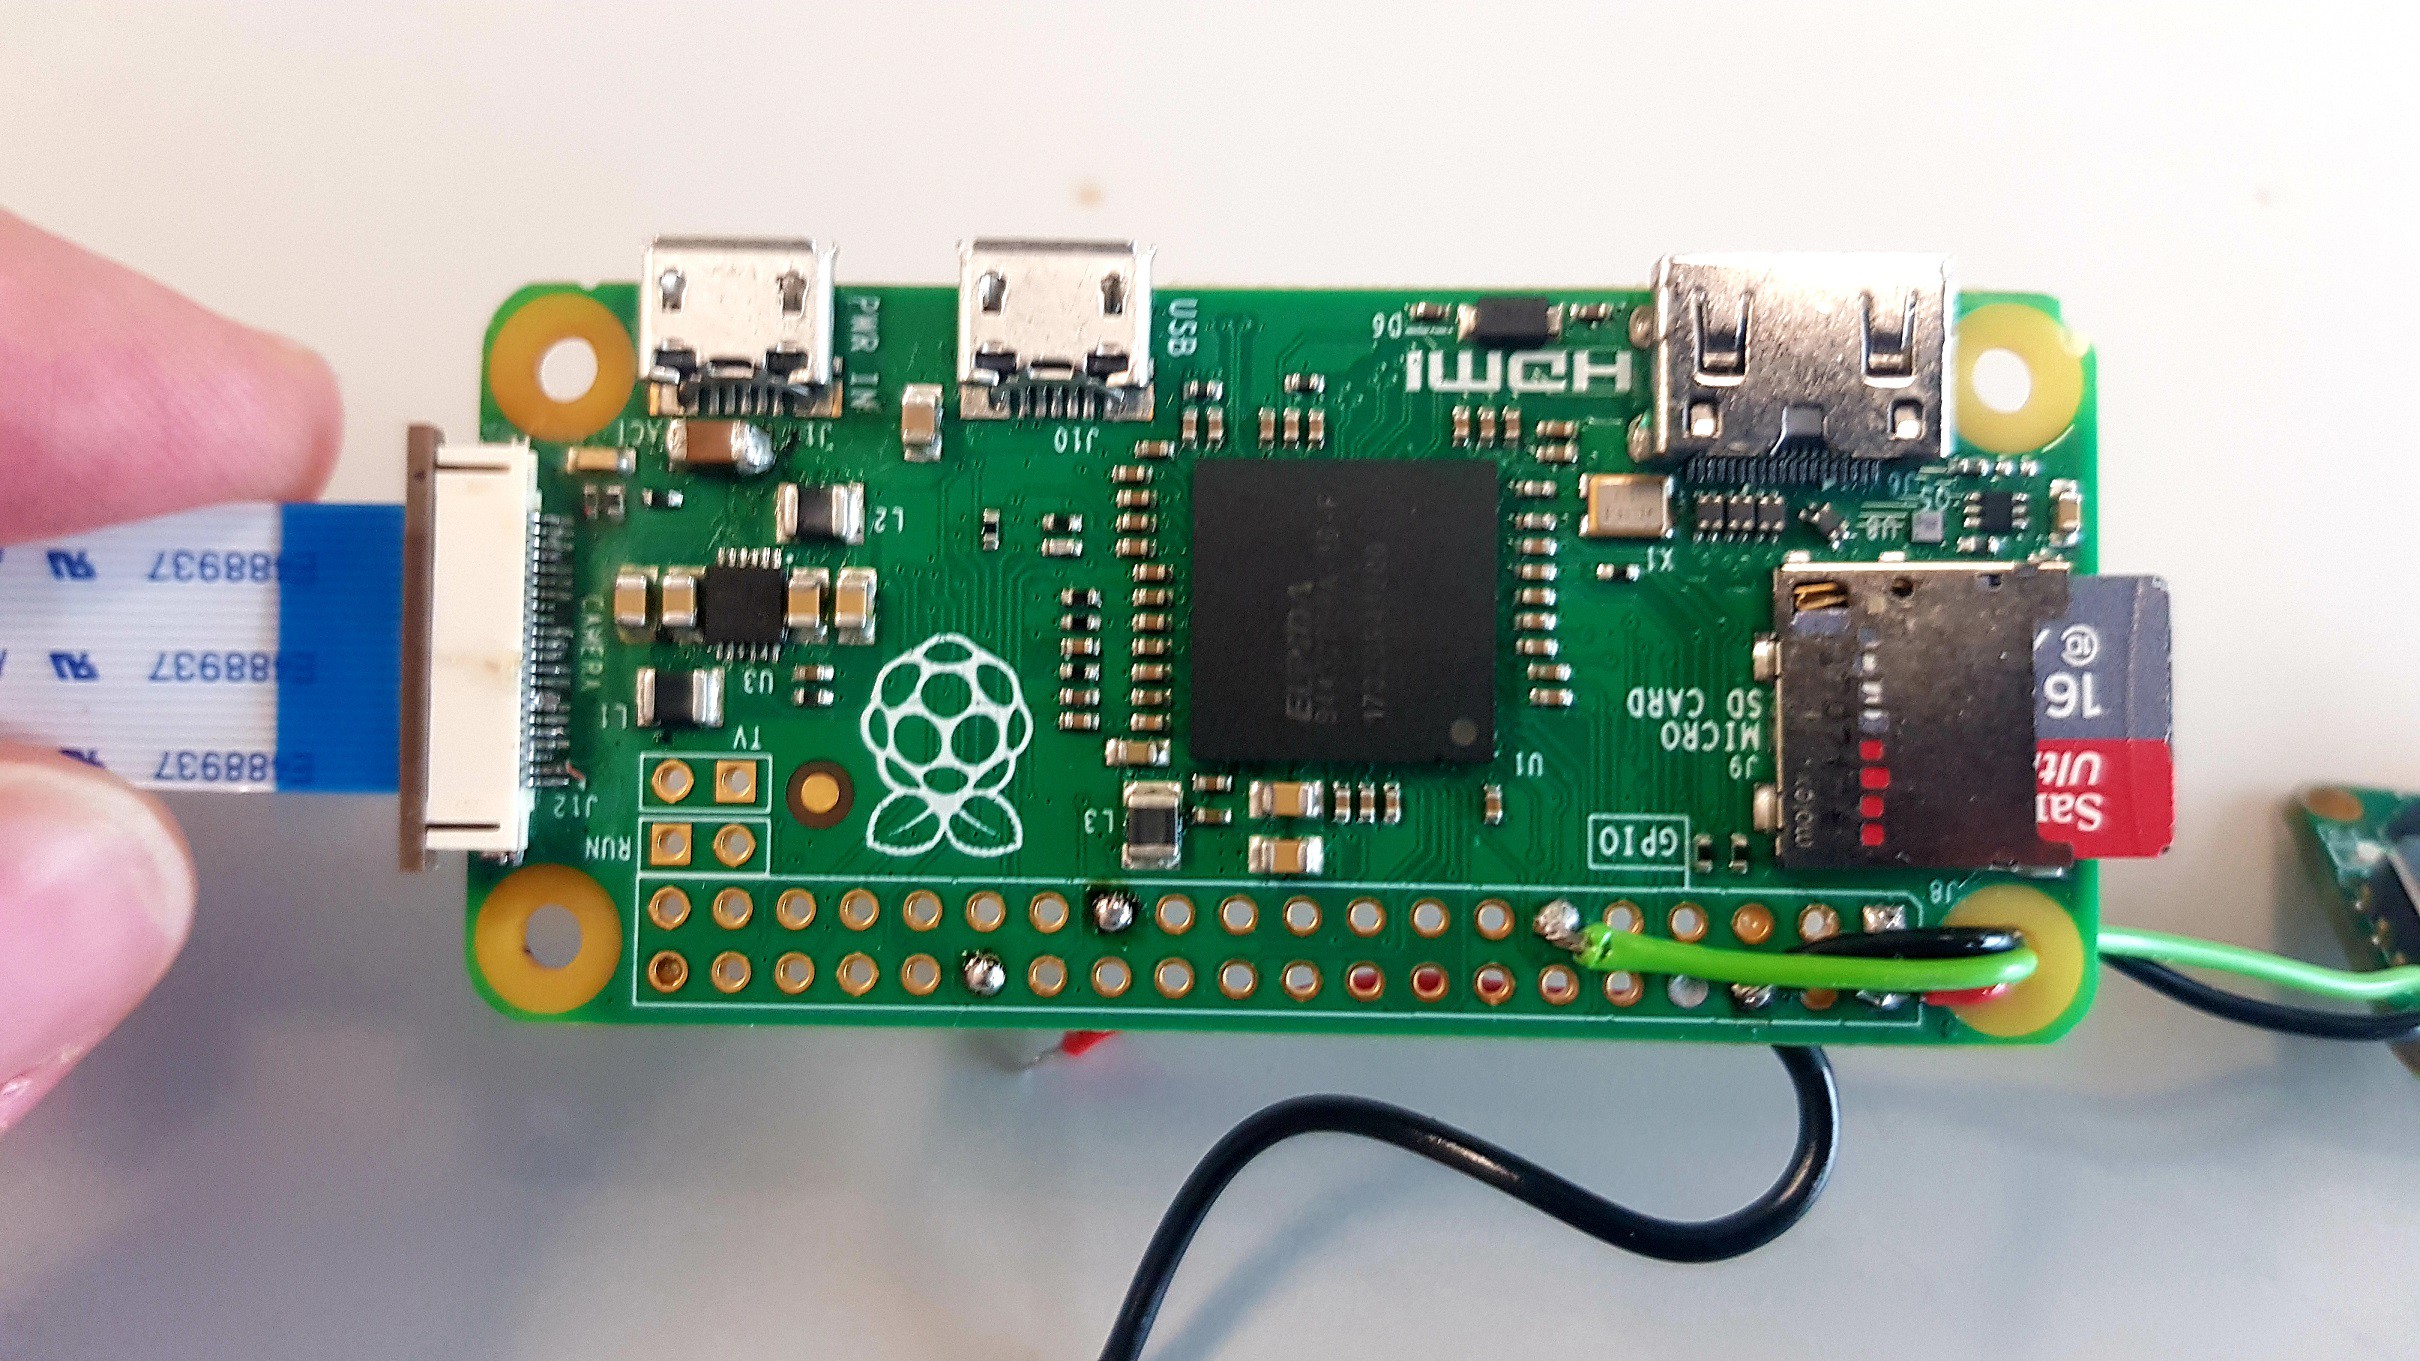
Entry #2: Broken Raspberry Pi camera connector
09/19/2023 at 12:36 • 0 commentsSo I broke the Raspberry Pi camera connector. I had already replaced it once and now some of the traces have been ripped. I will buy a new Raspberry Pi zero, connect the camera cable and encase the connector in epoxy. I will also enclose the Raspberry Pi in an ABS enclosure to protect the circuit.
In other fronts, I have fixed the water rocket launcher so that I can adjust the separation between the launch rods. Hopefully I will have the opportunity to test it on Friday and upload a short YouTube video.
![]()
-
Entry #1: introduction to the project
09/07/2023 at 07:48 • 0 commentsI have been building water rockets since 2008 and after a long break (13 years) I have decided to continue building rockets. Something that I have always wanted to do is to put a camera in my rockets. Videos taken from water rockets are very cool, you can say, look at those dots! That is us!
Checking the available cameras has left me unsatisfied. Action cameras are heavy and expensive and they feature a rigid design. This blog describes a camera that can be easily integrated into a rocket payload, inexpensive, shooting 1080p video at 30 fps, and that can be triggered upon launch. The integration with a Rockit flight computer means that one can measure altitude, acceleration, trigger video recording upon launch, and deploy a parachute using the same electronics payload. Neat!
This is my first Hackaday project. The main reasons why I have decided to give Hackaday a try is:
- Receive constructive criticism about the project
- Document the project for others to learn
- For future reference so that I remember what I have done
The idea is to use Hackaday as a project log for regular updates and YouTube for video tutorials and launch videos.
Enjoy the ride!
Raspberry Pi Zero rocket camera
A budget action camera made with a Raspberry Pi and a Rockit flight computer to shoot 1080p video from a water rocket.