-
11/01 Last steps
01/11/2024 at 21:10 • 0 commentsOn this day we bought a white curtain of sorts to use paint on it to add a bit of atmosphere. We used velcro attachements (they can be glued to any surface)
![]()
It doesn't look that good, but that's the best we had.
-
07/01 Solutions
01/11/2024 at 21:05 • 0 commentsUsing motors was not a suitable path any longer because of time constraints, we had to find something else.
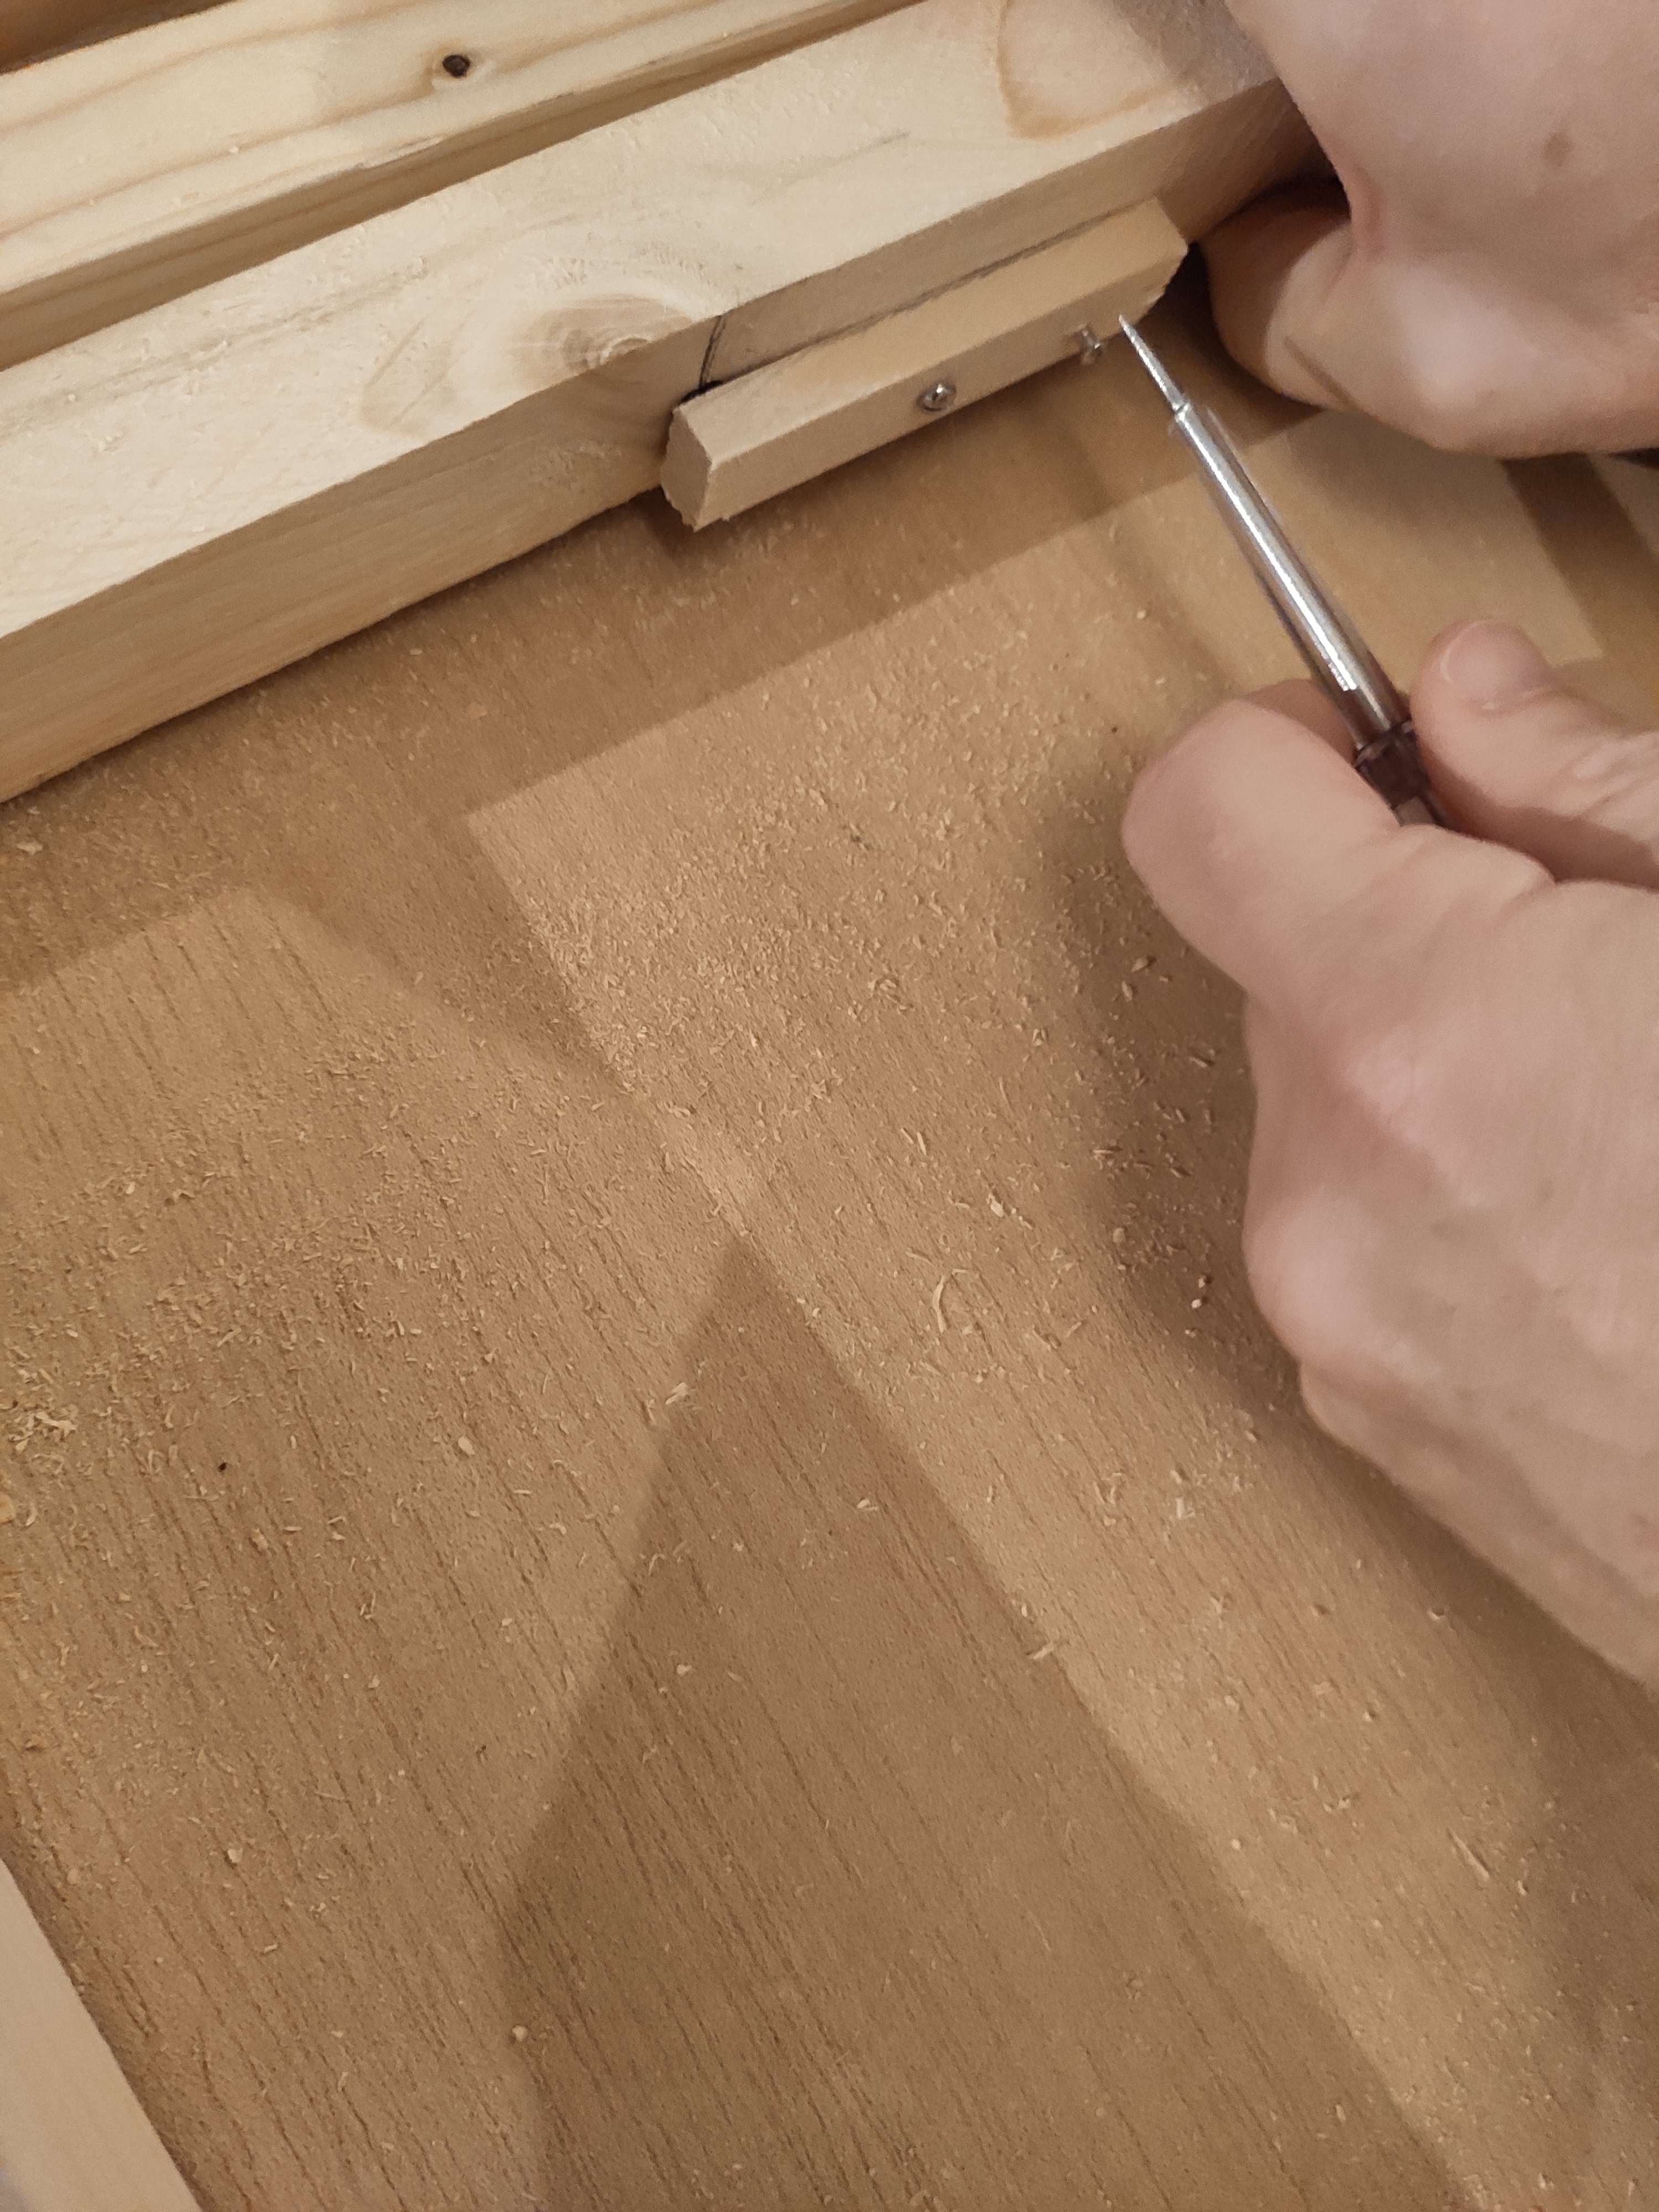
Instead, we chose to let the wooden rod stick out and turn it to make the labyrinth move ; this will make sense in a bit.
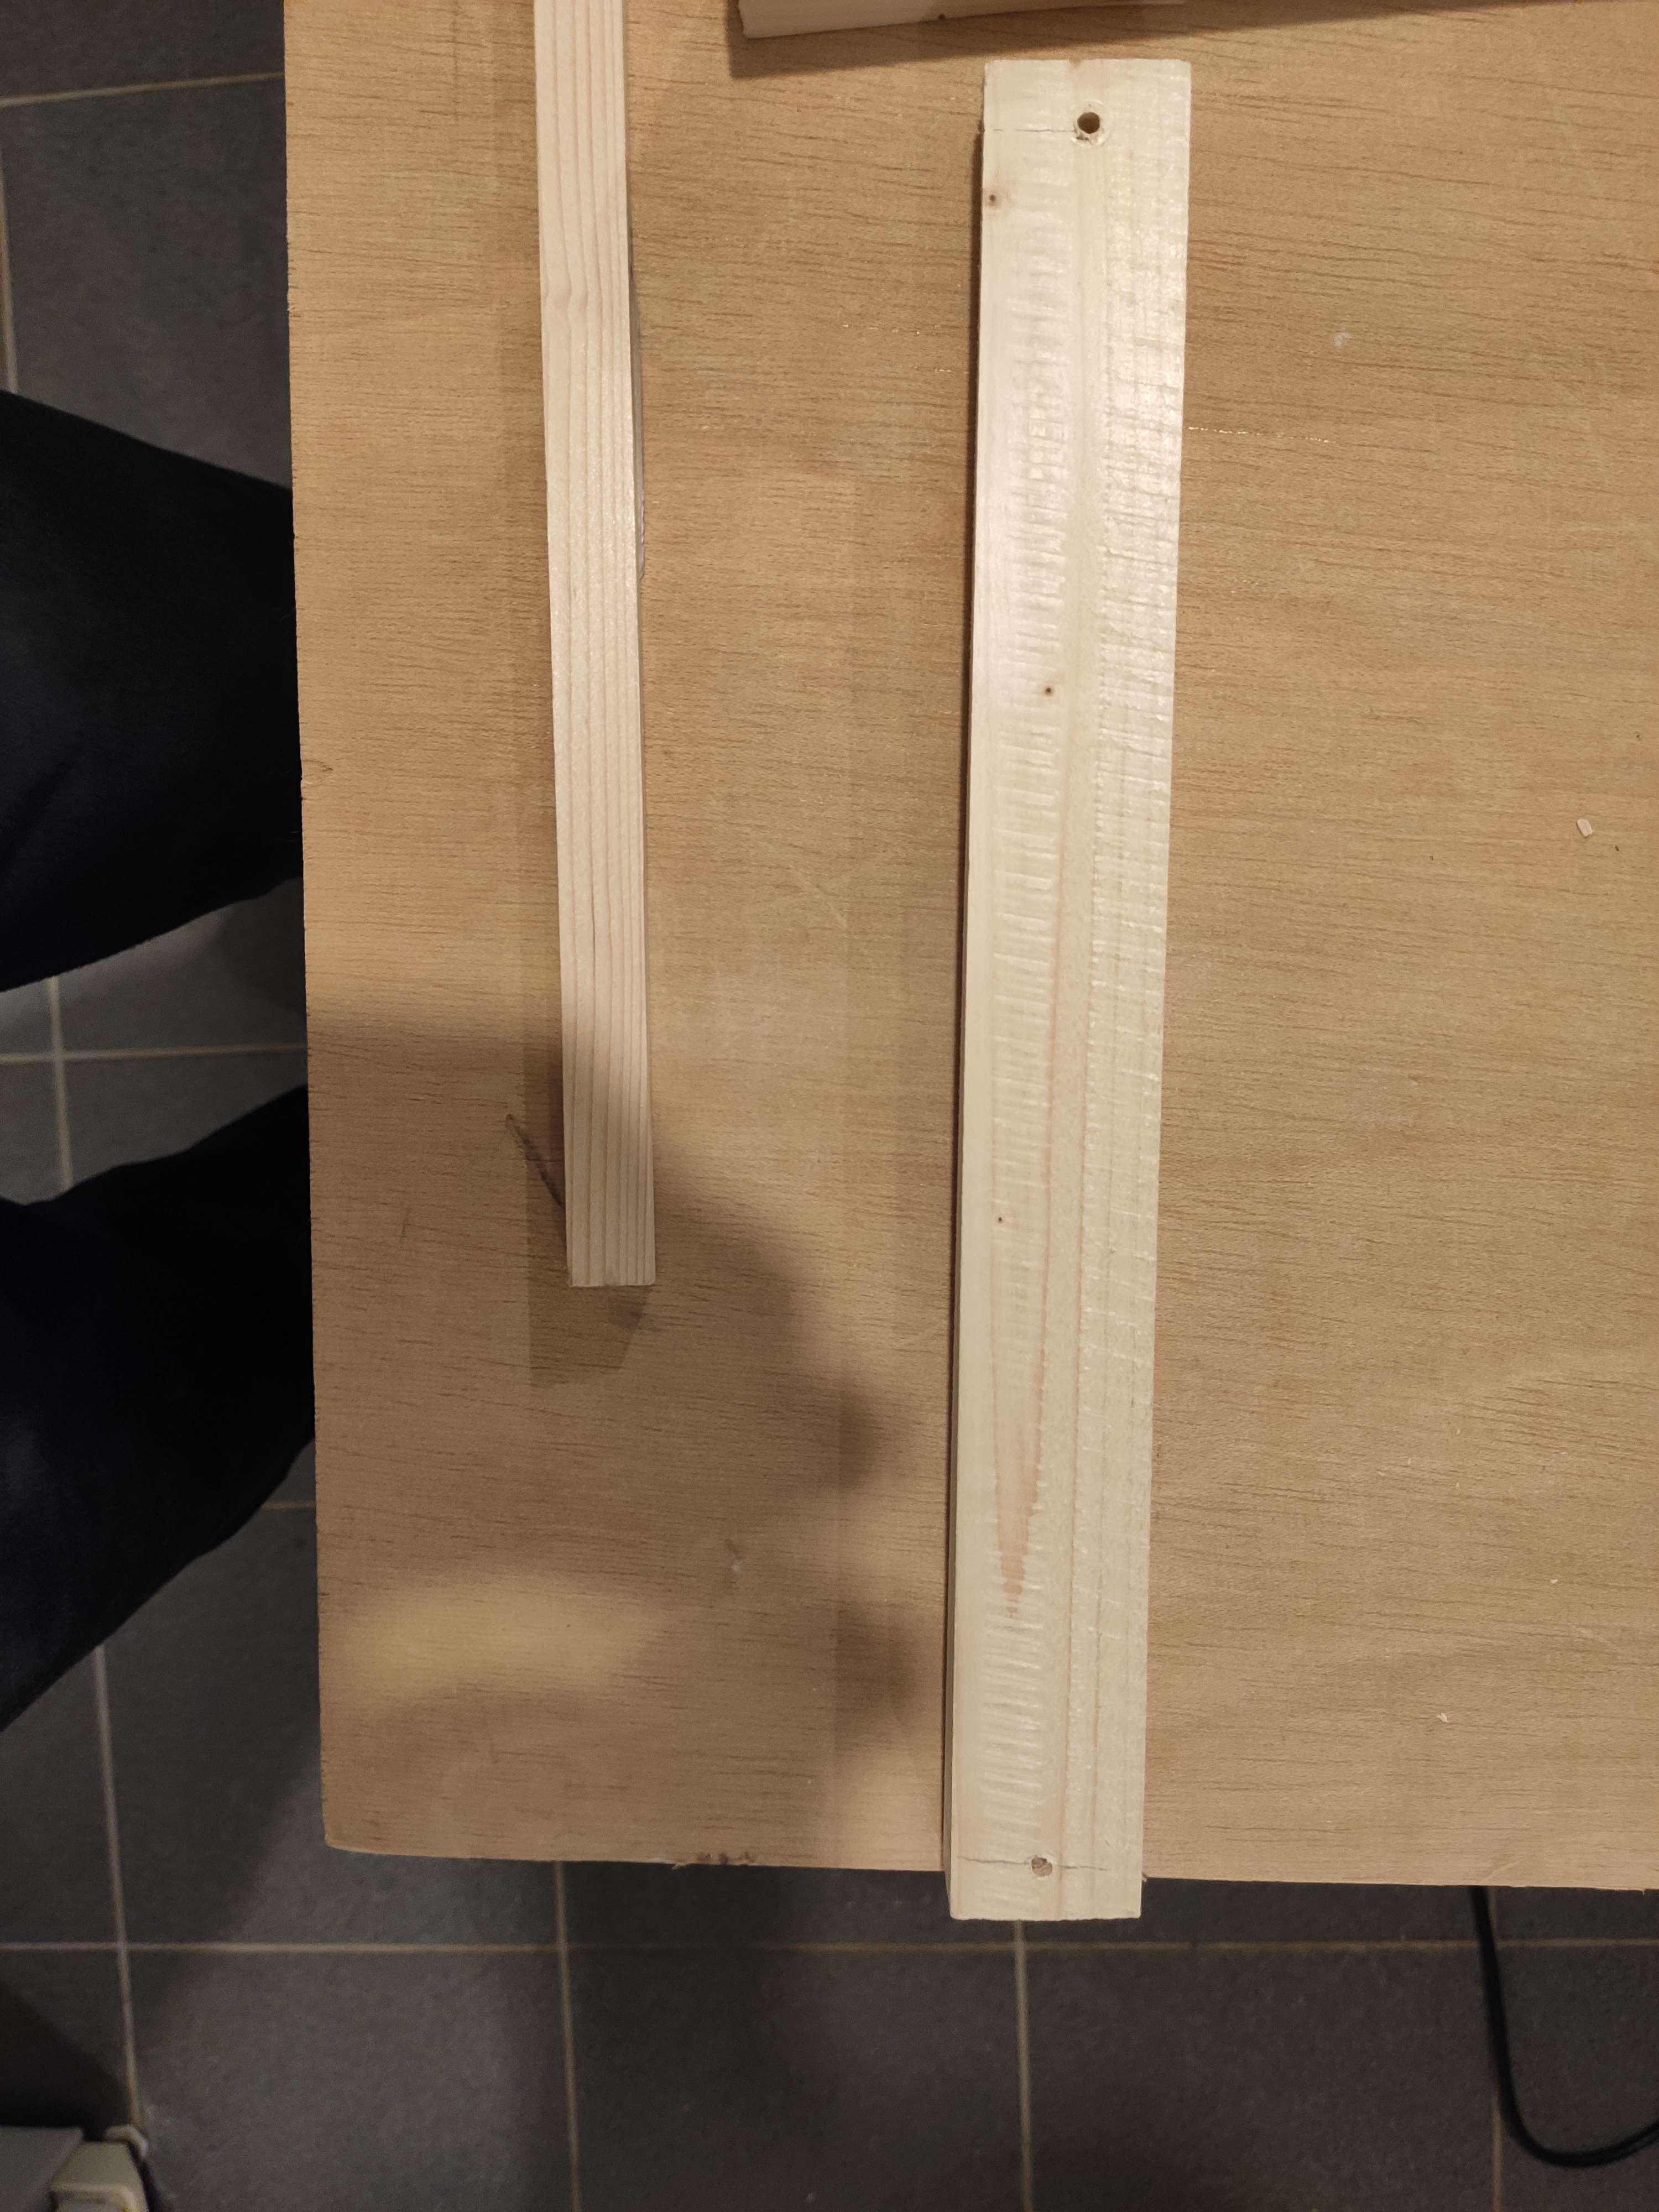
We got to work : first step was to cut more battens to make space for the rods, and plug holes inside one end and drill through the other.
![]()
_
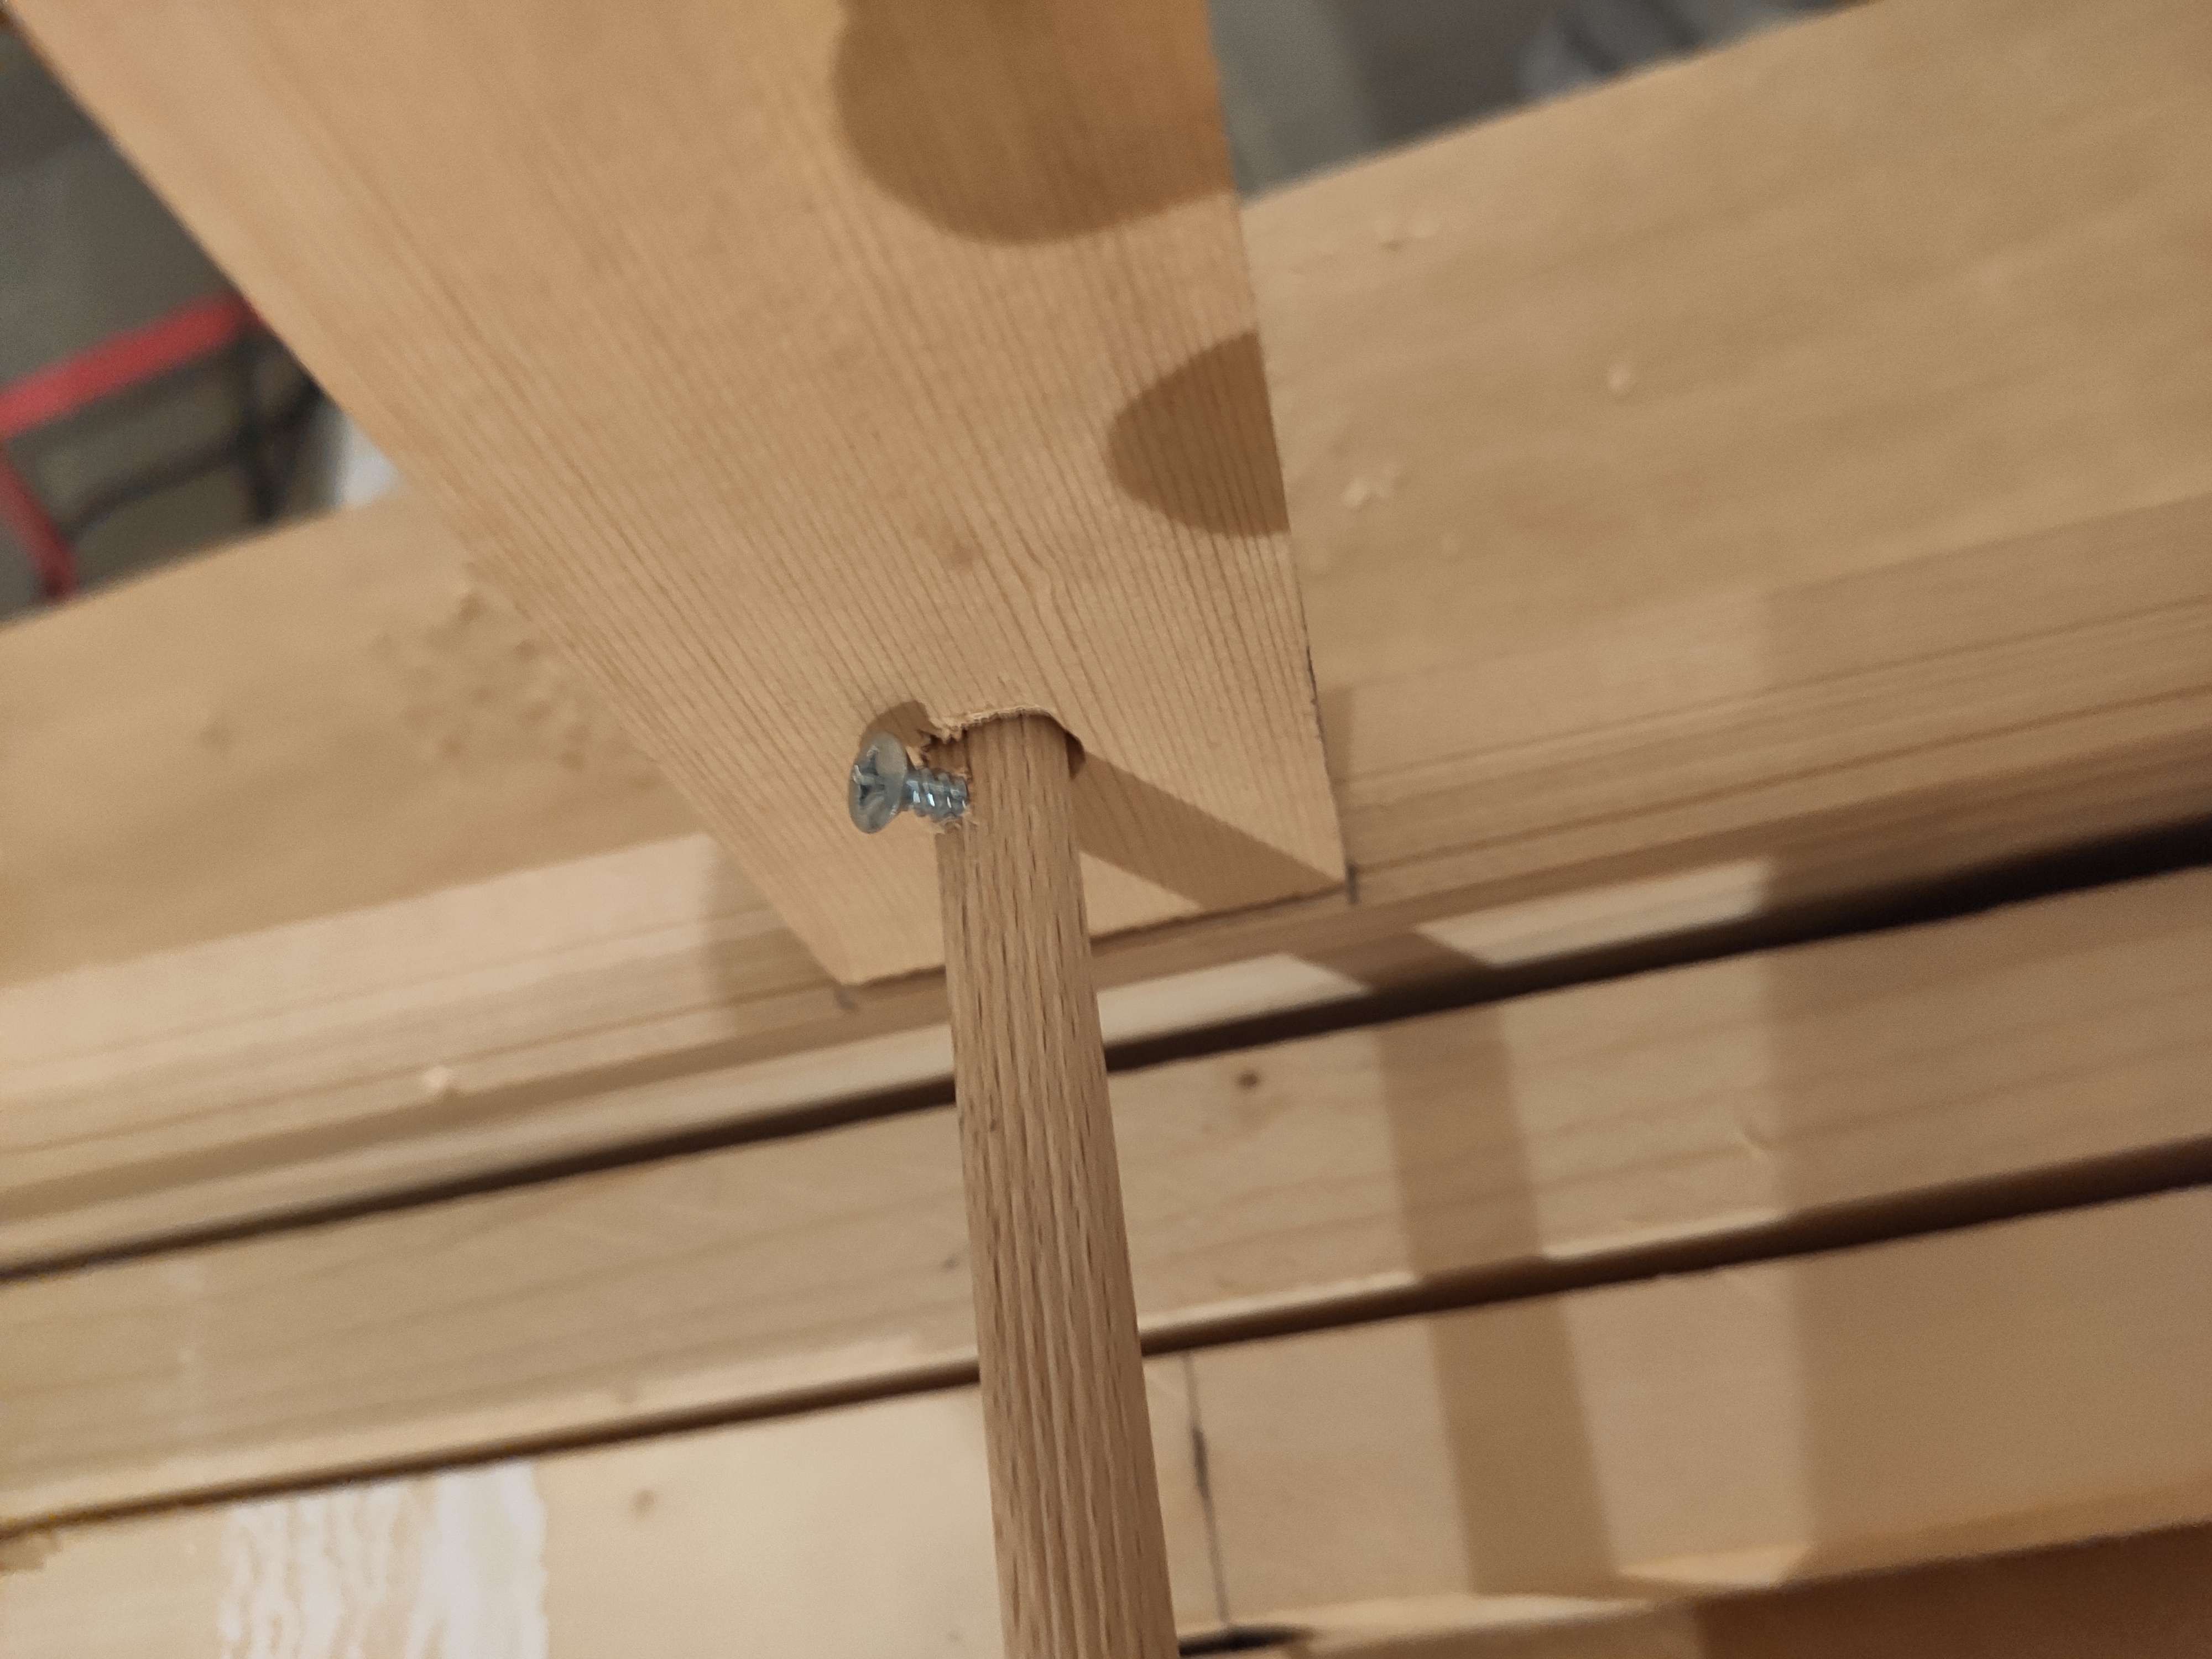
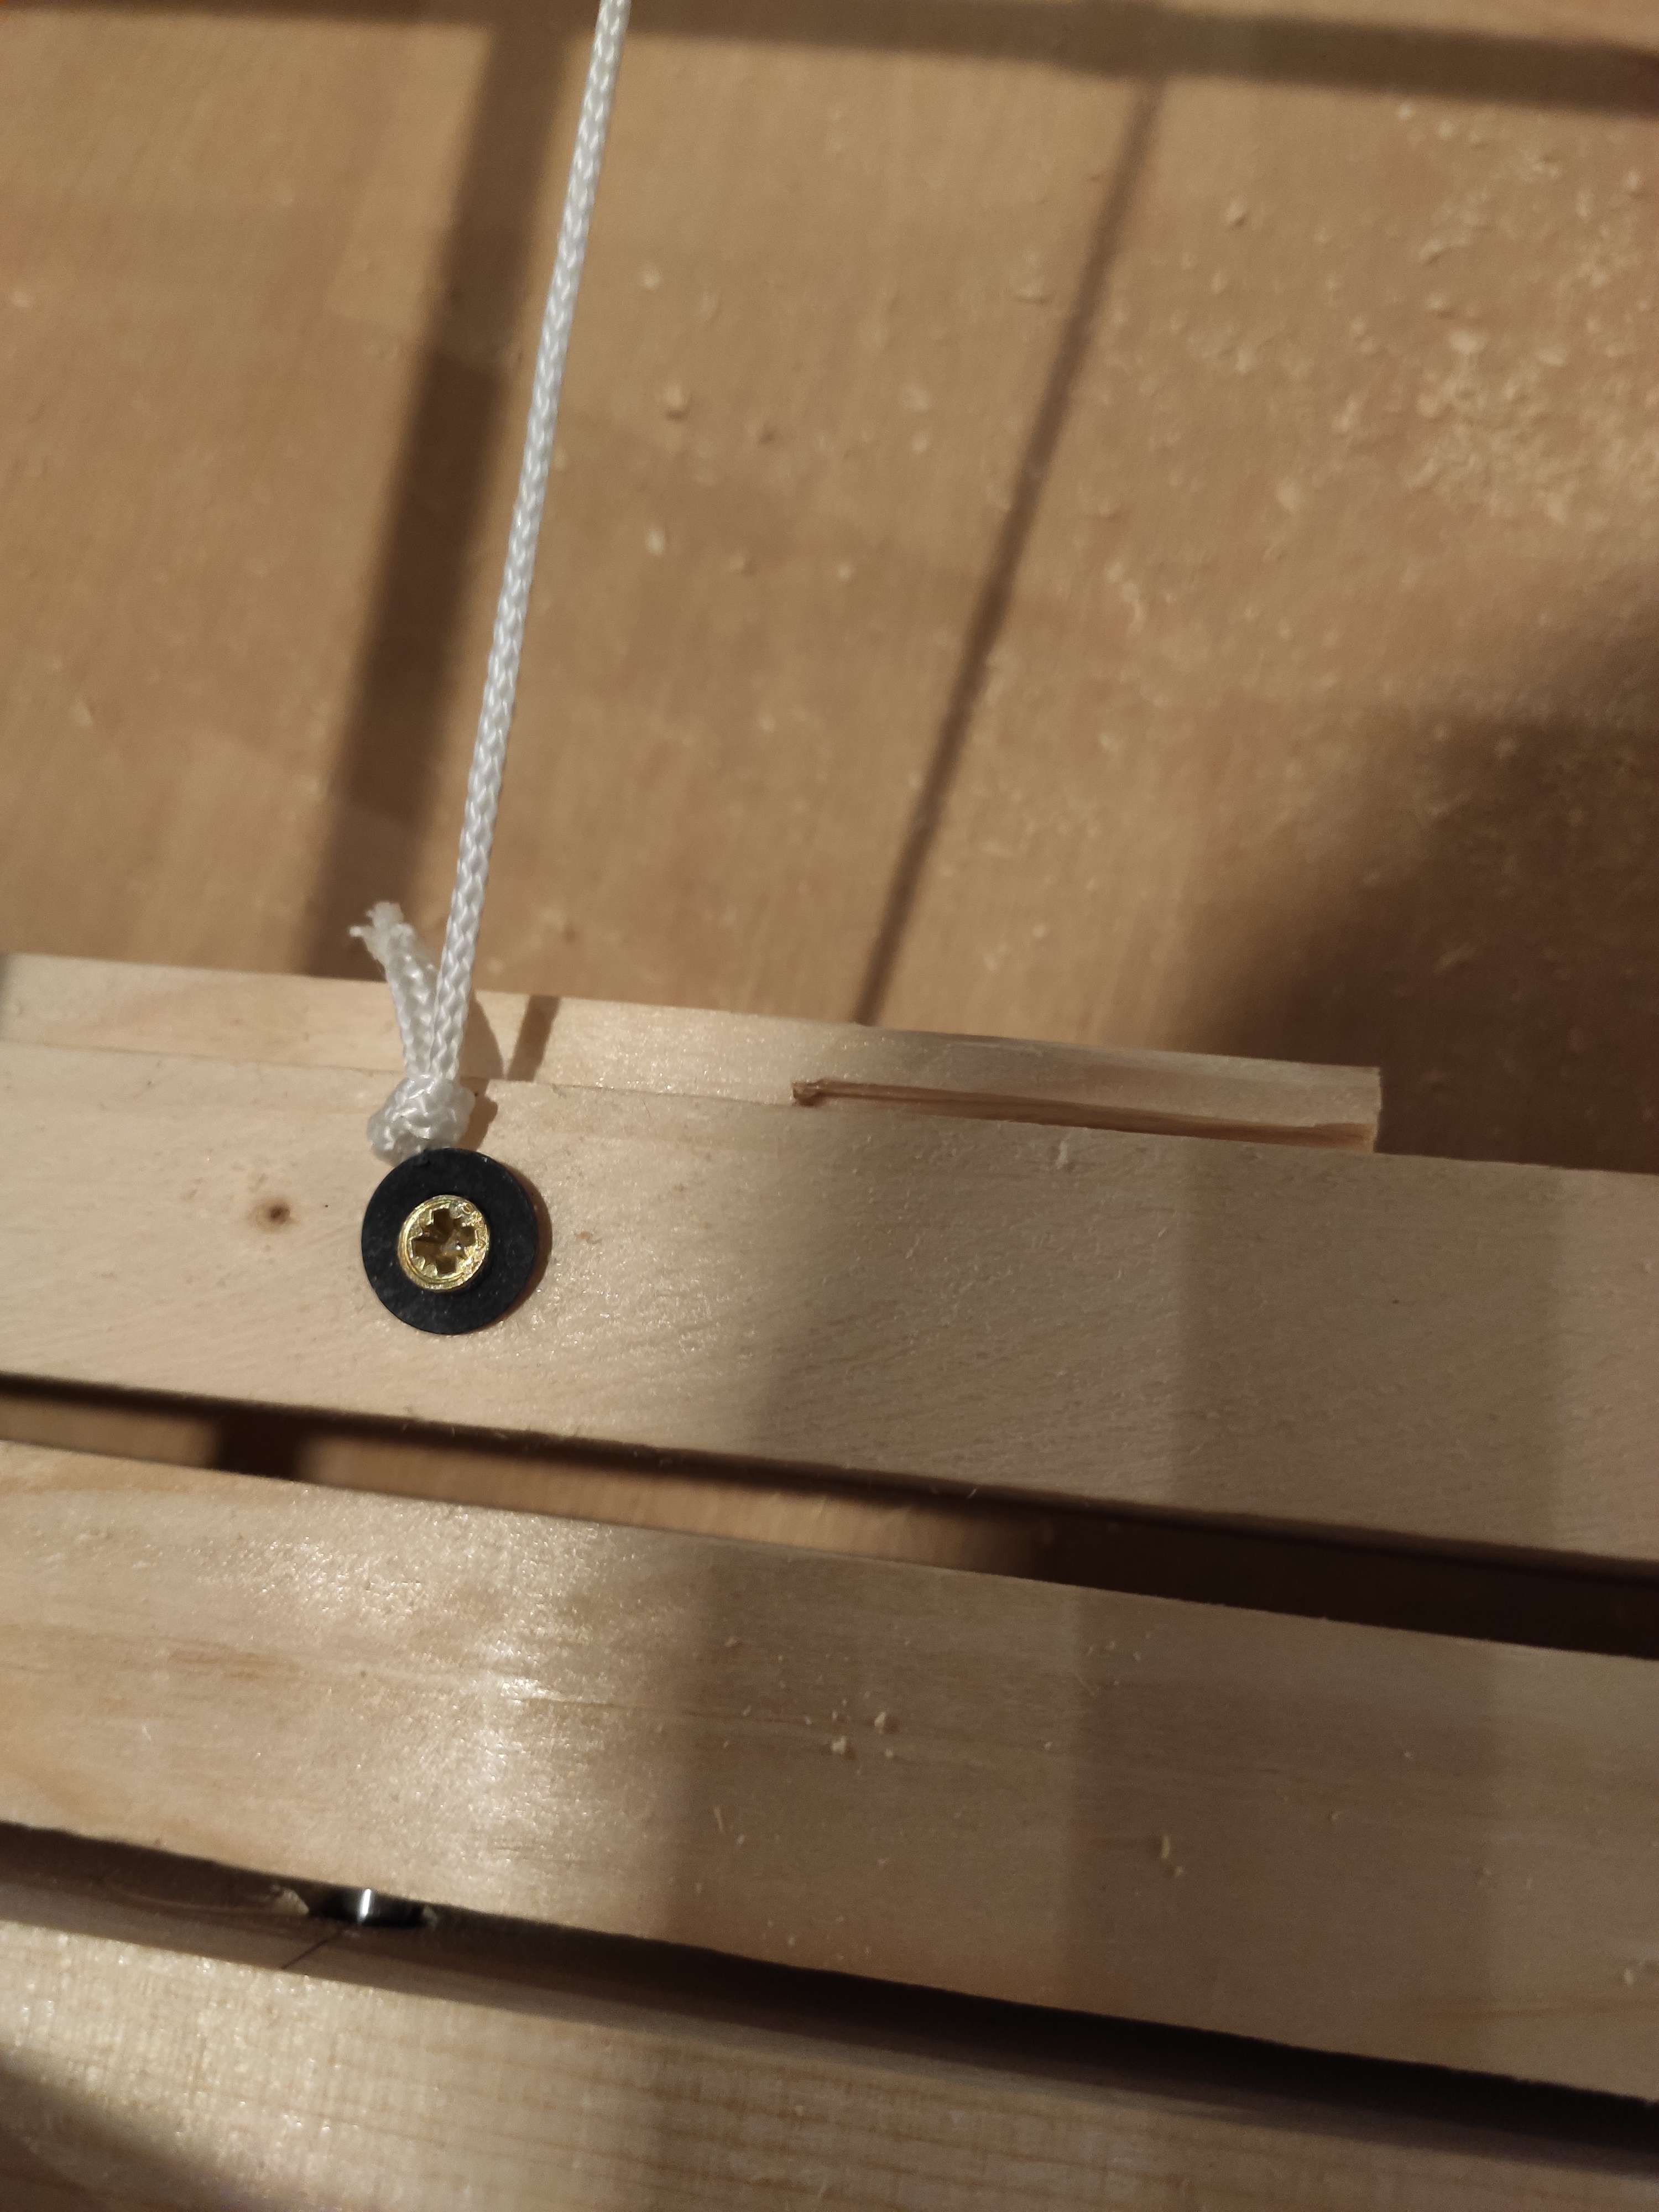
![]()
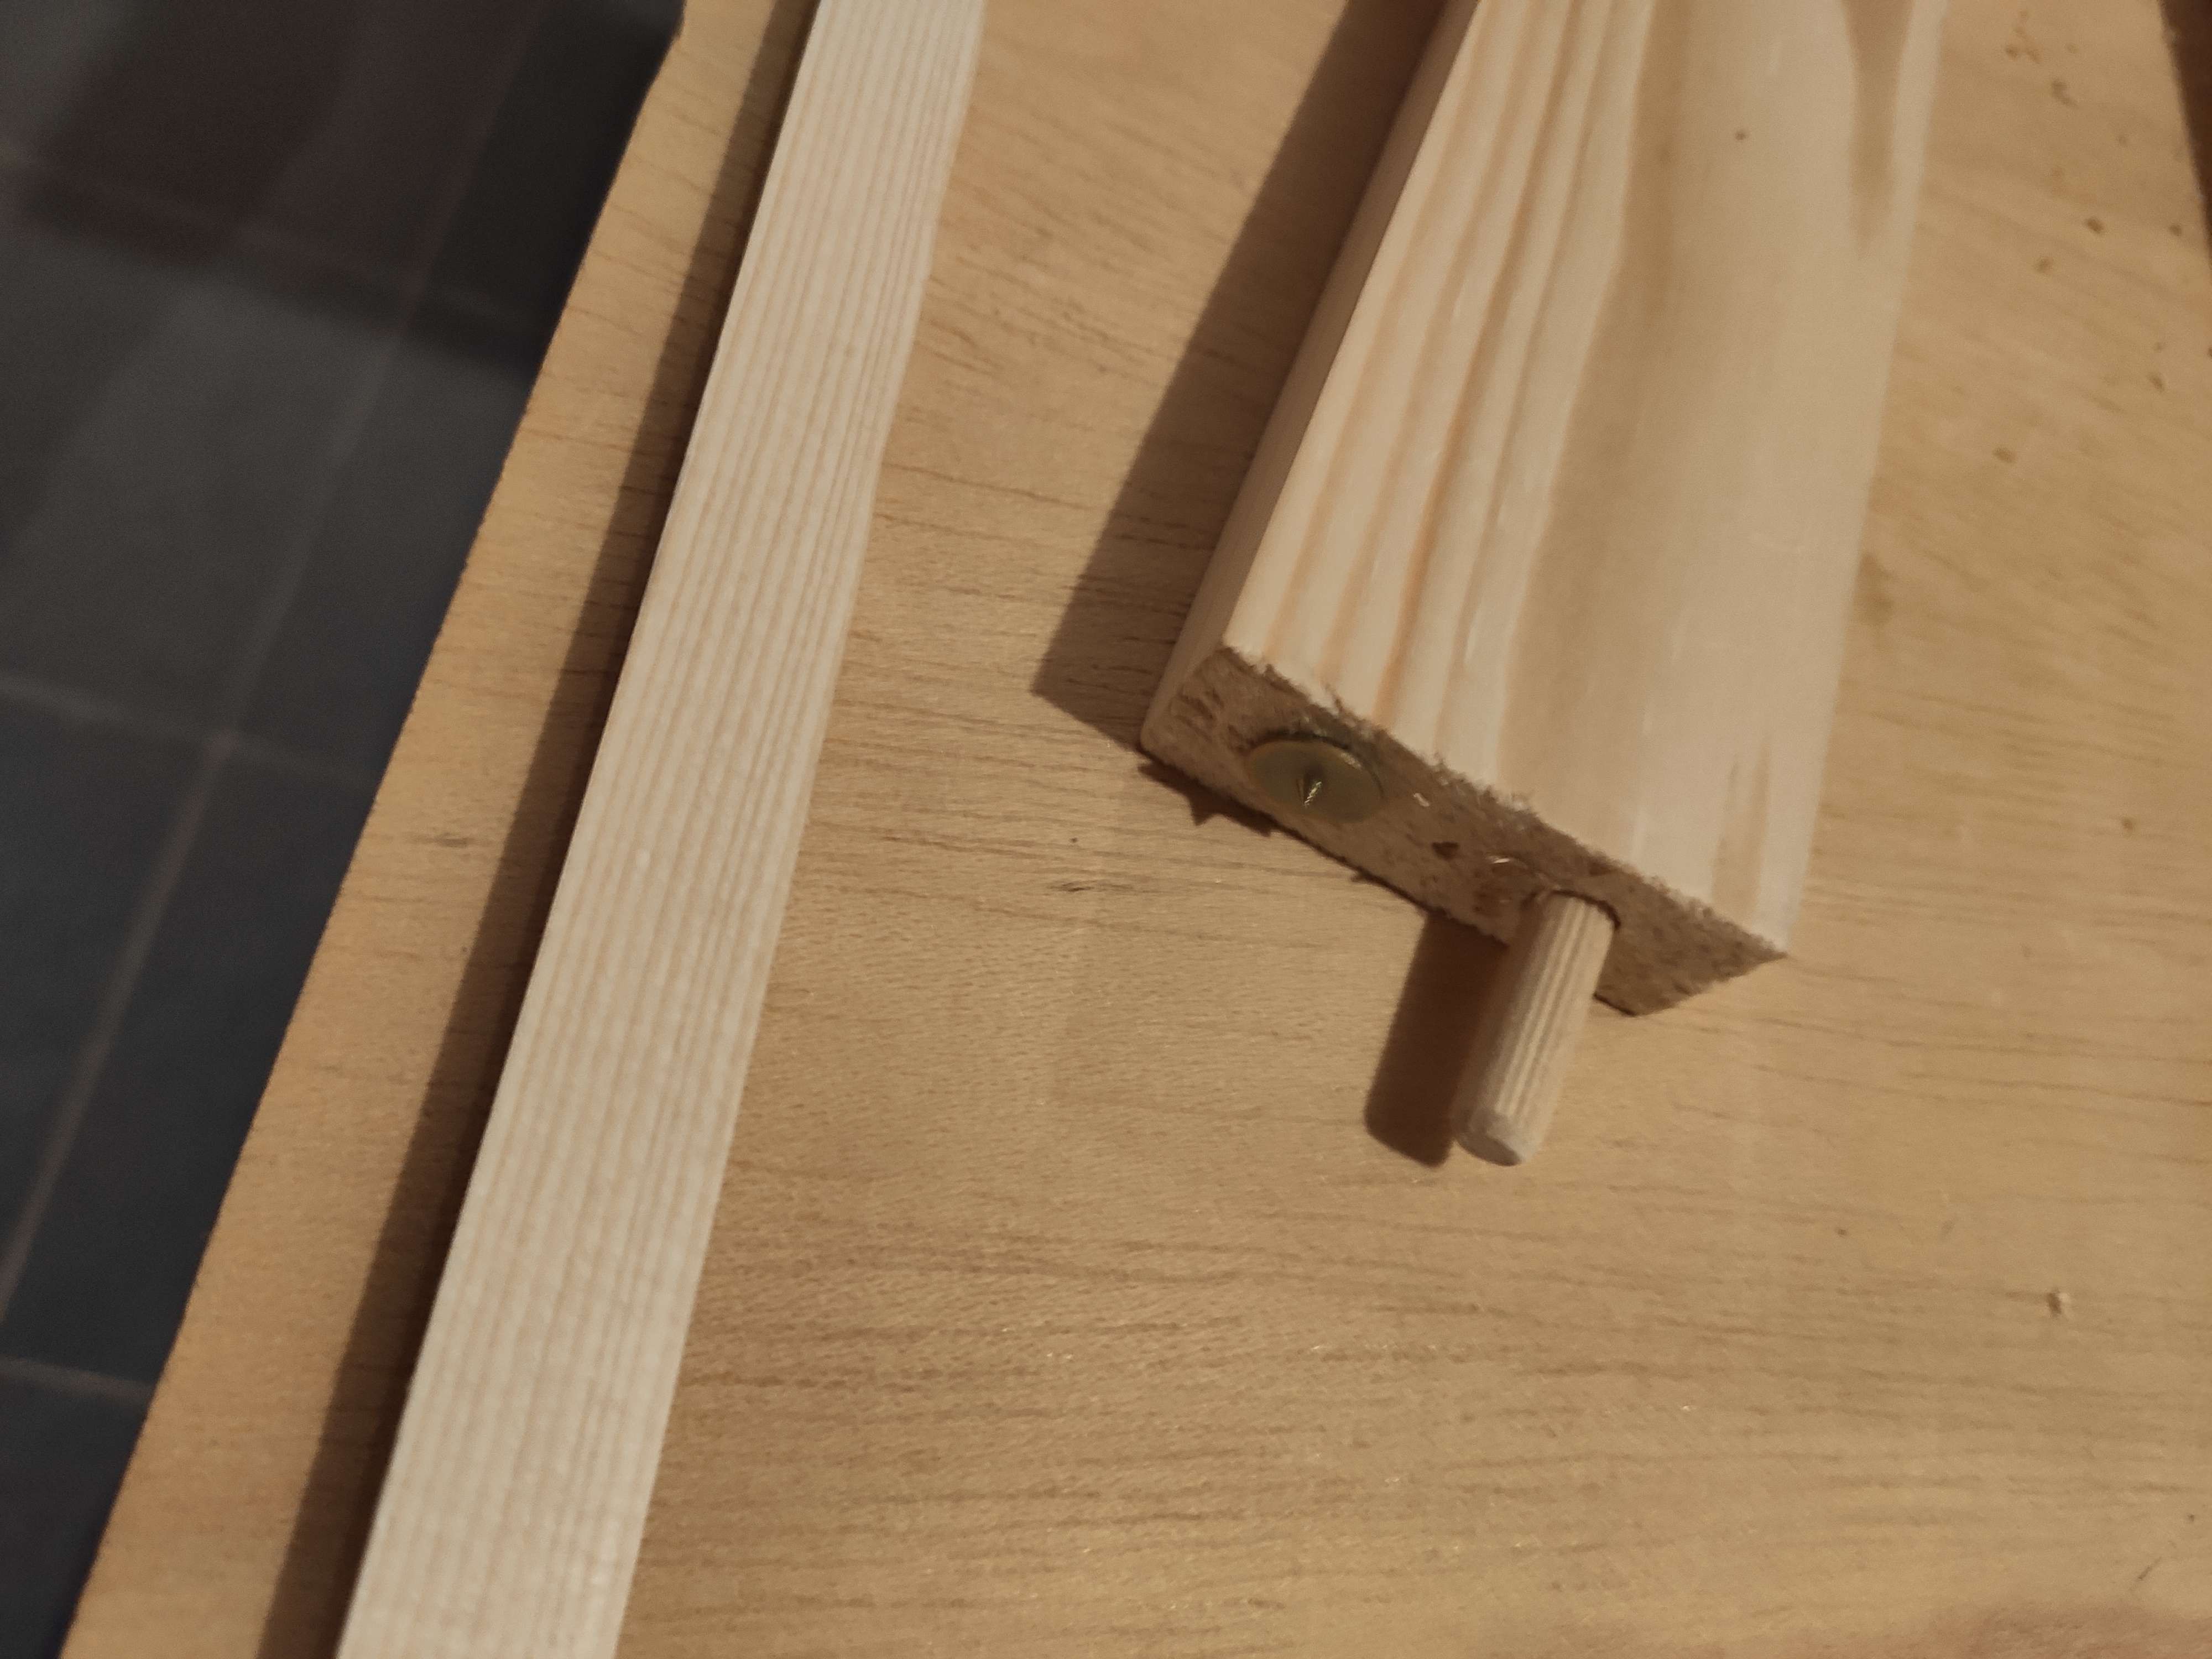
The small screw prevents the rod from being pulled out.
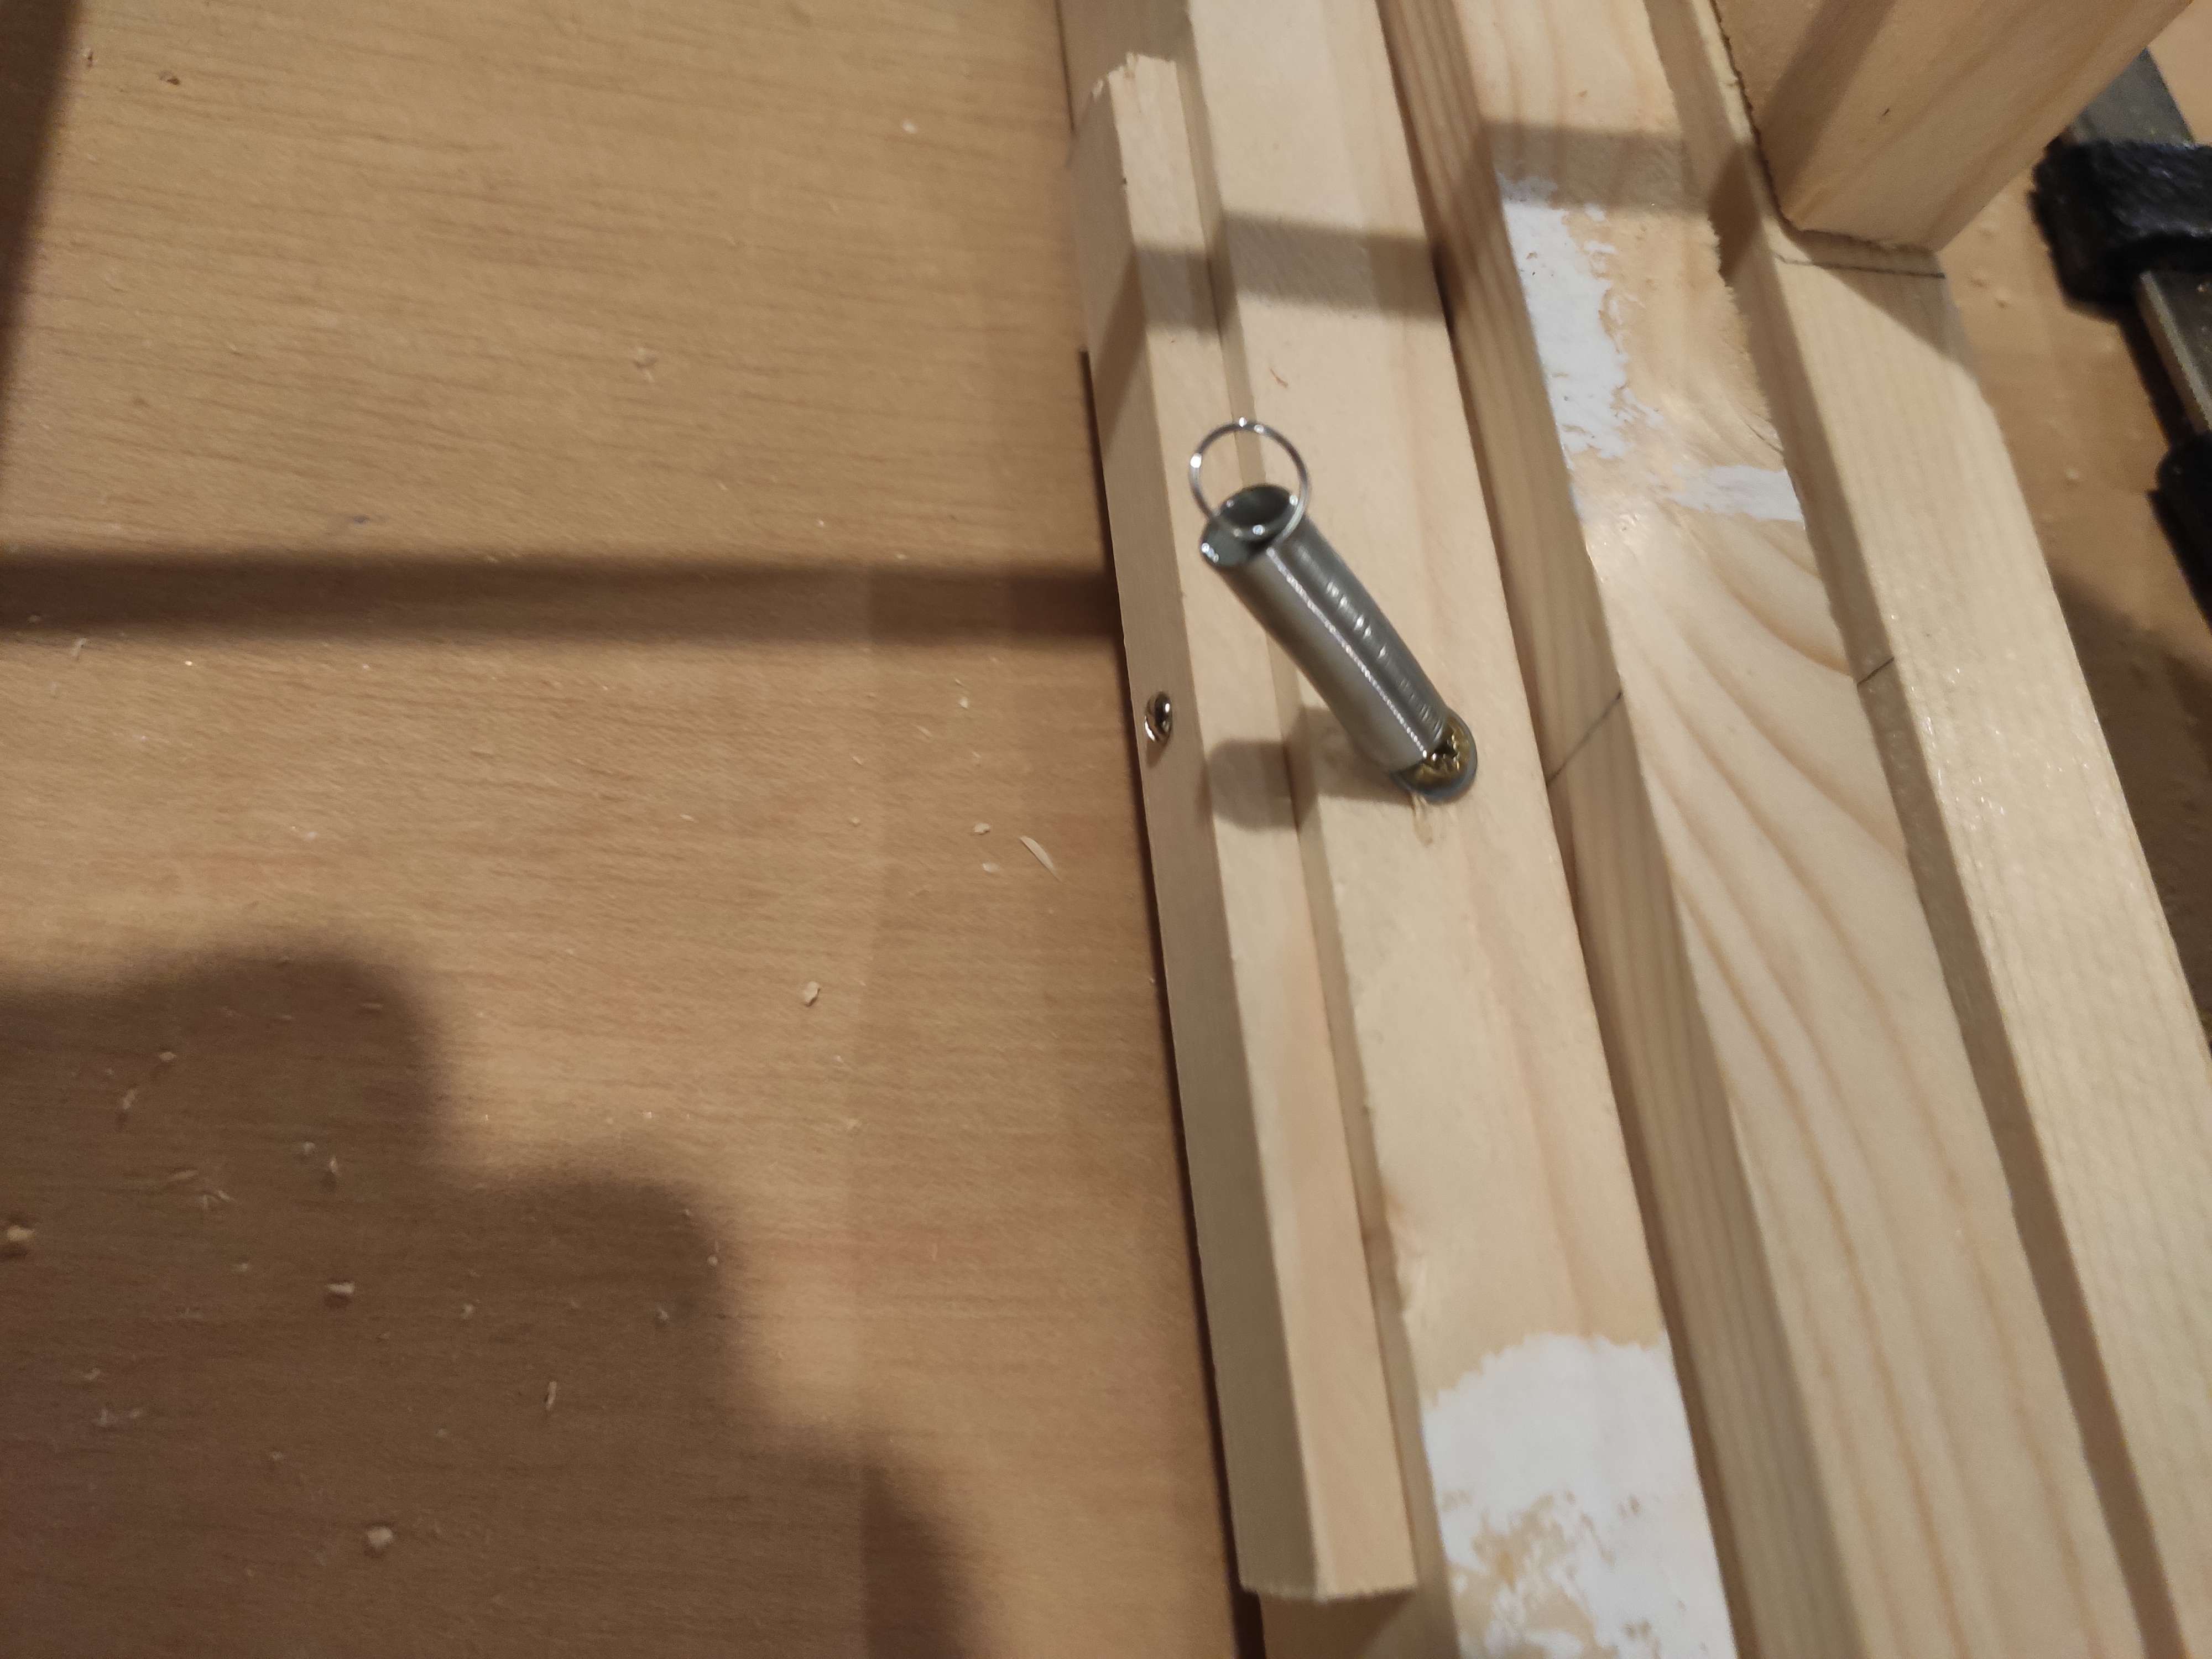
Next we used two screws to place two springs for string tension and two other screws to tie one end of the string to it. There is one on the first frame and one on the second.
![]()
_
![]()
_
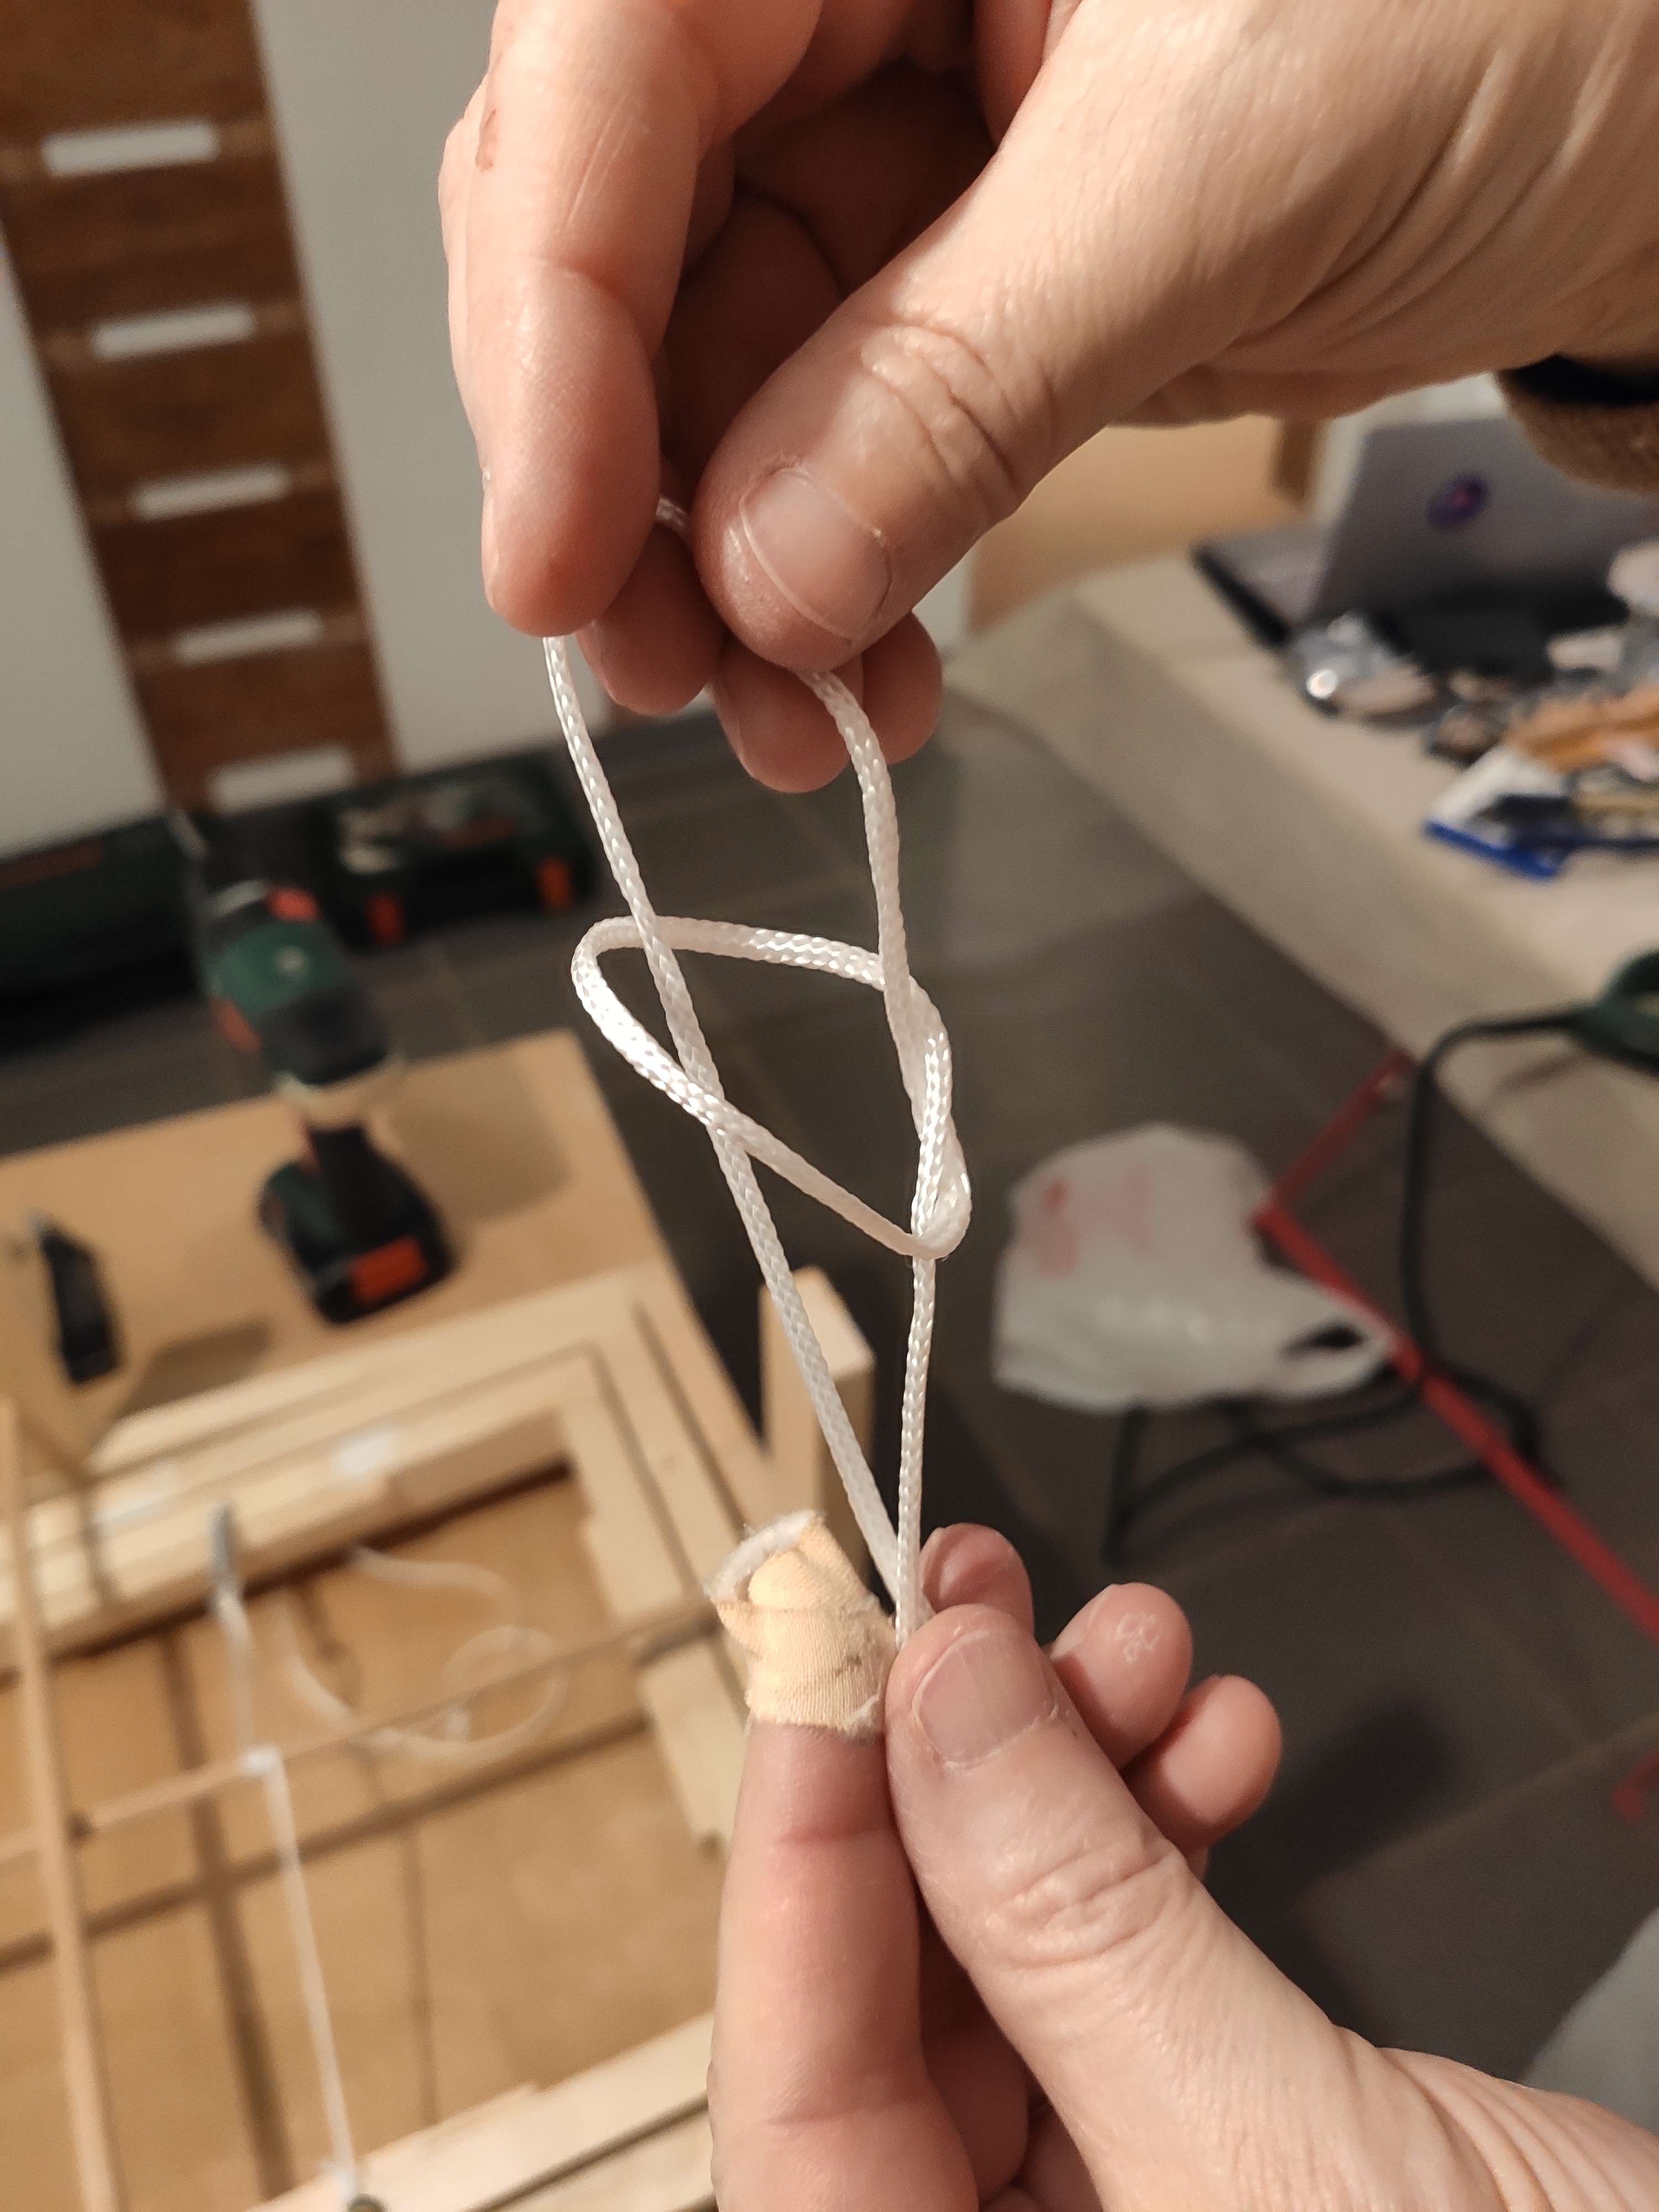
![]()
This is the knot we used.
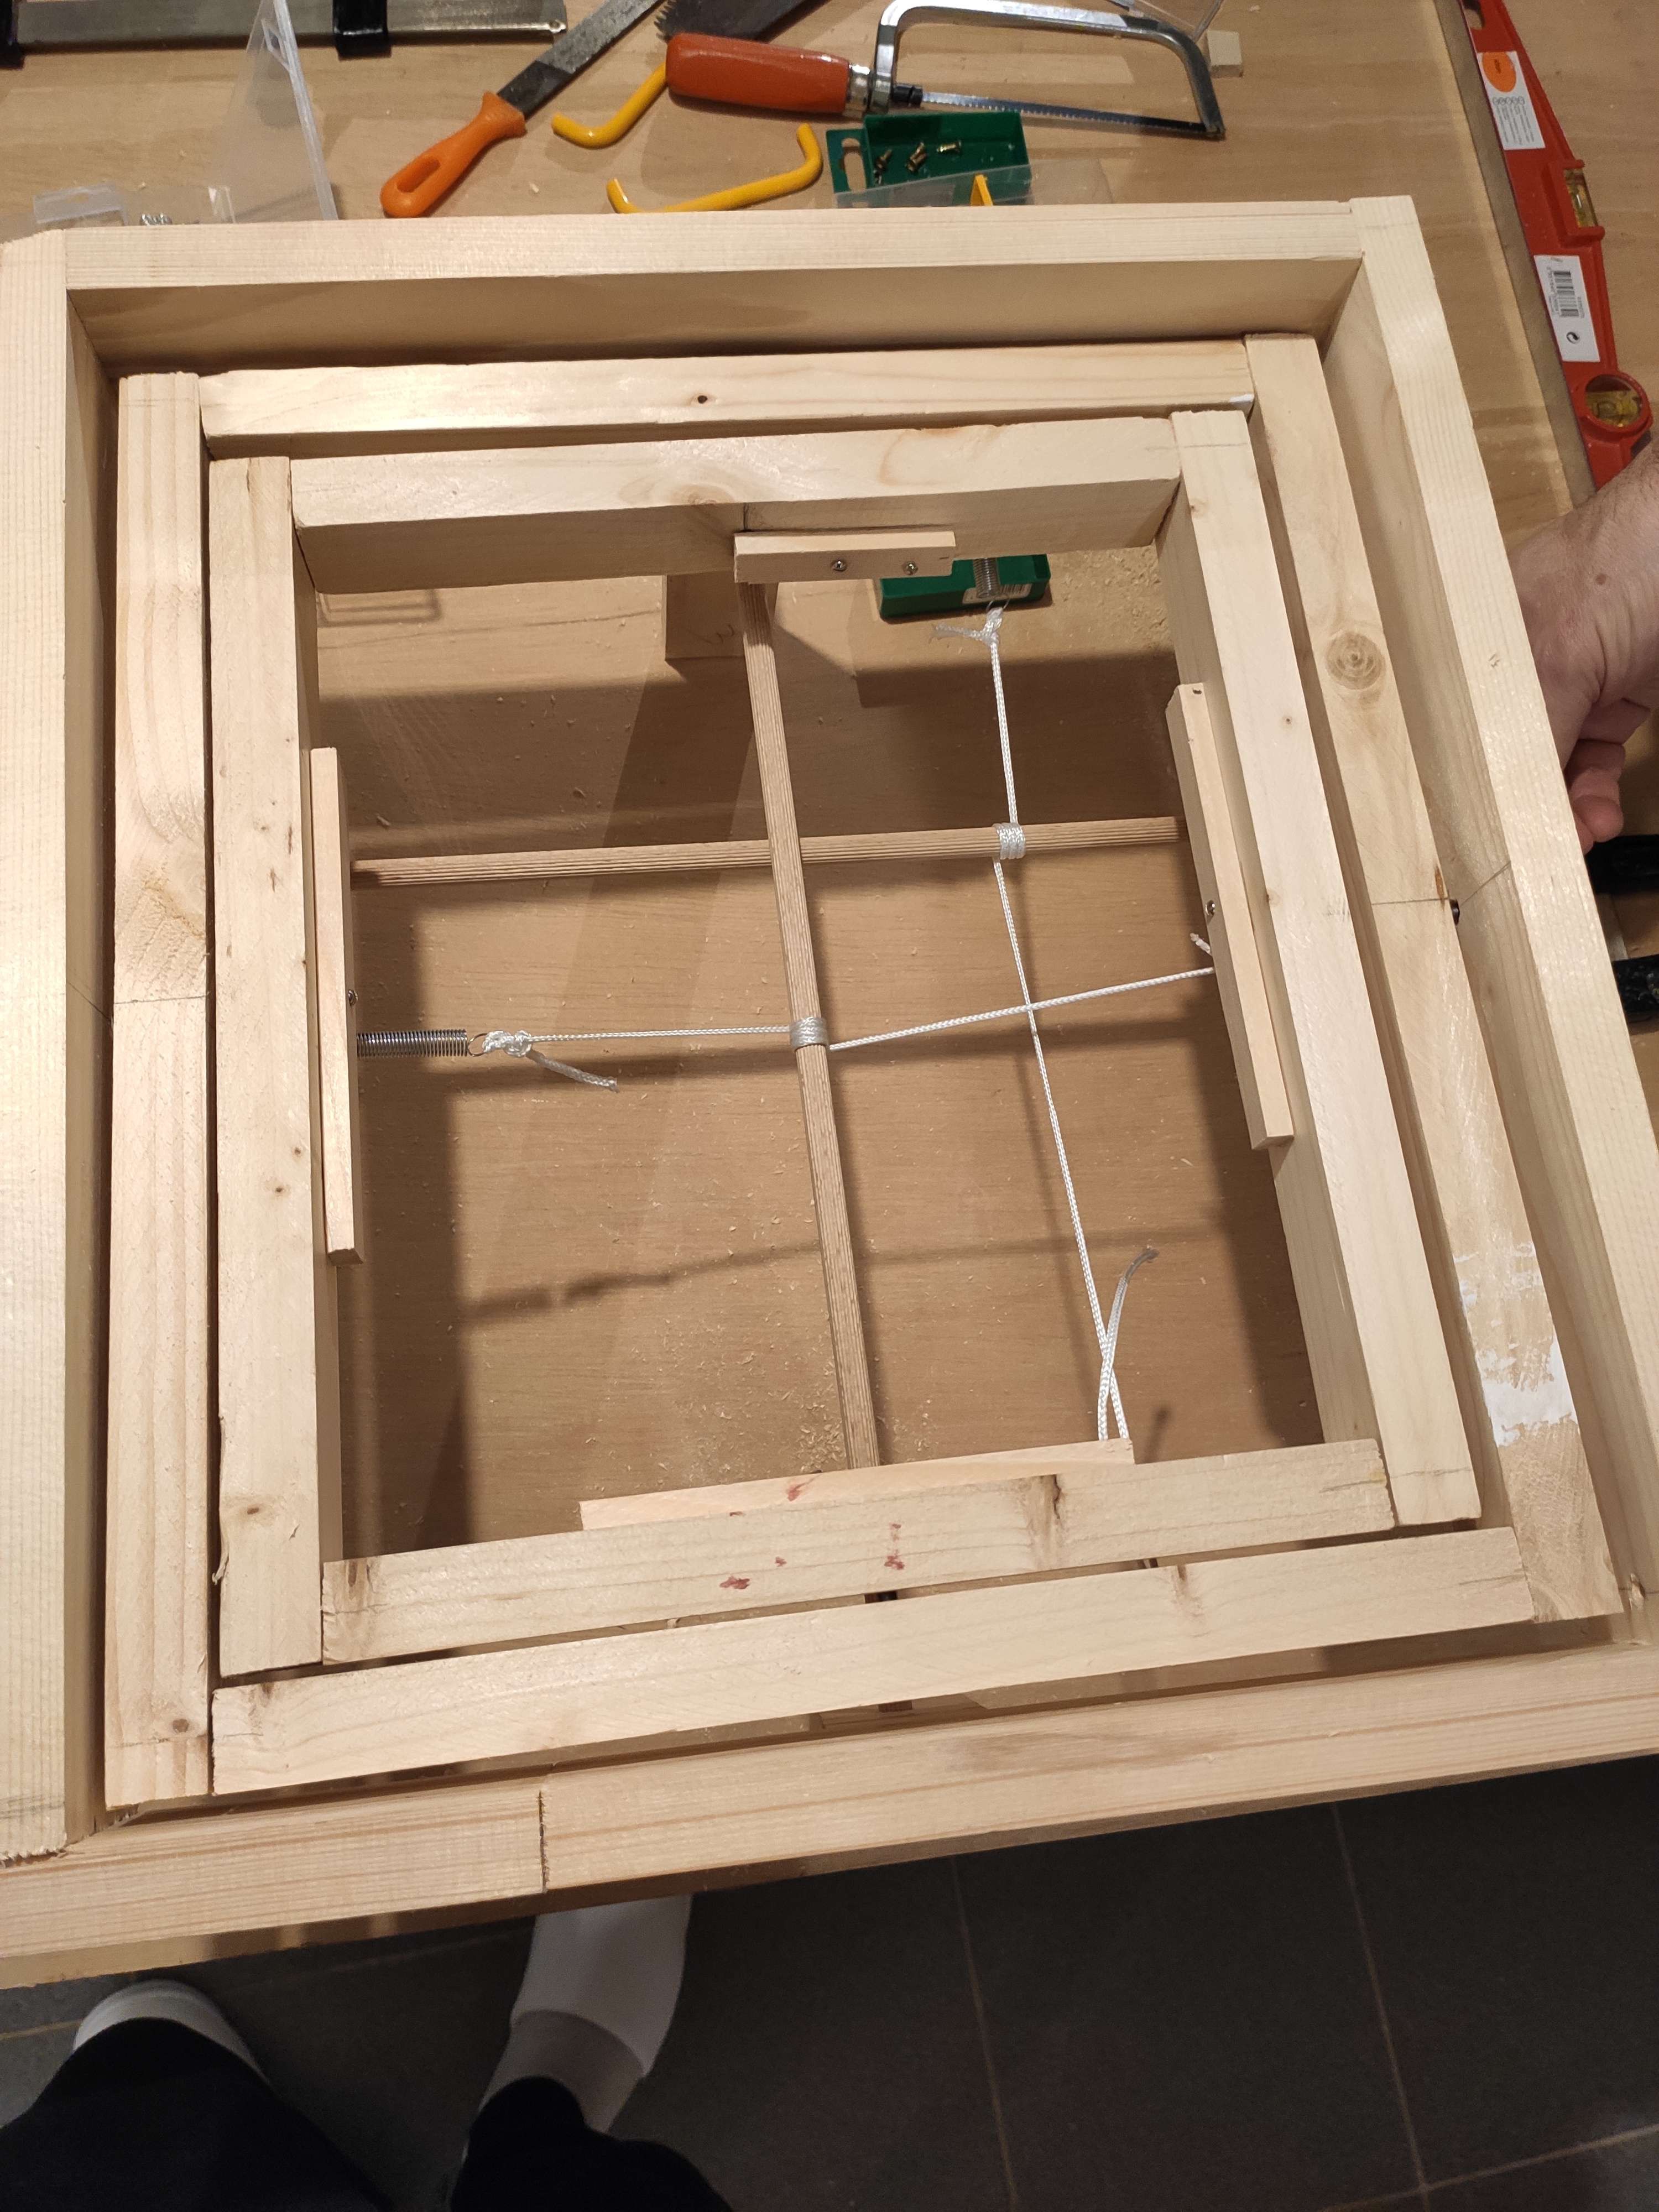
![]()
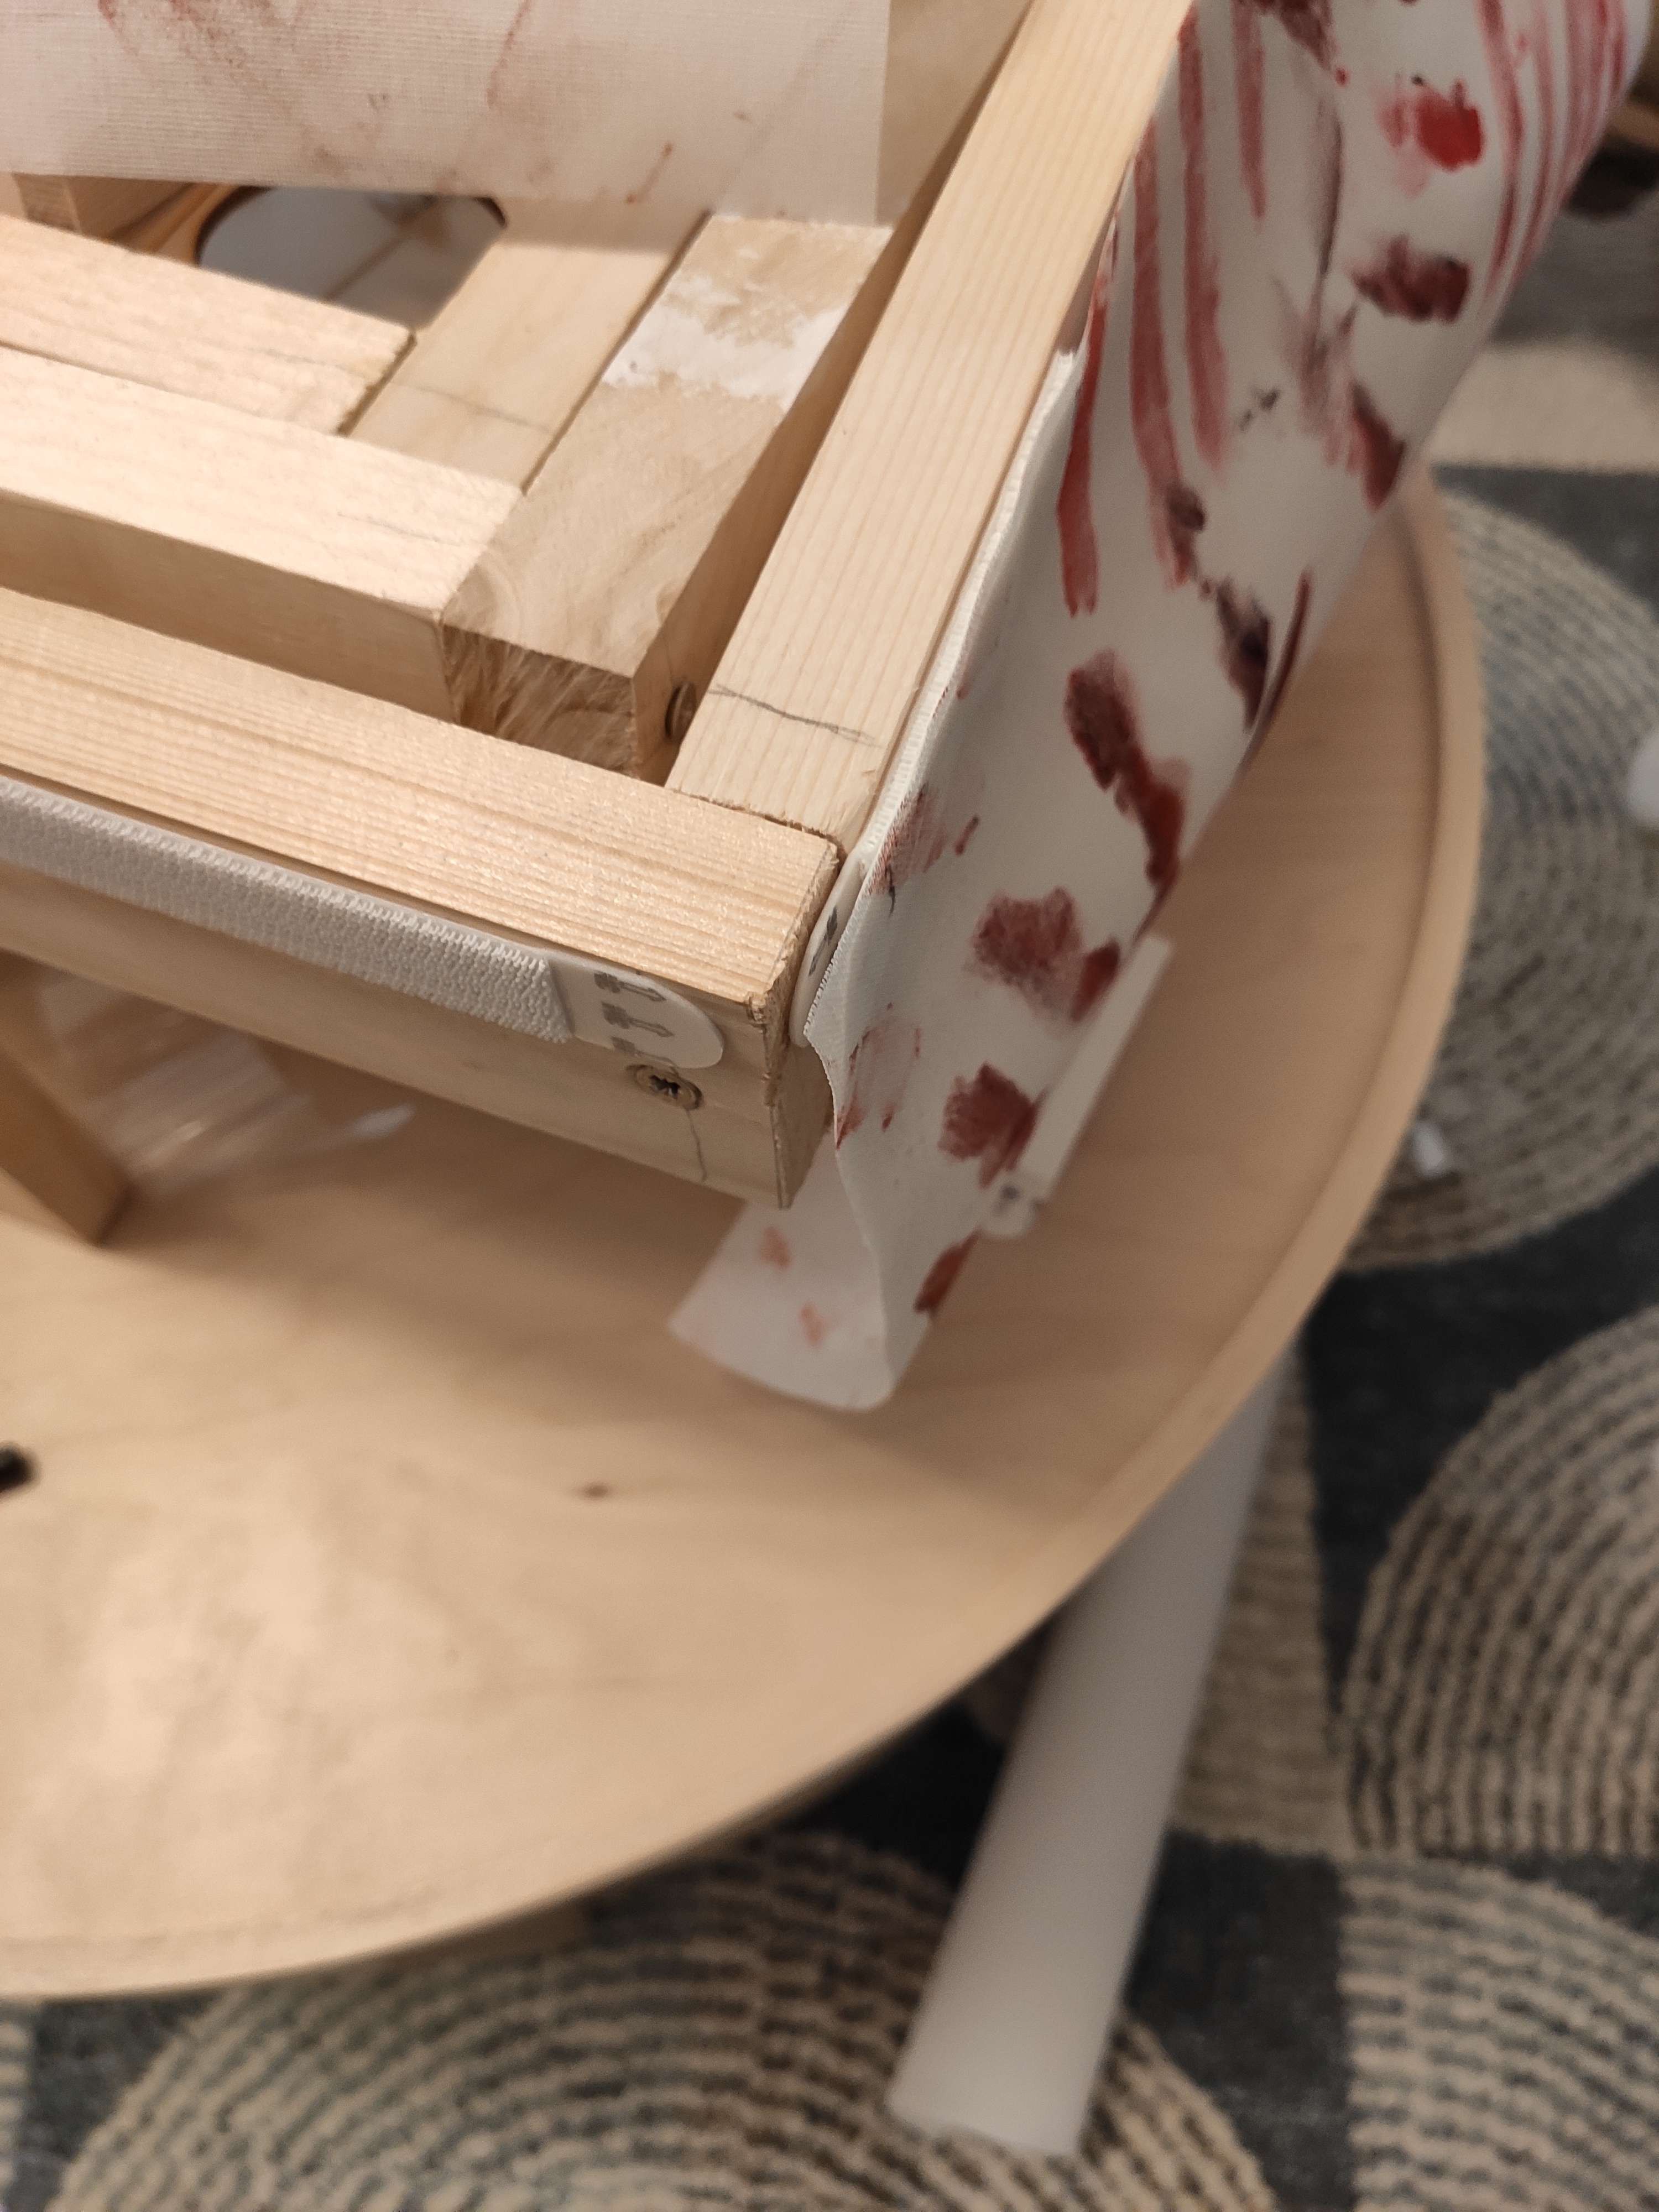
And this is what it looks like from above without the maze.
The box that comes below it to catch the ball has inclined planes to guide the ball towards the sensor's sight and make it act.
![]()
The top left is used for winning and the bottom right for losing. The wiring goes as such. (more details in the "Instructions" section)
![]()
_
![]()
-
07/01 Problems
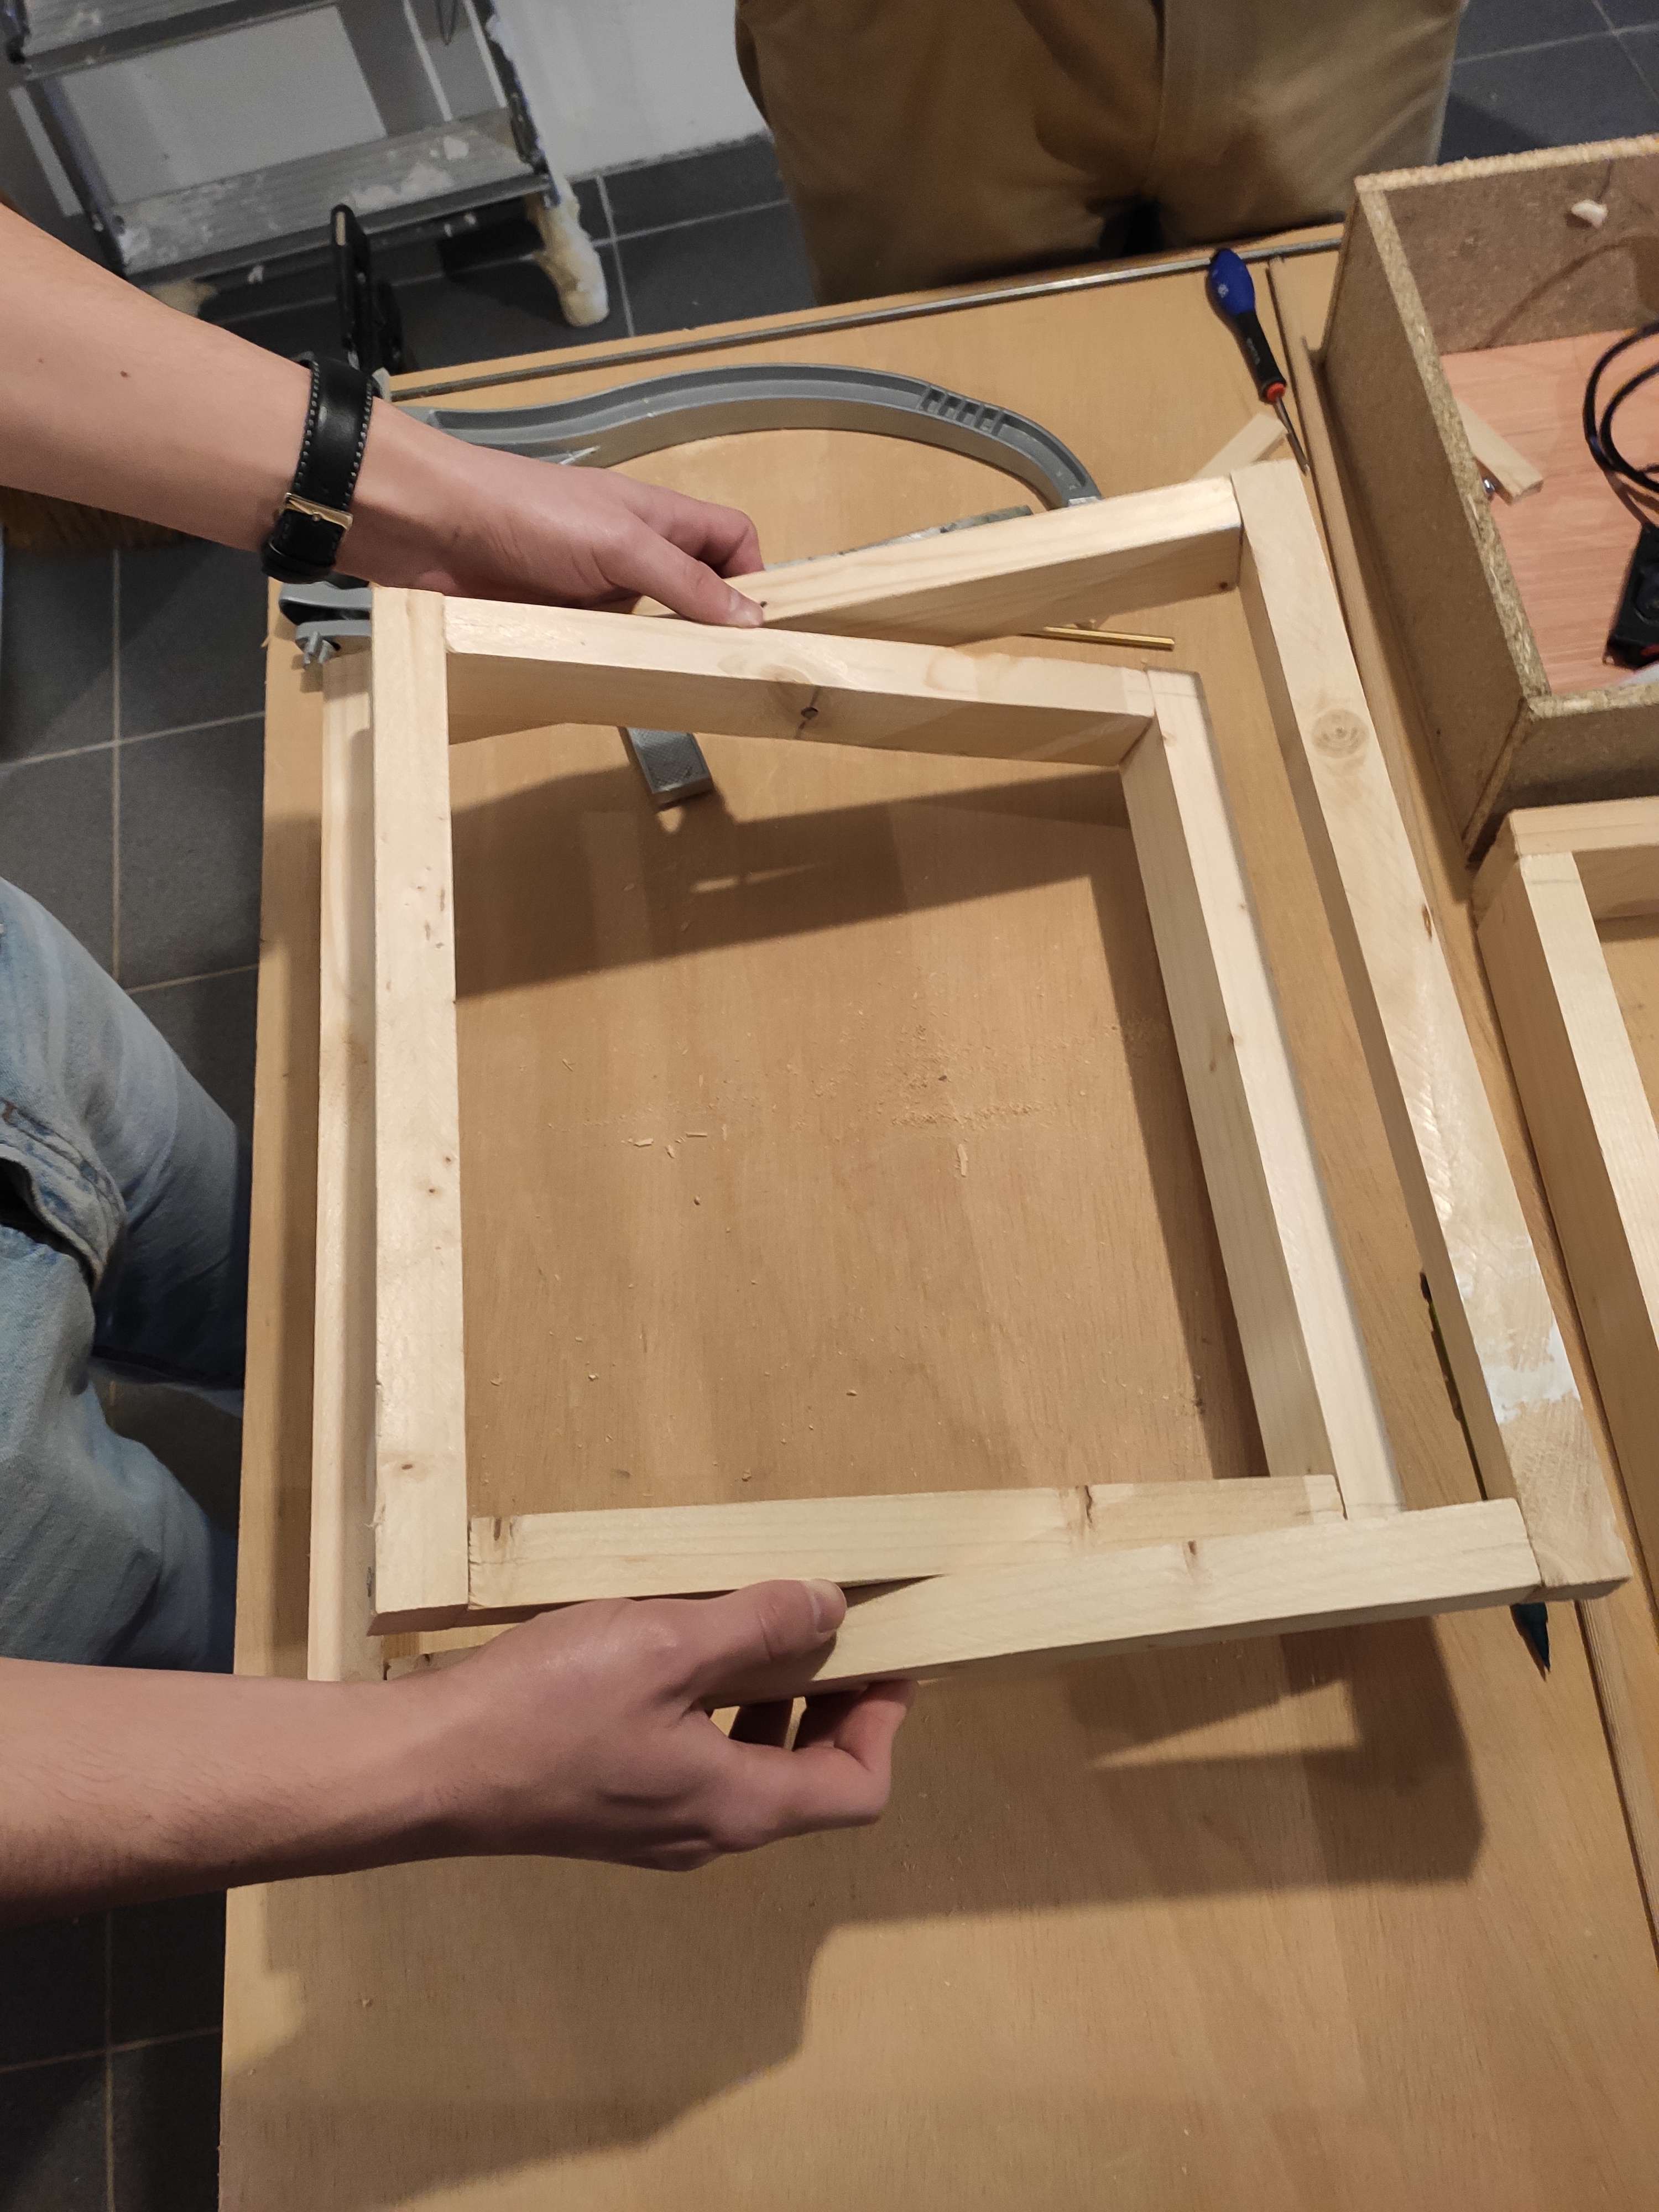
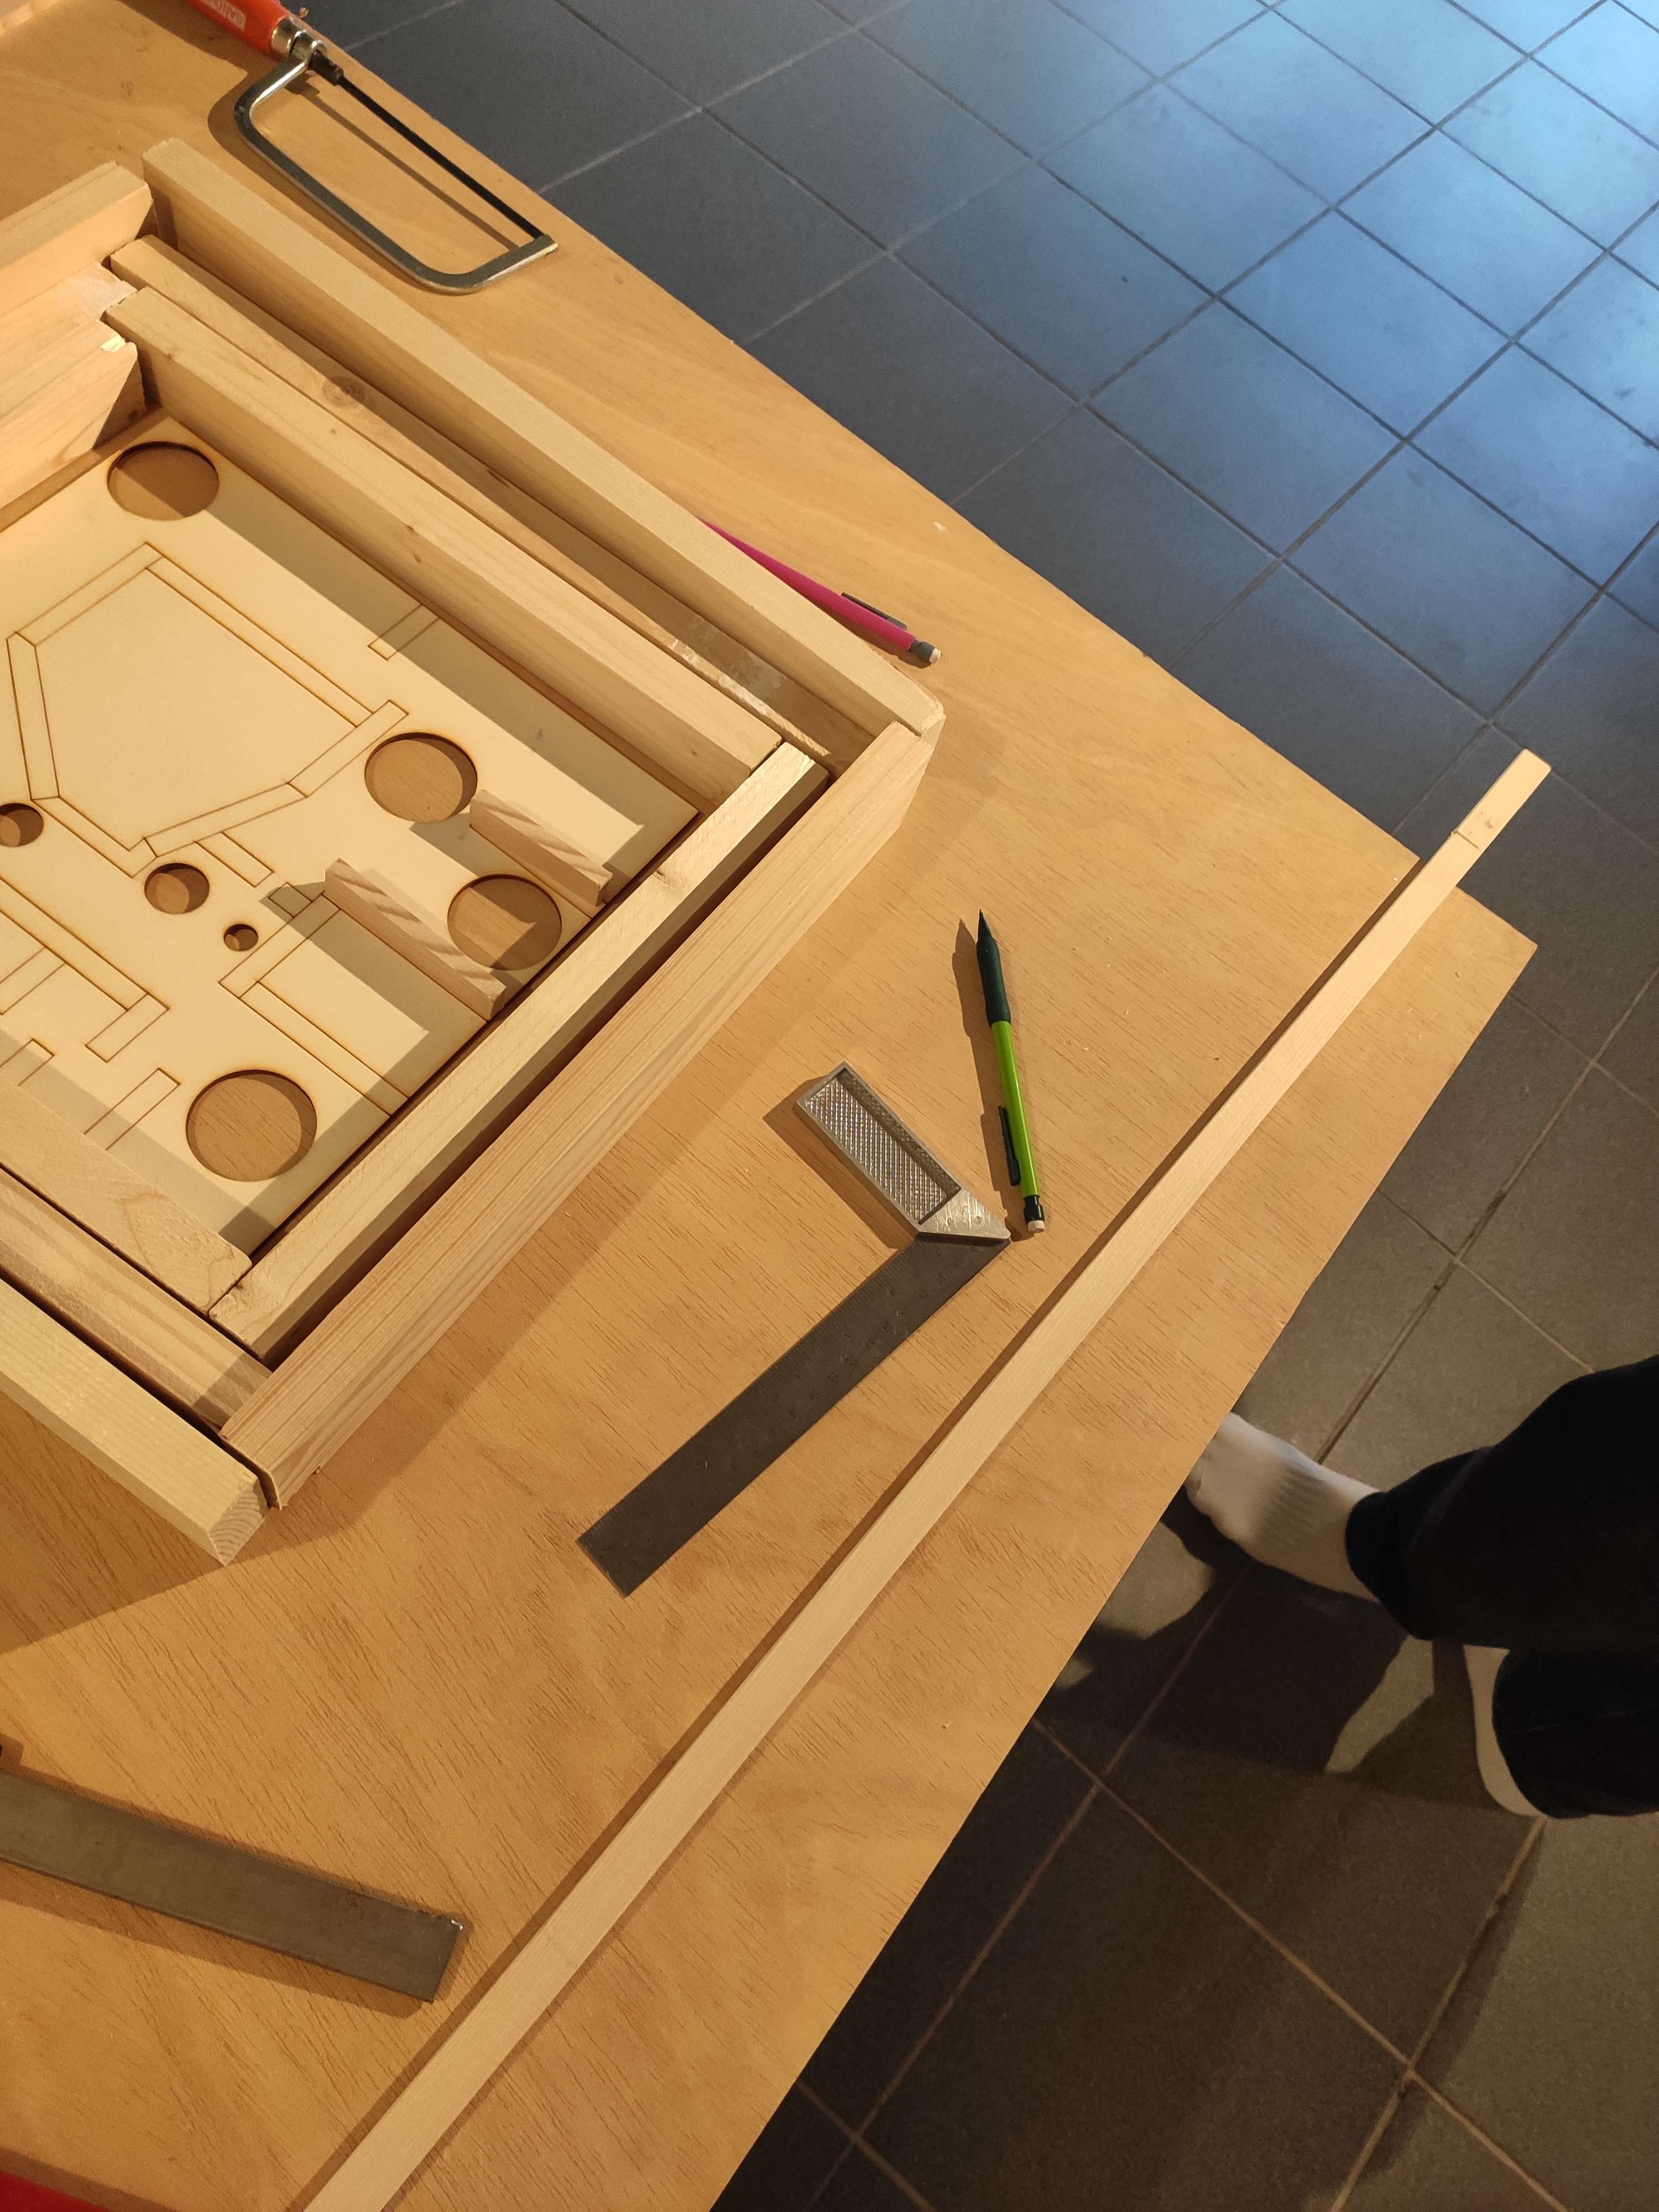
01/11/2024 at 20:47 • 0 commentsThis day started pretty fine, we finished screwing the frame, making sure the dimensions aren't messed up and the maze can fit inside.
![]()
We started cutting the supports for the maze out of the planks used for the walls because there was a lot left over.
![]()
And also started drilling holes in the frame so that we can join them together using the steel rod.
![]()
Don't mind the marking they were for the supports later on.
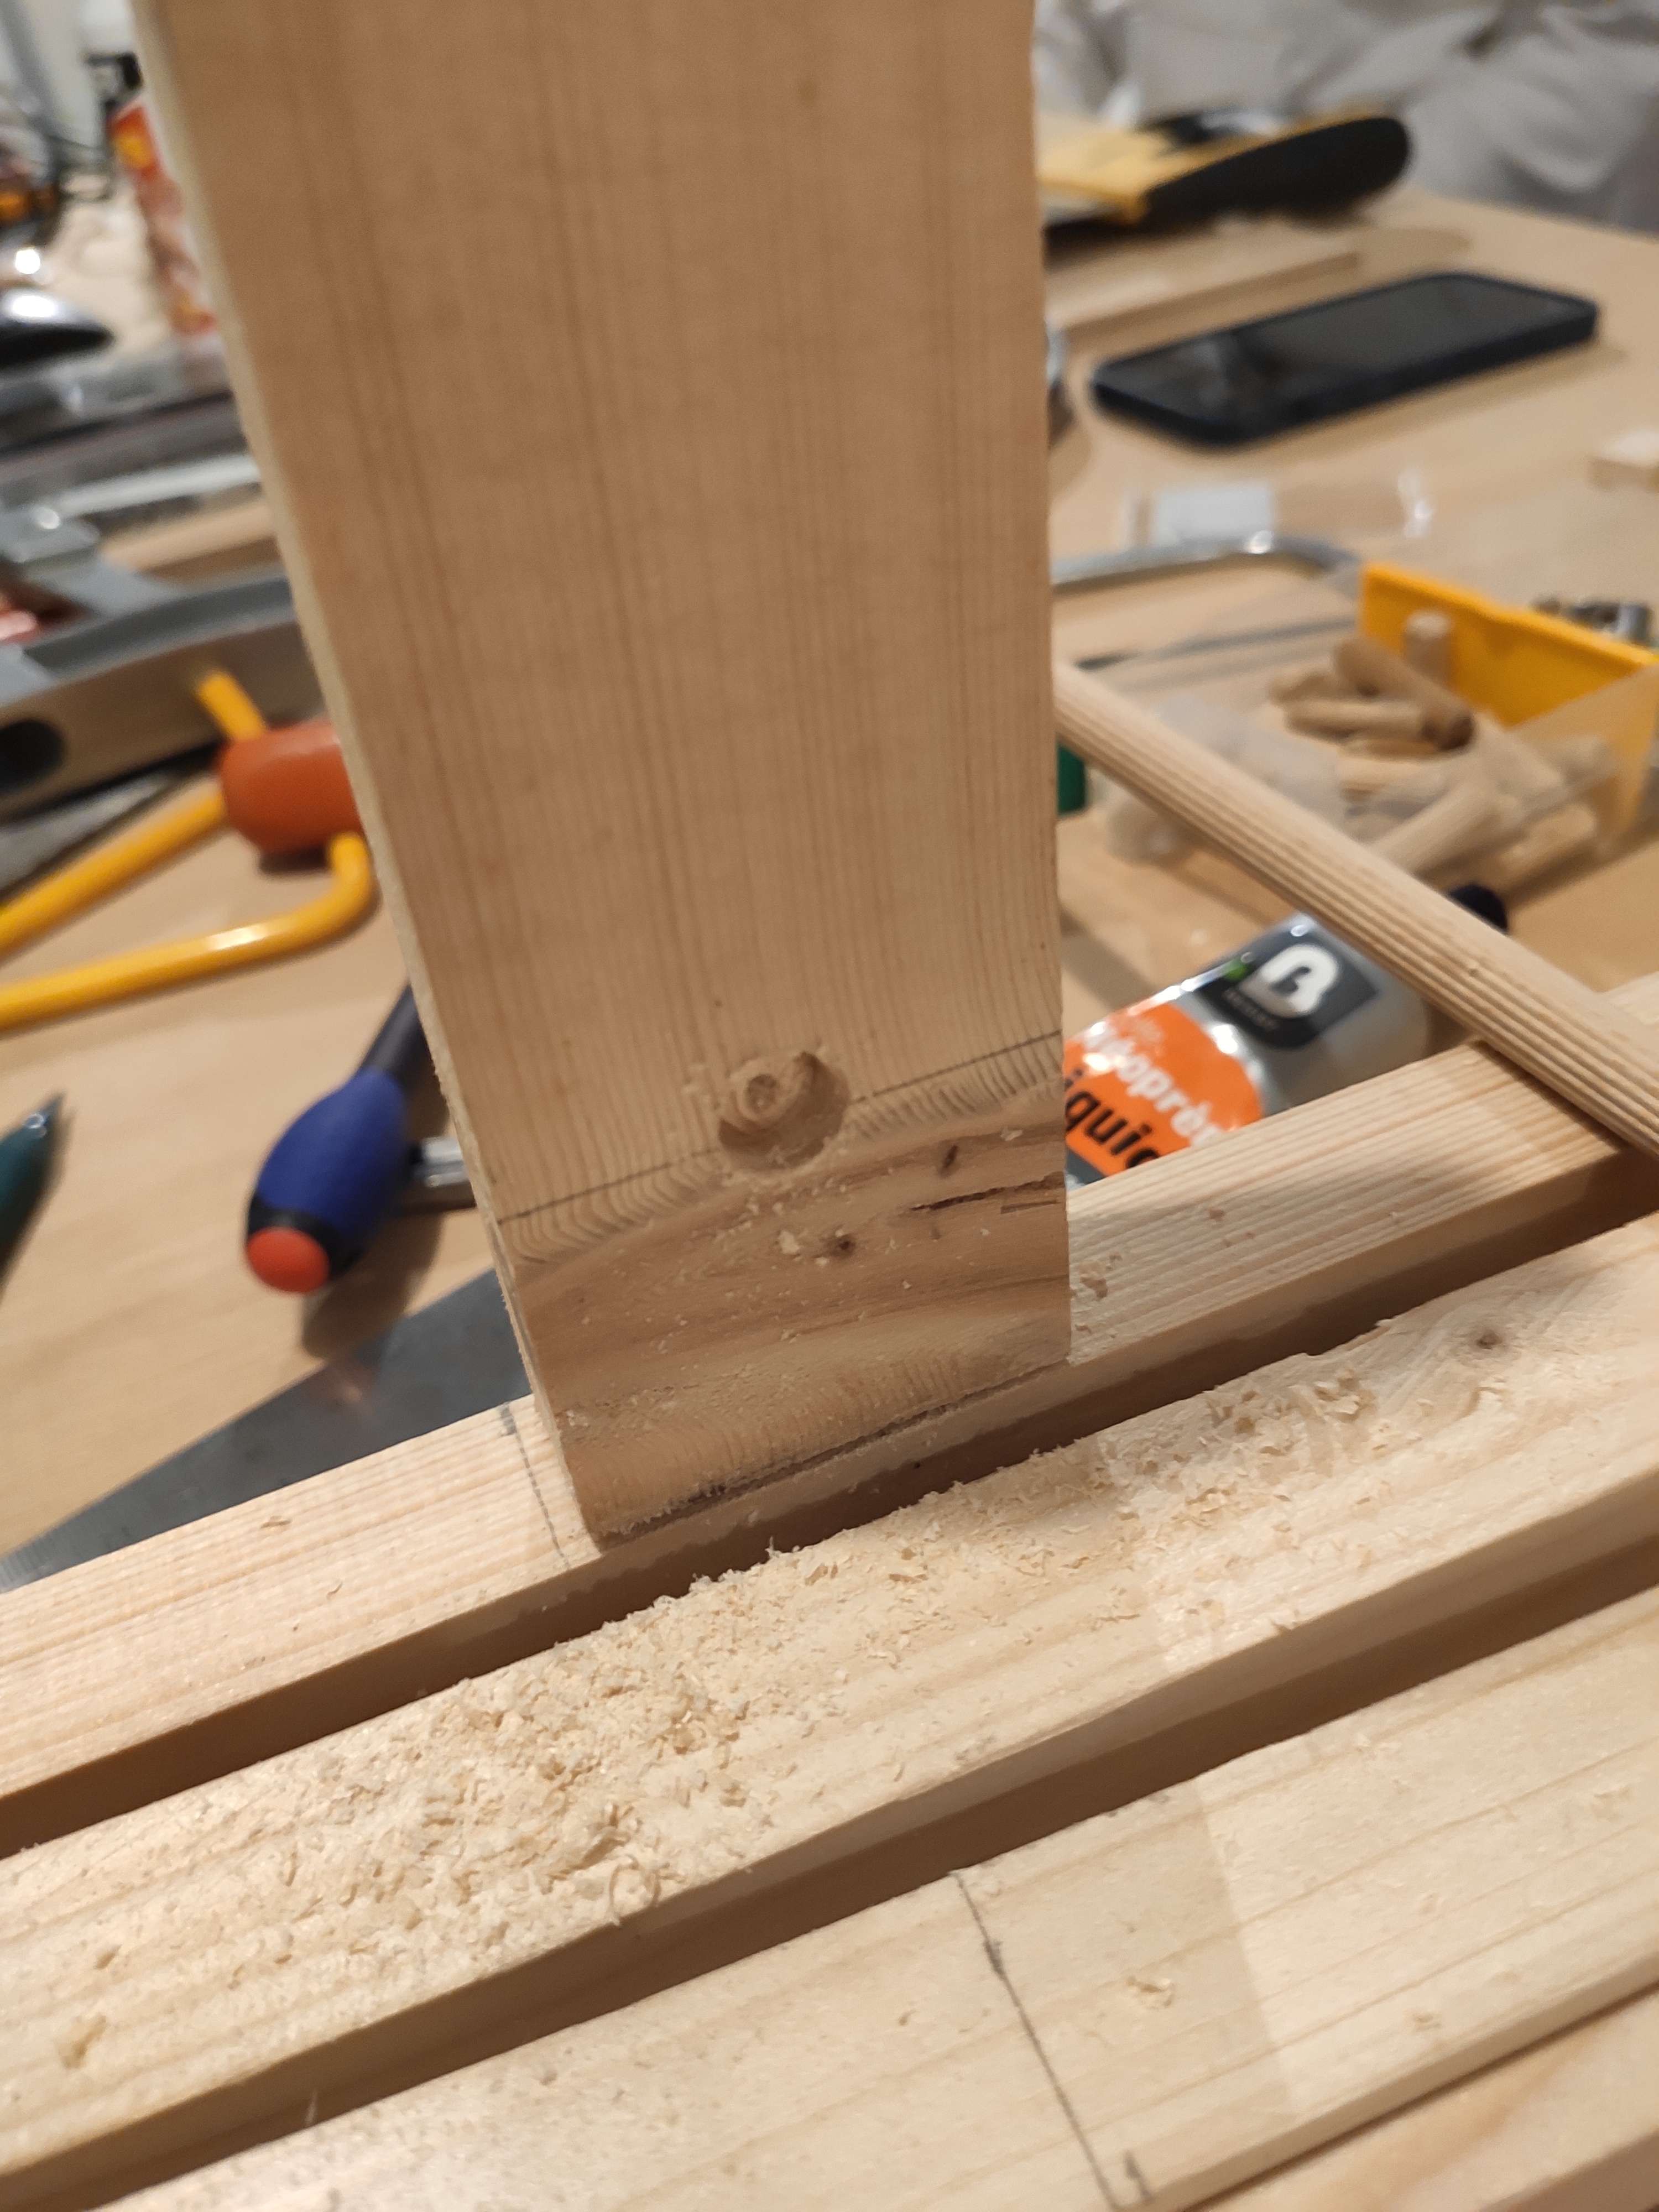
We managed to drill the holes in the right spot on the first try (at least for the first frame).
![]()
For the inside frame, the hole went all the way through, unlike for the second frame which only goes in about 1 cm. The bits of steel rod we cut were 3.7 cm each. We were going to plug the holes using the supports for the frame.
![]()
This is were the problems started.
First, one of our members was testing the code for the motors to make sure they still worked : One of them didn't.
Second, when testing the motors, he accidentally left the arduino plugged in his pc when the arduino had already a 12V battery attached to it. This fried his screen and it couldn't display anything anymore.
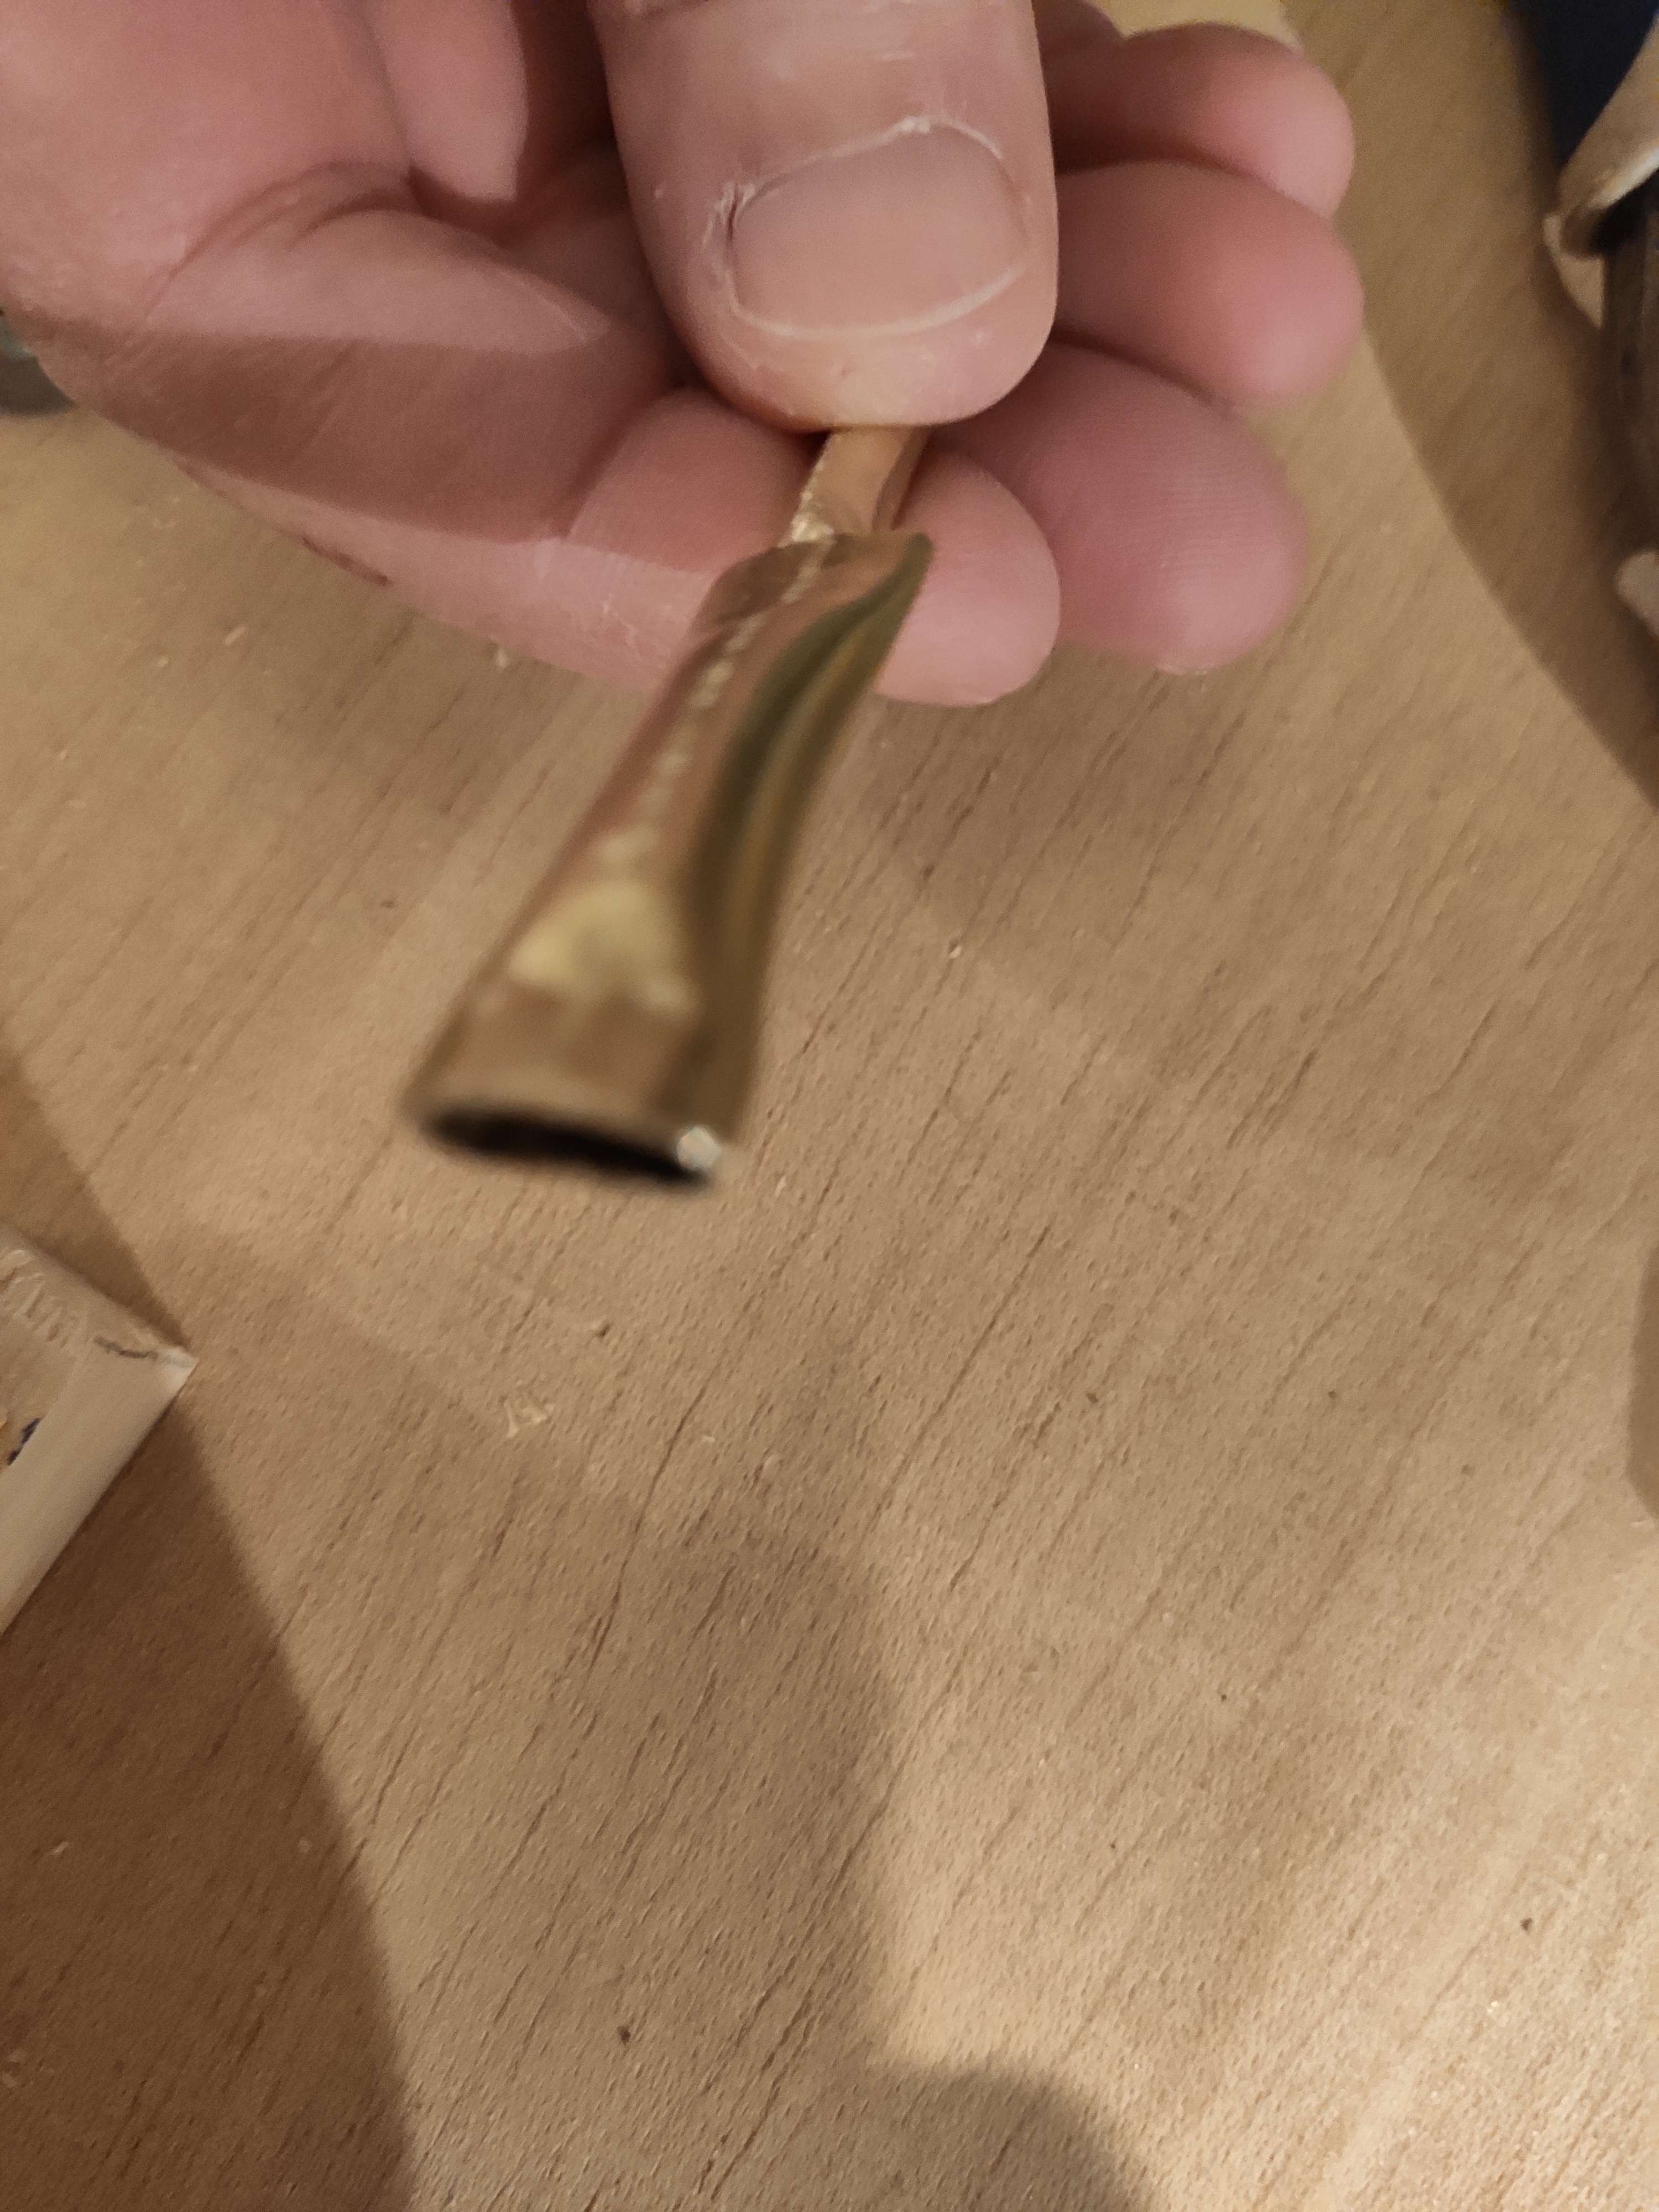
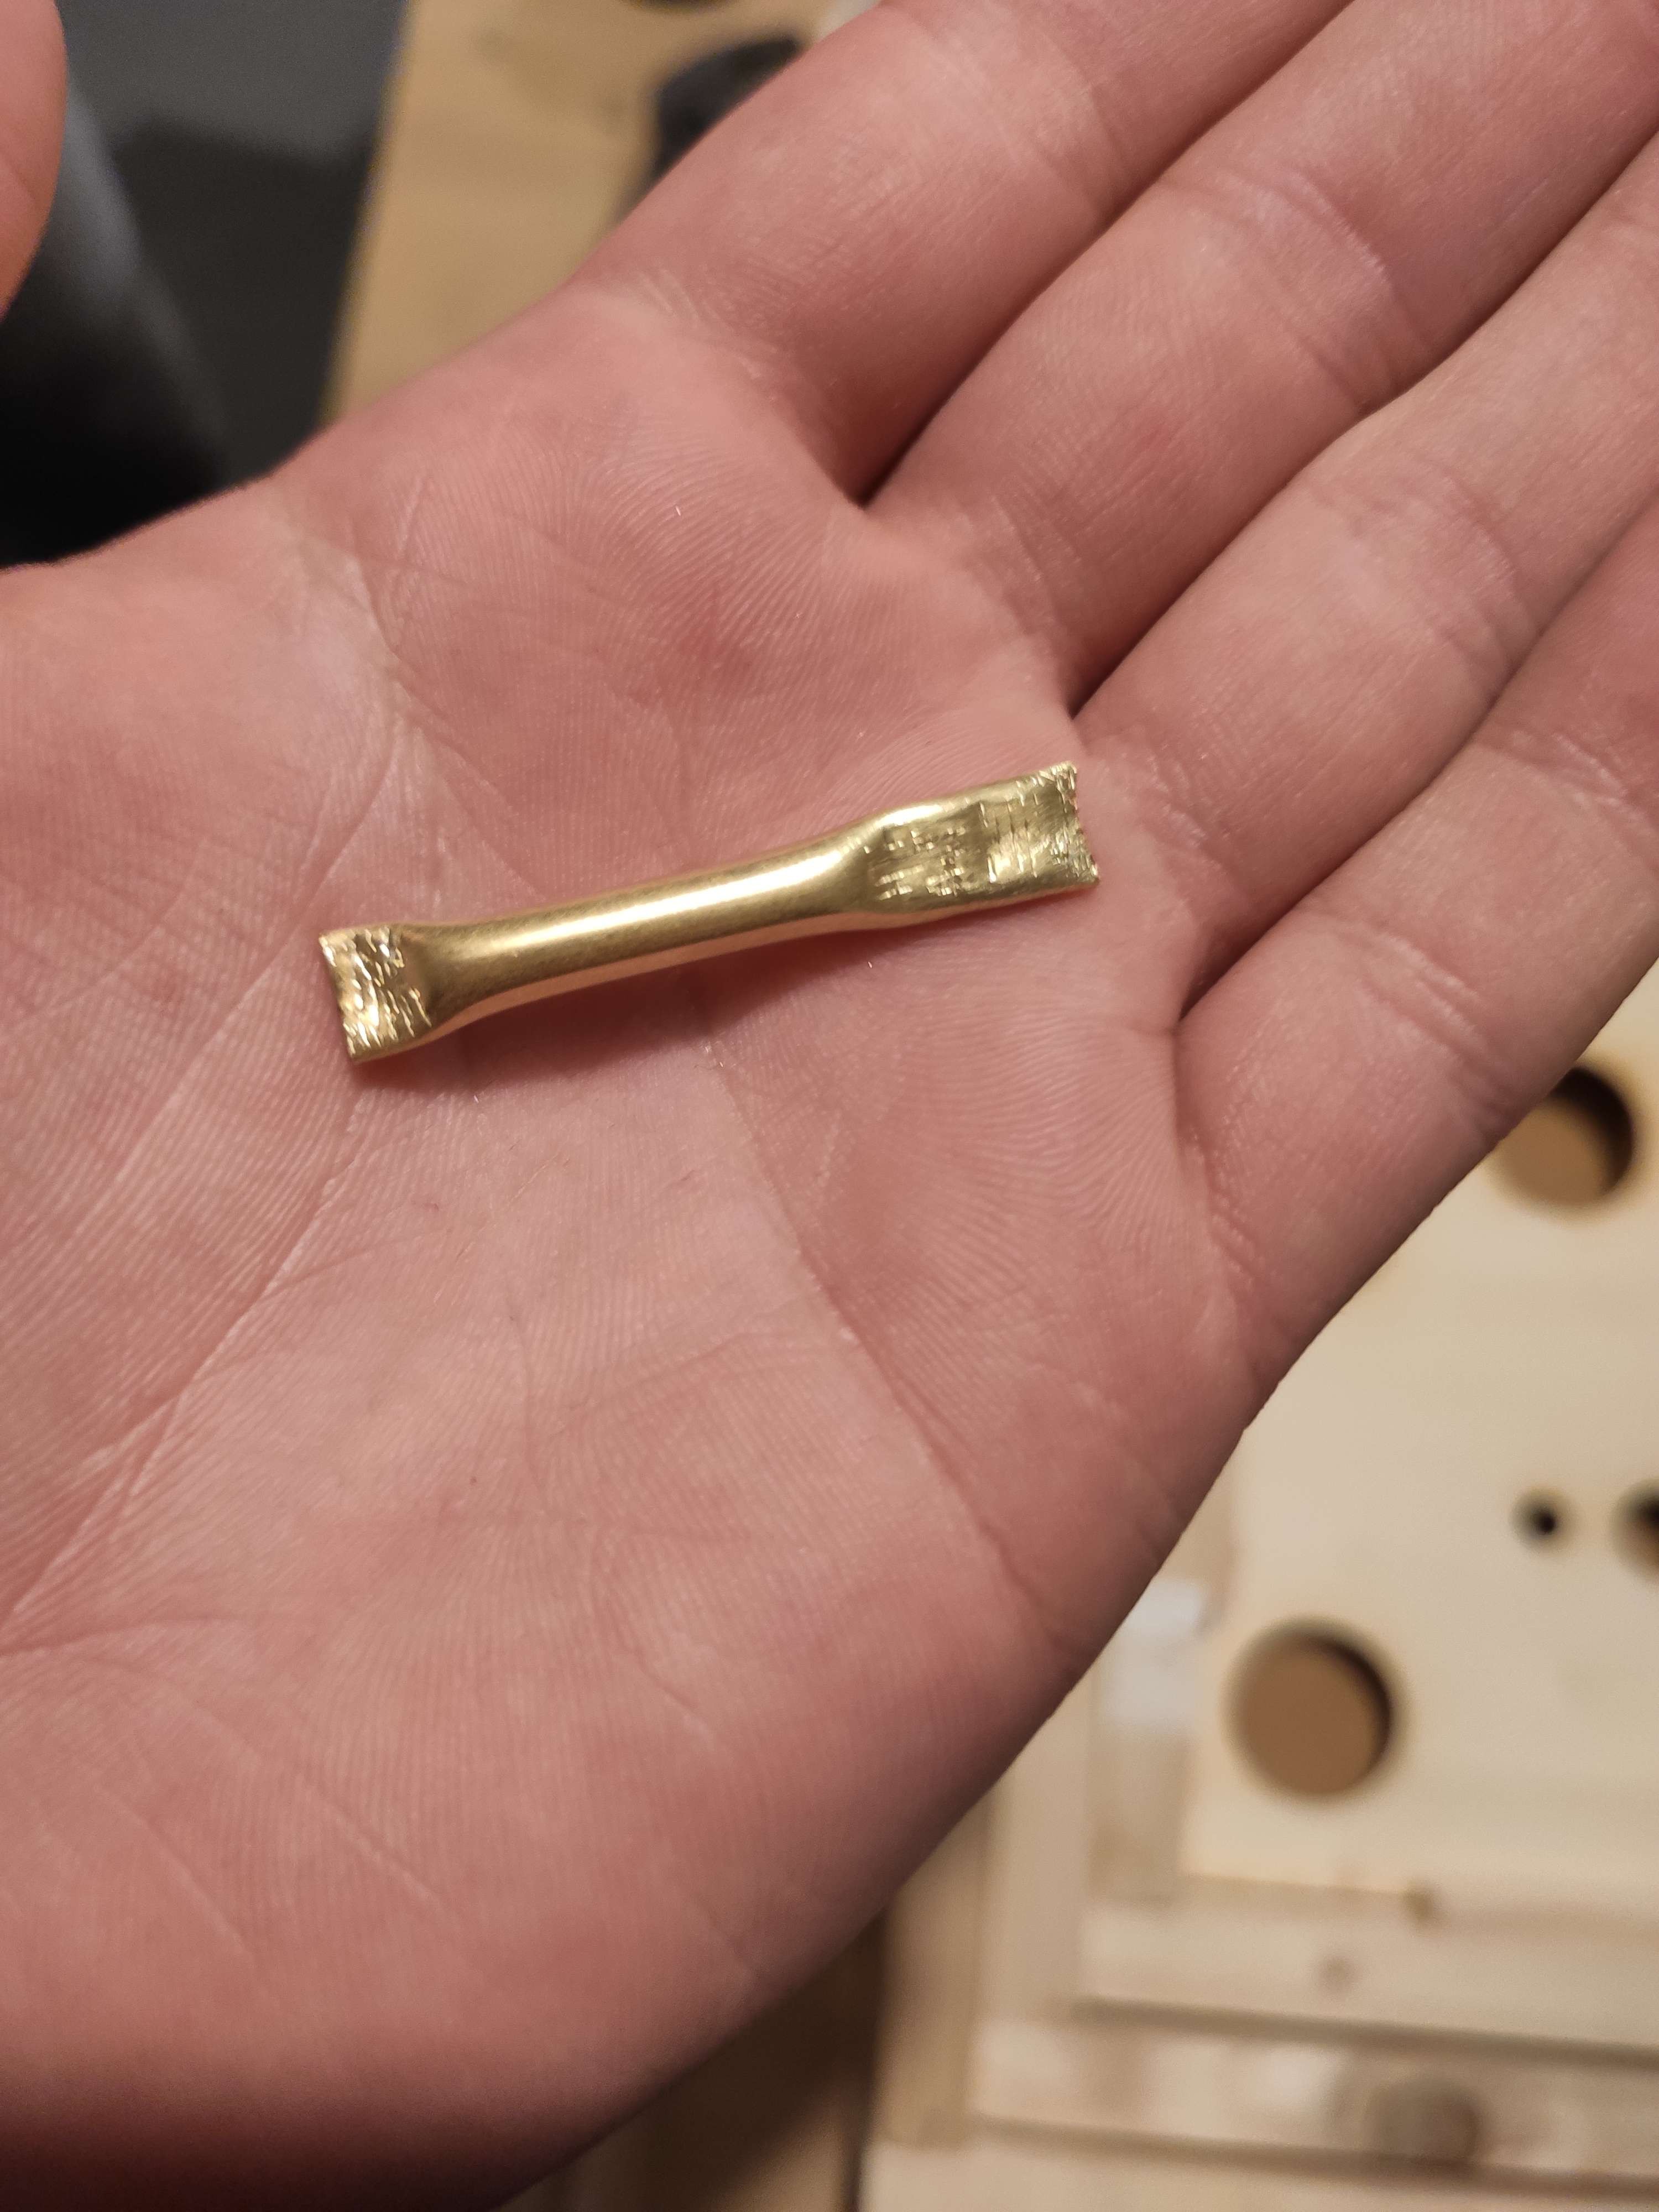
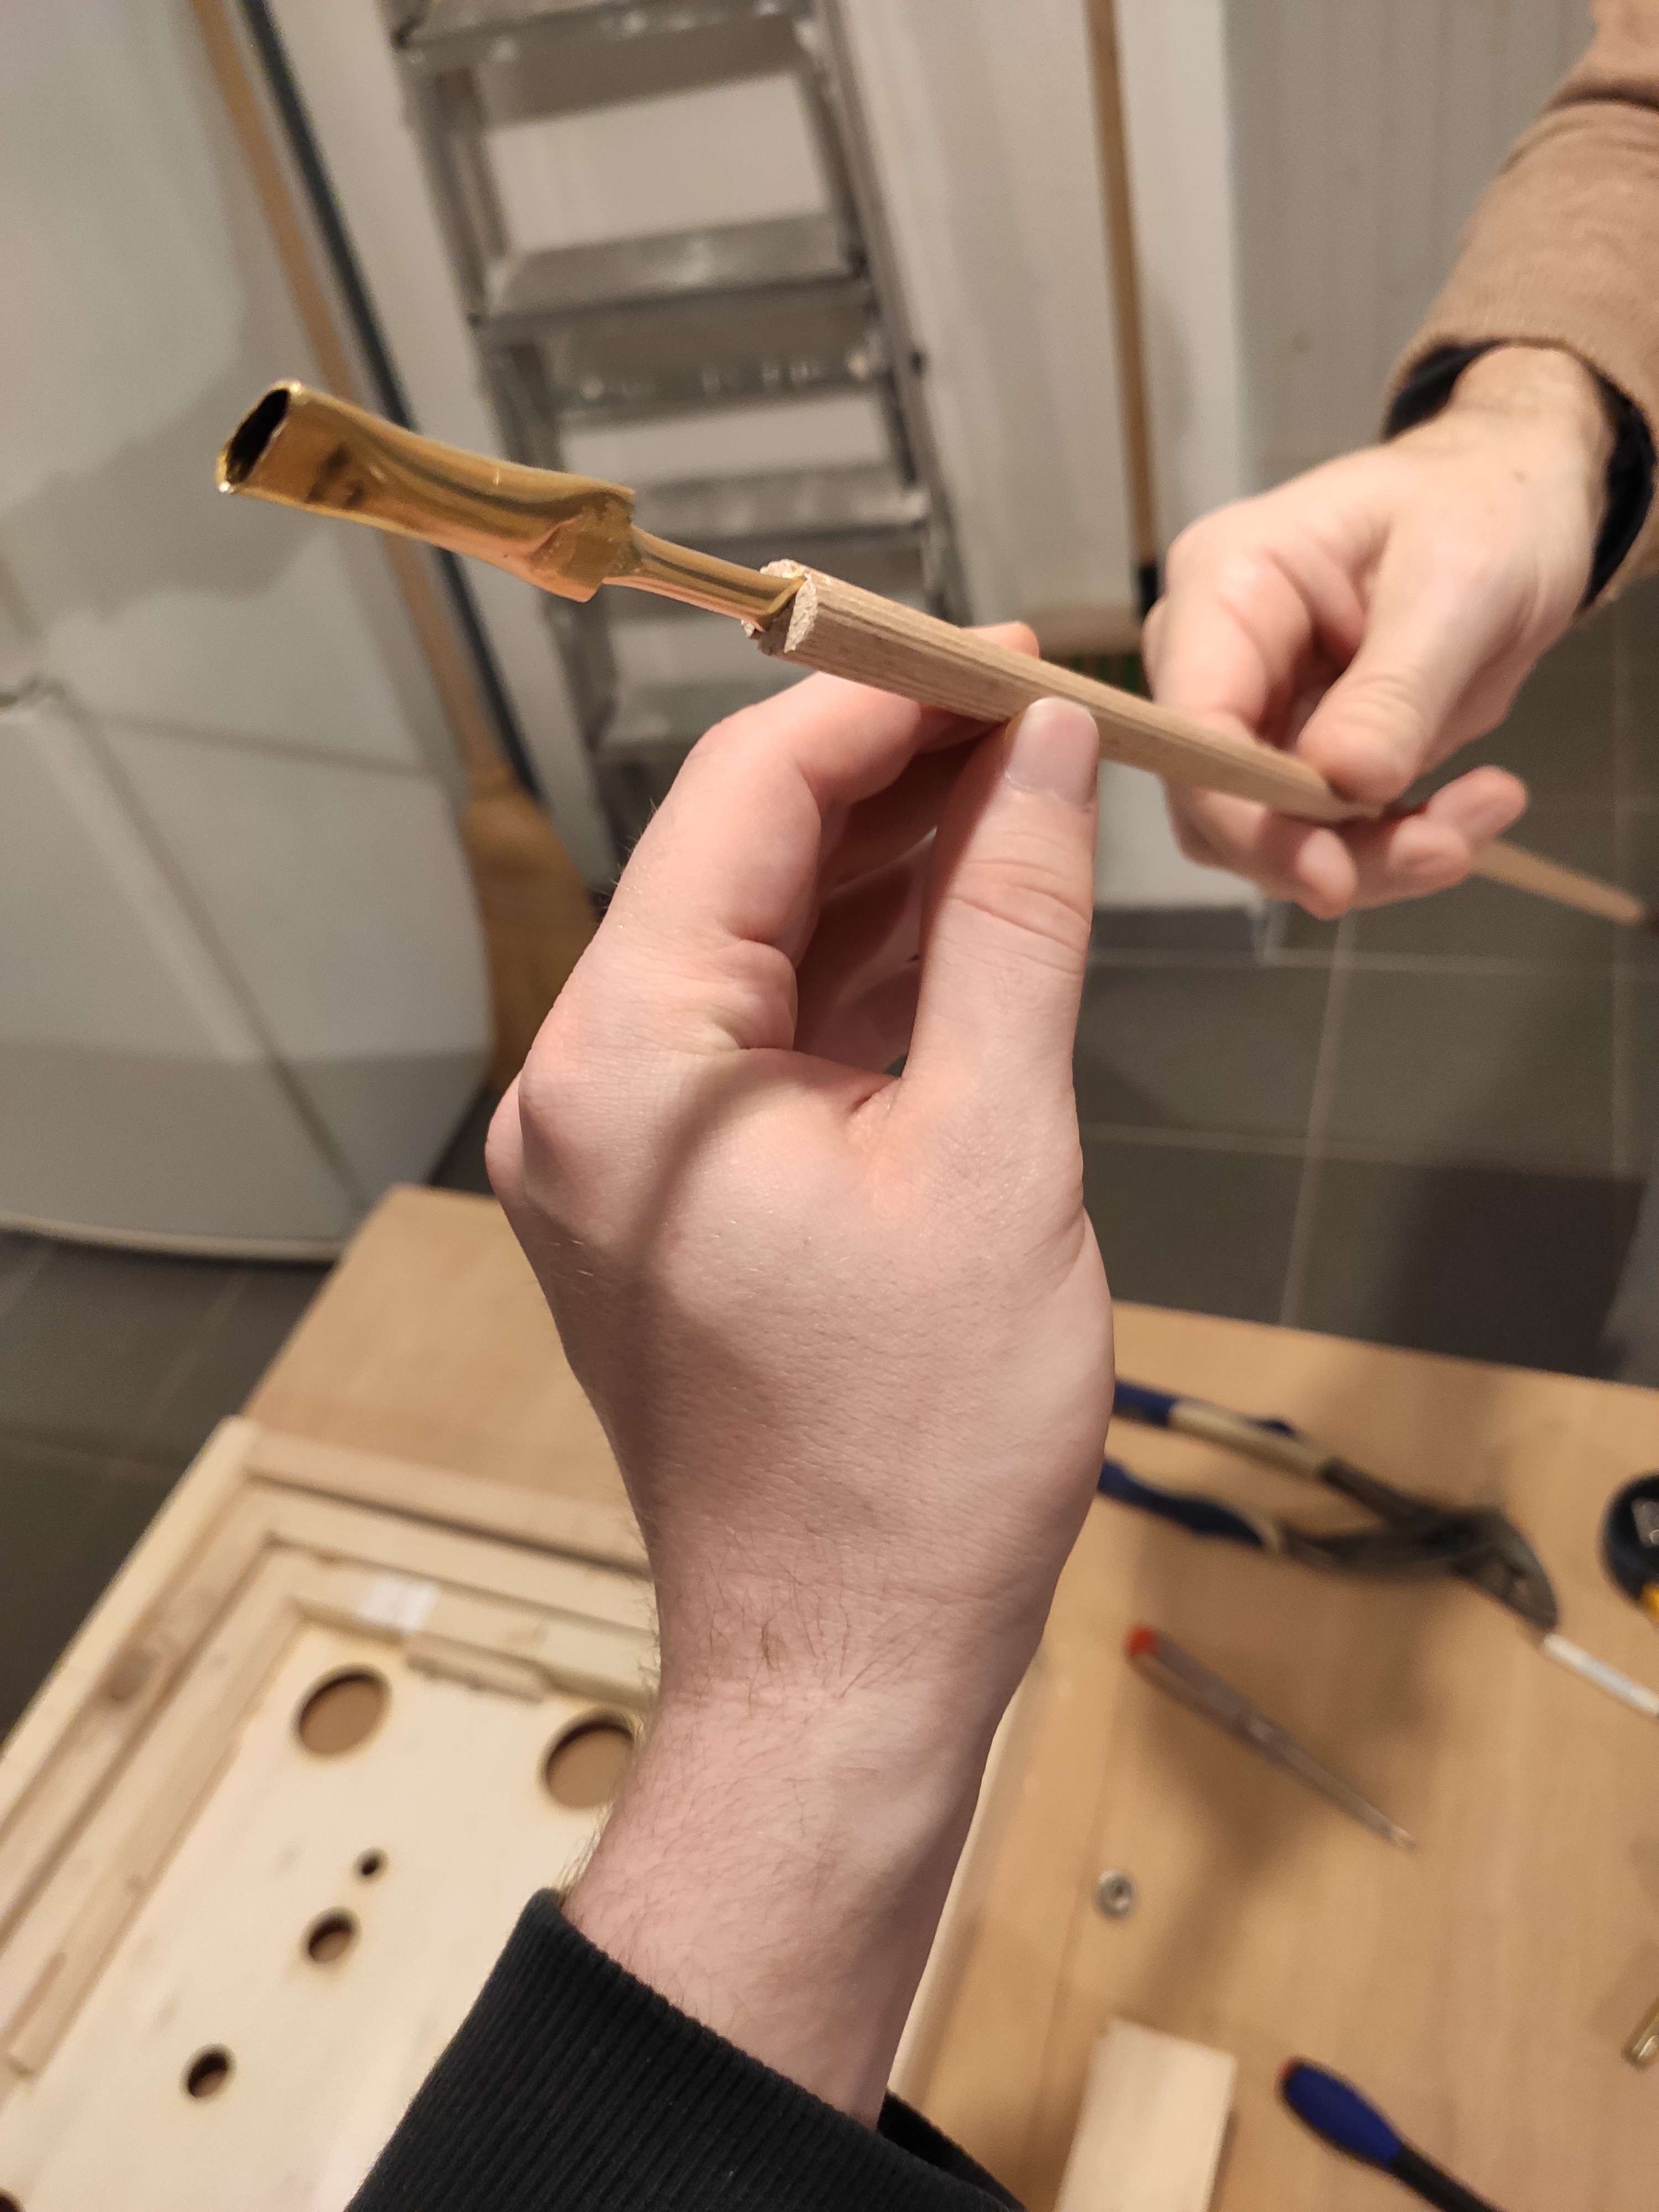
This is what was planned originally for the motors : they were going to be snugged inside a brass tubing (8mm diameter before being squeezed) which had a 5mm brass tubing snugged inside, wich was going to squeezed flat inside a wooden rod.
![]()
_
![]()
_
![]()
_
![]()
-
06/01/24 New Years building starts
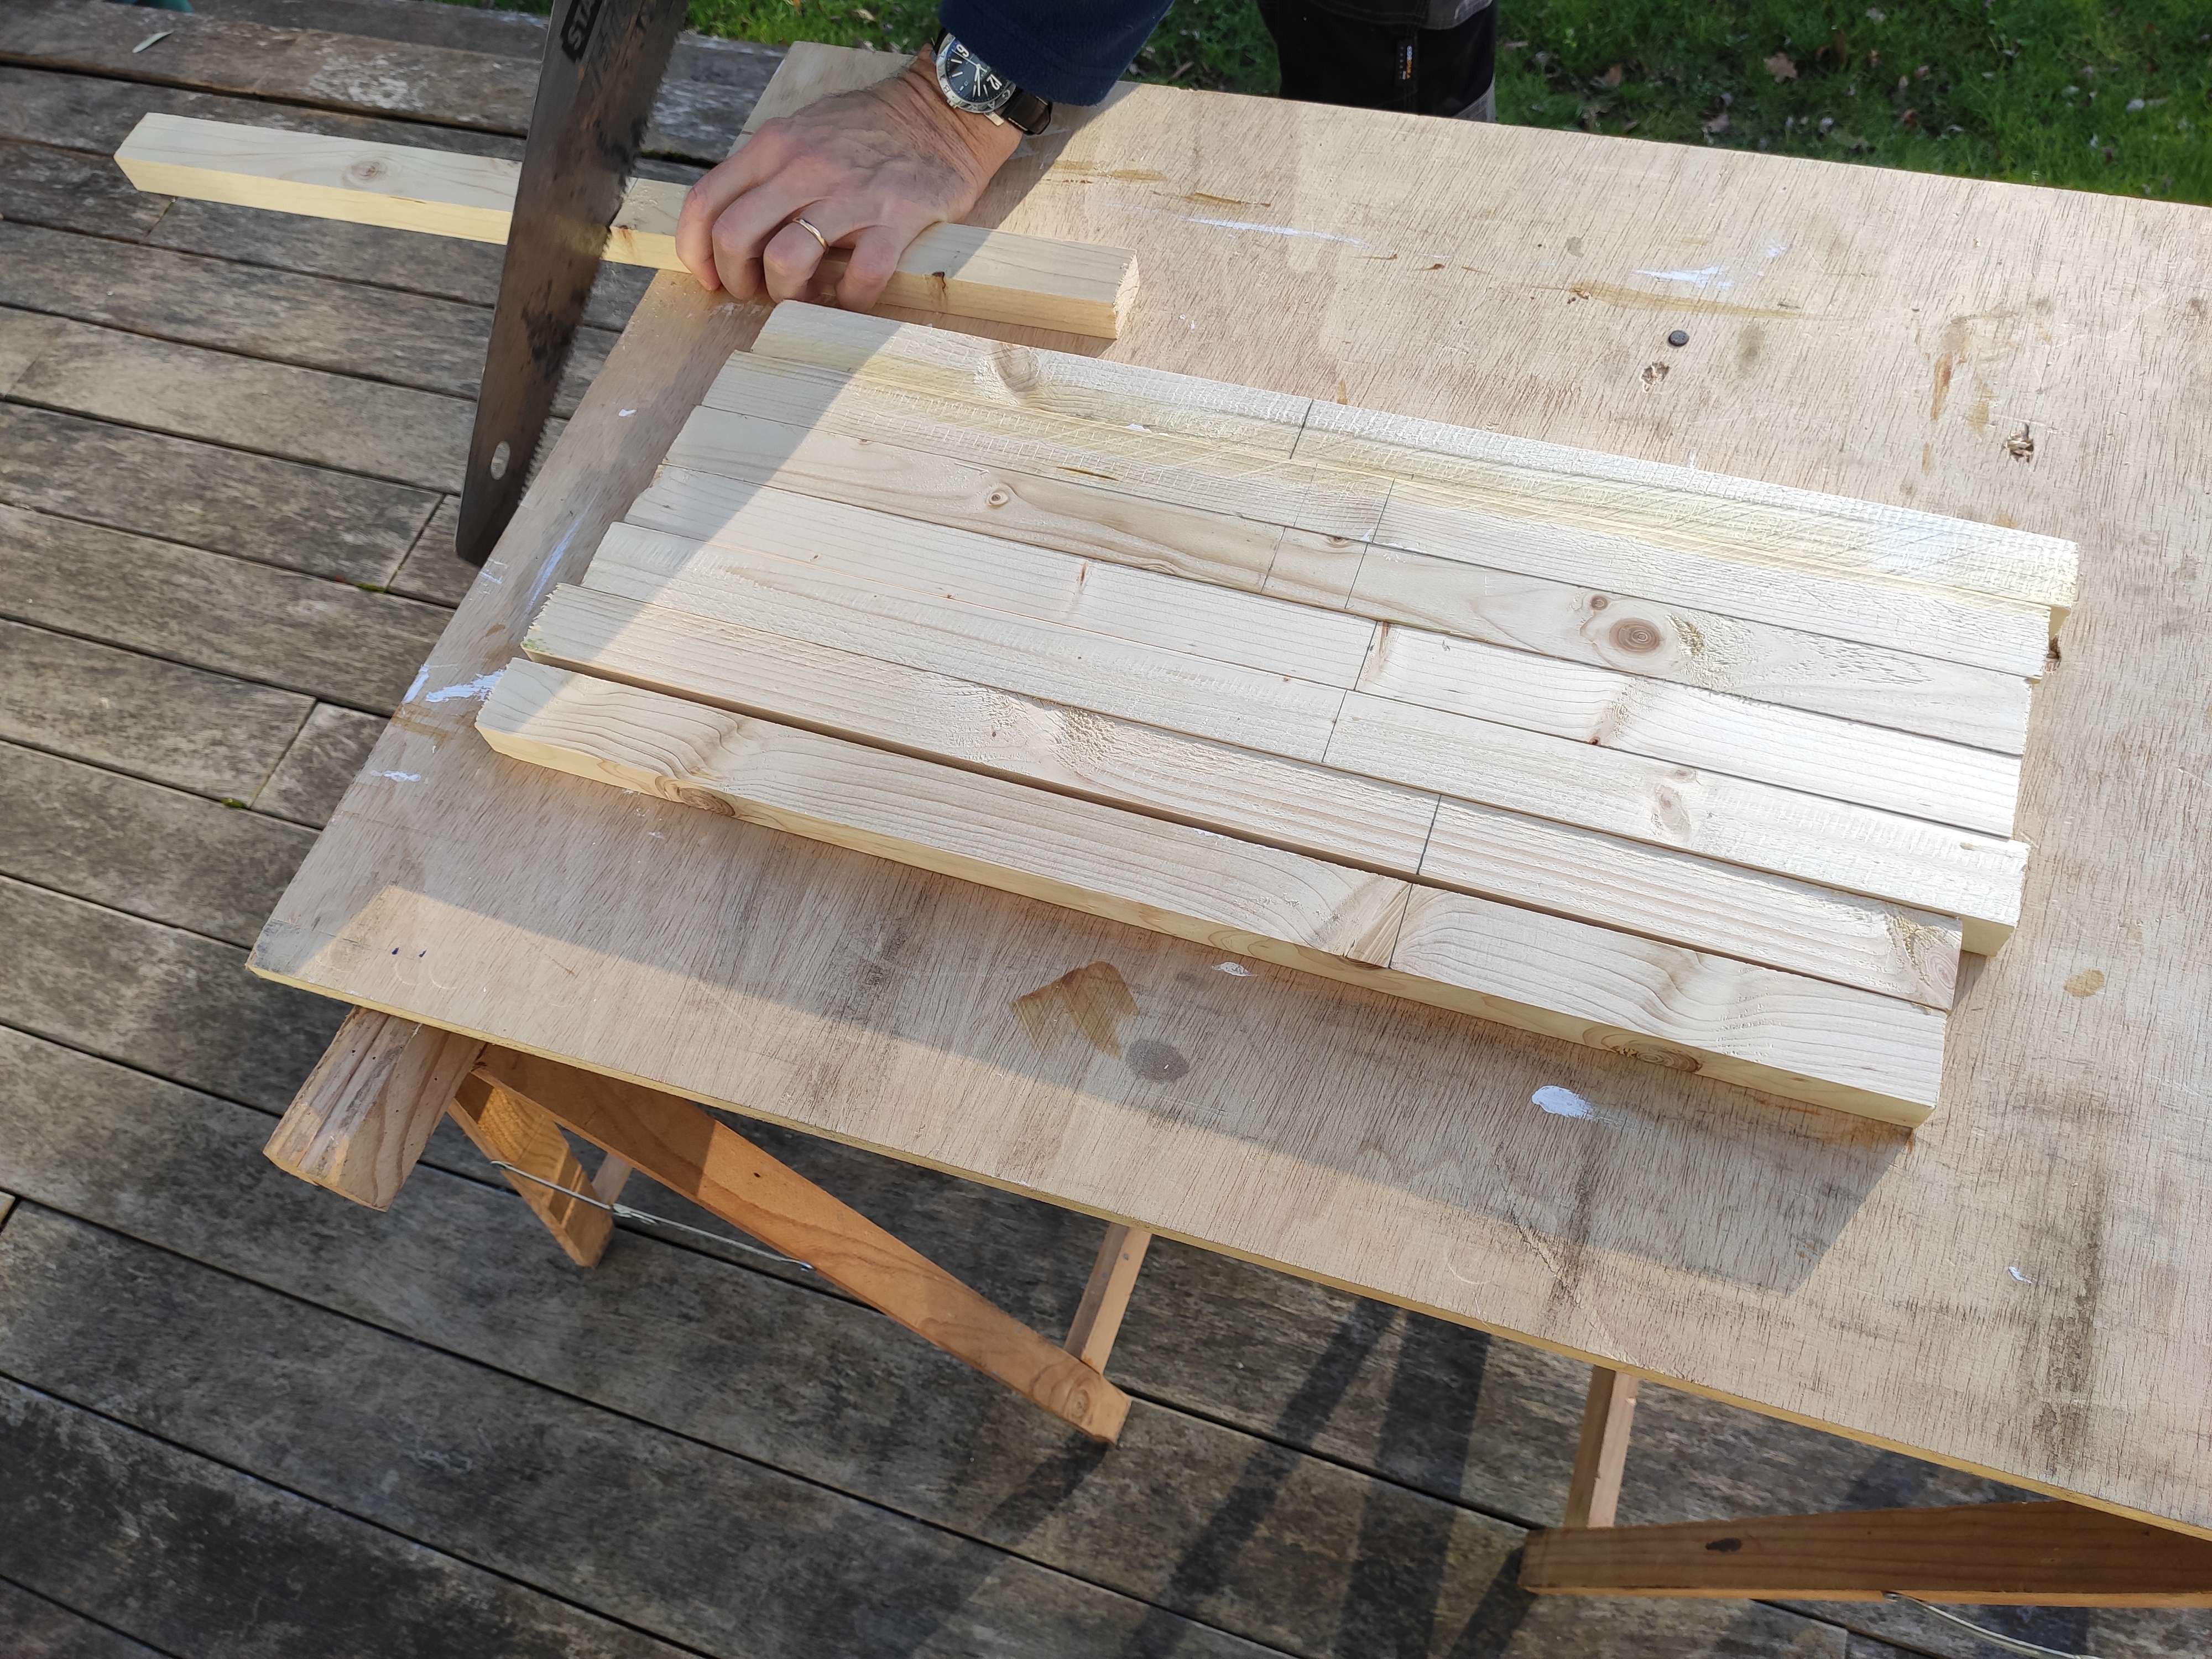
01/11/2024 at 20:25 • 0 commentsThis is when we actually started making the maze for real. The first step was to cut the 2500mm planks we bought in small pieces to match the pattern on the maze, making walls.
![]()
This took a while because there were many small pieces (about 24). We glued them to the maze and moved on to the next step : screwing the frame together.
![]()
We tried to stay realtively in the center of the planks because they were quite thin and we didn't want to break them. We used 4 x 35 mm screws.
![]()
![]()
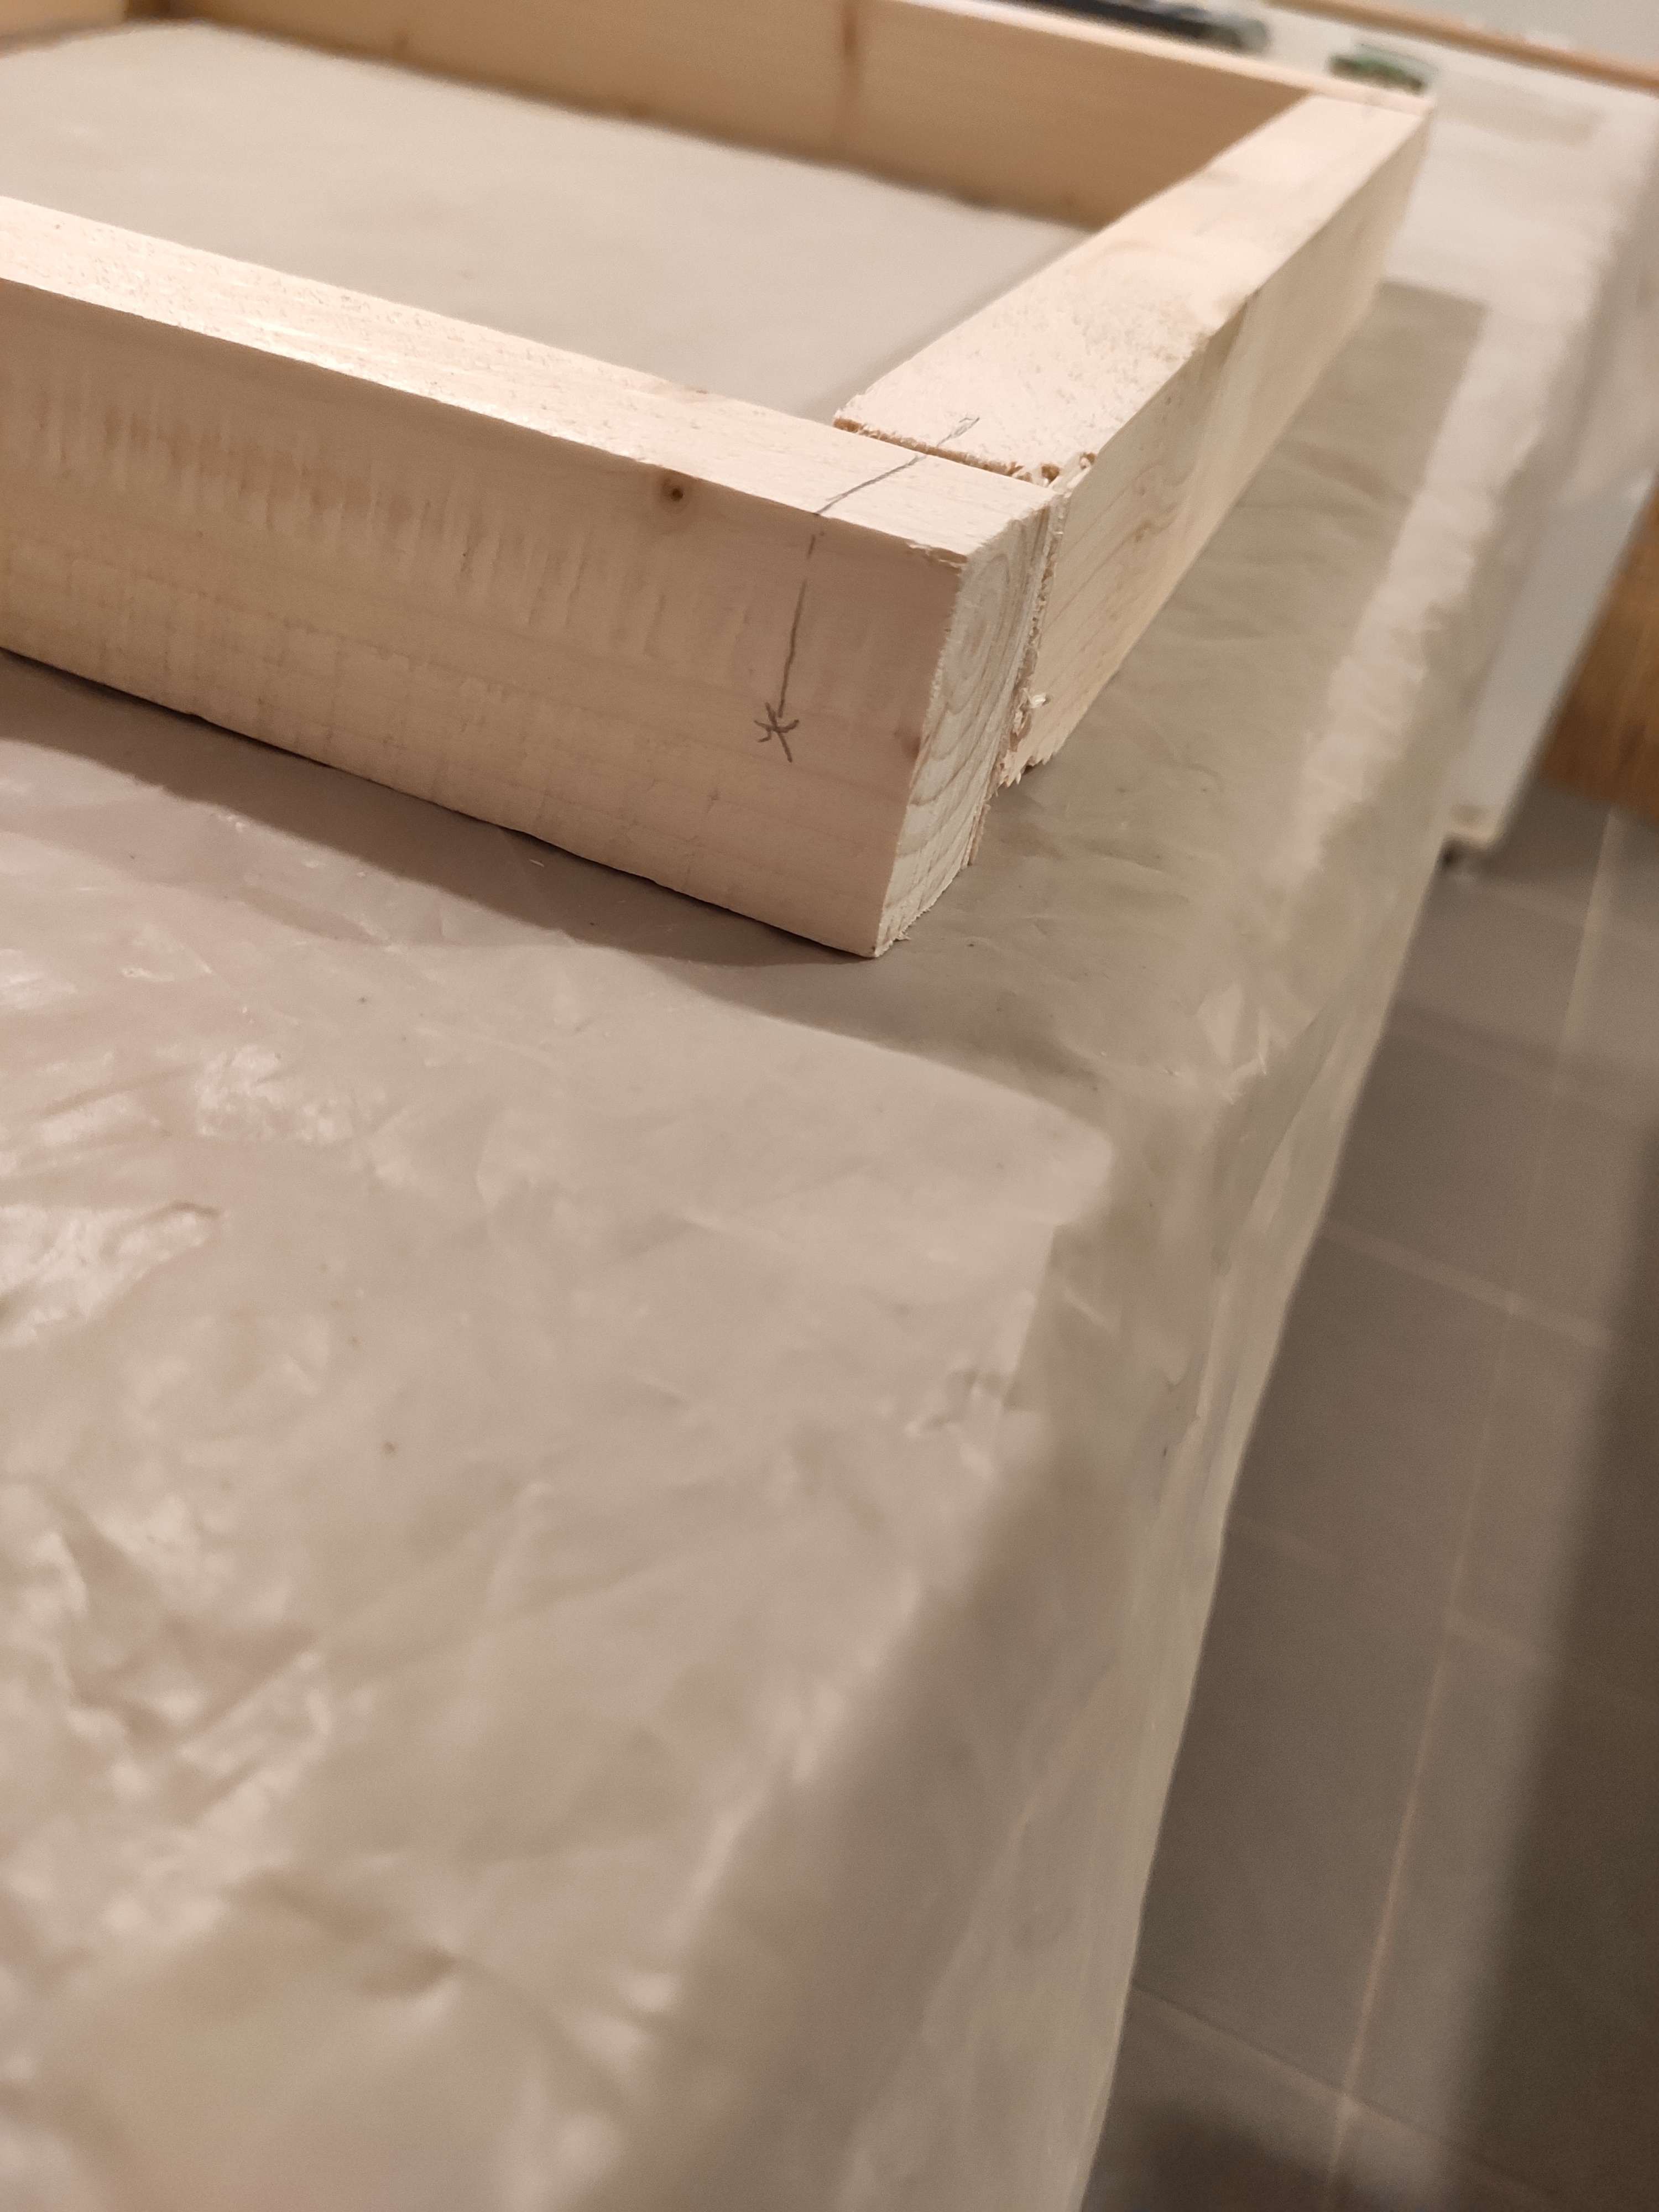
We messed up a bit on the last frame and had to adjust the length of one of the planks by joining two bits together with glue and dowellings.
![]()
The maze had finished drying and we called it a day.
![]()
-
29/12 Buying the materials
01/11/2024 at 20:10 • 0 comments![]()
We went to the store with the intent to buy this time, and this is what we ended up with :
2 wooden rods : 500m length 10mm diameter
1 steel rod : 500mm length 7mm diameter
2 wooden planks : 2500 x 10 x 15mm
We already had the other planks ready from an earlier session on the 17th (December). Take a look at the "Intsructions" of this project for the exact measurements. The sketch of the maze was 3D printed on the 21st.
![]()
-
21/12 Finishing the code
01/11/2024 at 20:02 • 0 commentsOn this day we finished the coding part. Both our infrared sensors and the speaker were working fine. Fine-tuning the distance of the sensor would come after making the wooden part.
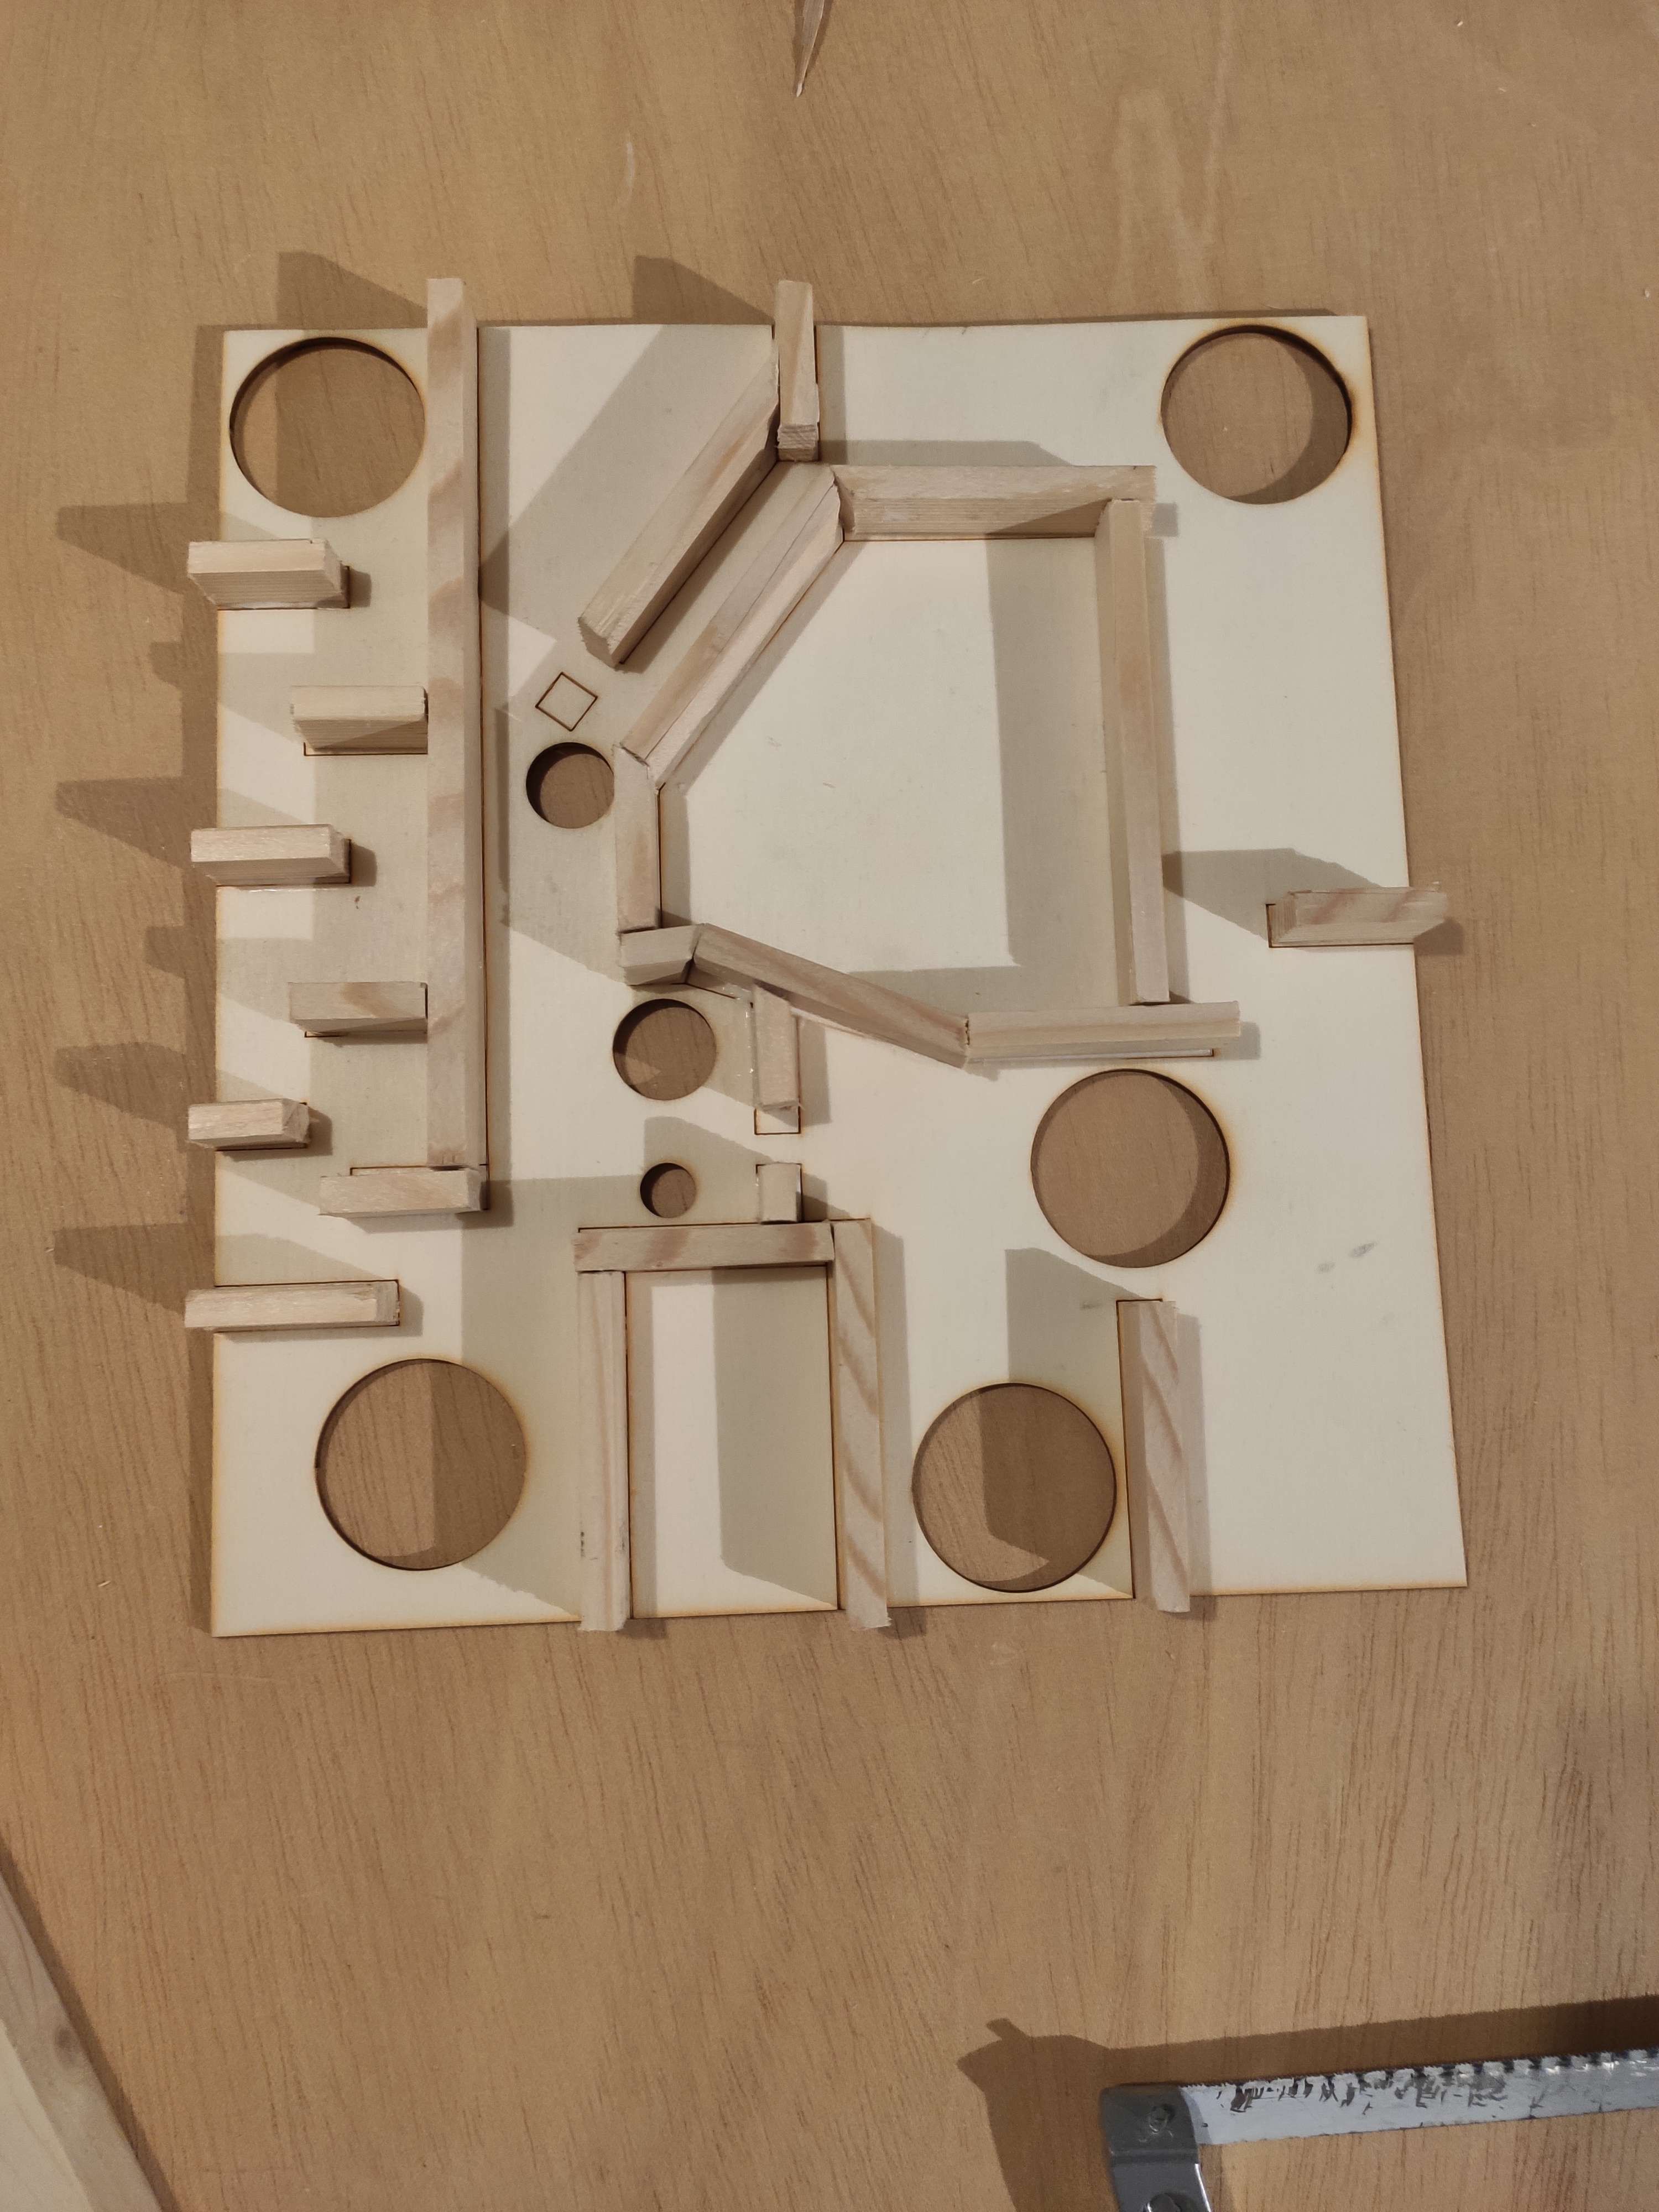
We also 3D printed the sketch of the maze (27.4 x 30 cm)
-
13/12 Choosing the materials
01/11/2024 at 20:00 • 0 commentsOn this day, after debating about how the maze was going to look like, we went to a DIY store 'Leroy Merlin' to get an idea of what we wanted to use. We picked out a few types of planks, string and rods that could've been useful.
We also might not have enough time to make everything we wanted, the labyrinth comes first.
-
30/11 3D modeling
11/30/2023 at 11:56 • 0 commentsThere was a lot of progress this month but we are still behind on schedule. We decided to 3d print the maze and laser cut the frame and box. We have part of the code and know how the maze is going to look like.
The two frames will be on the same level as the maze and connected by rods from below to the motors.
The ball will then fall in the box below :
in either the left corridor (the correct one) or the right corridor (the wrong one). Laser sensors will be used to monitor which corridor the ball falls in and act accordingly.
-
19/10 Ball maze
10/19/2023 at 16:05 • 0 commentsToday we started prototyping and making a moodboard for our project. The first "puzzle" or "minigame" will be a ball maze controlled with a joystick. You have to get the ball in the hole in order to obtain part of the code. We made a cardboard prototype that ended up giving us a few ideas on how to make it more annoying :
-a corridor with bumps (so it's harder to control) that leads into a hole that makes you start over from the beggining.
-a wall that, on contact, bounces you into a hole.
-lots of holes in spot where you need speed so you fall more easily.
For now this is the only concrete idea we have along with the final piece where you input the code with an arduino numpad.
-
12/10 : Ideation
10/12/2023 at 15:04 • 0 commentsToday was the first day of working on the main project. For now, we want to go for an escape game type of work with different puzzles that each give a piece of a password. We also want it to be intentionally aggravating, taking inspiration from "the impossible quiz", "the password game", etc...