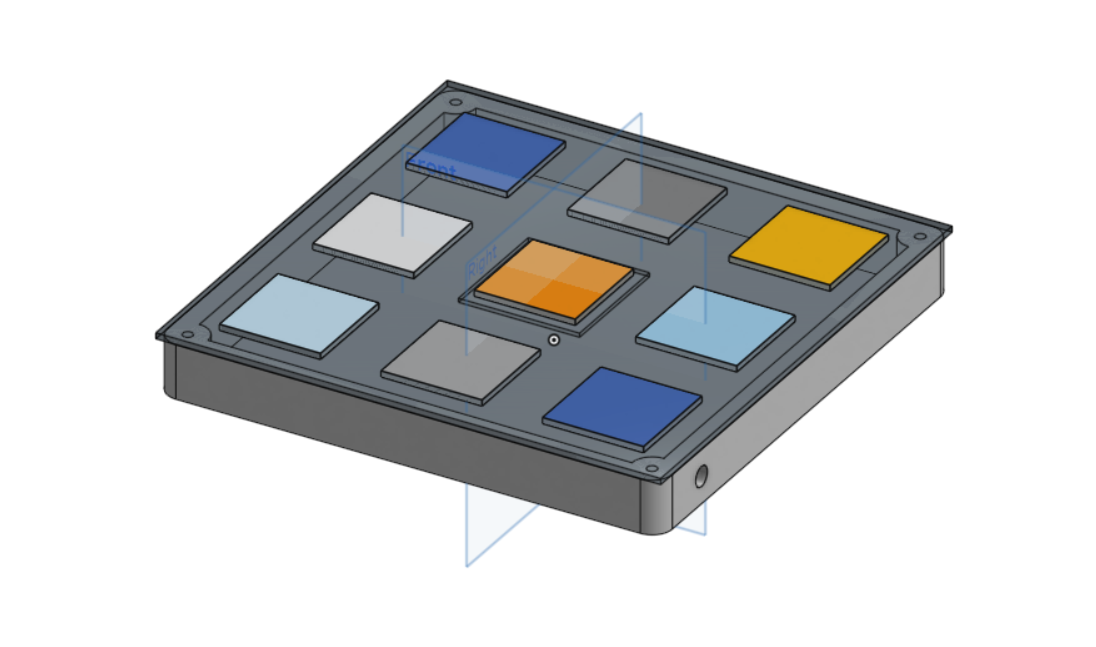
We changed our minds about the box. Instead, we used 3mm-thick wood and laser-cut it. For the plates, we cut the brass plates to 5cm by 5cm. On the box we cut an acrylic plate and made 9 holes for the plates.
We placed in the box 9 neopixels to make the controller more satisfying.
we weld all the brass plate in a pin of the arduino and we weld all the neopixels together to connect this in one pin of the arduino.
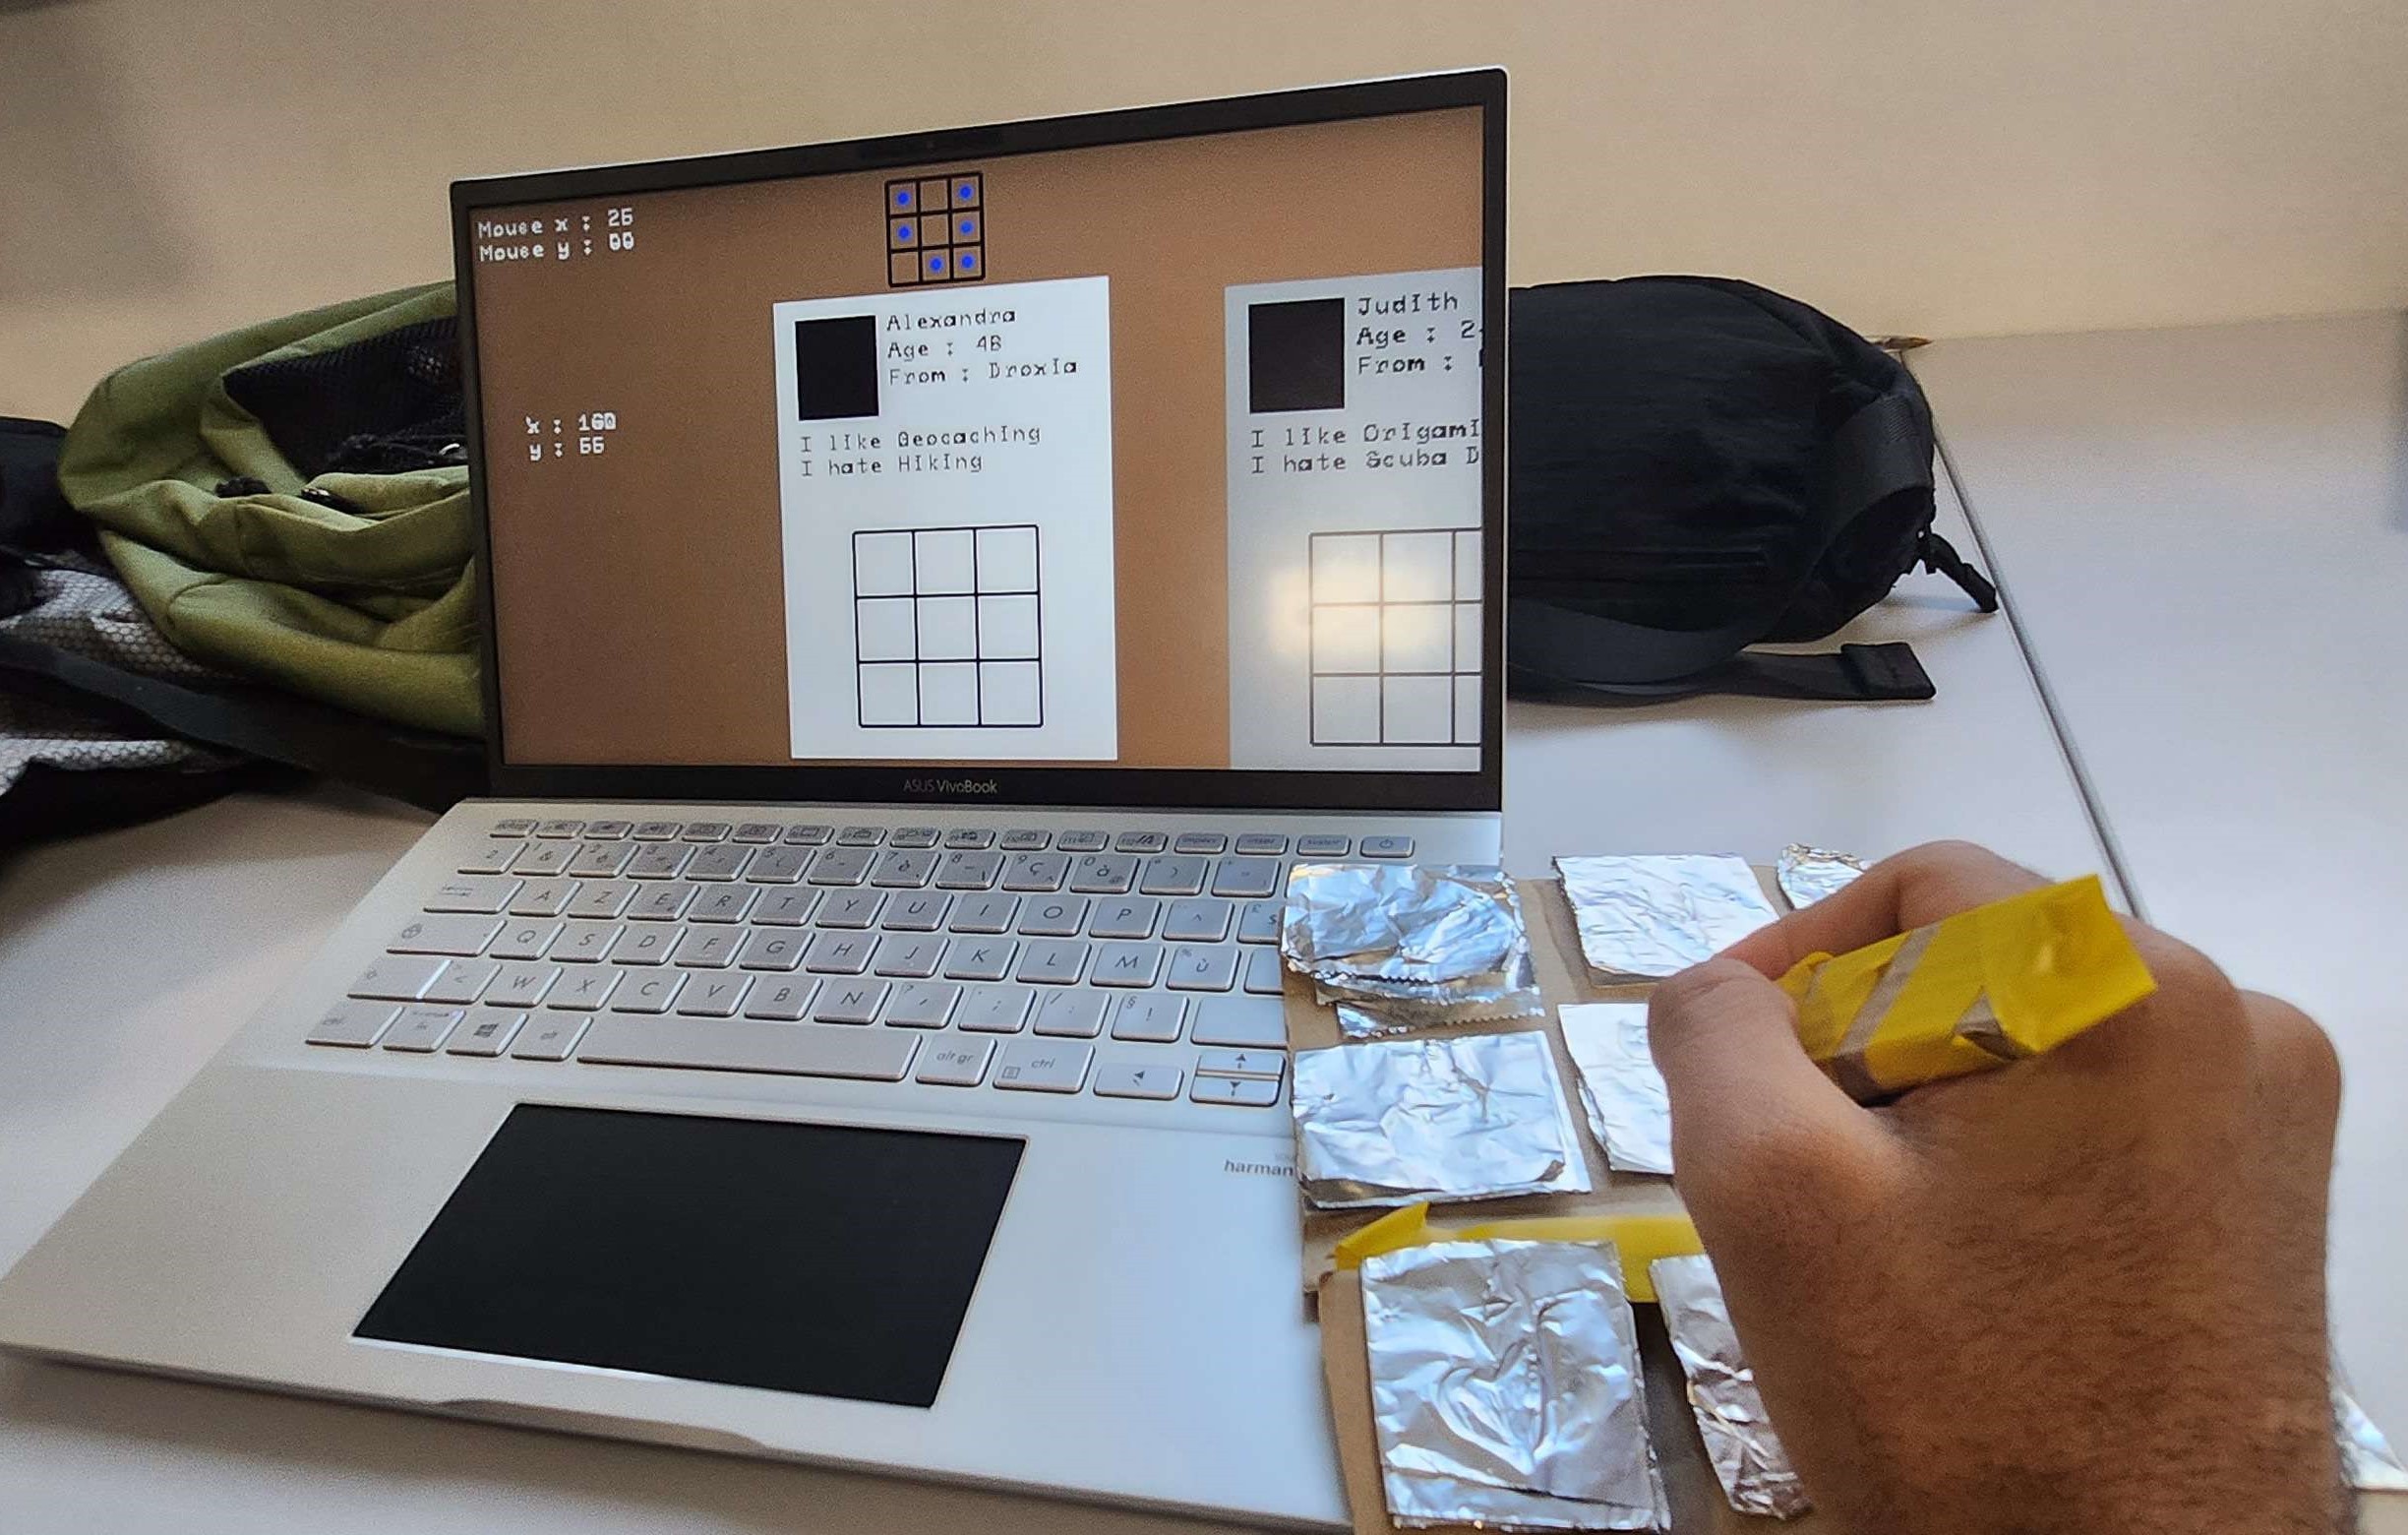
We also made the pen. In the pen we just put a round metal piece to make the contact of this piece of metal and the brass plate to makee the sign.
In this pen we have also a button that permit to change the color of the pen.
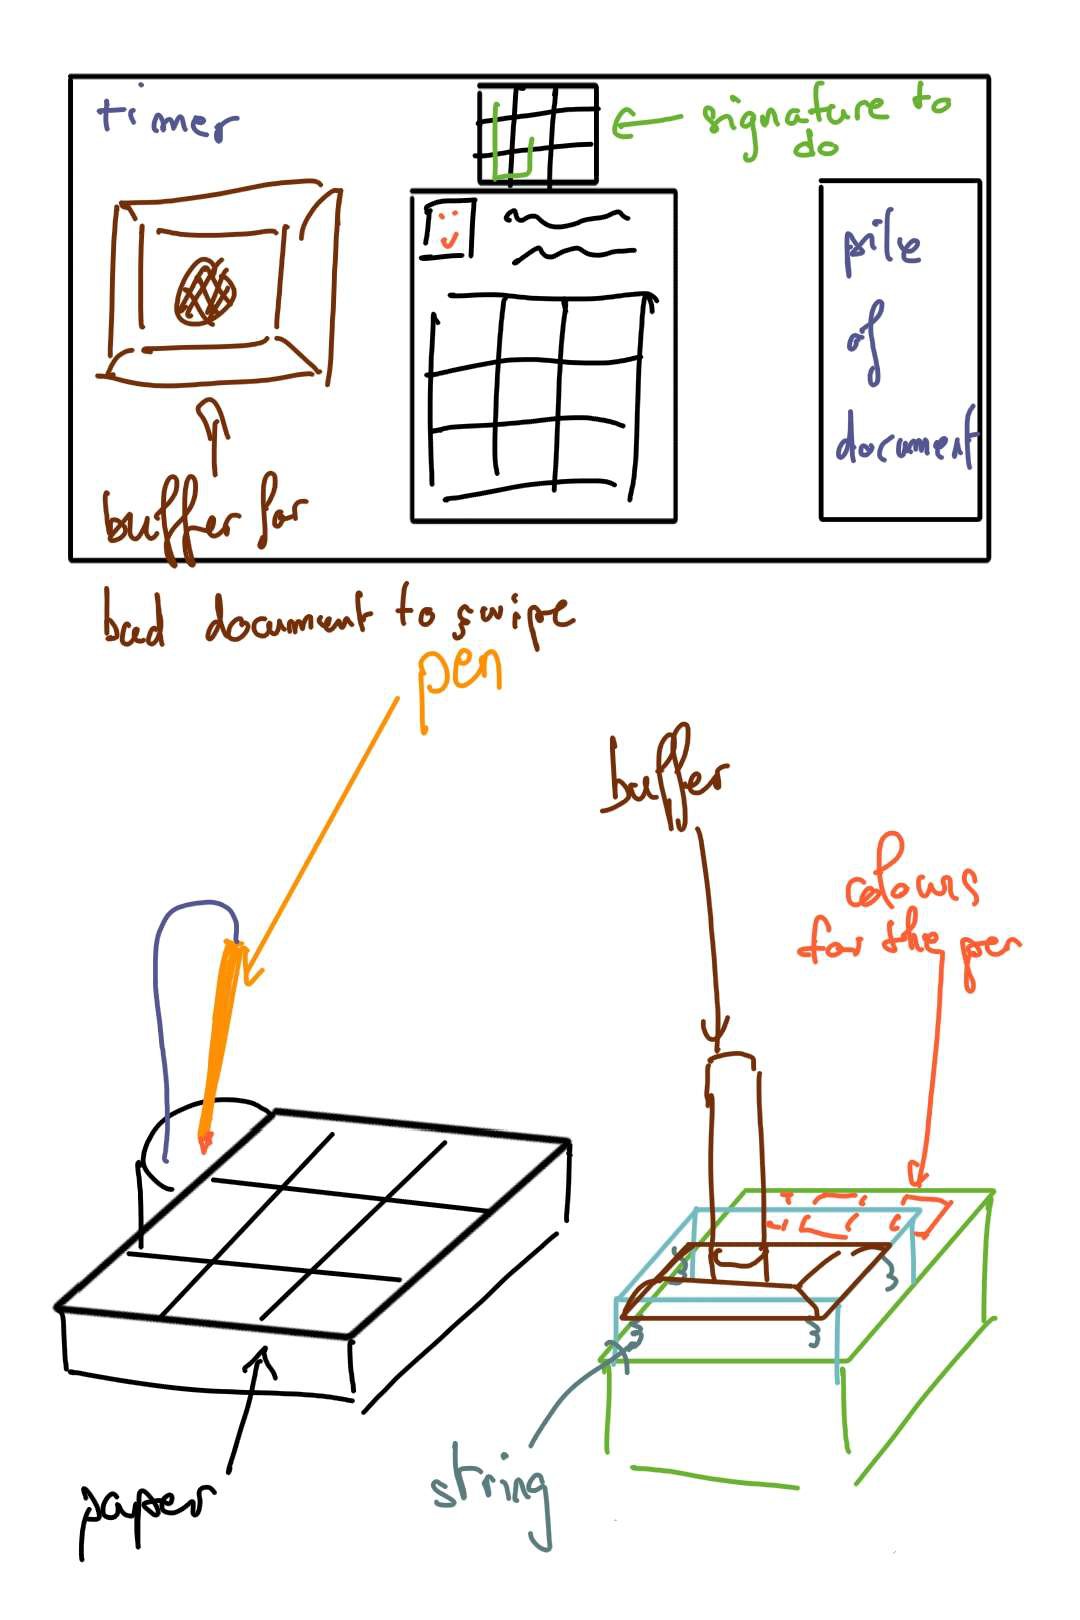
And finally, the stamper.
We just 3D printed the stamper and when we actionned the stamper, this will touch a button and it will pass all the bad CV.
 Nasser